As we move into June, we get the spraying equipment out to give tank 1919 its undercoat.
On Saturday the final parts of the underframe were scraped and needle gunned.


A few areas had some red-oxide primer applied, which dried quickly in the sunshine.


During the week a replacement for a missing 4″ tank top cap was created by 3d printing, this was sealed to the adaptor and will be fitted to the tank in due course.


Whilst the 1940s weekend was getting into full swing in the yard, we got the BBQ equipment out to celebrate Ross’s birthday, as a much enjoyed change to a birthday cake. The salvaged and repaired picnic tables being put to good use.
HAPPY BIRTHDAY Ross ! Thanks for the BBQ 🙂


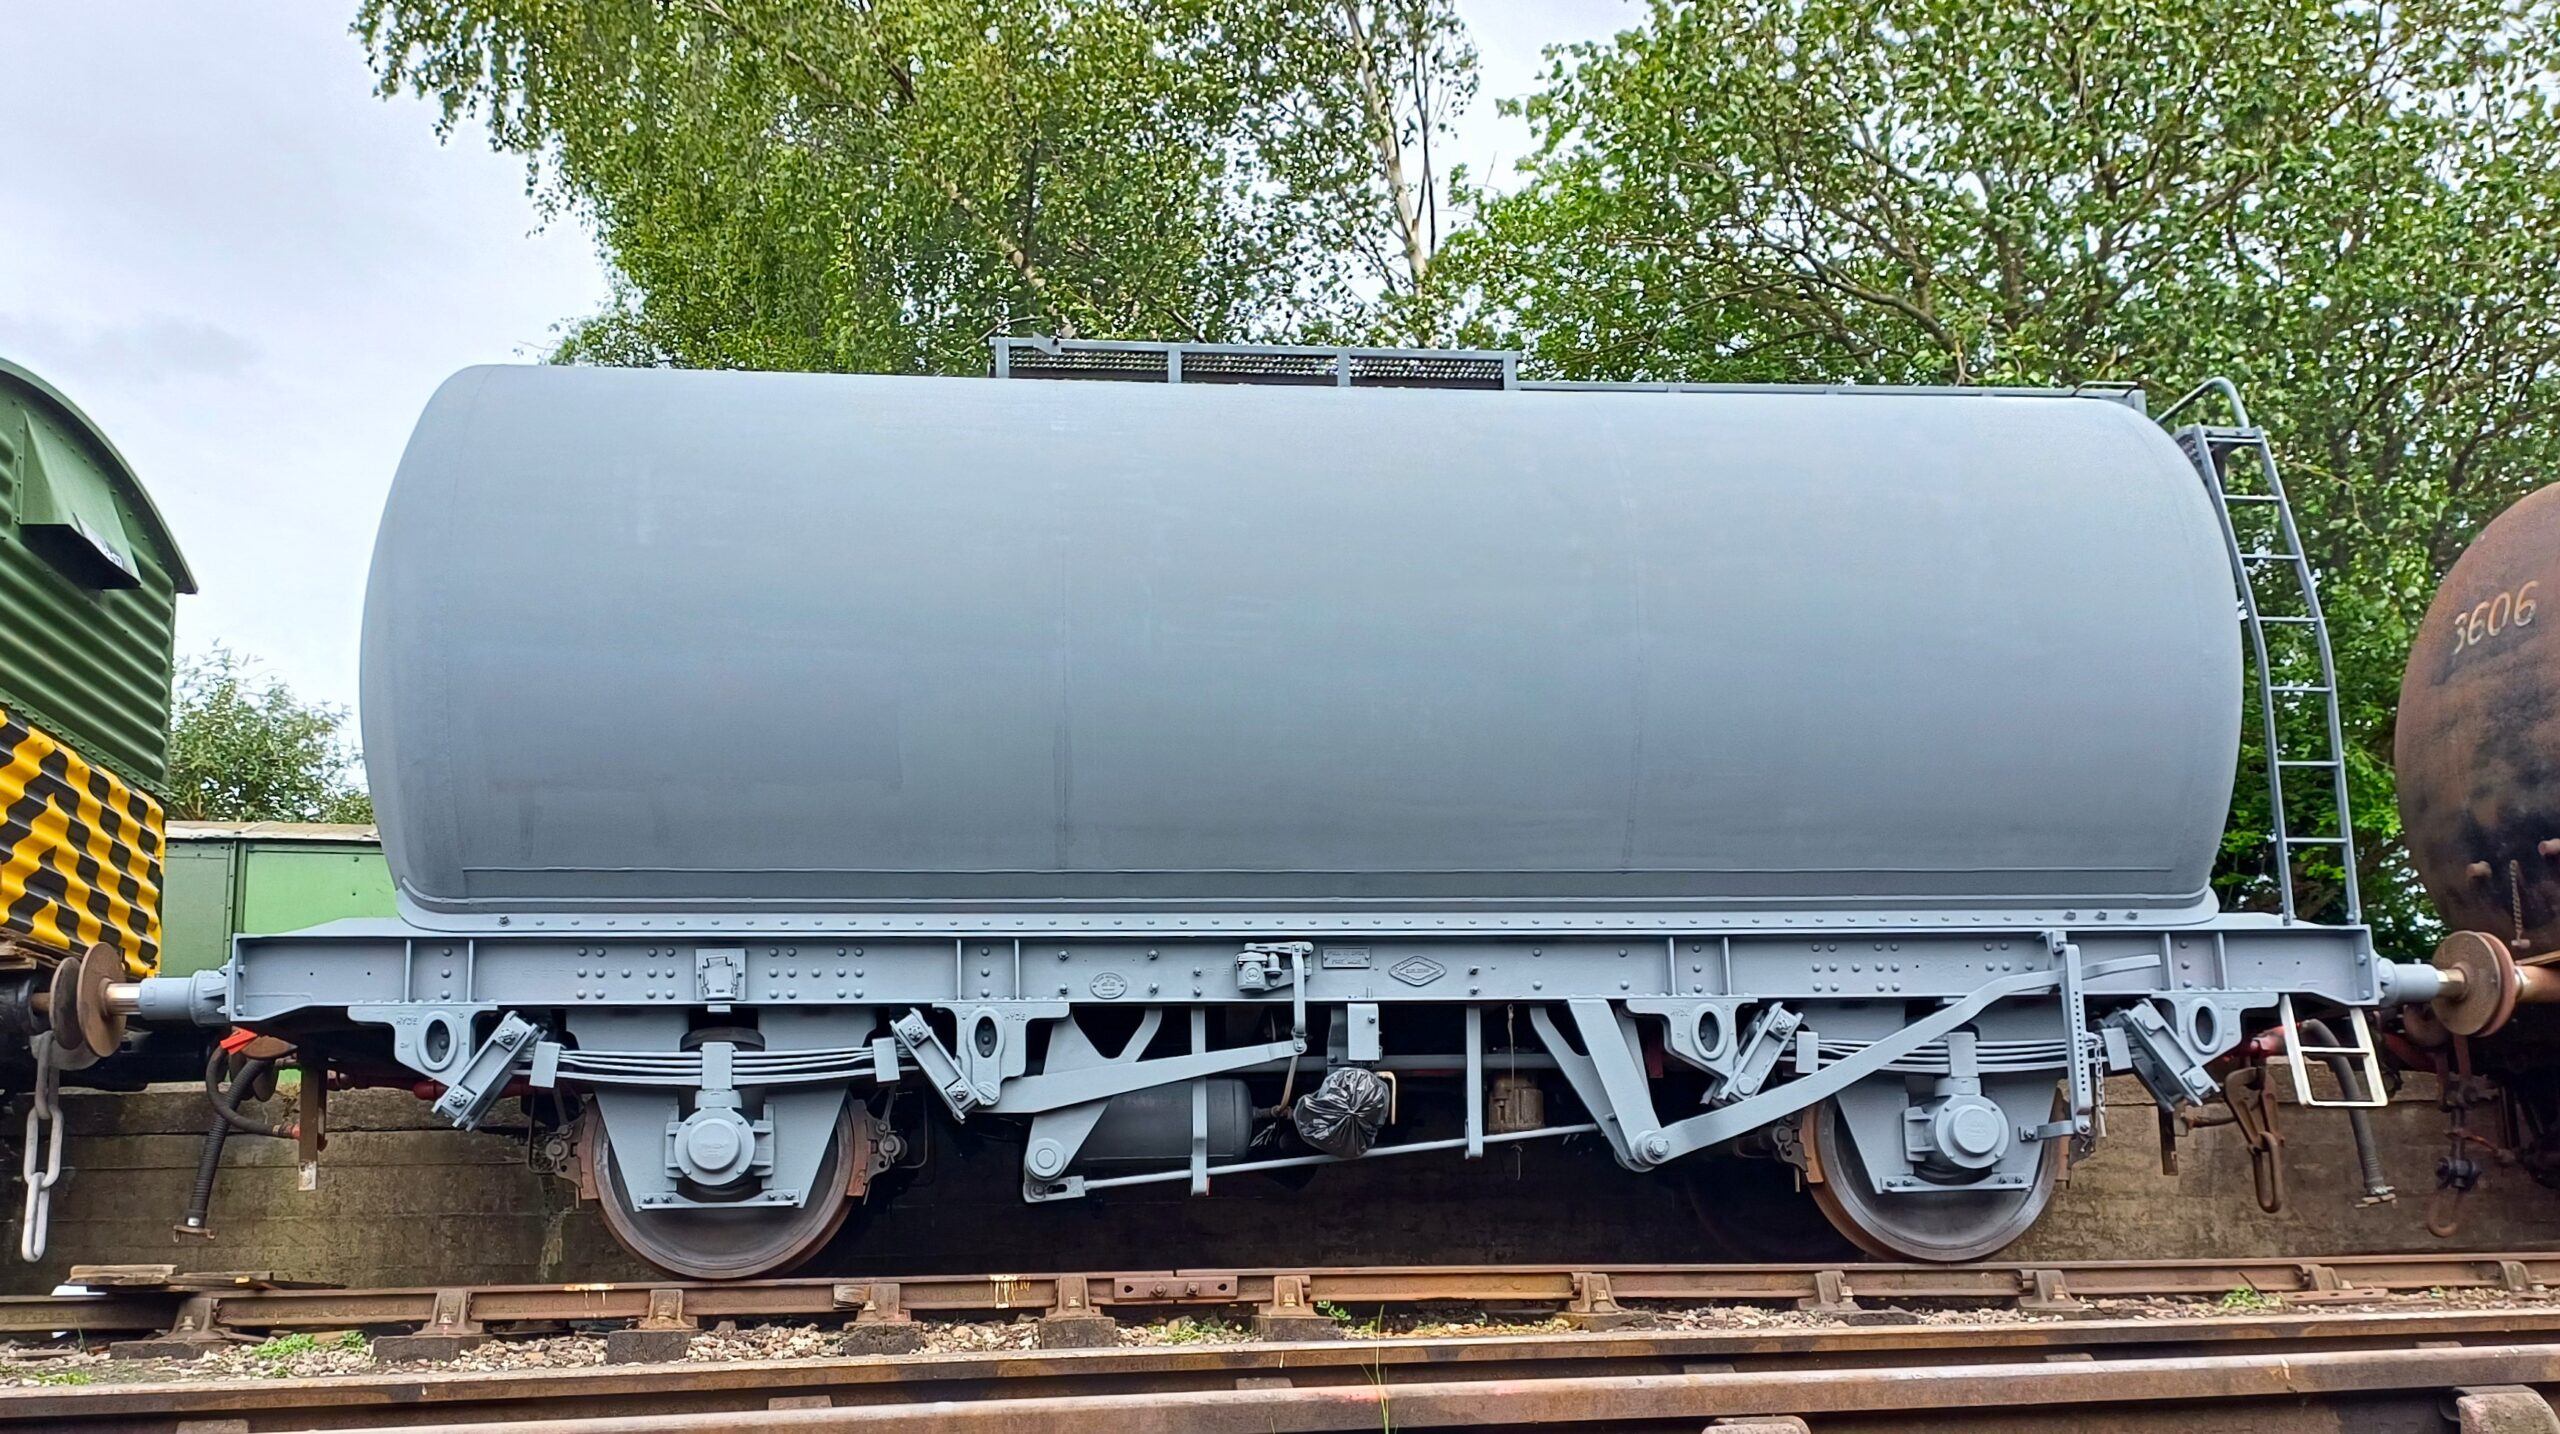
After lunch Edward the compressor was topped up with diesel and we got prepared to start applying the undercoat. The spray gun was set-up, the paint was mixed and thinned; once we had the right consistency this was poured through a filter into the paint sprayer can.


Over the next few hours Ross and myself sprayed the tank barrel, with a little help from Dan and Harry who also tried their hand with the spray gun.


Once the barrel was covered, we continued with the west side underframe.


On Sunday the last few areas of the east side suspension were given a coat of red-oxide, which thanks to the sunshine dried quite quickly.


The headstocks, buffers and east side solebar were hand brushed with undercoat. These areas were not easy to get to with the spray gun due to the wagon being in the dock. The ladders were also undercoated.


Another lorry curtain side sheet obtained from a lorry breakers was prepared ready to be used for van roof coverings. After cleaning and removal of the shackles and straps the sheet was measured up; luckily it’s just big enough to be able to get two 12T van roof coverings out of. Once Charlie had cut the sheets they were folded and stored.


My attention turned to making a jig that will help us with positioning of the Esso logo plates on tank 3621. Unfortunately the Esso plate brackets were removed at some point in the tanks life. The jig will allow us to position the brackets correctly for welding into place. Having tank 3606 alongside with brackets still in-tact made creating the jig much easier. Two ply sheets were clamped to the two upper and lower sets of brackets on 3606.


The ply were cut to shape to allow access to the brackets for welding. Holes were then drilled and the ply was bolted to the brackets.


Timber was then used to create a frame down to the solebar for positioning vertically, and a separate timber up against the handbrake rack to position longitudinally. Frame parts were then made to join the upper and lower ply sections together. Once I was happy with the fit, all parts were drilled and bolted together.


The finished jig was then un-bolted from 3606s brackets.
Once we have made the new Esso plate brackets for 3621 these will then be bolted to the back of the jig, and the frame positioned onto 3621 so the brackets can be welded into the correct place.

So a very productive (and enjoyable) weekend for the team, join us again next week, all the best, Dave

Leave a Reply