Skip to content
Home
News and Updates
Stock List
Features
Please Support us
News and Updates
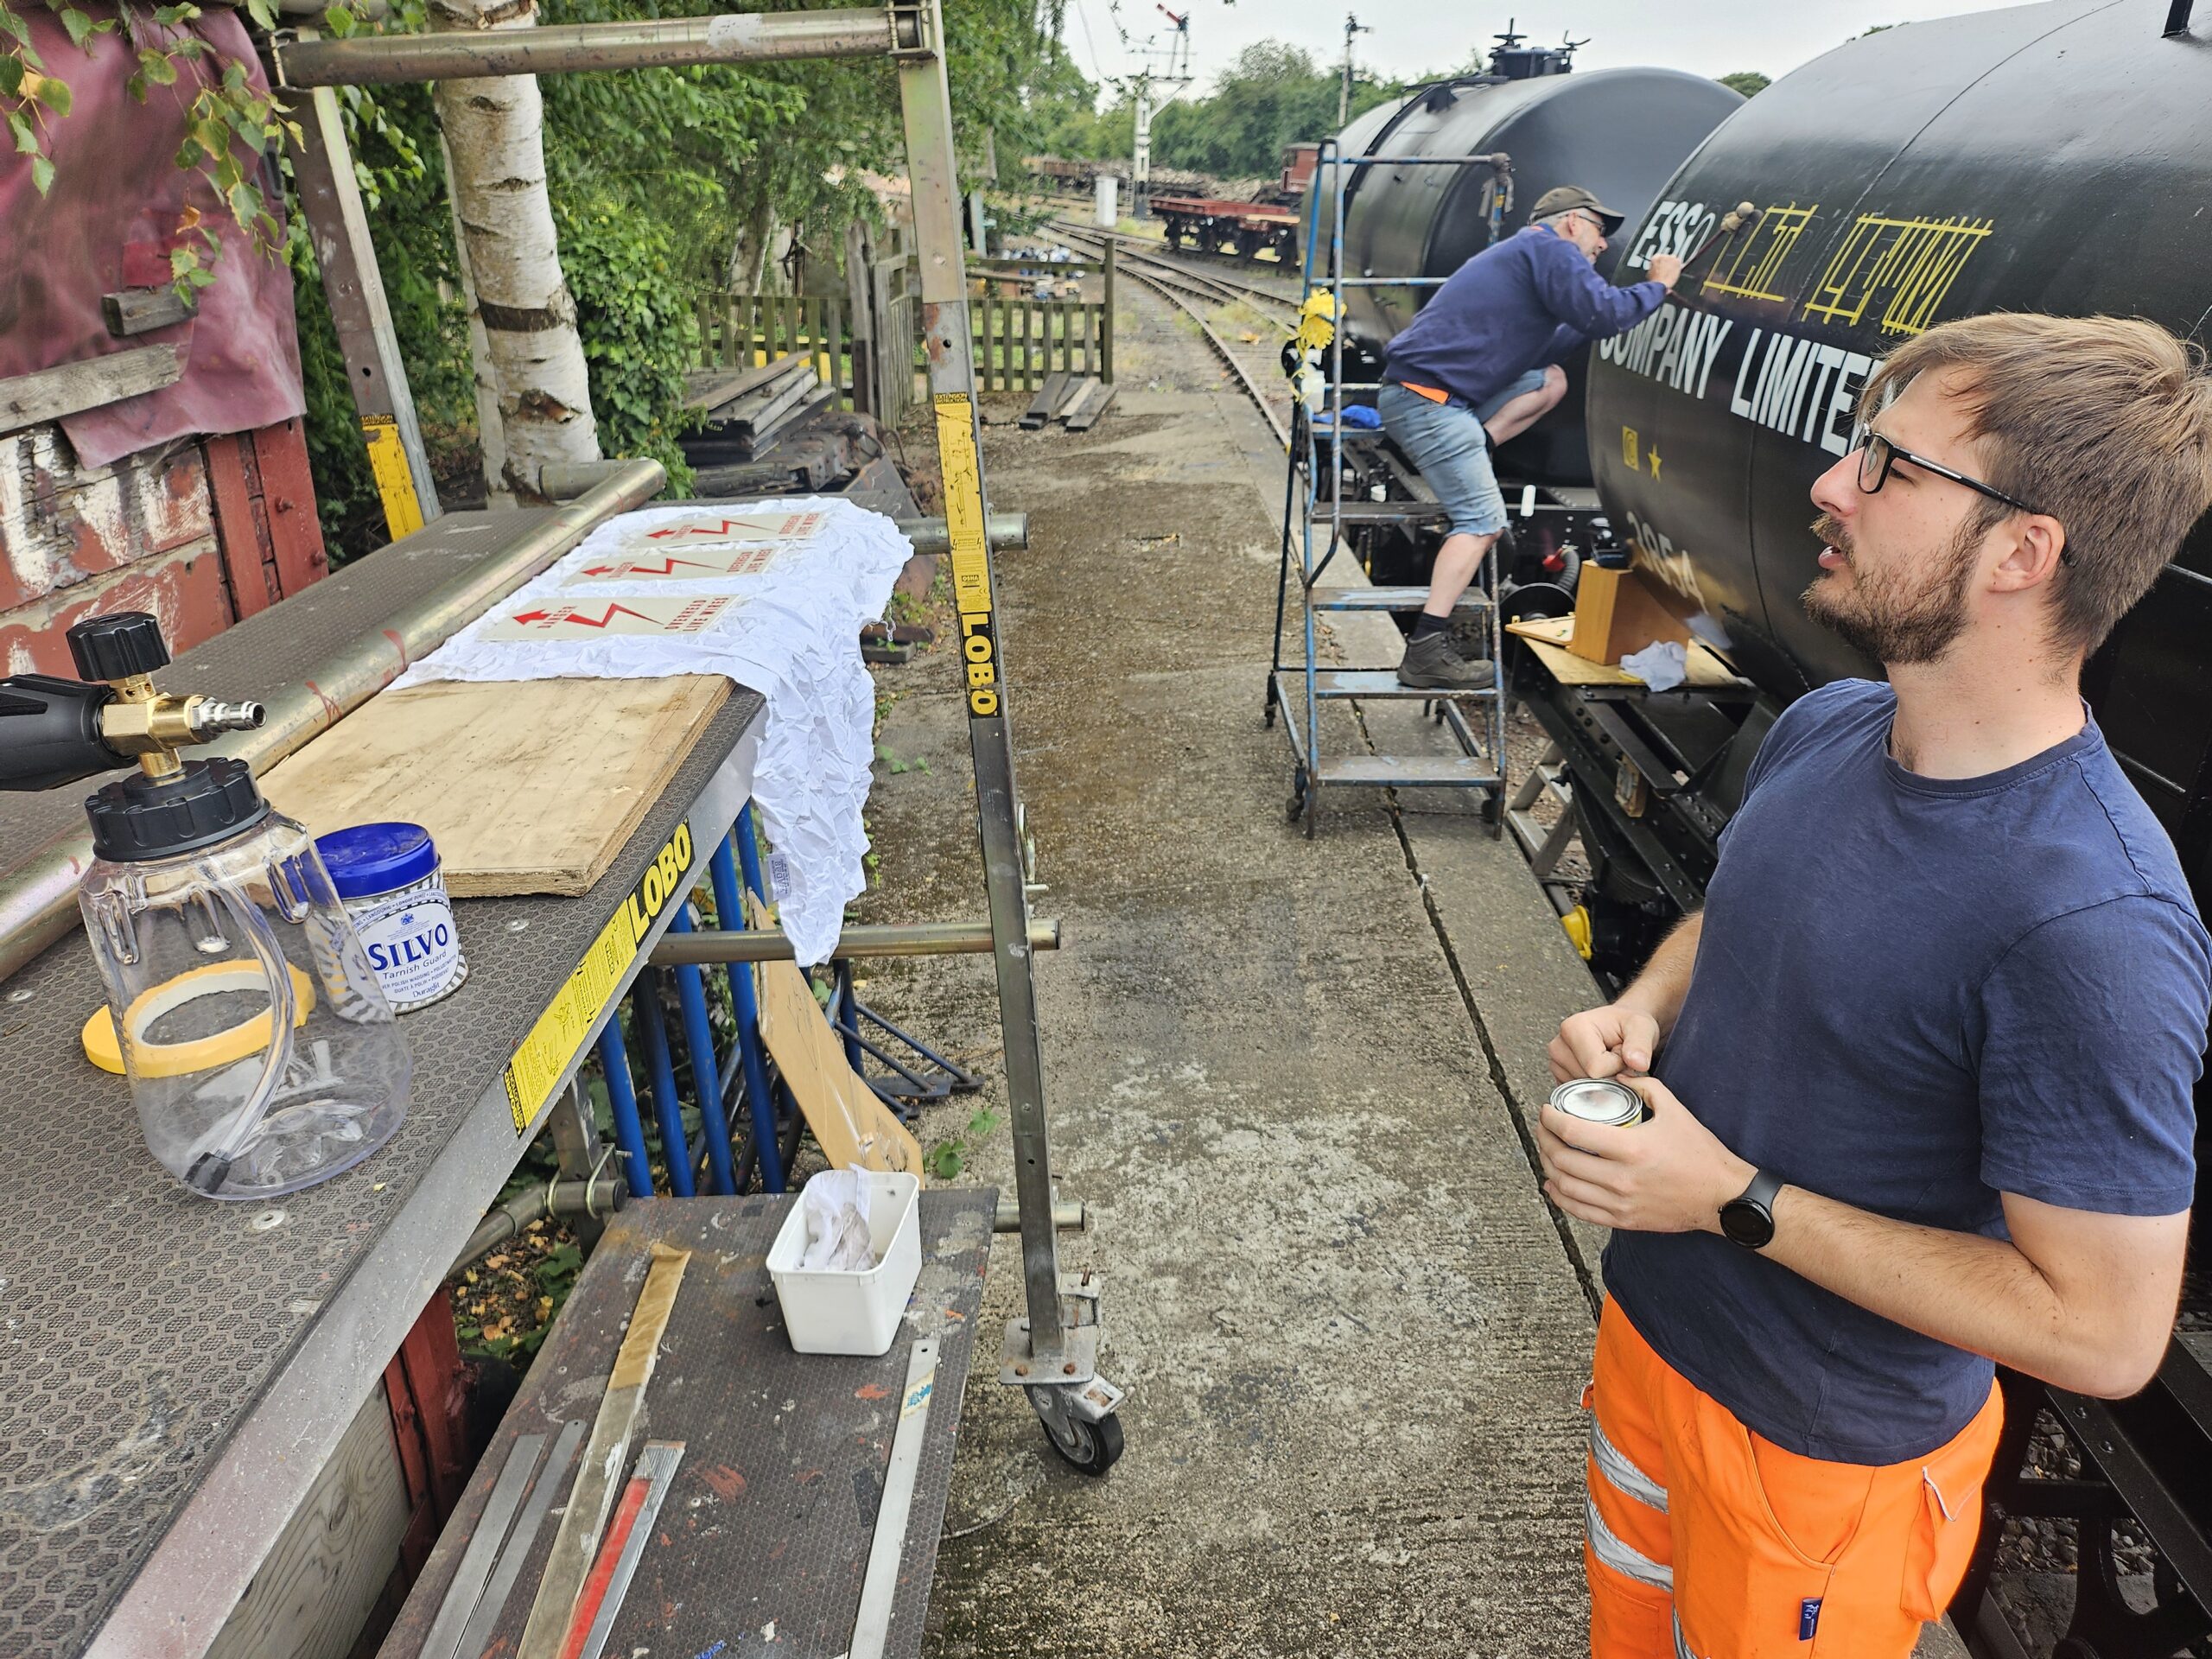
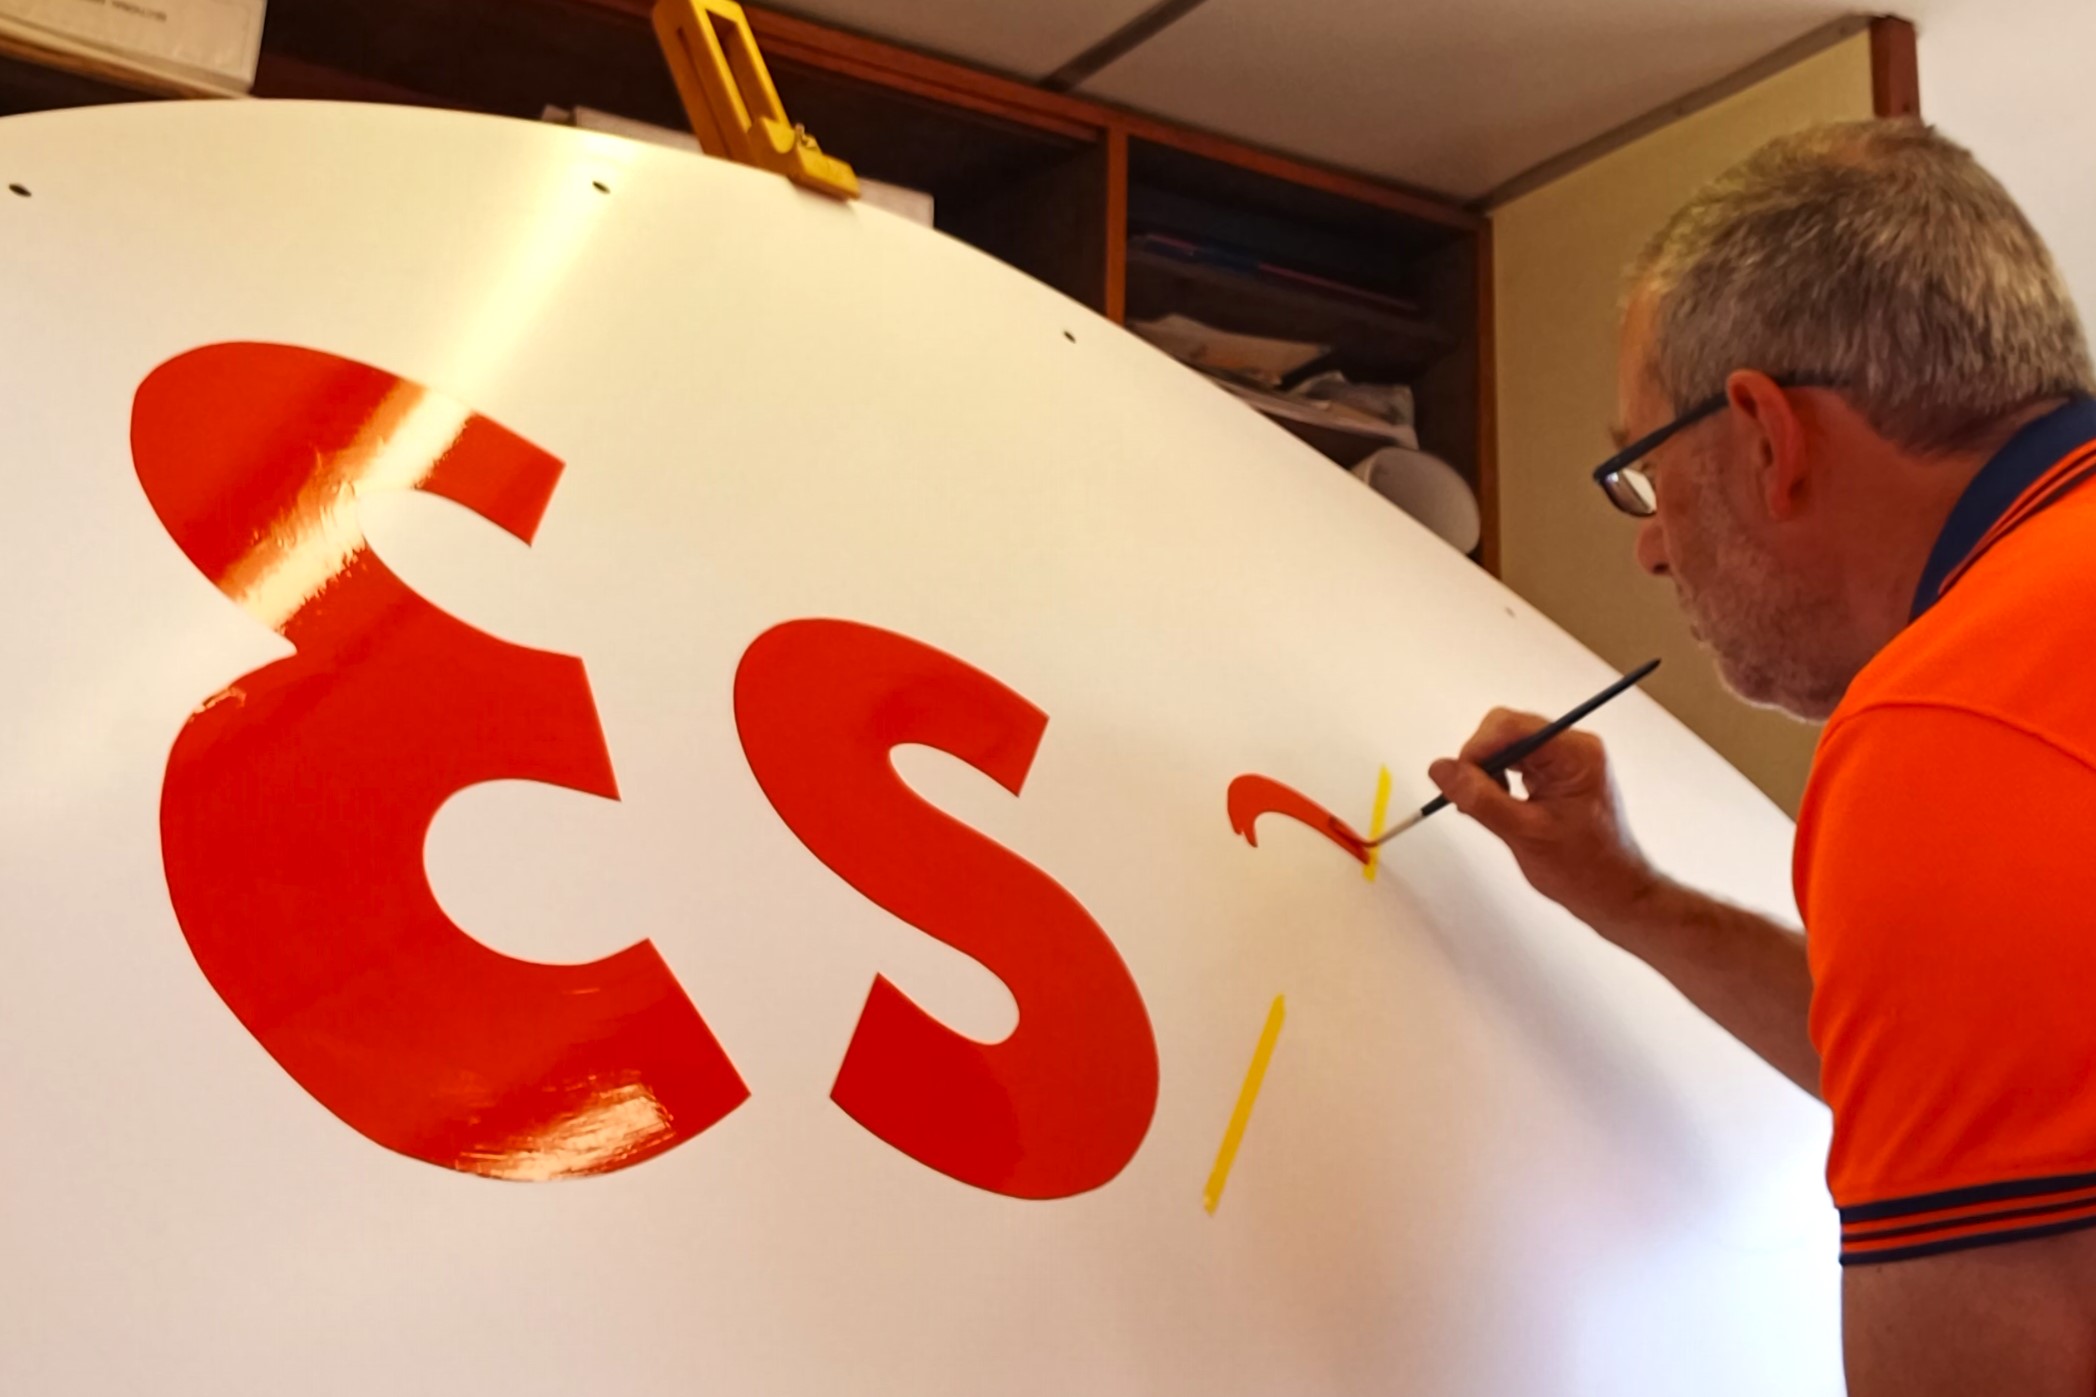
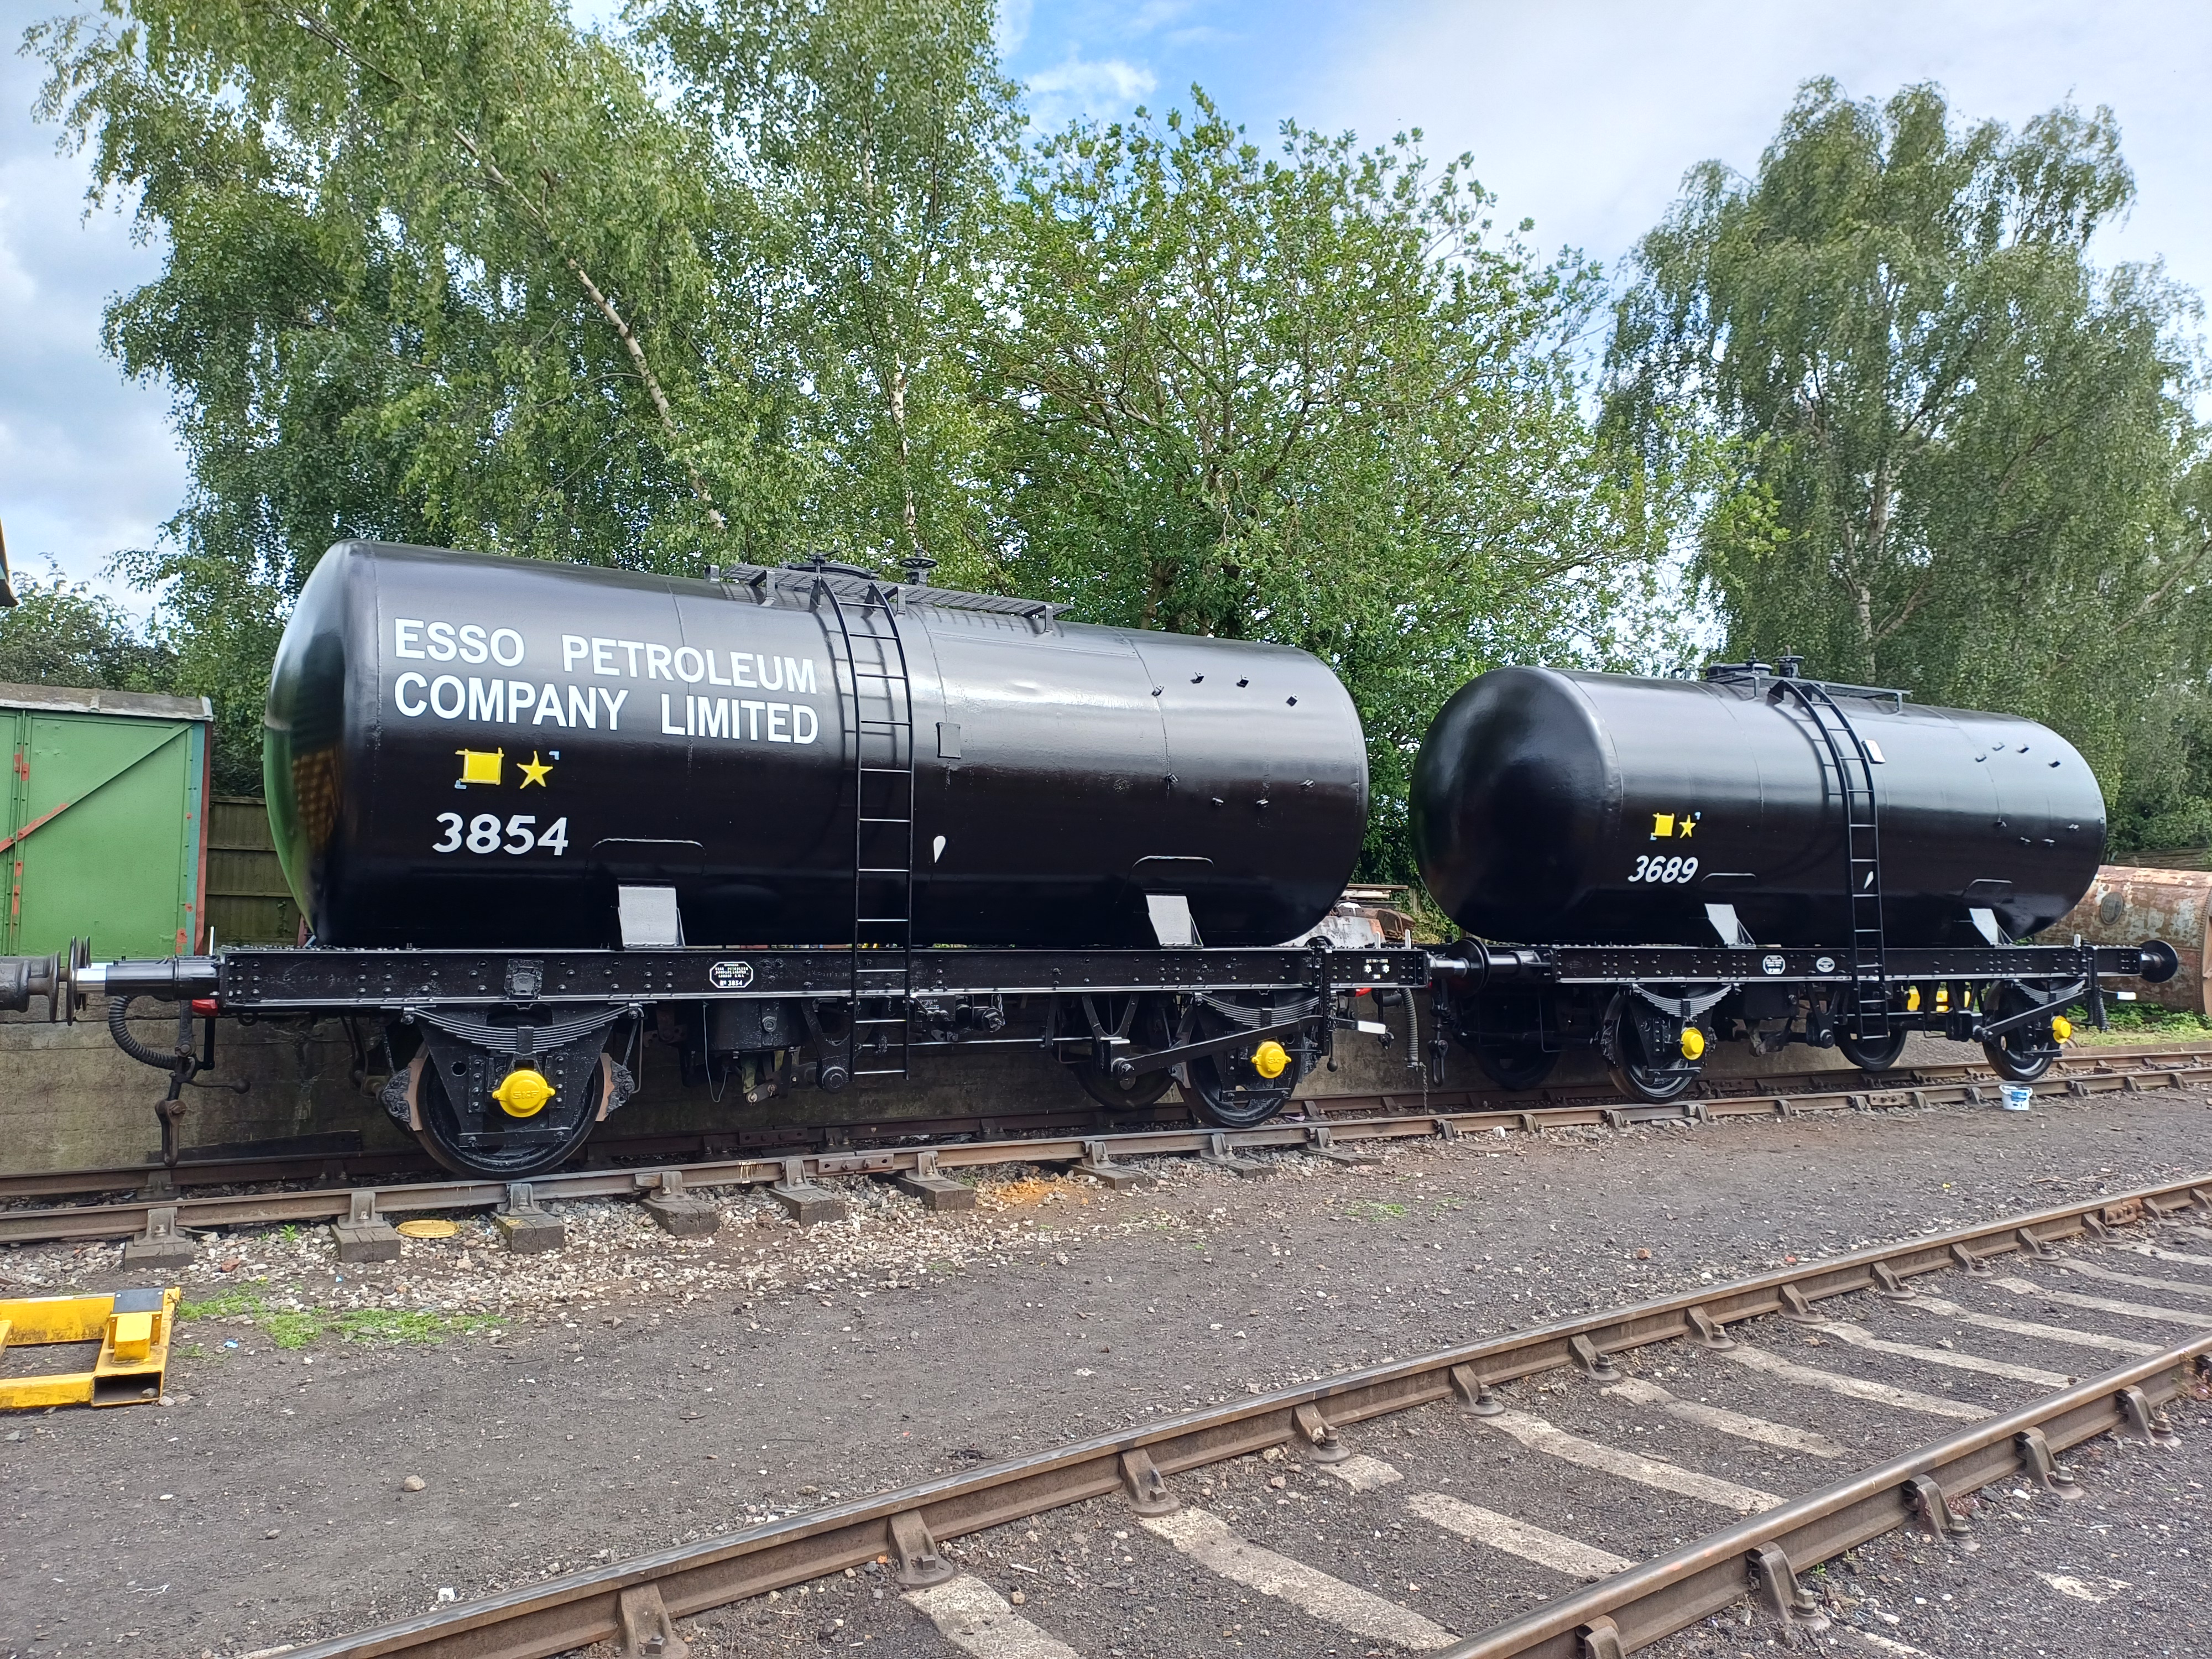
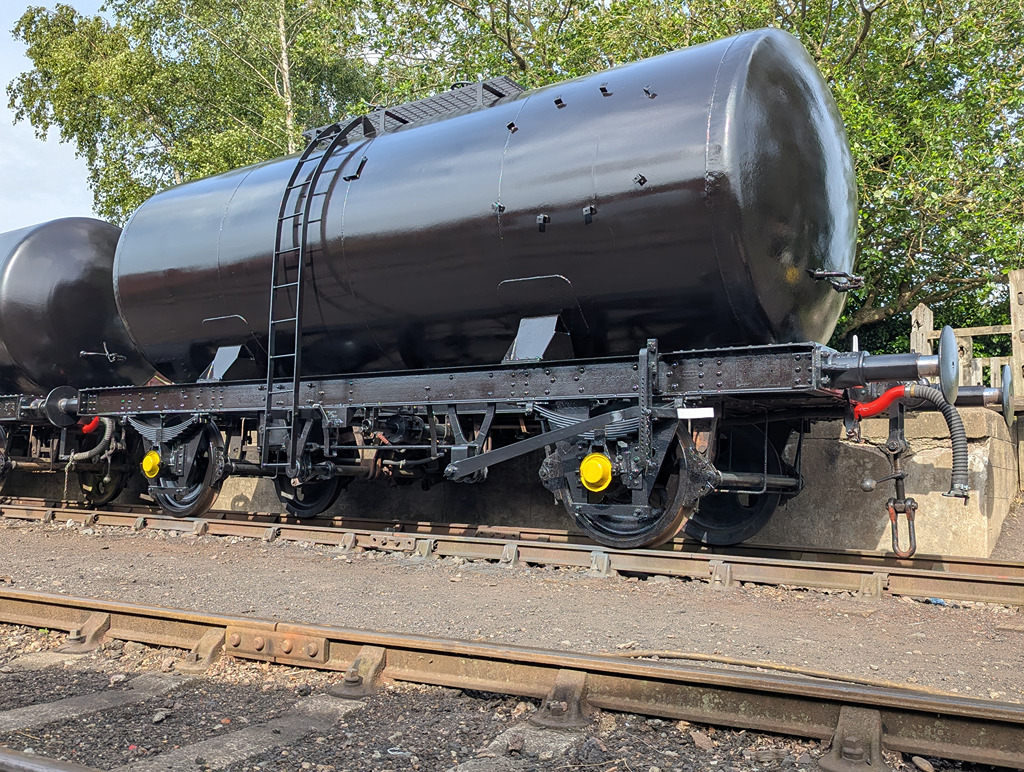
19/07/26 – All of the signwriting
Updates
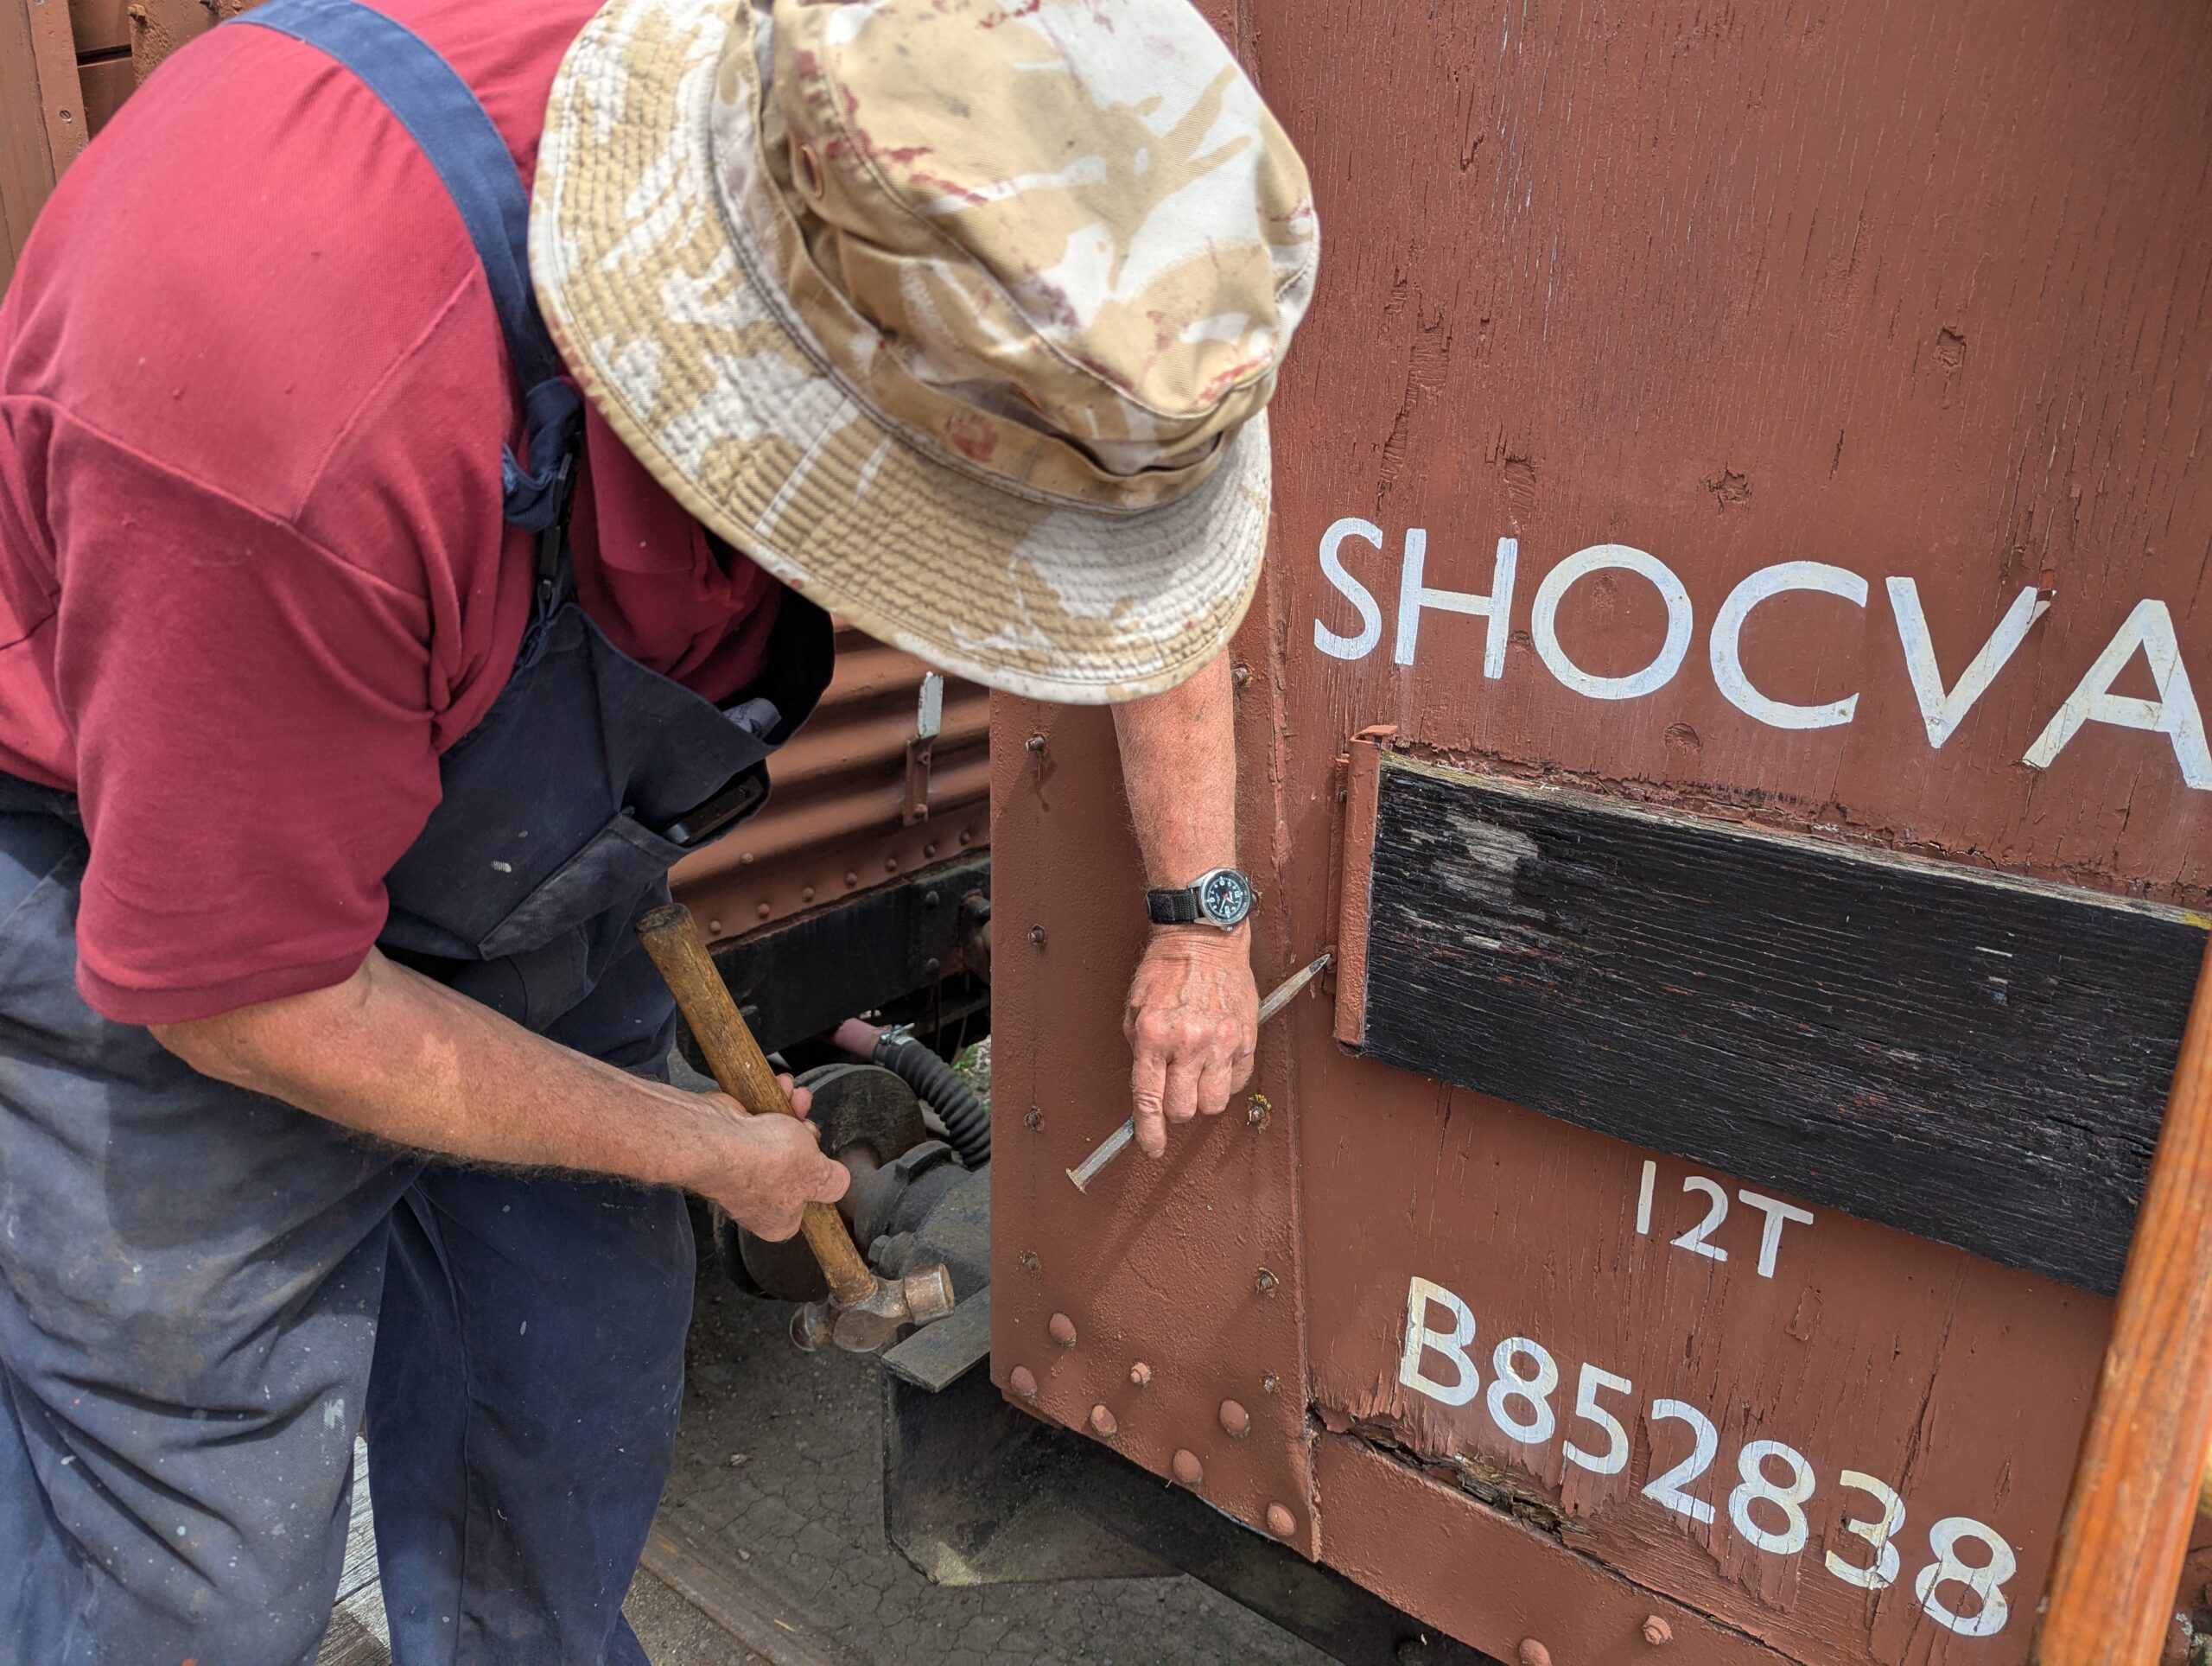
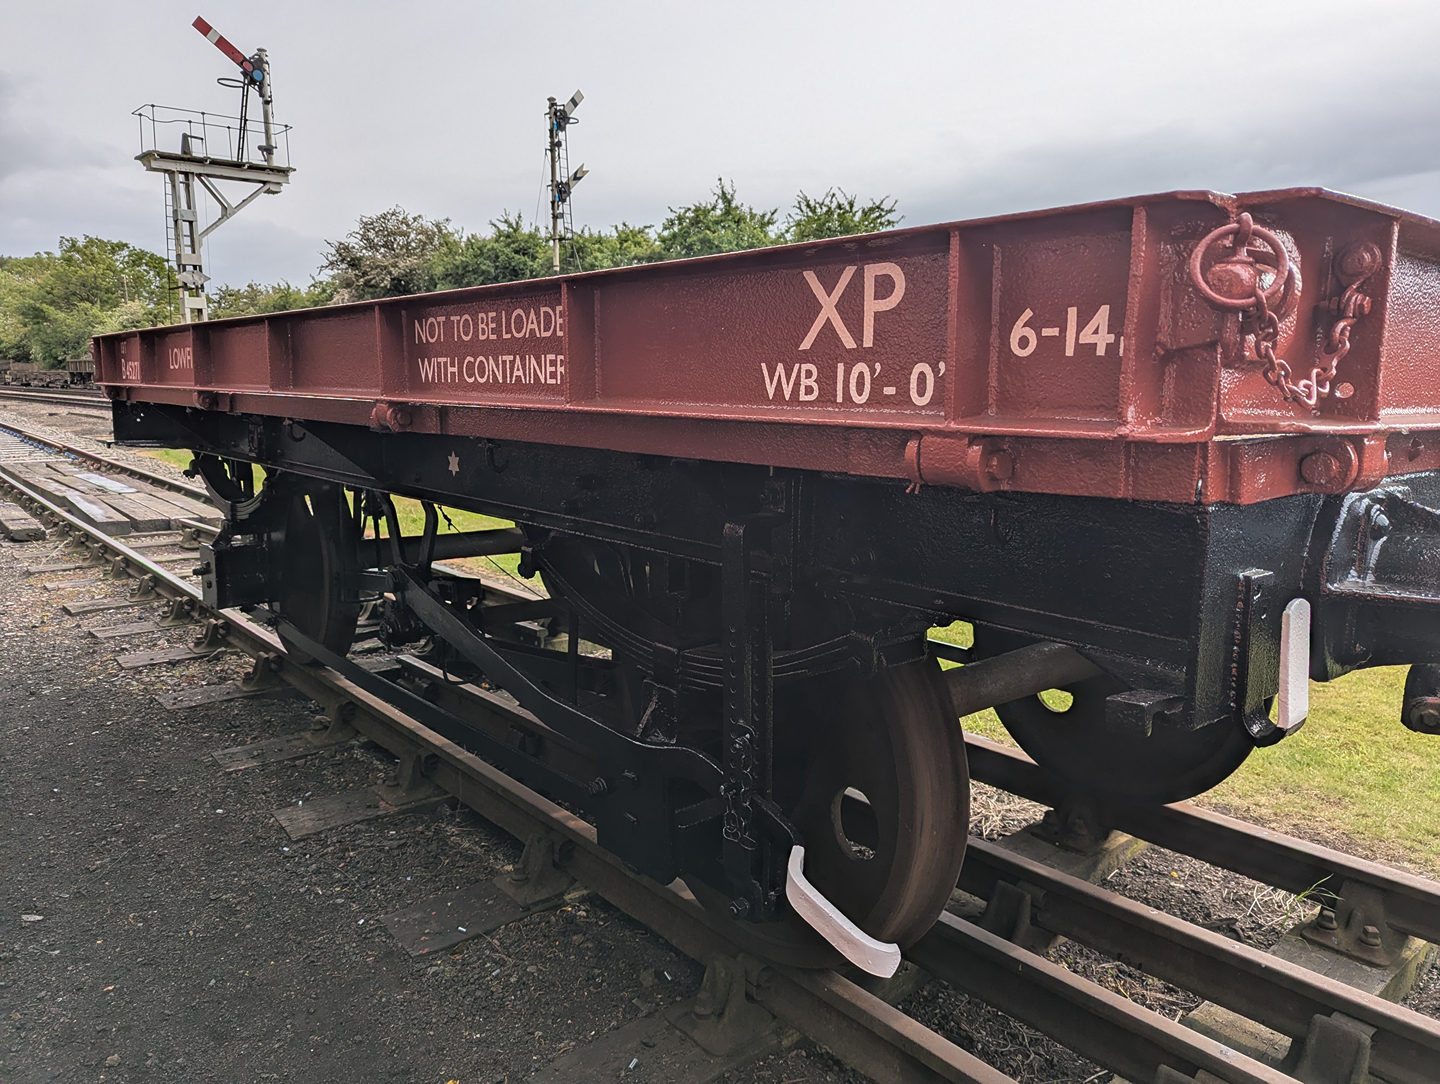
12/07/26 – A Pipe & A Plate
Updates
05/07/26 – Déjà van
Updates
28/06/26 – Tanks and a BBQ
Updates
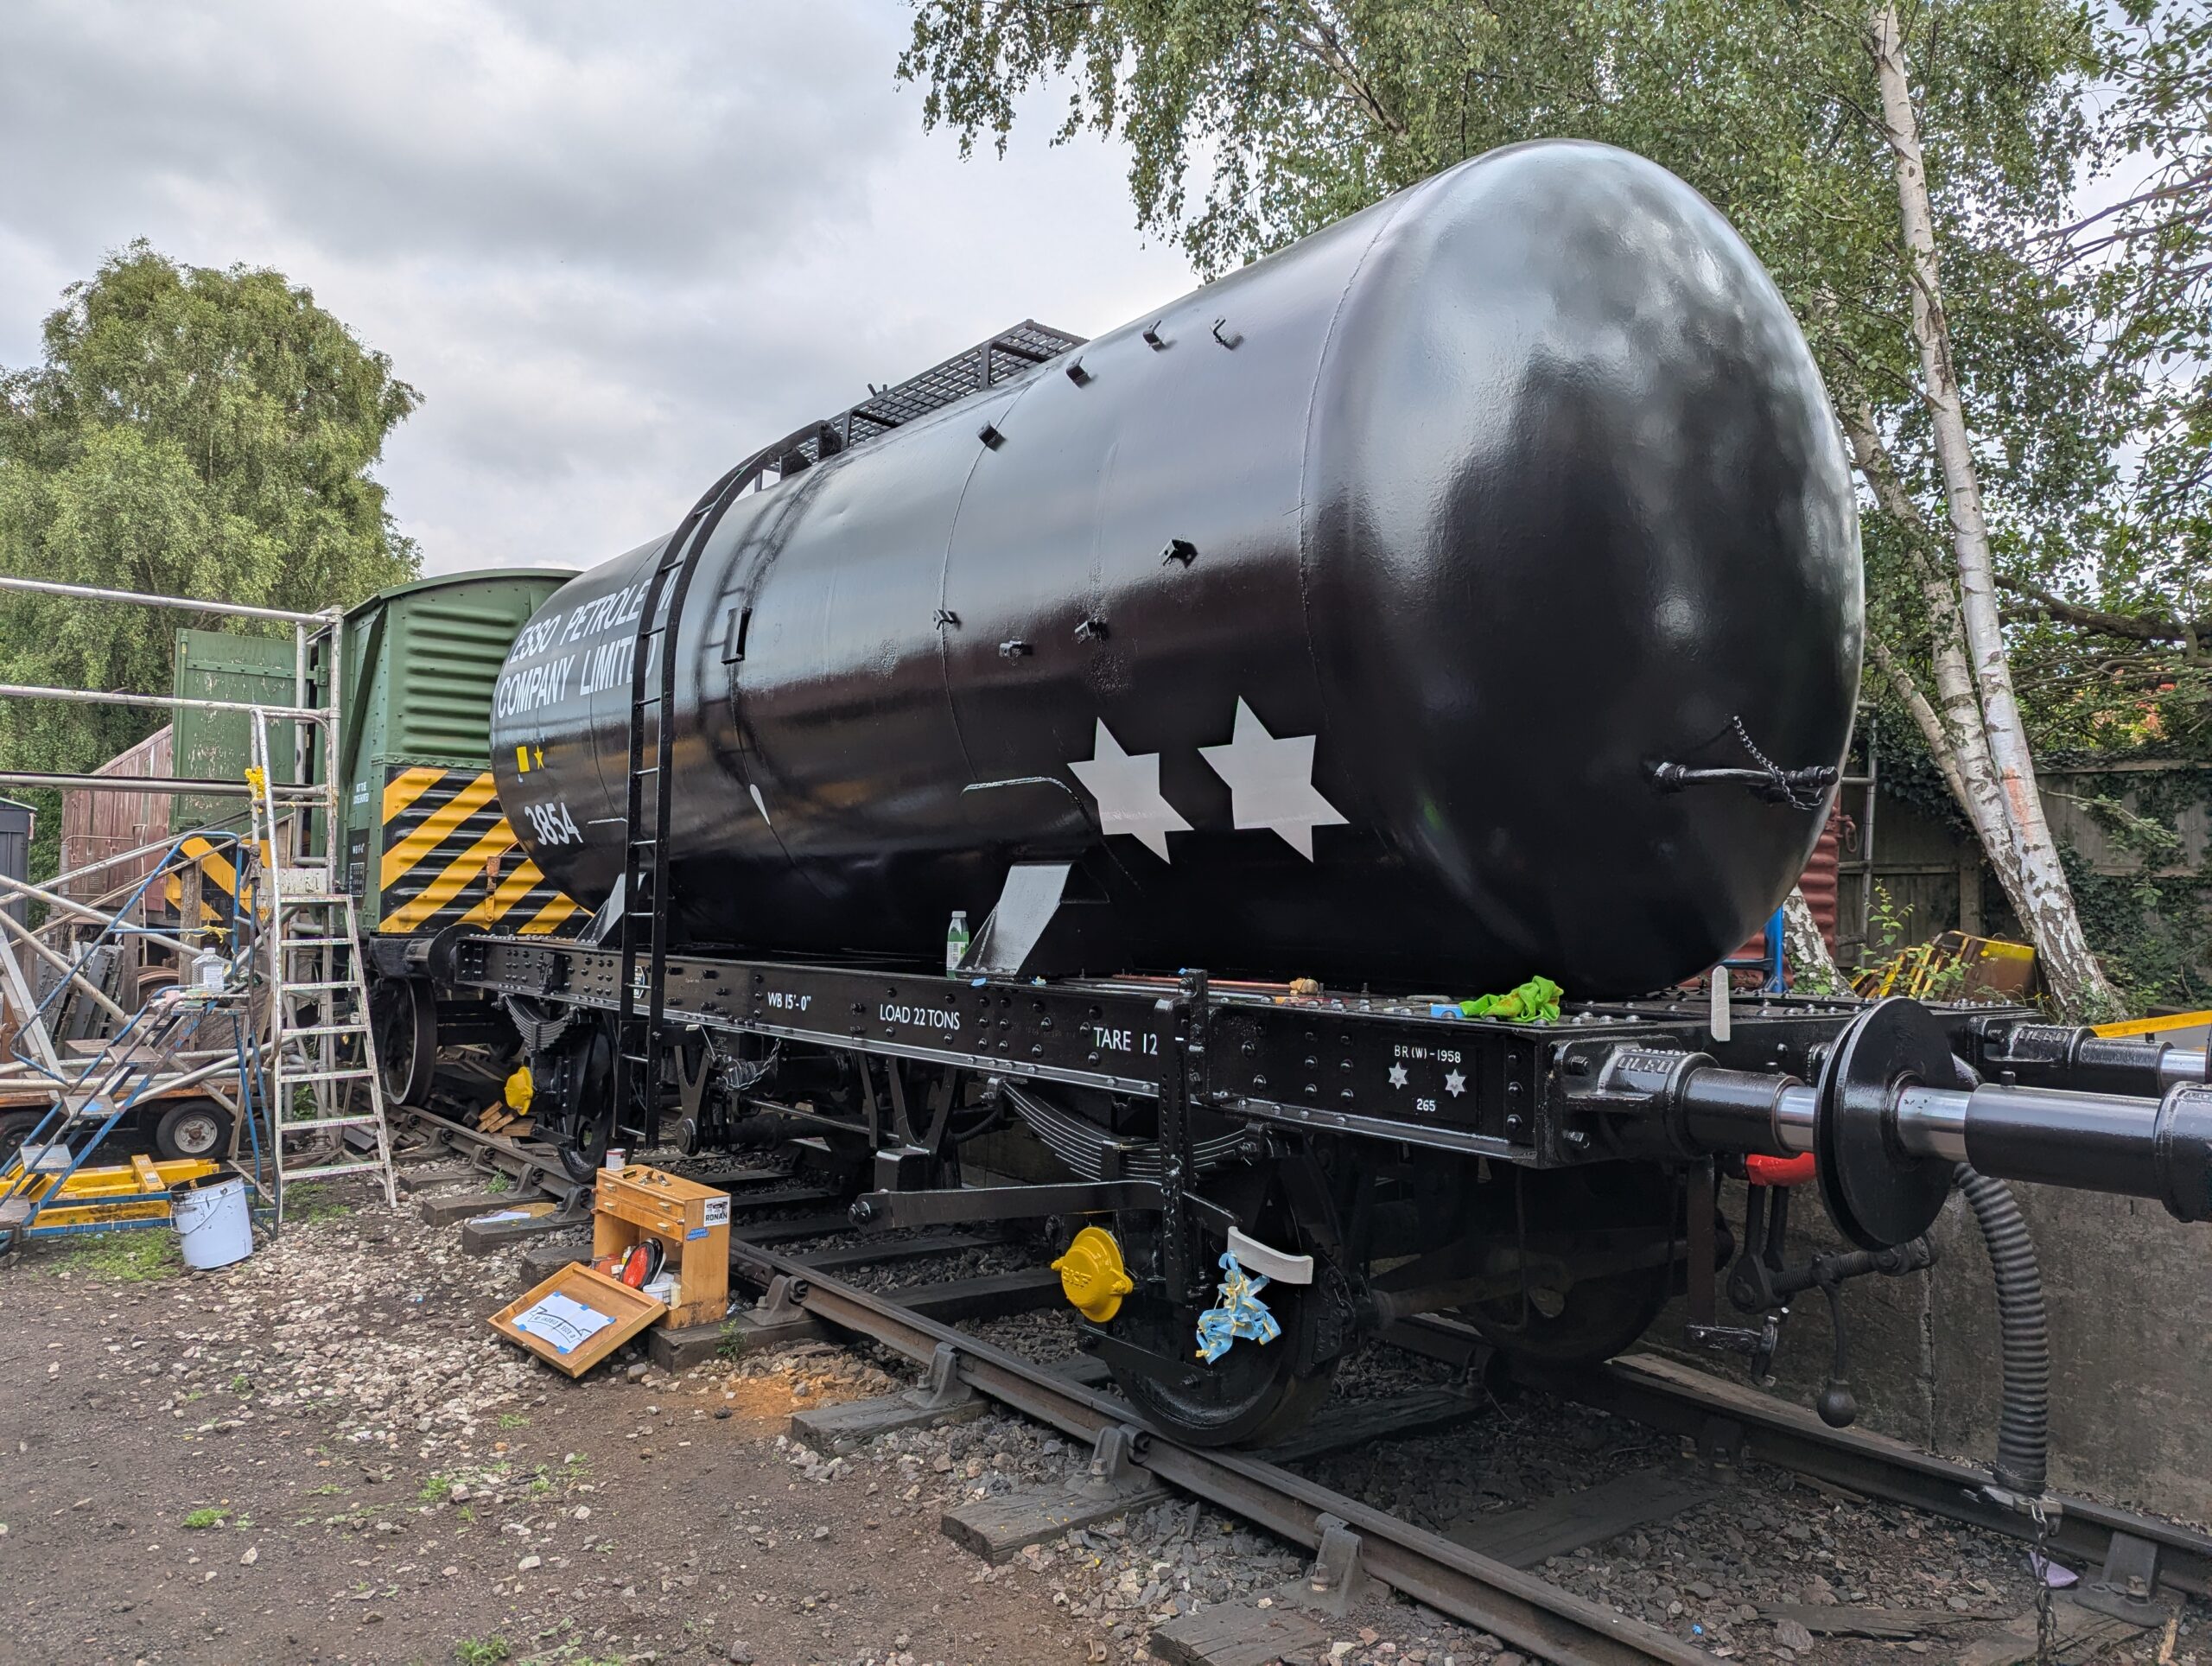
21/06/26 – Many stars
Updates
14/06/26 – Tanks Identified
Updates
07/06/26 – Two tanks with two coats
Updates
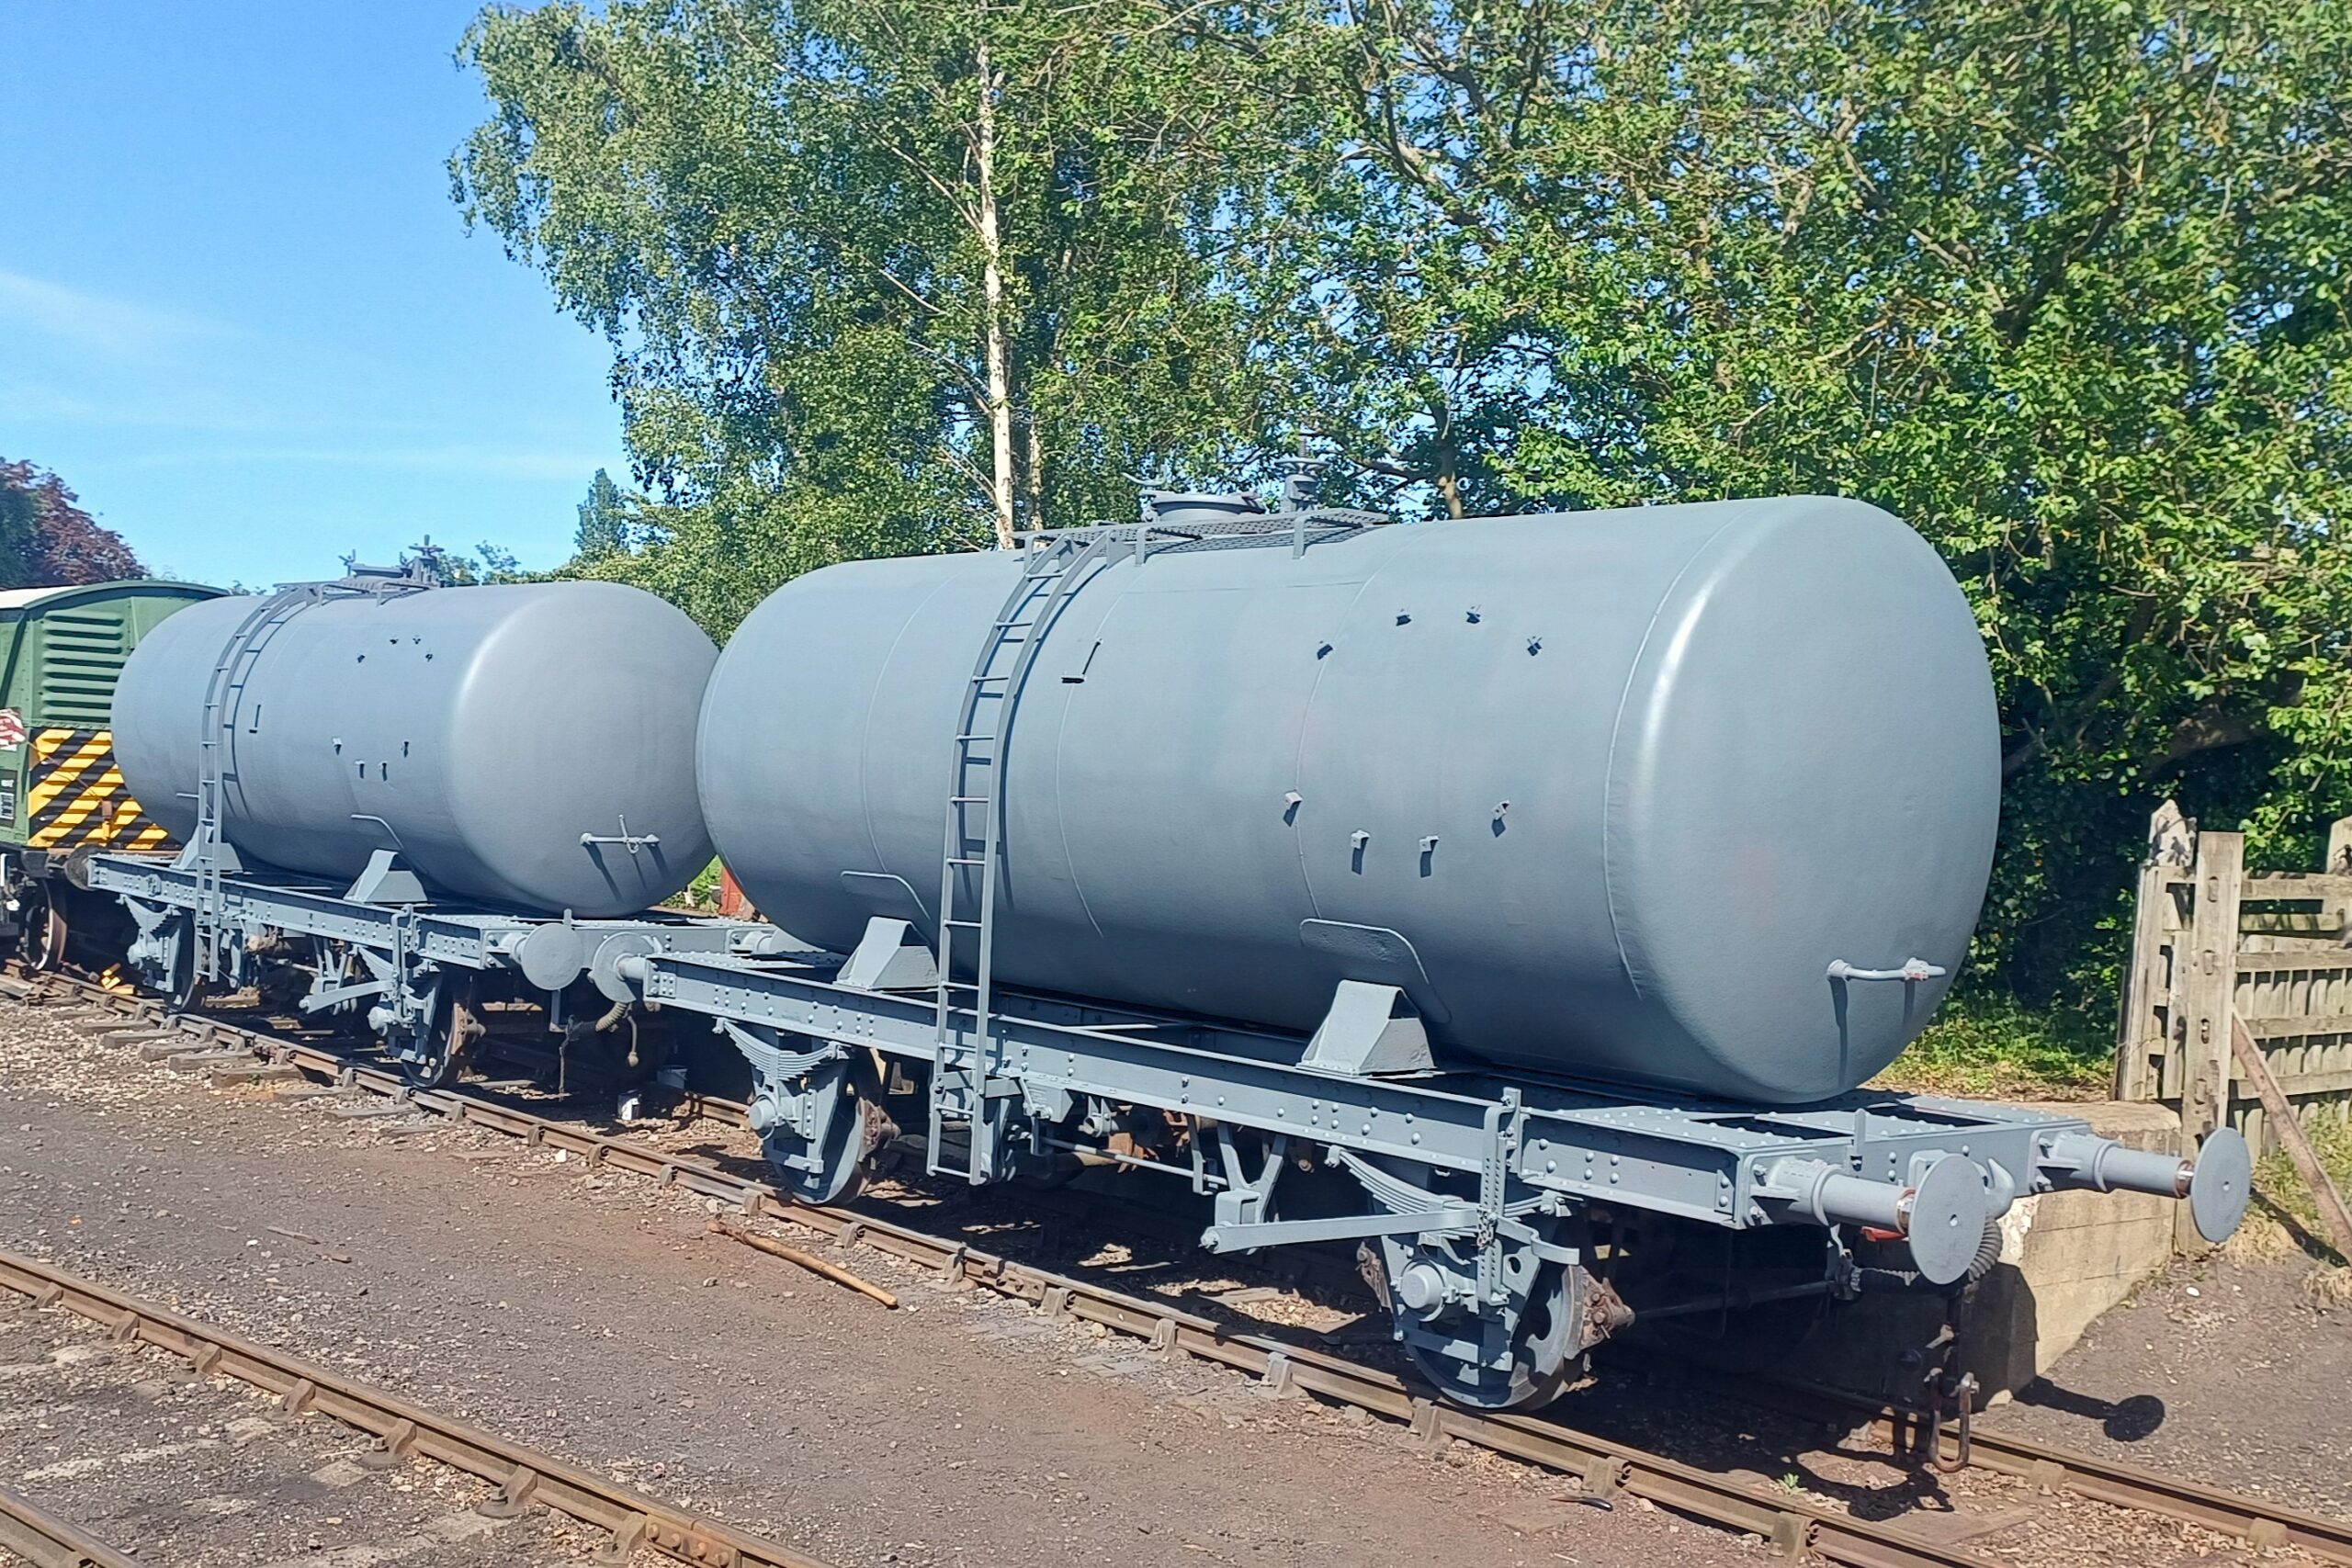
31/5/26 – One more coat..
Updates
25/05/26 – Two Grey Tanks
Updates
17/05/26 – A little Perkins springs to life
Updates
12/05/26 – Planks, Brackets and Gaskets
Updates
04/05/26 – Floors floored and finally all in primer.
Updates
26/04/26 – Lowfit Lettering at the Gala
Updates
19/04/26 – A bare metal tank and a bit more signwriting
Updates
12/04/26 – Springs & Noggins
Updates
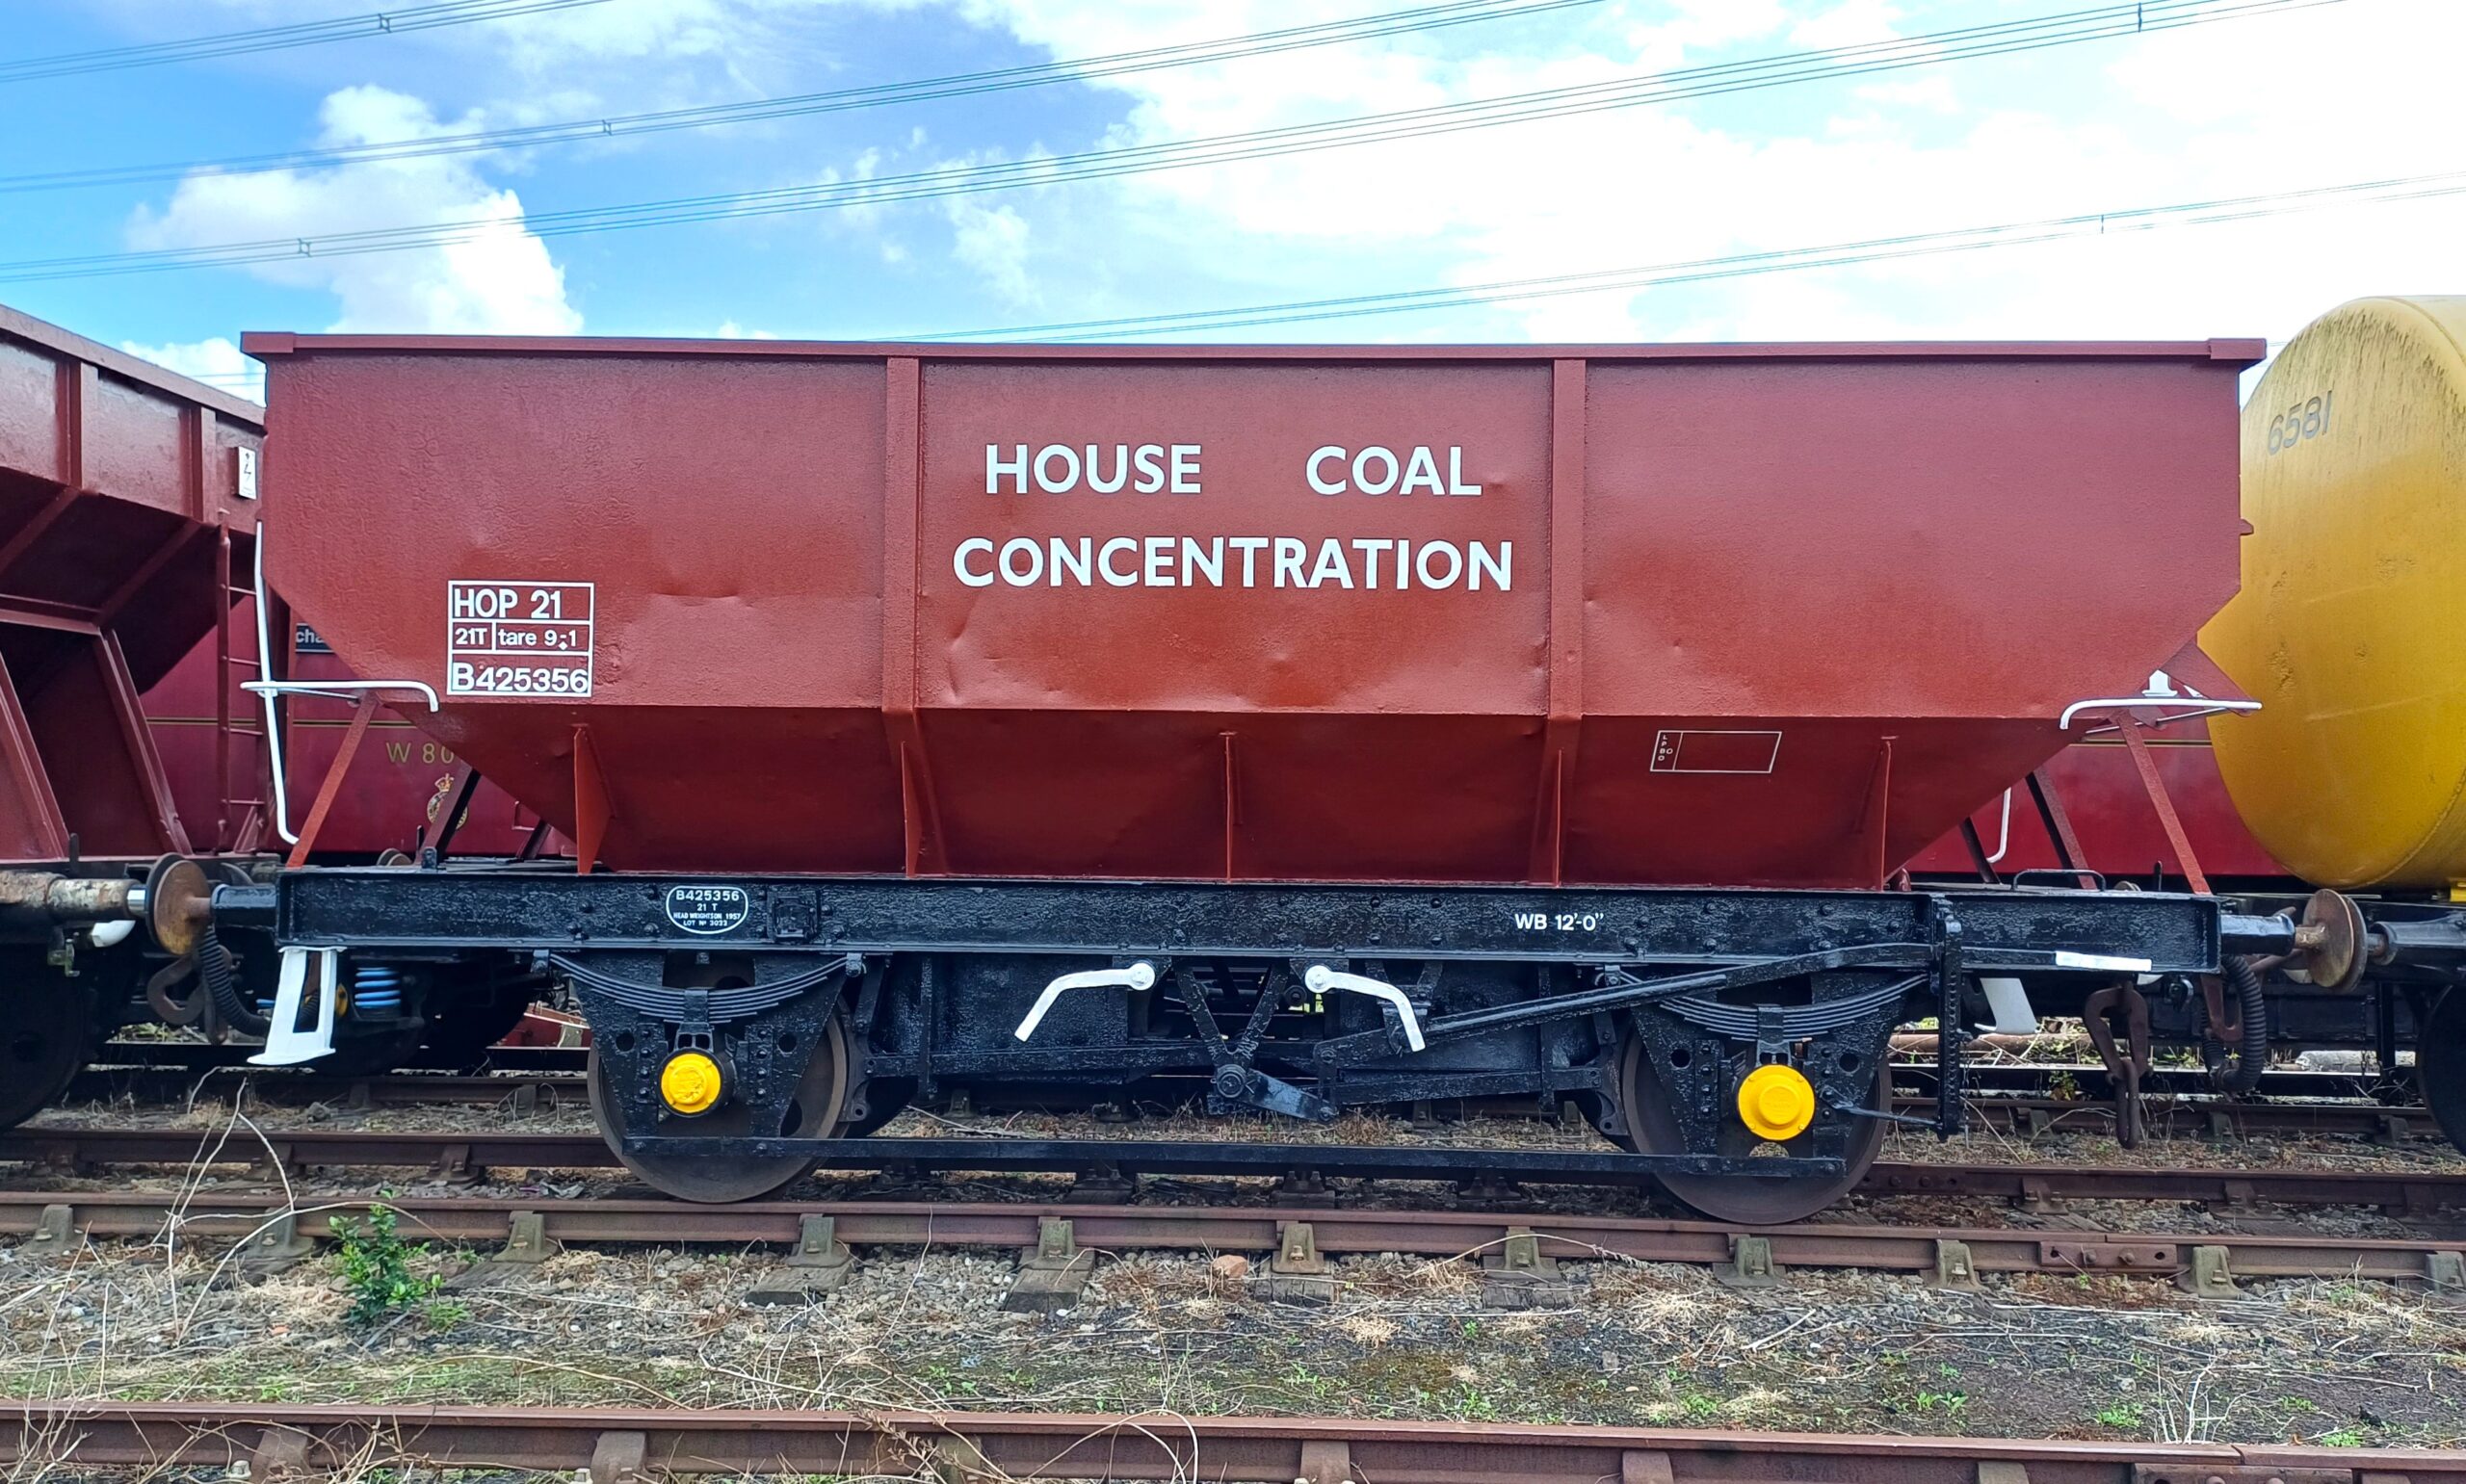
Vehicle Profile #10 – 21T Coal Hoppers
Features
1
2
3
…
29
→
Notifications