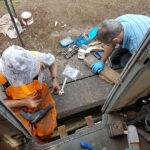
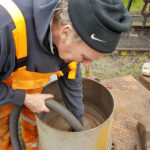
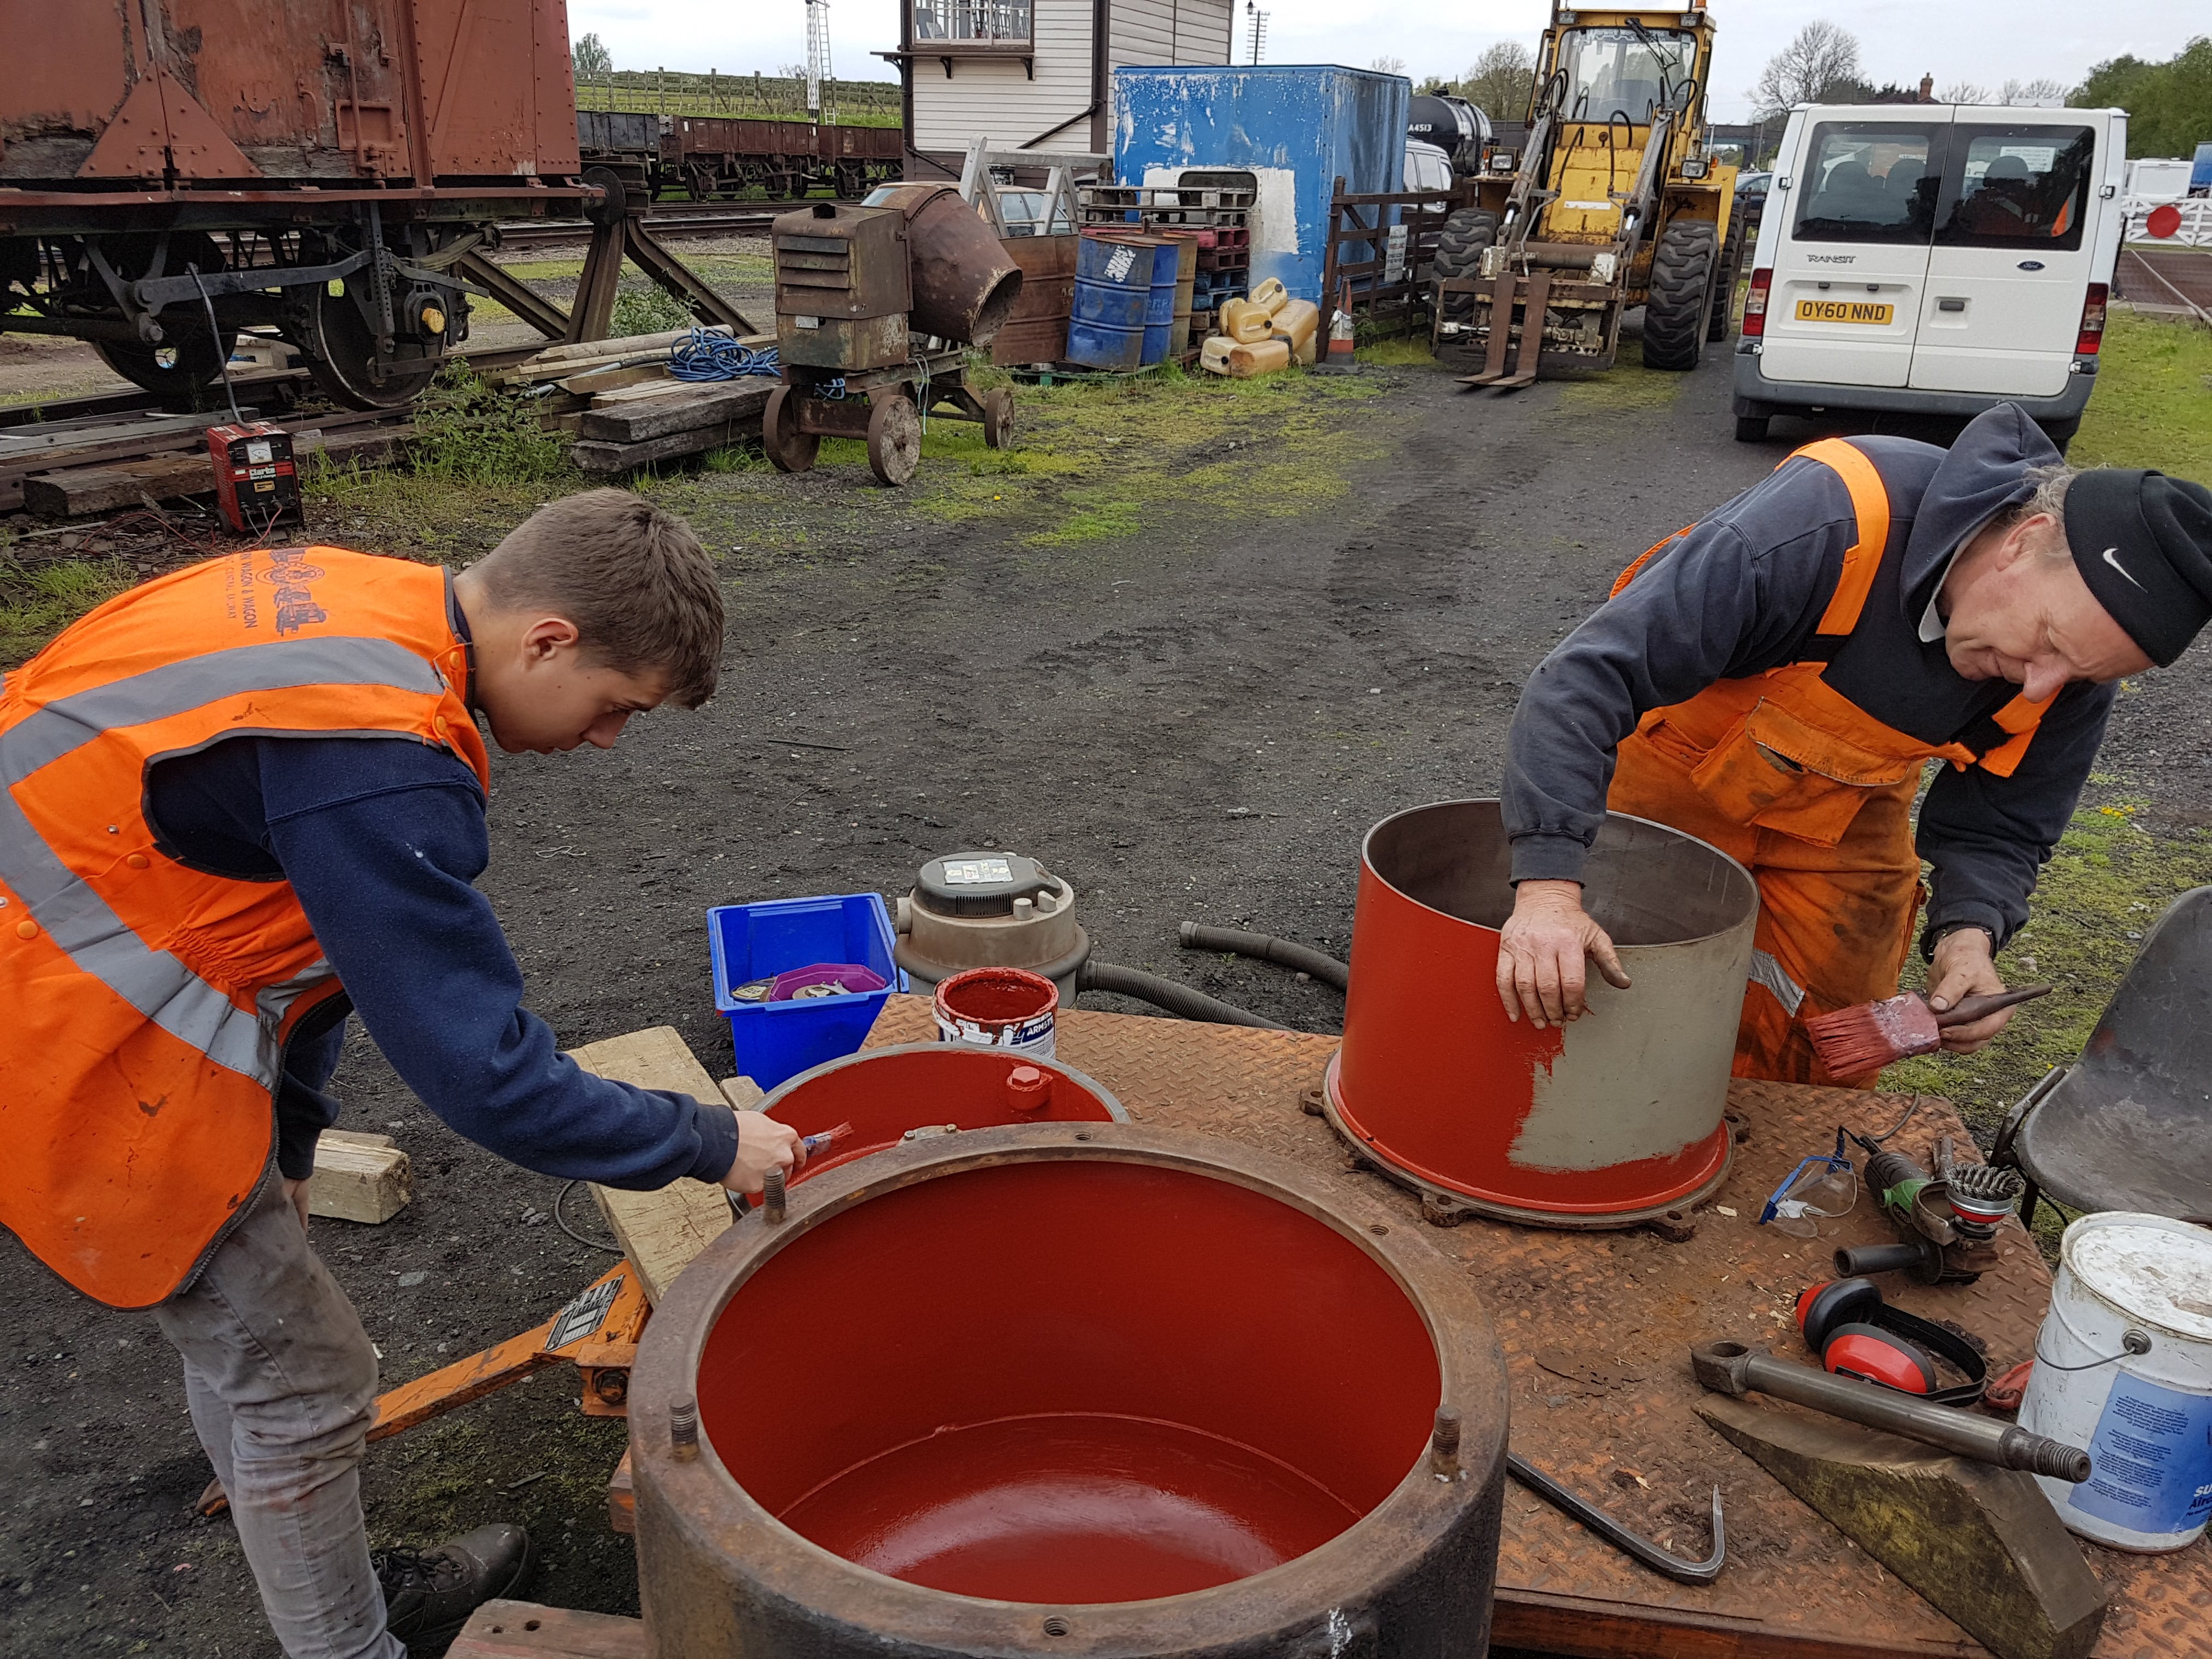
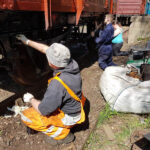
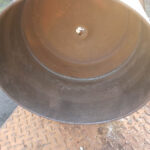
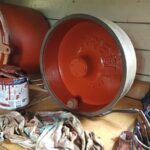
Four days of wagon eggcitement, that’s the end of the Easter puns. So, on to Good Friday. Just me and Nick and work continues on reinstating the vacuum system too M500954. With the red oxide dry, Nick gave the components a last check and hoover to ensure the best from the cylinder once assembled.
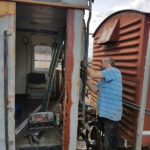
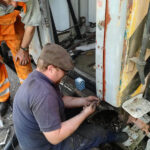
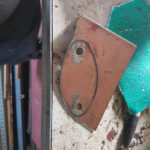
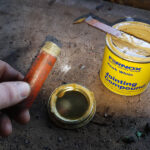
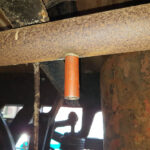
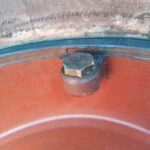
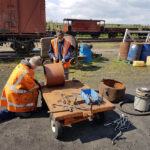
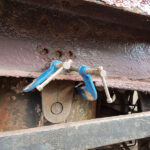
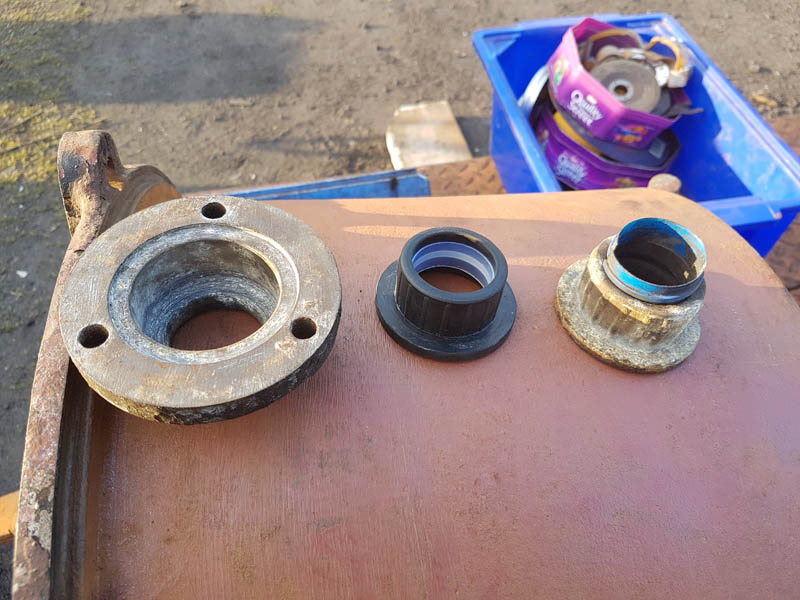
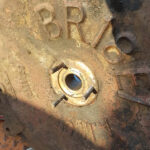
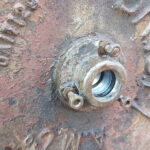
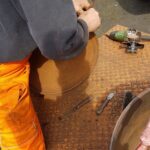
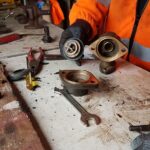
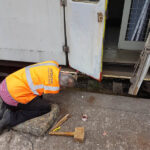
I began by creating a branch pipe for the cylinder. Thanks to C&W at Rothley who assembled a kit of tools for me, I first drilled a hole, this was tapped and a section of pipe pre-prepared fitted with a little jointing compound.
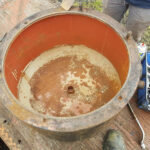
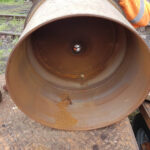
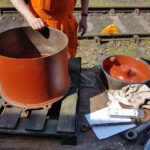
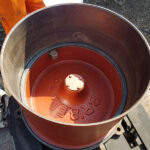
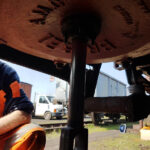
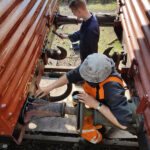
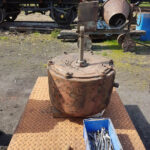
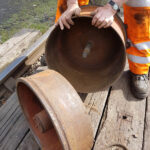
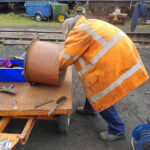
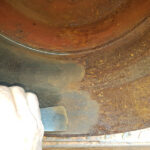
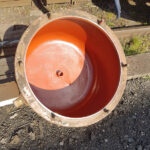
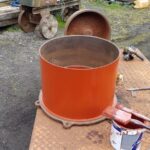
Once fitted and Nick had finished we turned to assembling the cylinder. The ball valve was checked to ensure complete and unscored this was reassembled and the Piston Rolling ring and cylinder sealing ring were positioned.
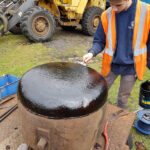
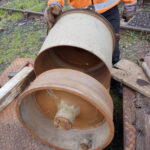
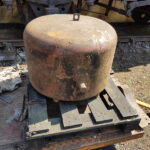
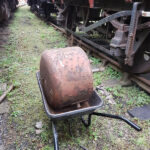
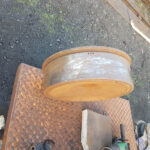
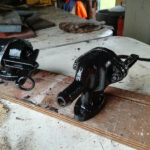
The piston its self was then slid into the cylinder body, lowering steadily and under control. Another hoover and the Cylinder dome was removed from the van.
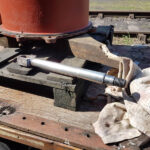
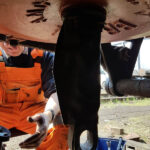
The dome was fitted and bolted to the rest of the cylinder and placed on a pallet ready for fitting. The piston rod was polished also ready for fitting.
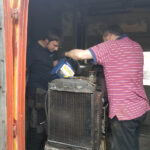
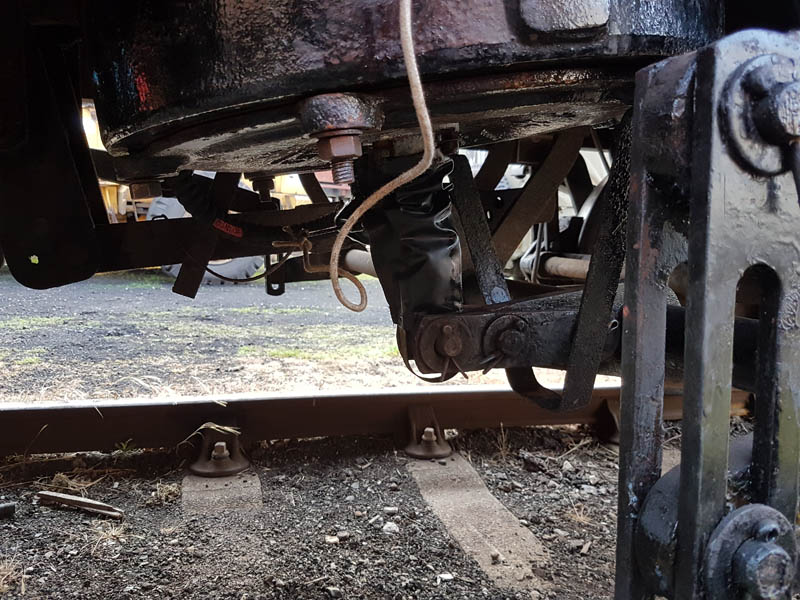
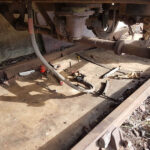
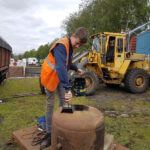
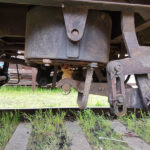
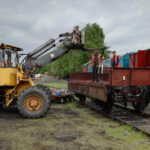
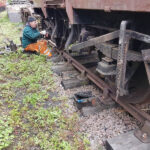
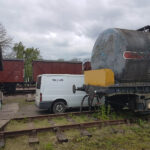
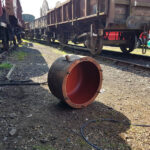
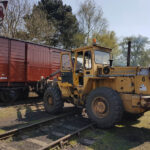
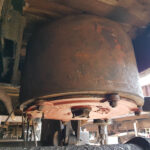
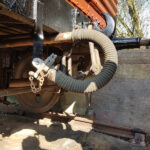
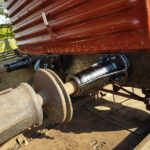
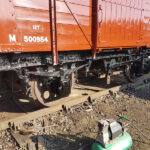
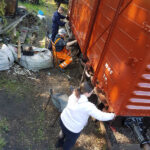
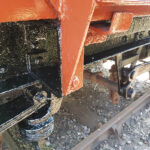
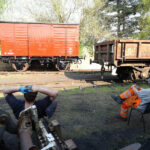
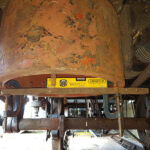
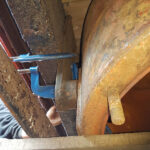
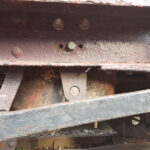
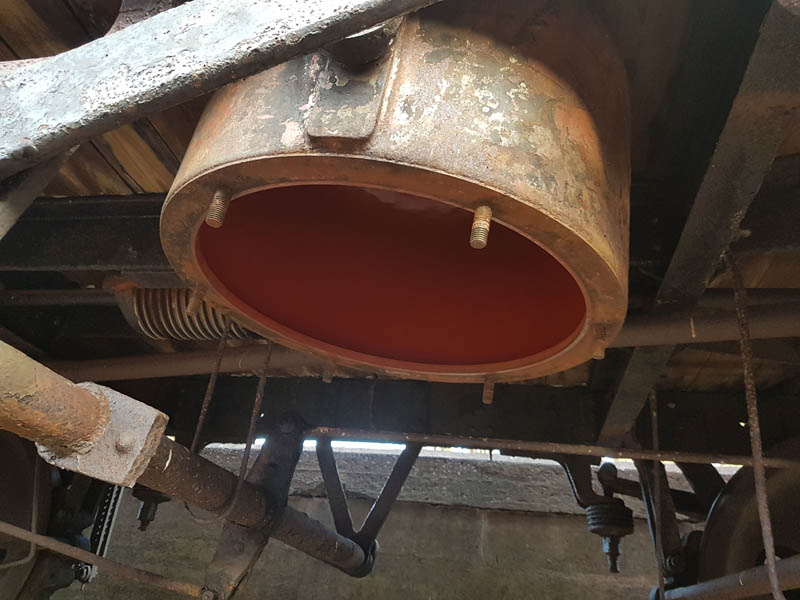
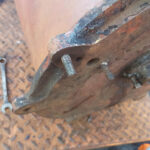
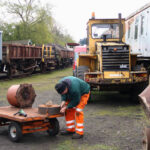
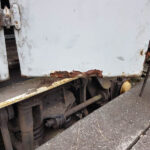
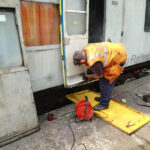
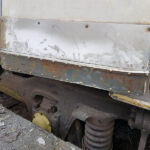
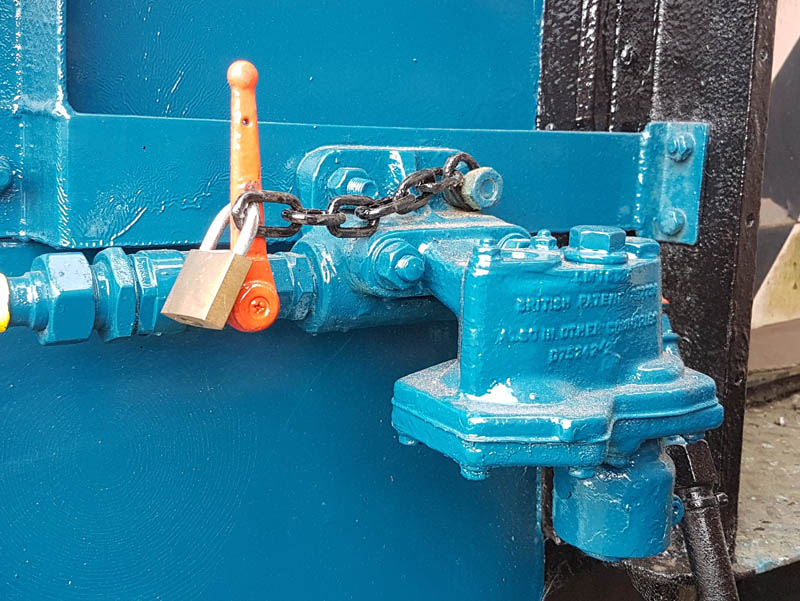
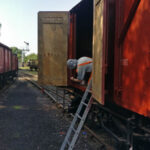
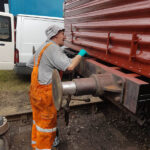
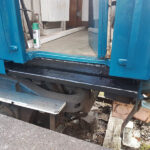
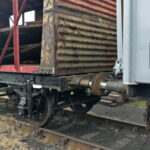
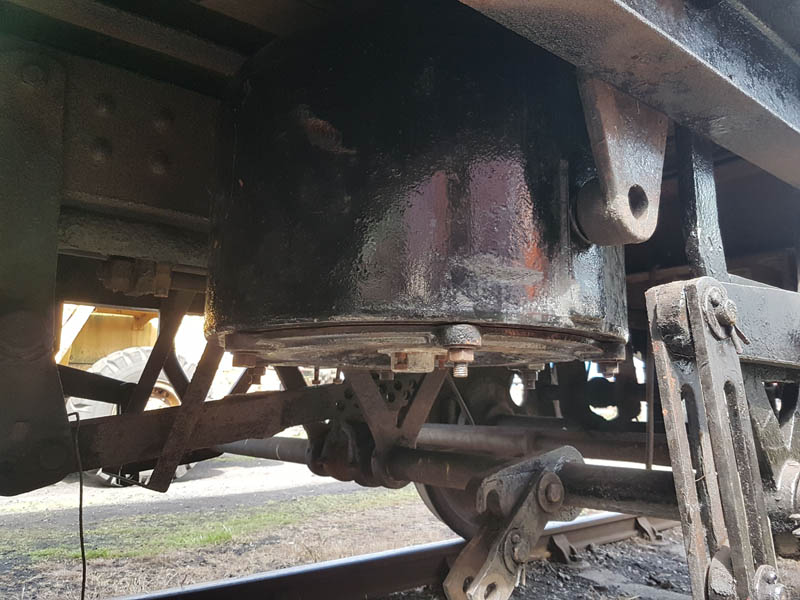
The only means available to us to fit such a heavy item under a vehicle is by a loading shovel fitted with lifting forks. So with a few fine movements, the cylinder was hung initially from the inner trunion.
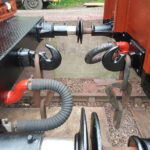
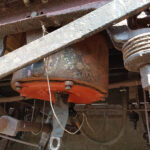
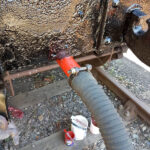
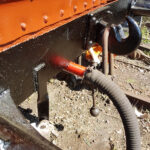
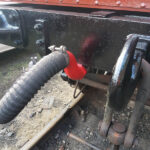
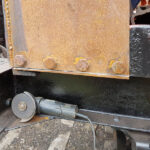
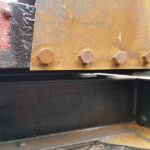
The outer trunnion was bolted in place as well as all the associated fittings. Piston Rod, Gator, Release valve, release chord, and cylinder hose.
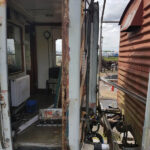
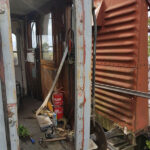
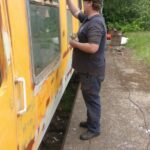
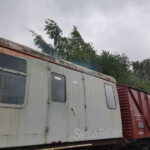
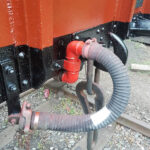
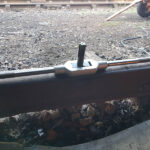
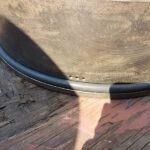
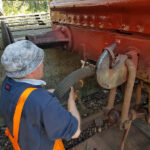
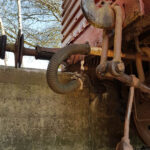
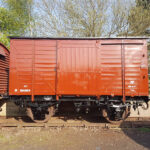
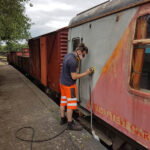
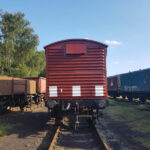
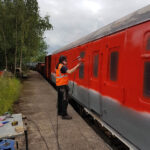
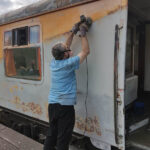
To complete the vacuum side new hoses were fitted to either end of the van, these are fitted without swan necks as the pipe was welded in position by its previous owners and we see no reason to remove it just to thread the pipes. As we have said numerous times, we don’t restore vehicles we repair them.
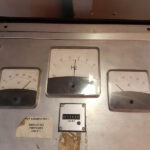
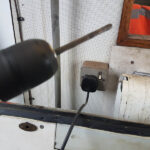
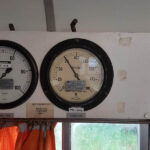
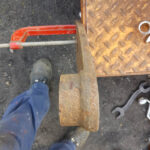
With the new pipes fitted, we weighed the cylinder piston with roughly 25kg as is the requirement for a static test and using our test rig we sucked up a vacuum. A small leak was apparent from the new branch pipe, which we expected so a quick visit to Rothley will be required to weld the branch before release to traffic. The cylinder I shall mention lower in a moment.
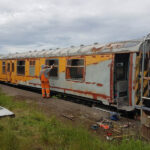
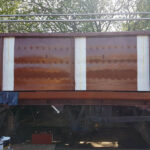
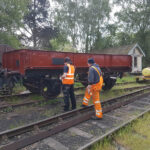
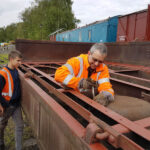
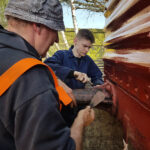
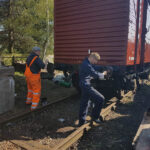
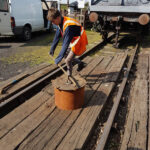
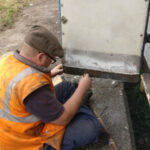
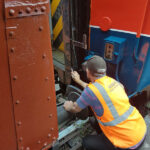
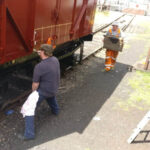
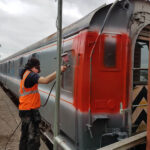
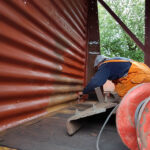
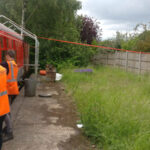
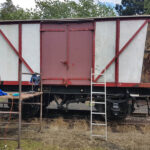
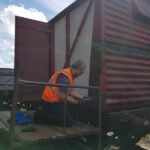
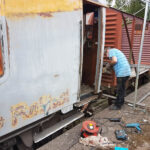
Unfortunately Saturday I spent most of the day at work however work was continued by Nick and Olly scraping and painting the West side underframe and North headstock.
The vacuum cylinder continues to hold a vacuum 24 hours after application.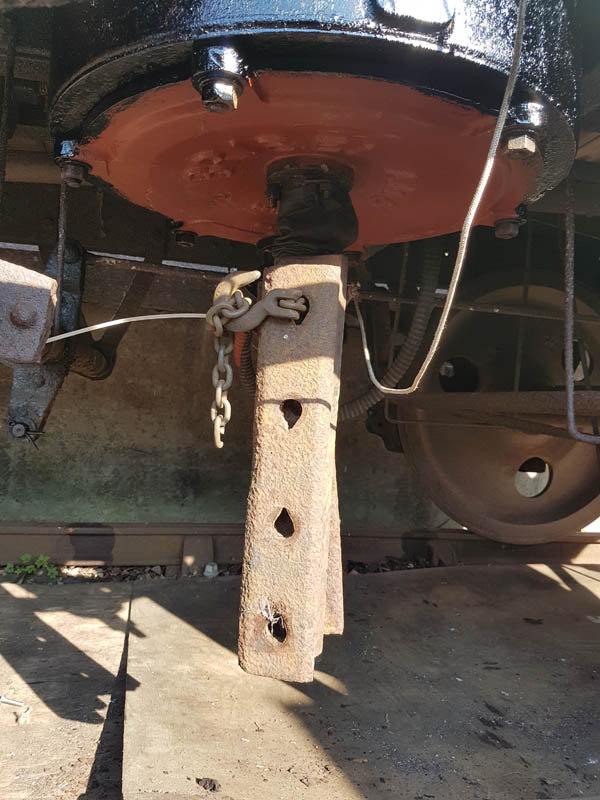
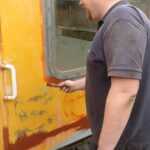
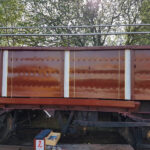
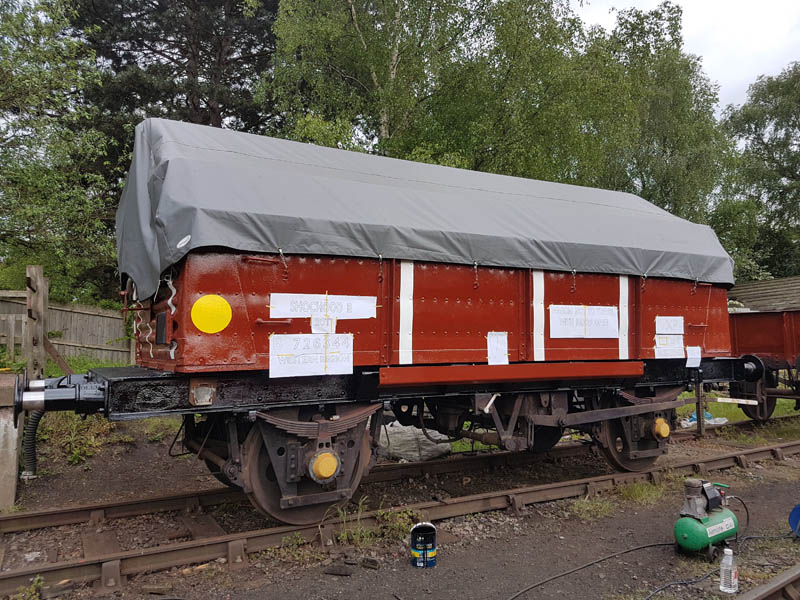
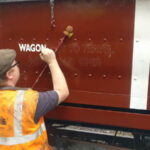
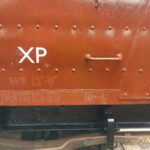
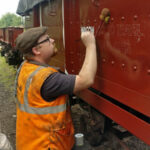
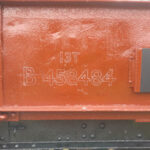
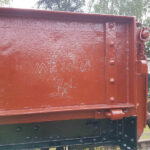
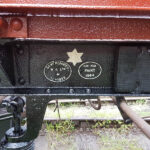
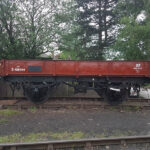
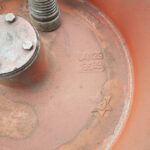
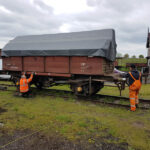
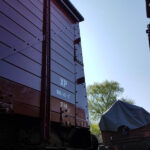
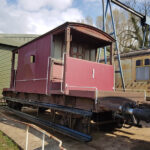
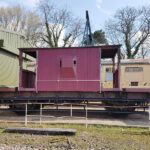
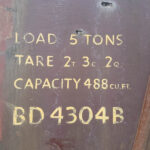
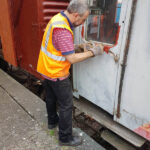
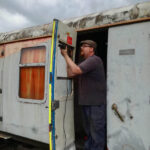
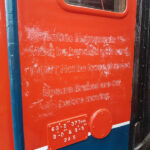
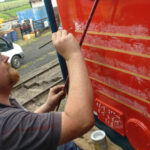
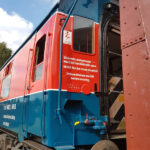
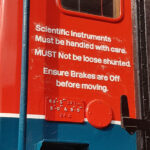
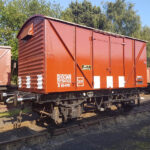
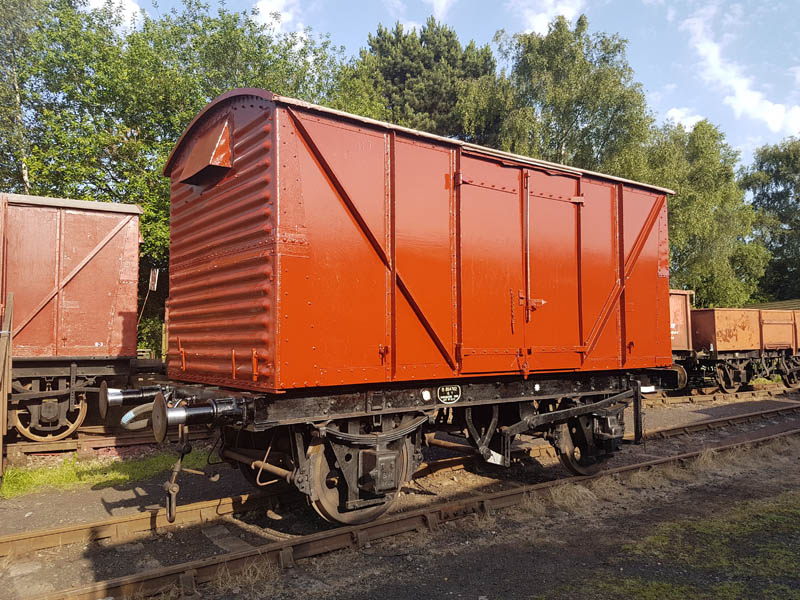
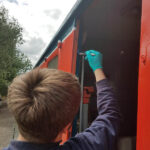
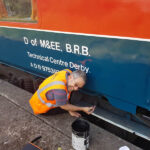
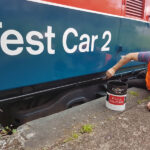
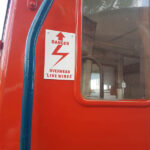
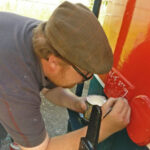
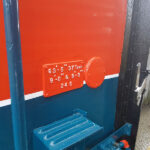
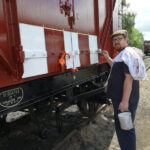
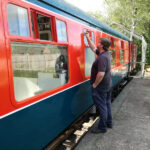
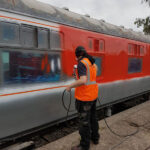
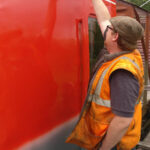
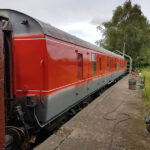
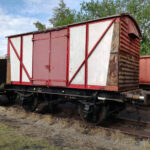
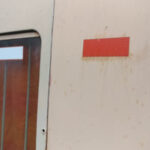
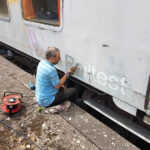
On to Sunday and I started by signwriting the Wagon plate and Vacuum release star to the west side and XP markings on to both sides. Now there was no doubt the vehicle will be operated as a fitted one.
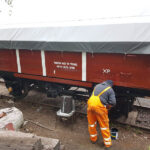
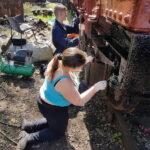
Nick and Olly along with my wife Michelle scraped and applied bitumastic paint to the east side underframe as well as the Northend buffers.
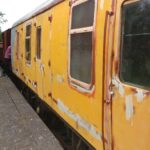
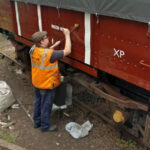
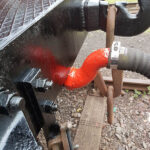
I continued with further detailing. Vacuum pipes painted red, handbrake ends white, where shrunk bare wood was painted and any missing bauxite touched up.
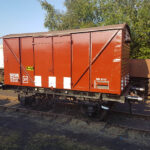
With the east side painted and because of the extraordinary weather it was dry within a few hours and the east side details applied,
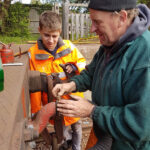
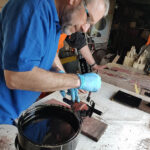
Final day and with the morning light certain areas that had been missed were touched up. The chalk from the signwriting removed and Nick carried out a pad exam and oil. Dave joined us and continued his work on overhauling our spare release valves.
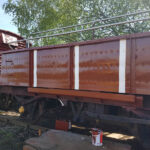
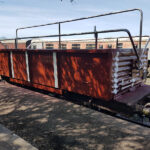
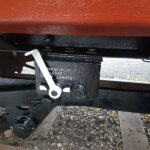
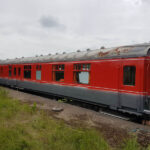
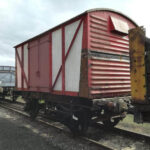
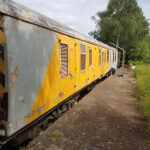
Apart from the actuating arm and the quick weld on the vacuum branch pipe this sees M500954 essentially complete
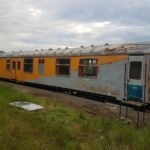
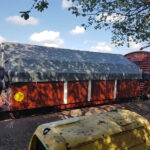
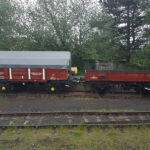
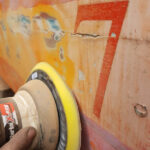
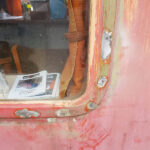
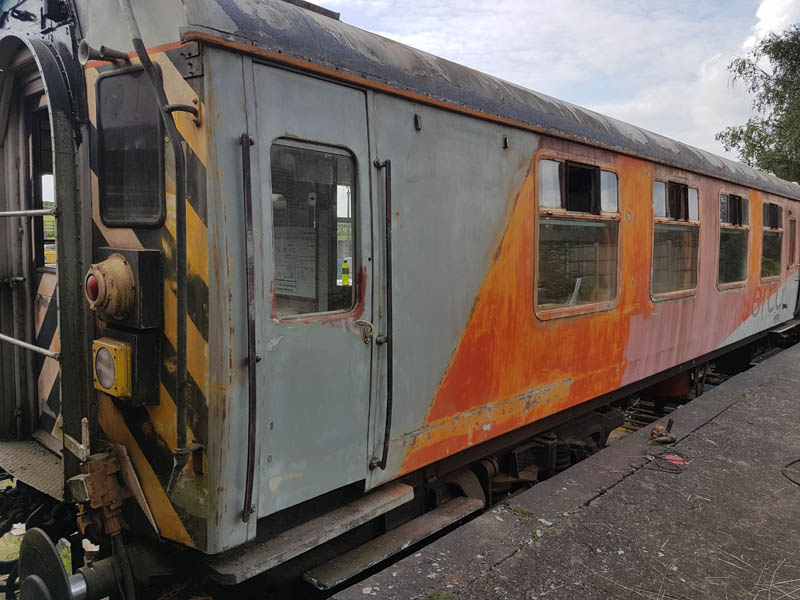
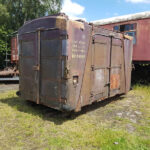
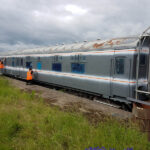
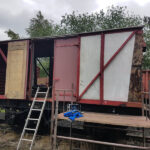
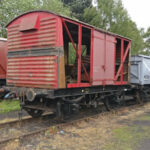
Attention now turns to B726344, preparing it for paint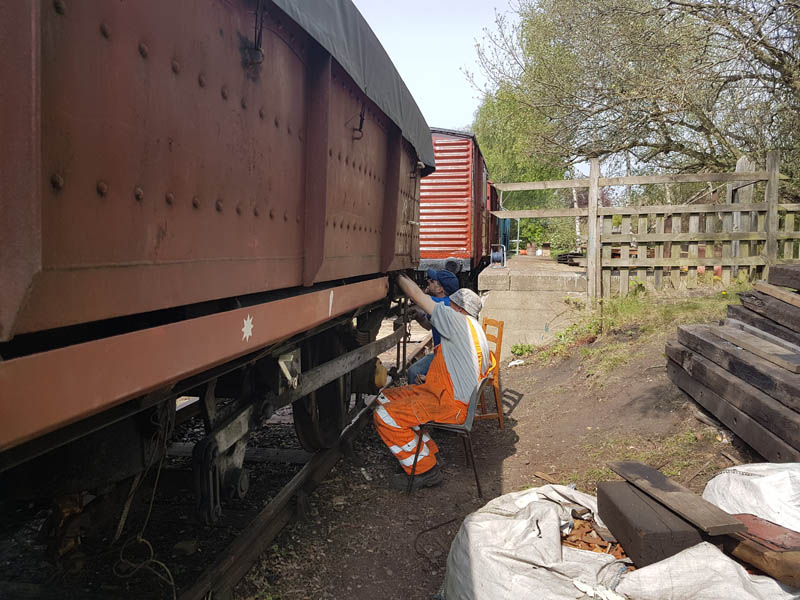
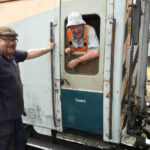
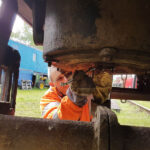
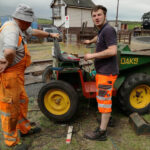
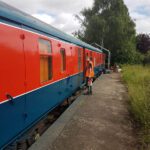
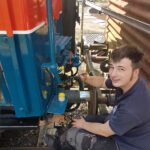
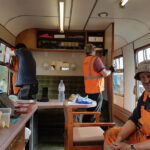
As the day drew to a close the evening sun shone on to our latest vehicle and Dave managed a sneaky snap of myself and Nick admiring our handy work.

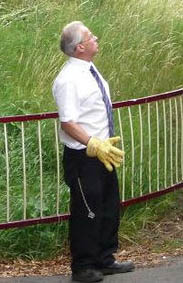 Unfortunately Tuesday we learned of the passing of one of the GCR’s most notable characters. Peter Haylock was instrumental within the Operations Department and was formerly the railway’s Operations Manager, he always had a kind word to say or a story to share. Personally, he was there on my very first day as a TTI and encouraged me to become a Guard, we shared many a conversation at many an event. Unfortunately, our exchanges reduced as I moved away from Operating to Wagon Maintenance but I am glad to have had that last wave as we passed on the 37 last Friday. He will be sadly missed by the team and our thoughts are with his family. “Cheerio Matey”
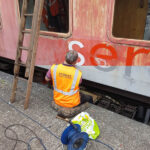
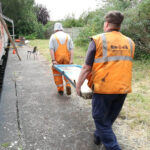
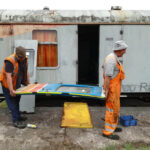


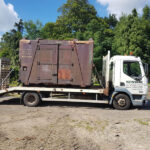


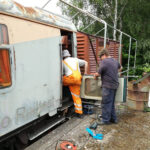
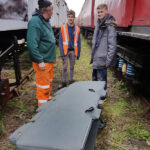
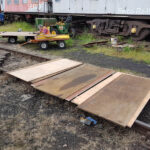
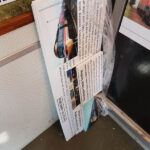
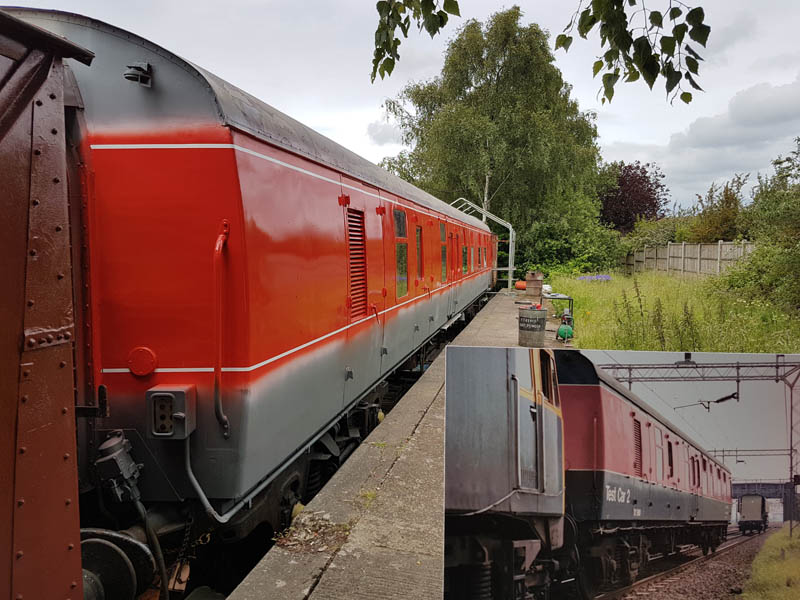 With all that can be accomplished on the Test Car complete the whole team turned to the Shocvan. Measuring and cutting the new plywood sides.
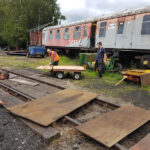
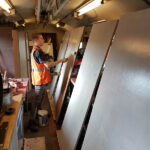
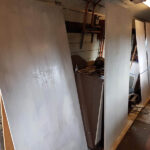


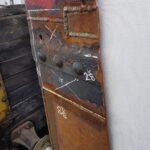

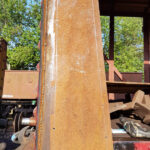

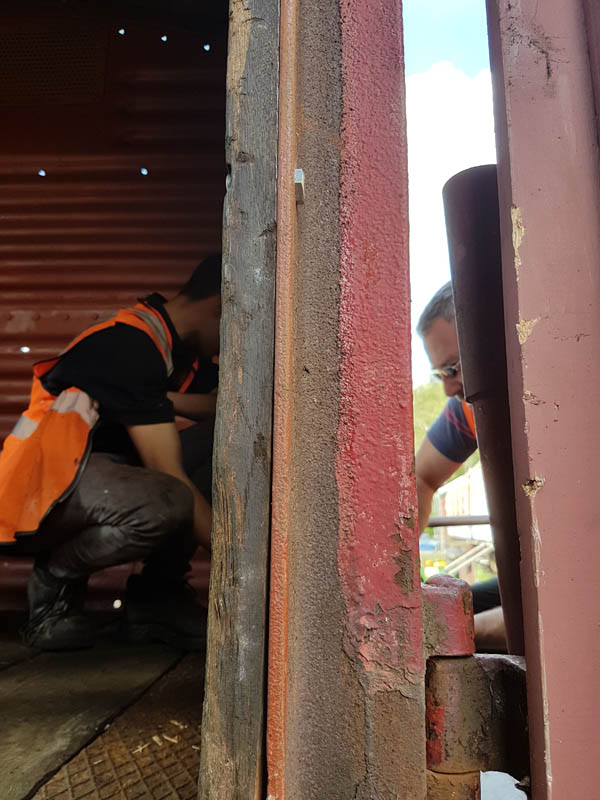

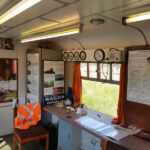
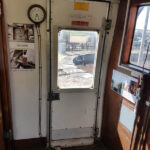
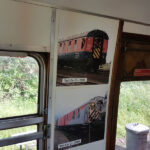


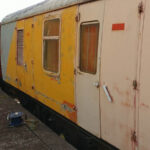


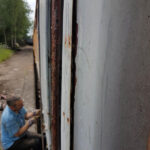
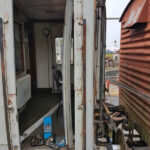
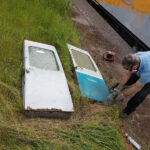
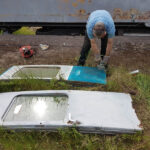
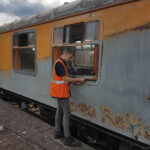
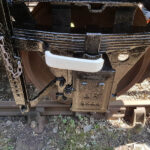
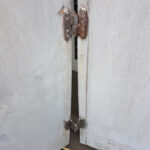
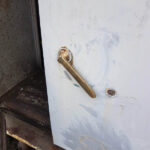
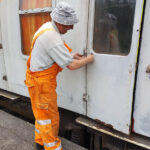
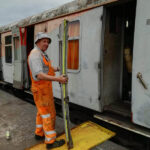
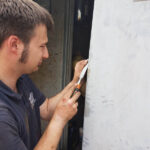
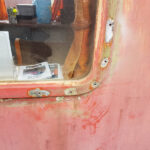
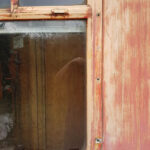
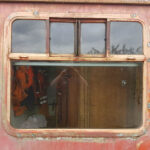
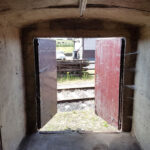
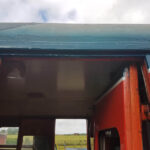
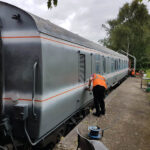
 Once back in position all of our attention turned to the Test Car. Due to the poor condition of the inward opening door on the “A” End or the Slip End as its known the decision was taken to change it for another held in stock. This was trial fitted and due to some accurate measuring previously, fitted with no problems at all.