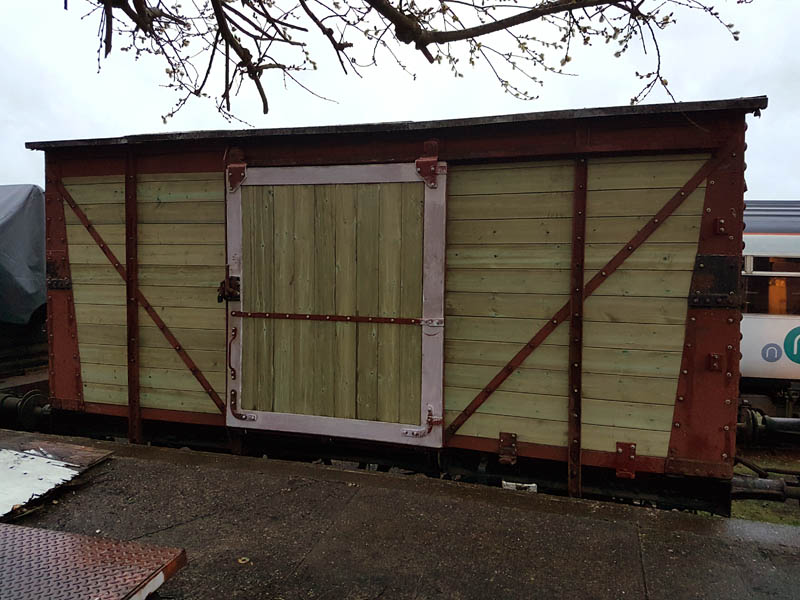
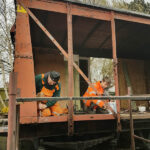
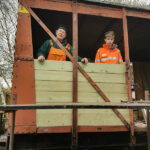
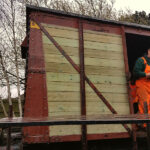
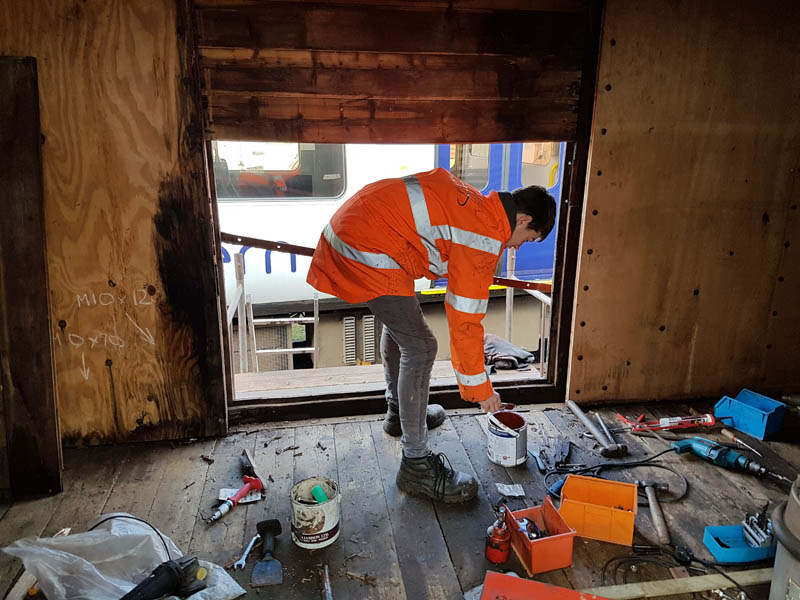
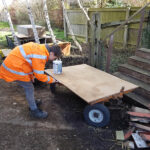
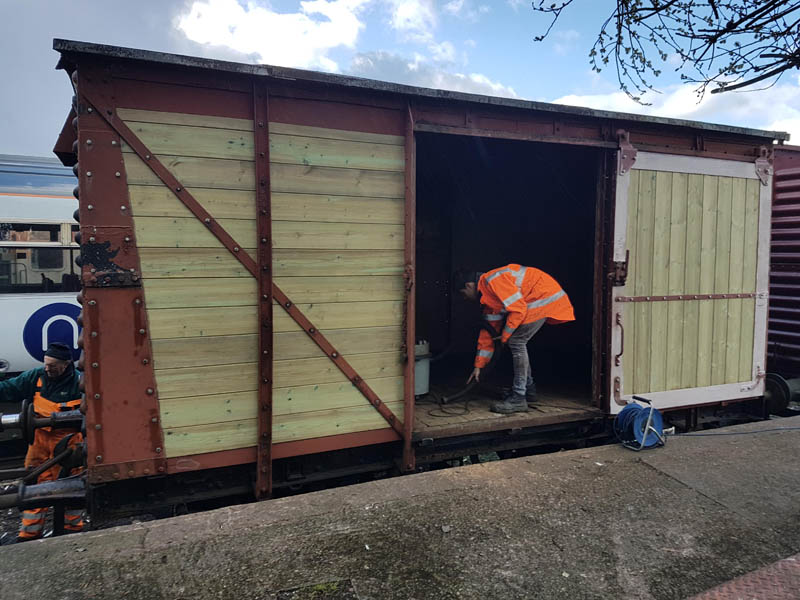
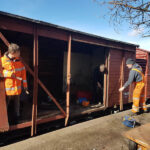
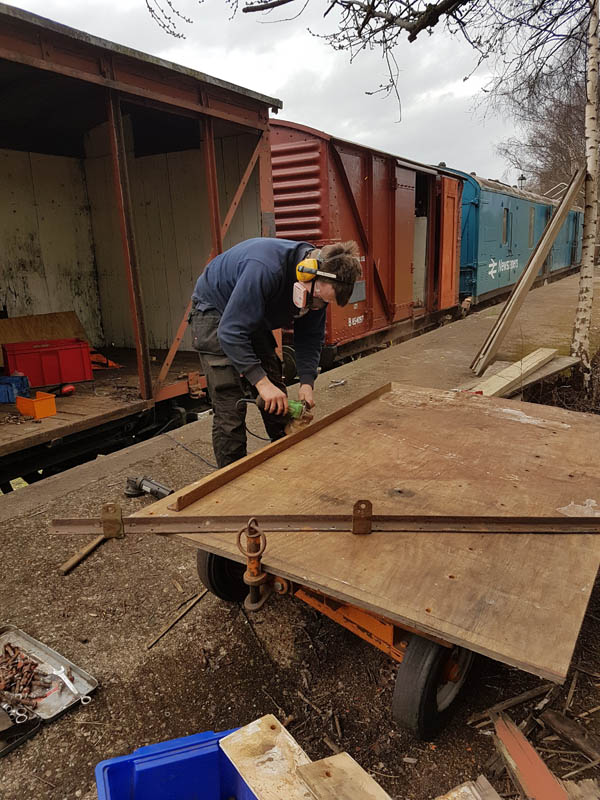
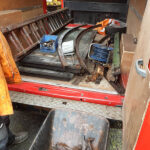
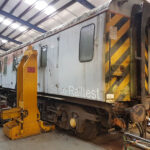
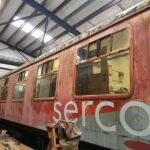
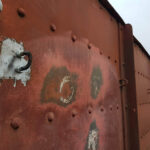
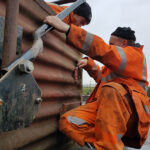
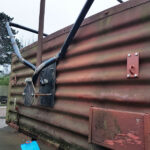
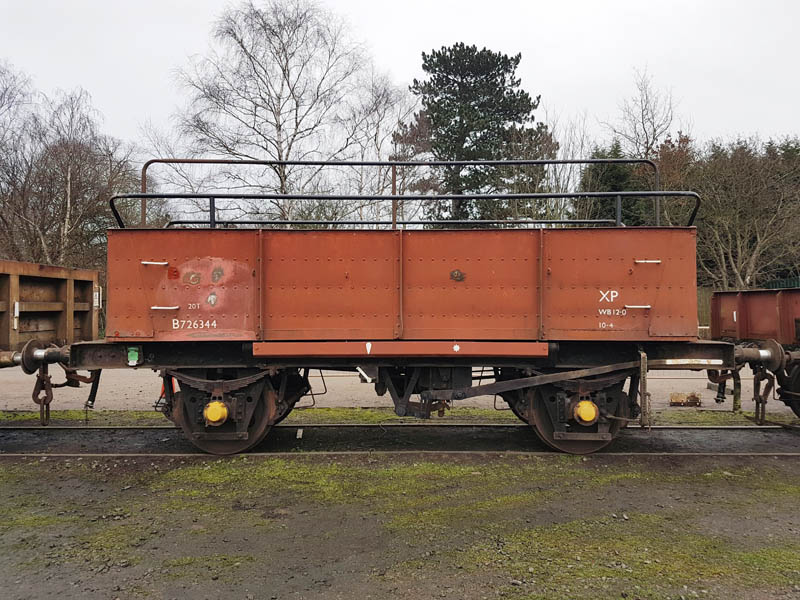
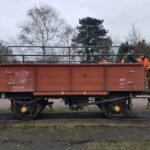
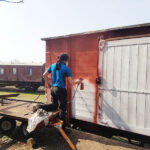
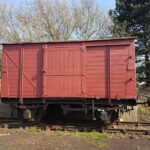
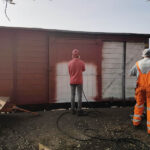
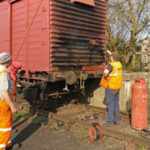
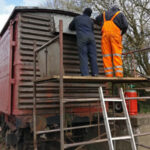
This weekend work of cause continues on 500954, with the weather as it is it would have been silly to waste it. The priority has been to paint the sides of the vehicle. The metal work was scraped down on the East side and Jake and Ross began the spraying.
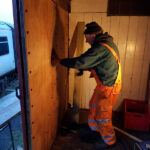
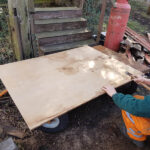
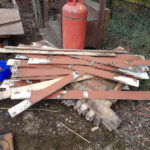
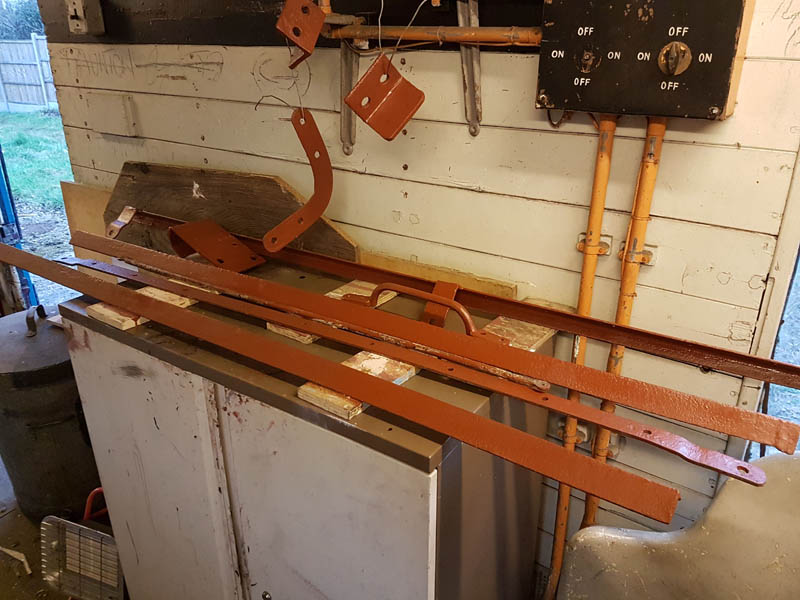
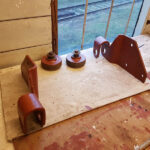
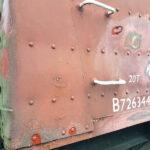
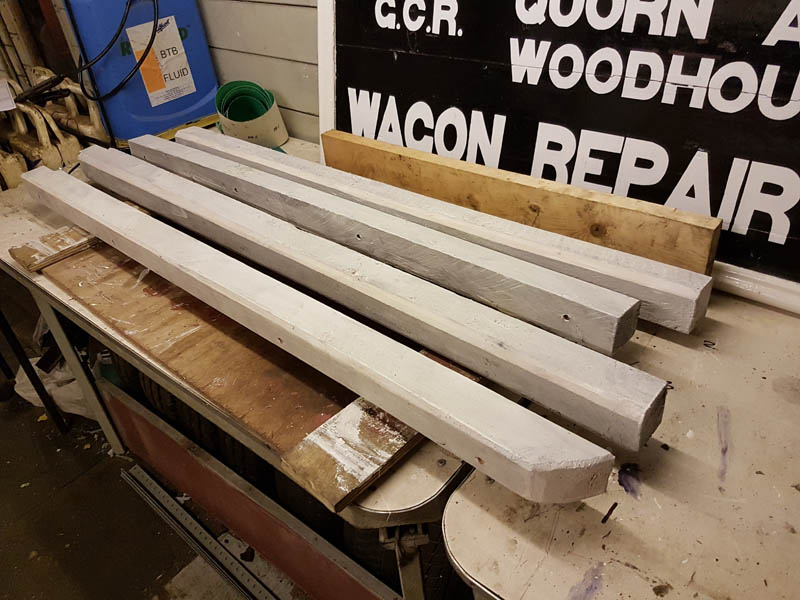
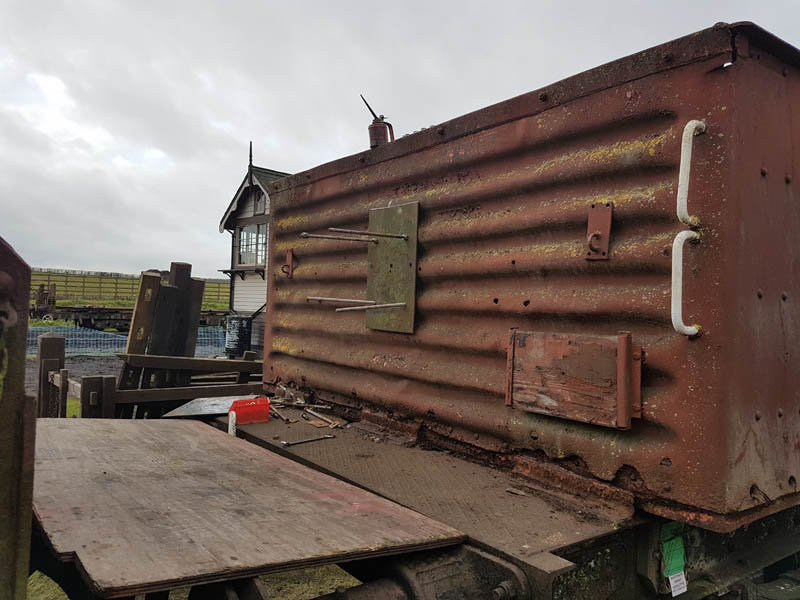
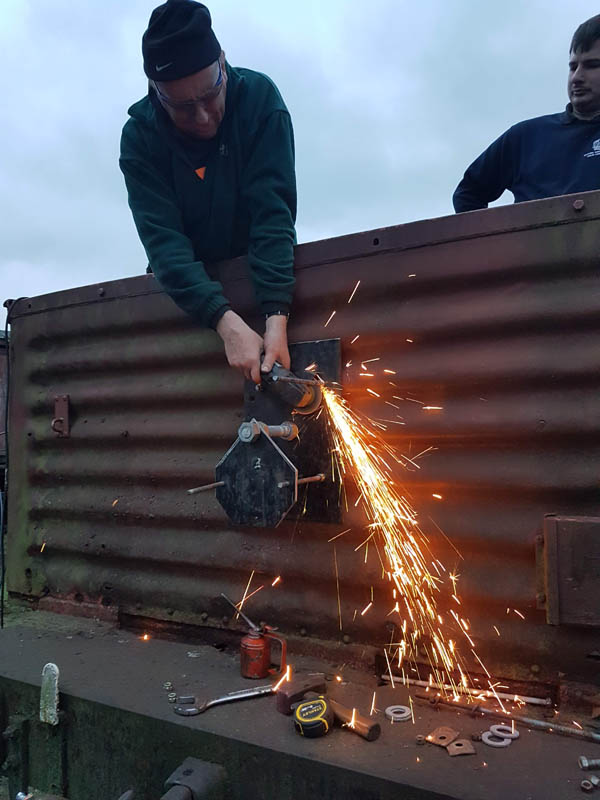
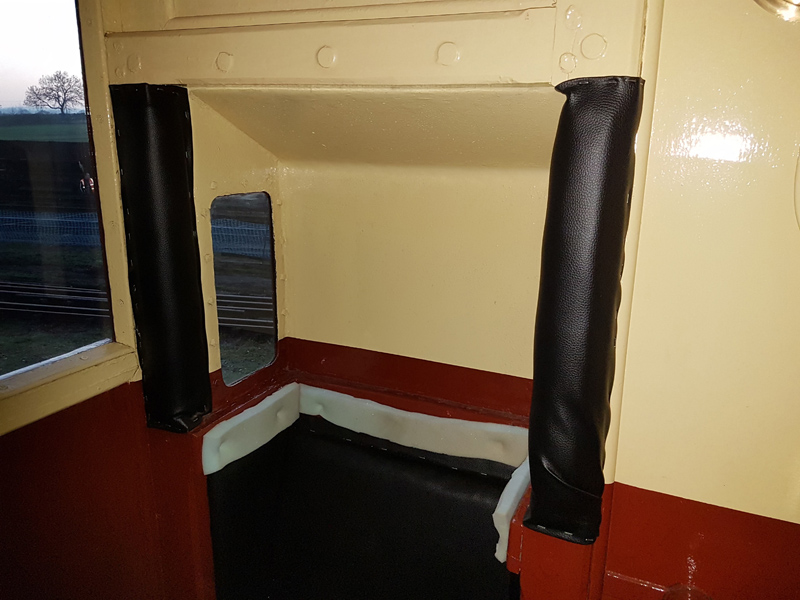
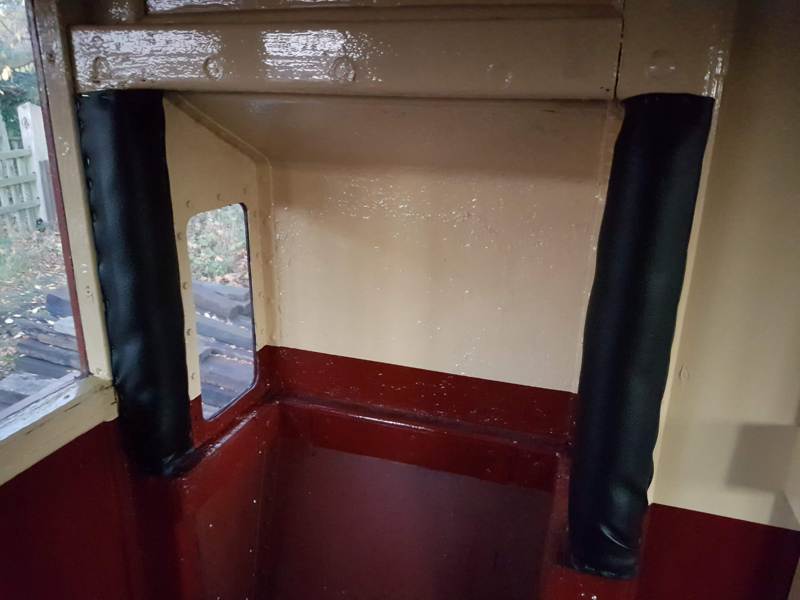
Whilst this was going on I tended to some of the last details on the vehicle ends. Two further plates were manufactured and sealant applied.
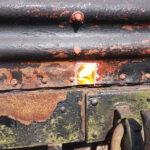
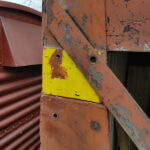
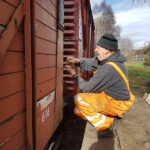
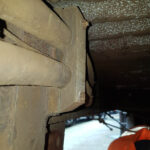
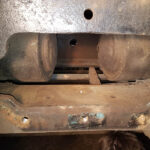
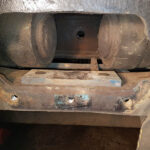
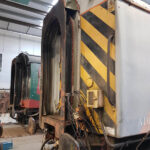
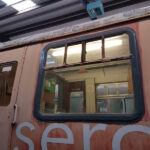
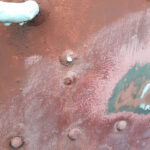
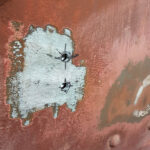
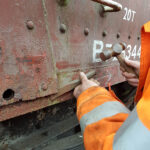
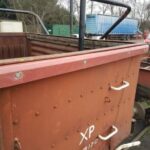
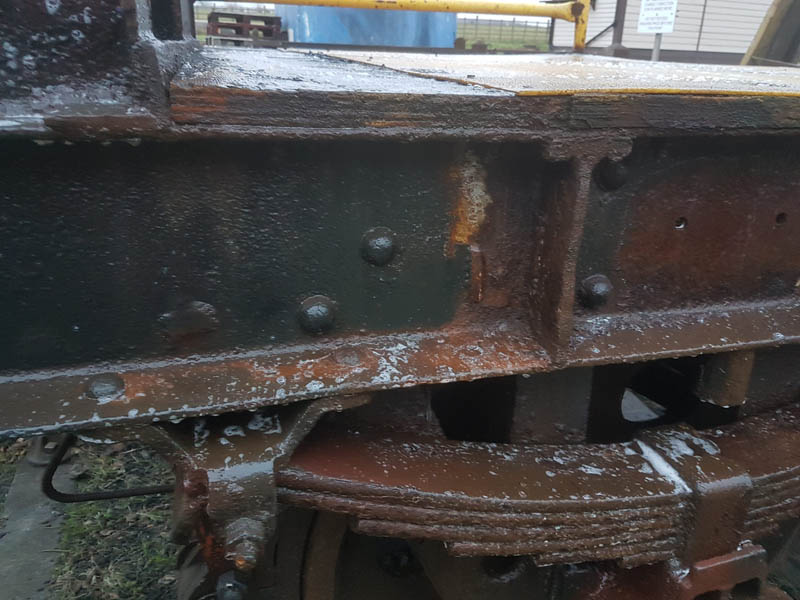
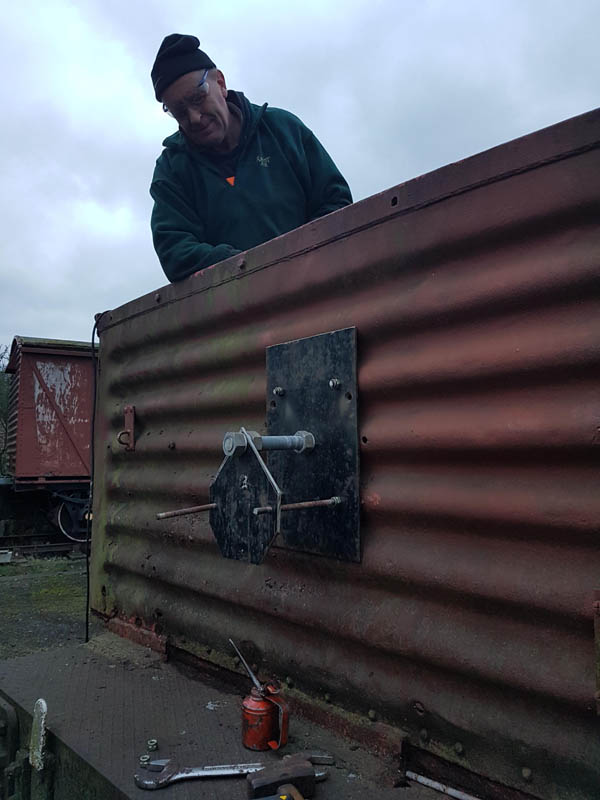
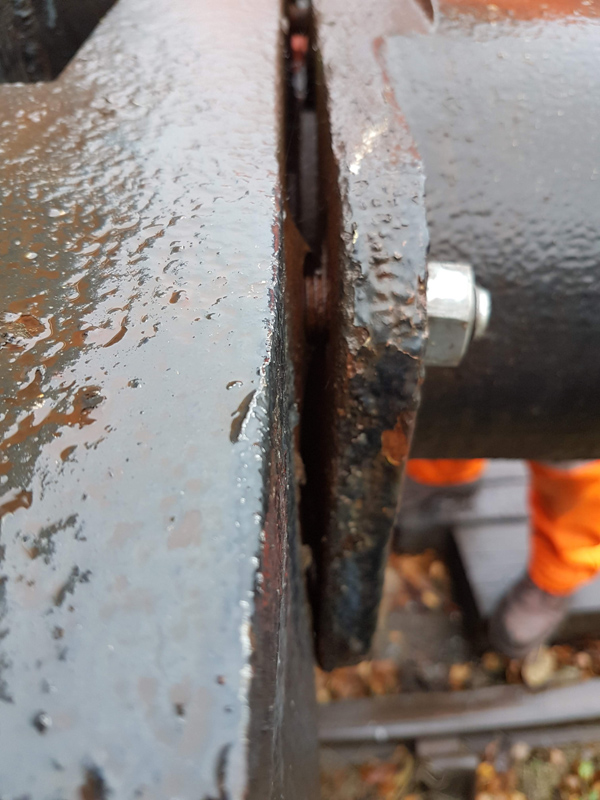
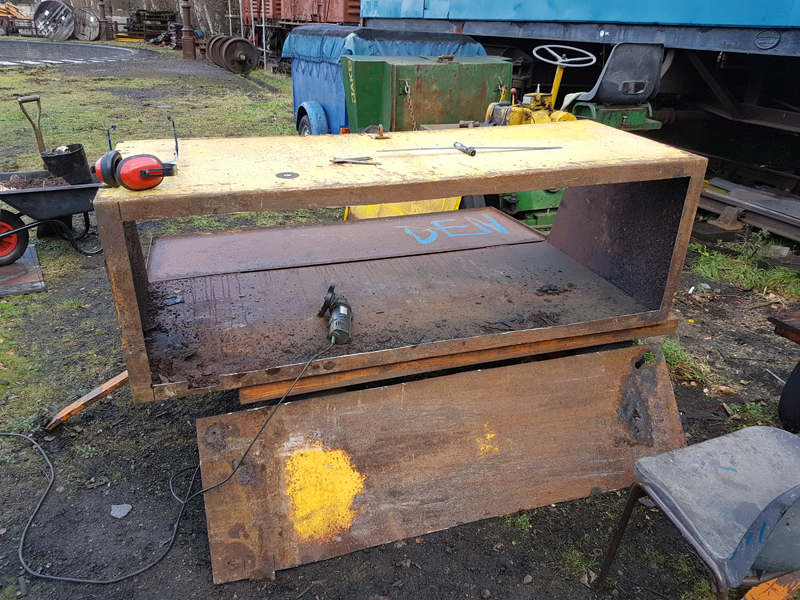
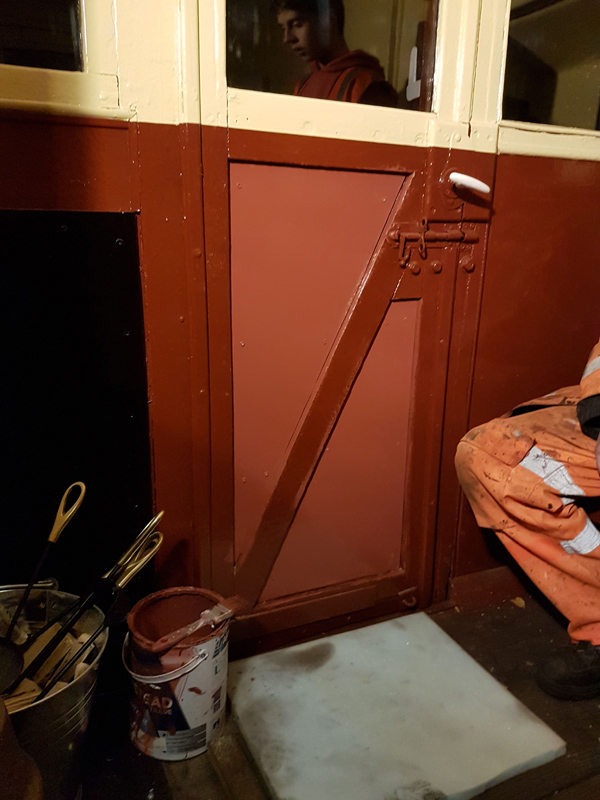
The large repair plate that was fitted last weekend received a row of false rivets to blend the repair into the vehicle. 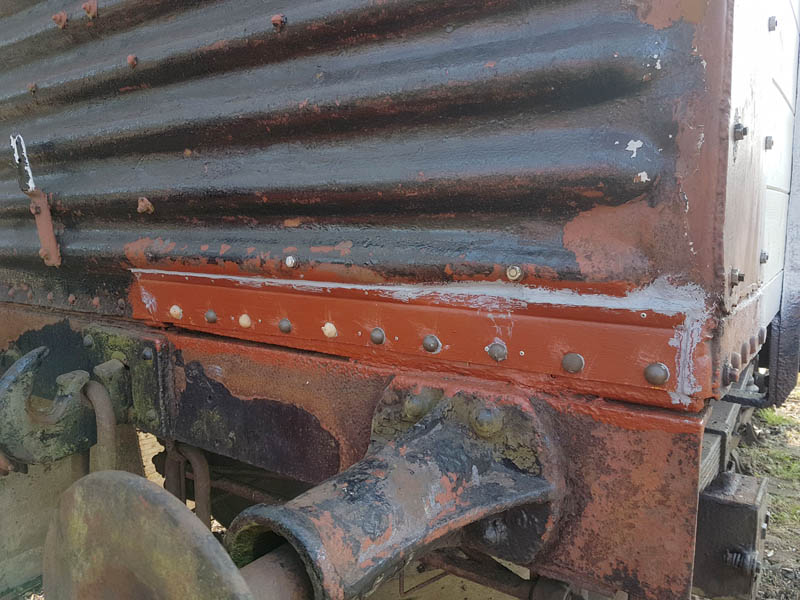
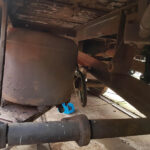
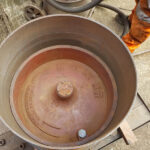
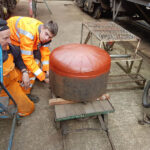
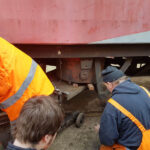
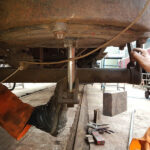
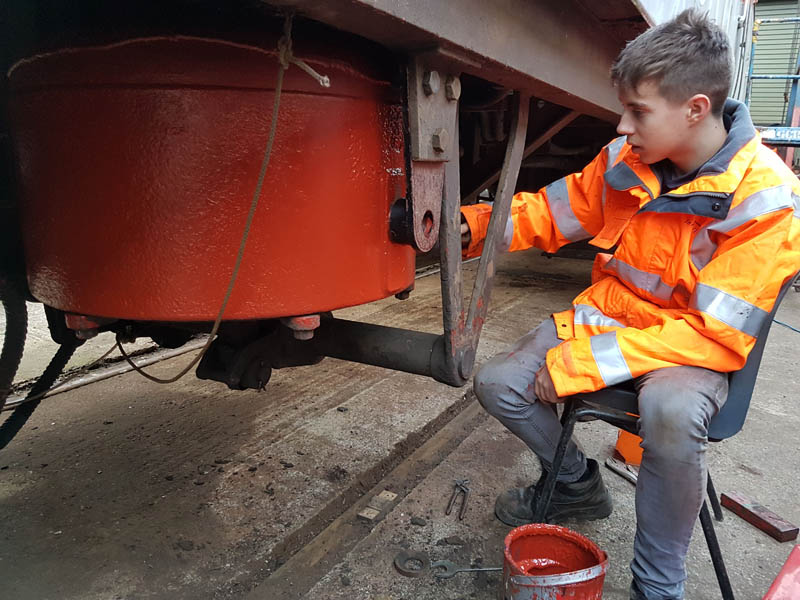
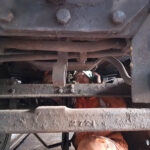
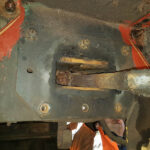
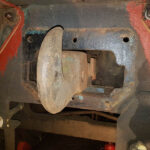
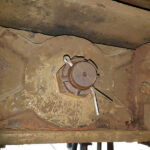
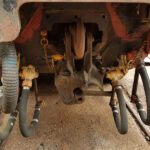
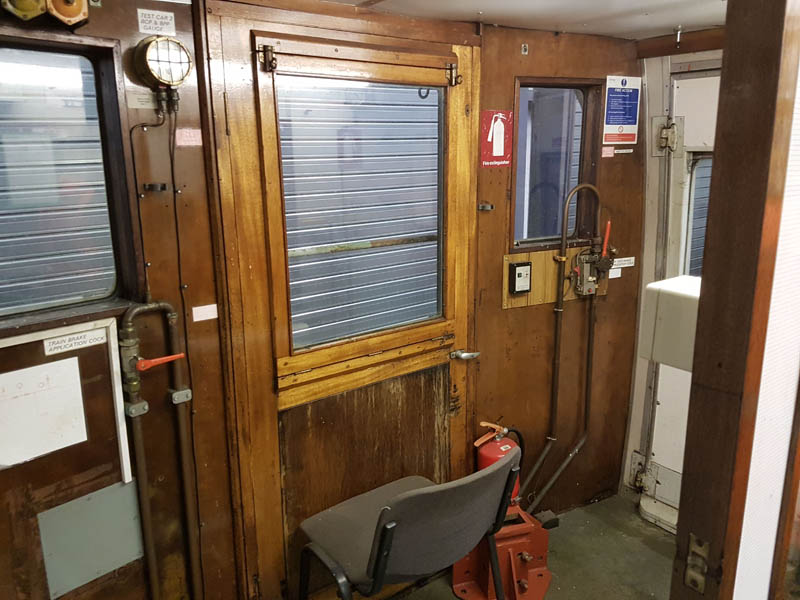
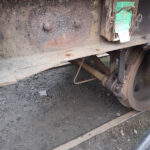
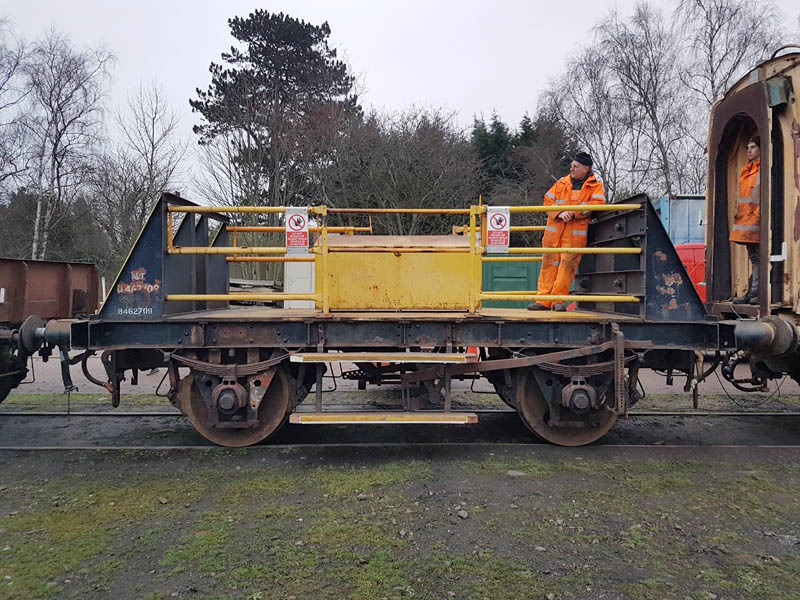
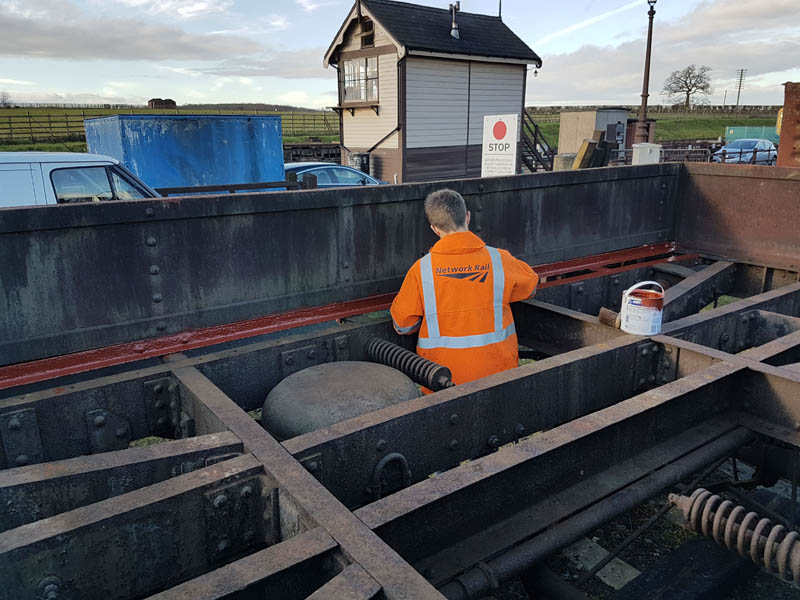
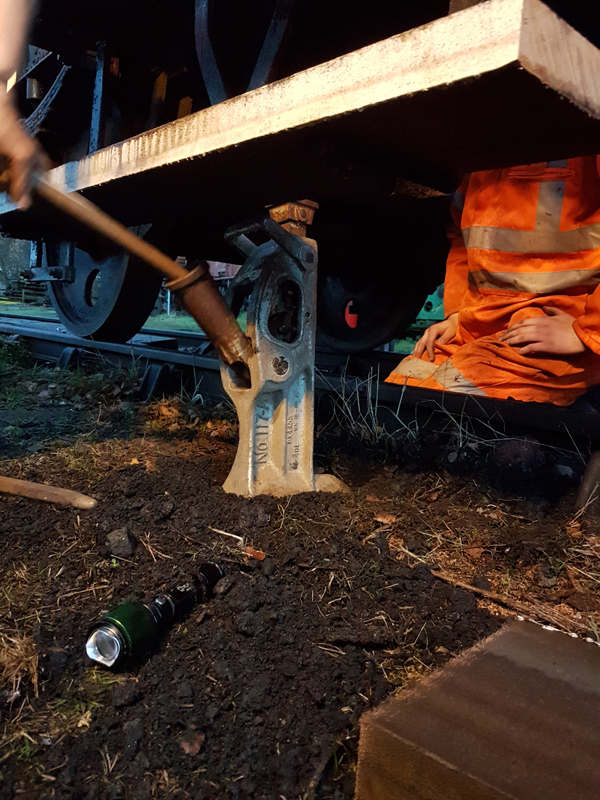
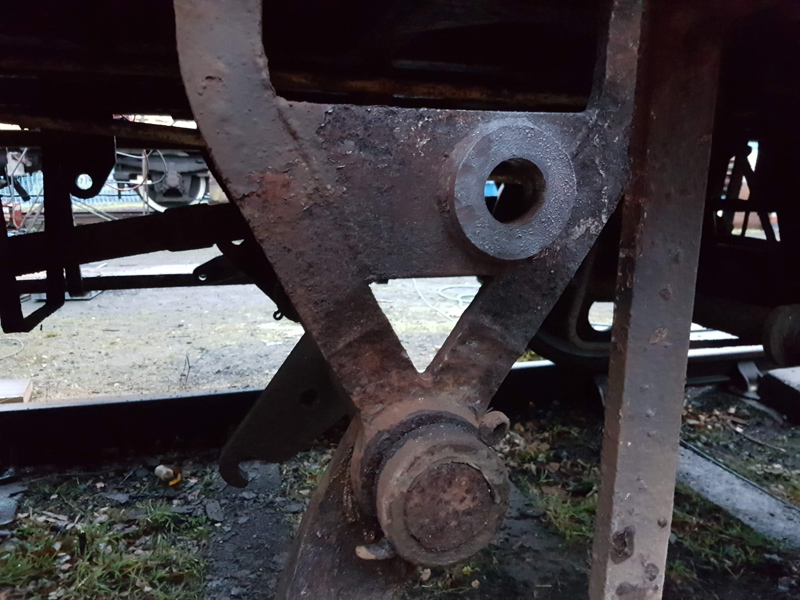
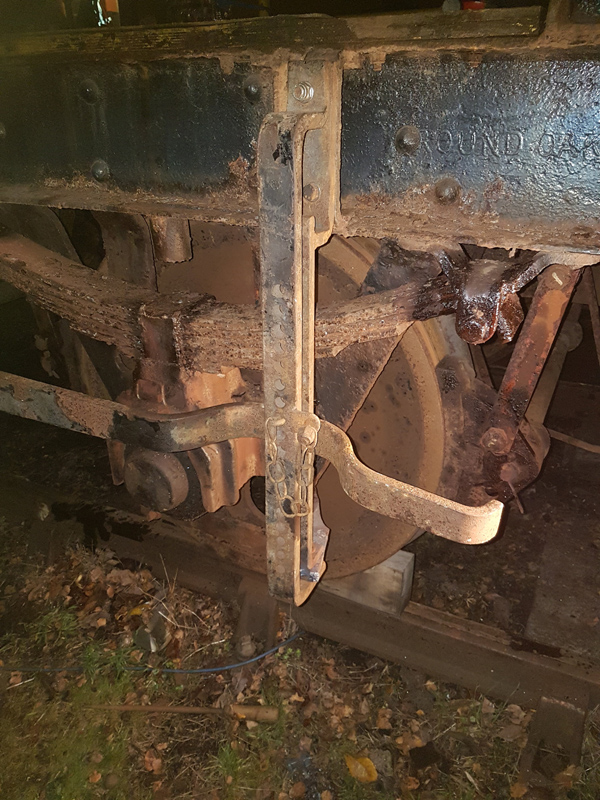
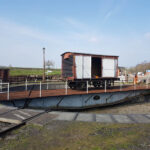
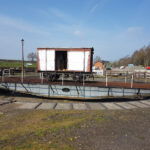
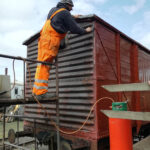
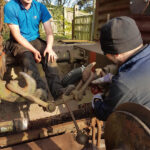
Once the east side was in undercoat, we manhandled the vehicle round to the turntable for a quick spin, this served two purposes, to make the job of spraying the former westside easier and to allow access to the vacuum cylinder location as we will be reinstating the vacuum brake which was removed when the vehicle was sold out of BR ownership around 1964.
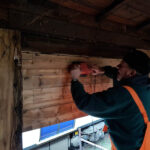
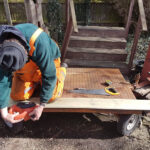
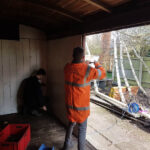
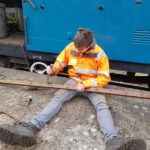
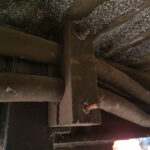
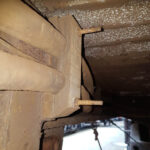
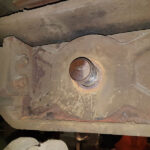
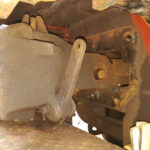
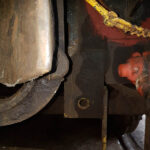
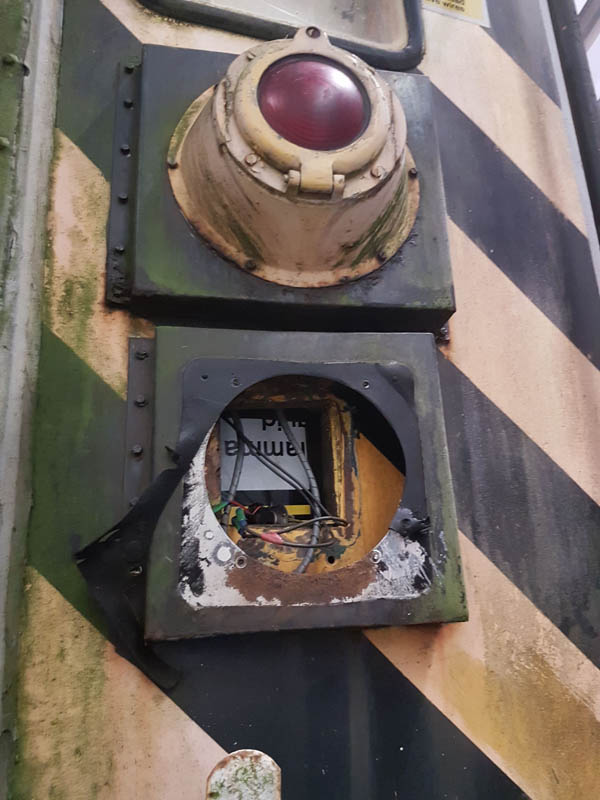
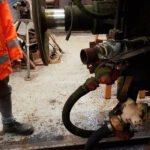
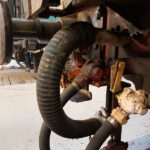
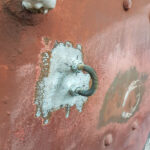
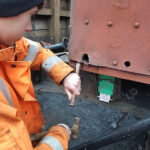
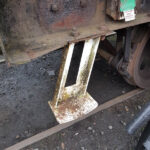
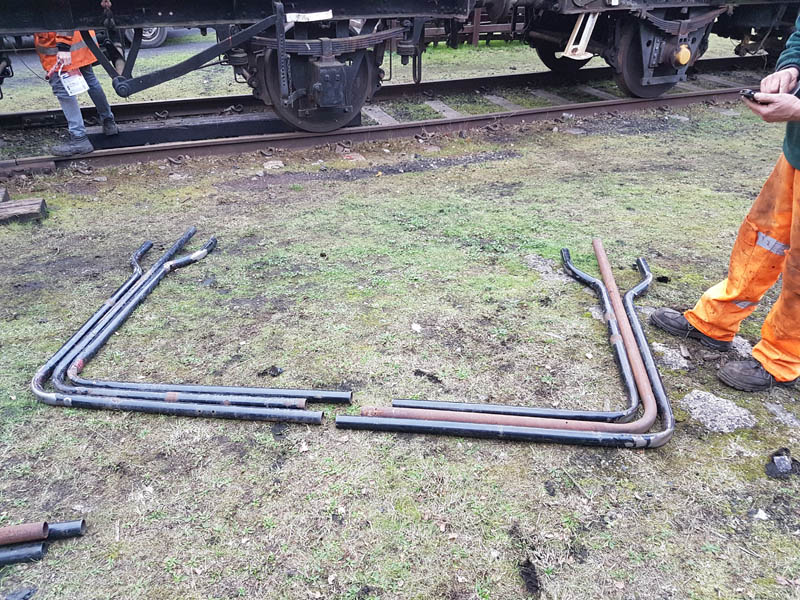
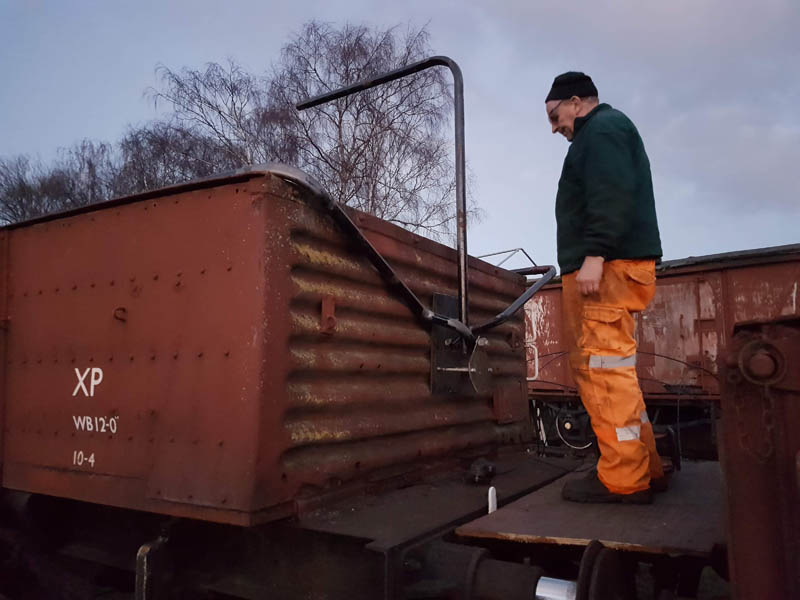
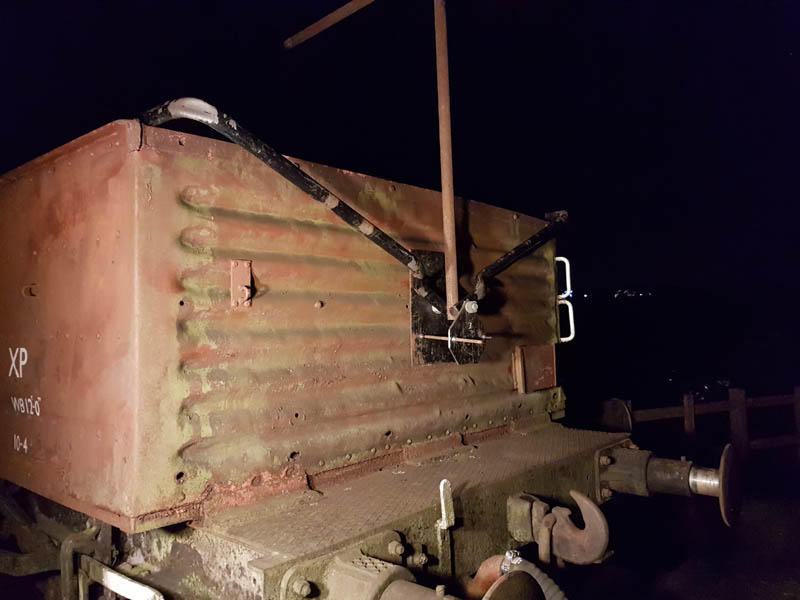
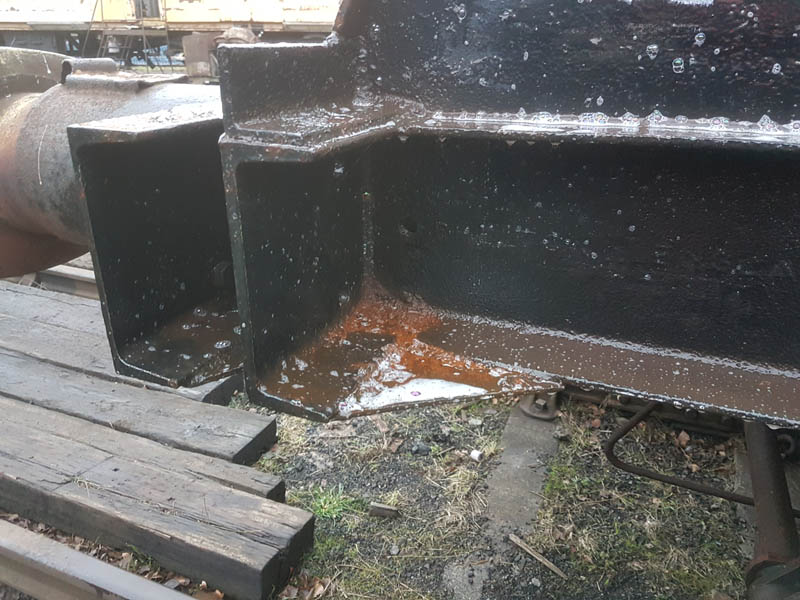
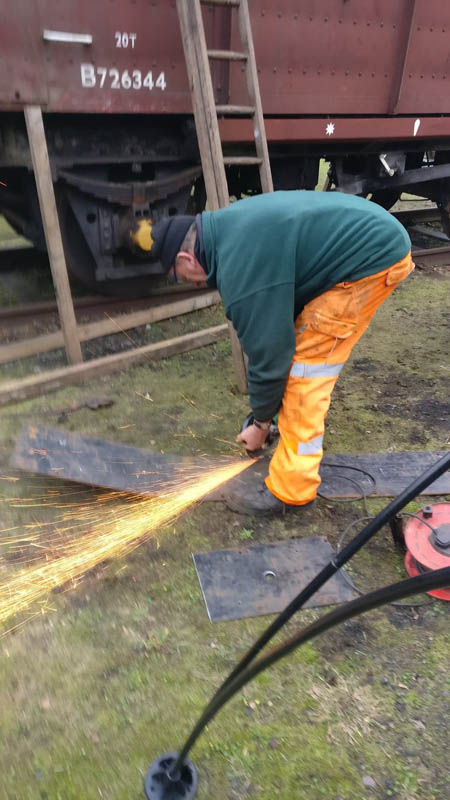
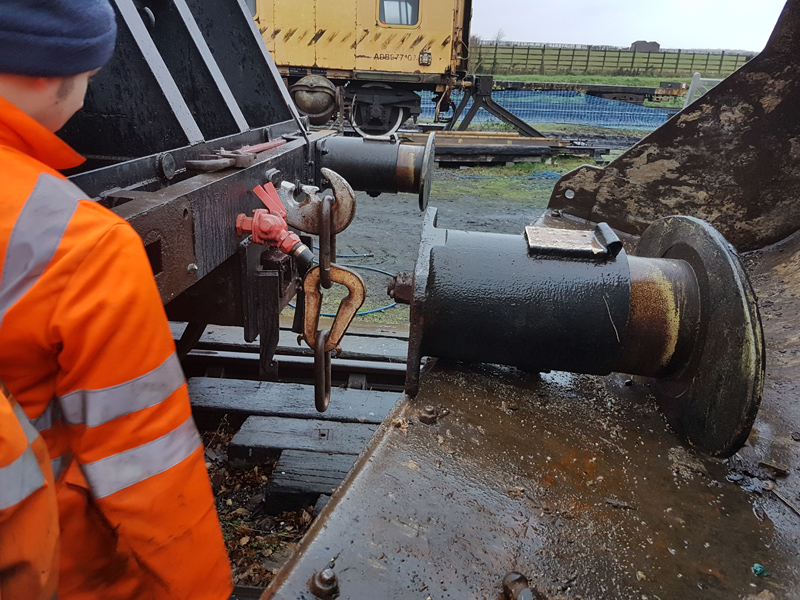
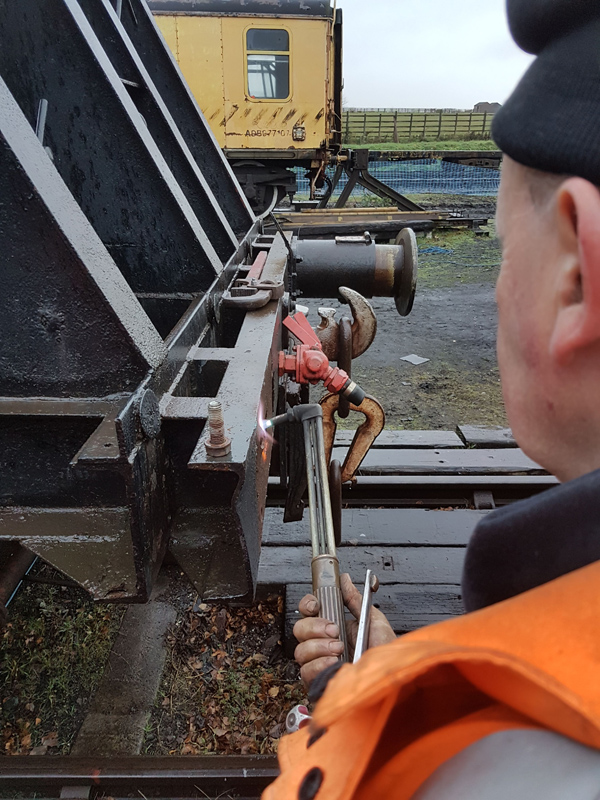
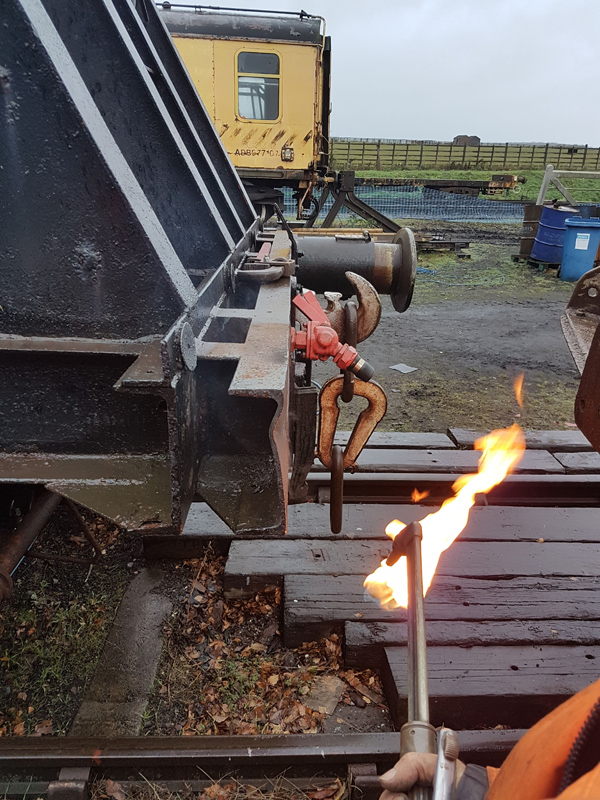
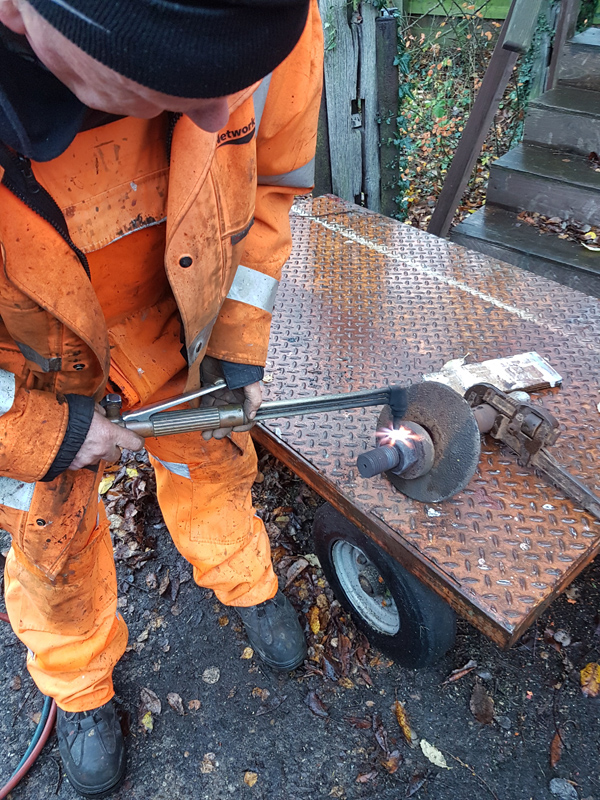
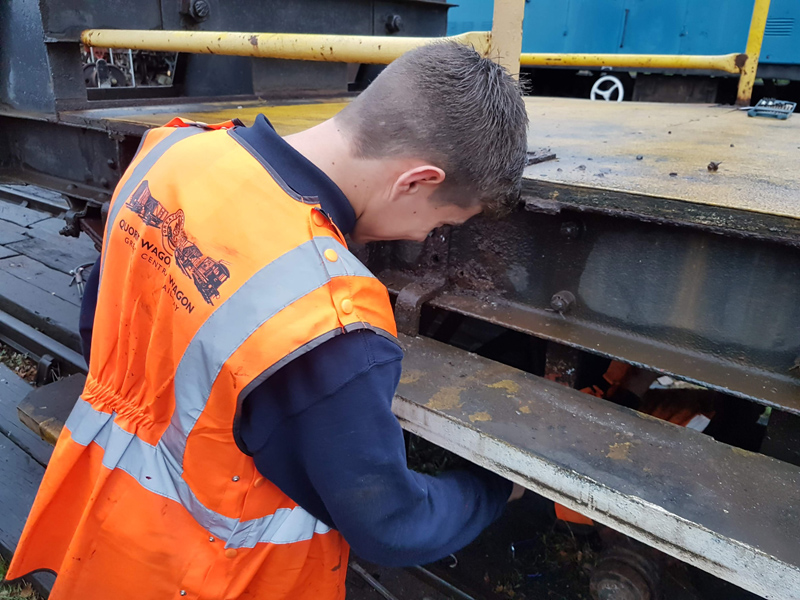
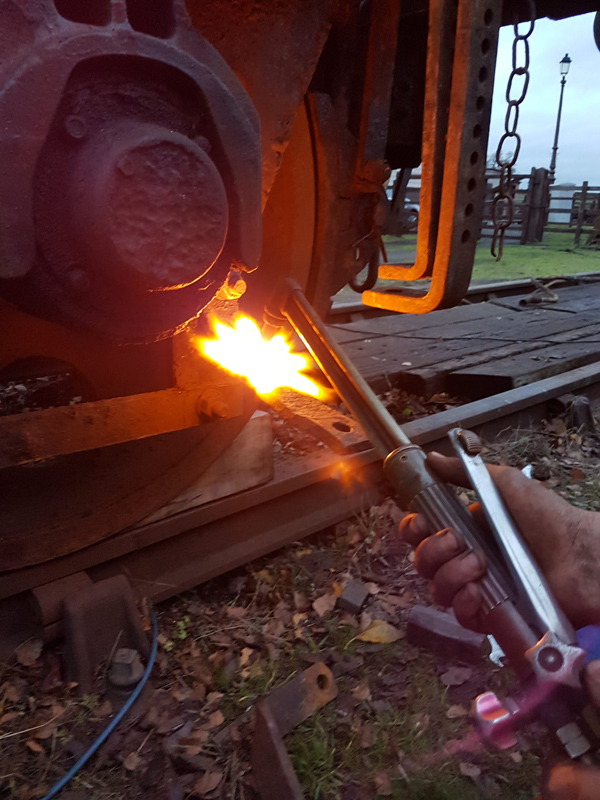
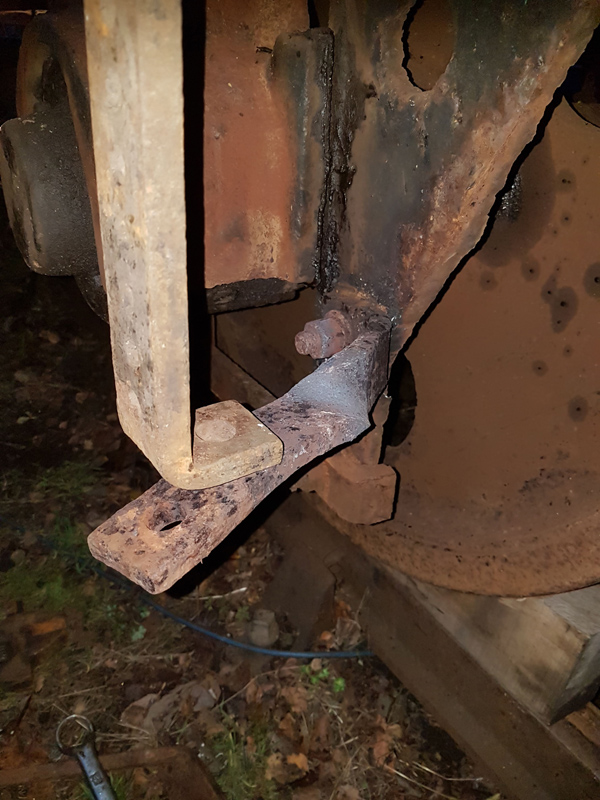
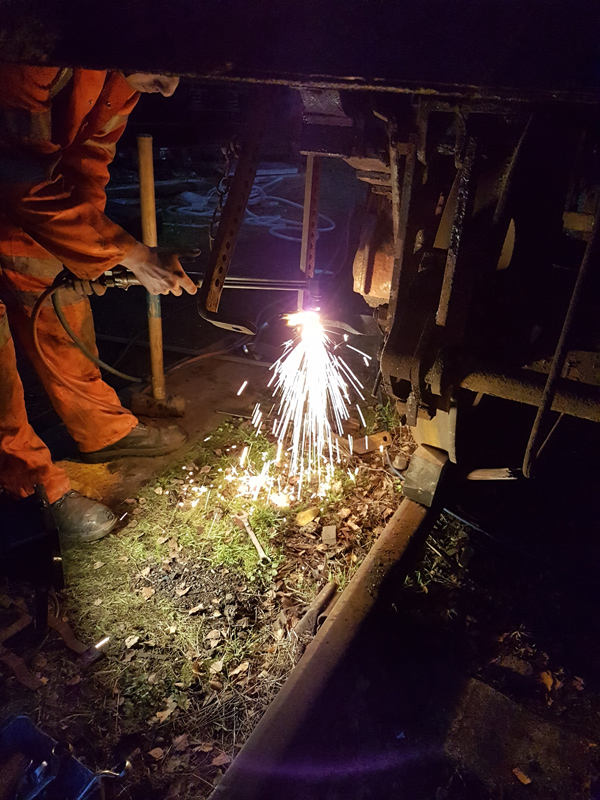
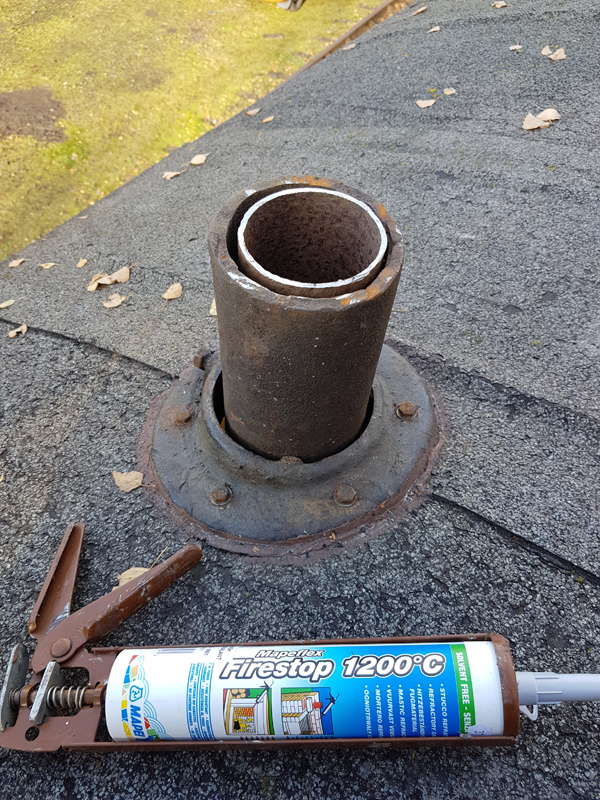
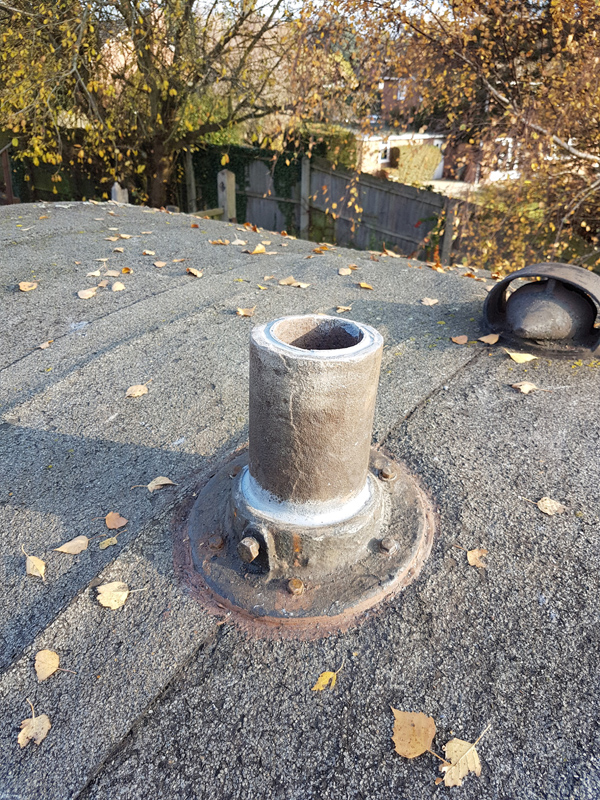
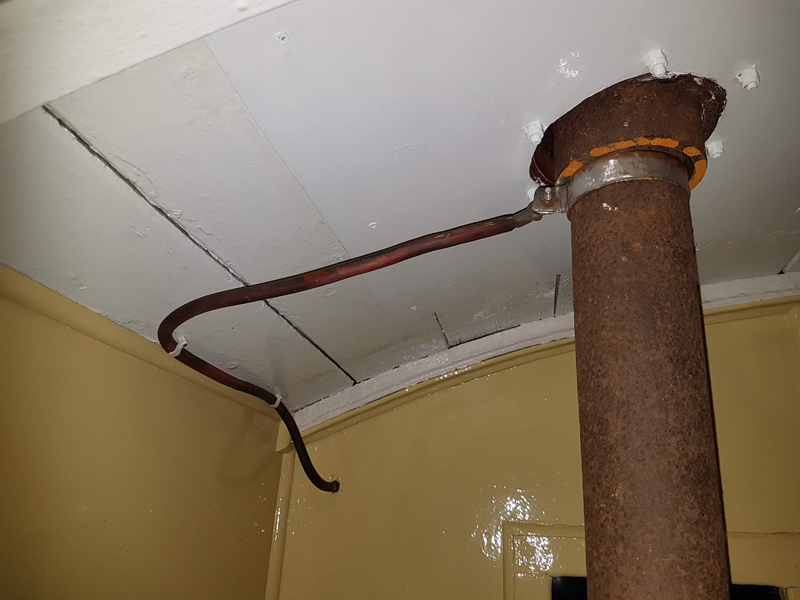
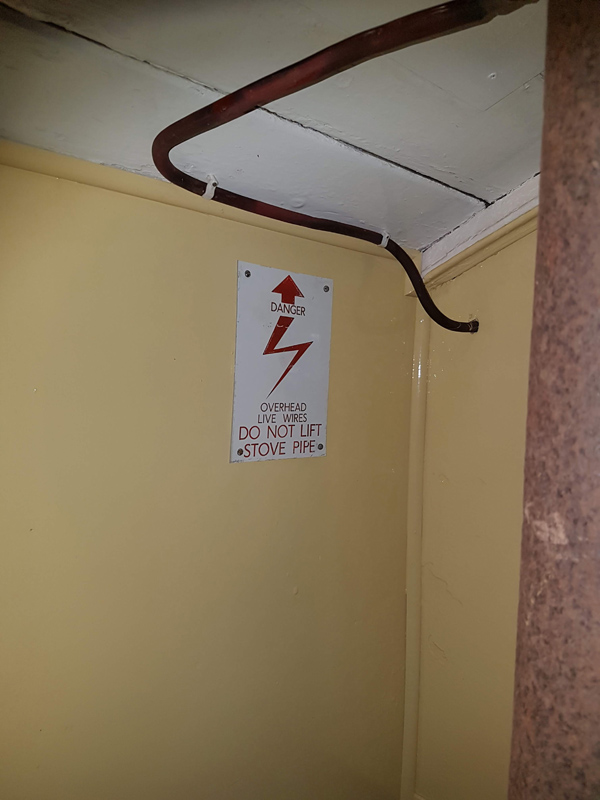
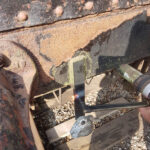
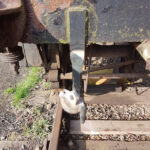
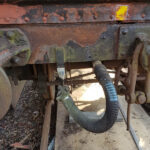
Whilst the spraying of the new Eastside began my attention turned to fitting the vacuum pipe dummies. Holes drilled, radiuses filed and the dummies bolted into position.
Once fitted the metal work was heated and twisted to allow the vacuum hose to be fitted to the dummy when not in use.
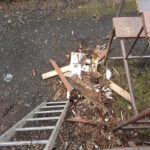
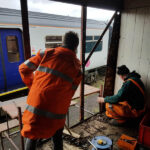
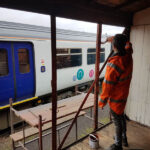
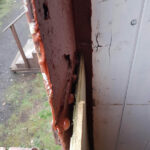
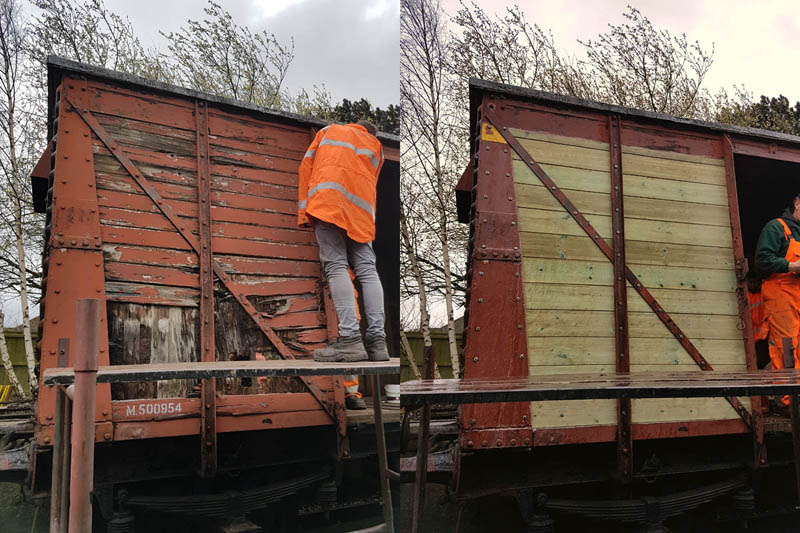
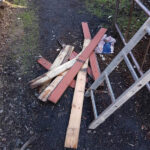
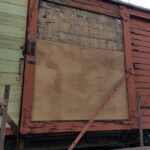
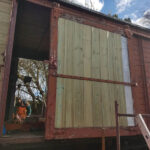
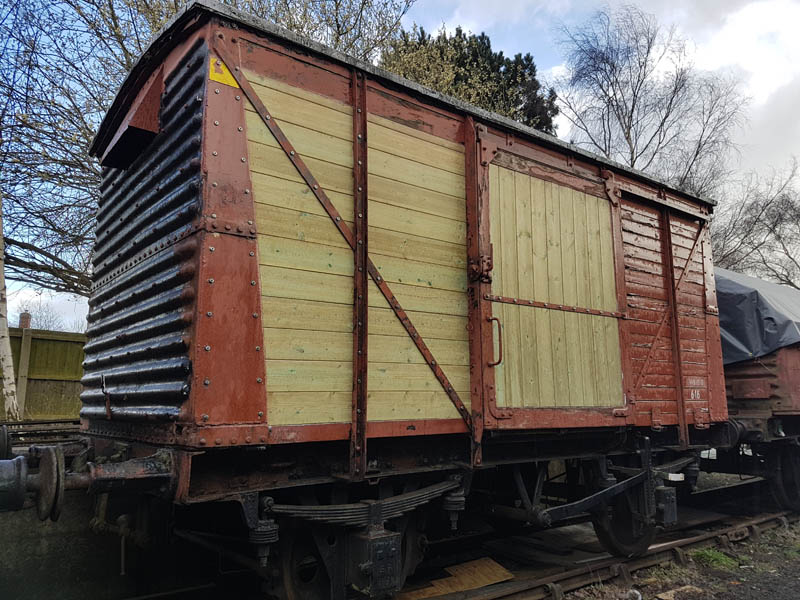
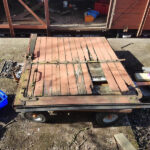
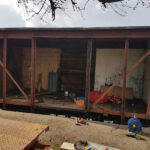
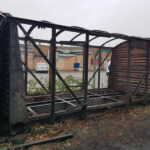
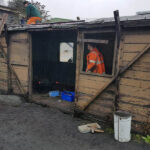
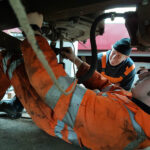
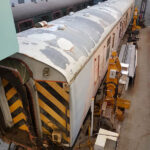
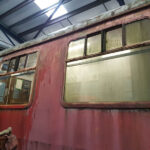
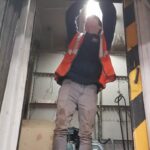
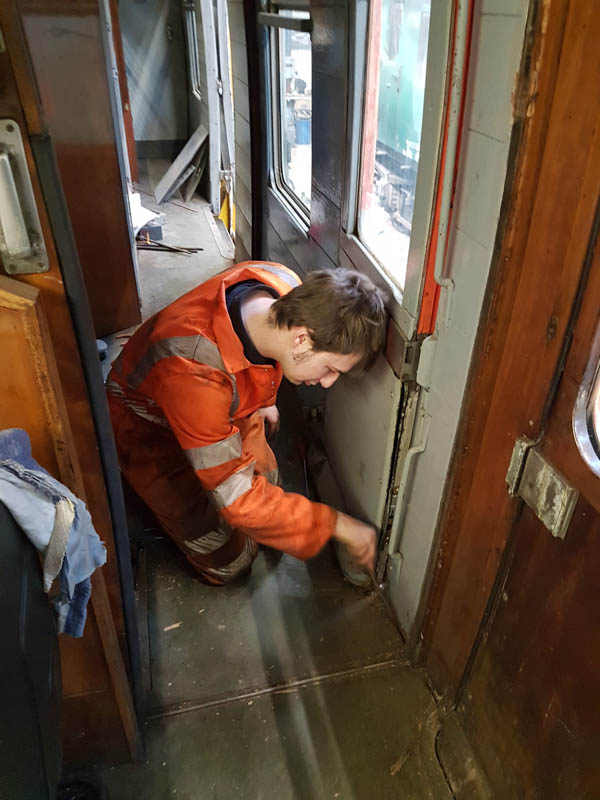
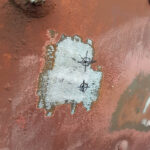
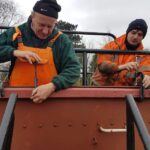
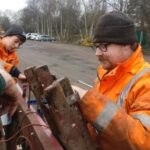
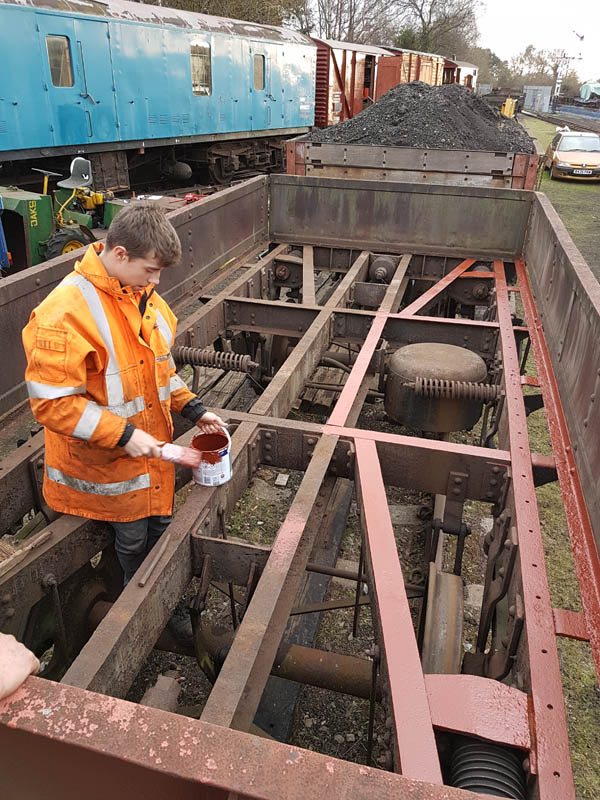
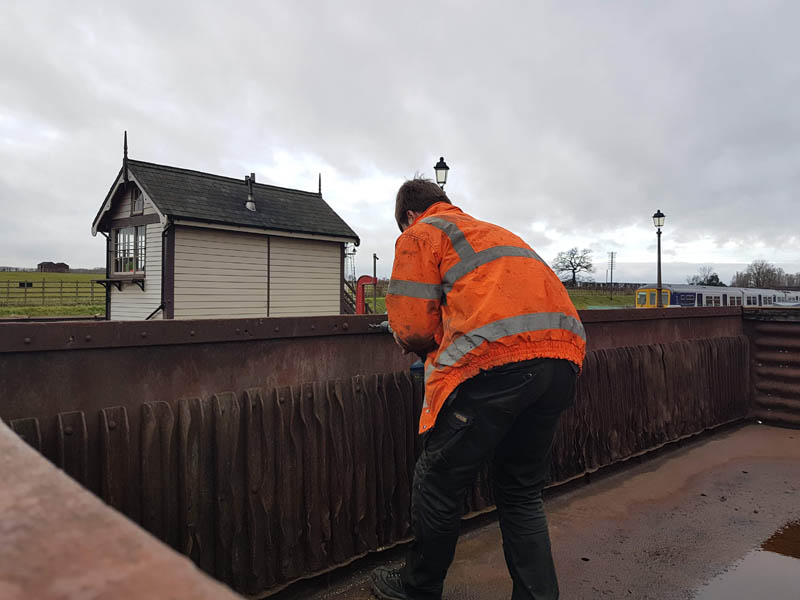
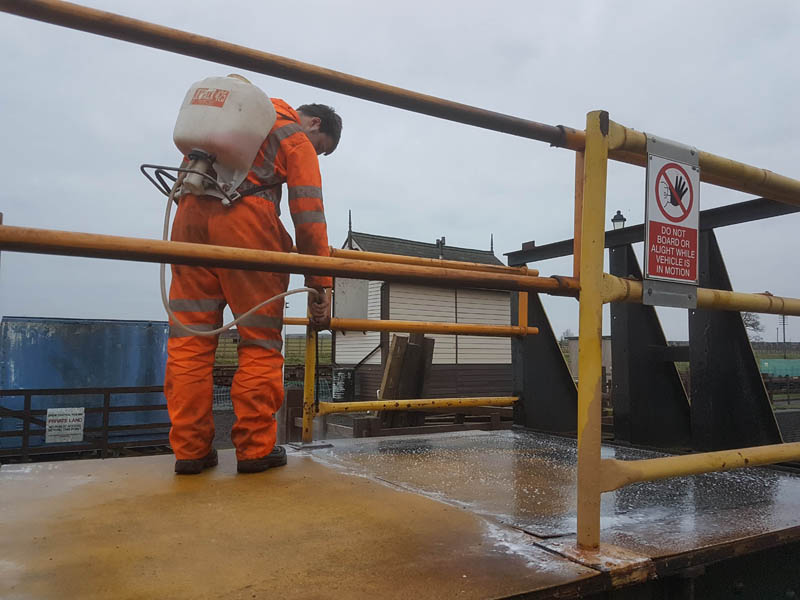
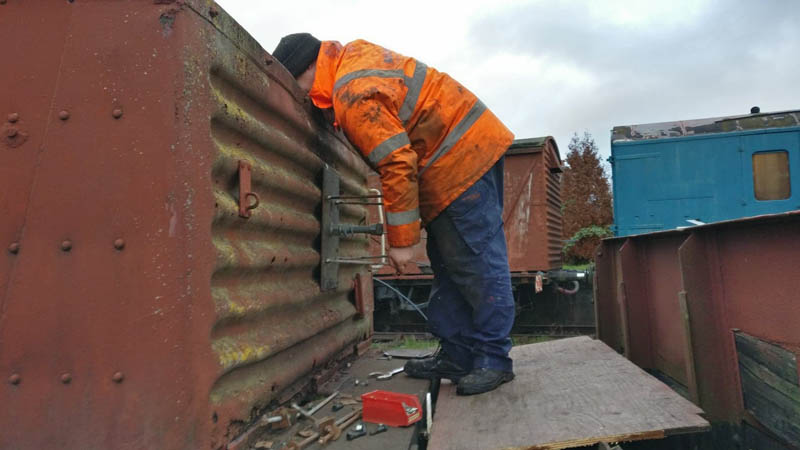
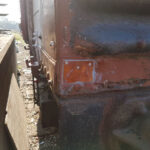
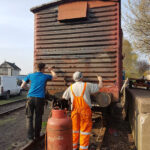
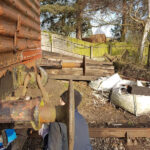
With the sides in undercoat, all hands turned to stripping the South end of the vehicle, it had been painted in bitumastic paint and this will cause issues if we do not fully remove it.

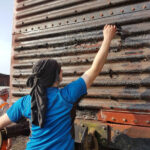
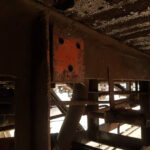
The stripping of the vehicle end continued into Sunday morning and the entire south end was successfully complete along with most of the way up the north end, unfortunately, it could not be complete due to the loose woodwork under the roof end which would not react well to our paint removing technique.

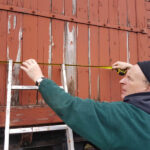
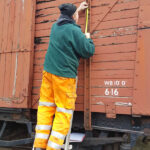
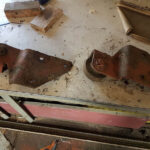
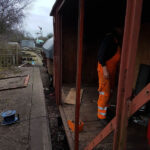
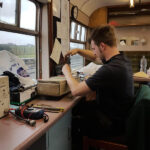
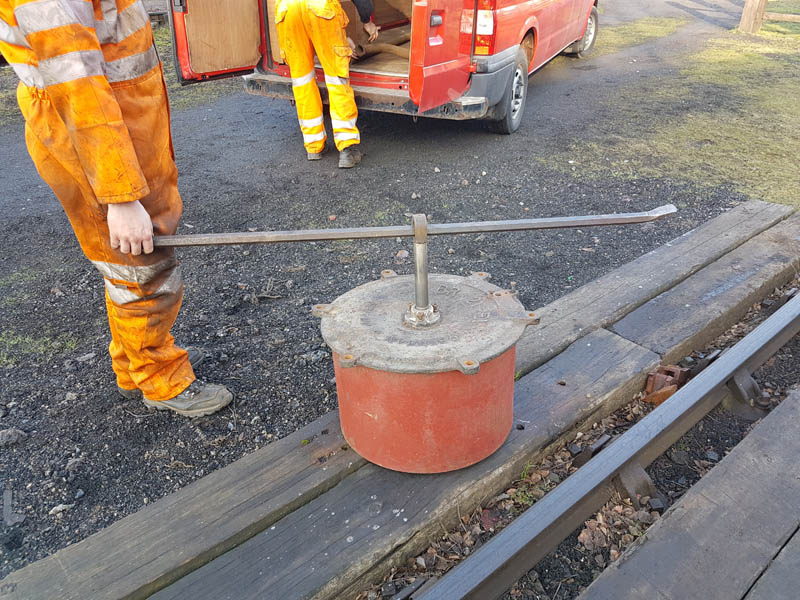
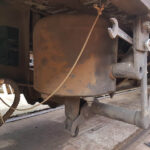
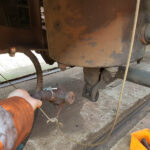
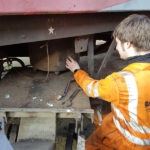
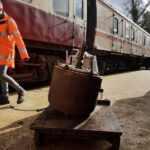
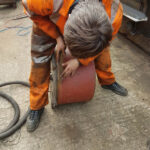
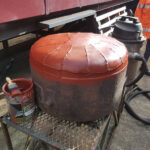
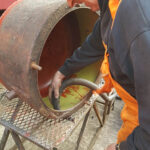
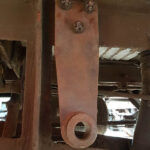
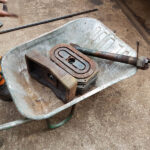
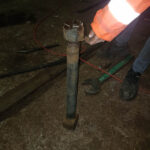
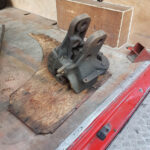
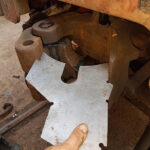
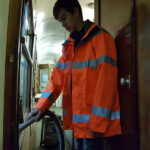
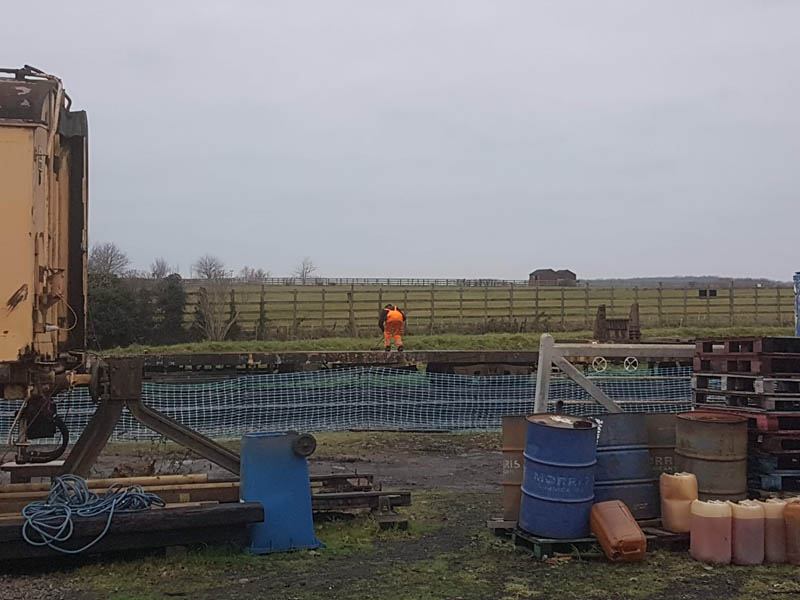
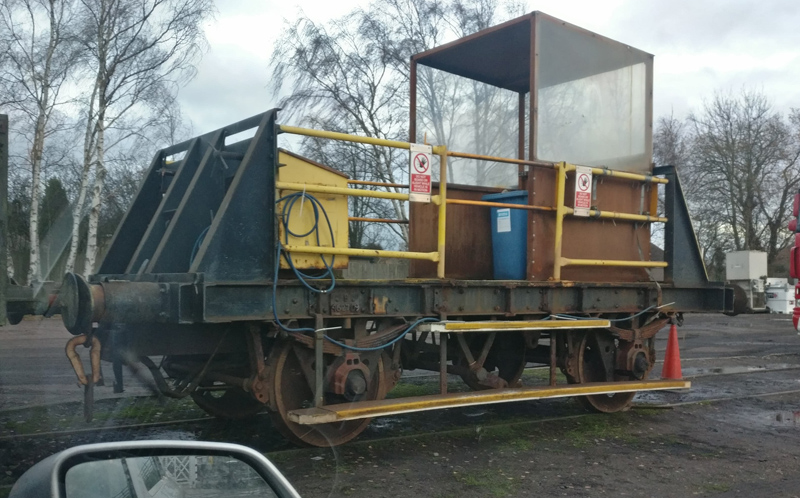
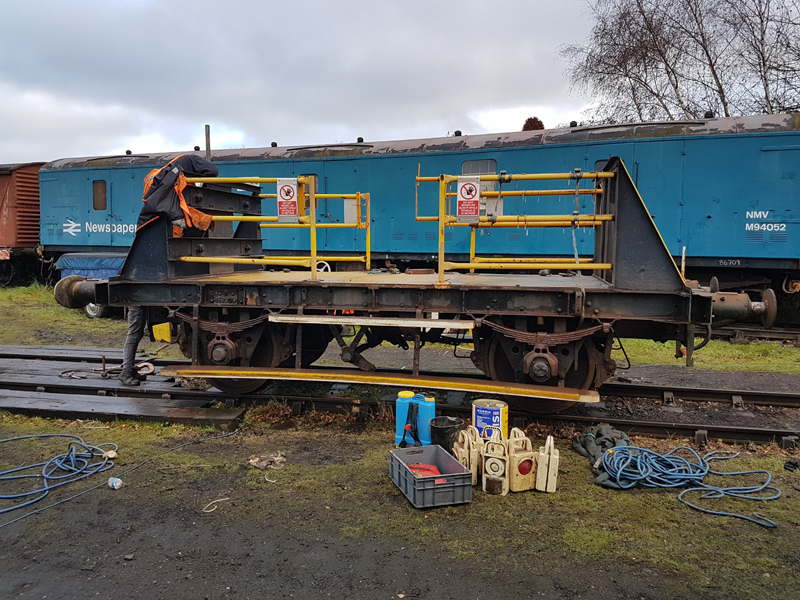
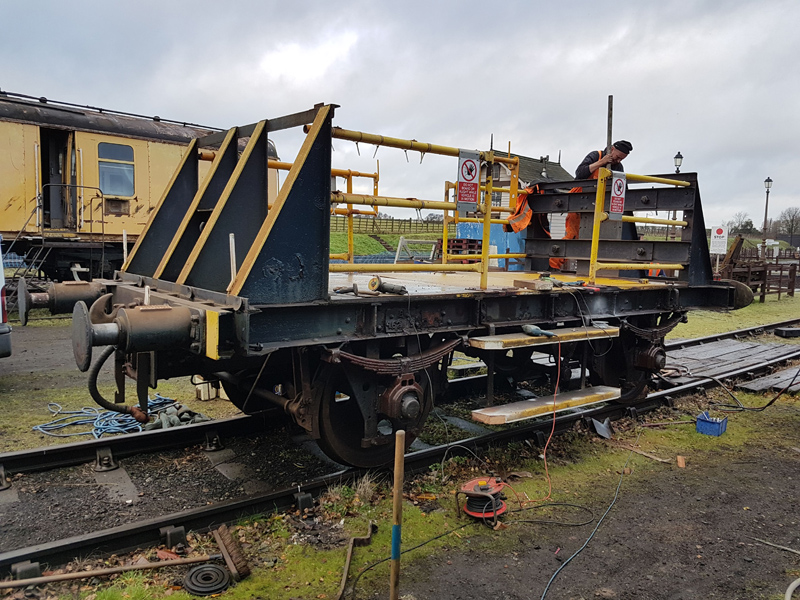
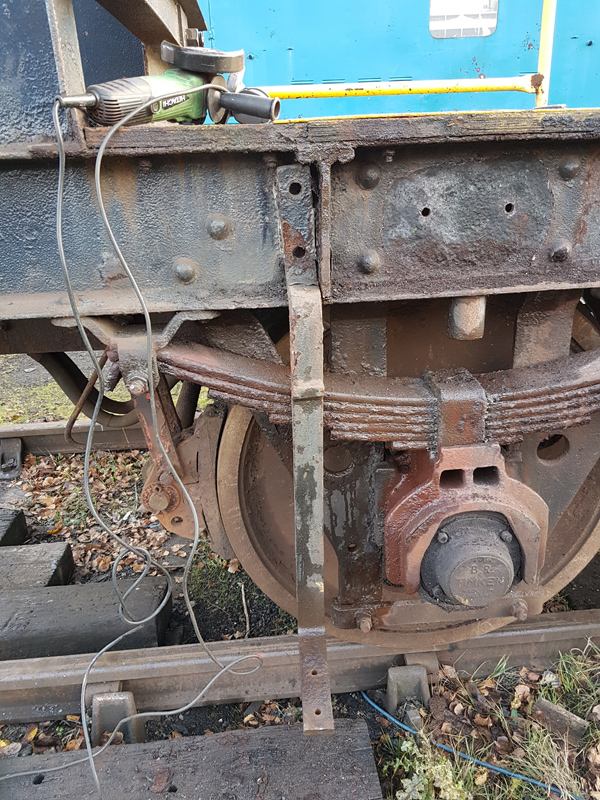
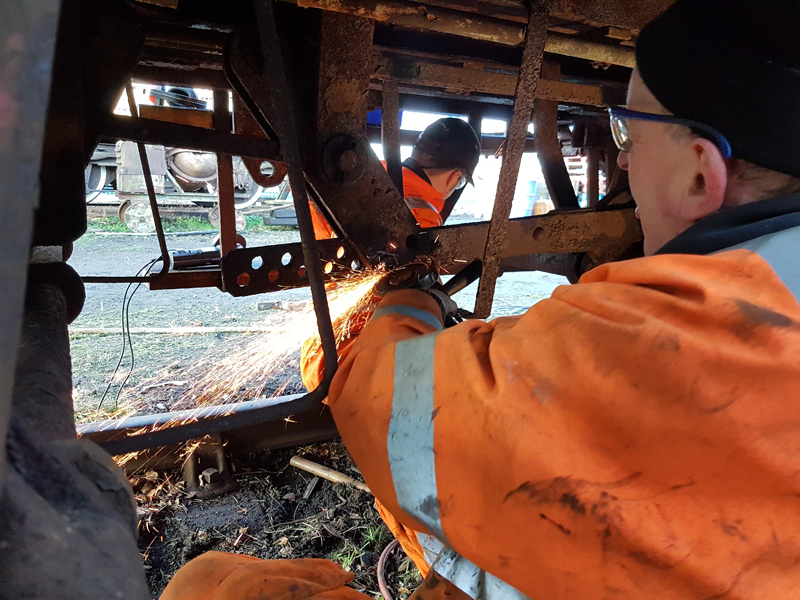
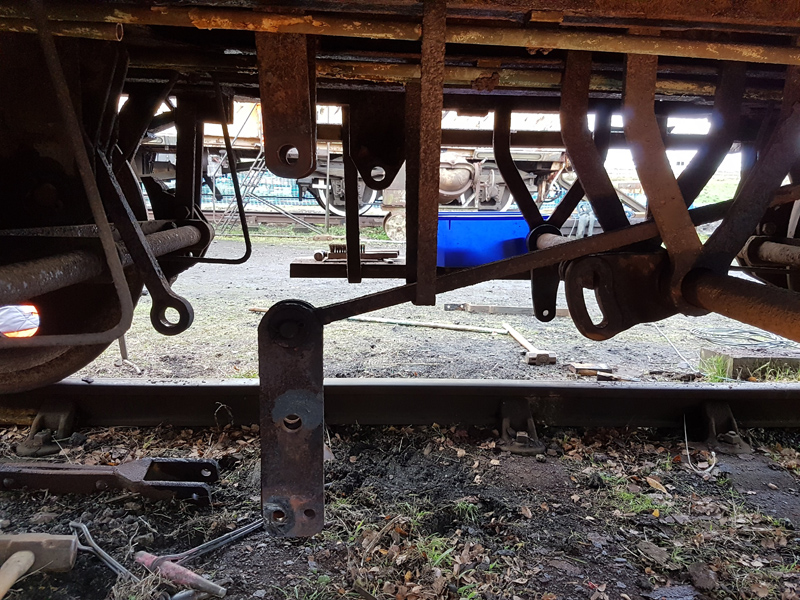
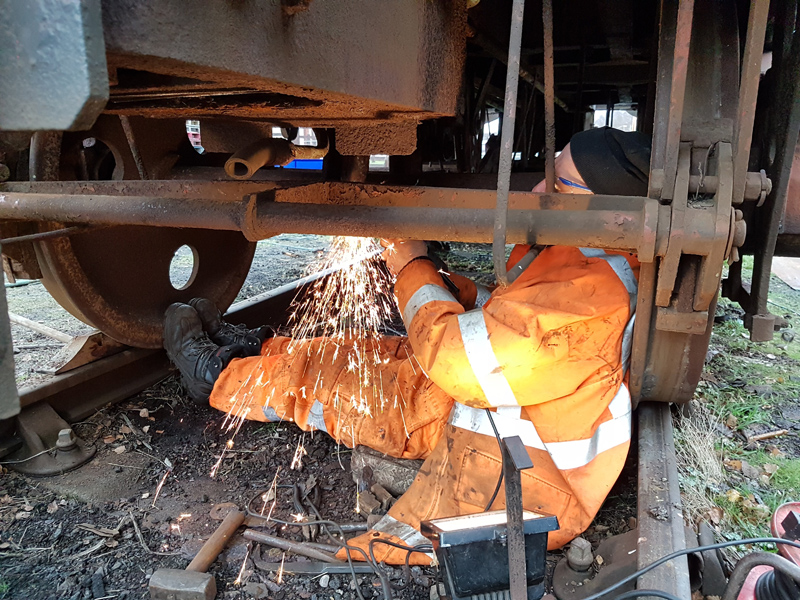
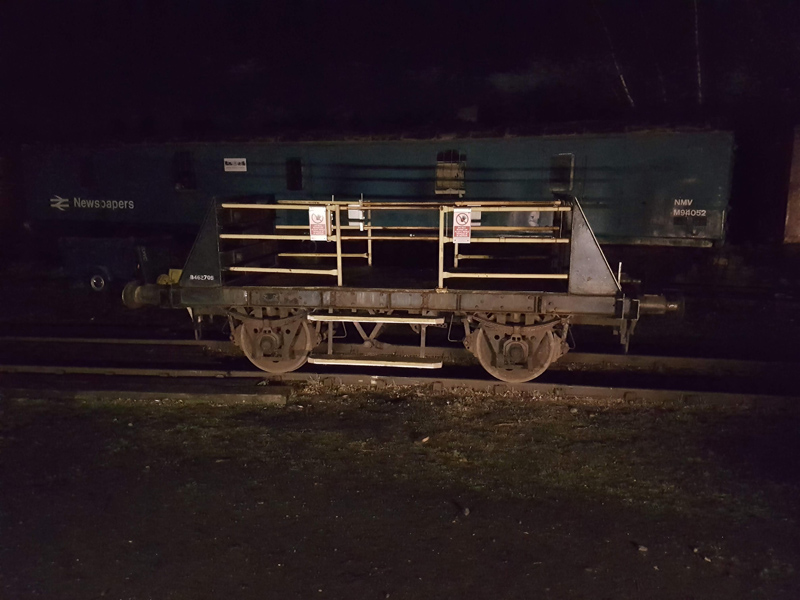
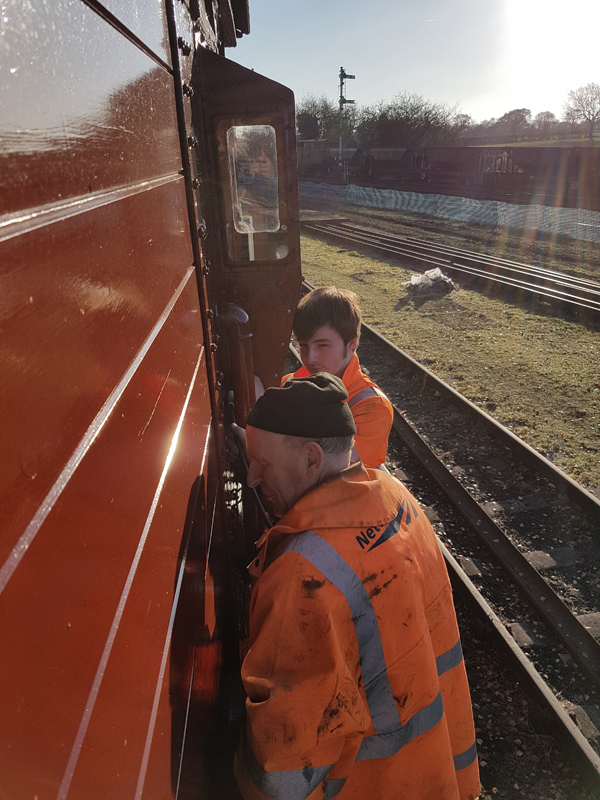
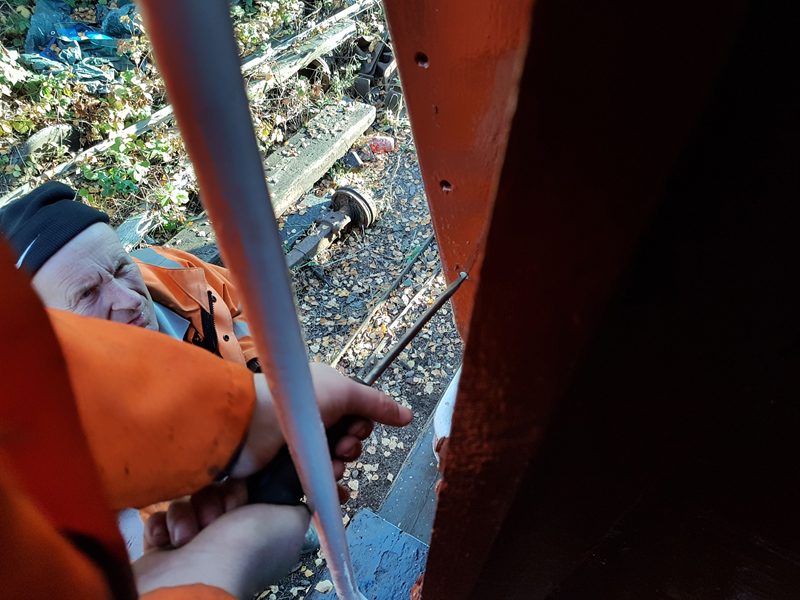
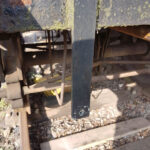
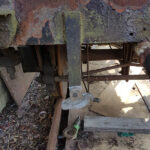
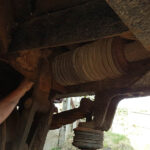
I, however, spent the day at the Mountsorrel Railway carrying out demonstration shunts, Dave was on site to assist in my absence. Although I was also on a fact-finding mission as I took the opportunity to measure the brake cylinder actuating arm on the main brake cross shaft of our LMS medfit. This item is missing from the van and we will require it to reinstate the brakes.
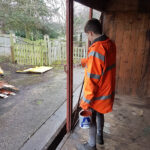
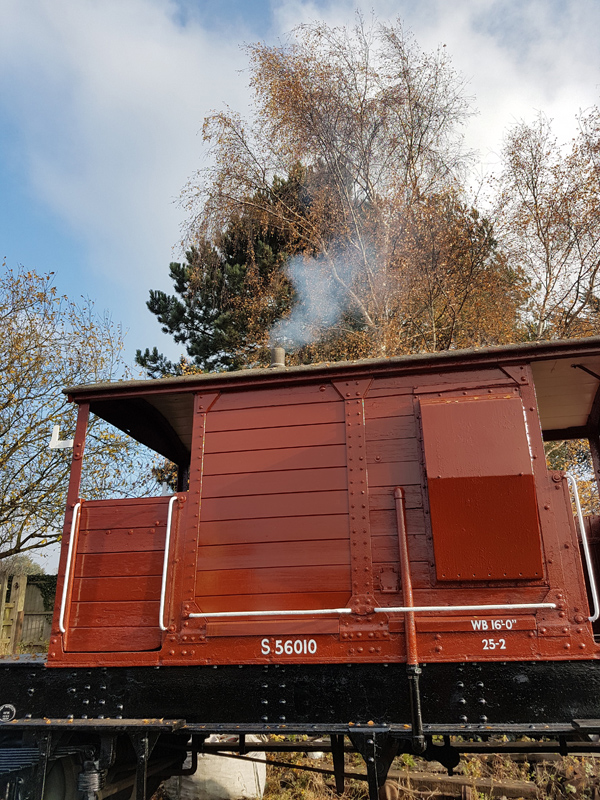
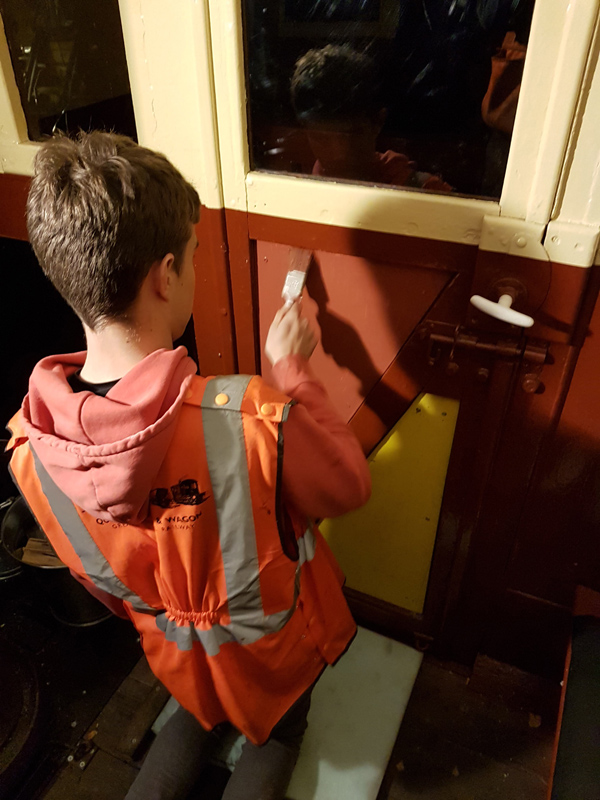
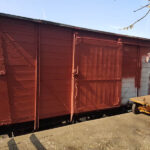
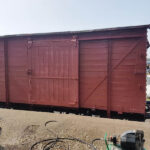
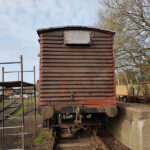
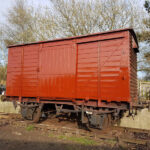
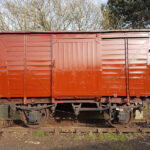
The main event was the top coat being applied to the van sides and this was duly applied by Jake and Ross.
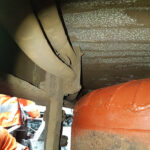
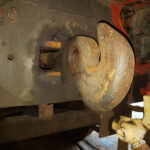
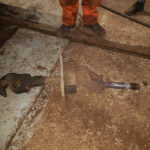
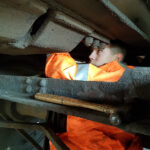
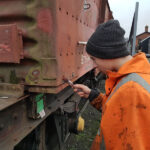
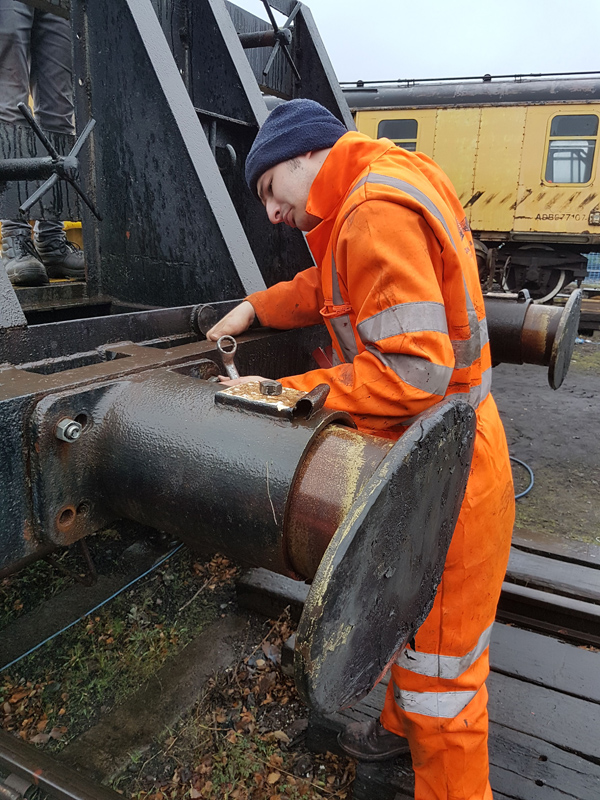
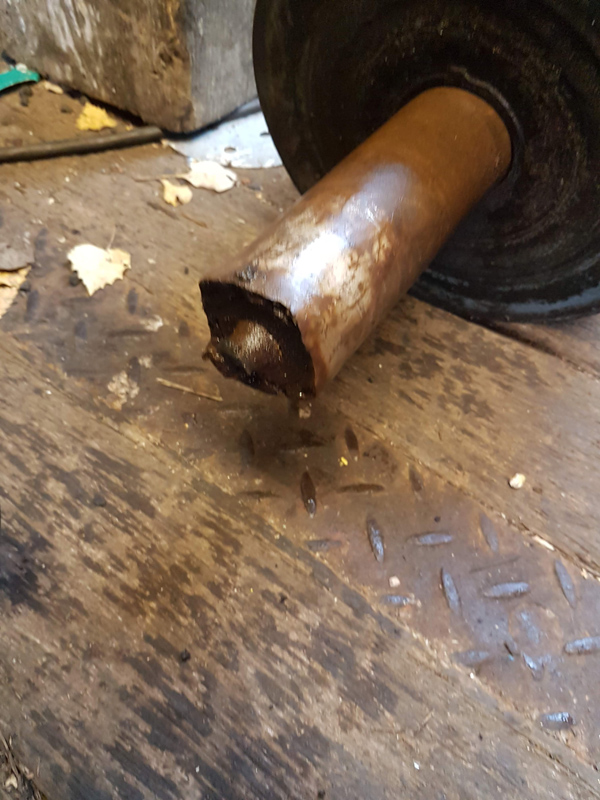
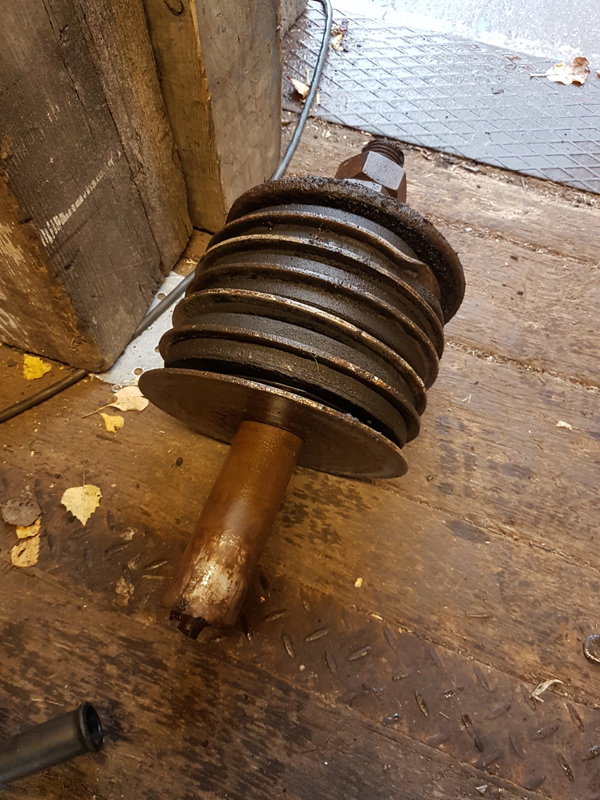
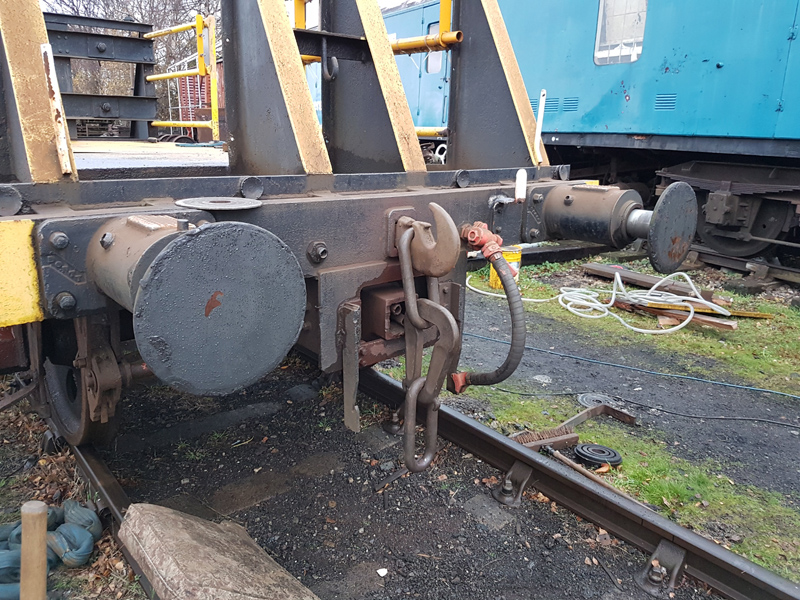
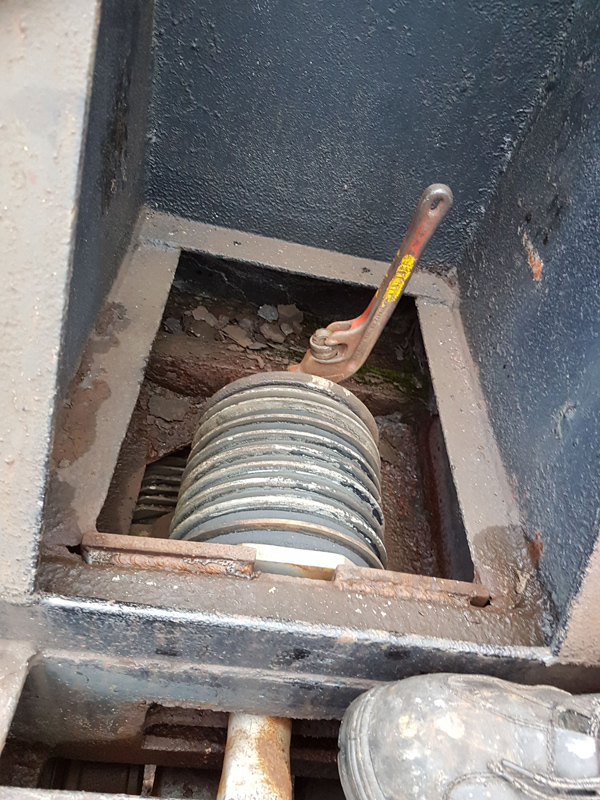
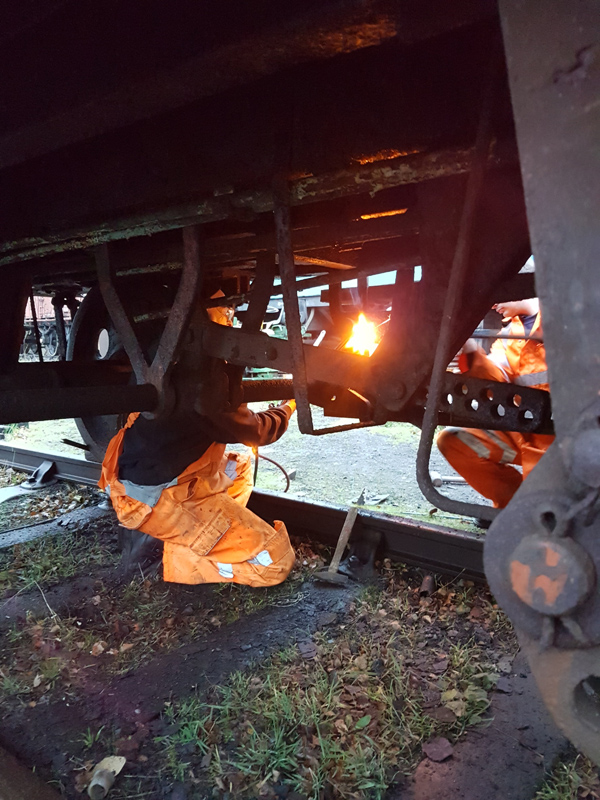
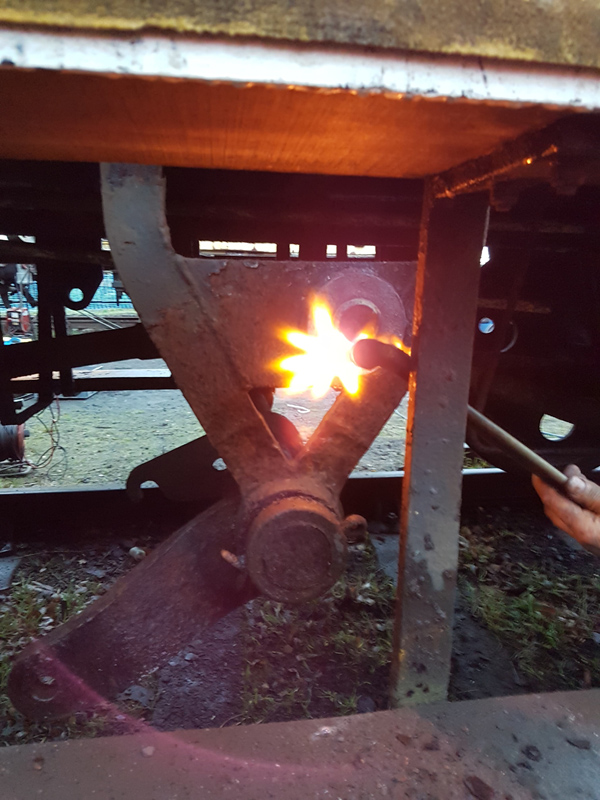
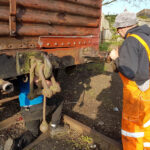
Final tasks were to free off the screw couplings and investigate our loose south-east buffer, the prognosis, a missing compression rubber.
That concludes this weekends work, as always we shall keep you up to date next week.