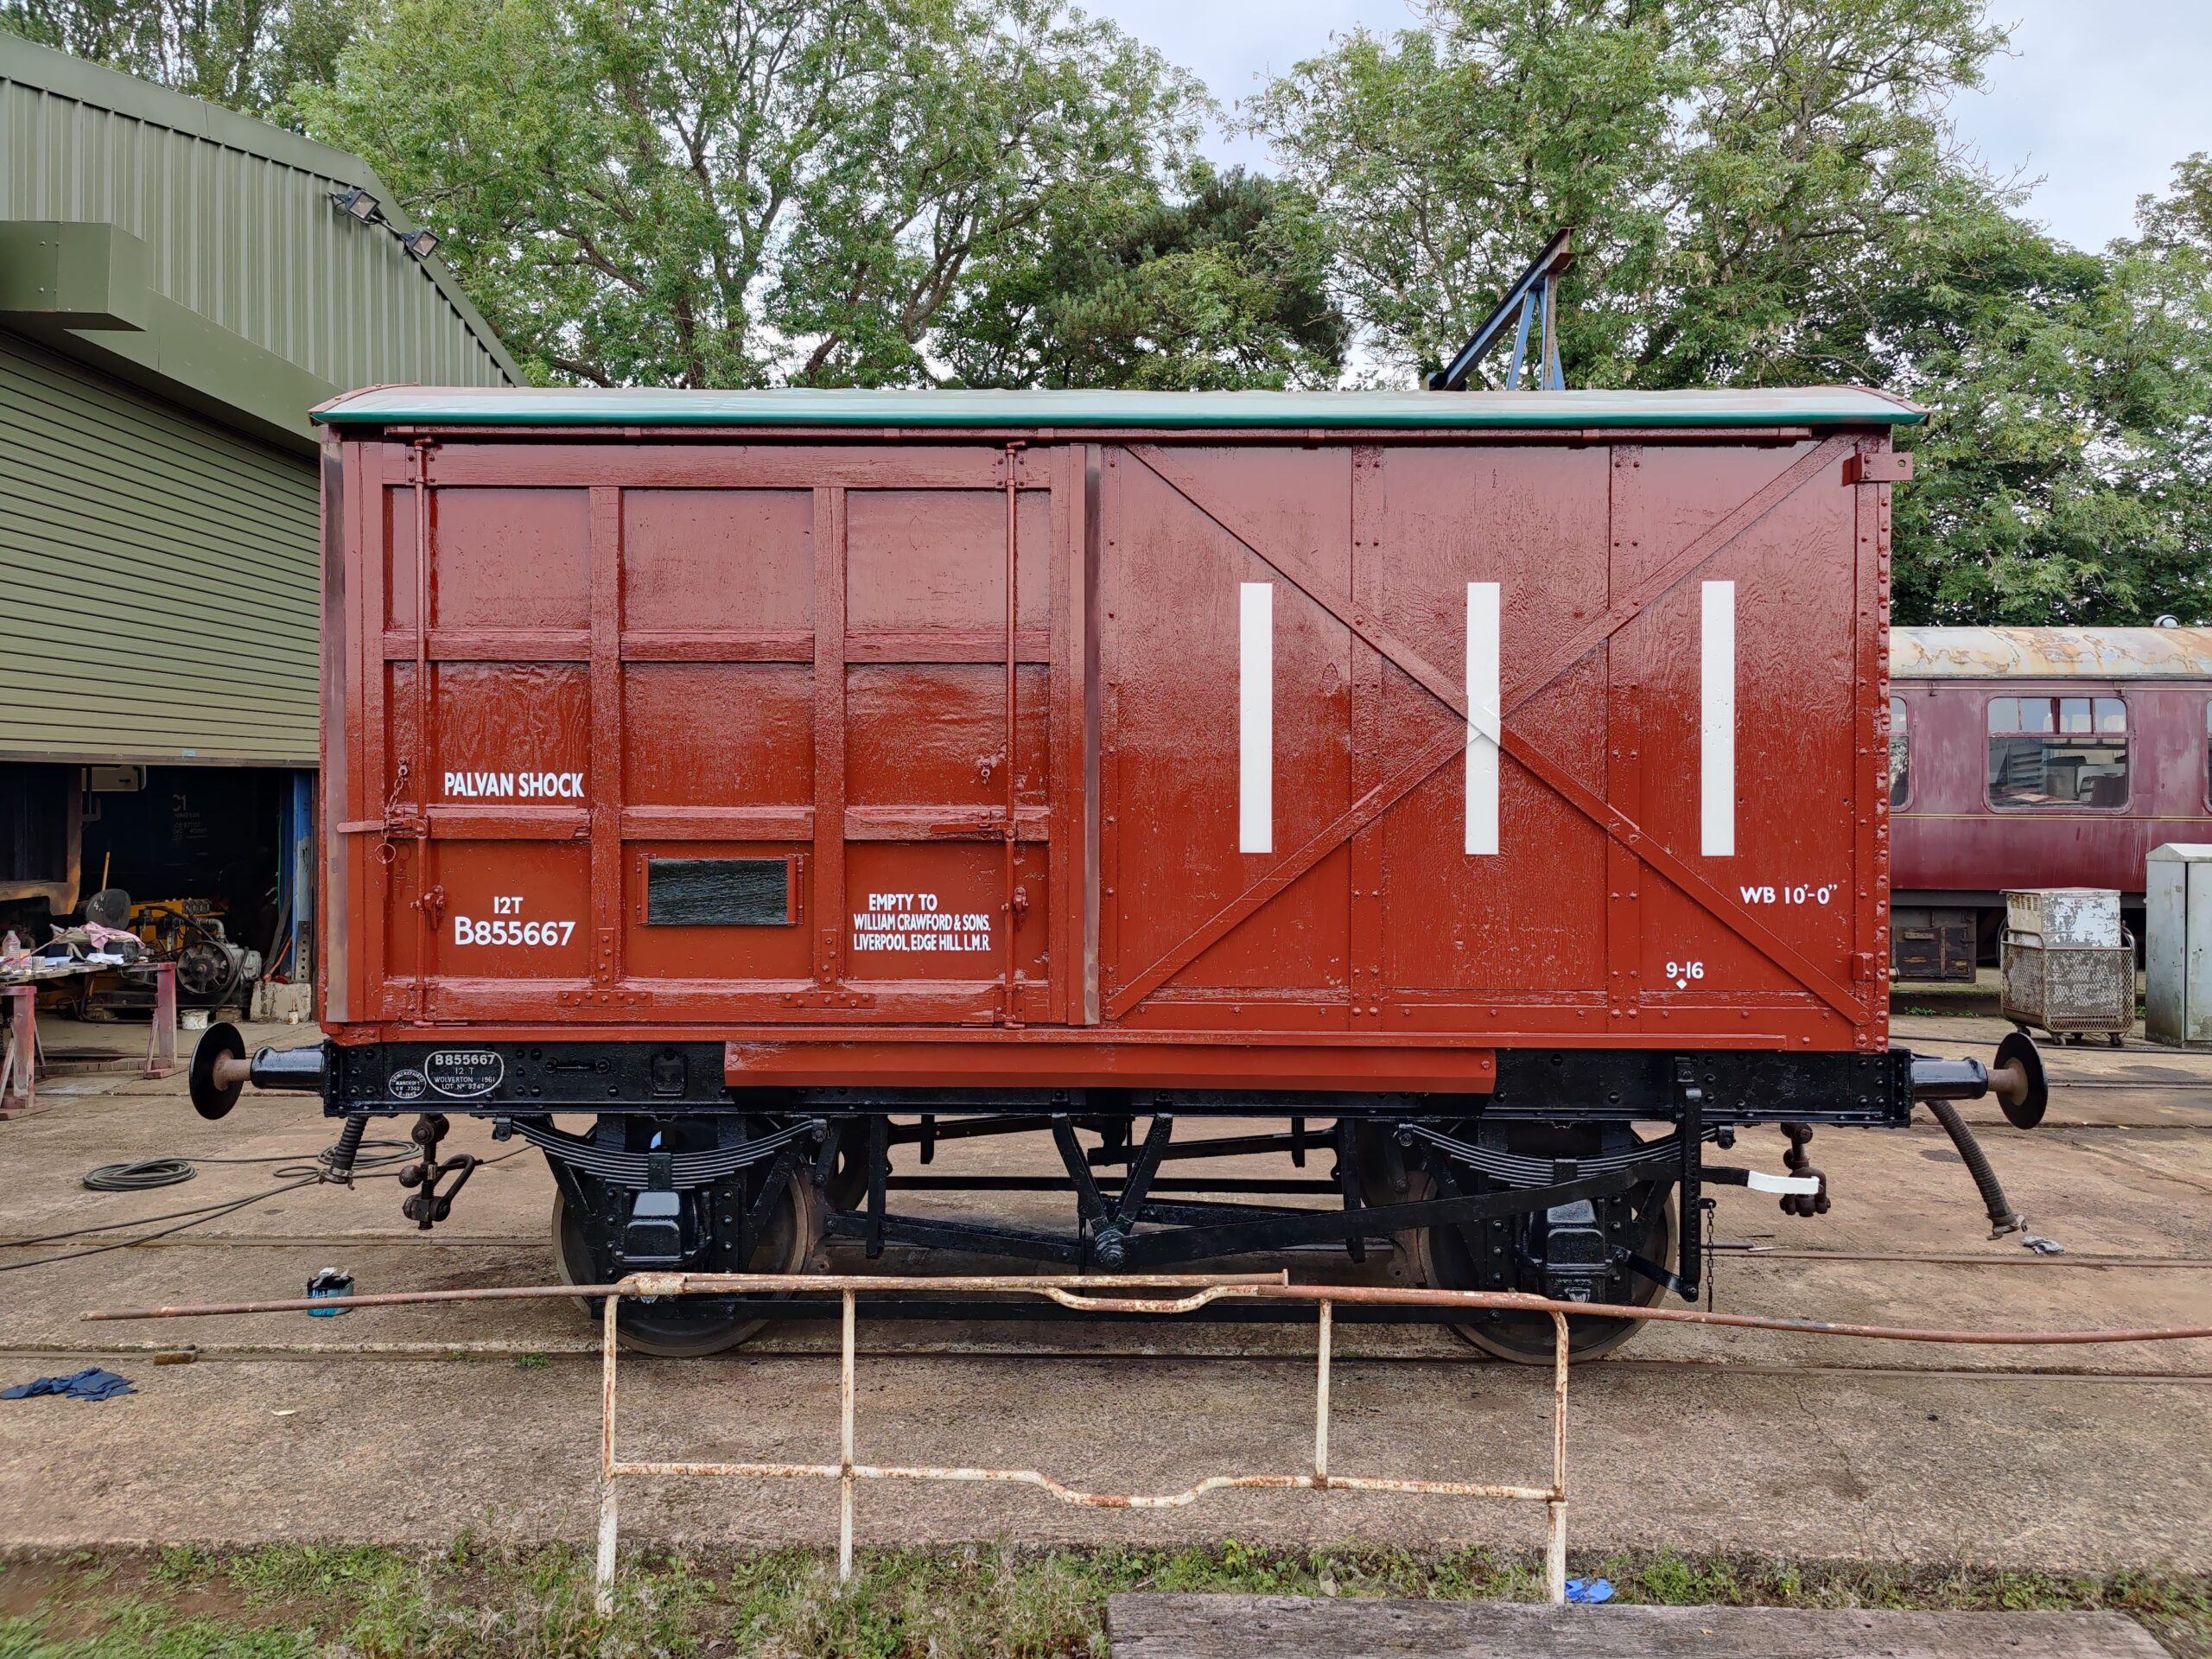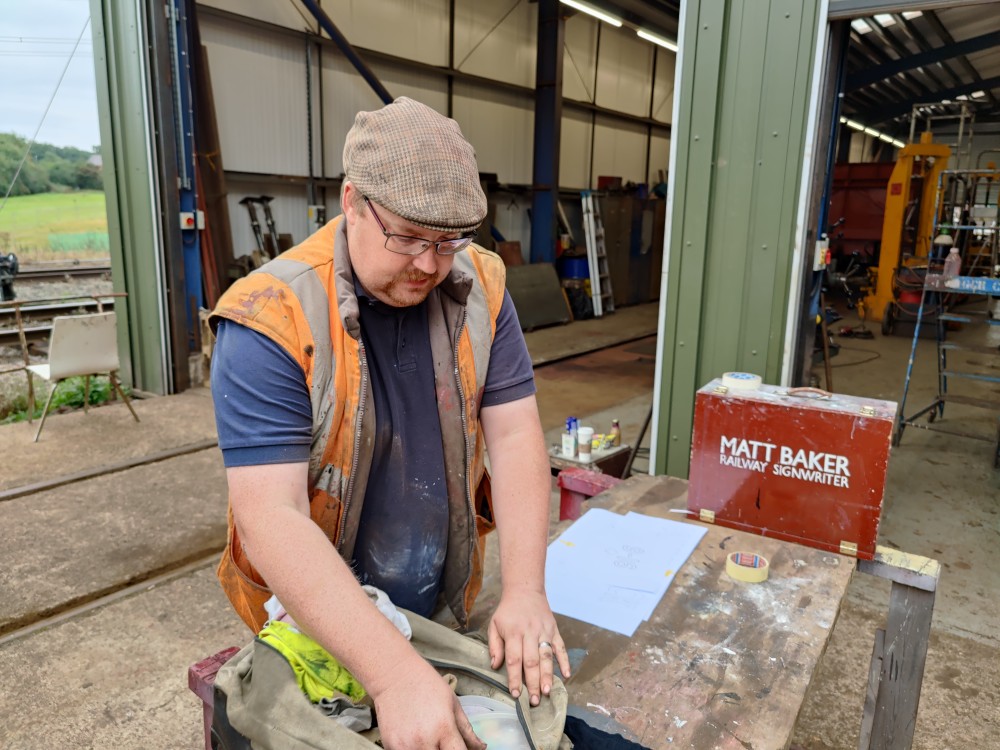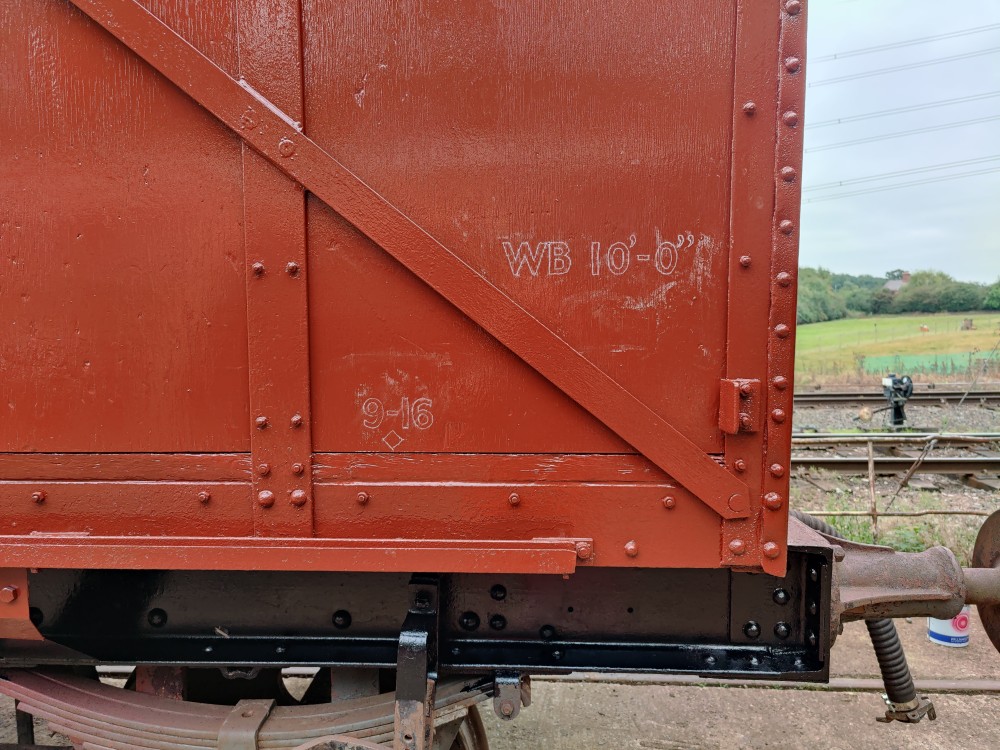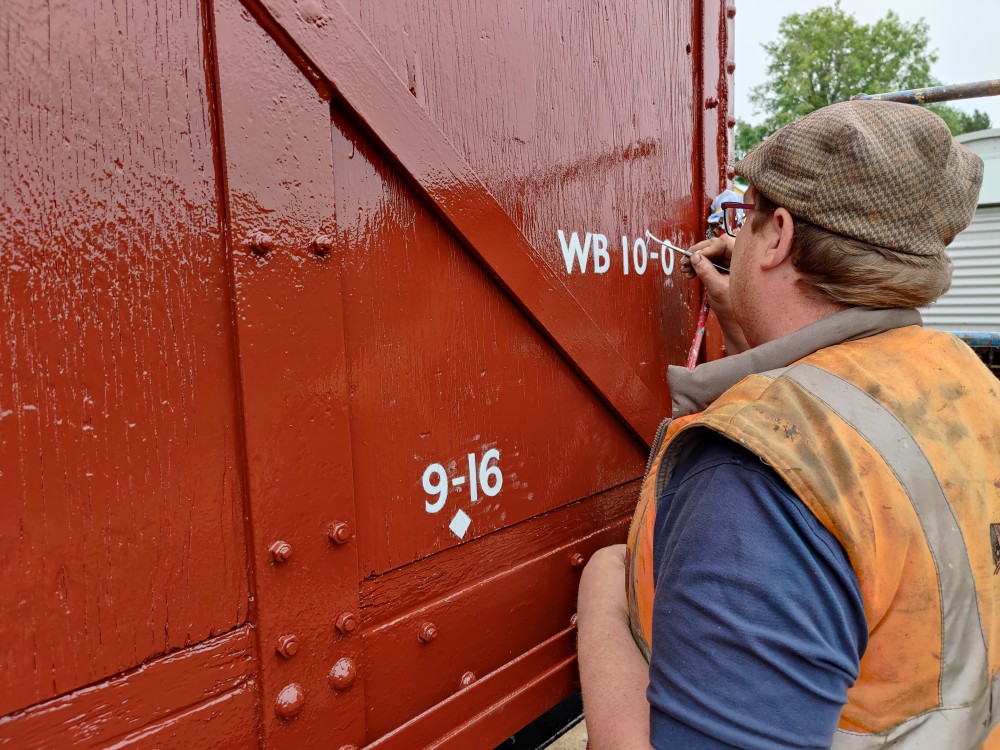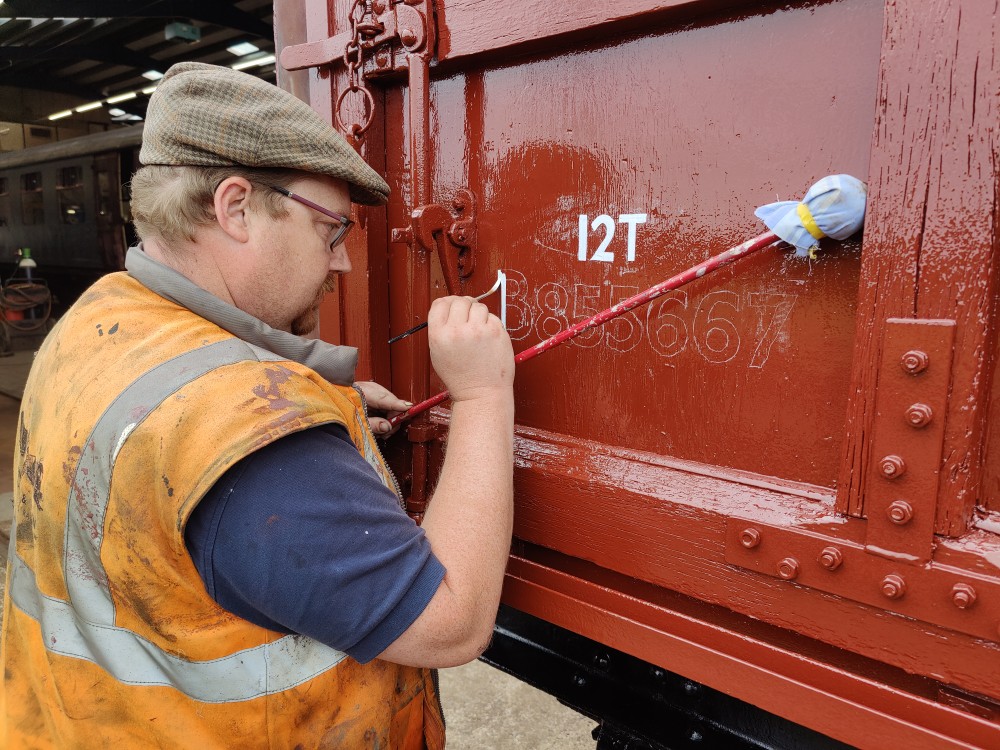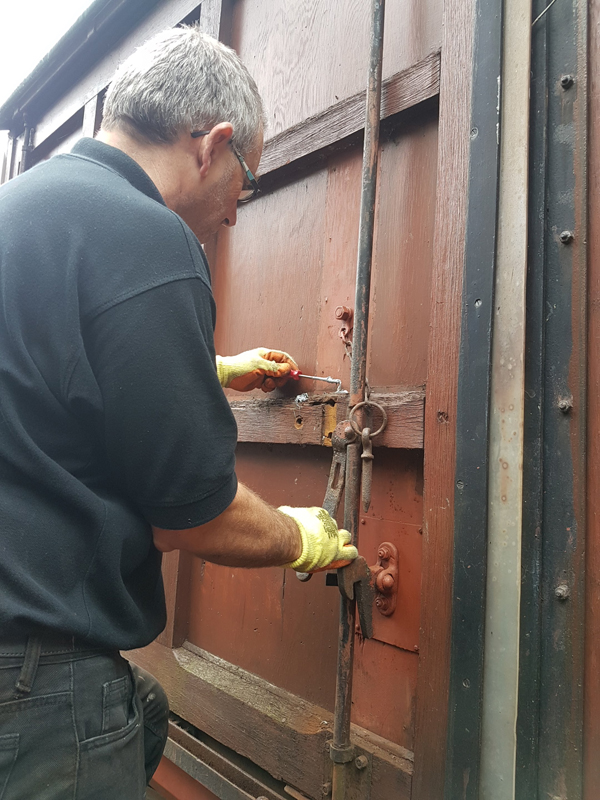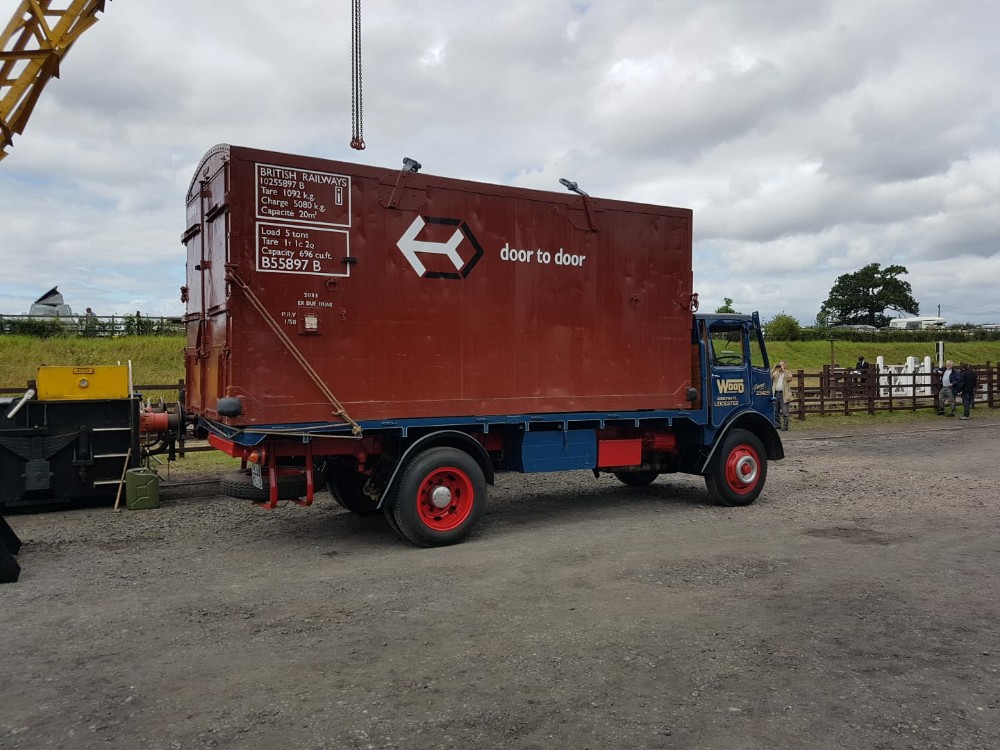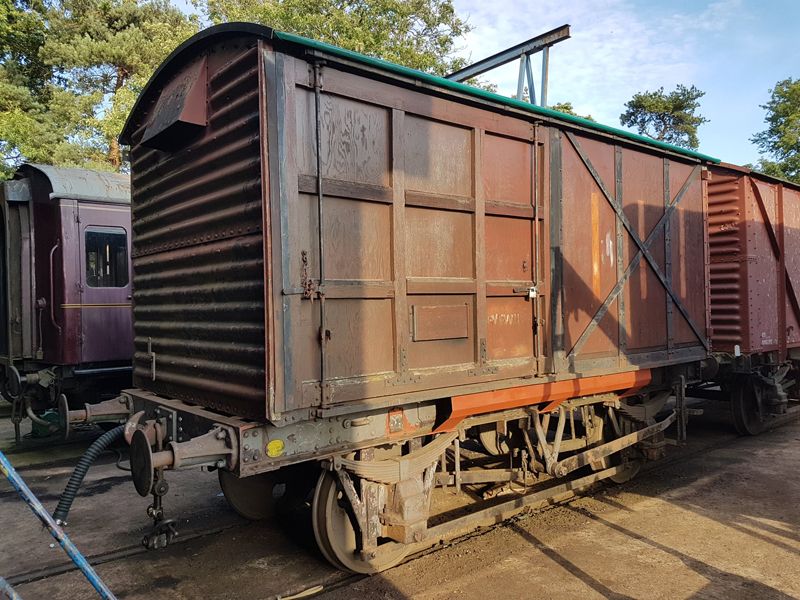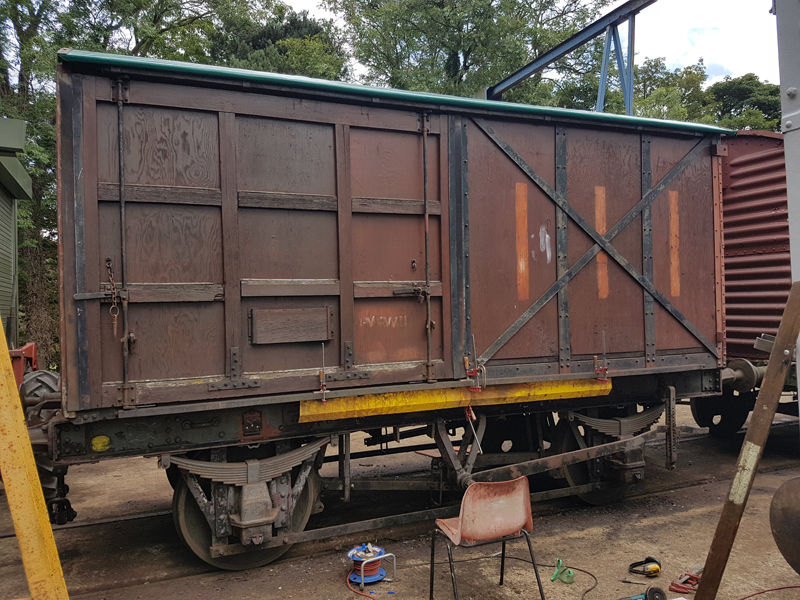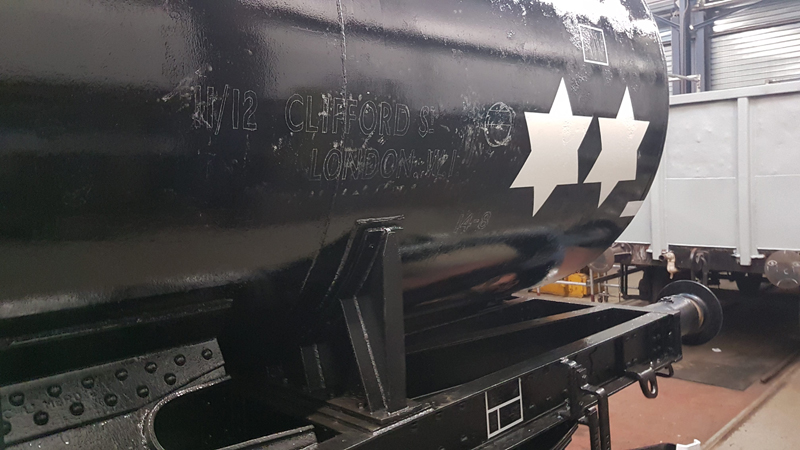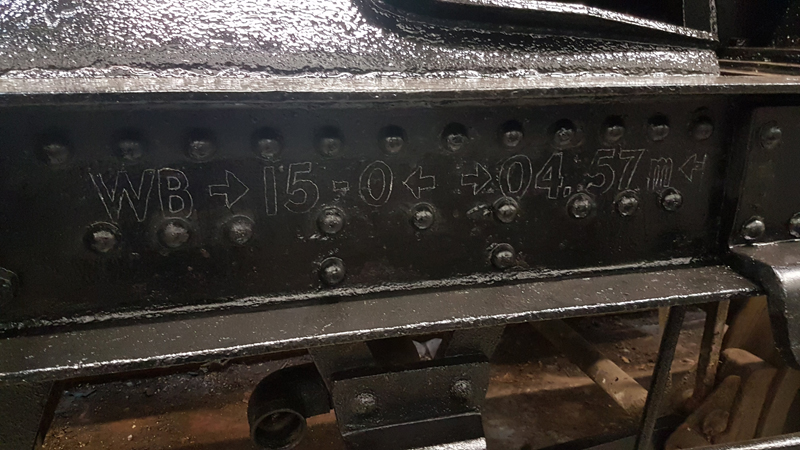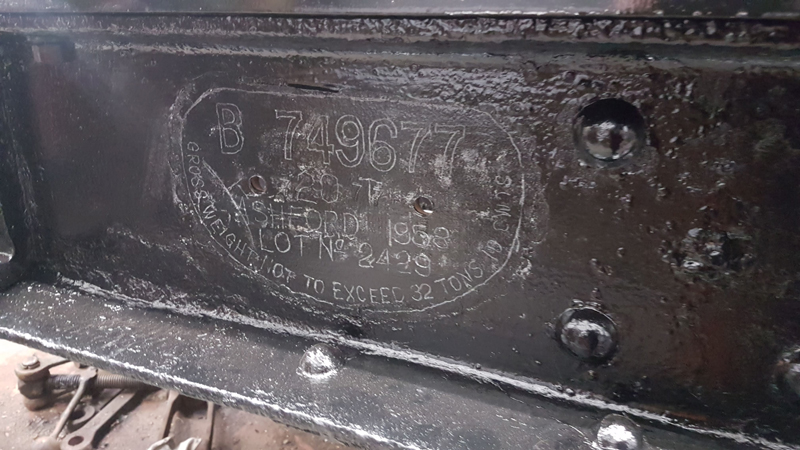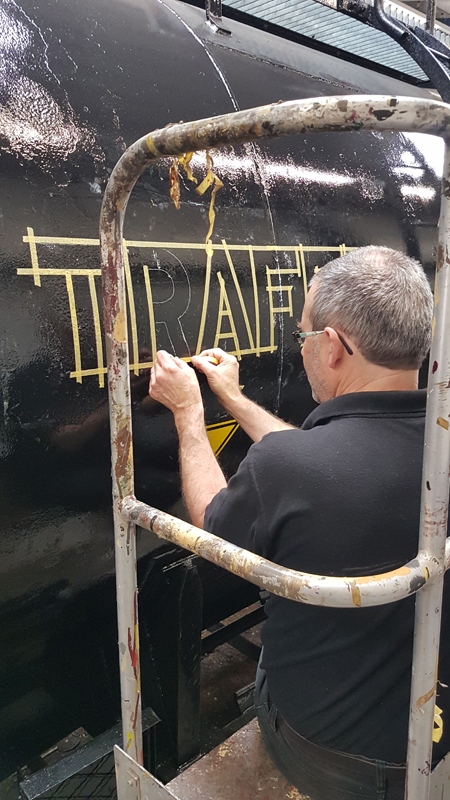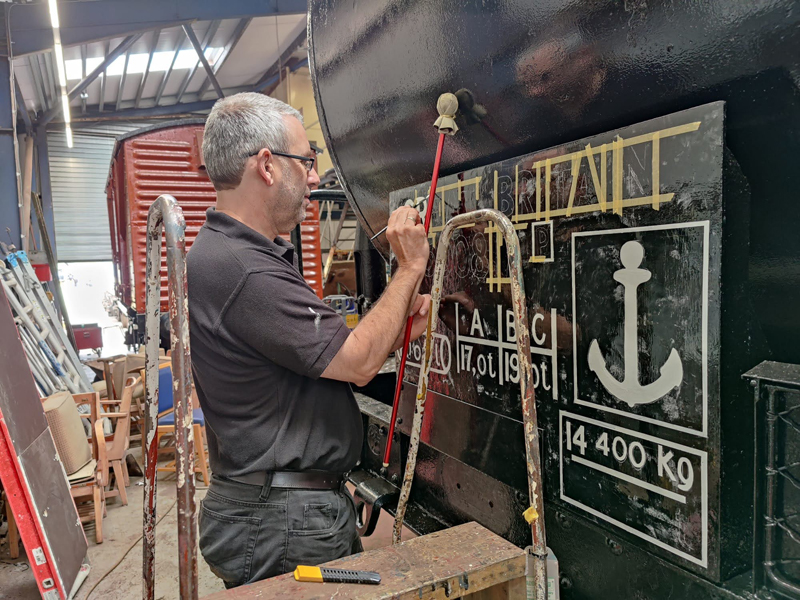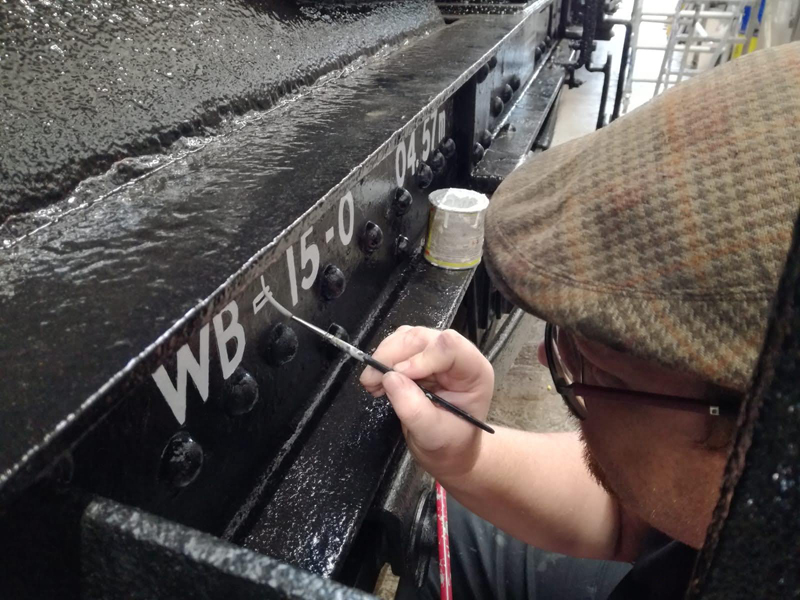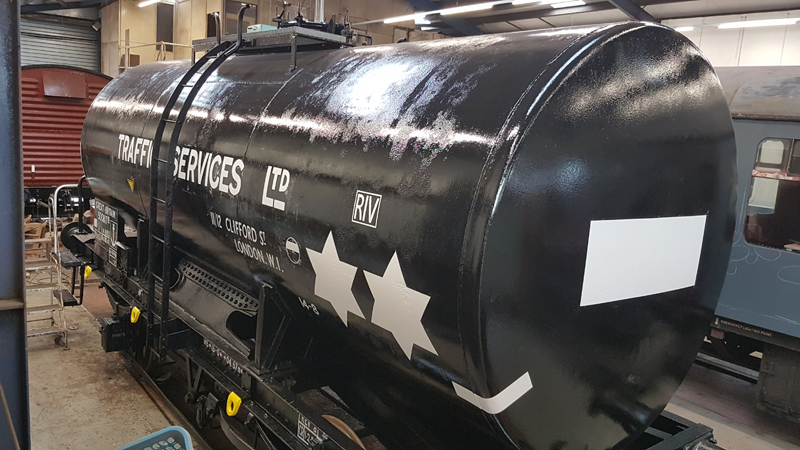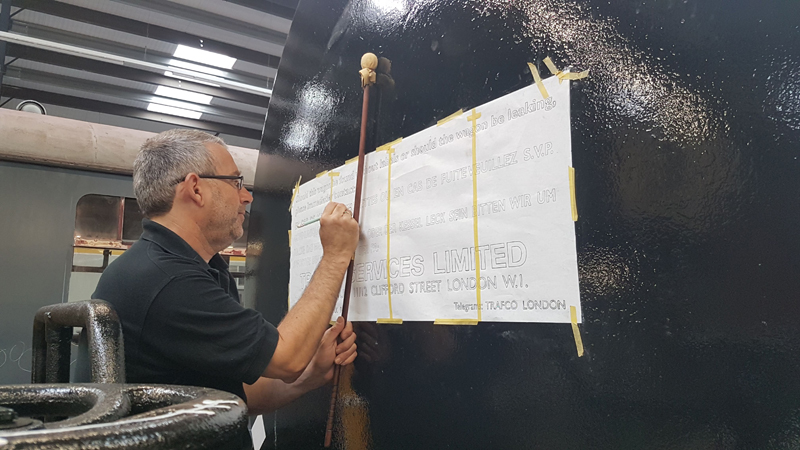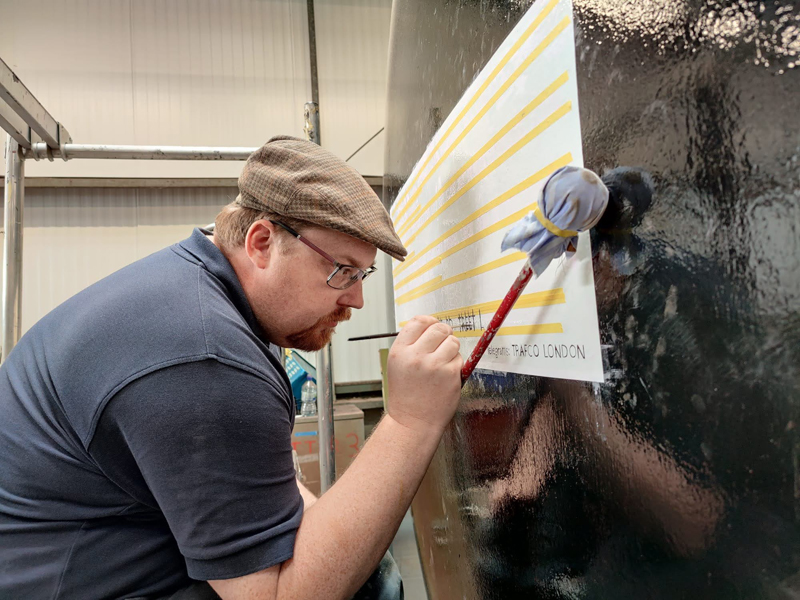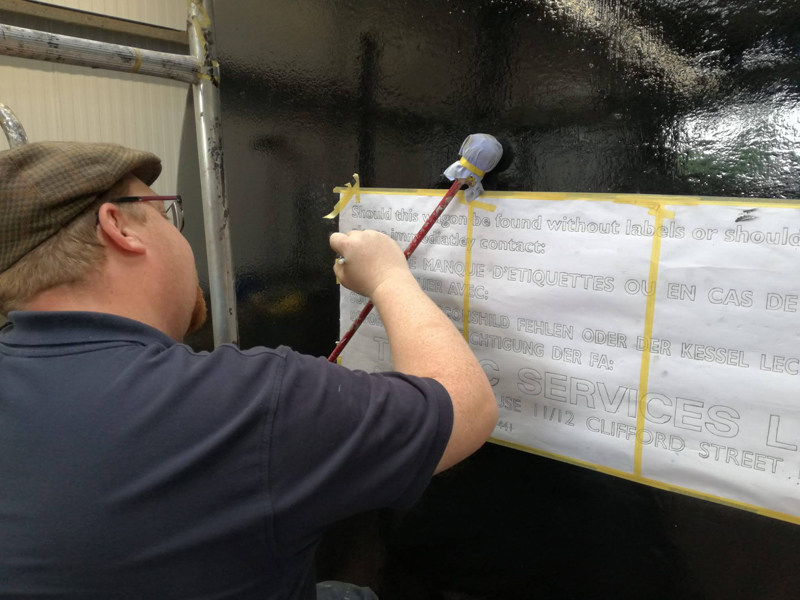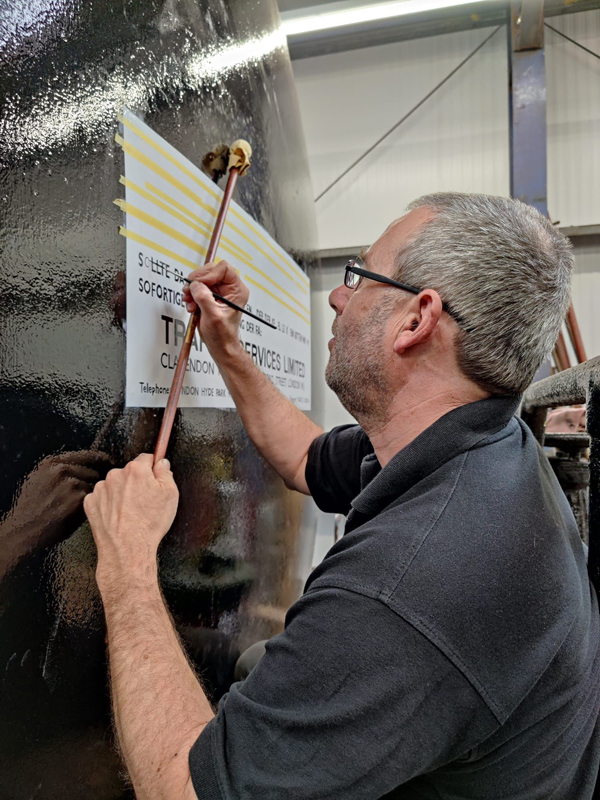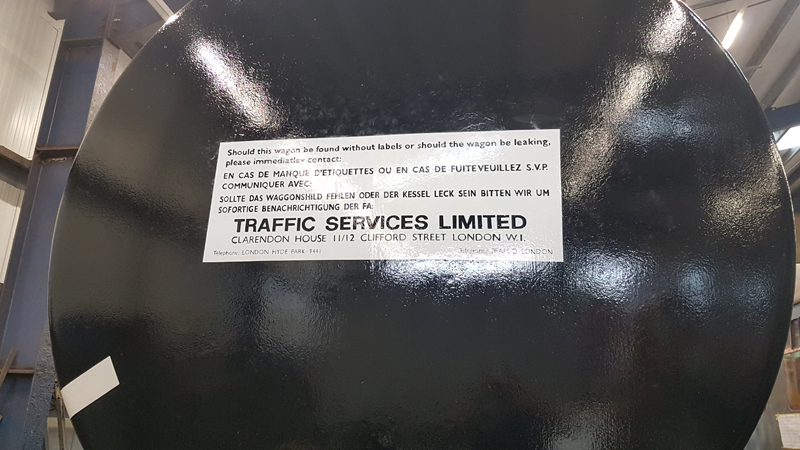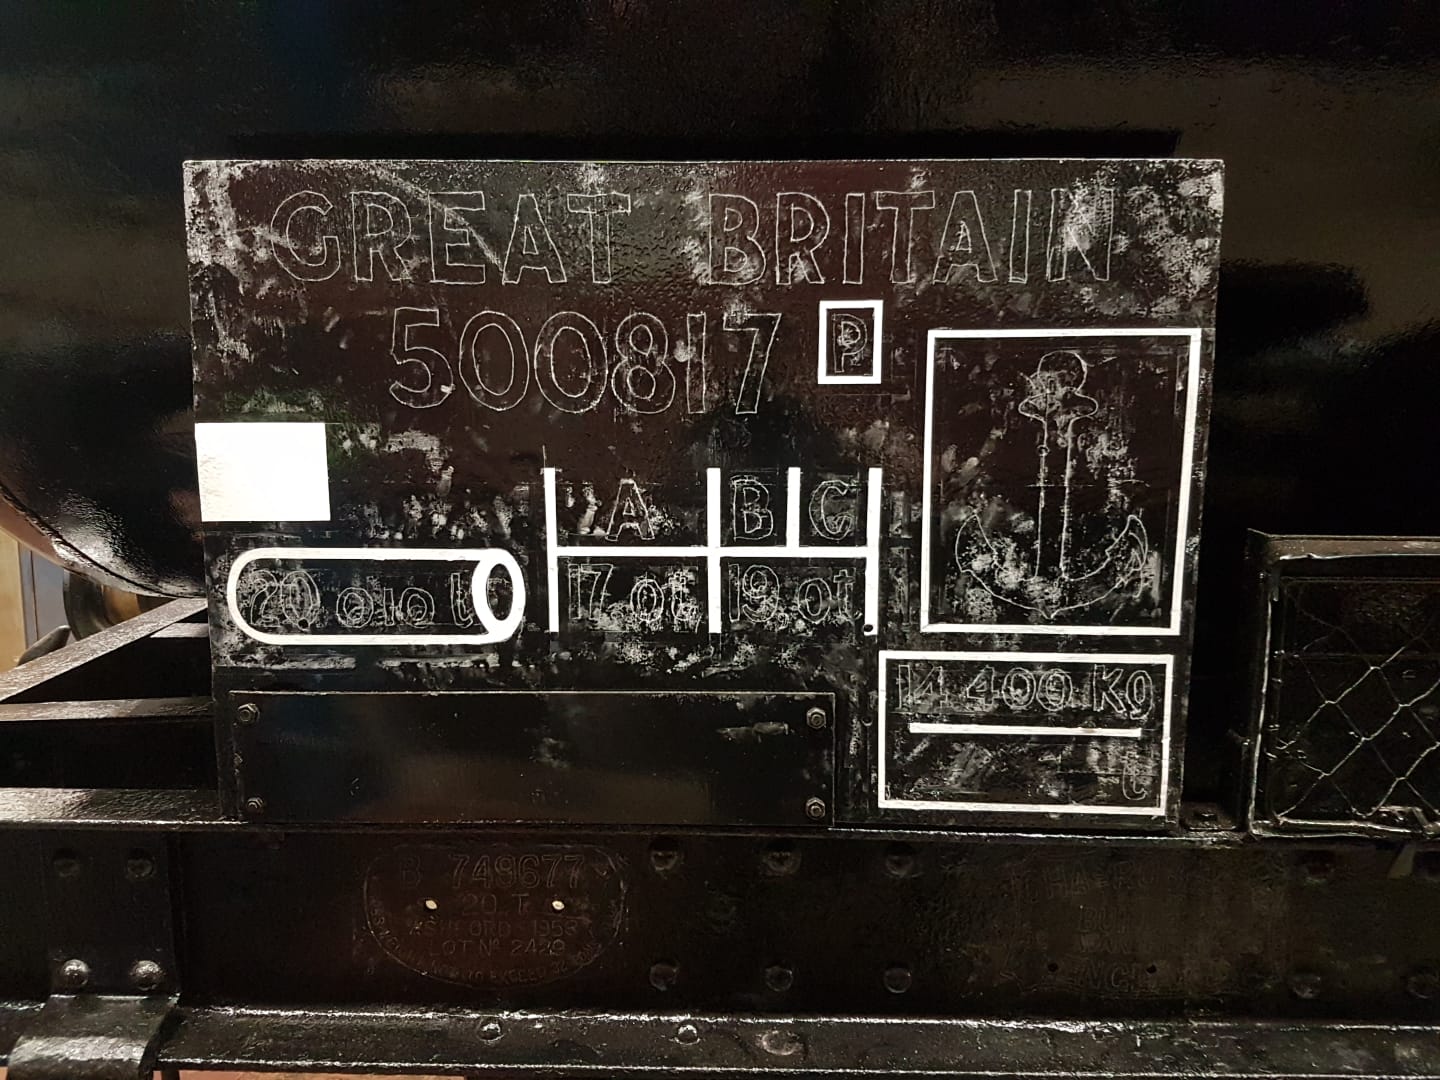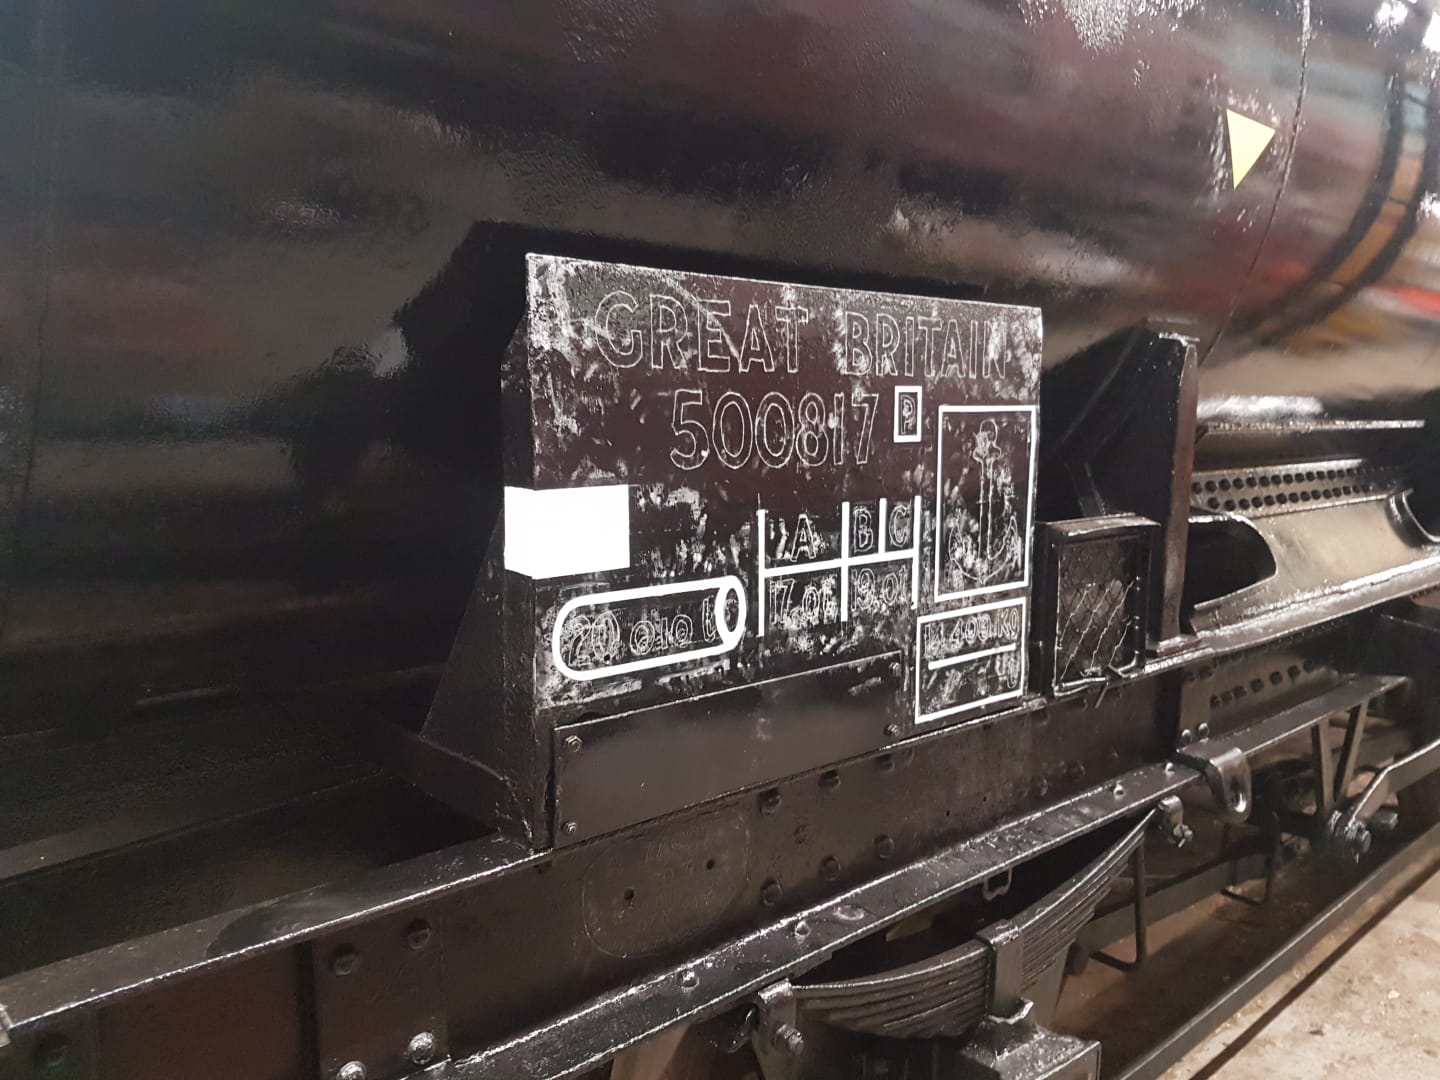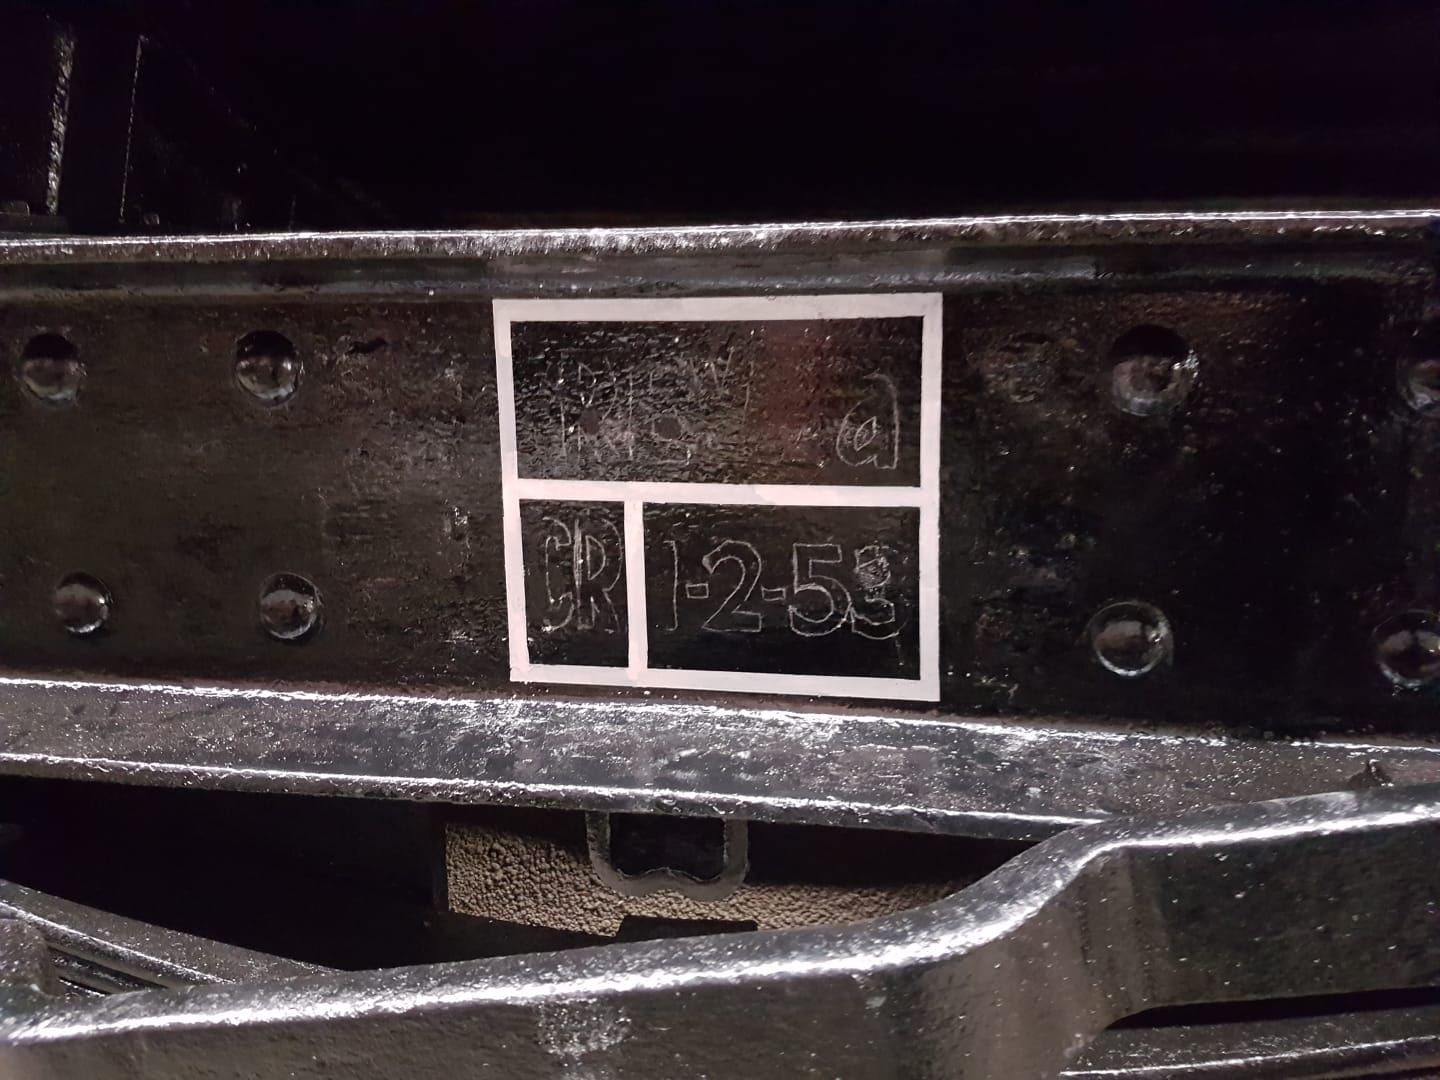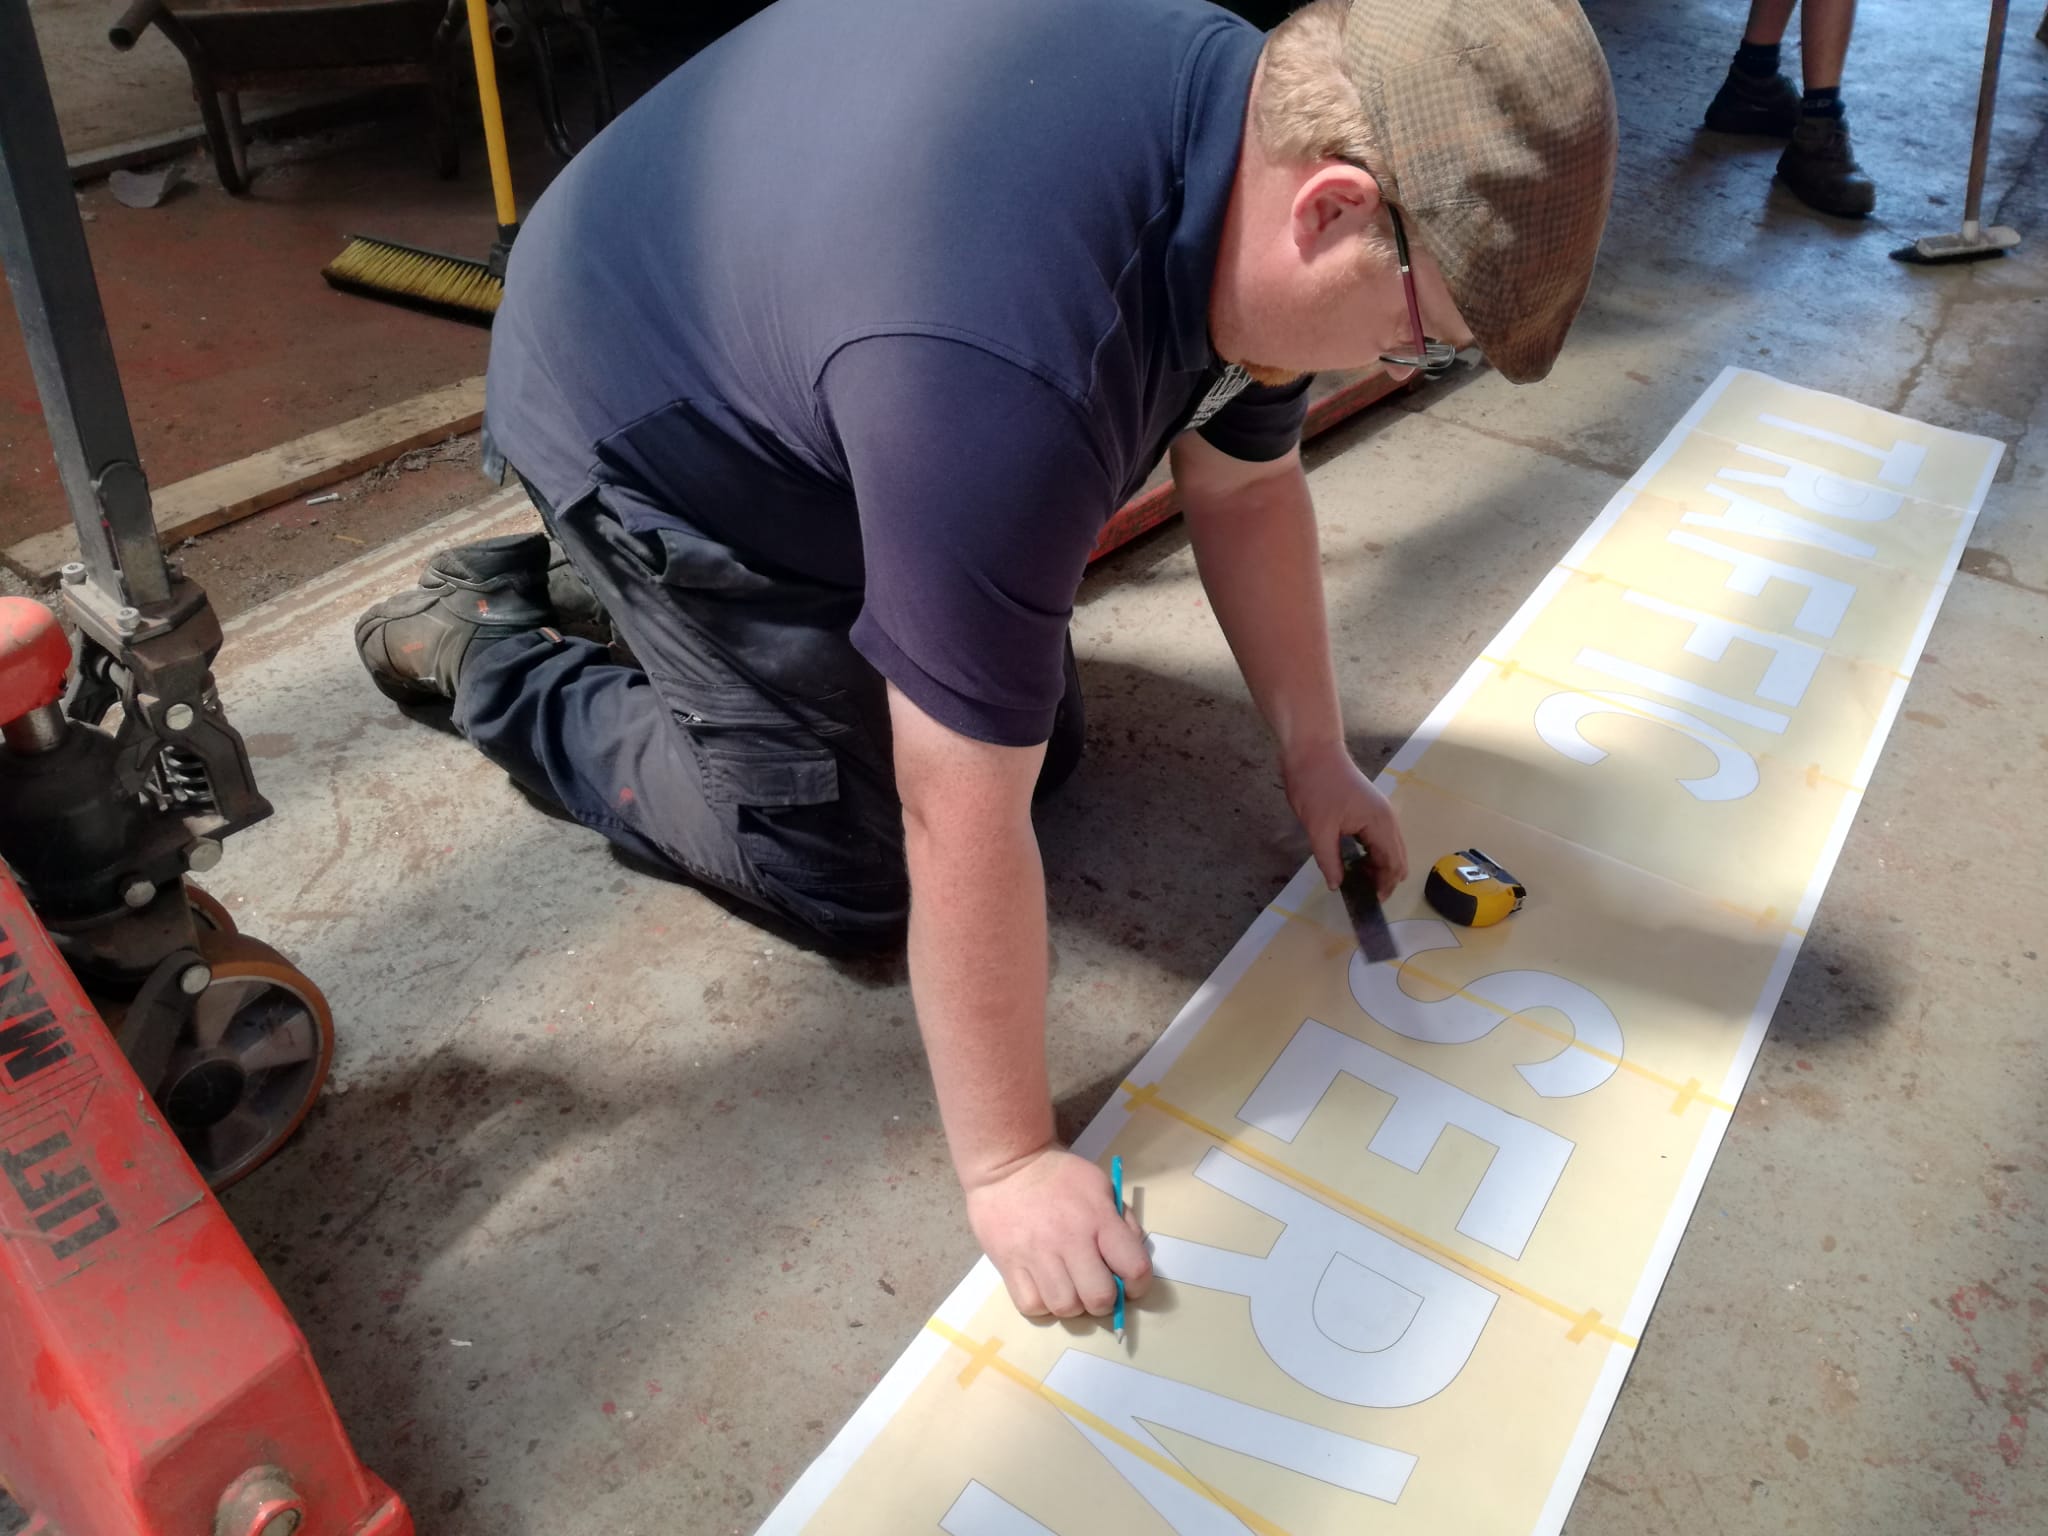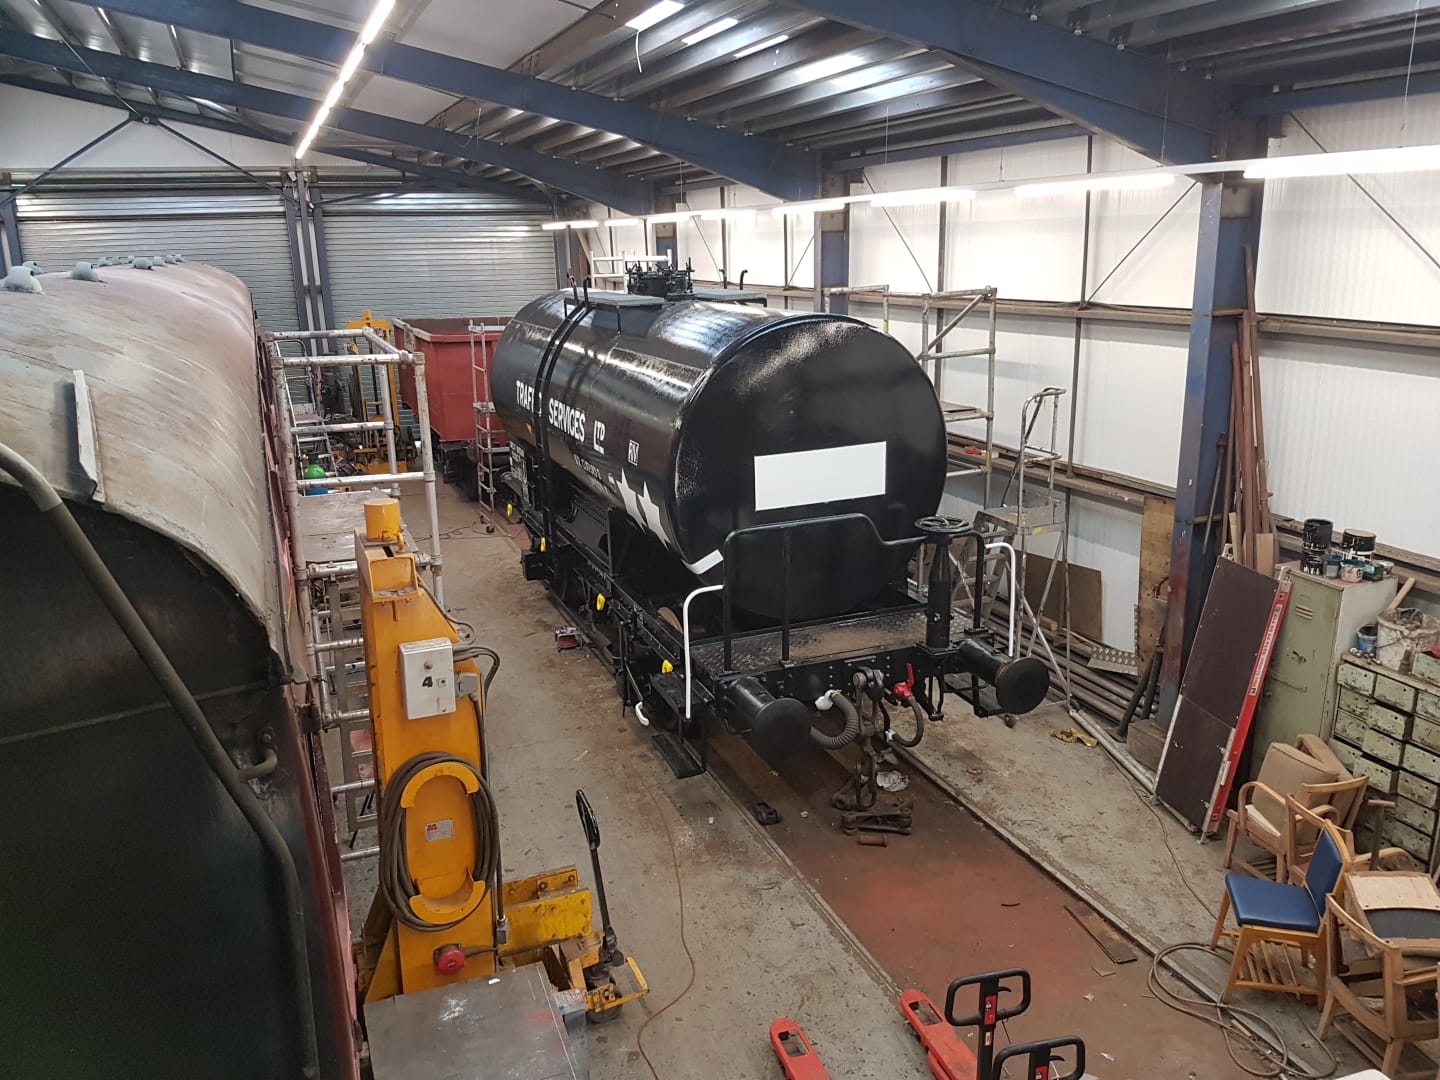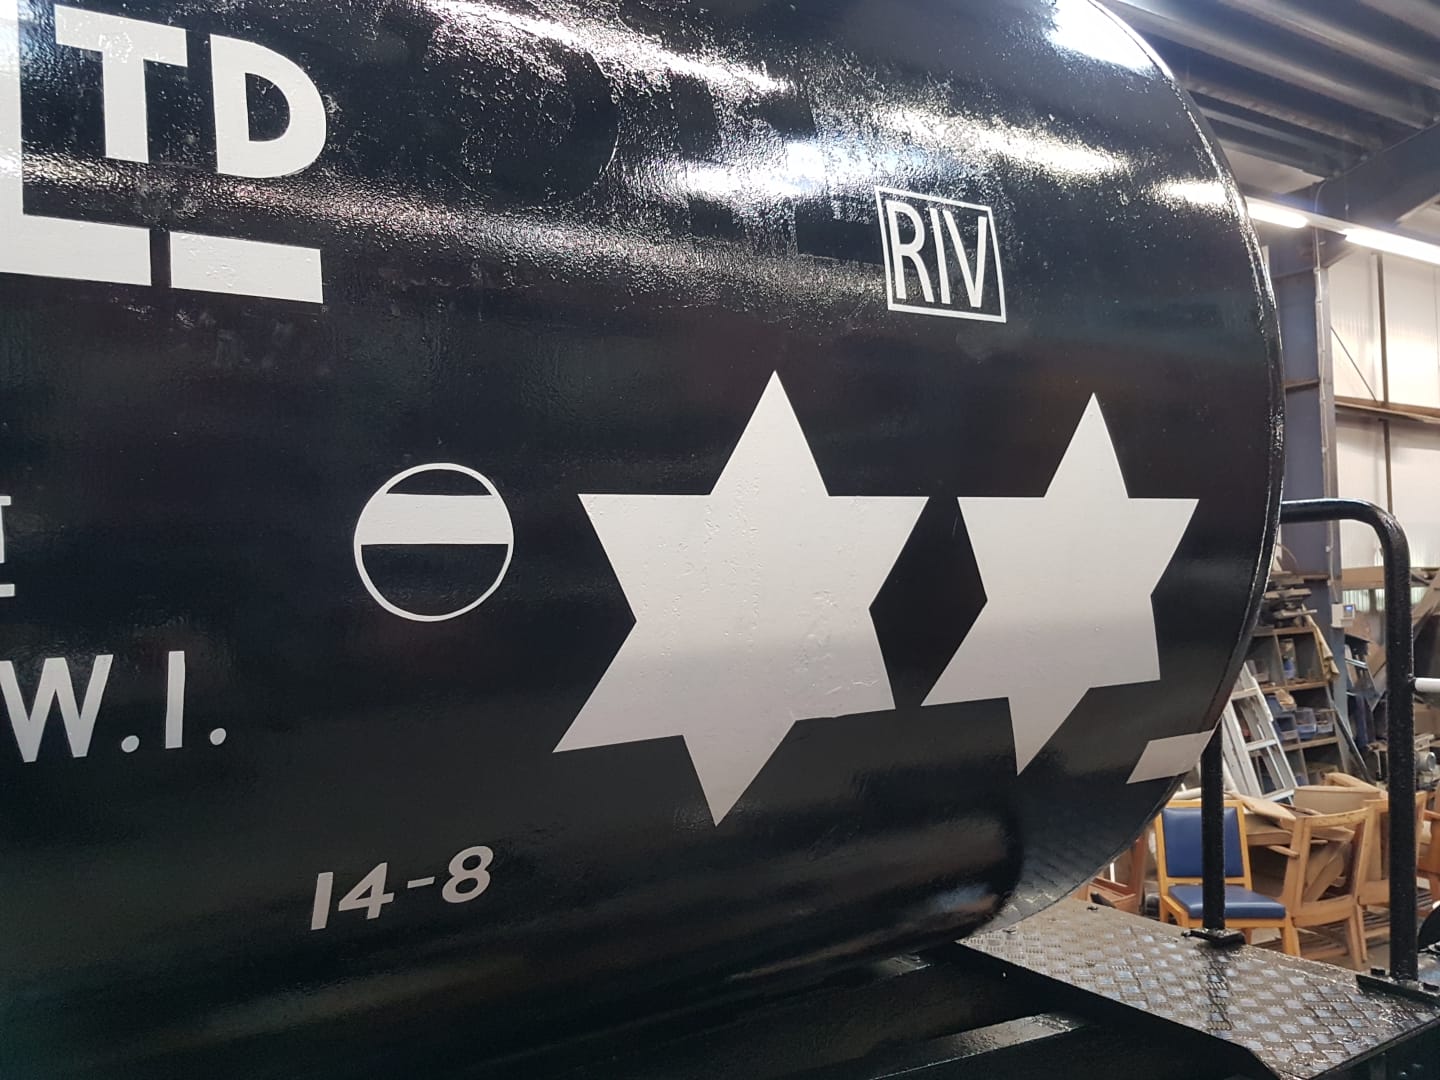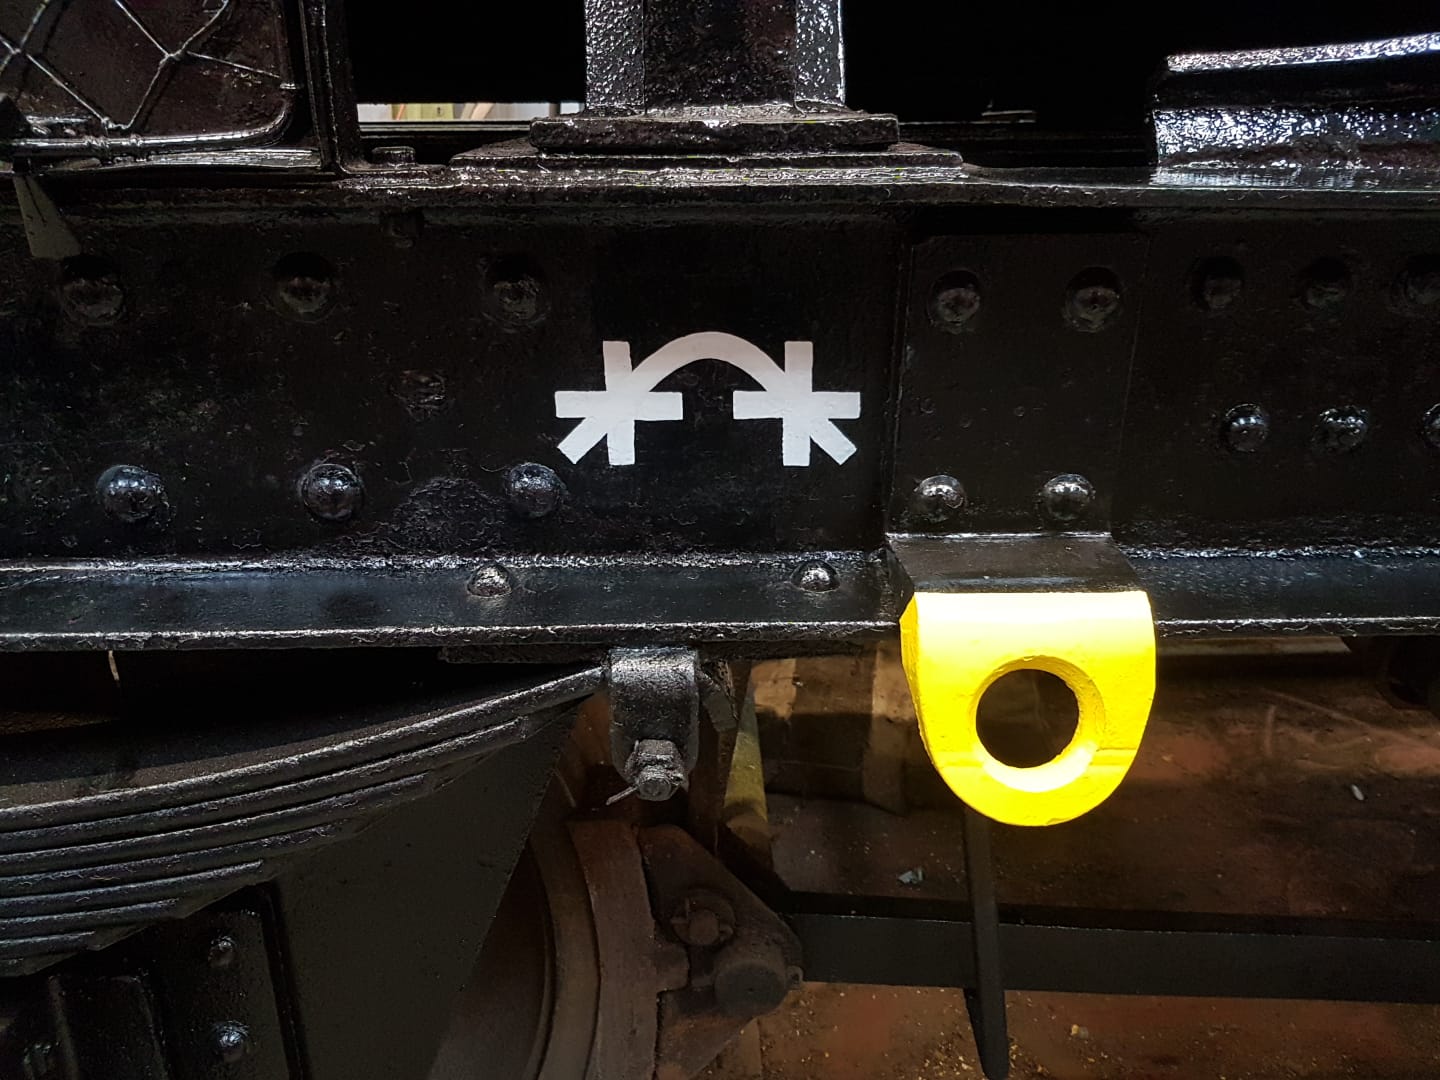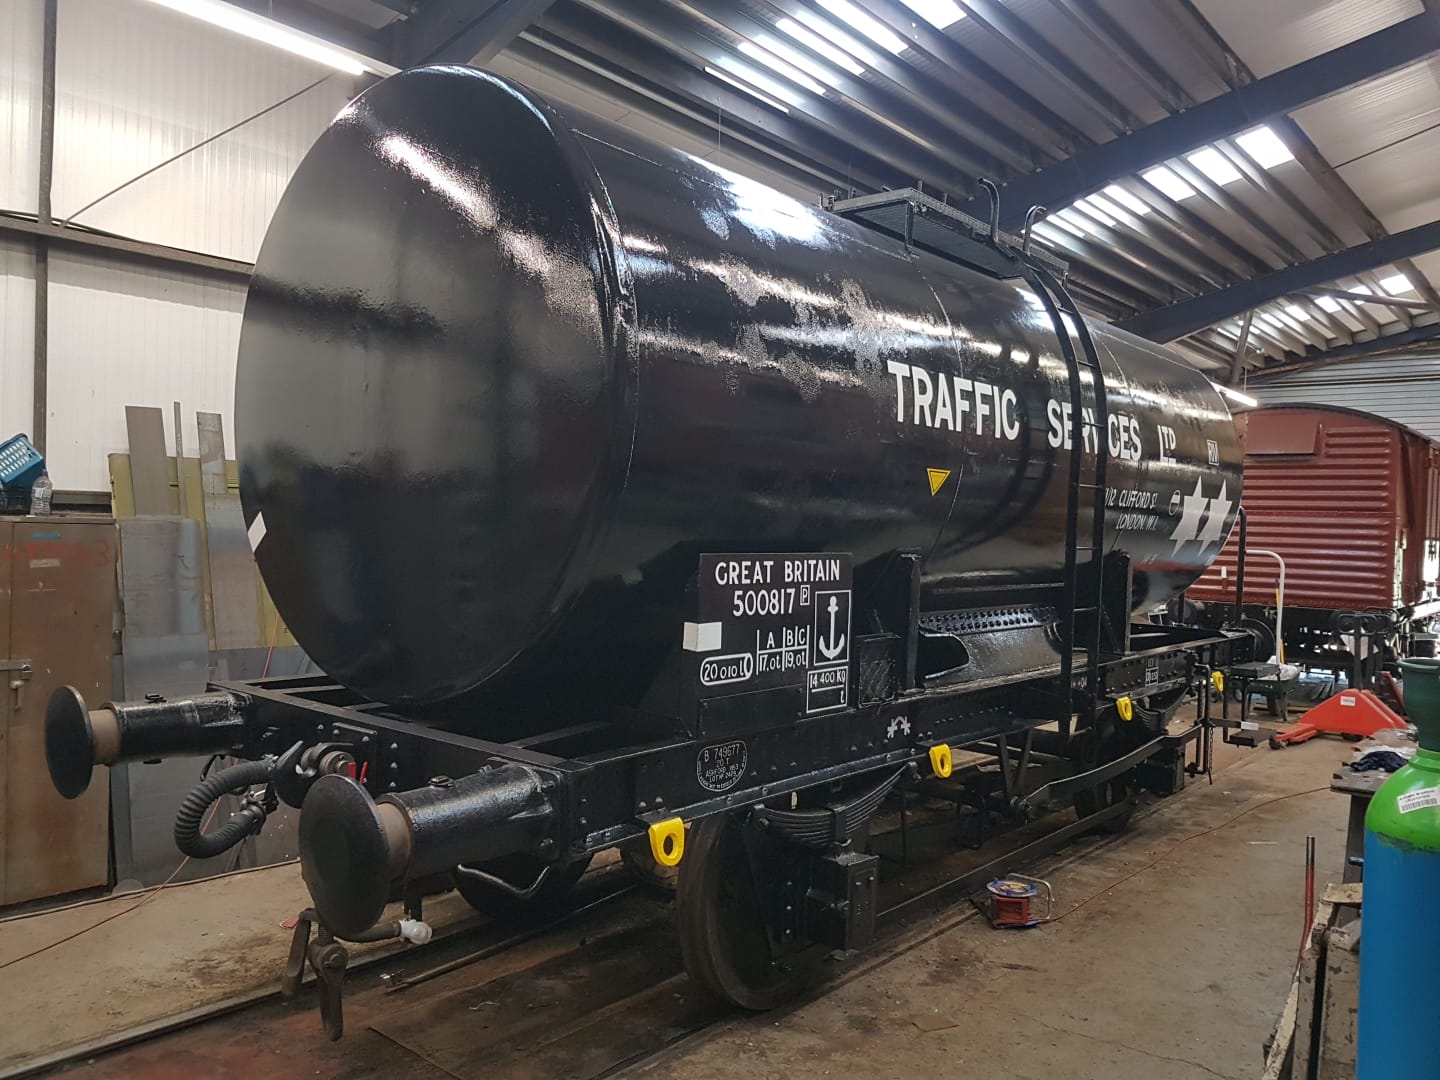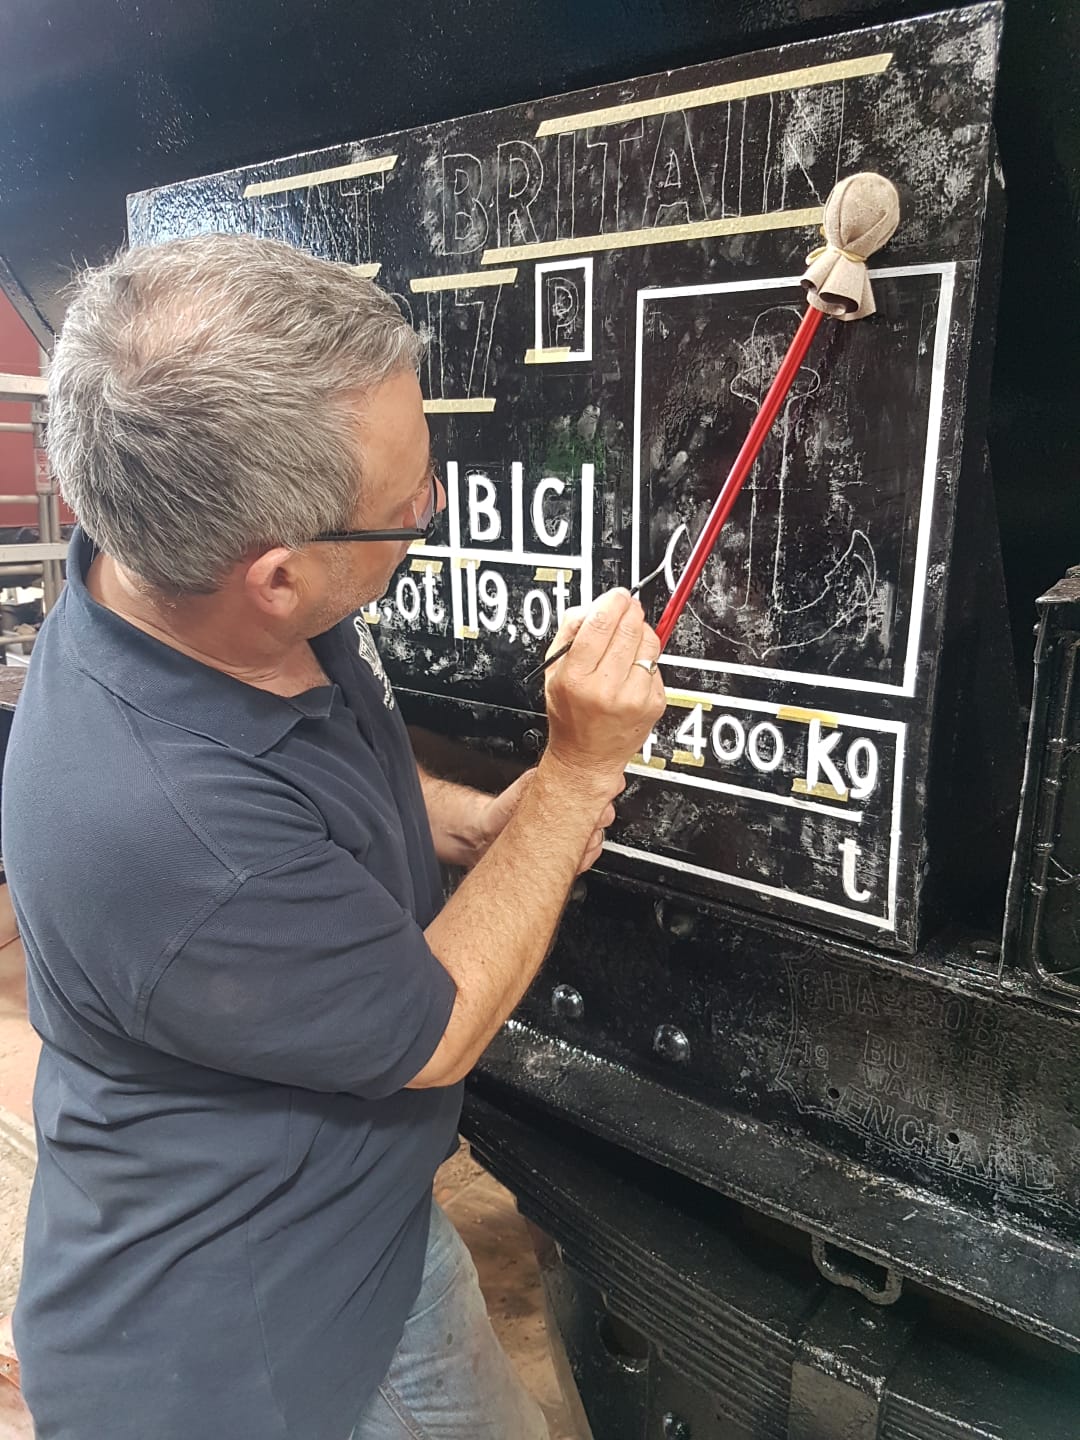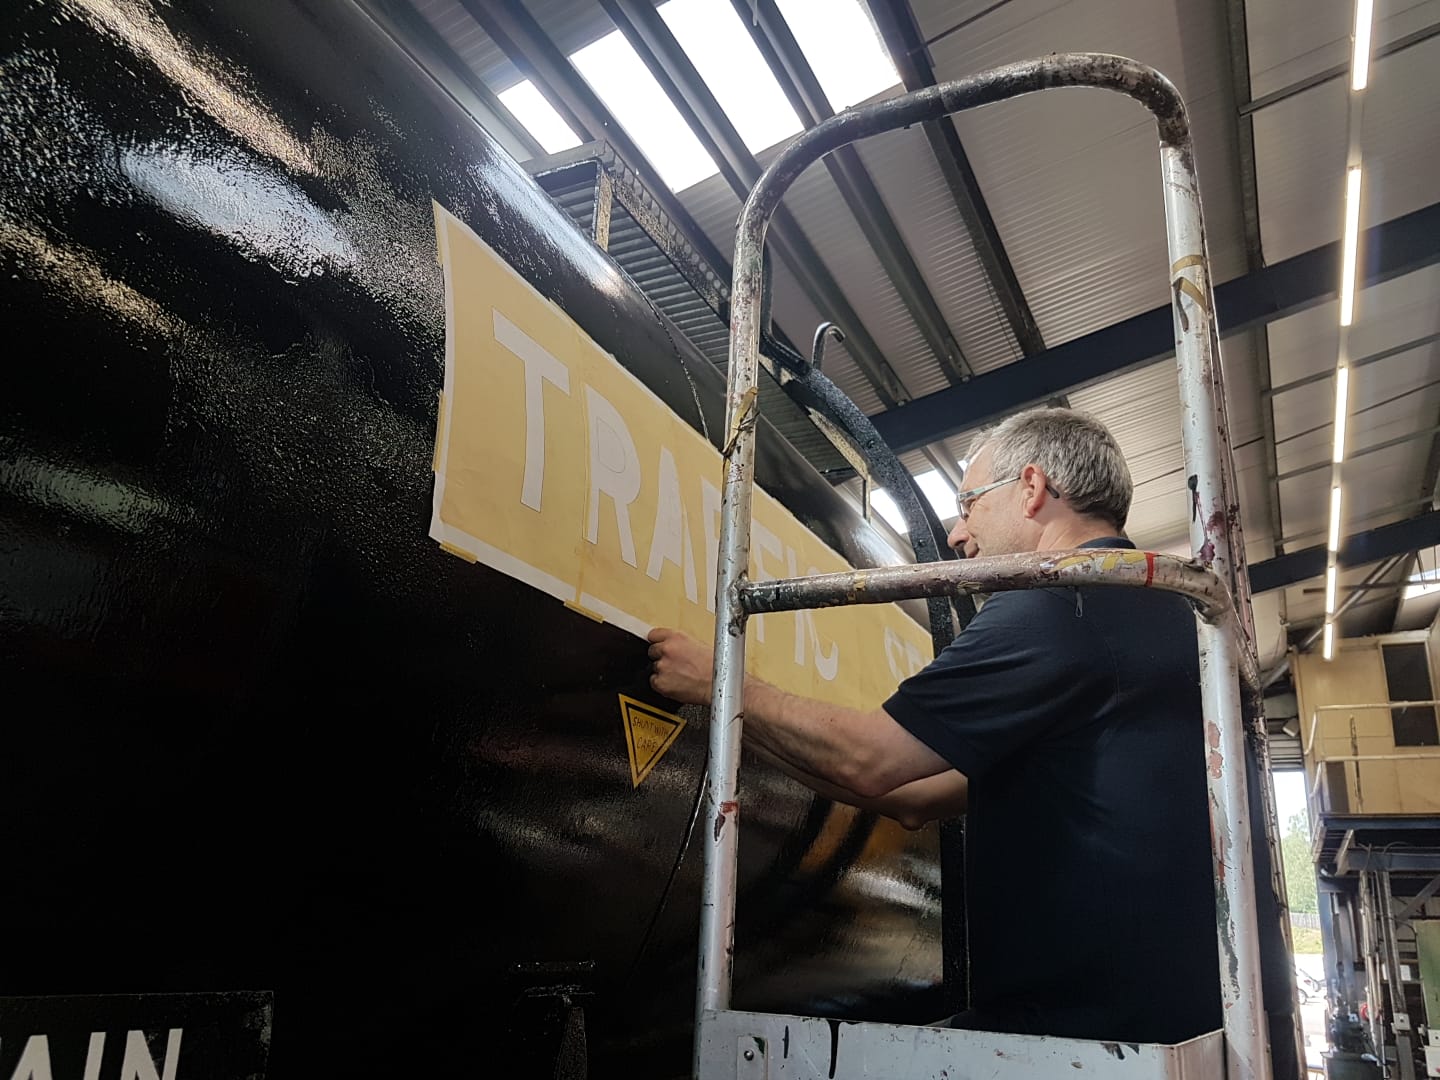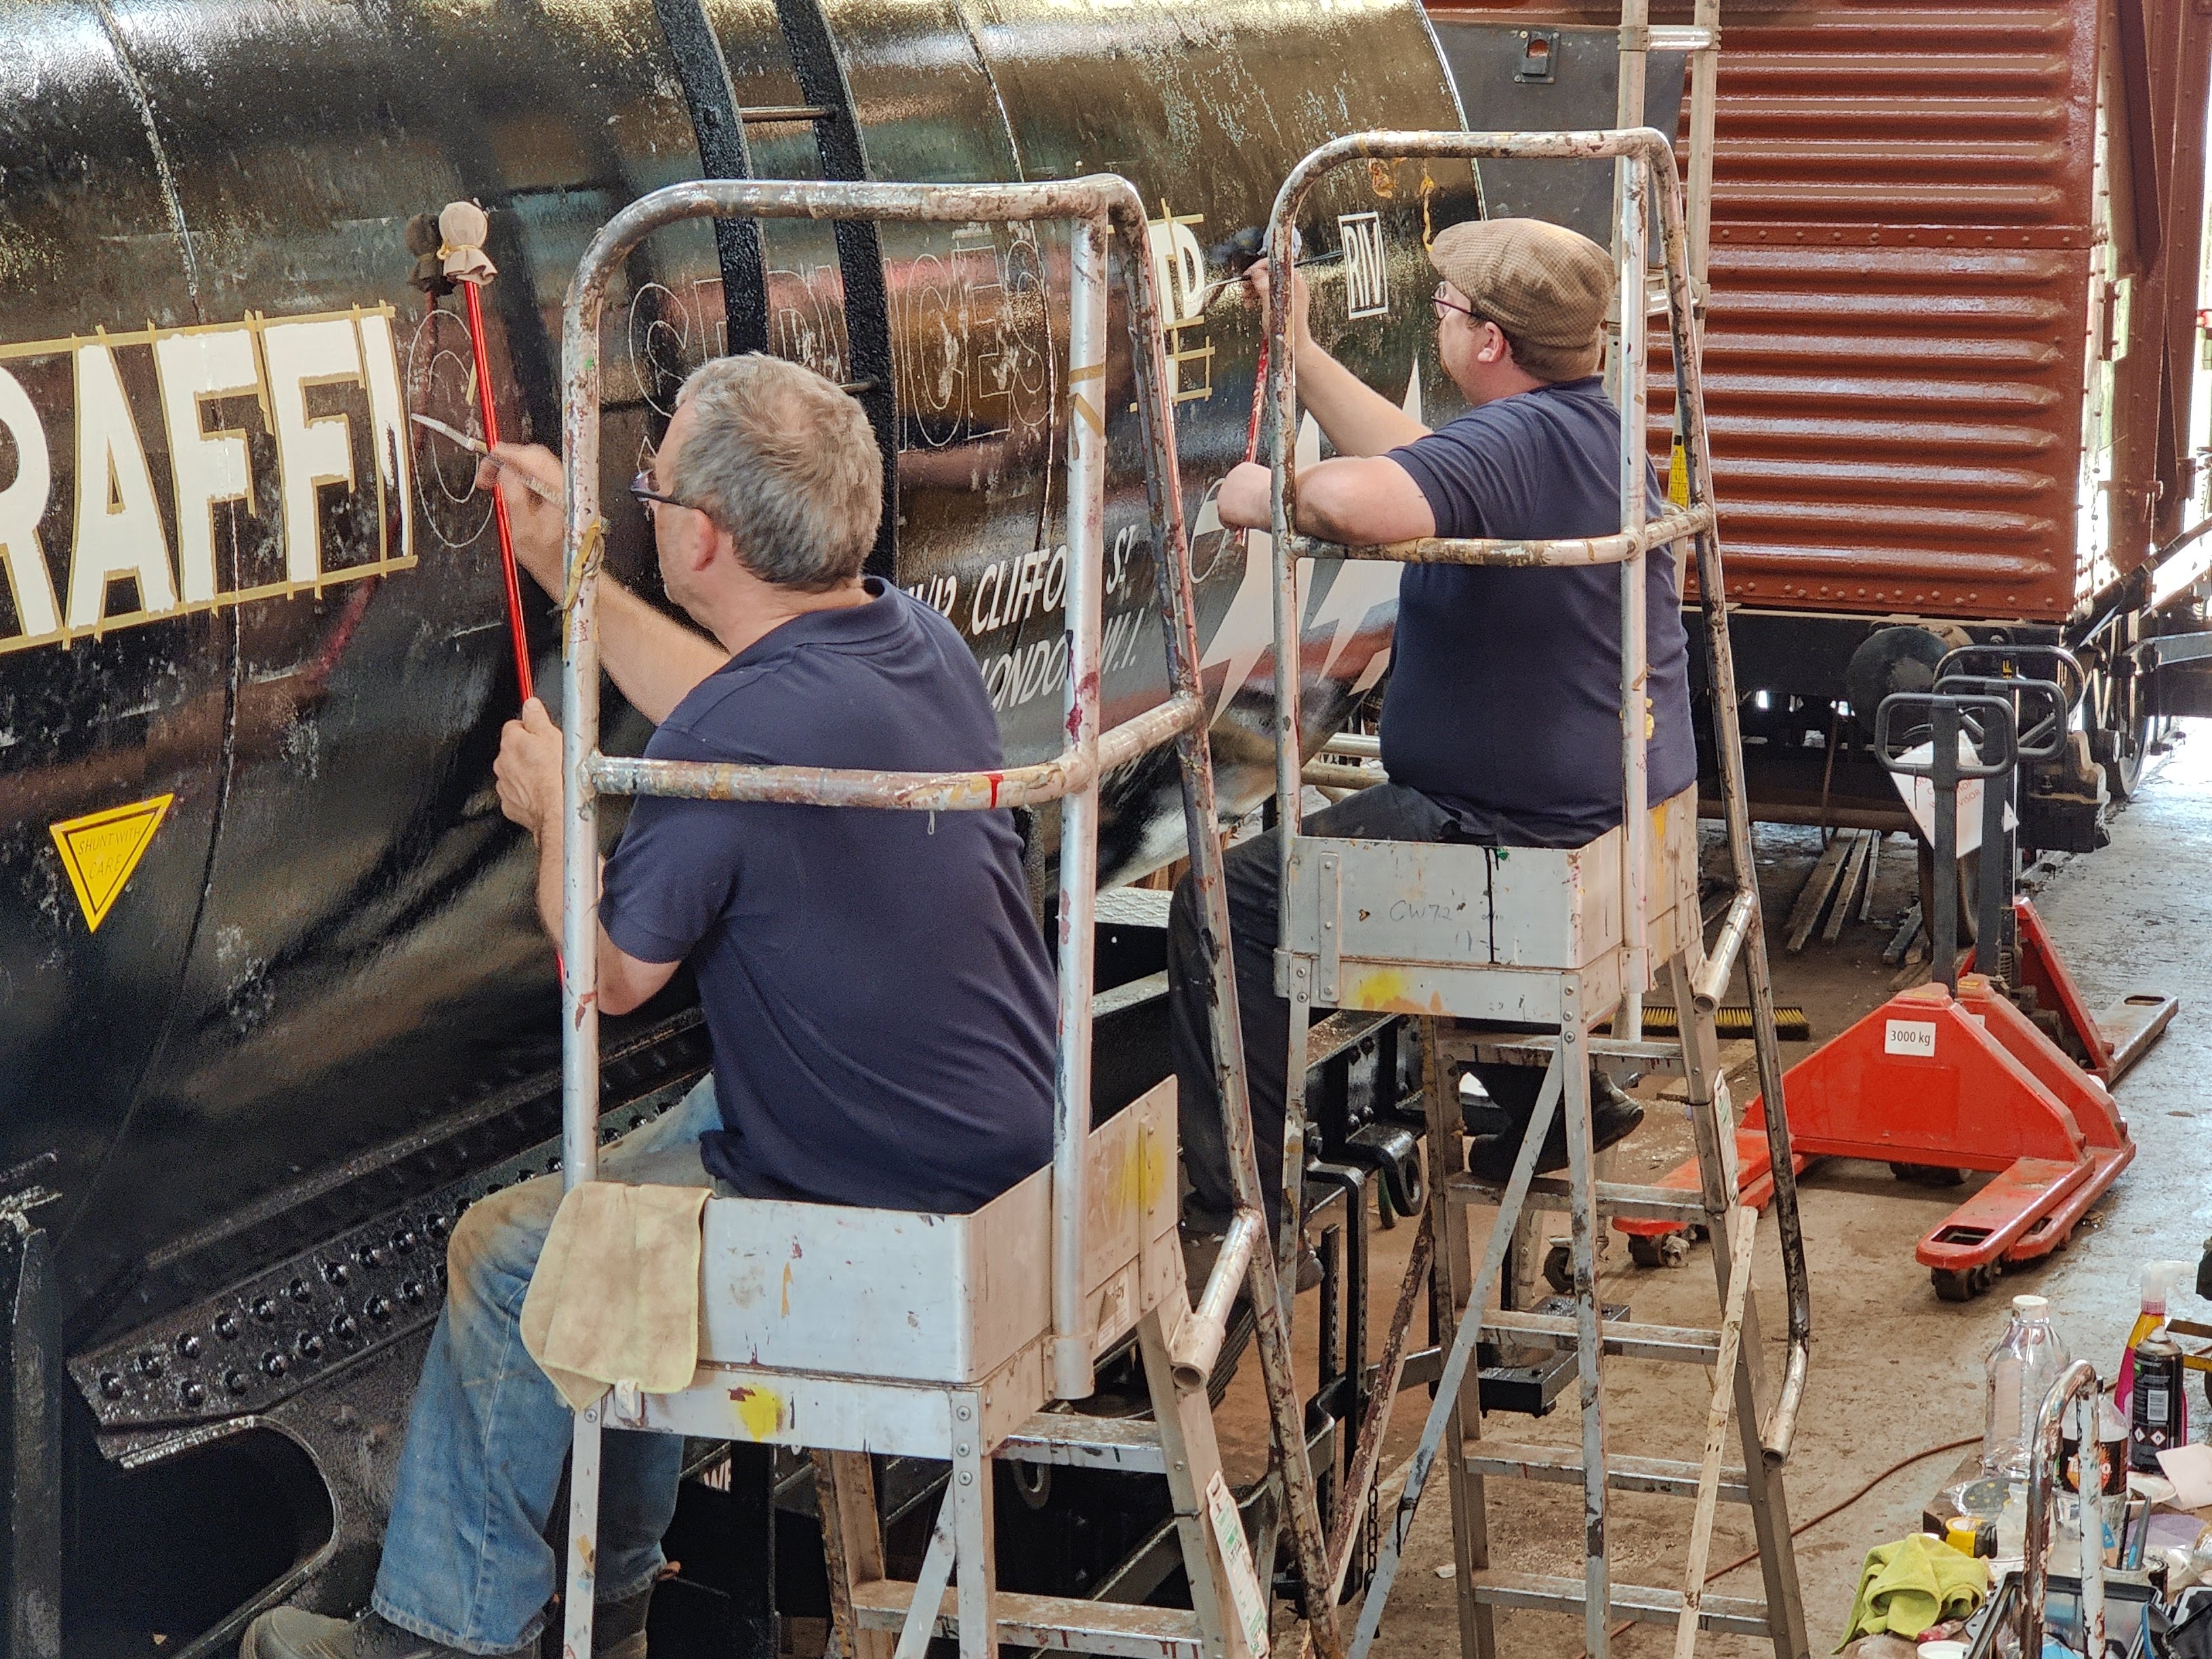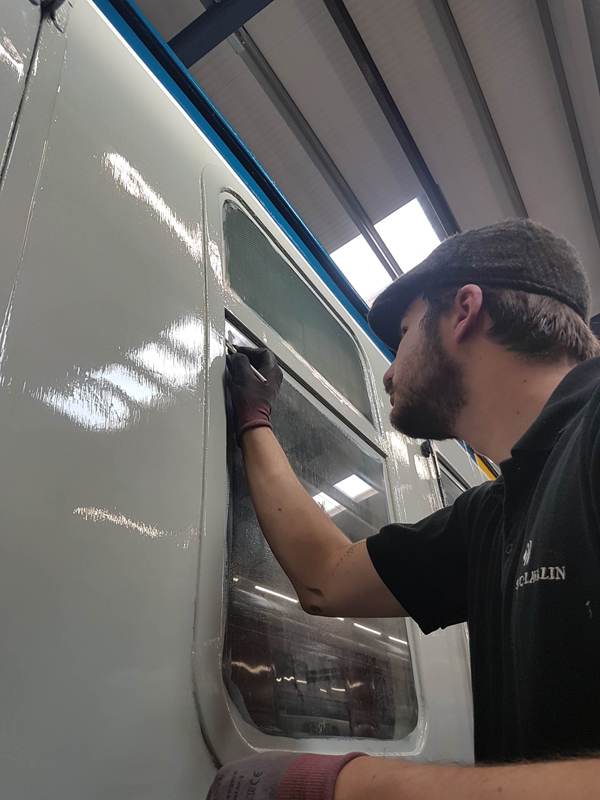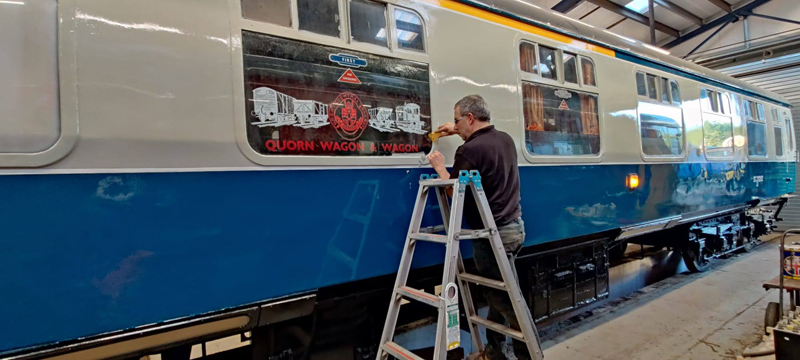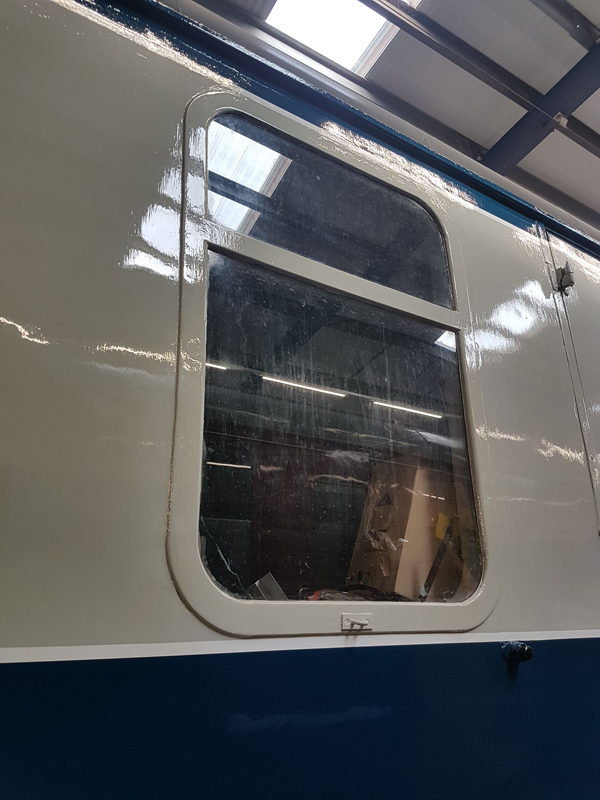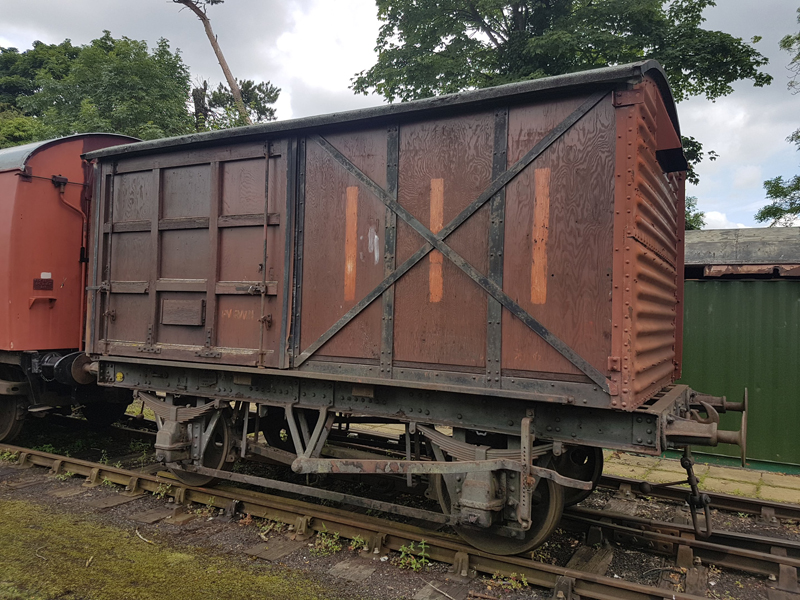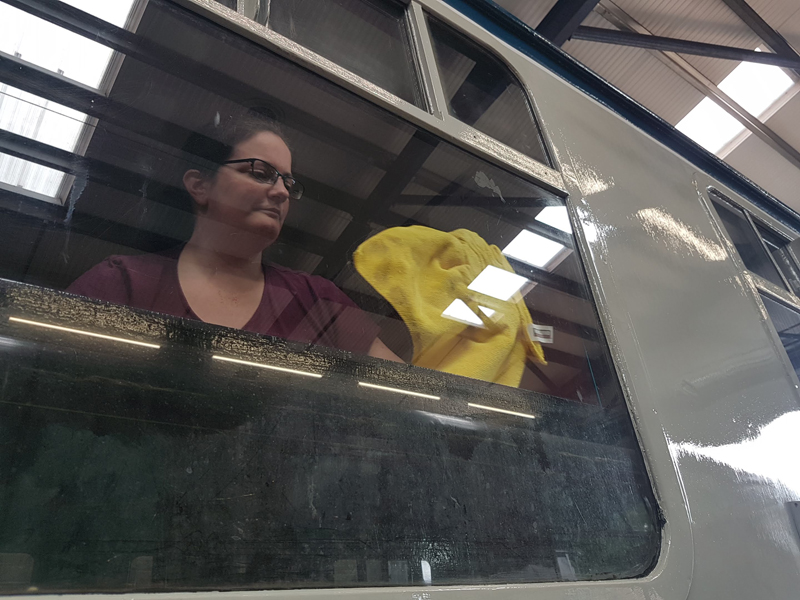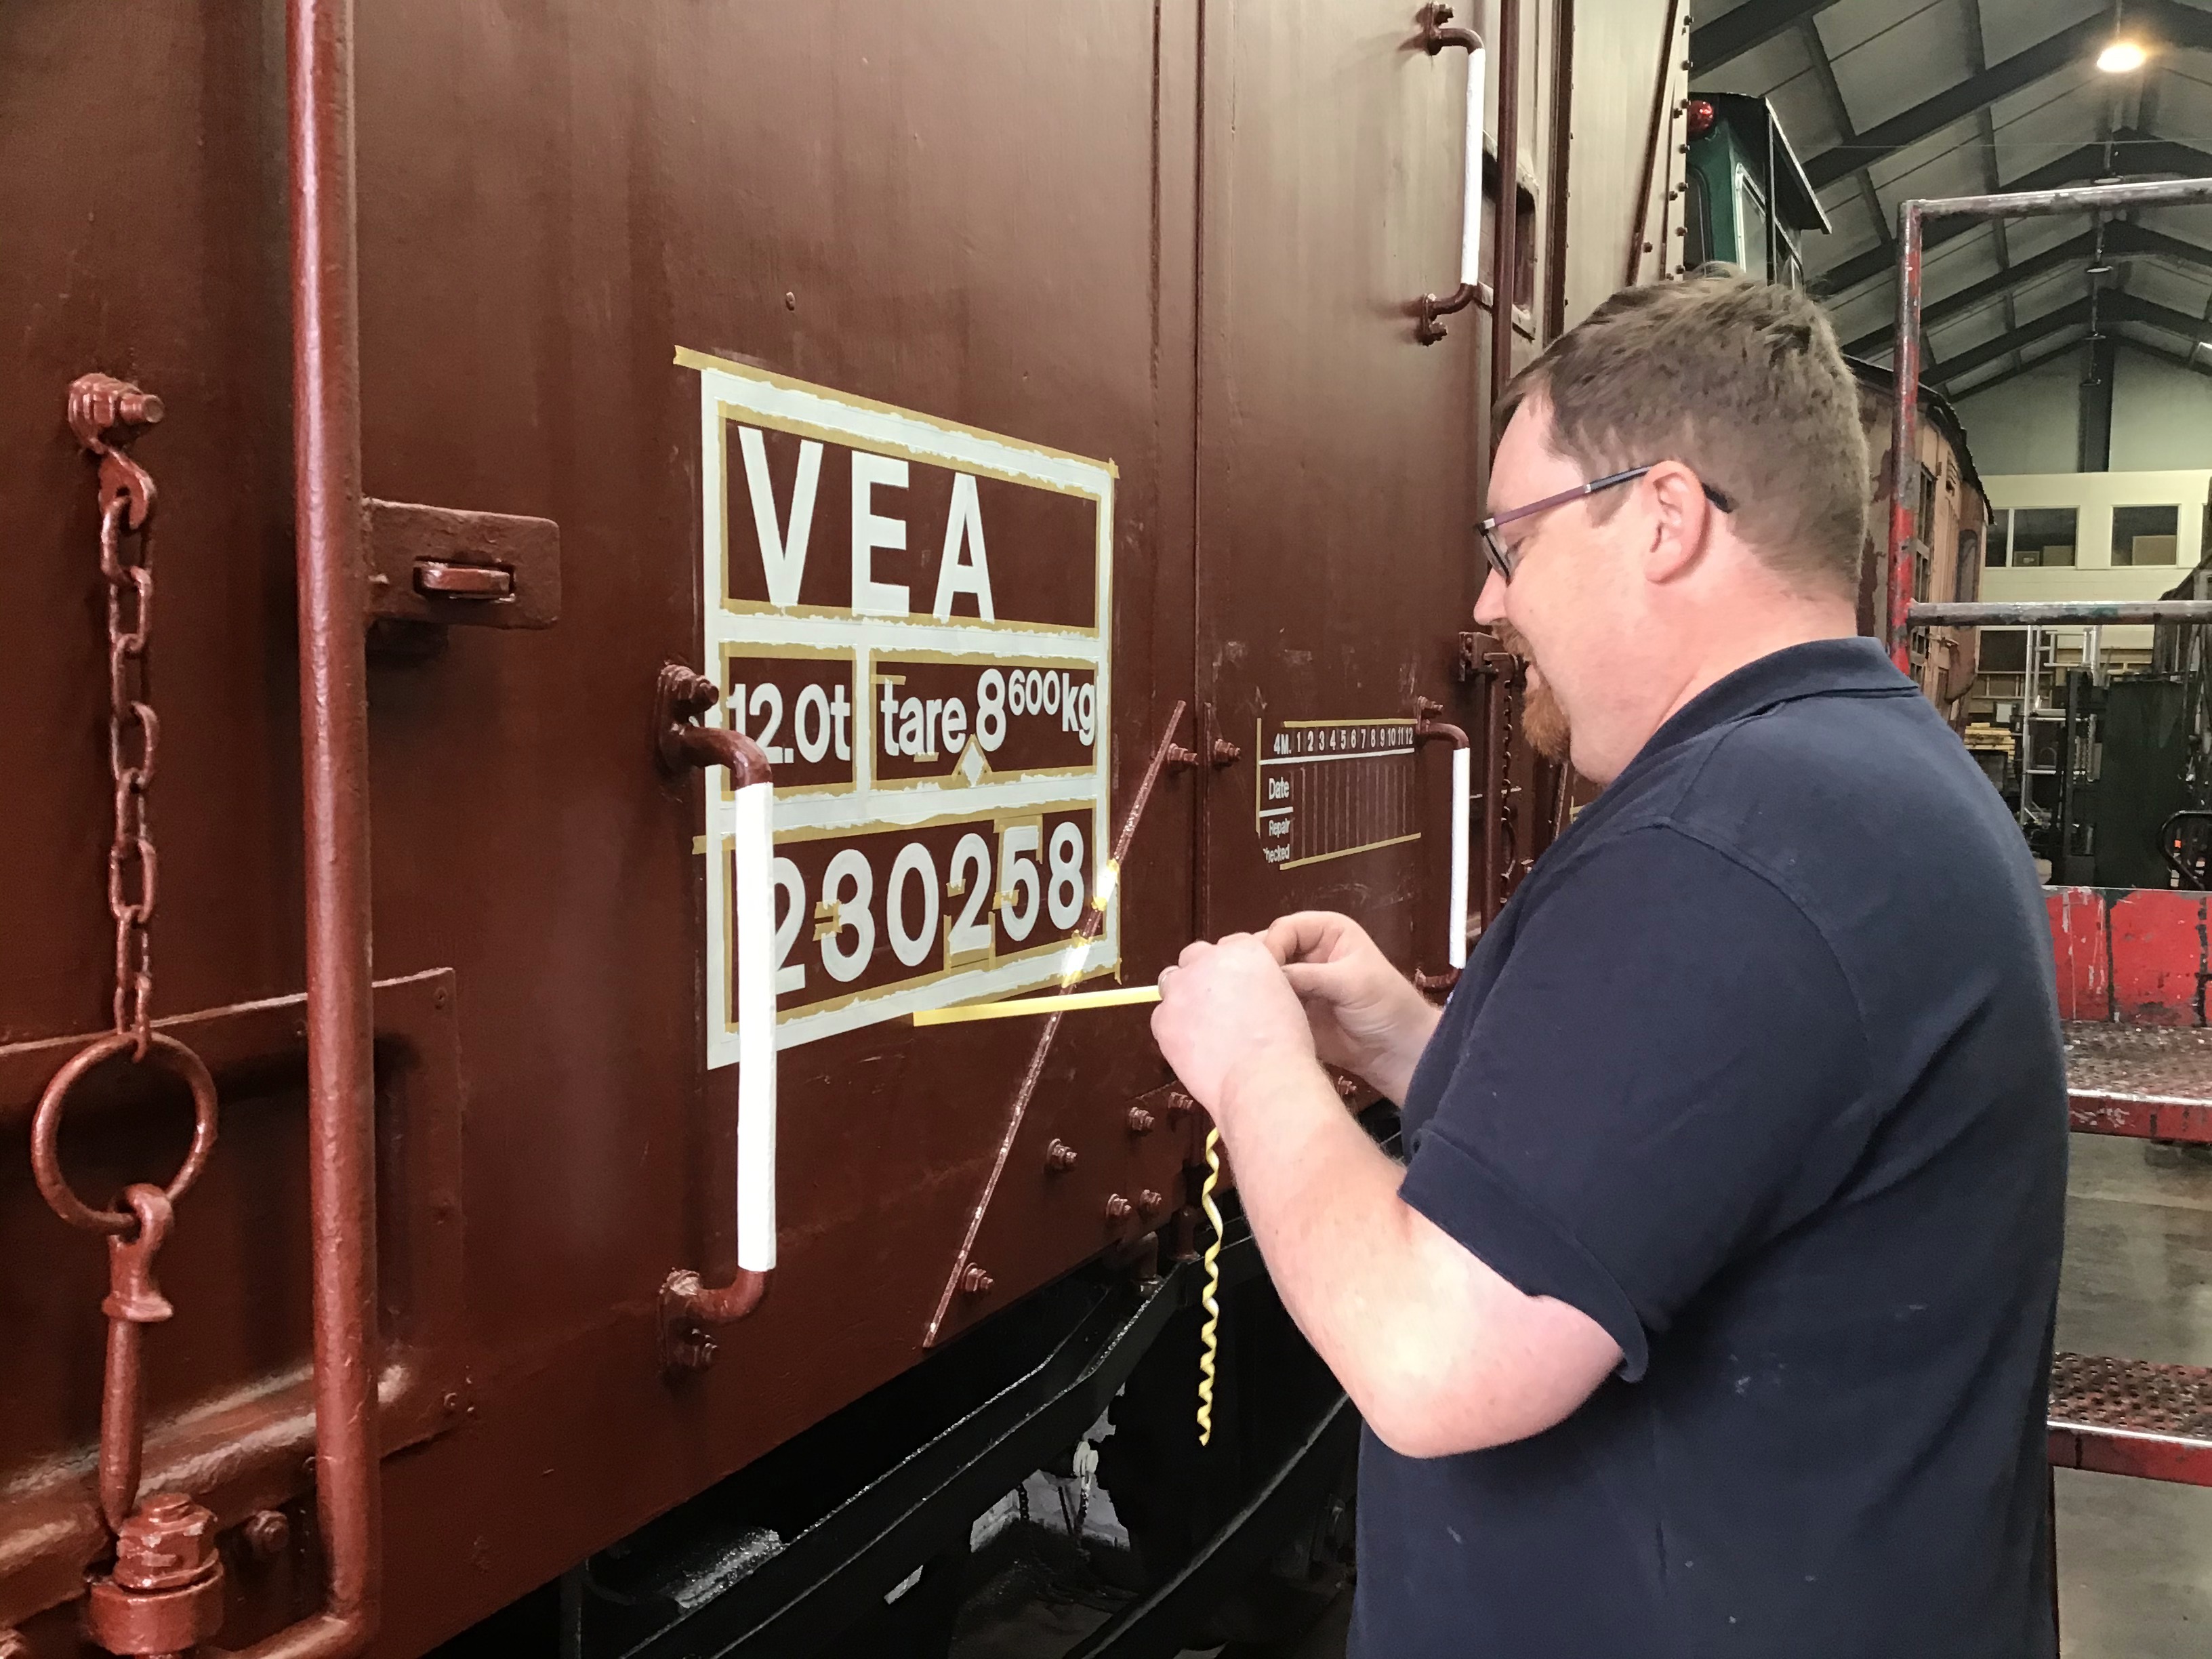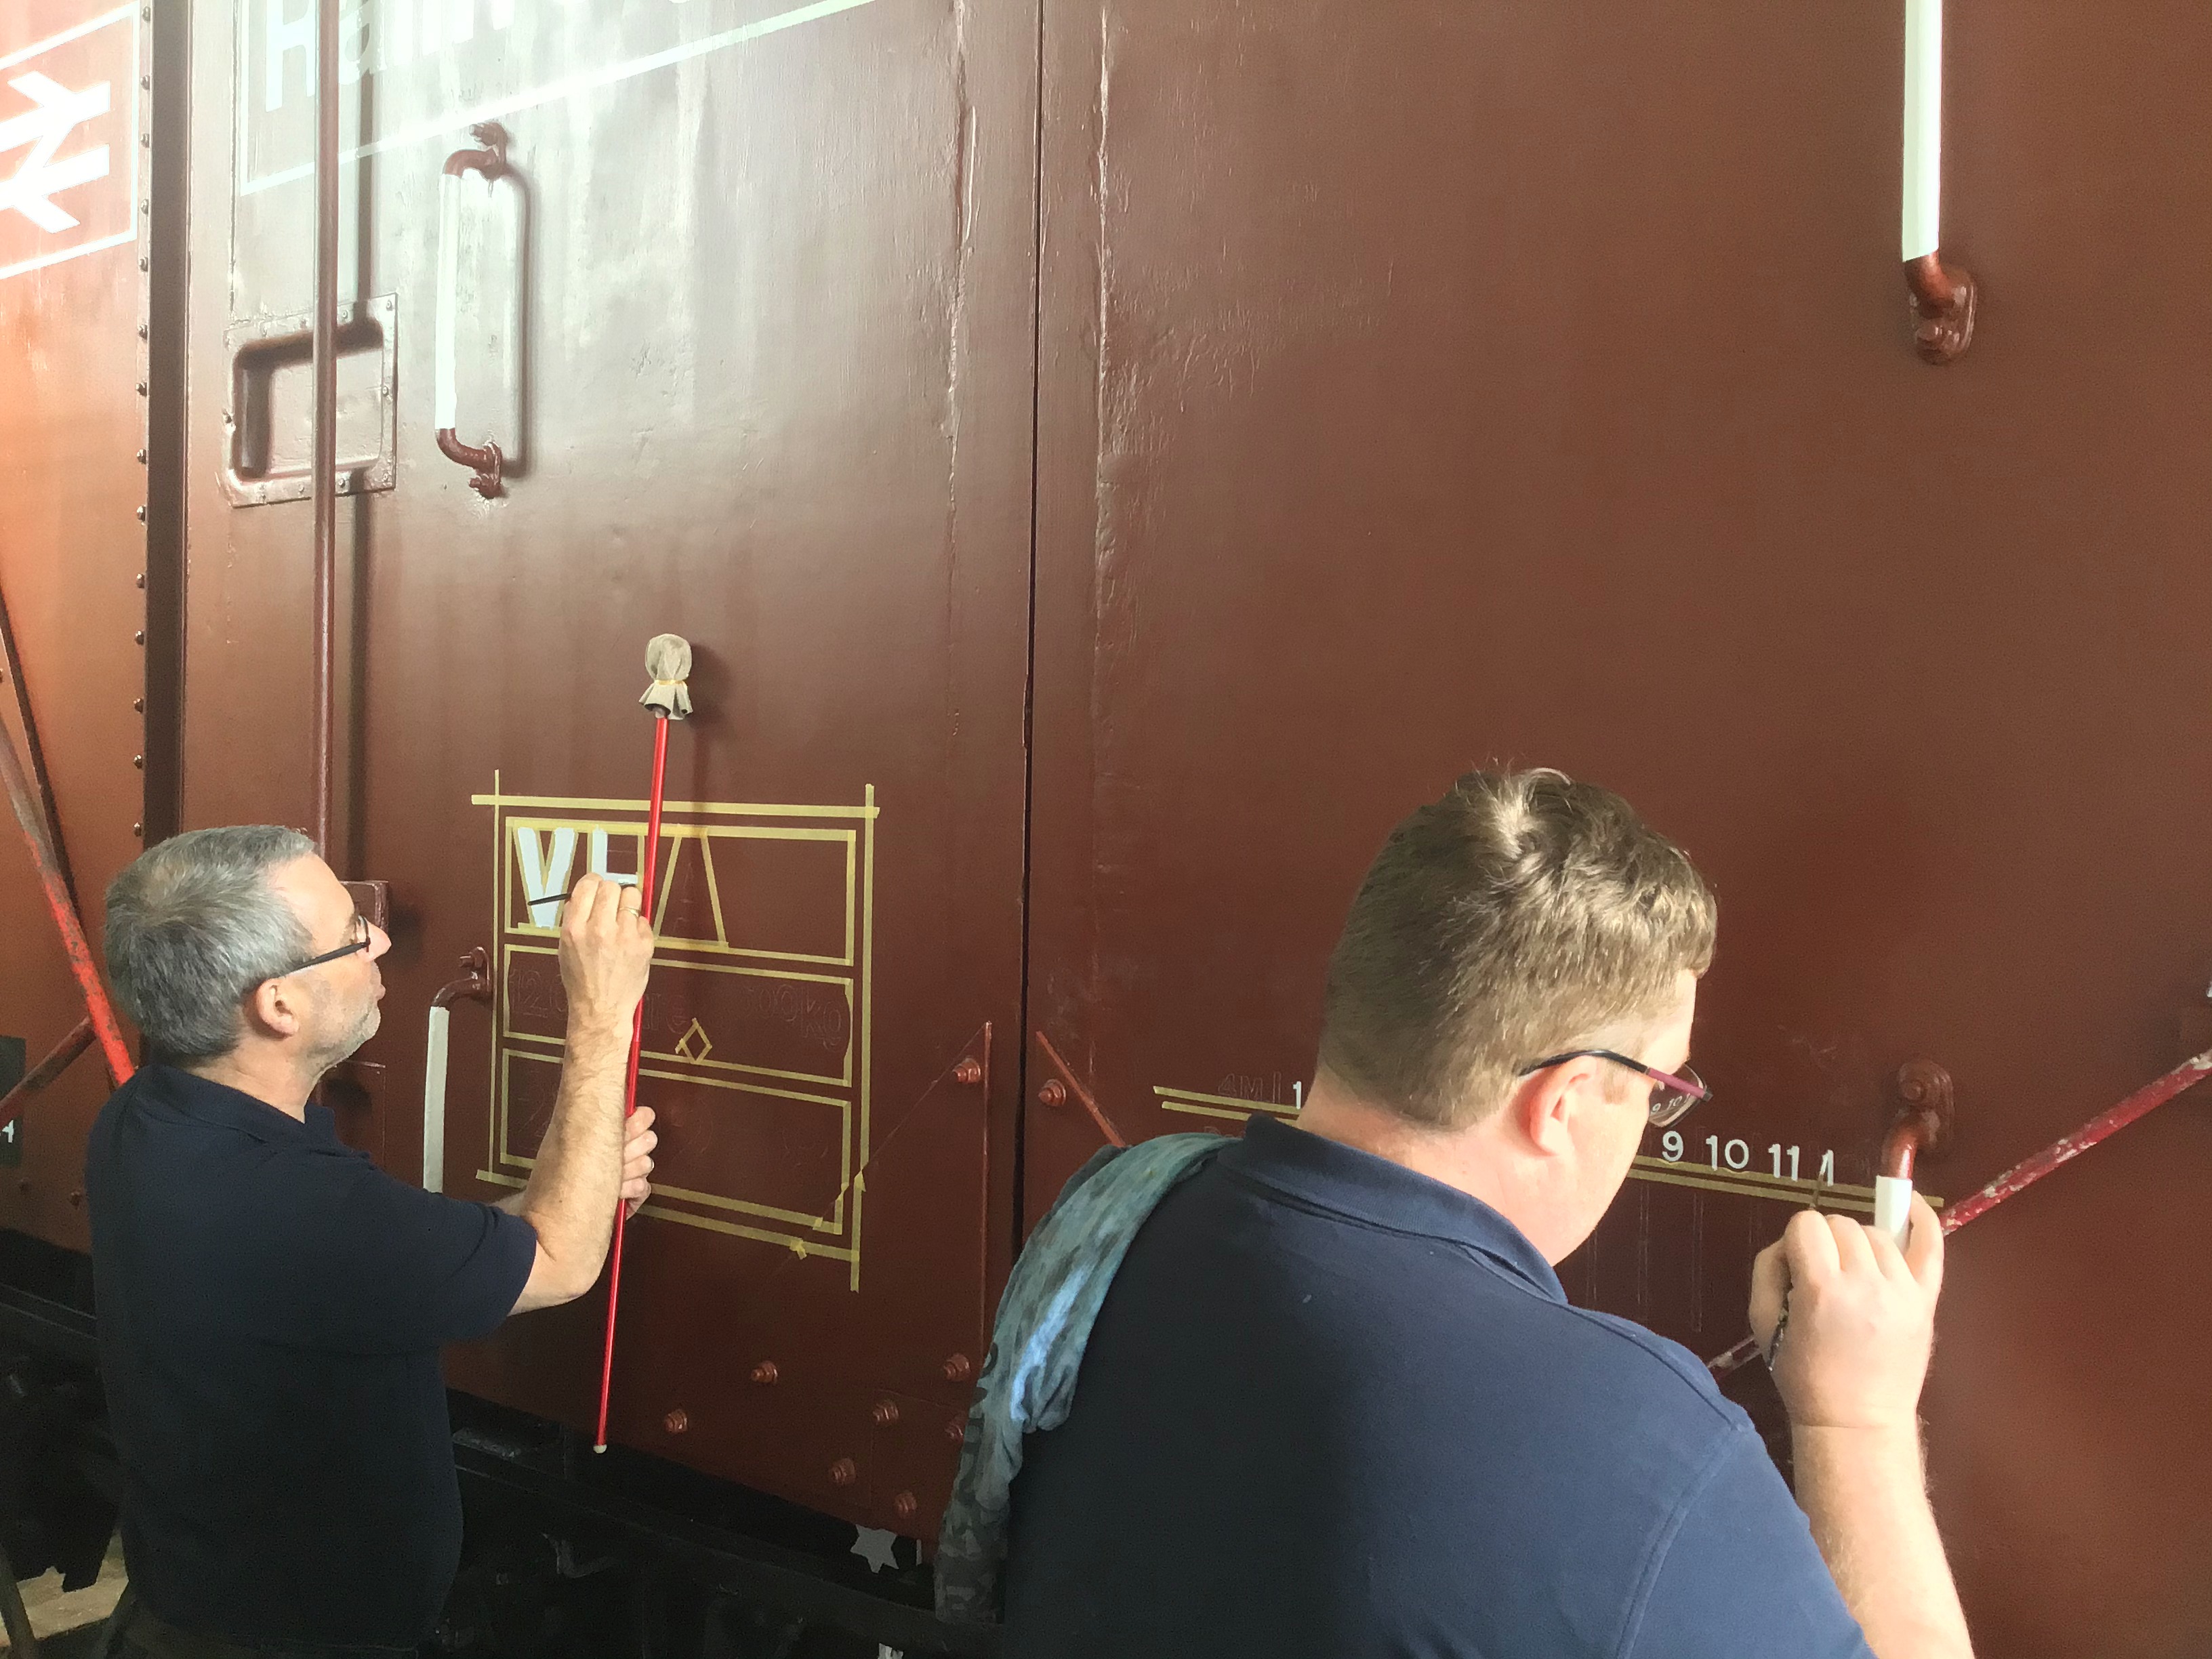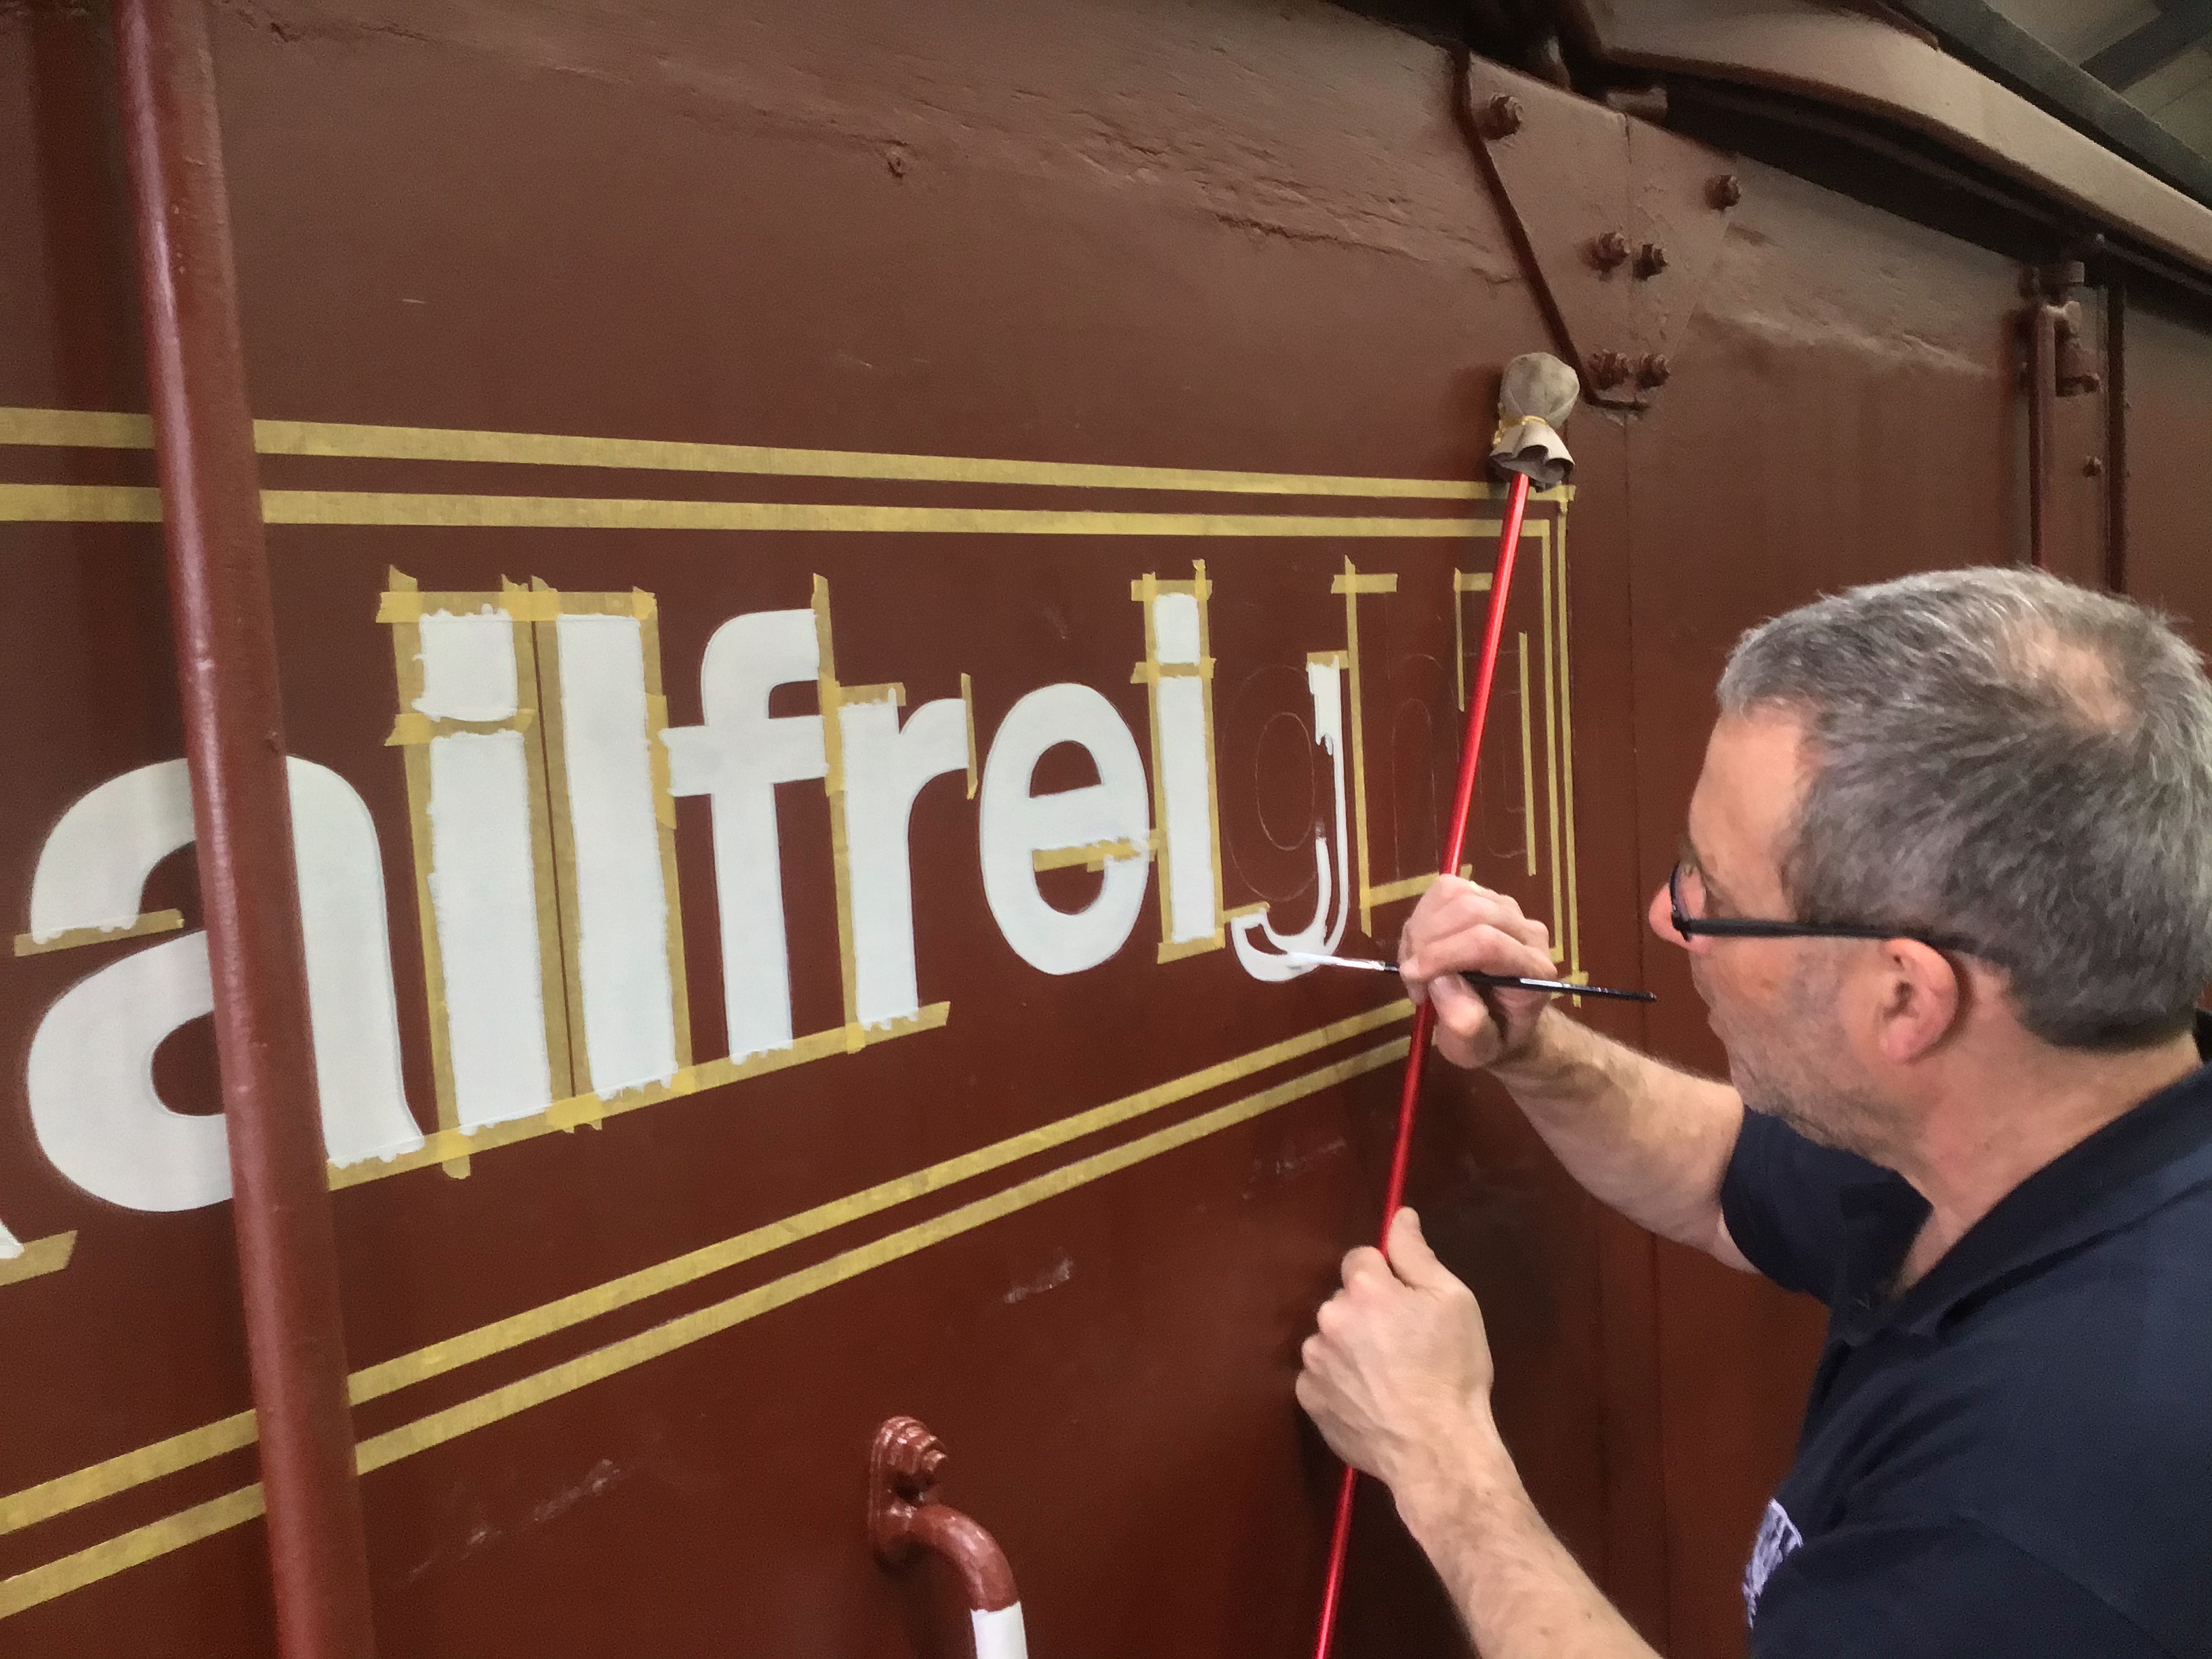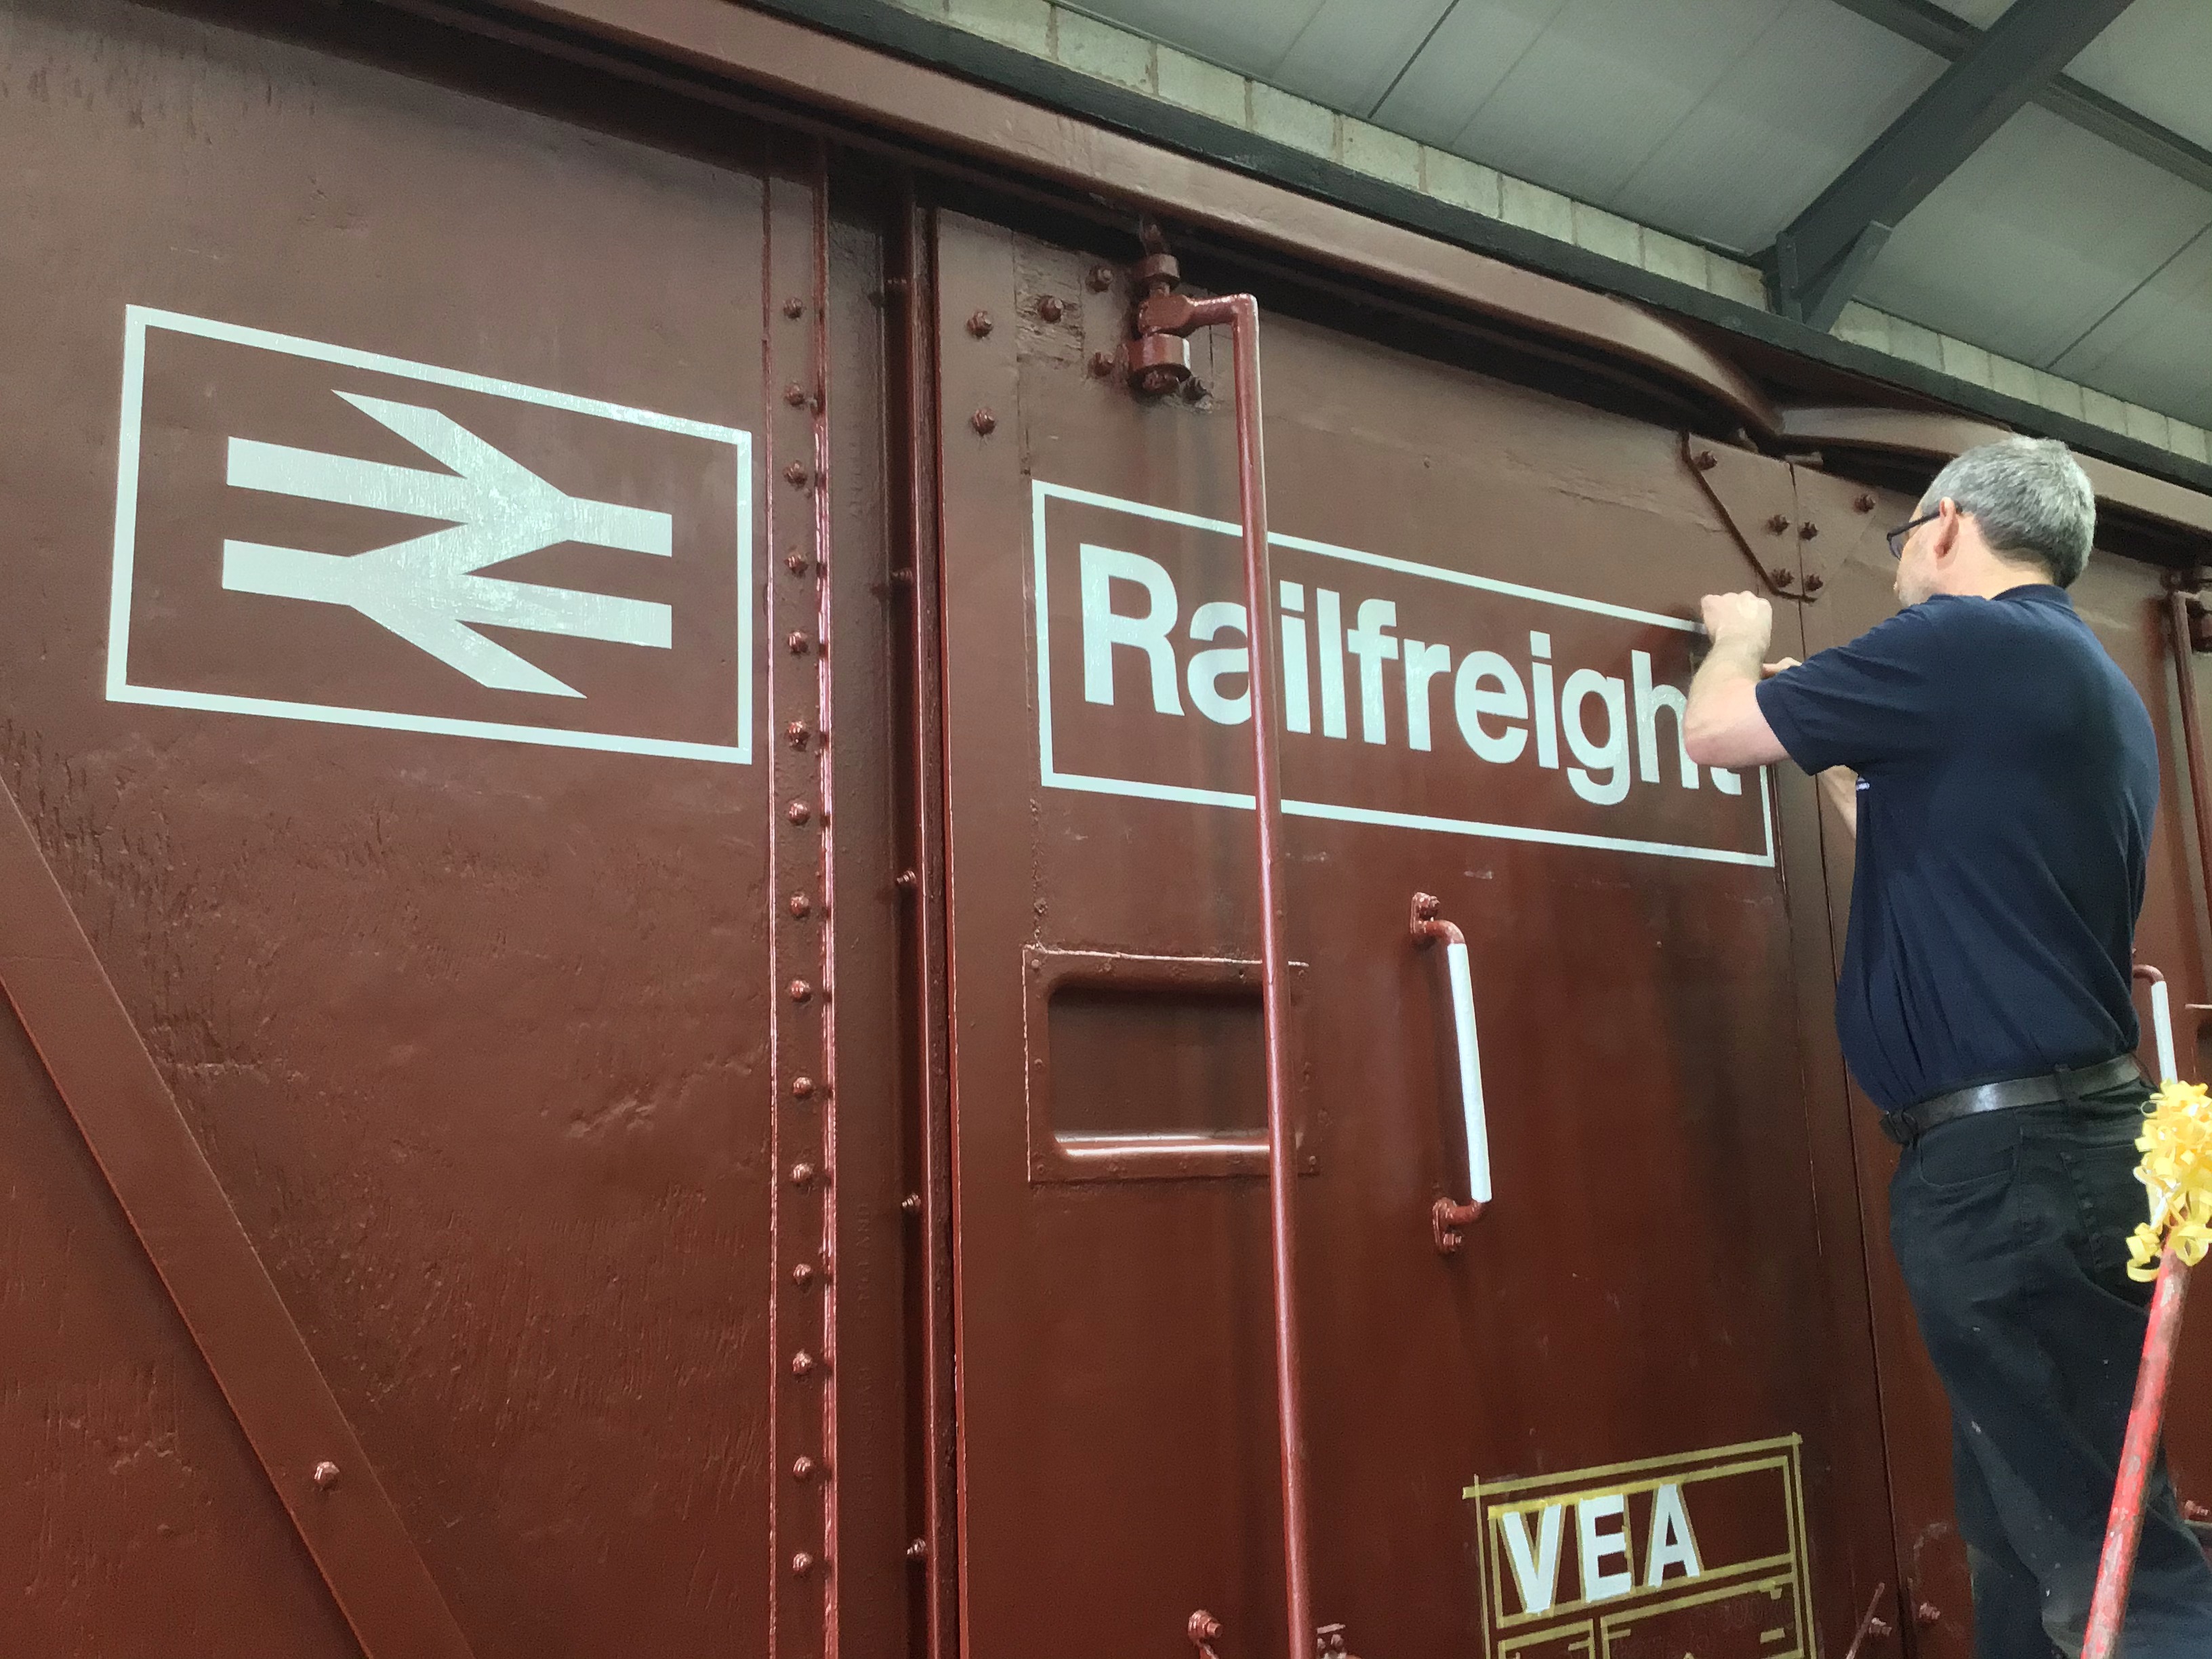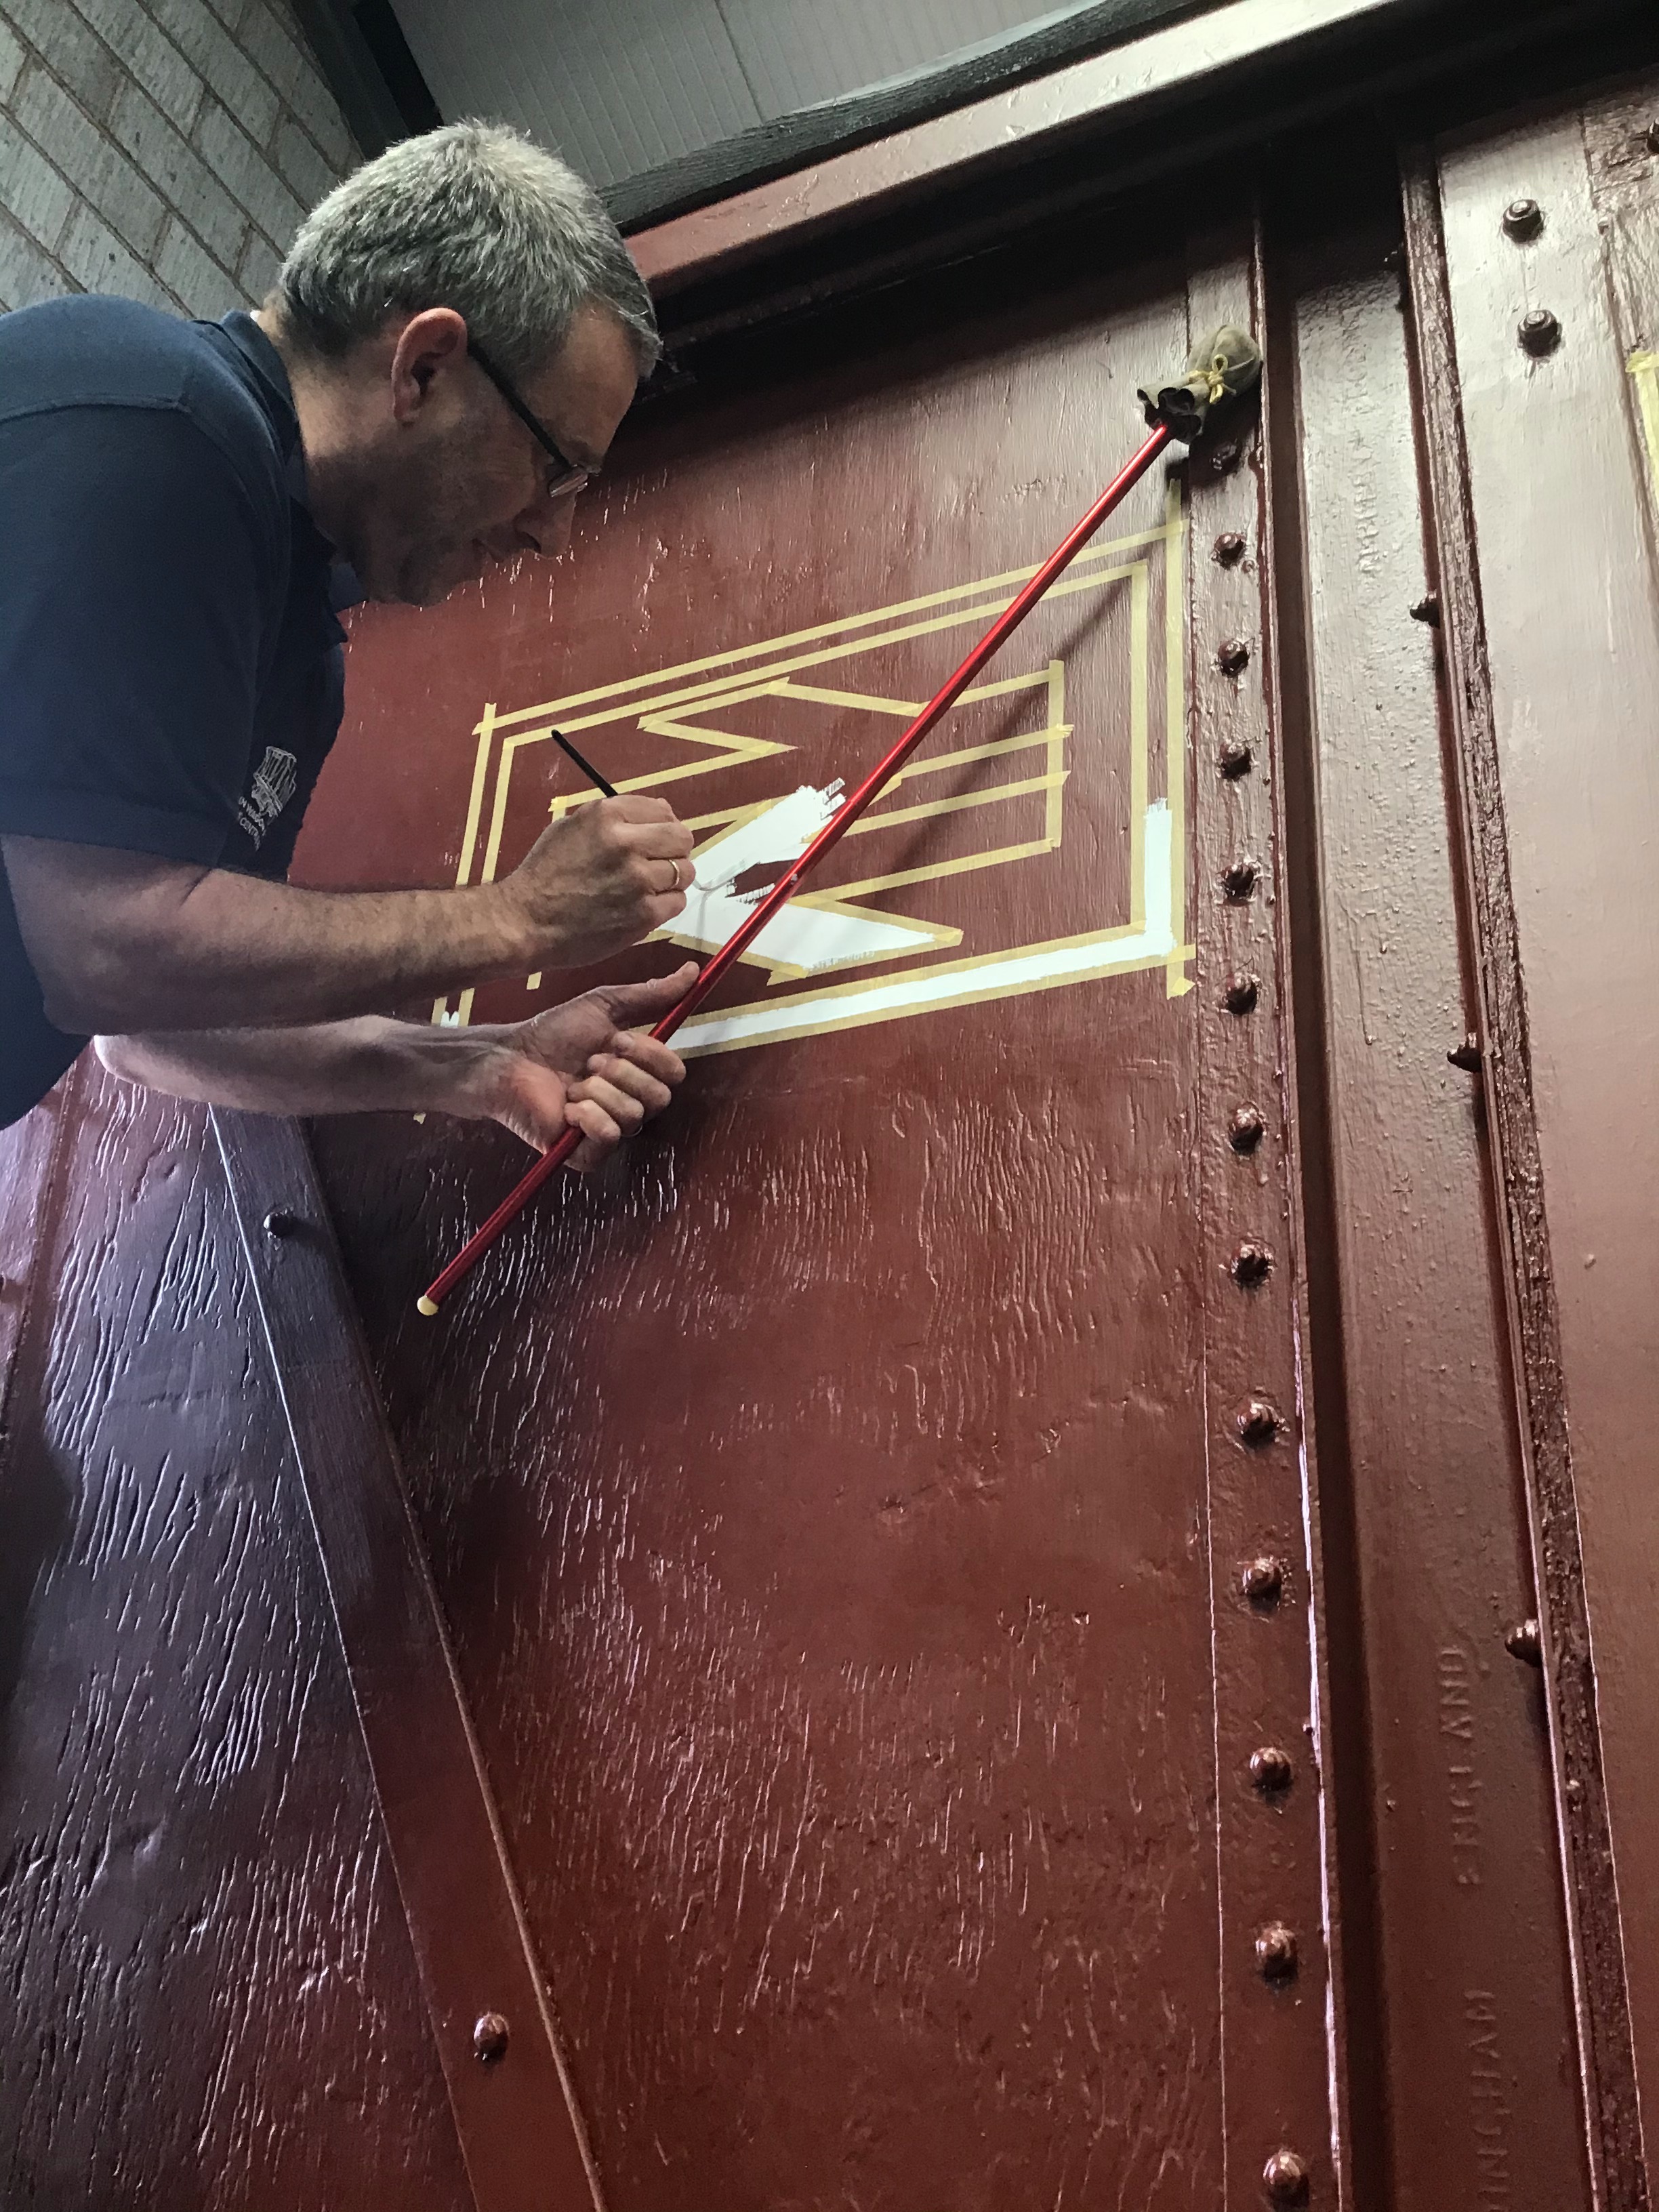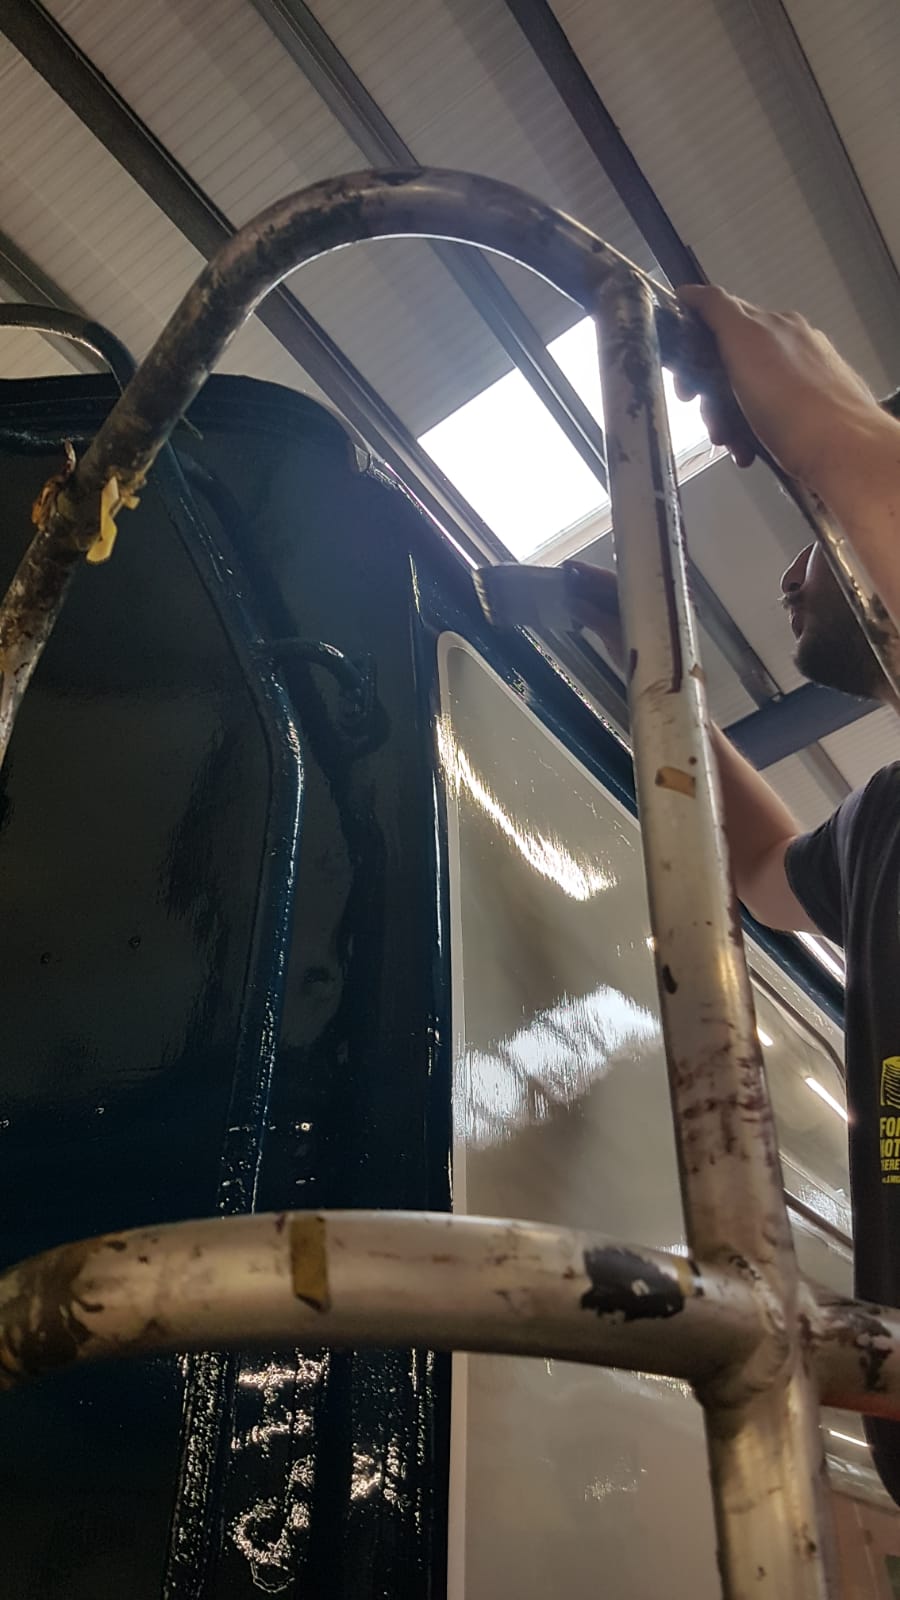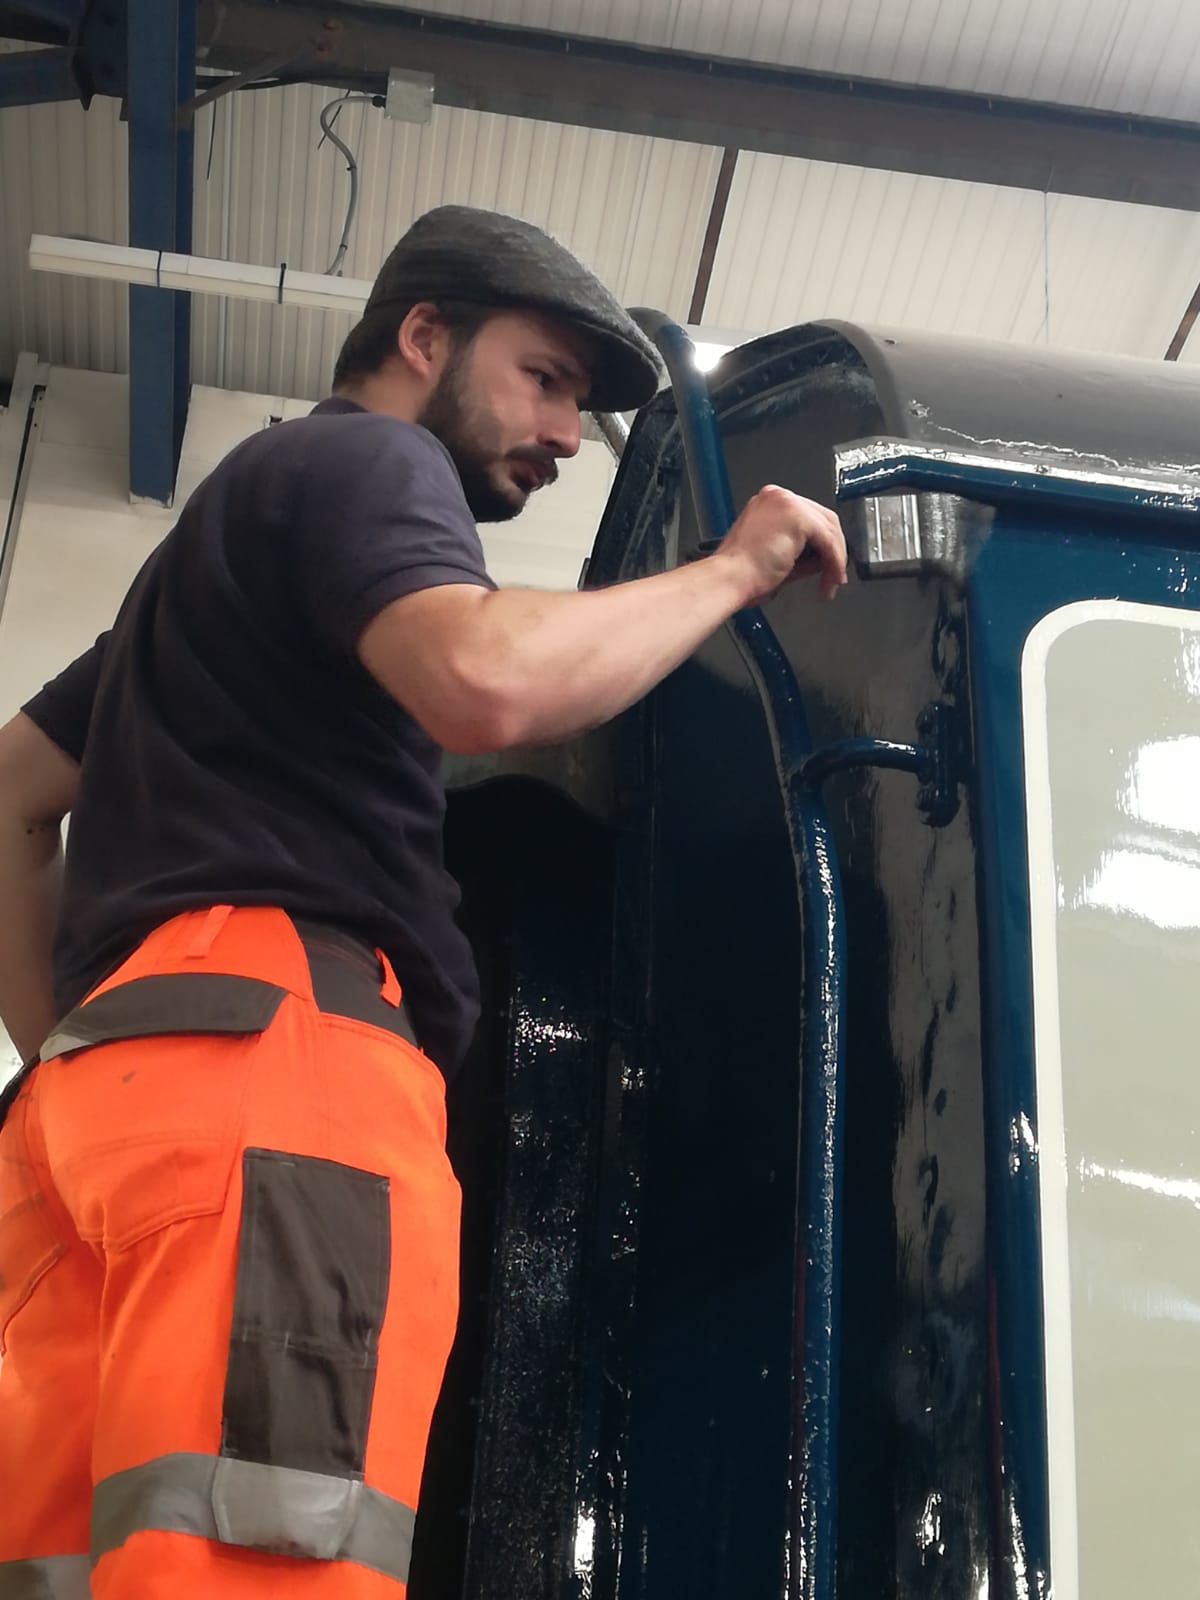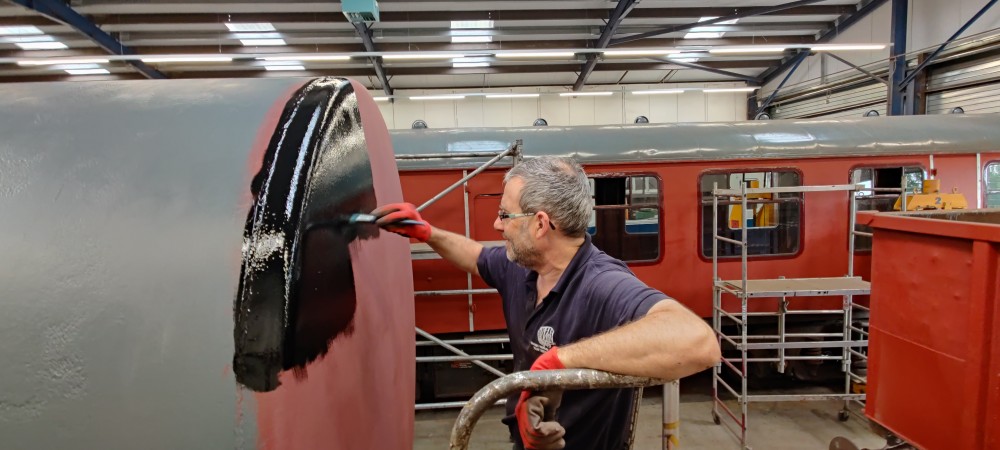
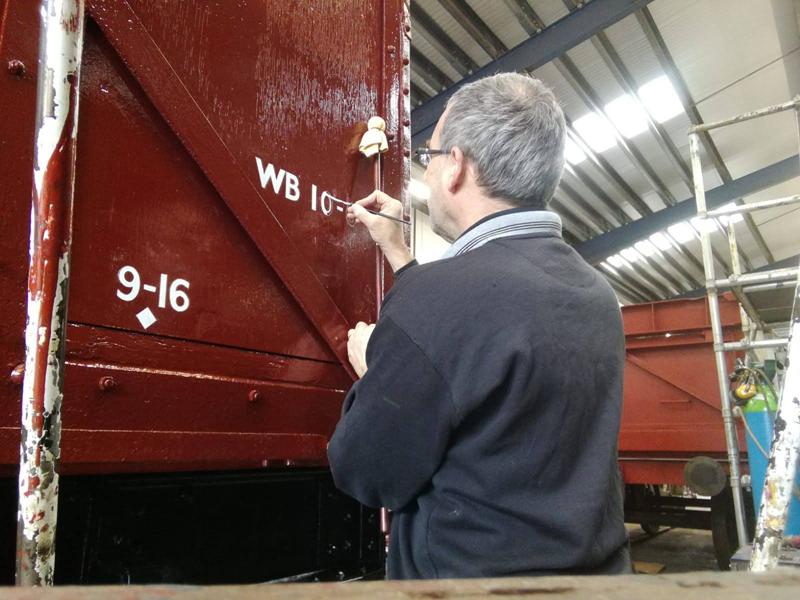
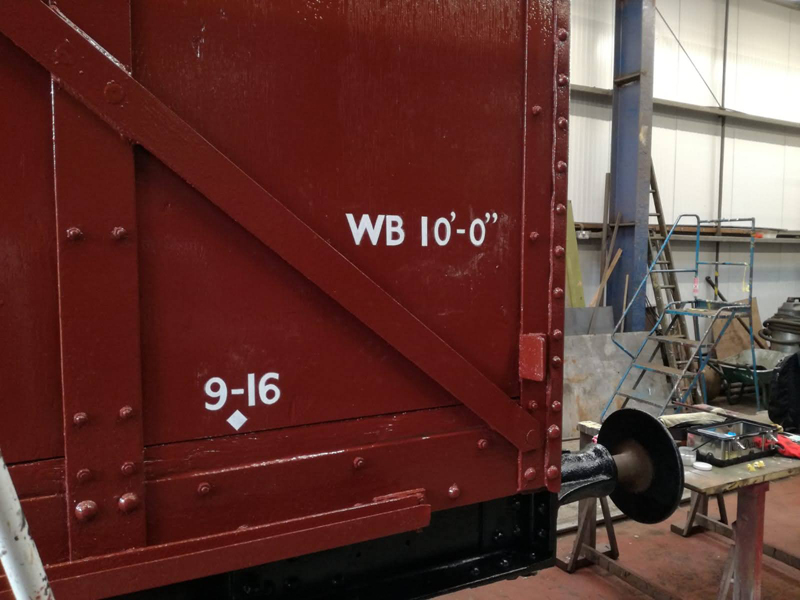
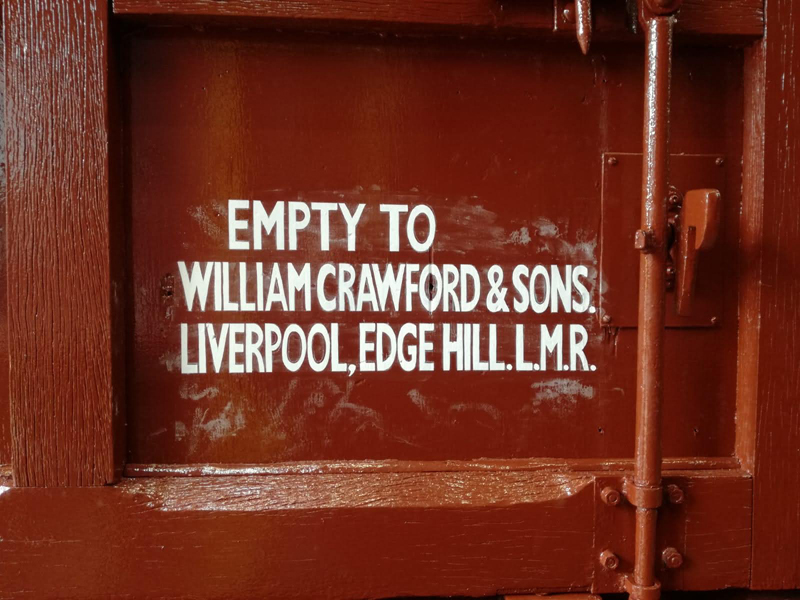
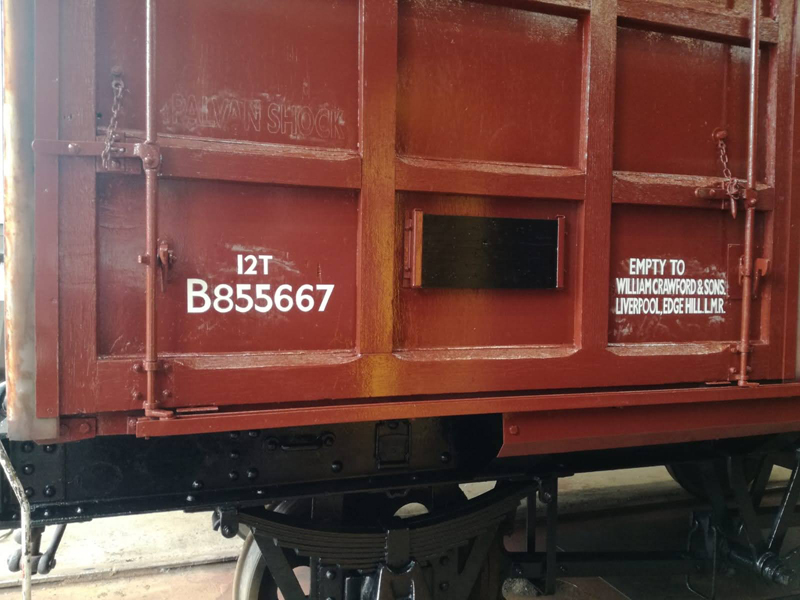
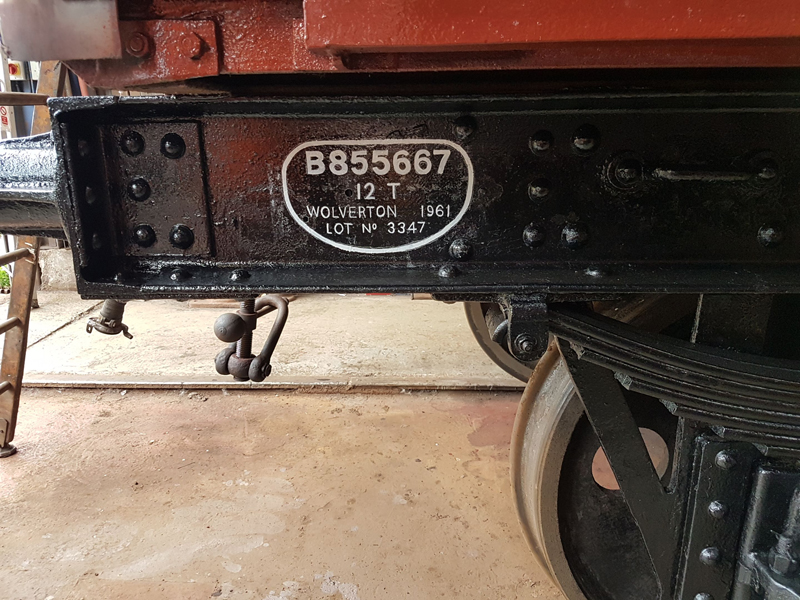
This update begins with Dave poping in on Thursday to begin the east side signwriting. Running number, gross weight, tare, branding and wheelbase applied.
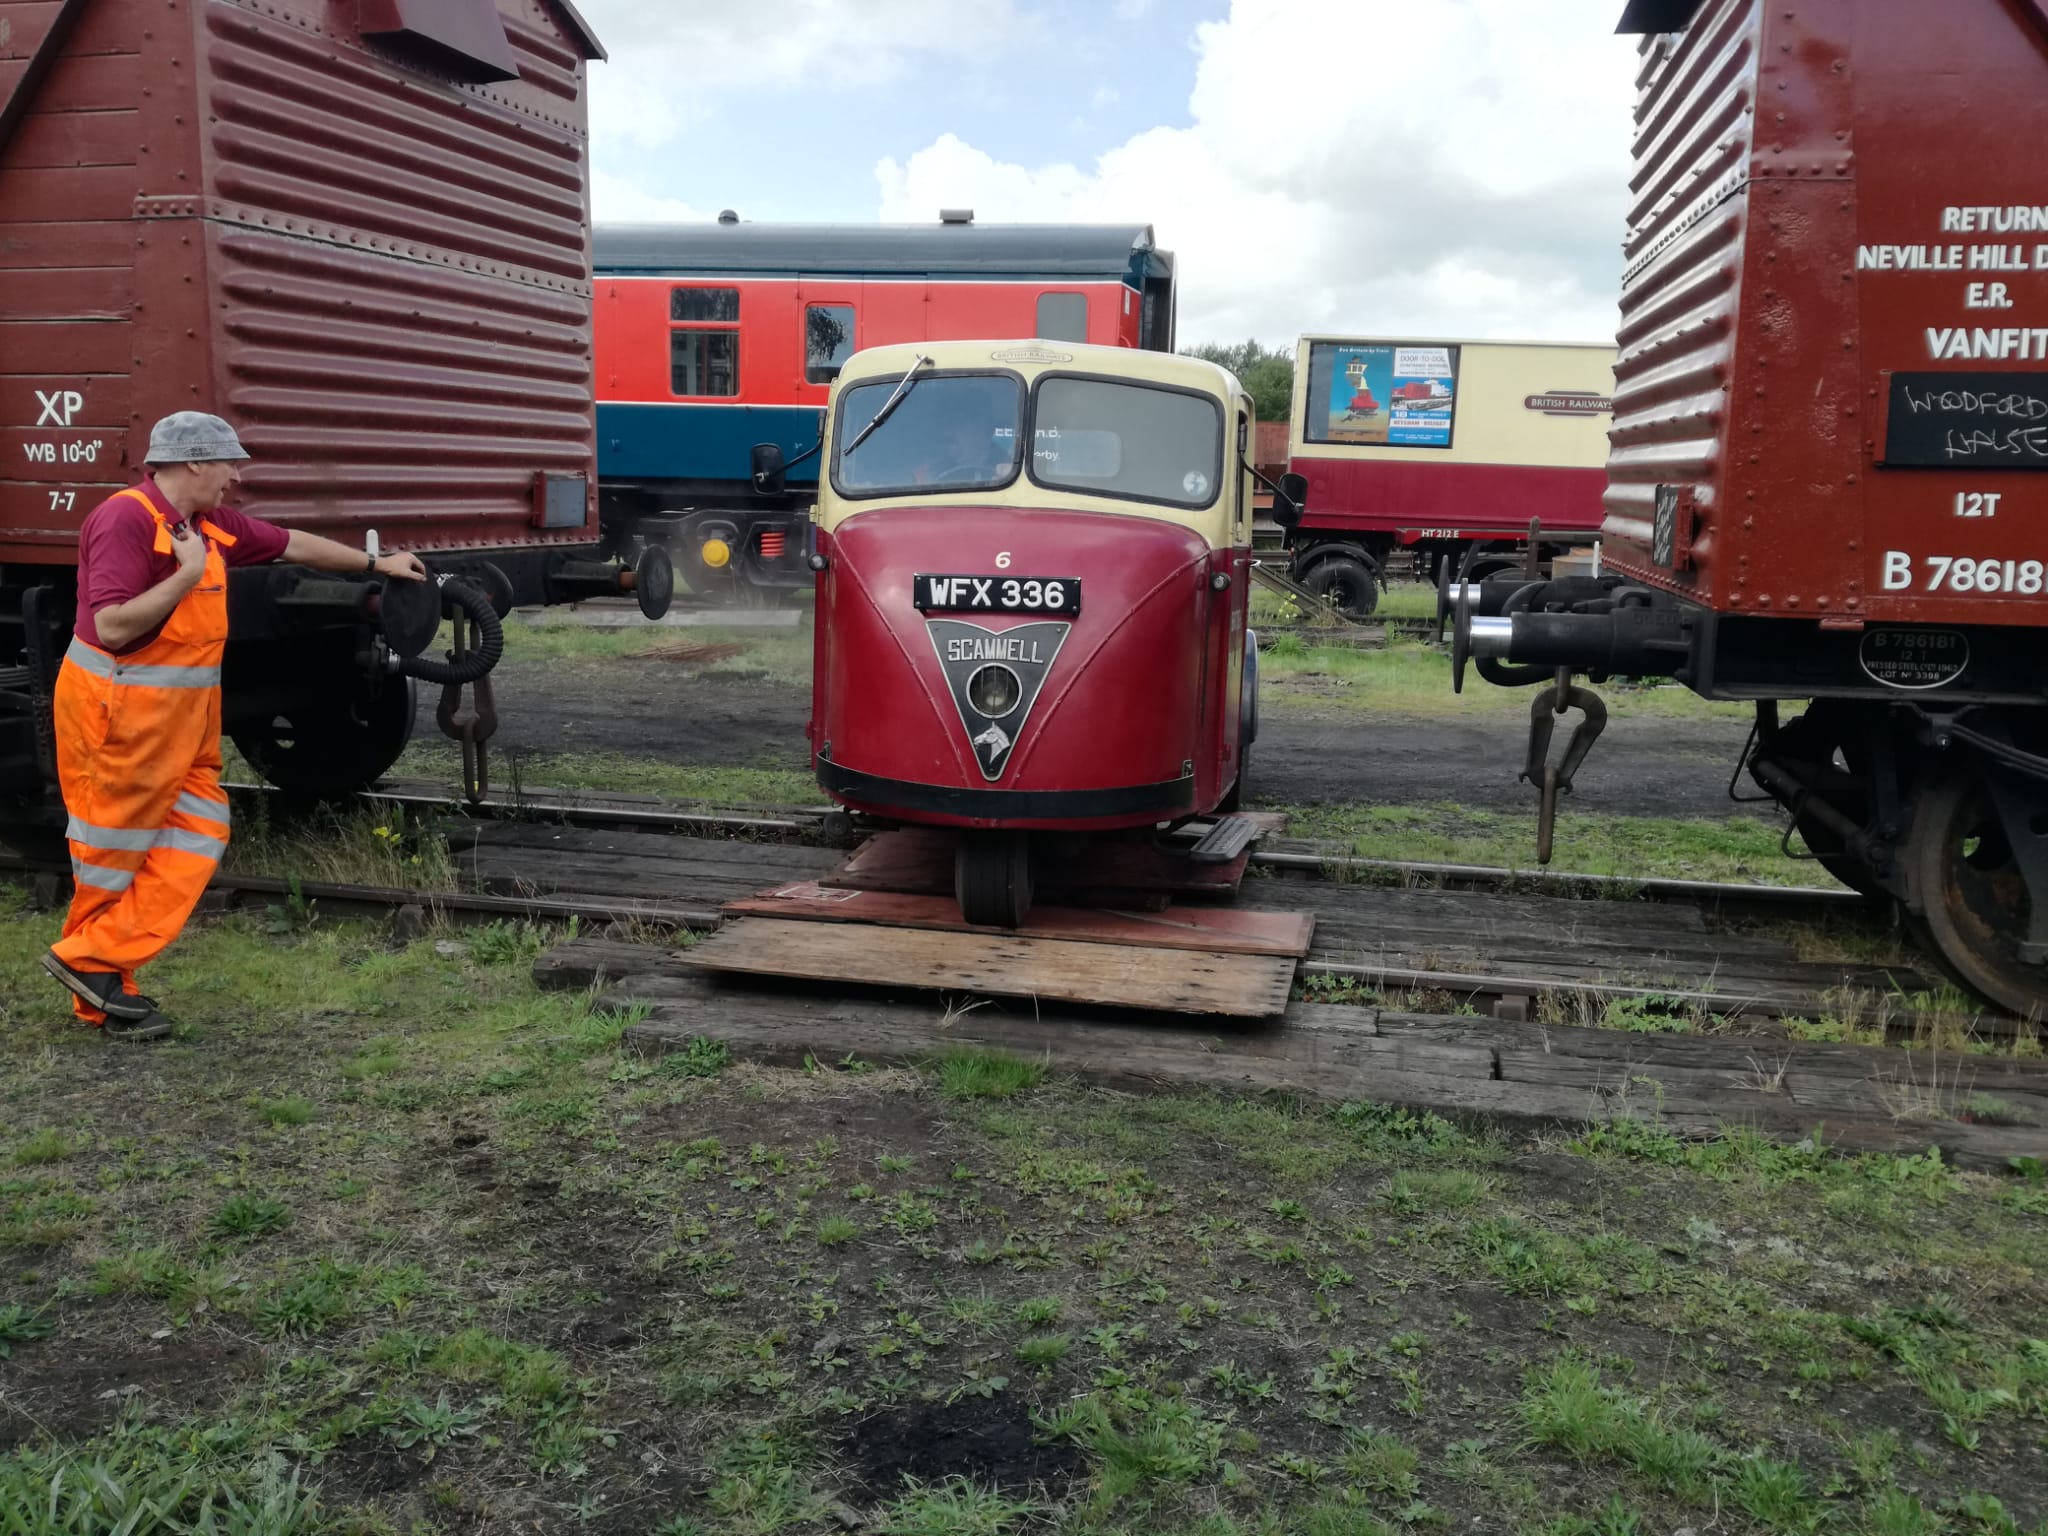
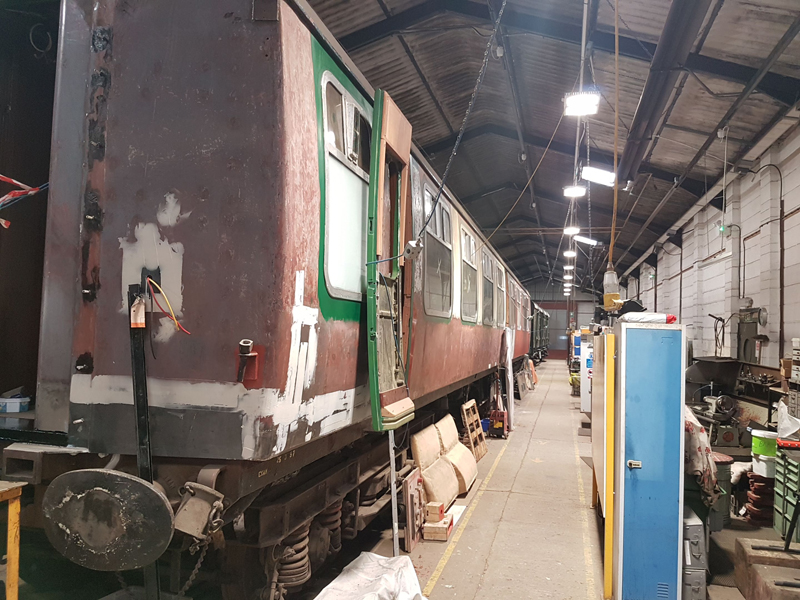
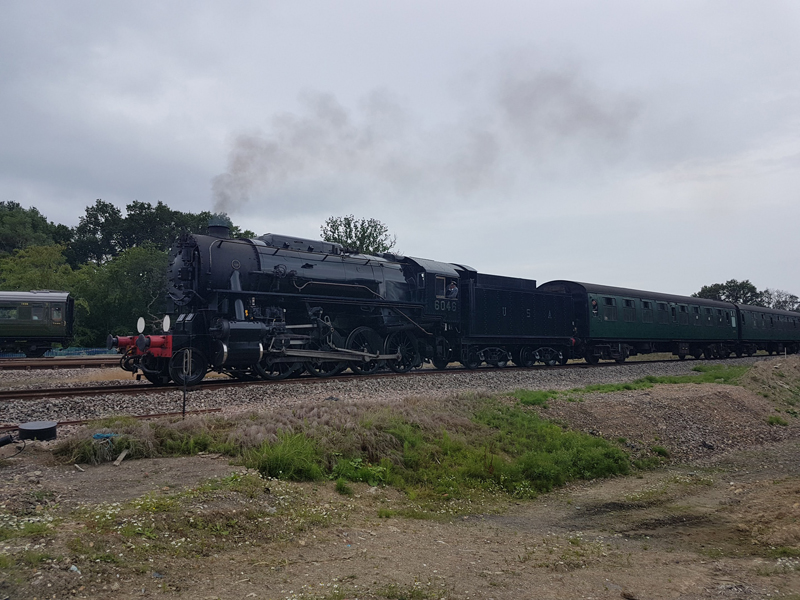
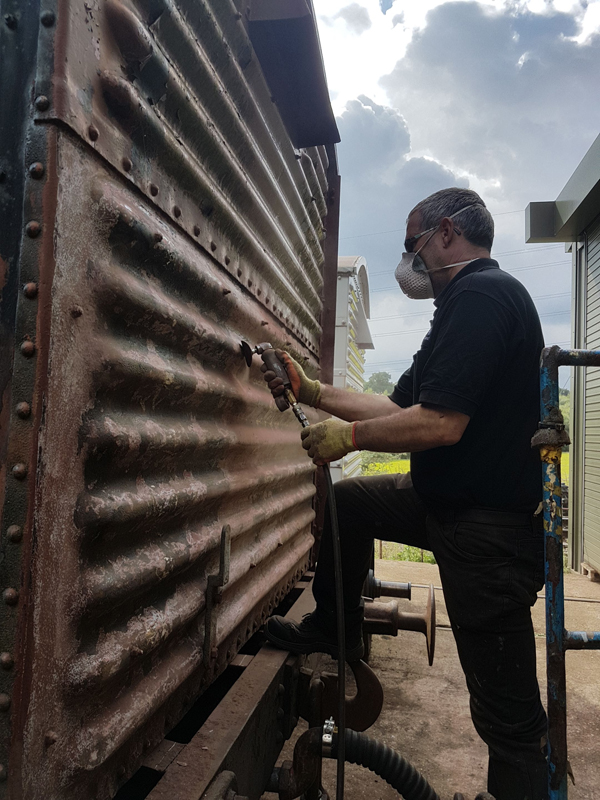
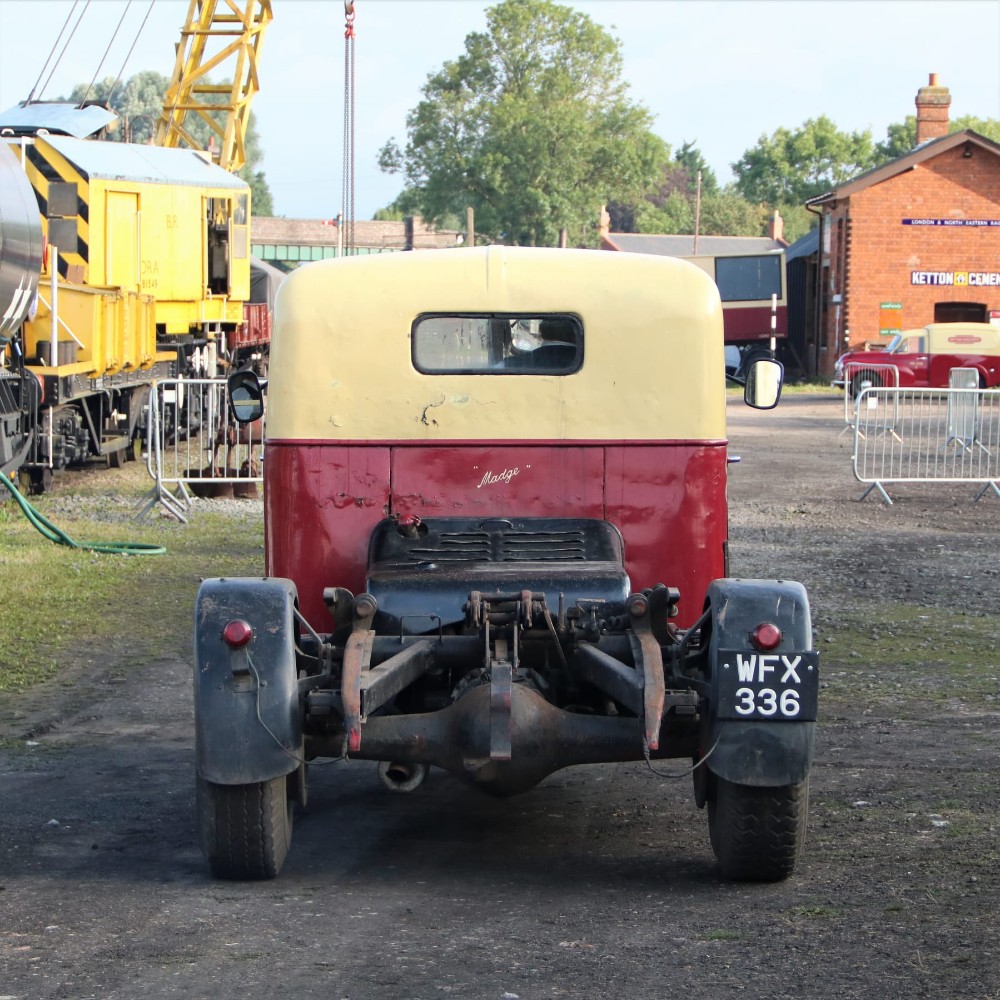
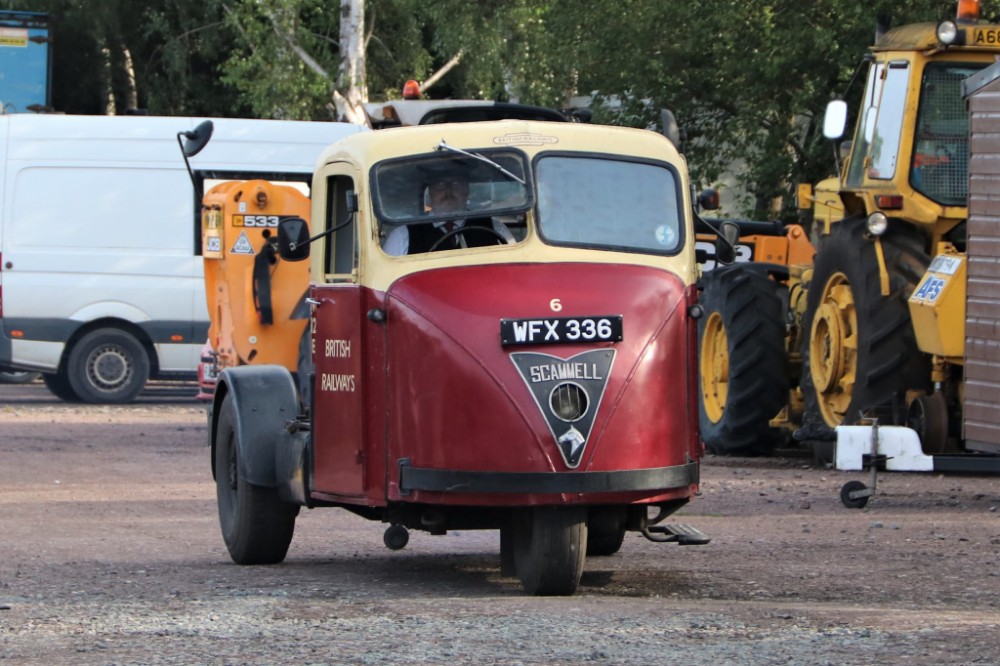
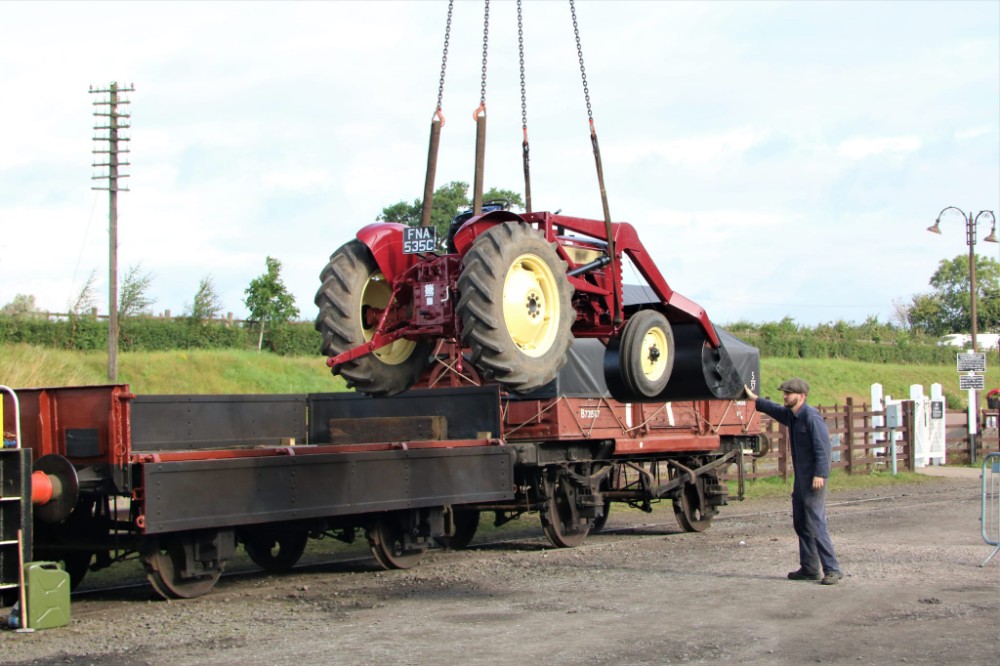
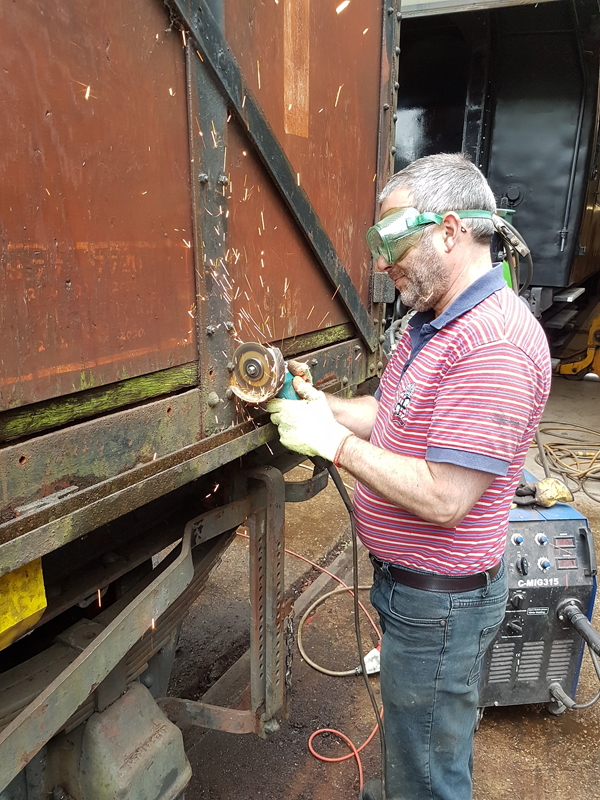
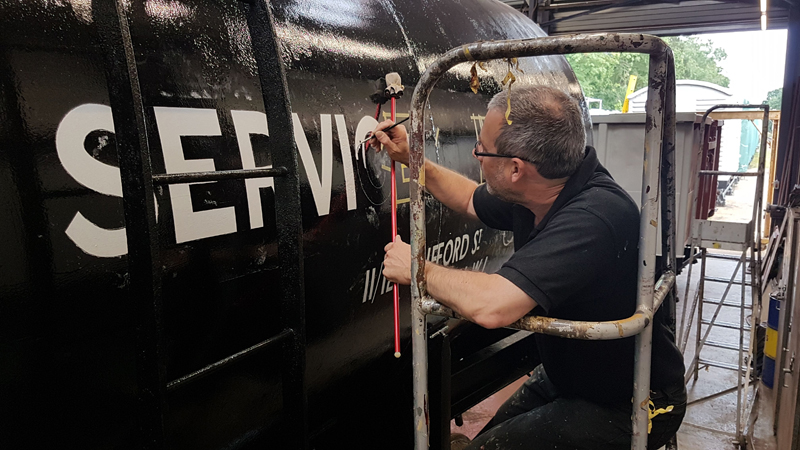
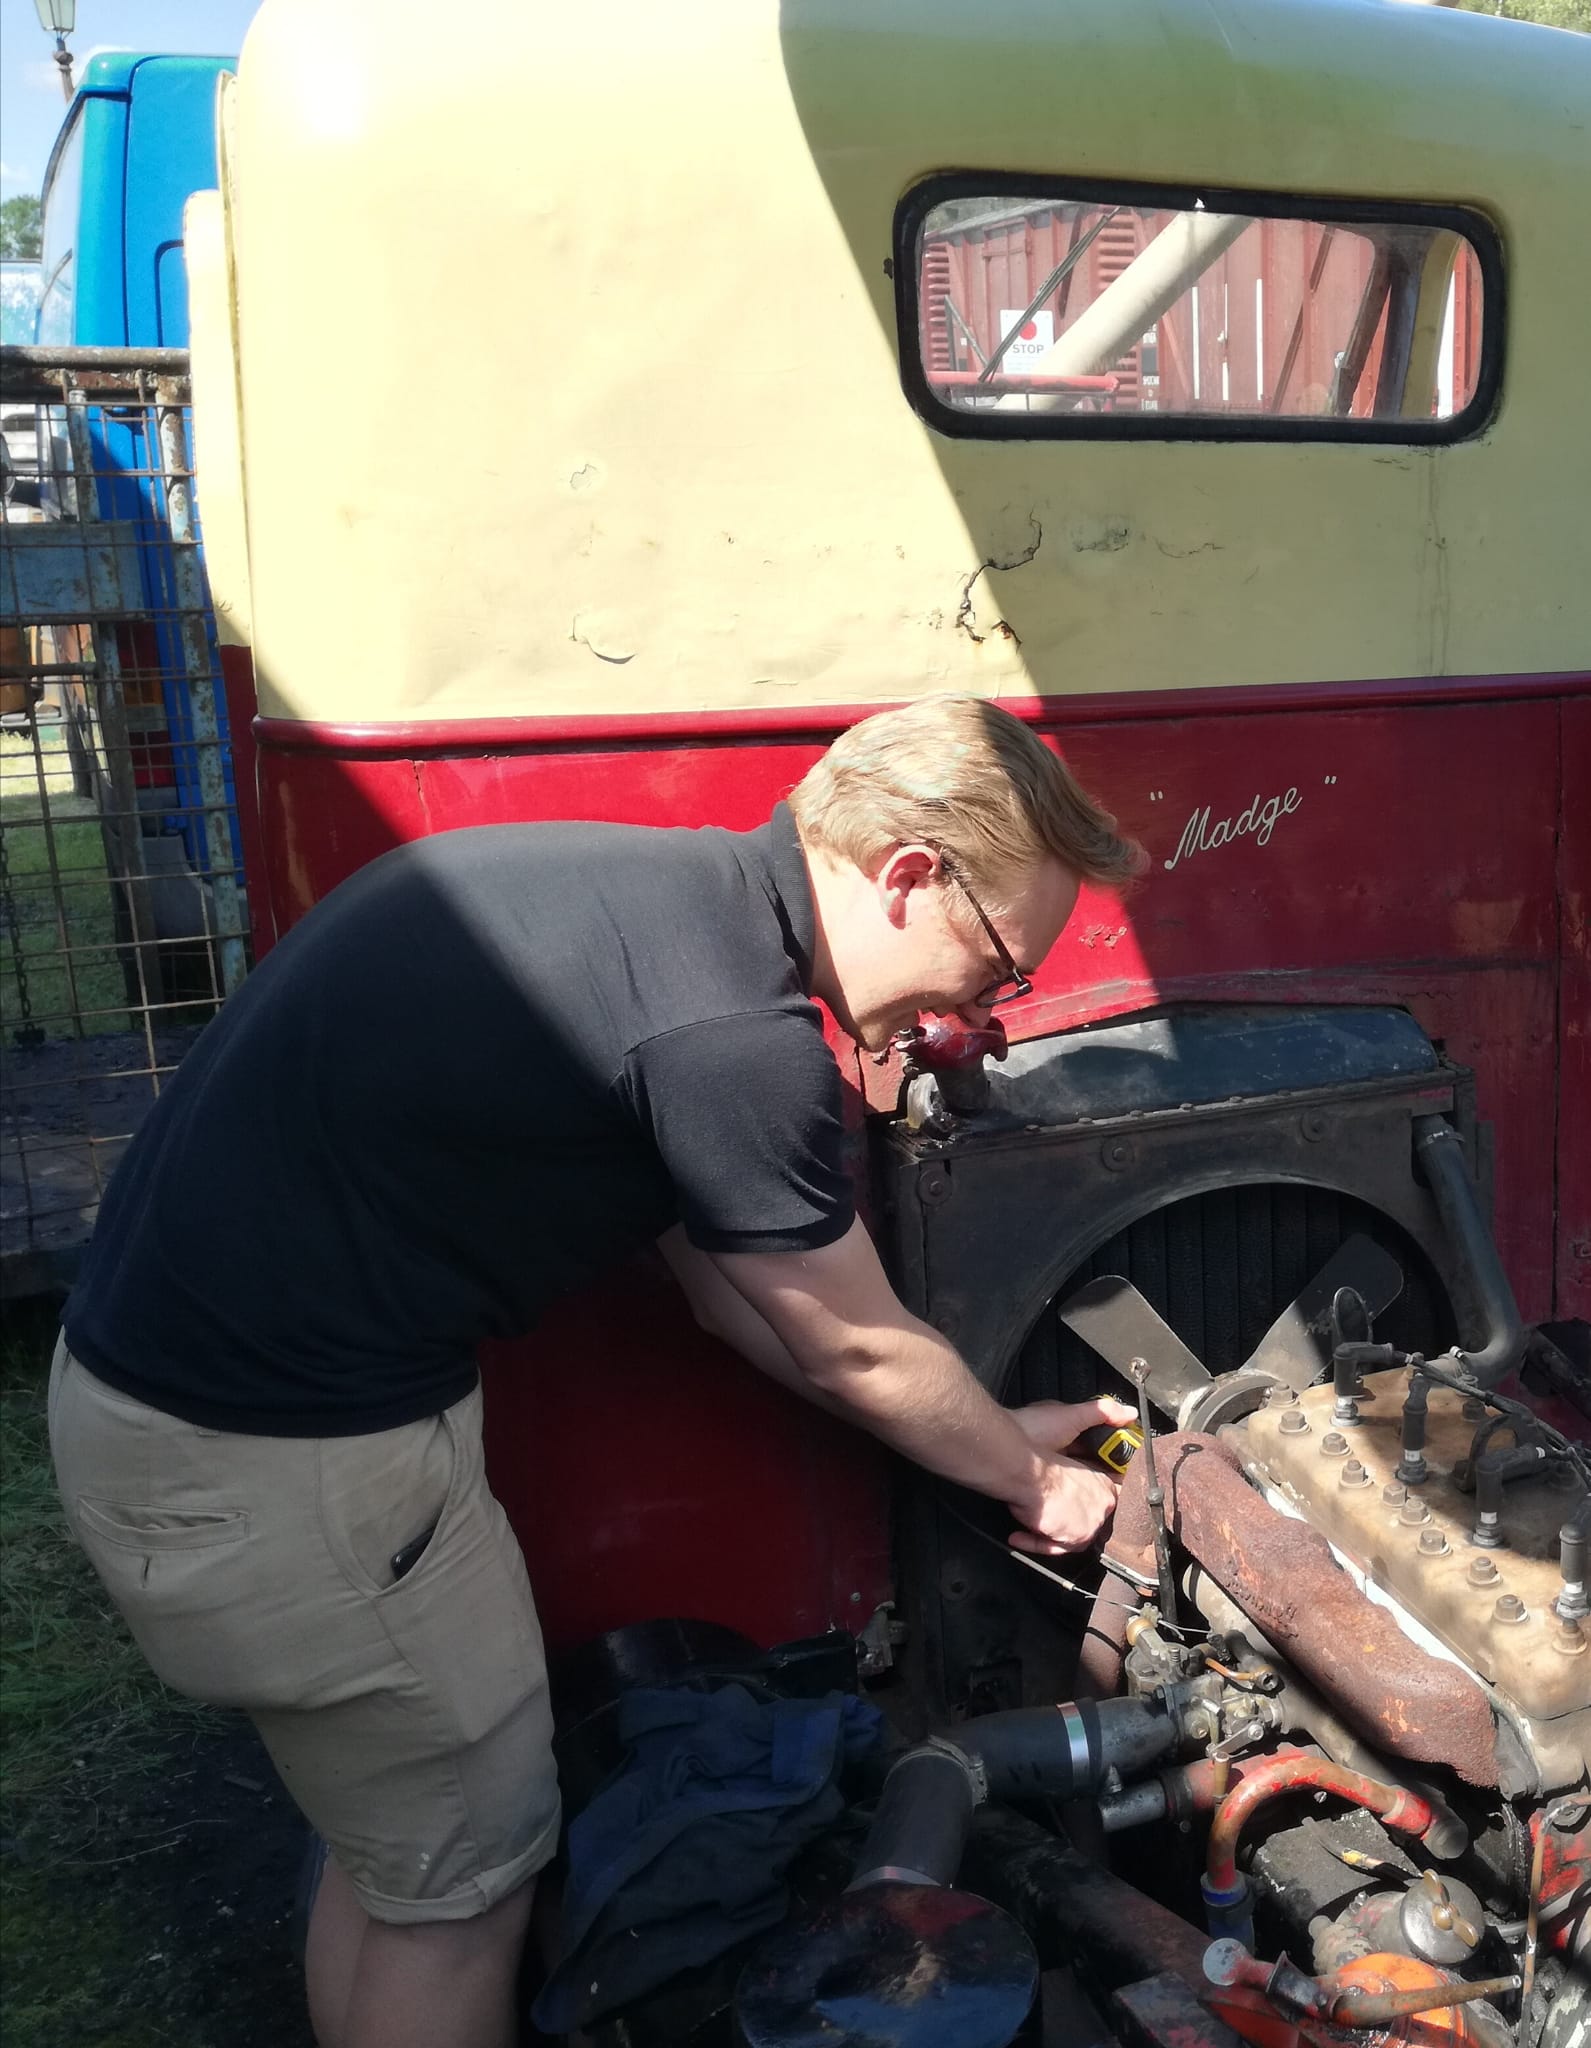
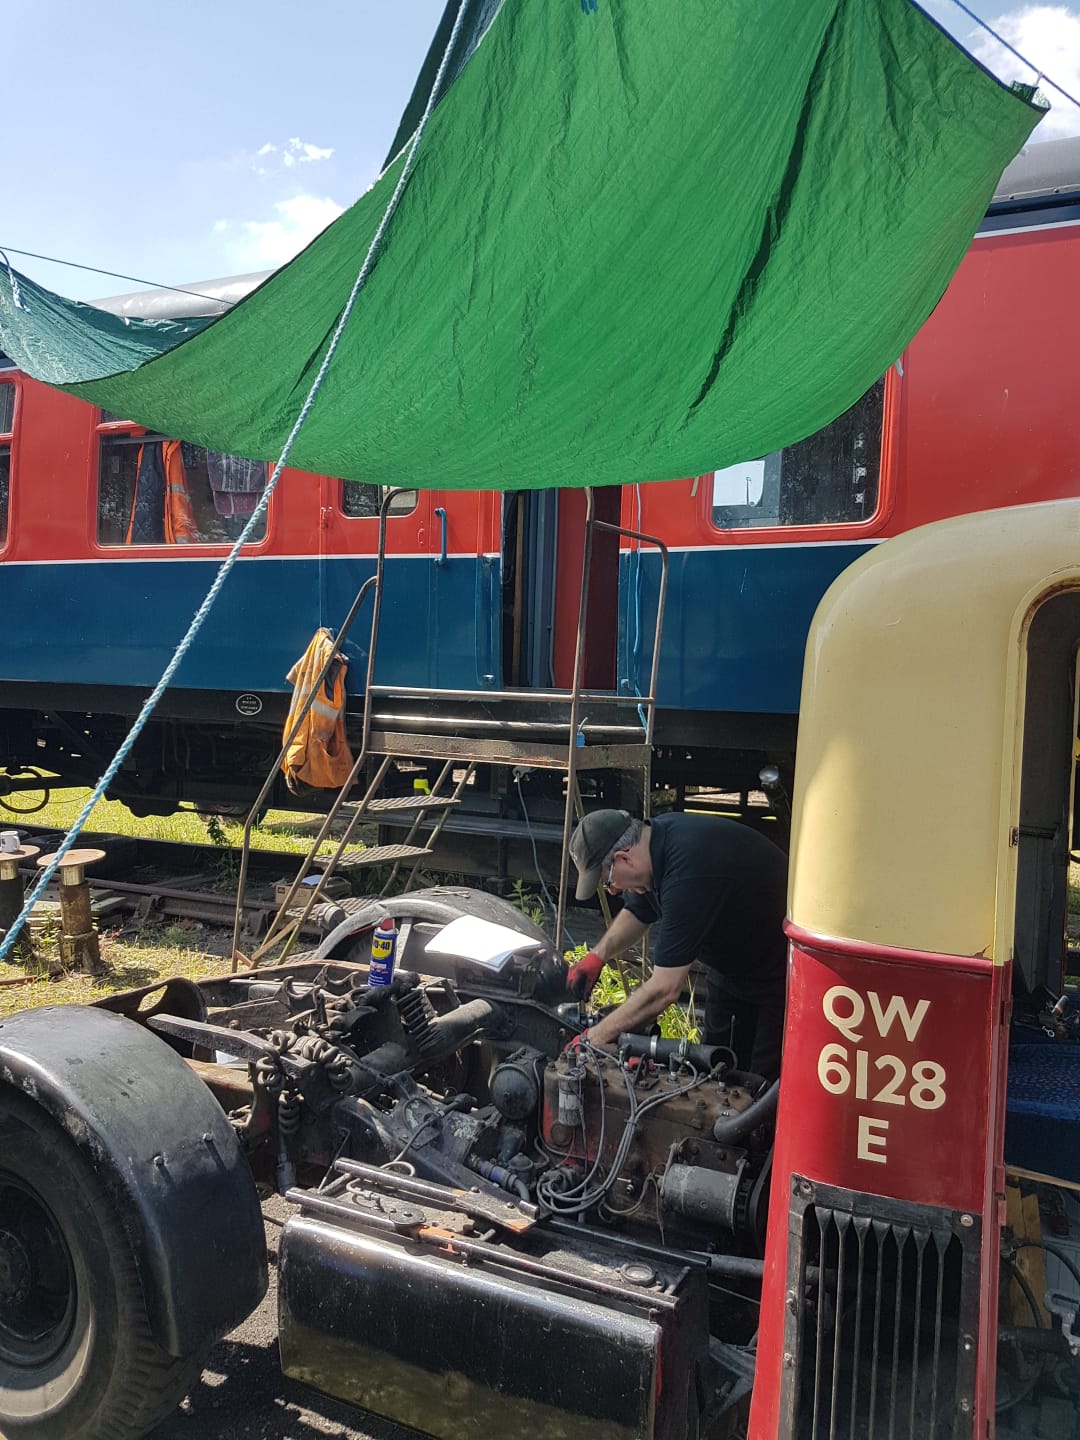
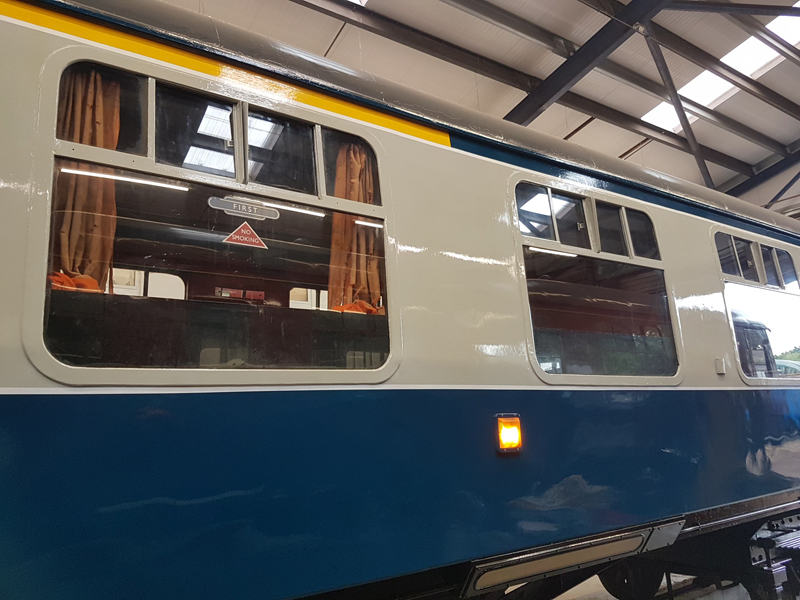
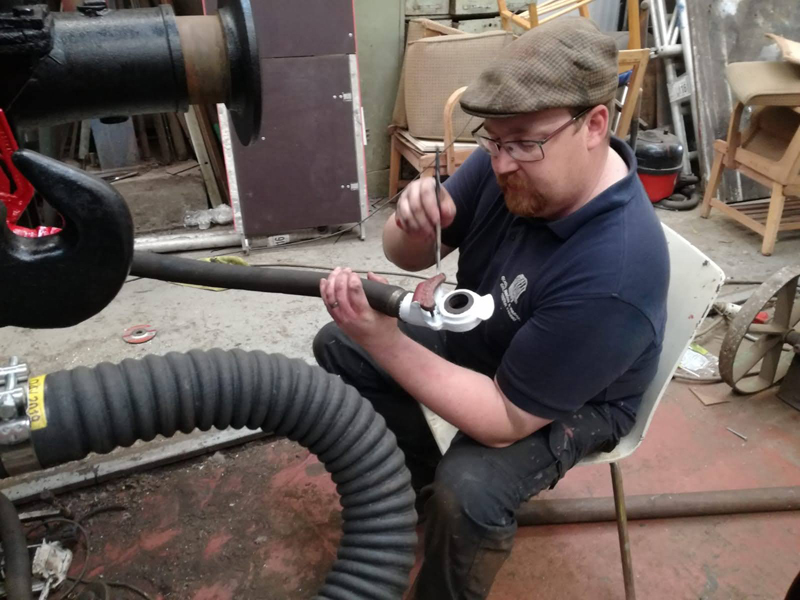
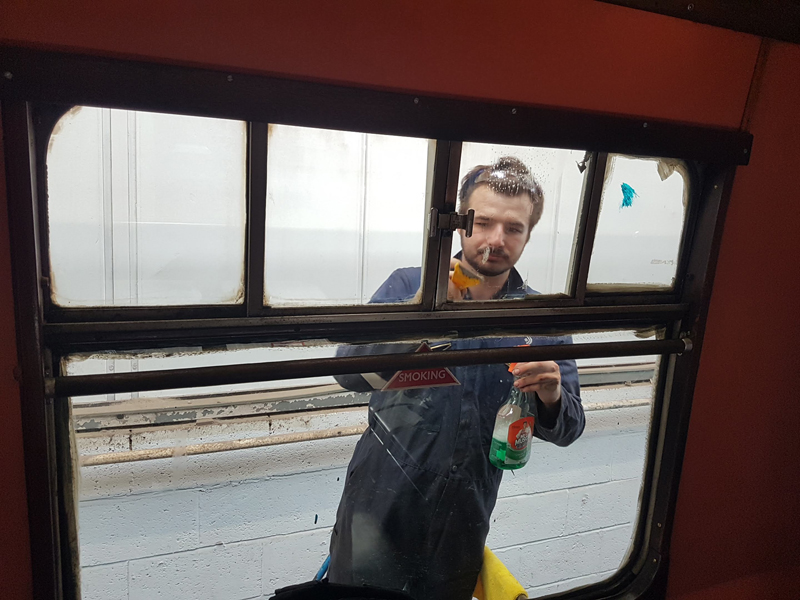
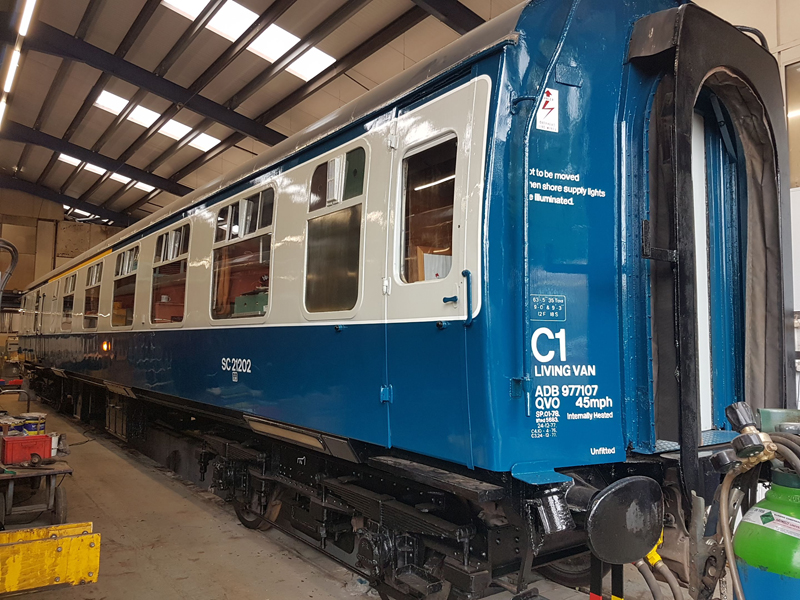
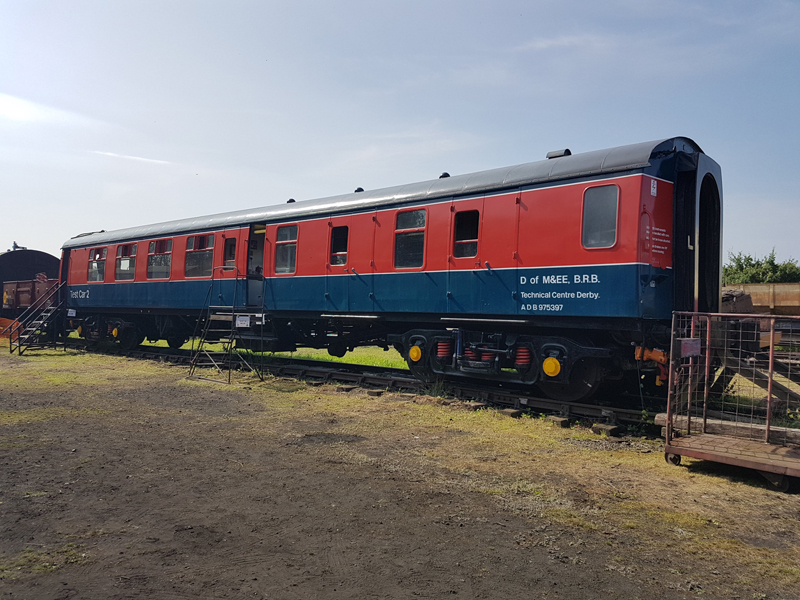
A full extended weekend for Dave as he was with the Test Car during the GCRs Diesel gala. Thank you for all that visited and more so to those who gave generously, your donations go towards the work we do on all of our fleet.
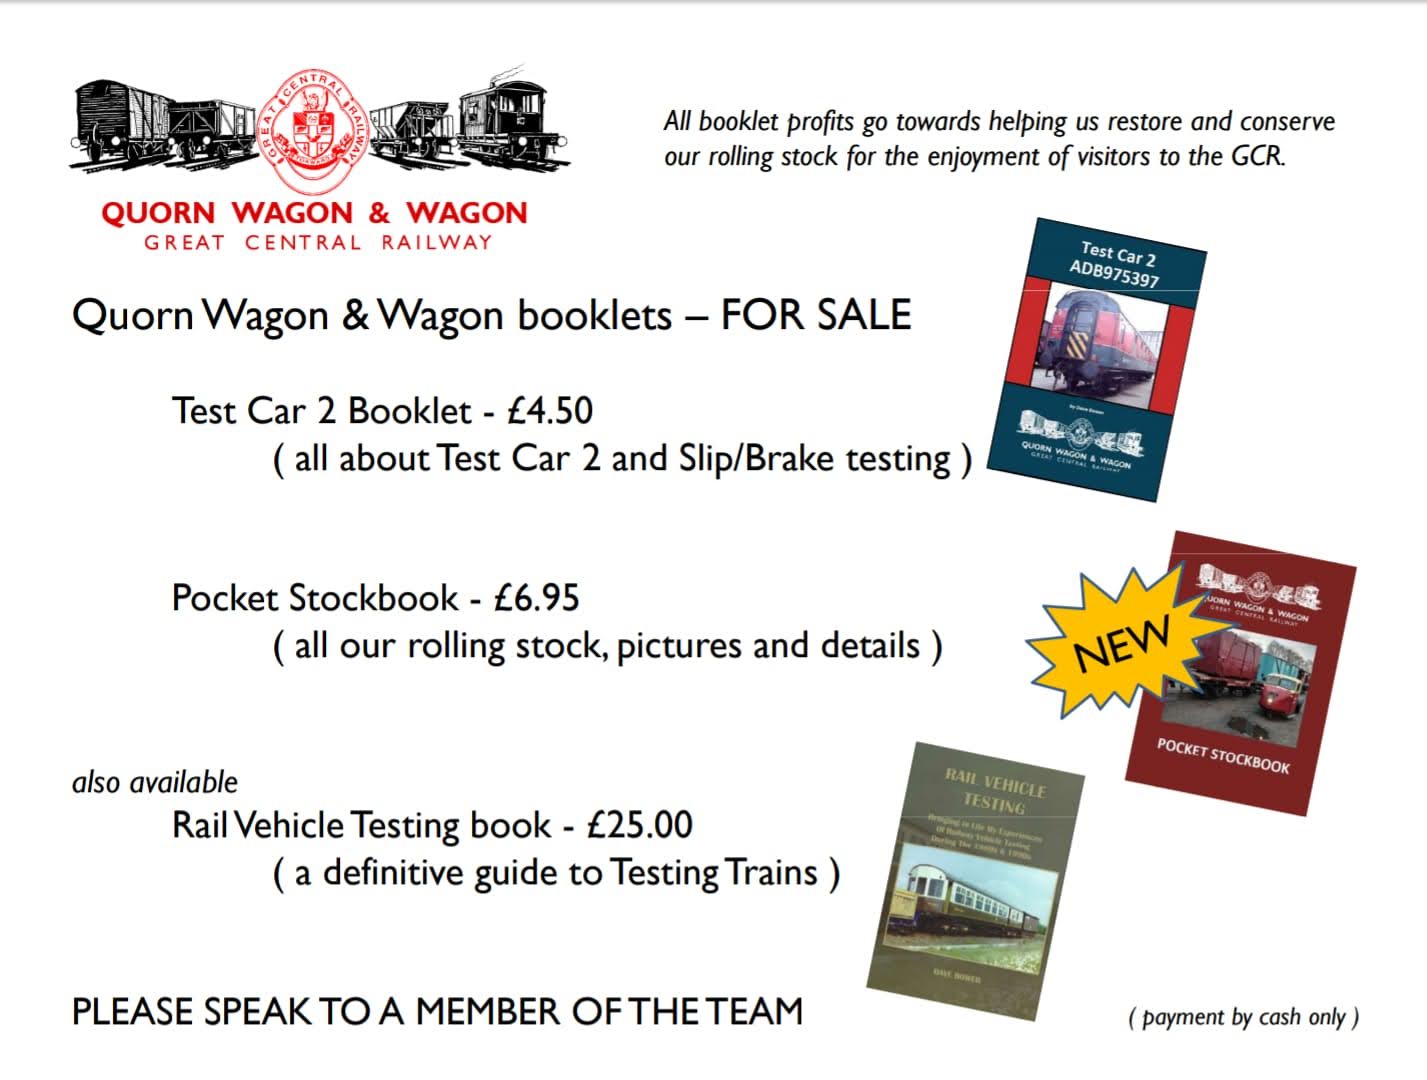
Don’t forget you can support us by purchasing a Stock book or Test Car booklet.
For more information please click the link below.
How to support us
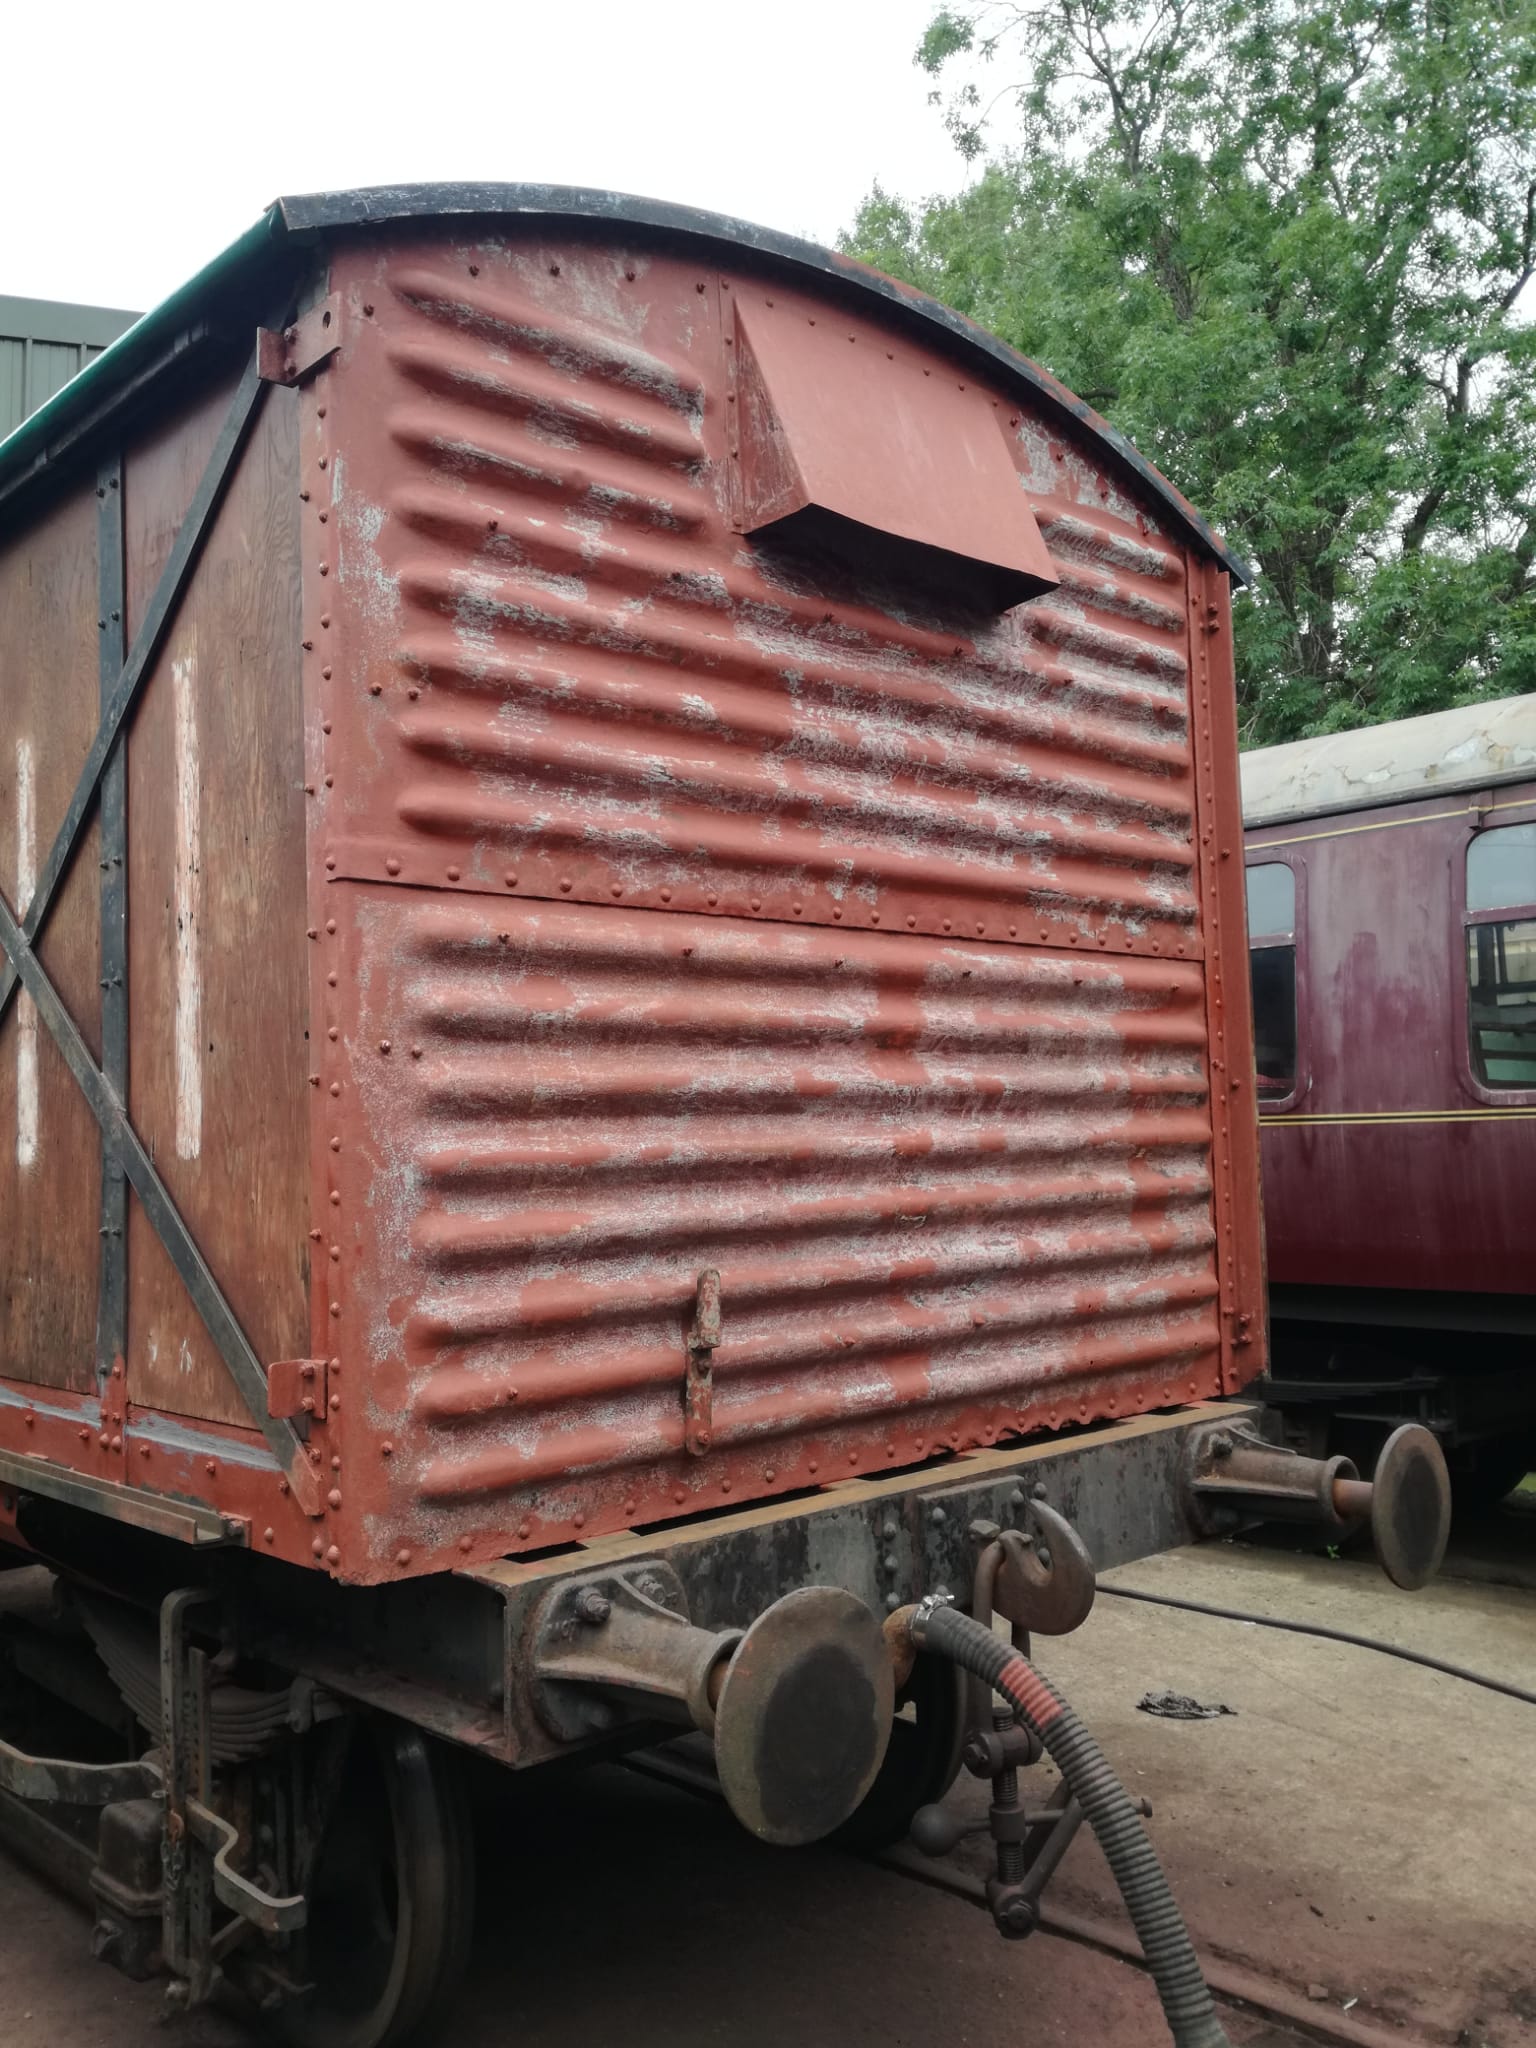
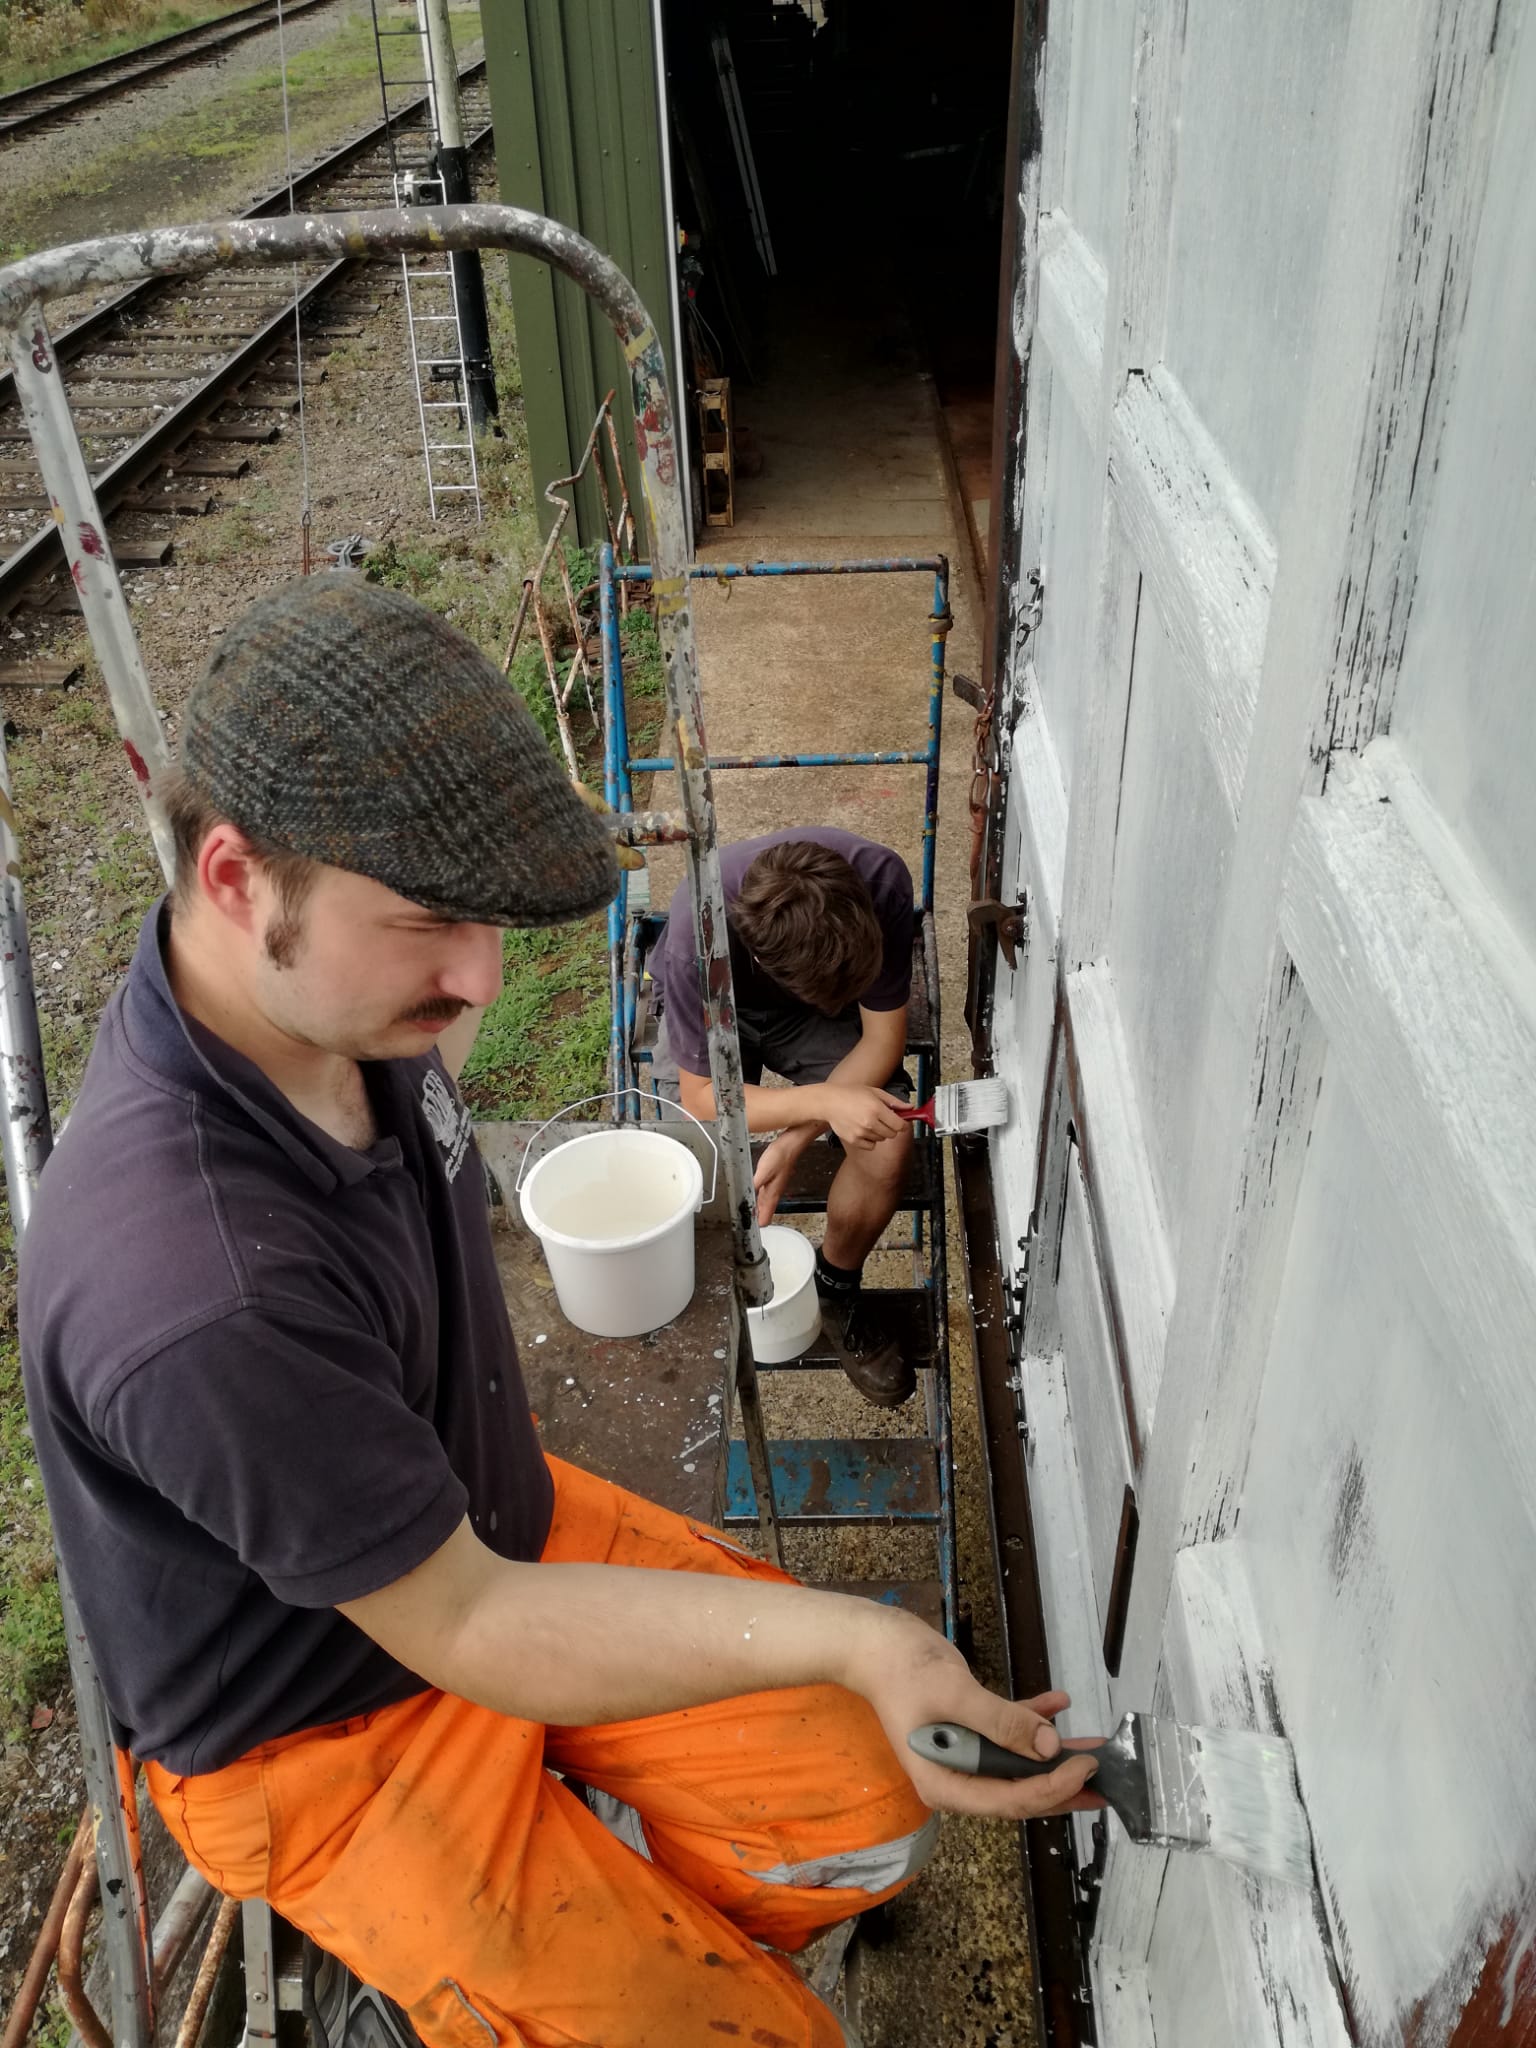
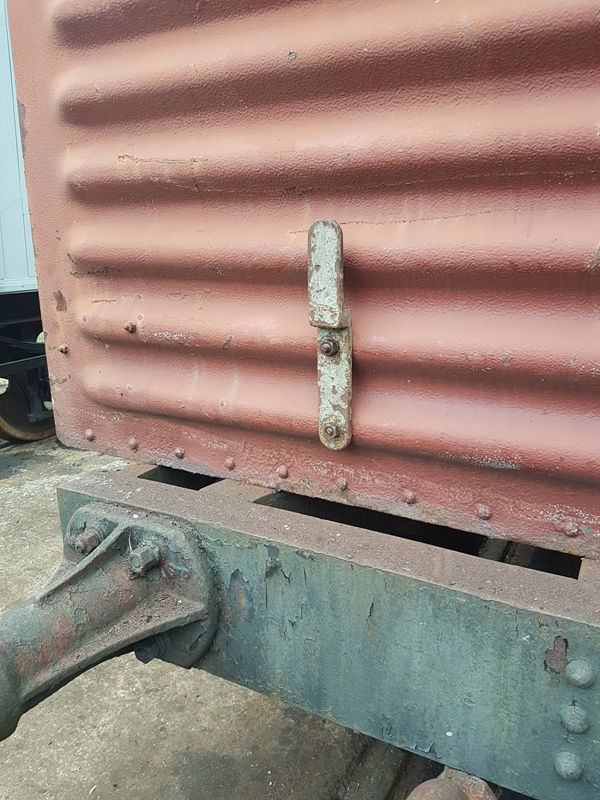
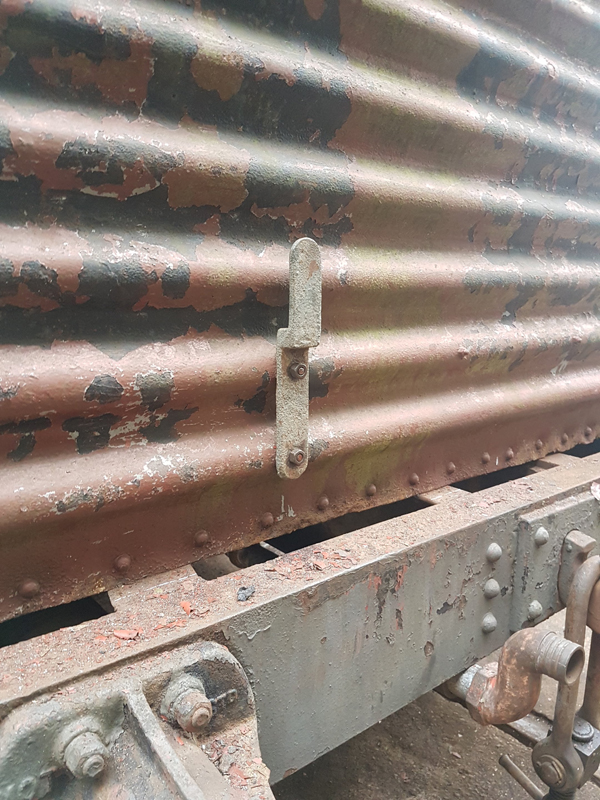
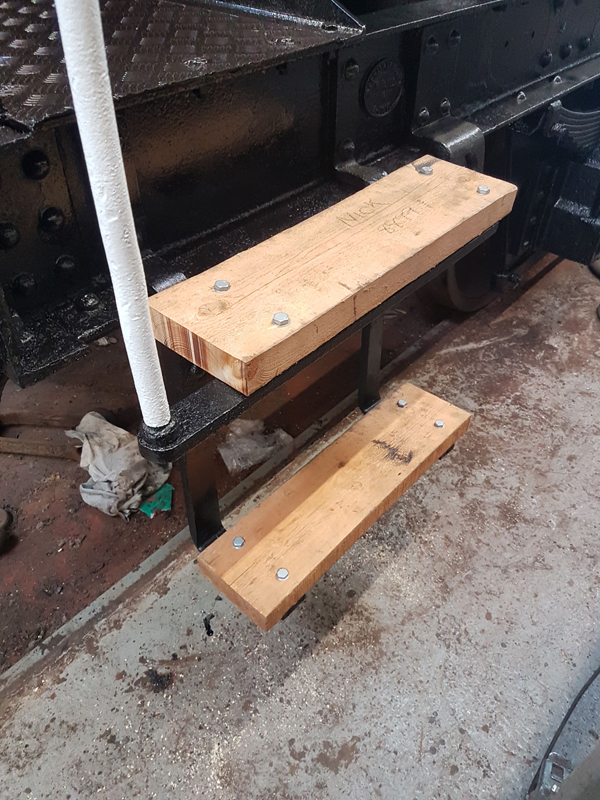
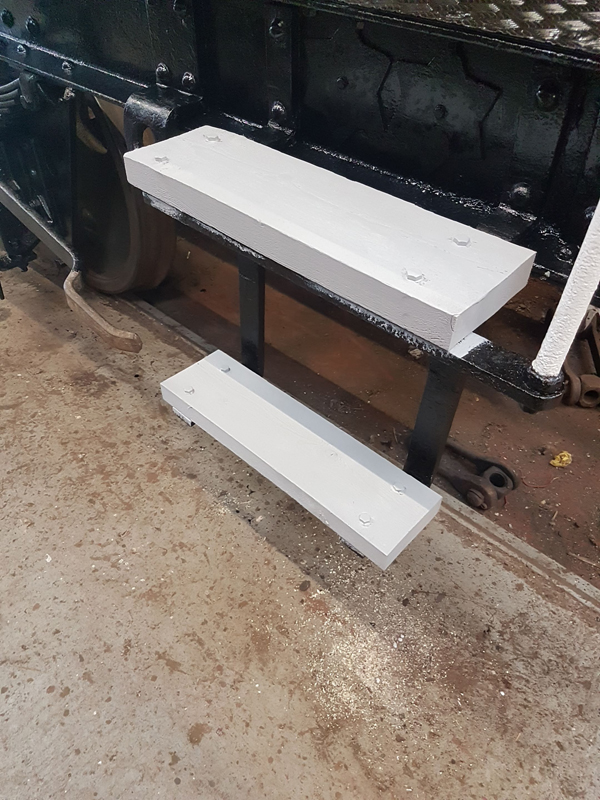
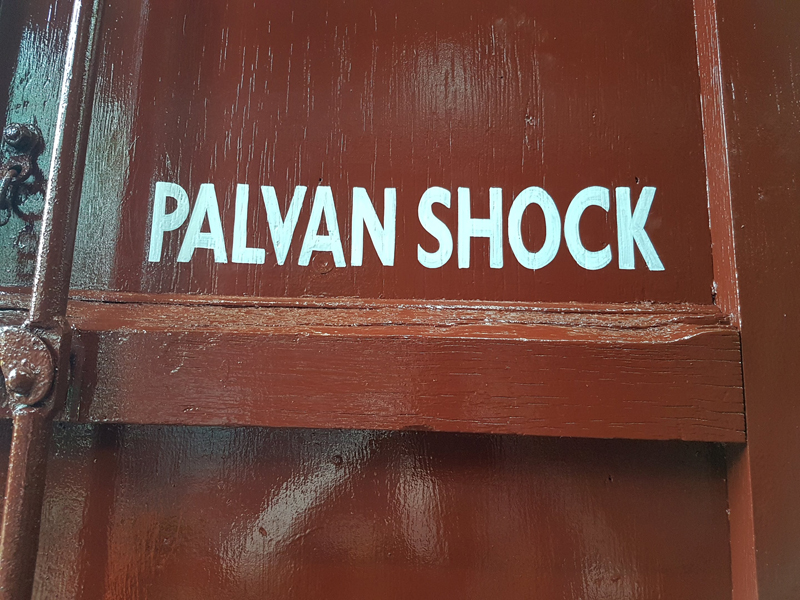
On to Saturday and the final push for the Palvan Shock, Nick fitting the end chalkboards.
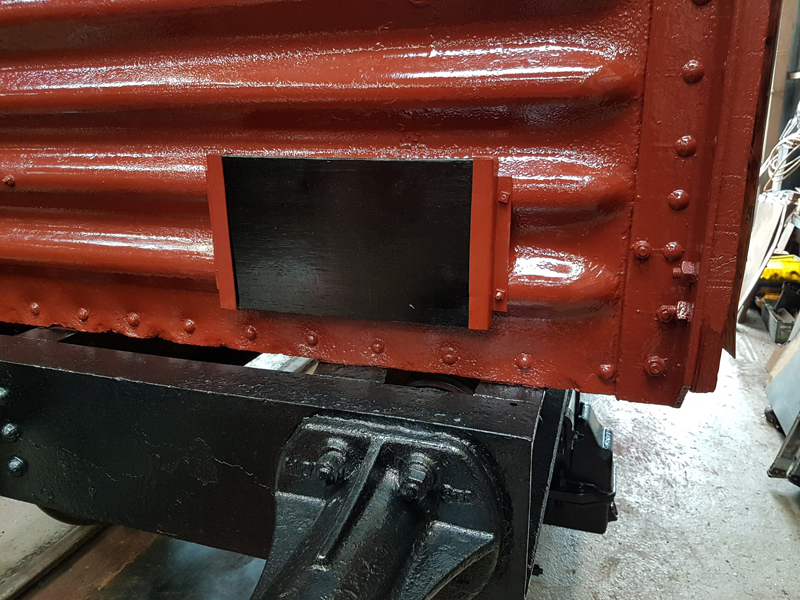
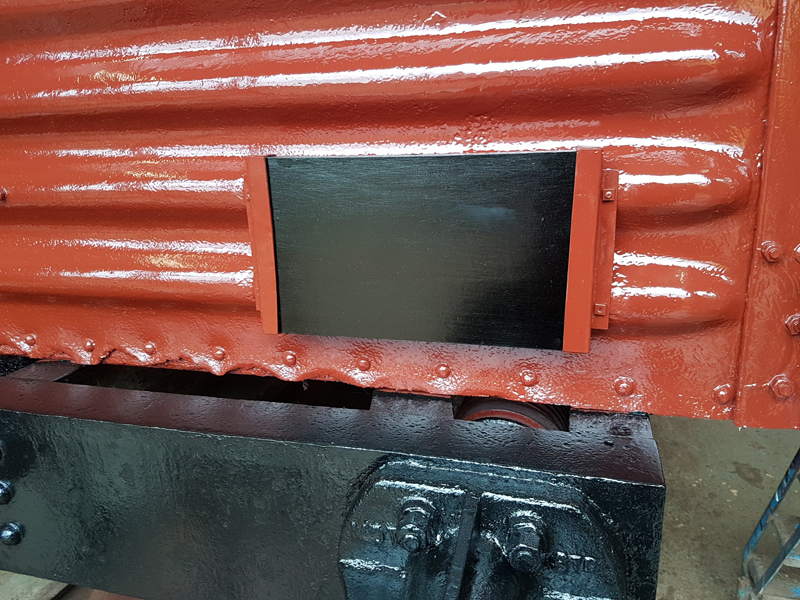
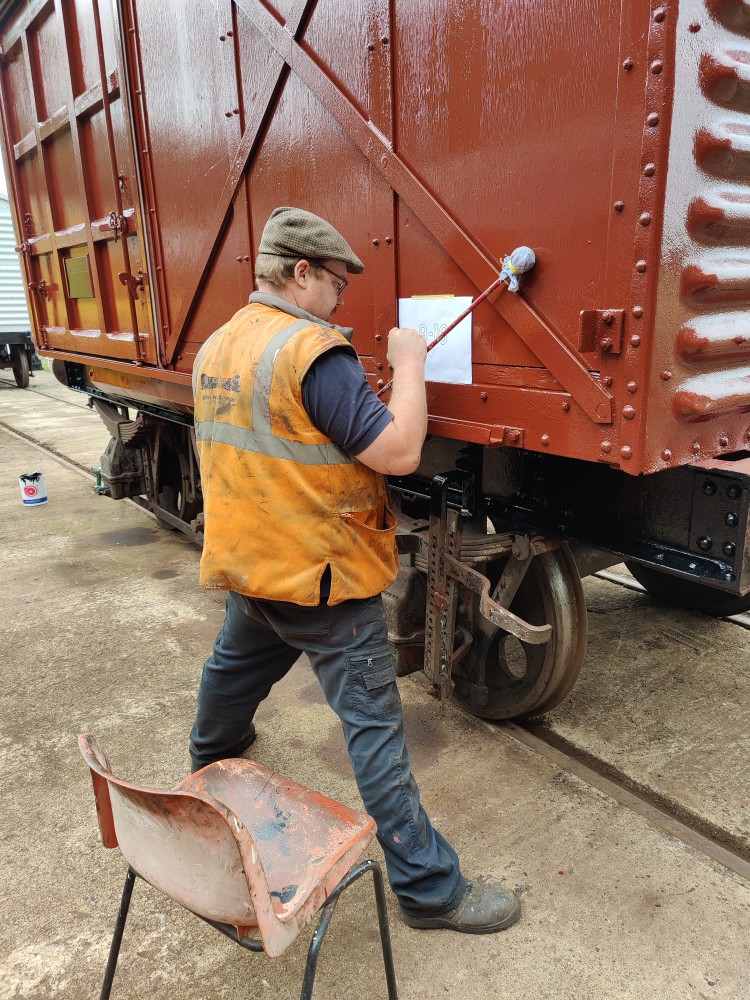
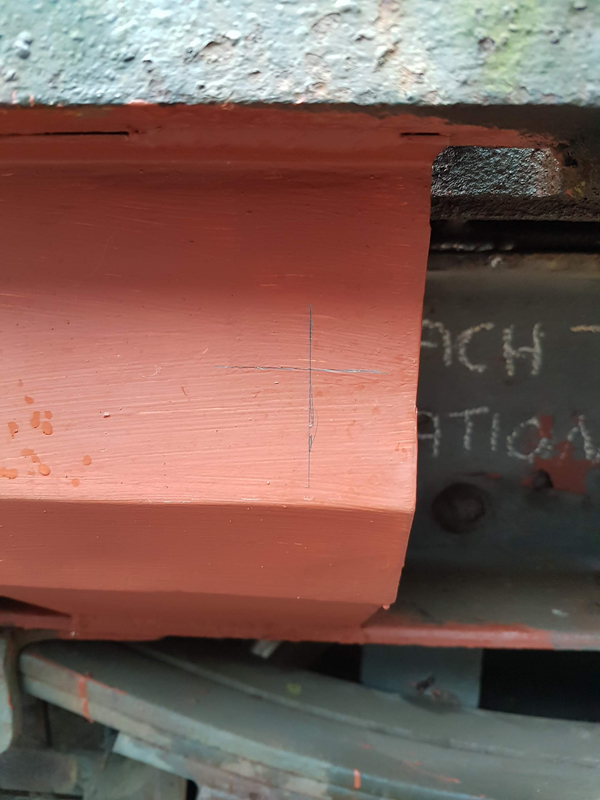
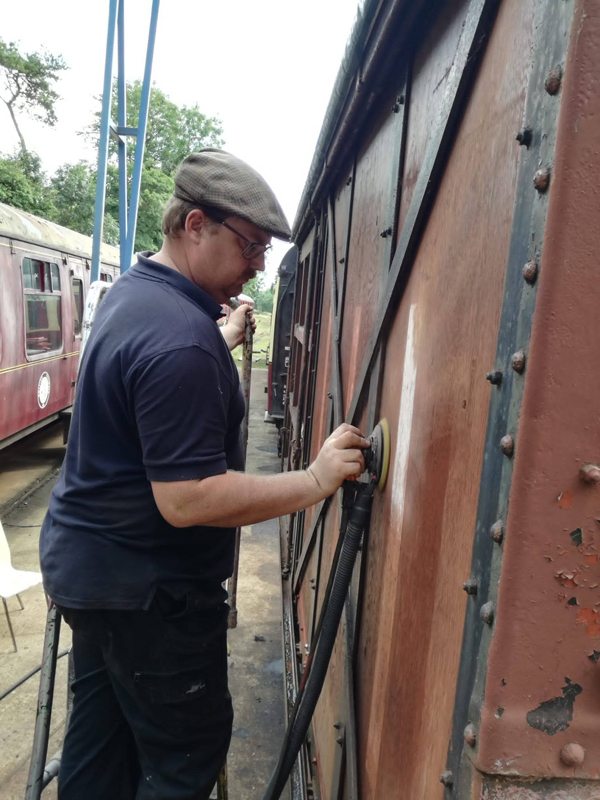
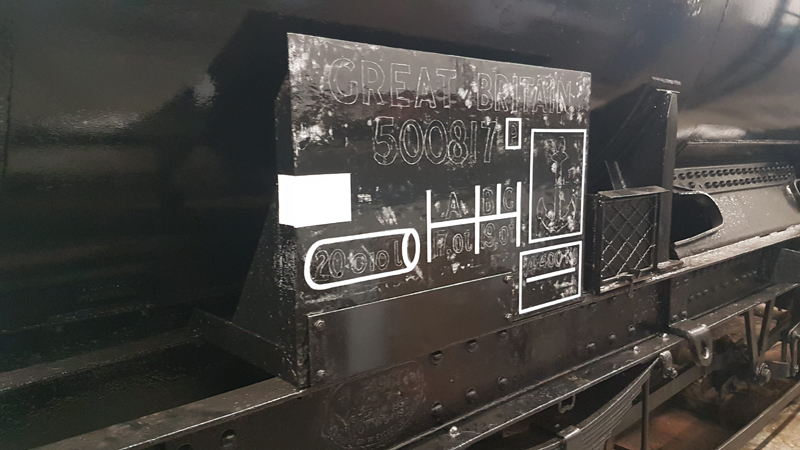
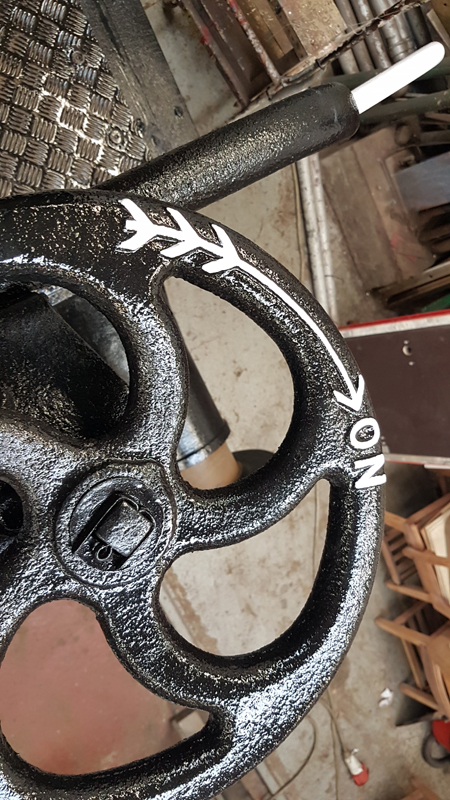
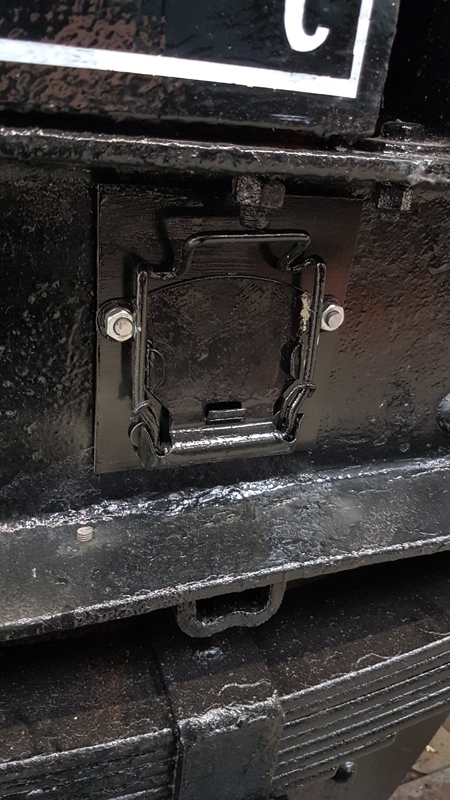
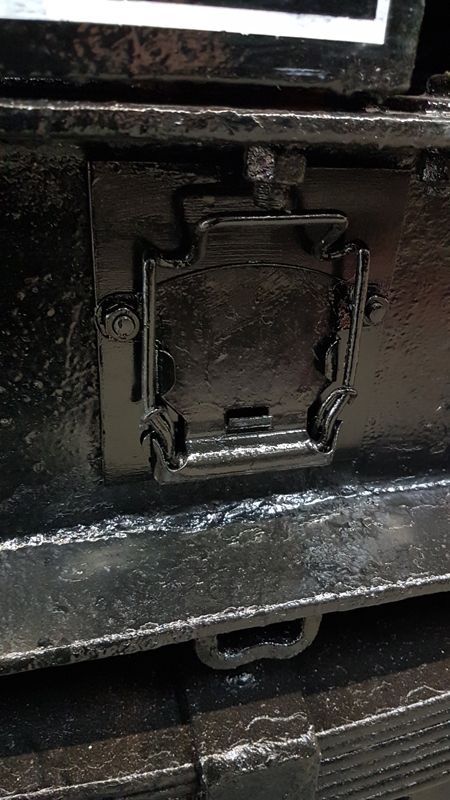
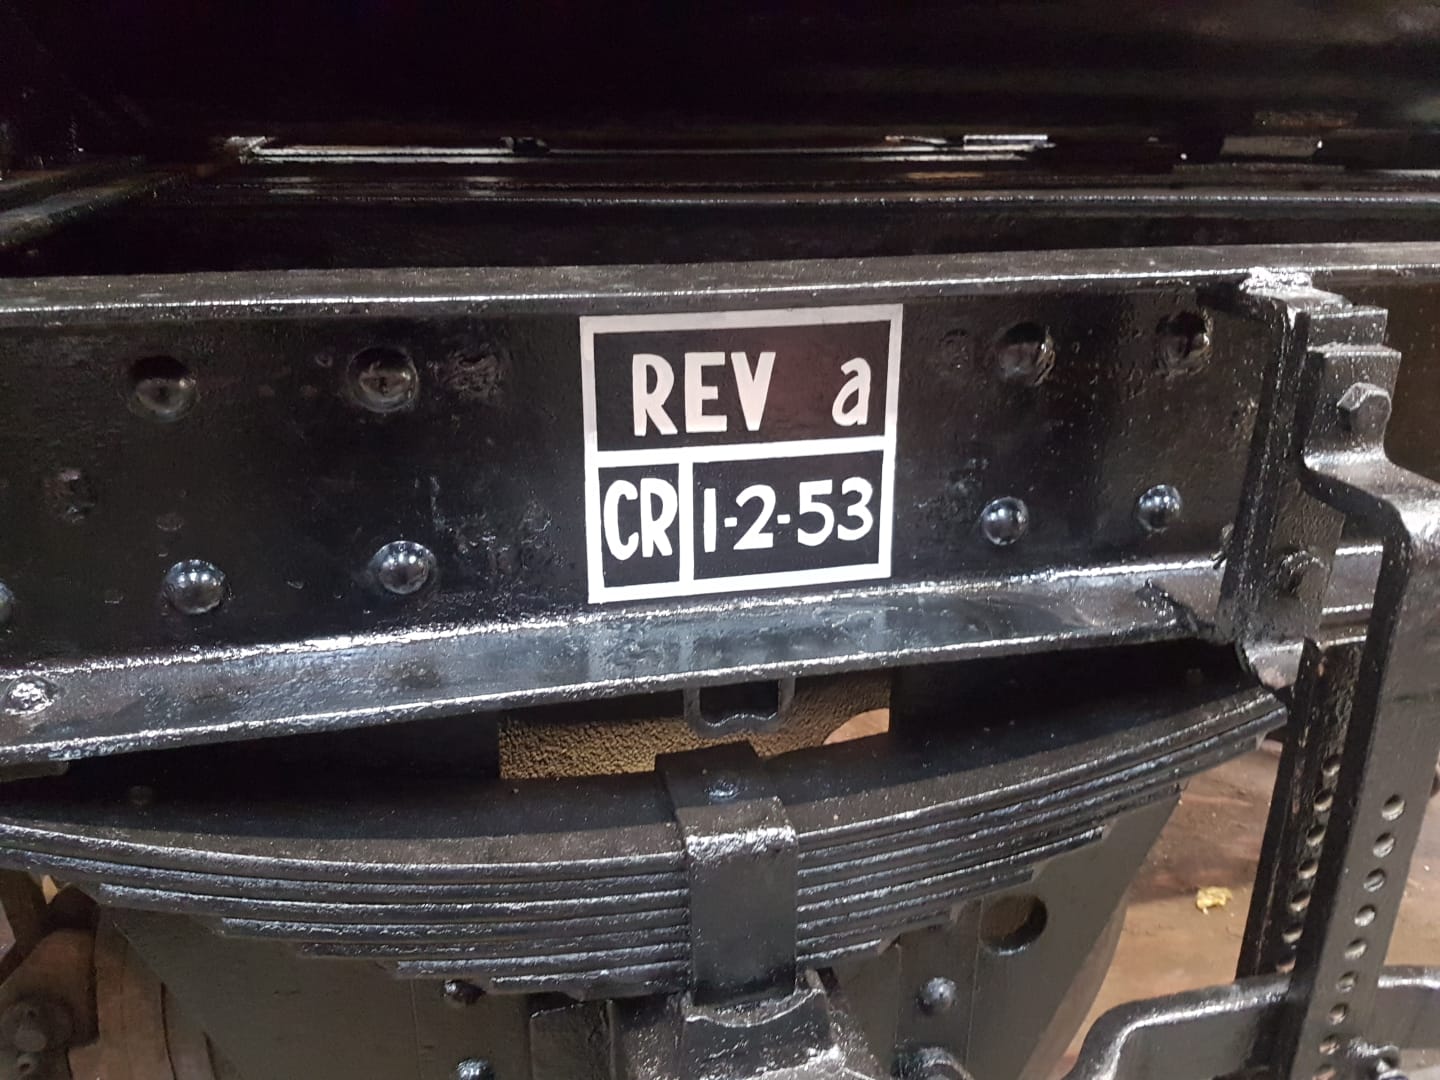
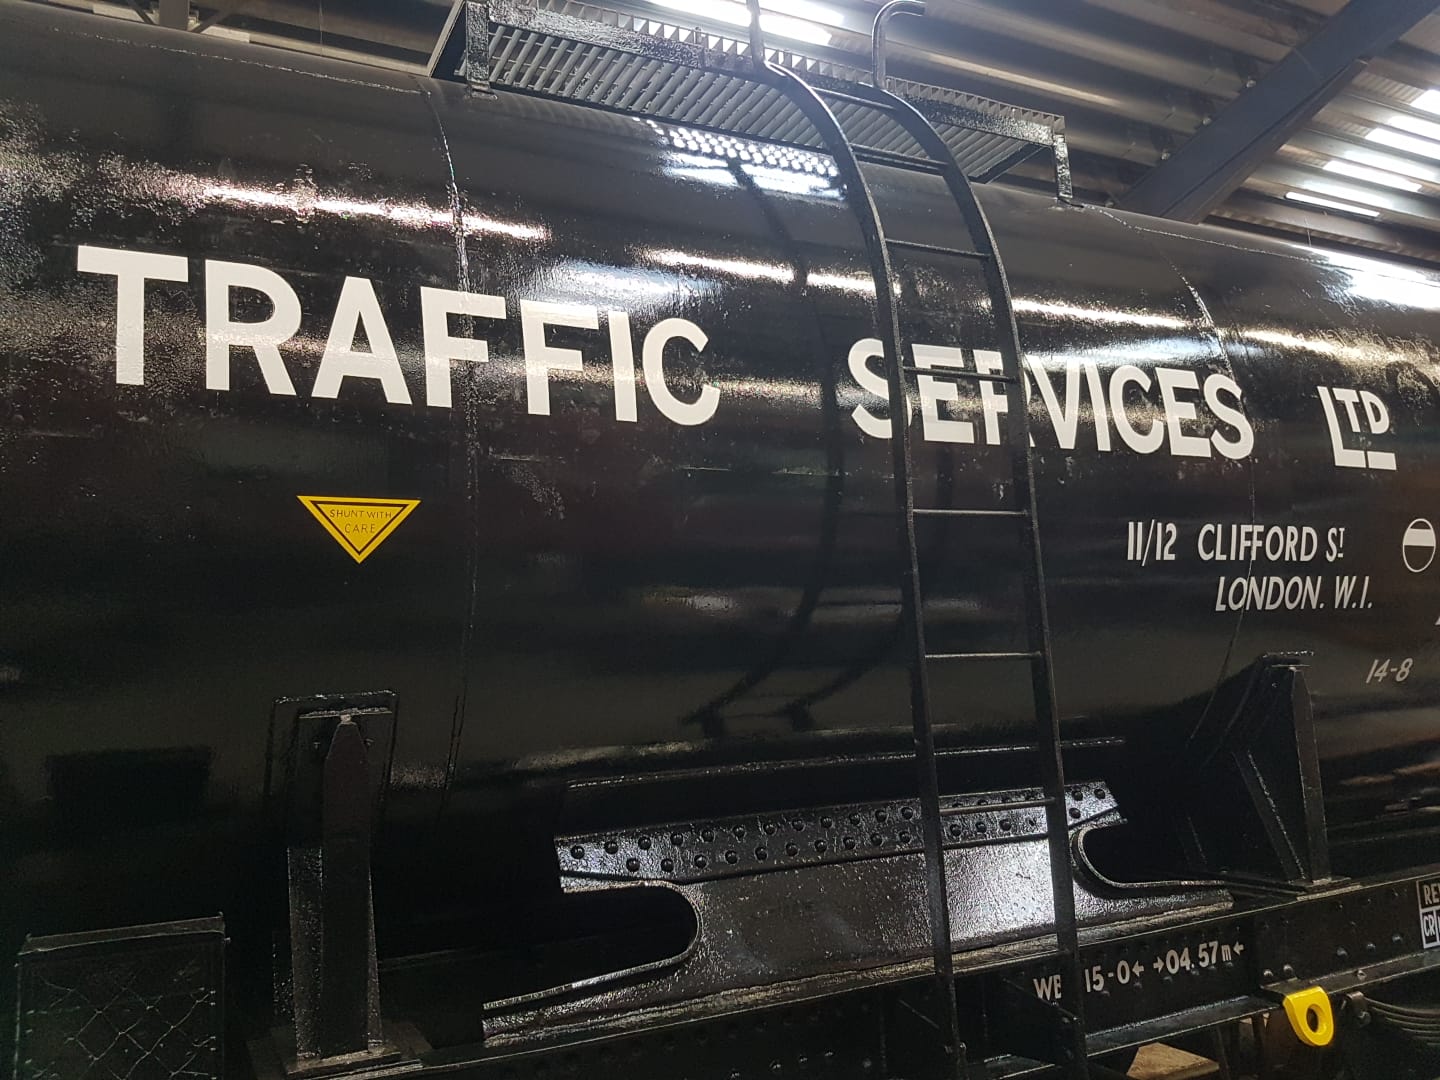
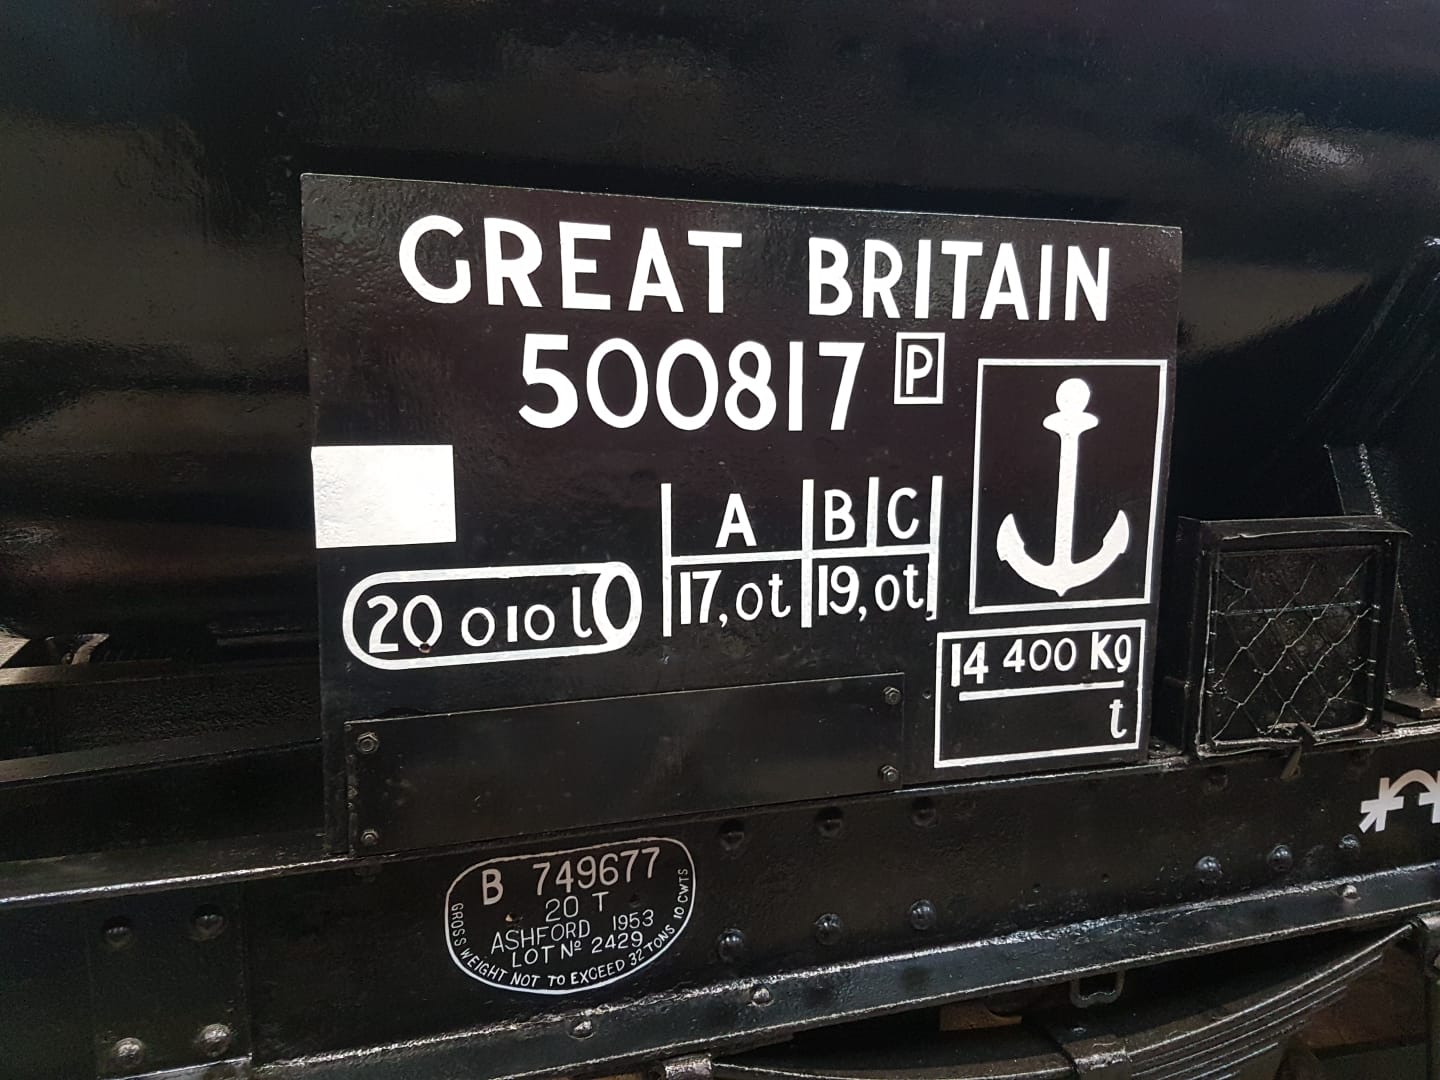
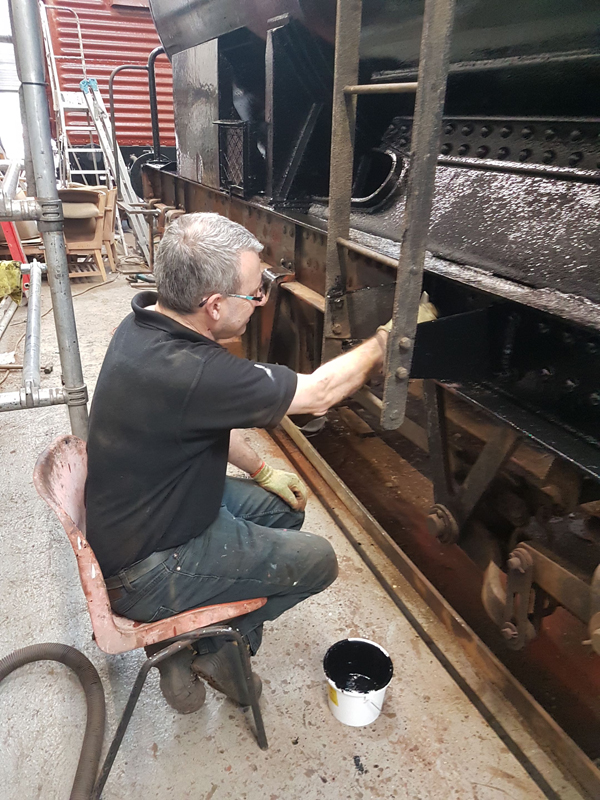
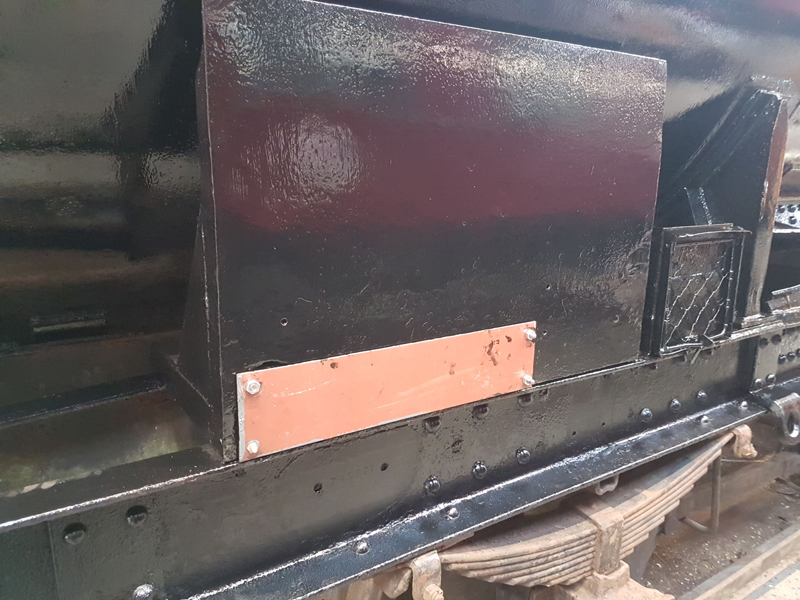
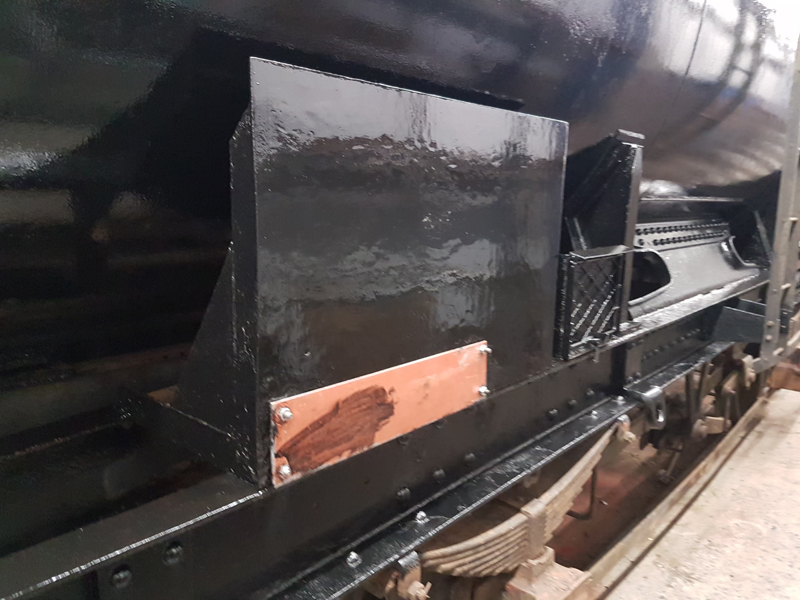
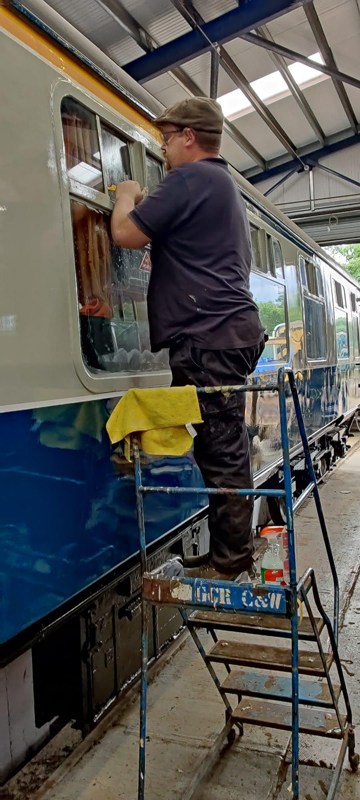
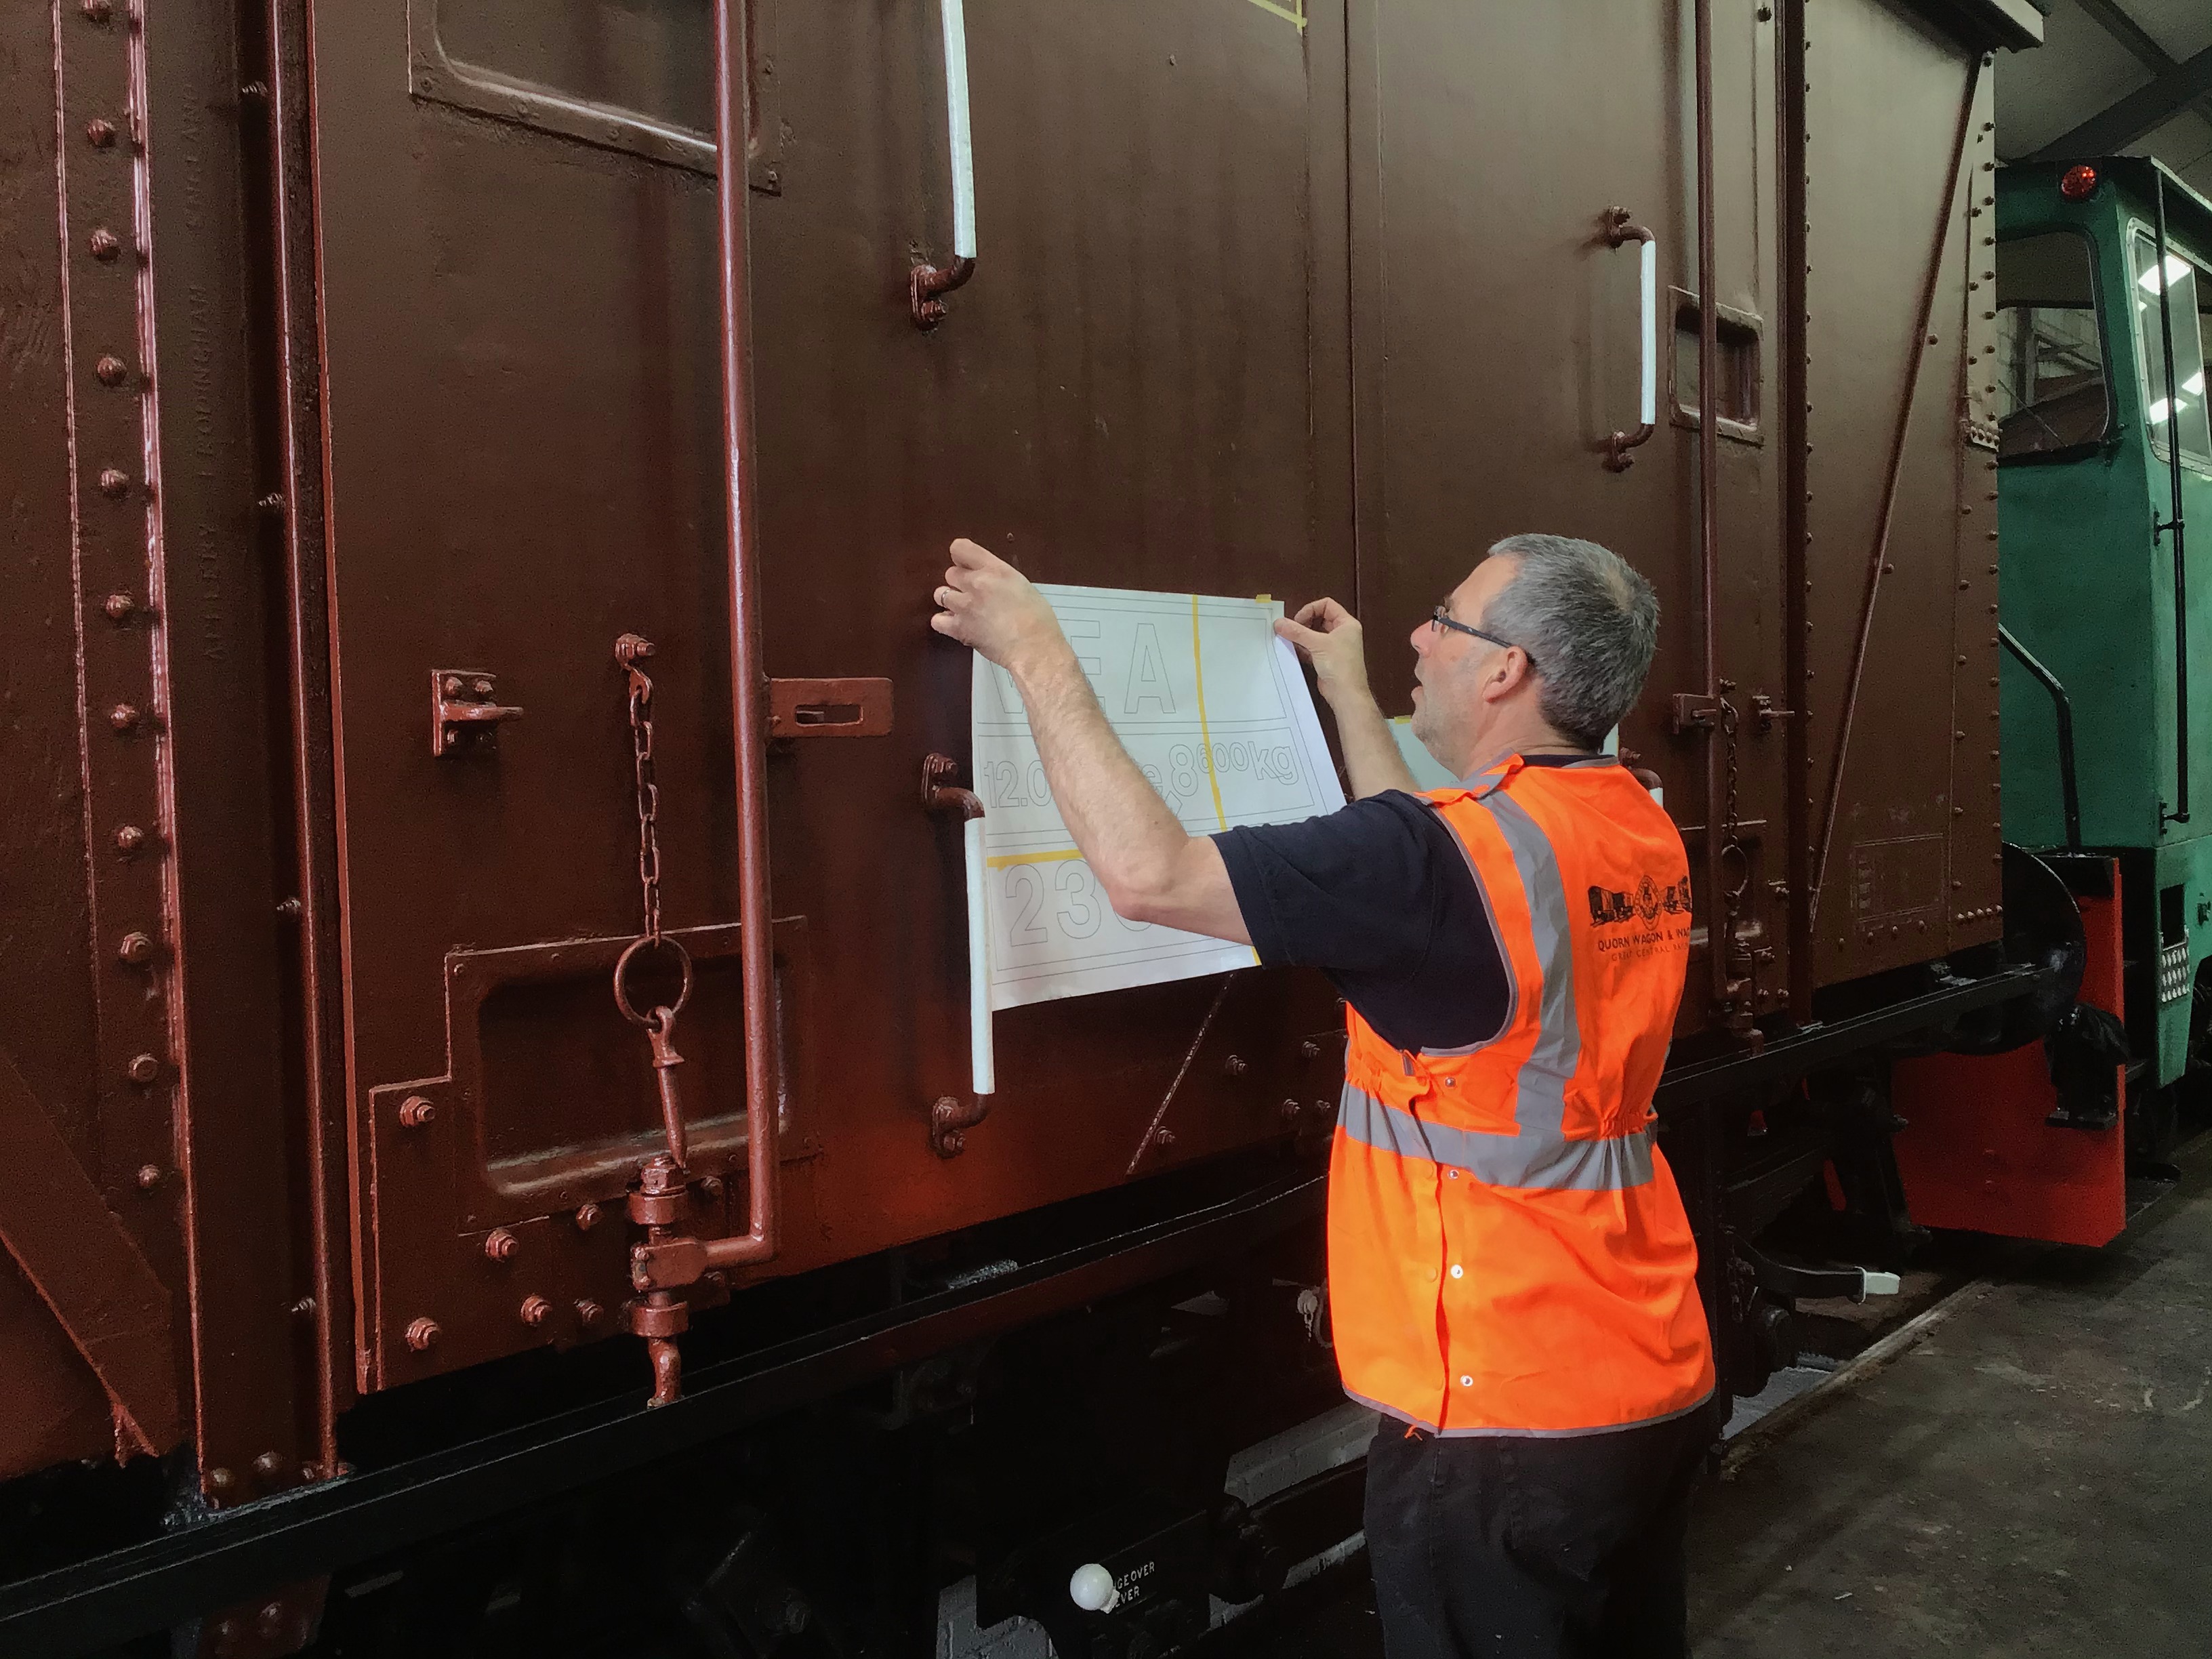
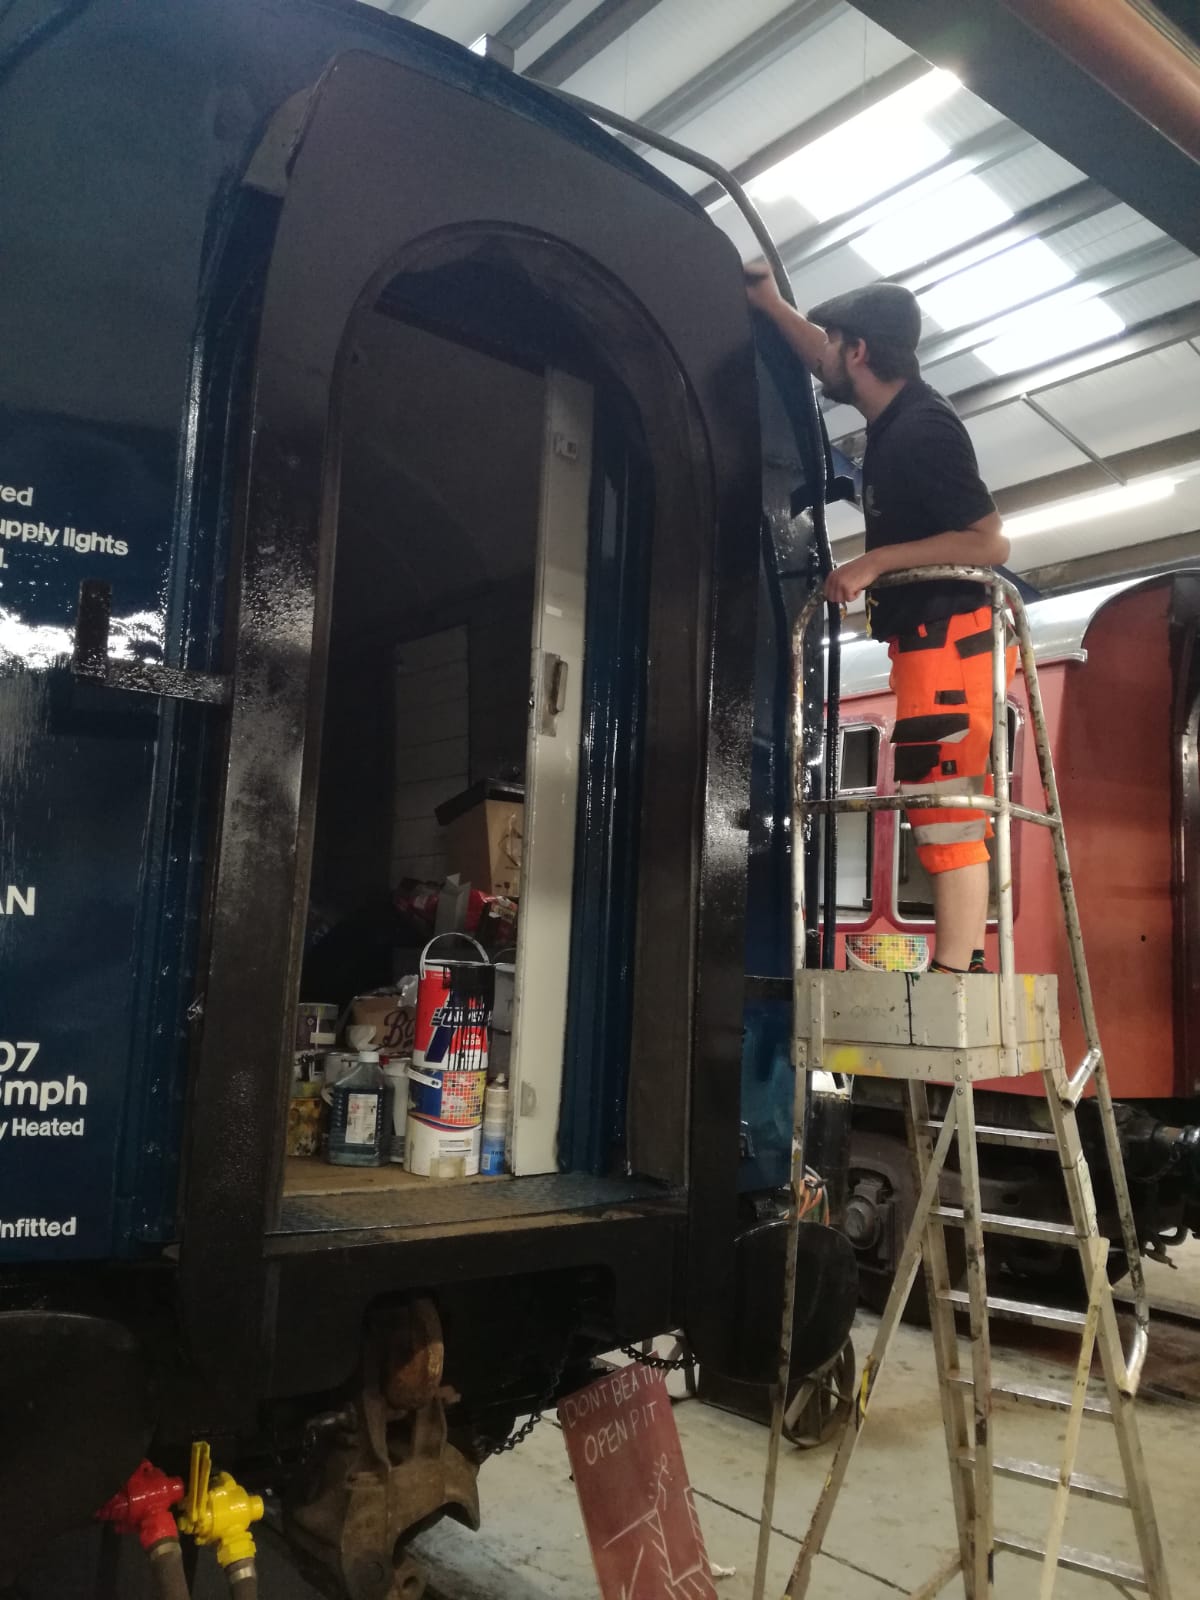
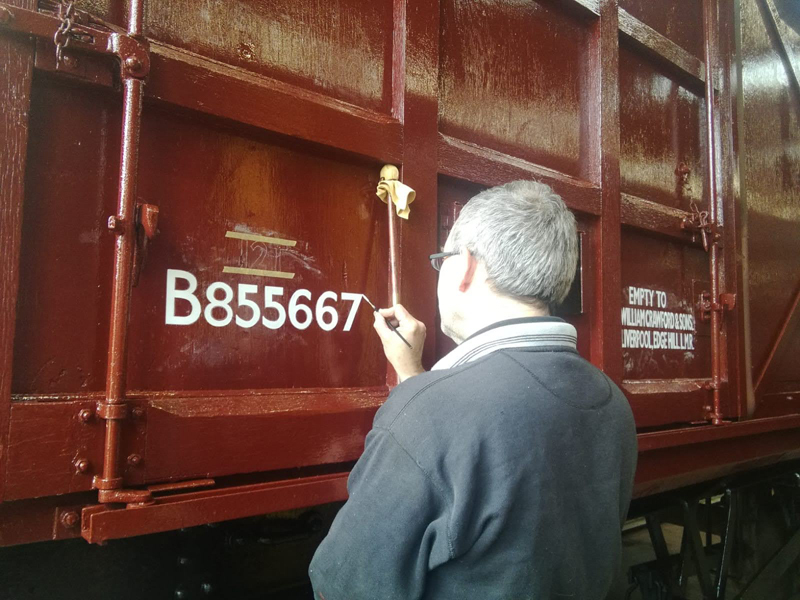
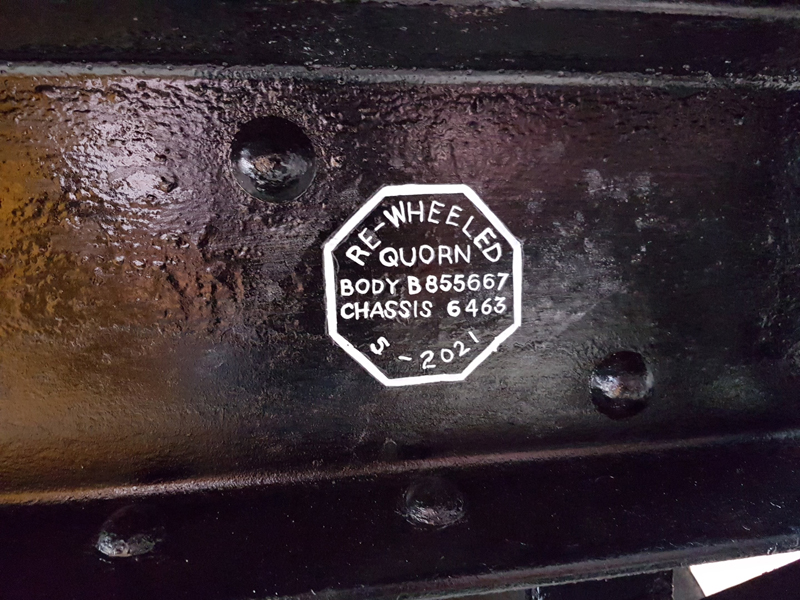
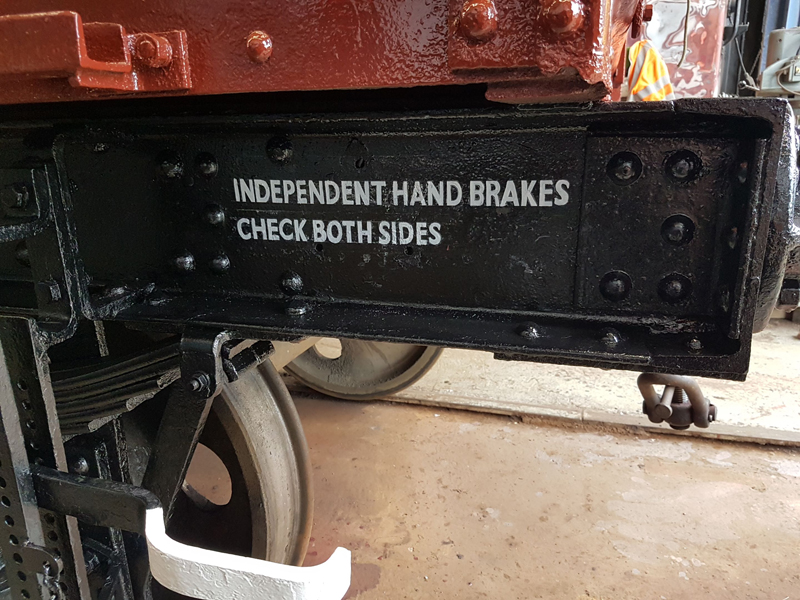
I completed the signwriting, including our rewheeling “plate”
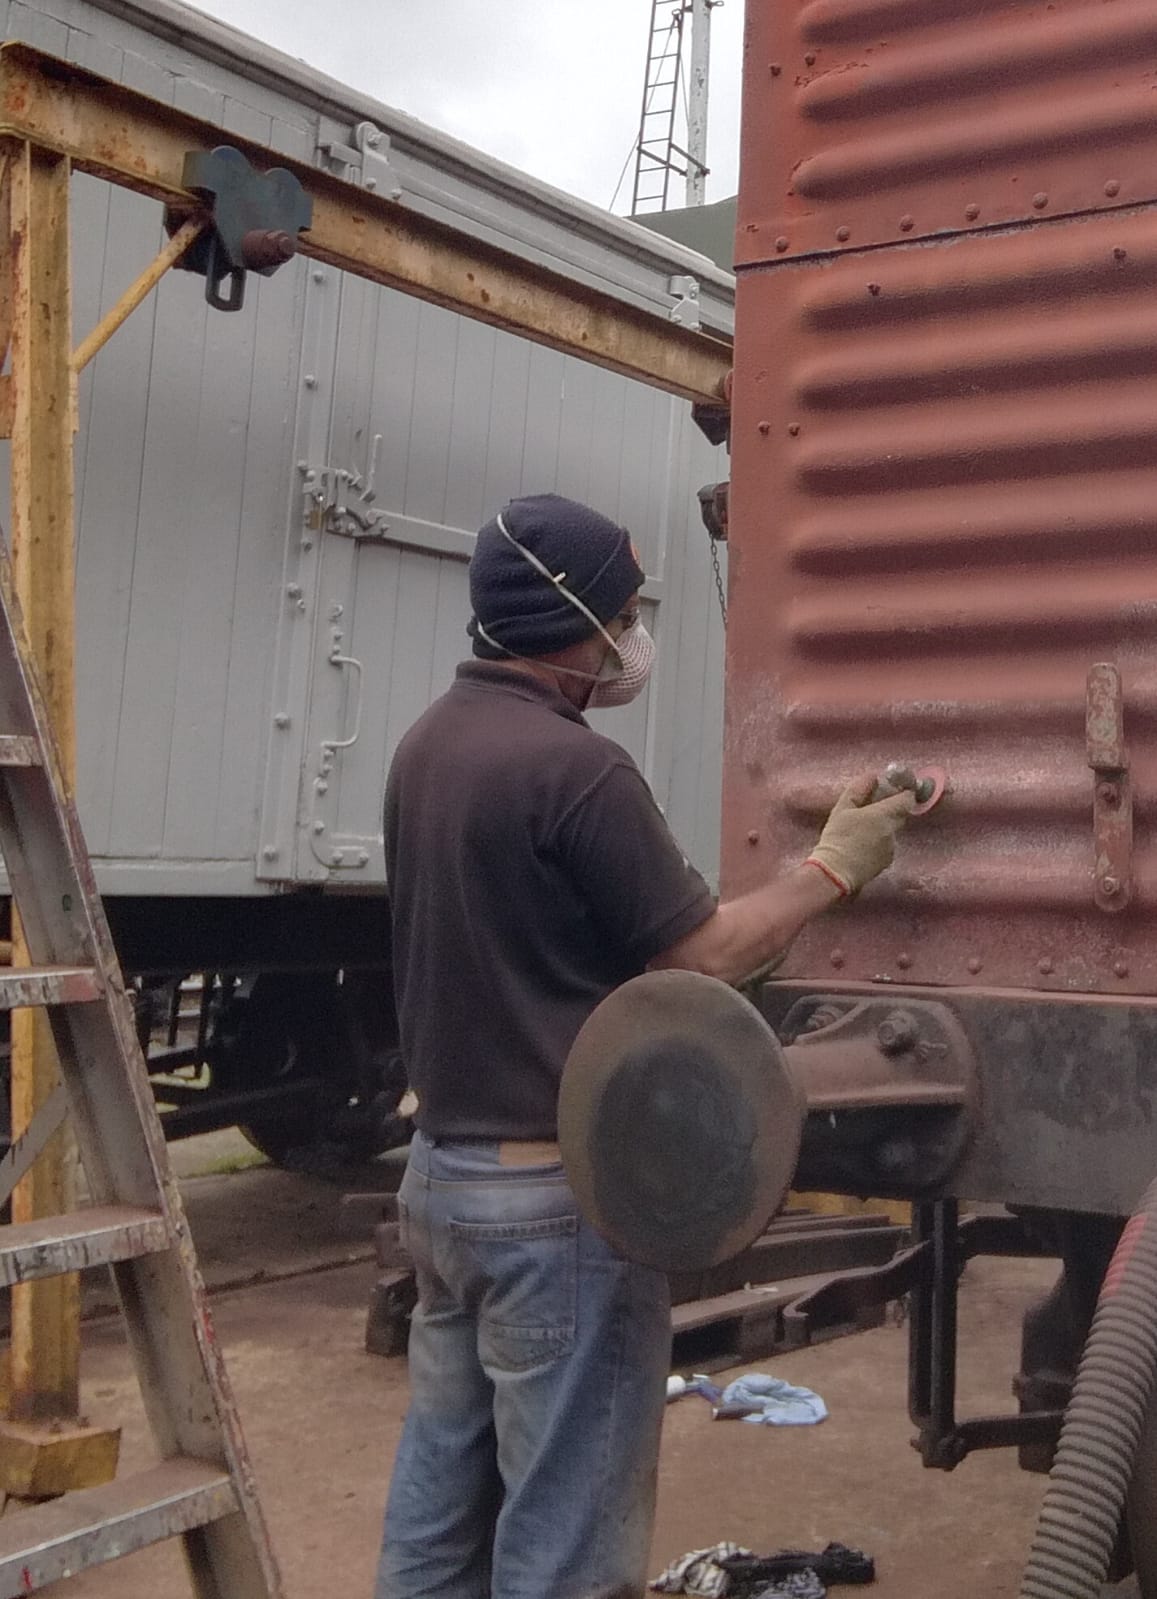
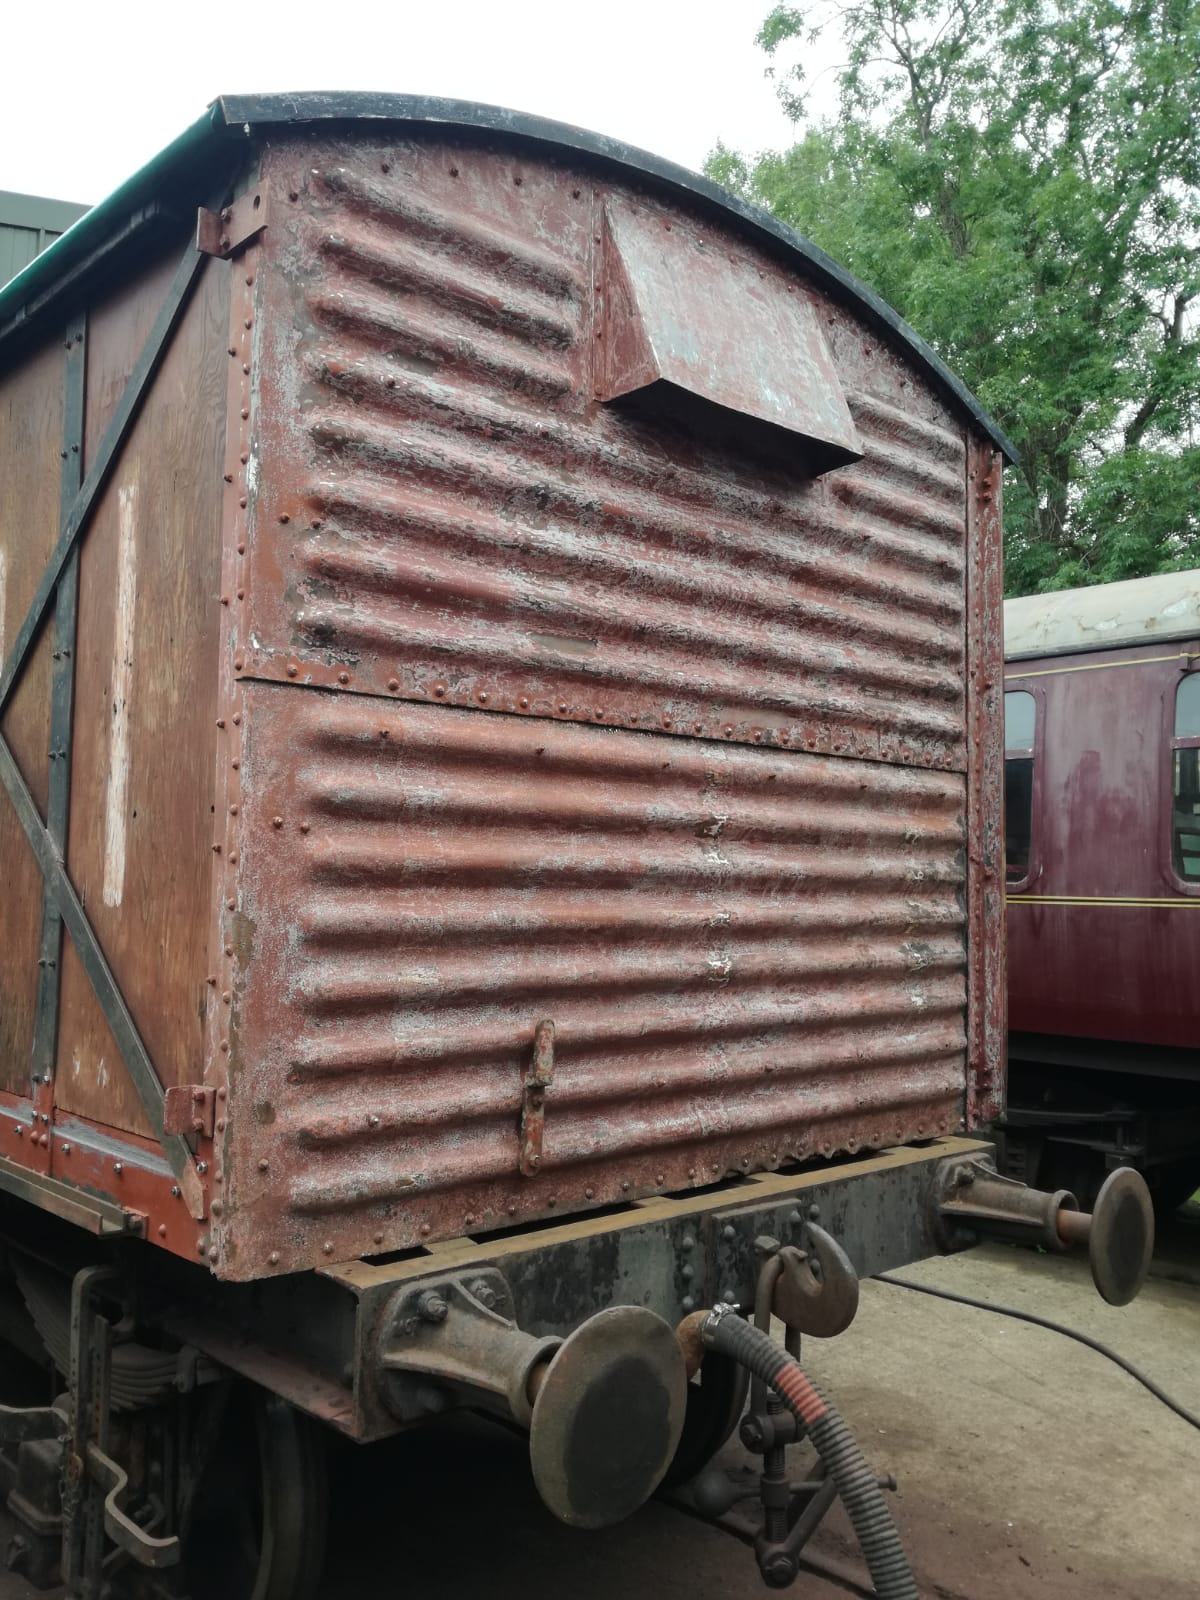
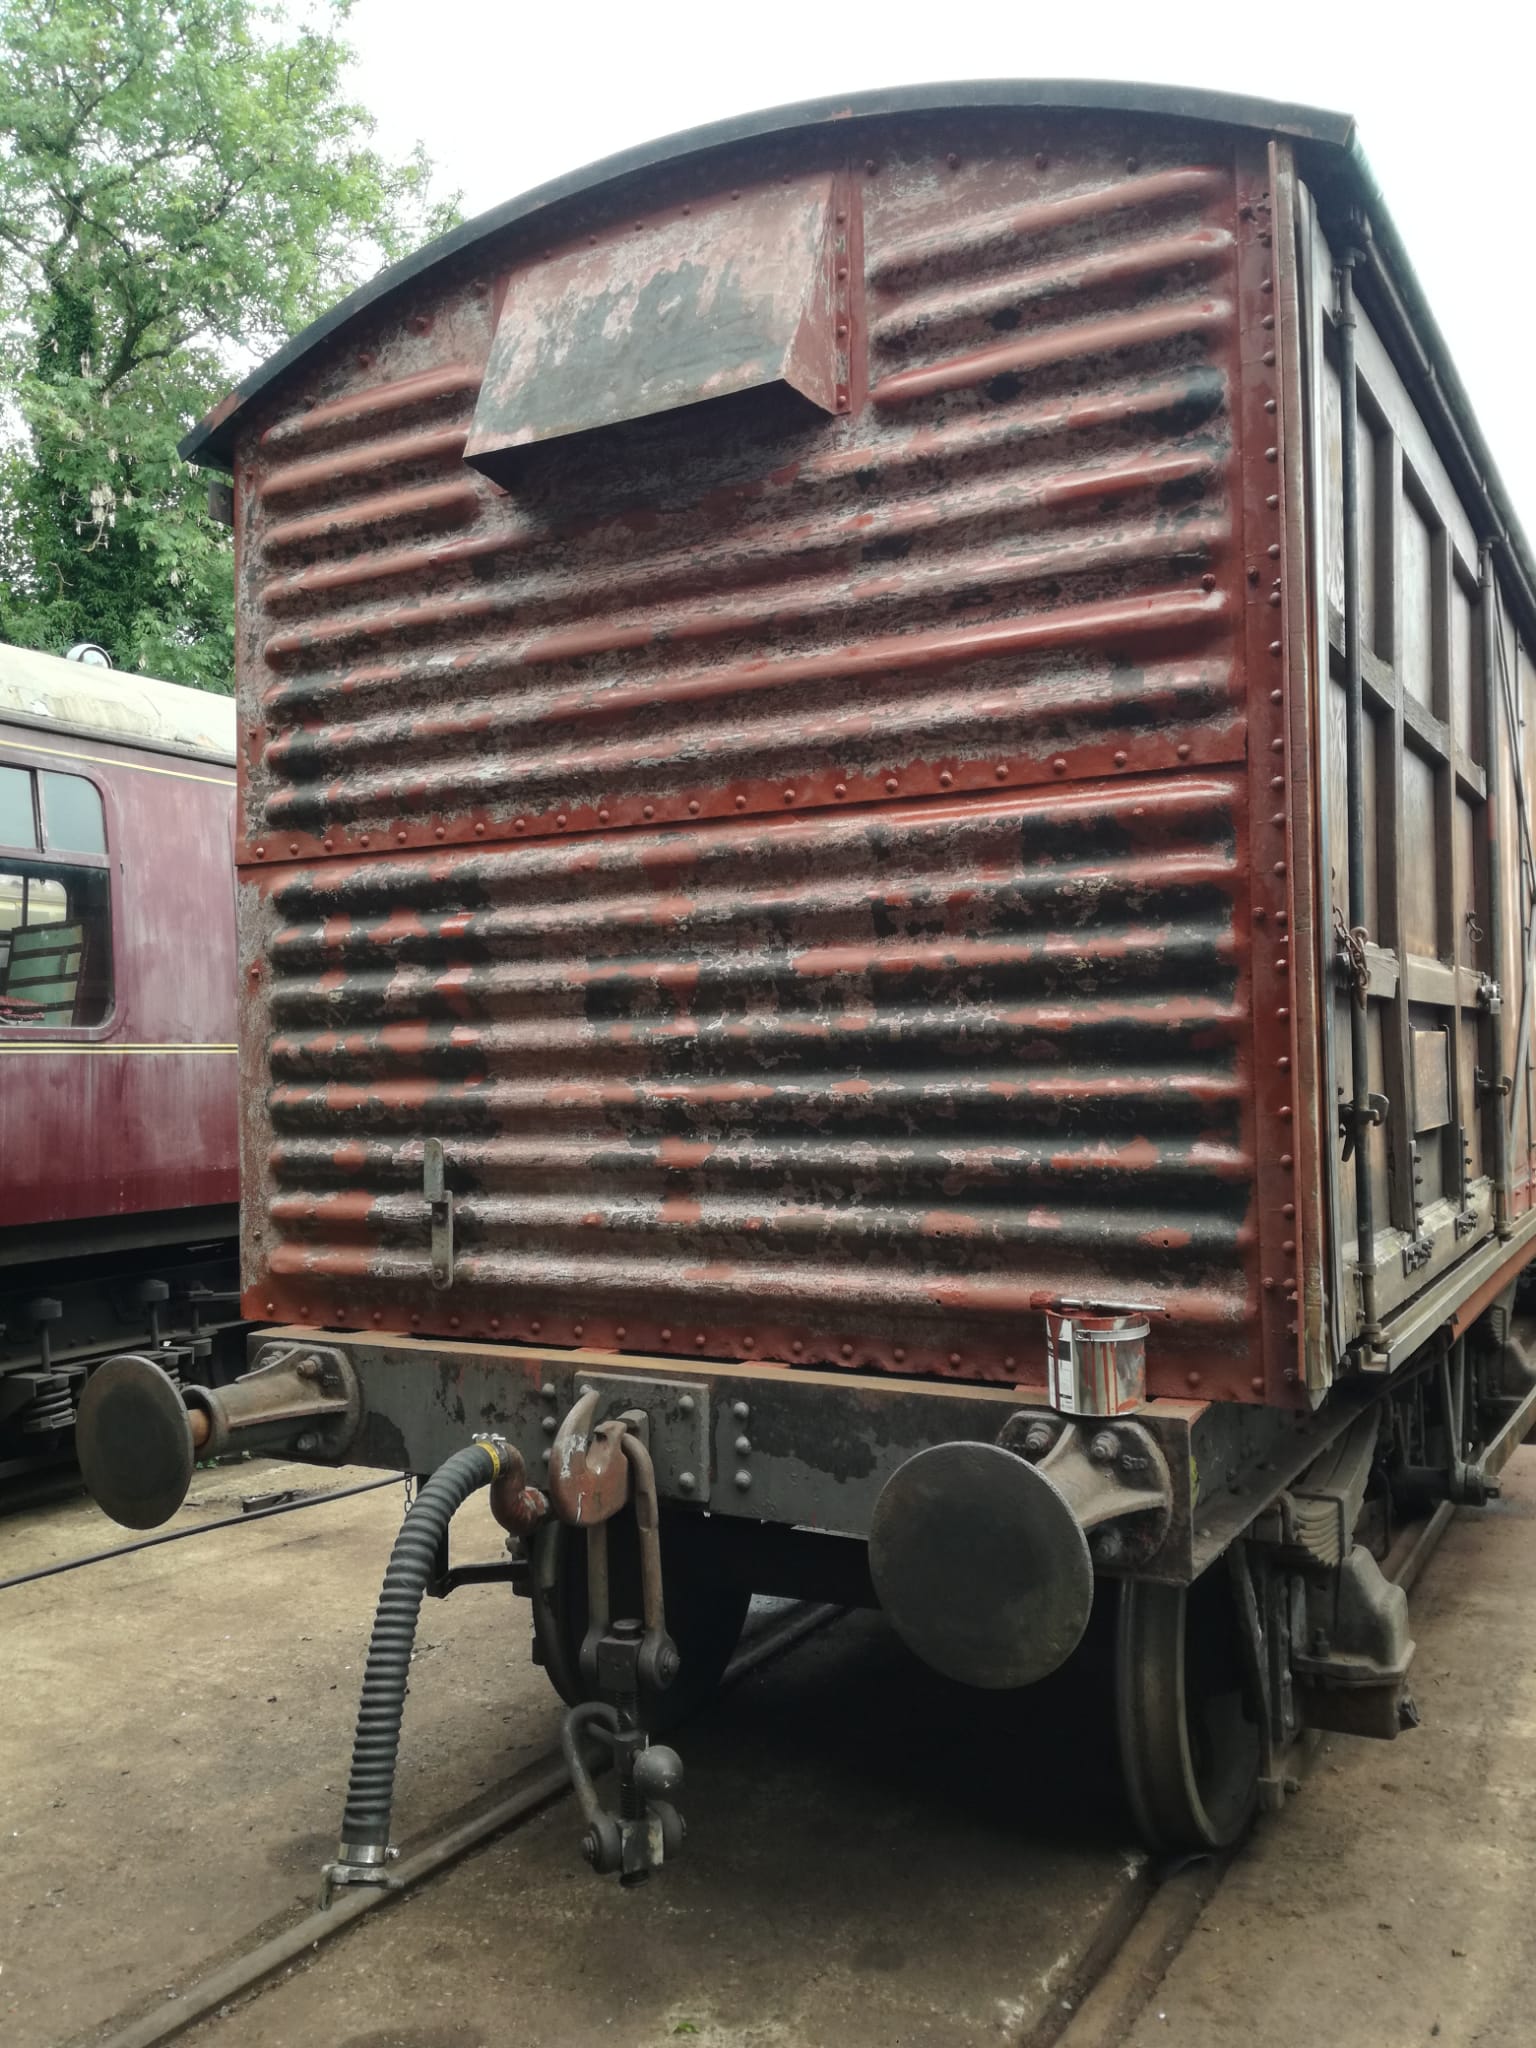
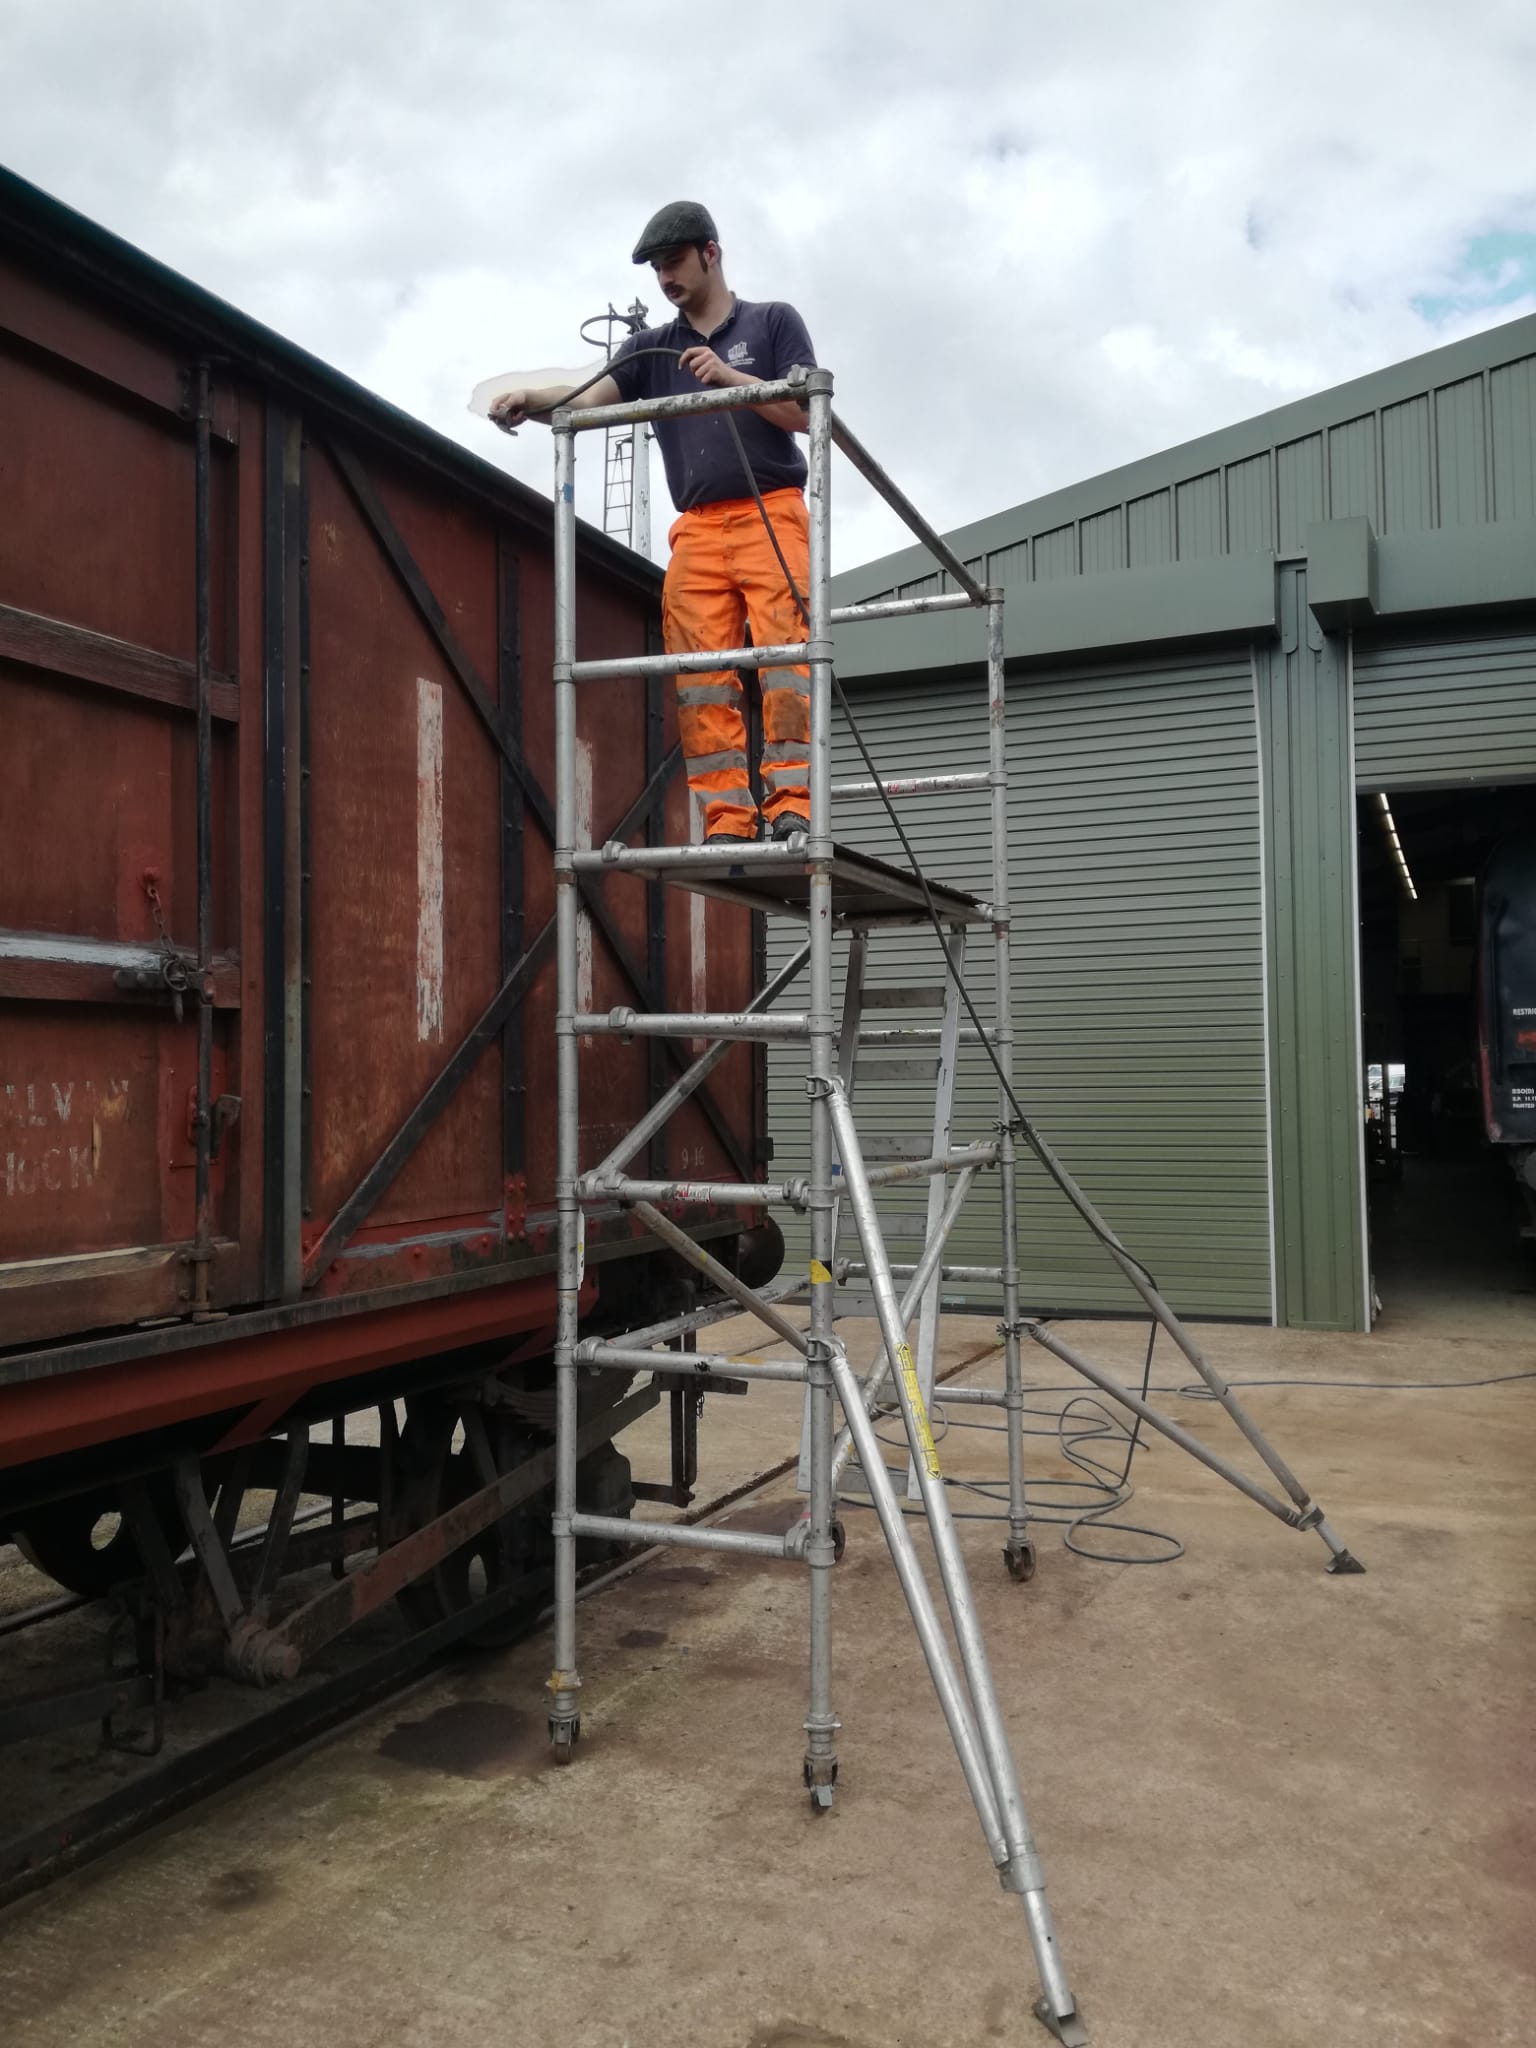
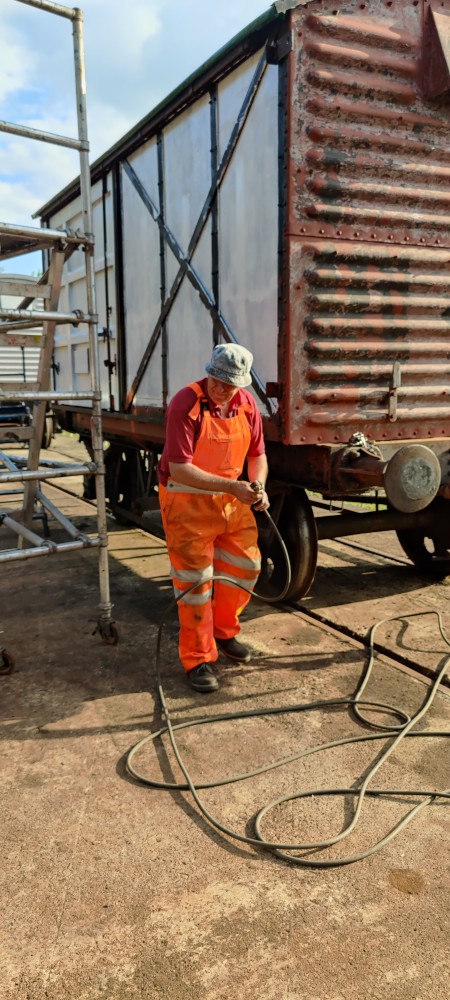
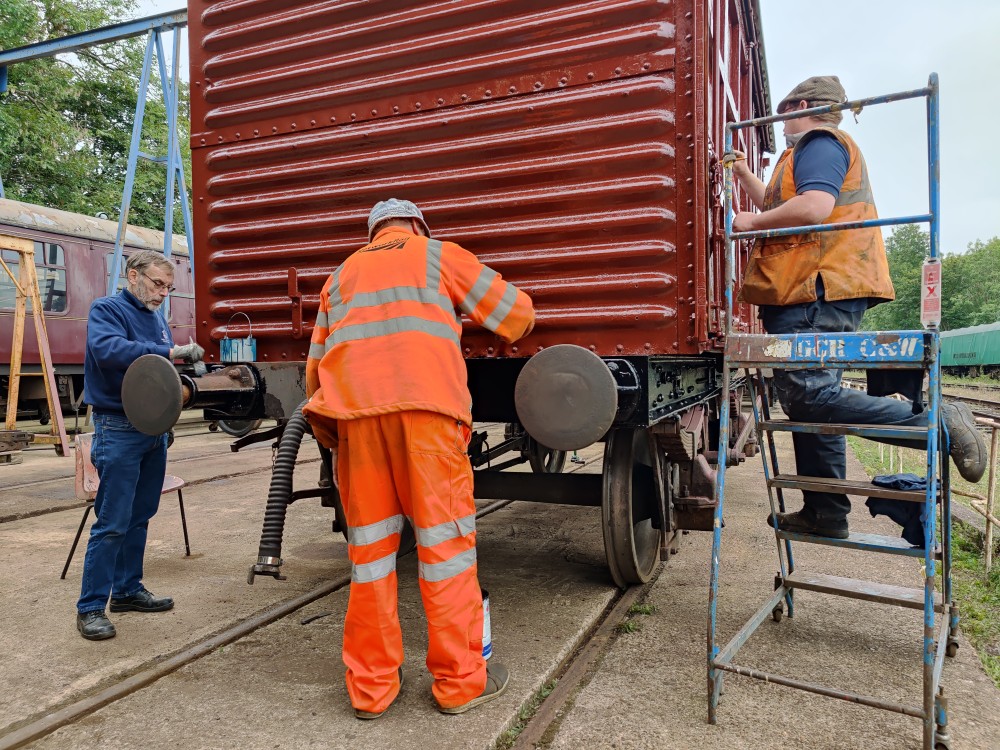
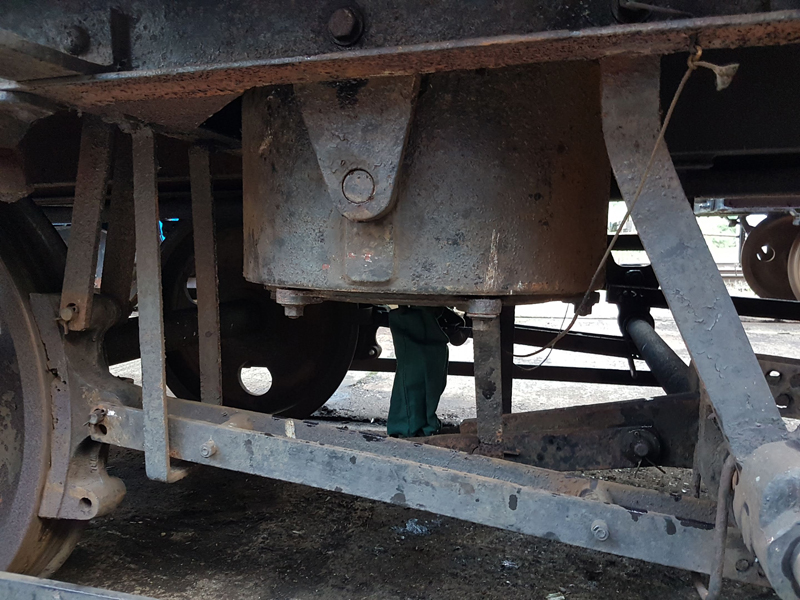
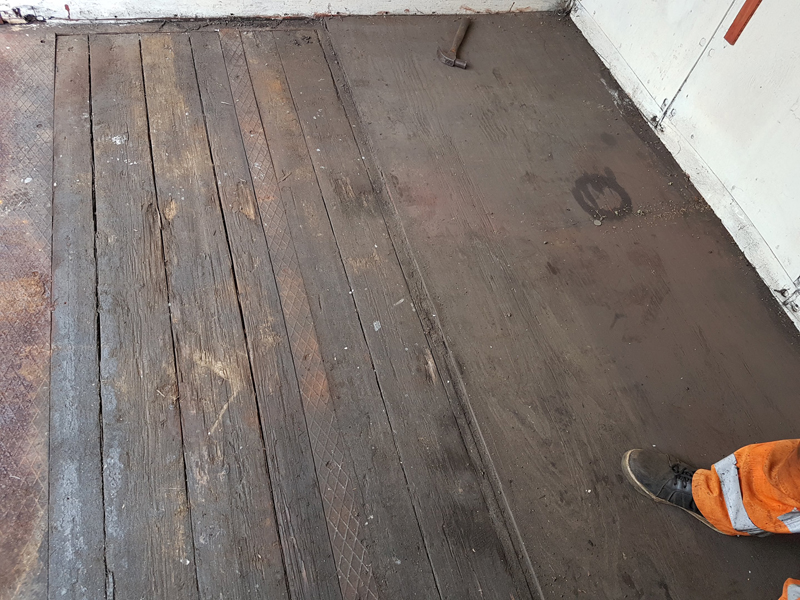
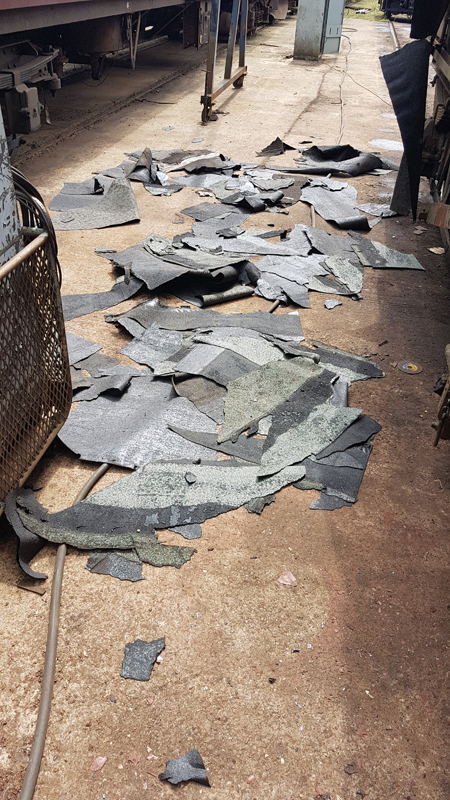
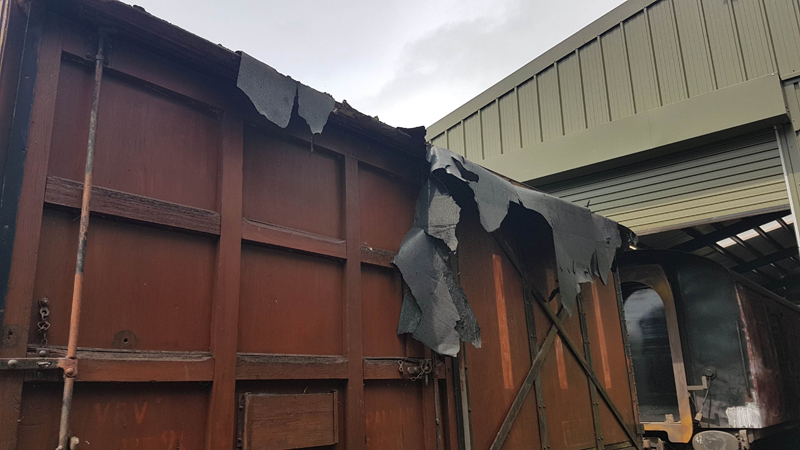
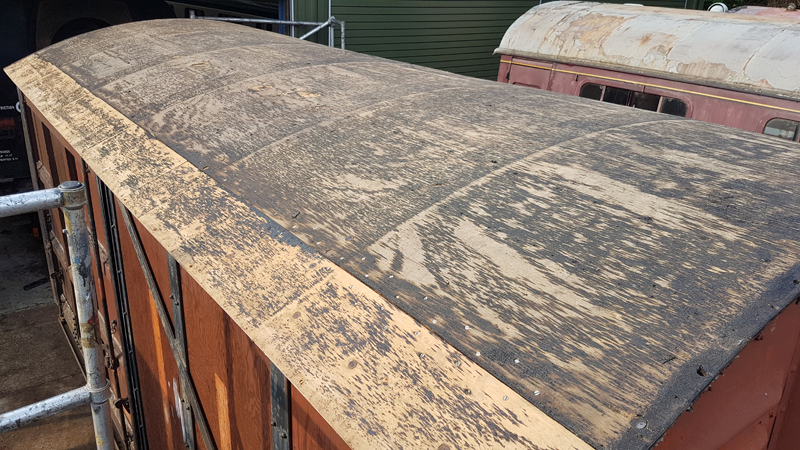
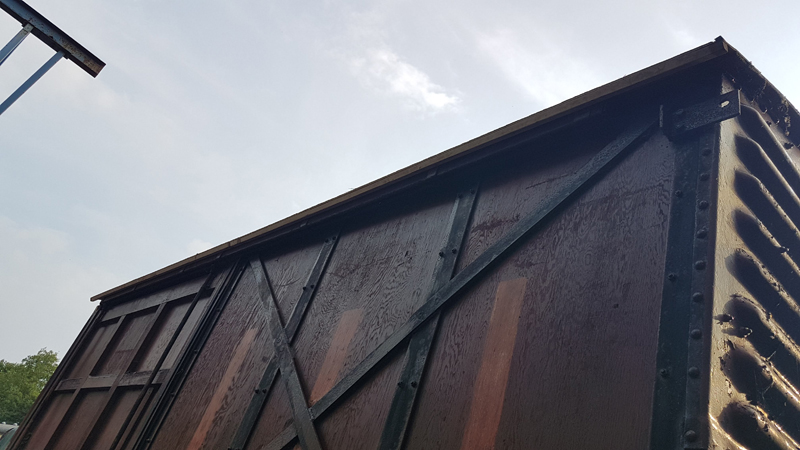
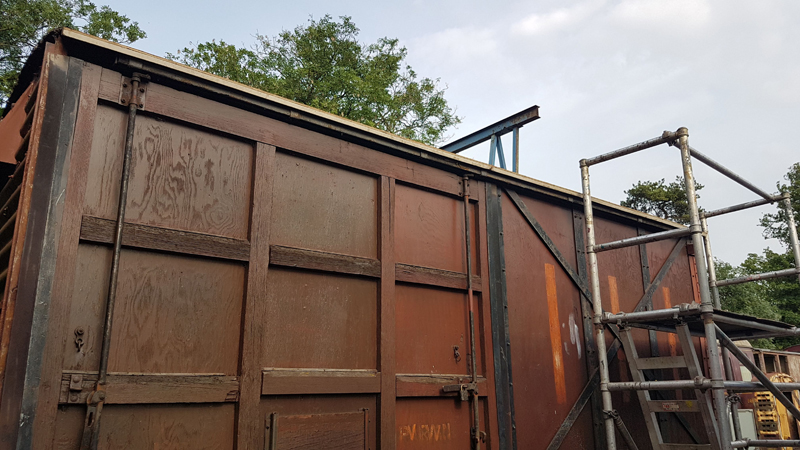
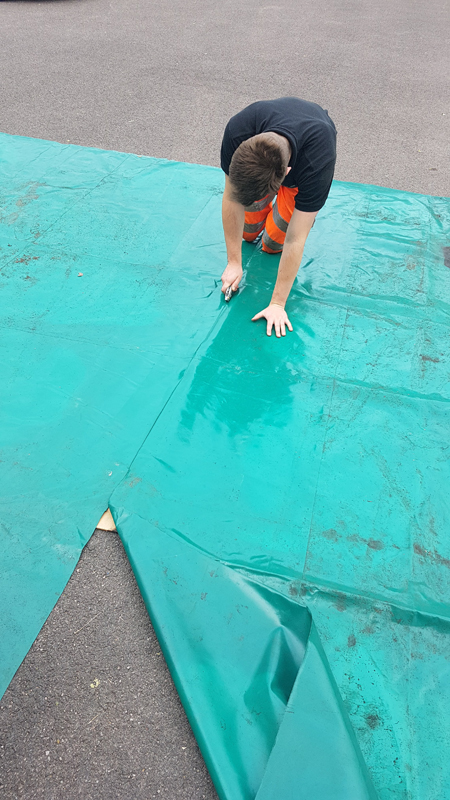
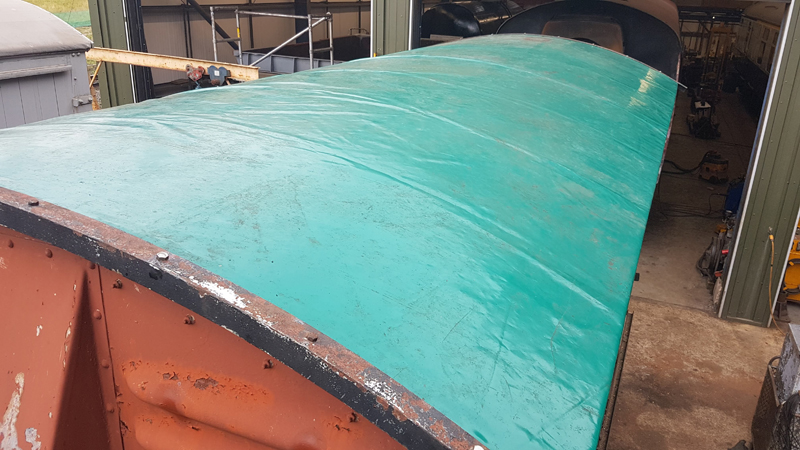
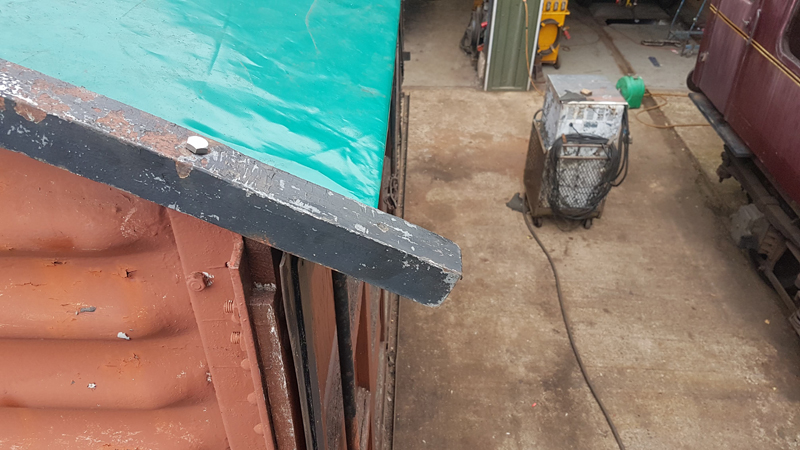
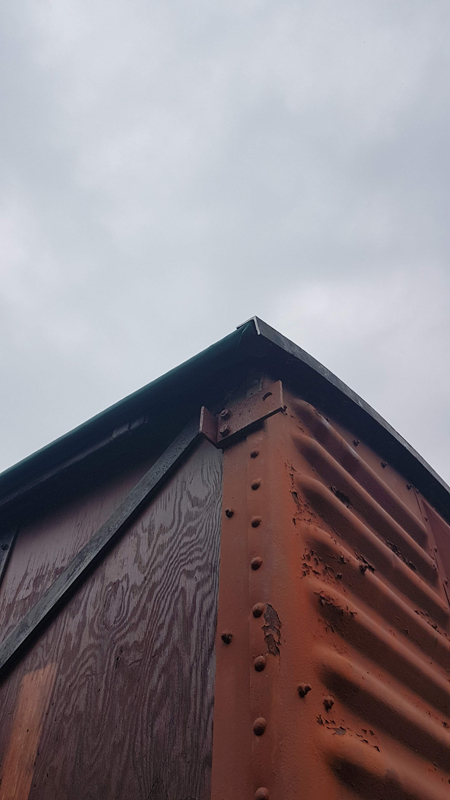
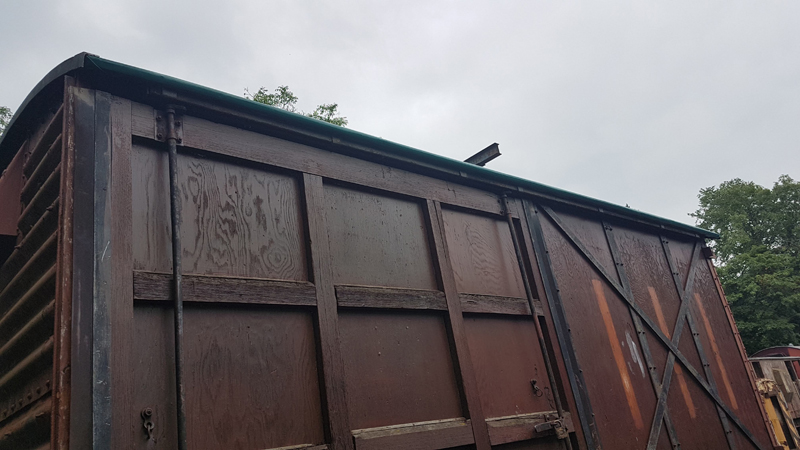
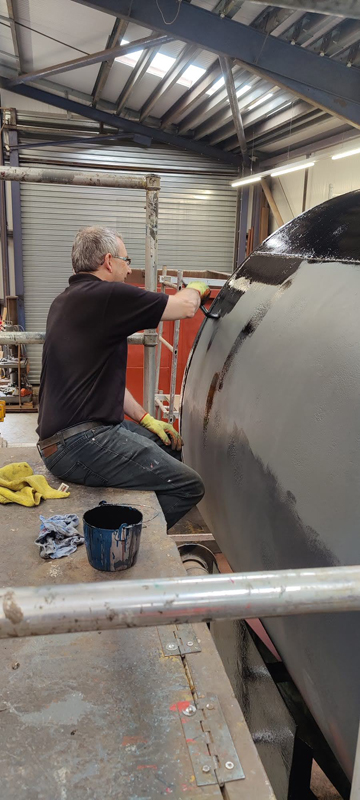
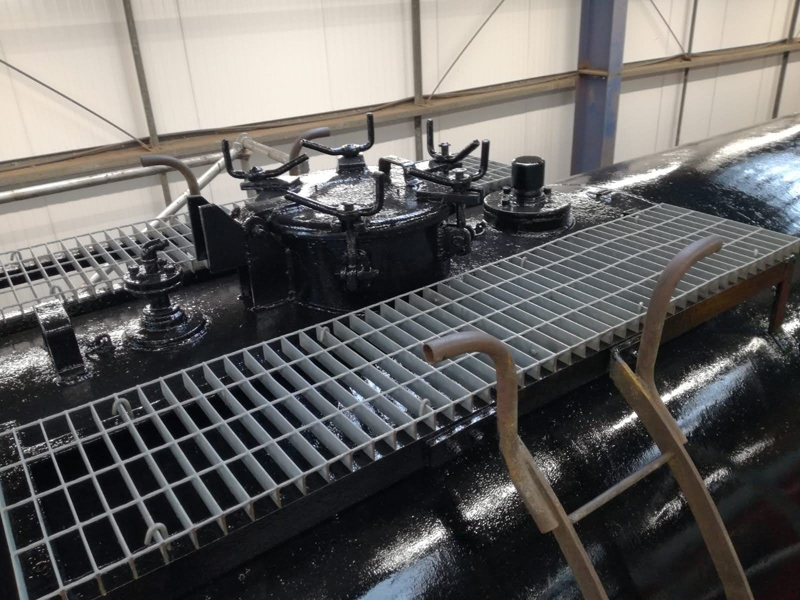
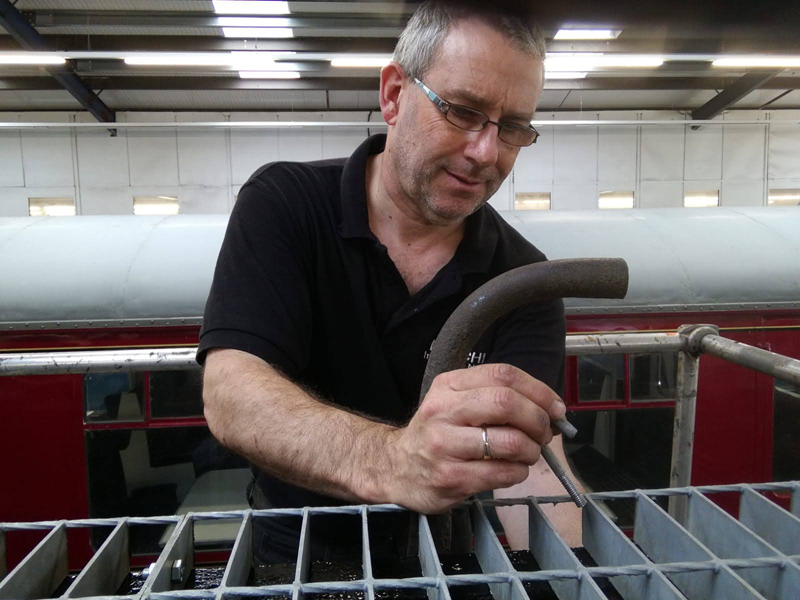
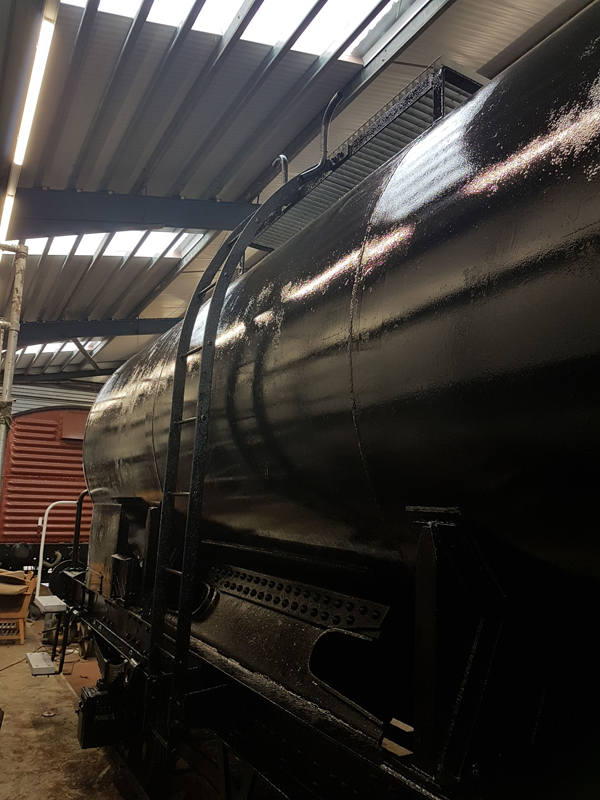
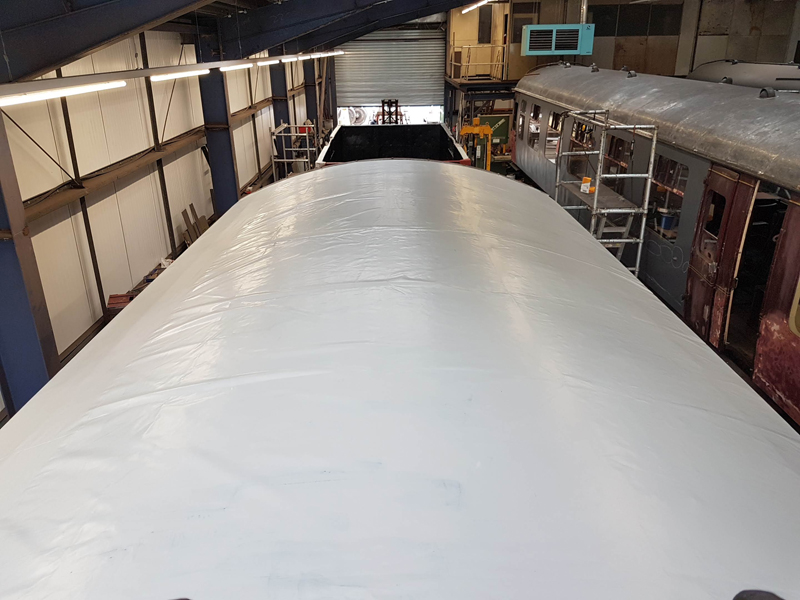
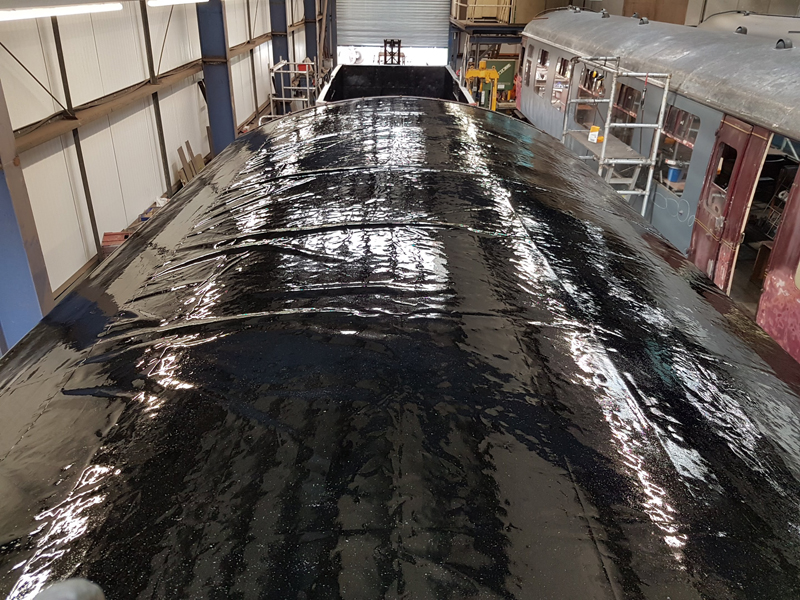
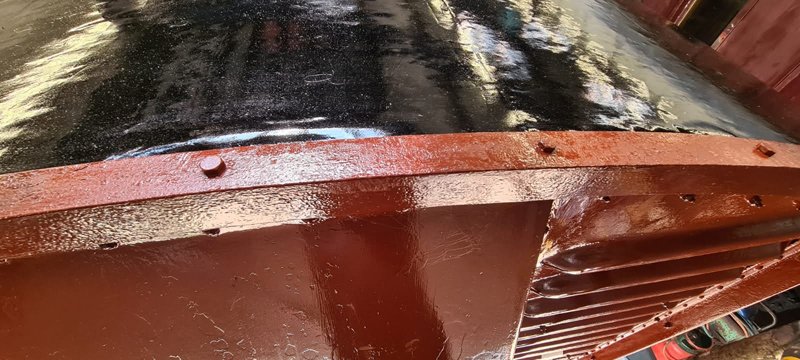
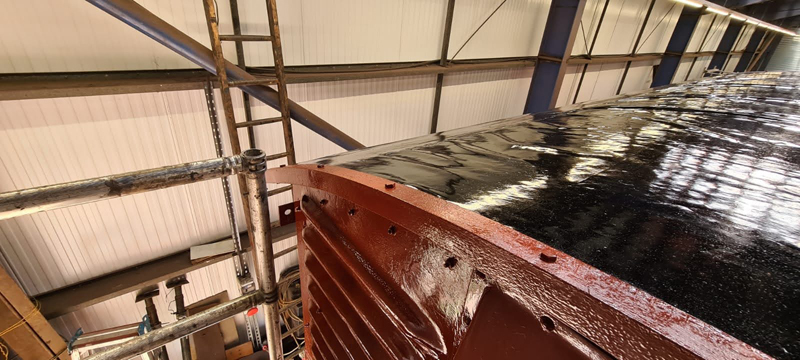
Nick, Ross and Jake attended to the roof, this was primed with a suitable PVC primer followed by a layer of bitumen
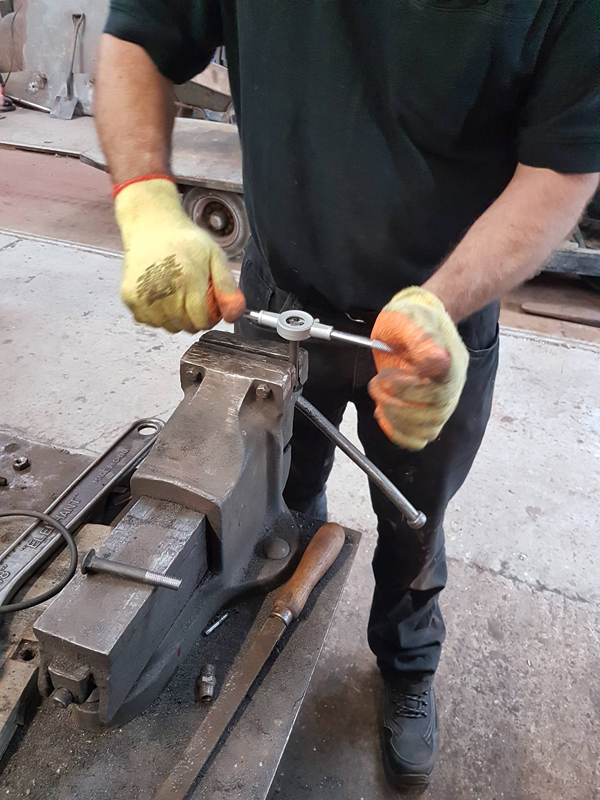
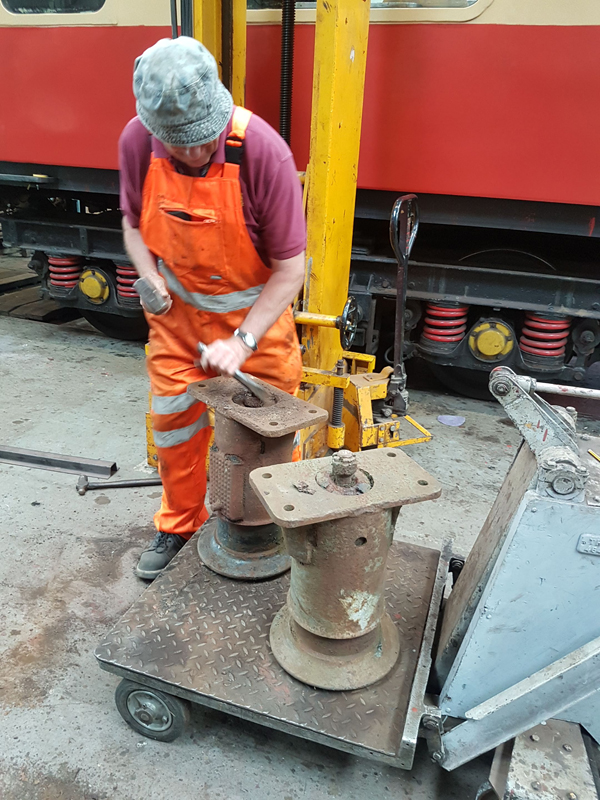
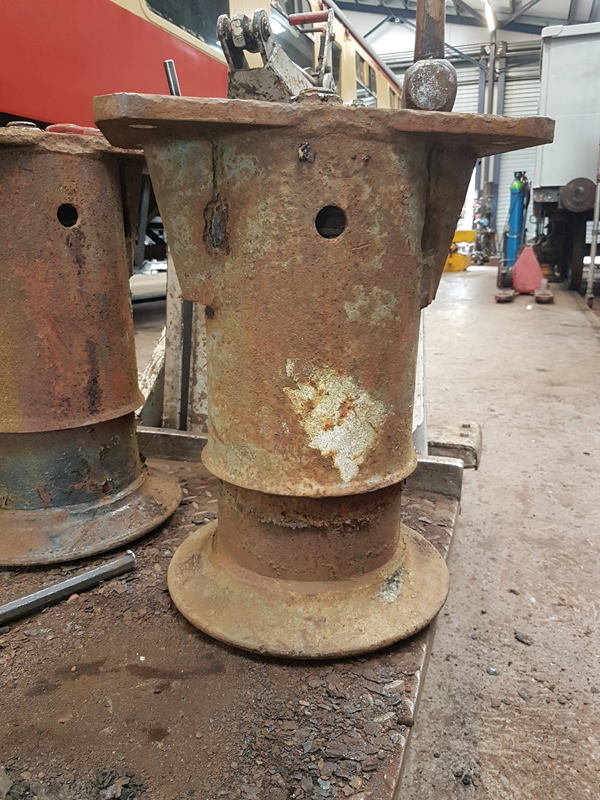
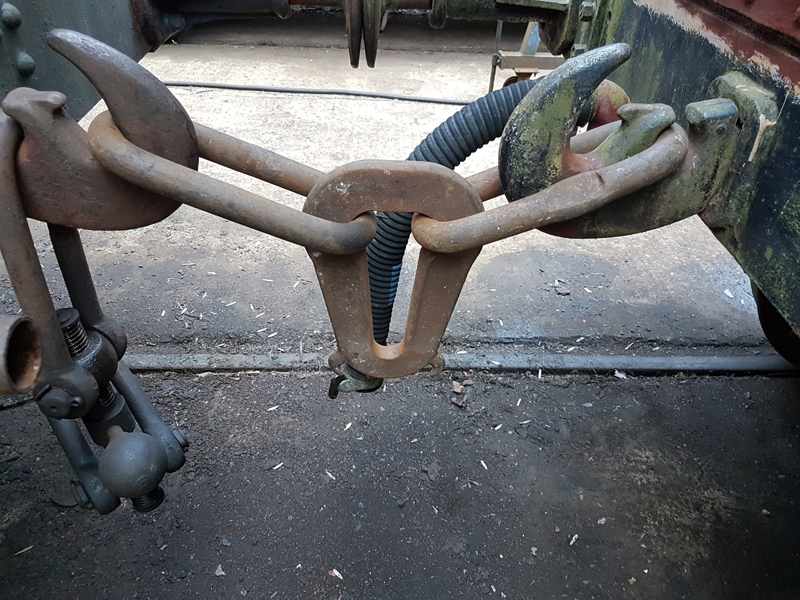
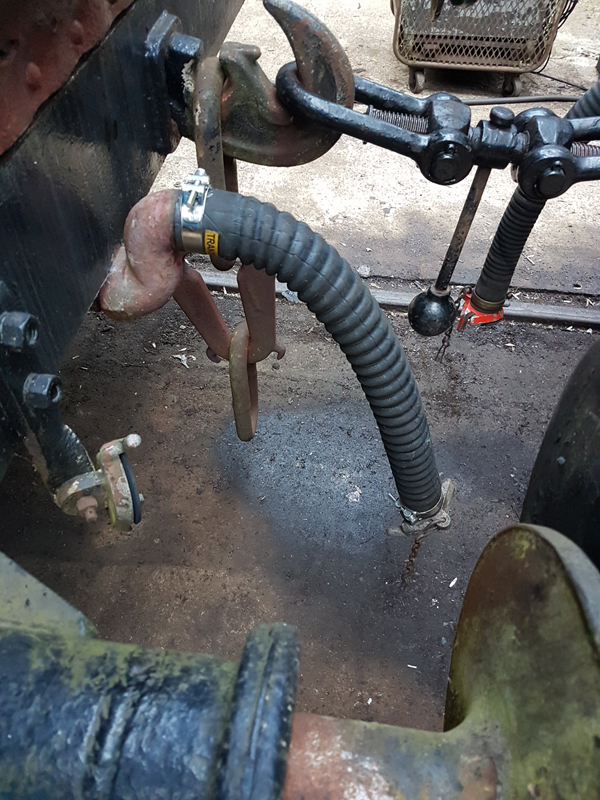
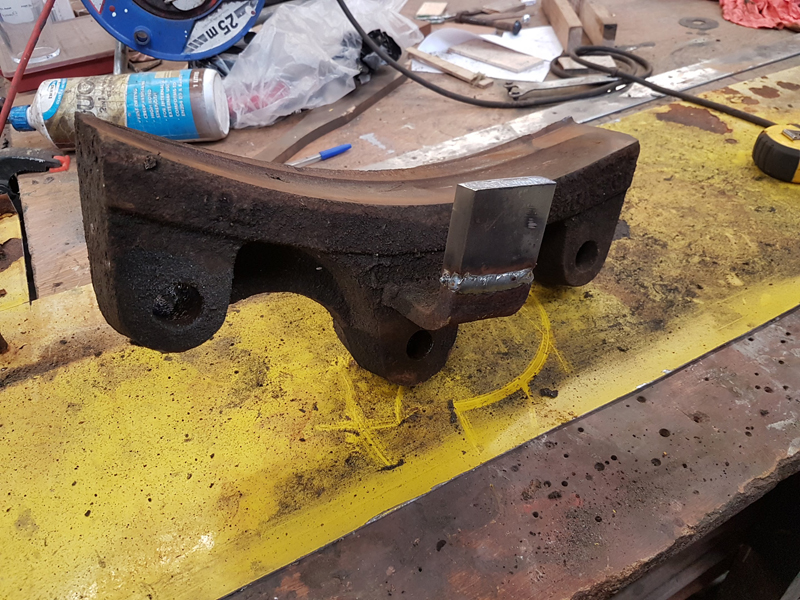
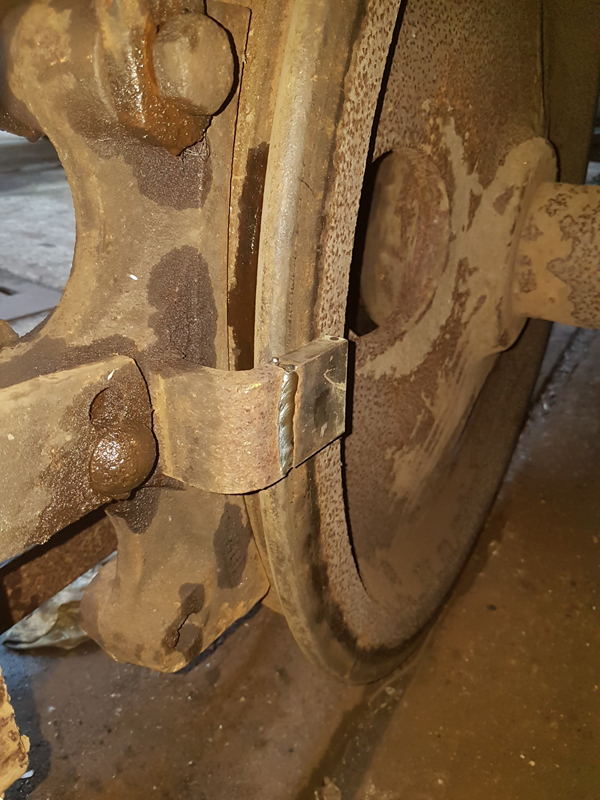
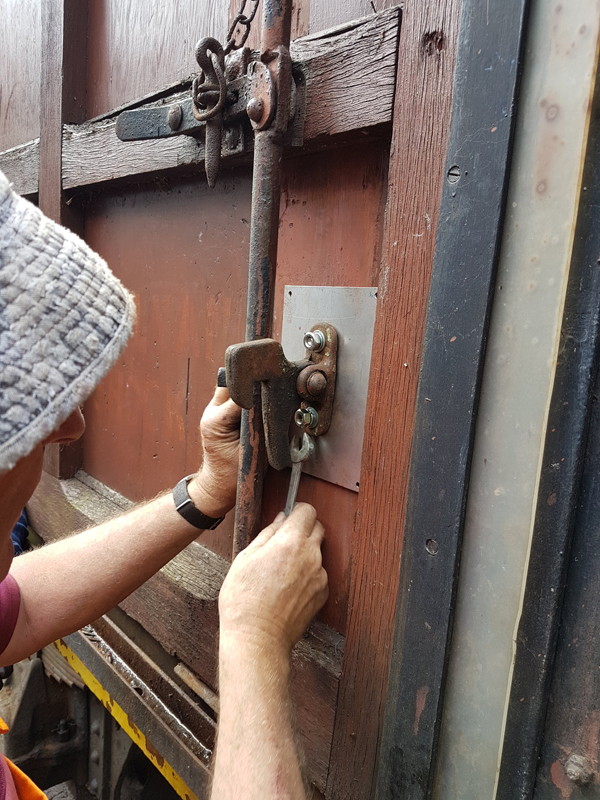
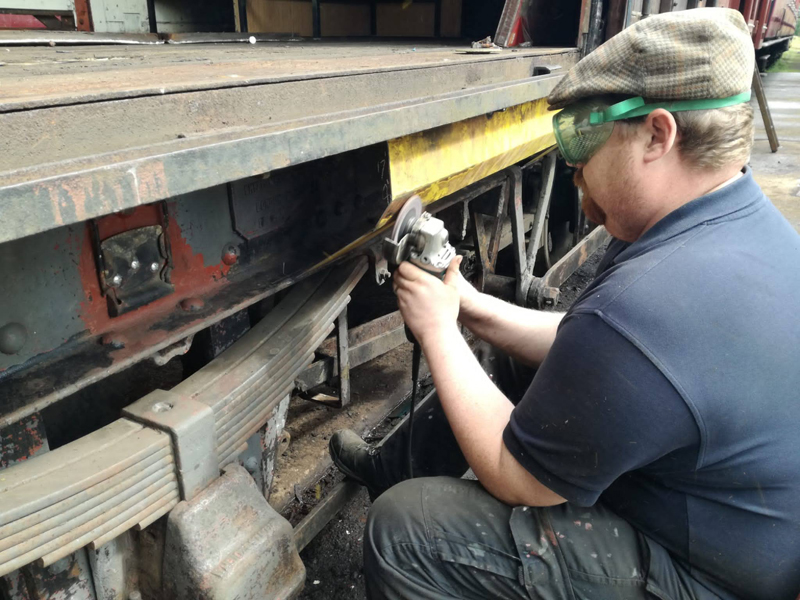
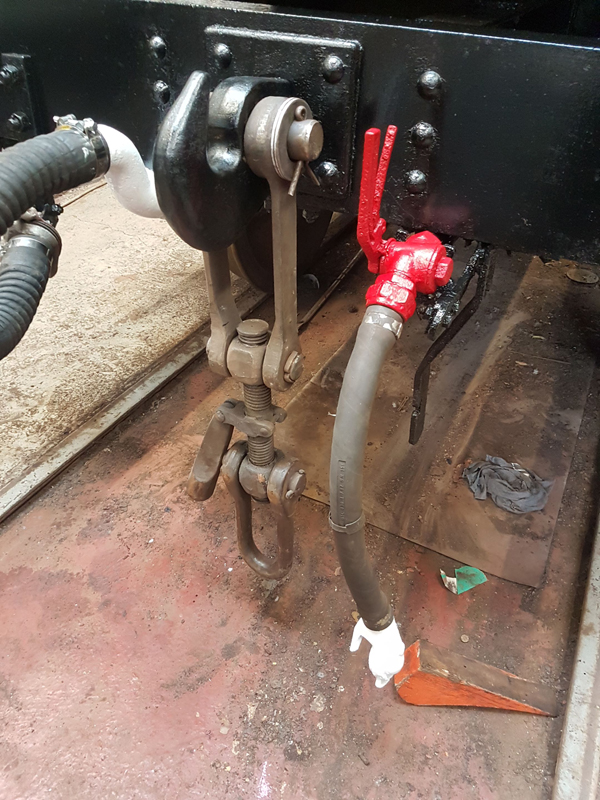
Following the roof, they looked at a pair of buffers we had that required freeing off, these will go into our self-contained buffer supply as we have plans to reduce the number of oleos we have in service.
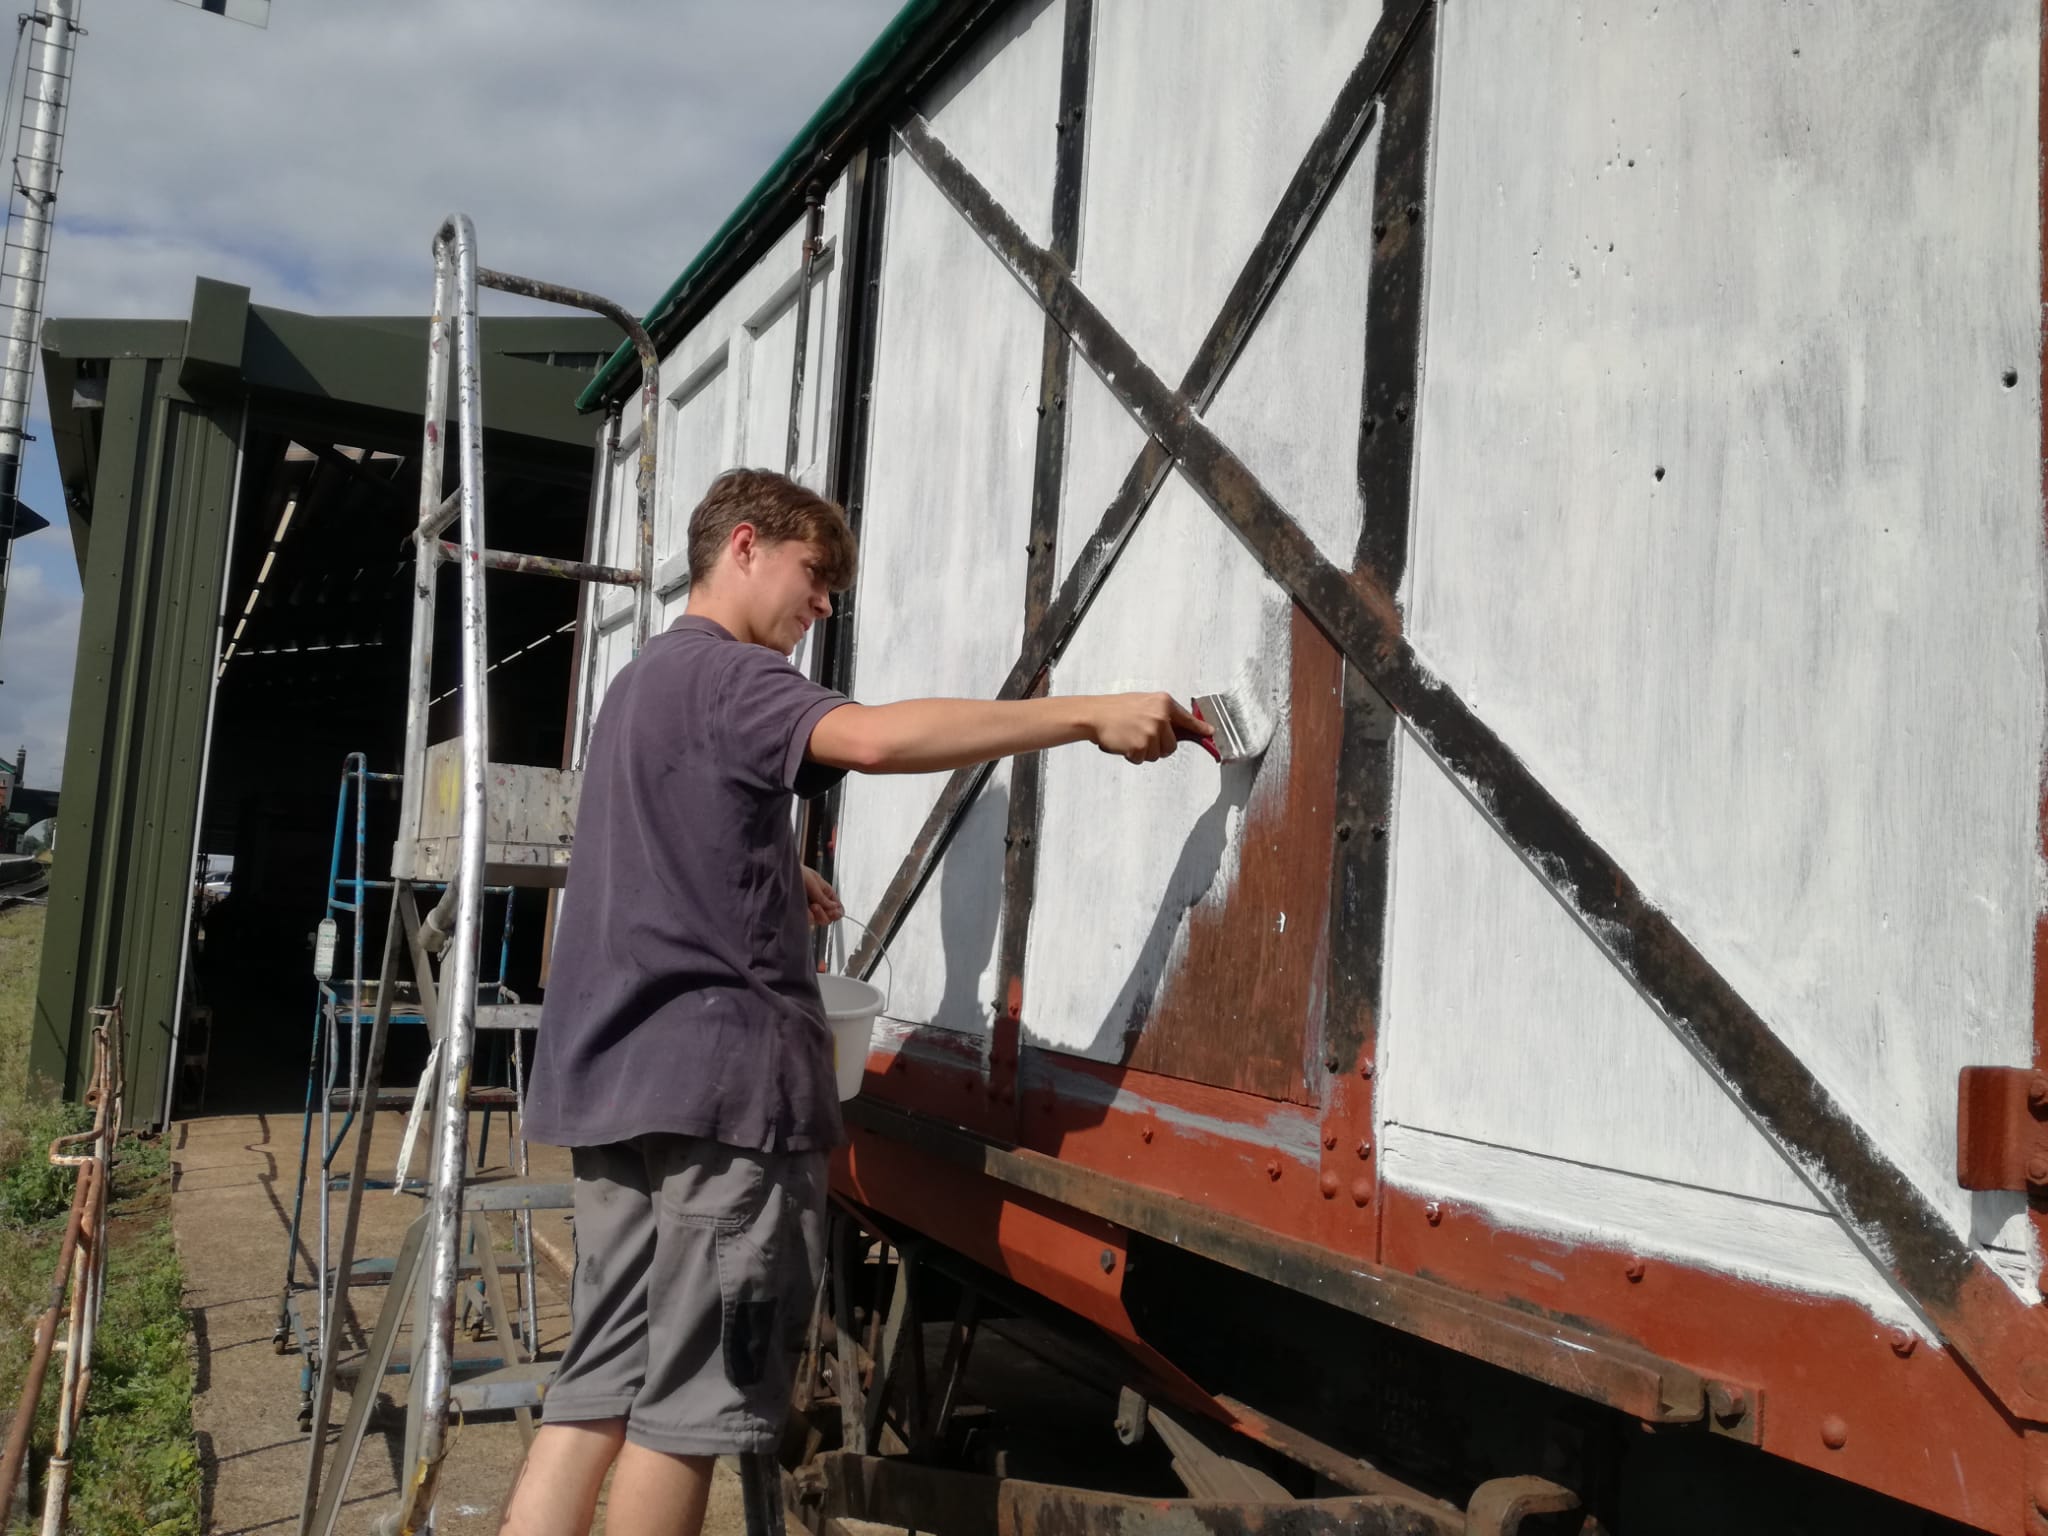
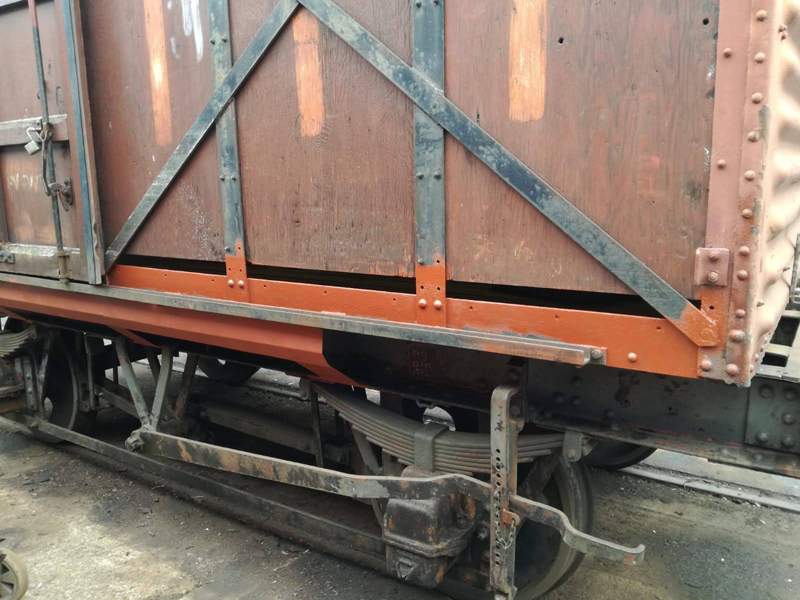
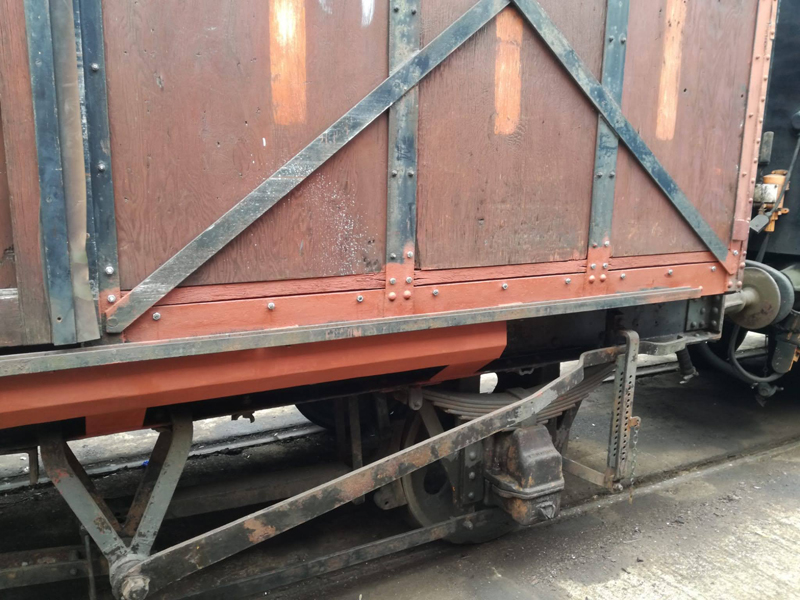
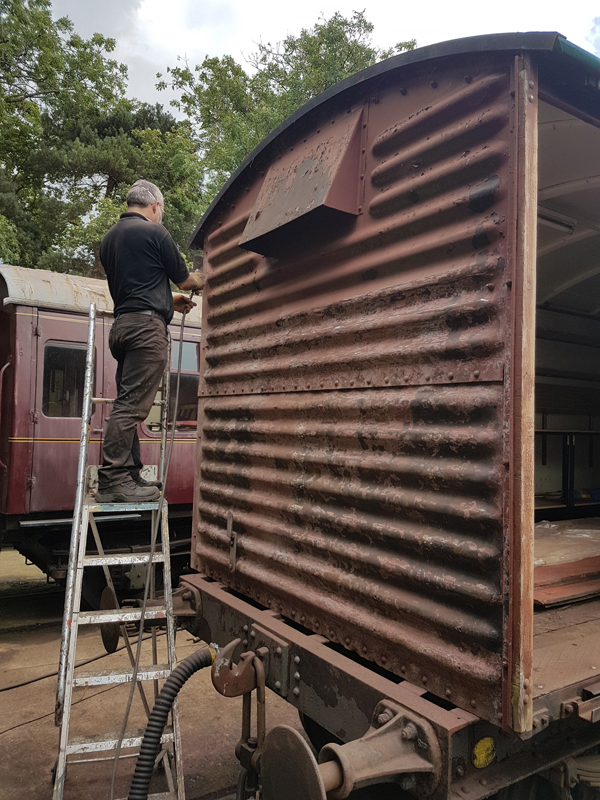
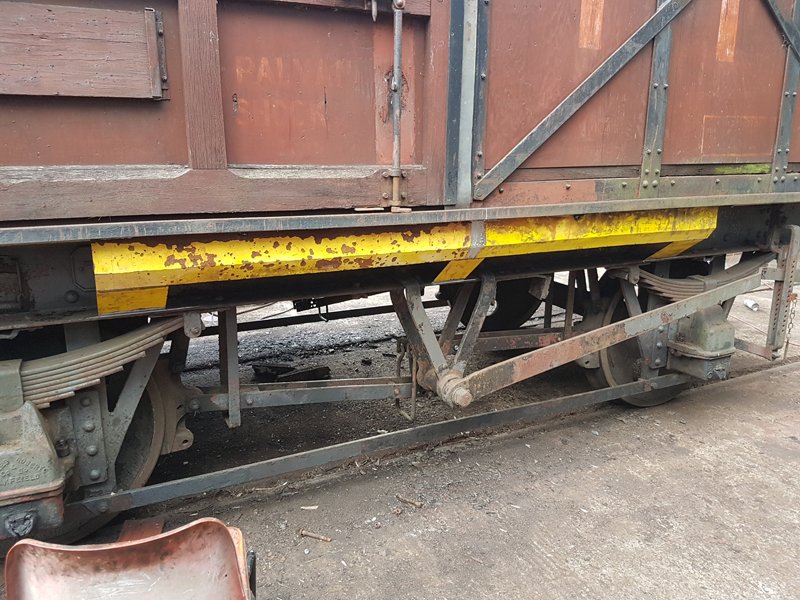
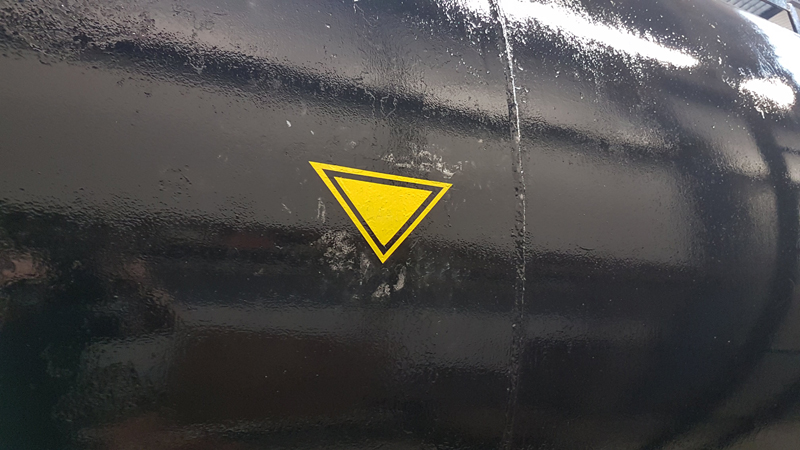
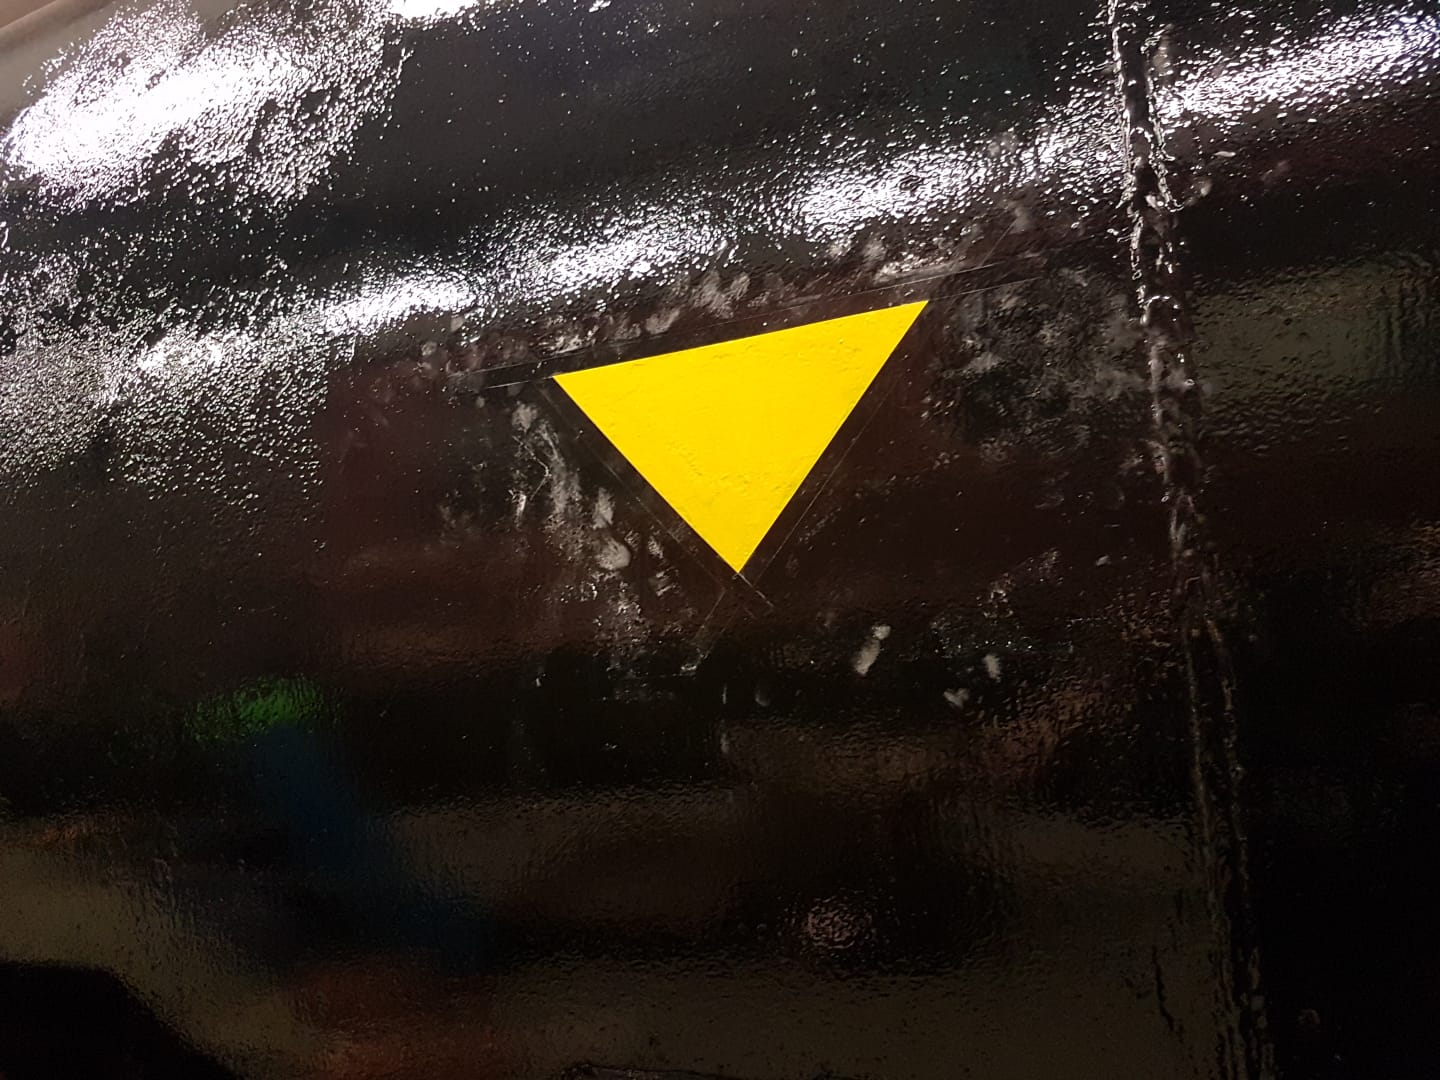
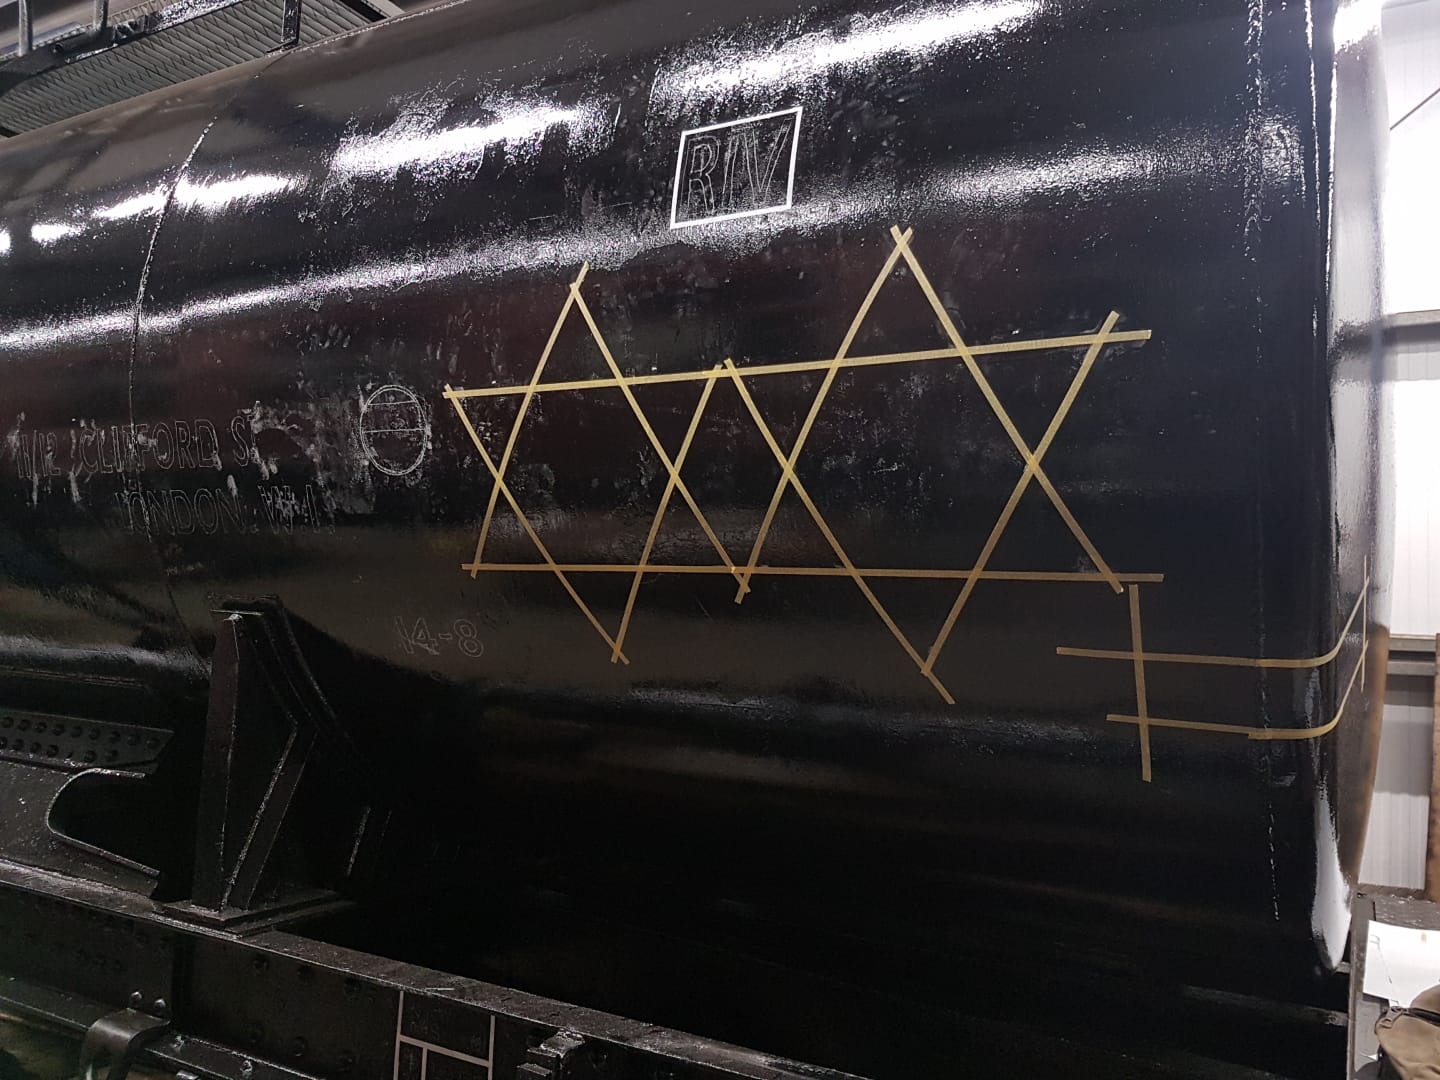
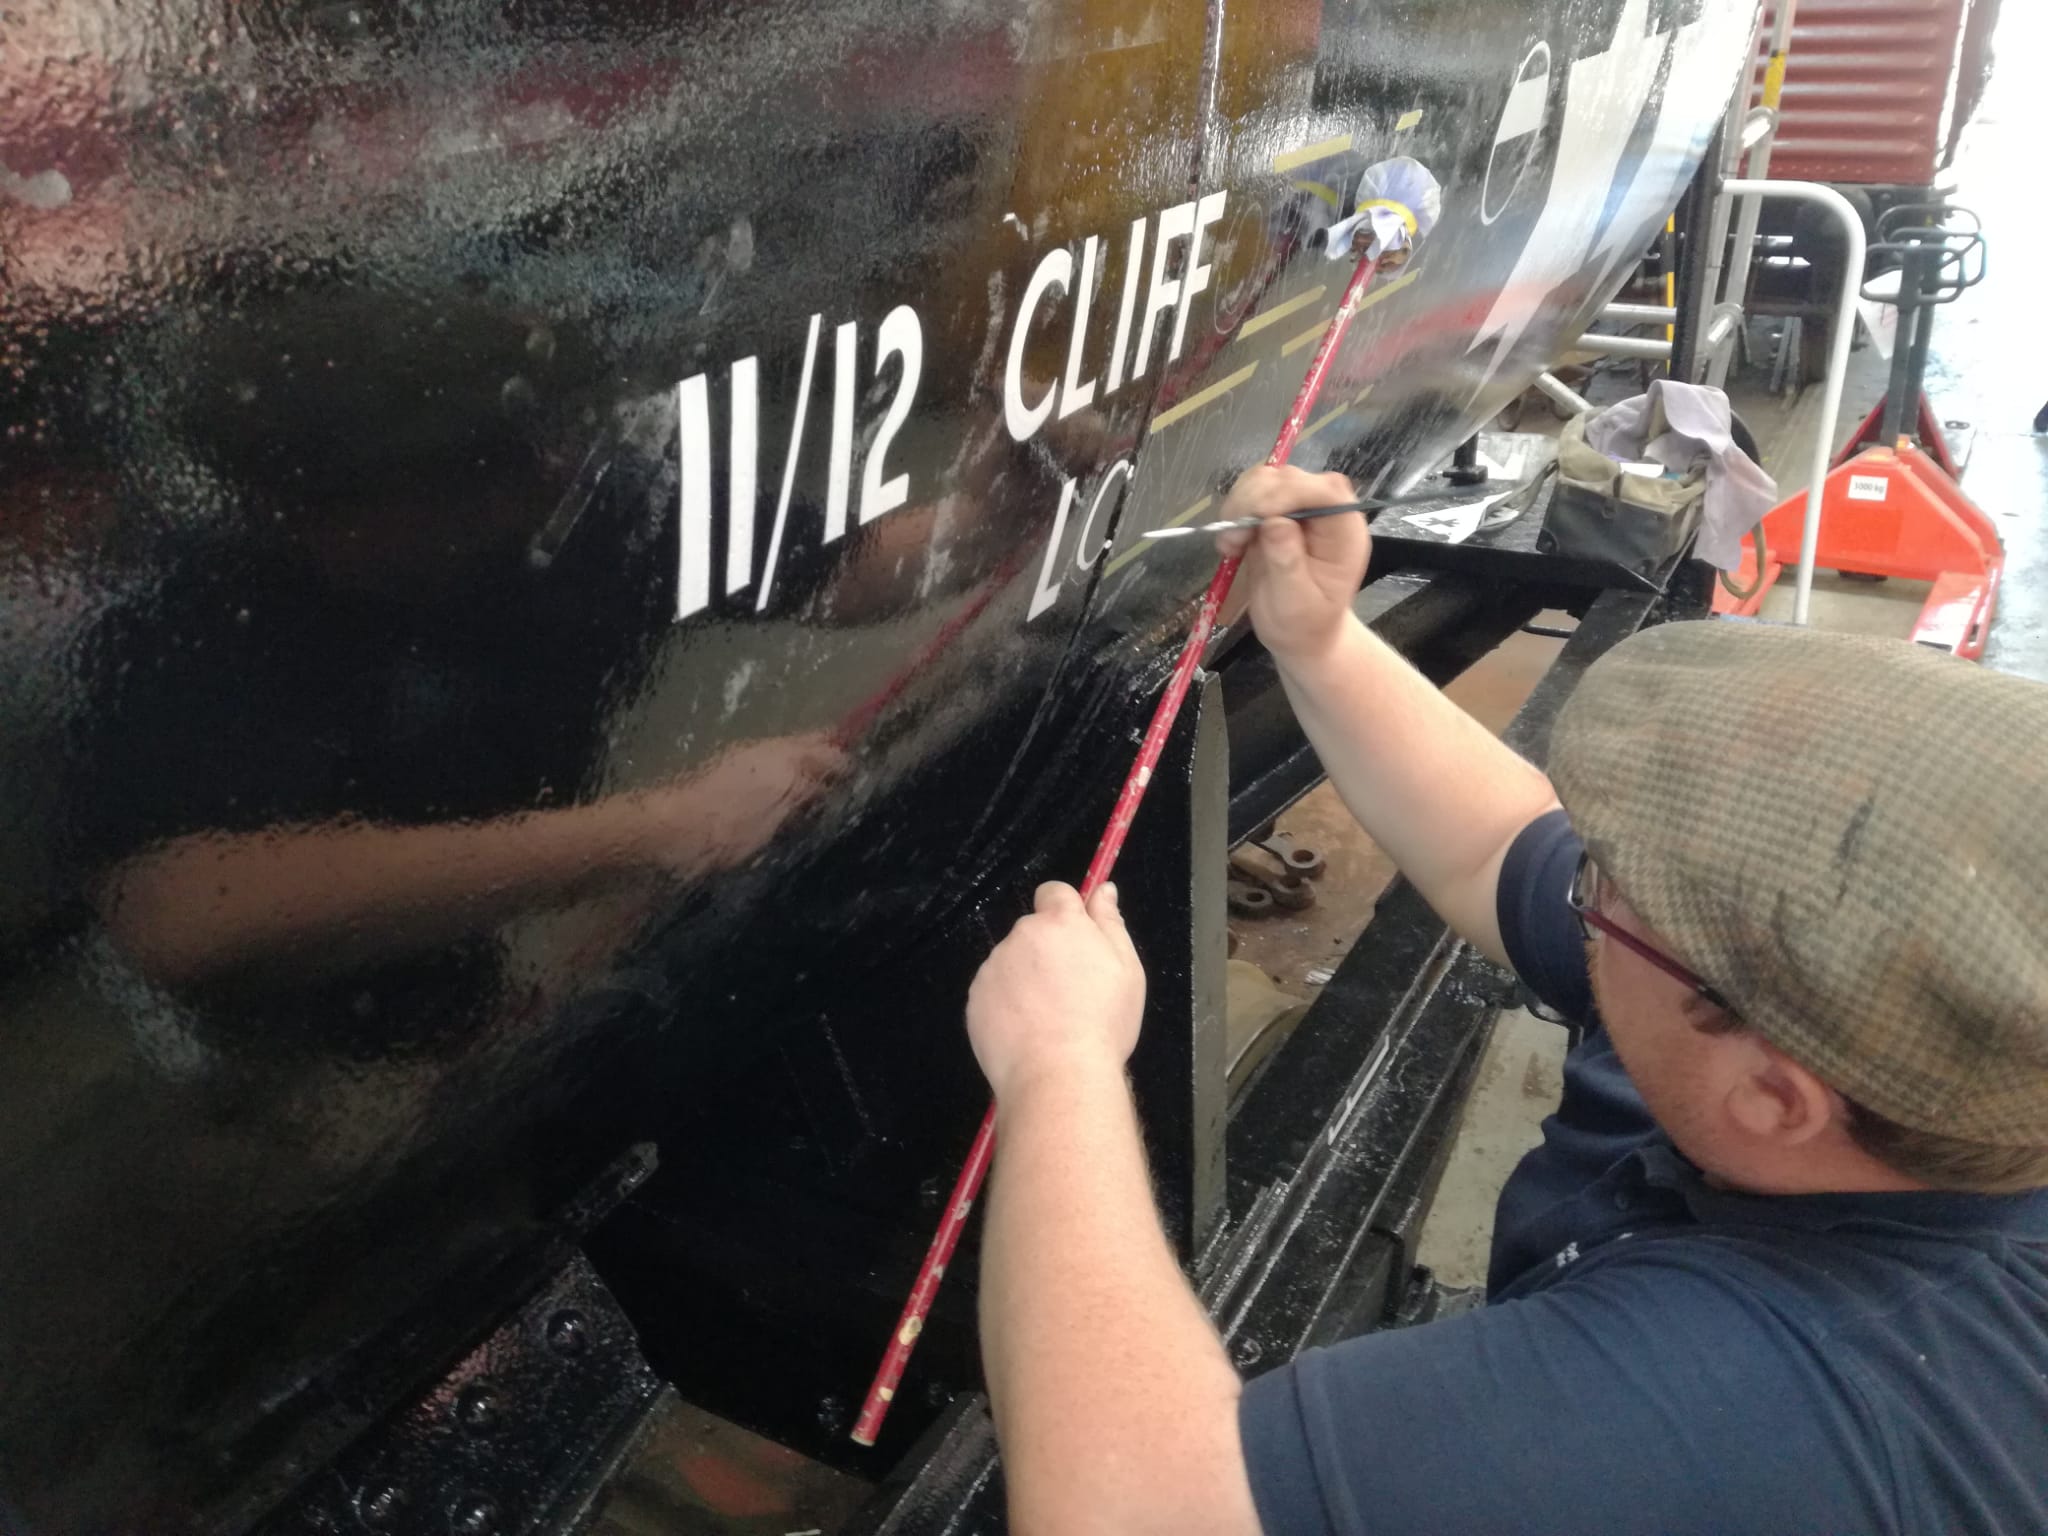
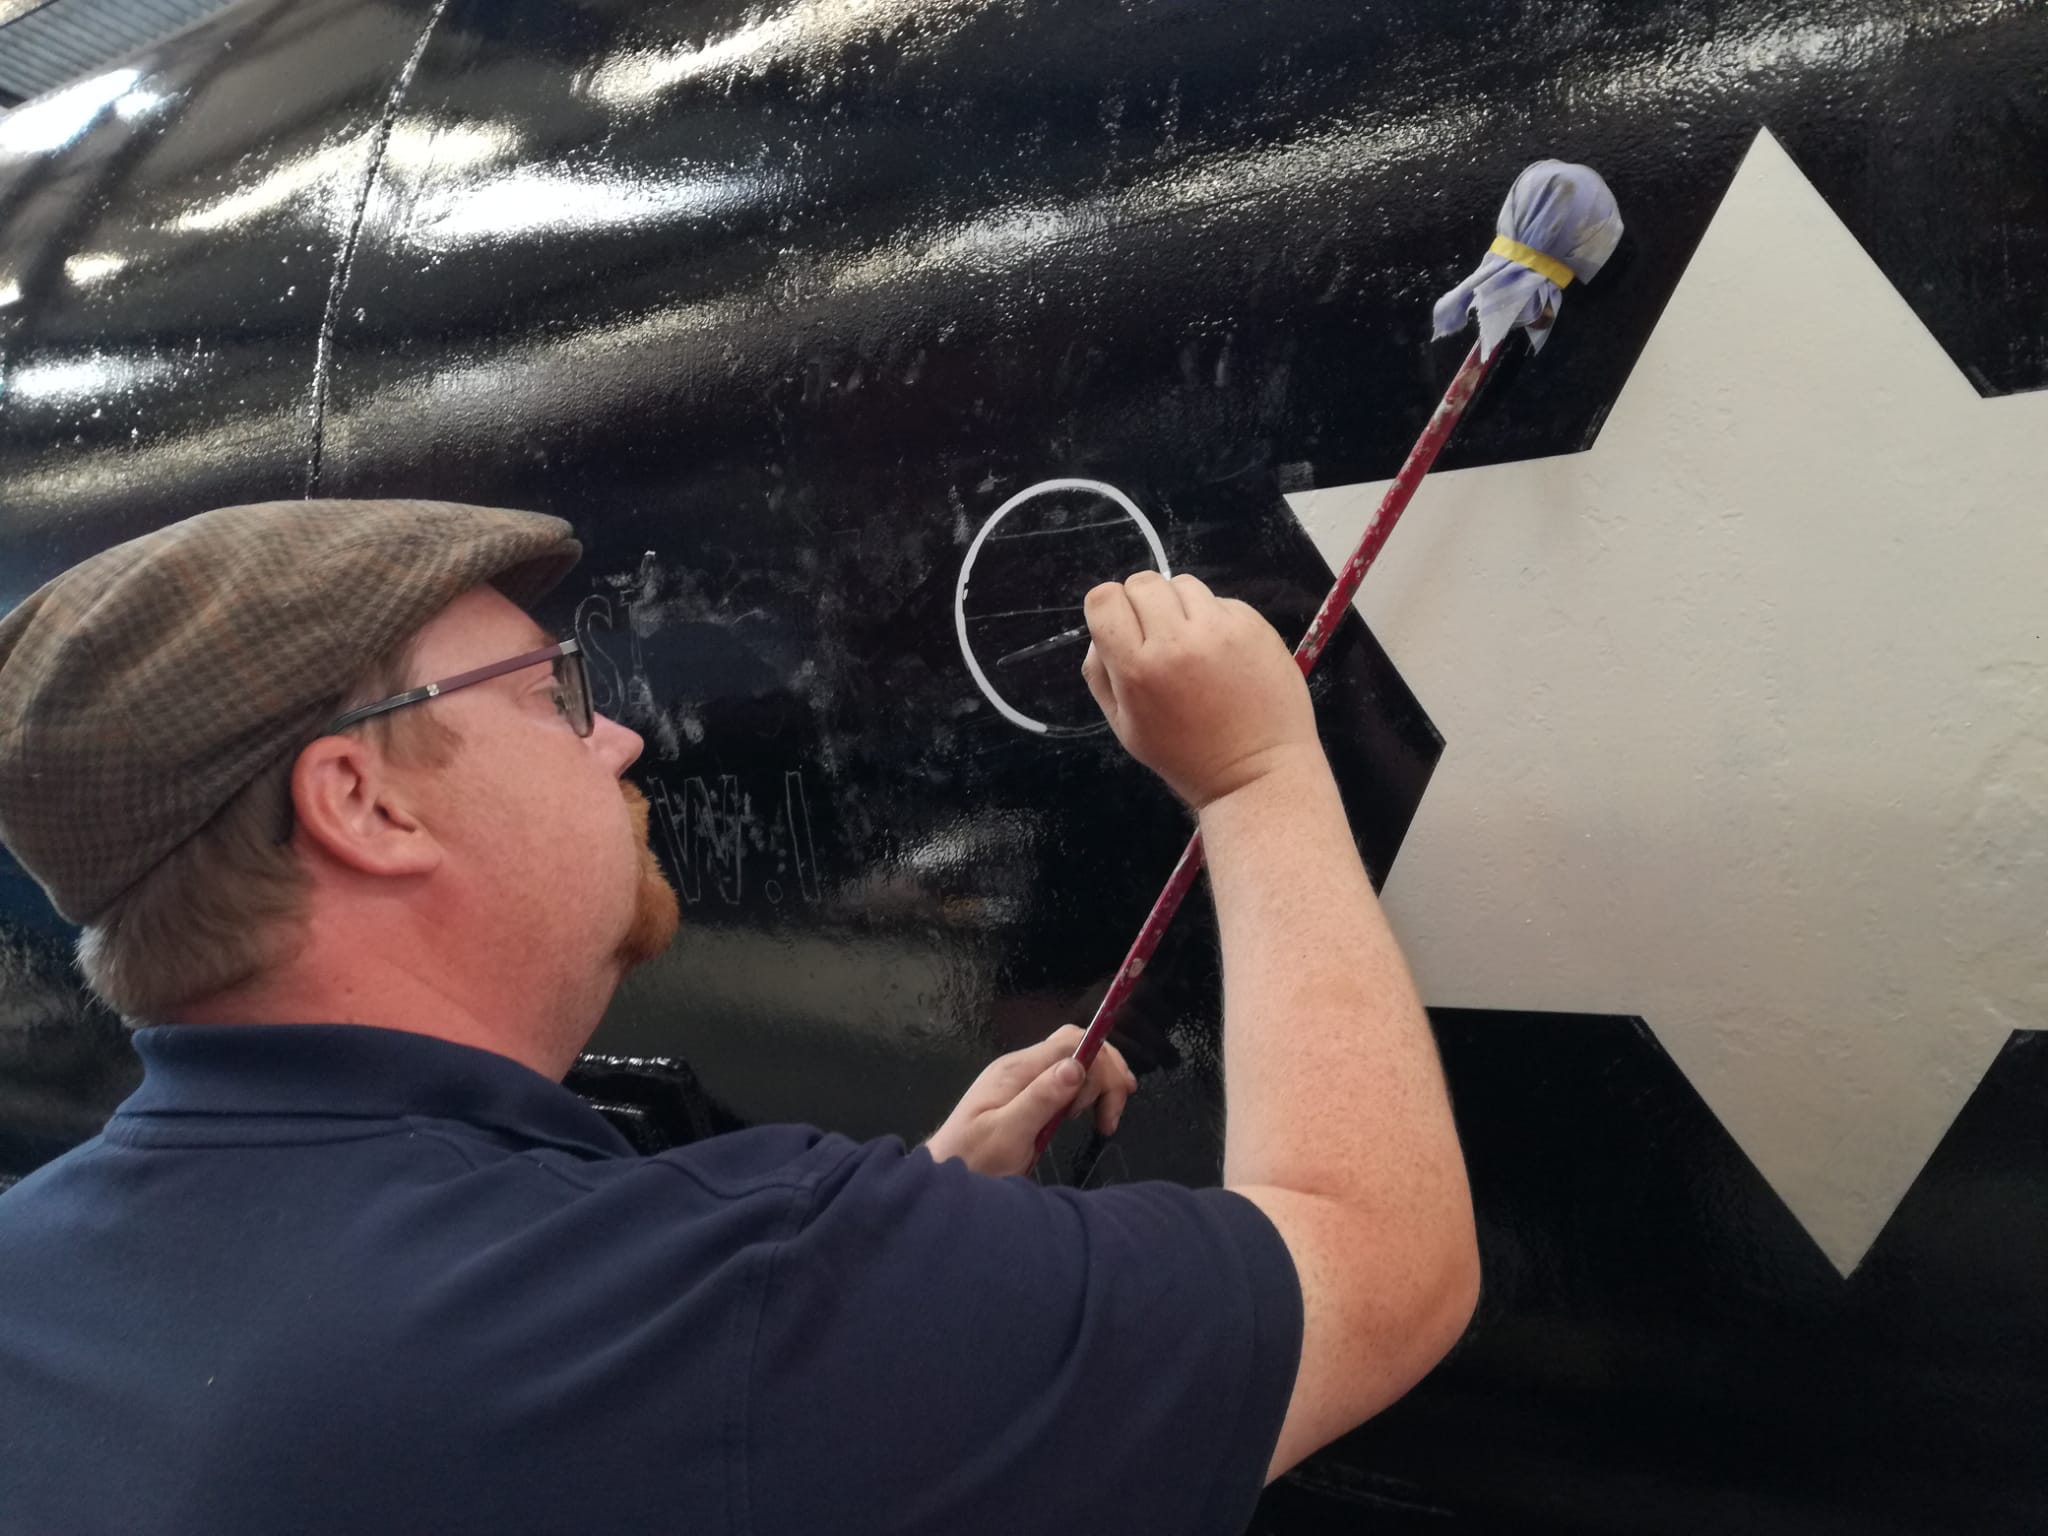
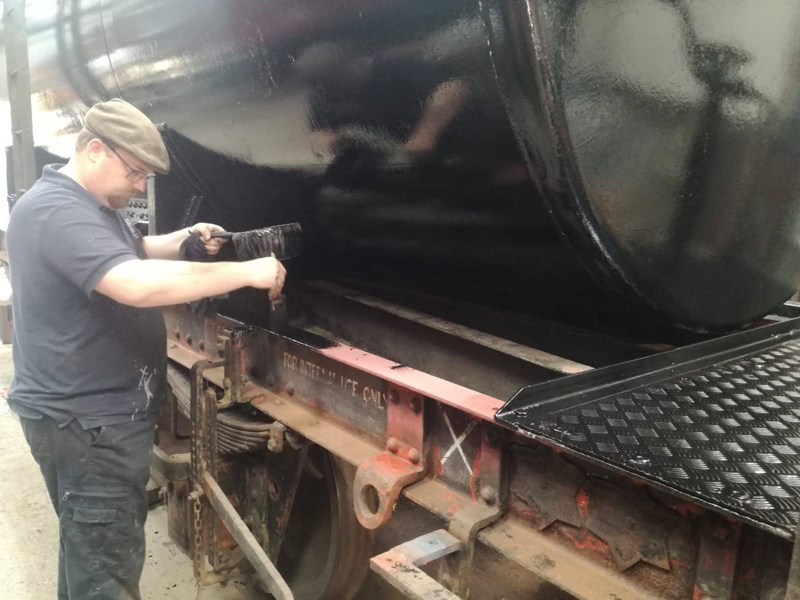
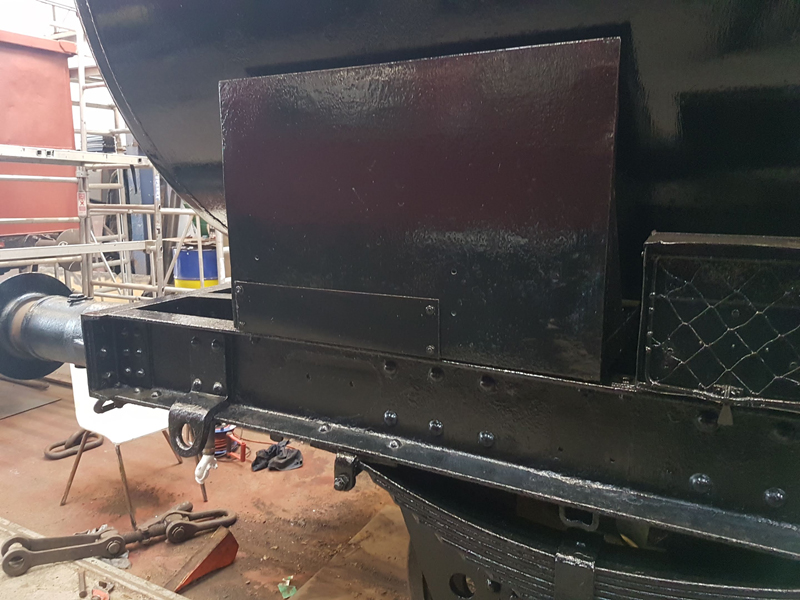
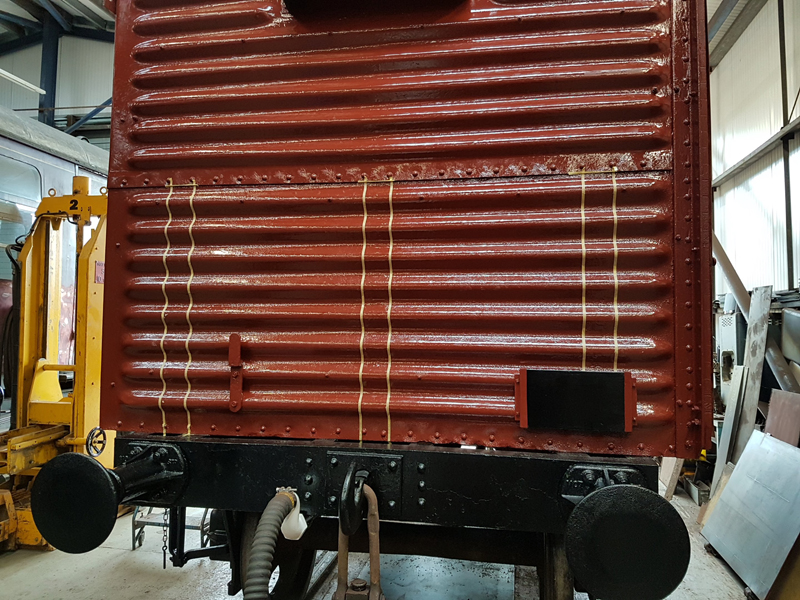
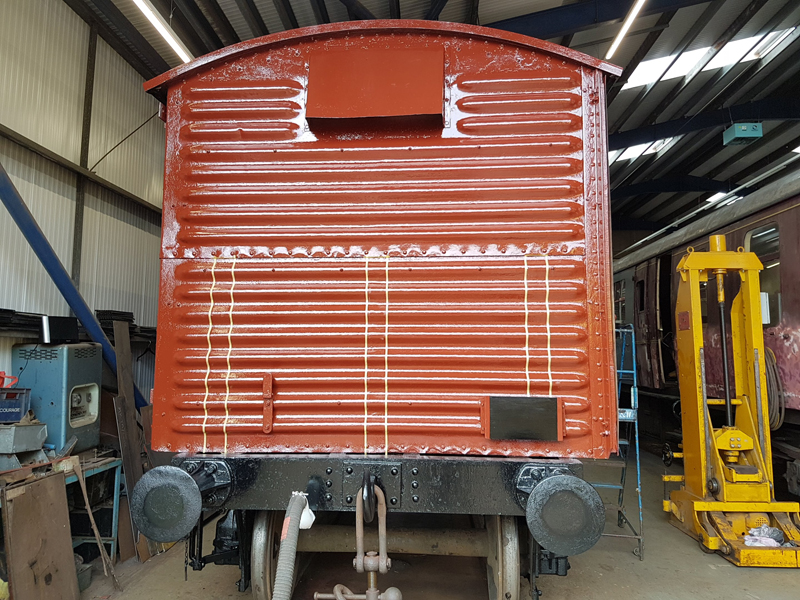
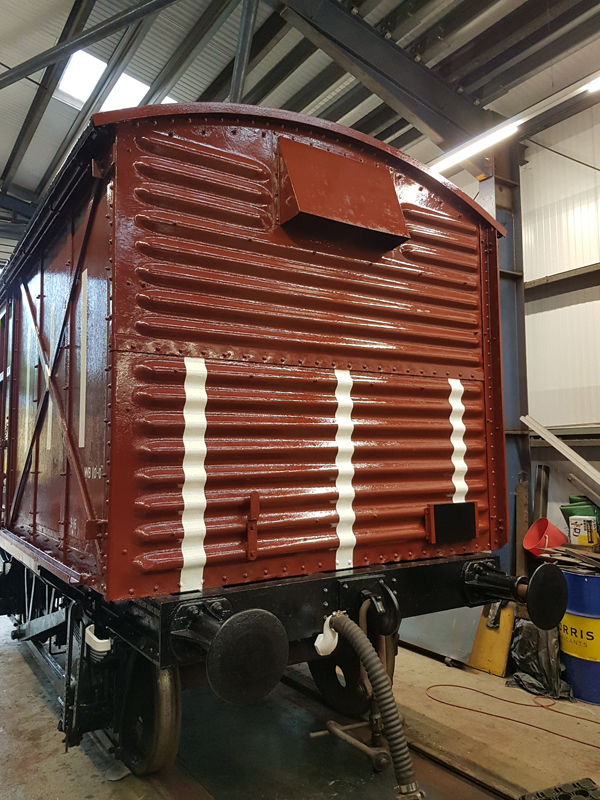
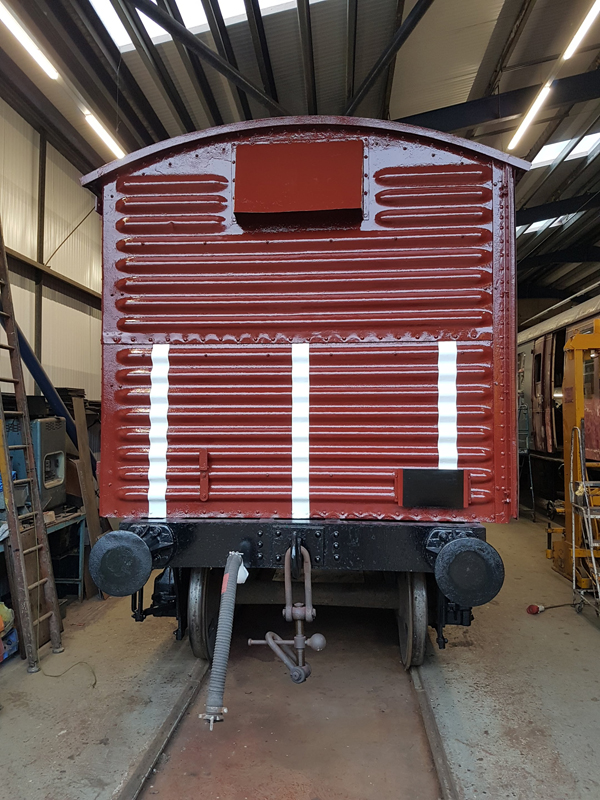
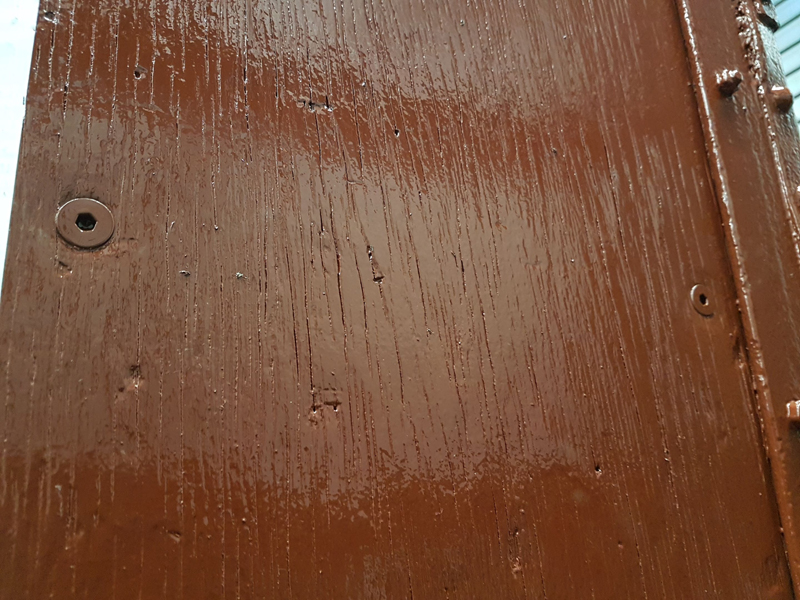
For me it was stripe time, I measured, masked, and applied the shock identification strips to each end and the east side.

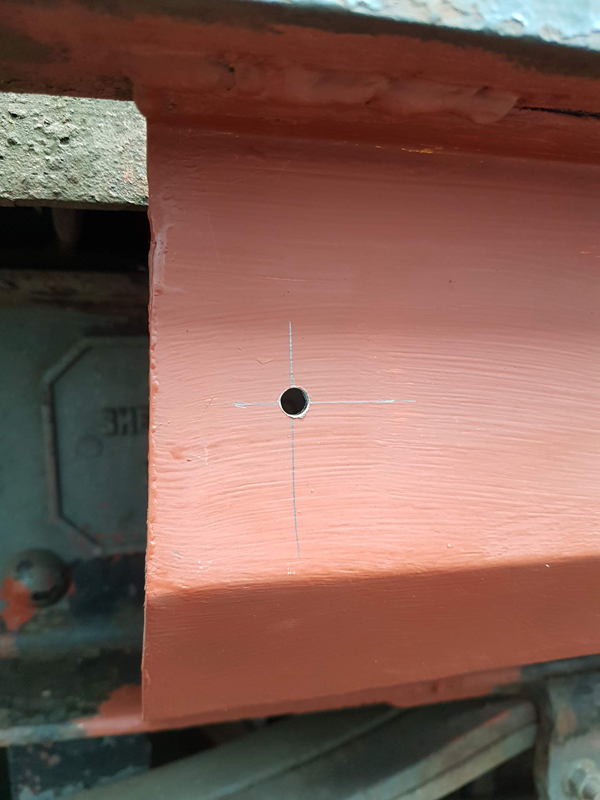
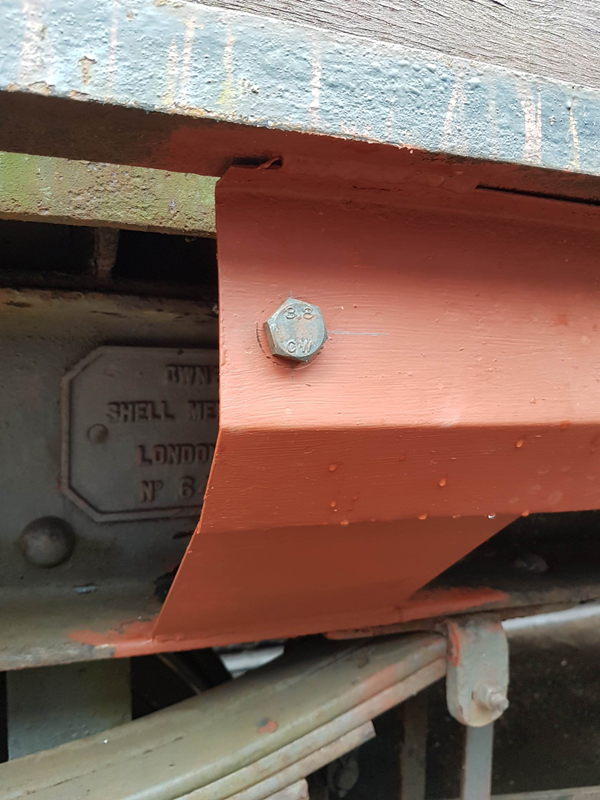
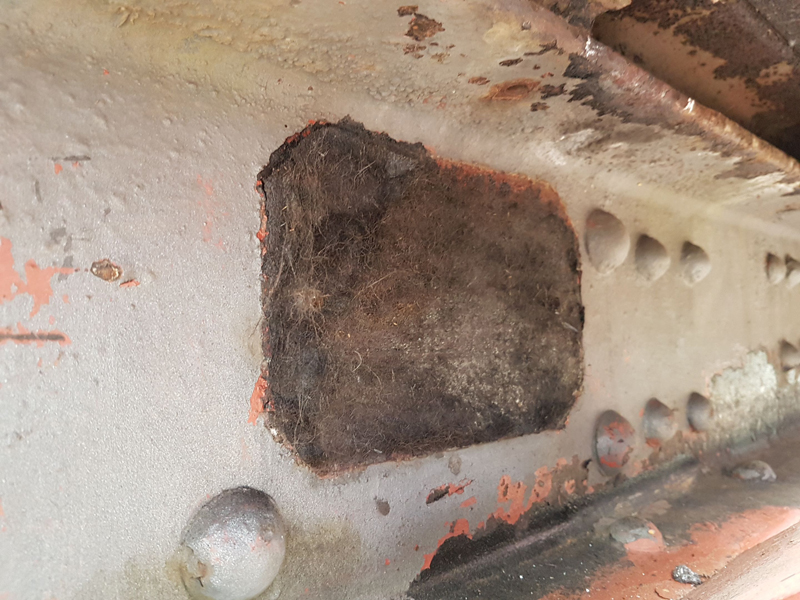
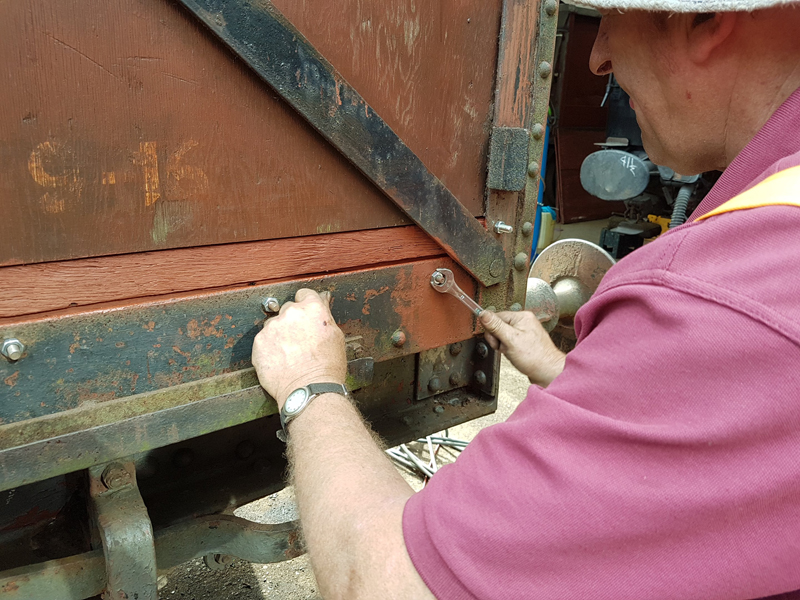
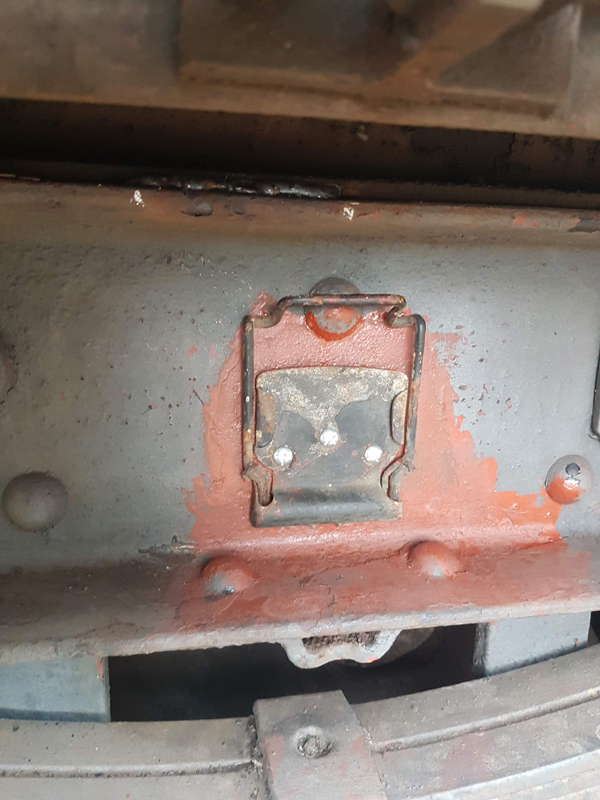
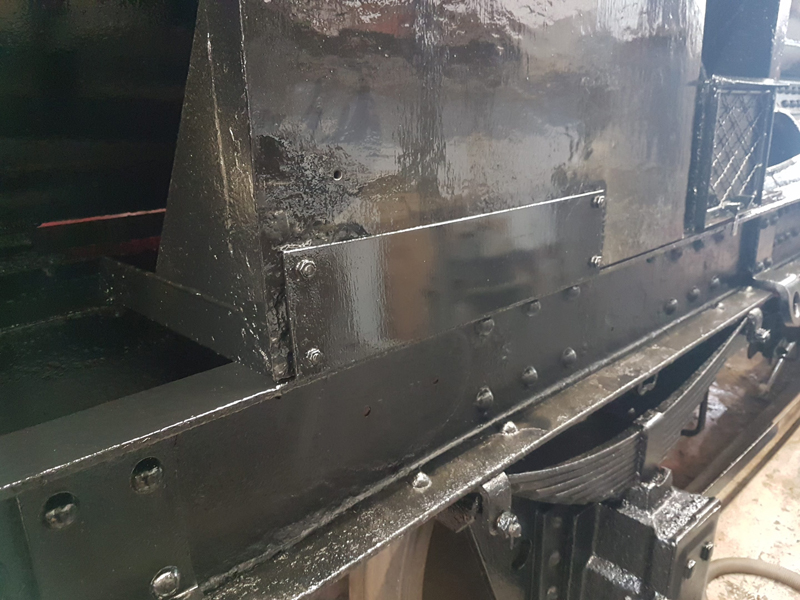
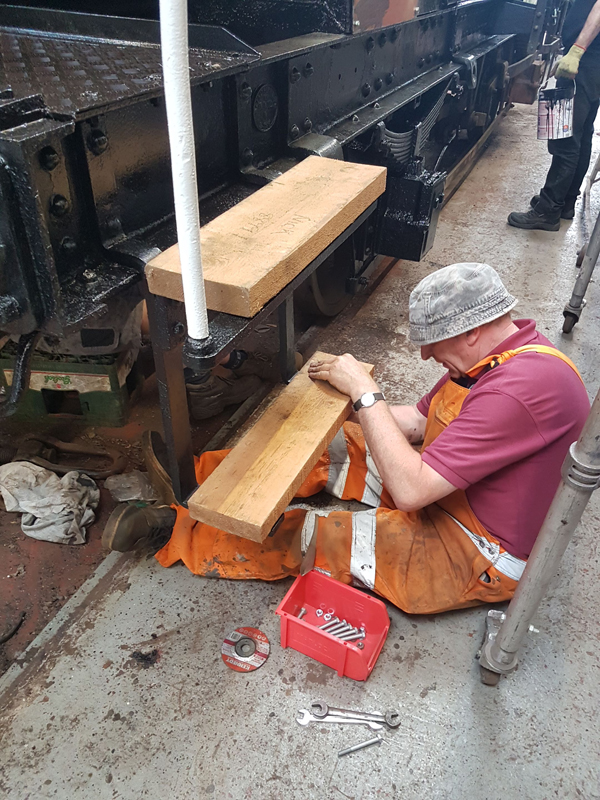
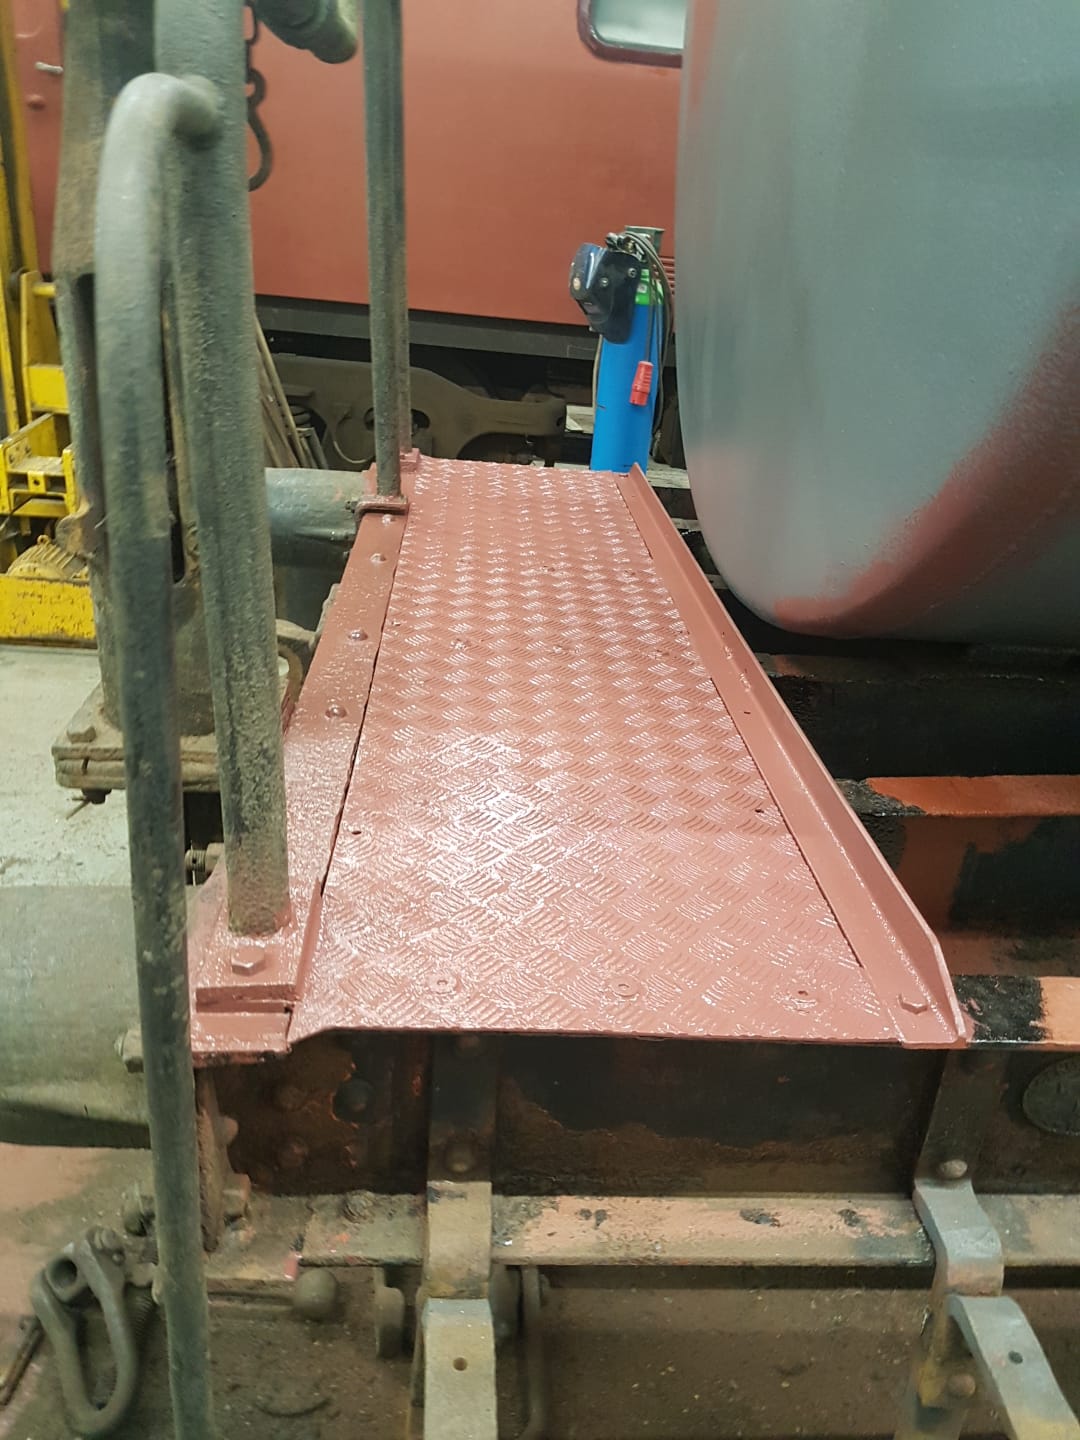
The final task for Saturday was to fill a pair of holes with countersunk bolts and paint.
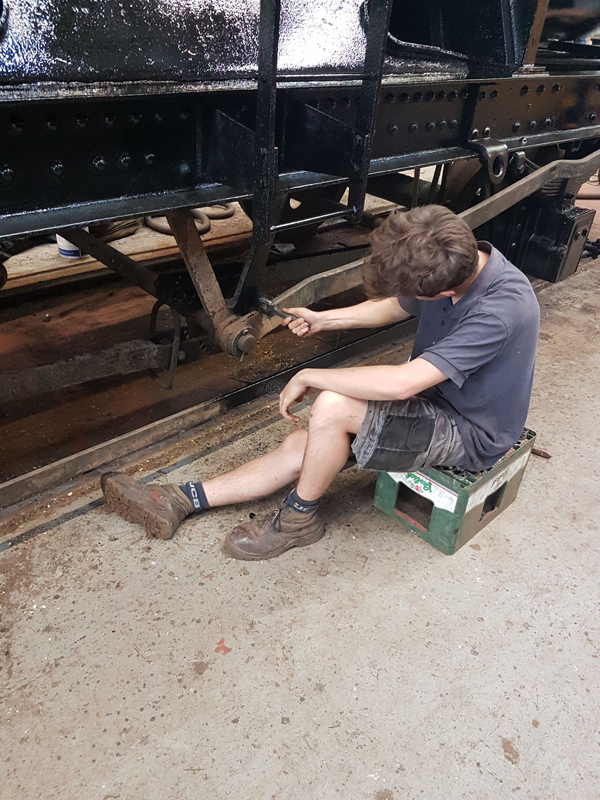
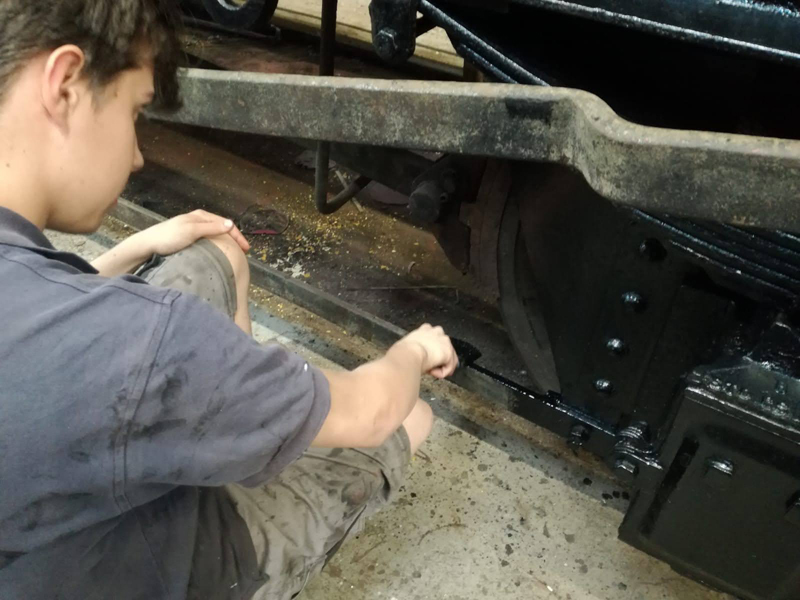
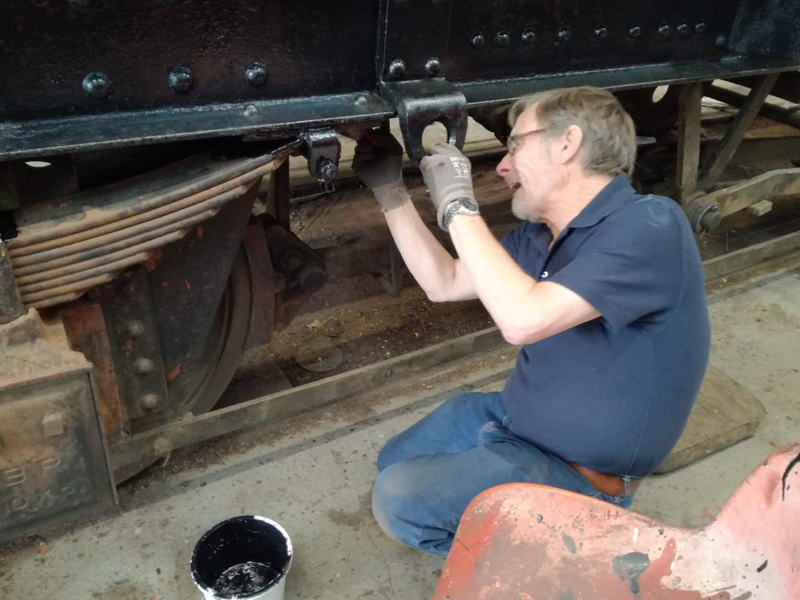
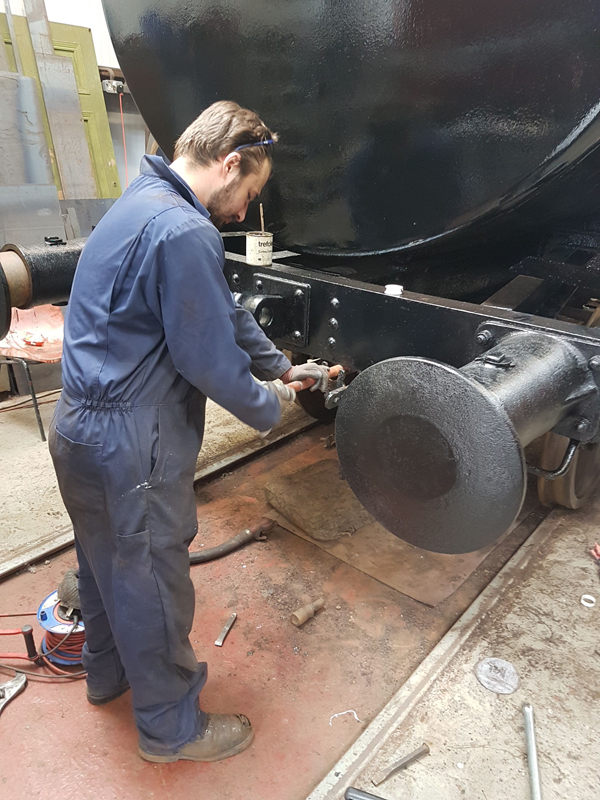
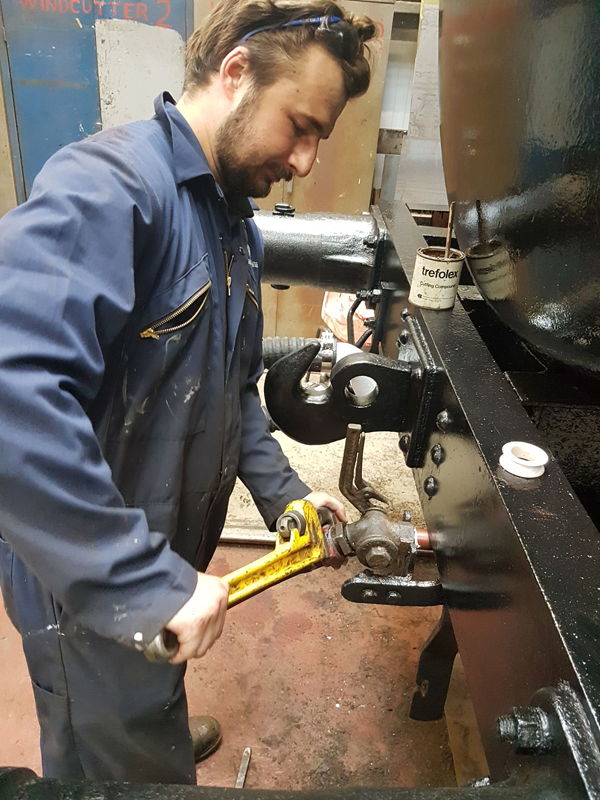
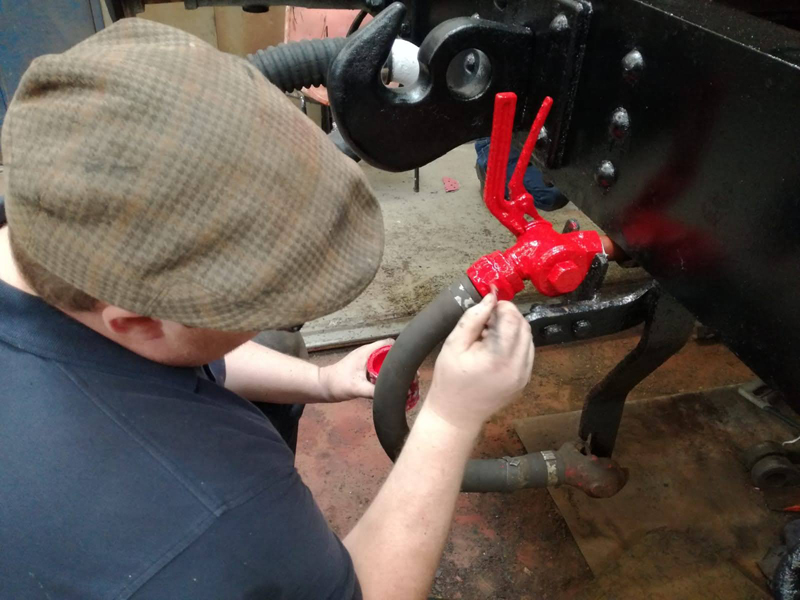
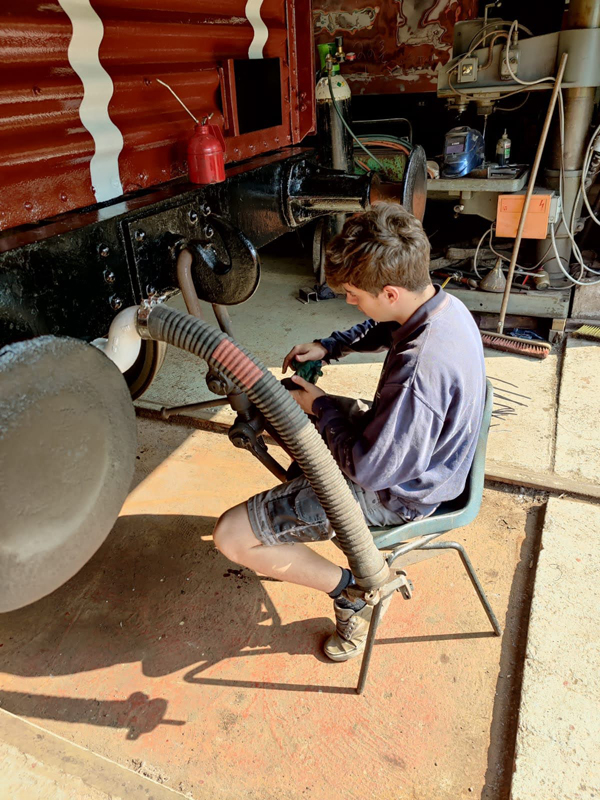
On to Sunday. With myself assisting Dave on the Test Car. Nick, Ross and Jake attending to the last items on the Palvan shock.
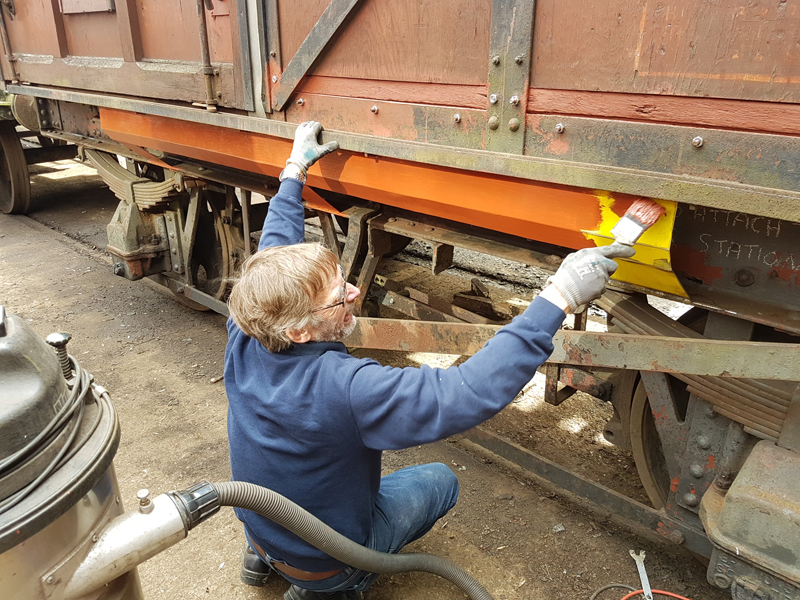
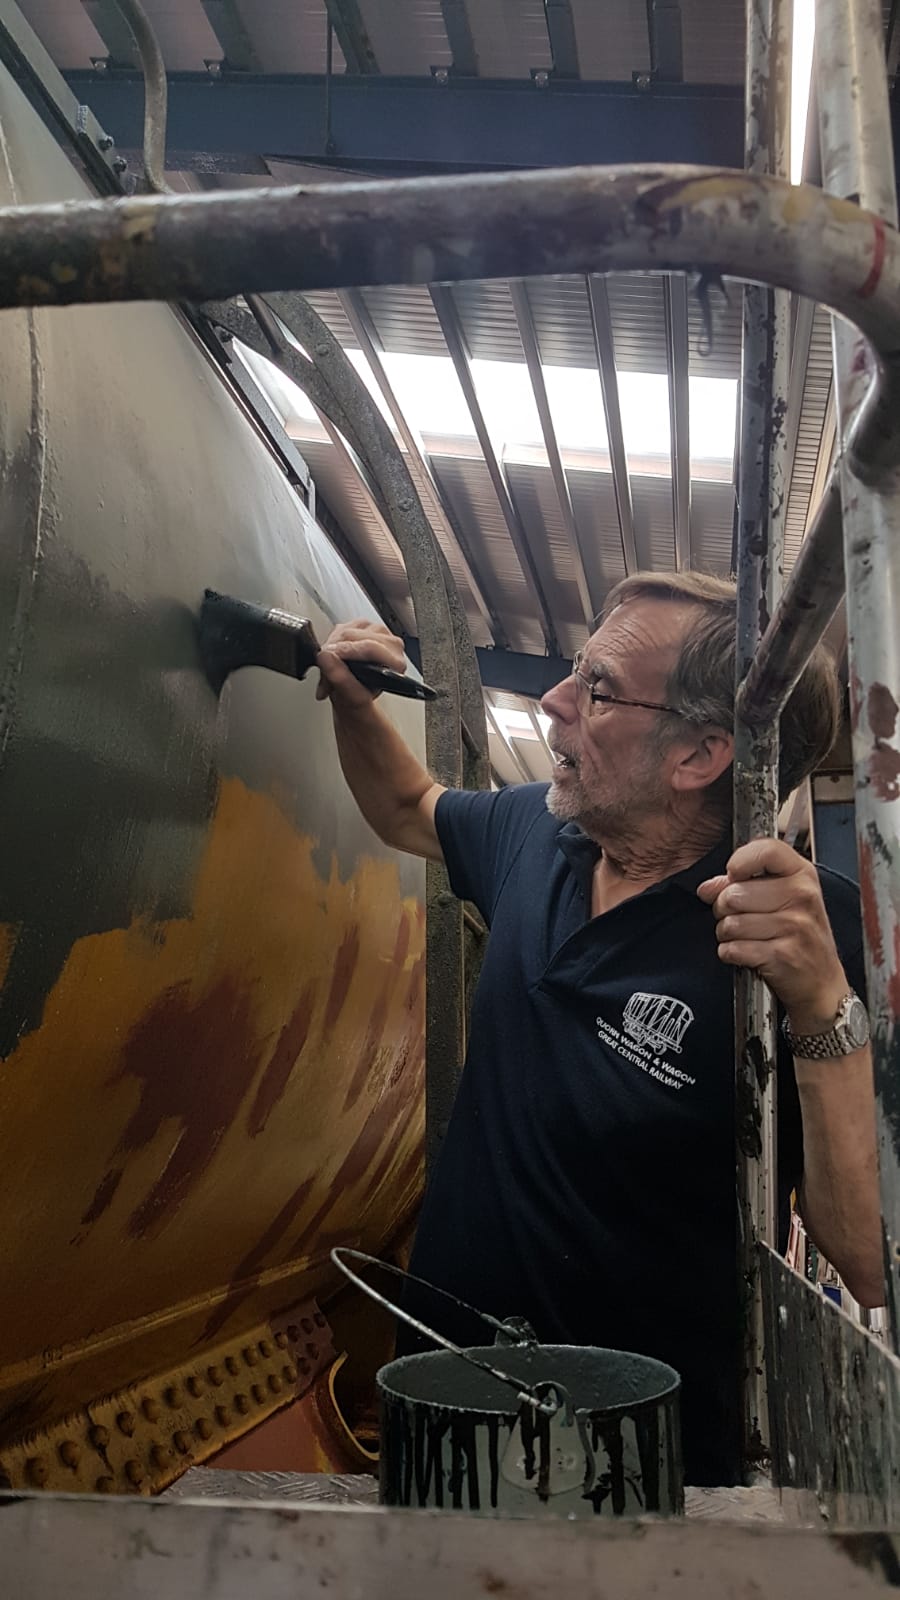
Roof hoops painted bauxite.
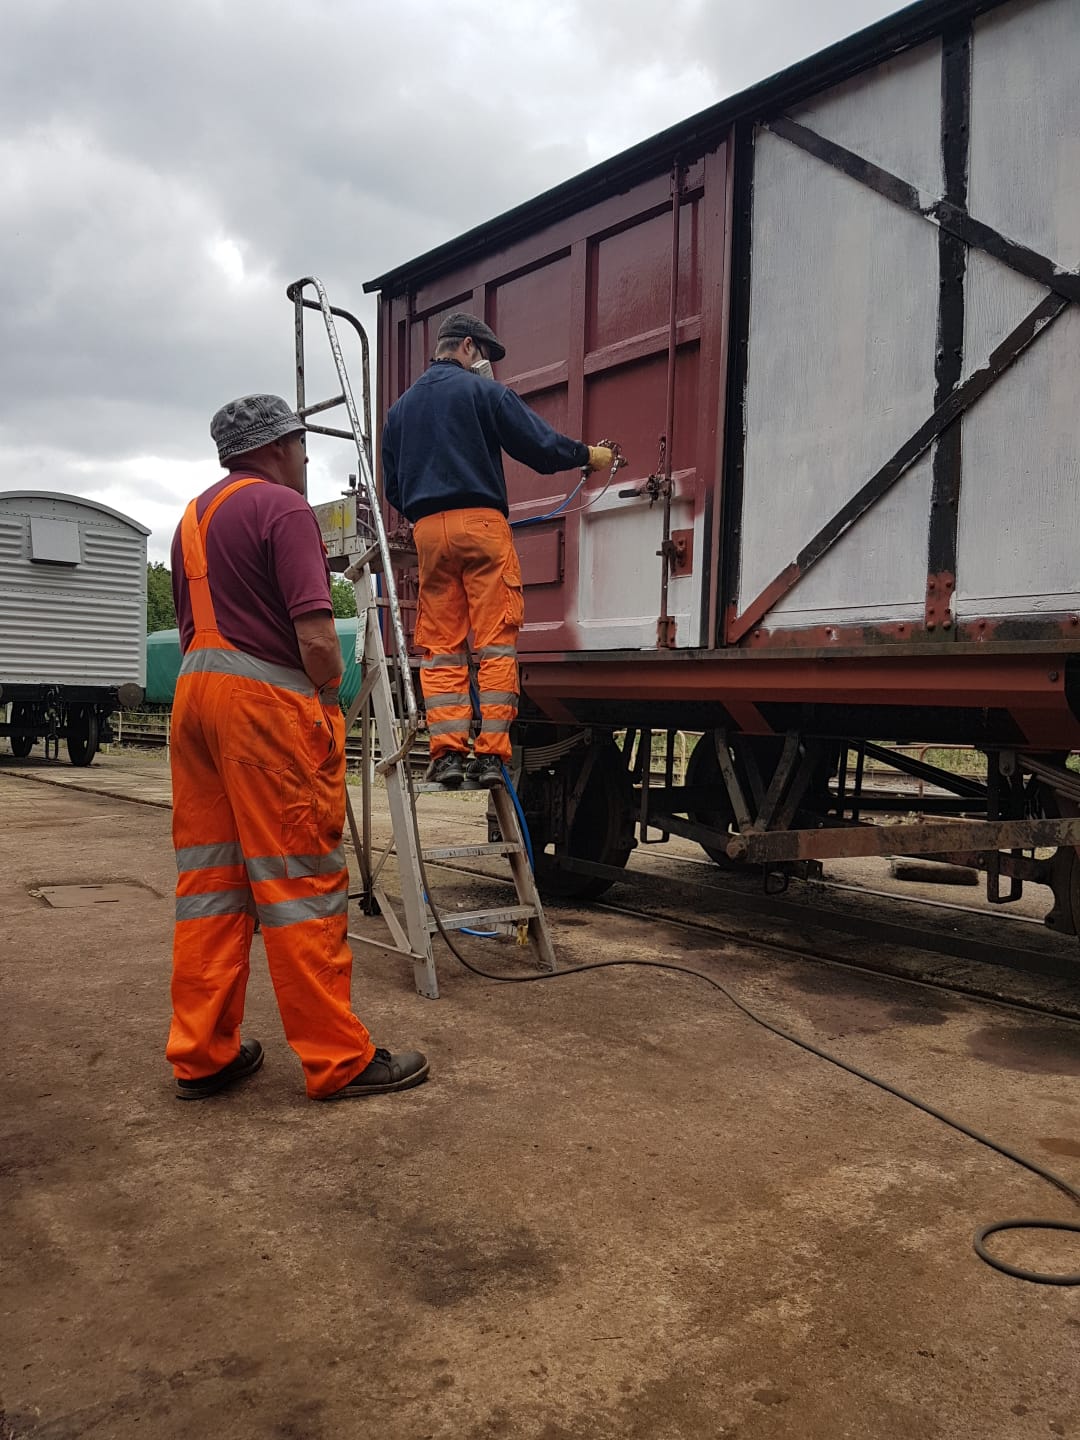
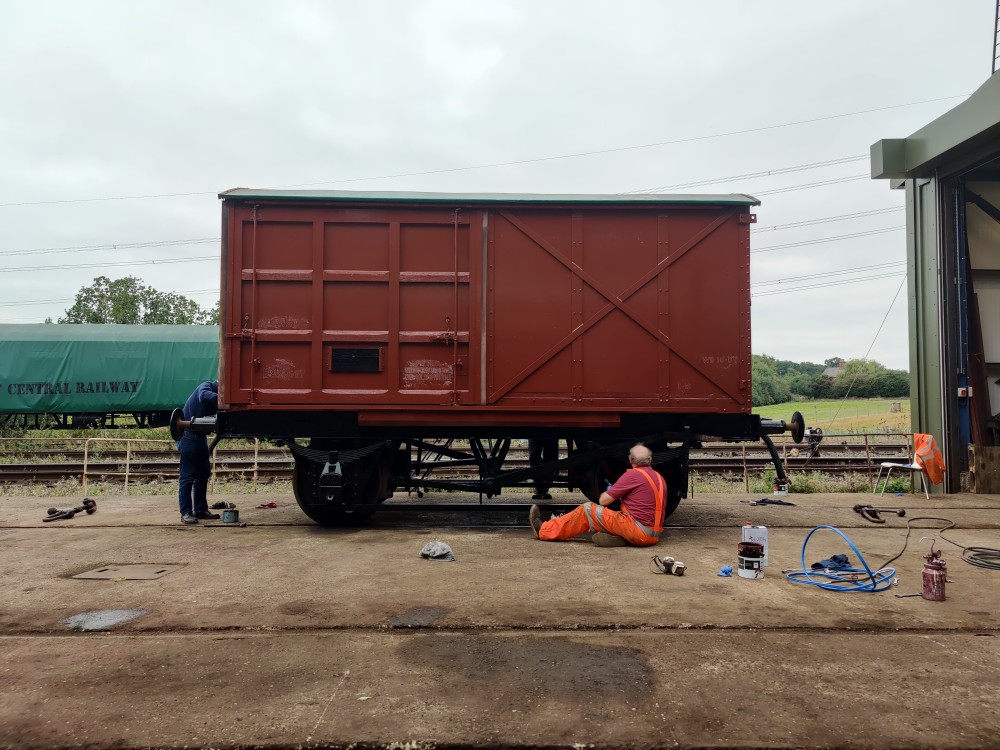
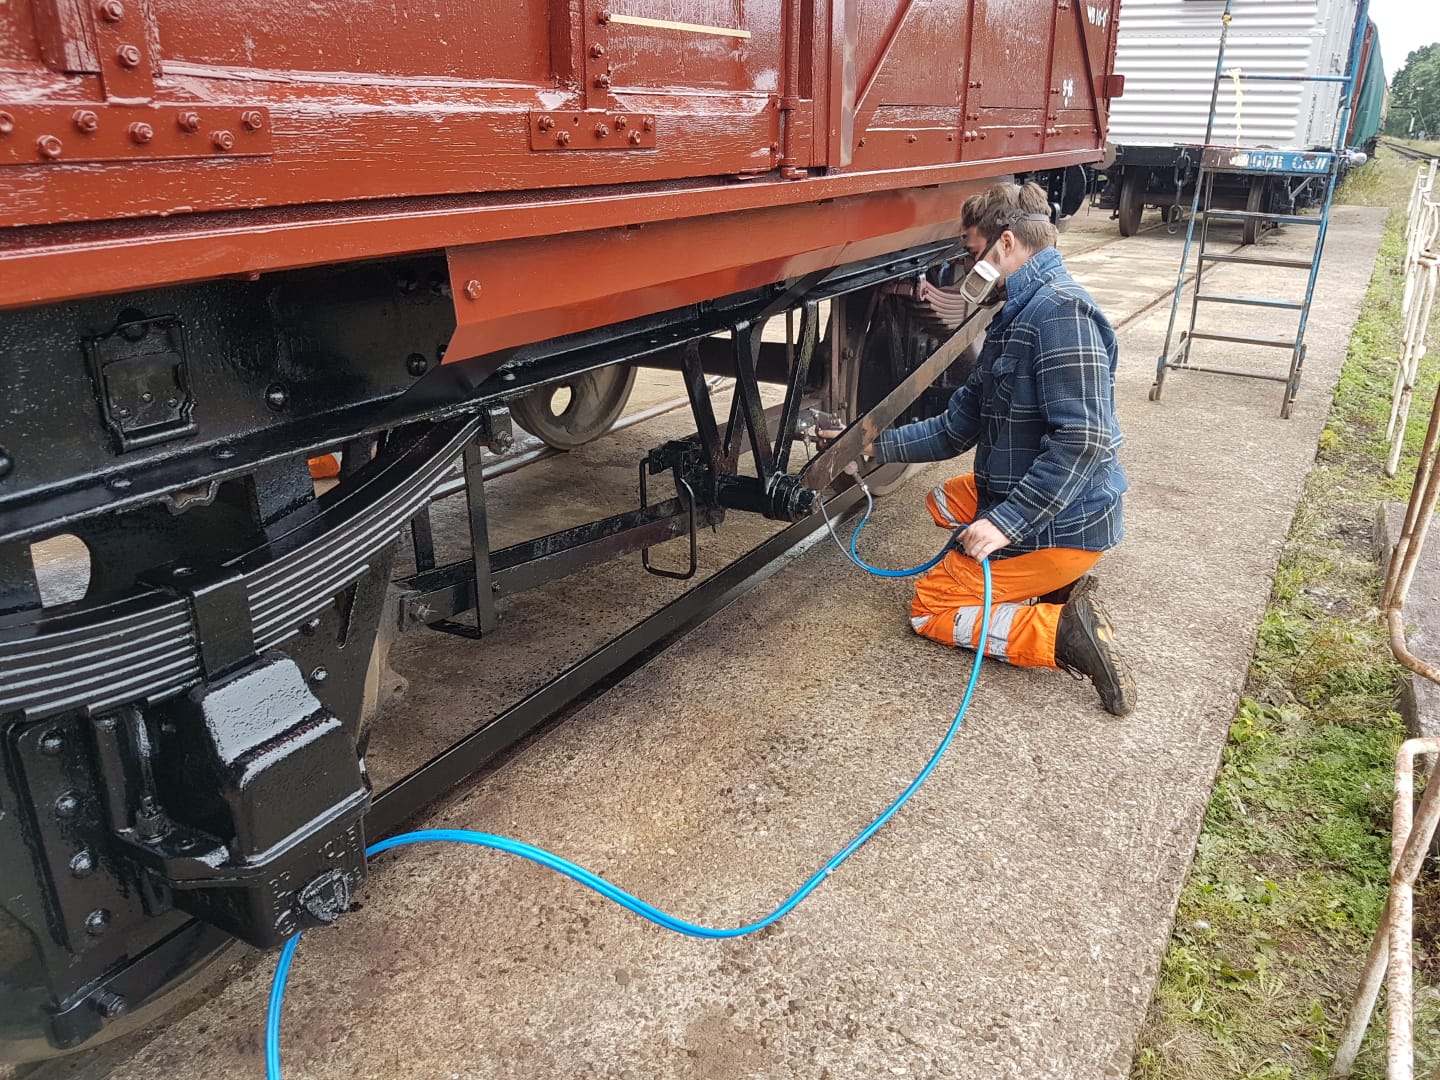
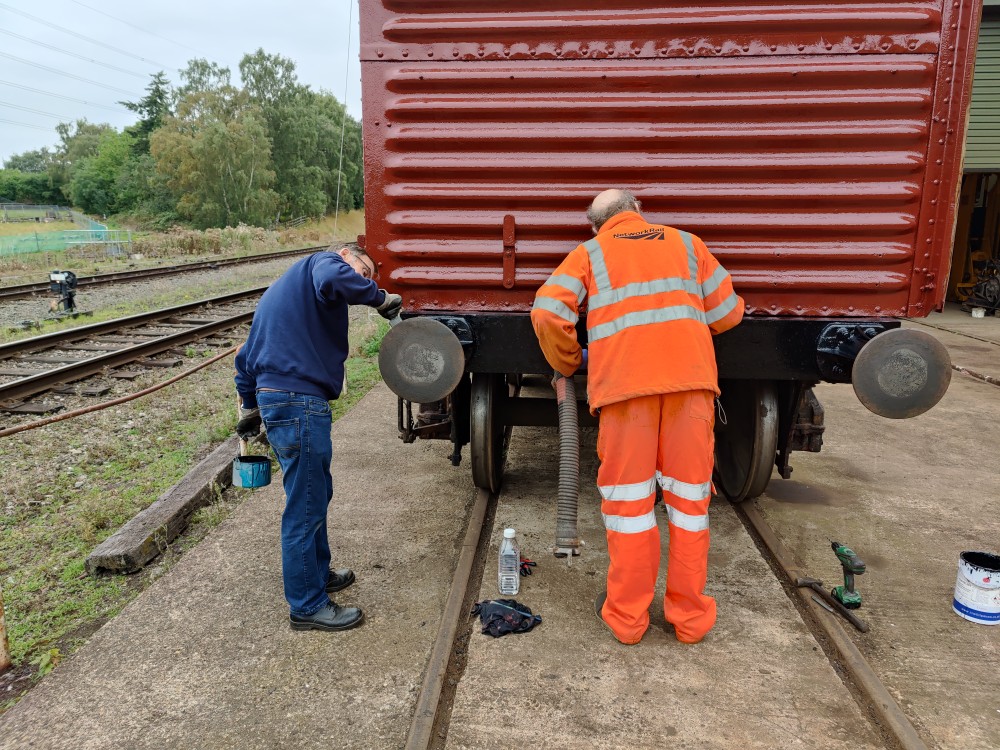
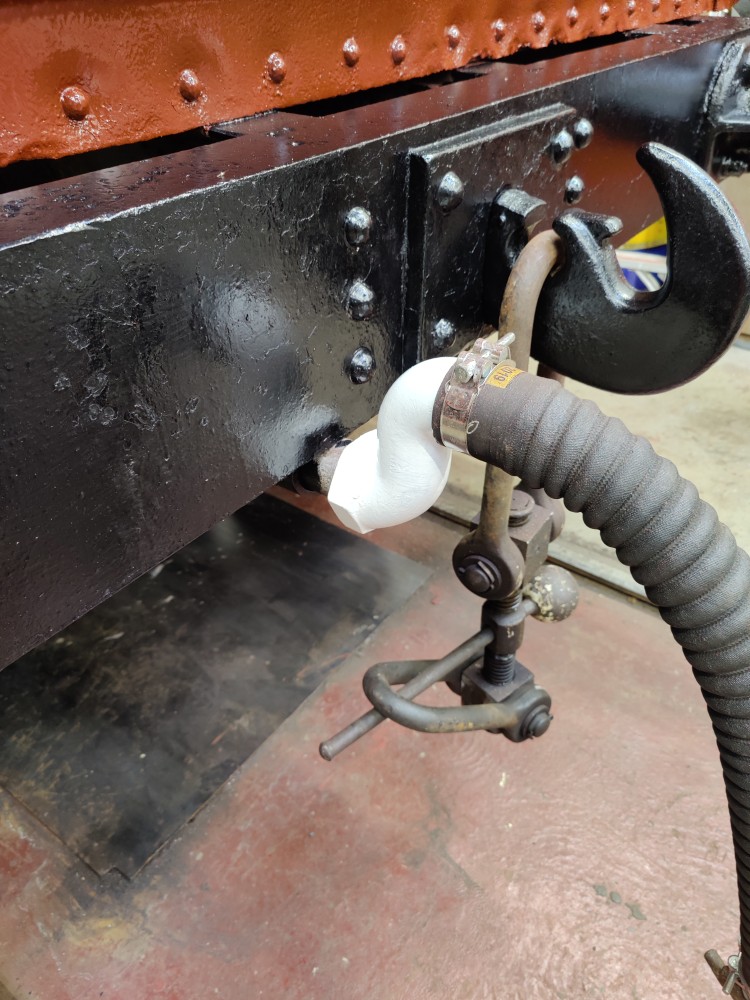
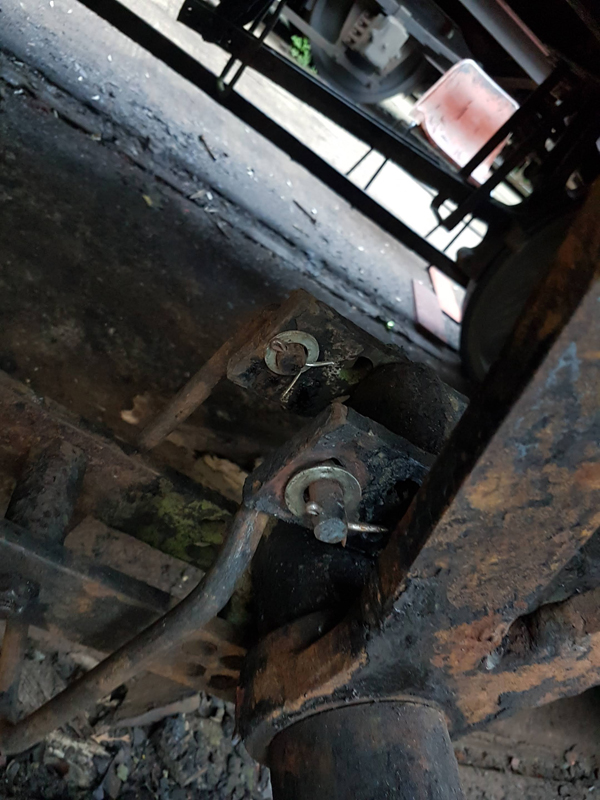
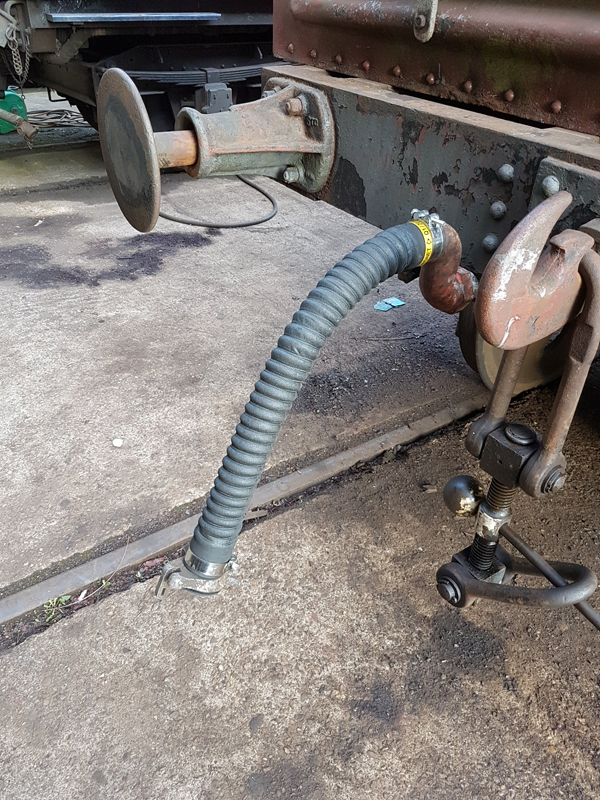
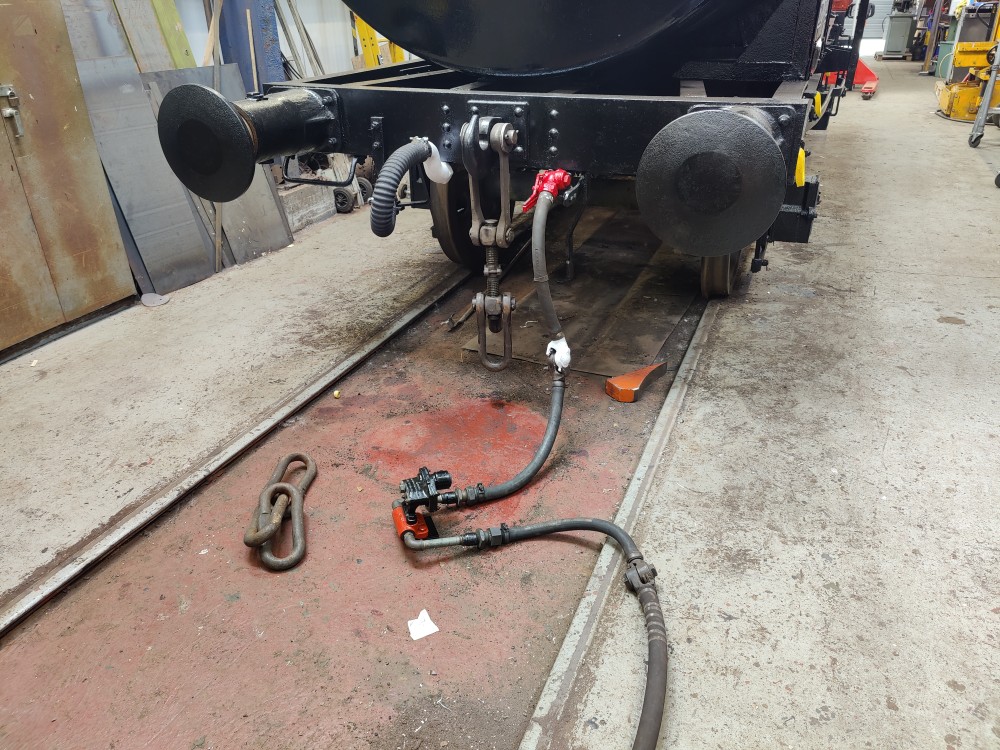
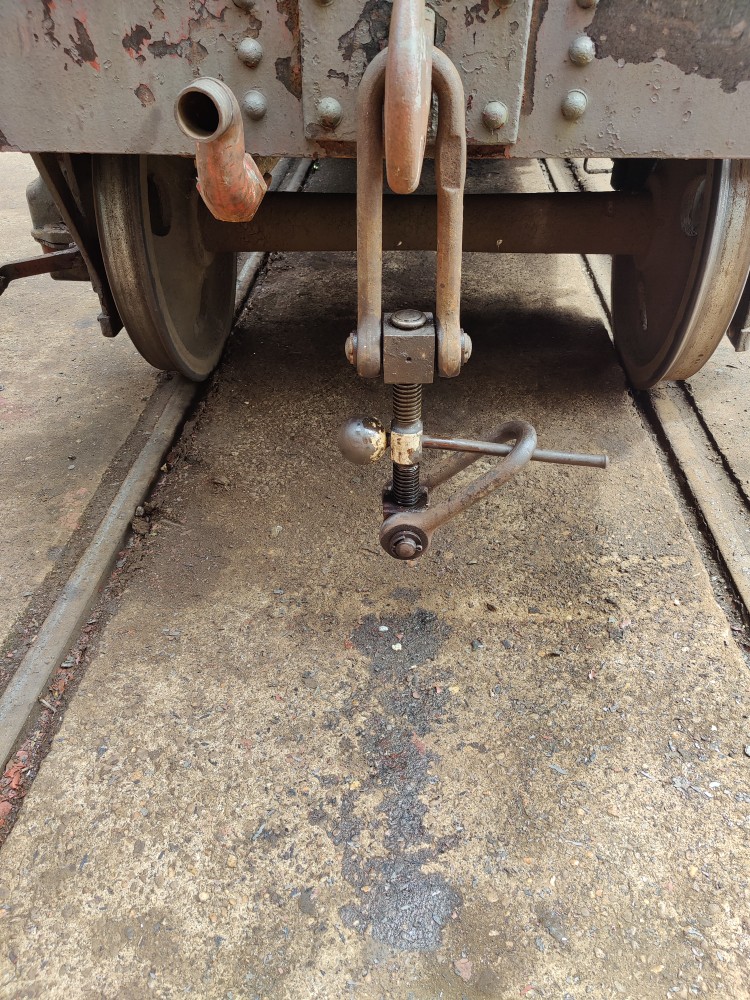
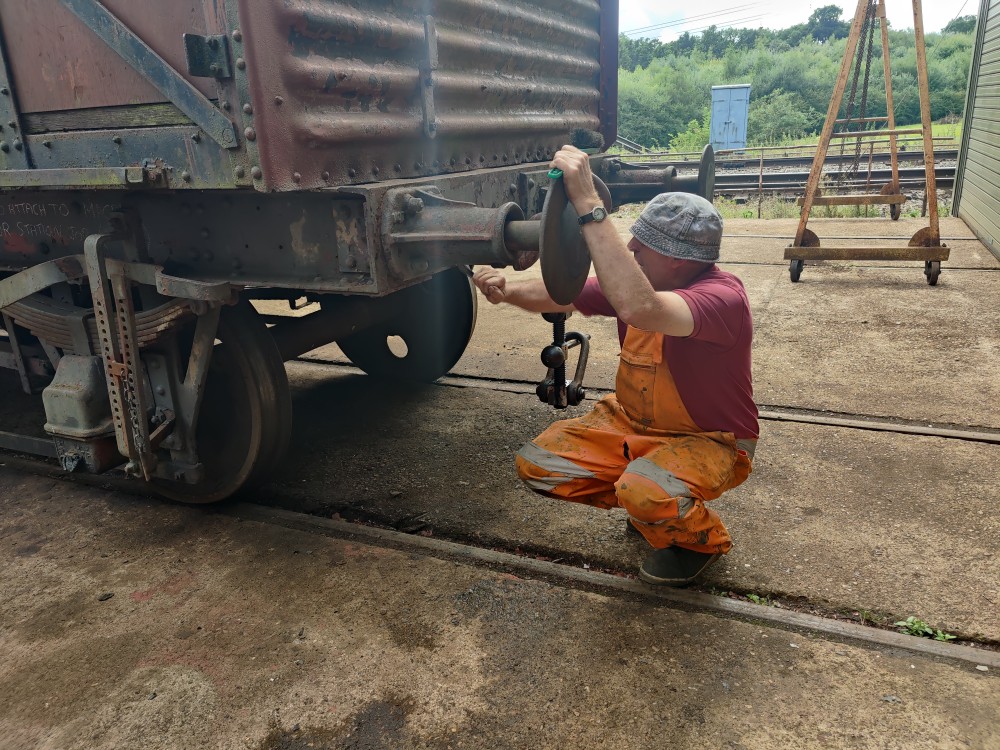
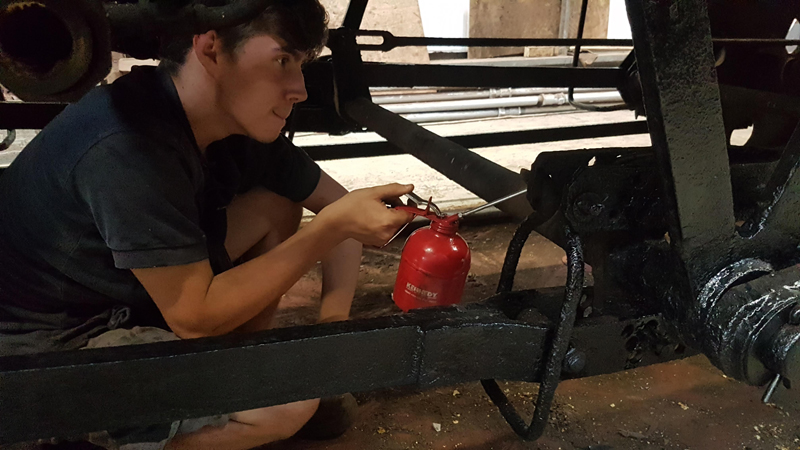
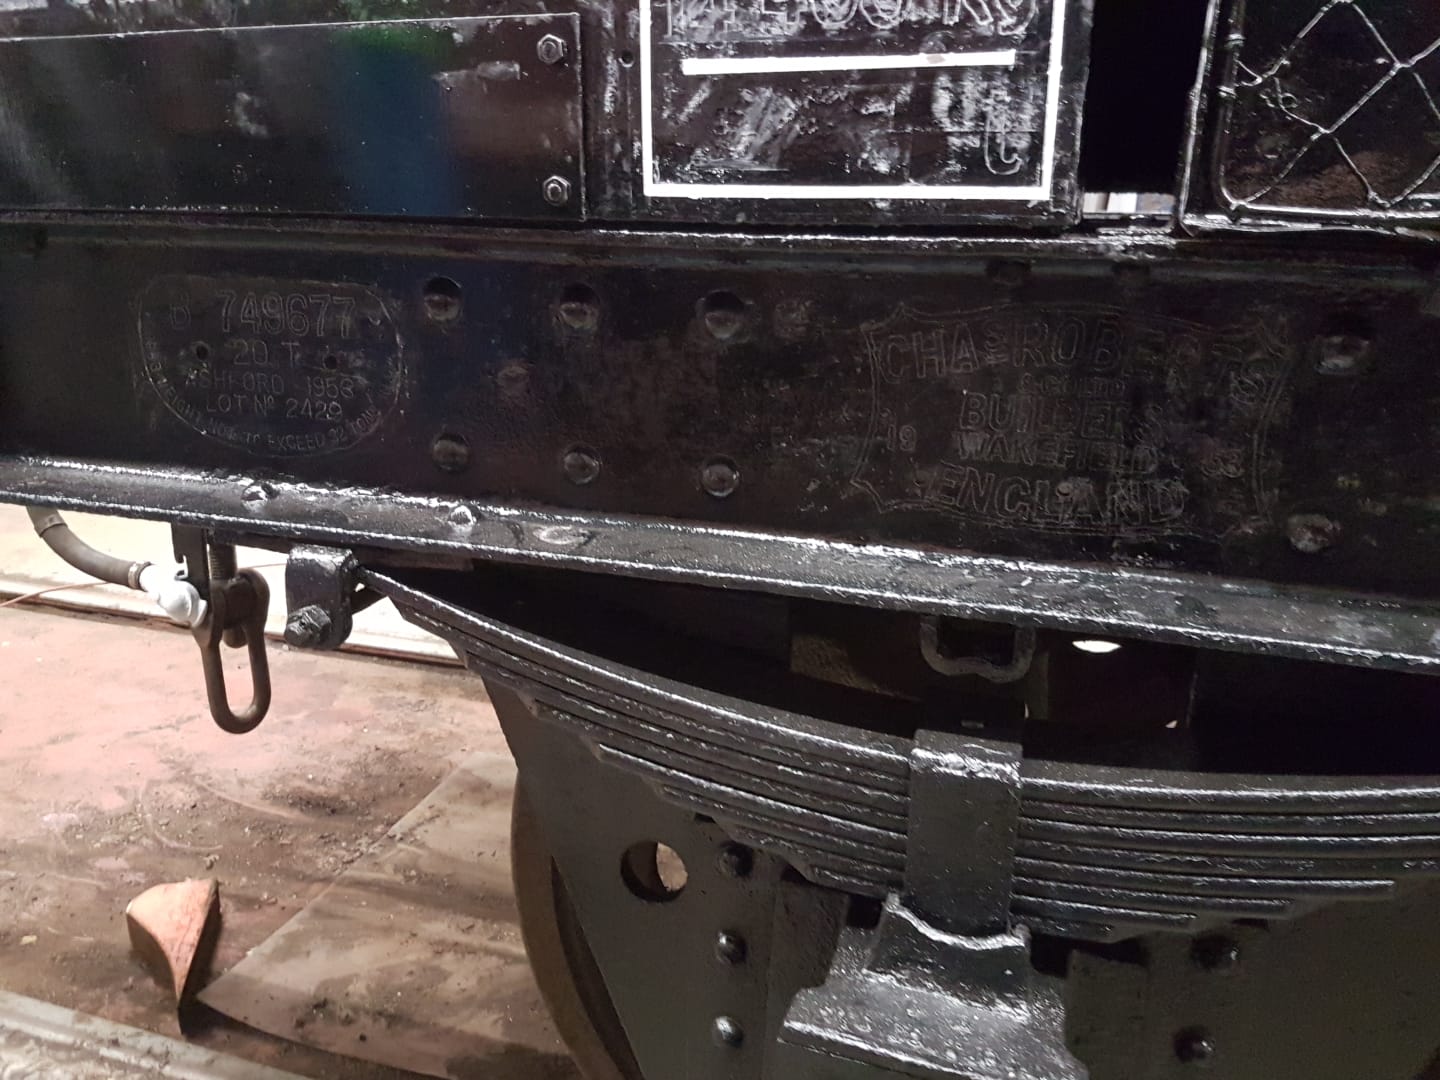
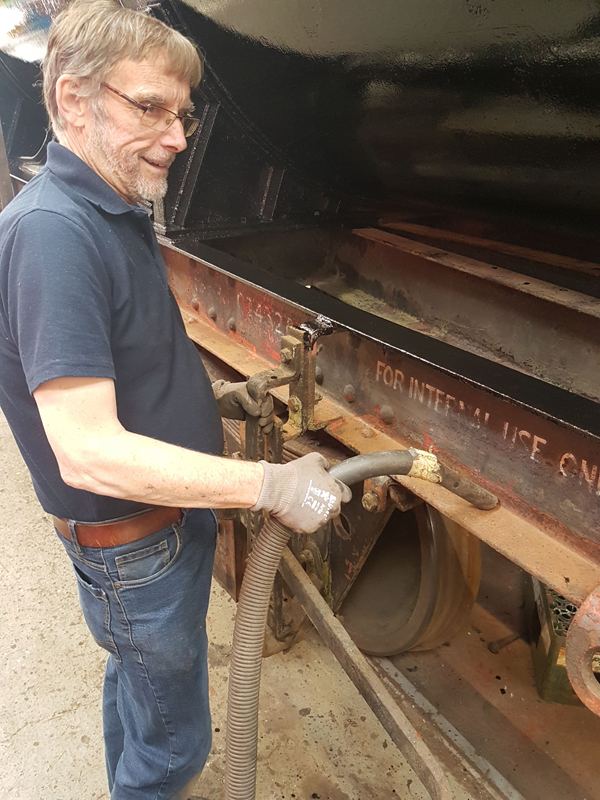
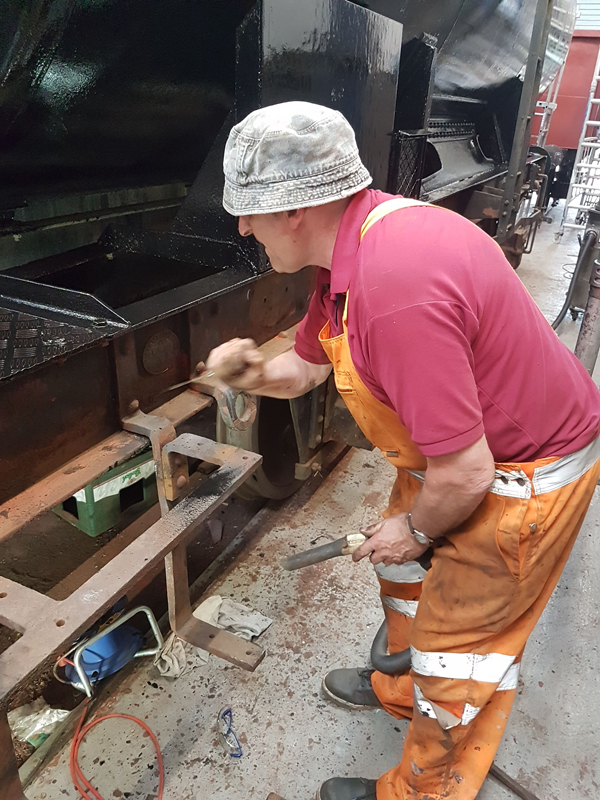
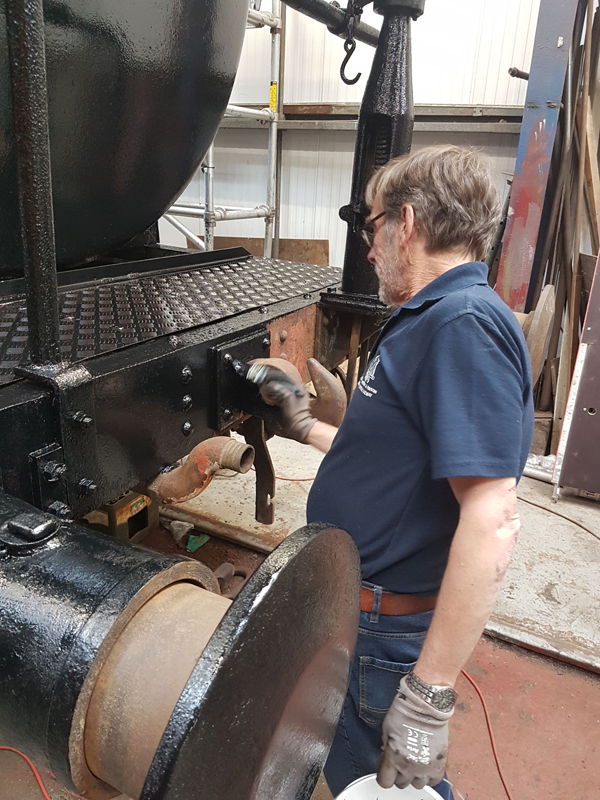
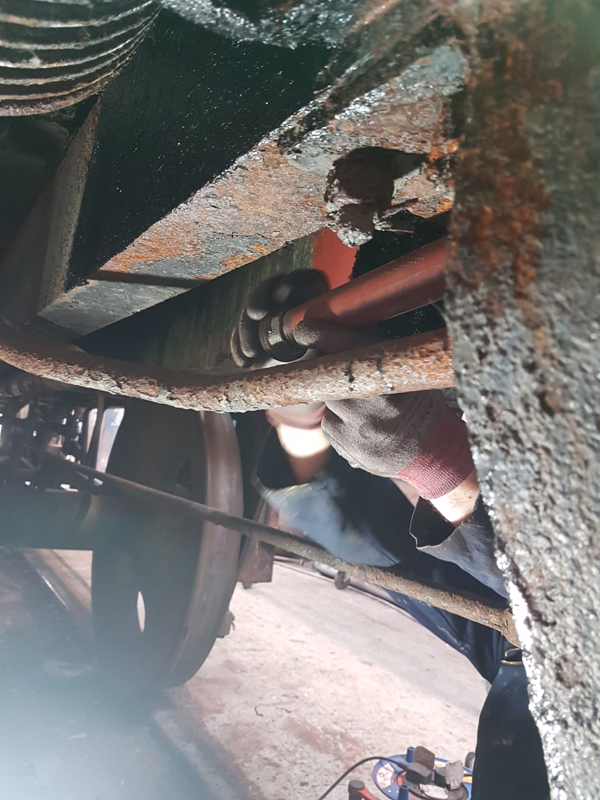
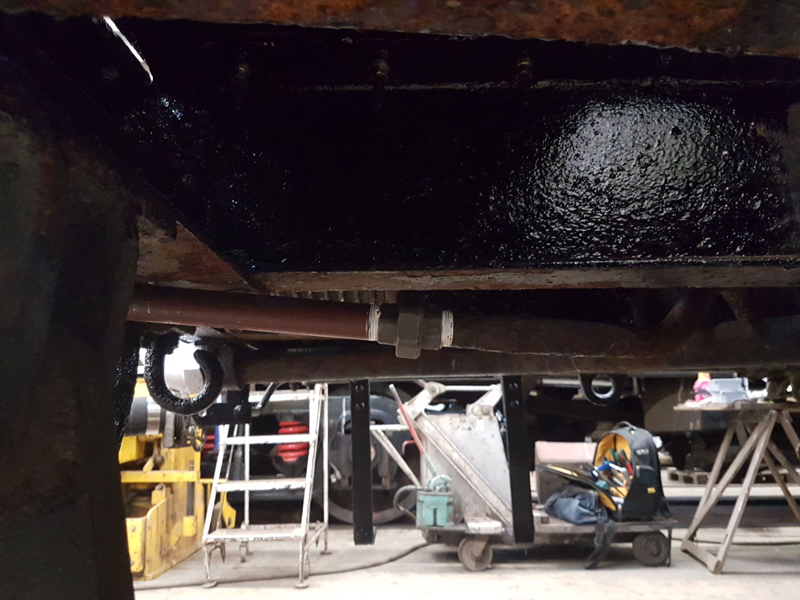
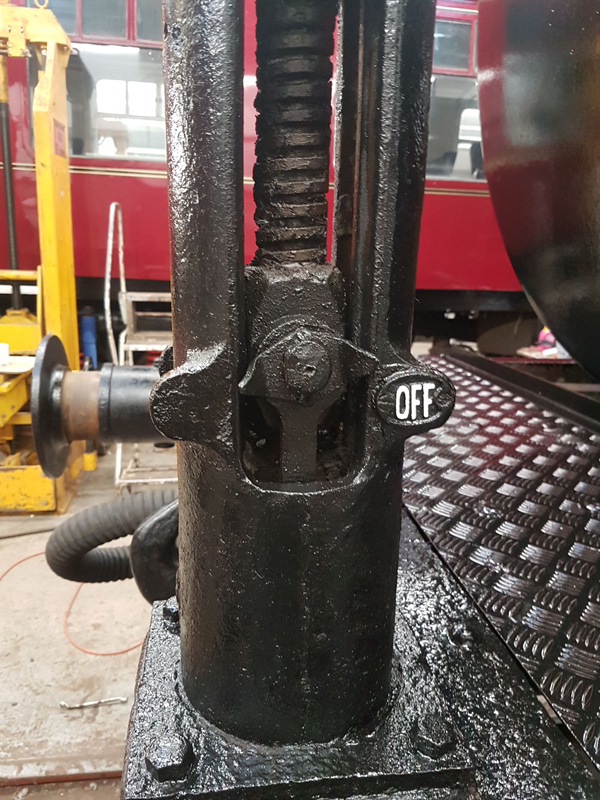
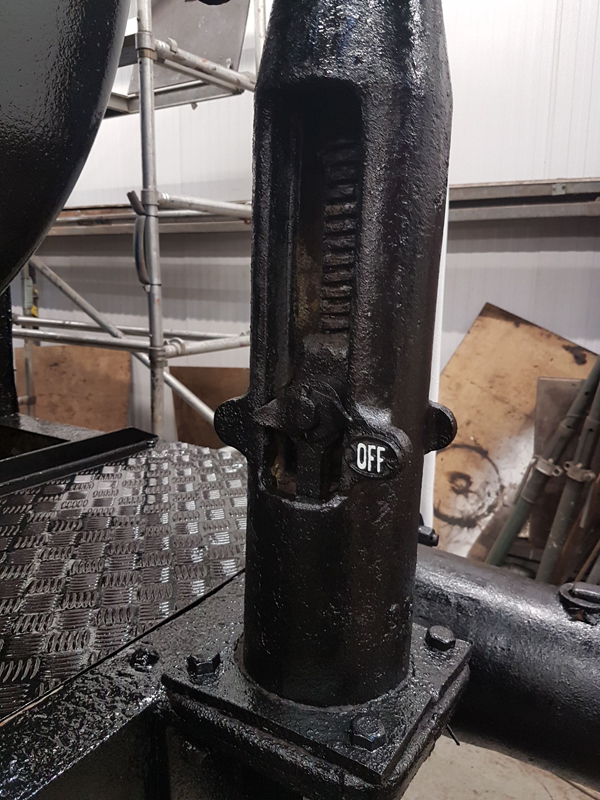
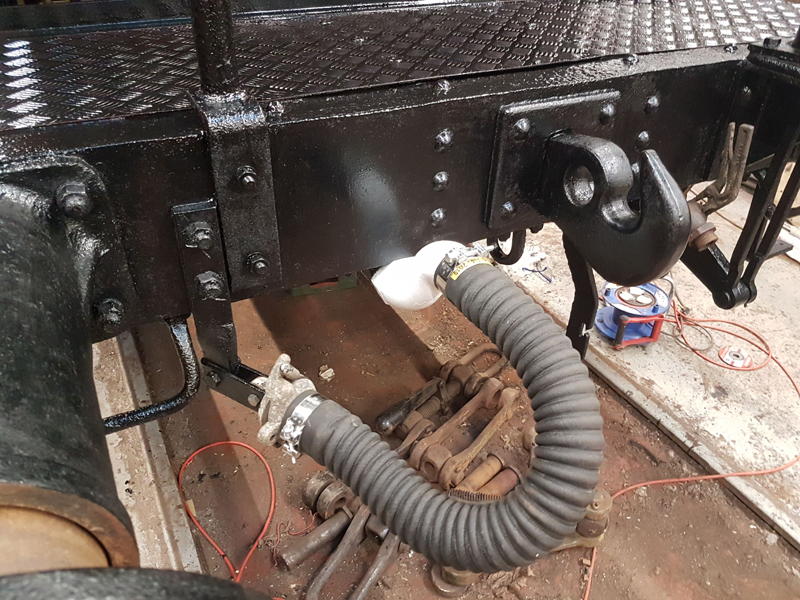
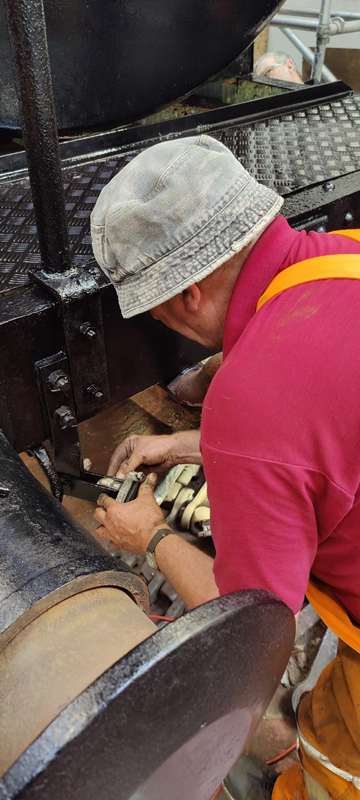
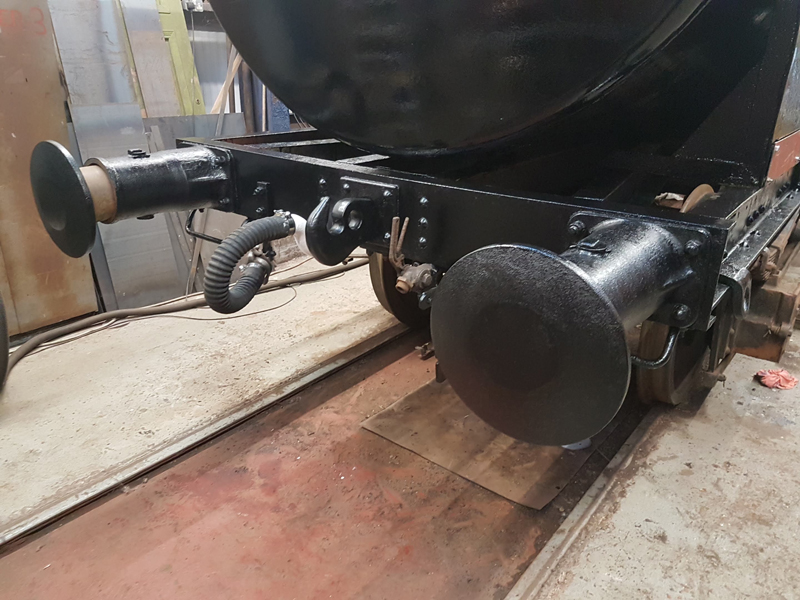
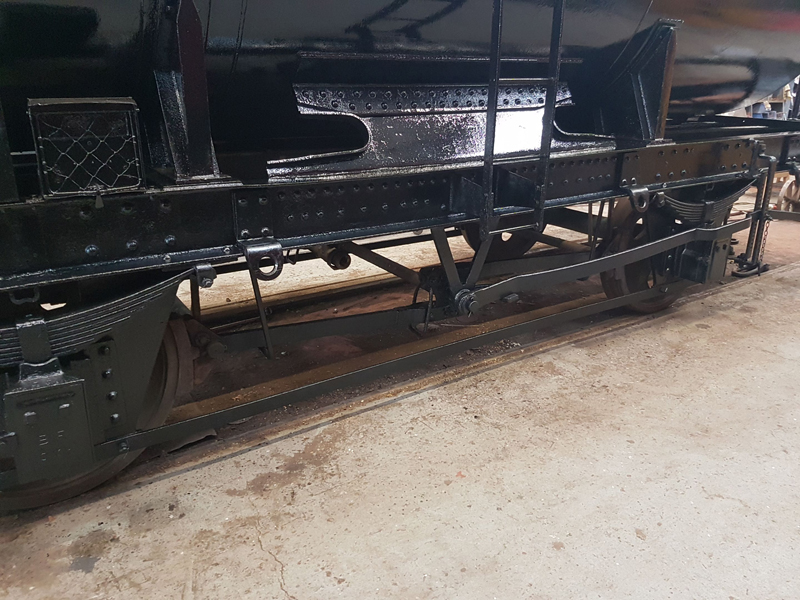
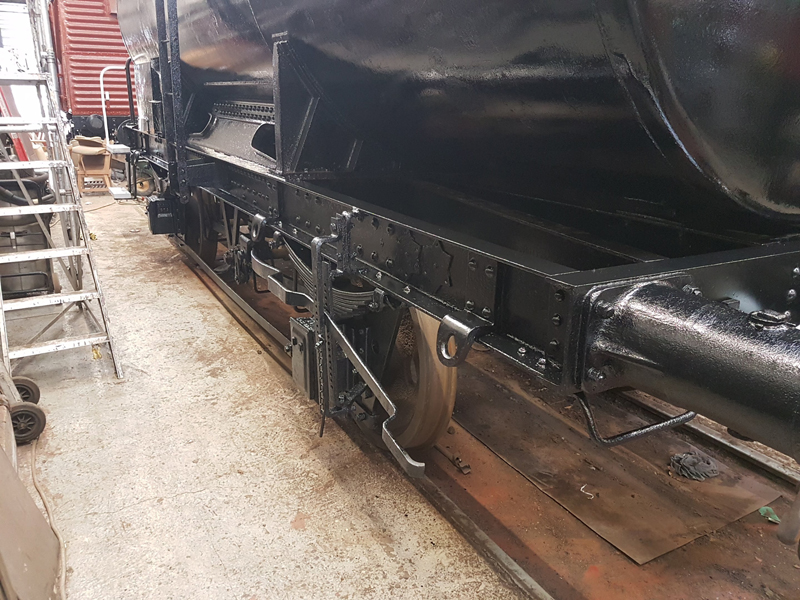
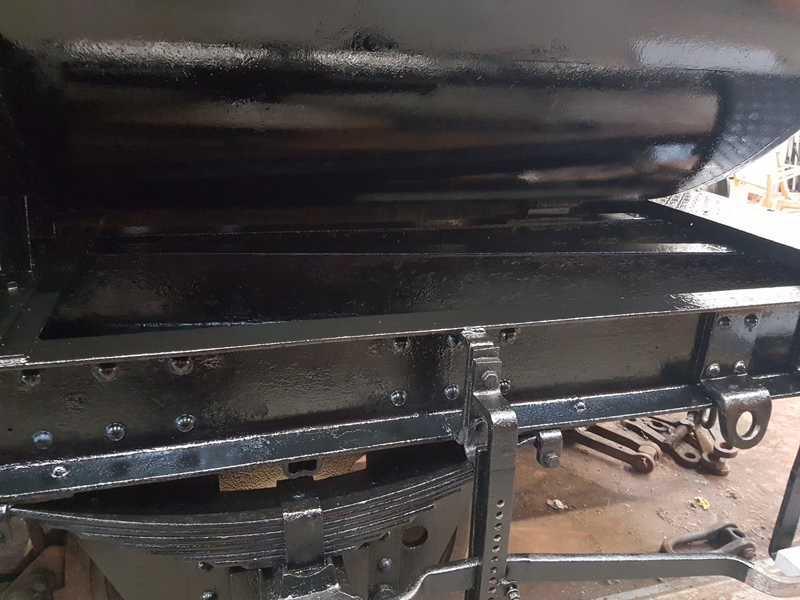
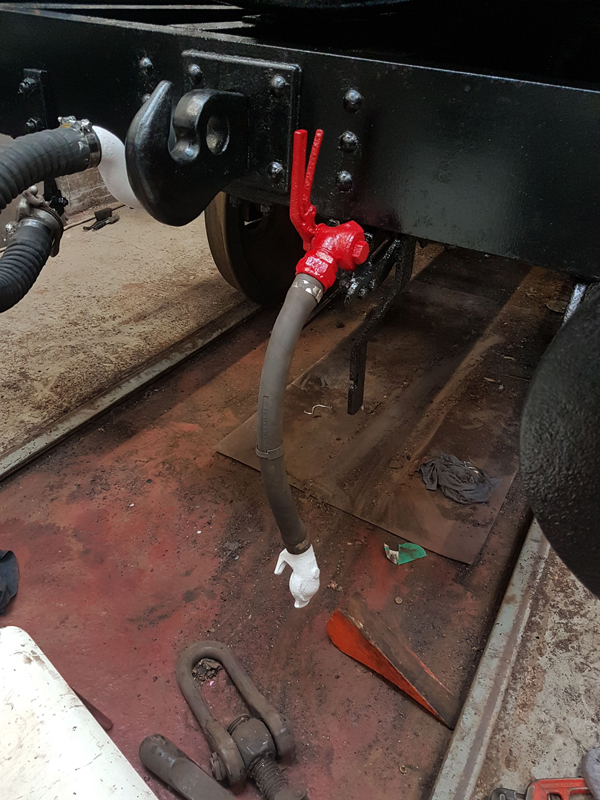
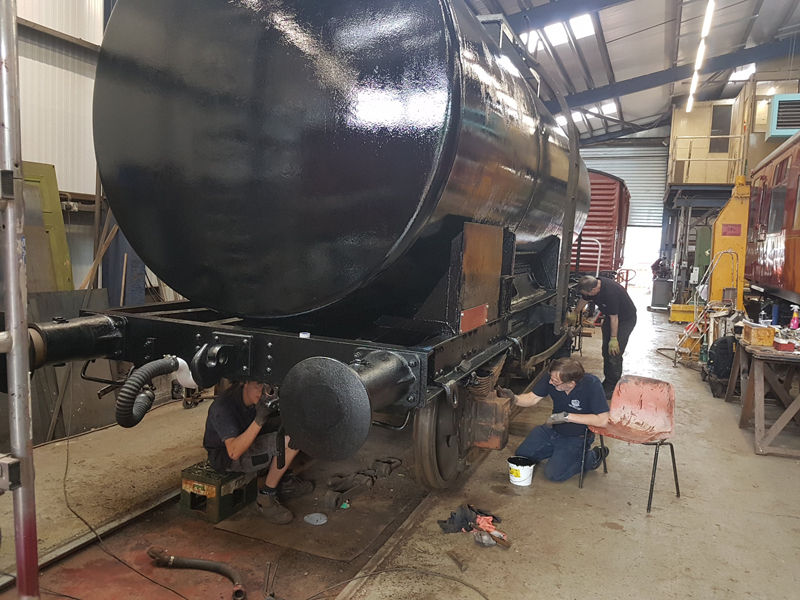
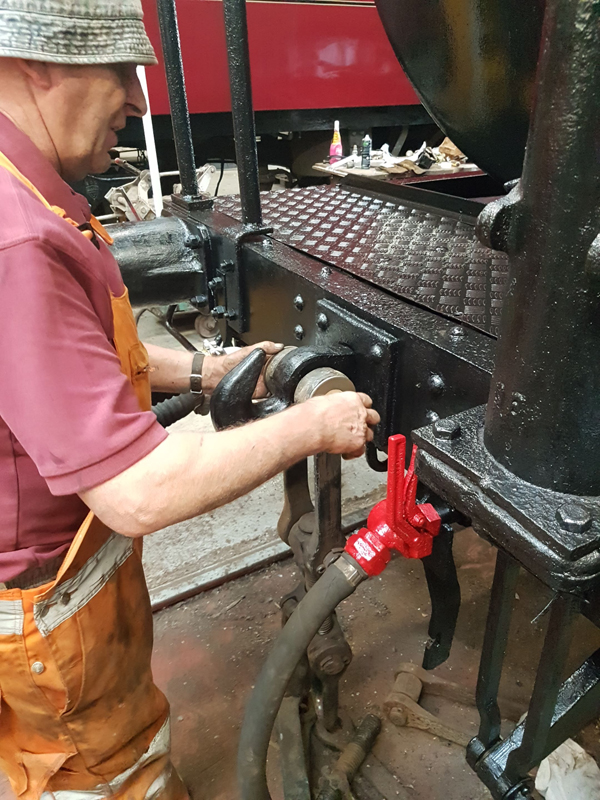
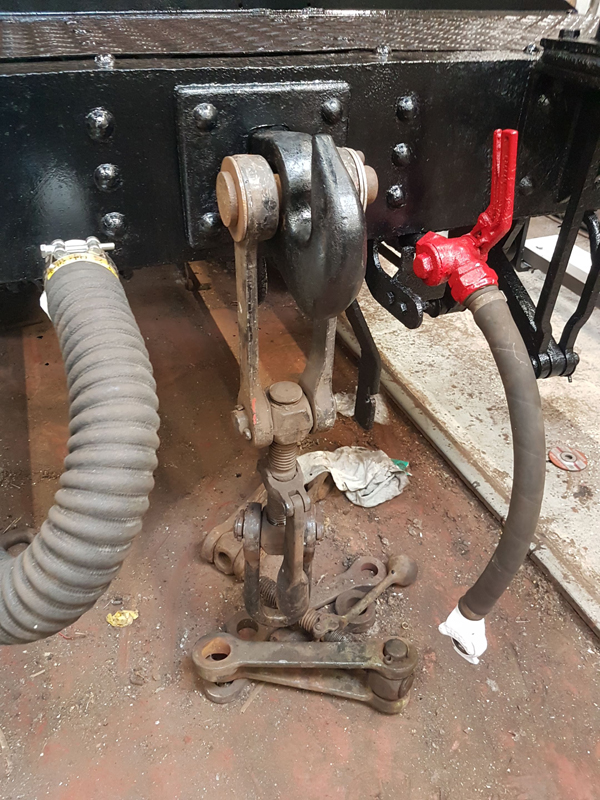
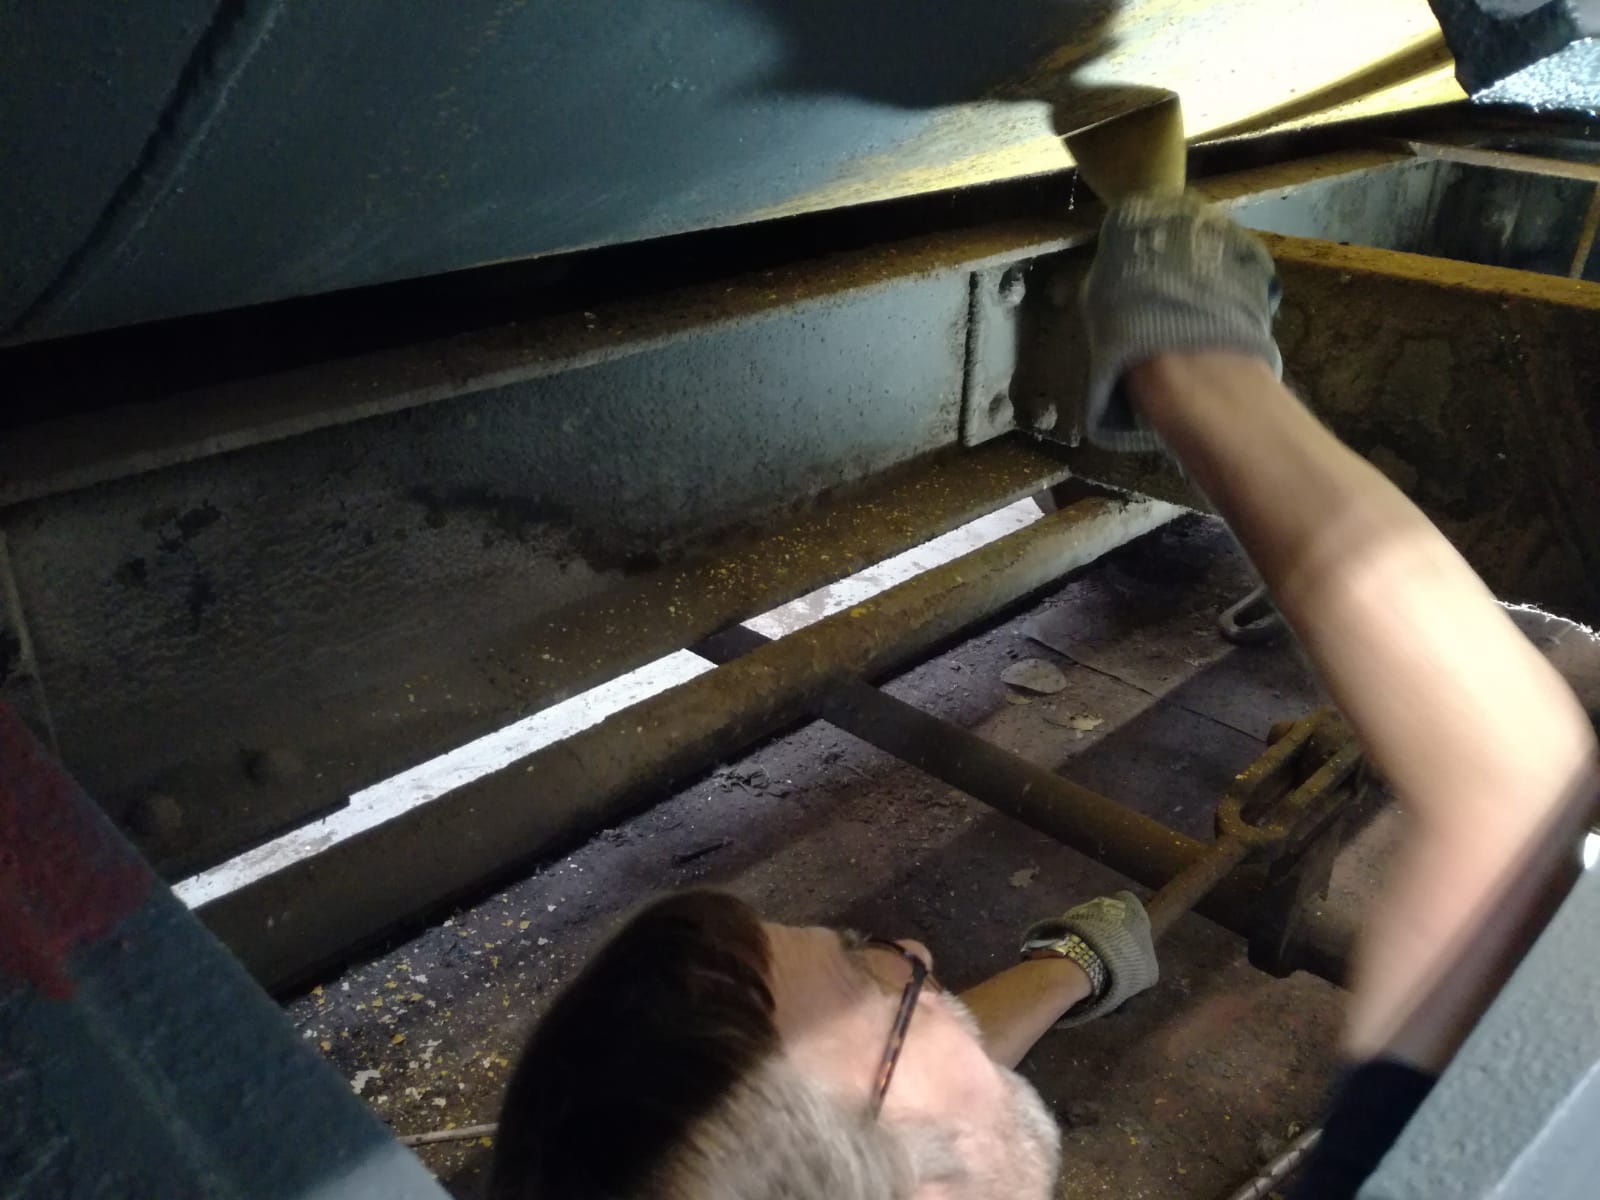
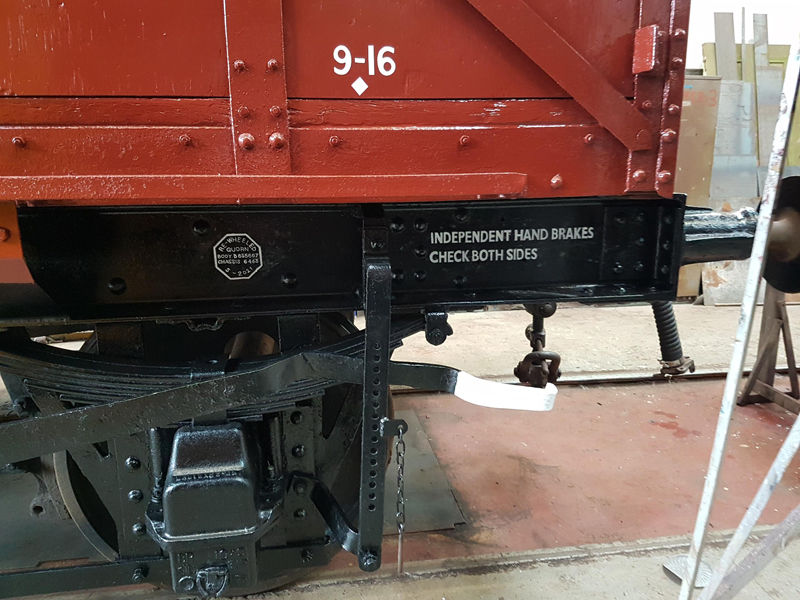
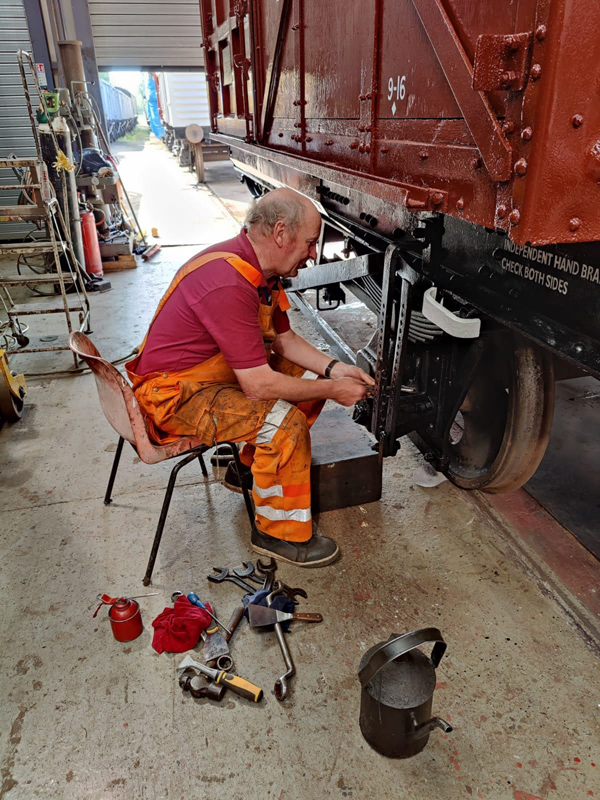
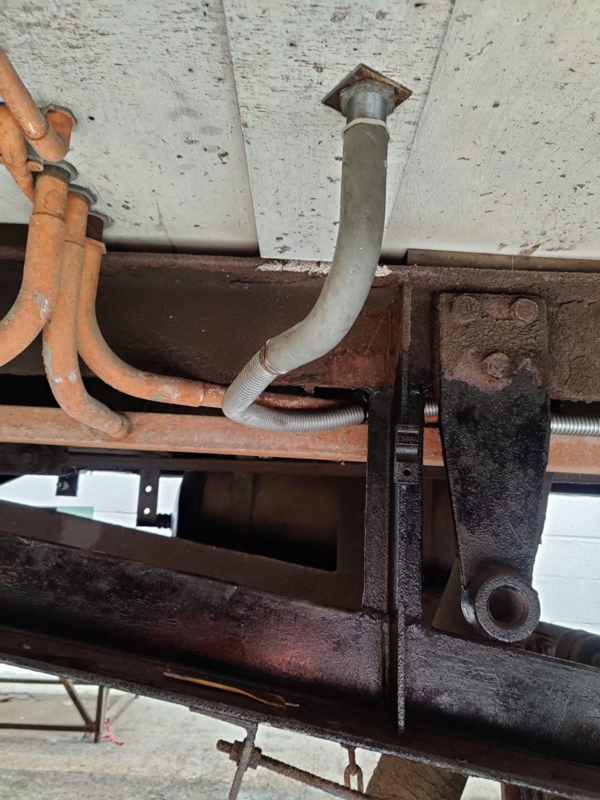
A complete annual exam. Lubrication and axle box exams.
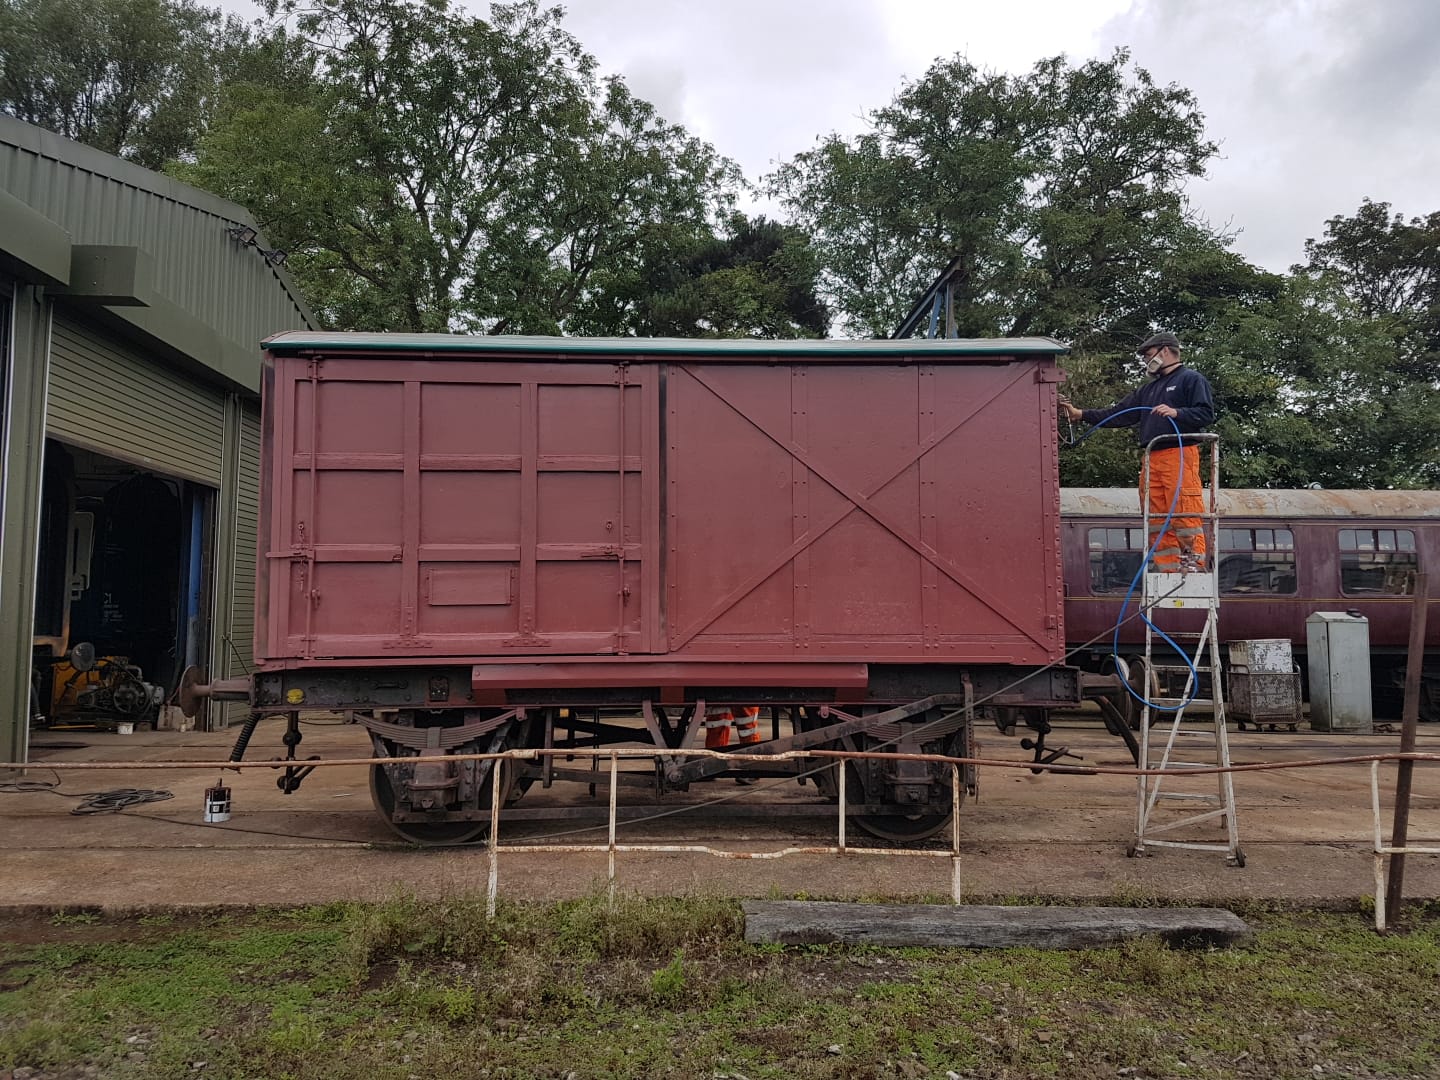
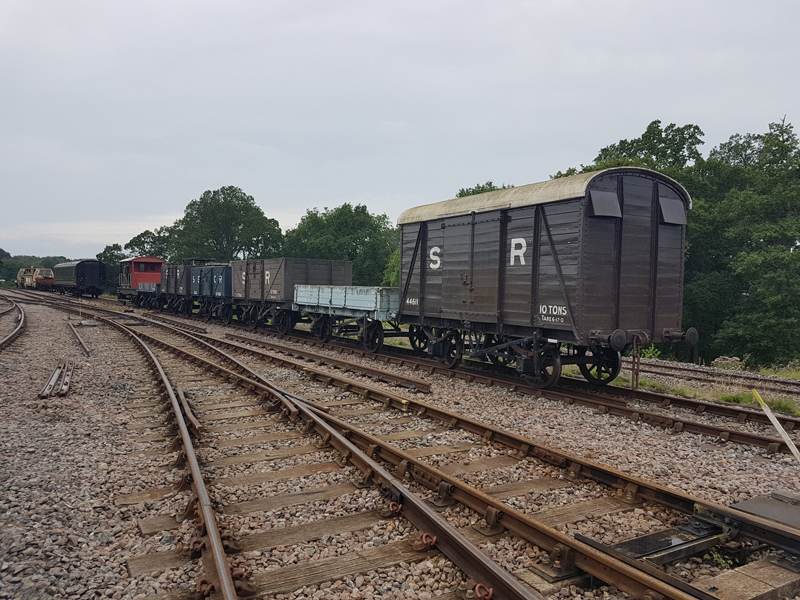
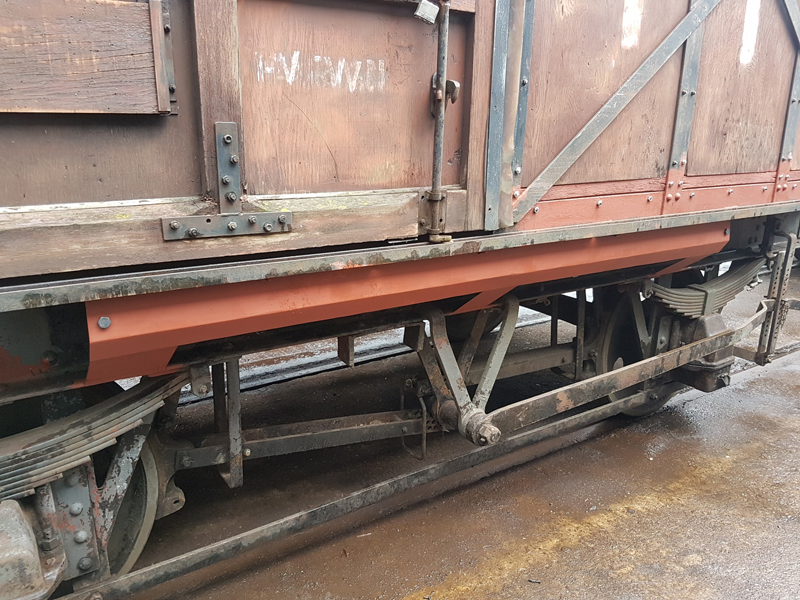
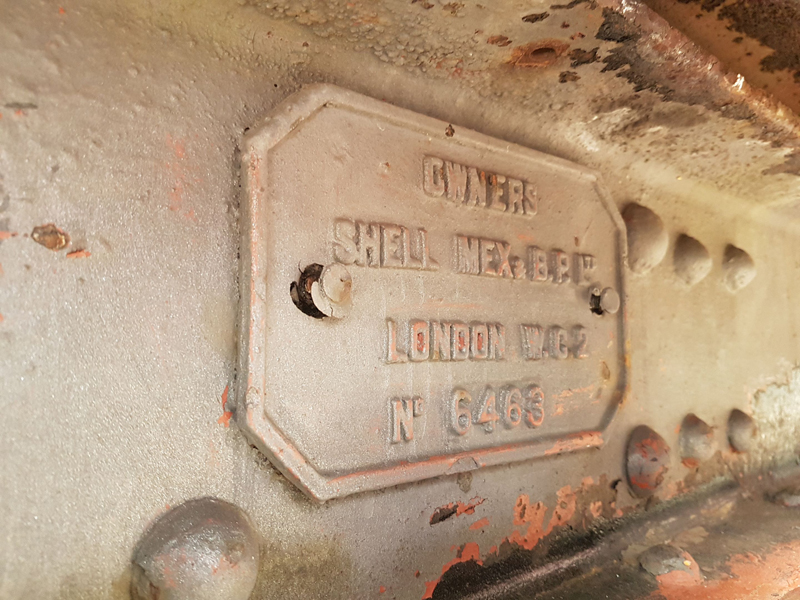
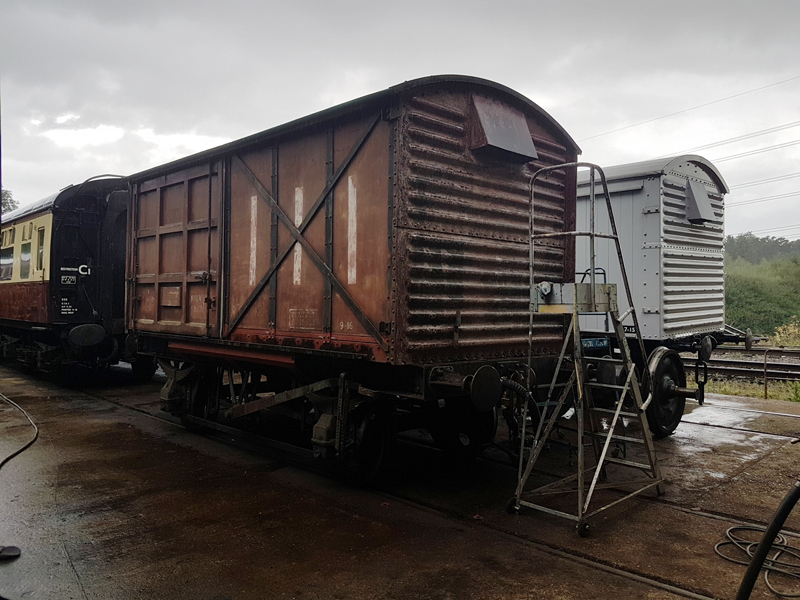
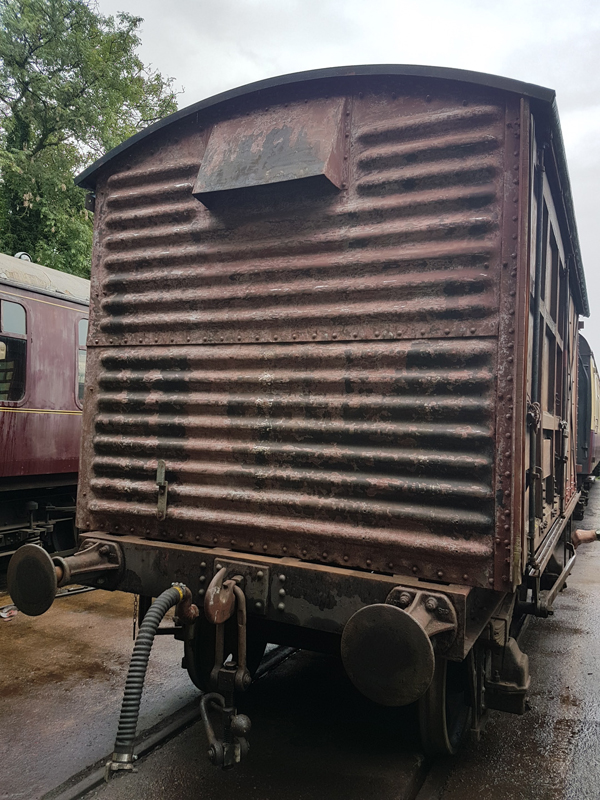
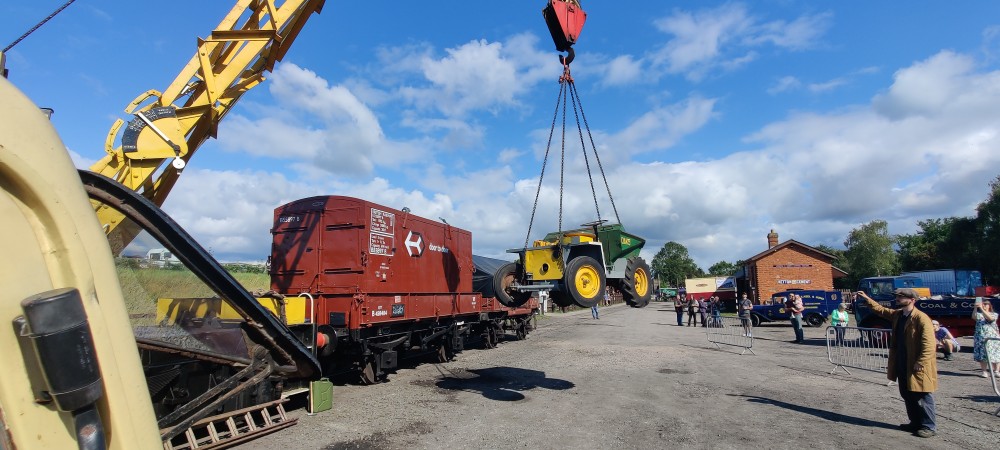
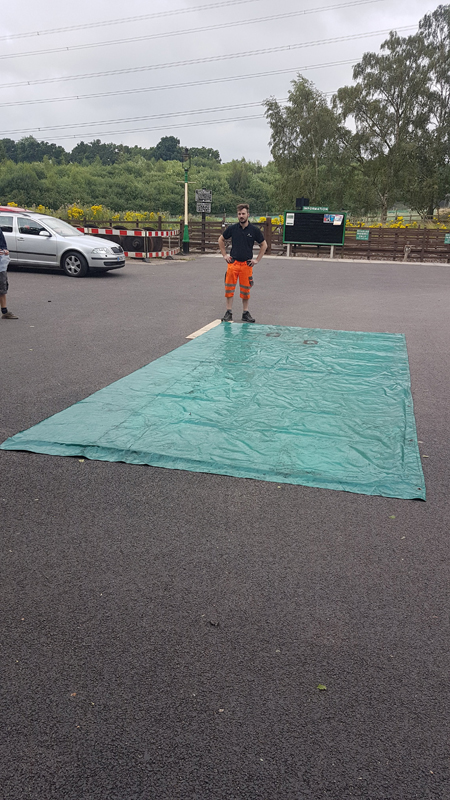
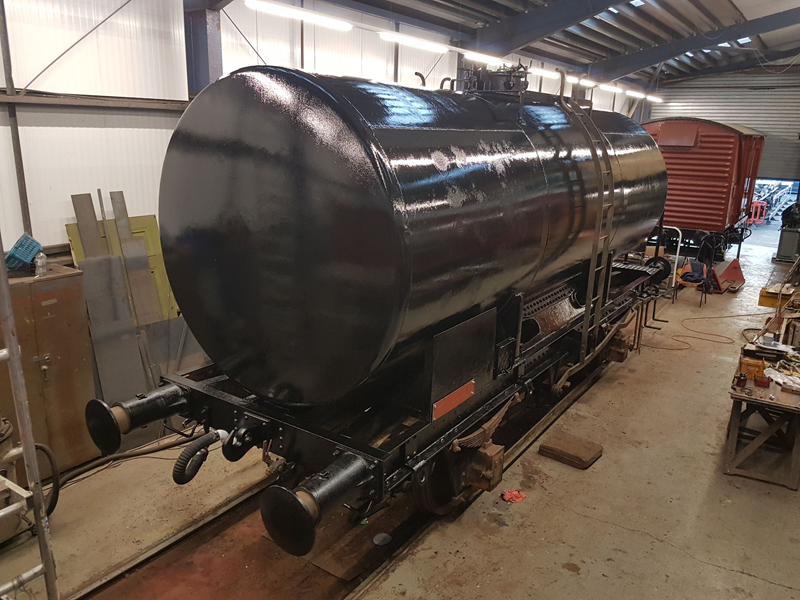
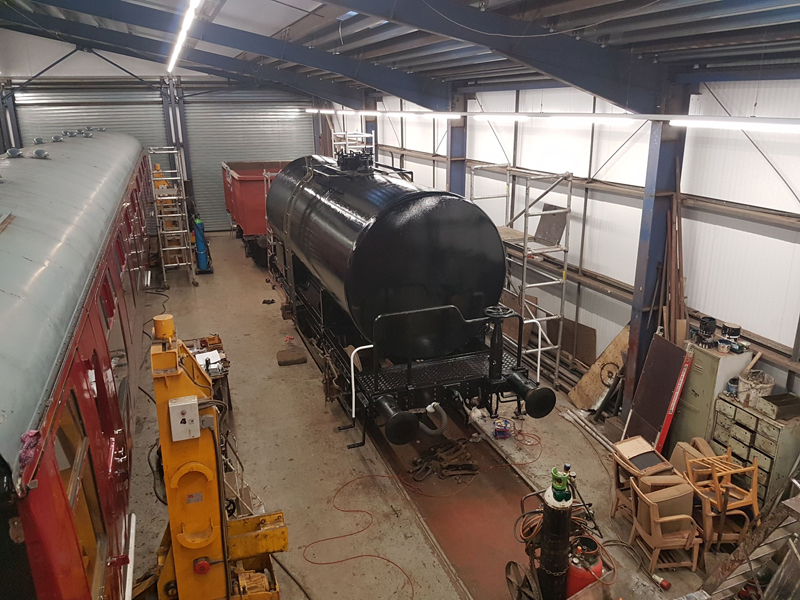
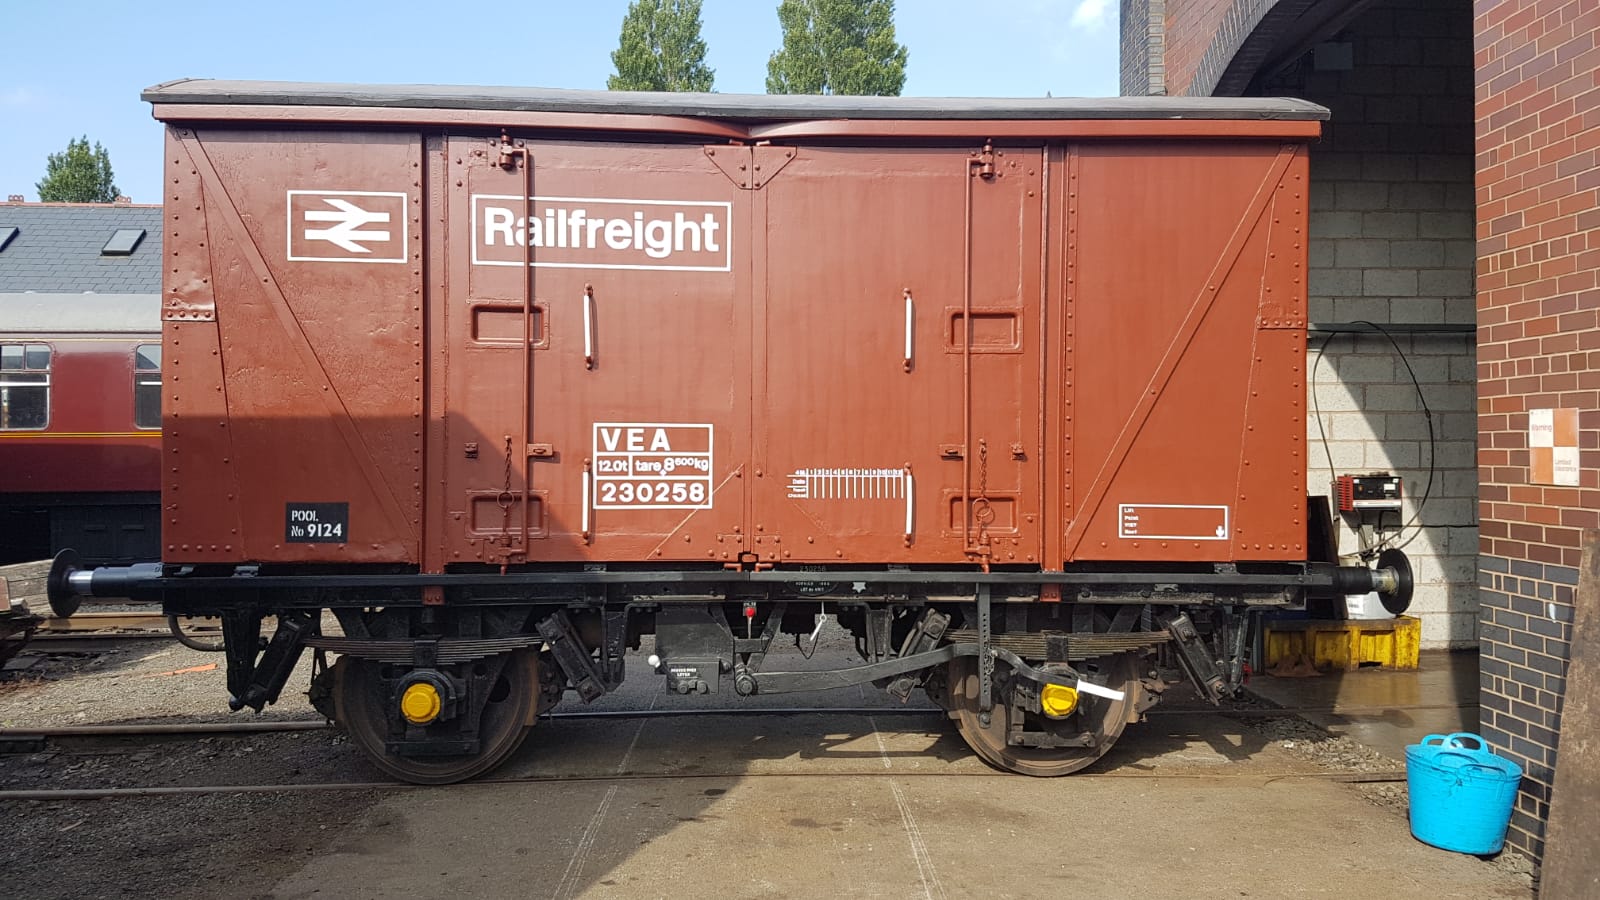
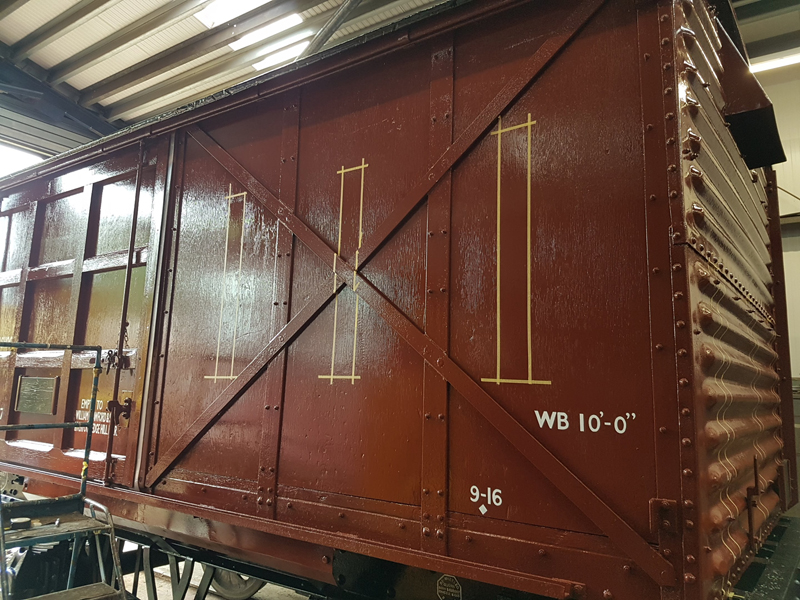
This completes B855667 and will soon join the van train taking the rake to our working target of 17 vans. This however will not be the last van as we will be adding additional vehicles to the Mixed rake.
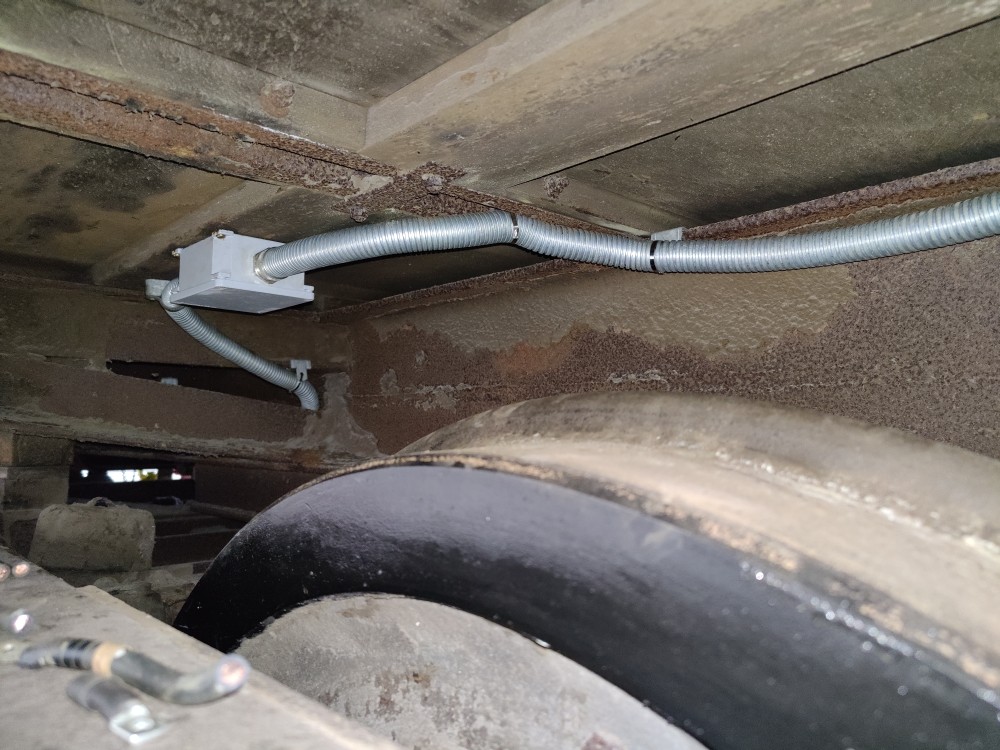
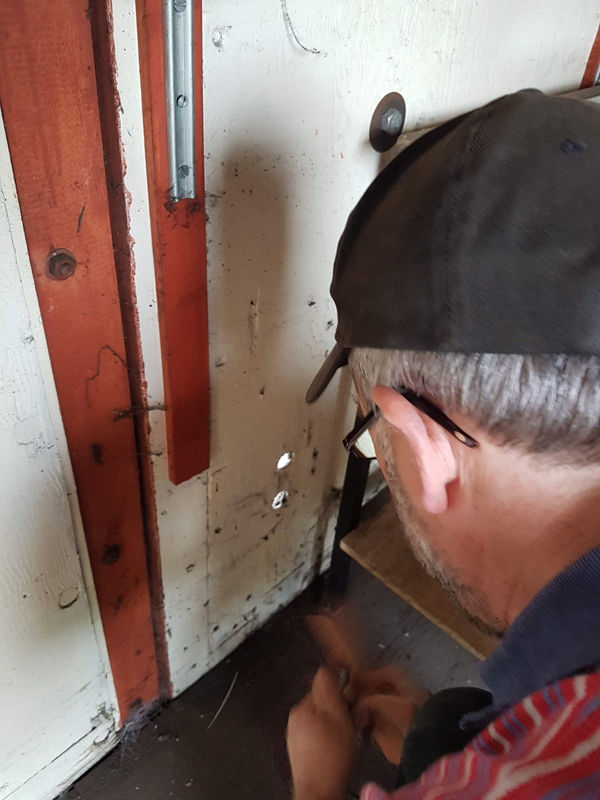
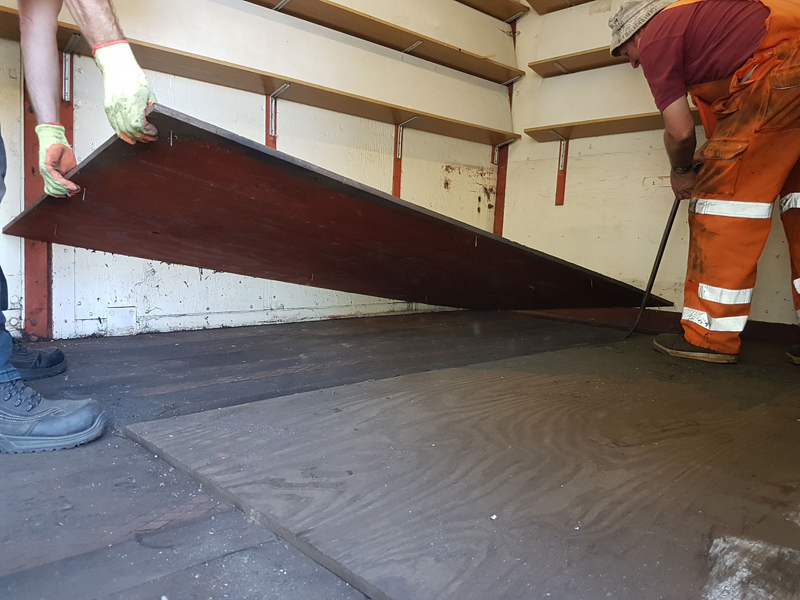
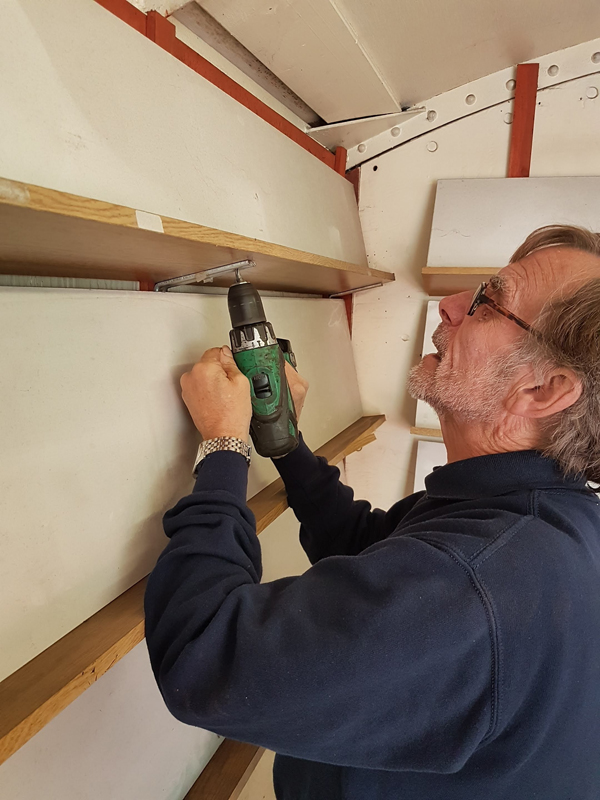
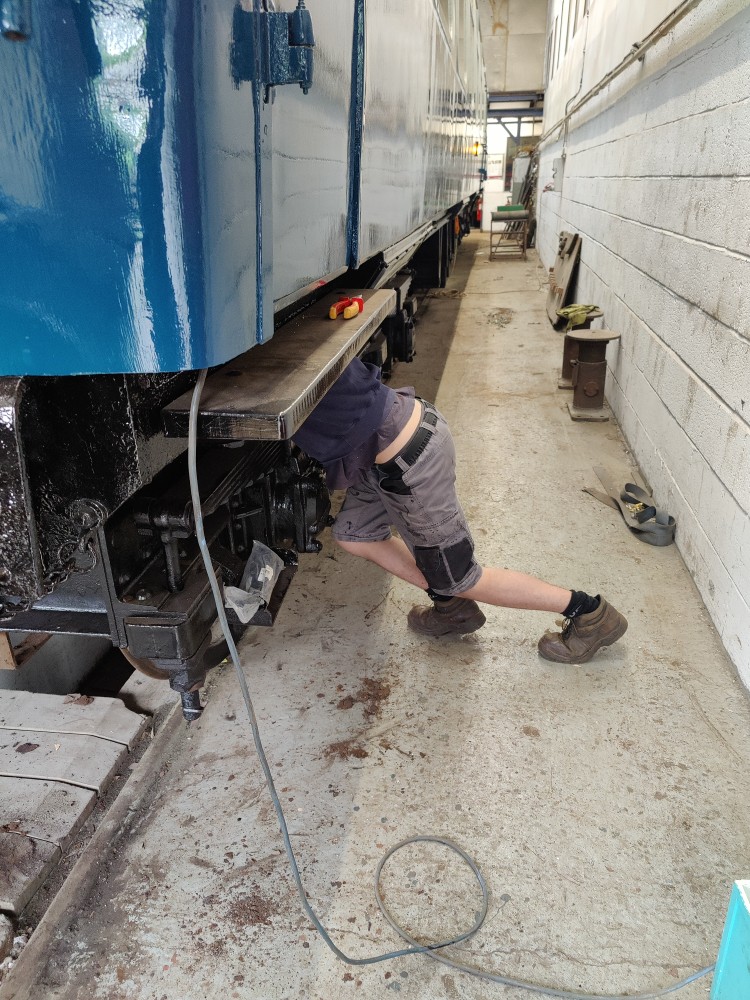
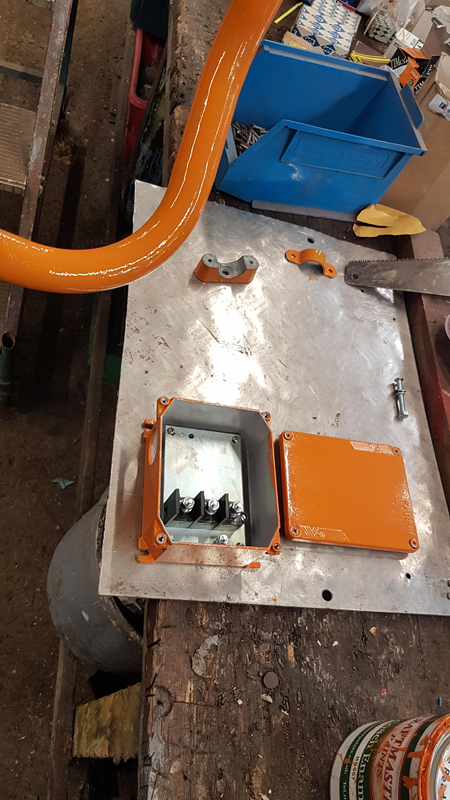
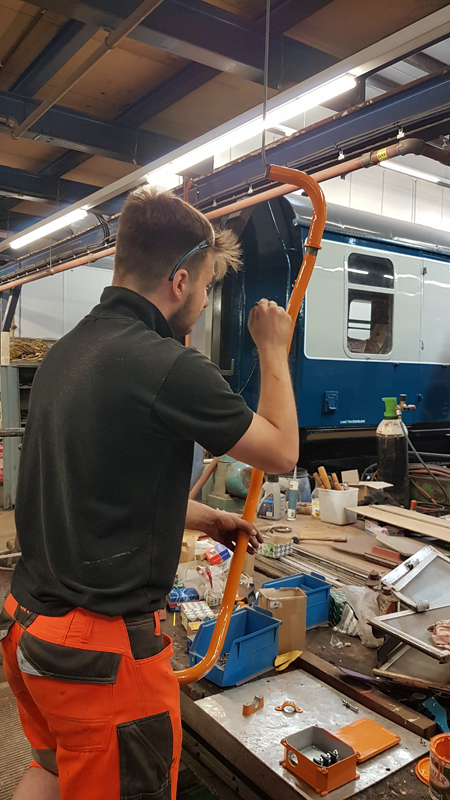
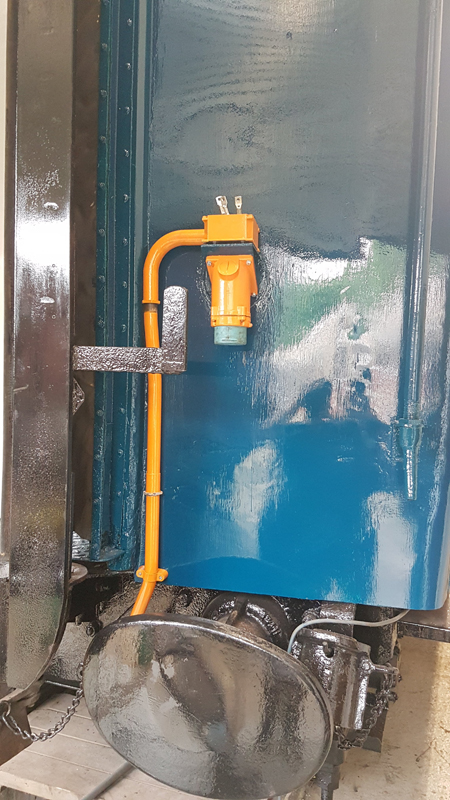
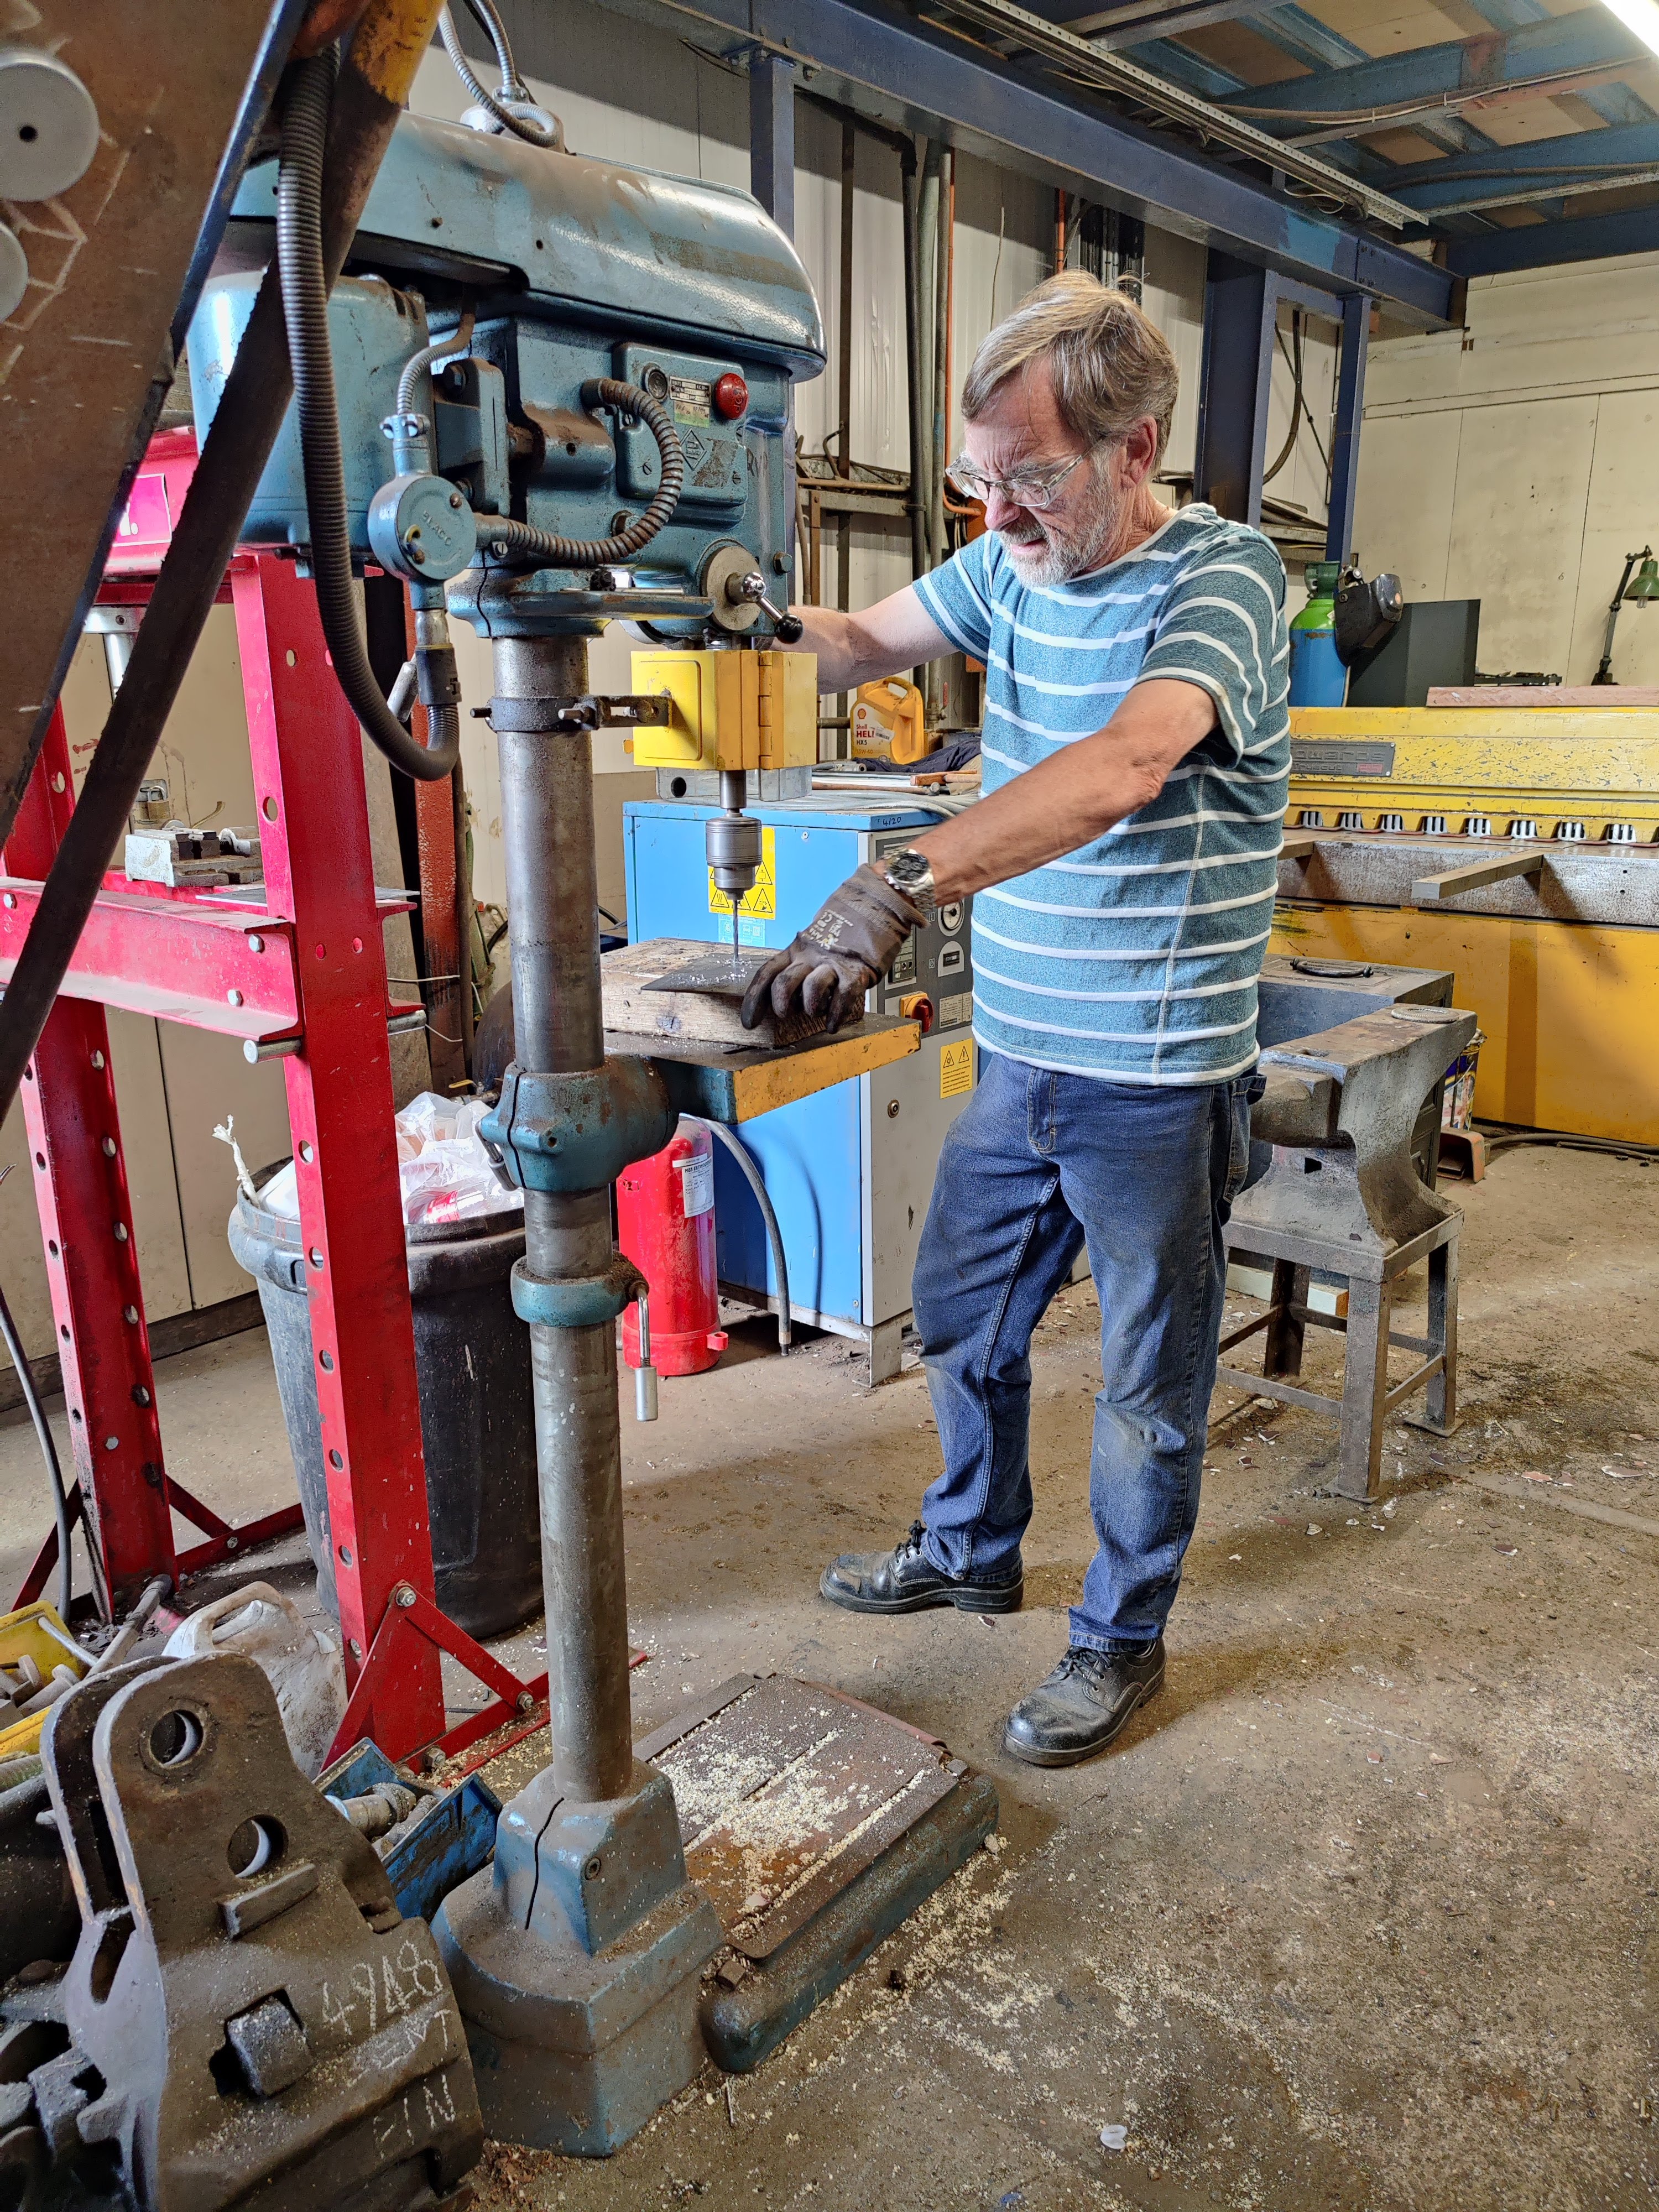
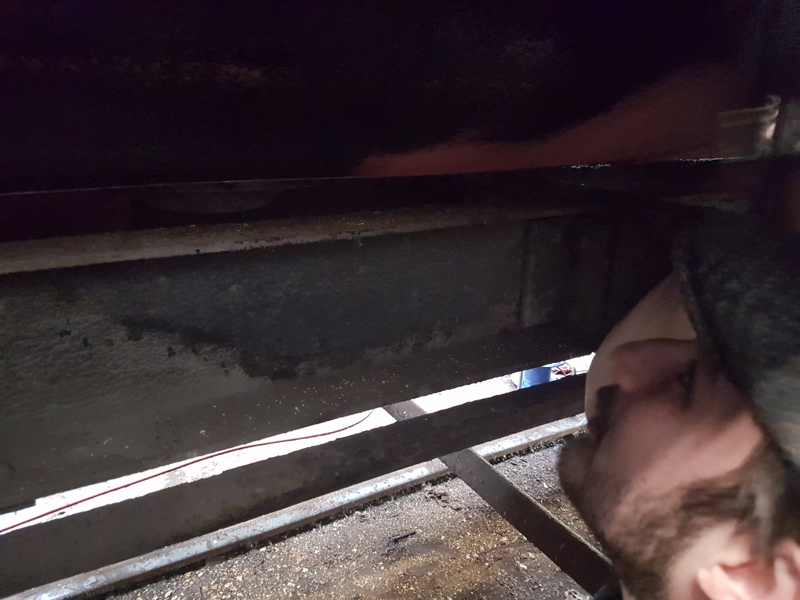
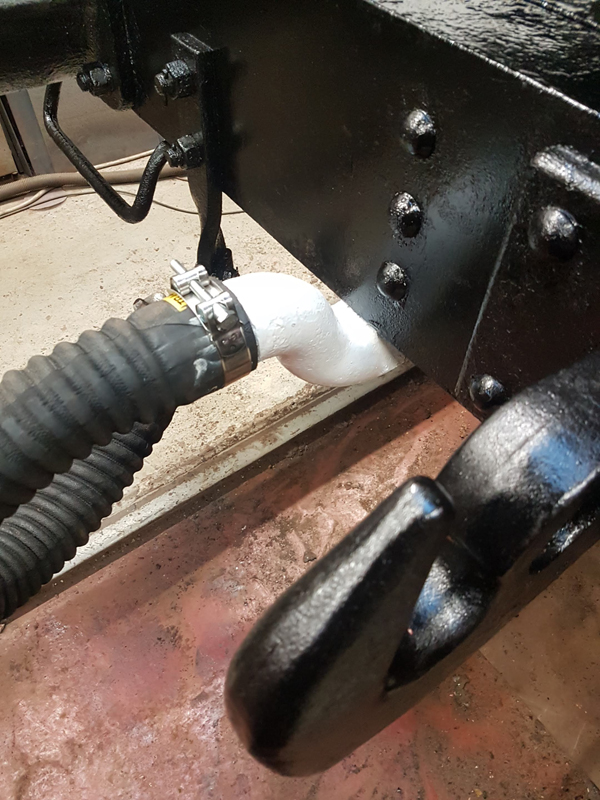
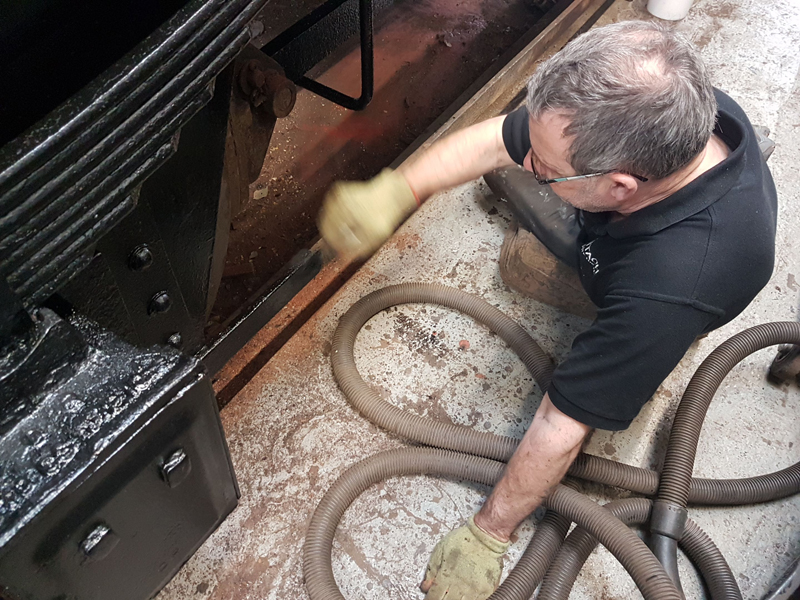
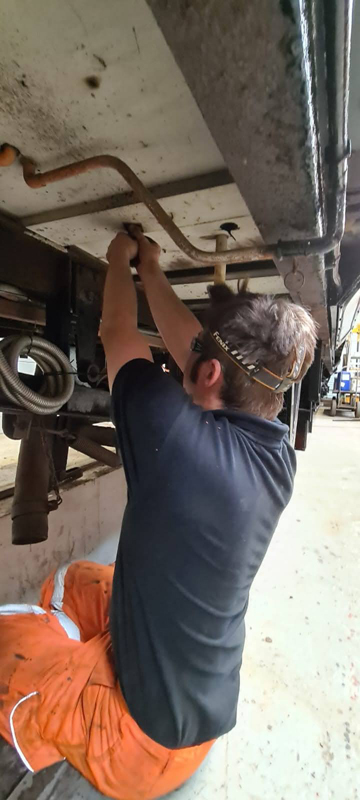
Last job for us at Rothley was drilling of the Mess Coach floor to fit the final cable run in to the distribution cabinet.
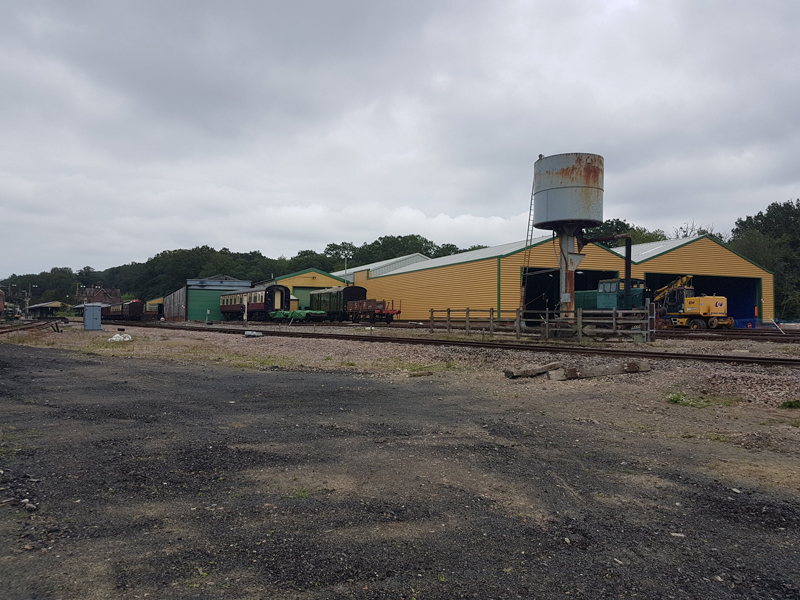
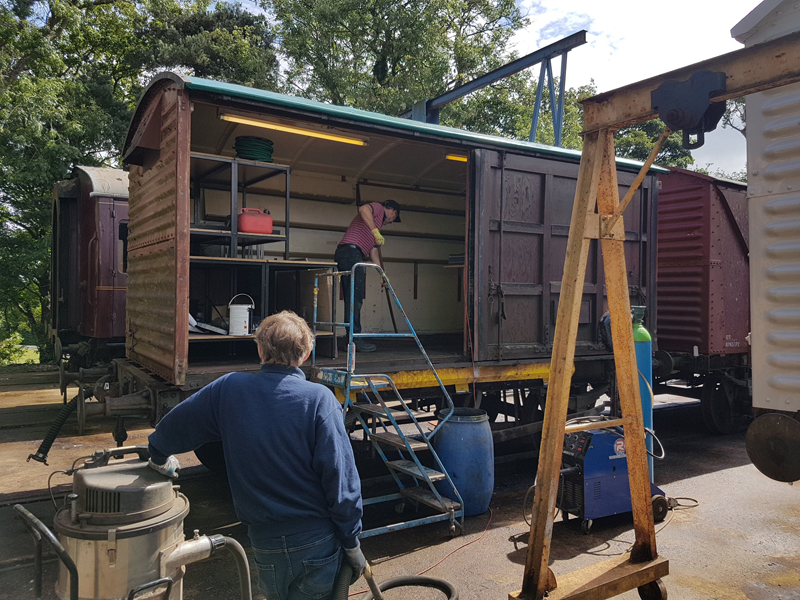
So that brings to an end out time at Rothley C&W as we return home to Quorn. Vehicle movements are scheduled after the upcoming War Weekend but next week will see us back at Quorn were the next project is waiting patiently for us. More as always next week.