Category: Updates

  • 18/10/20 – Medfit Loaded

    18/10/20 – Medfit Loaded

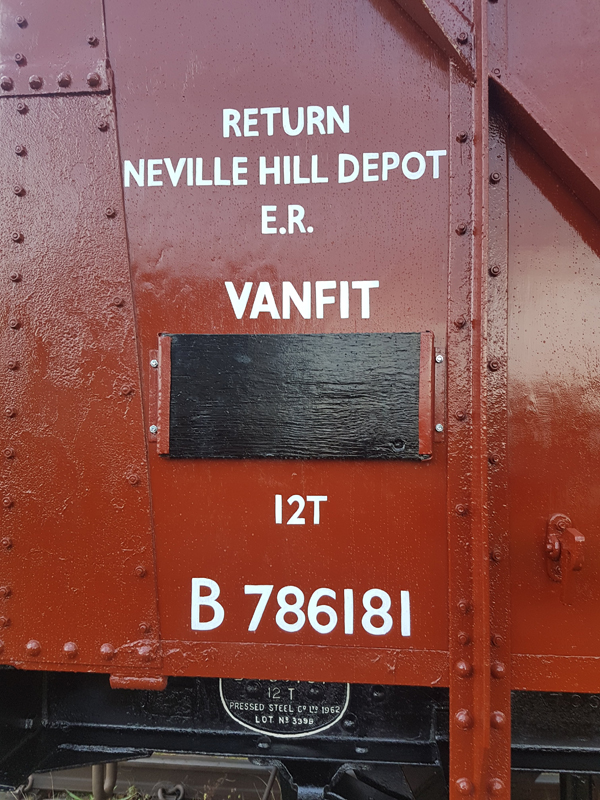
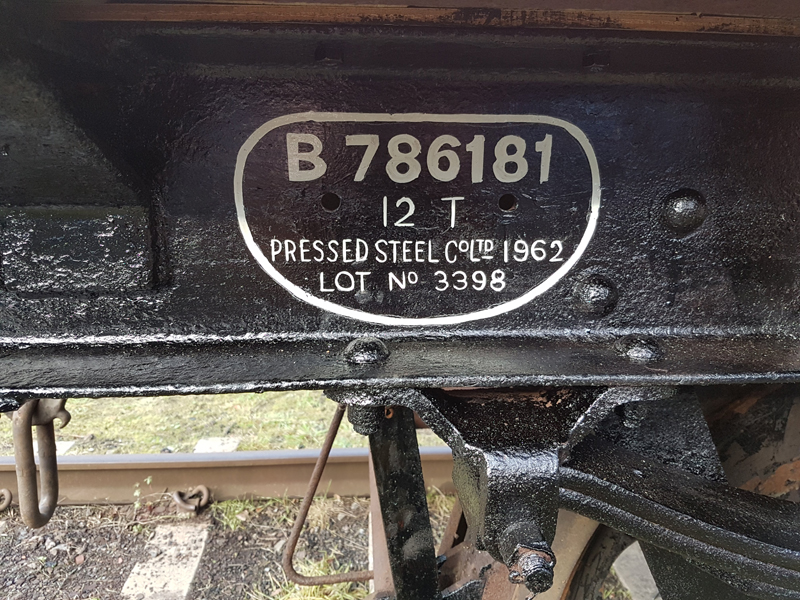
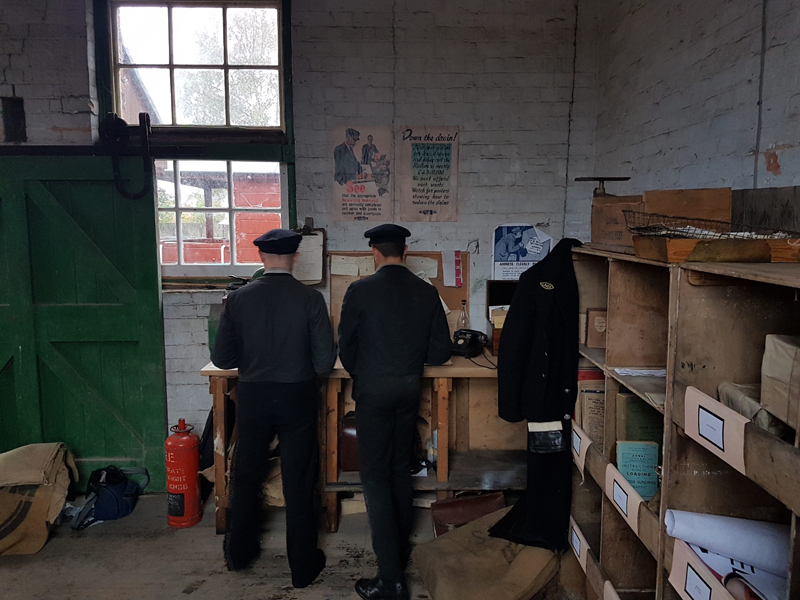
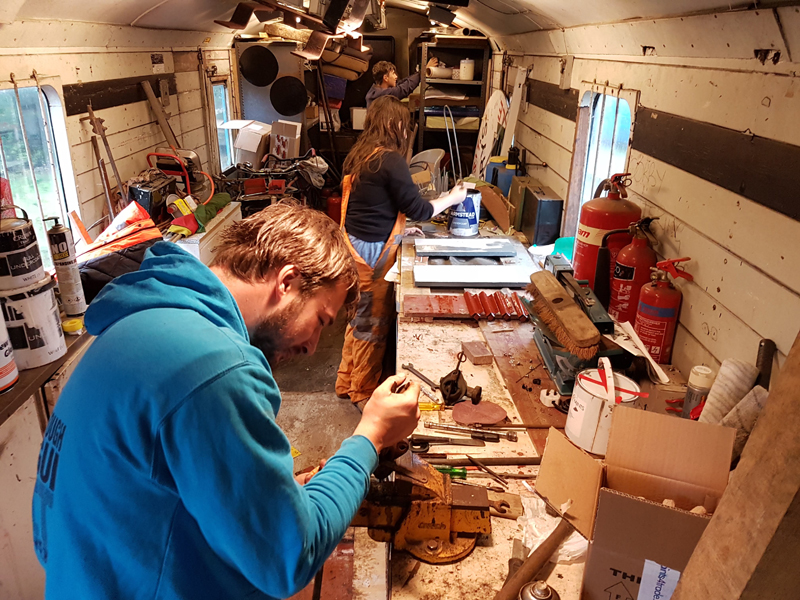
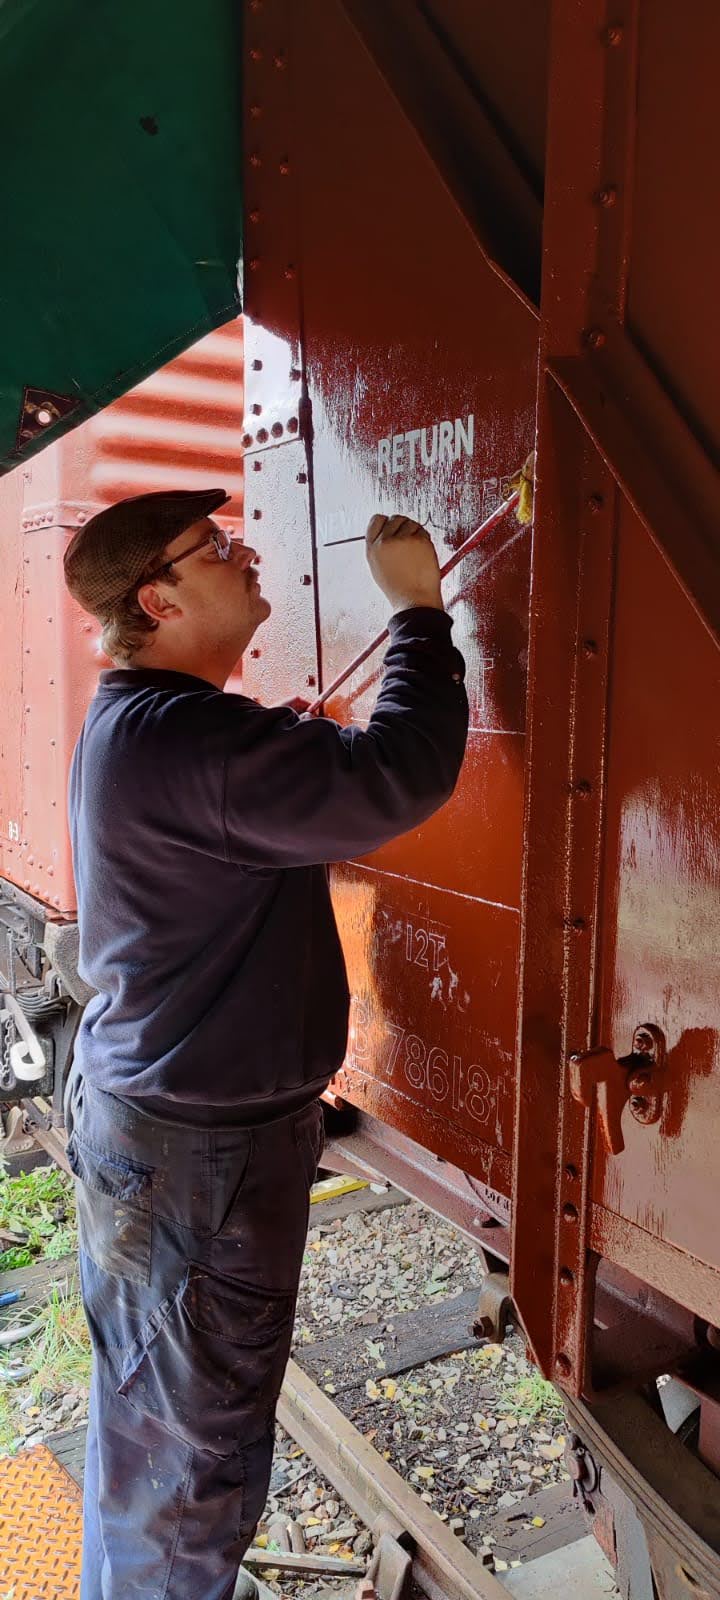
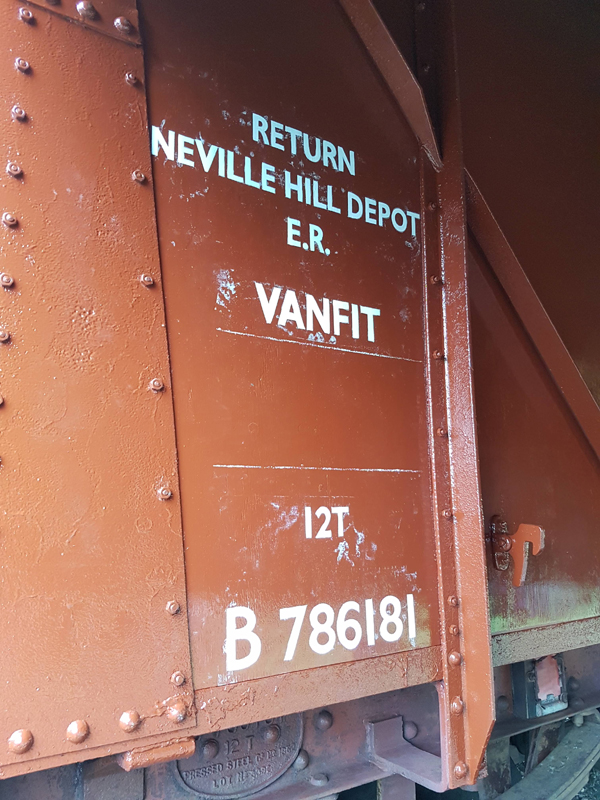
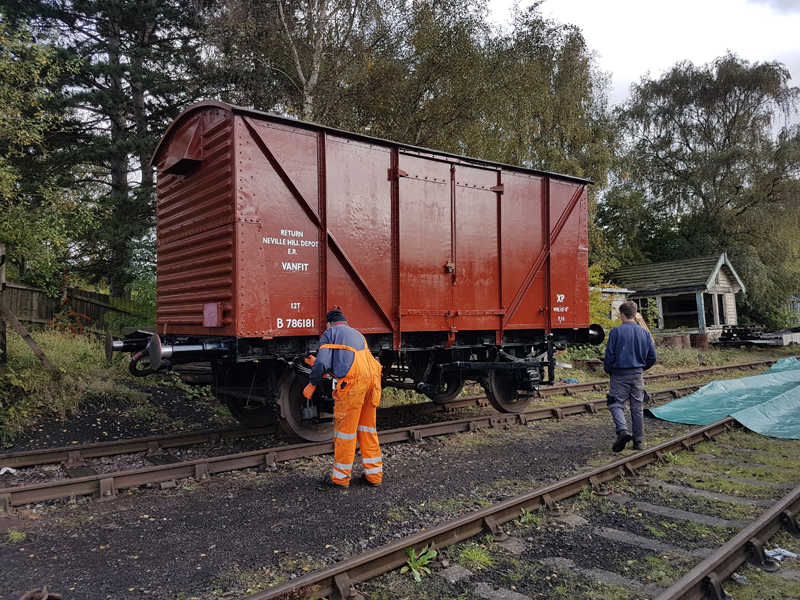
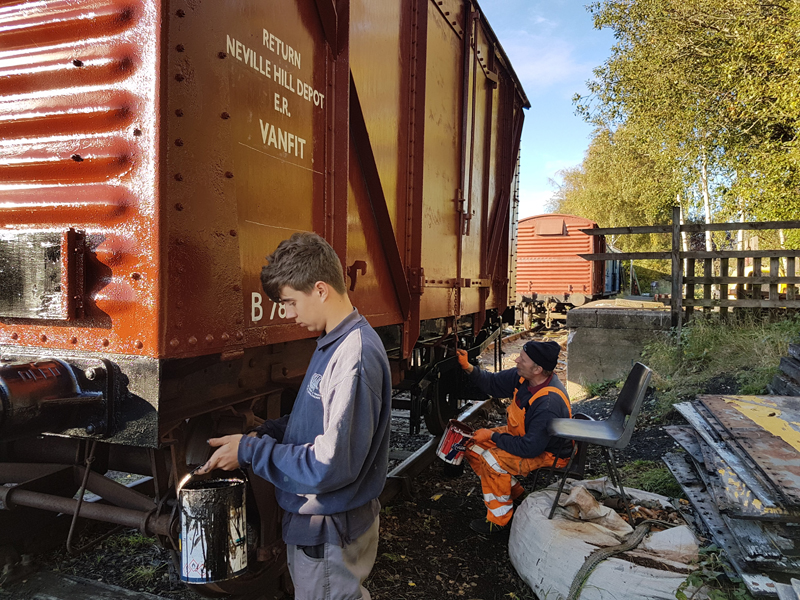
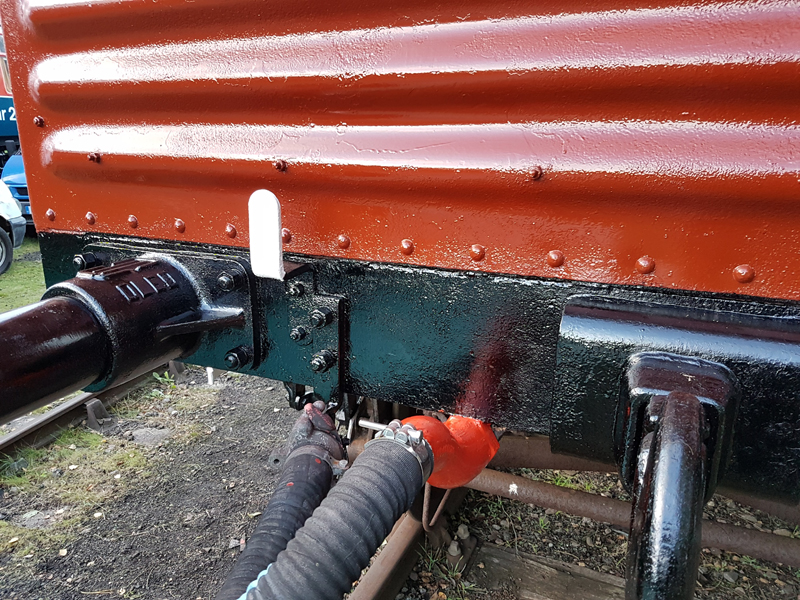
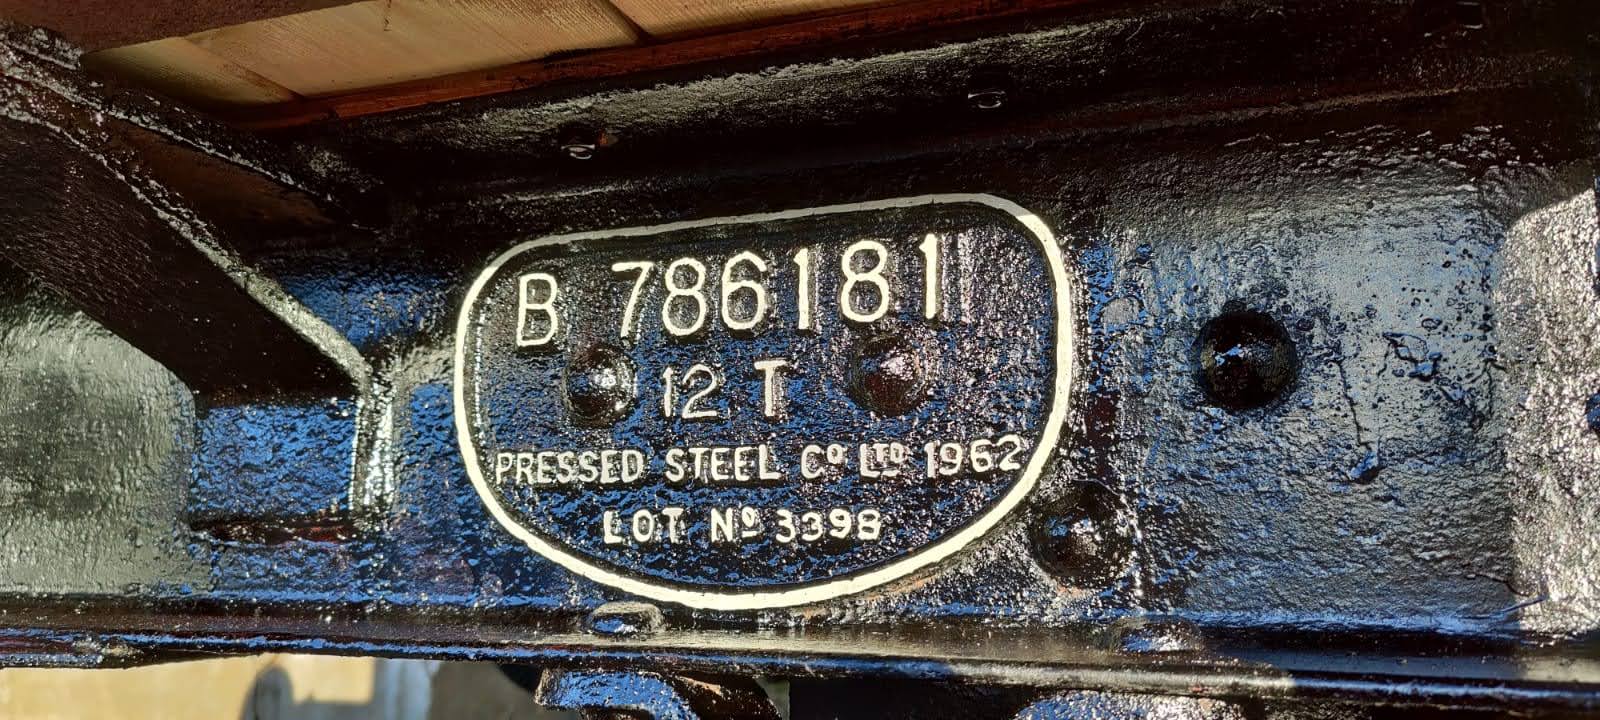
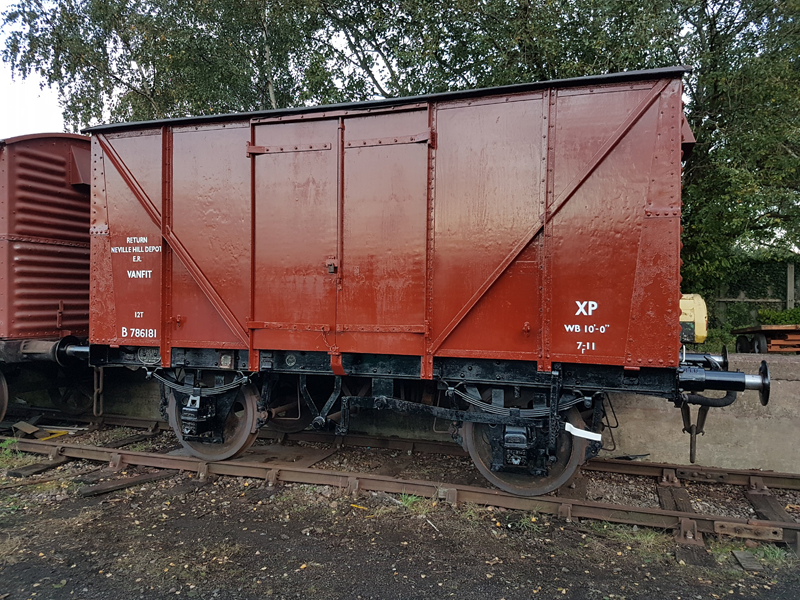
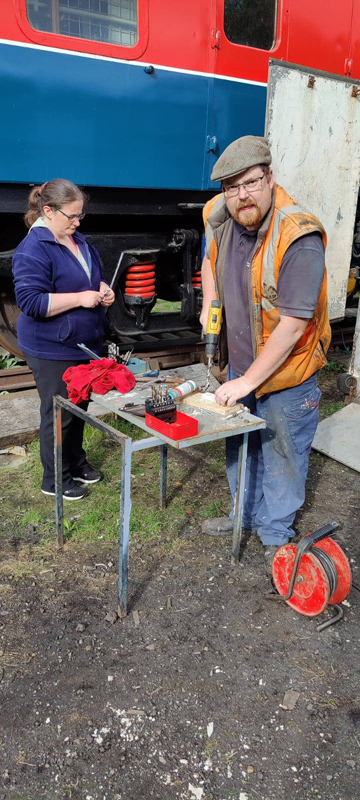
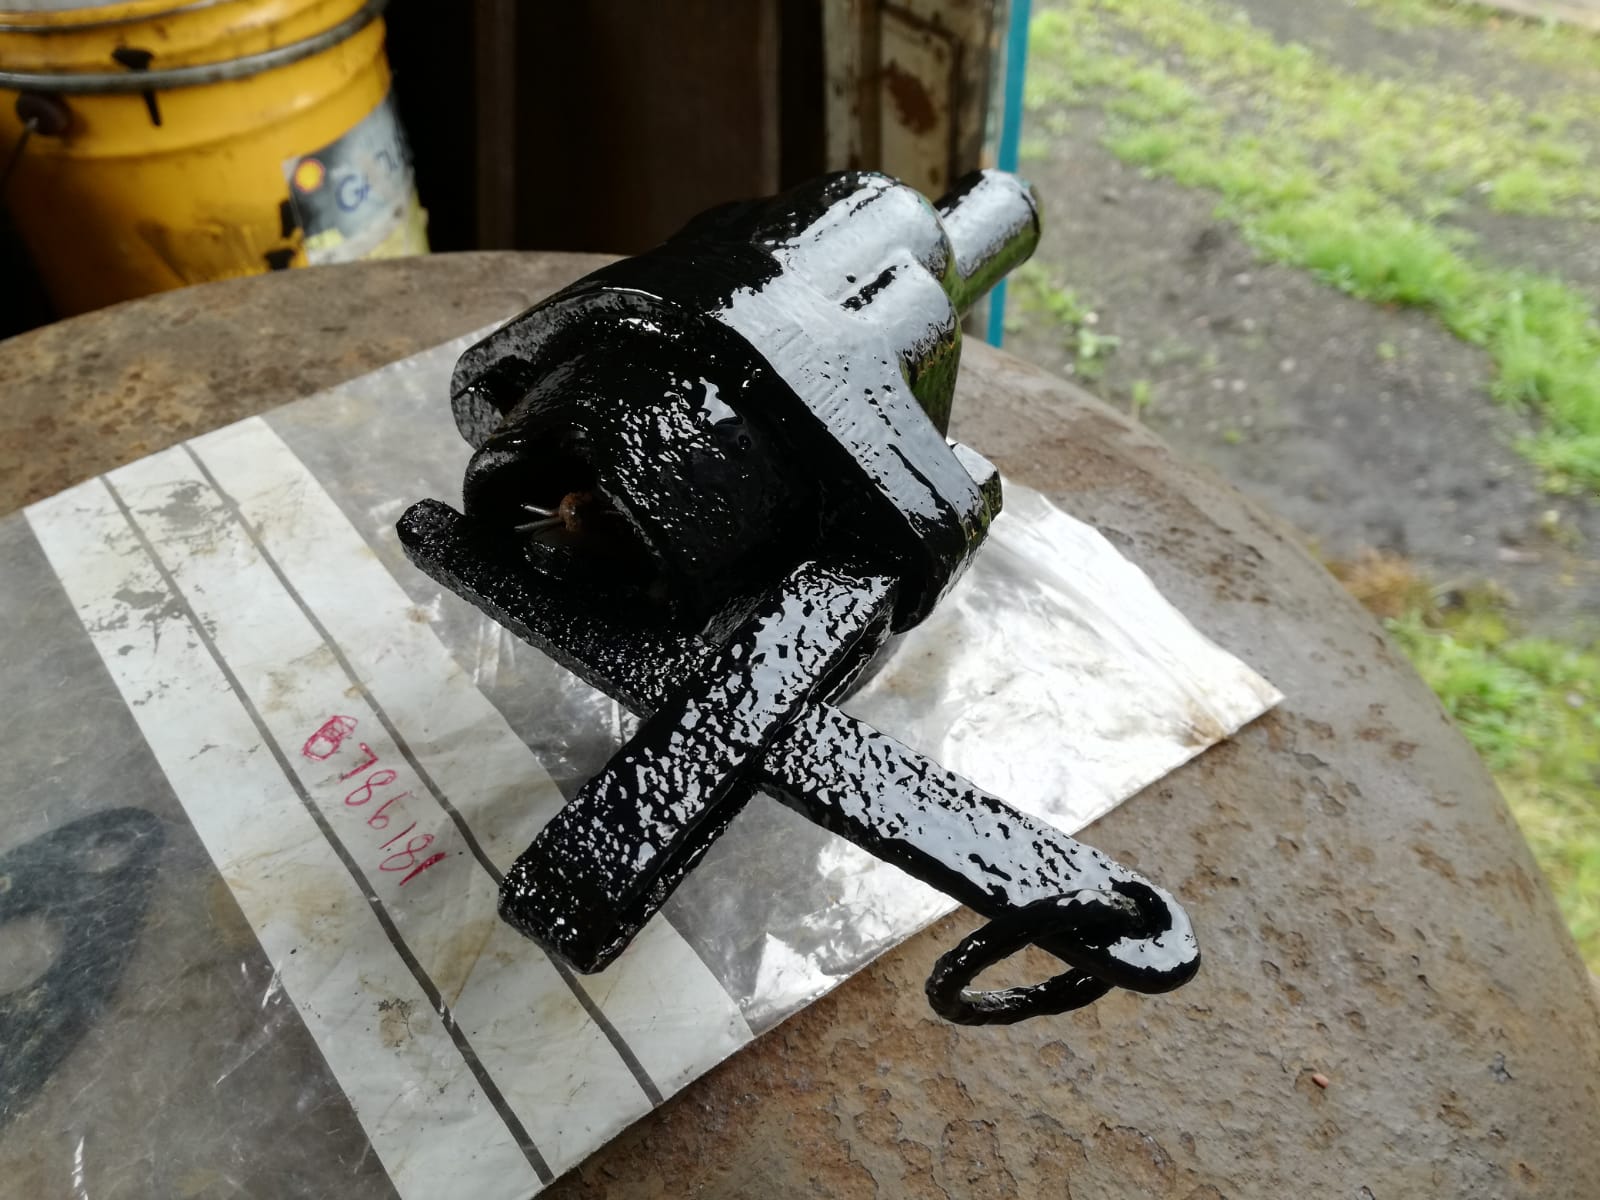
    This weekend begins with a quiet day on site for Nick, Eireni and Ross, joined by new volunteer, Richard. Welcome,Richard. We are currently between vehicles, having finished B786181 last weekend, so this weekend is our usual small jobs weekend, to get us ready for the next push onto something new.

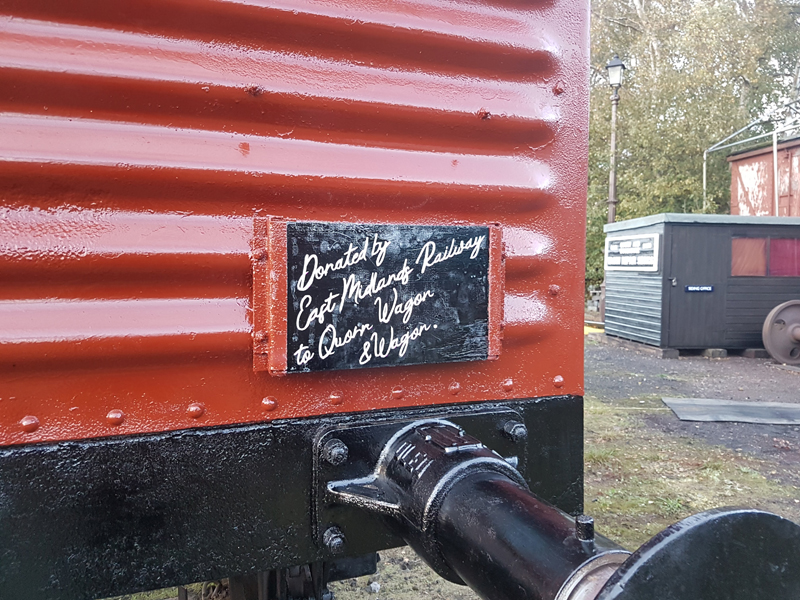
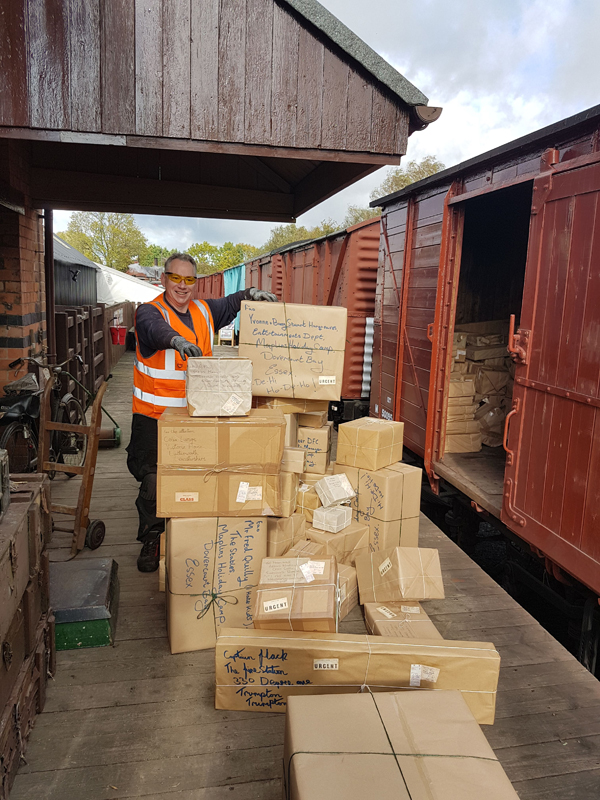
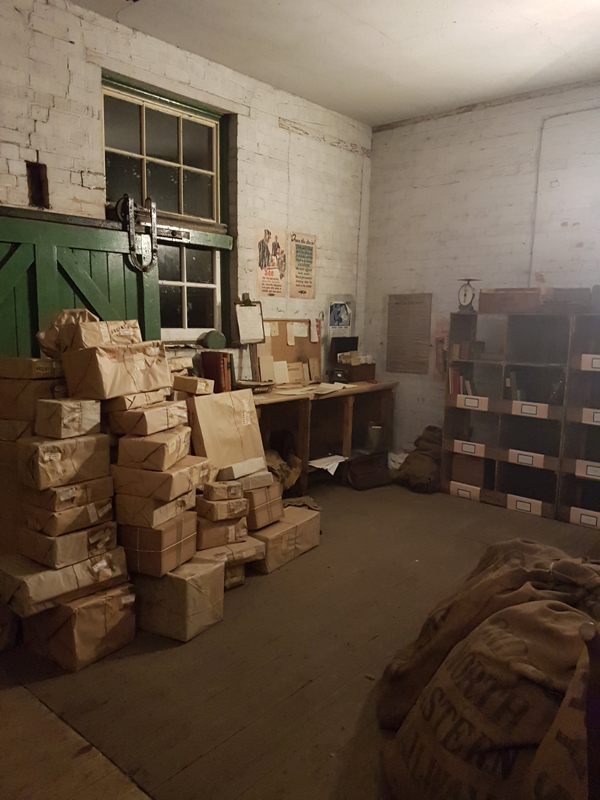
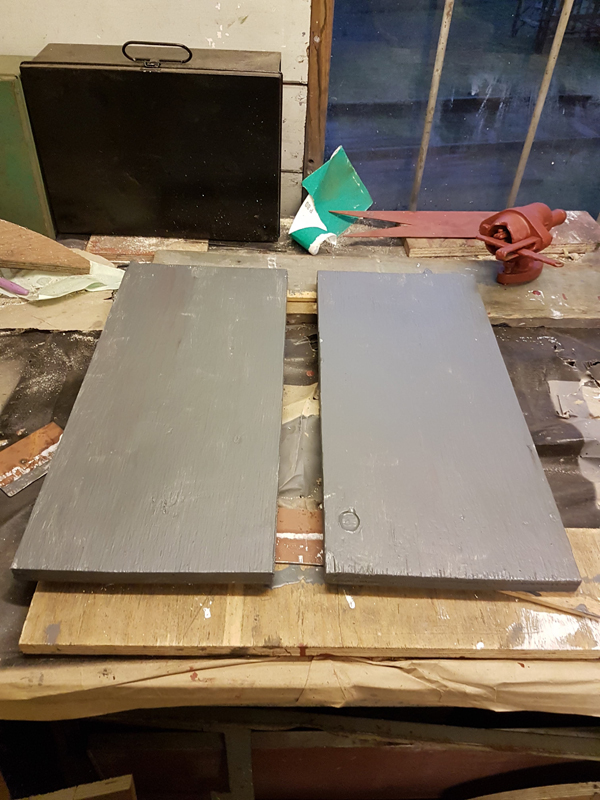
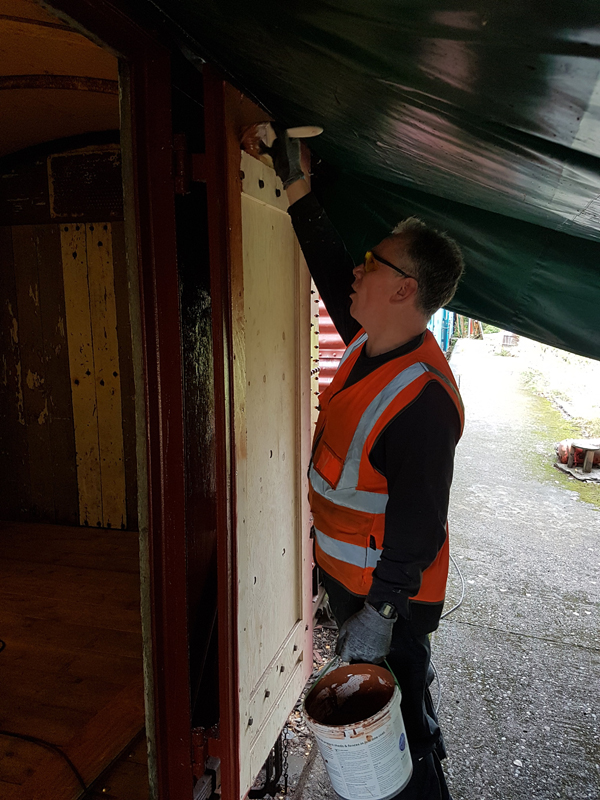
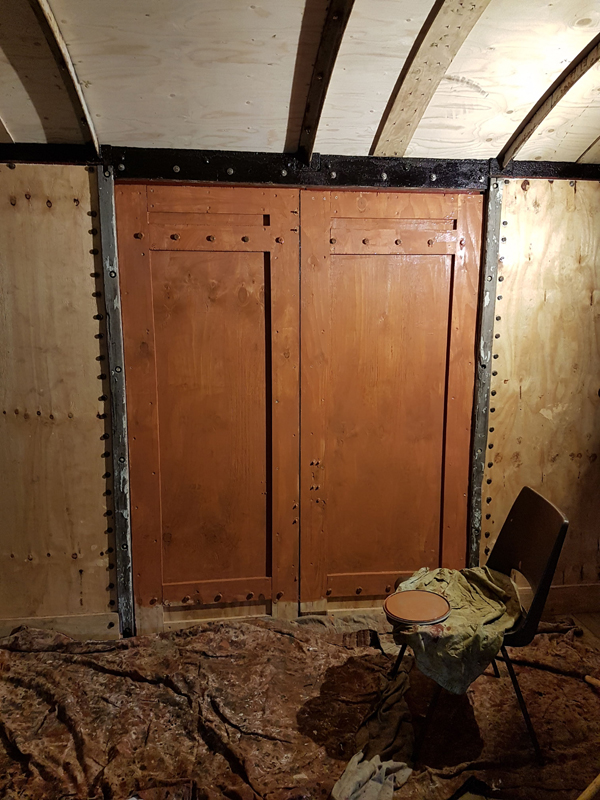
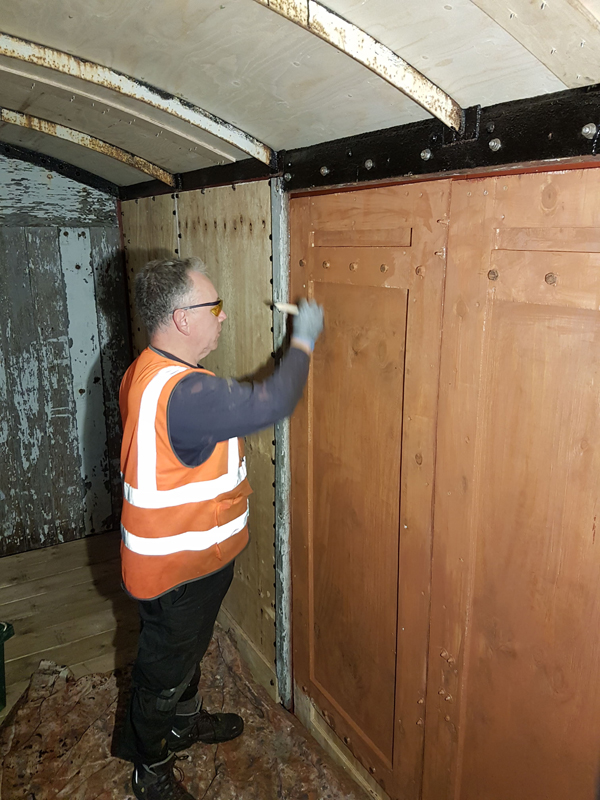
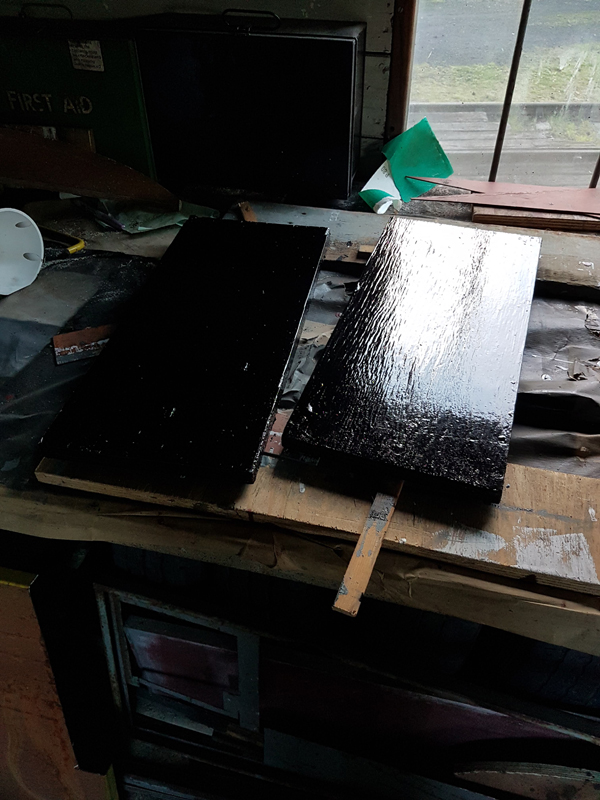
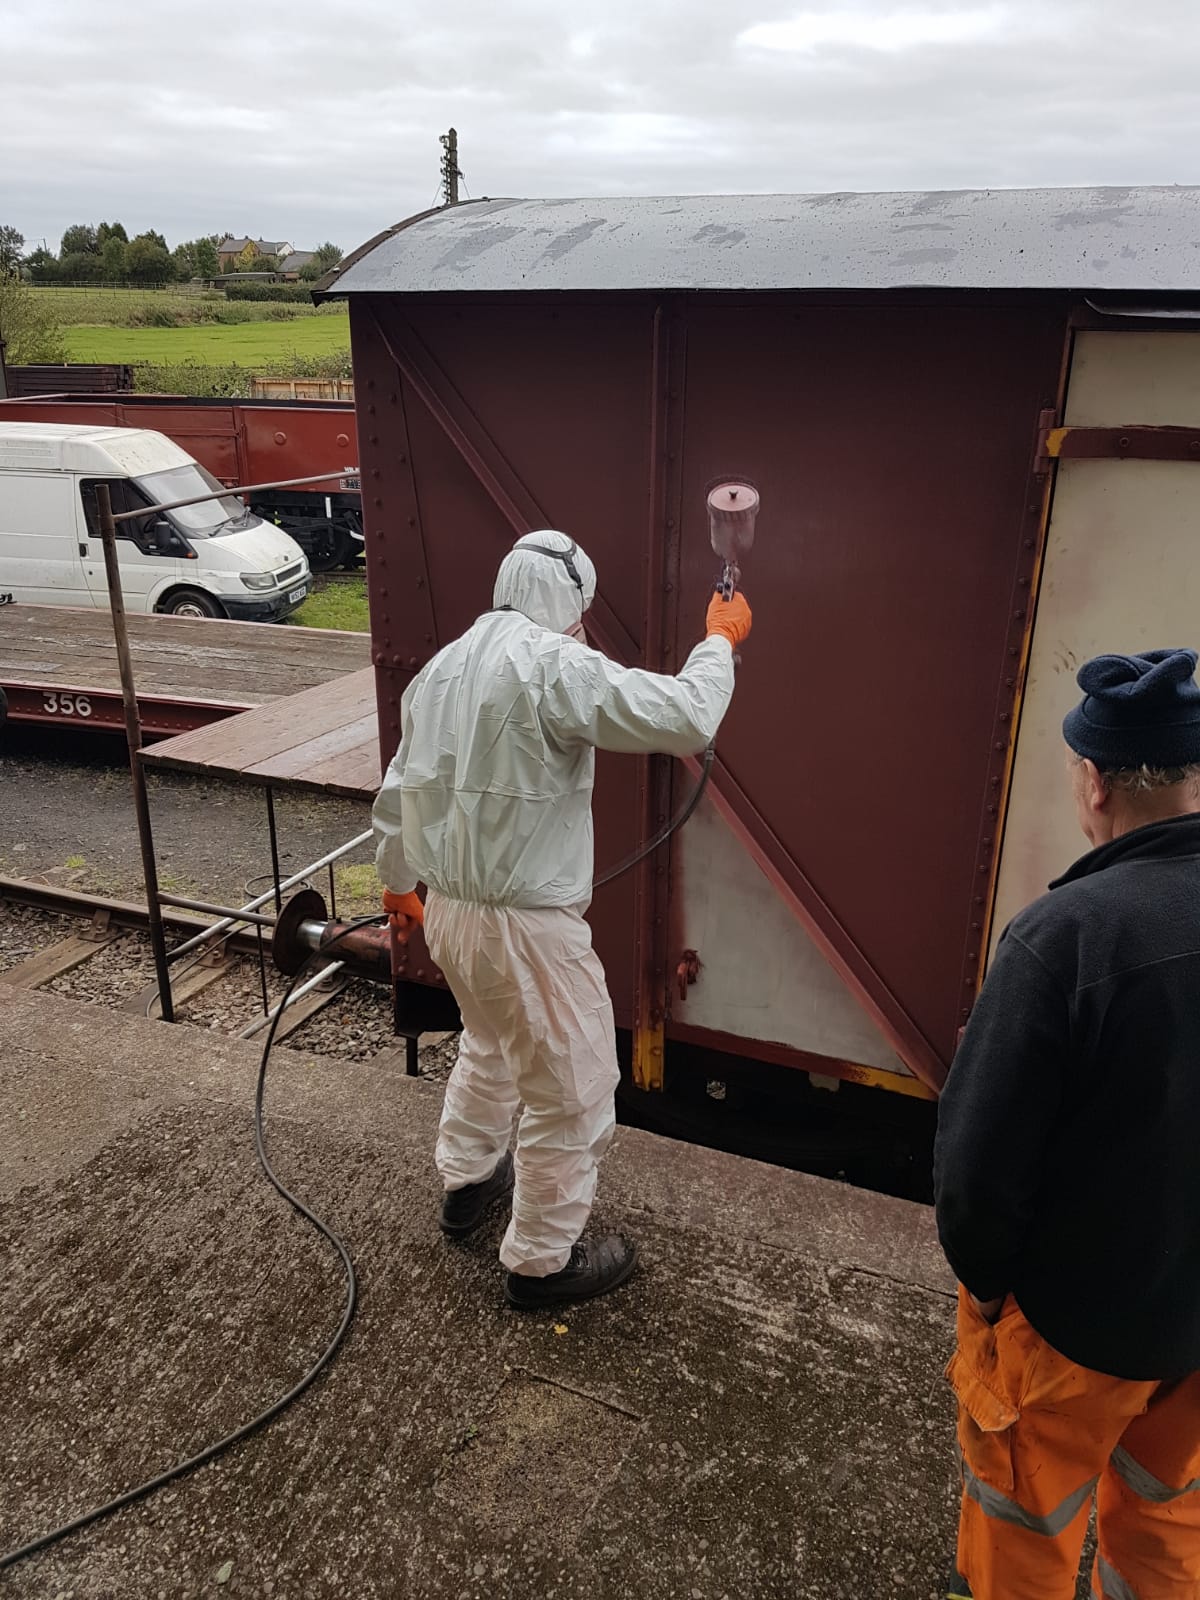
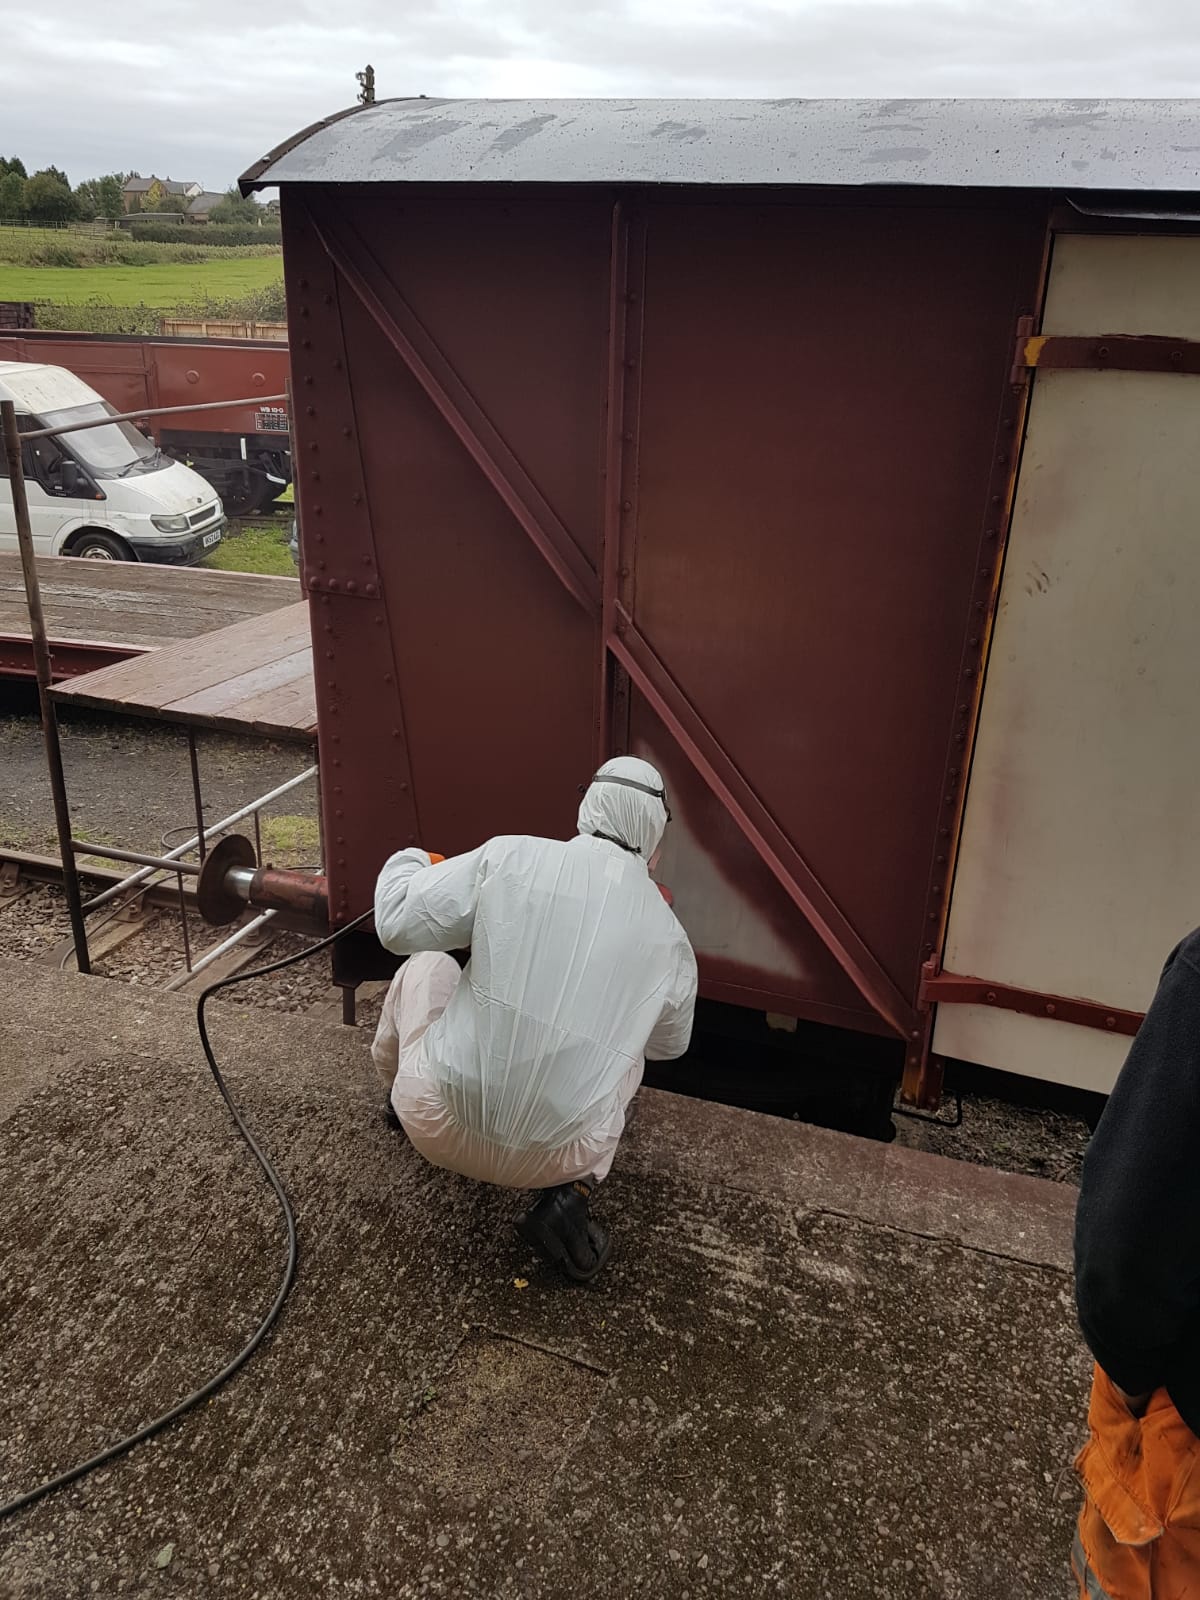
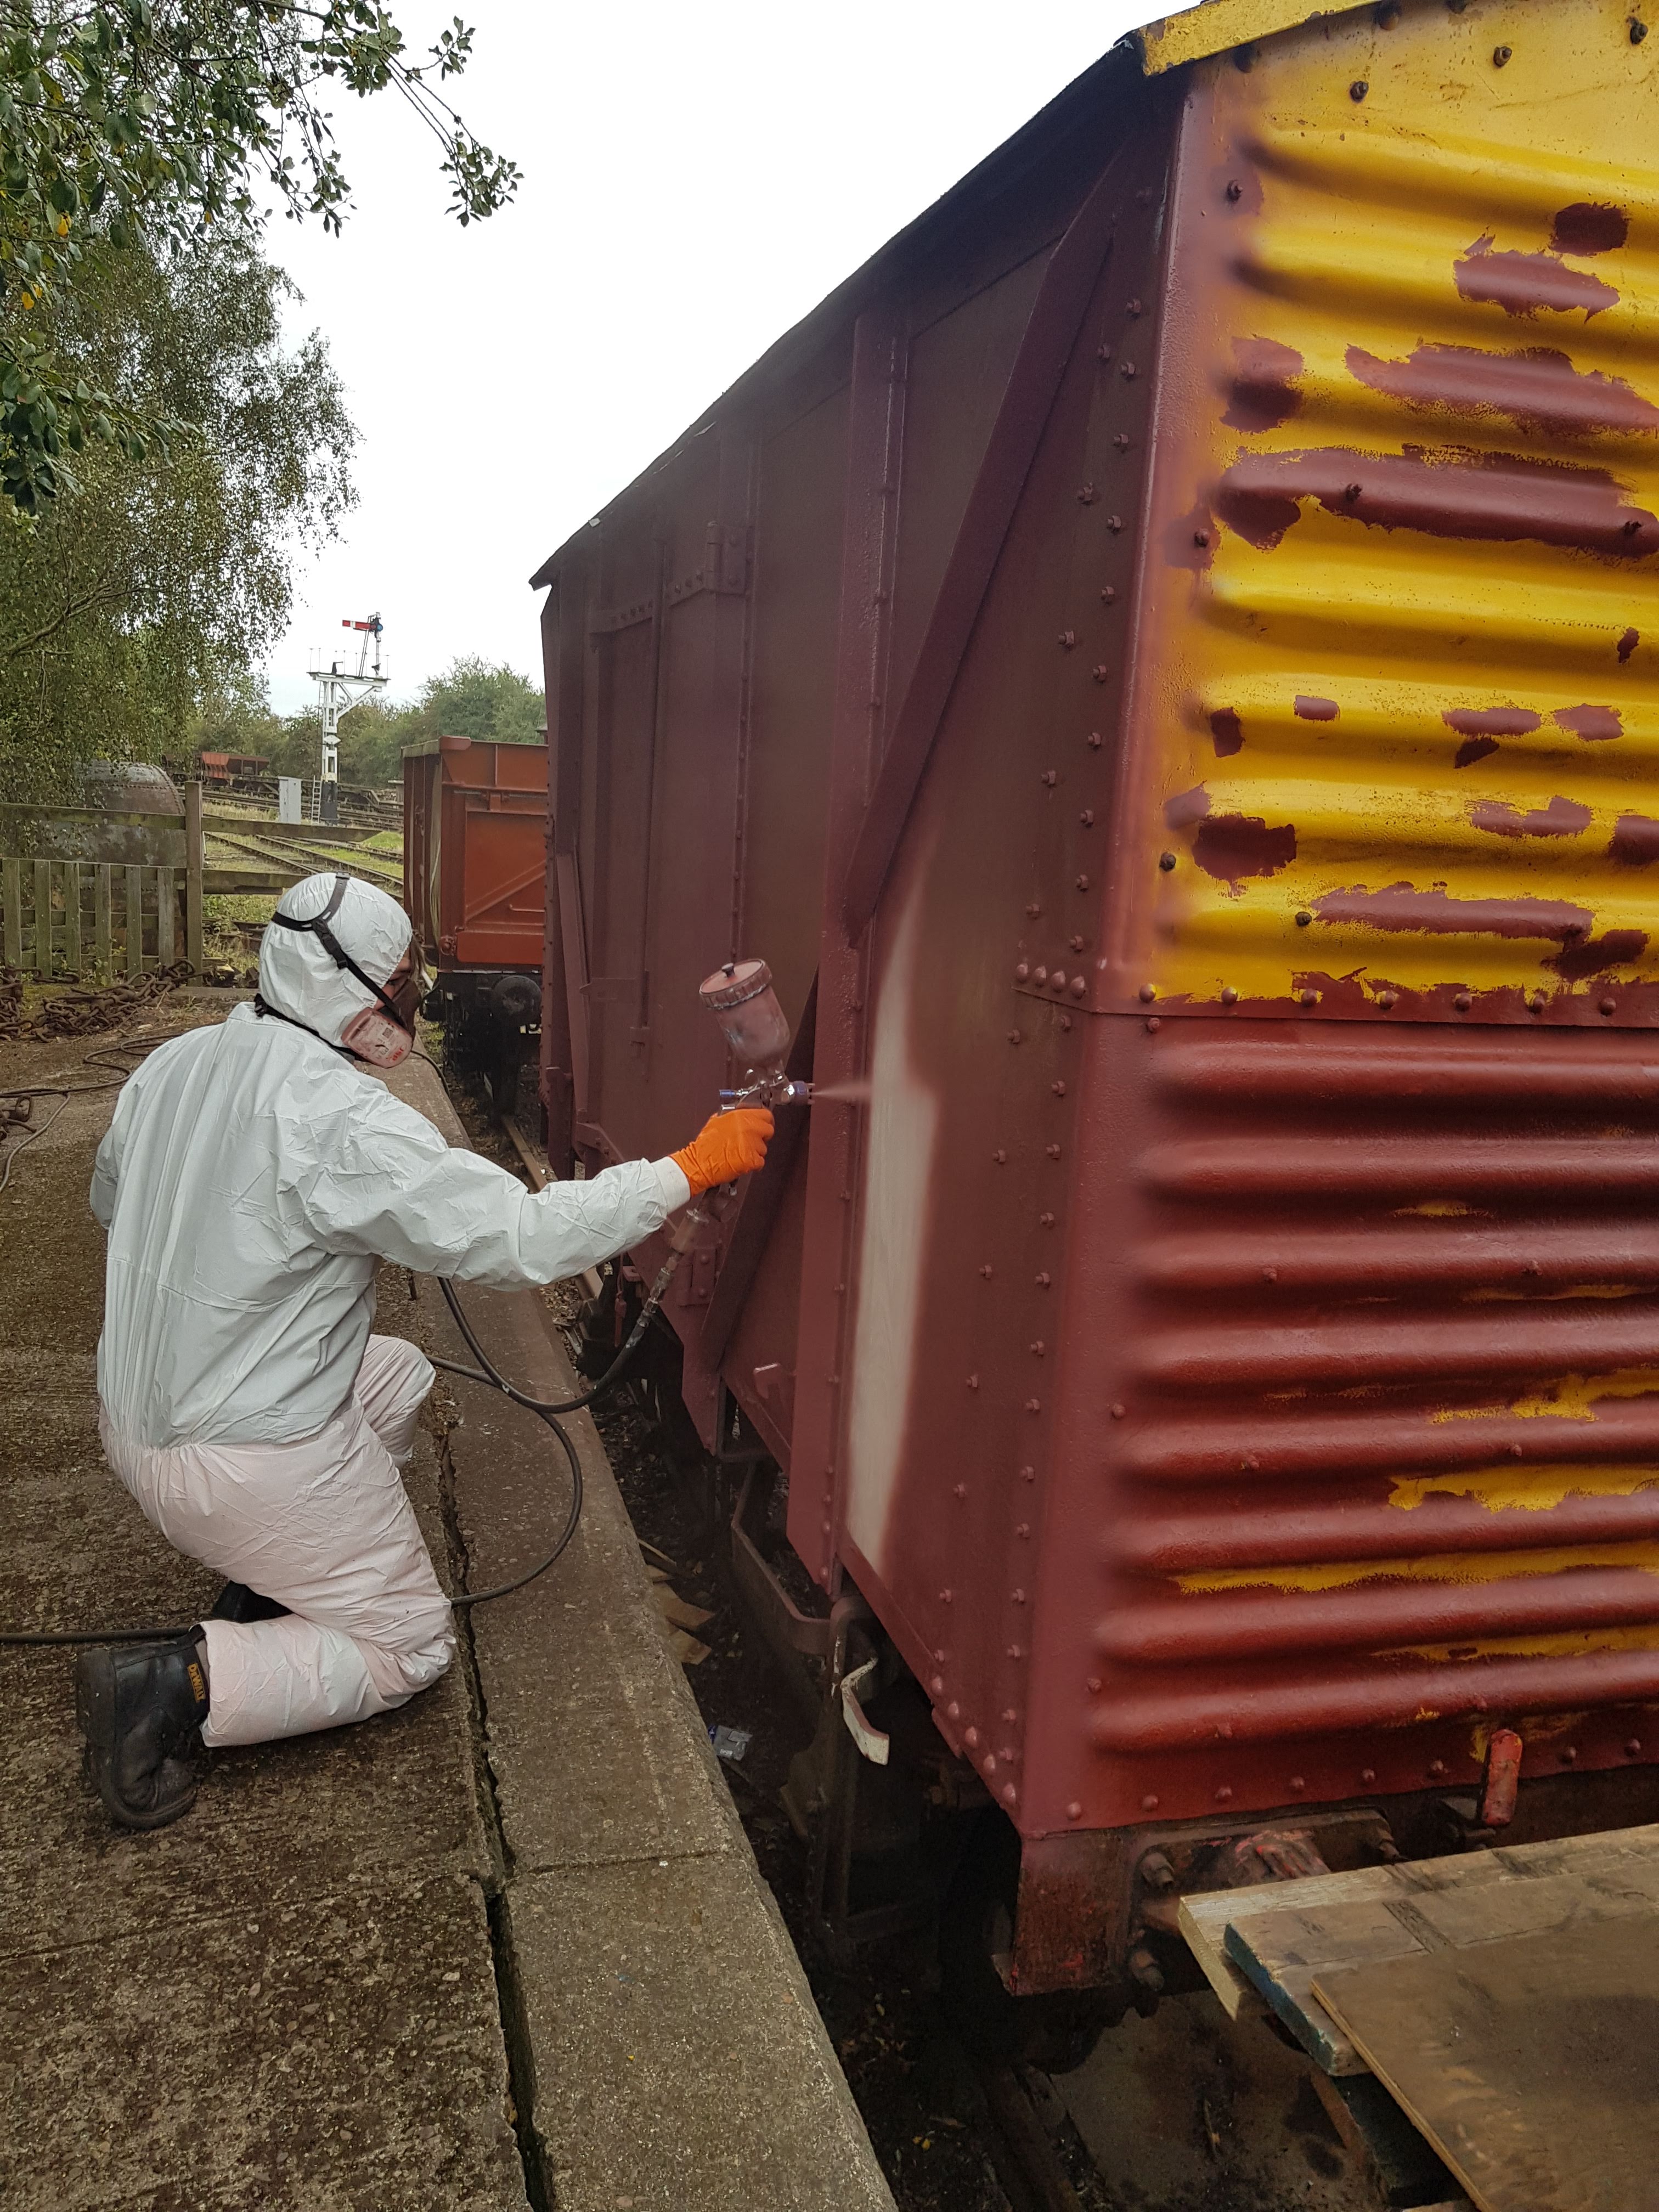
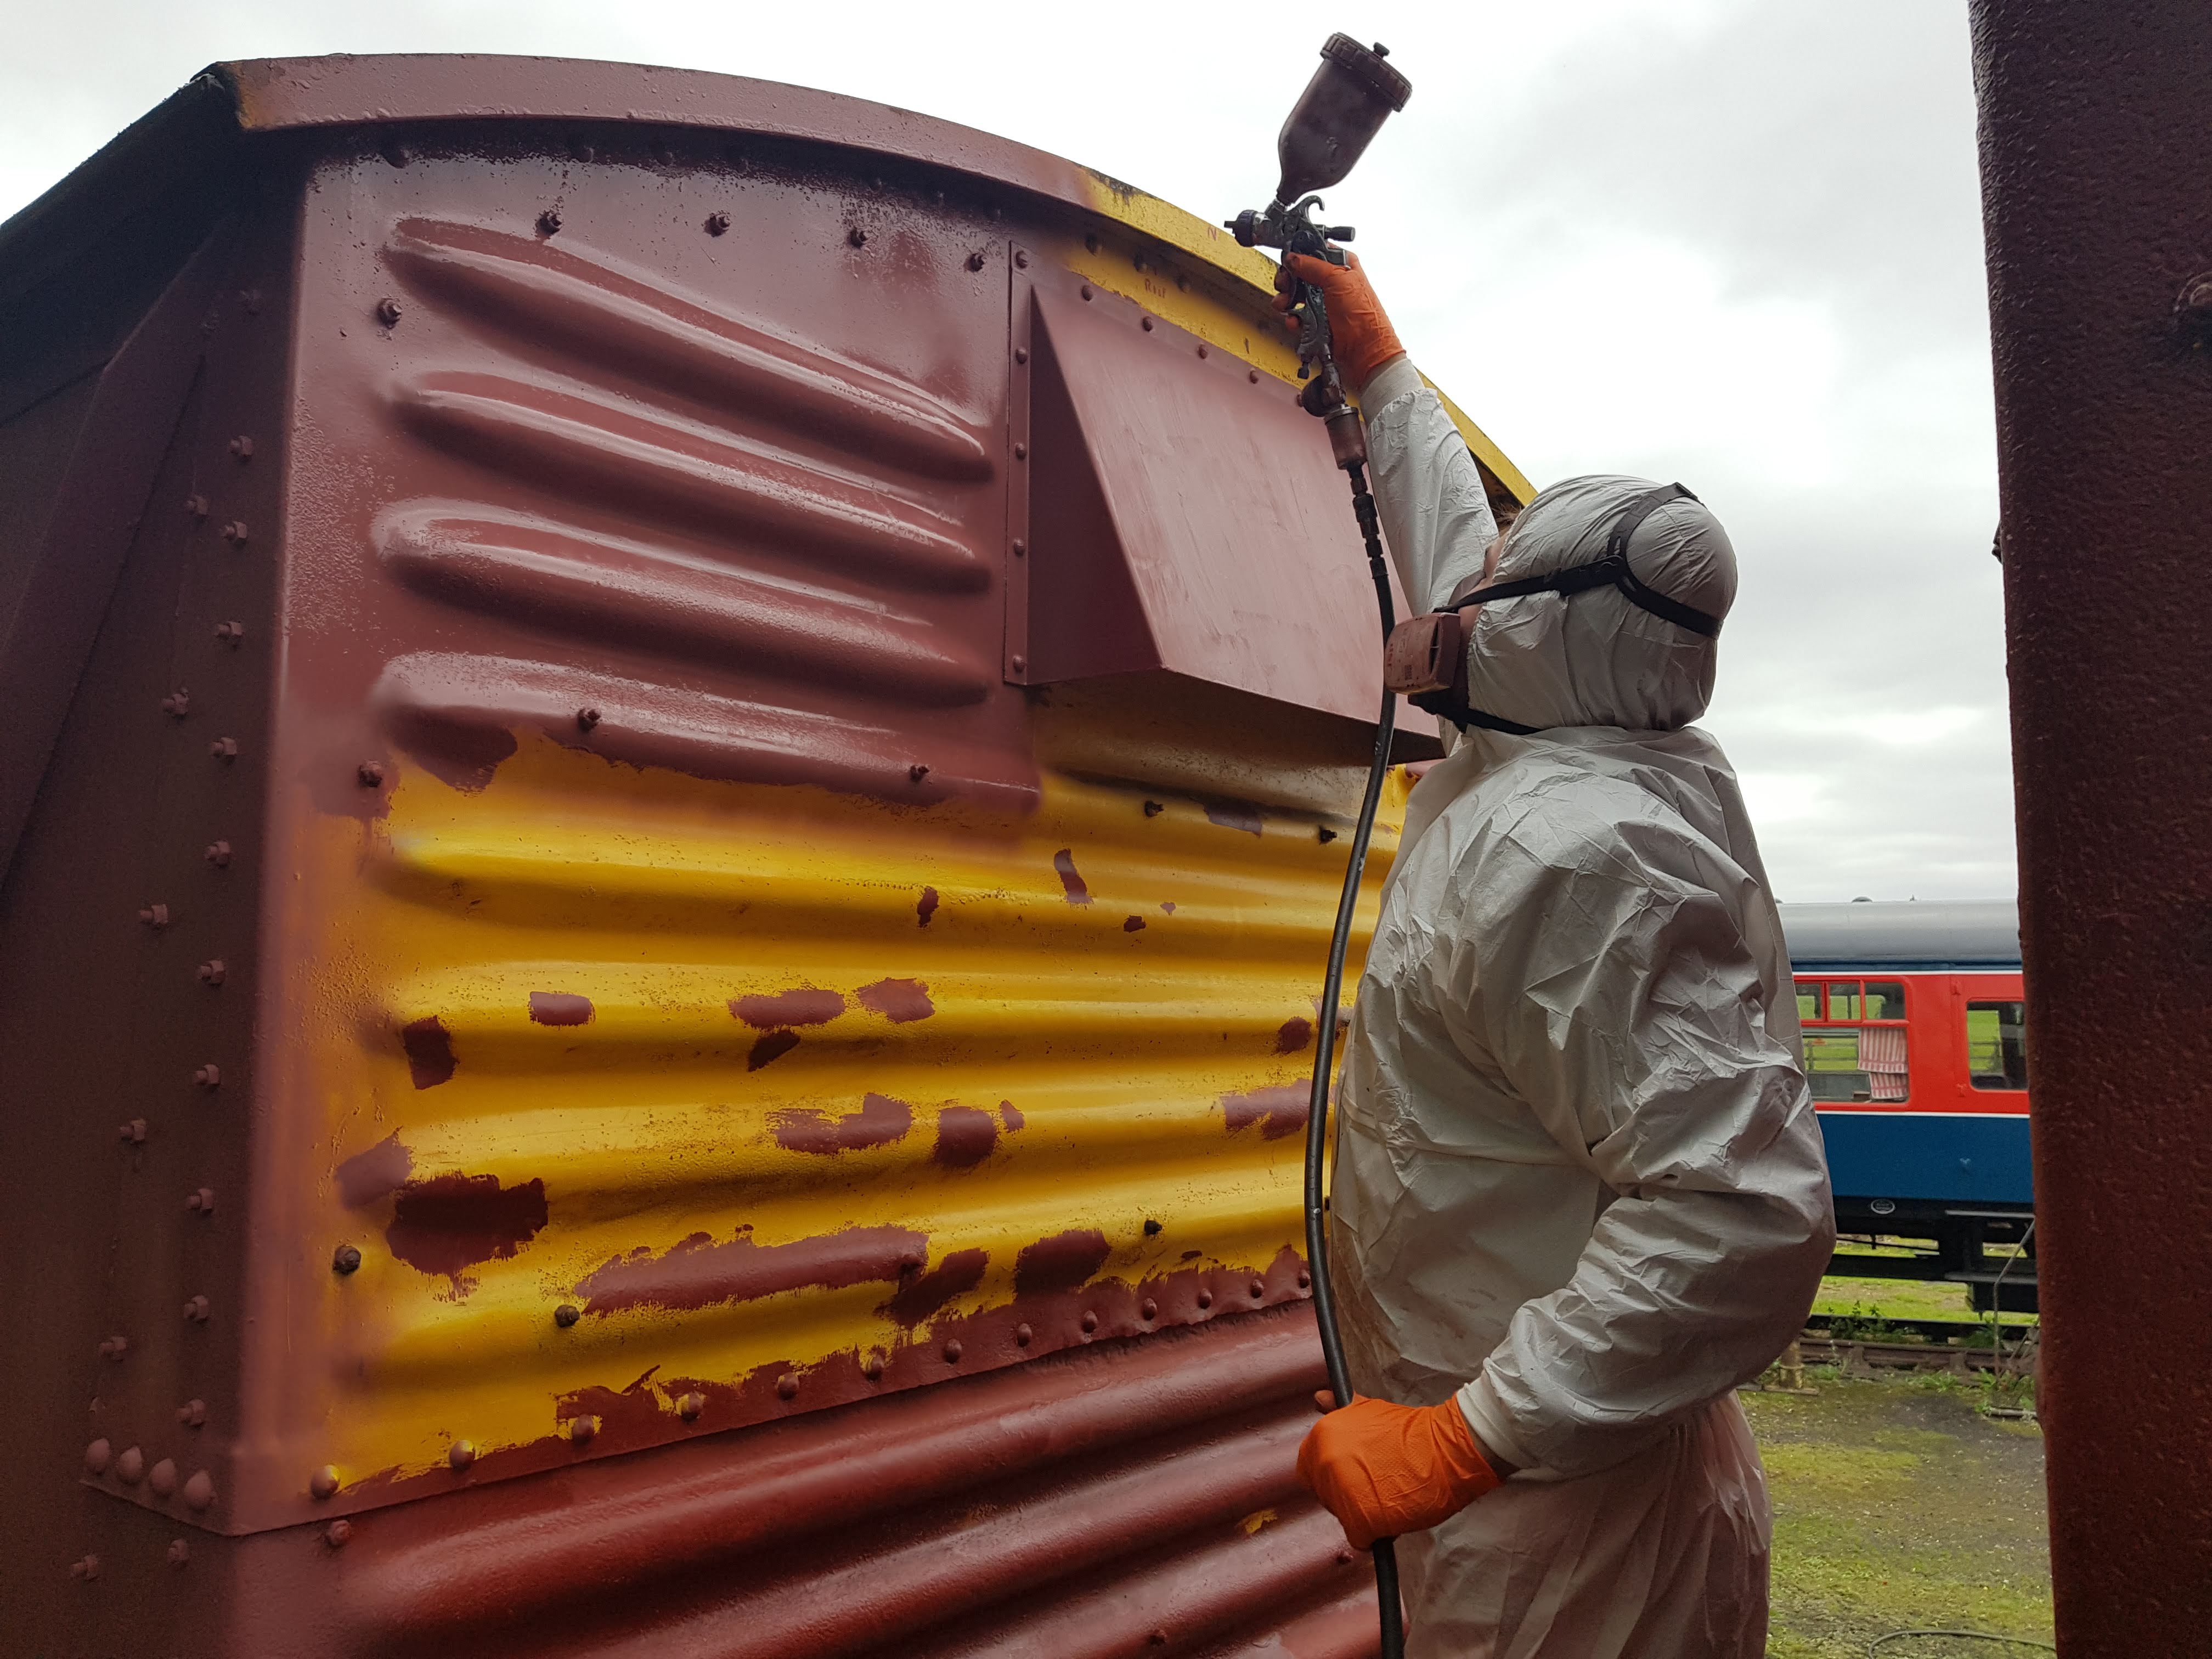
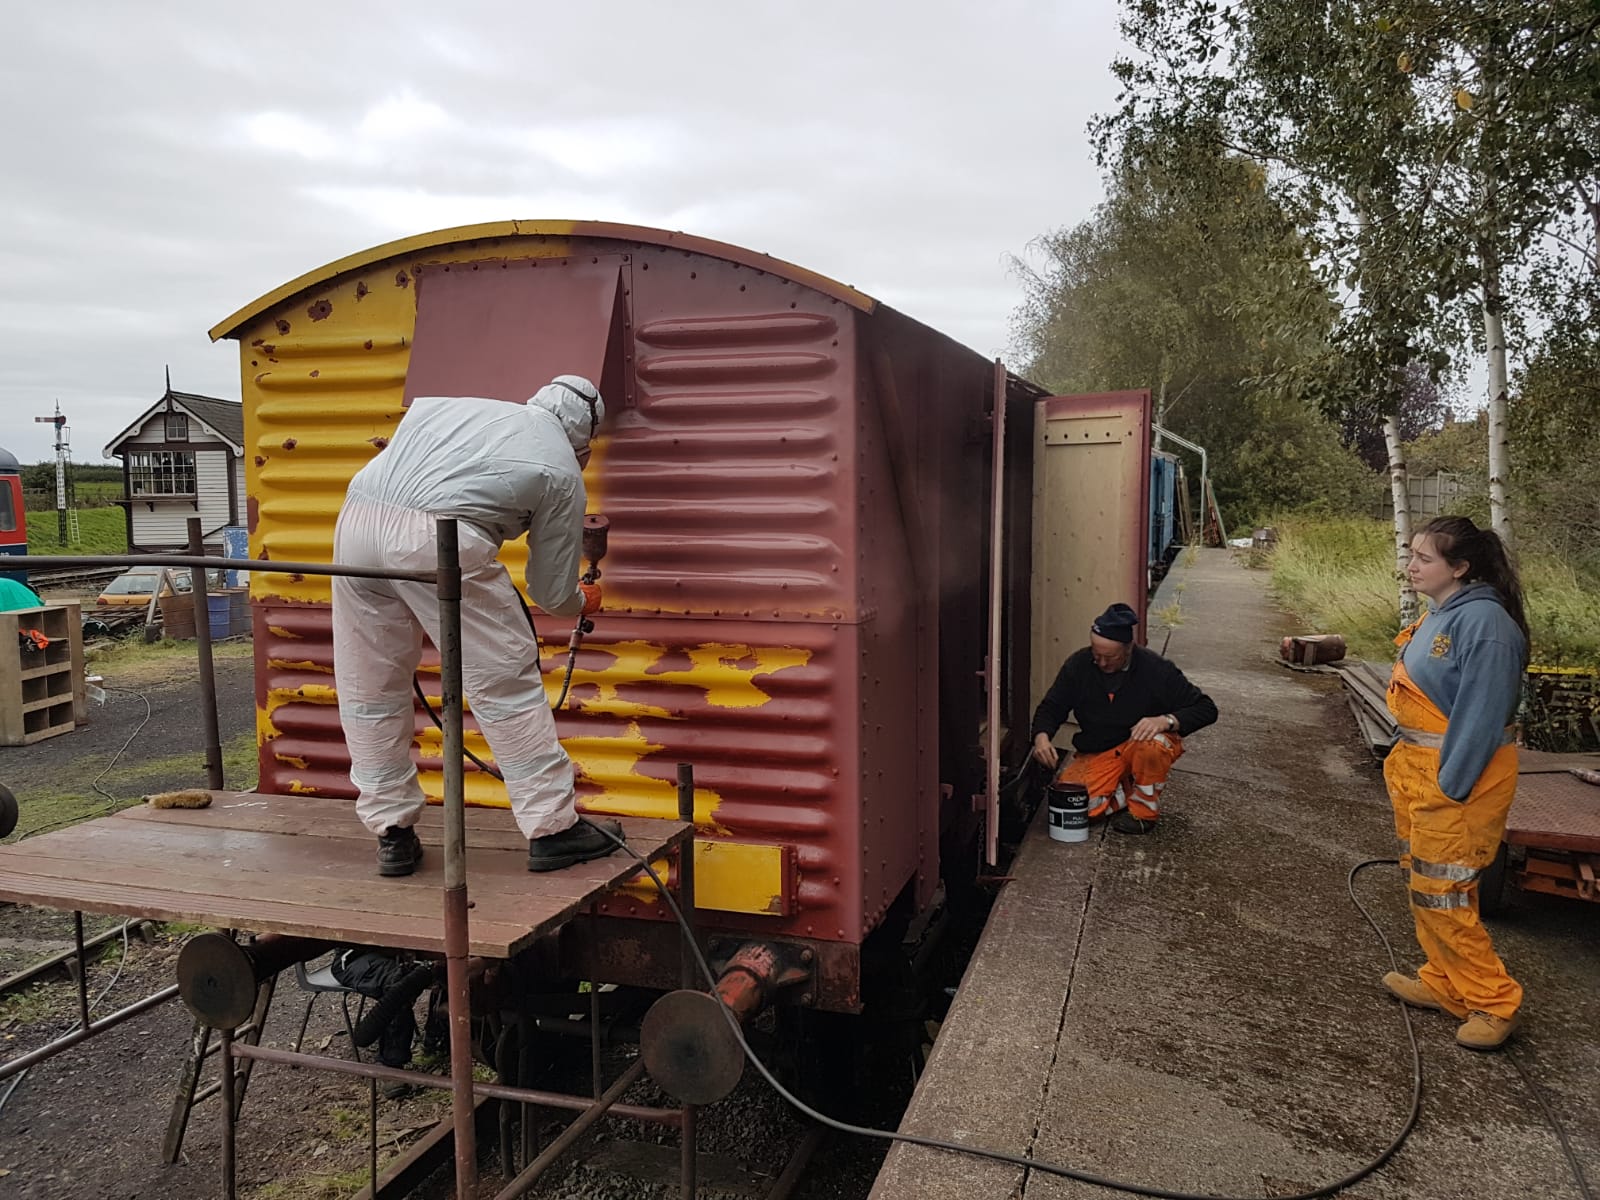
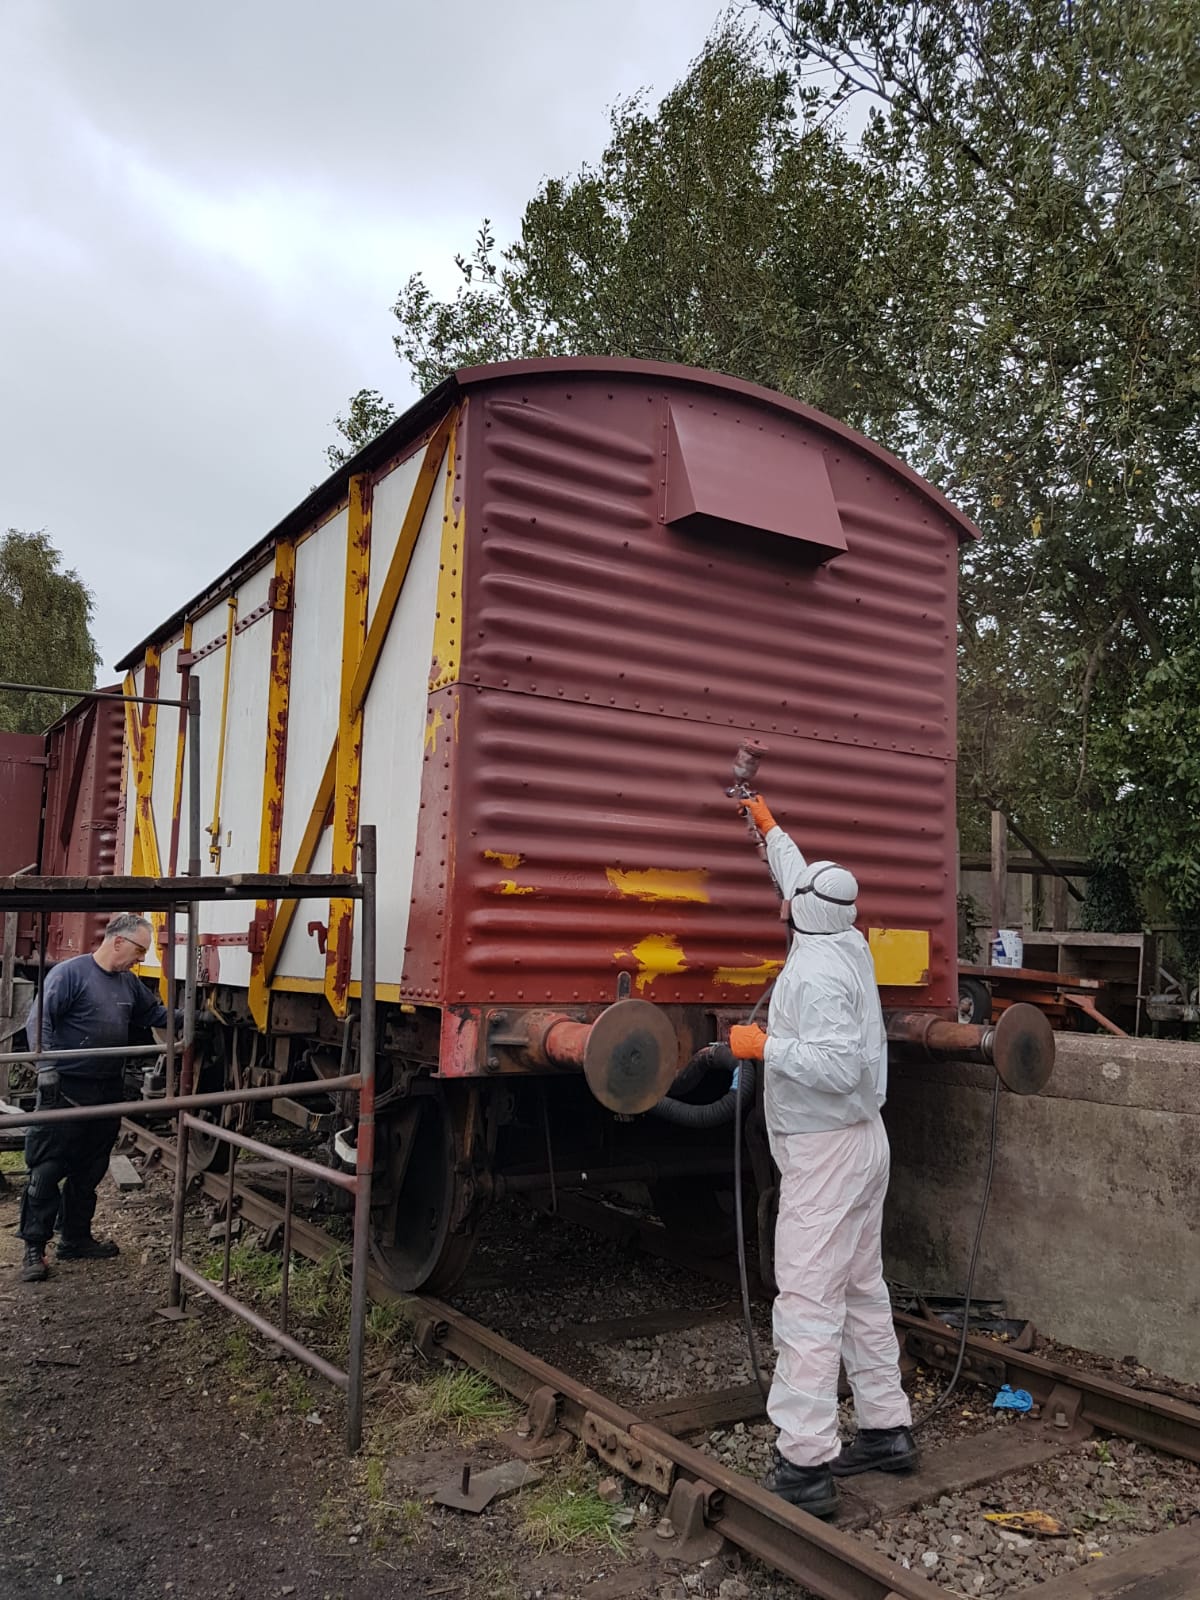
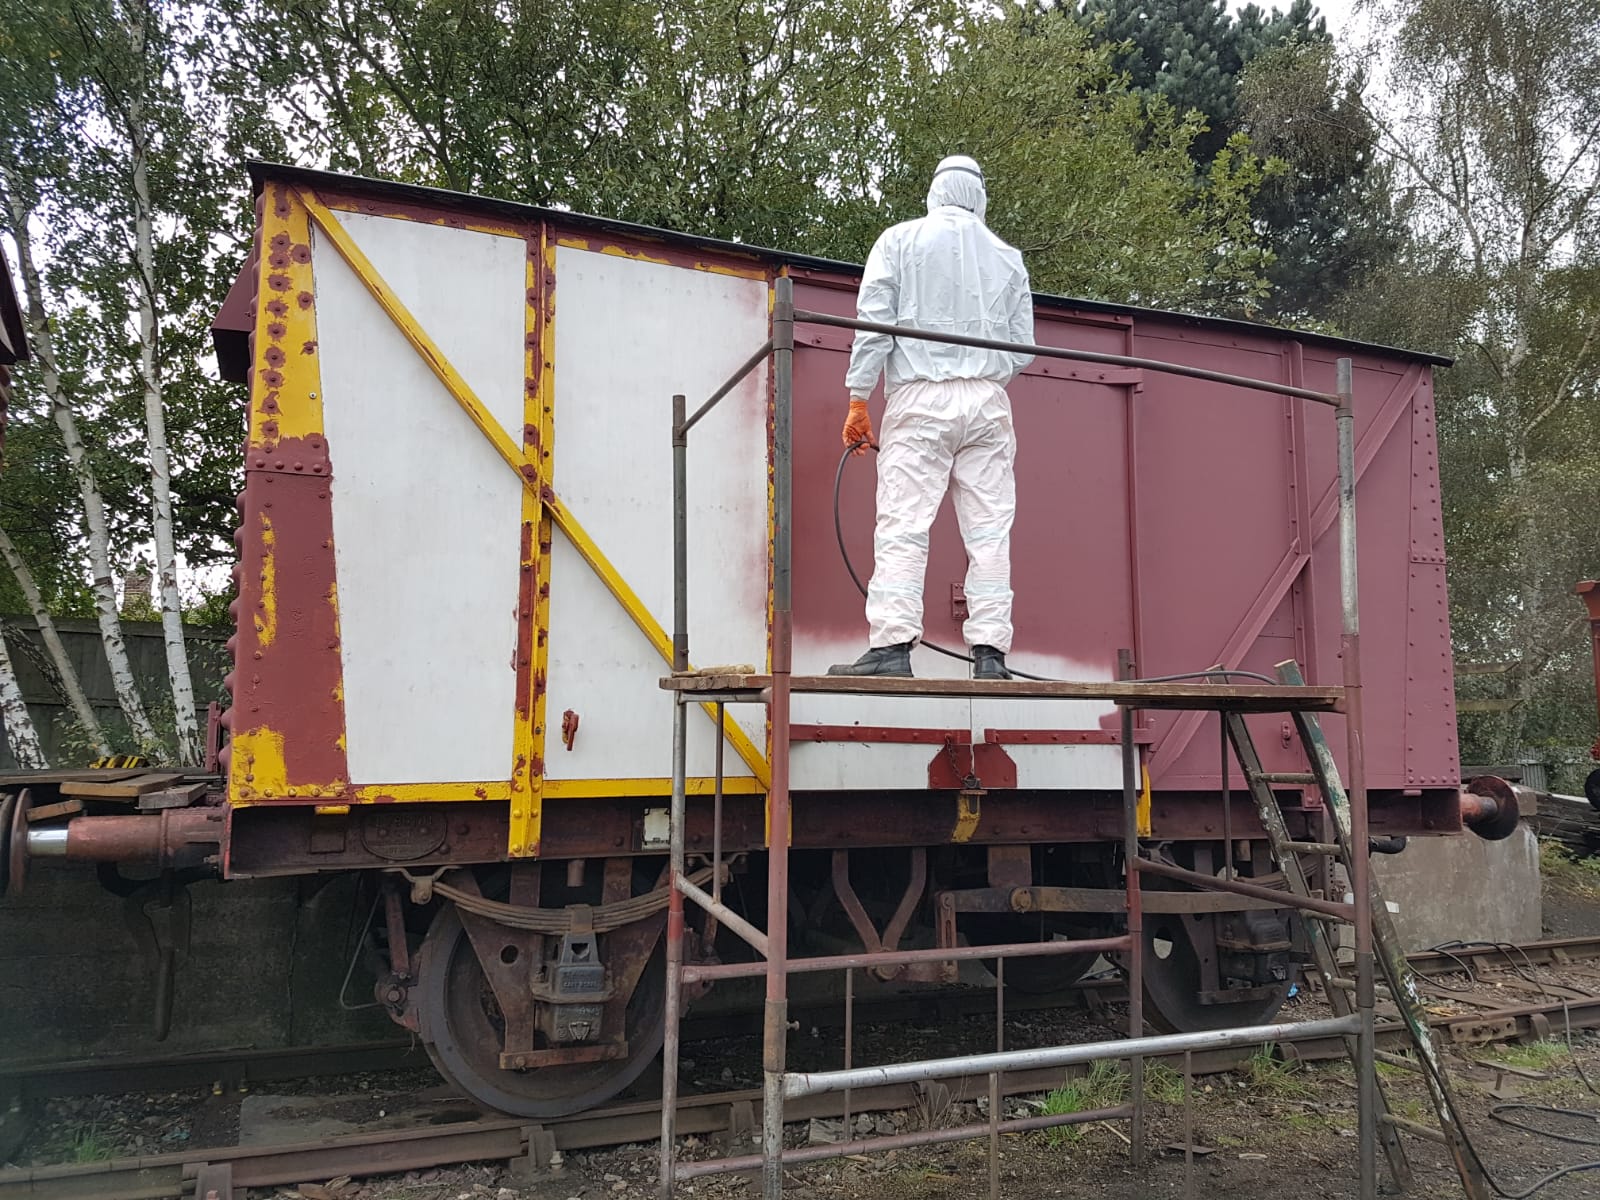
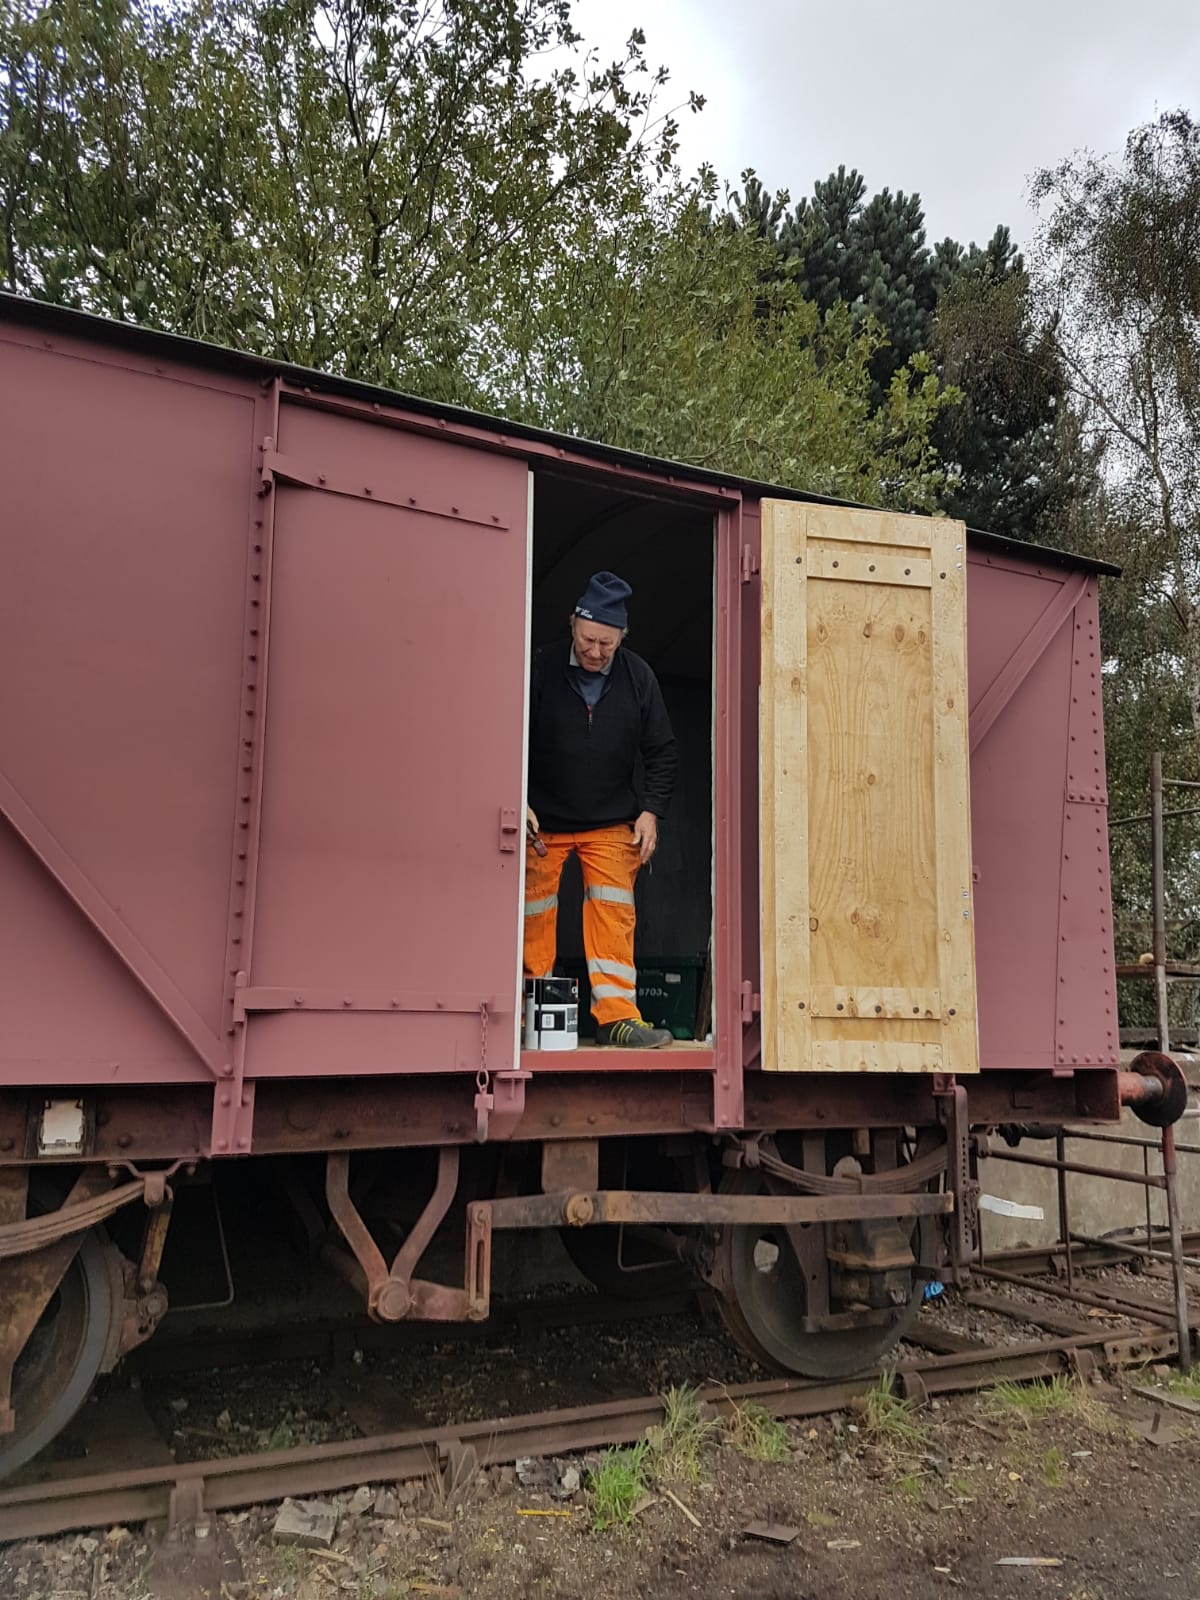
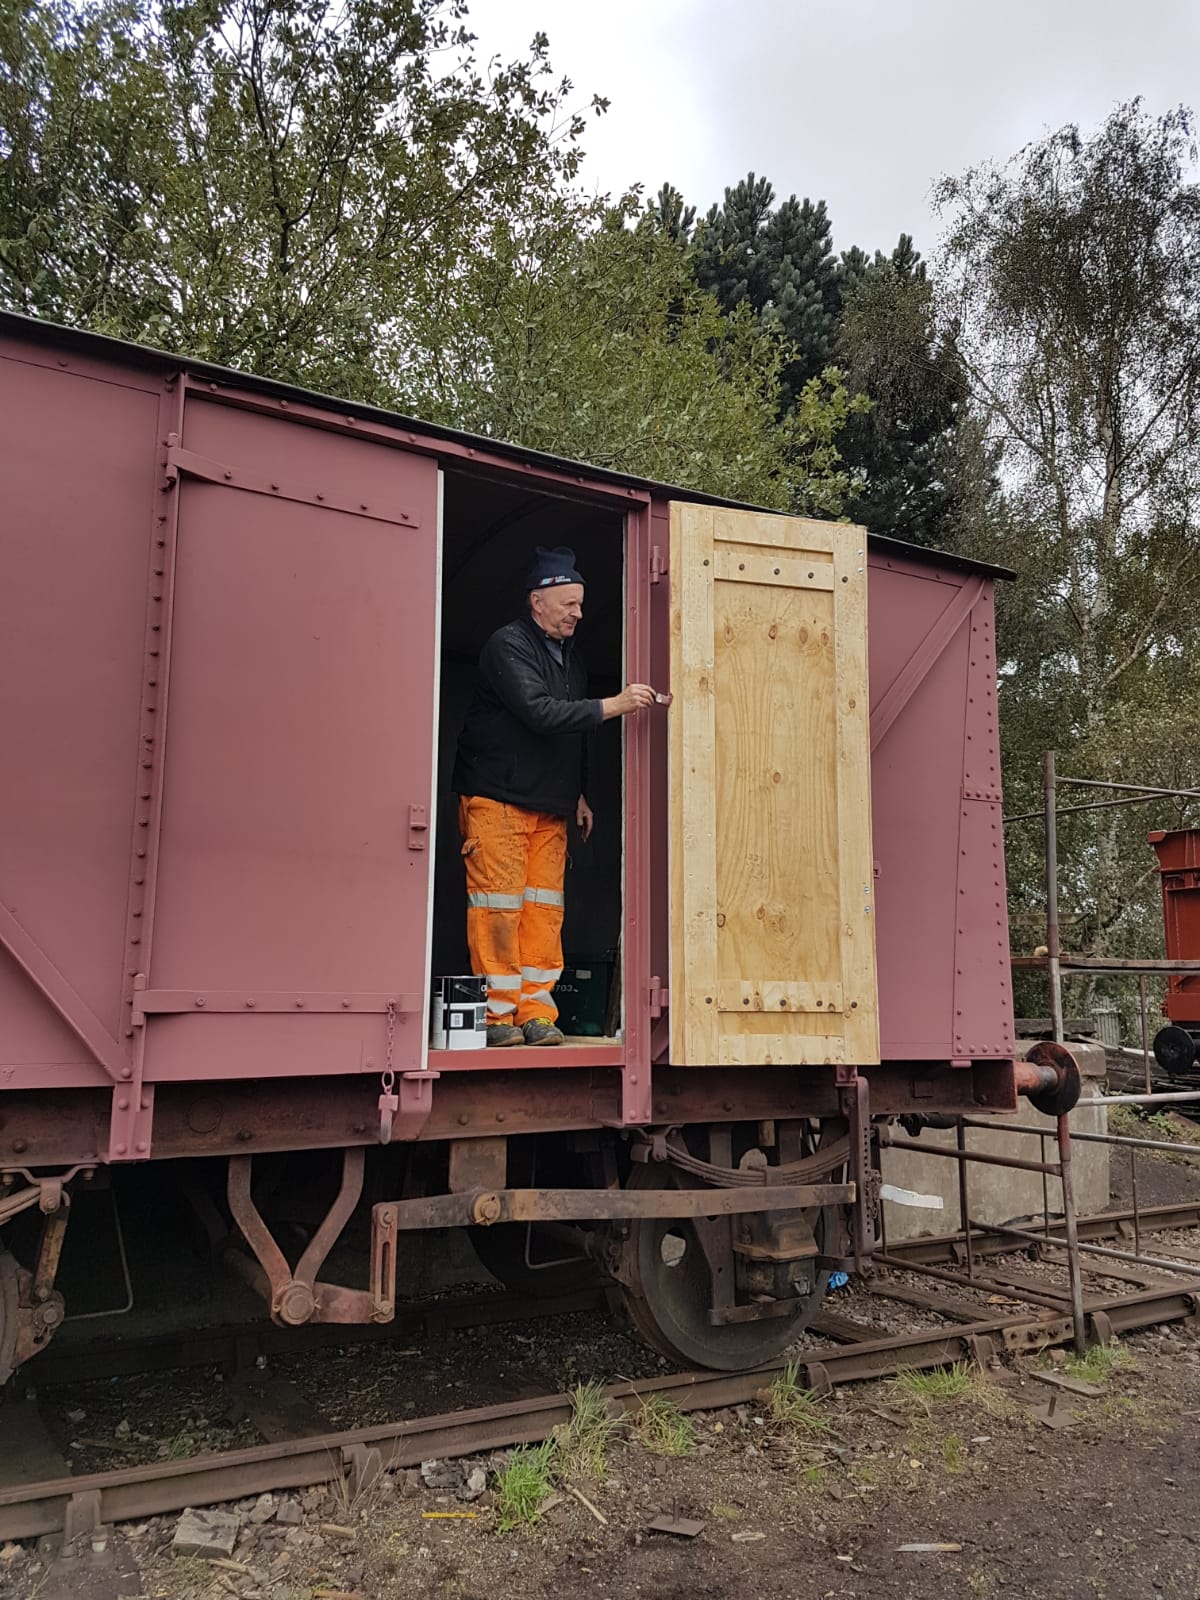
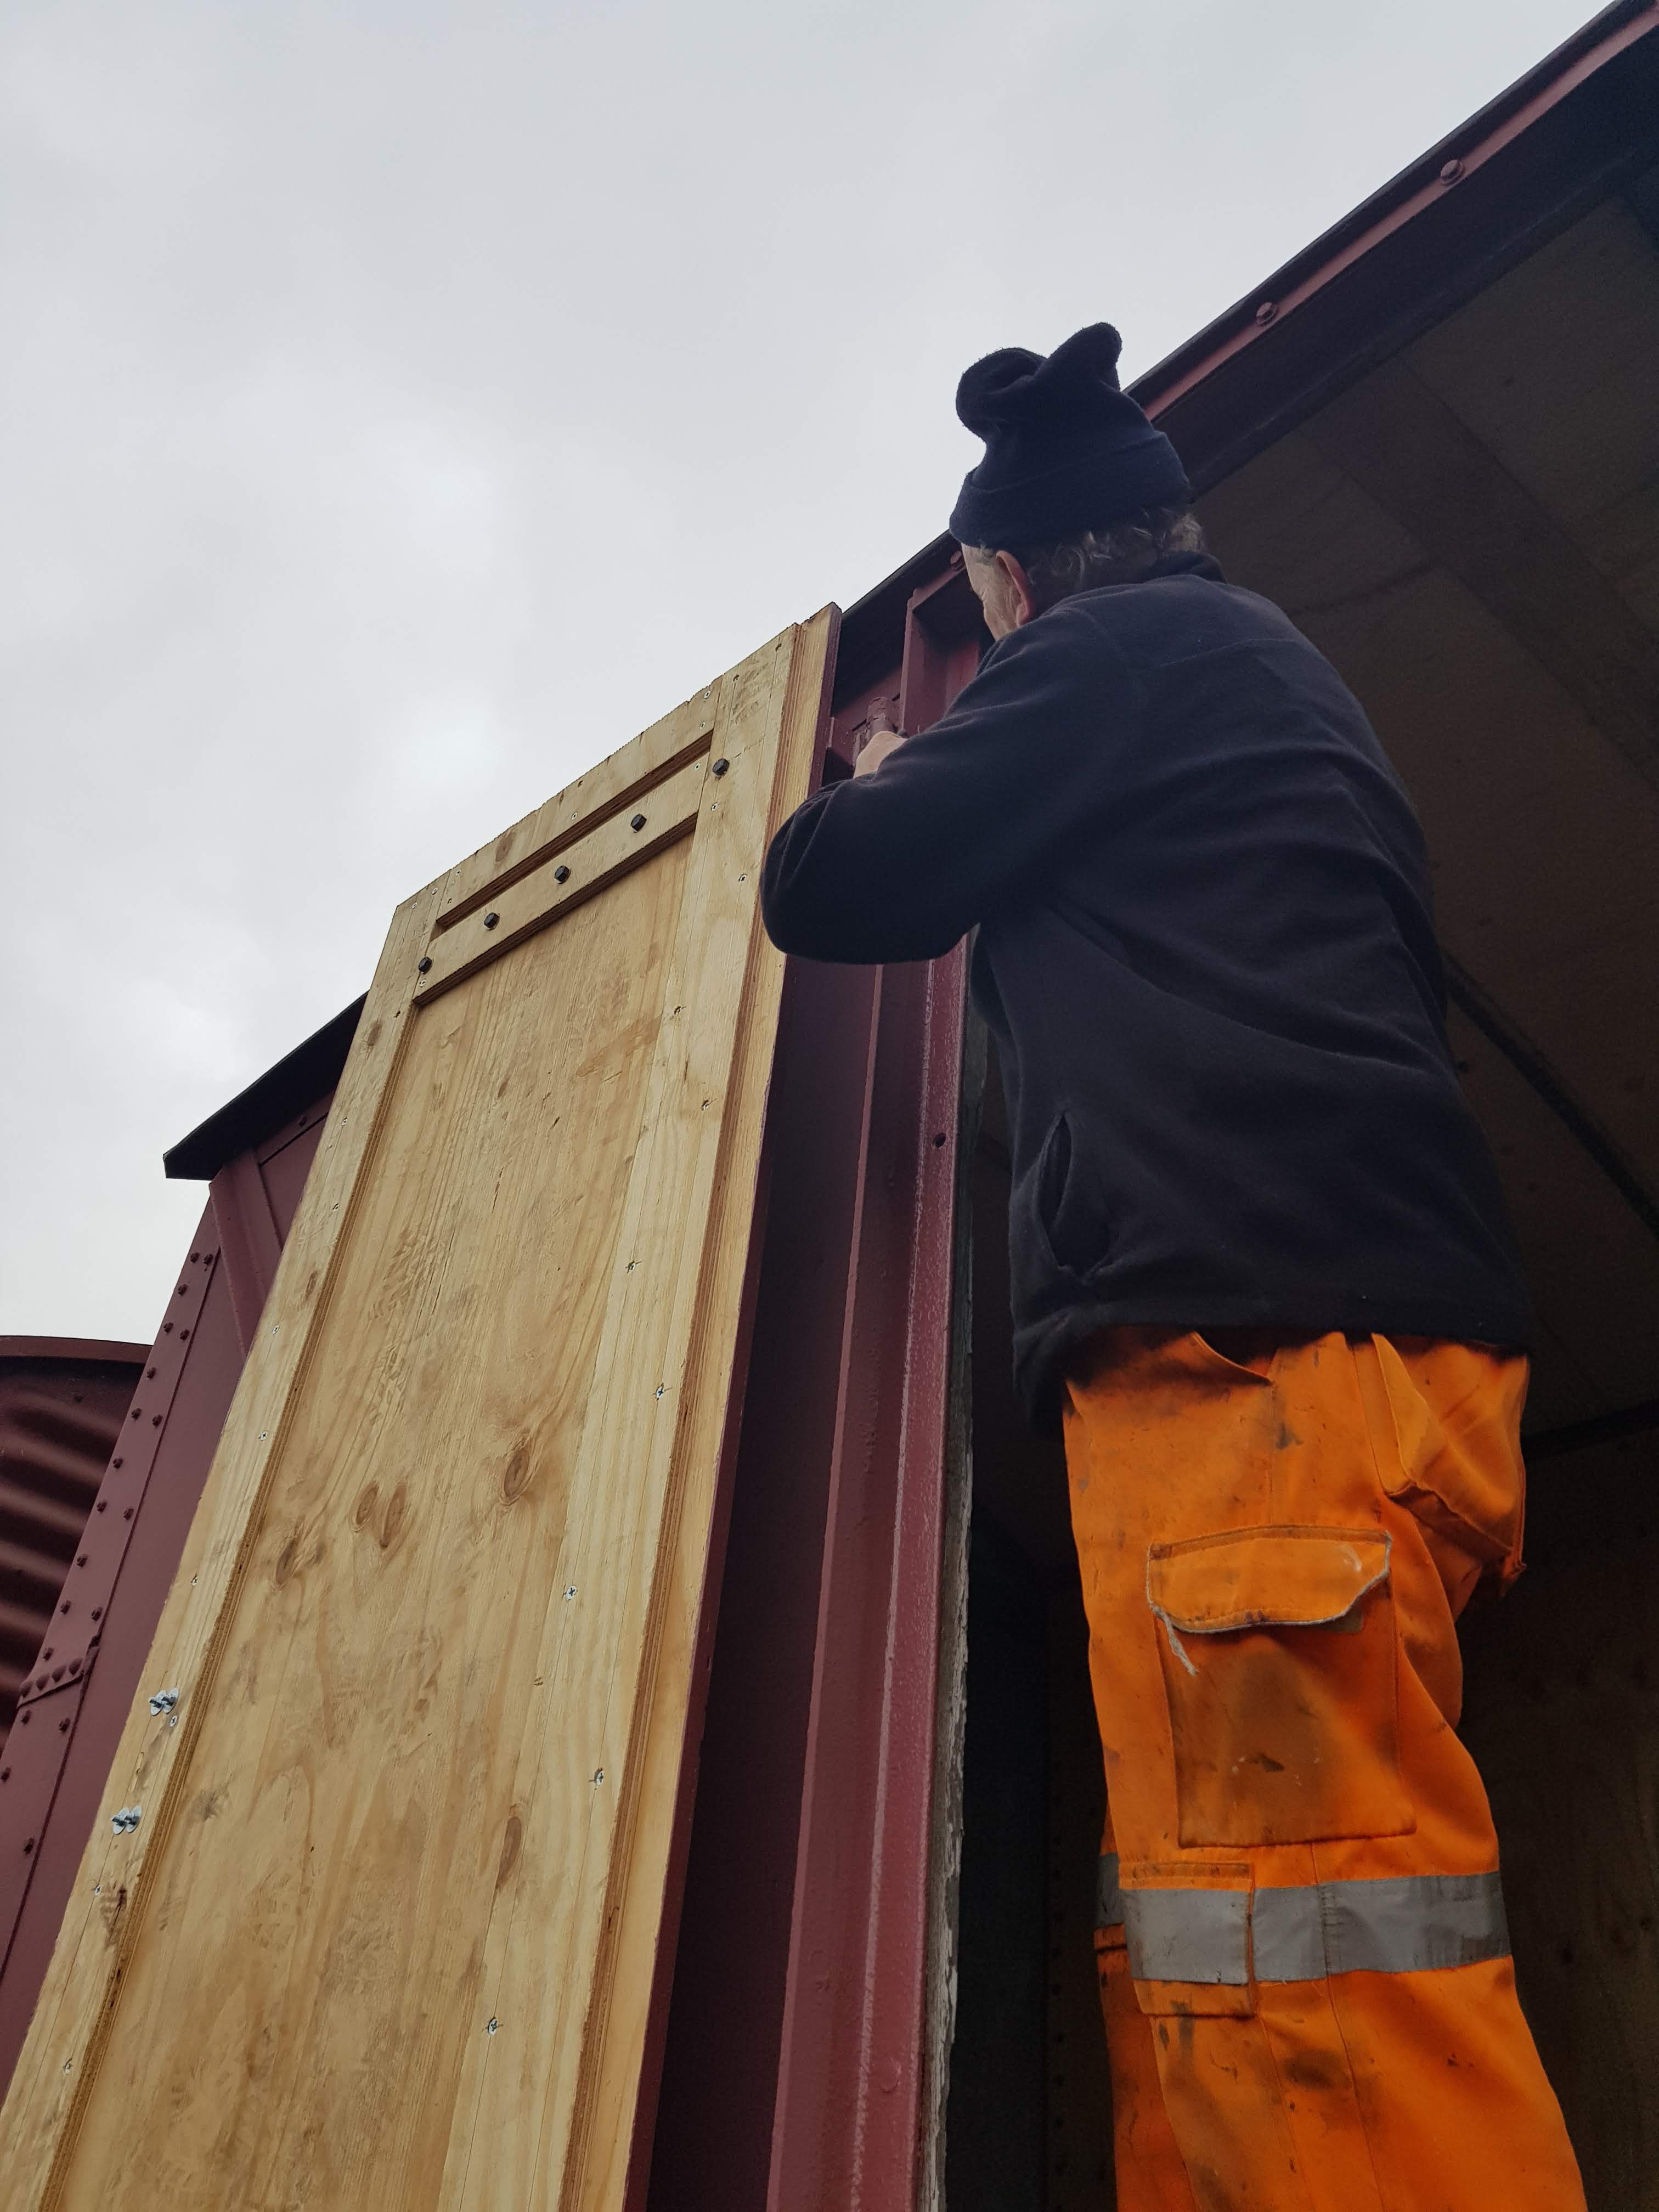
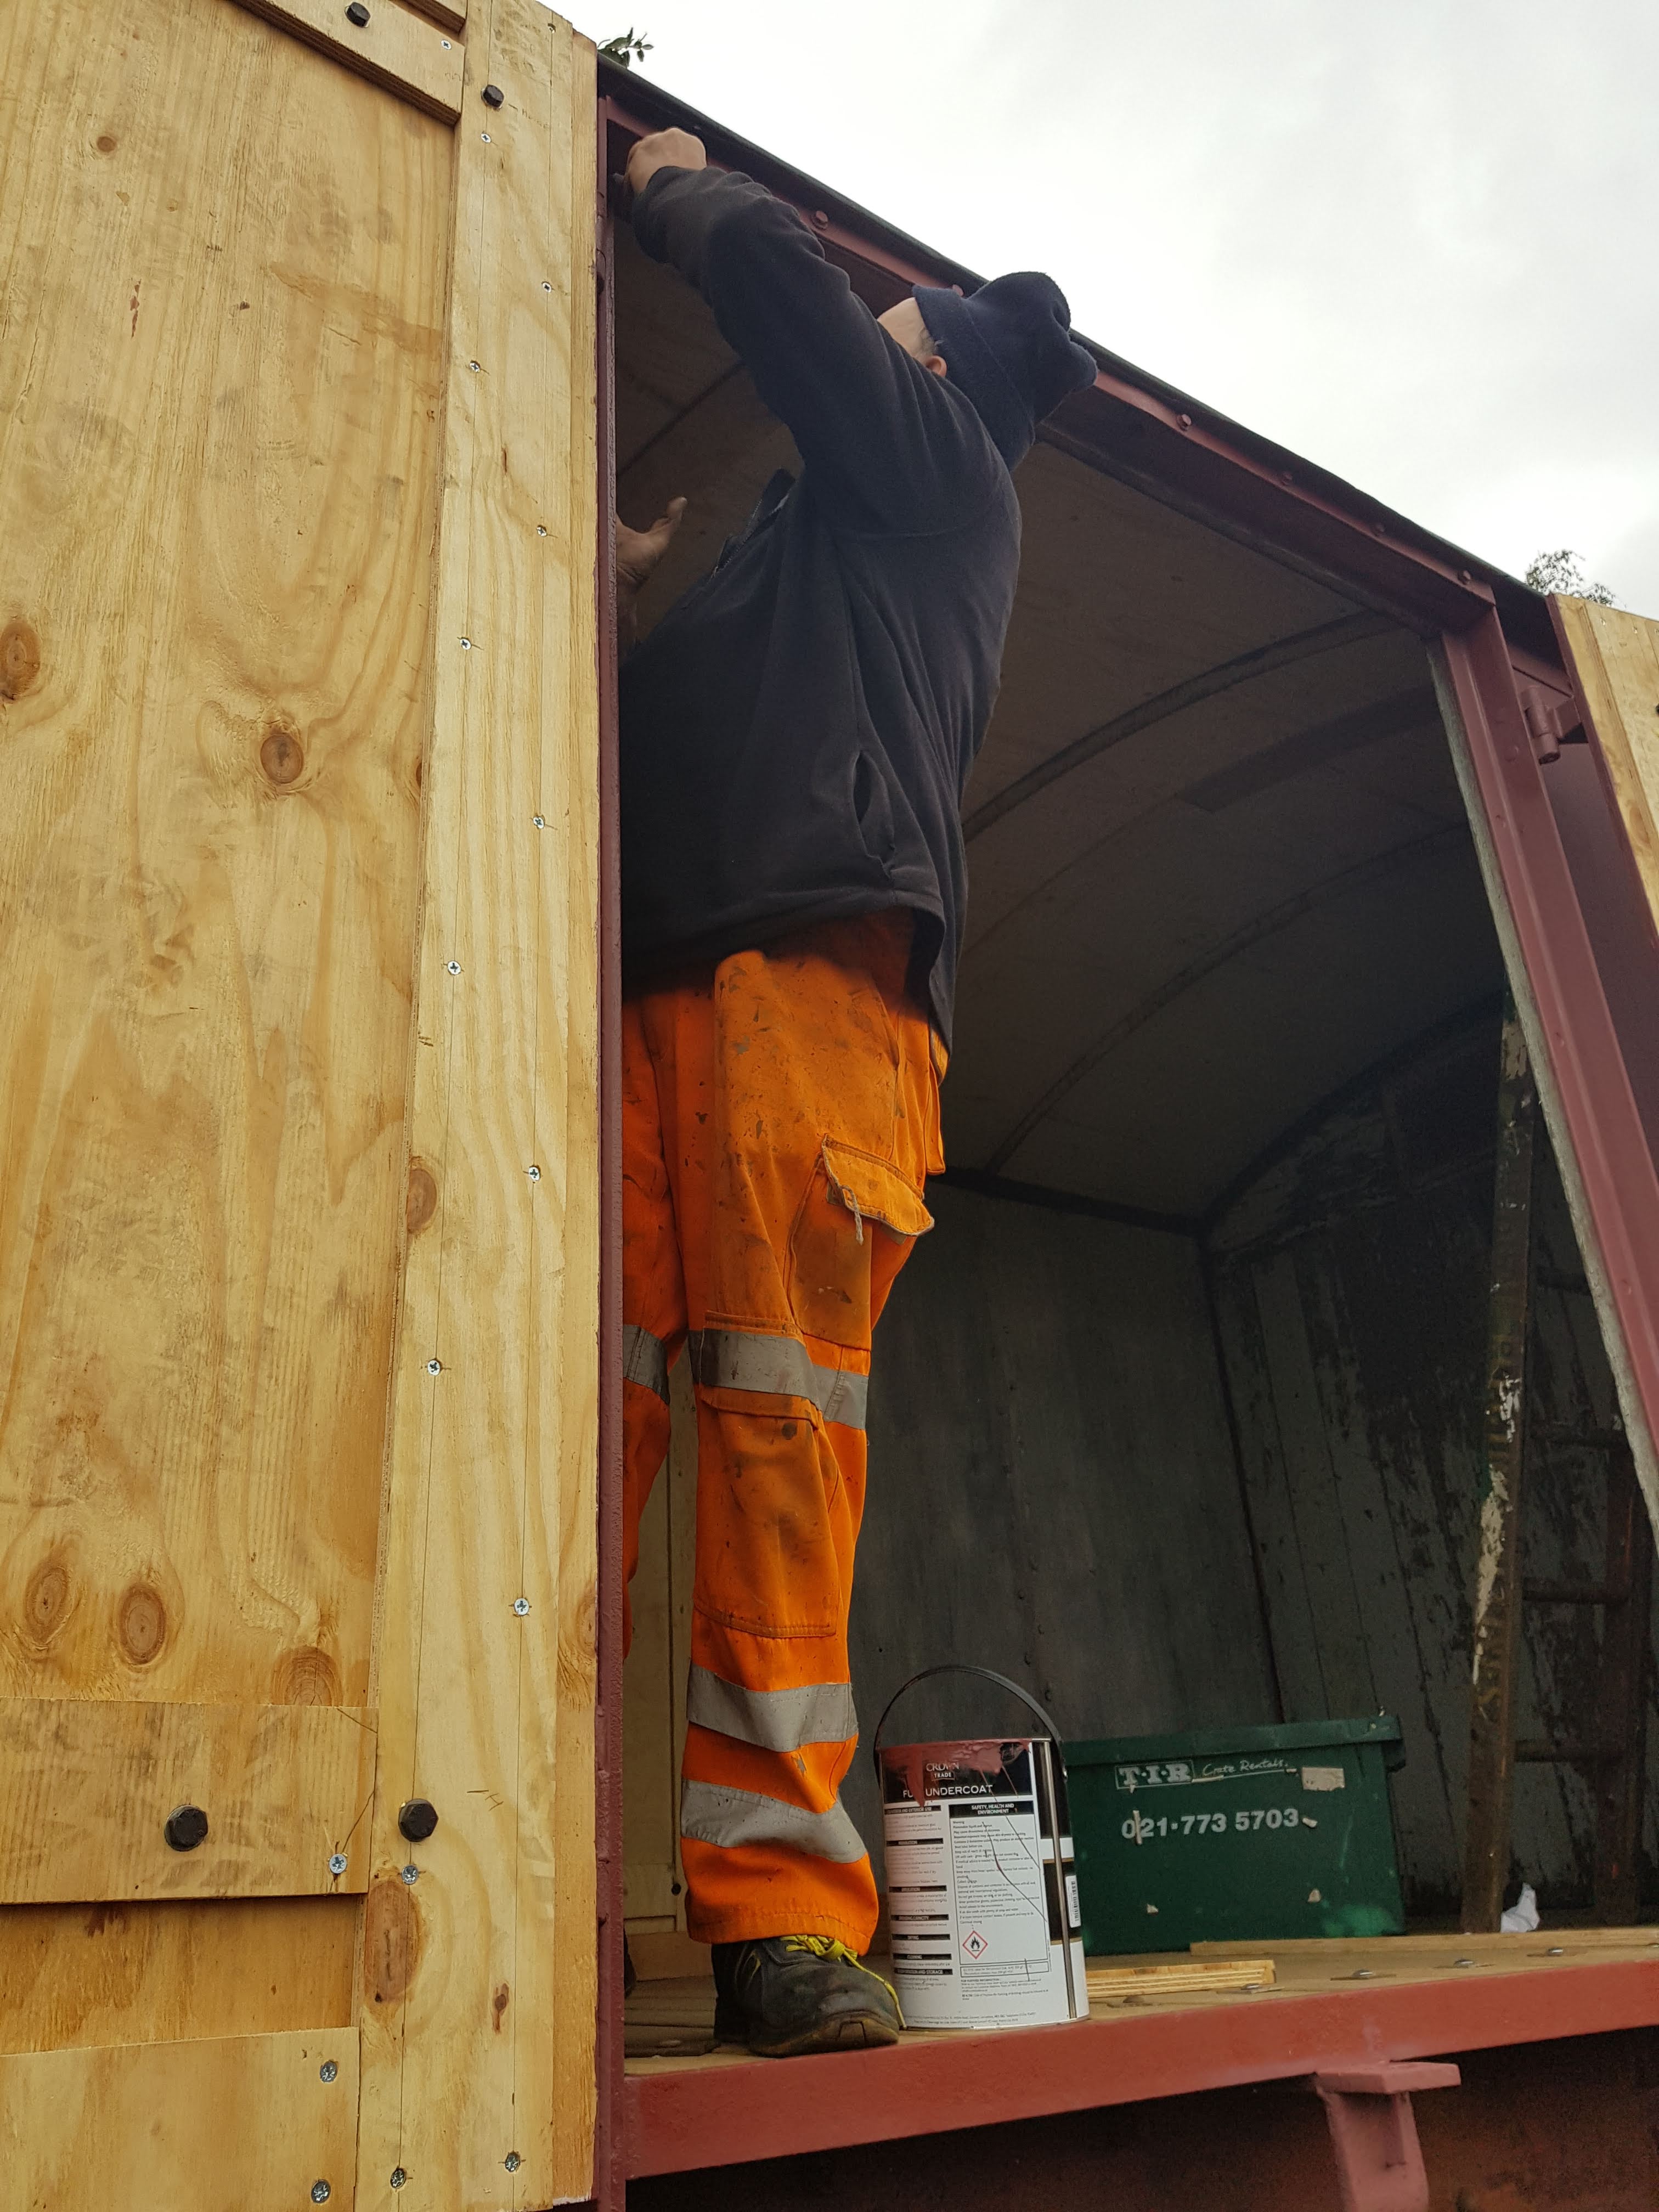
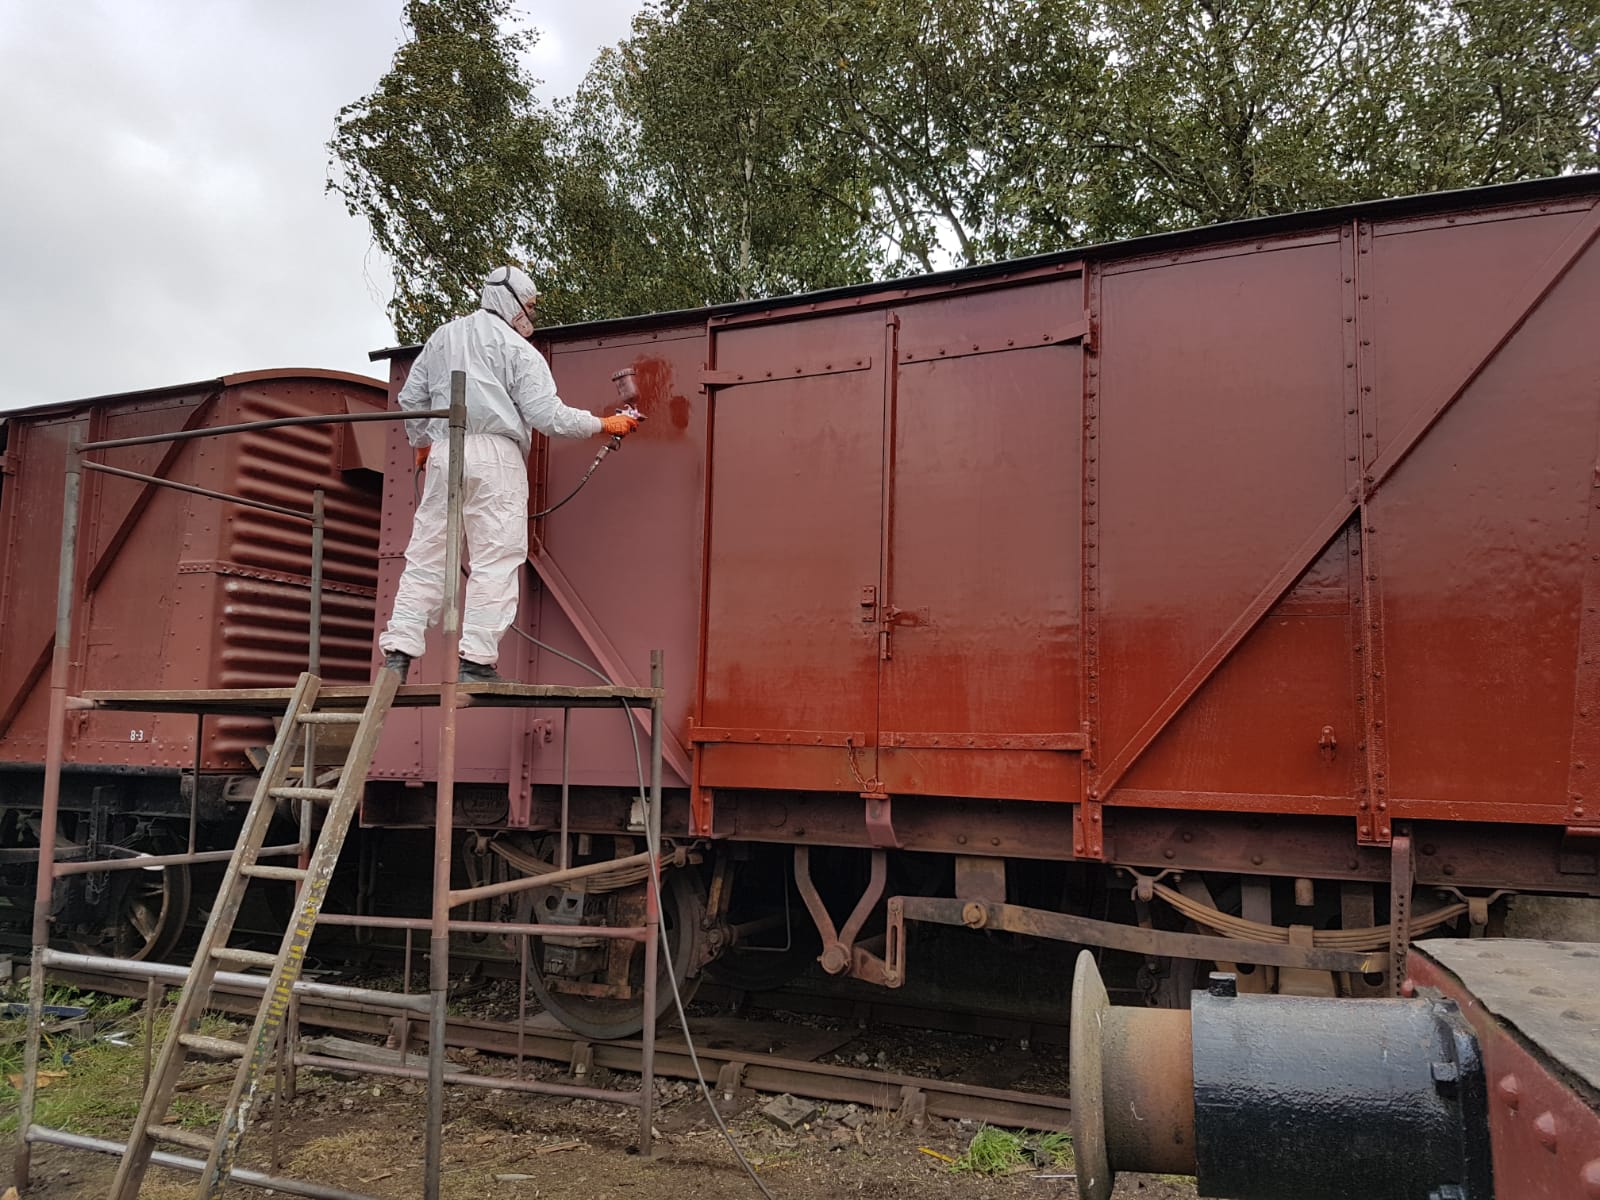
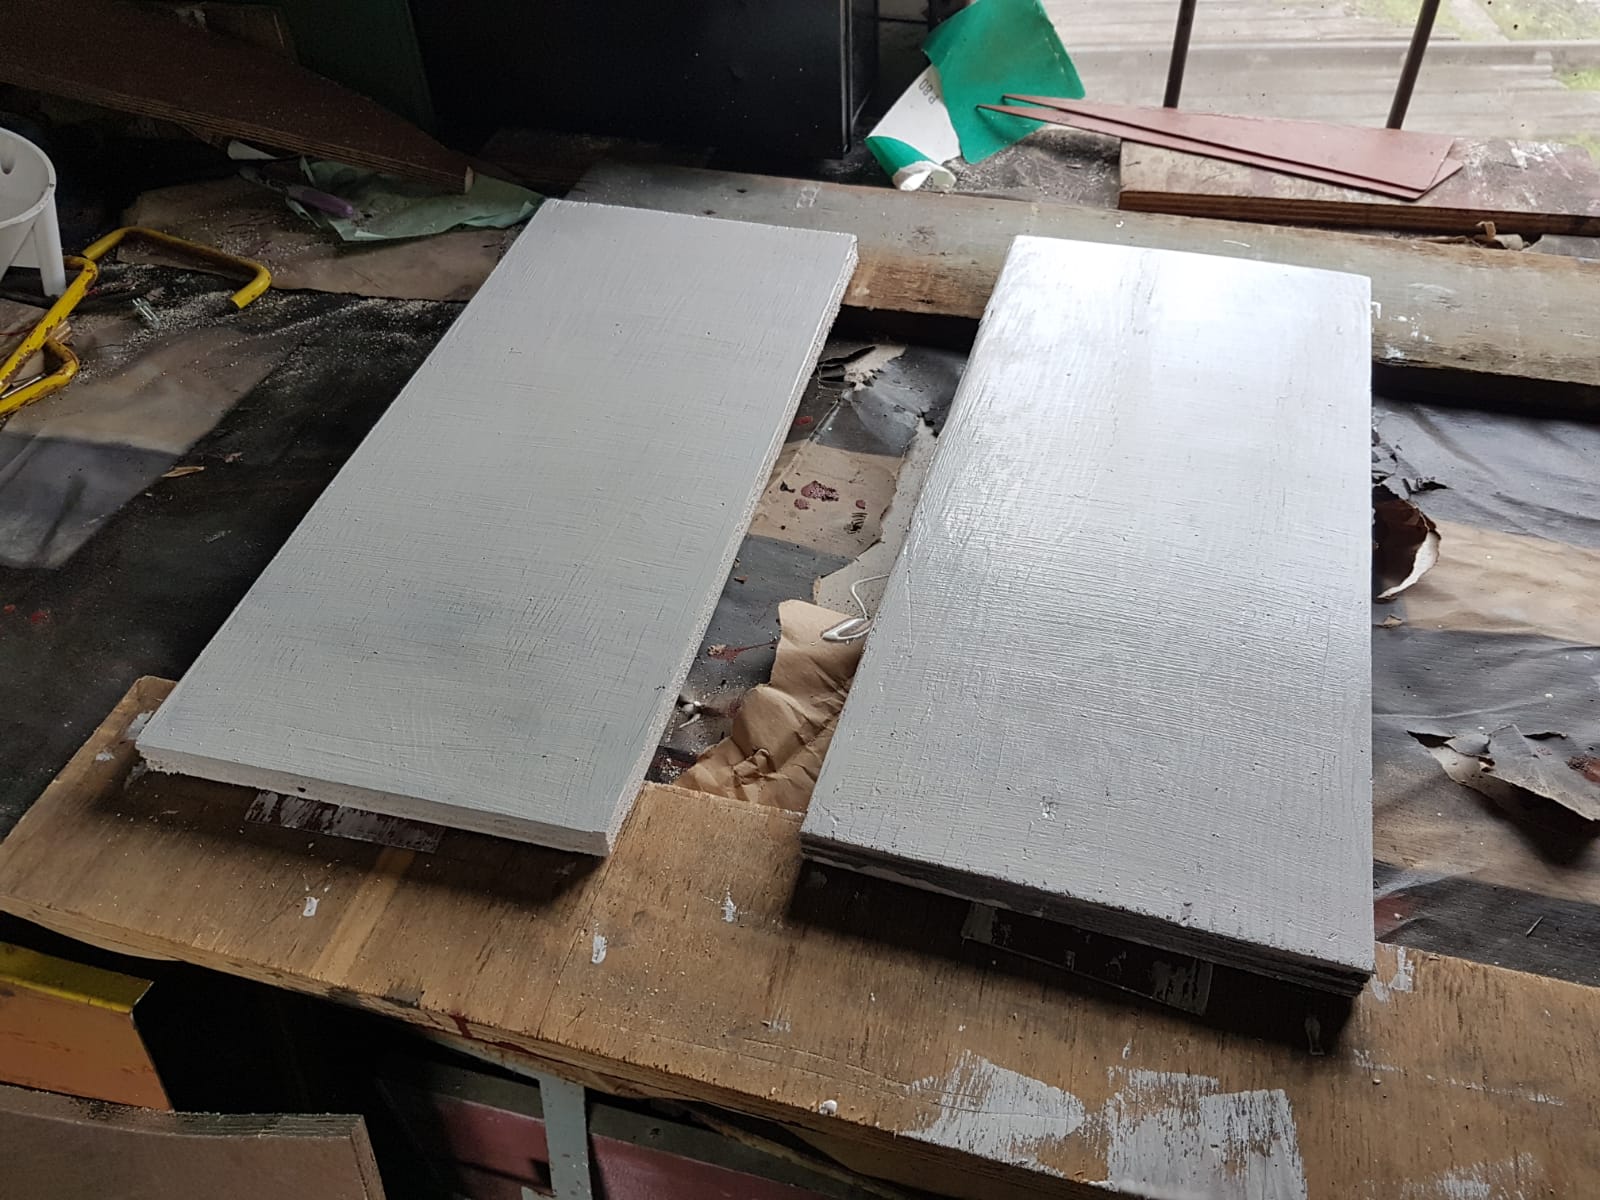
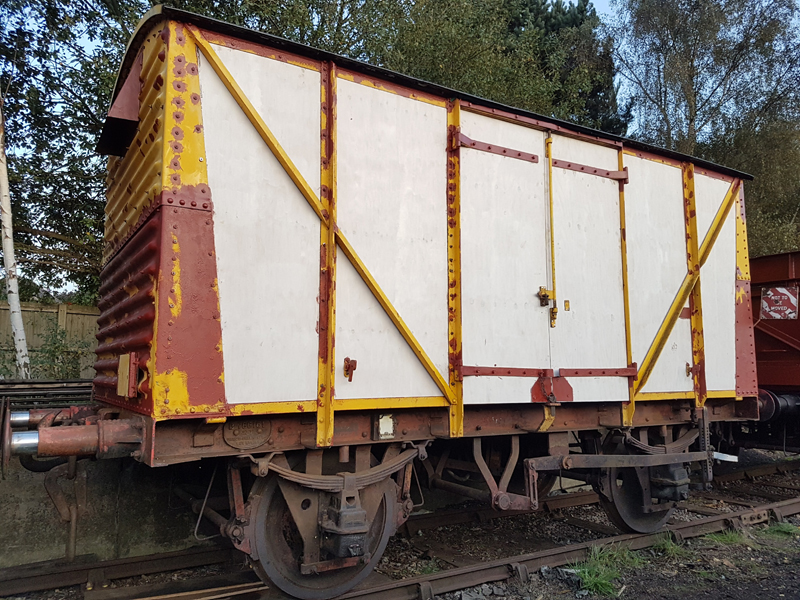
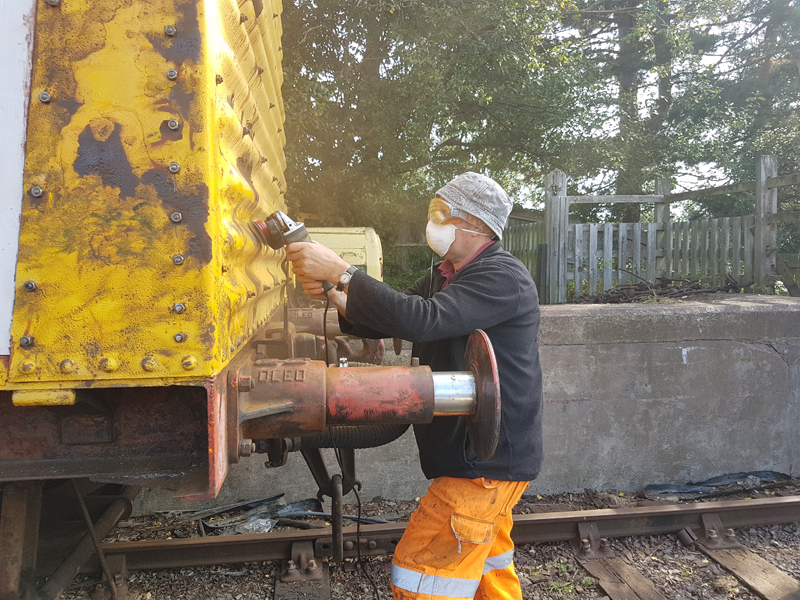
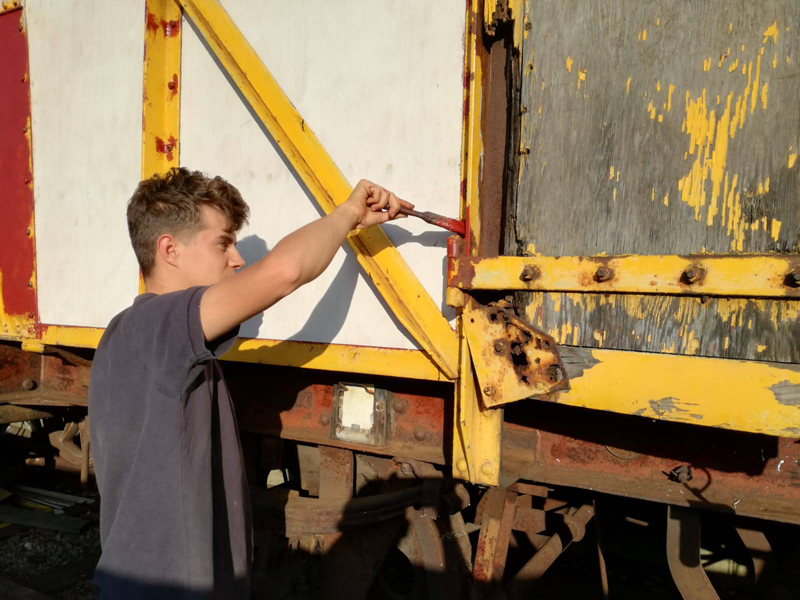
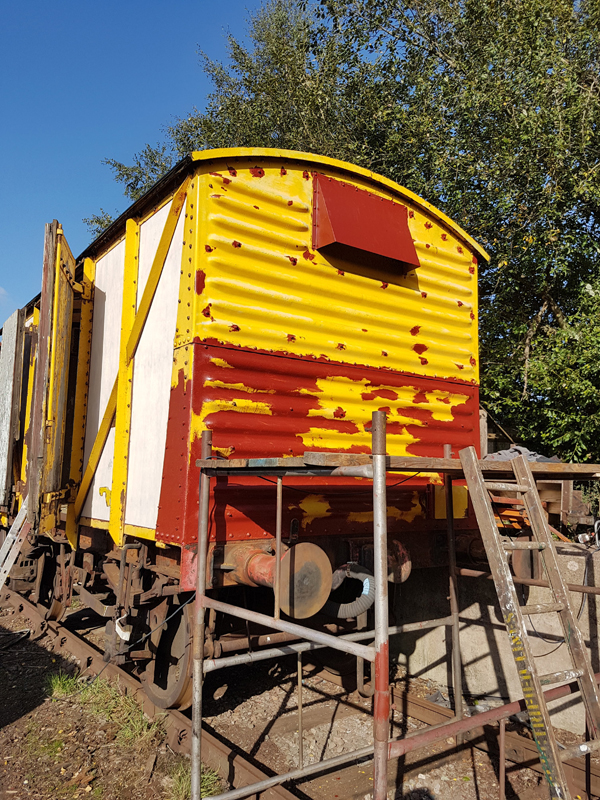
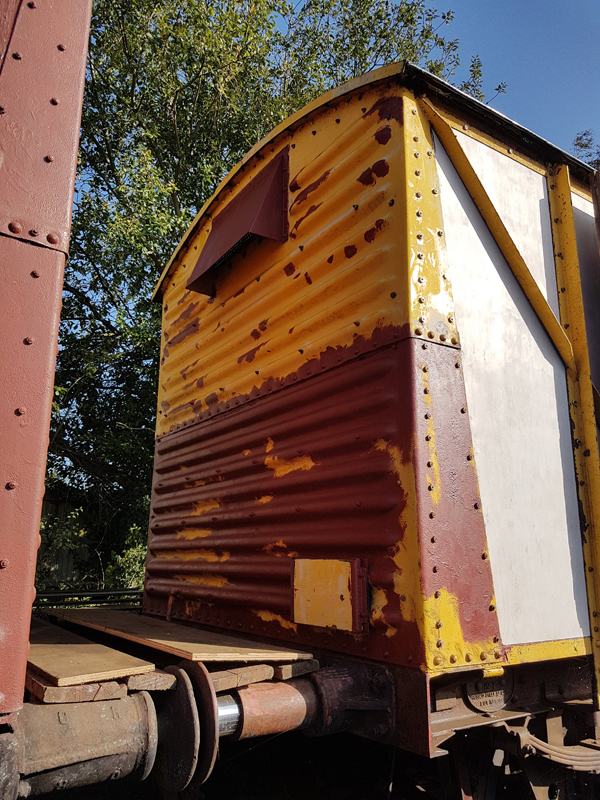
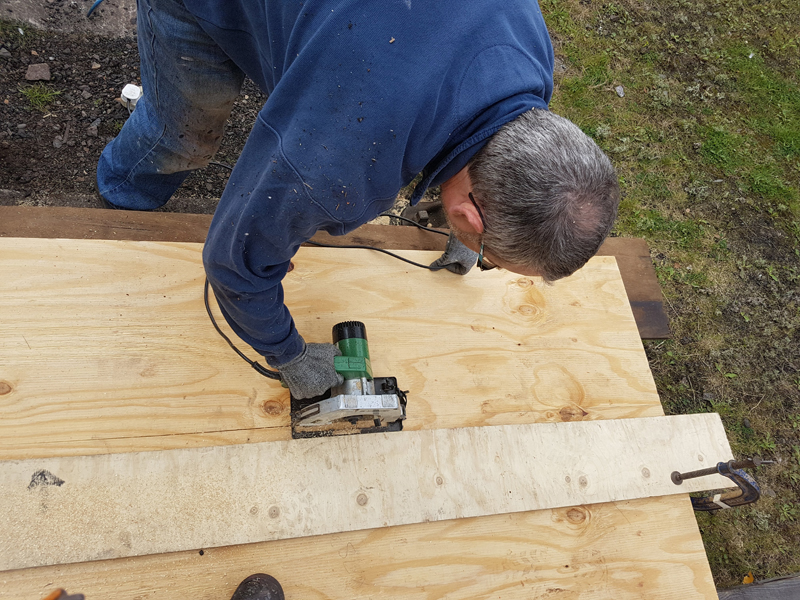
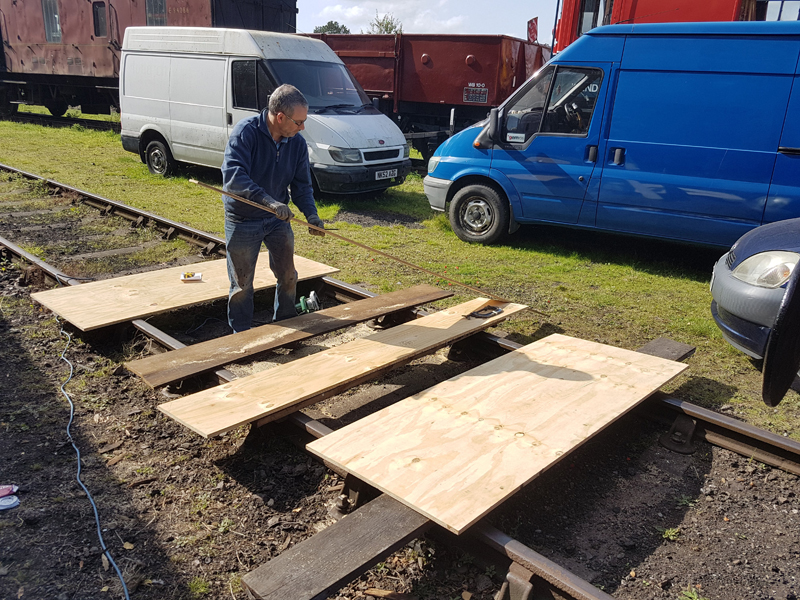
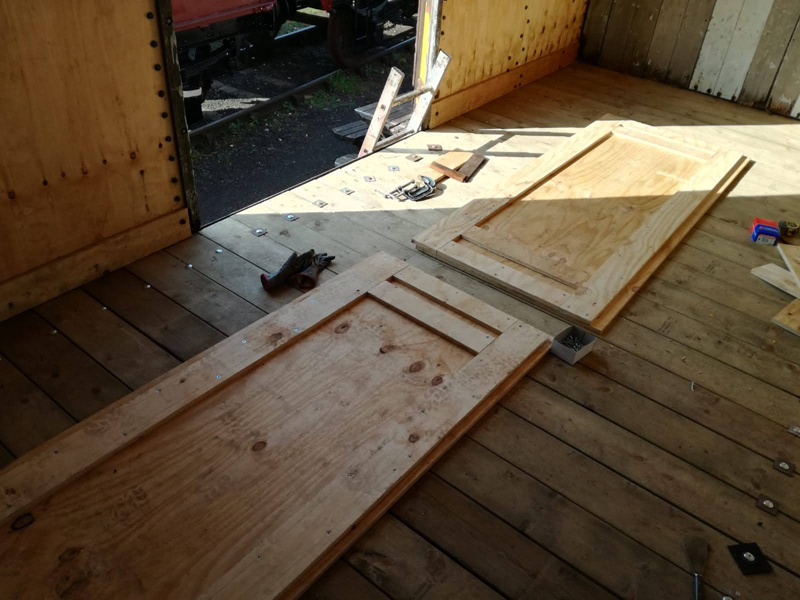
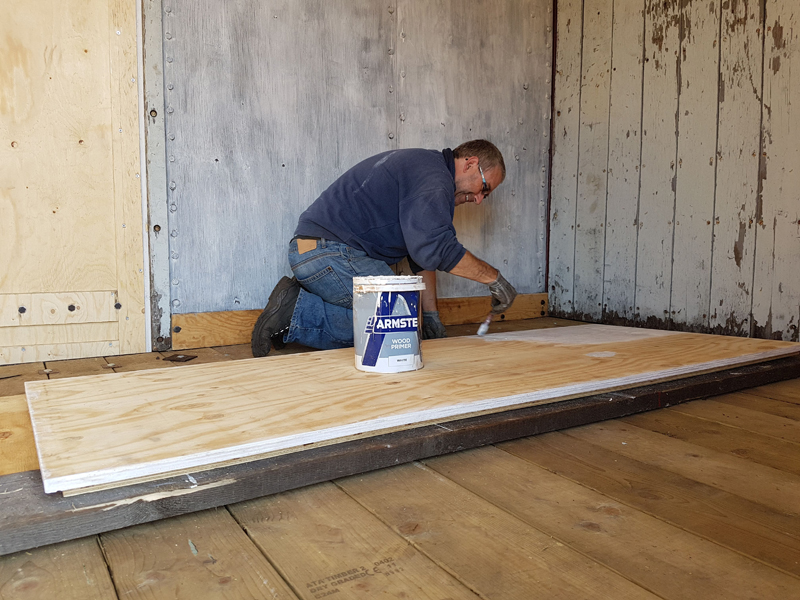
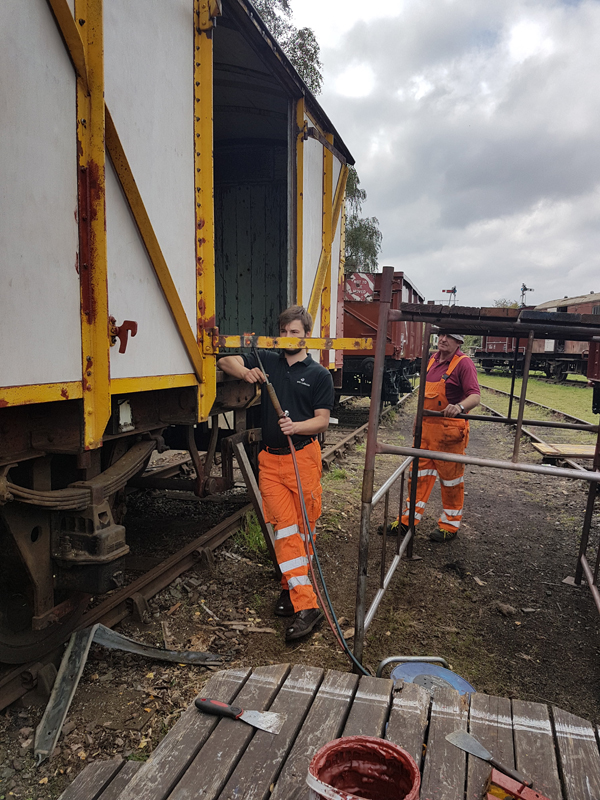
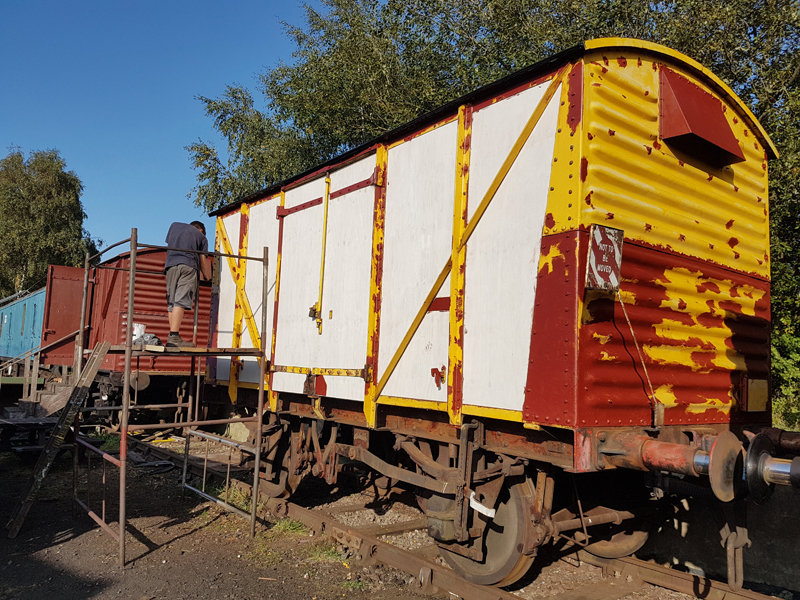
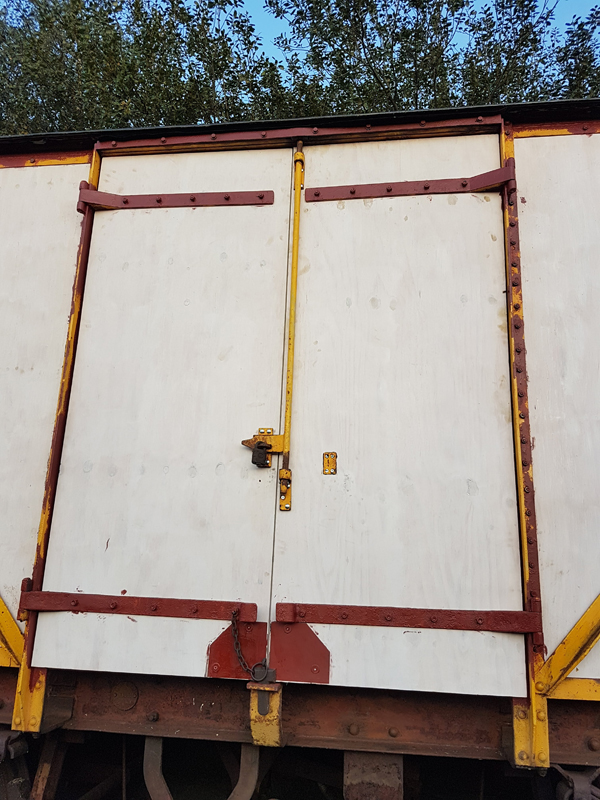
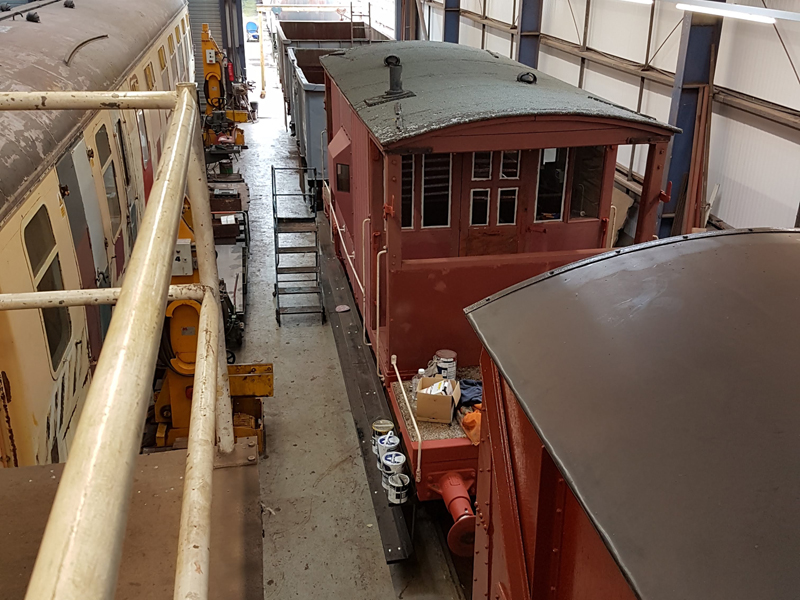
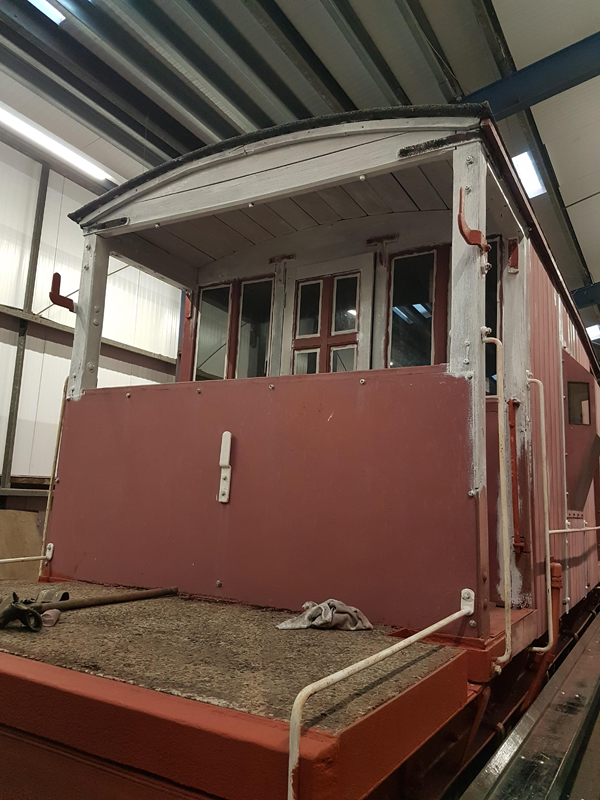
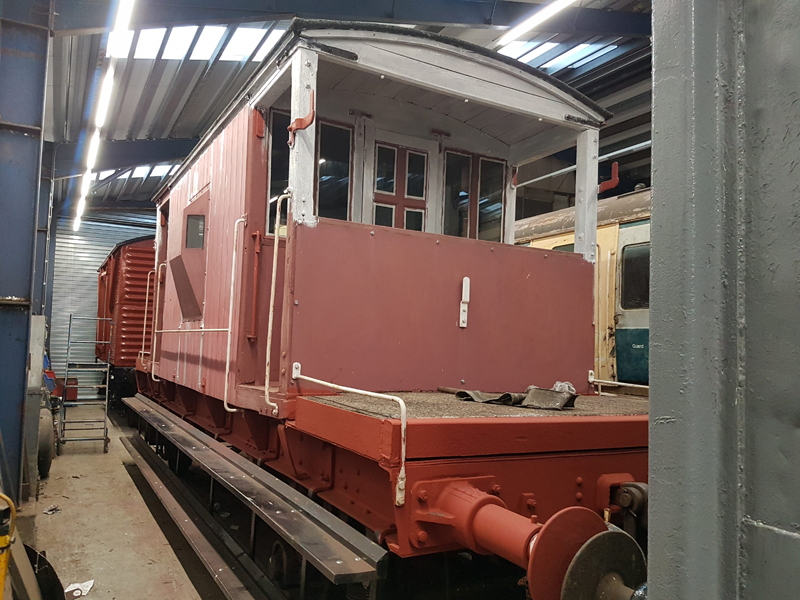
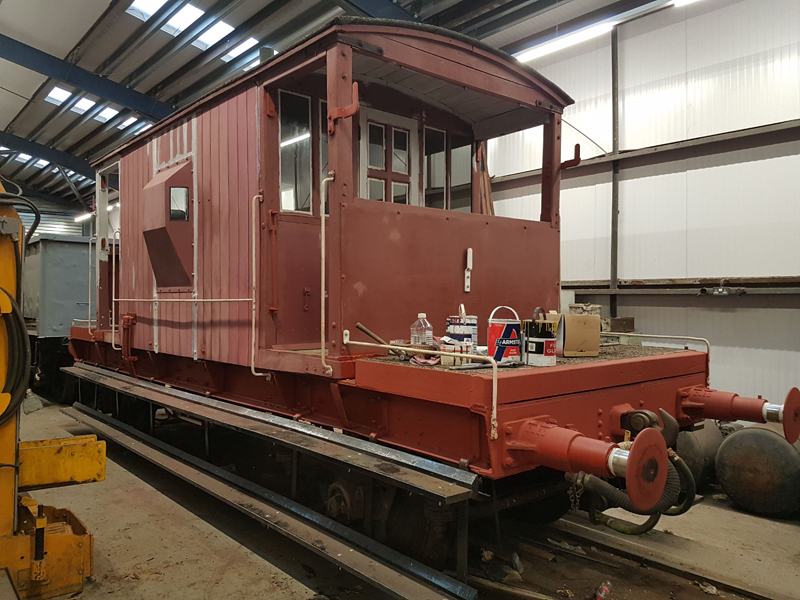
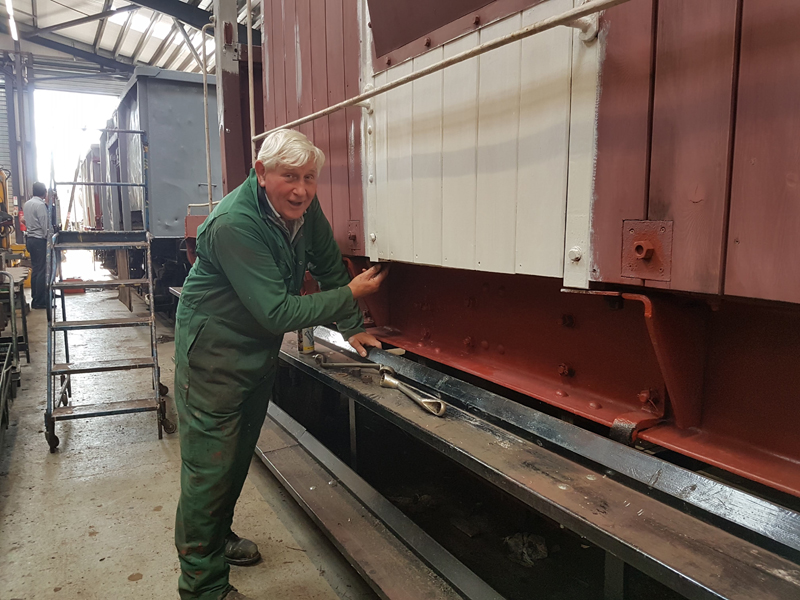
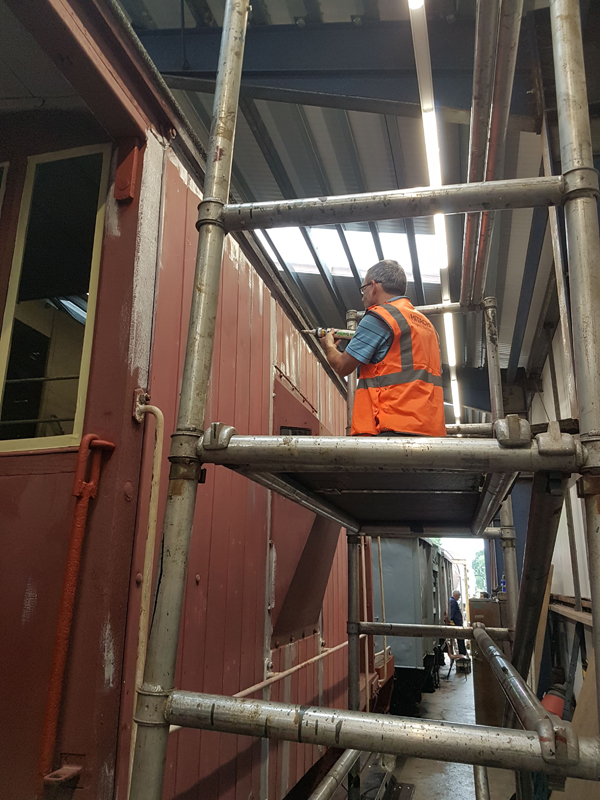
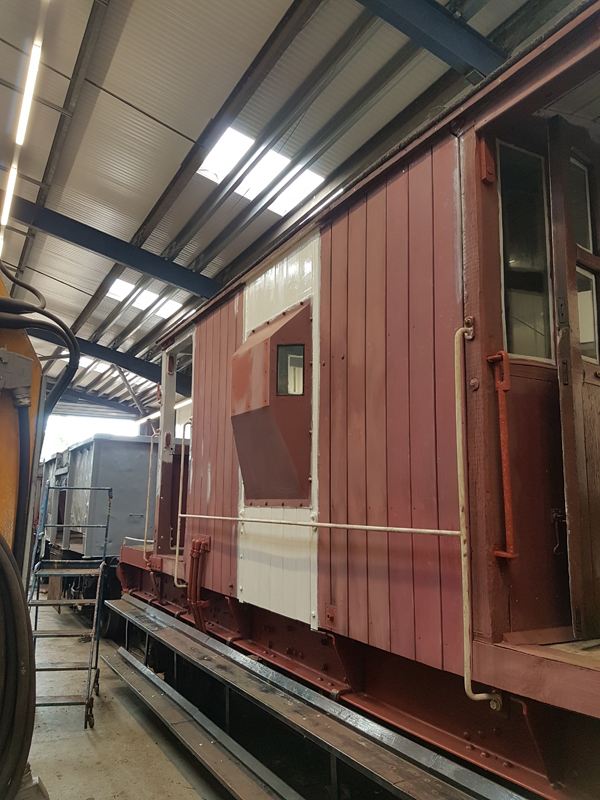
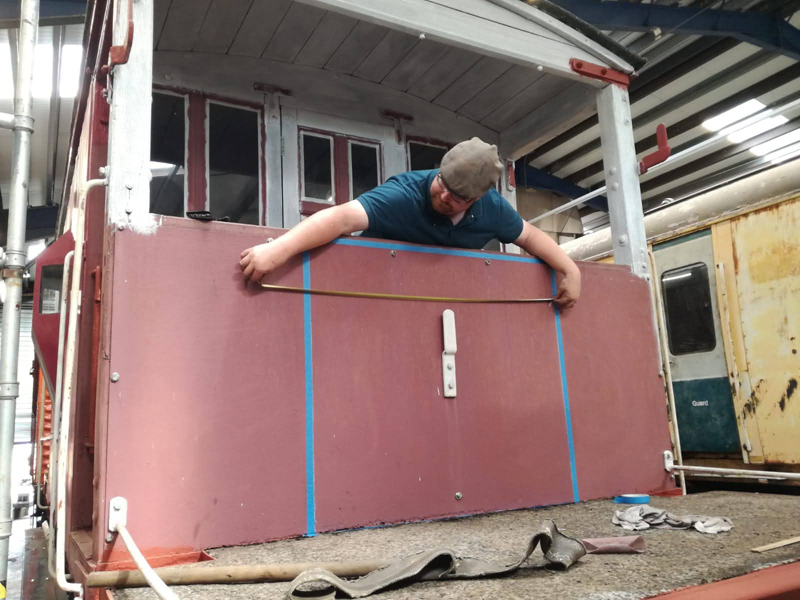
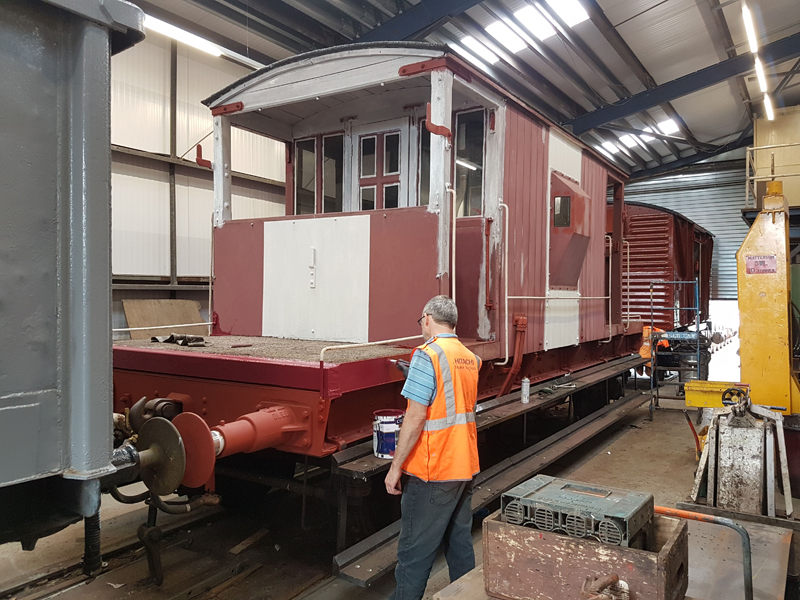
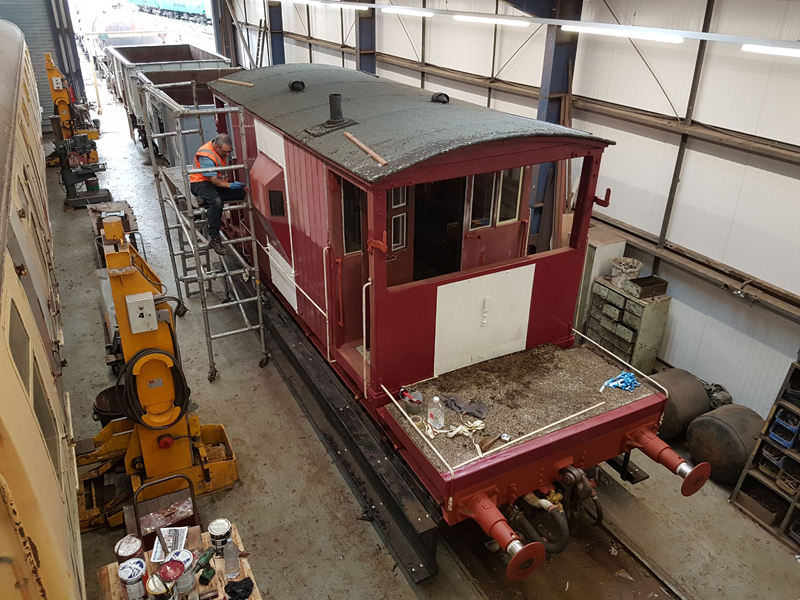
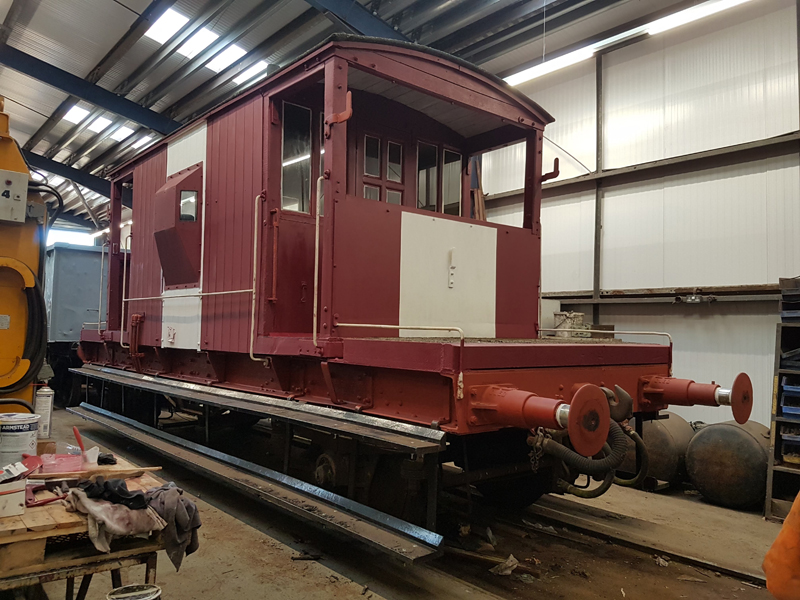
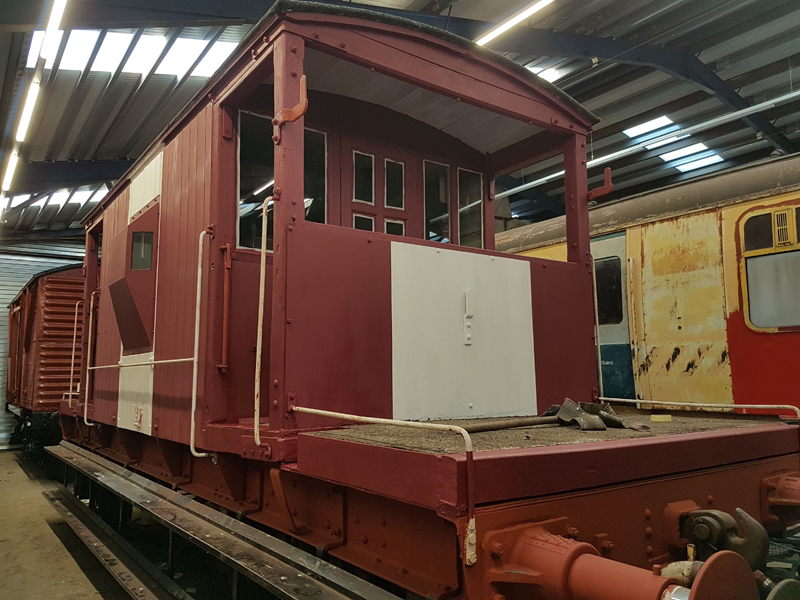
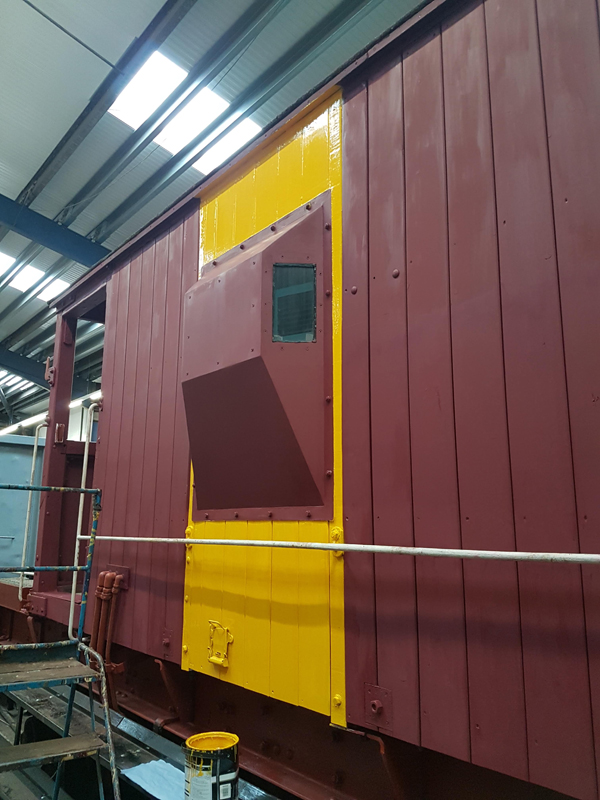
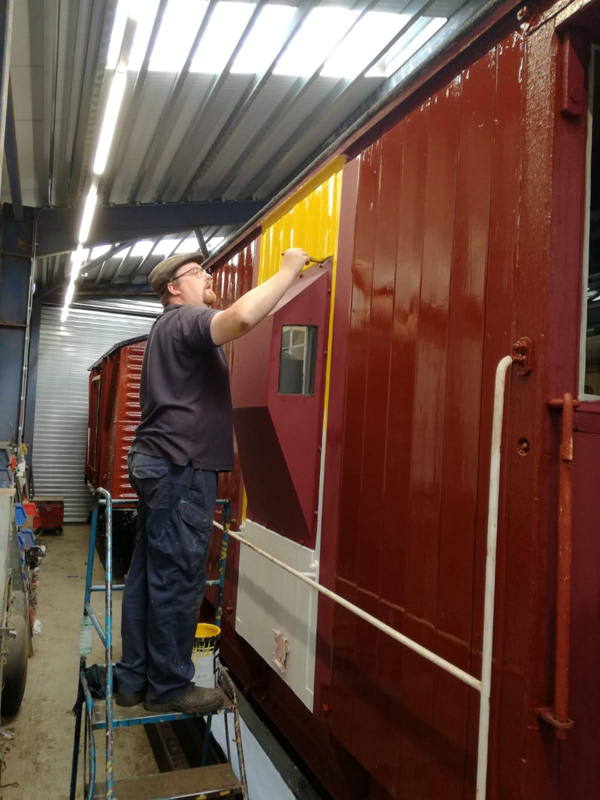
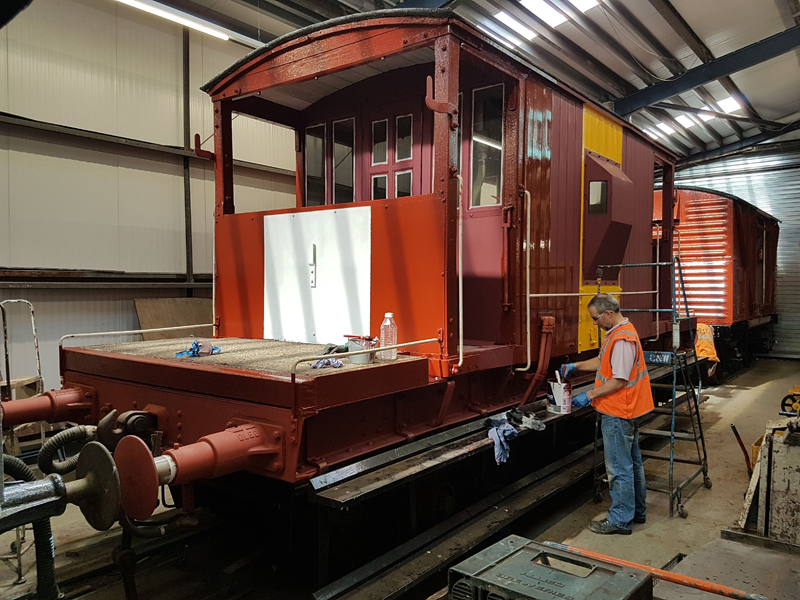
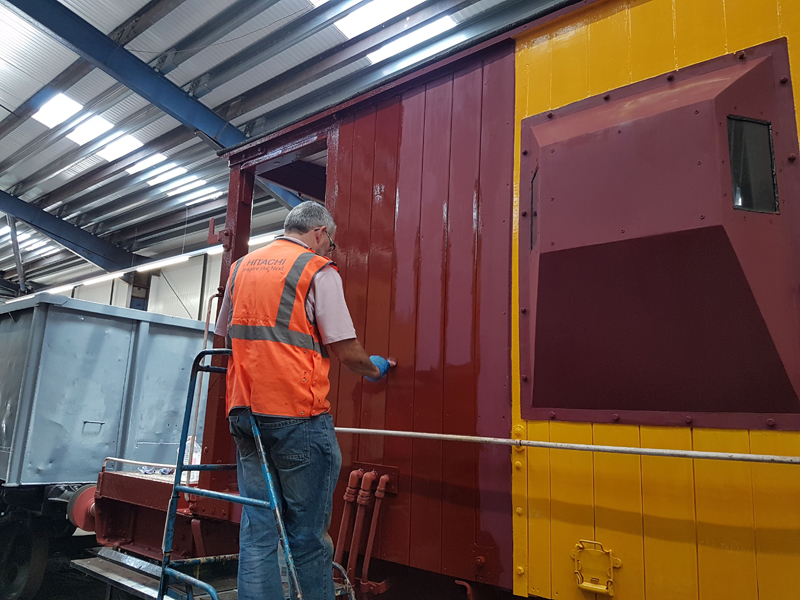
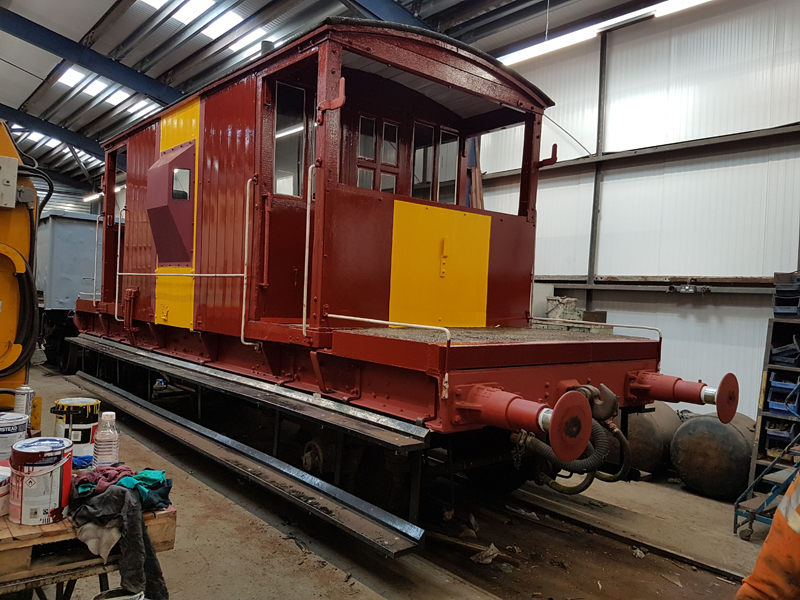
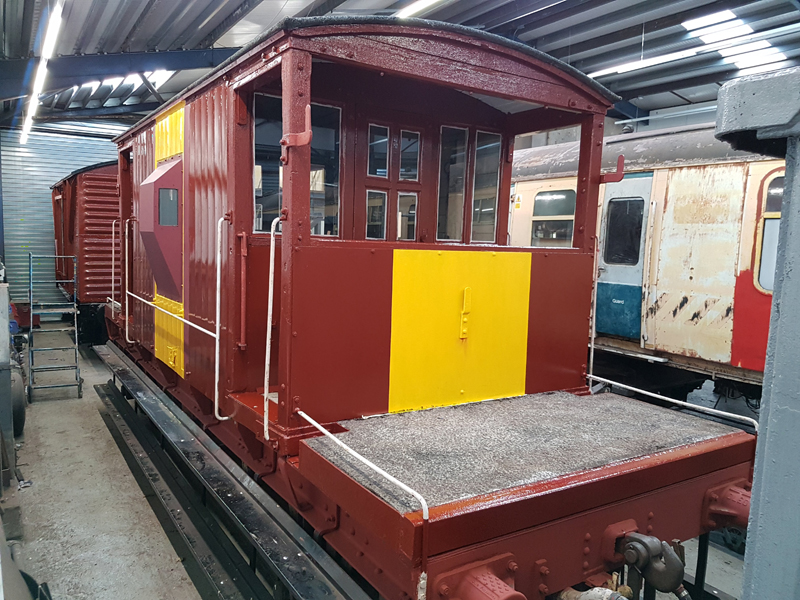
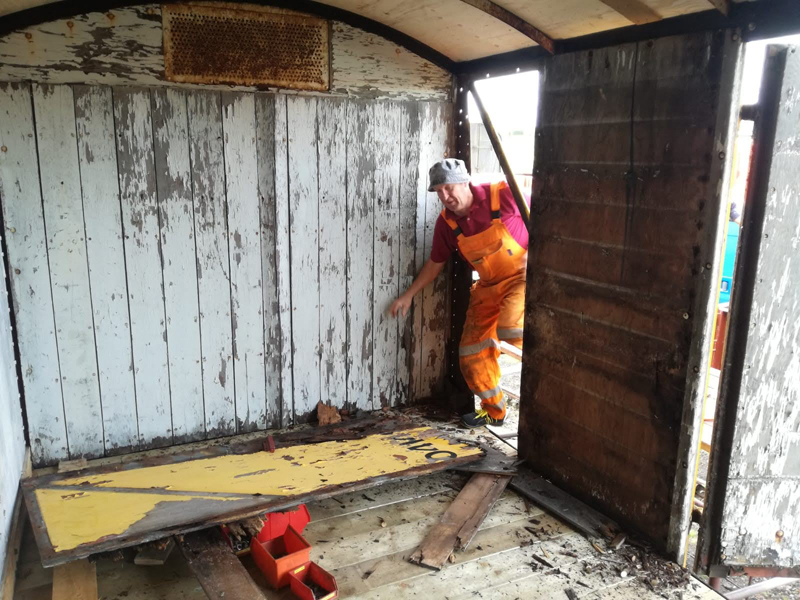
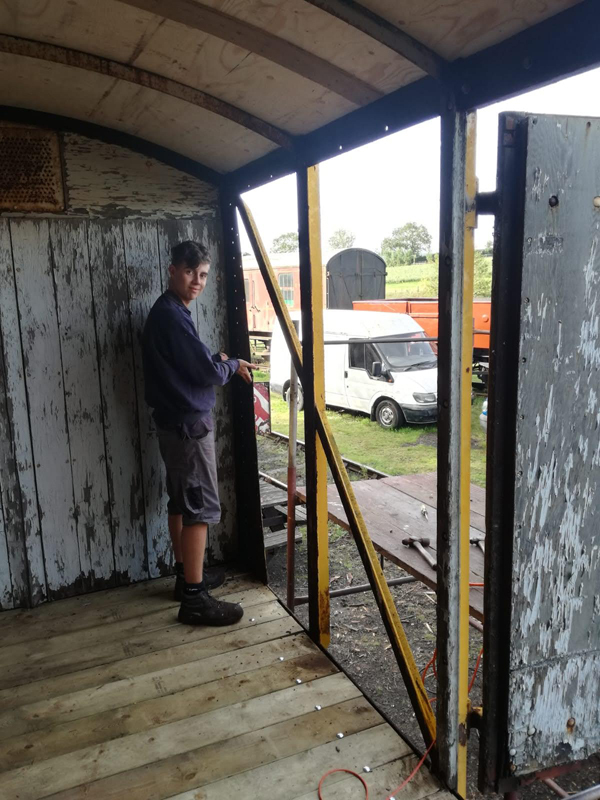
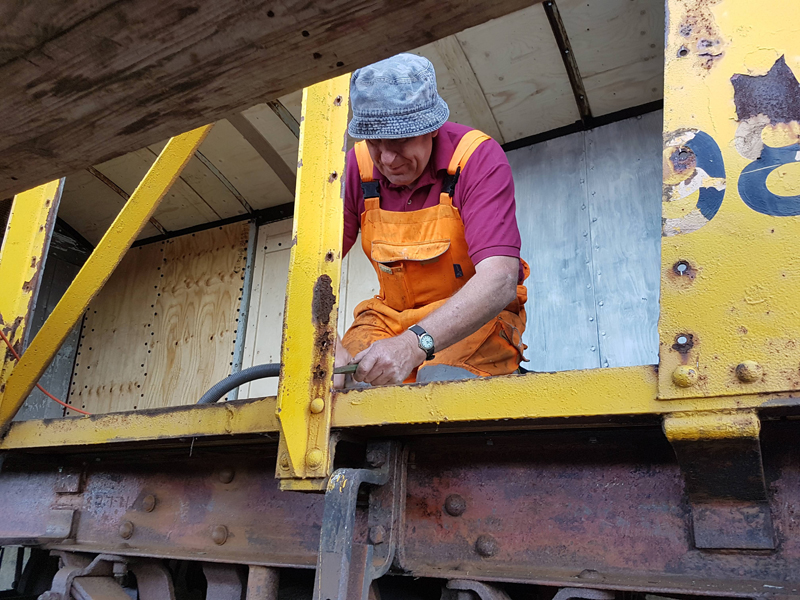
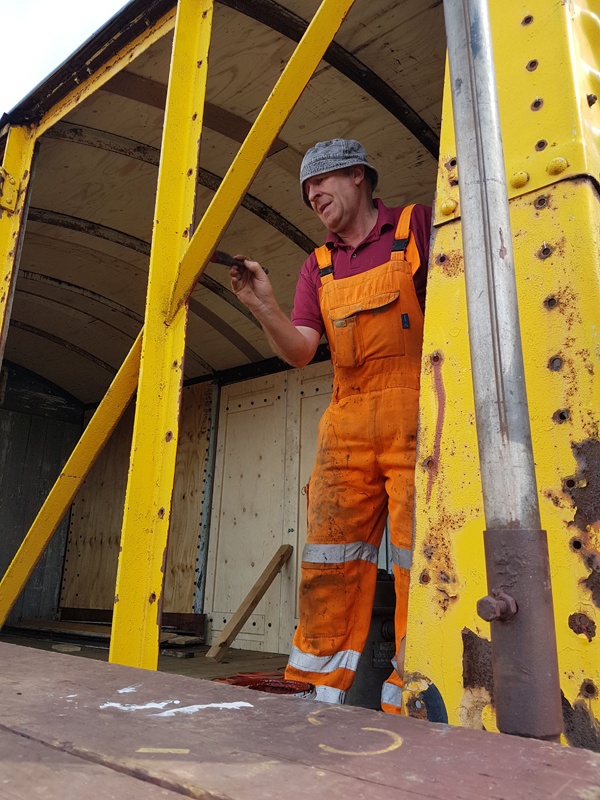
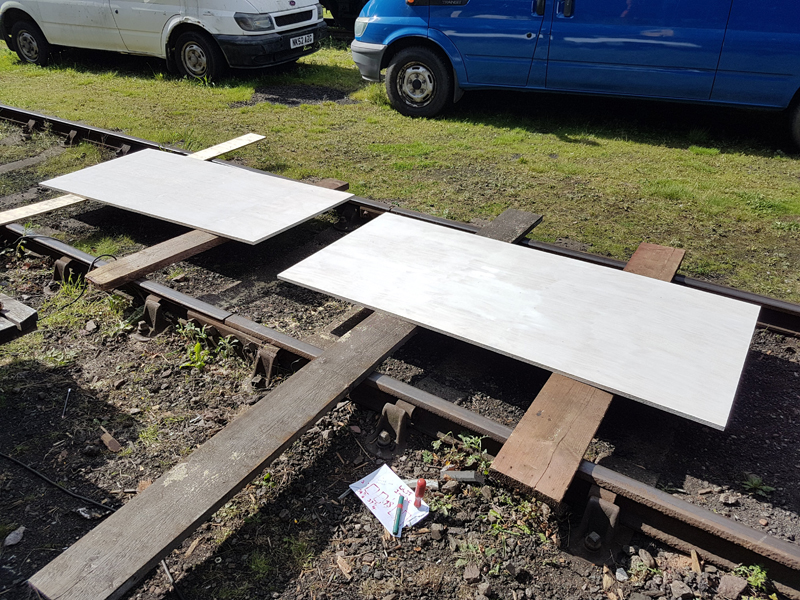
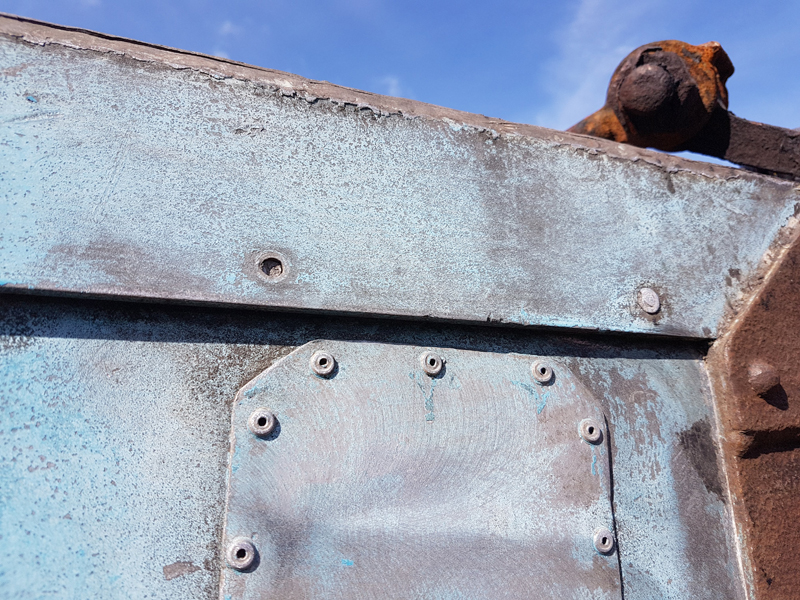
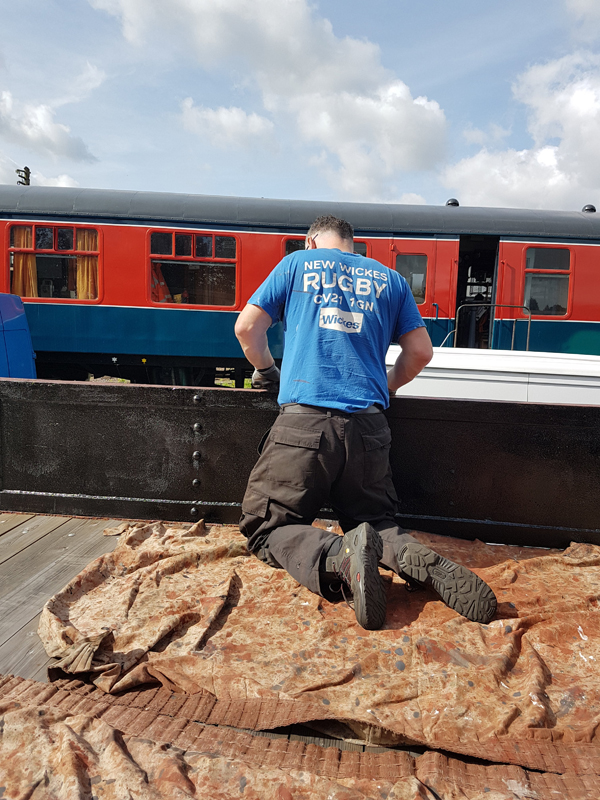
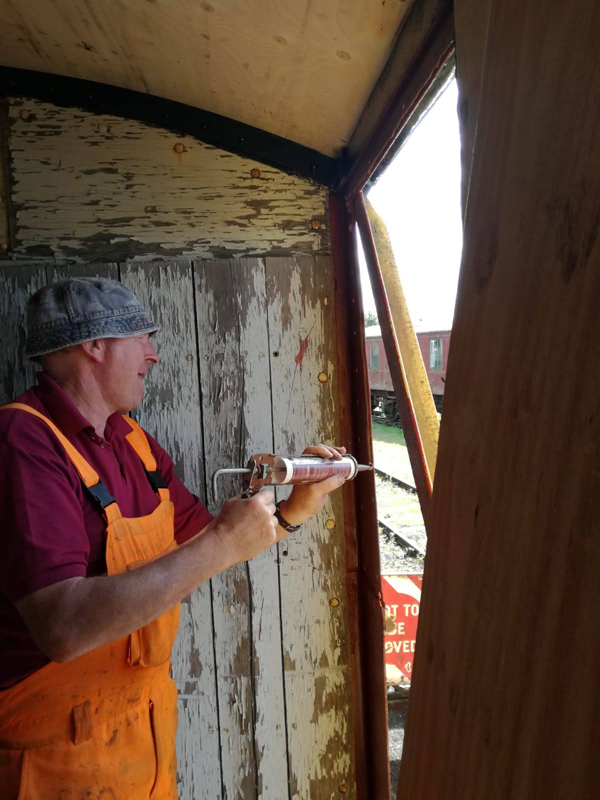
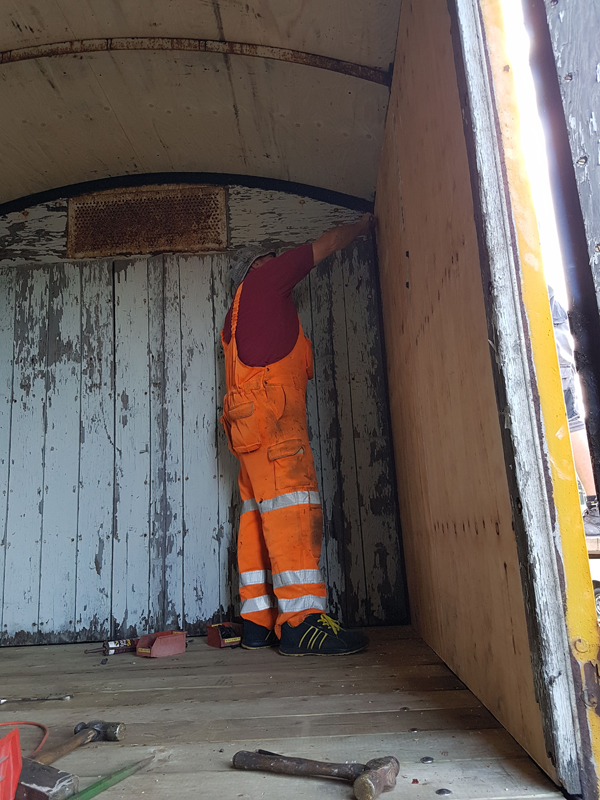
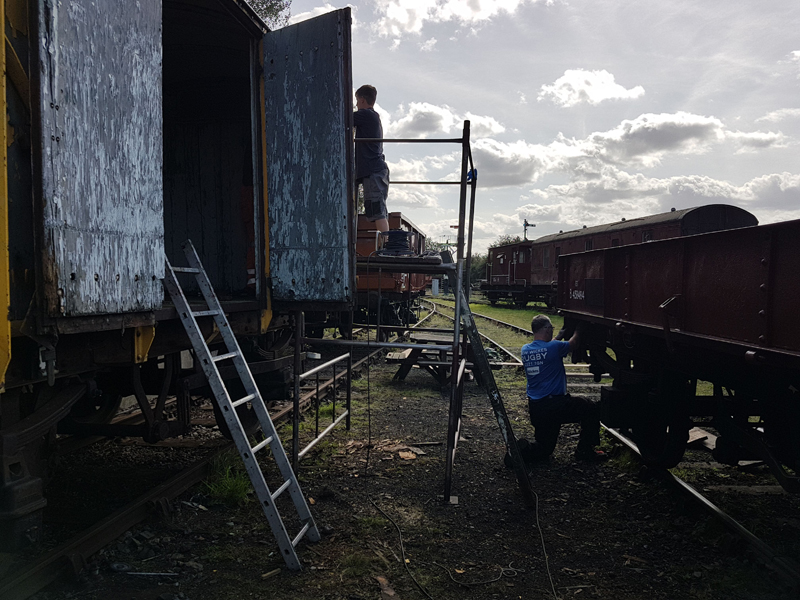
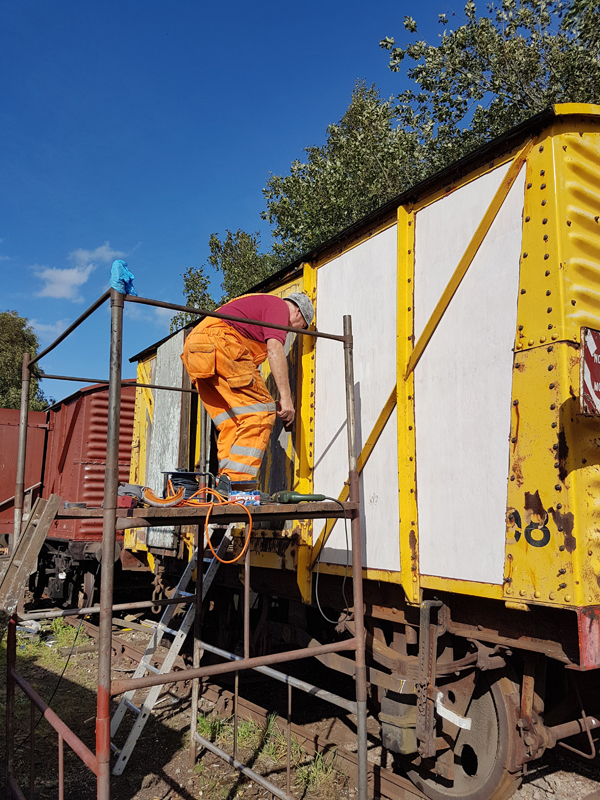
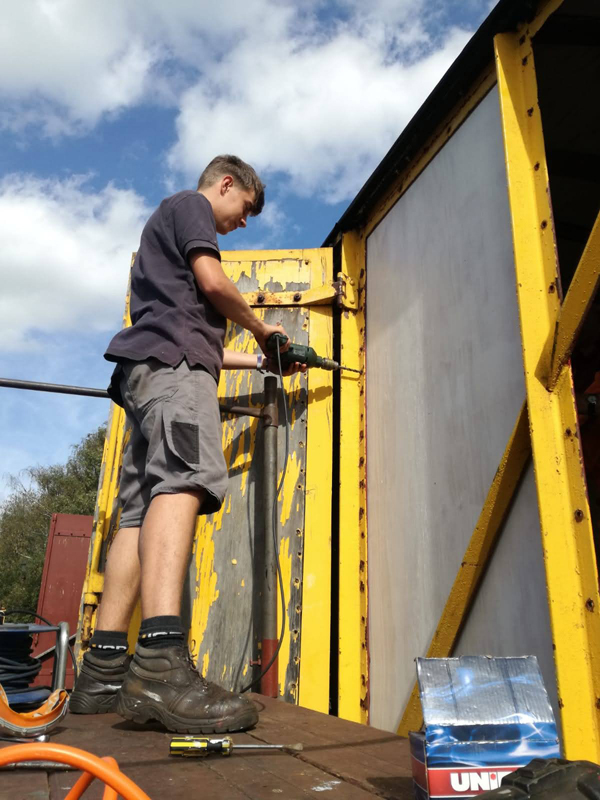
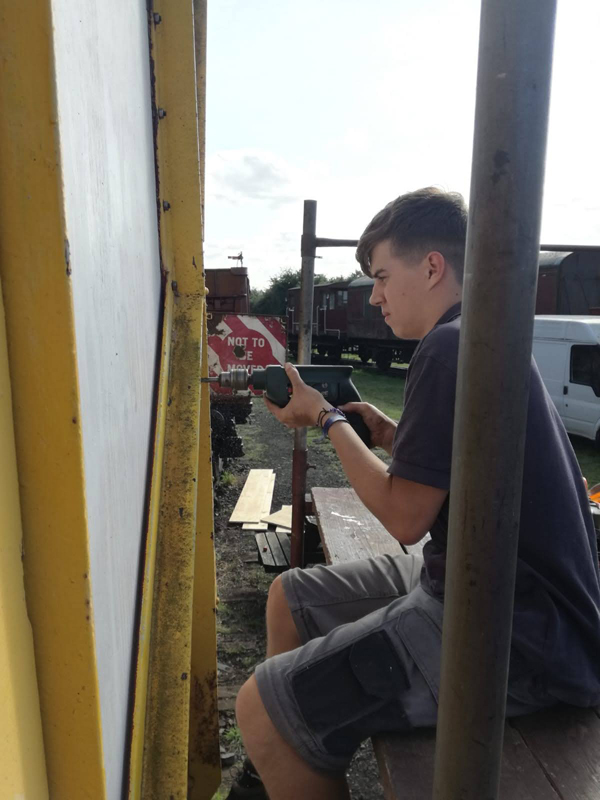
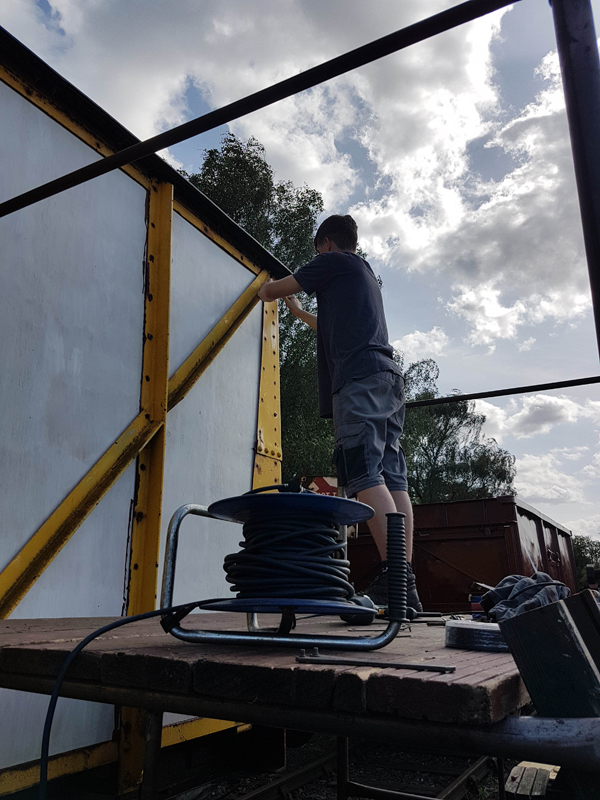
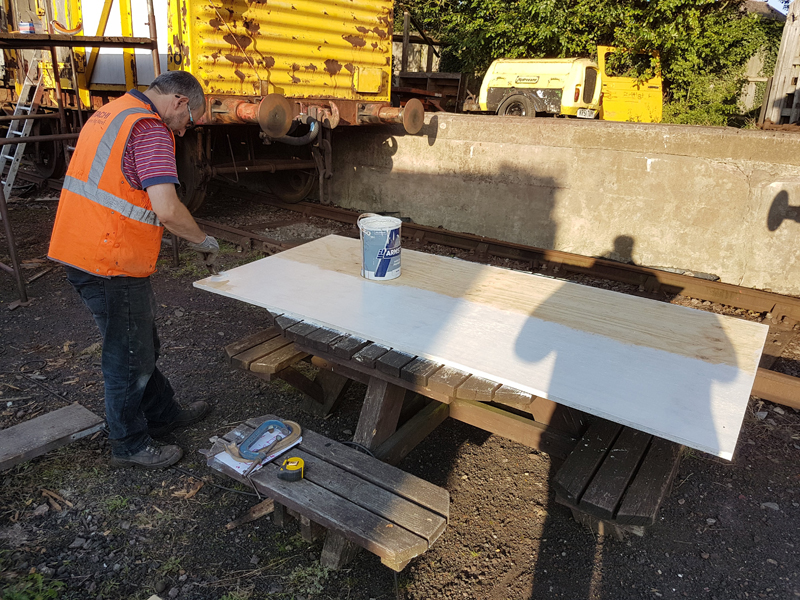
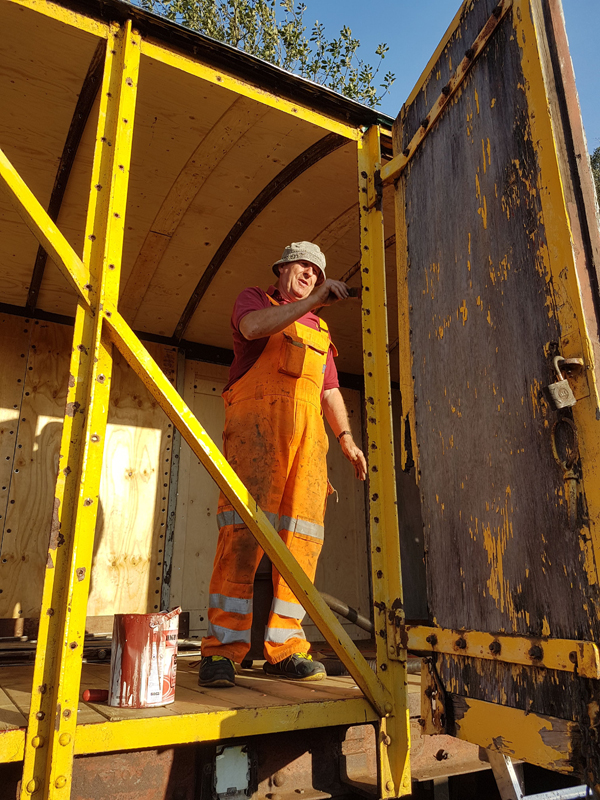
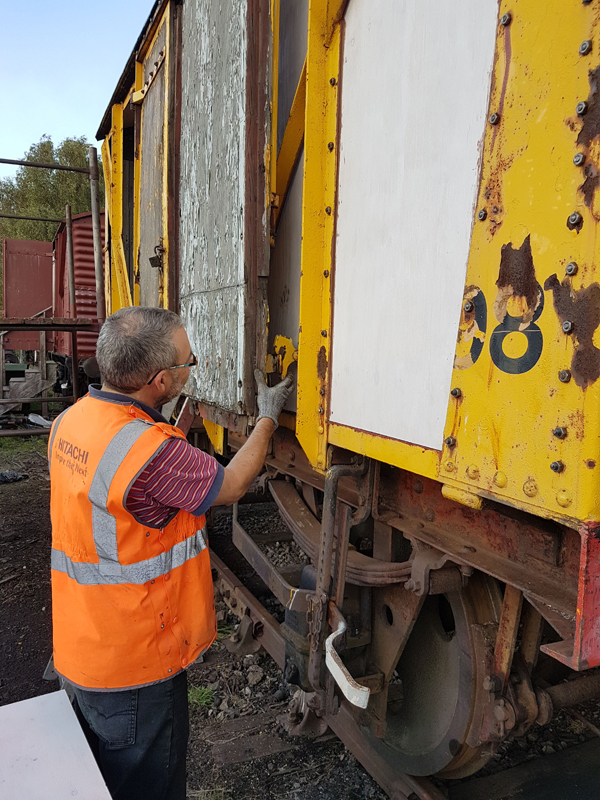
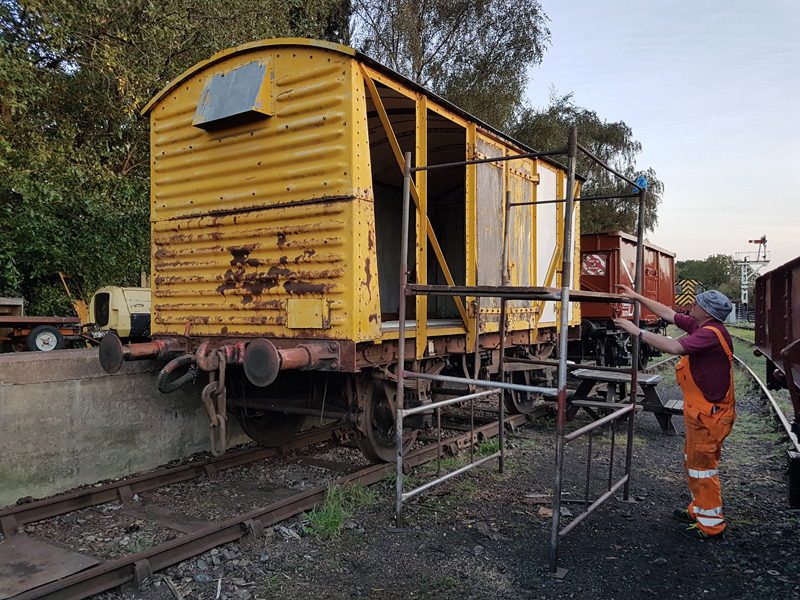
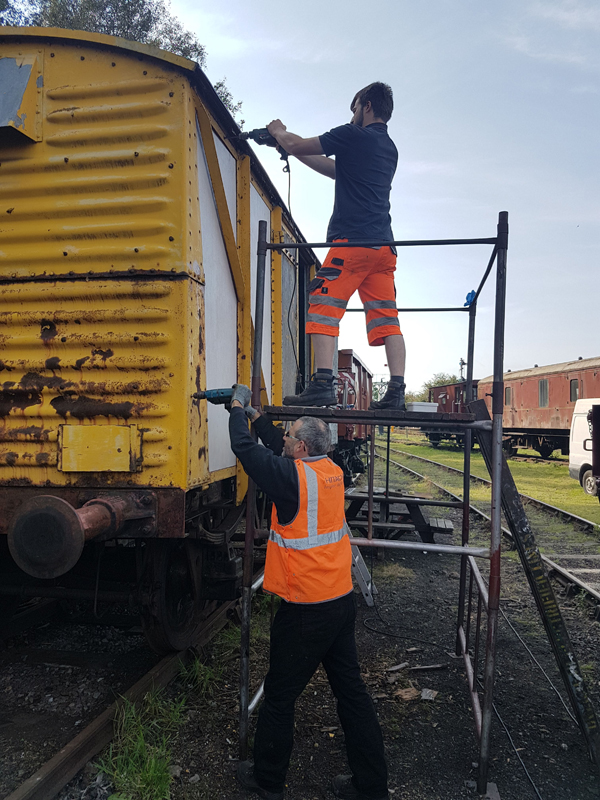
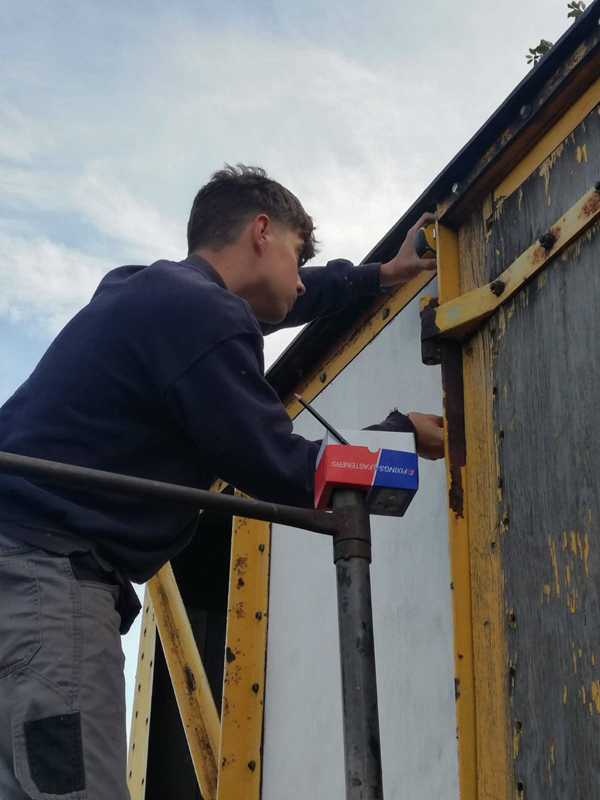
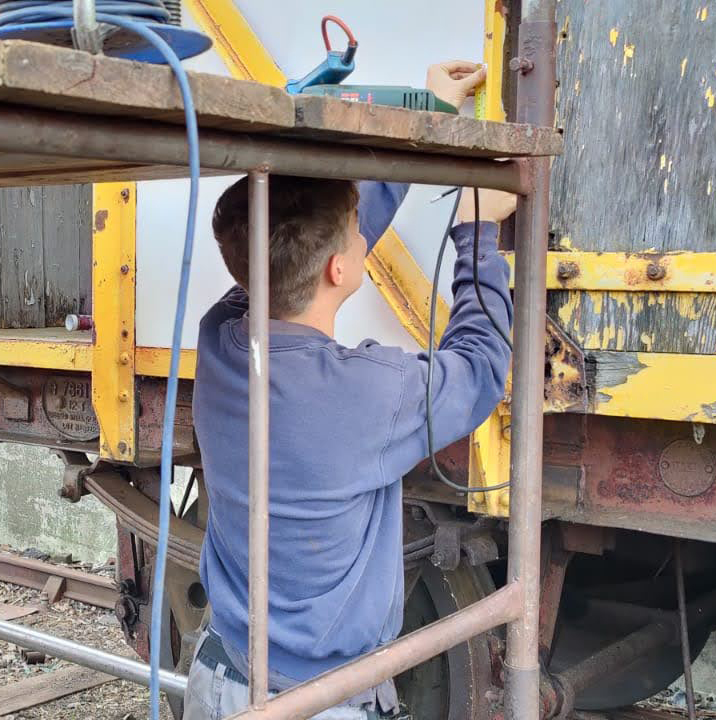
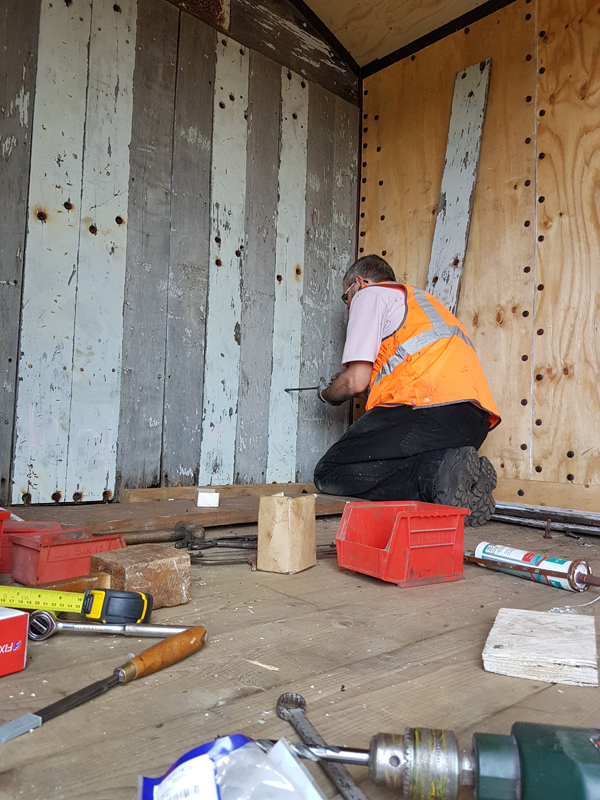
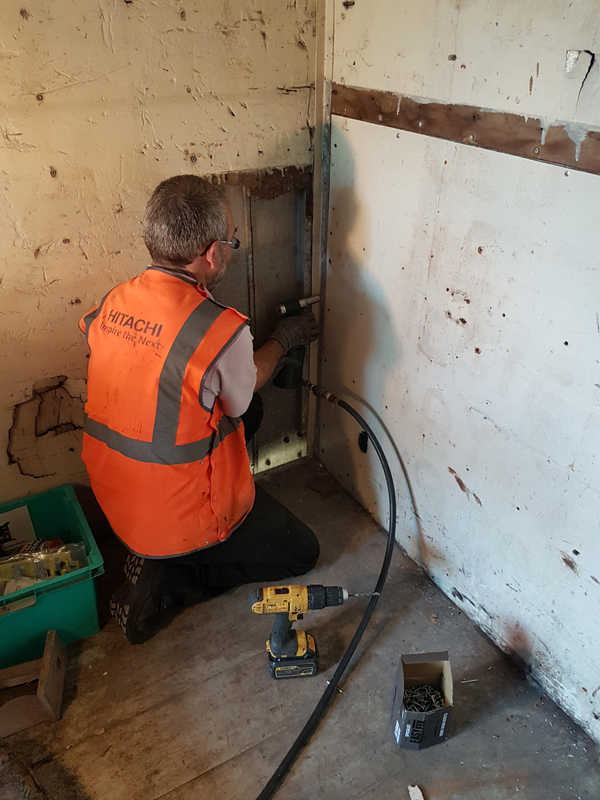
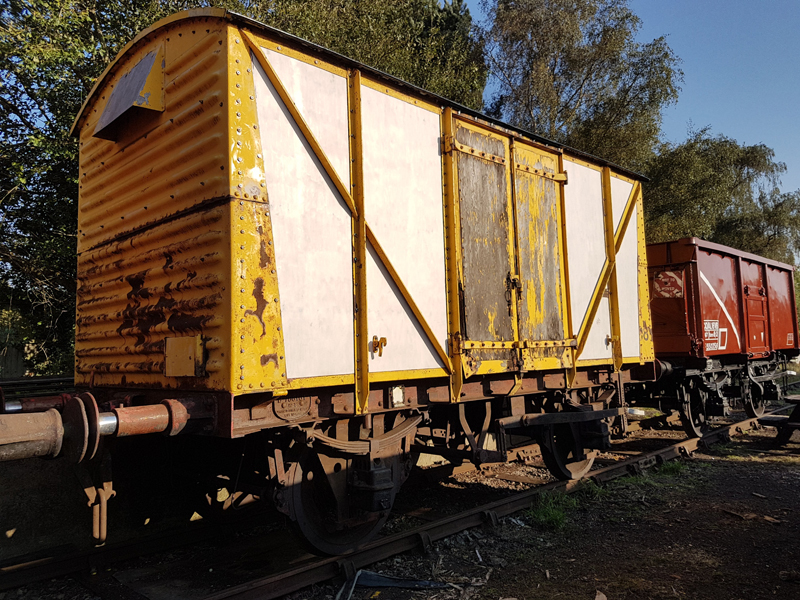
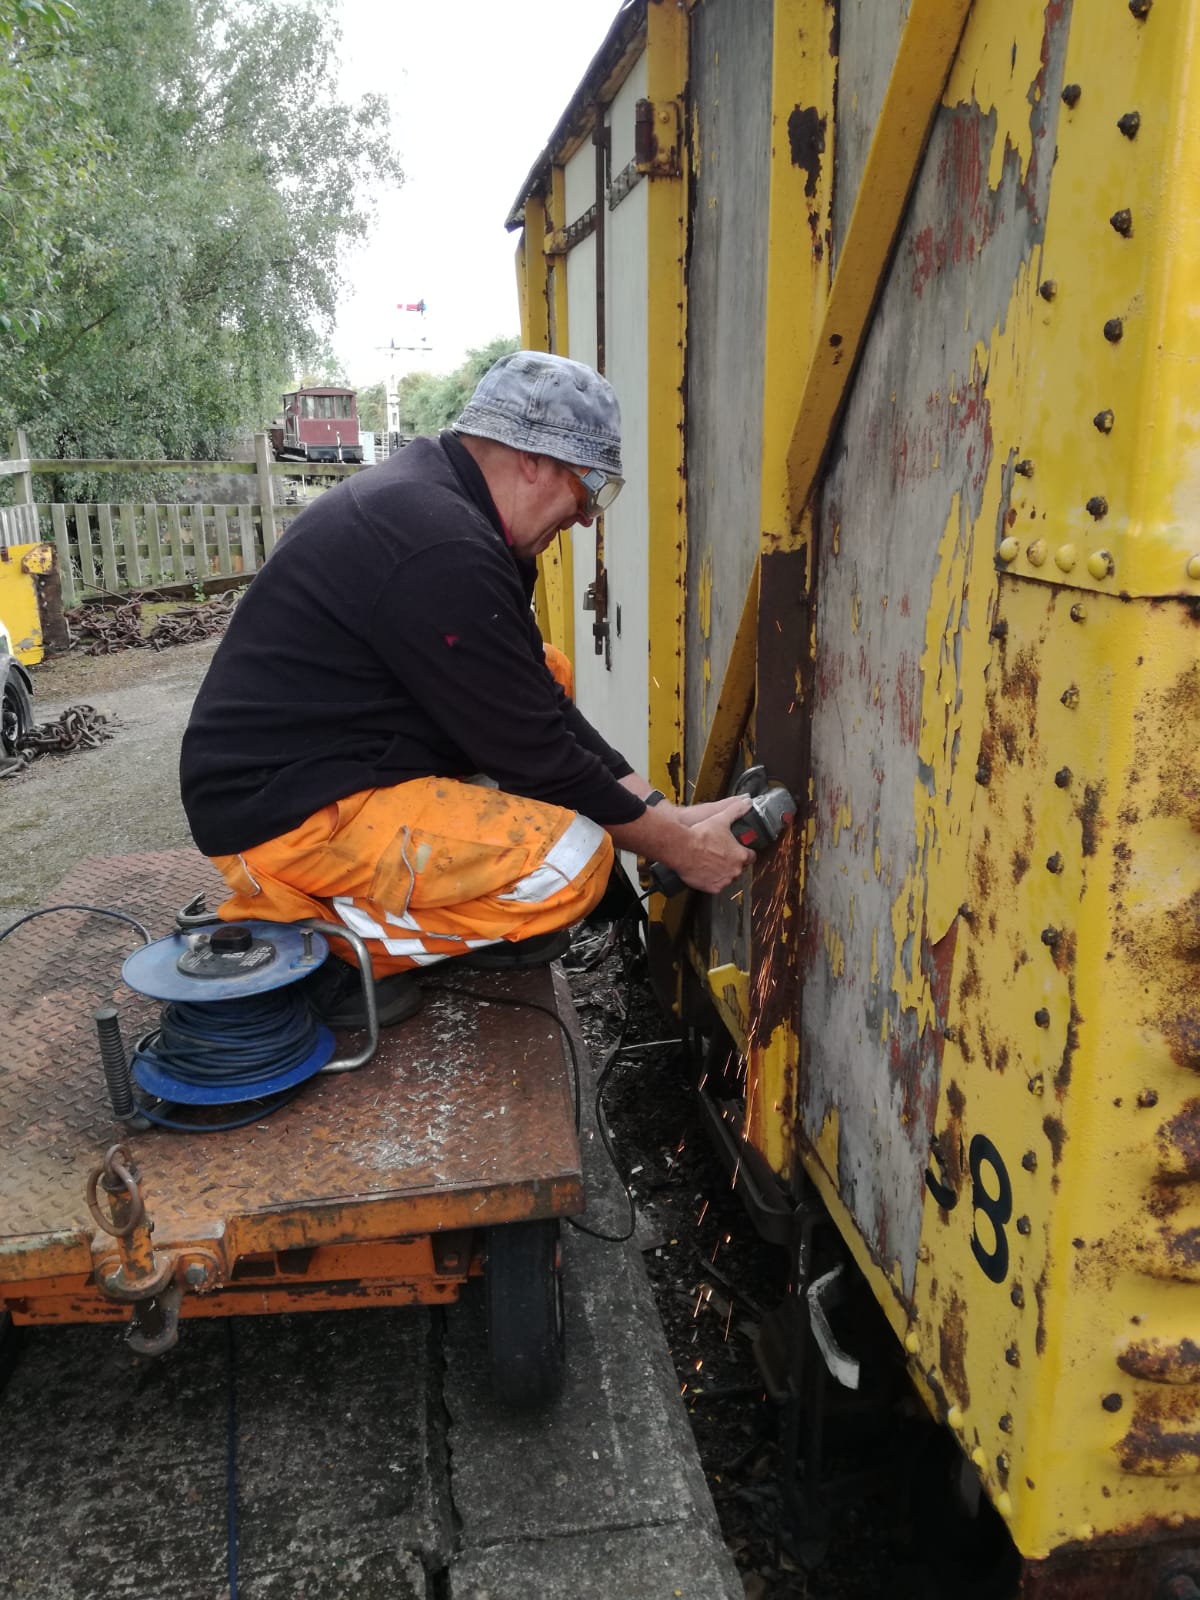
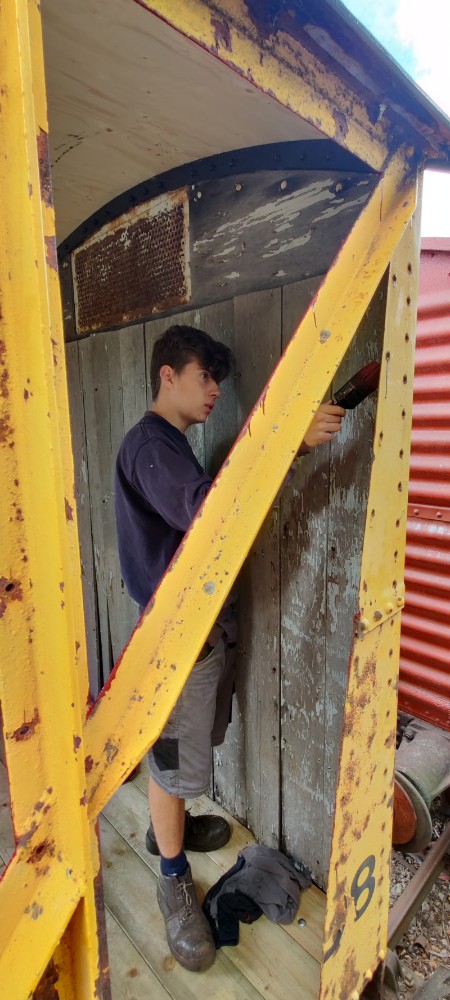
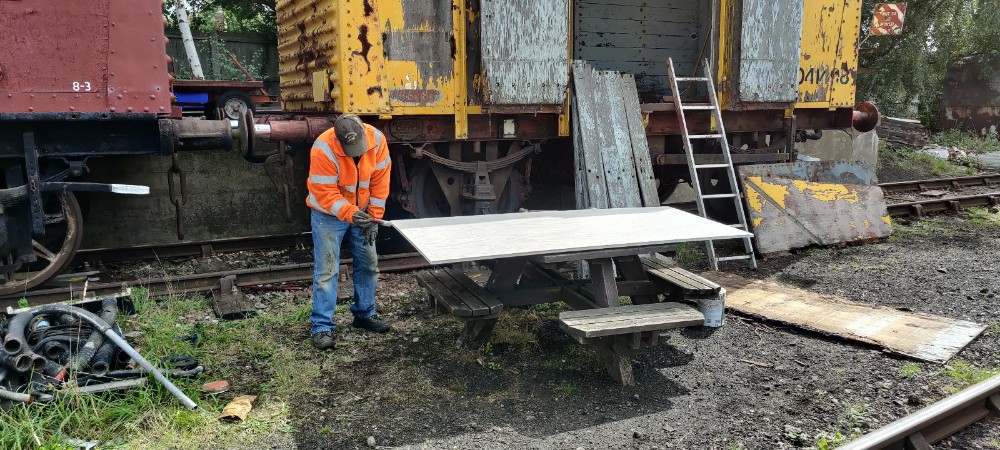
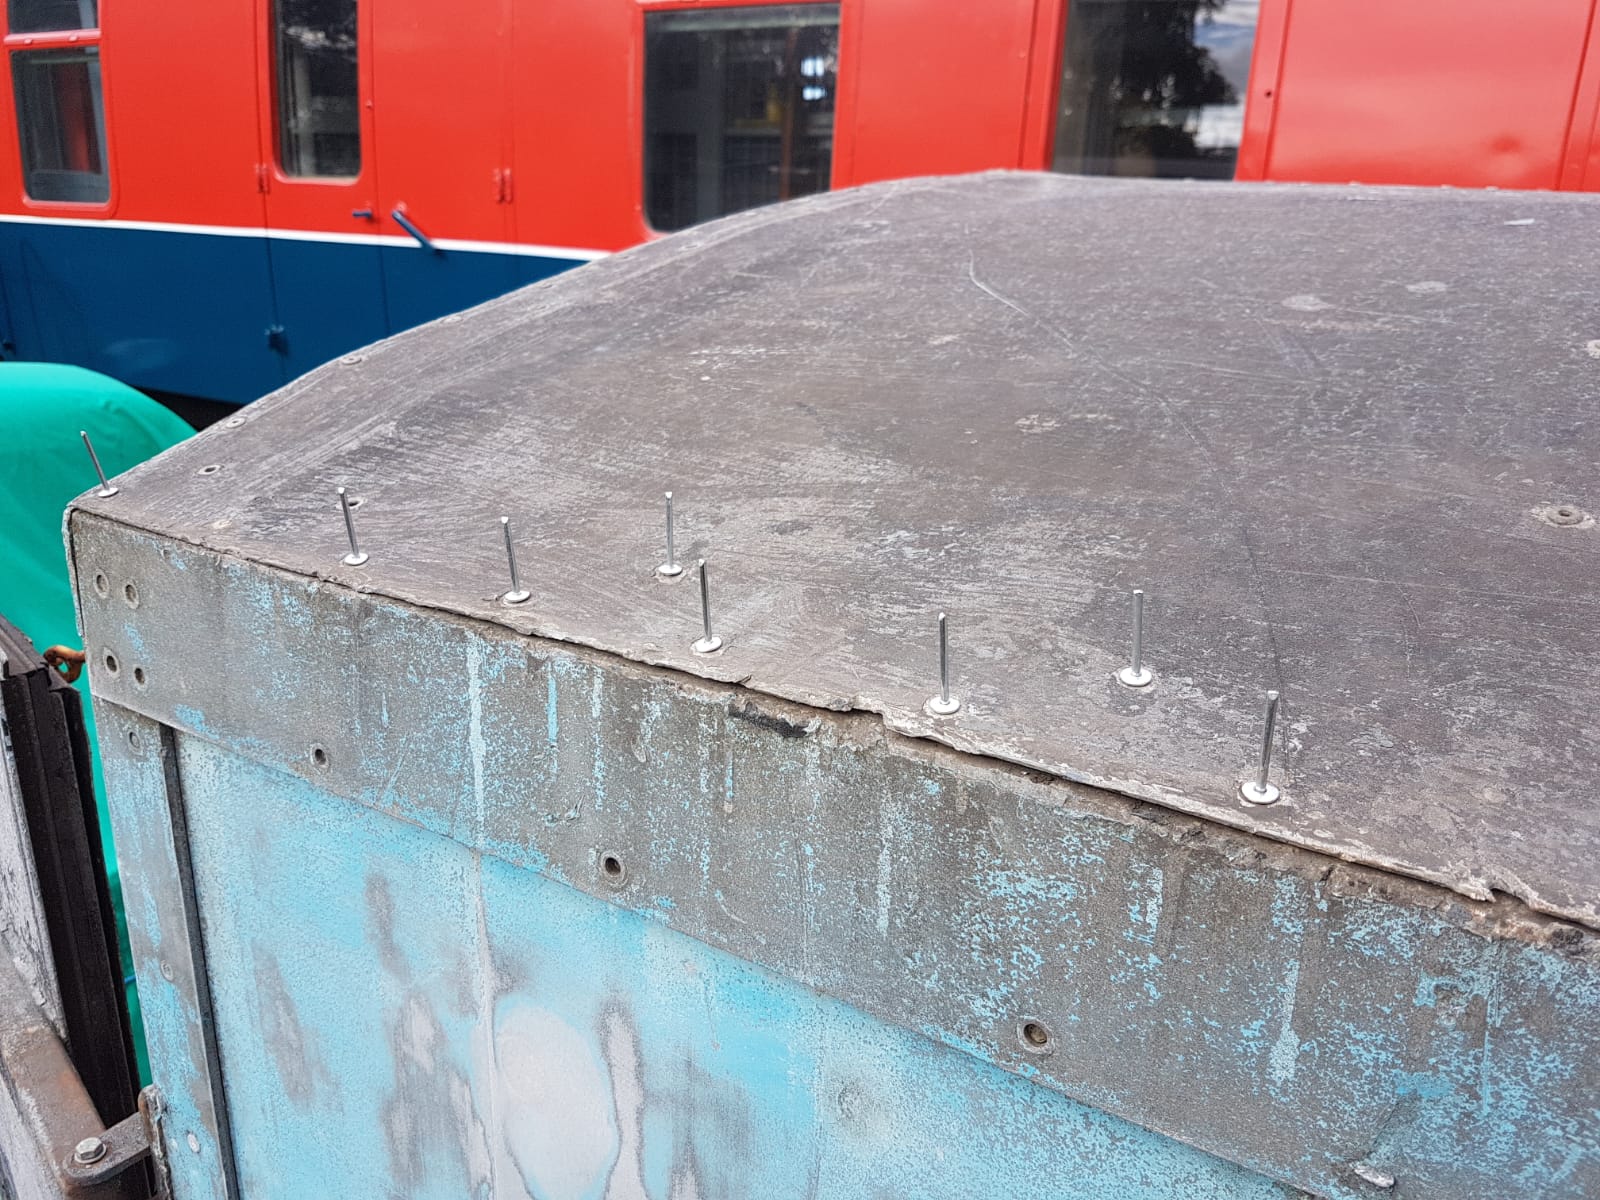
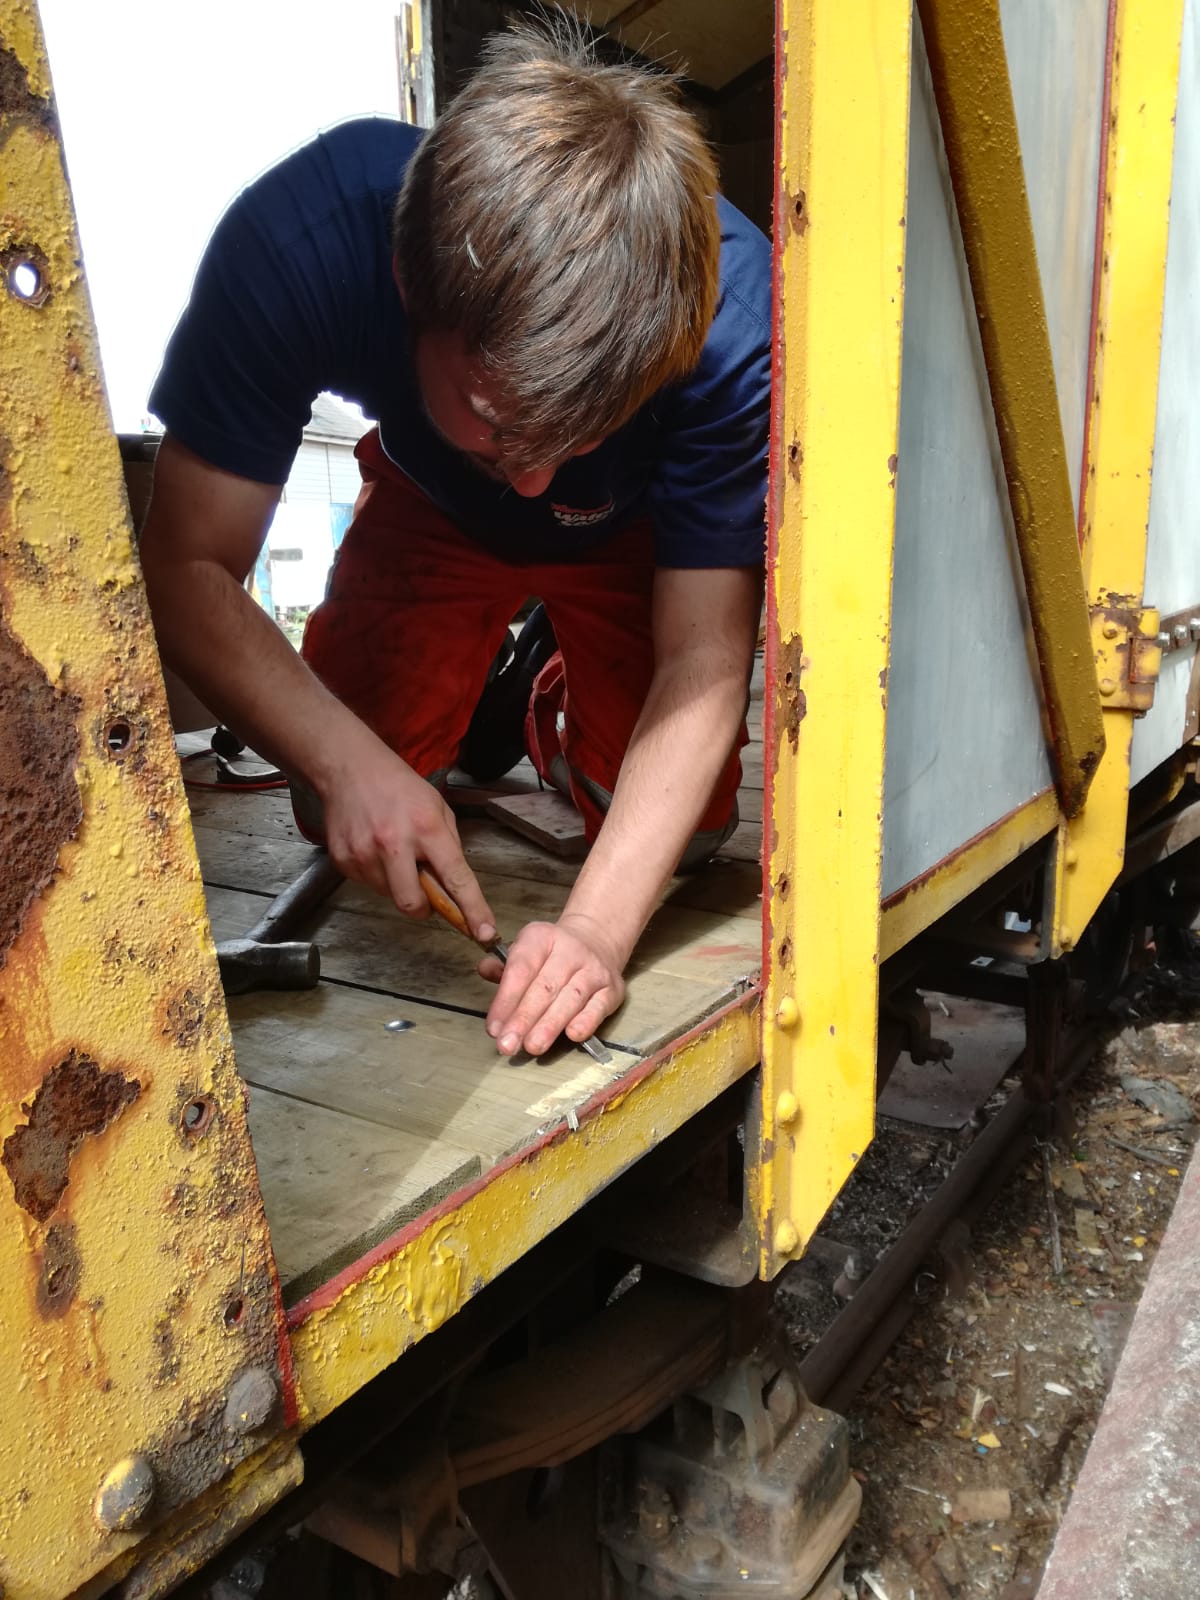
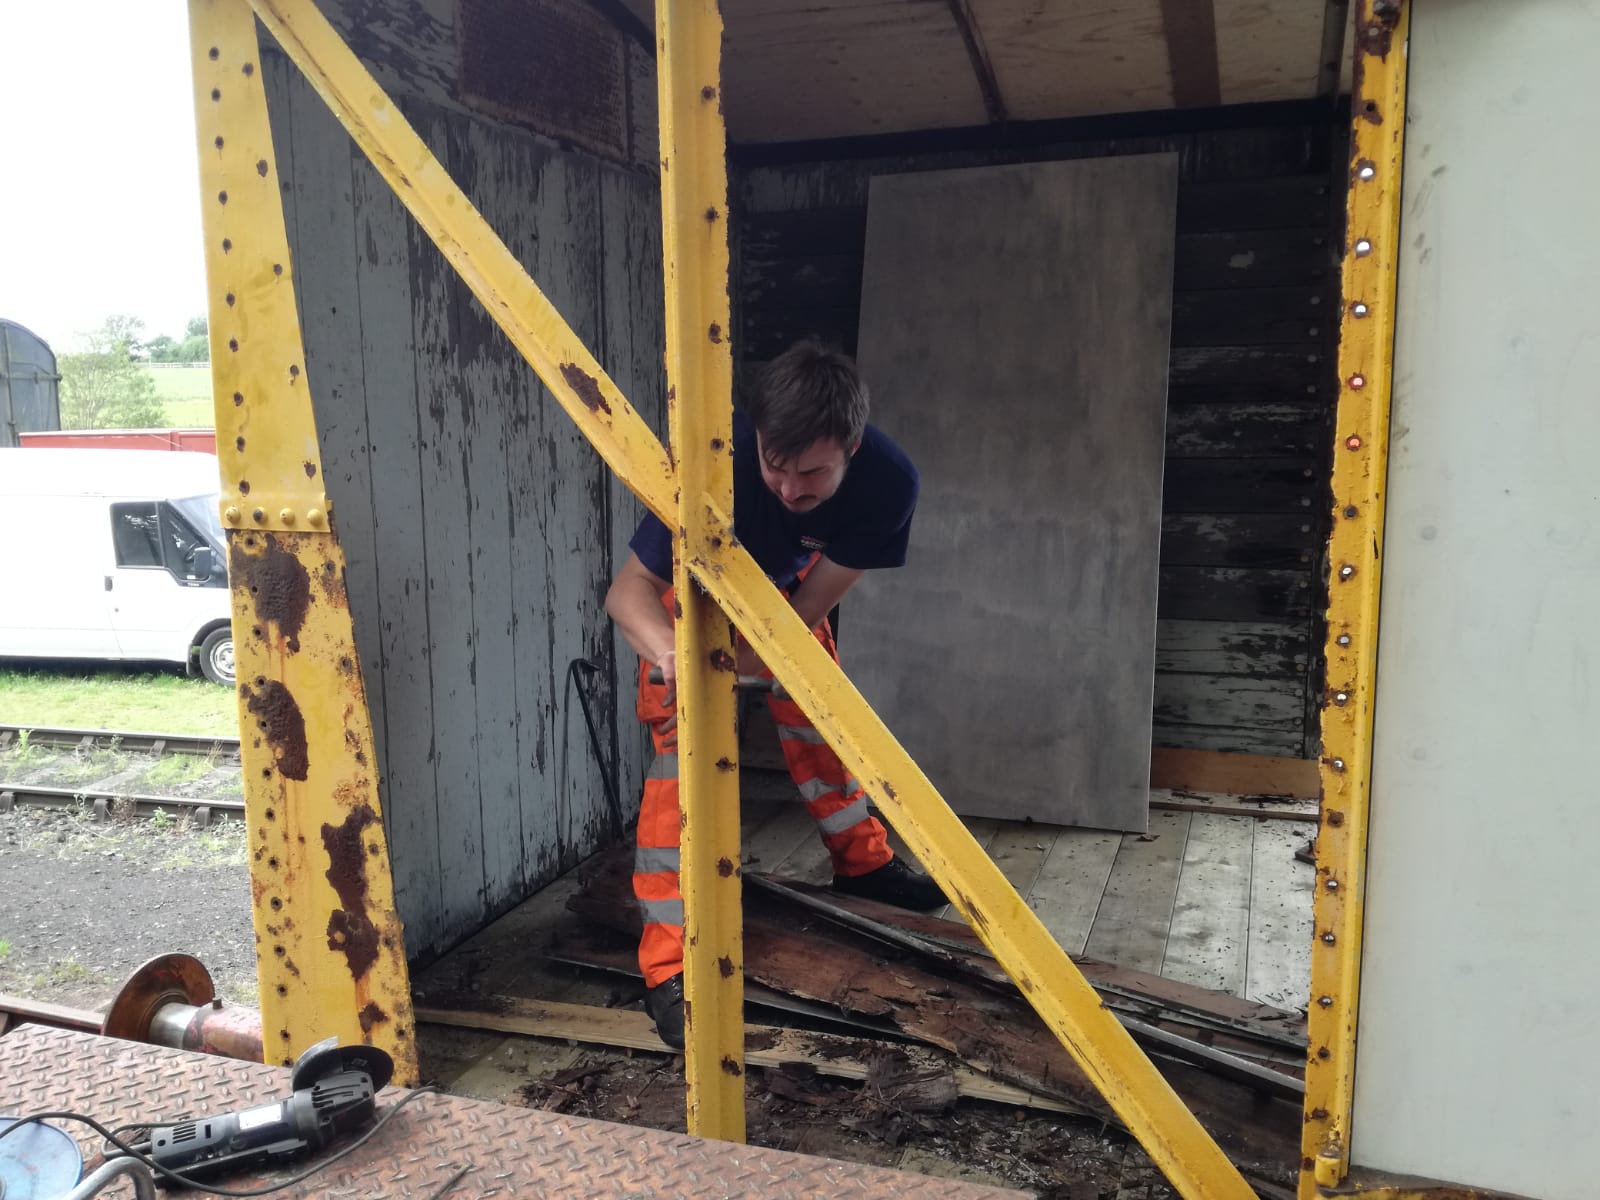
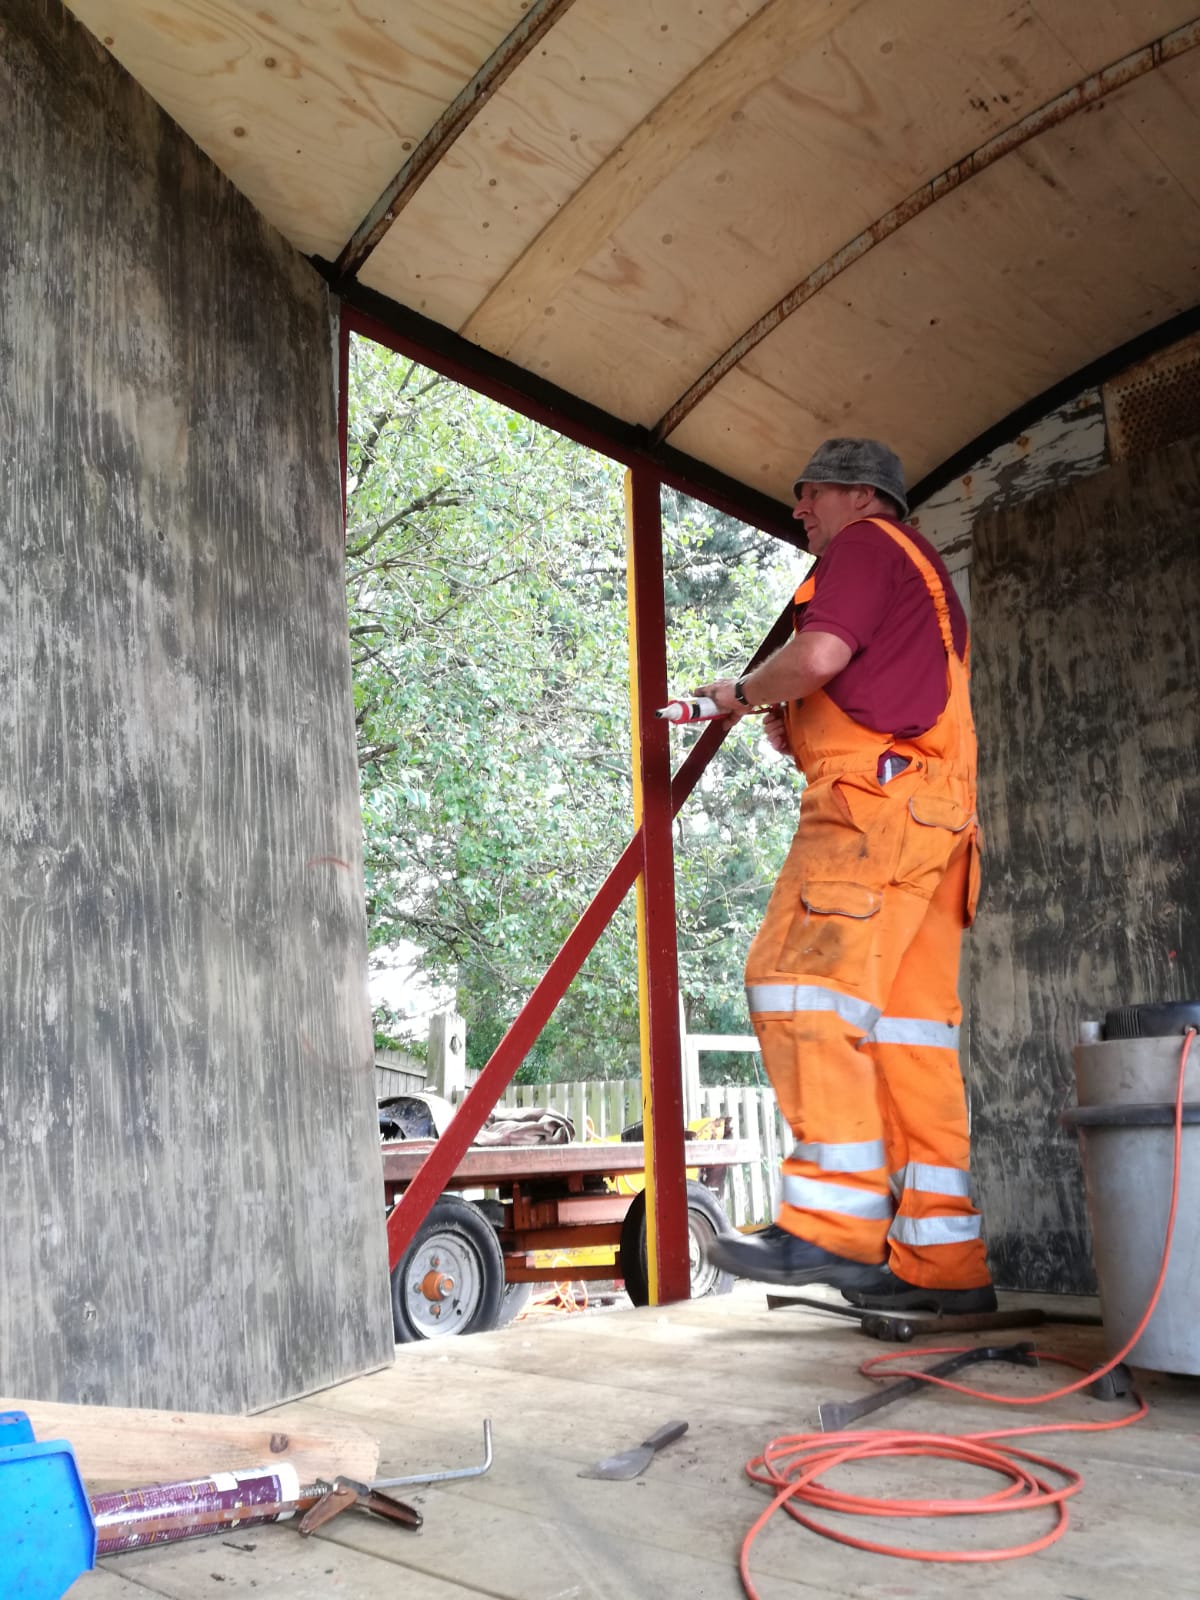
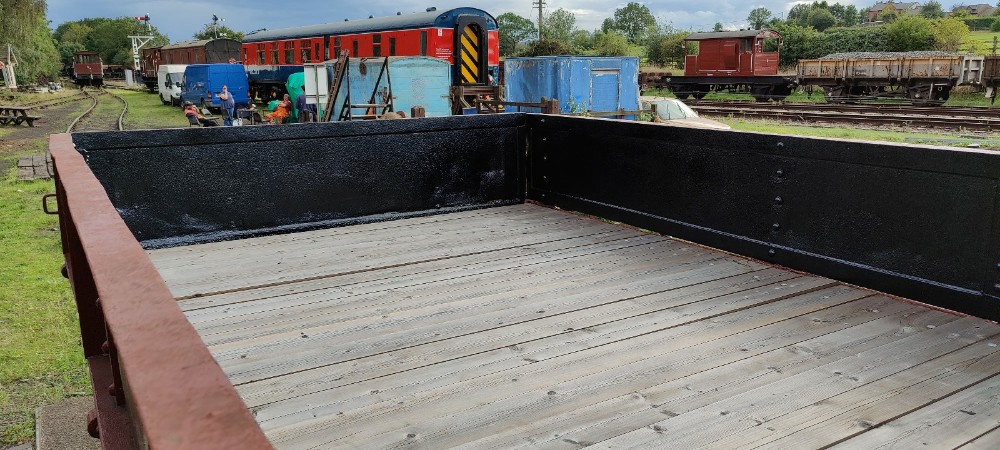
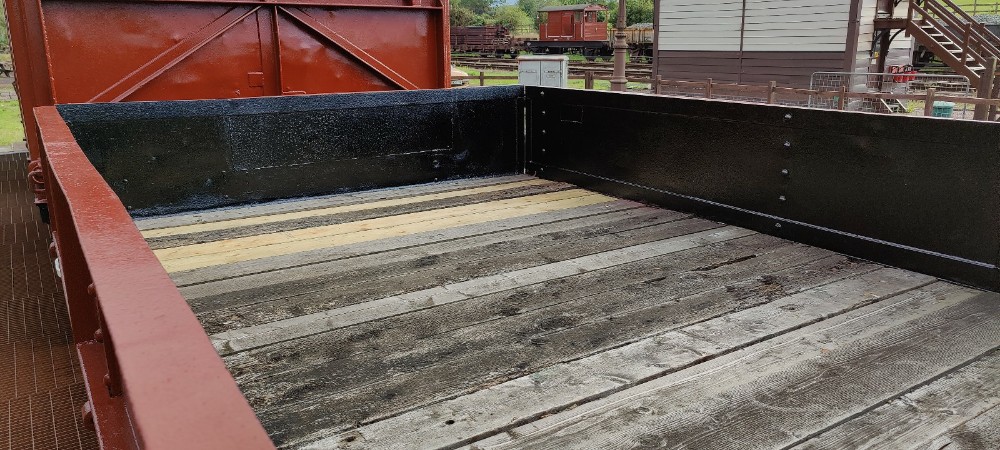
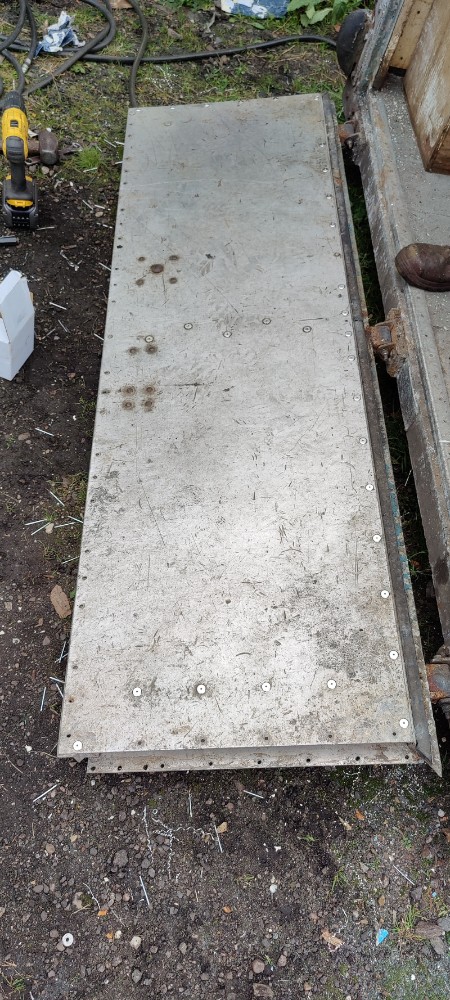
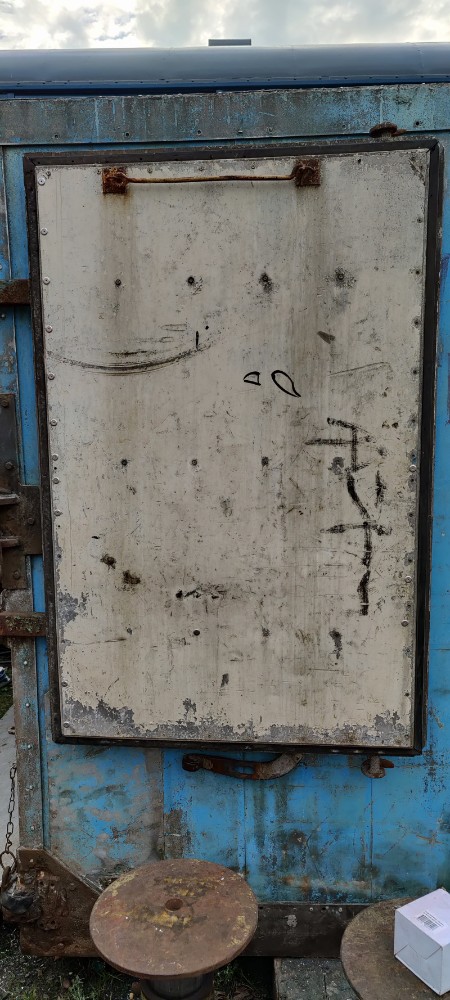
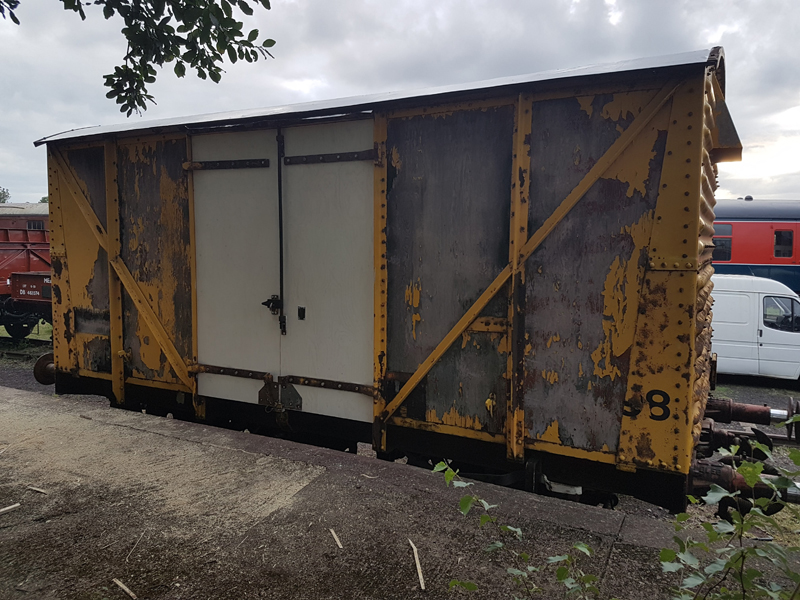
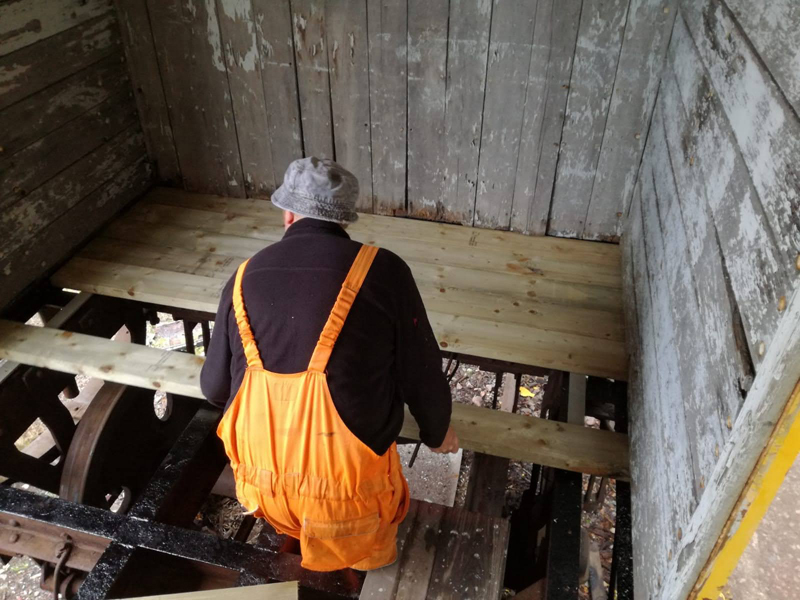
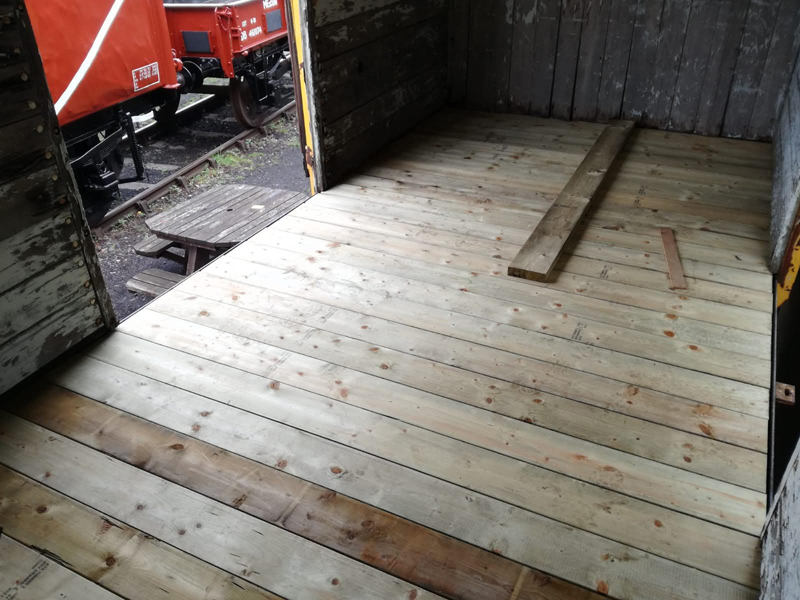
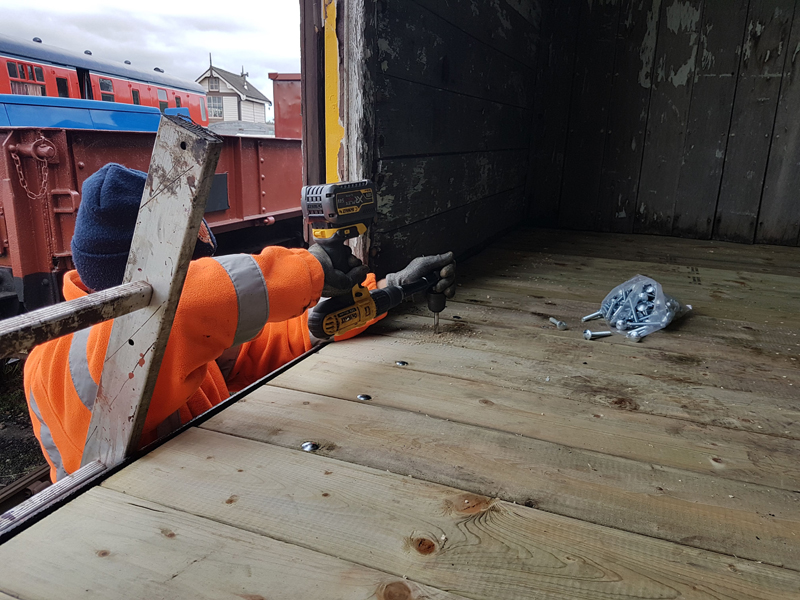
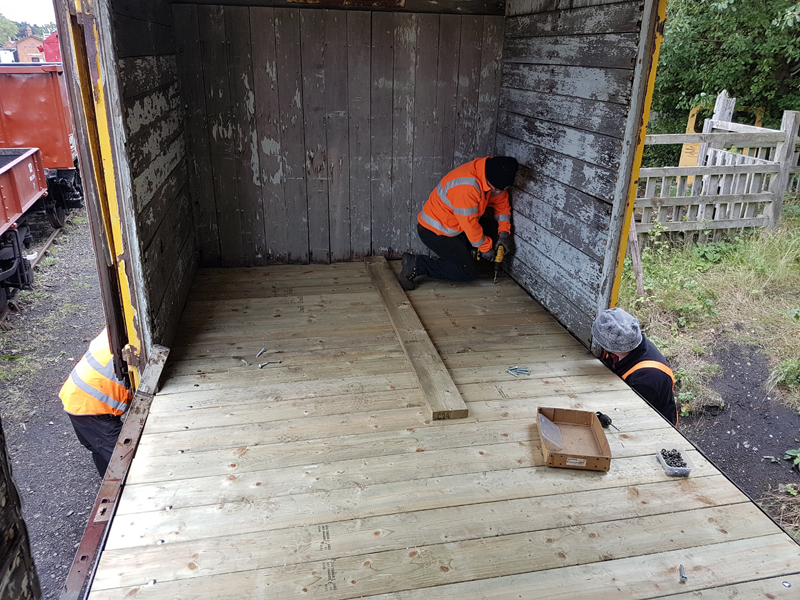
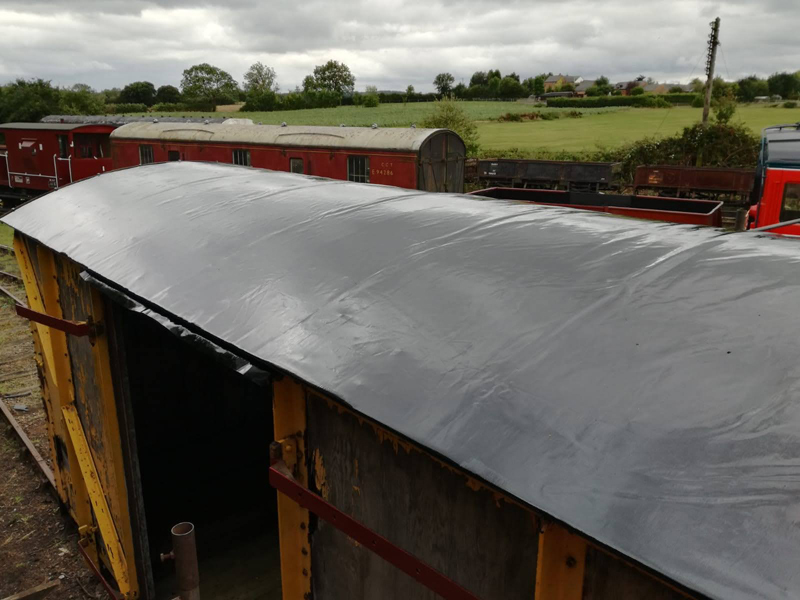
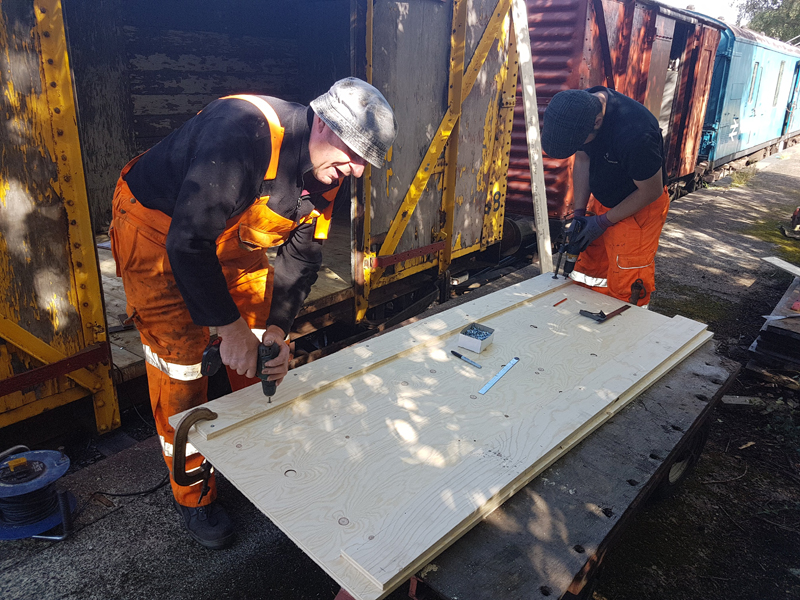
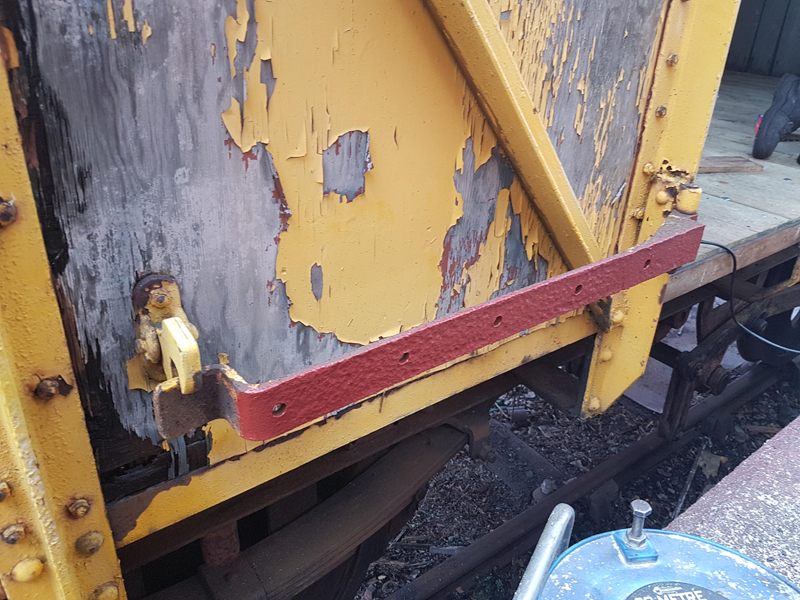
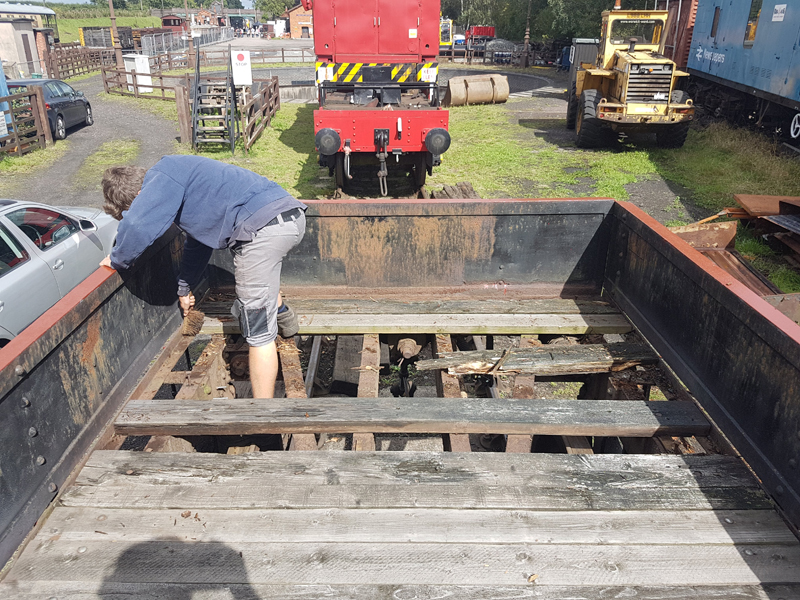
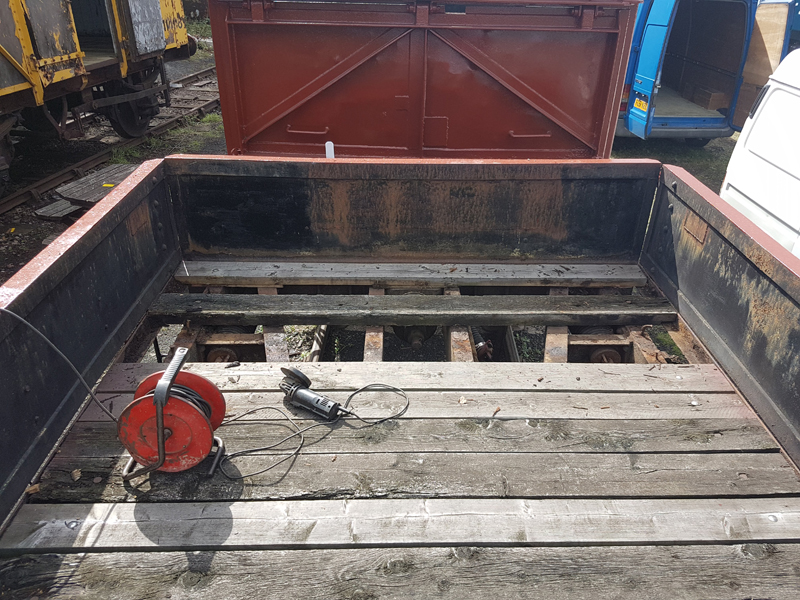
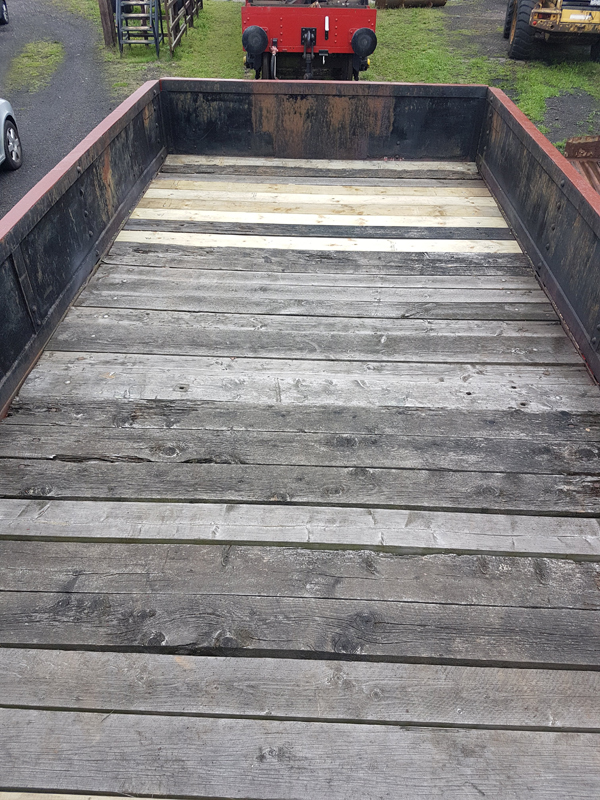
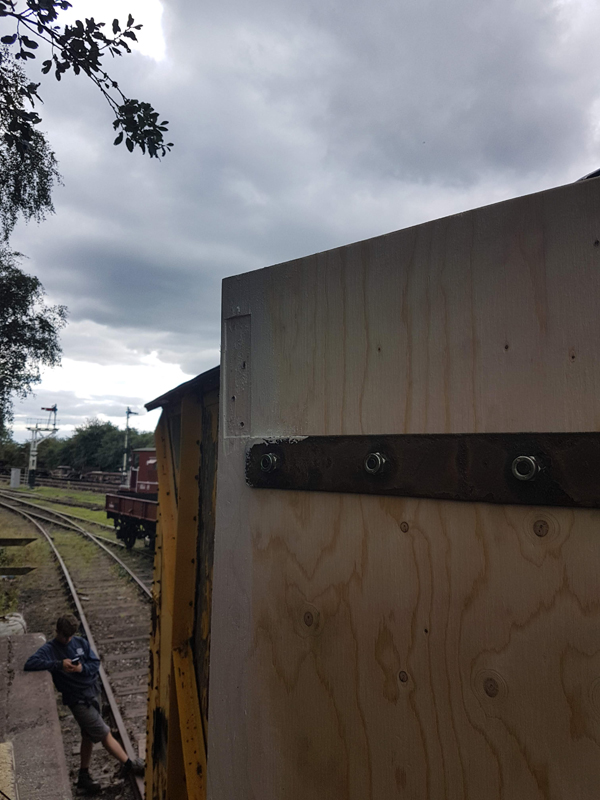
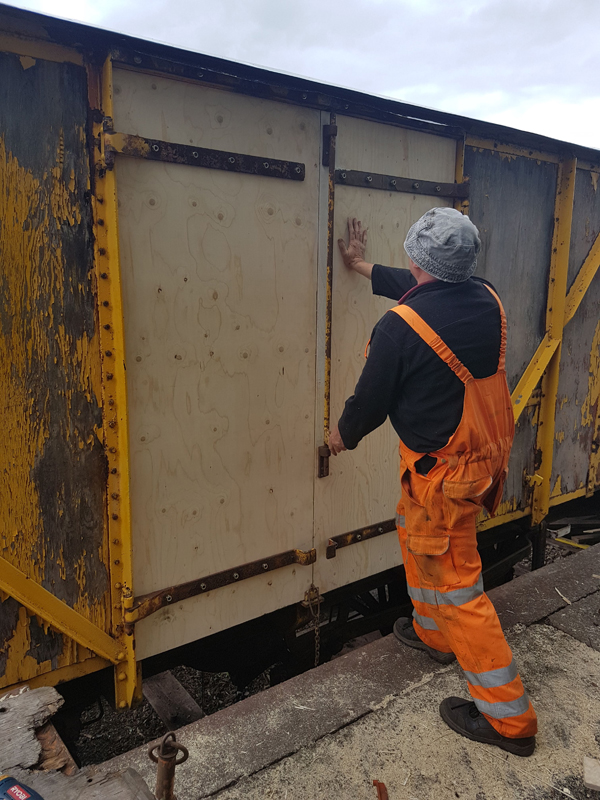
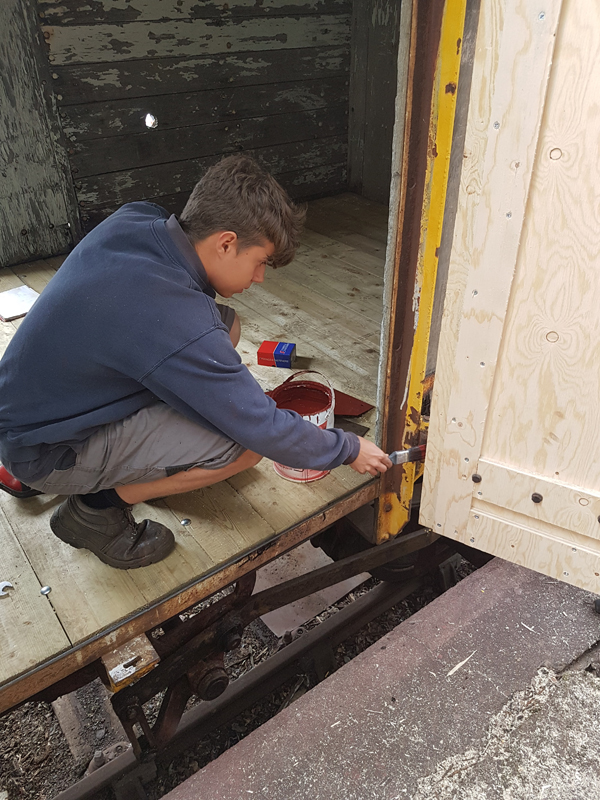
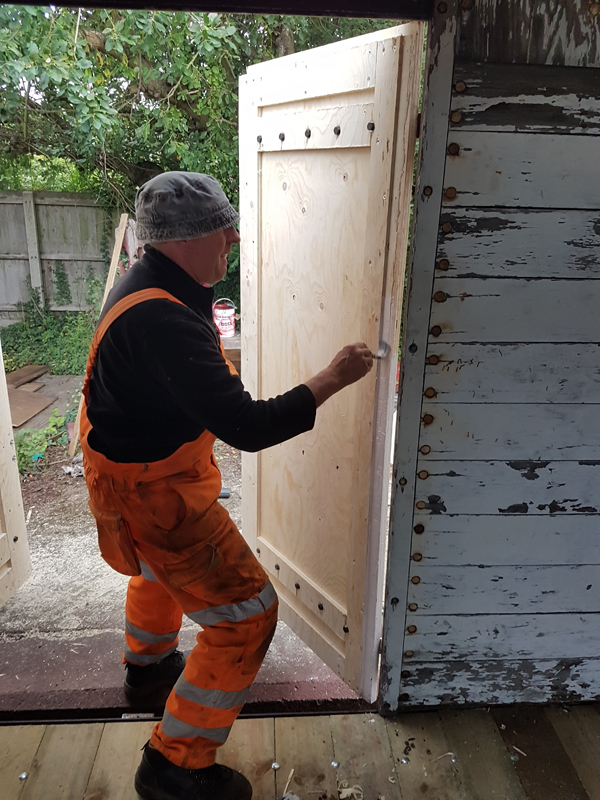
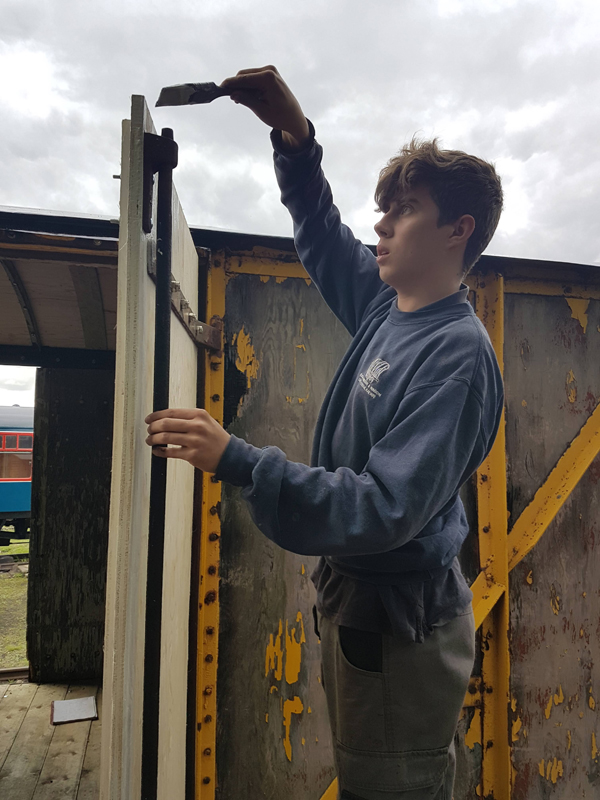
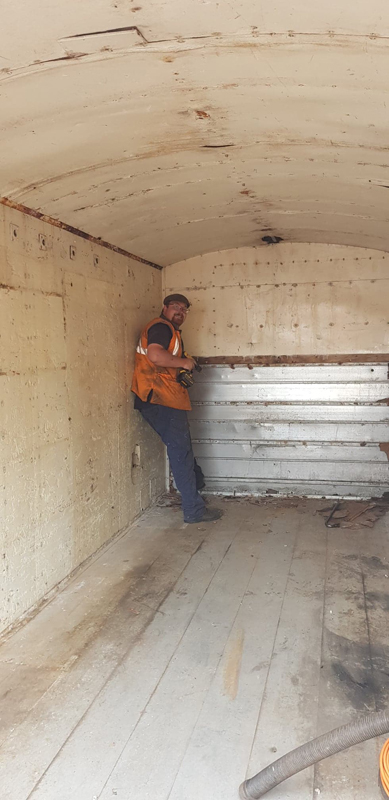
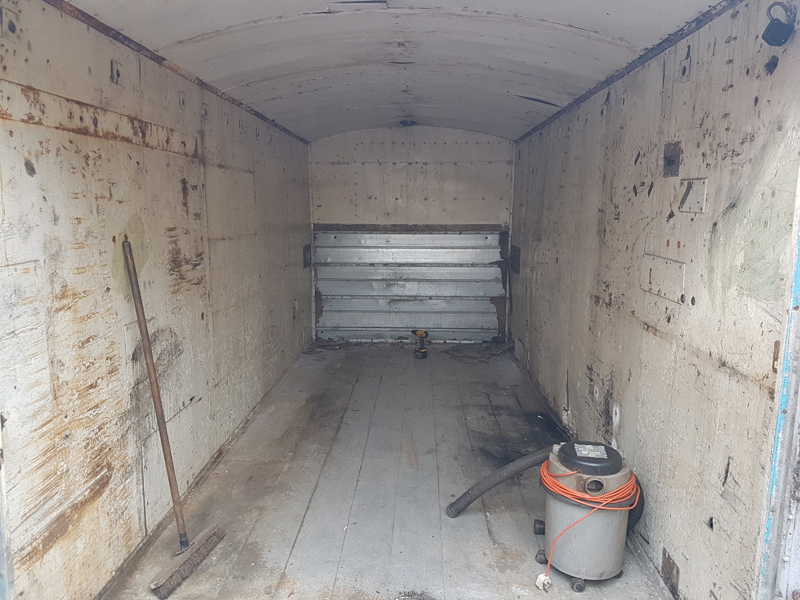
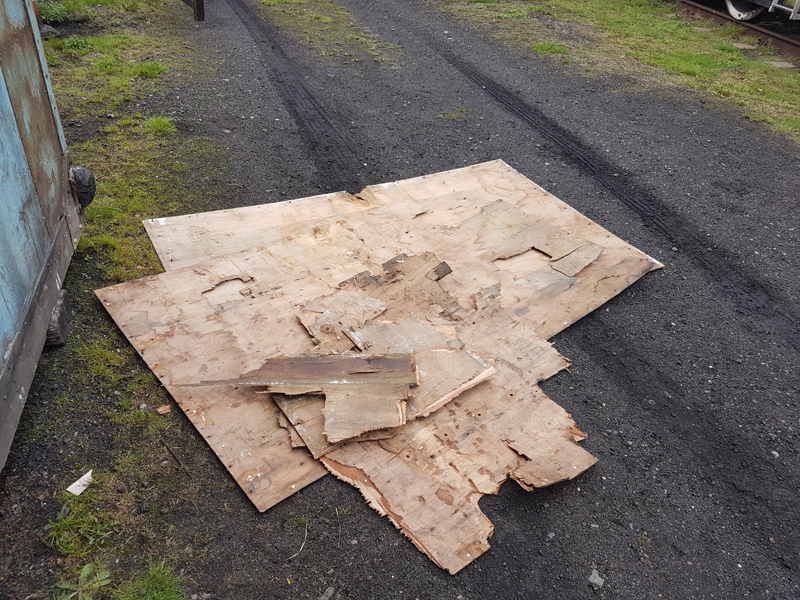
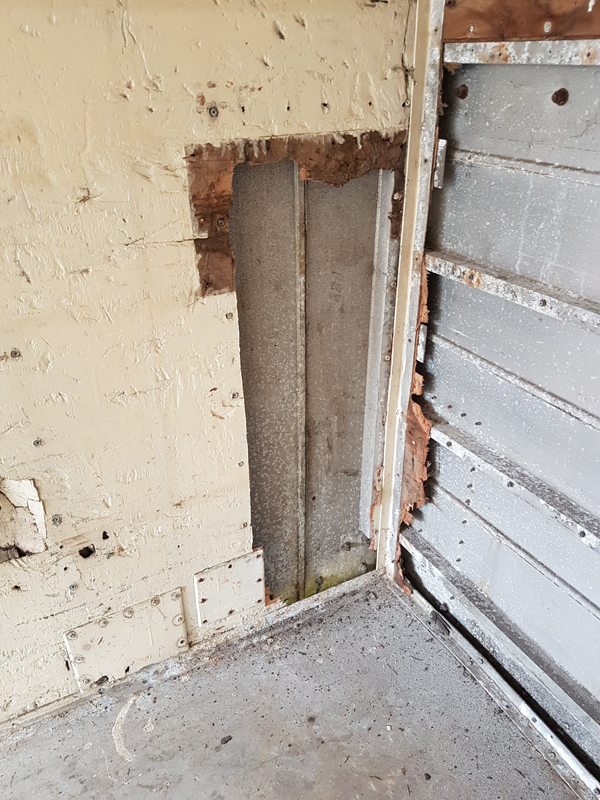
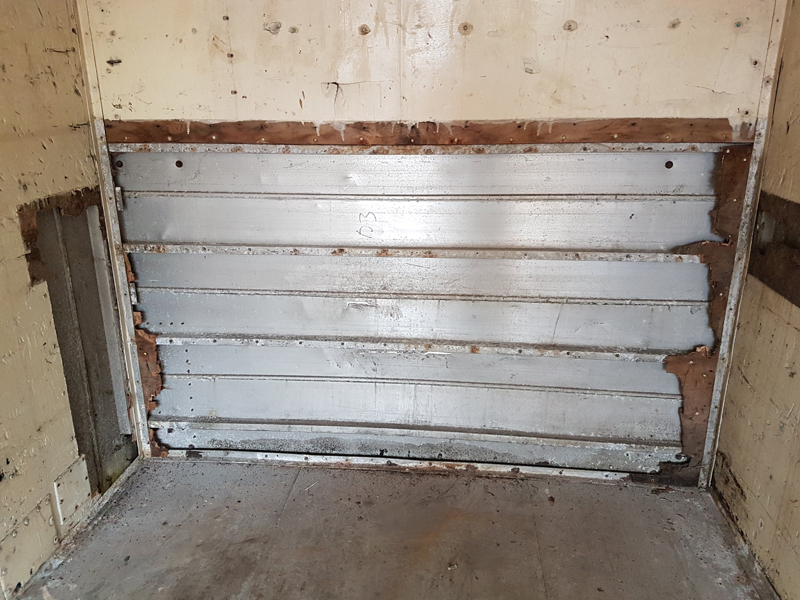
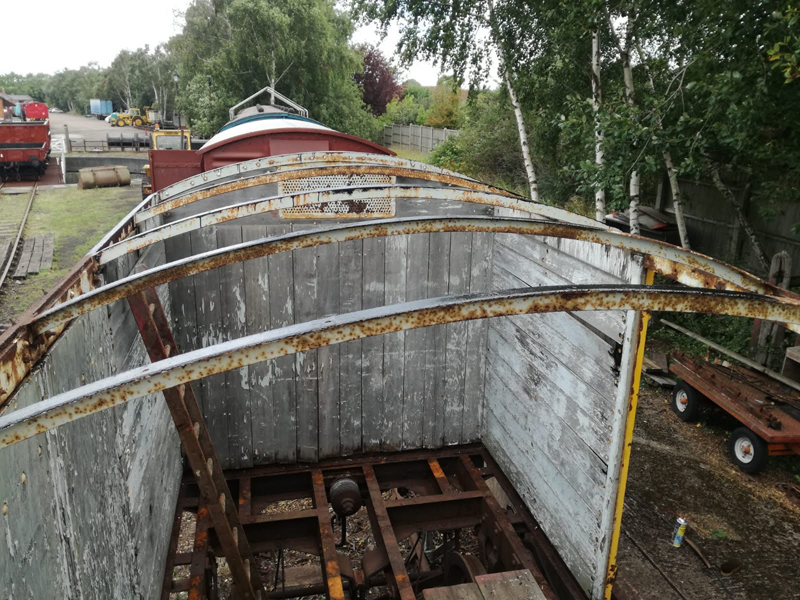
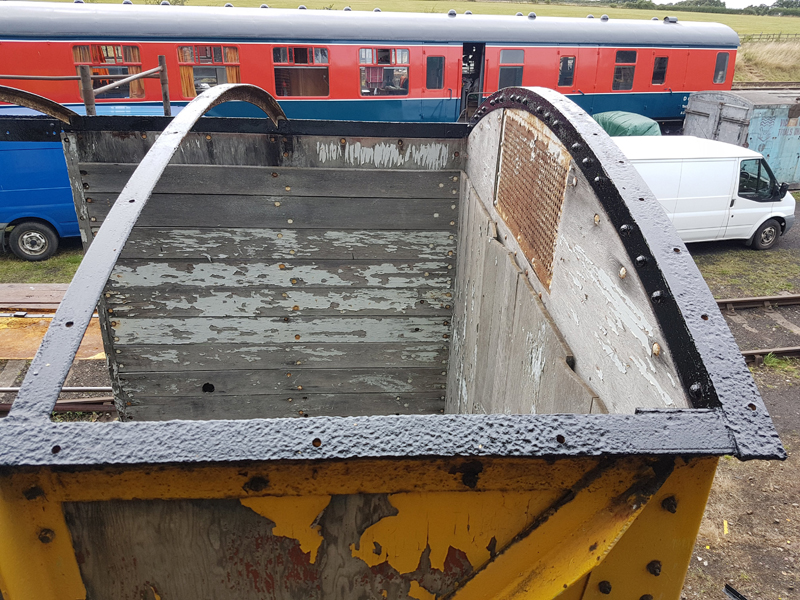
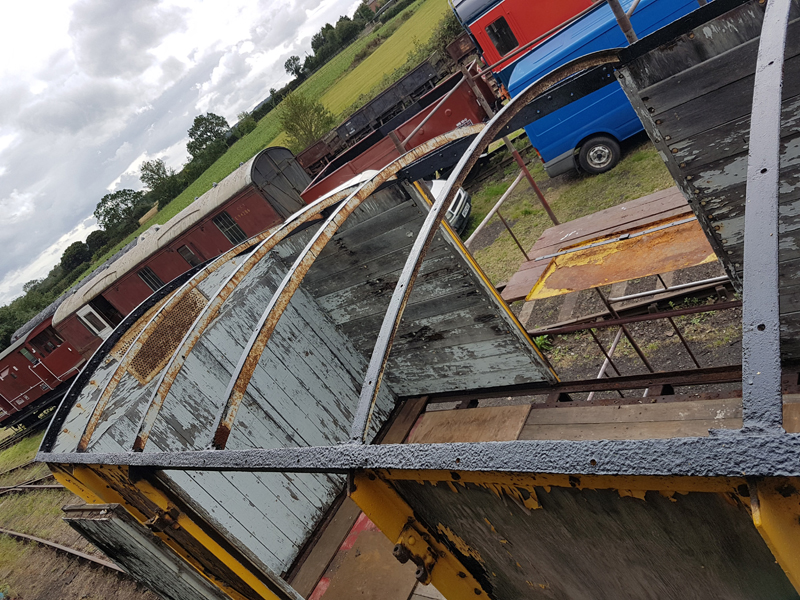
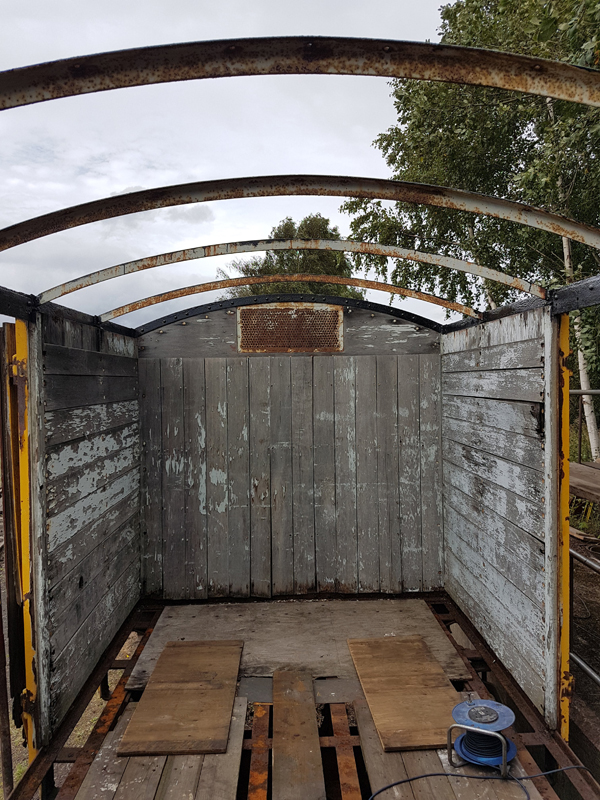
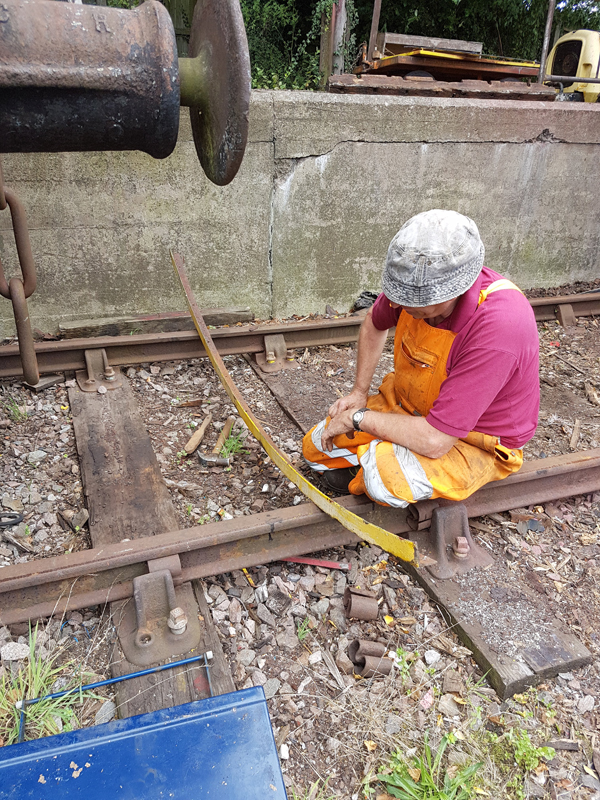
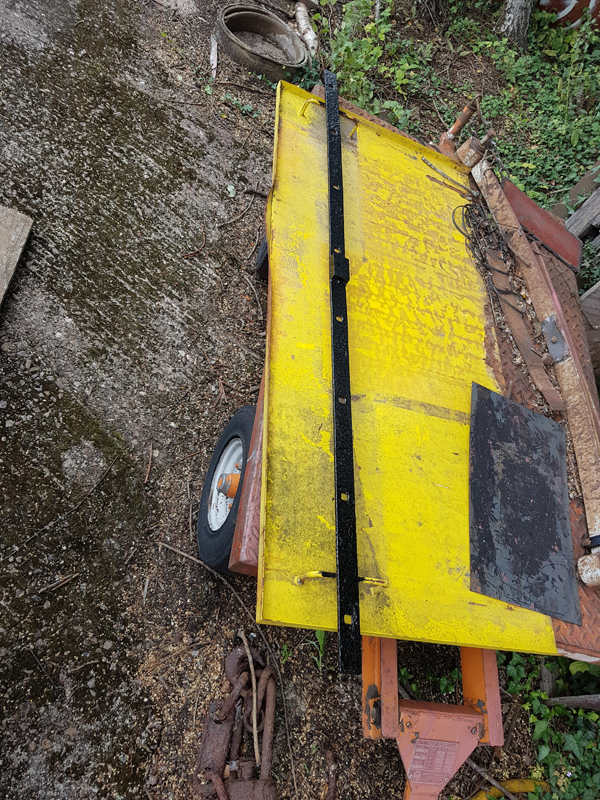
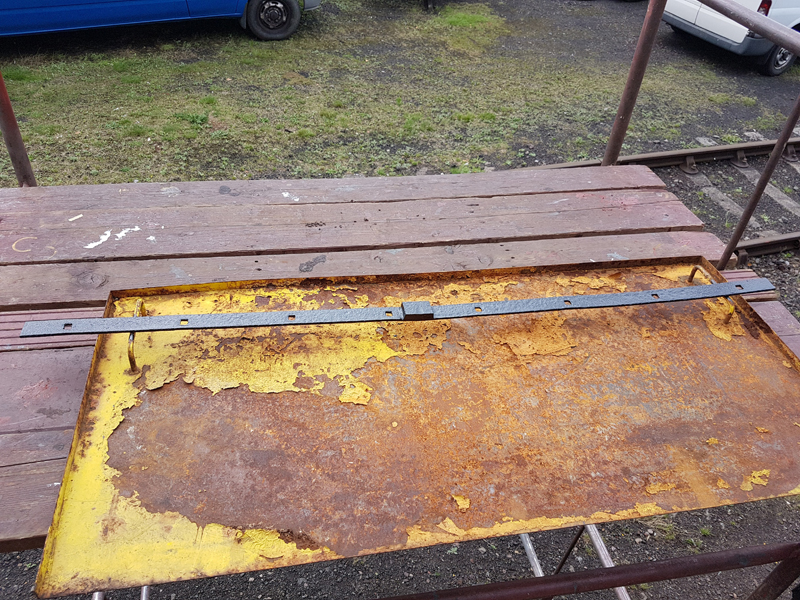
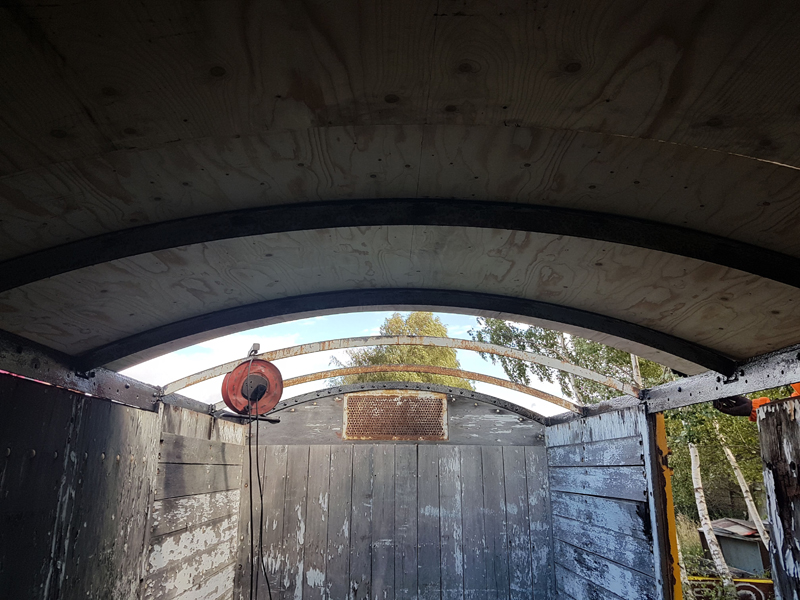
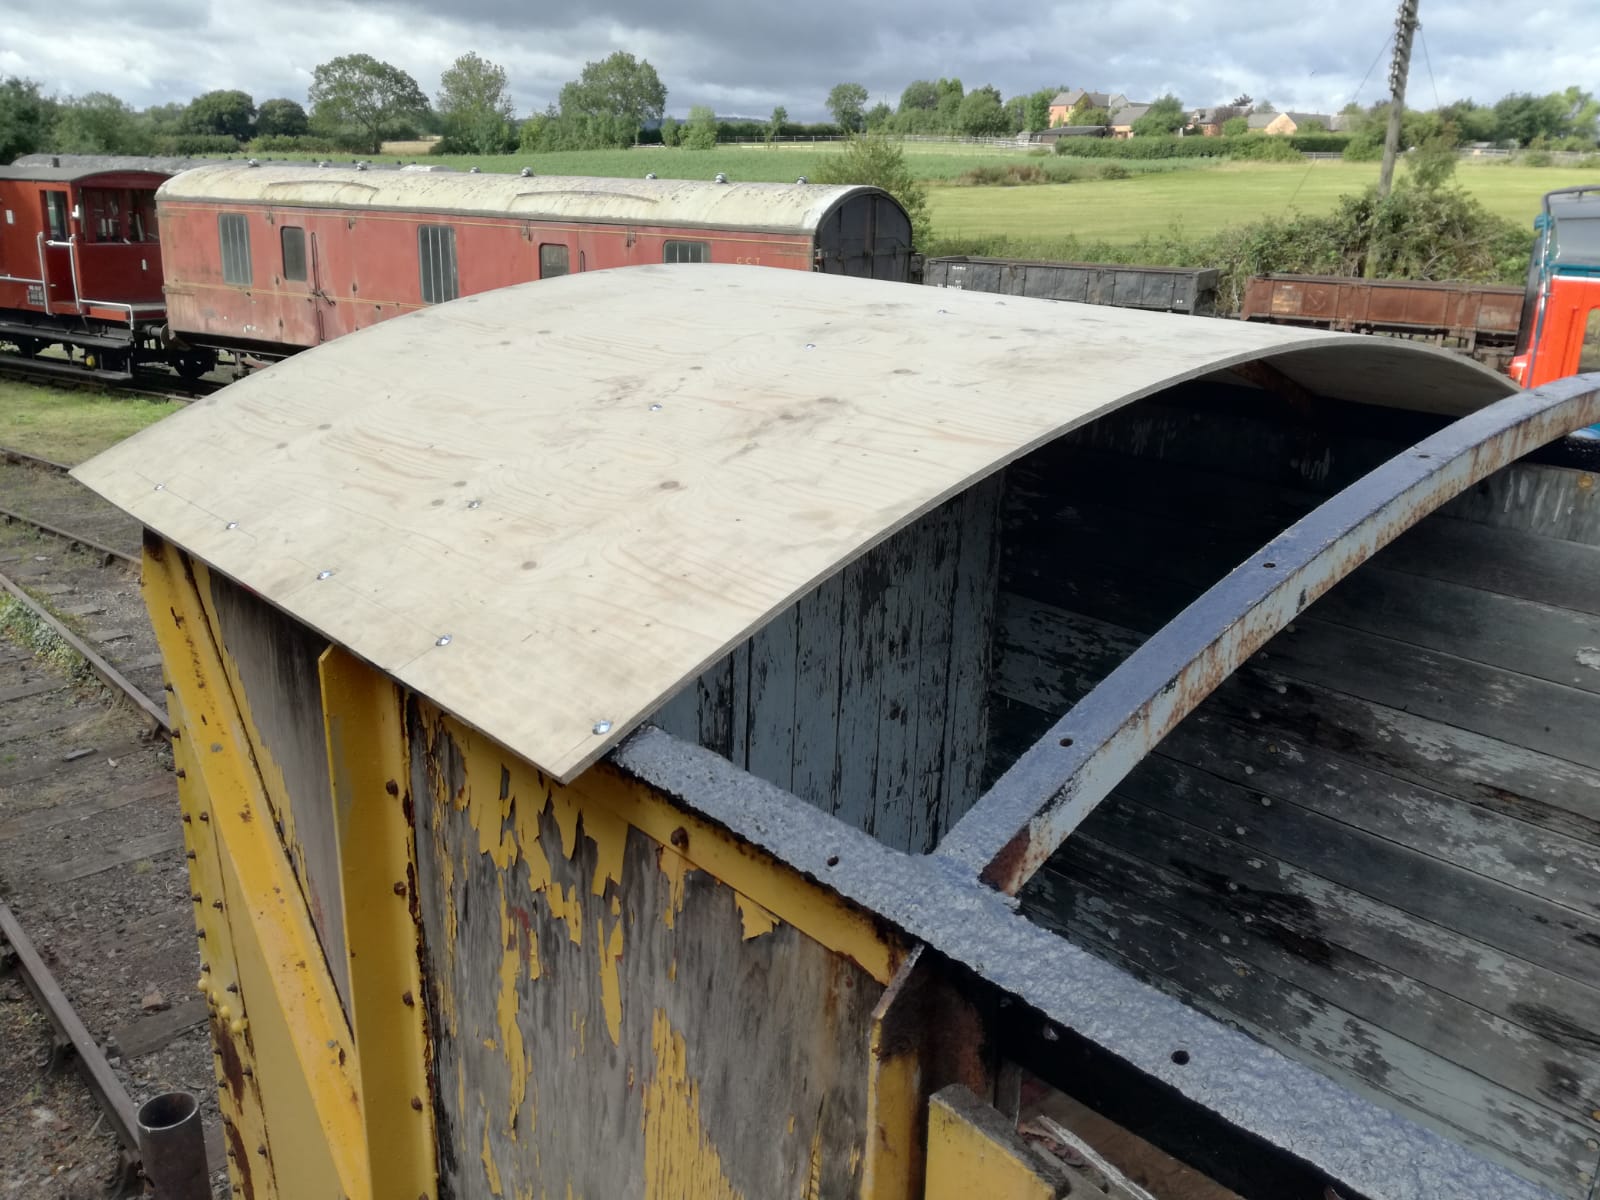
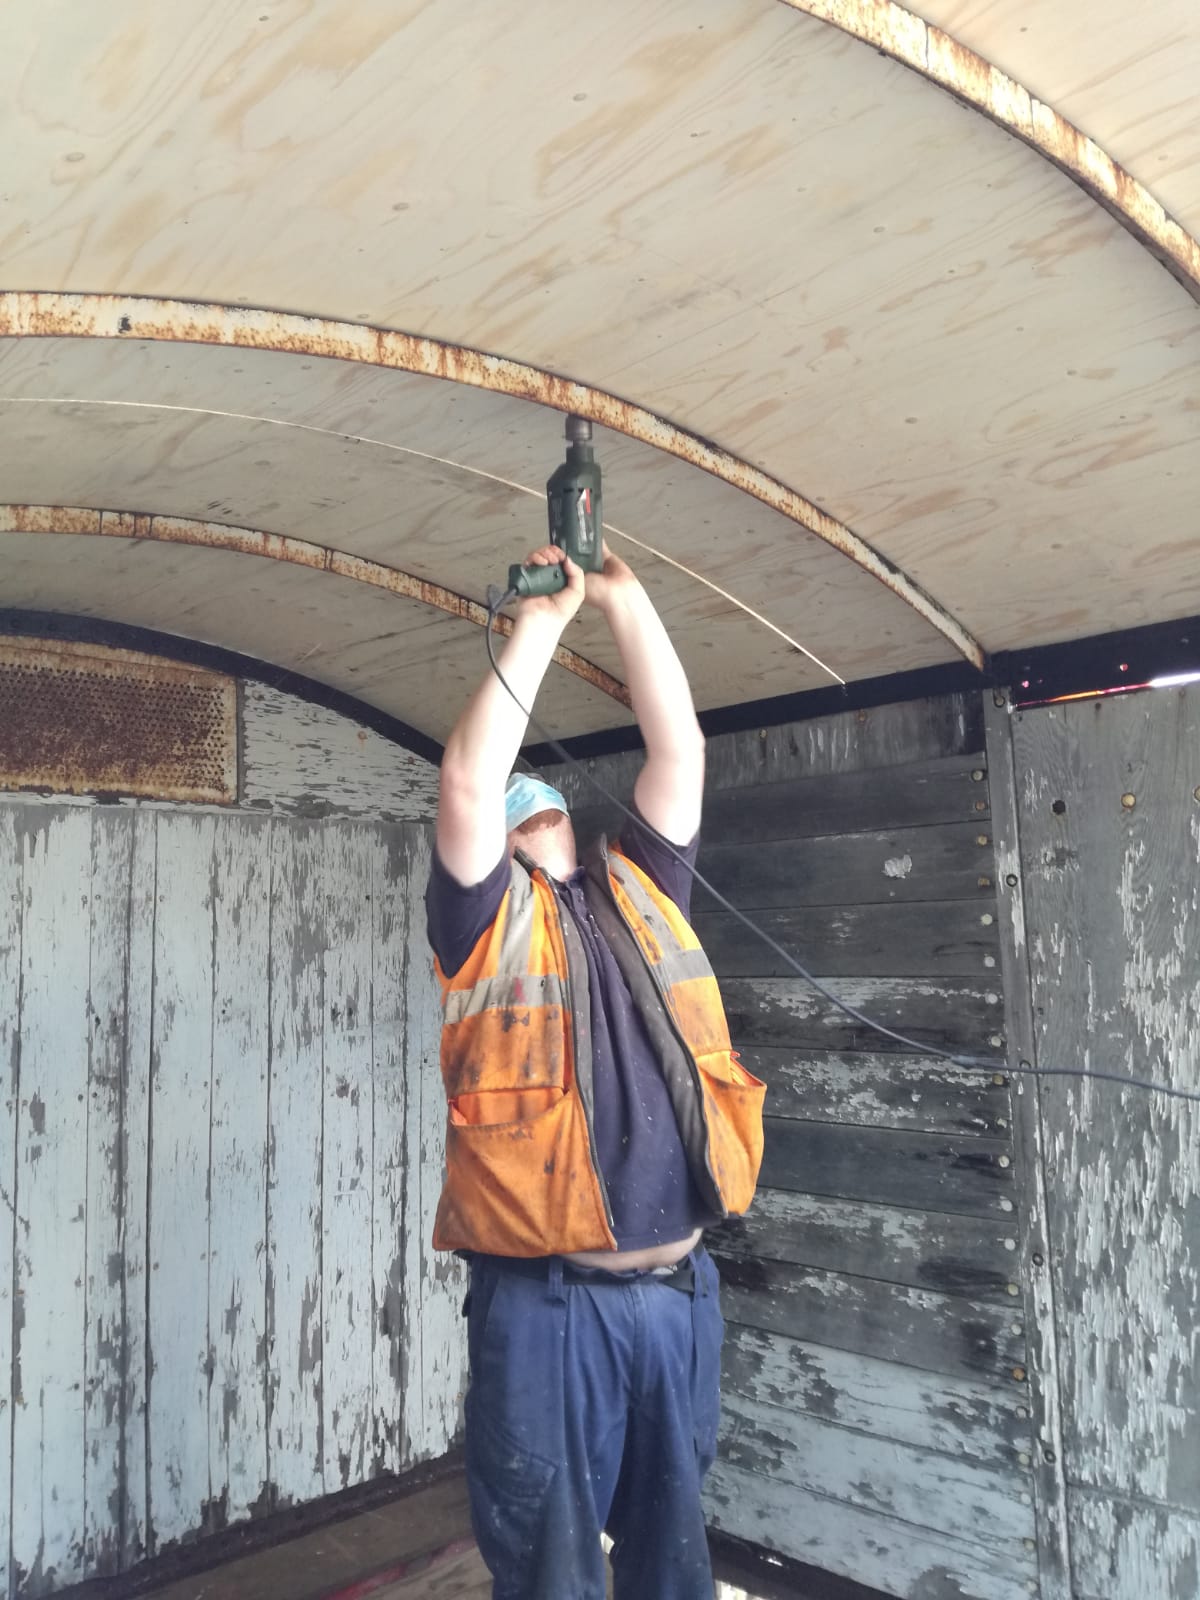
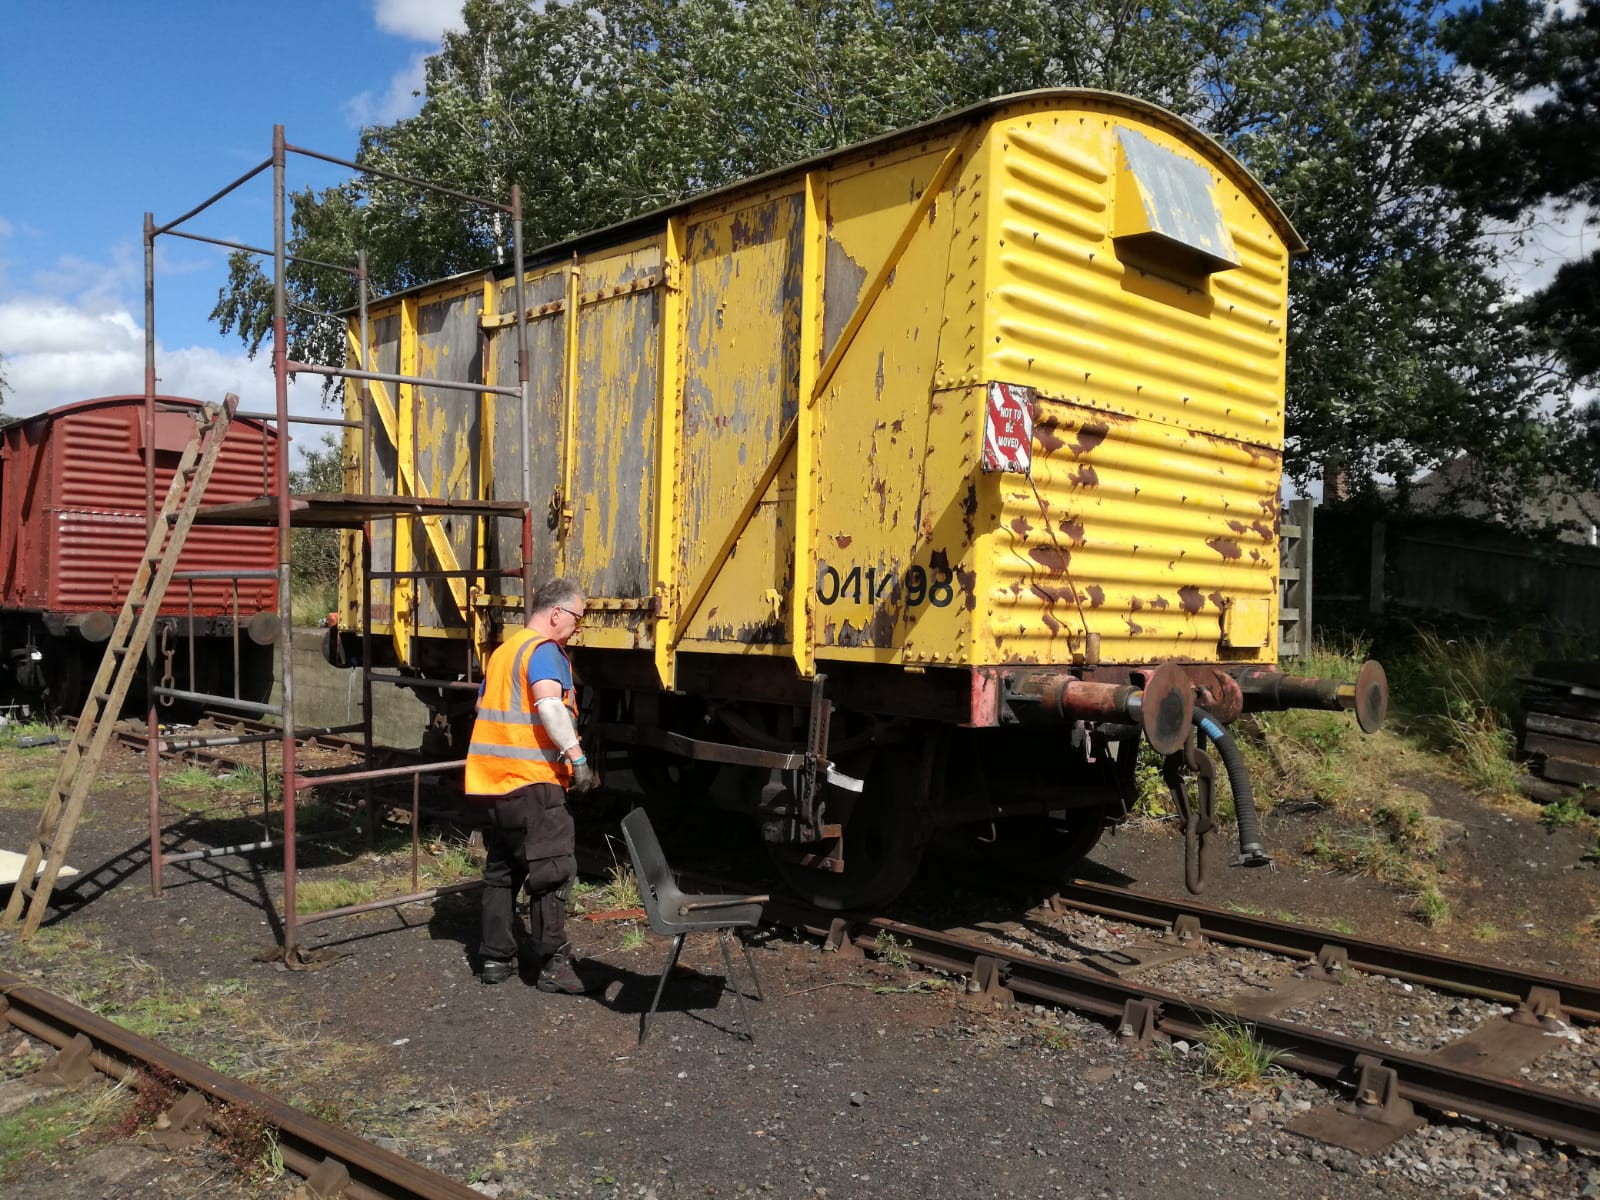
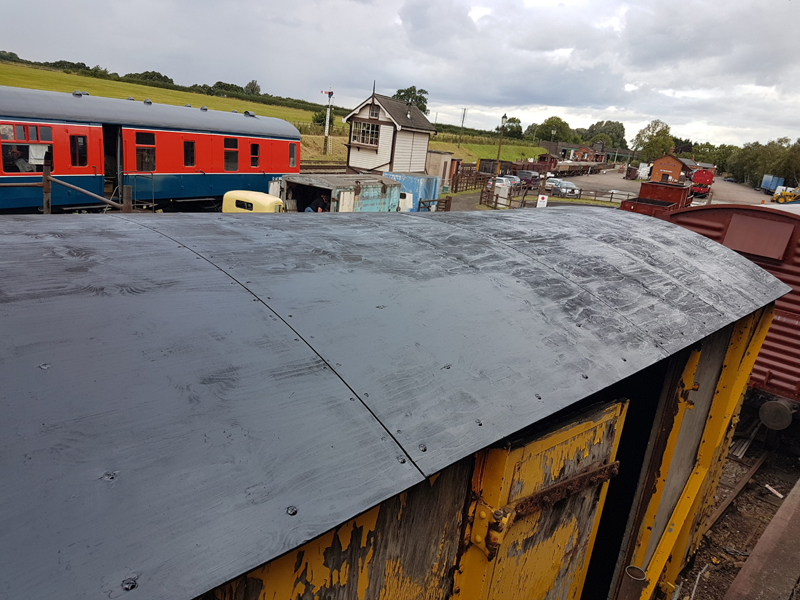
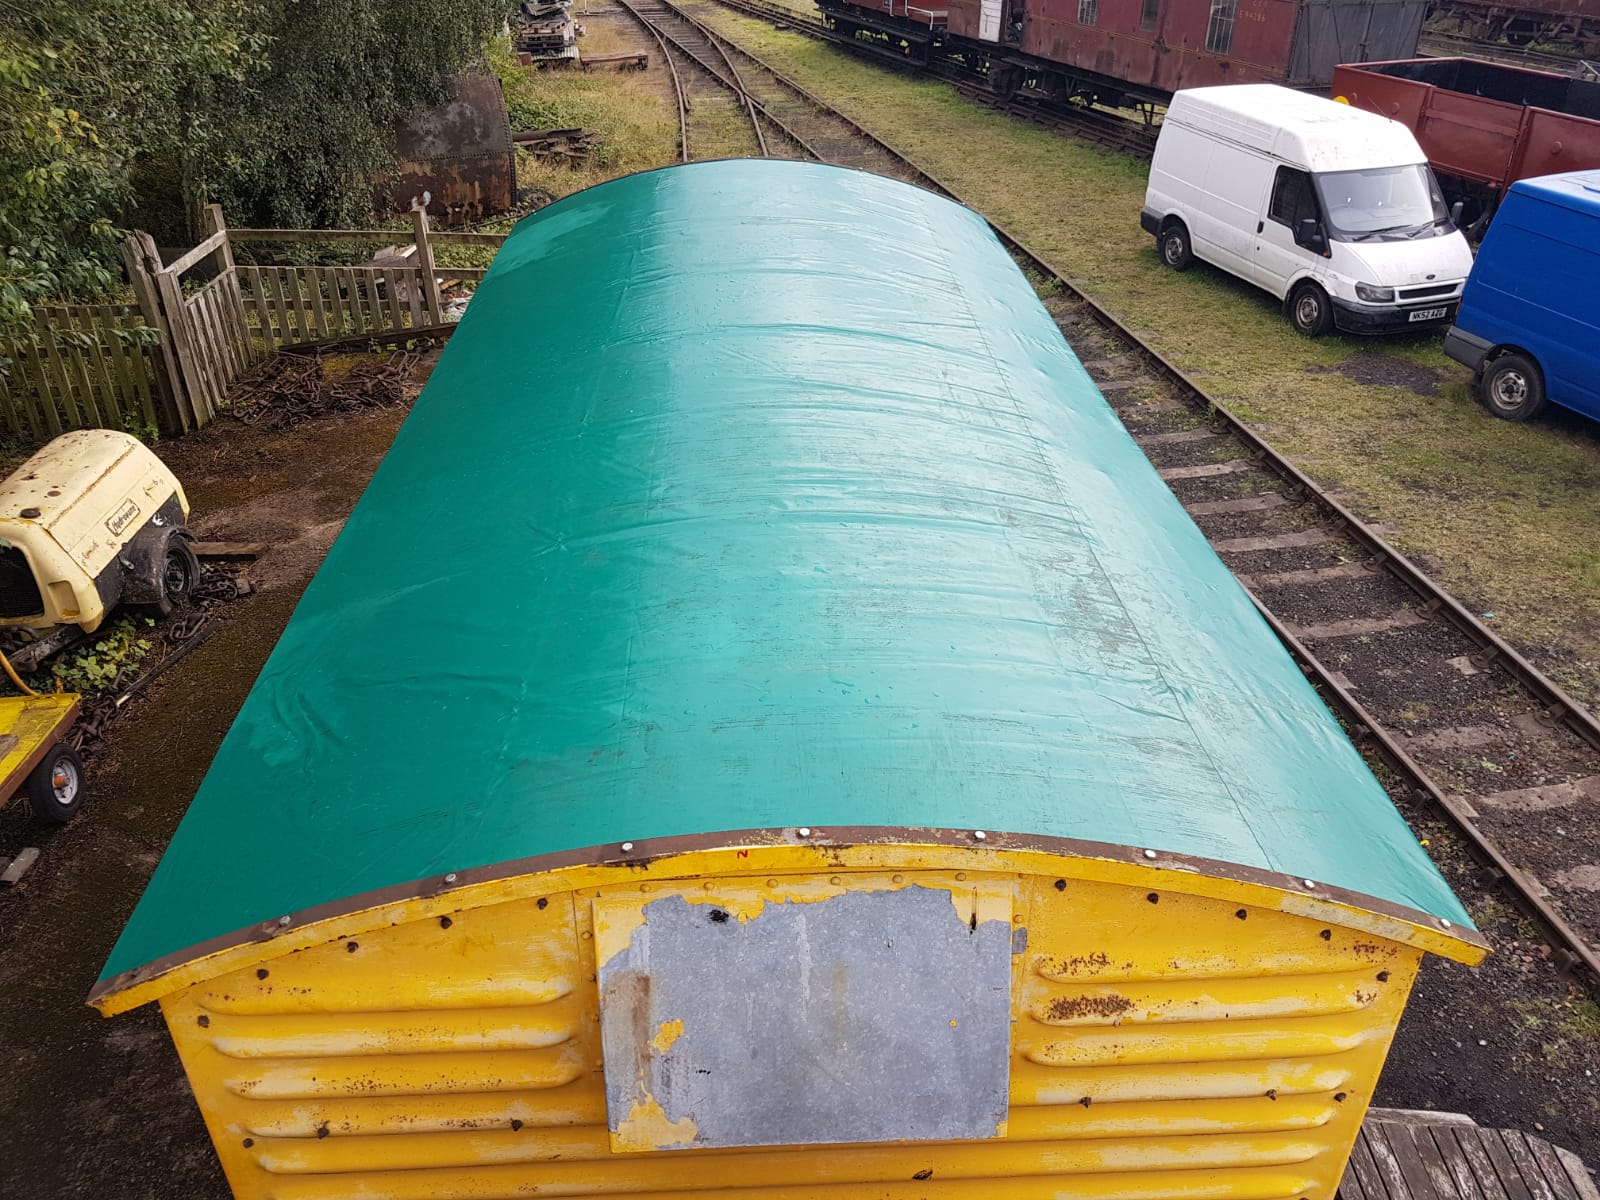
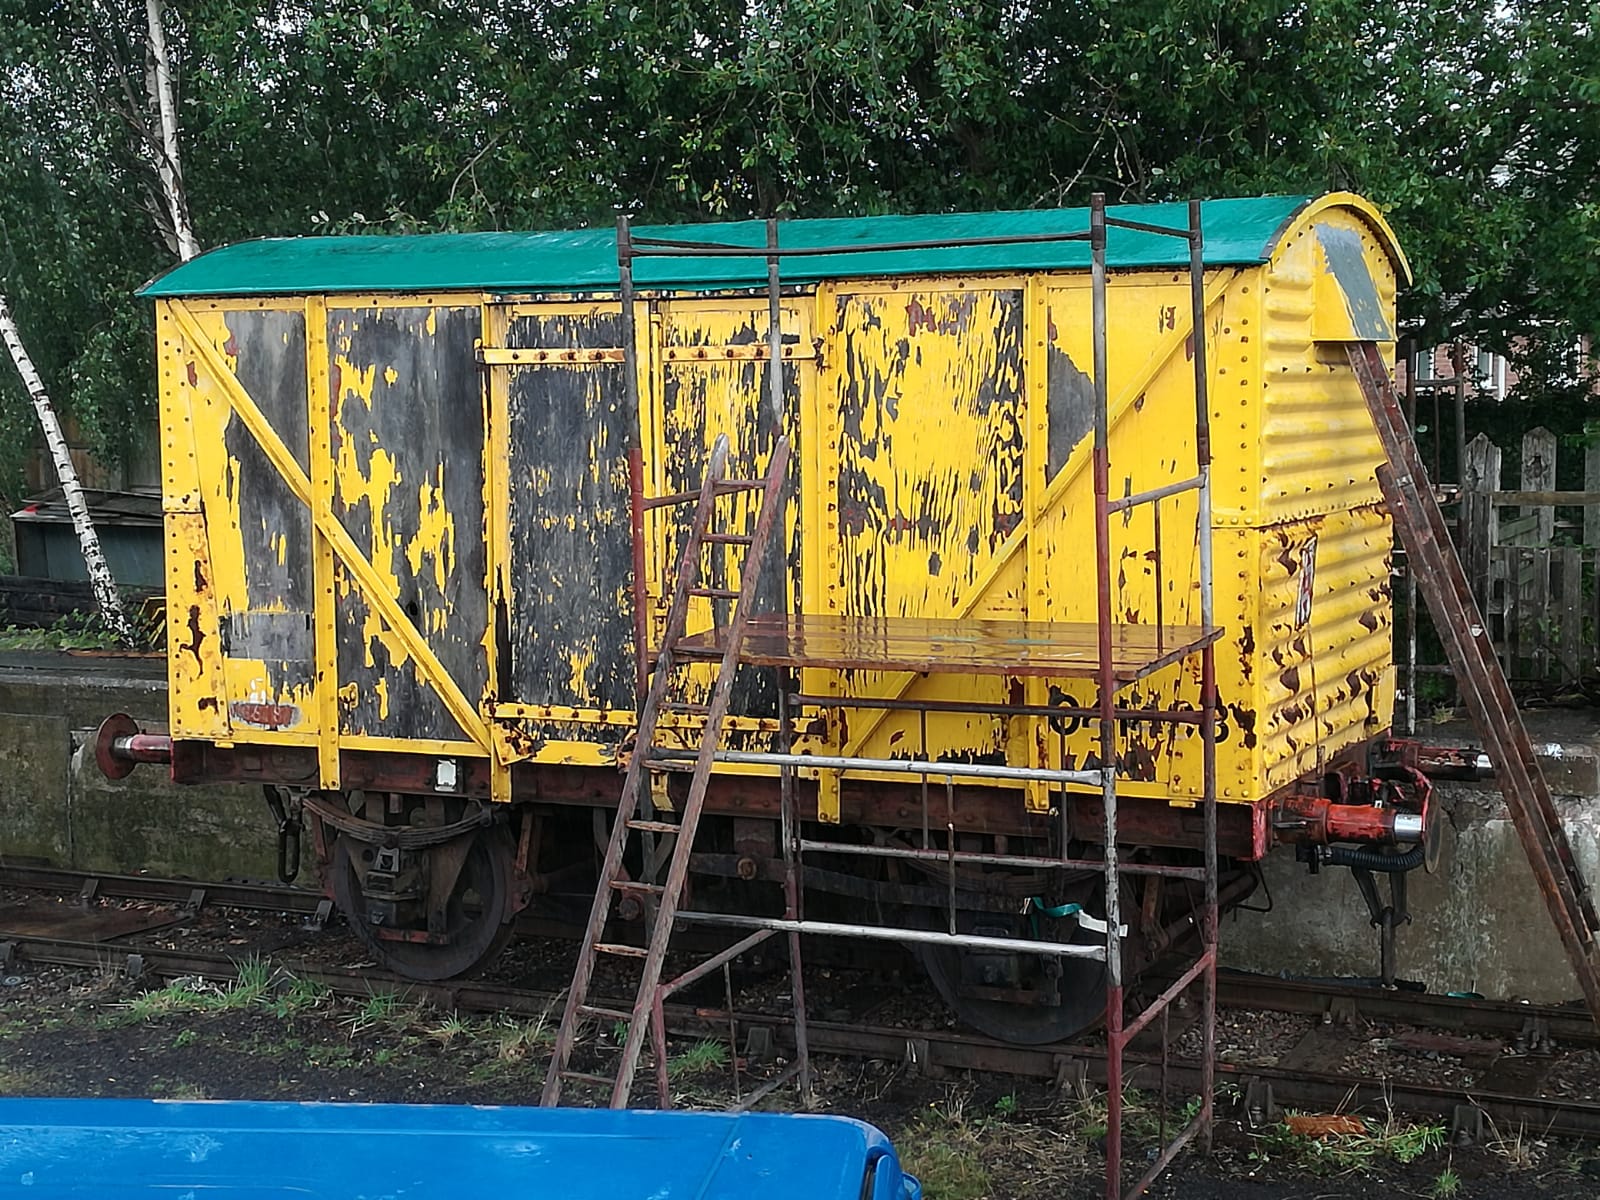
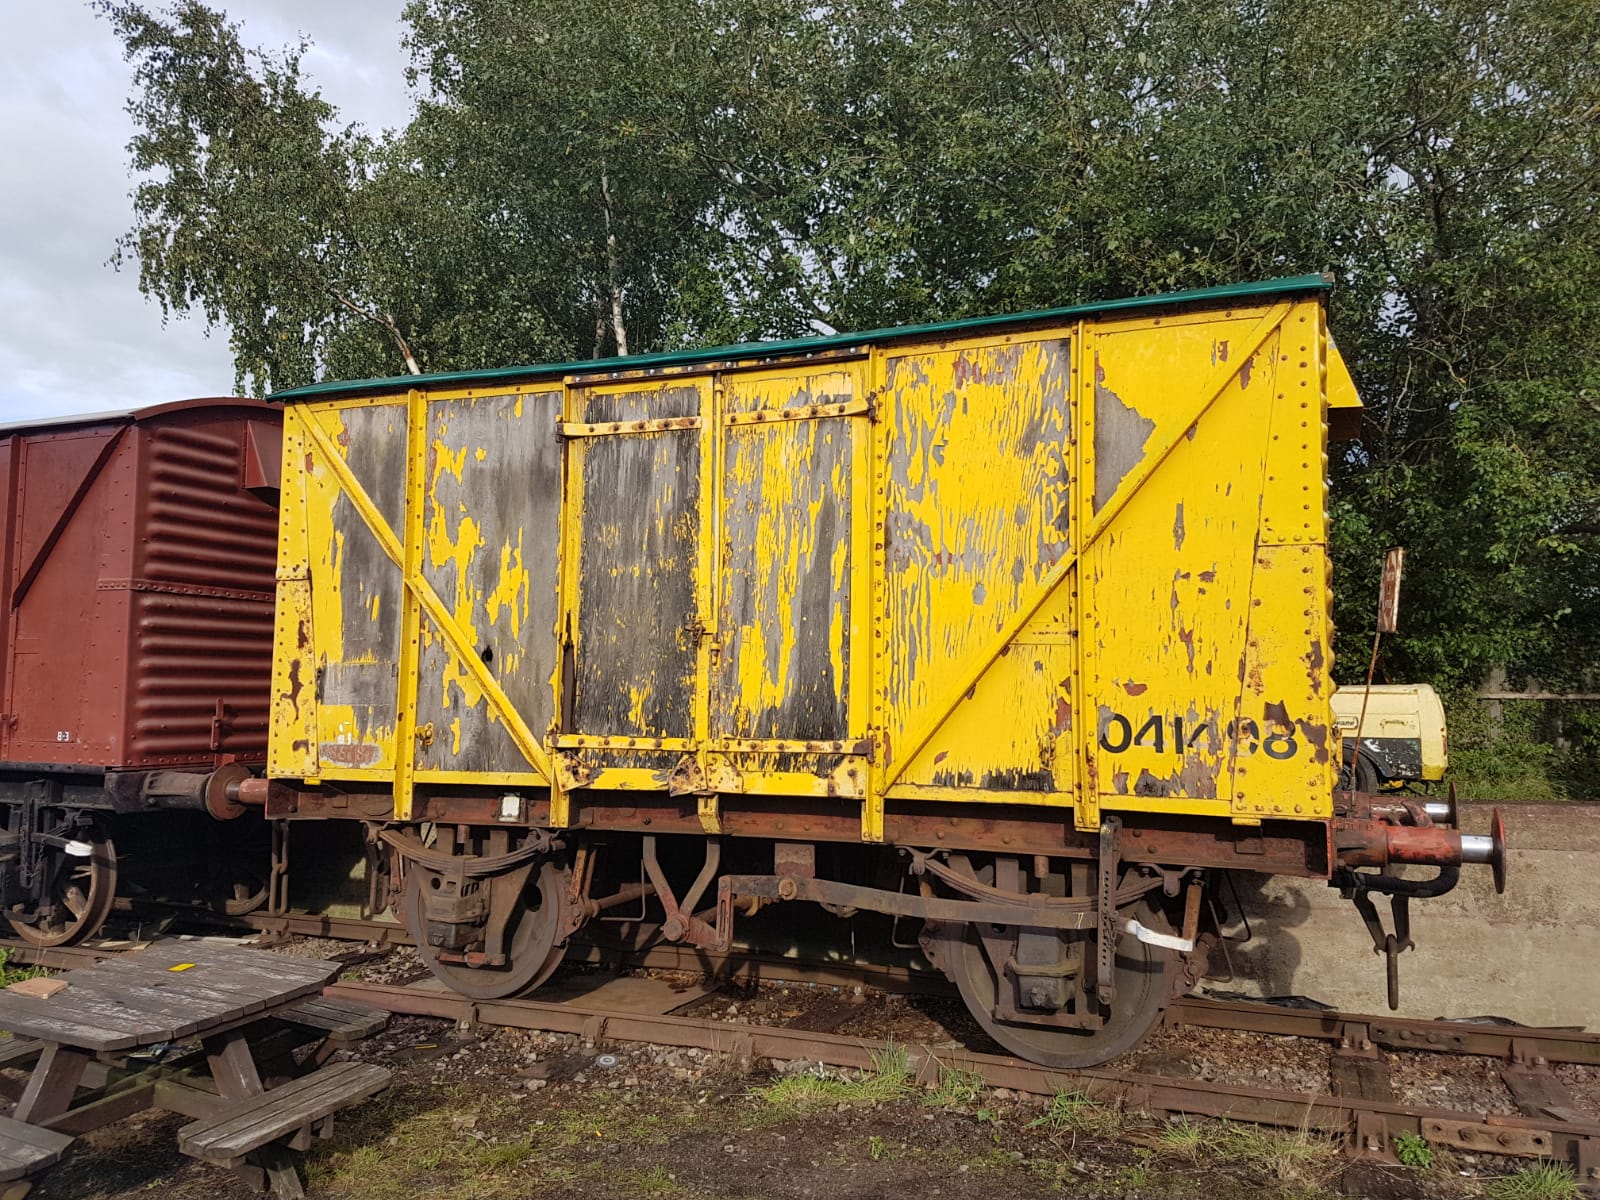
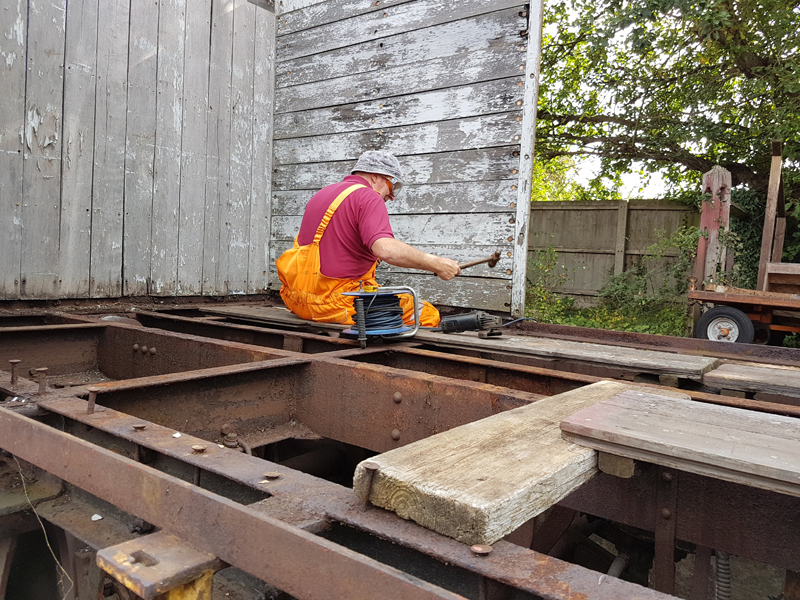
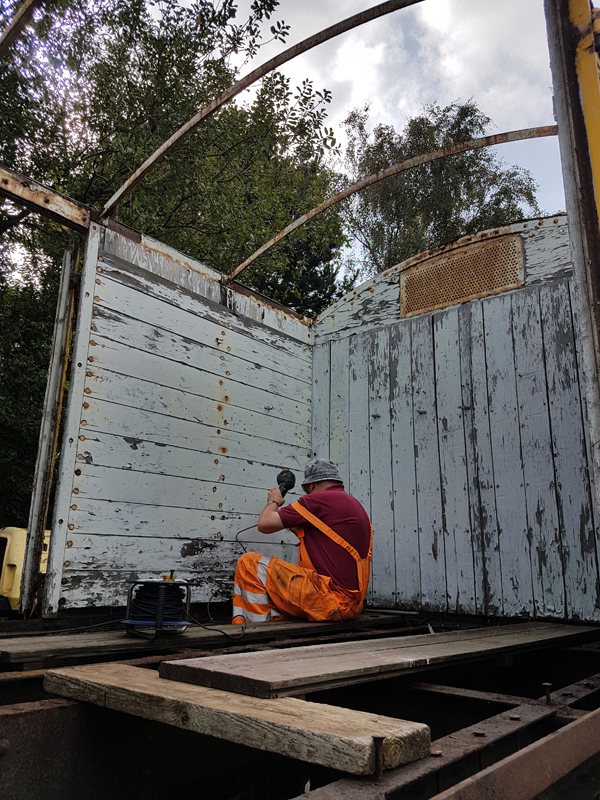
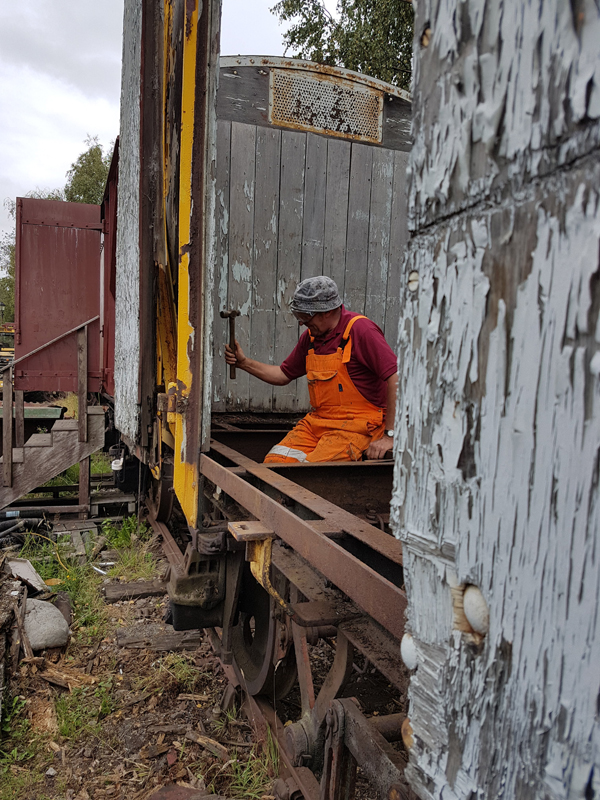
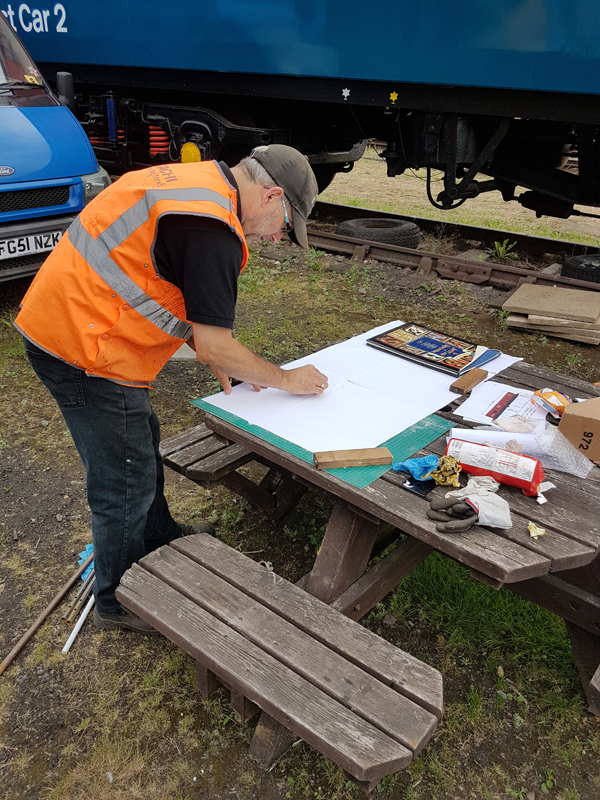
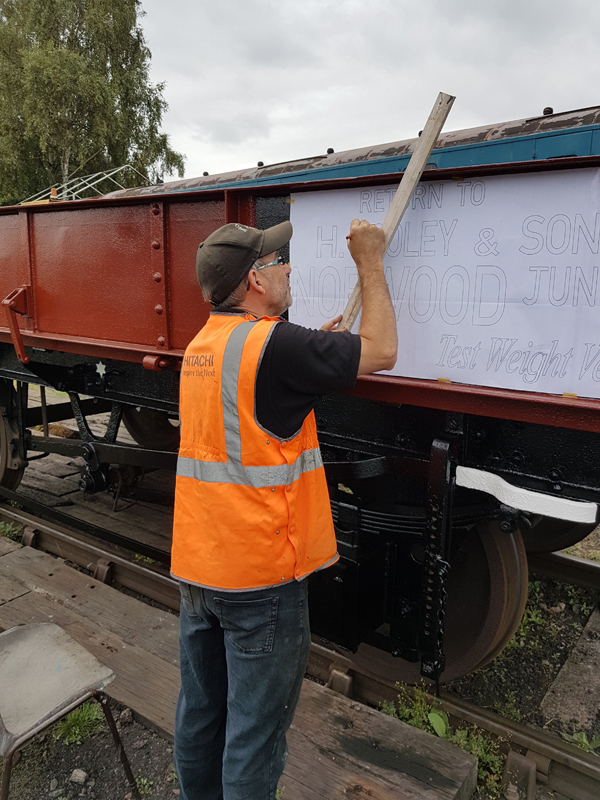
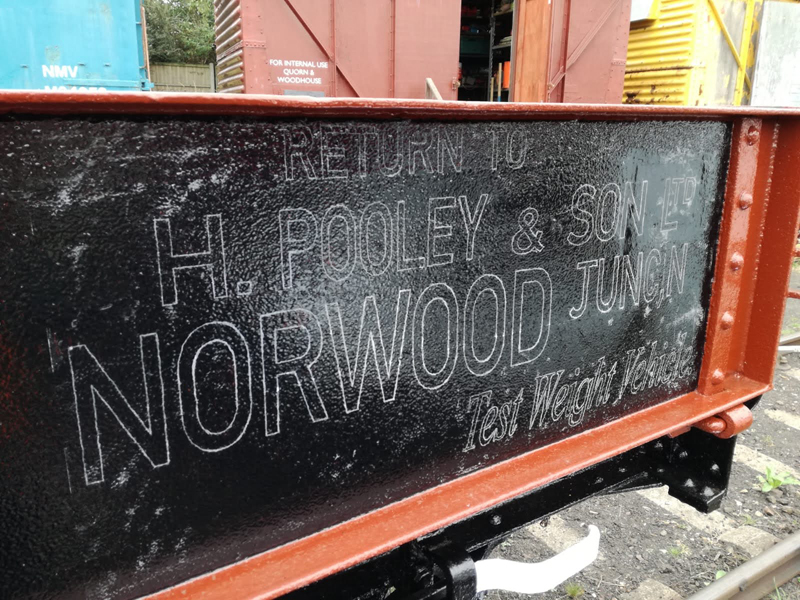
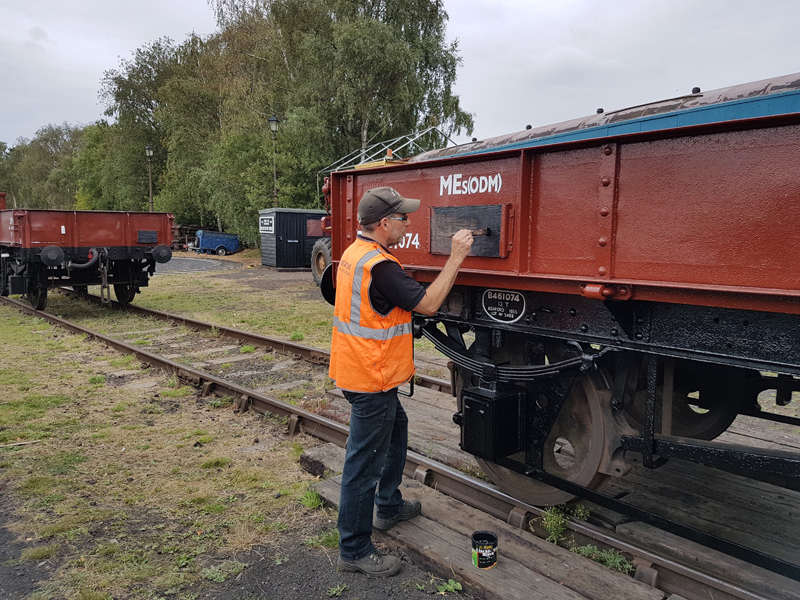
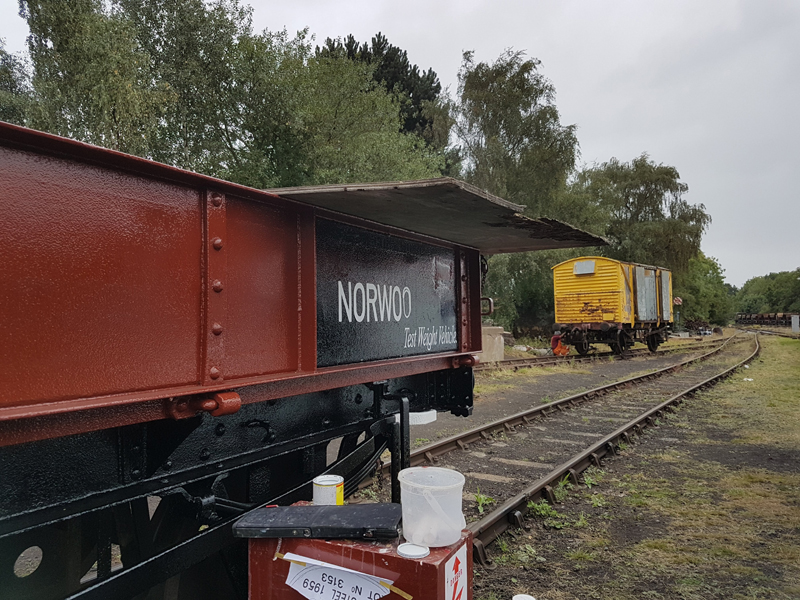
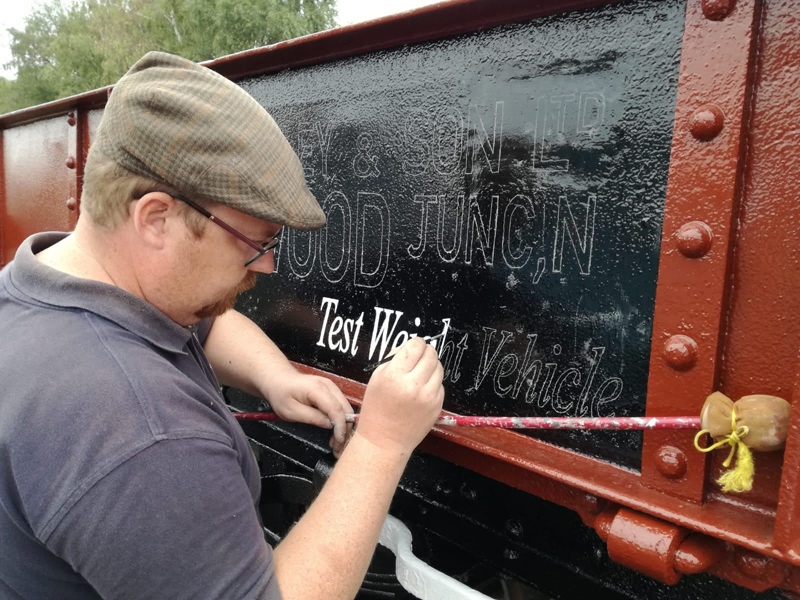
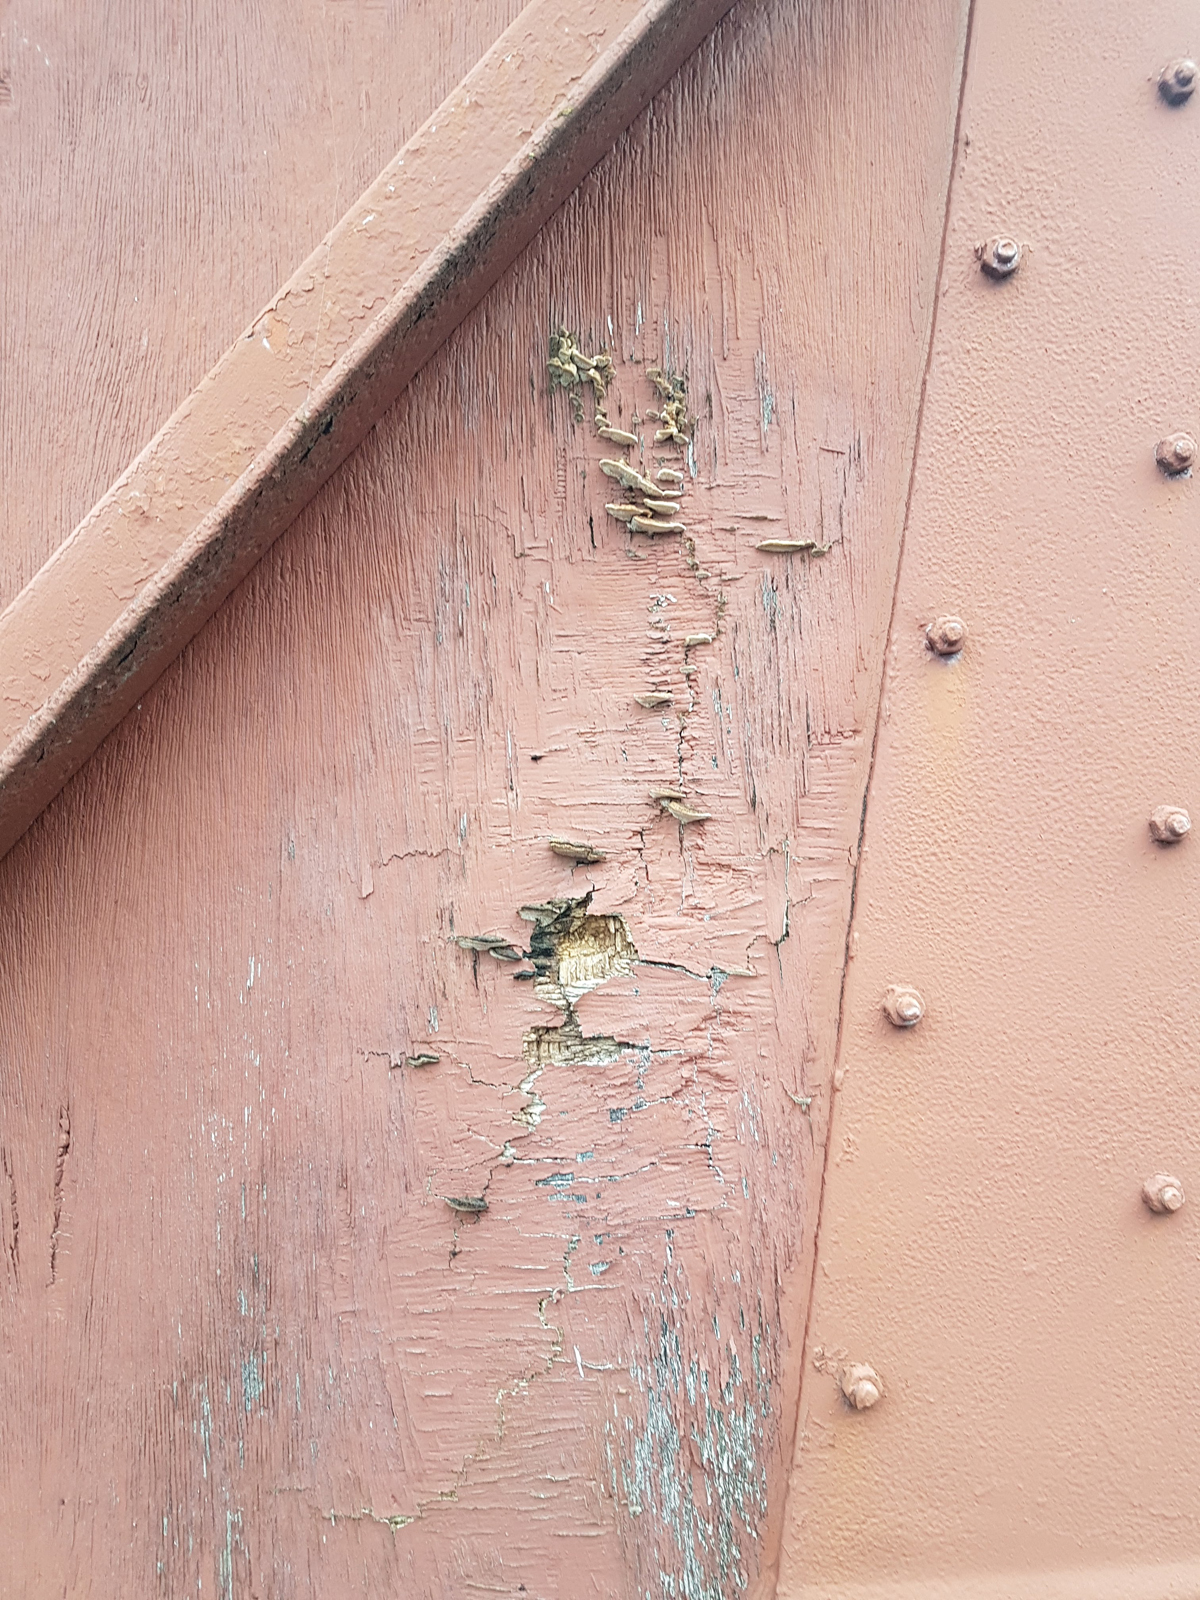
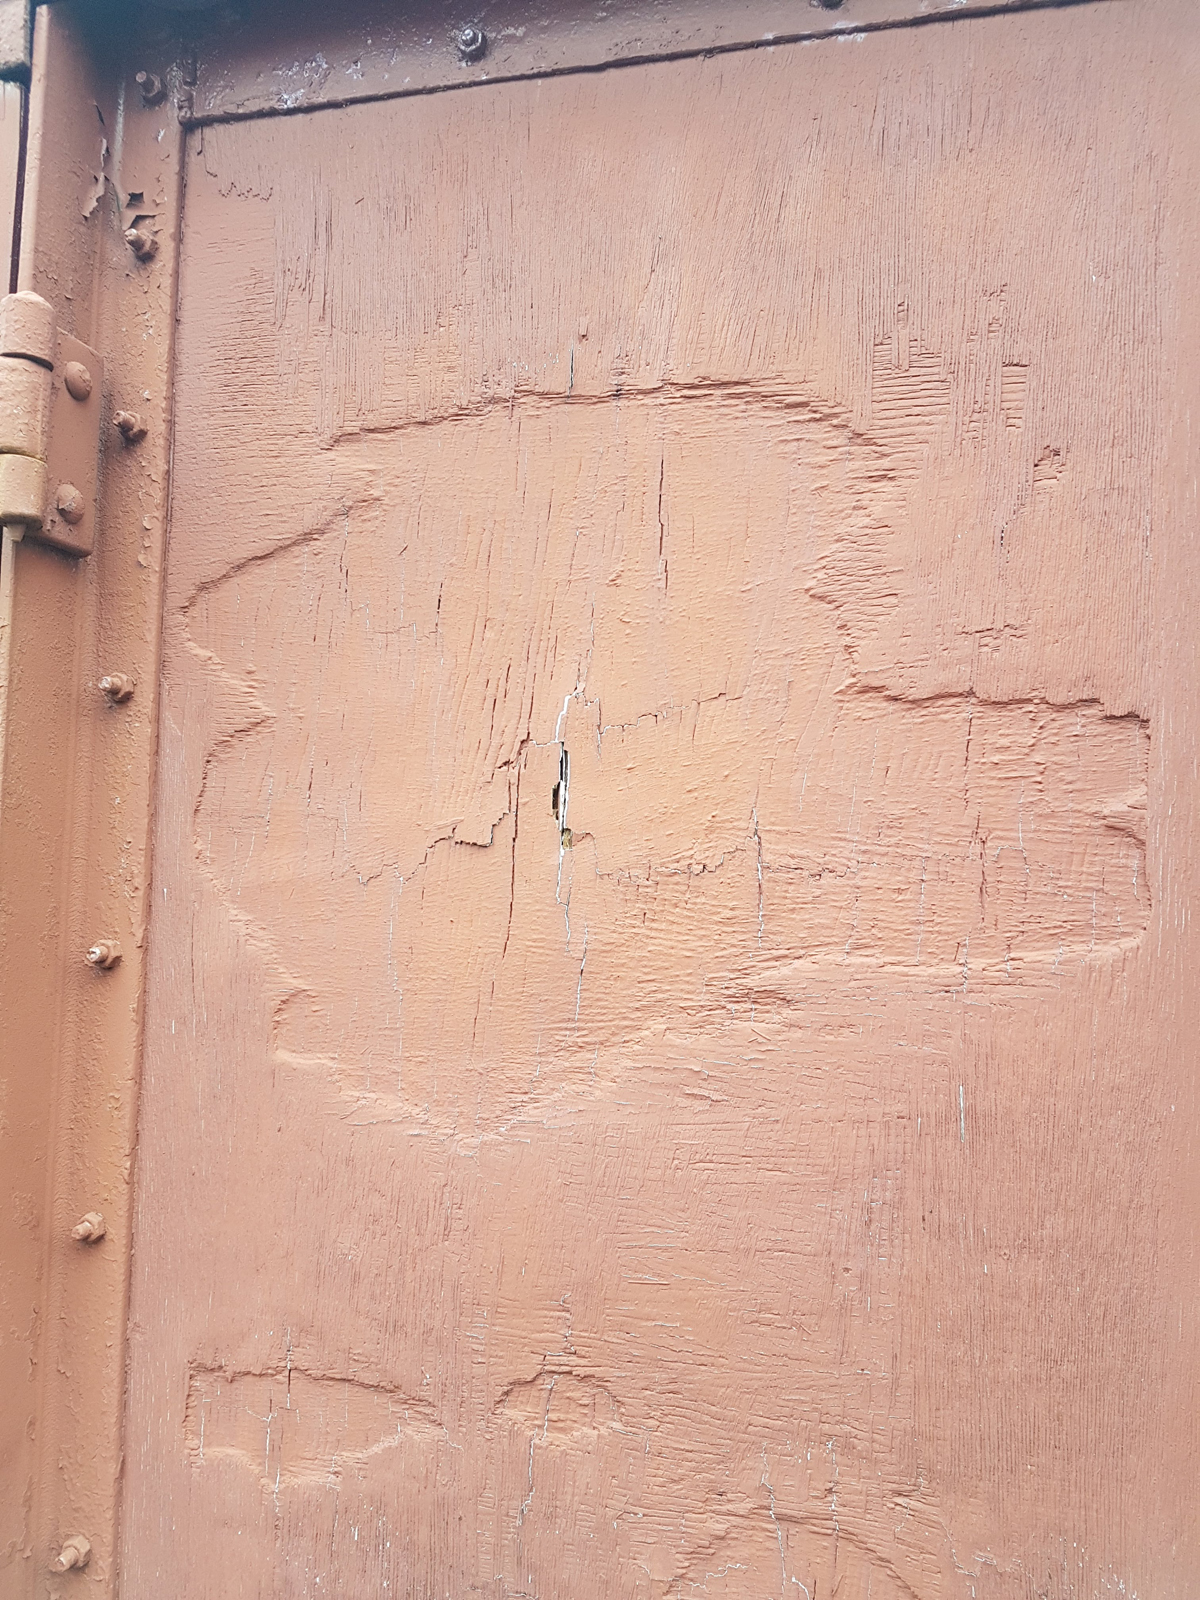
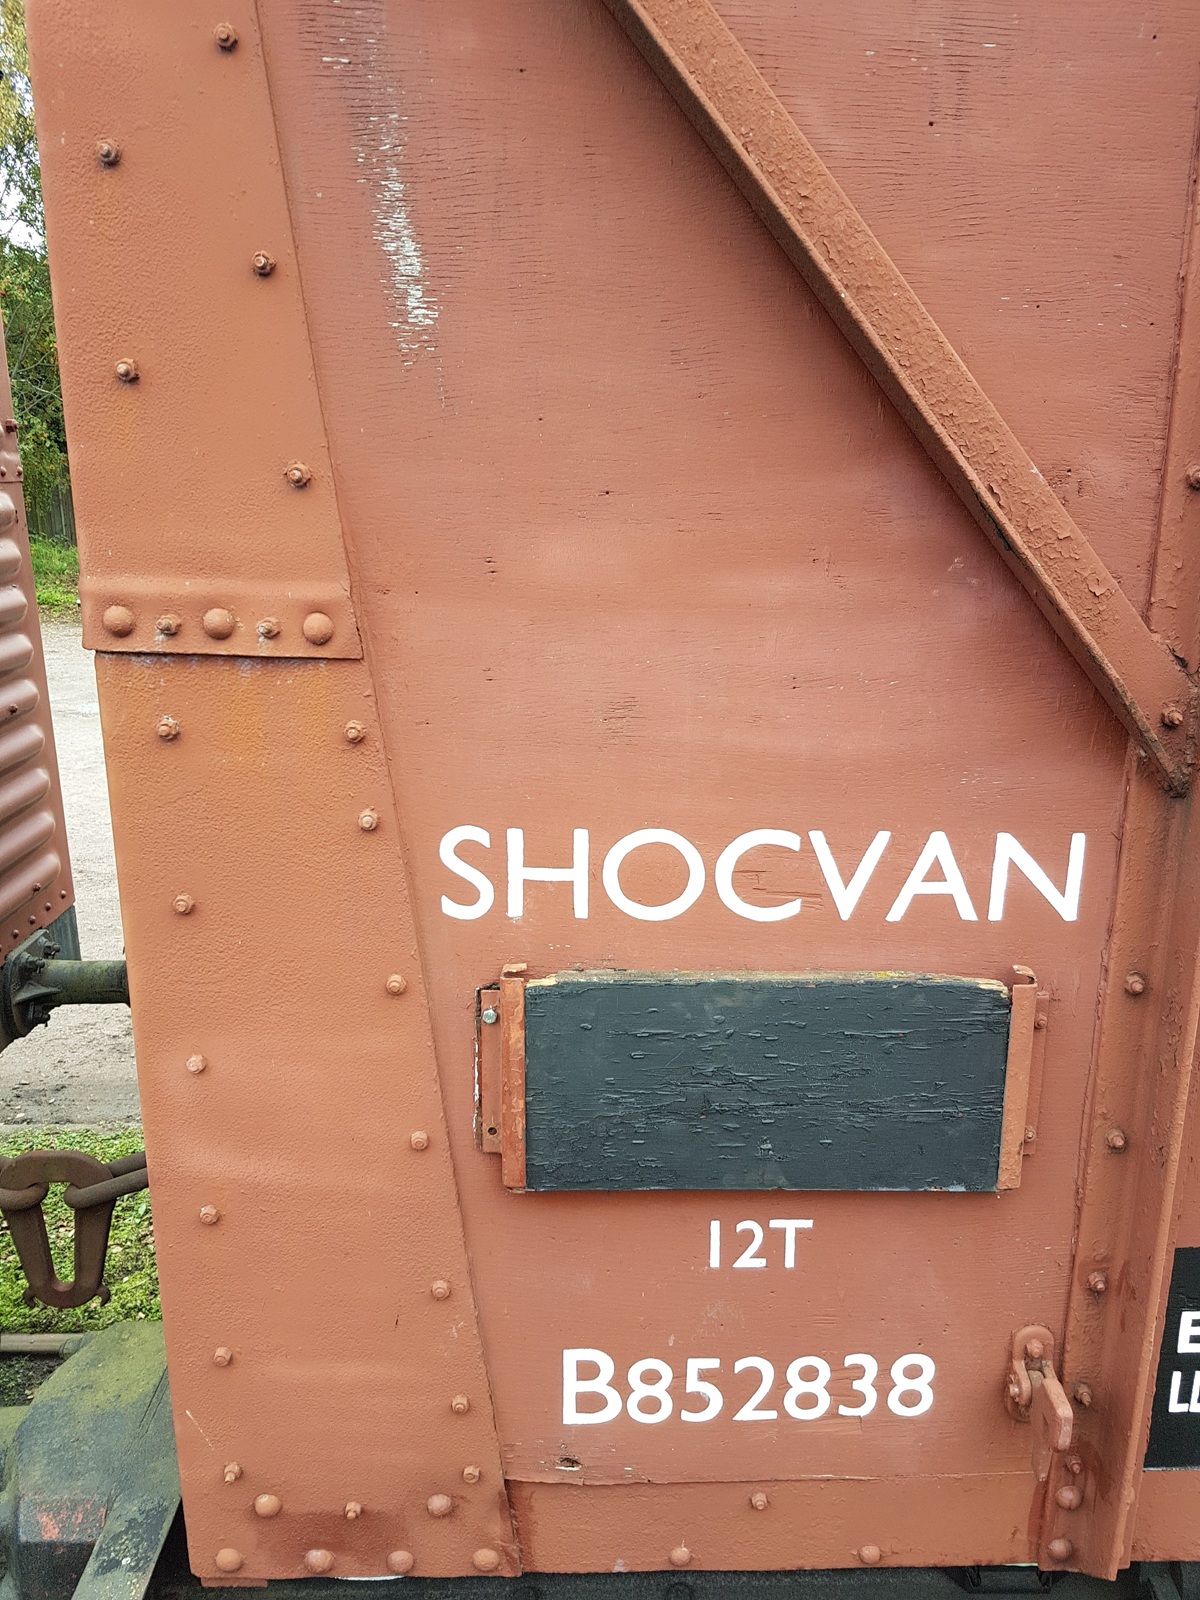
    They started with preparatory work to B852838. This van was genesis, the key stone for the van train way back in 2017, and it is now looking rather worse for wear. Some of the ply fitted to the van was on borrowed time, so the fact it has lasted 3 more years is a bonus. We have previously used this van as our ‘ Theatrical van’ which housed our props and parcel used for photo charters and galas, this has been moved to another van, so we could start work. We sorted items inside out and removed items that were no longer useful. we then shuffled everything around inside and removed a workbench to be able to gain access to the 3 side sheets that need attention. Eireni cut out a new chalkboard for the van, which will be painted up ready to fit.

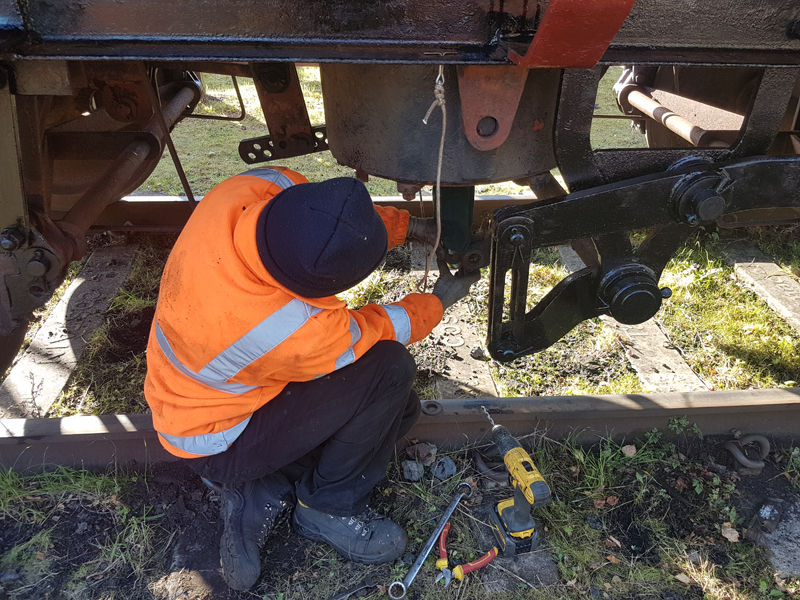
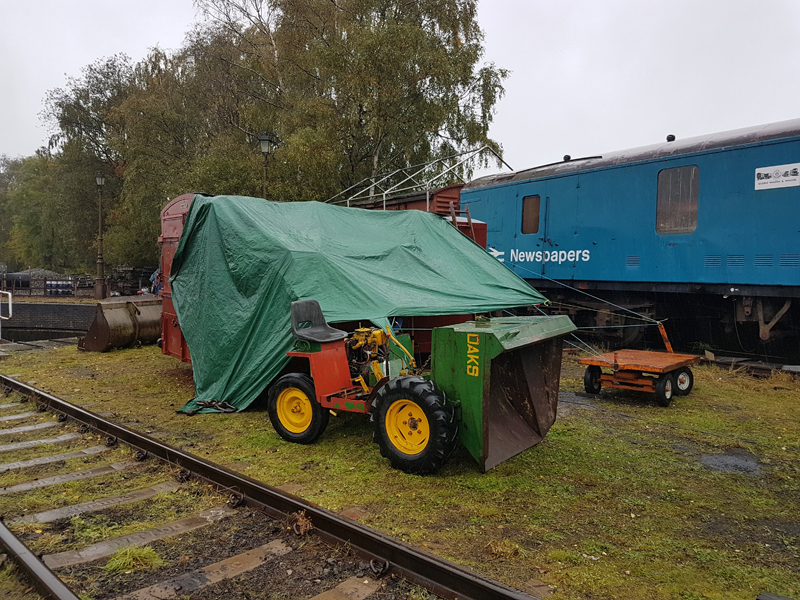
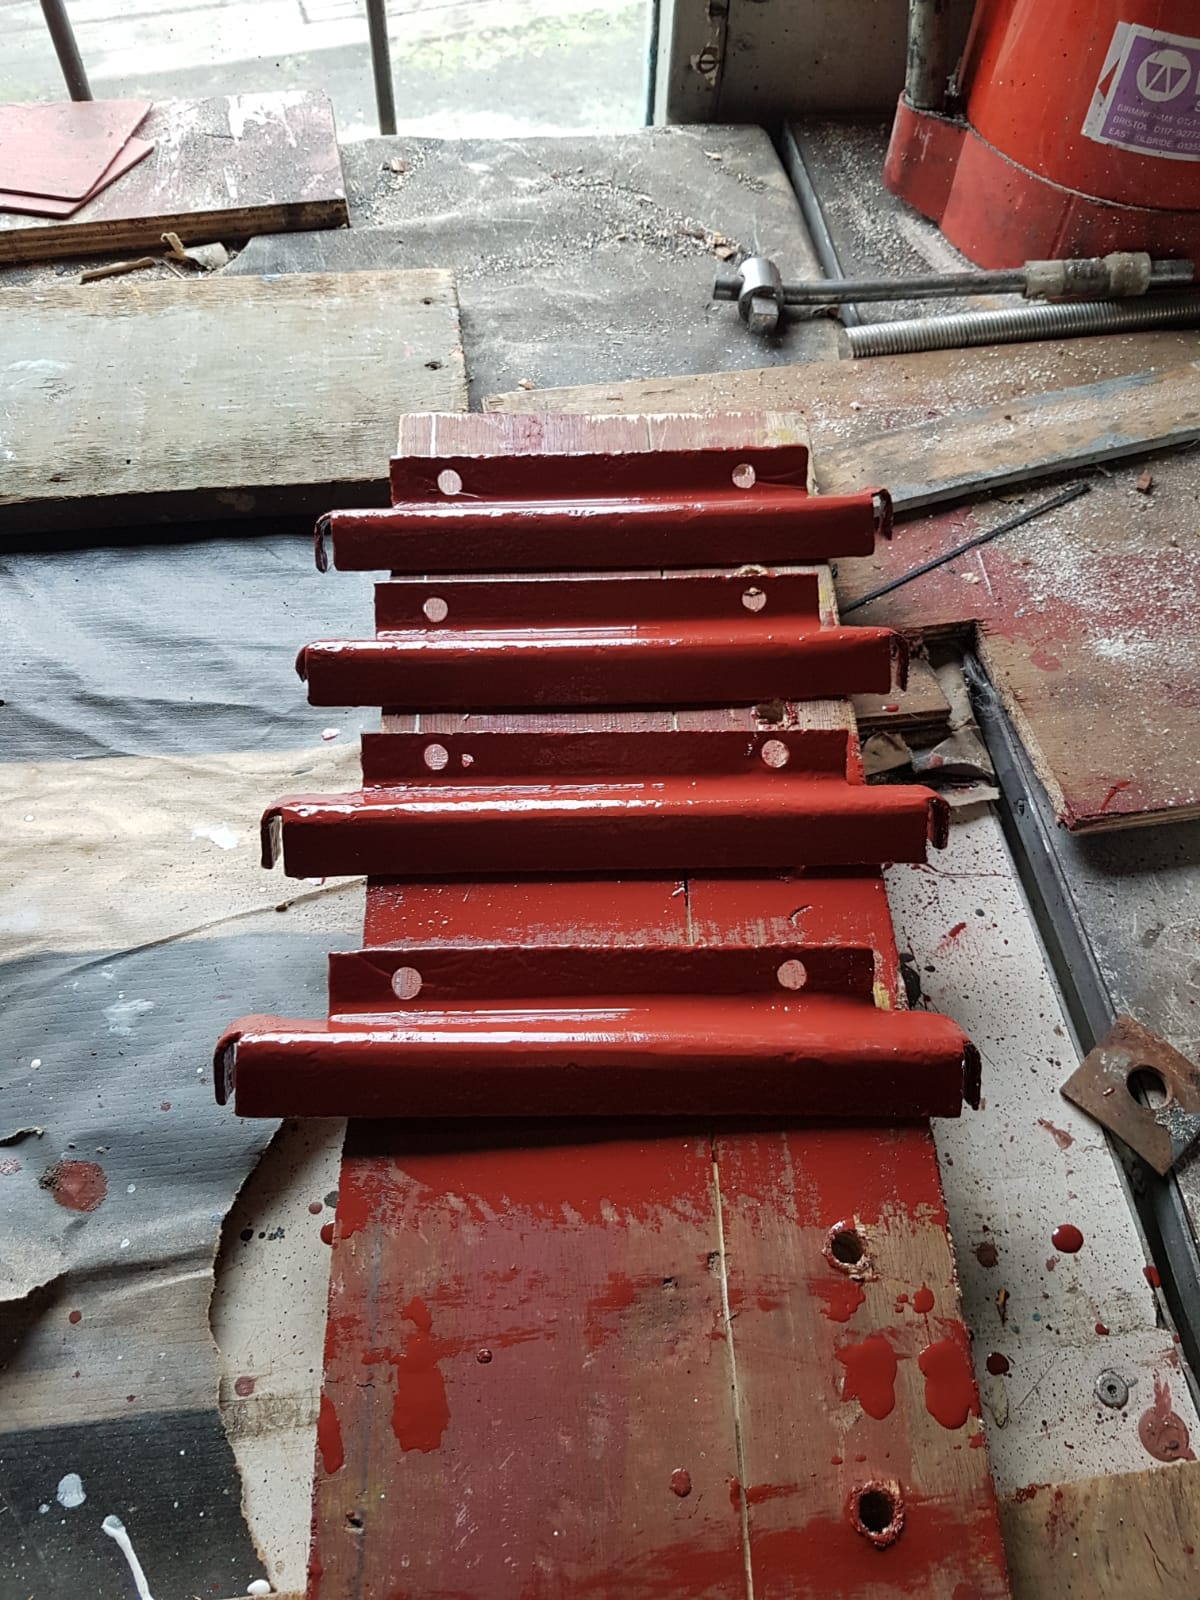
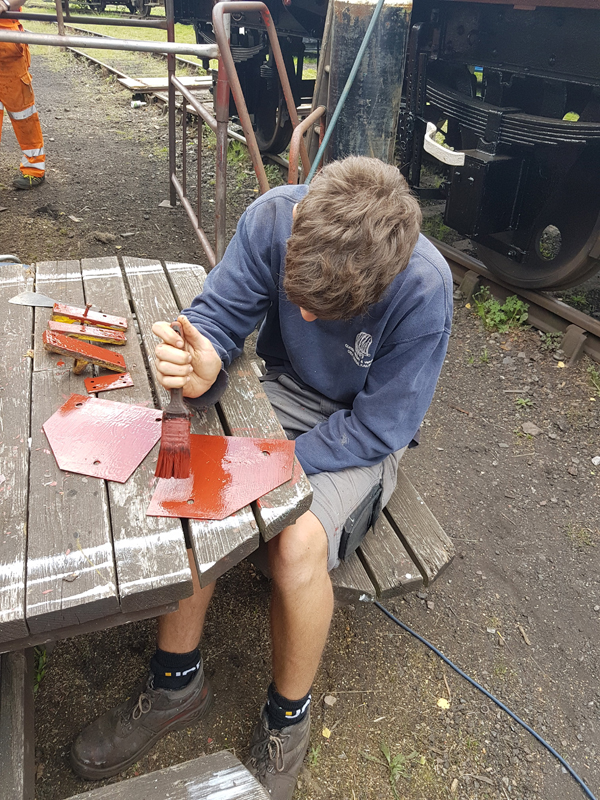
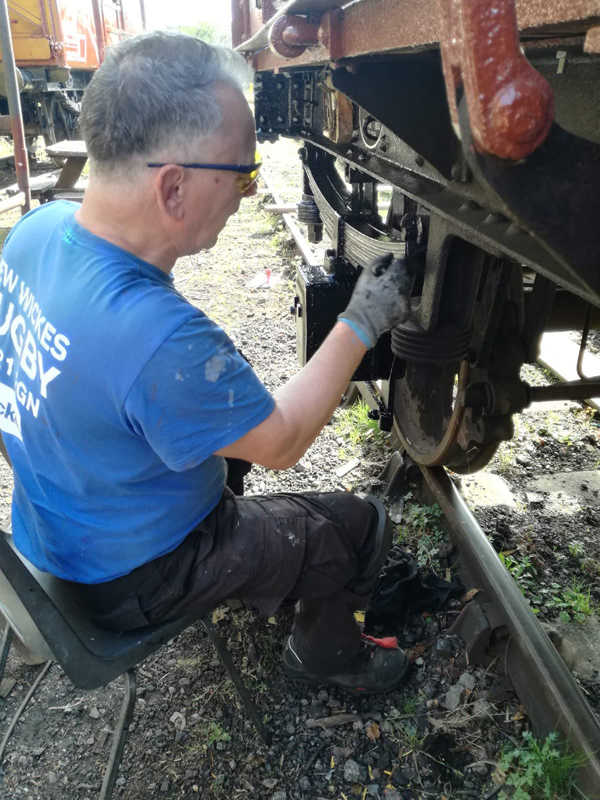
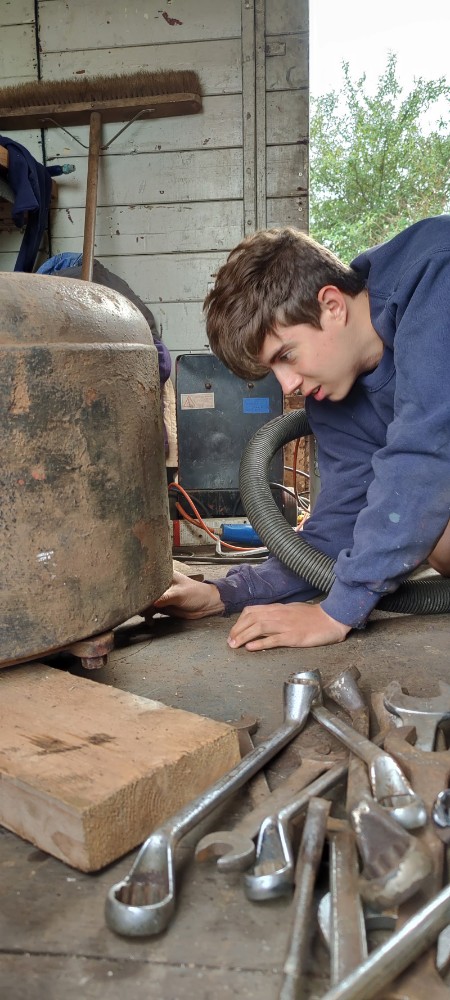
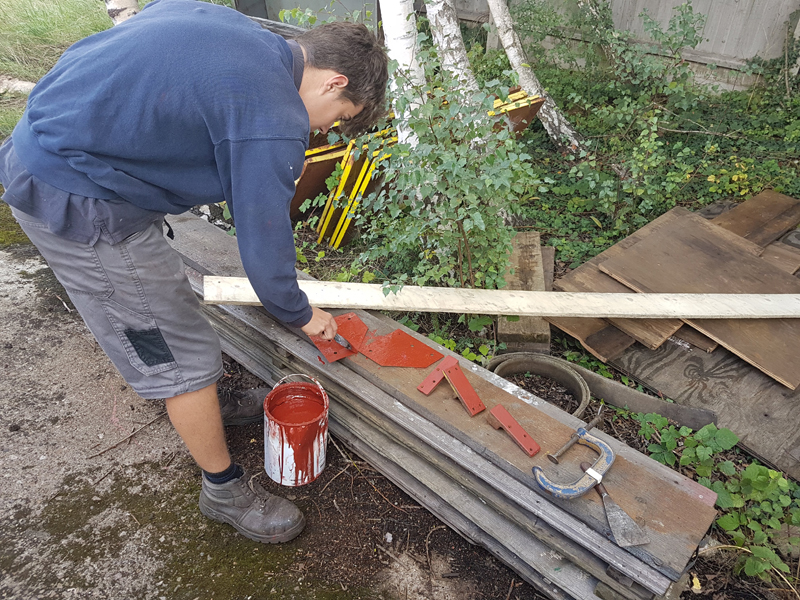
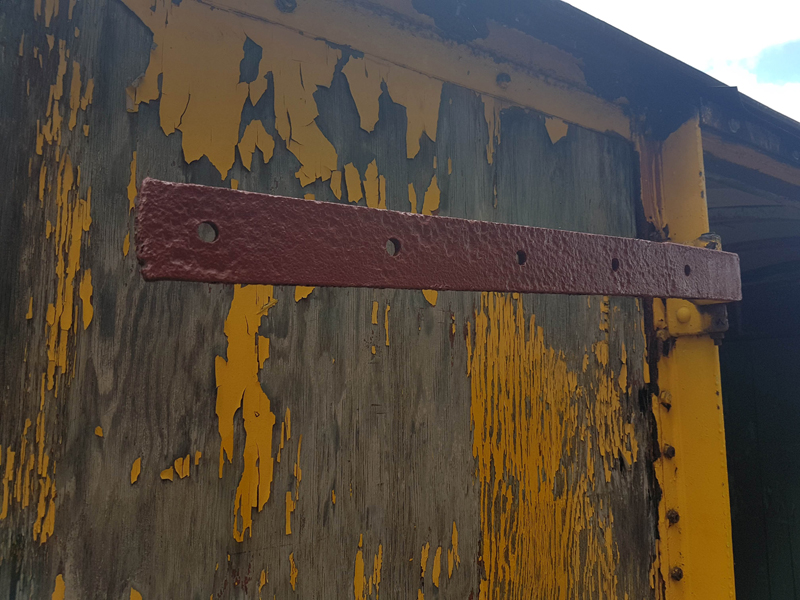
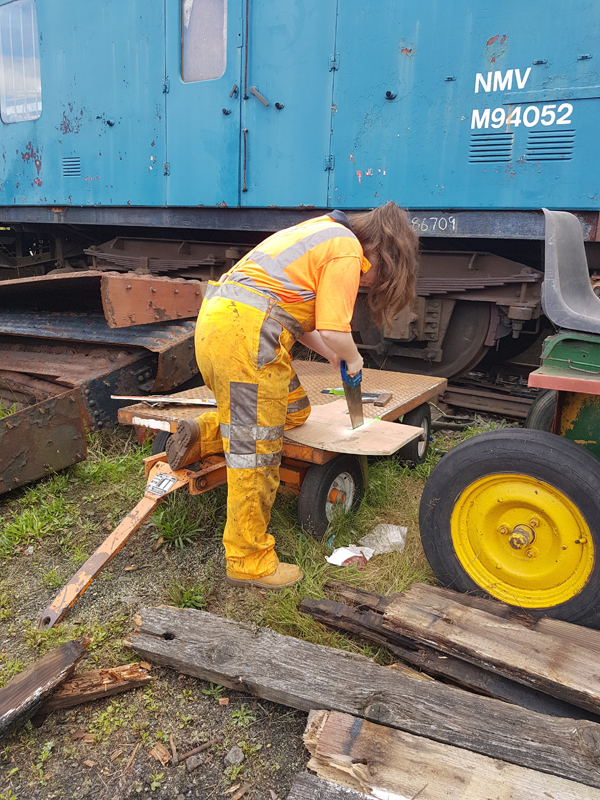
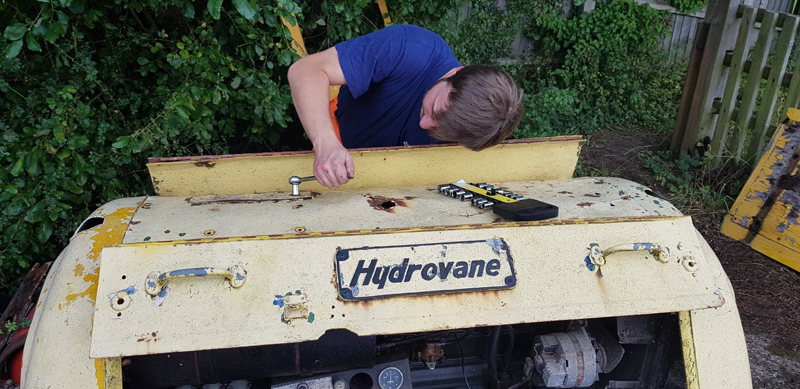
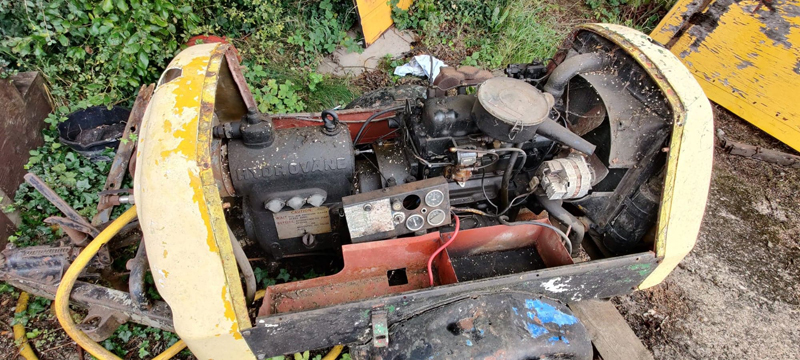
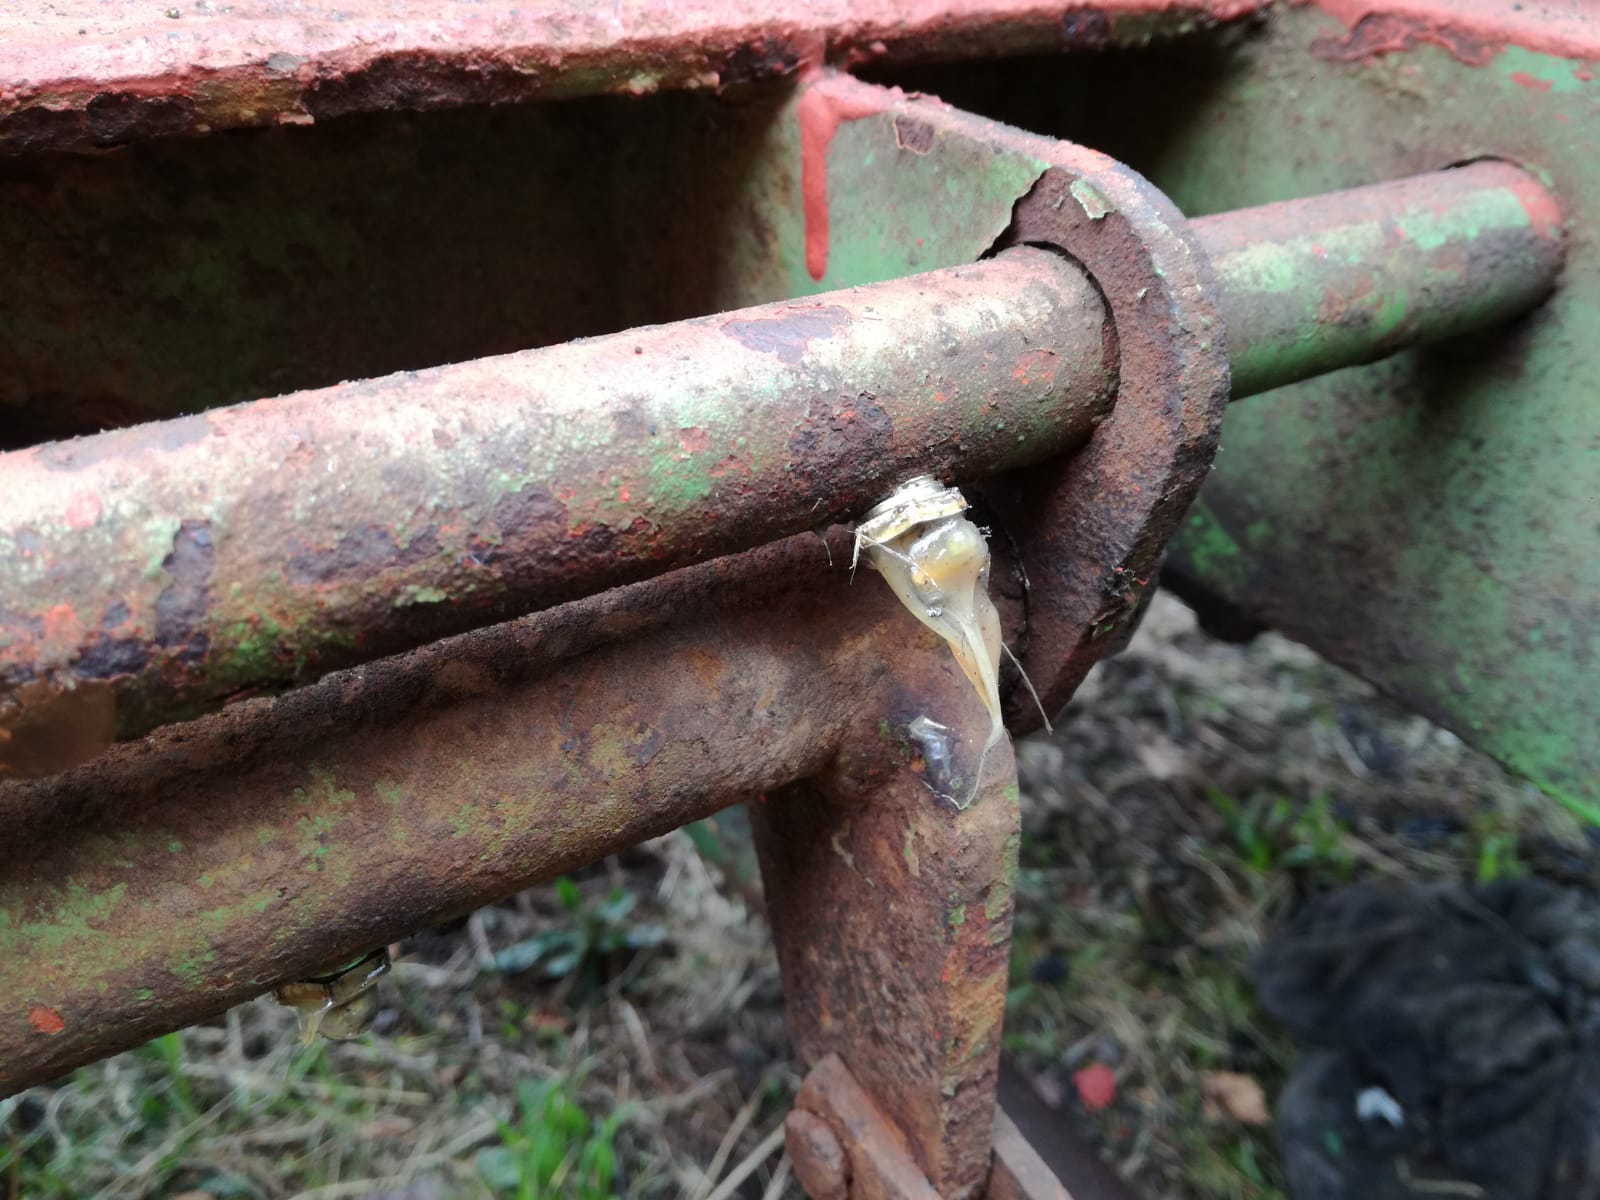
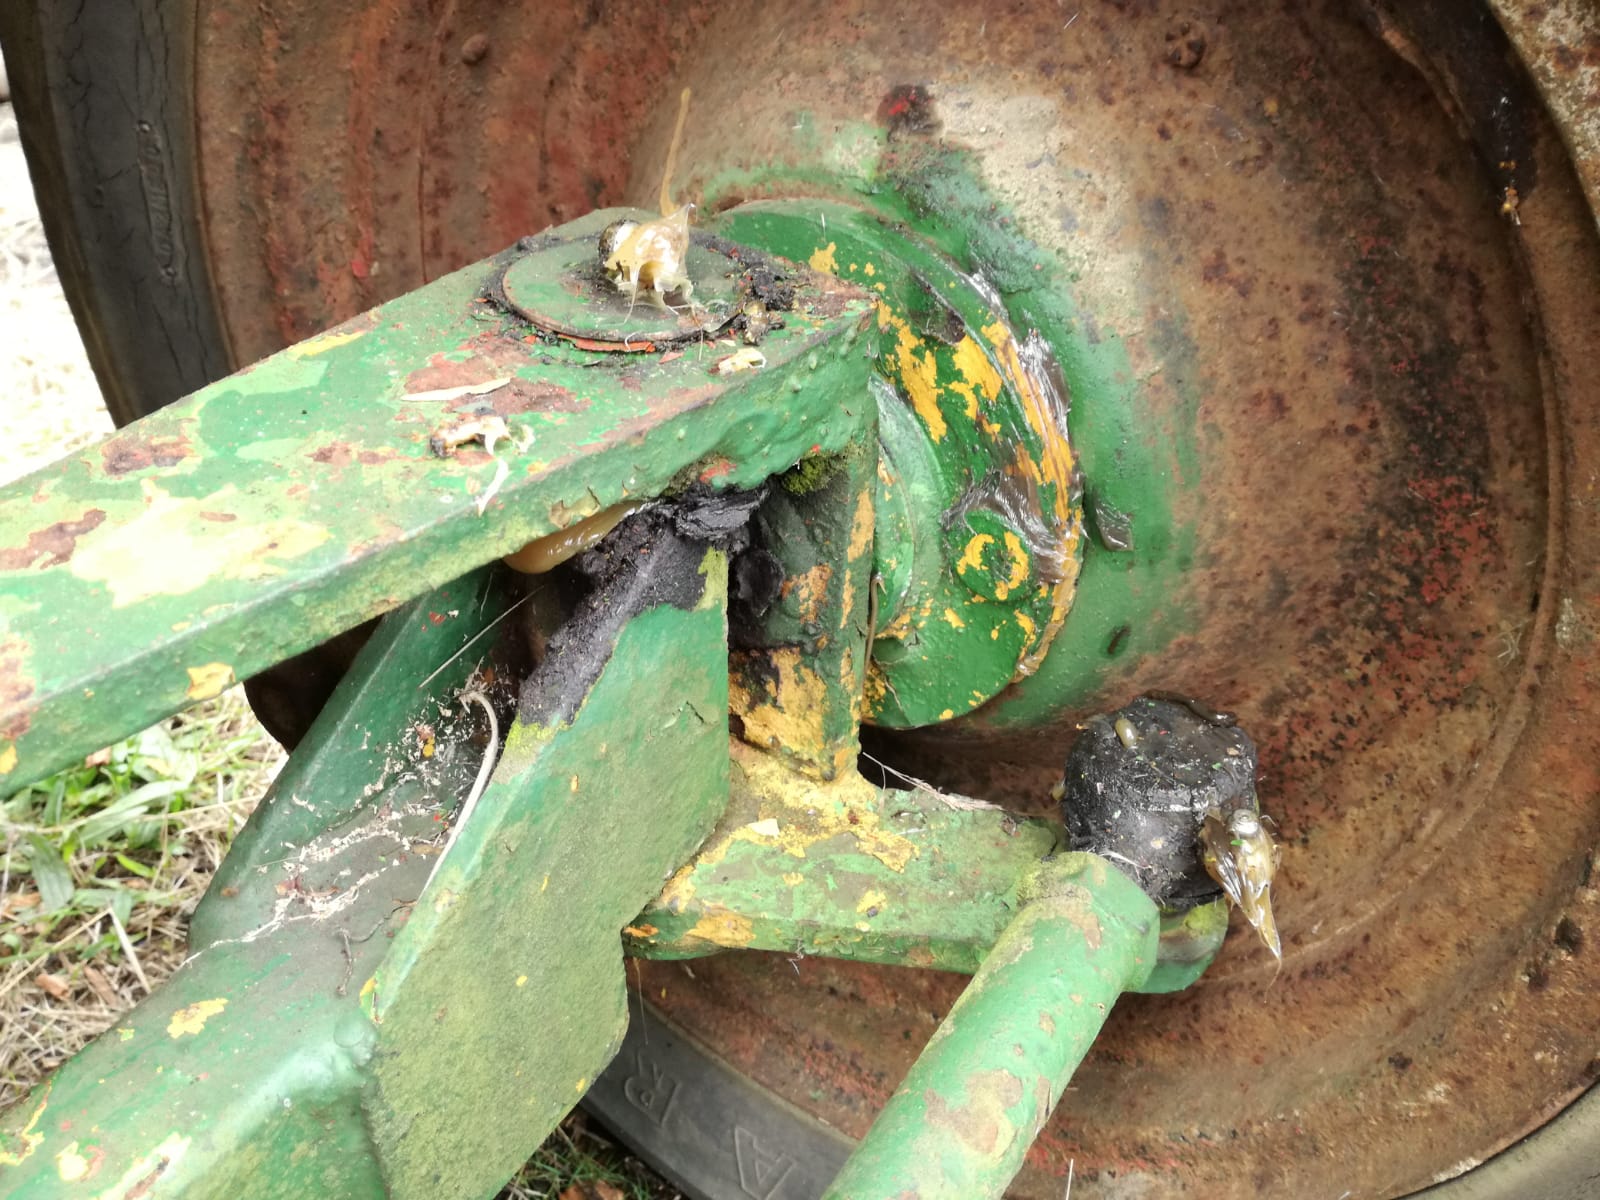
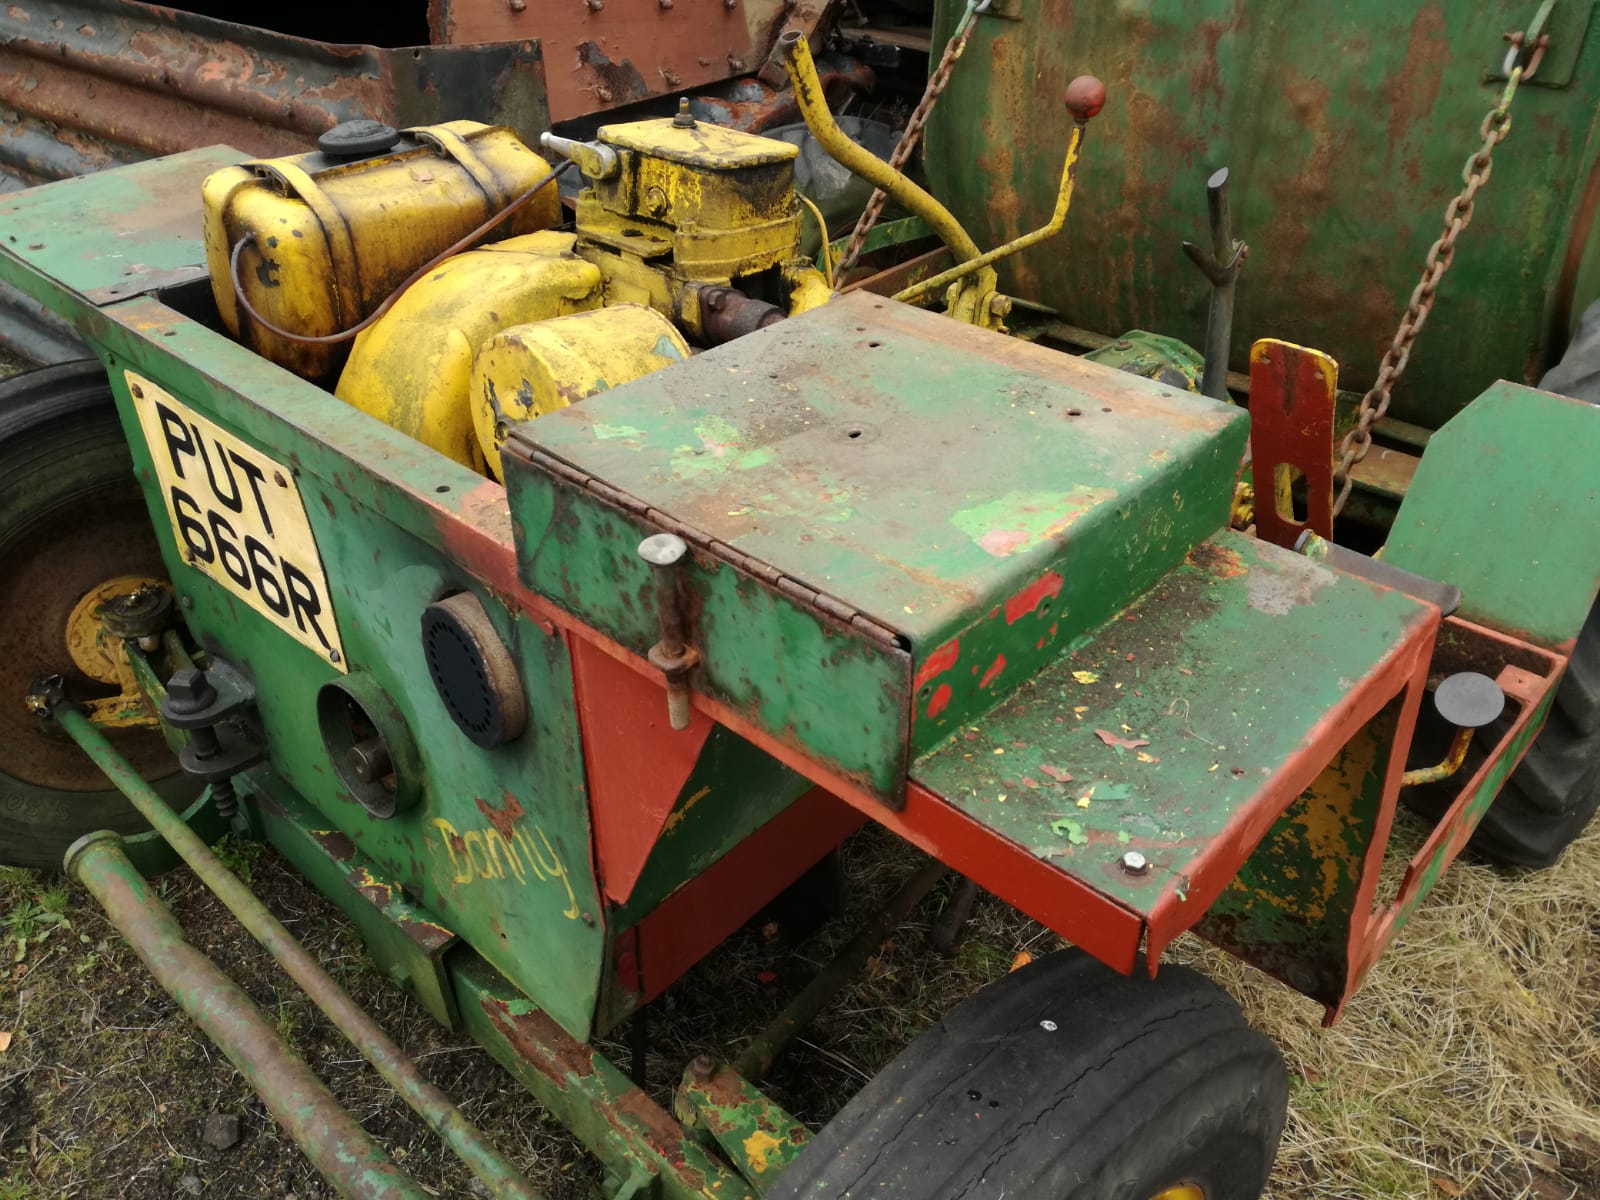
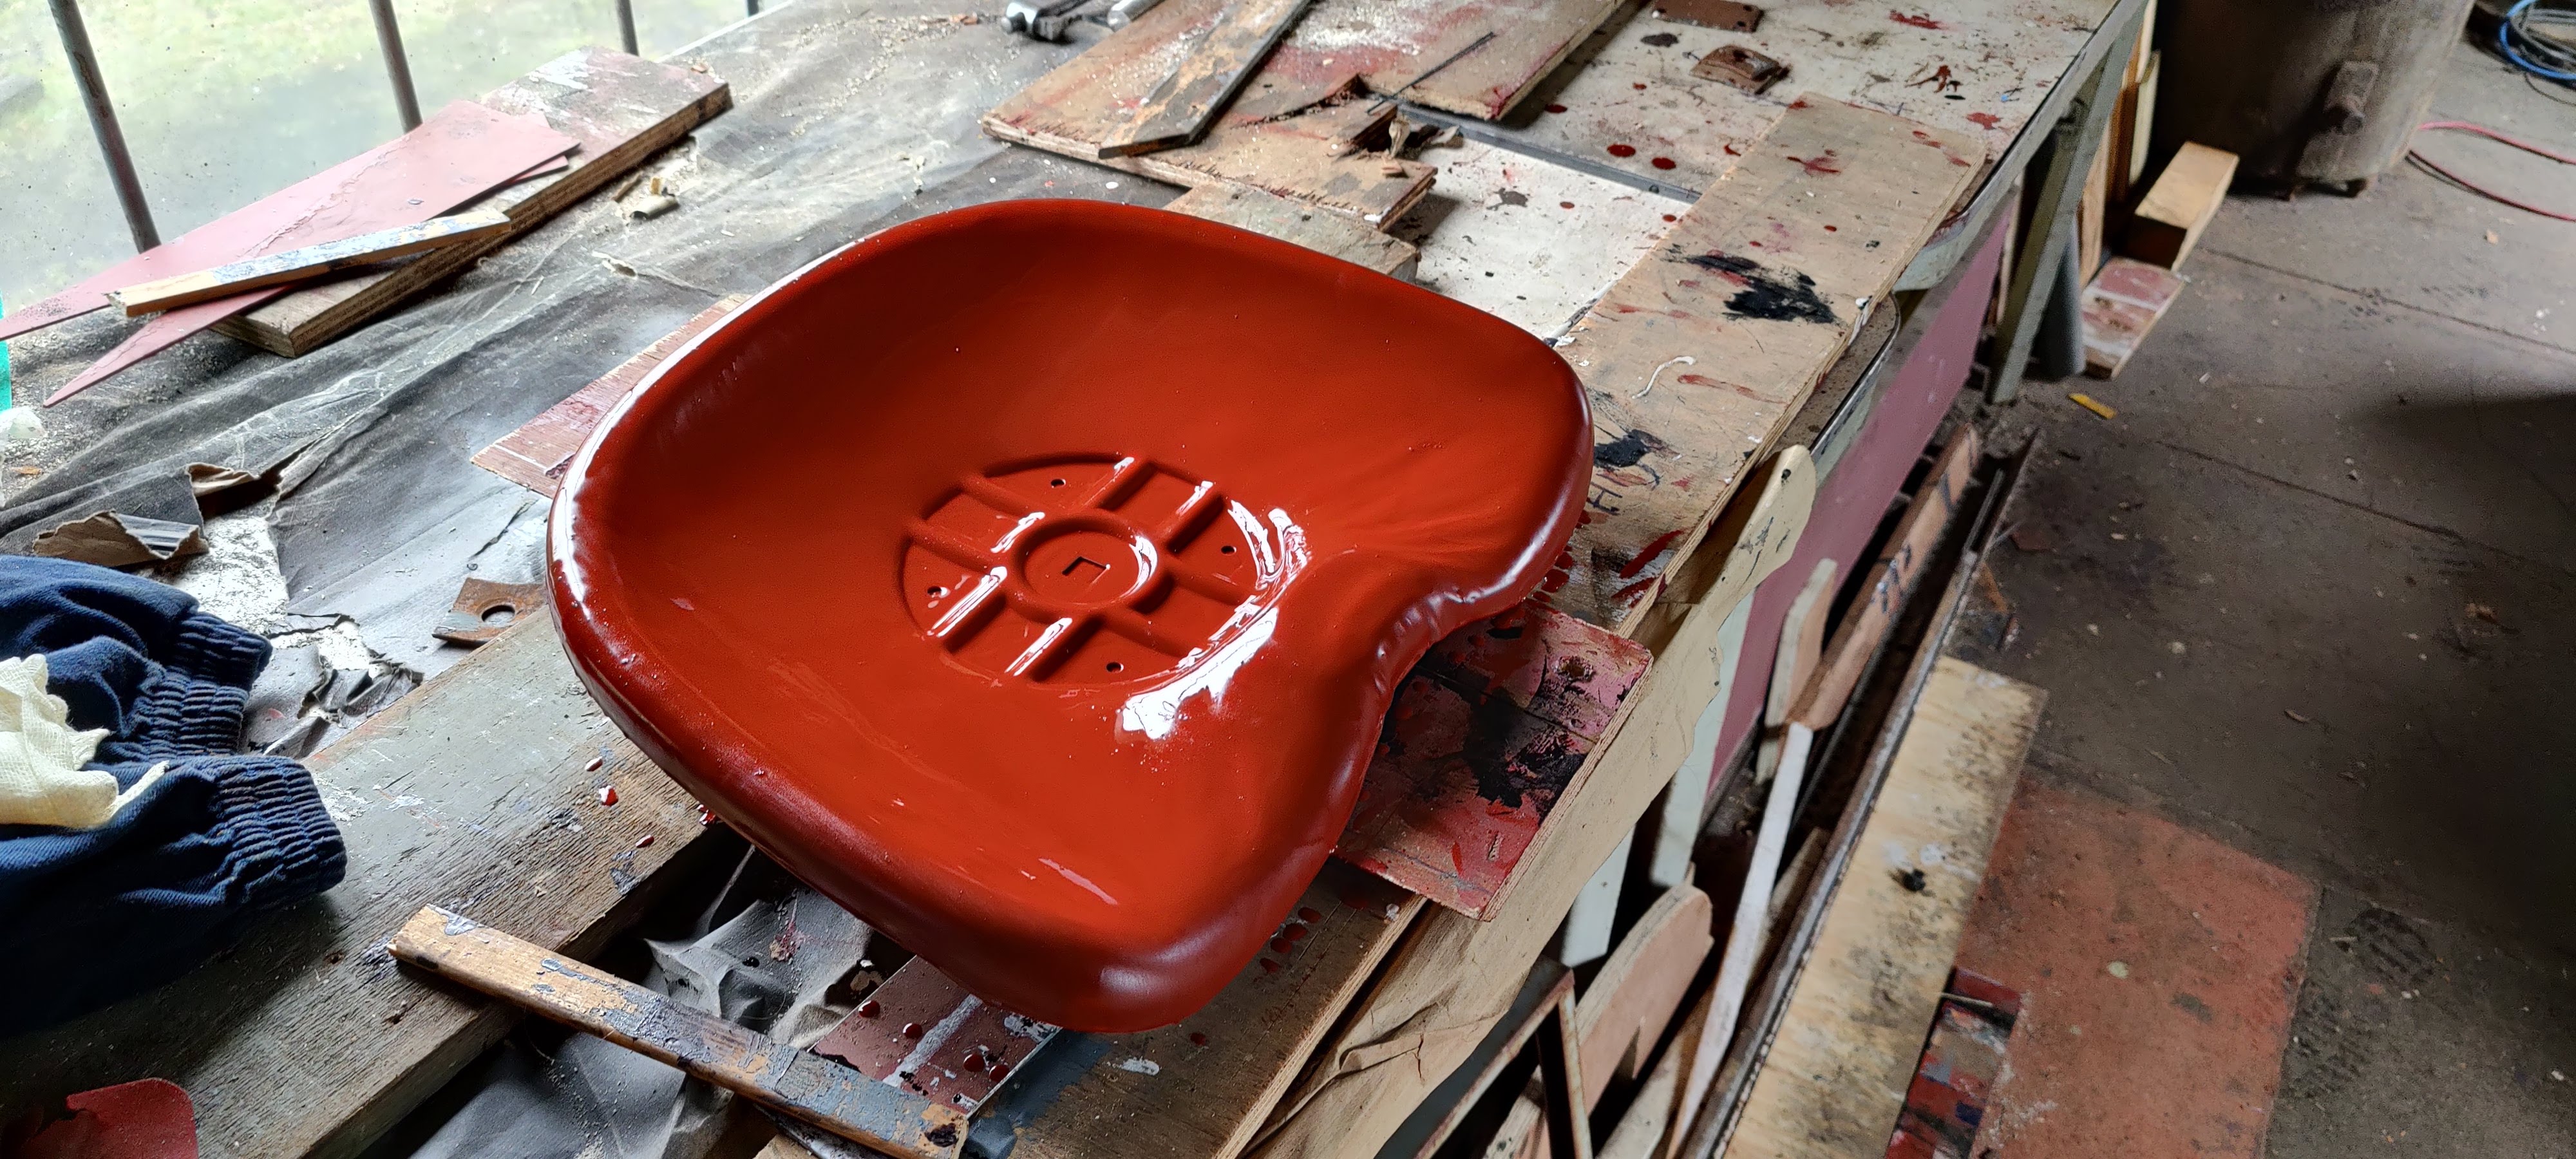
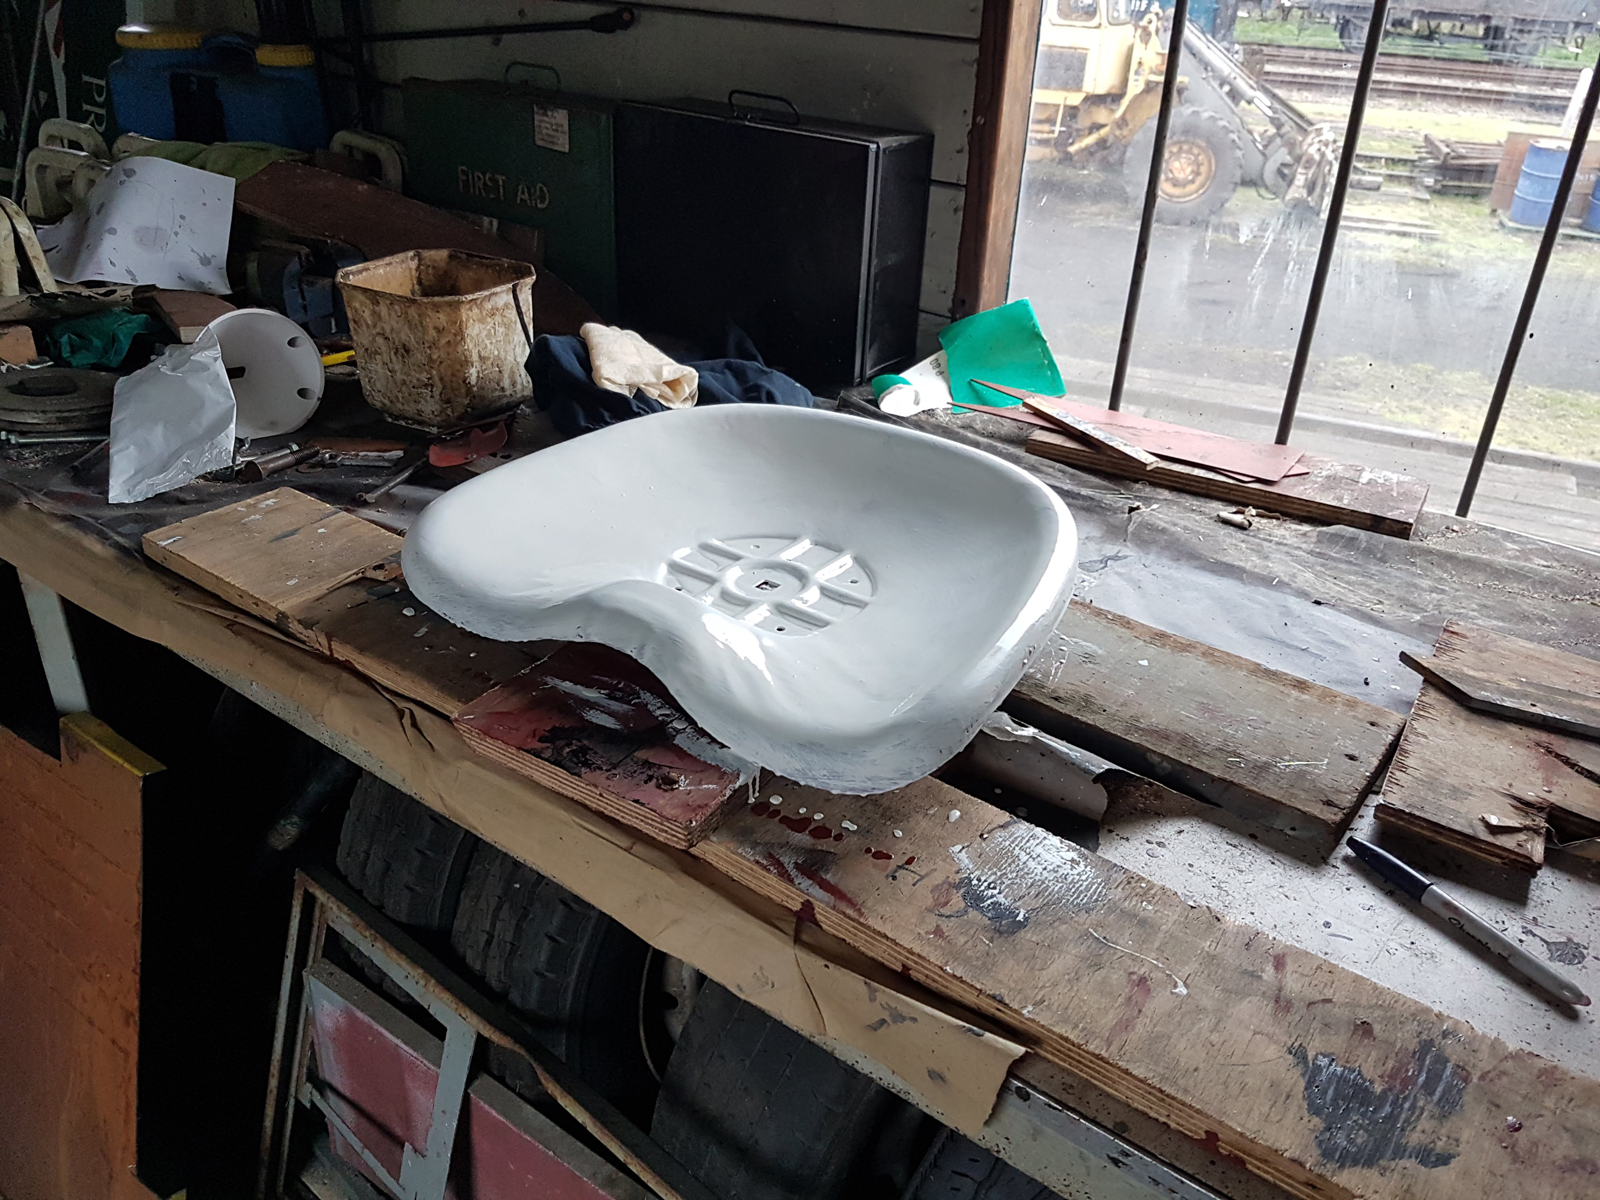
    After helping to ready the van, Ross continued working on ‘Danny’ our site dumper. We are still waiting for the steering box back, but he replaced nearly all of the grease nipples and pumped grease into the steering linkages and the pedal linkages. everything seems to be moving a lot freer now. he also manage to obtain a pan seat which is close enough to be correct. Ross painted this into primer, ready for undercoat. Richard assisted by removing the school chair from the locker box. Last job for Ross was to adjust the clutch linkage.

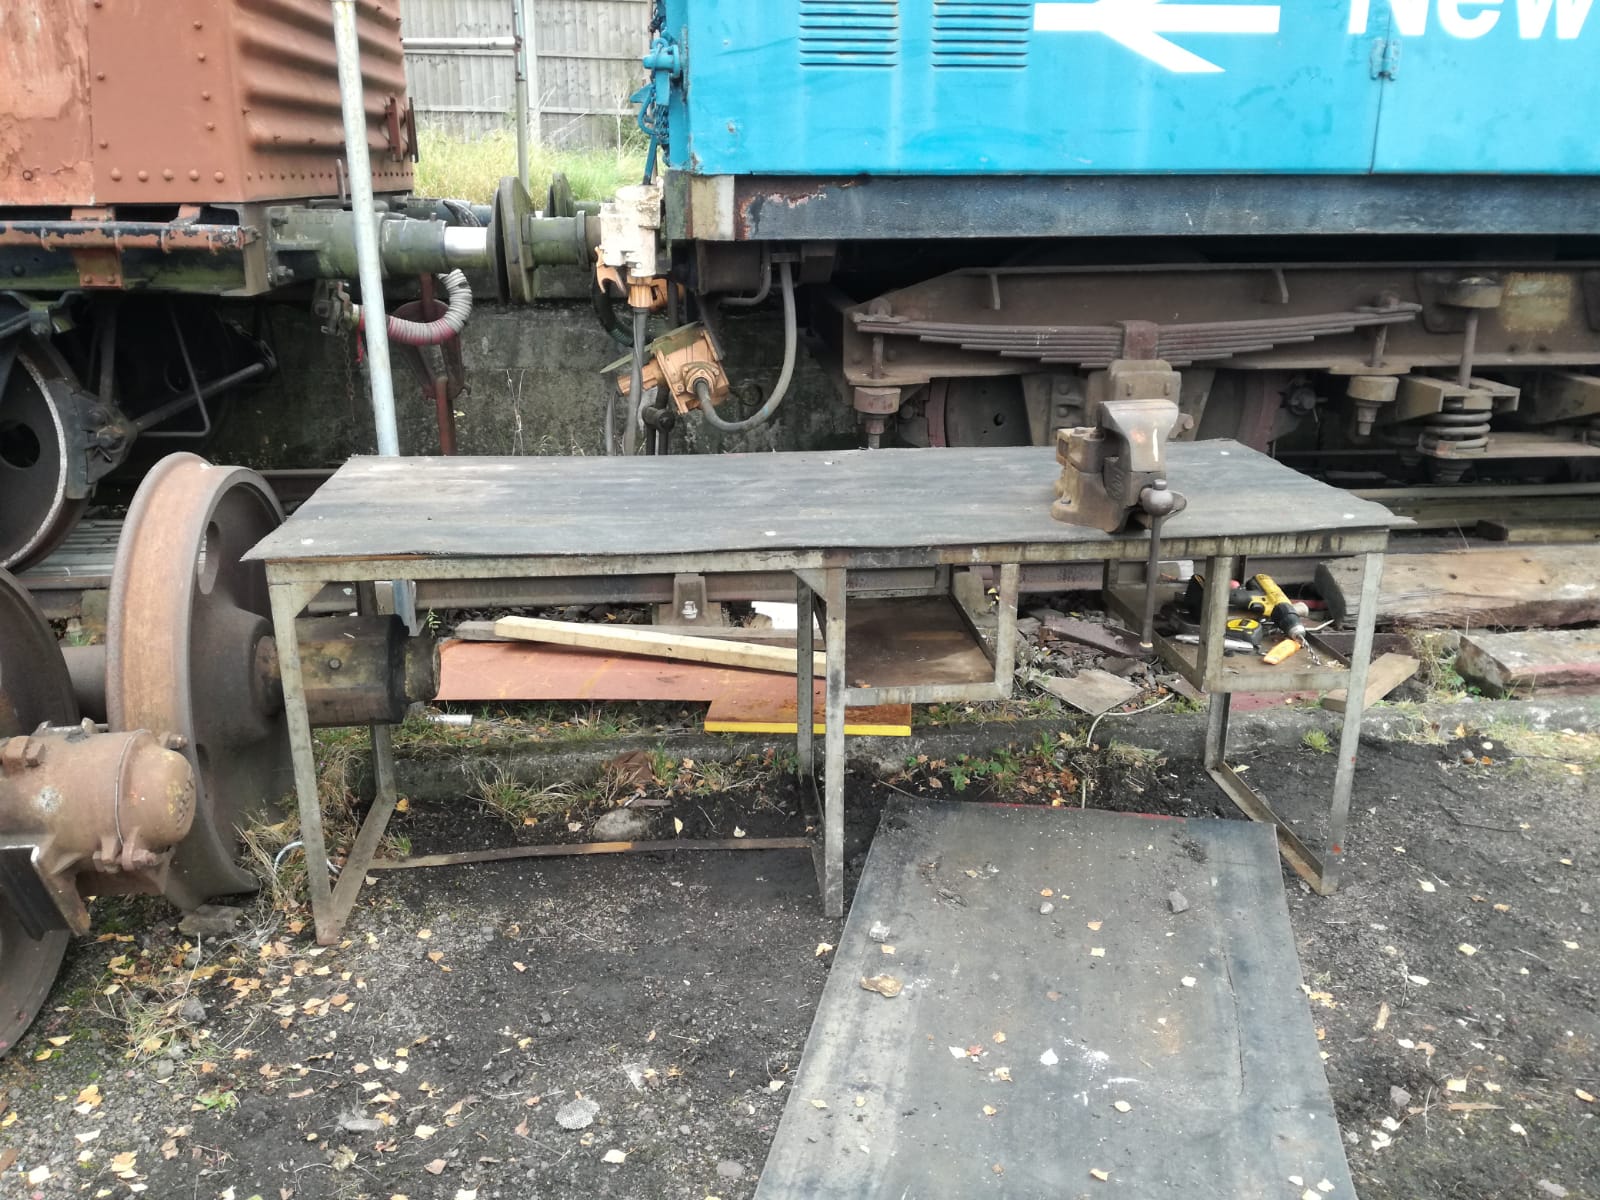
    Nick, Richard and Eireni sited the workbench removed from B852838 and sited it outside, next to our shed. This has already come in handy, so should continue to be so!

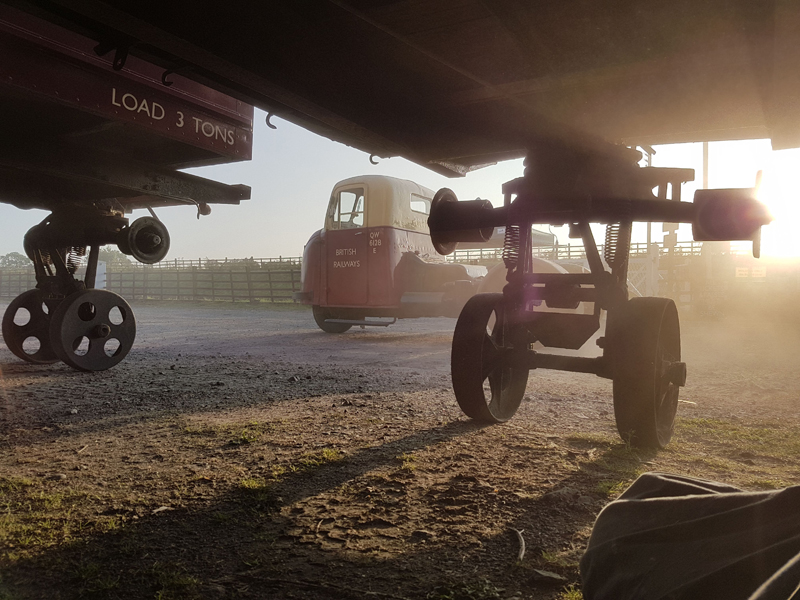
    As for me, I was working at home on another member of the fleet and the first time it has graced one of our updates, Numbered MB 2426 E and named Wilbur, this is my 1968 built Morris Commercial and carries an appropriate BR livery. A final few little niggles to sort and hopefully we shall see him at the GCR again.

    https://videopress.com/v/hcKGtcDG?preloadContent=metadata

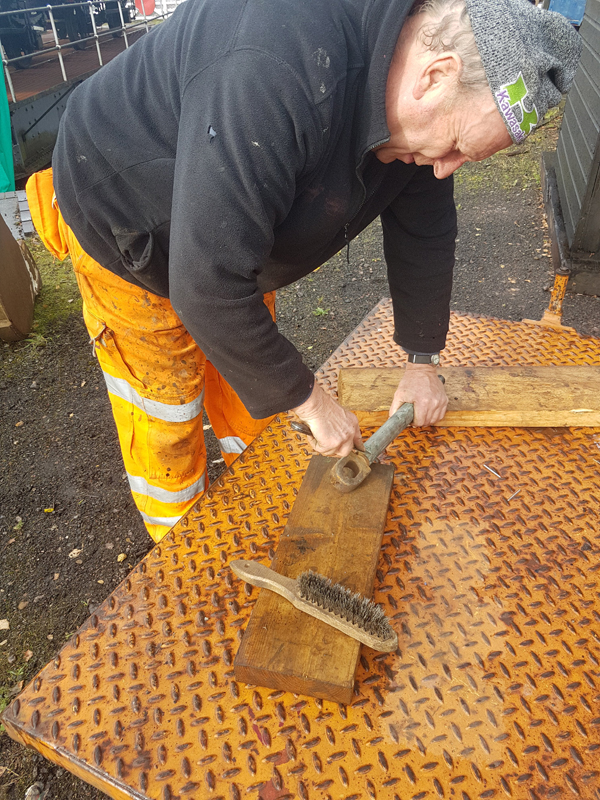
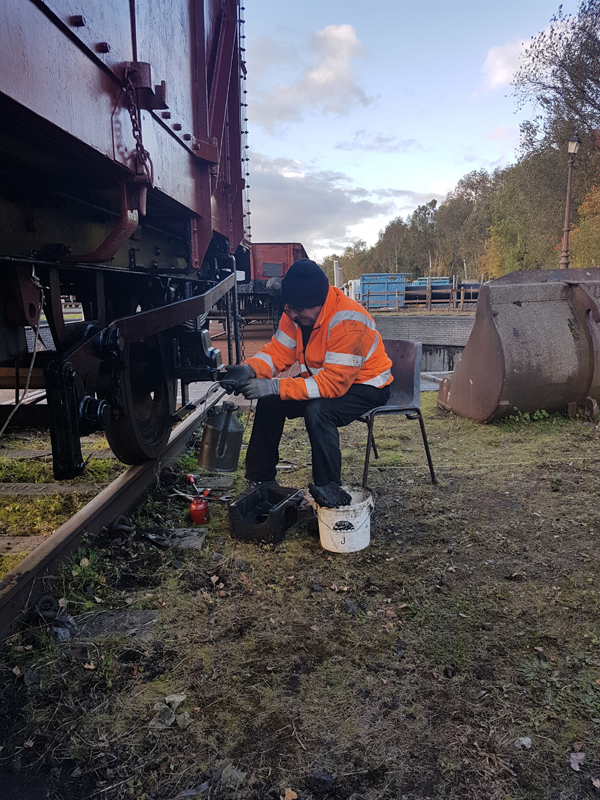
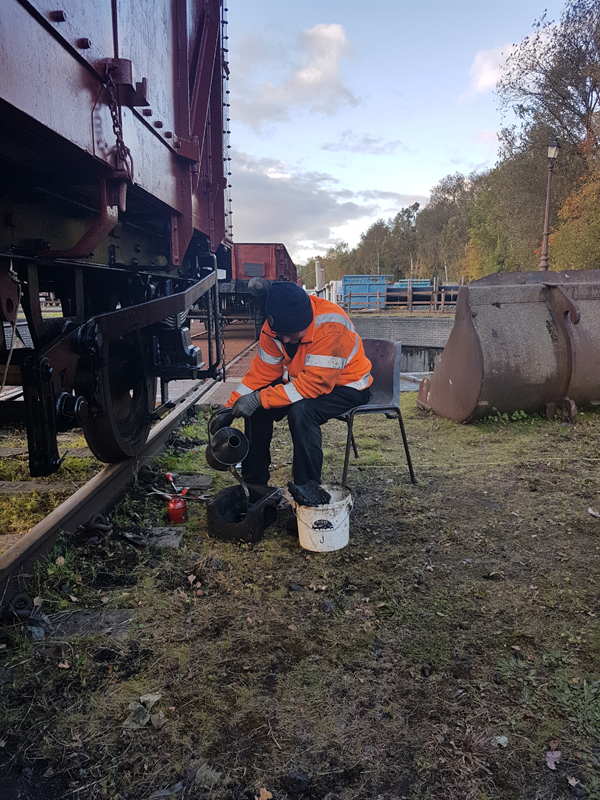
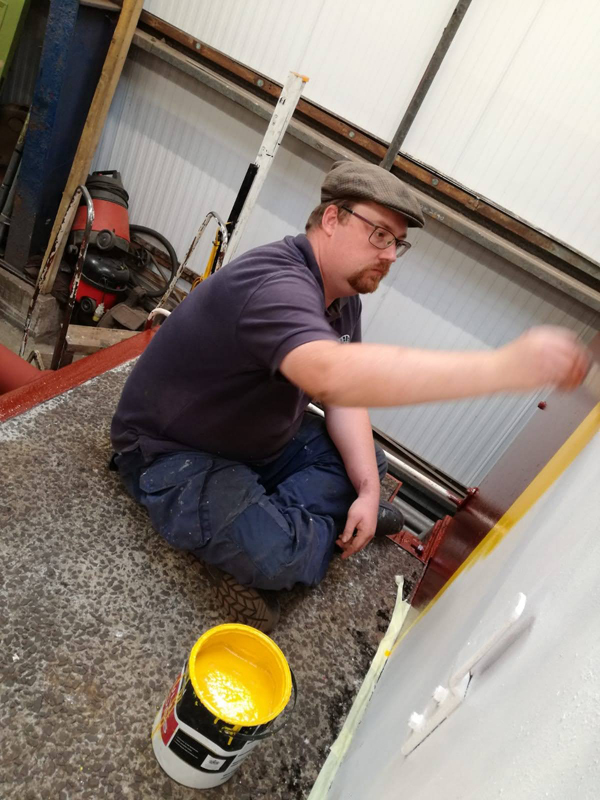
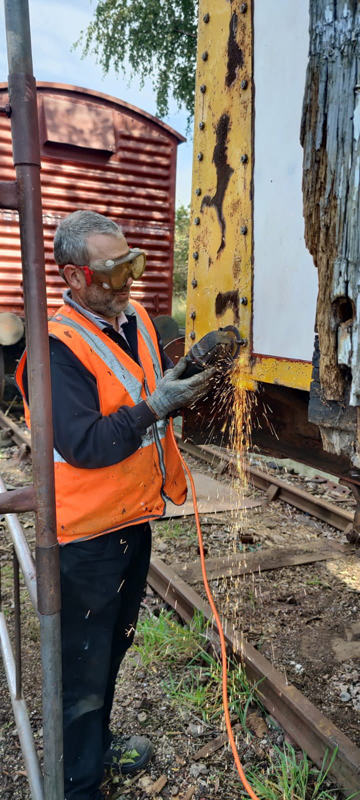
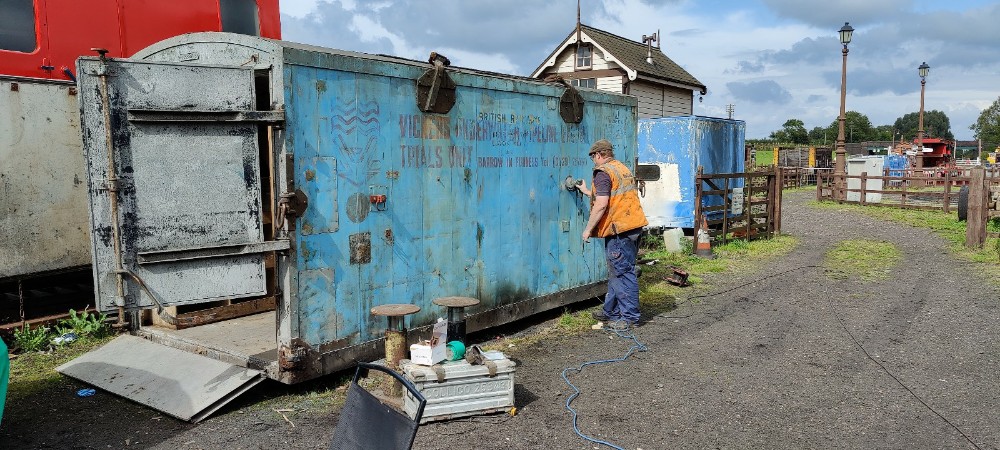
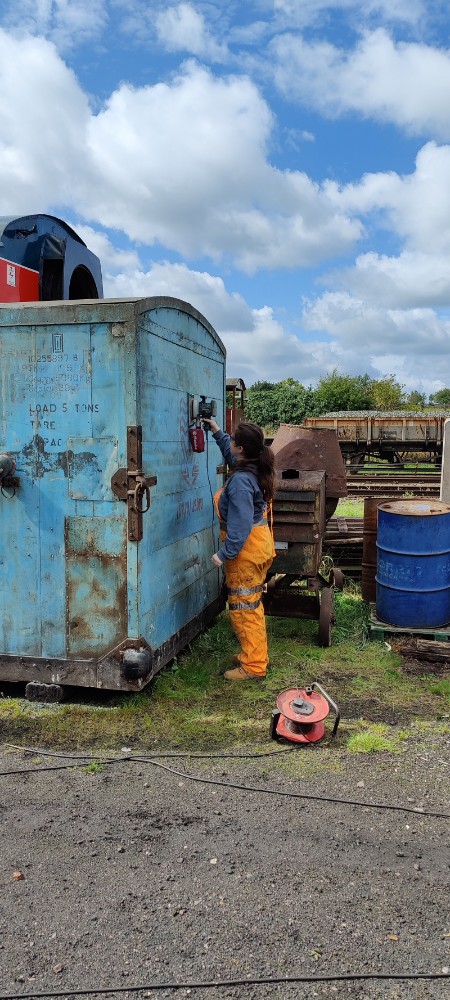
    On to Sunday and the odd jobs continue, Eddie beginning to scrape down Danny ready for a little more TLC.

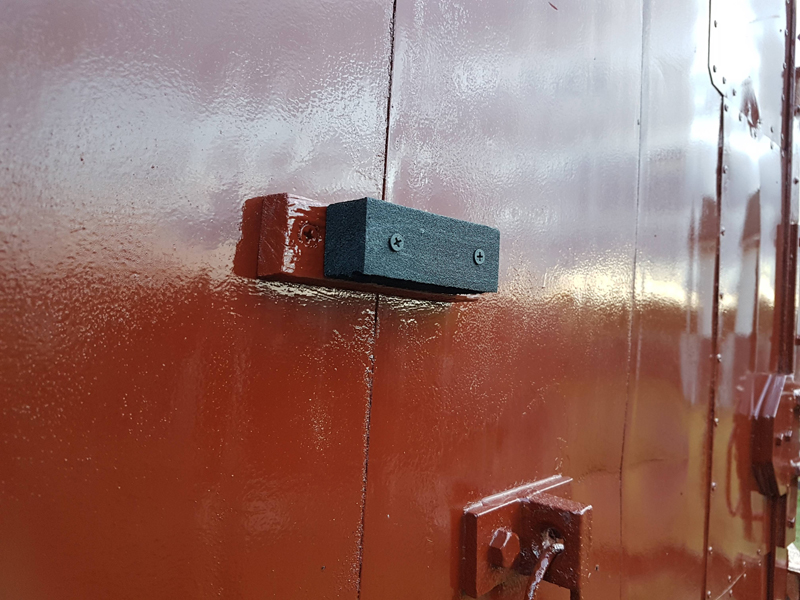
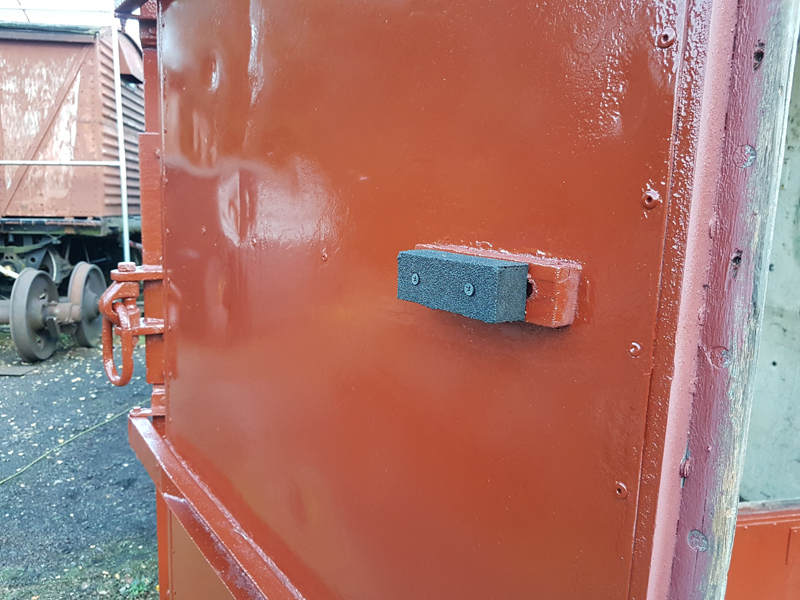
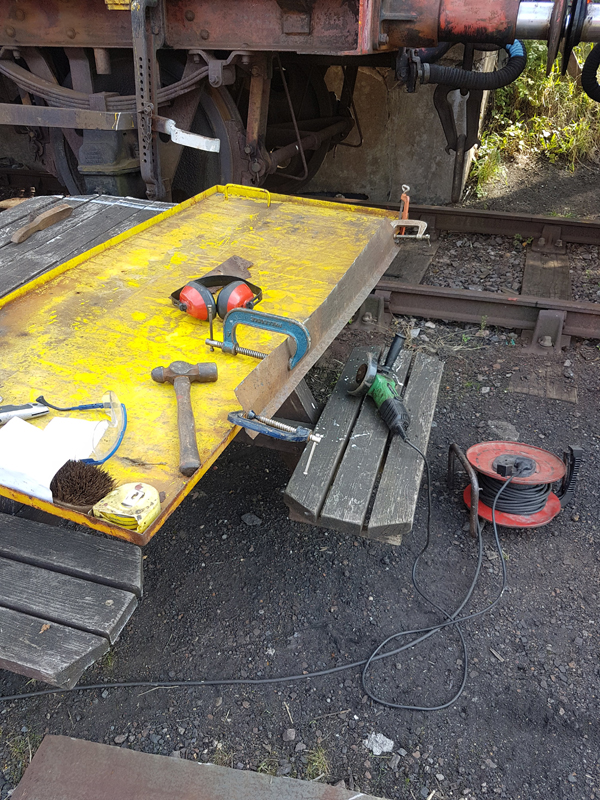
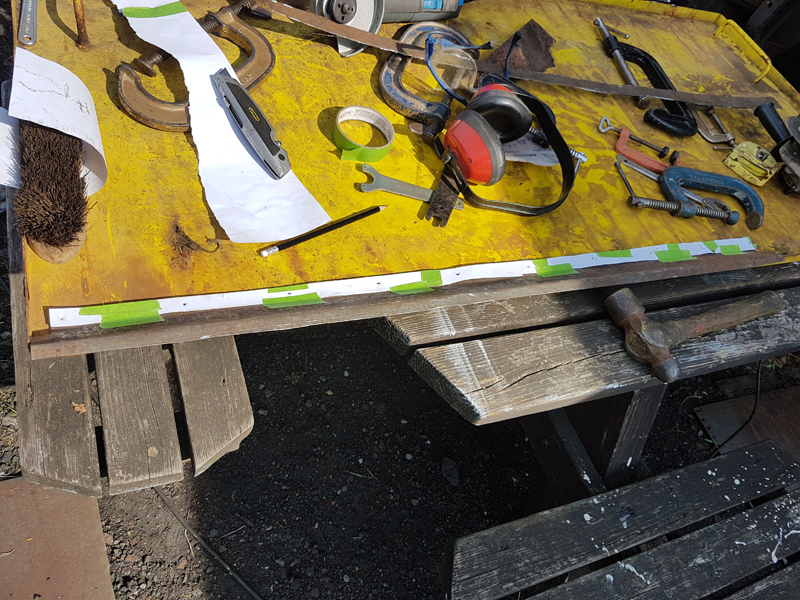
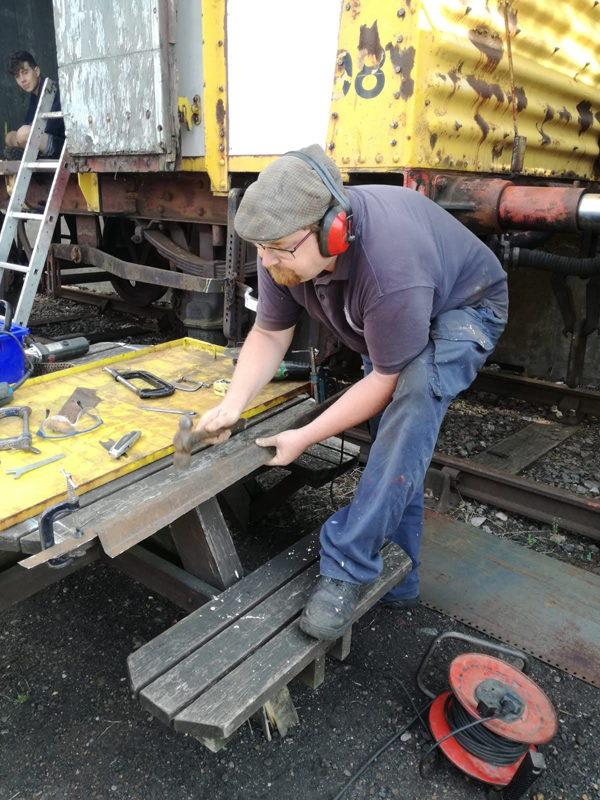
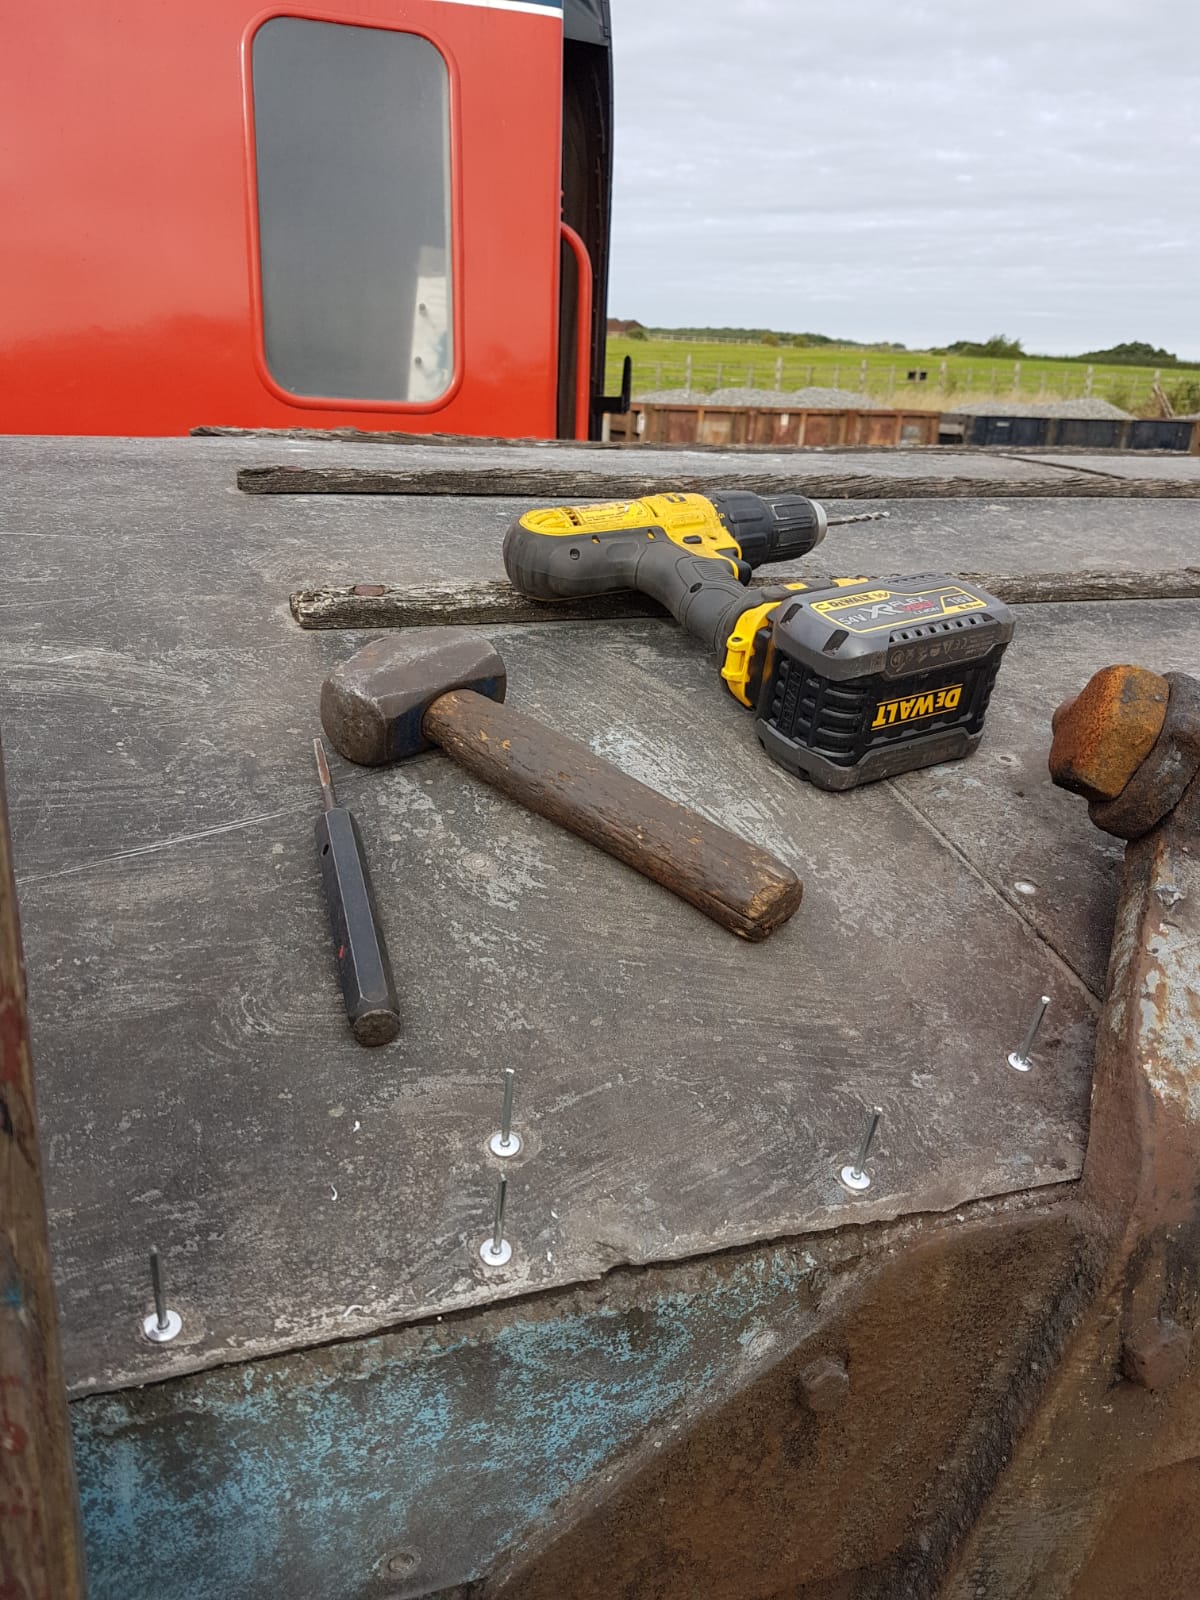
    The bench removed from the shockvan was given a new rubber top by Dave to protect the wooden surface.

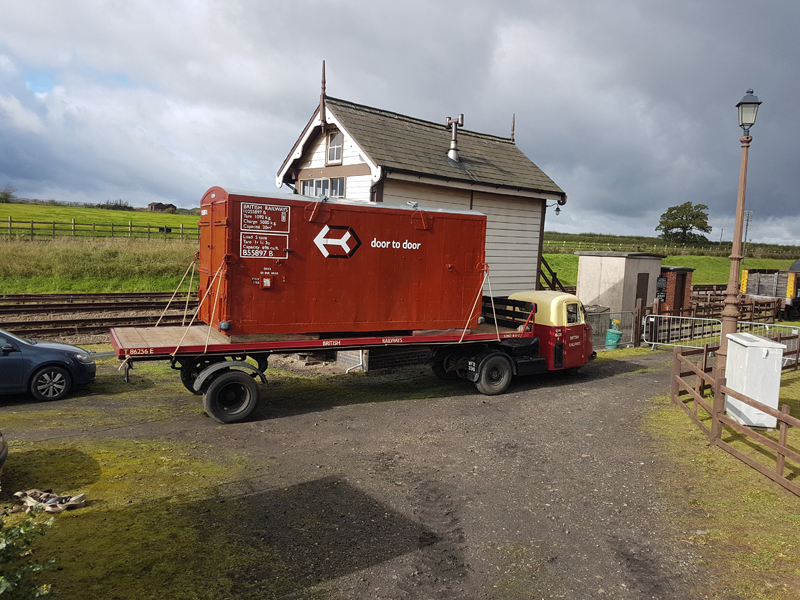
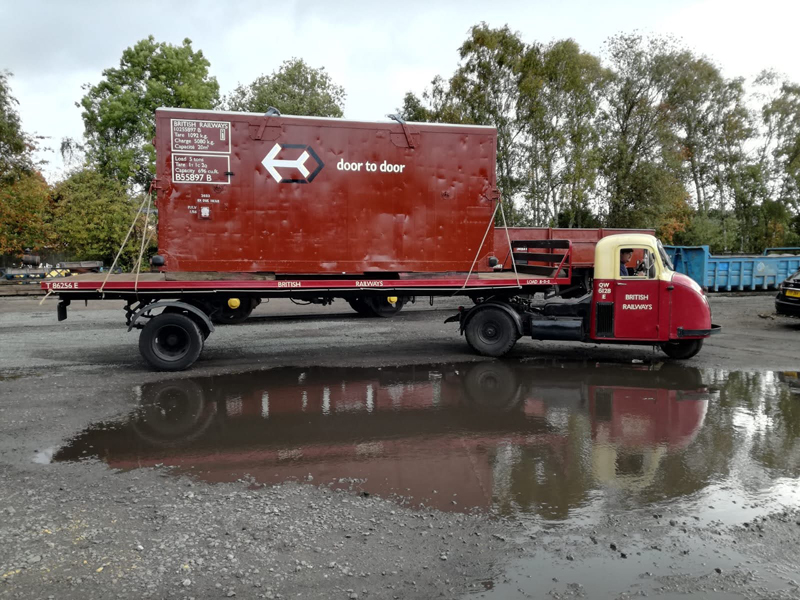
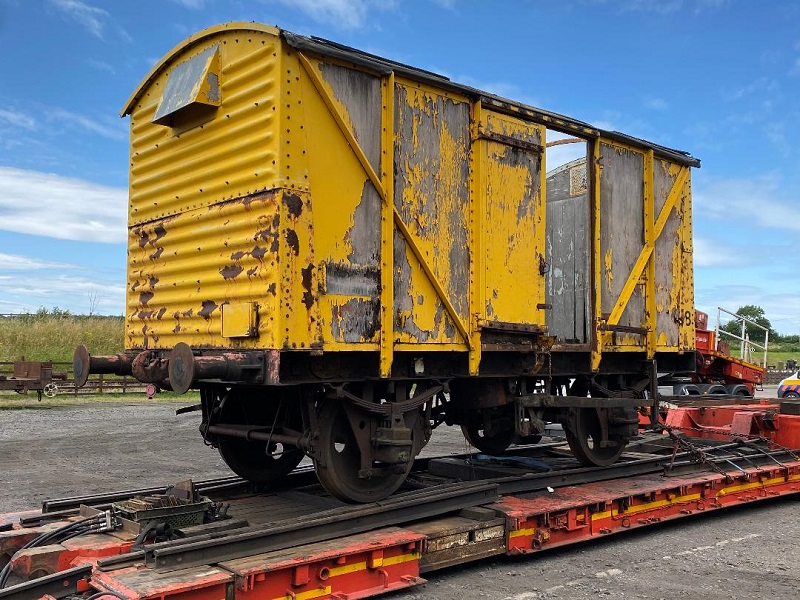
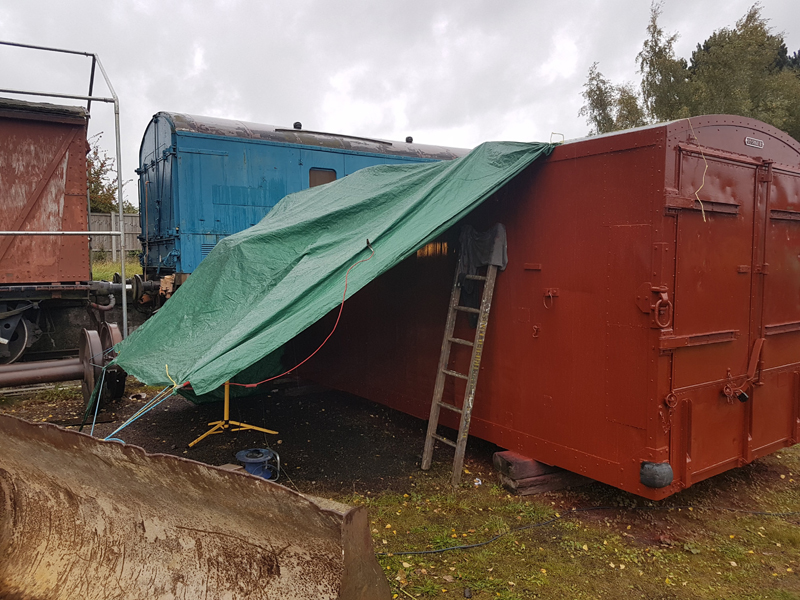
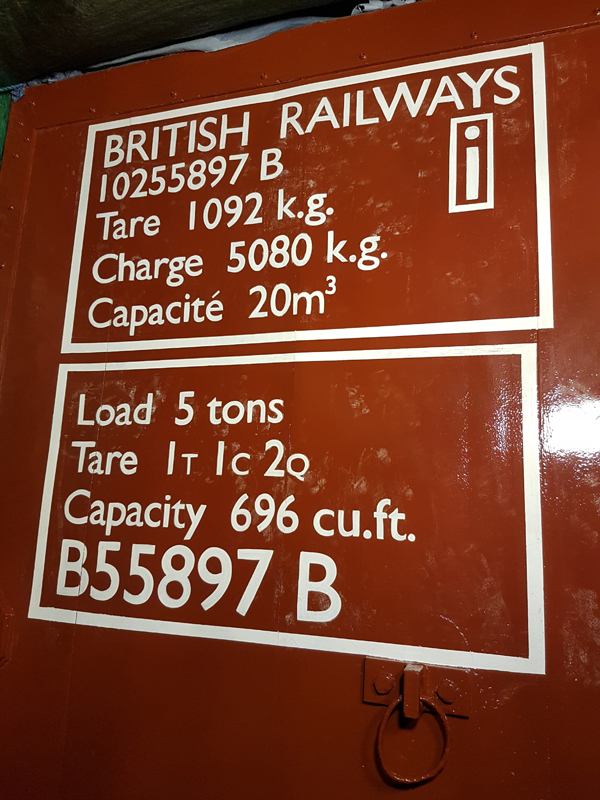
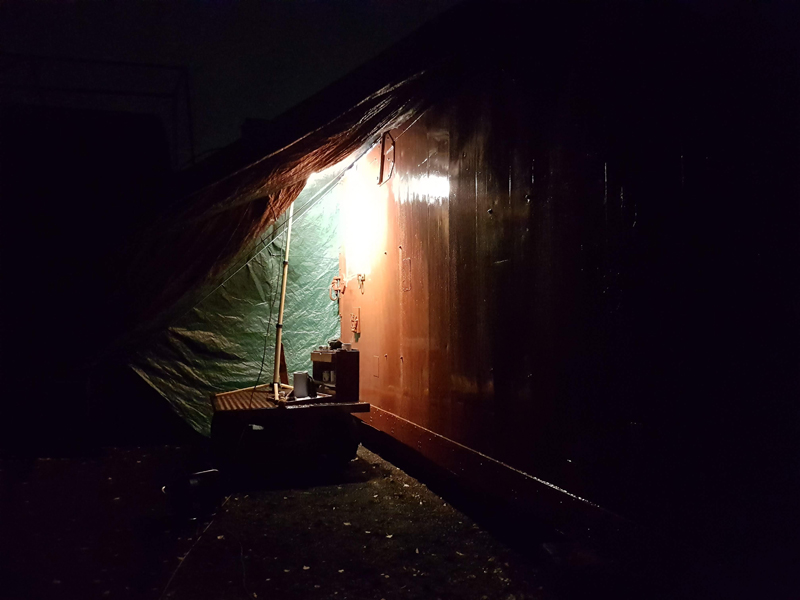
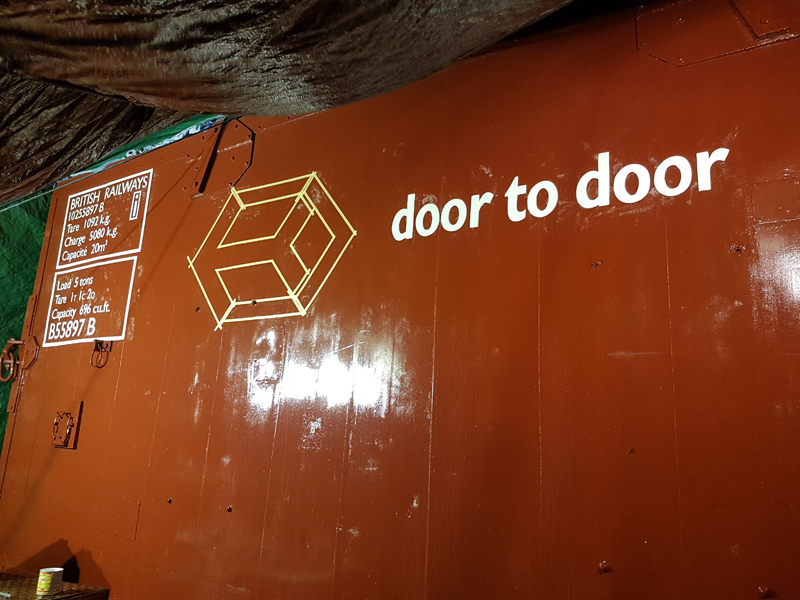
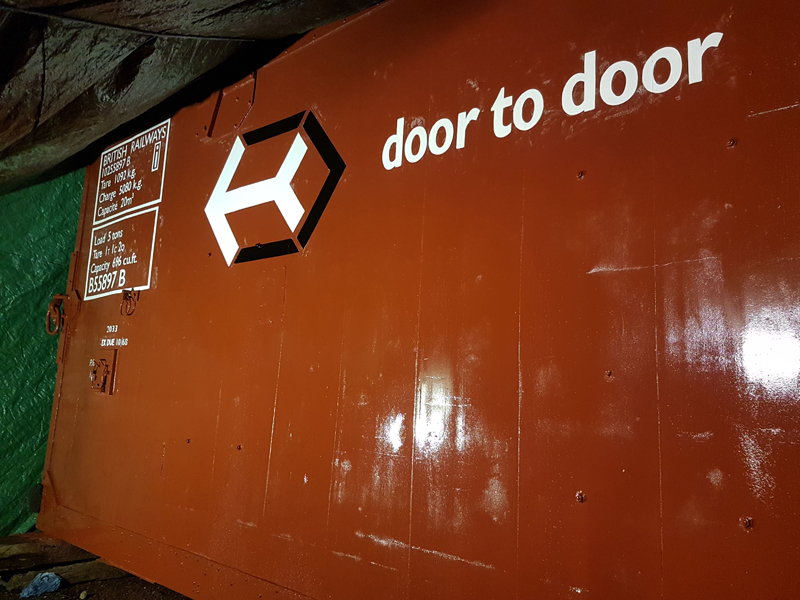
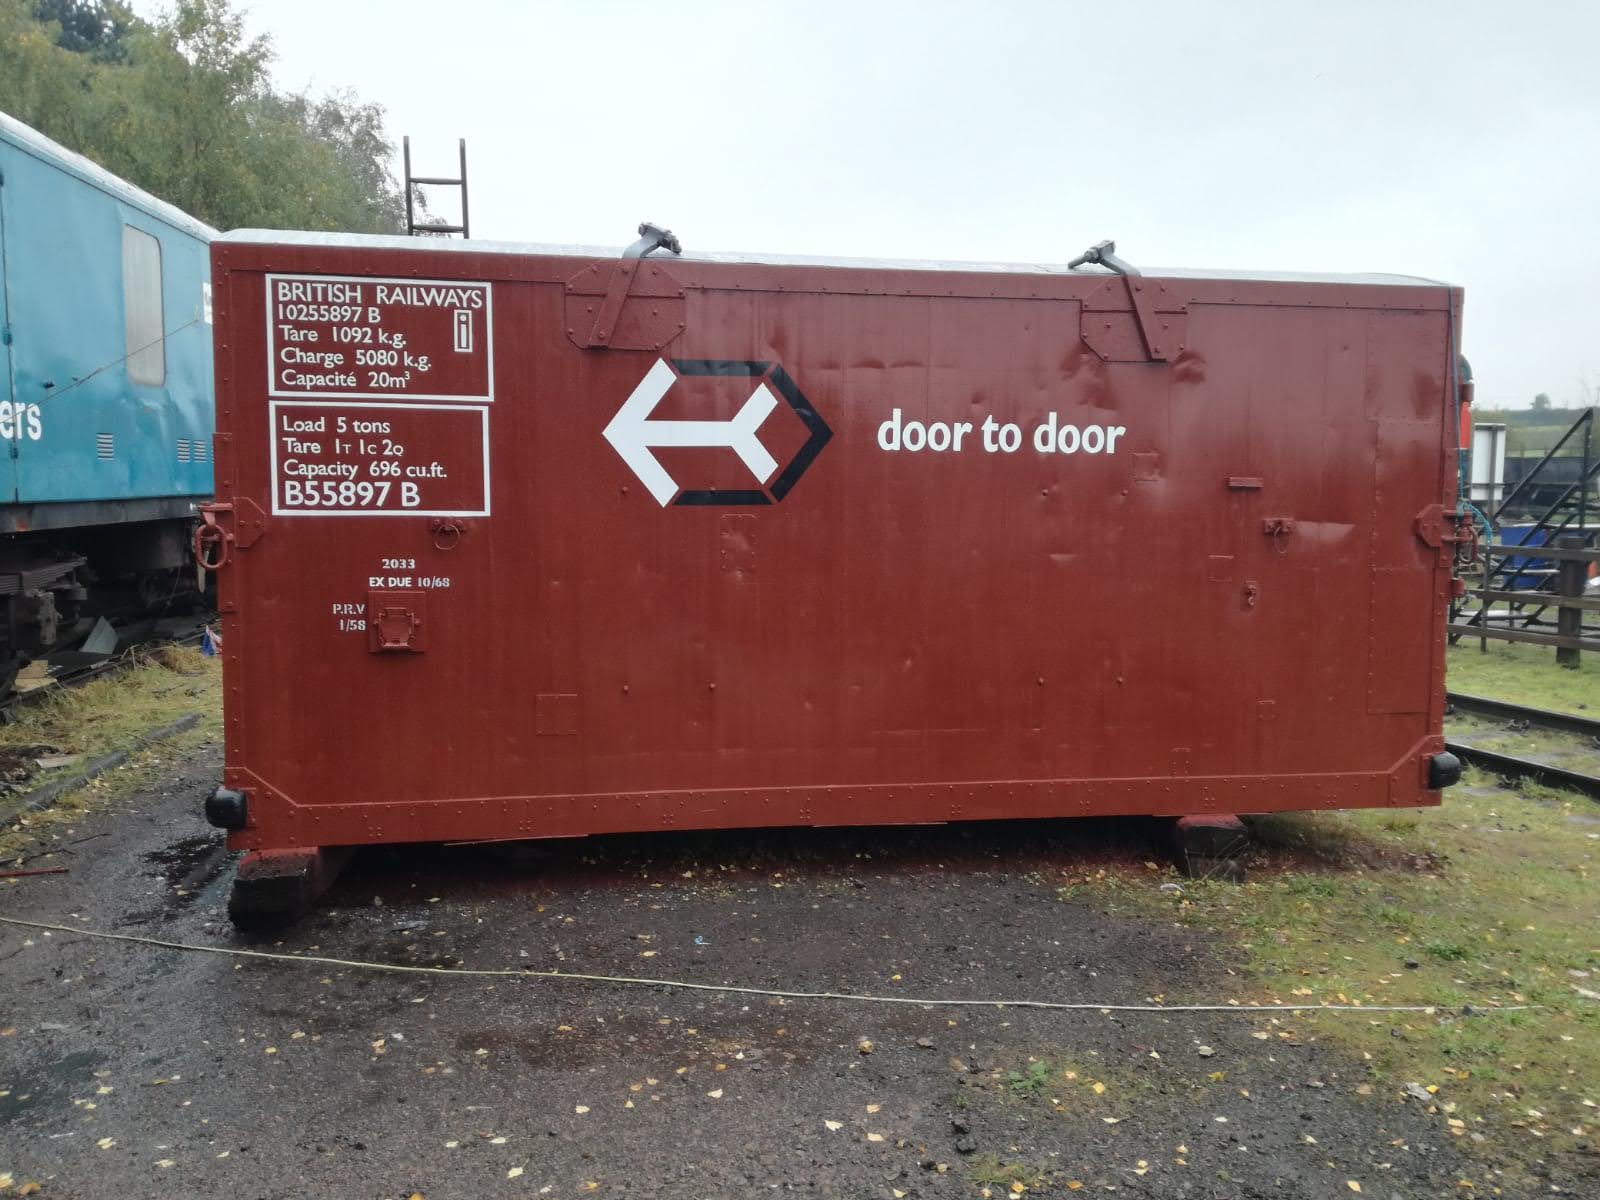
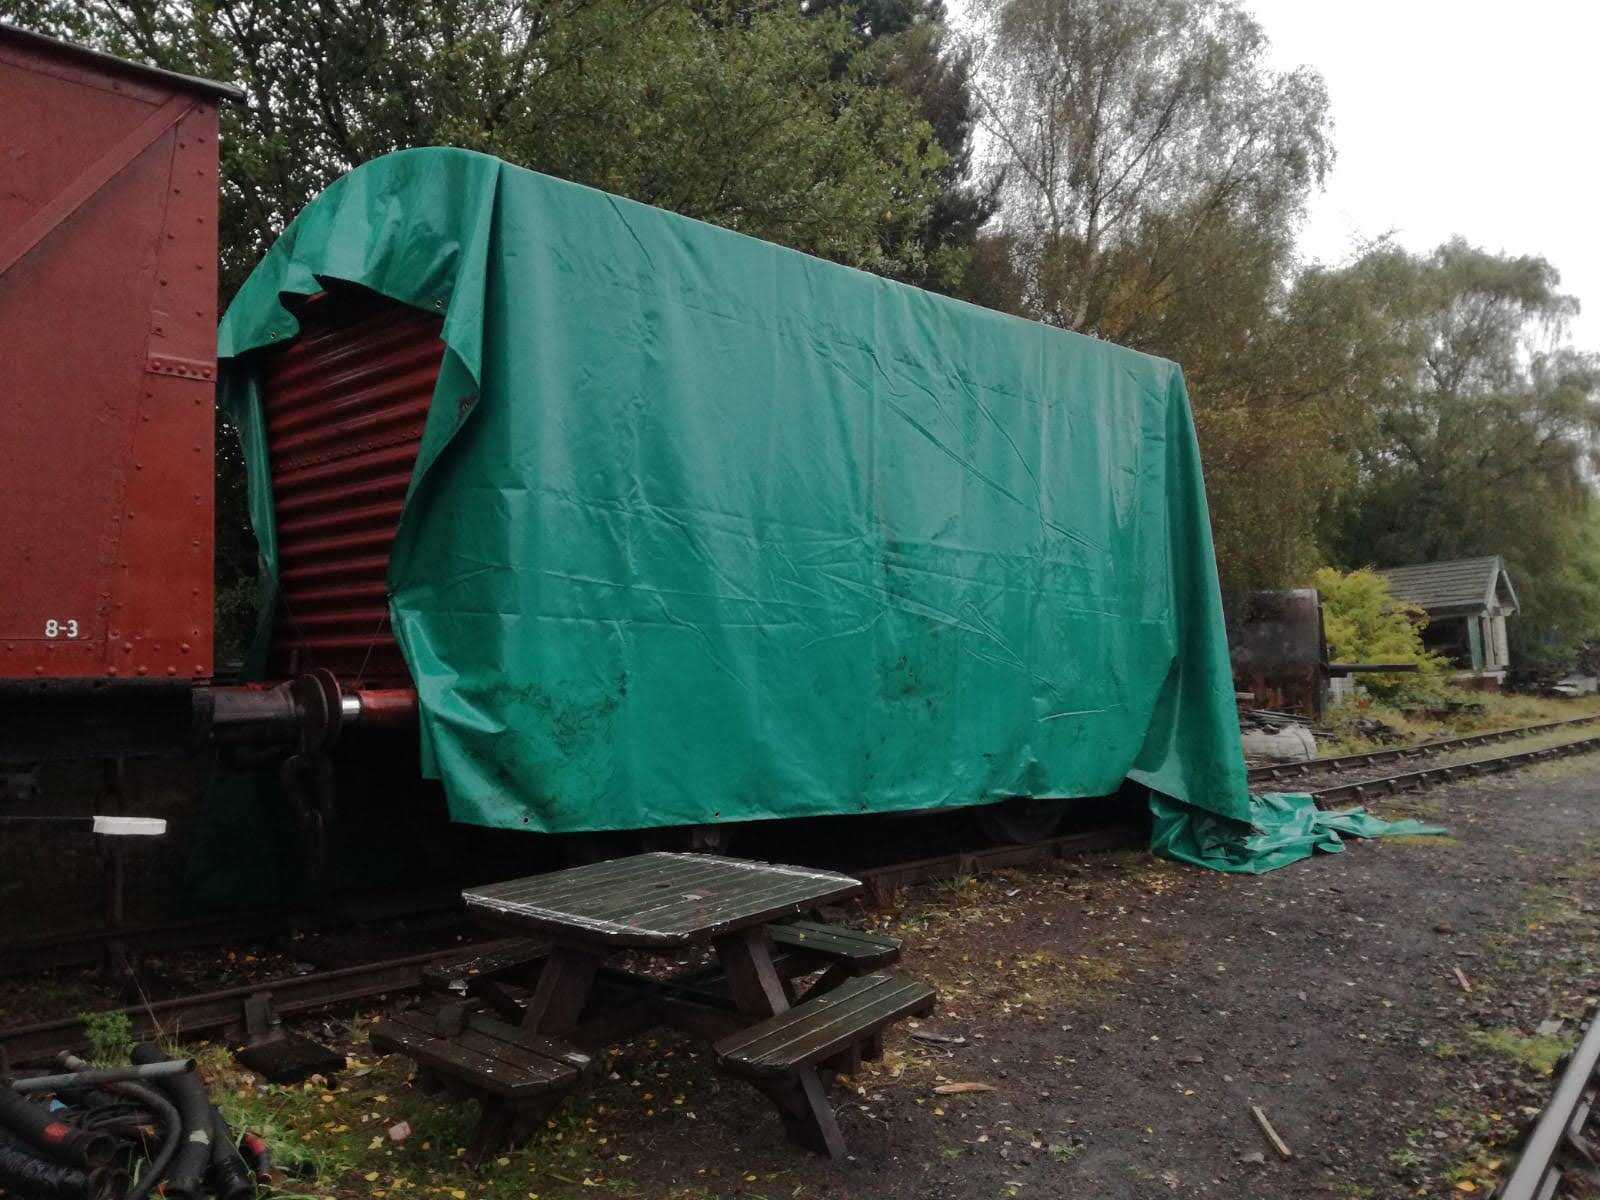
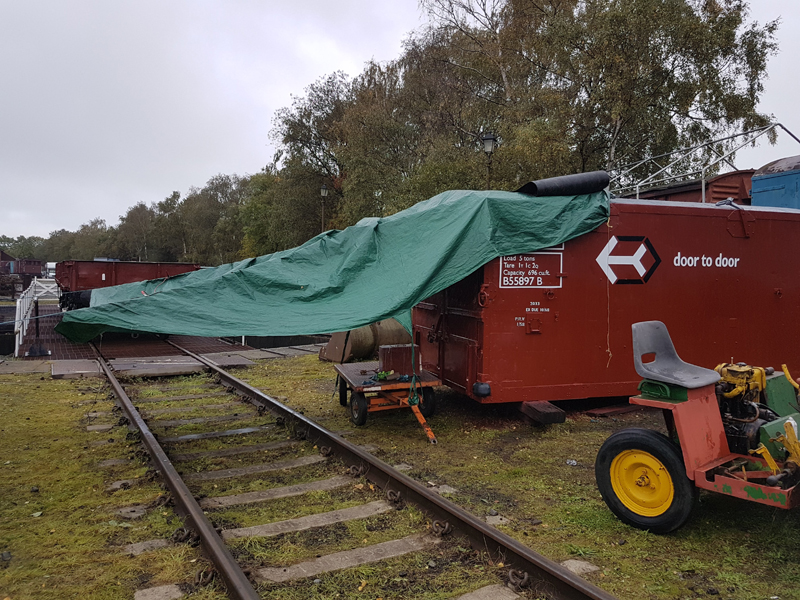
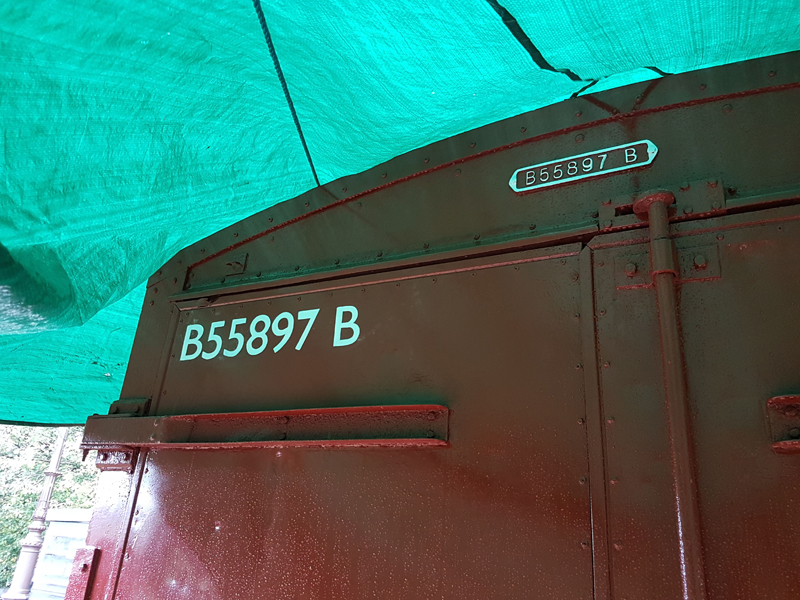
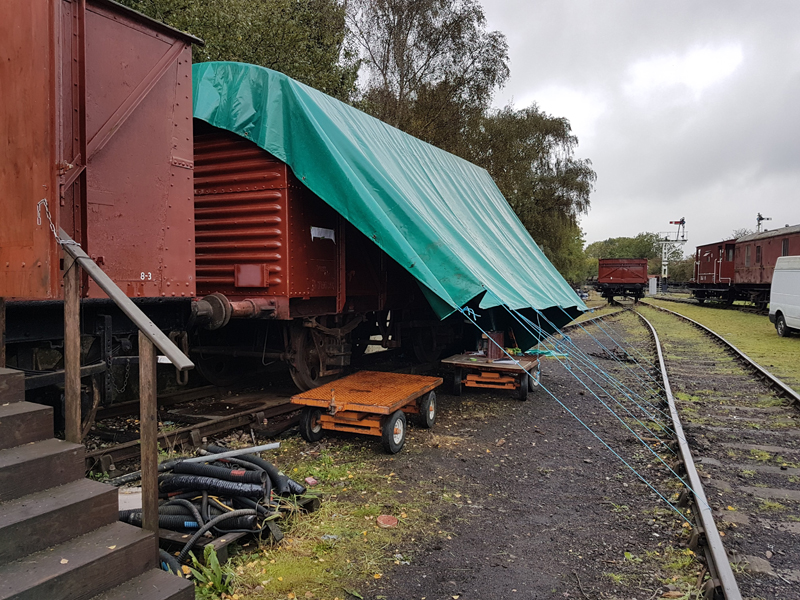
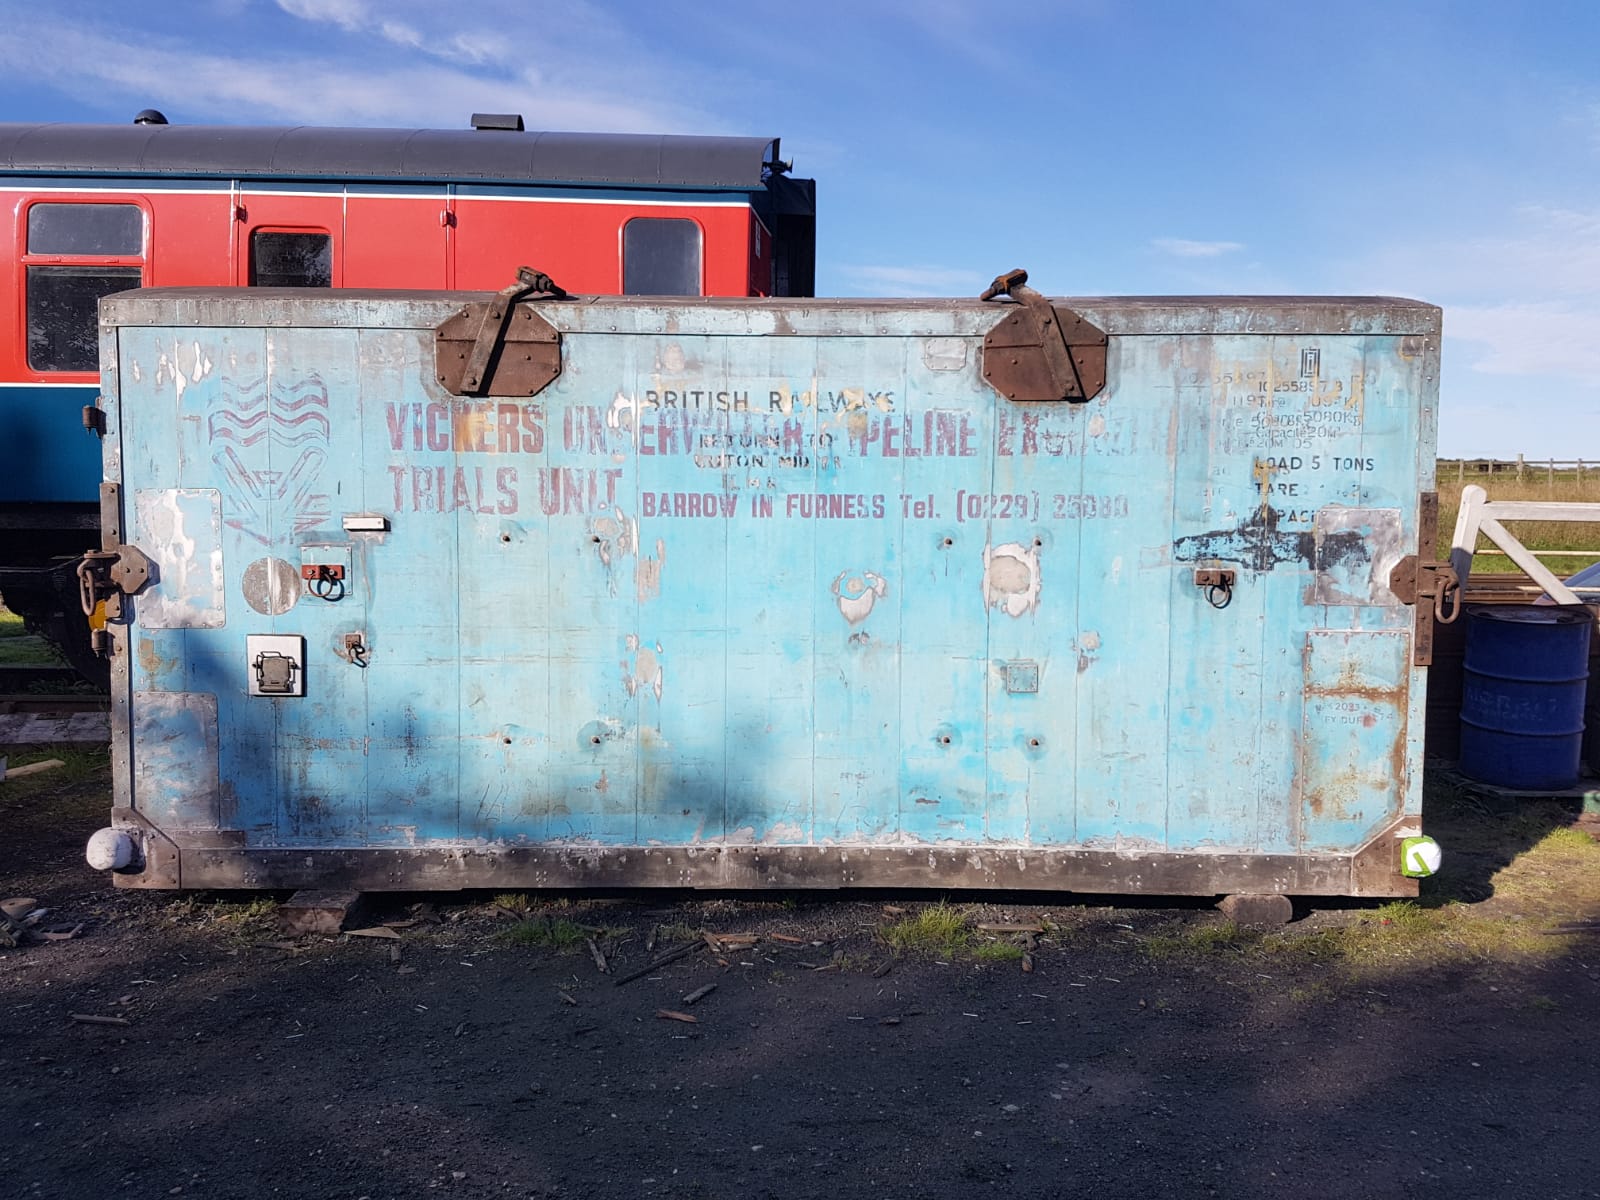
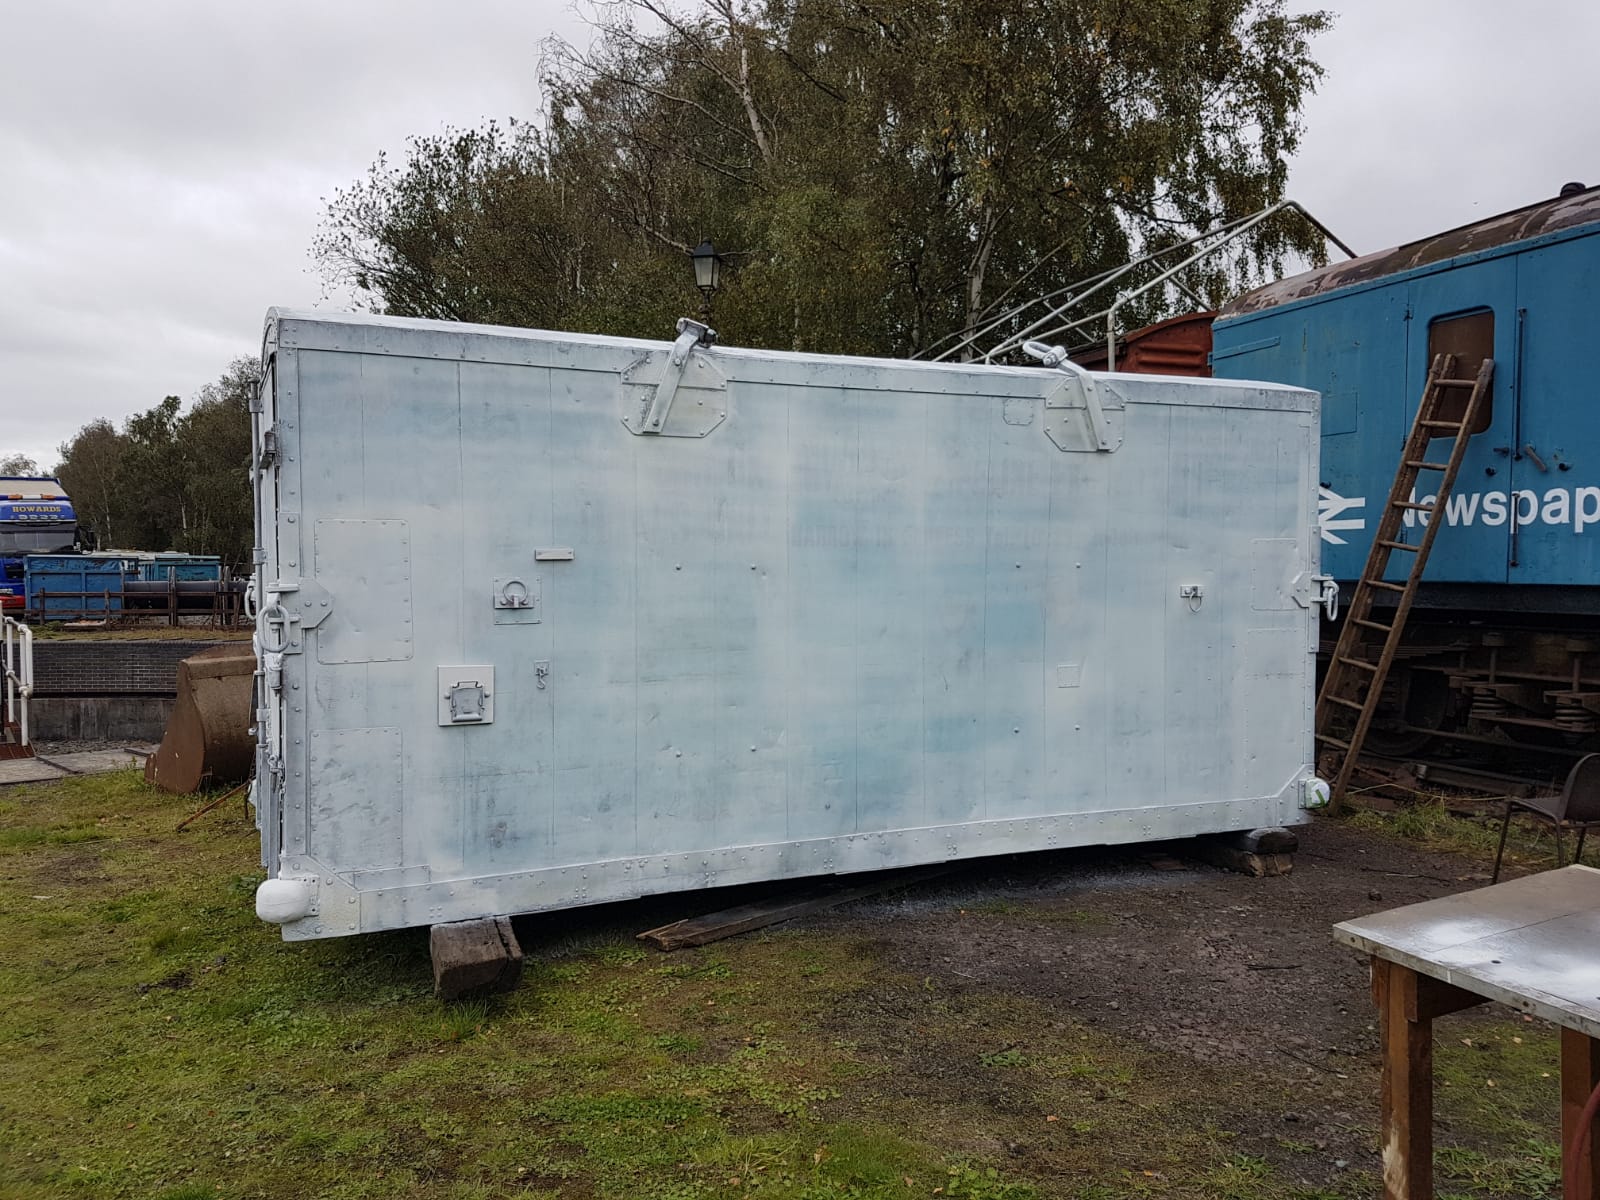
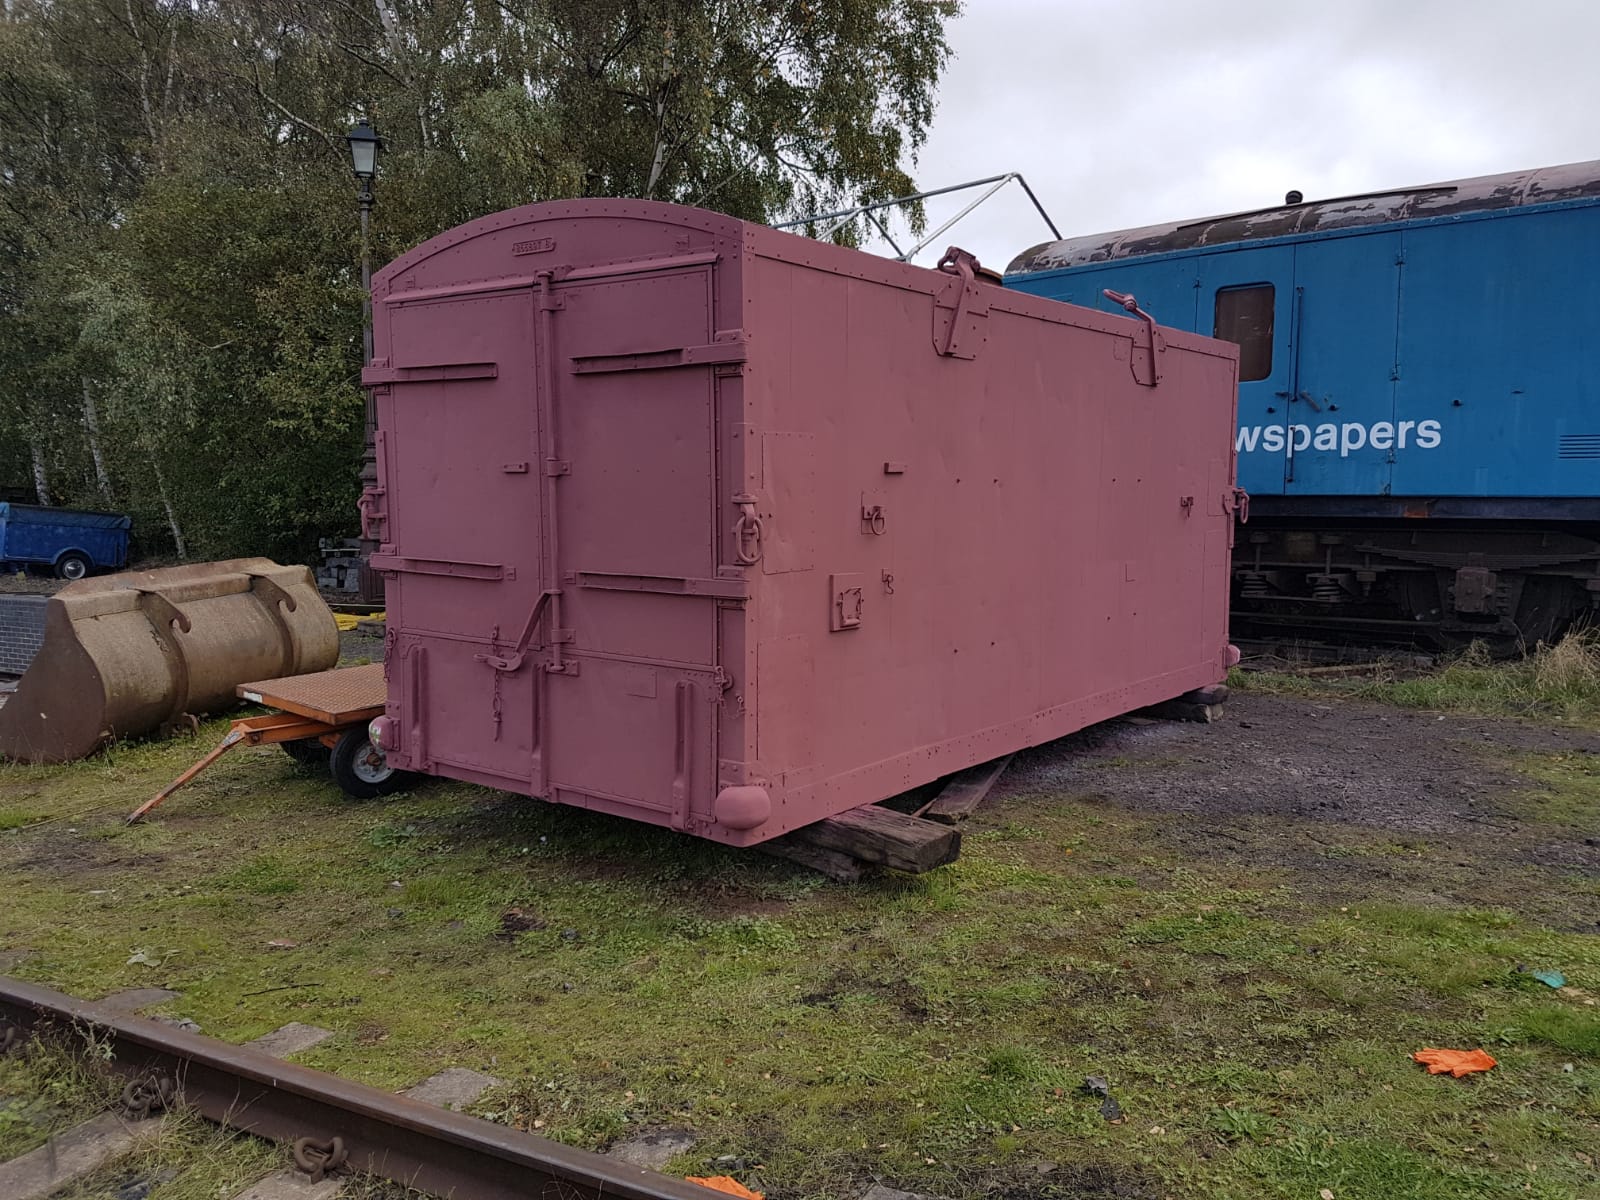
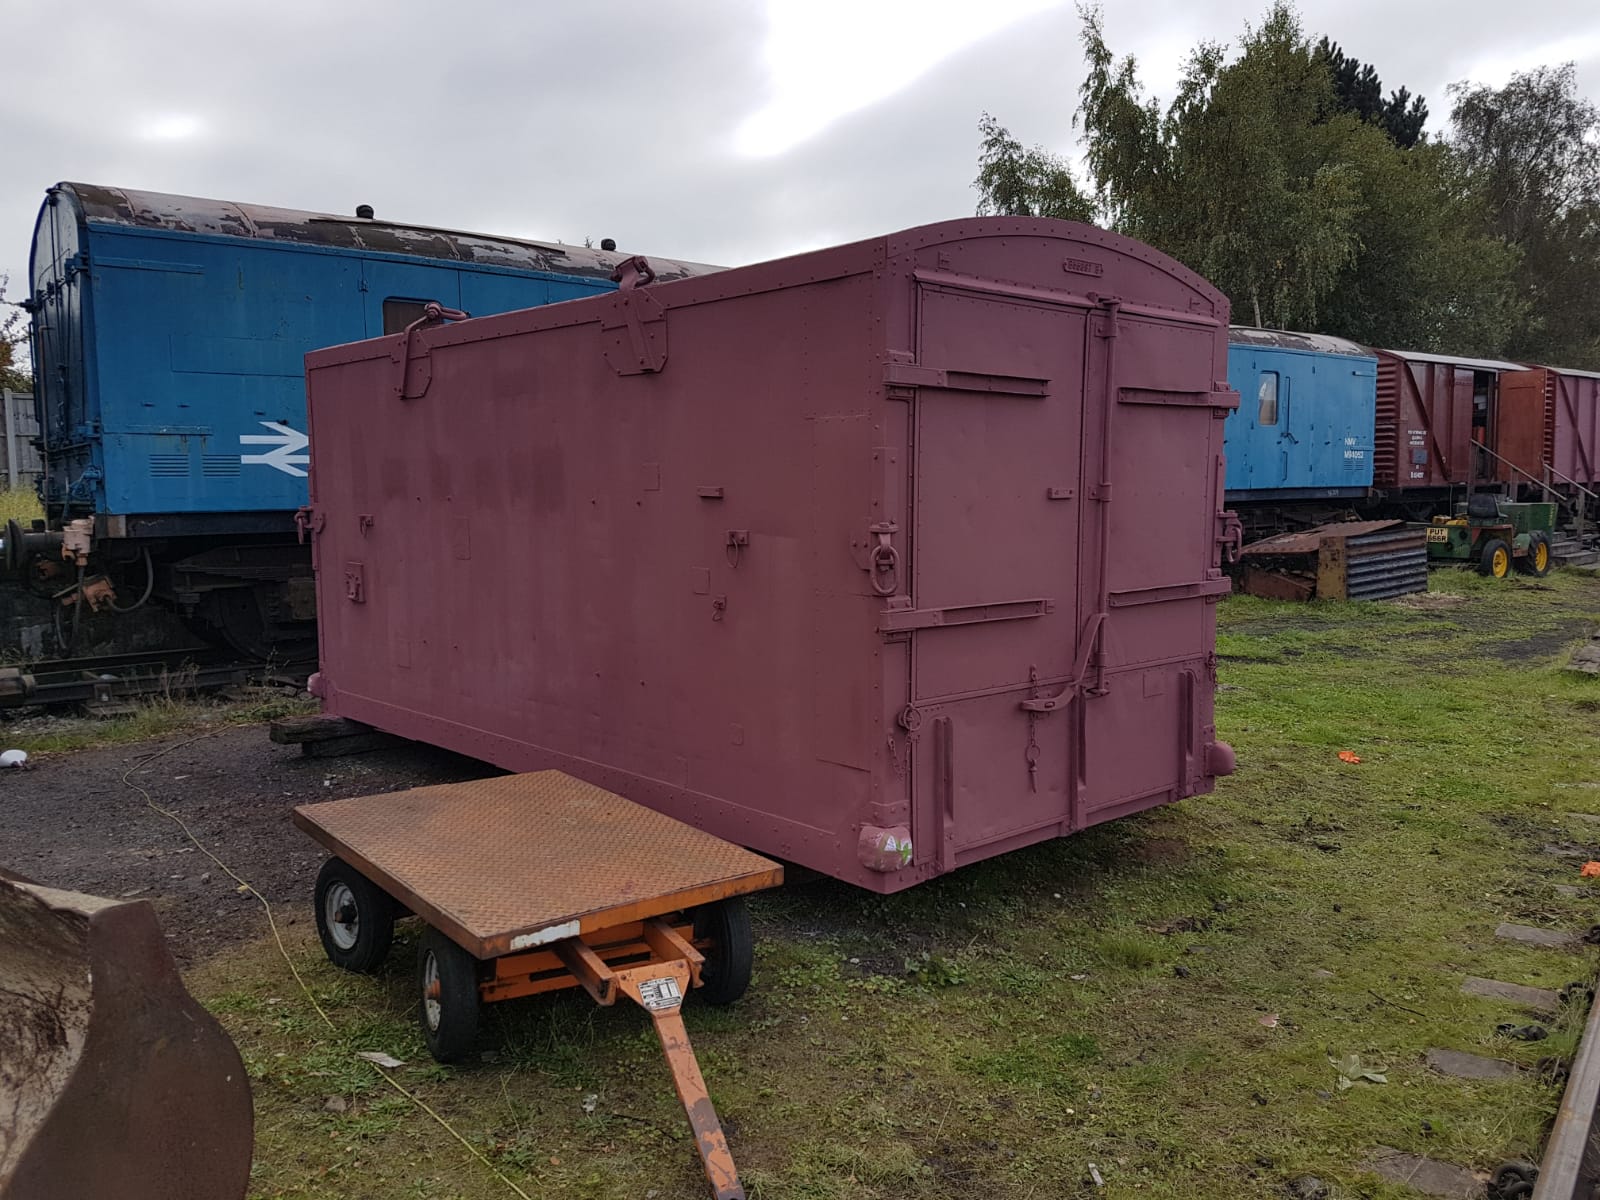
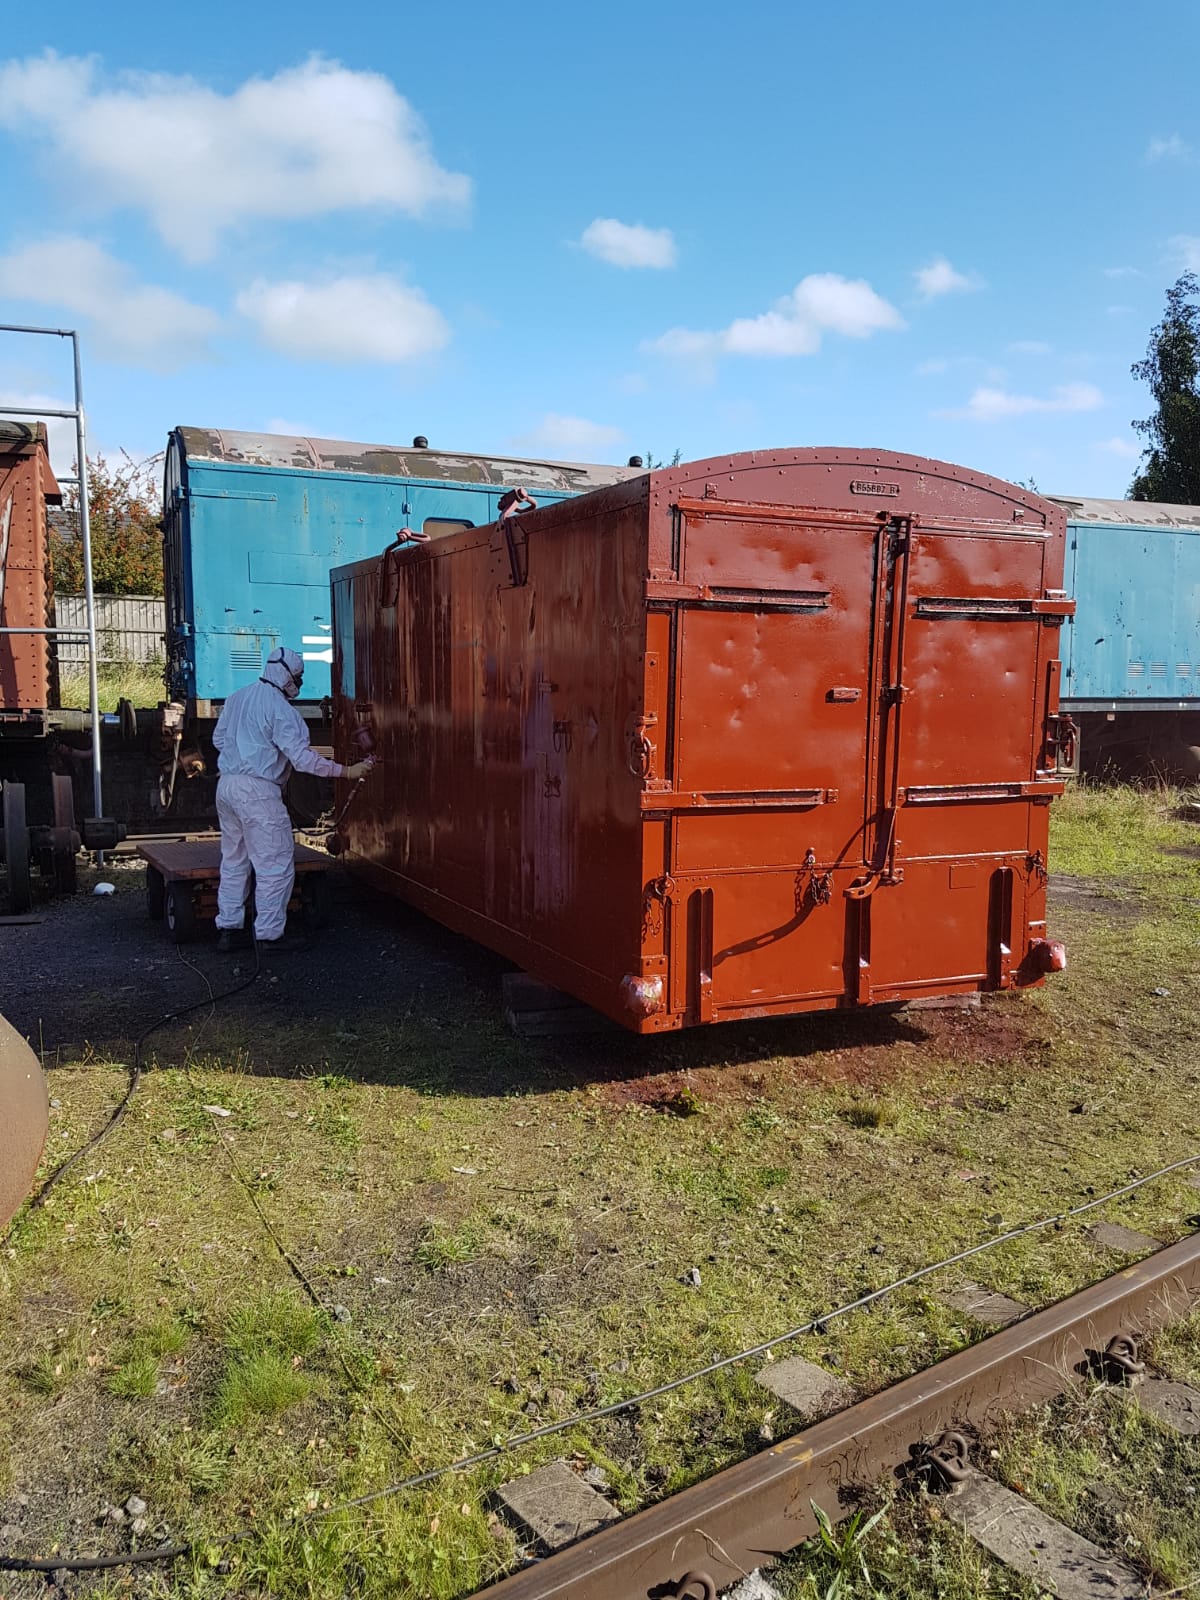
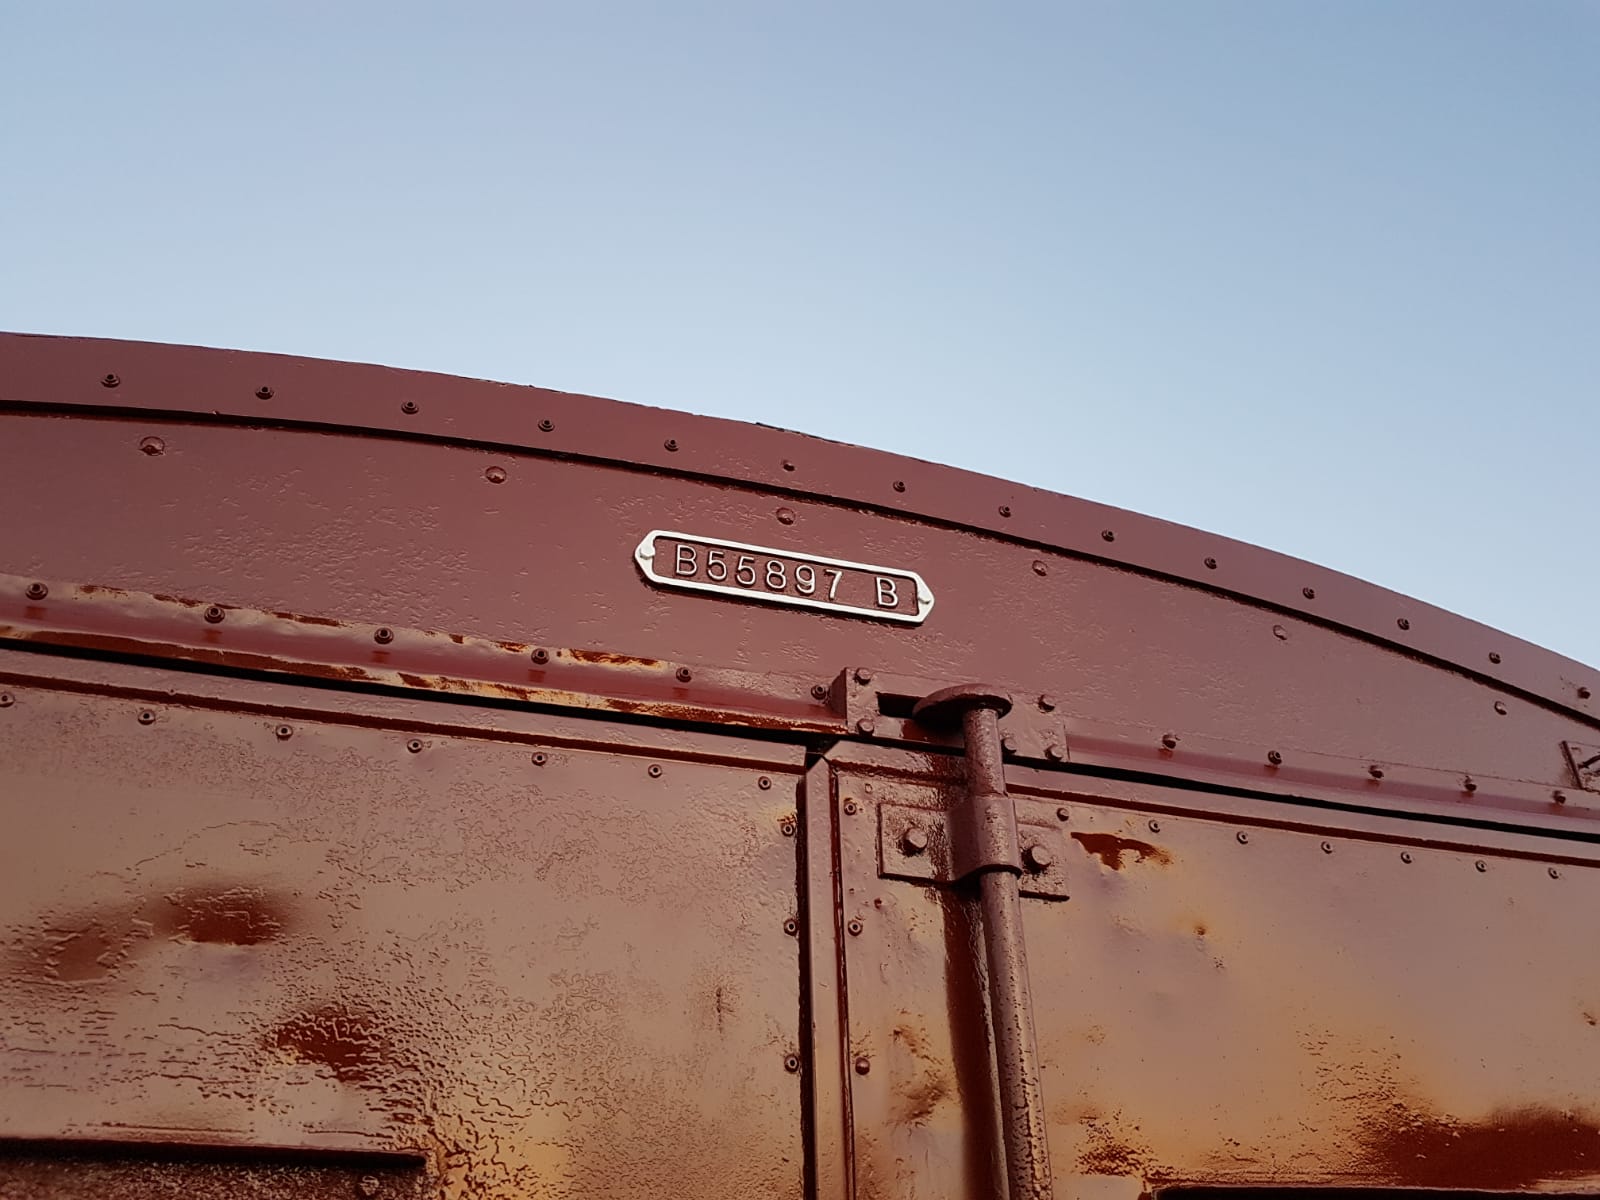
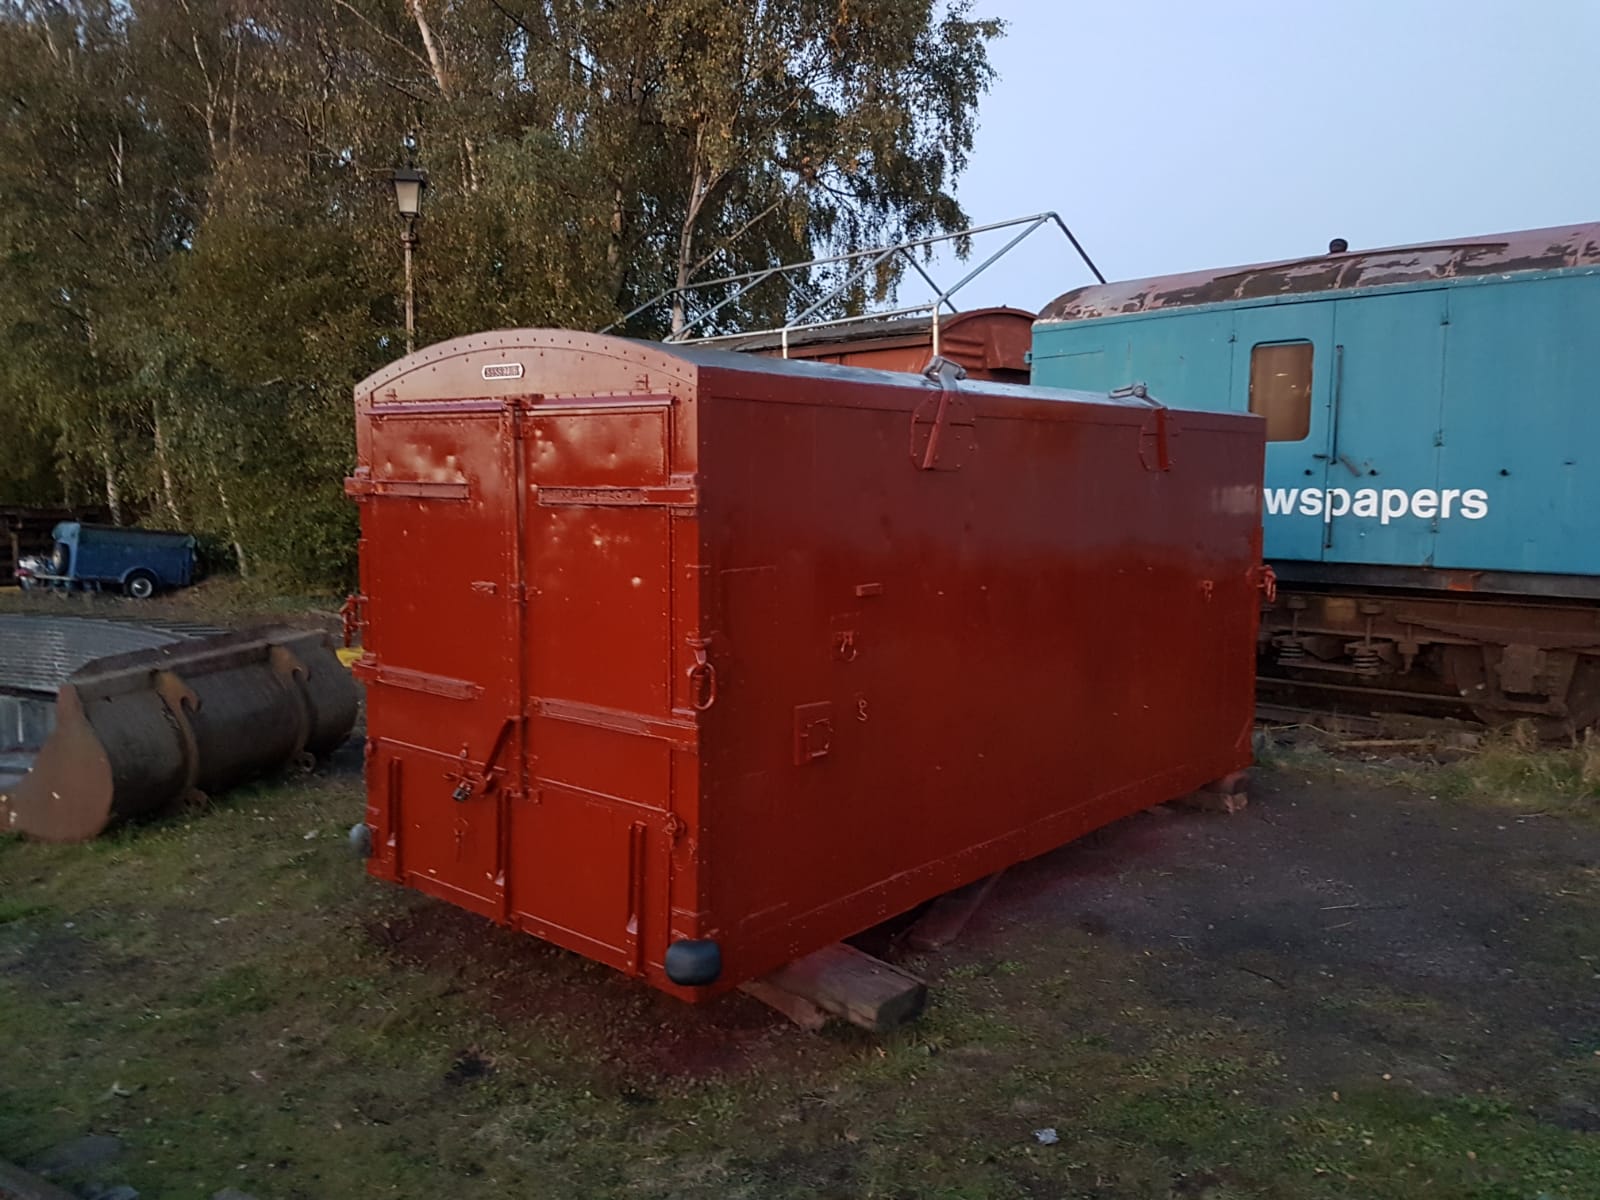
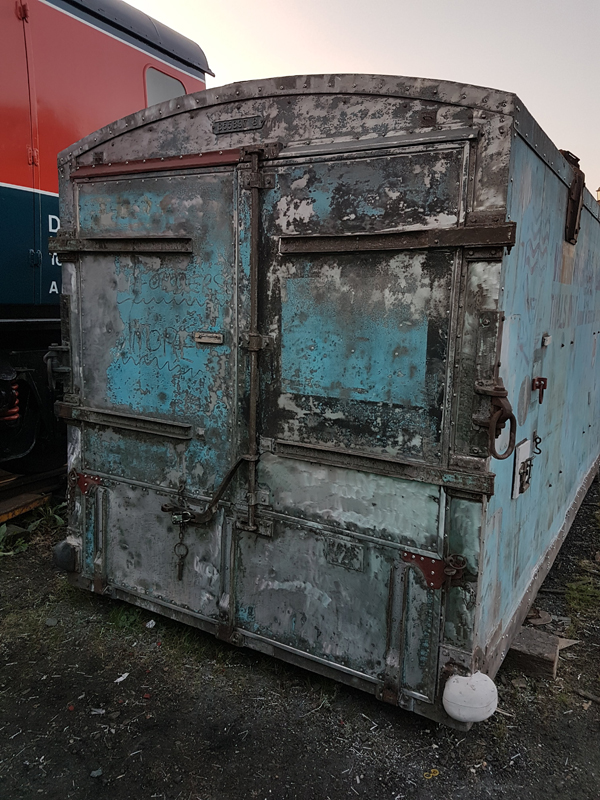
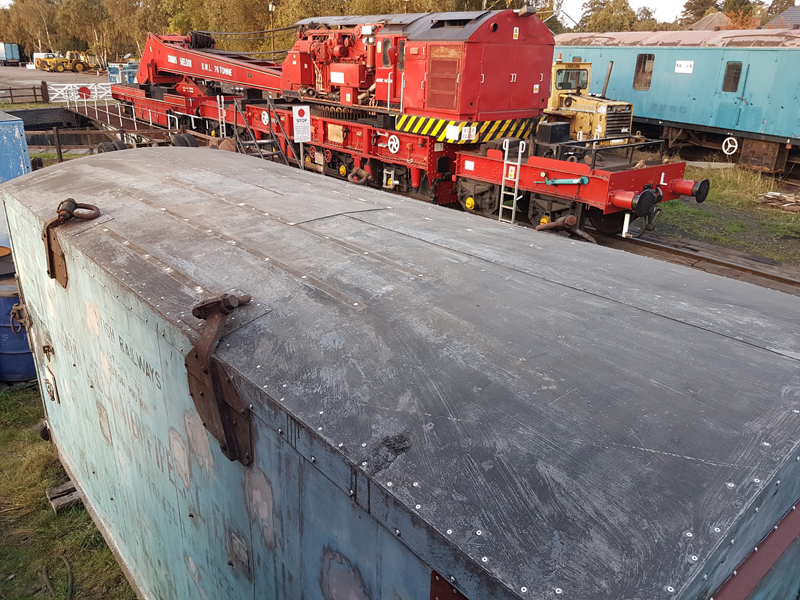
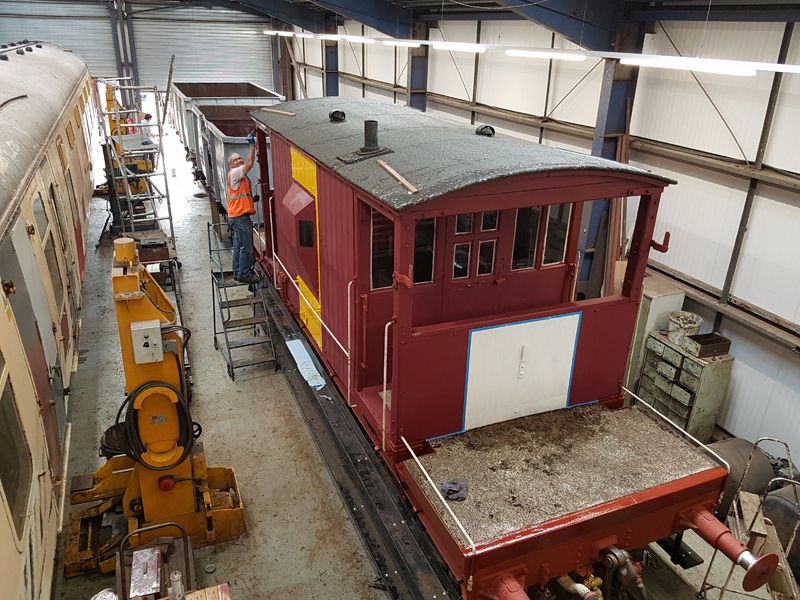
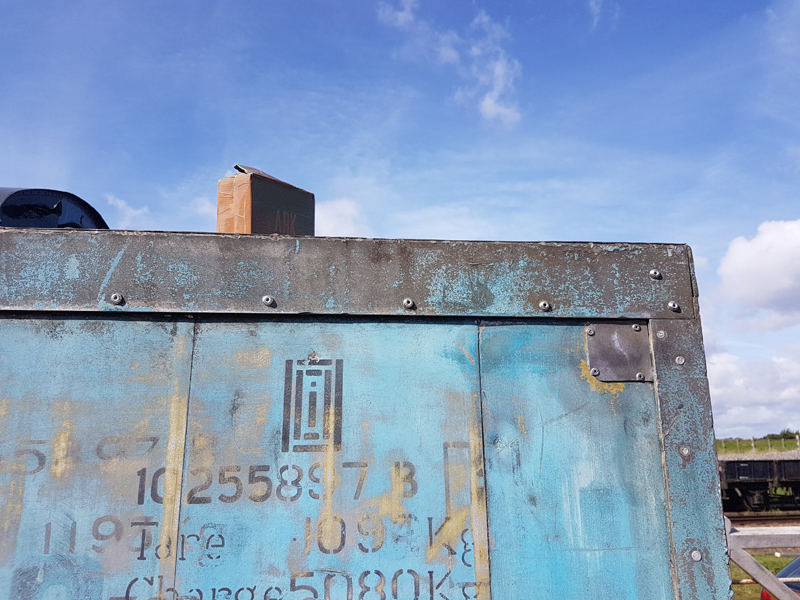
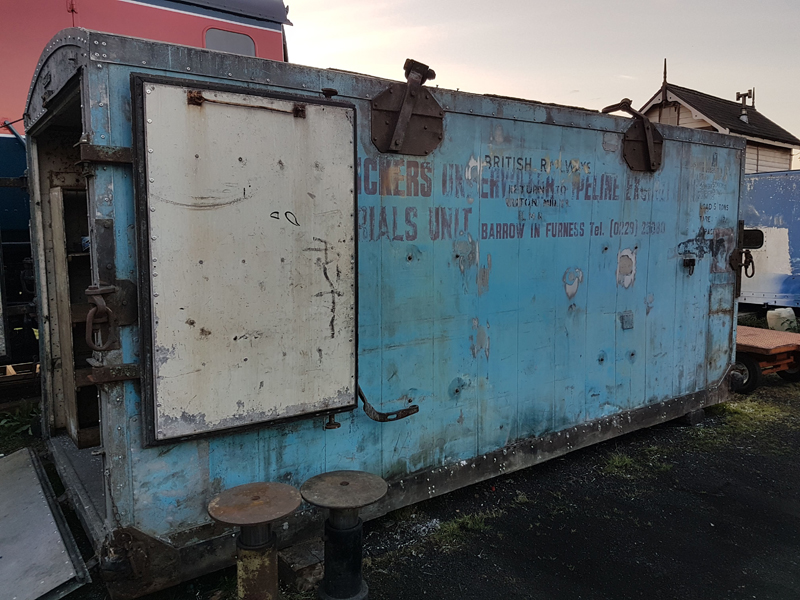
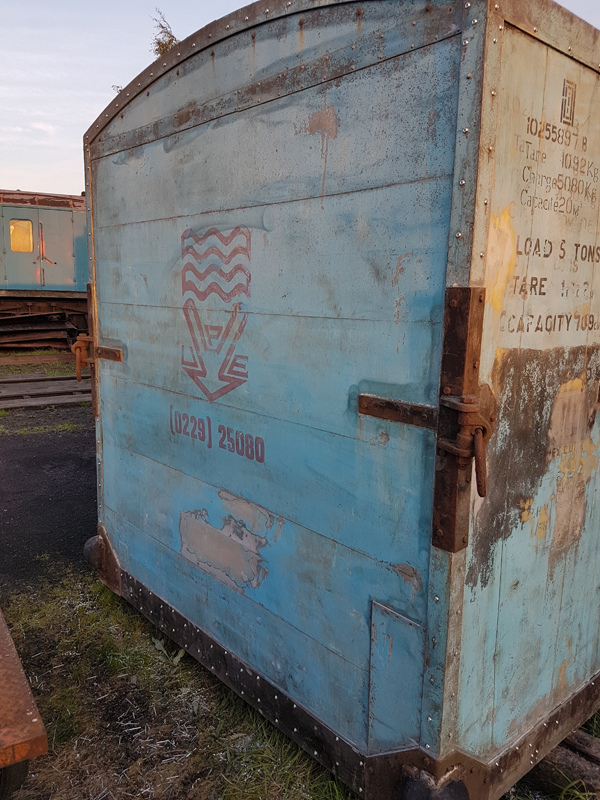
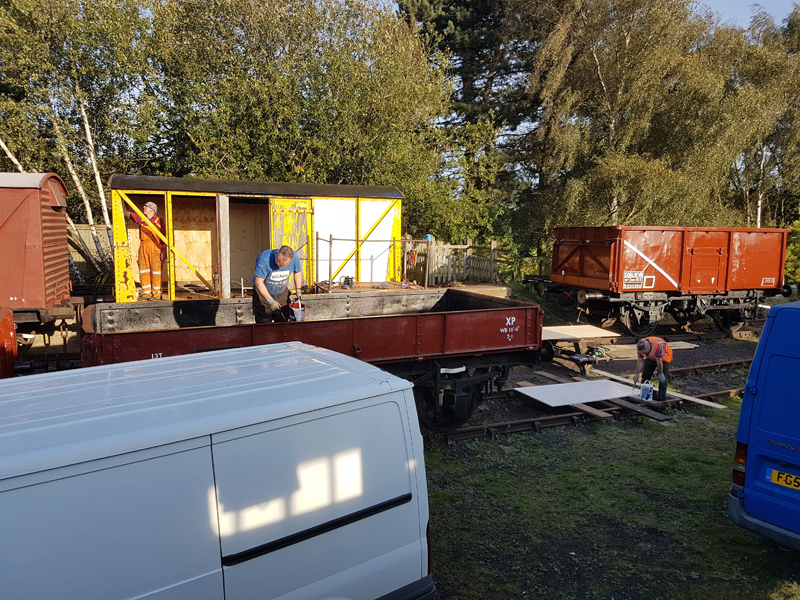
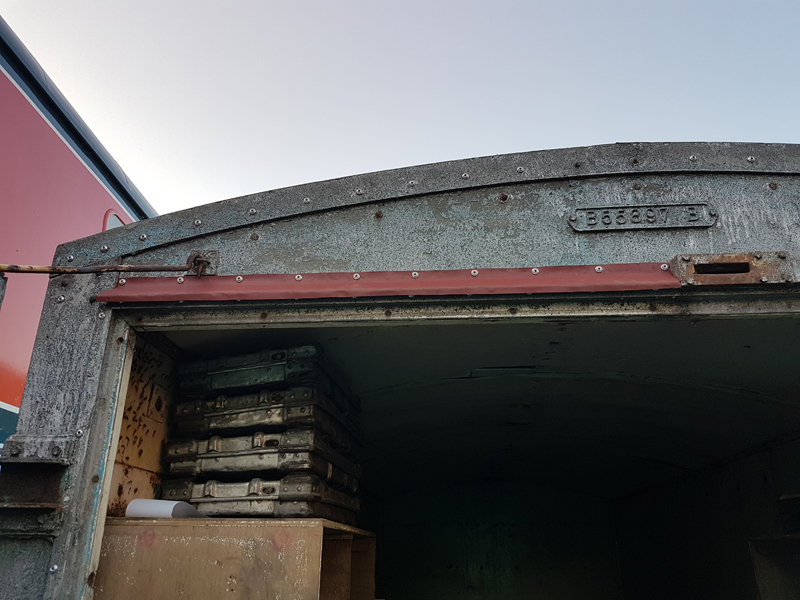
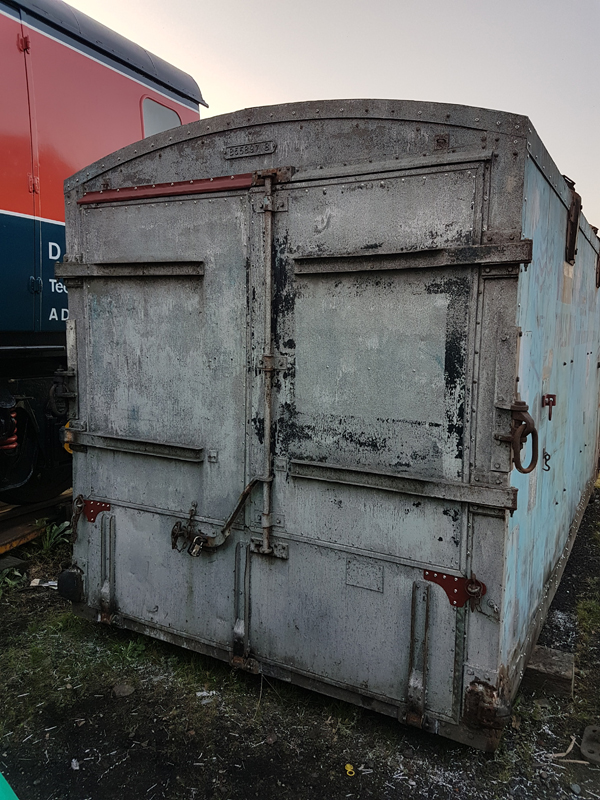
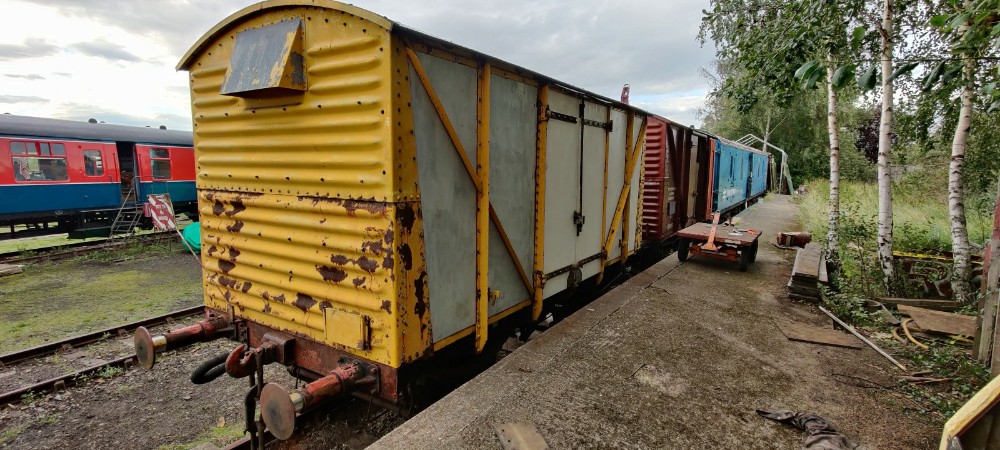
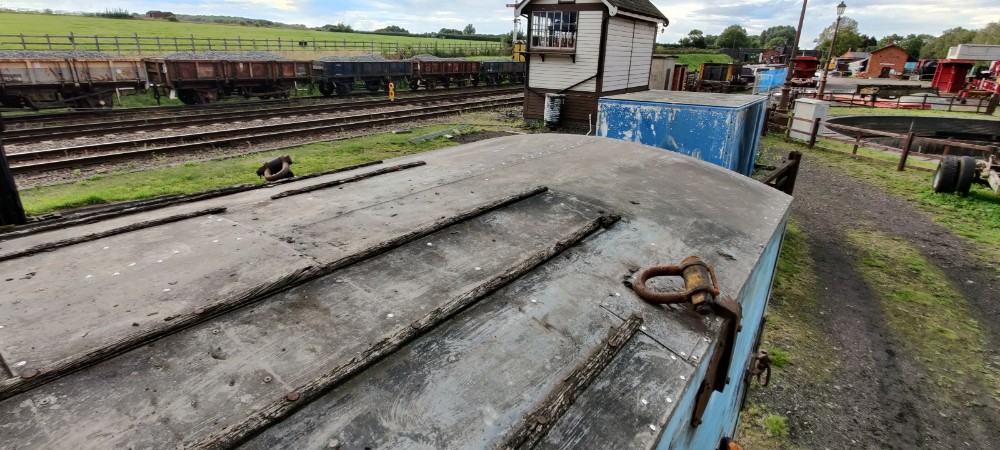
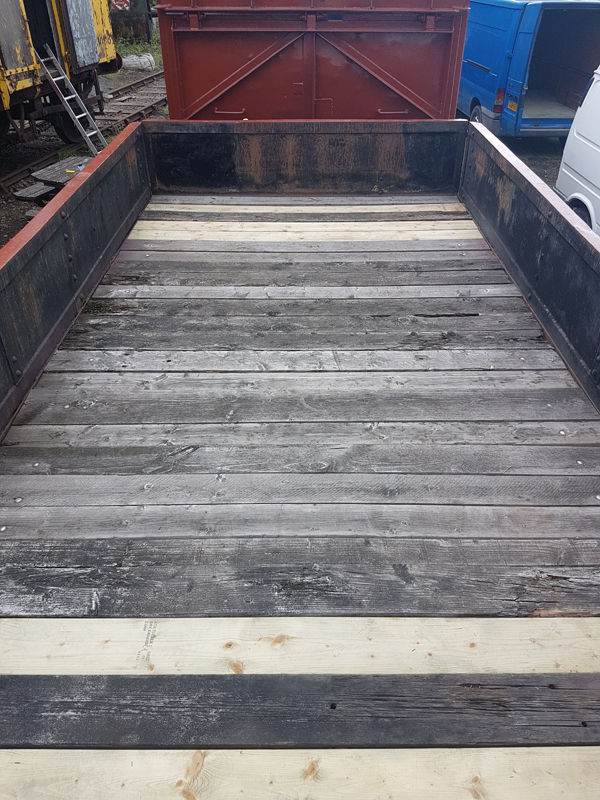
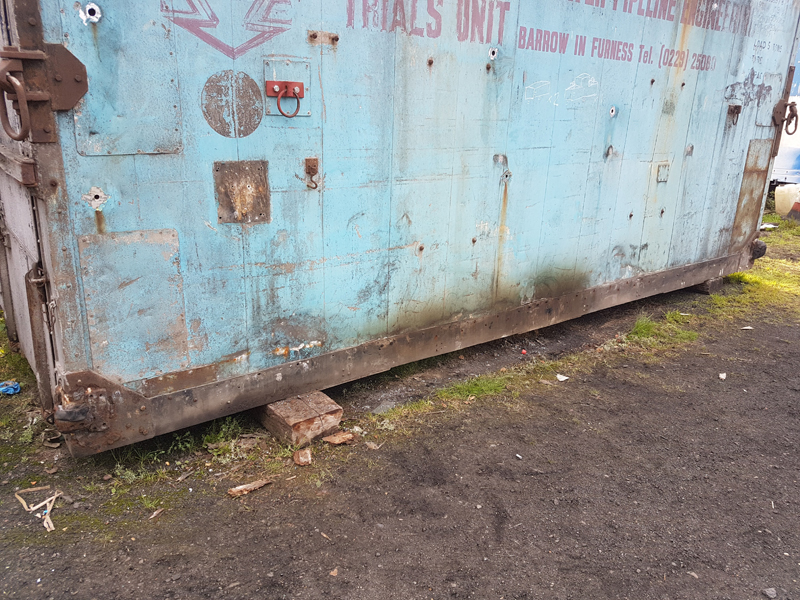
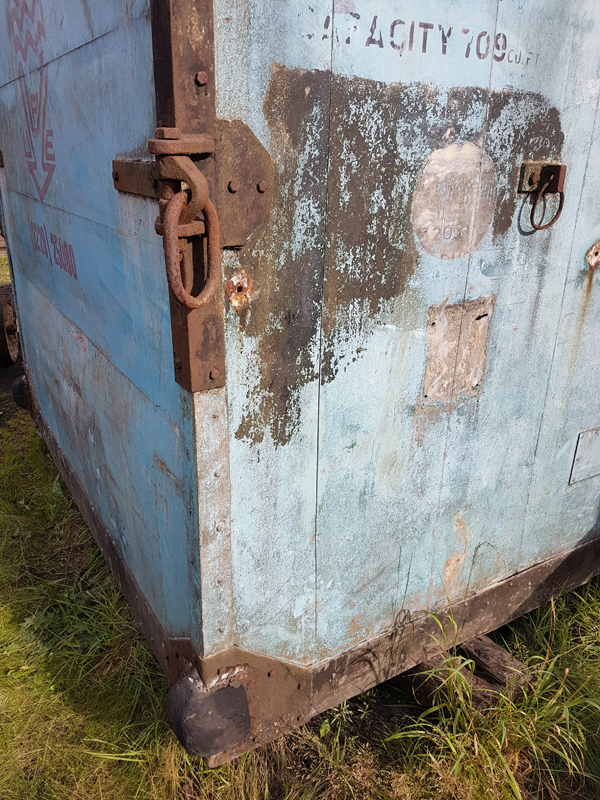
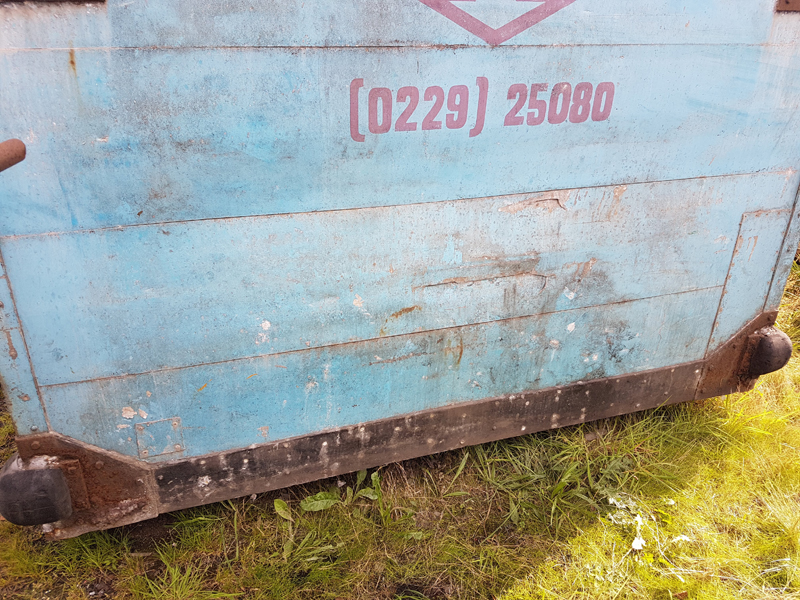
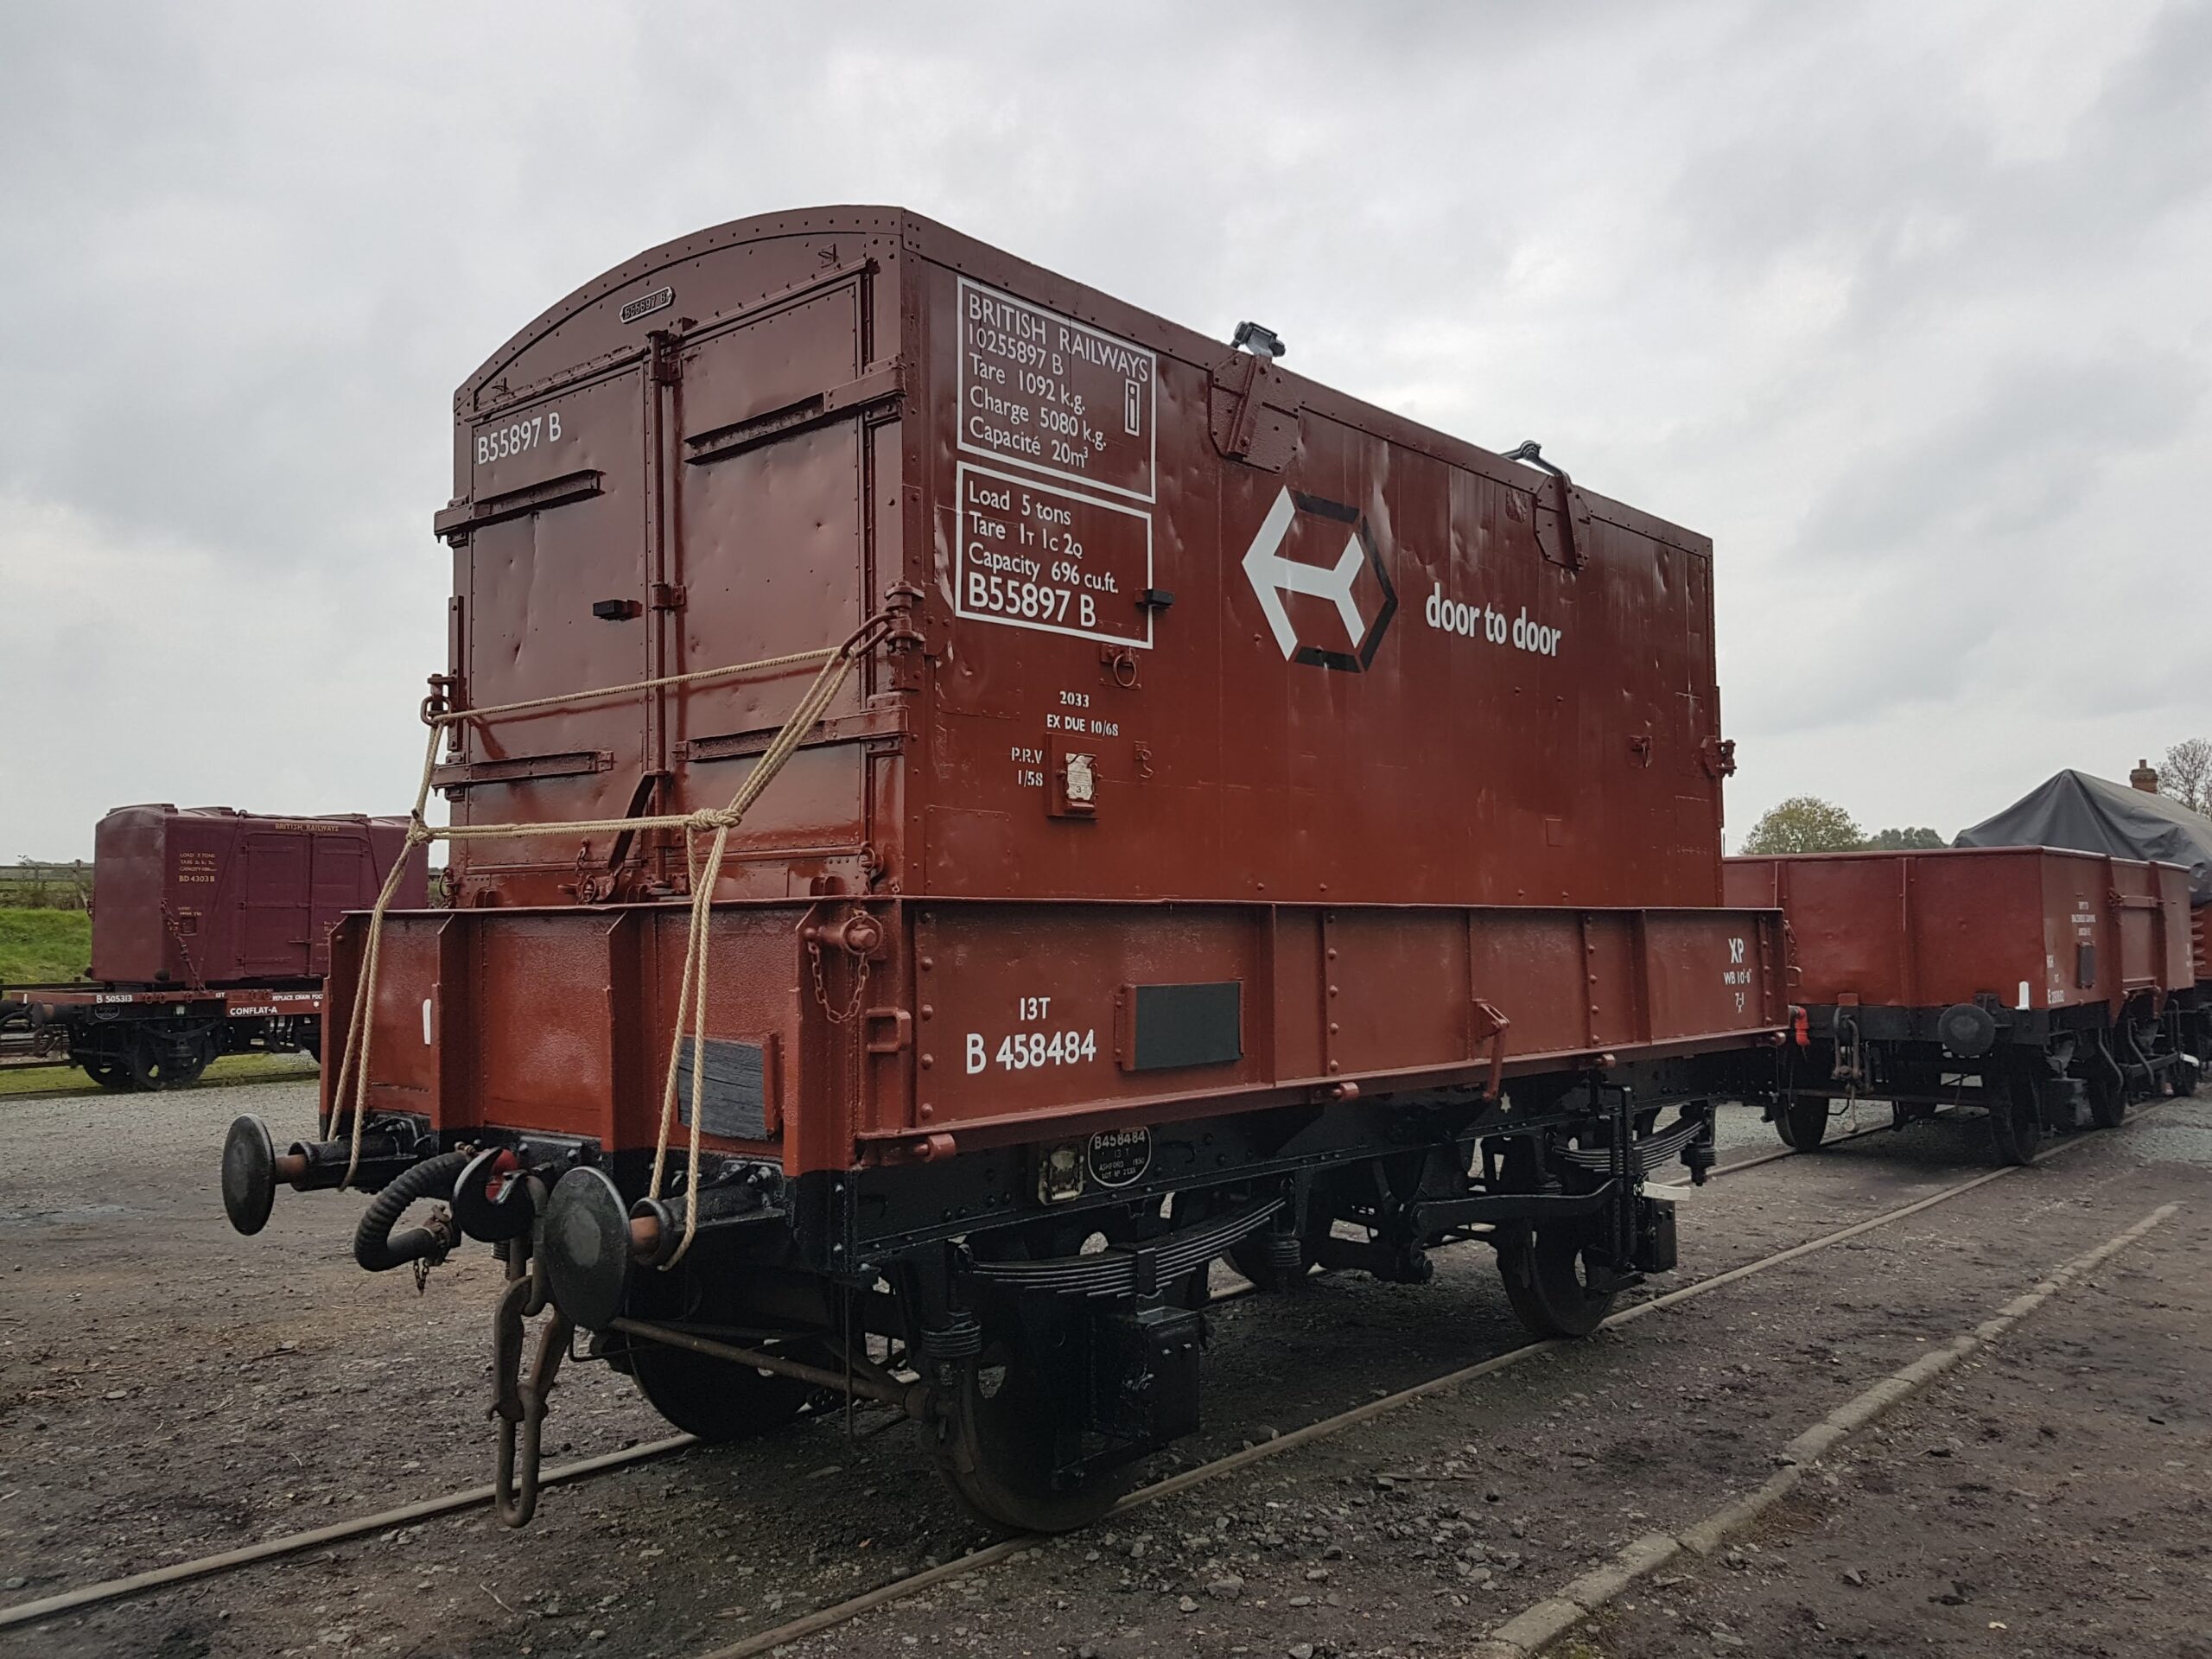
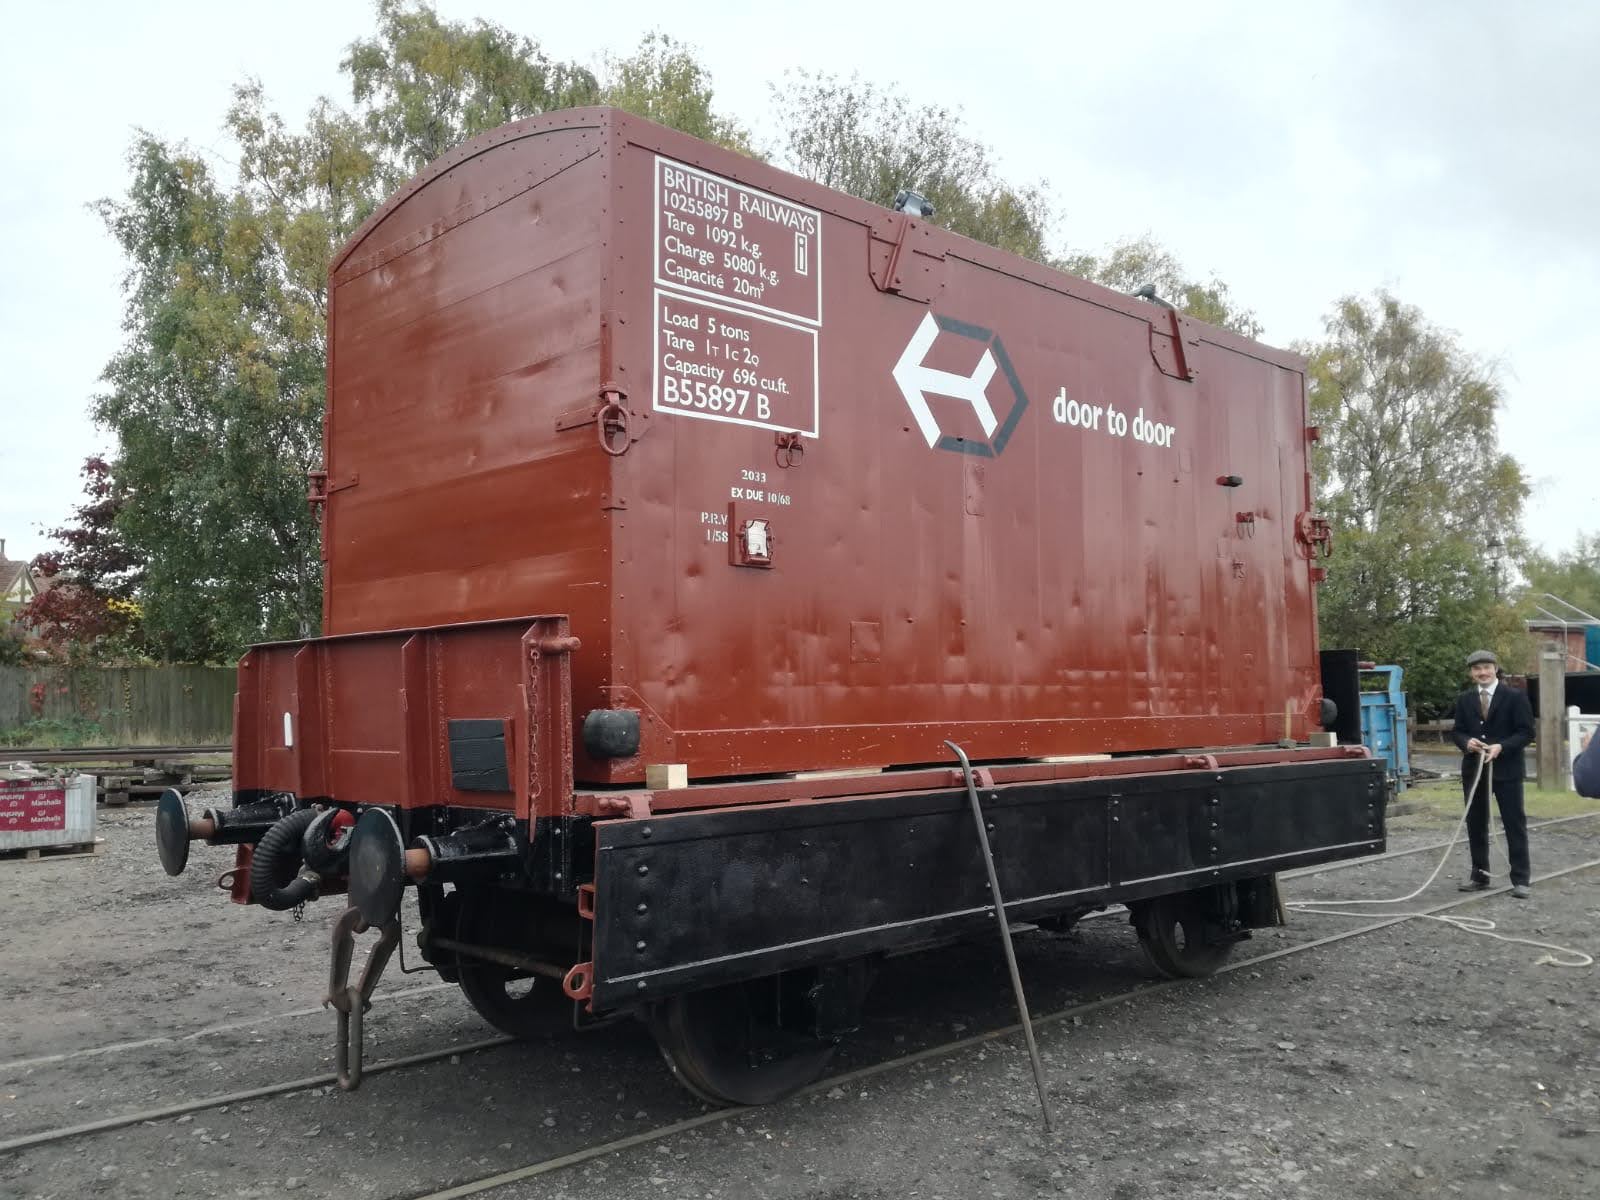
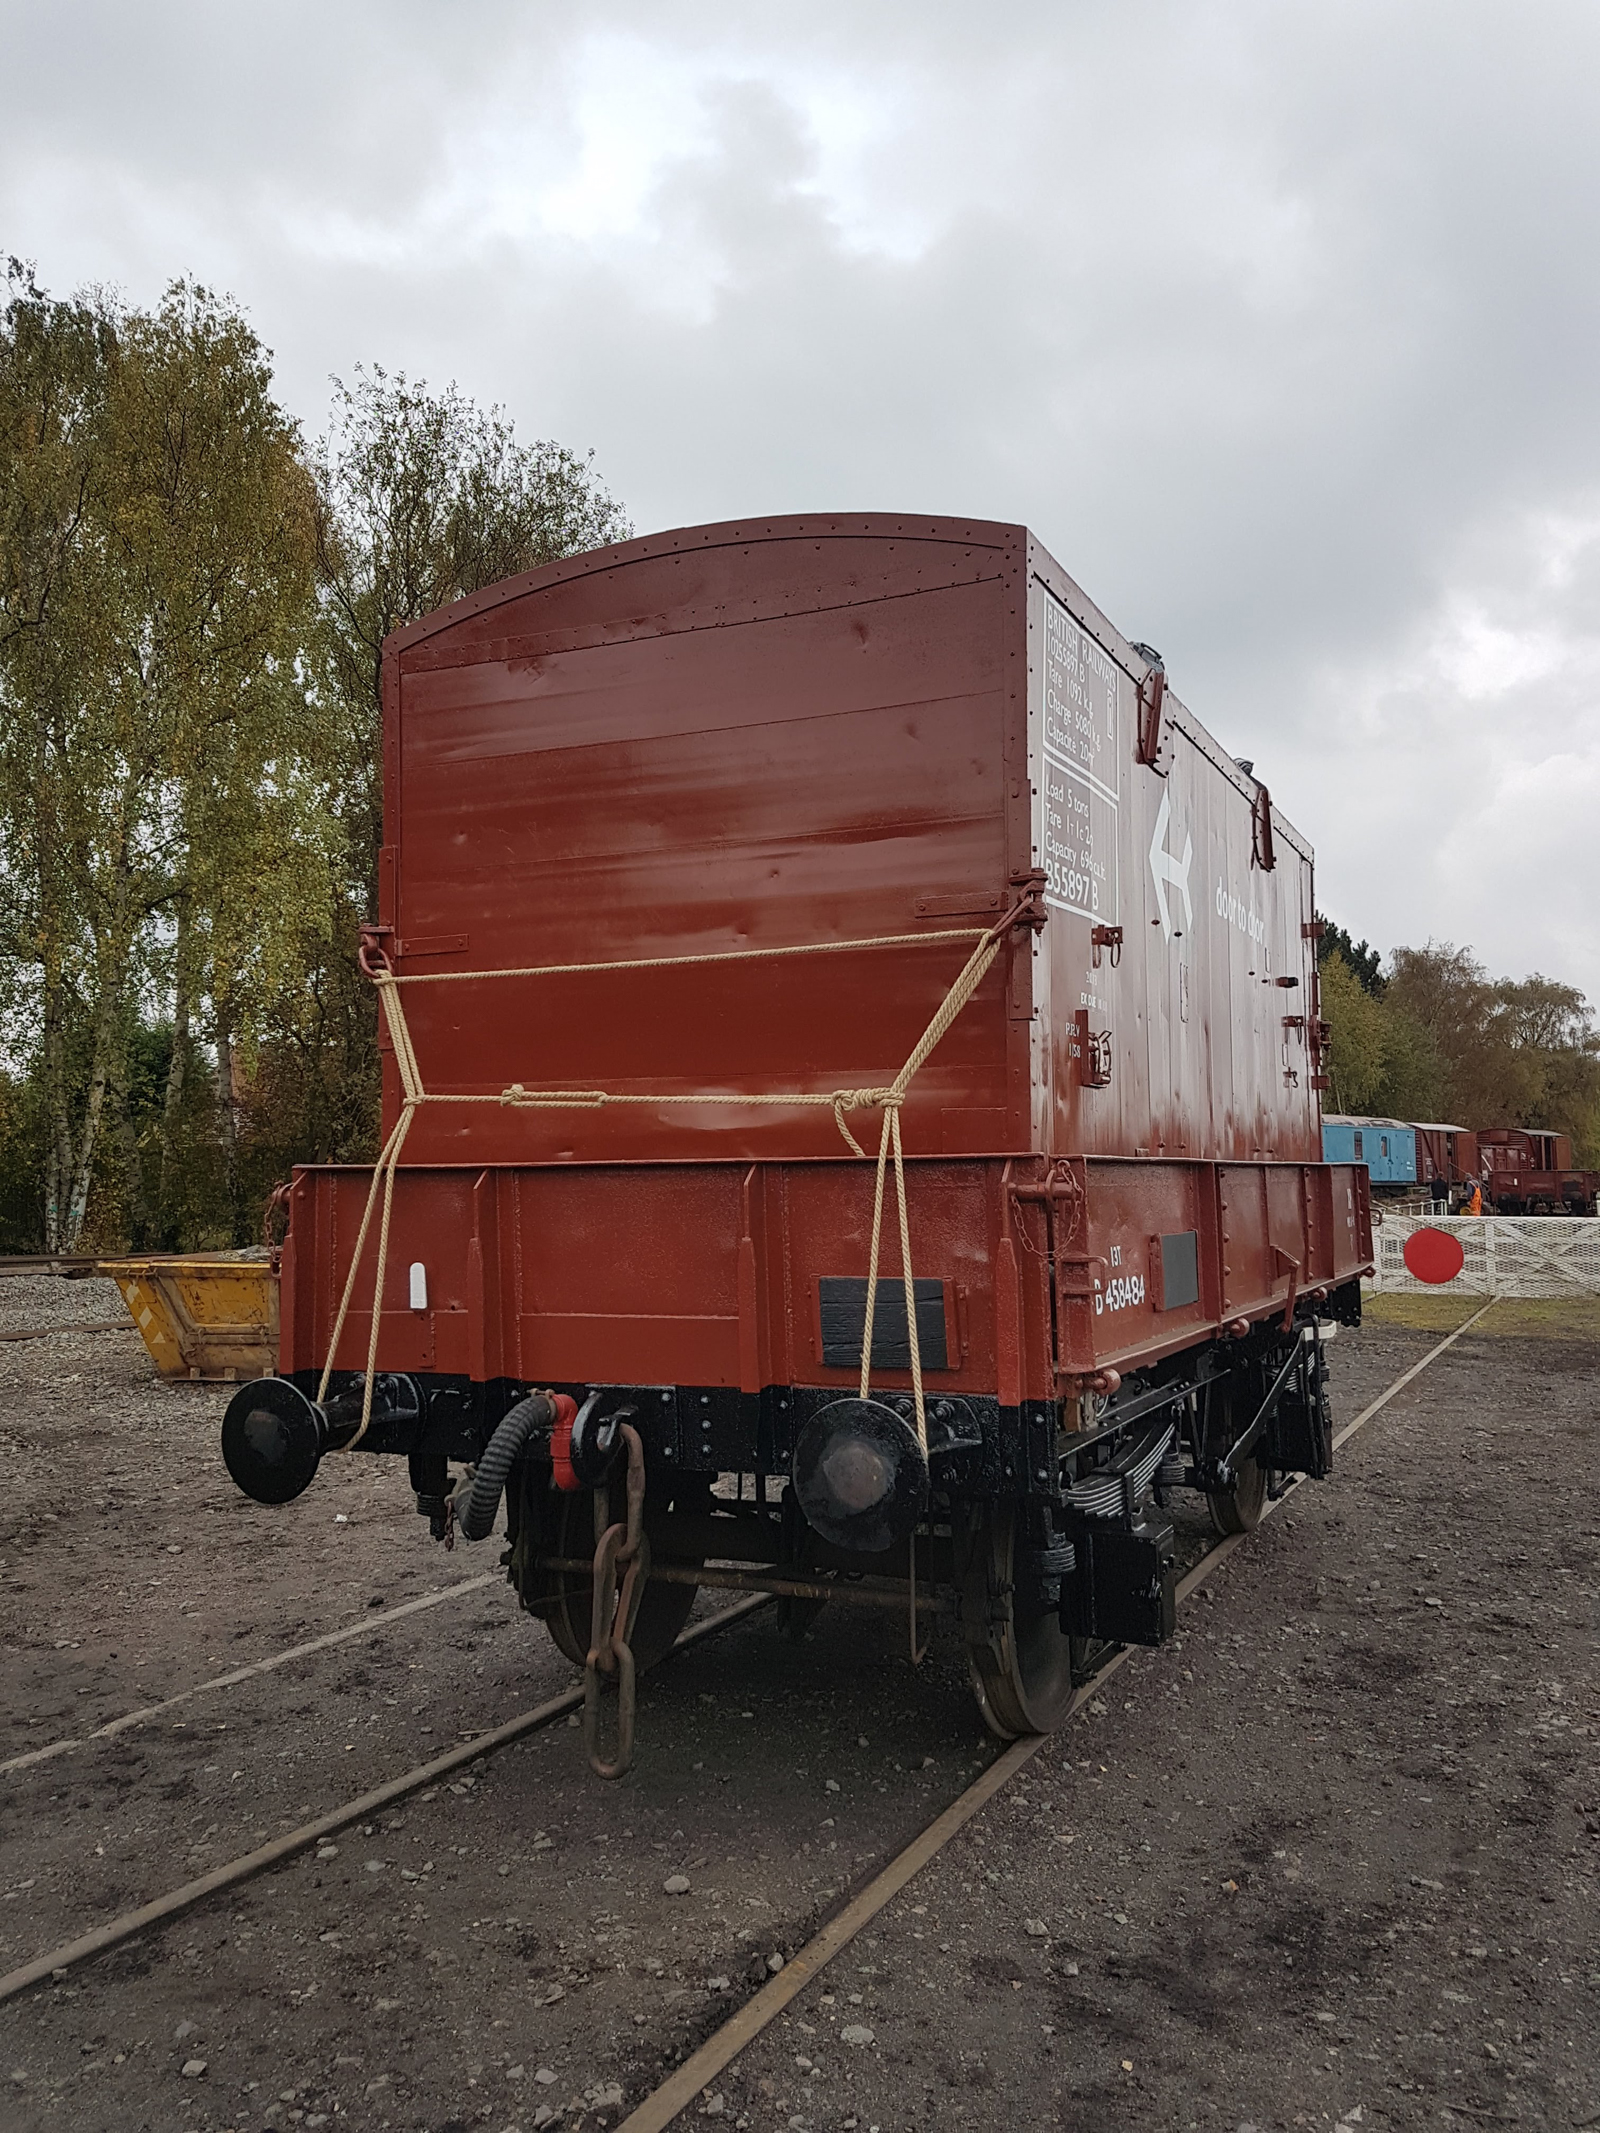
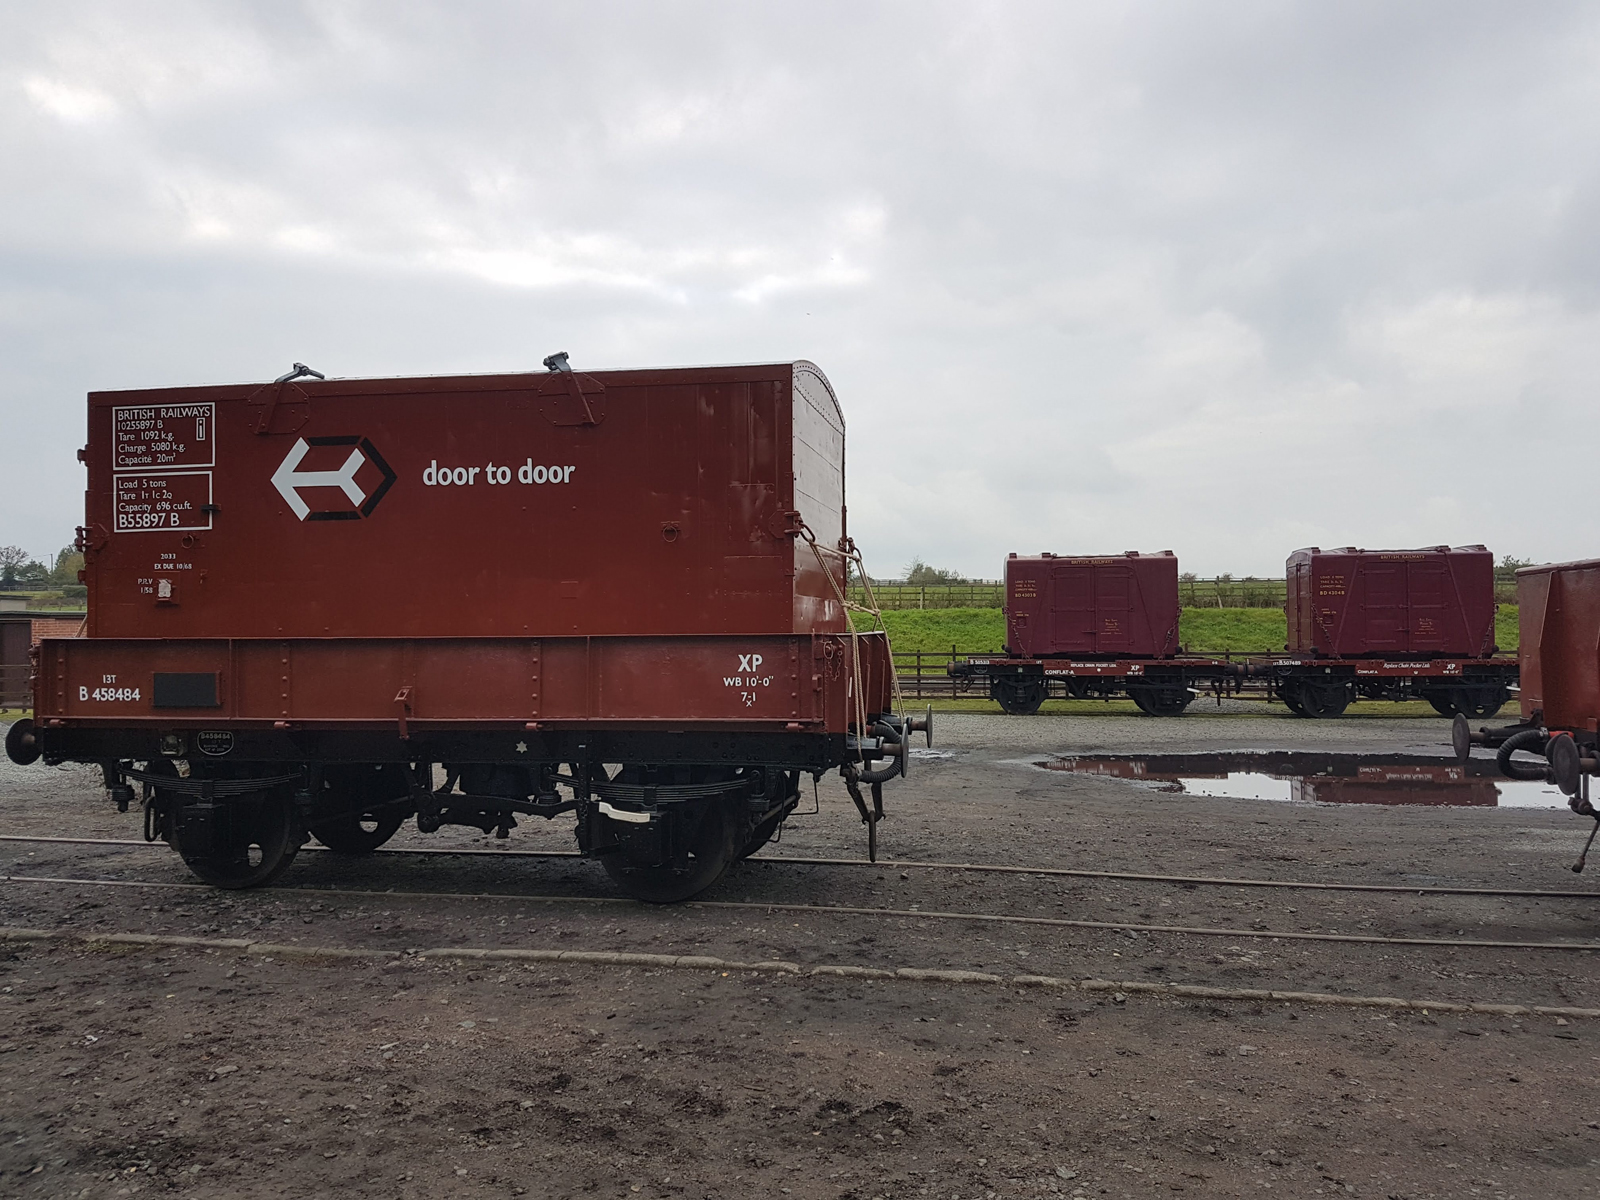
    The main event however was the loading of B458484 with Container B55897B.

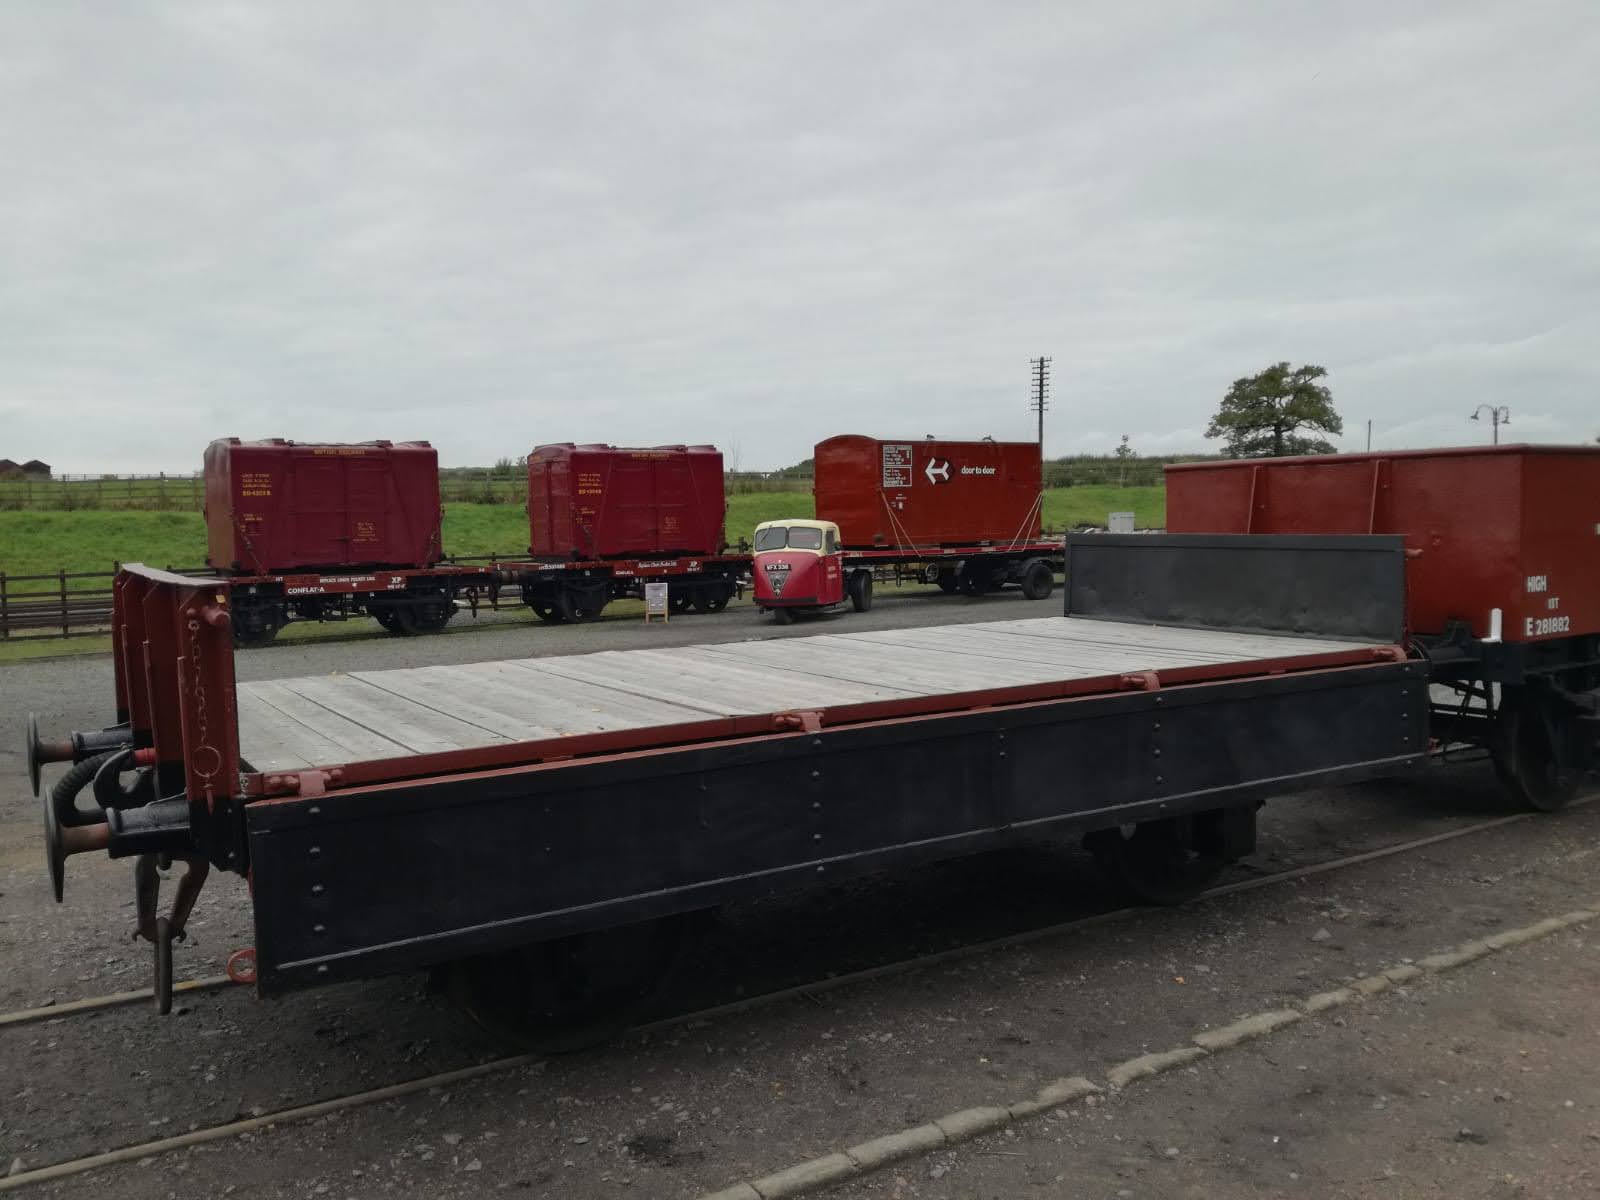
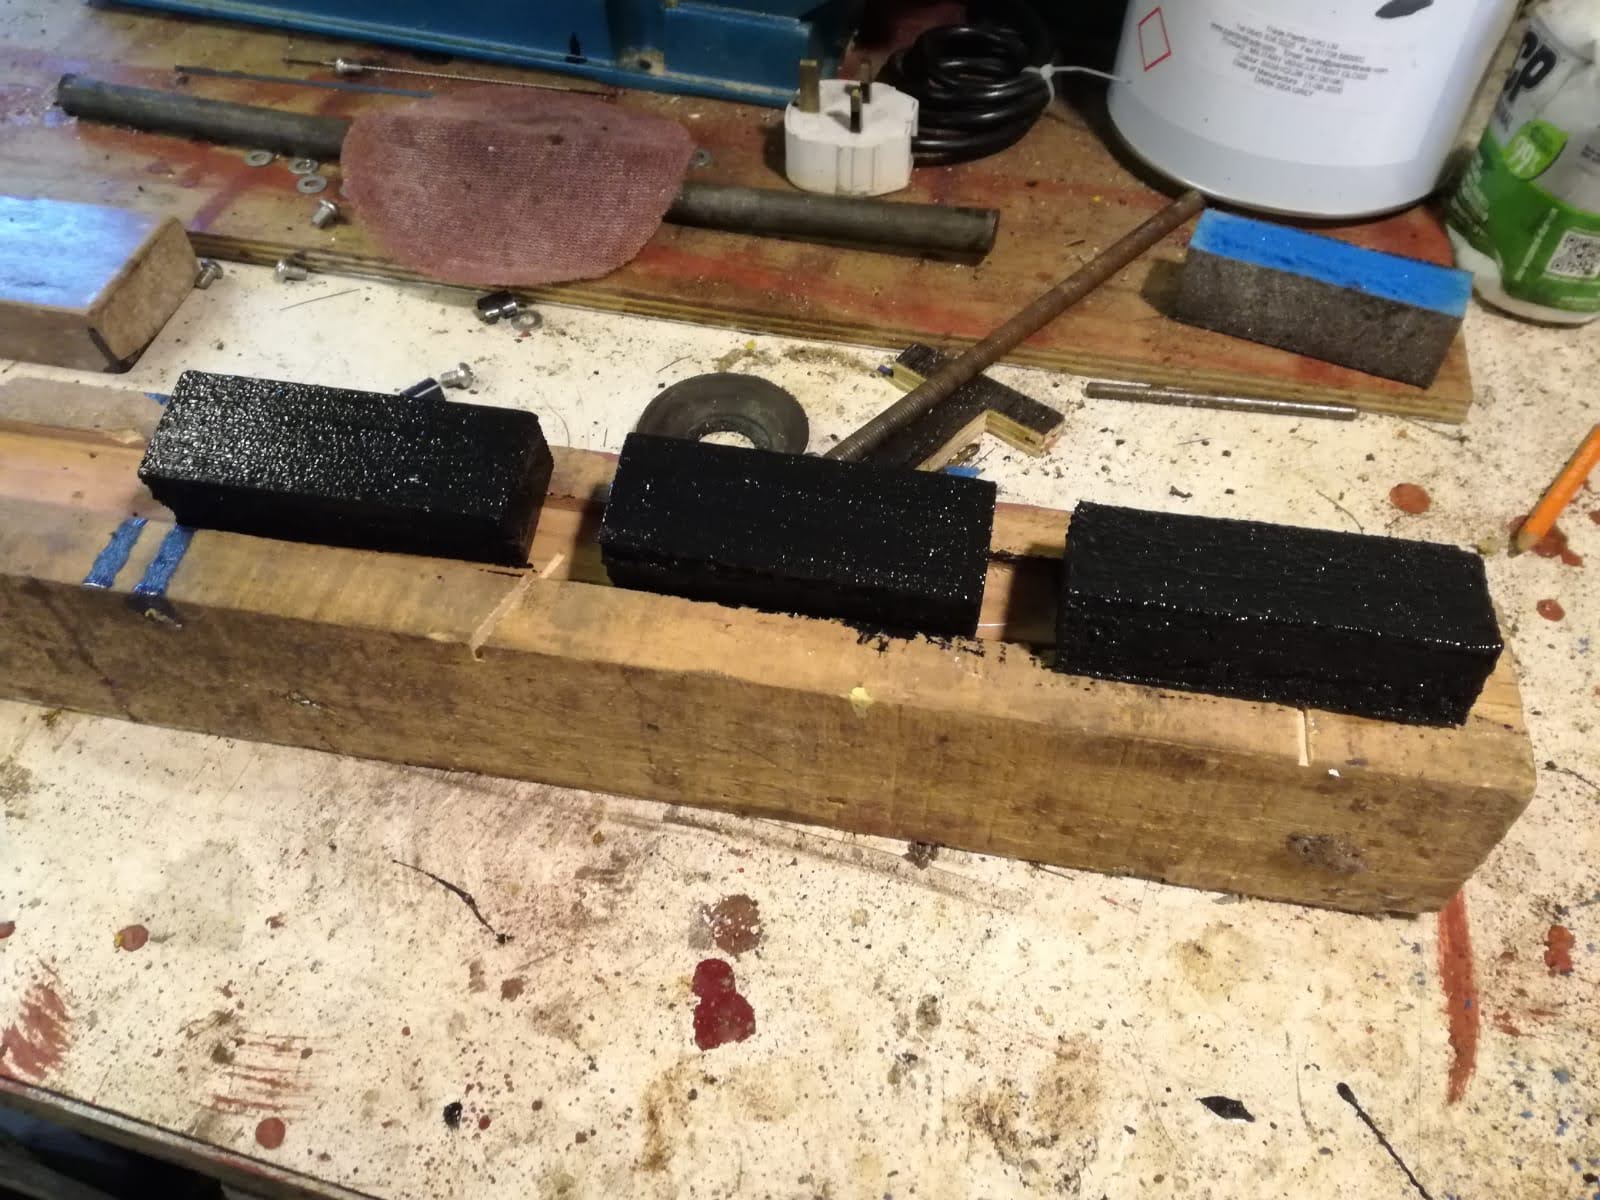
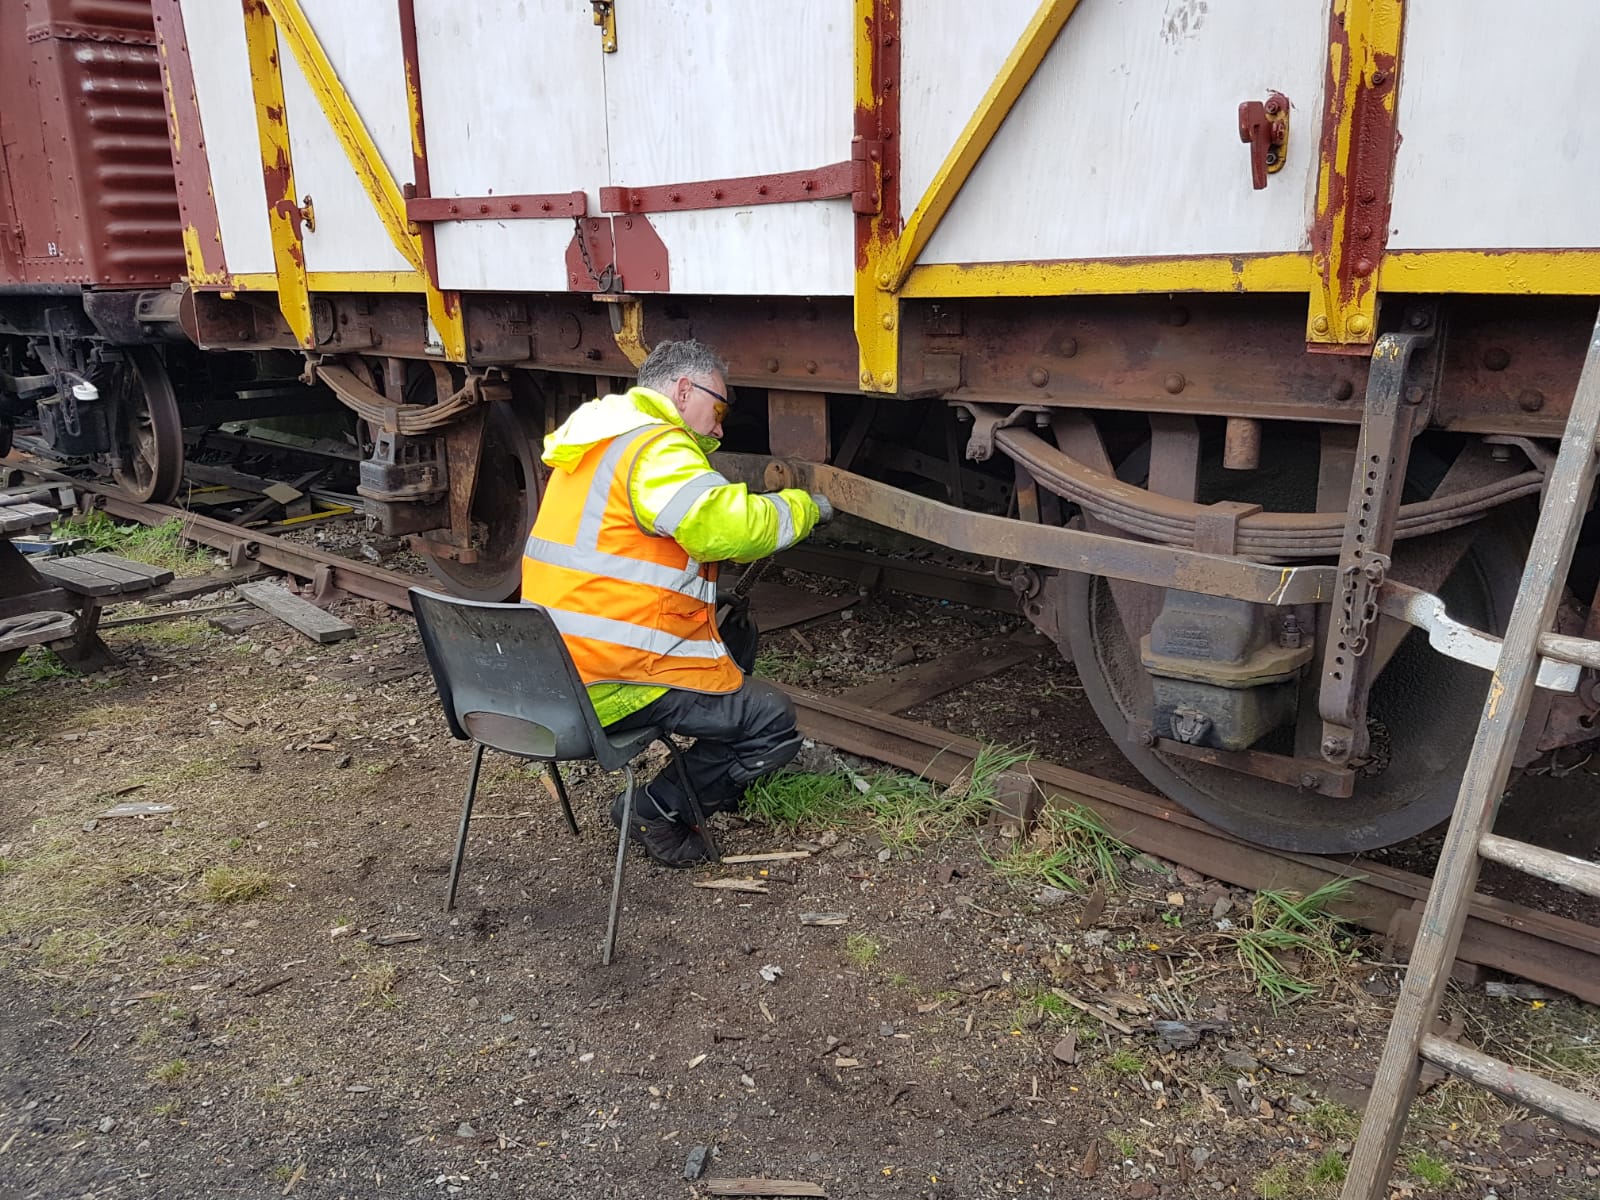
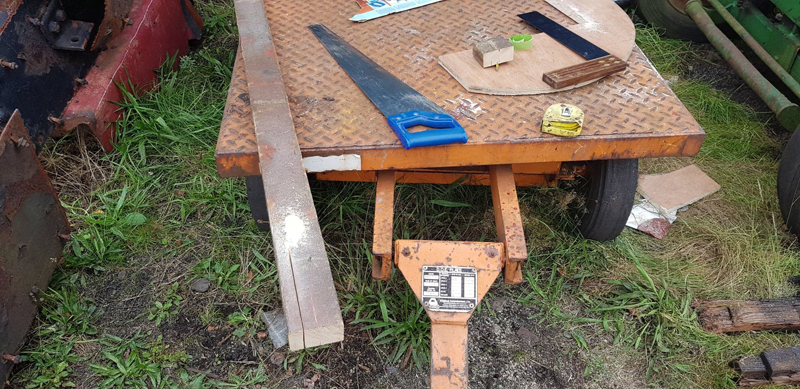
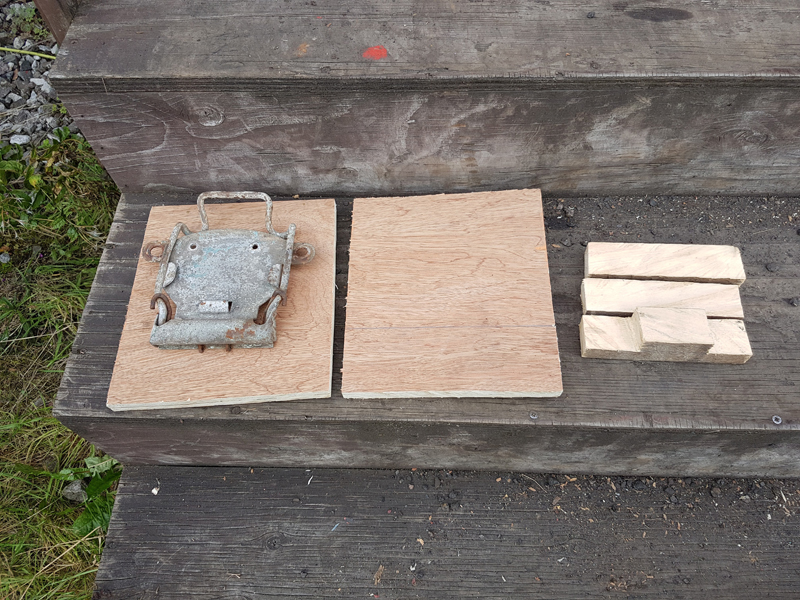
    A little careful adjustment with the Volvo and it was in. Sleepers were positioned at either end and wedges driven in to hold the container longitudinally. Blocks were also measured and trimmed to hold the Container laterally.

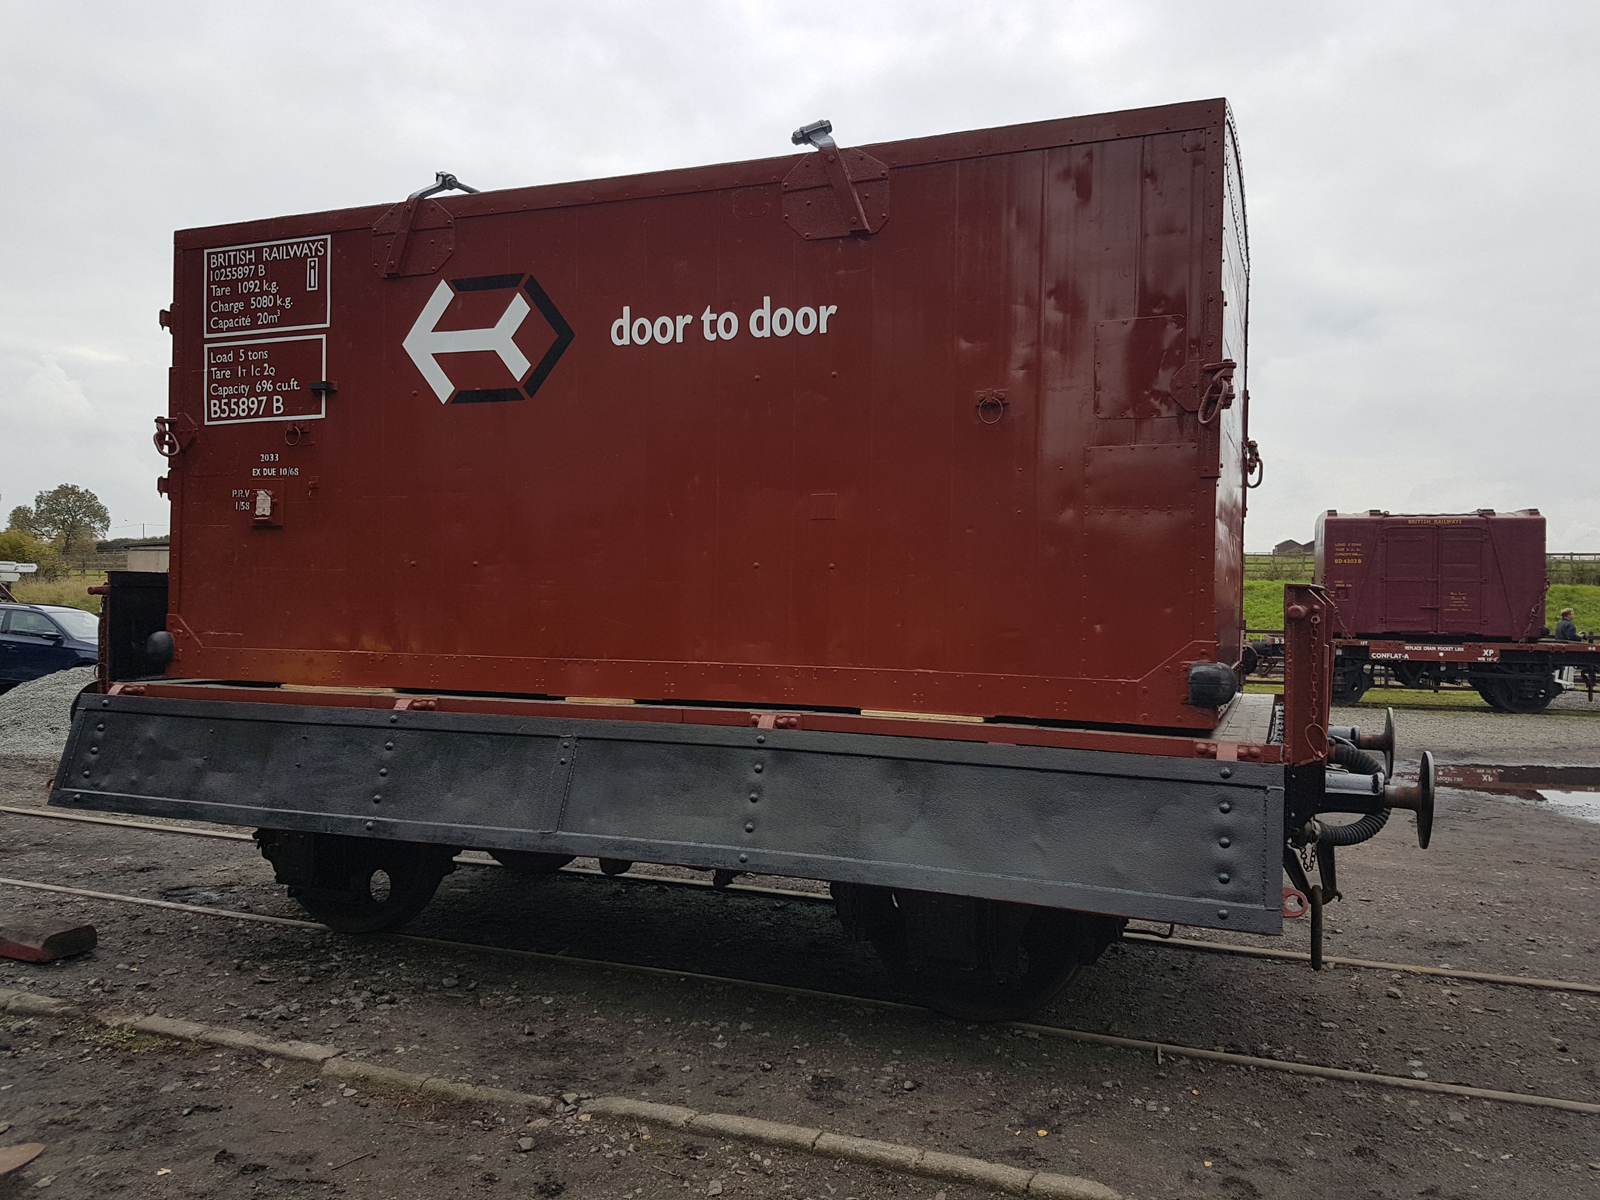
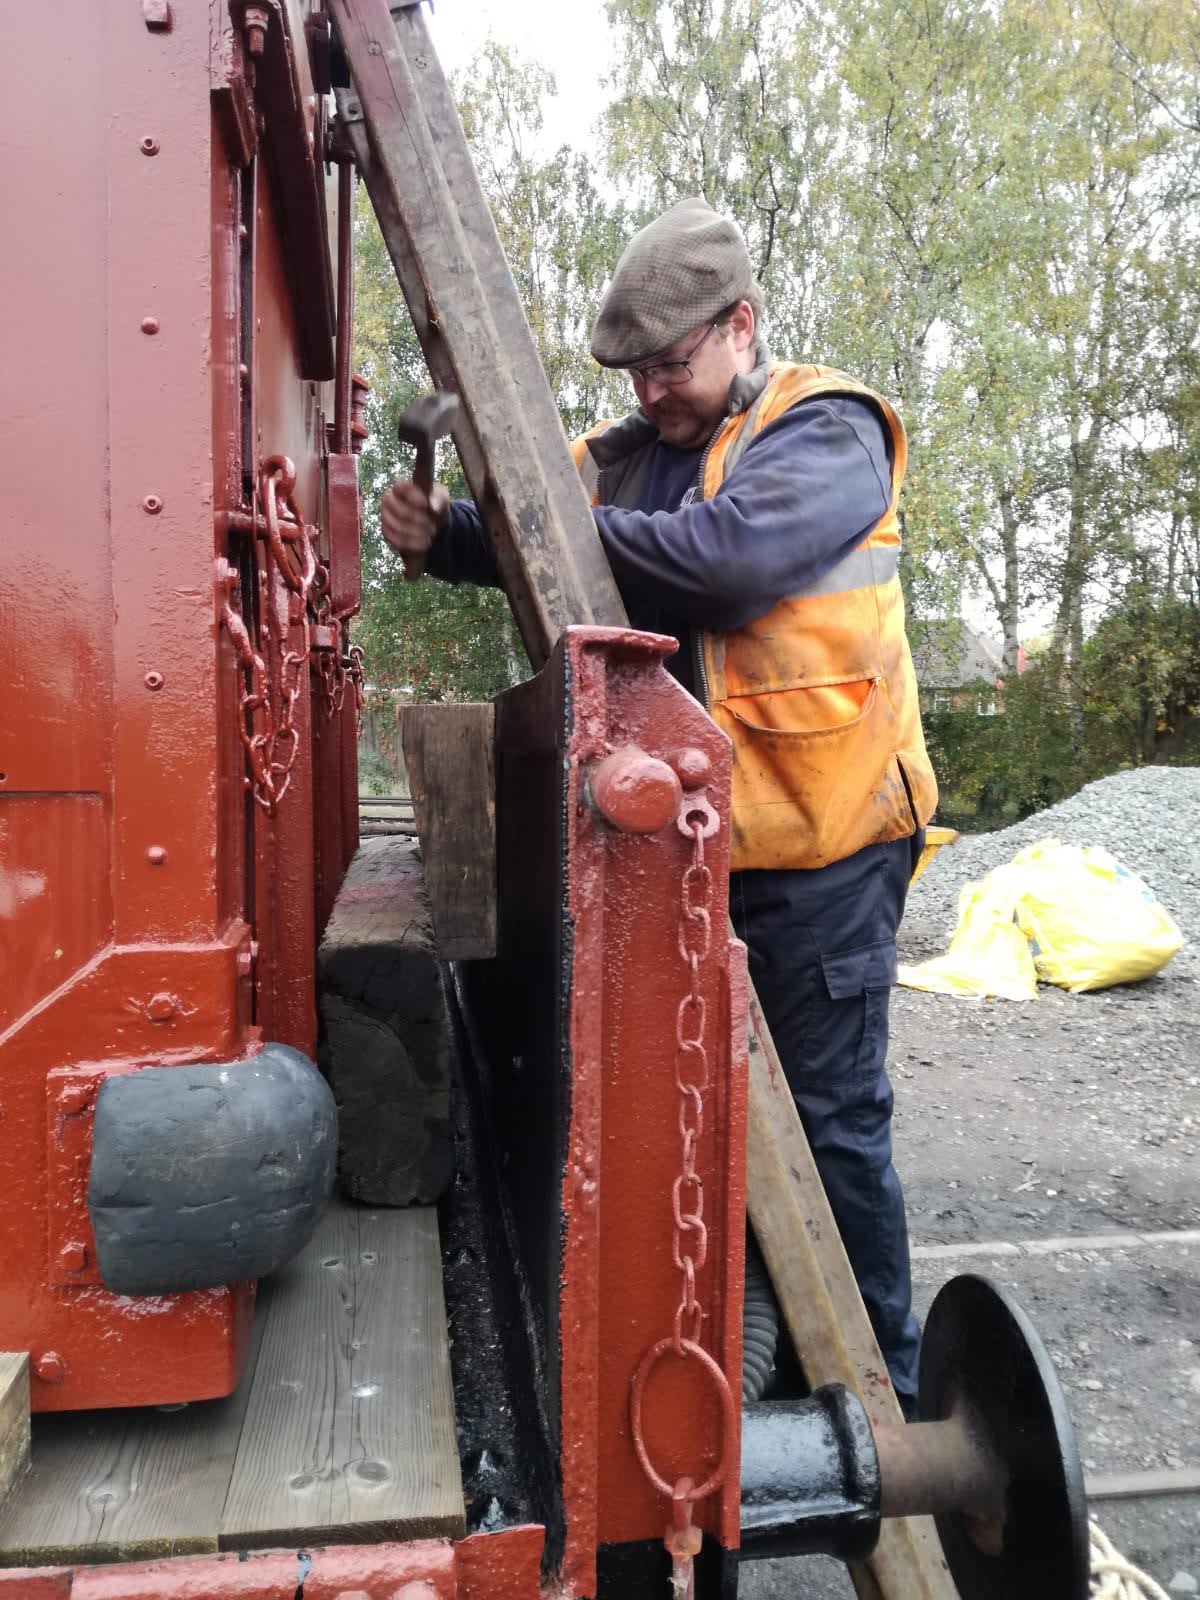
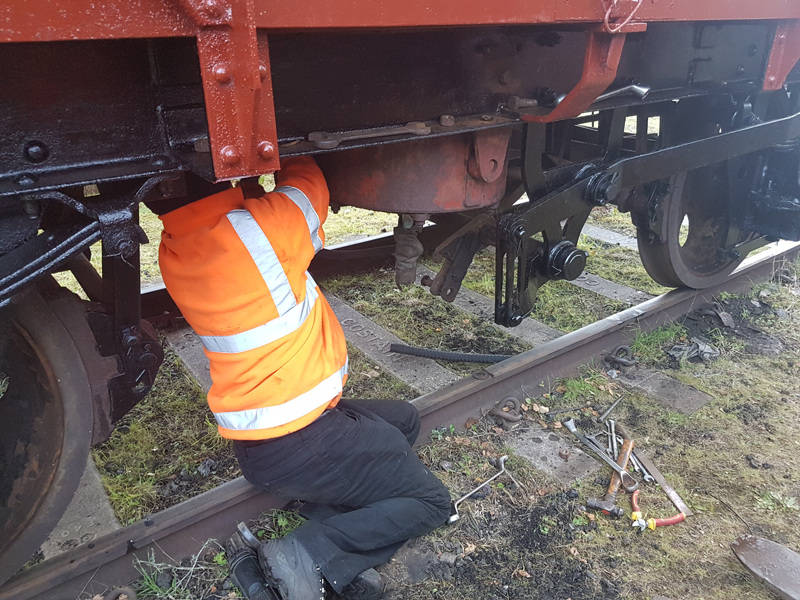
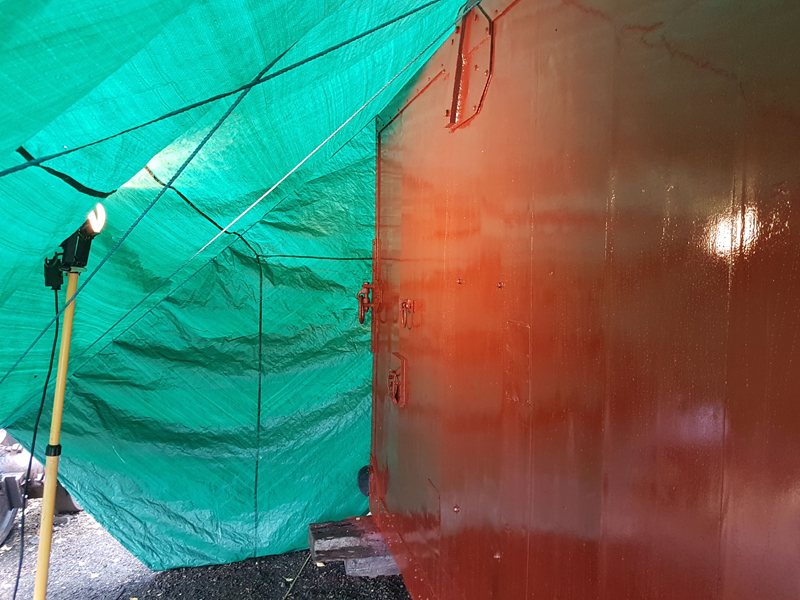
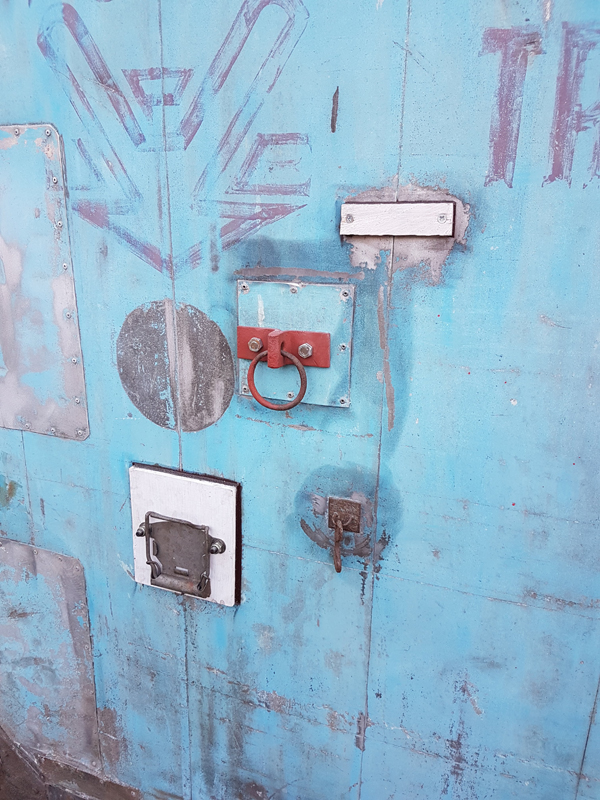
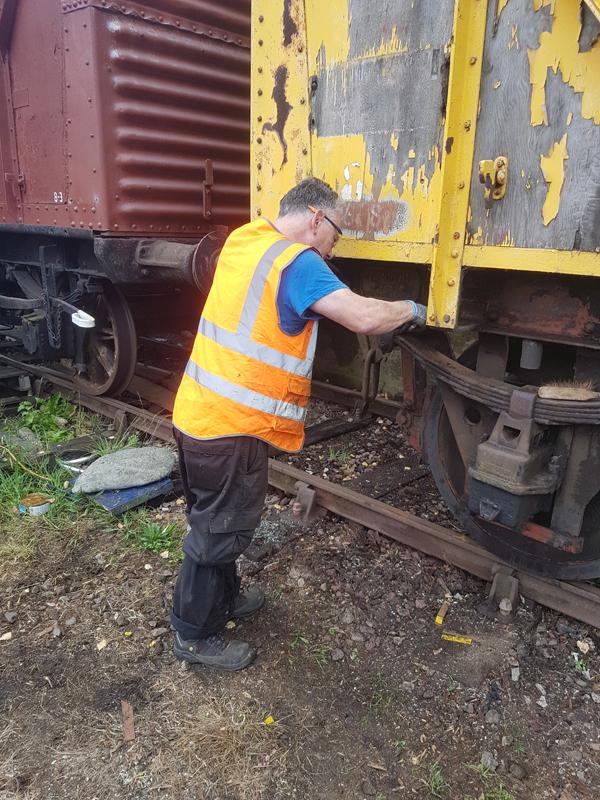
    Although the blocks and sleepers will actually do the main task of holding the container to give the prototypical look Ross roped the container as per BR20427, Instructions for the loading and securing of containers on rail vehicles.

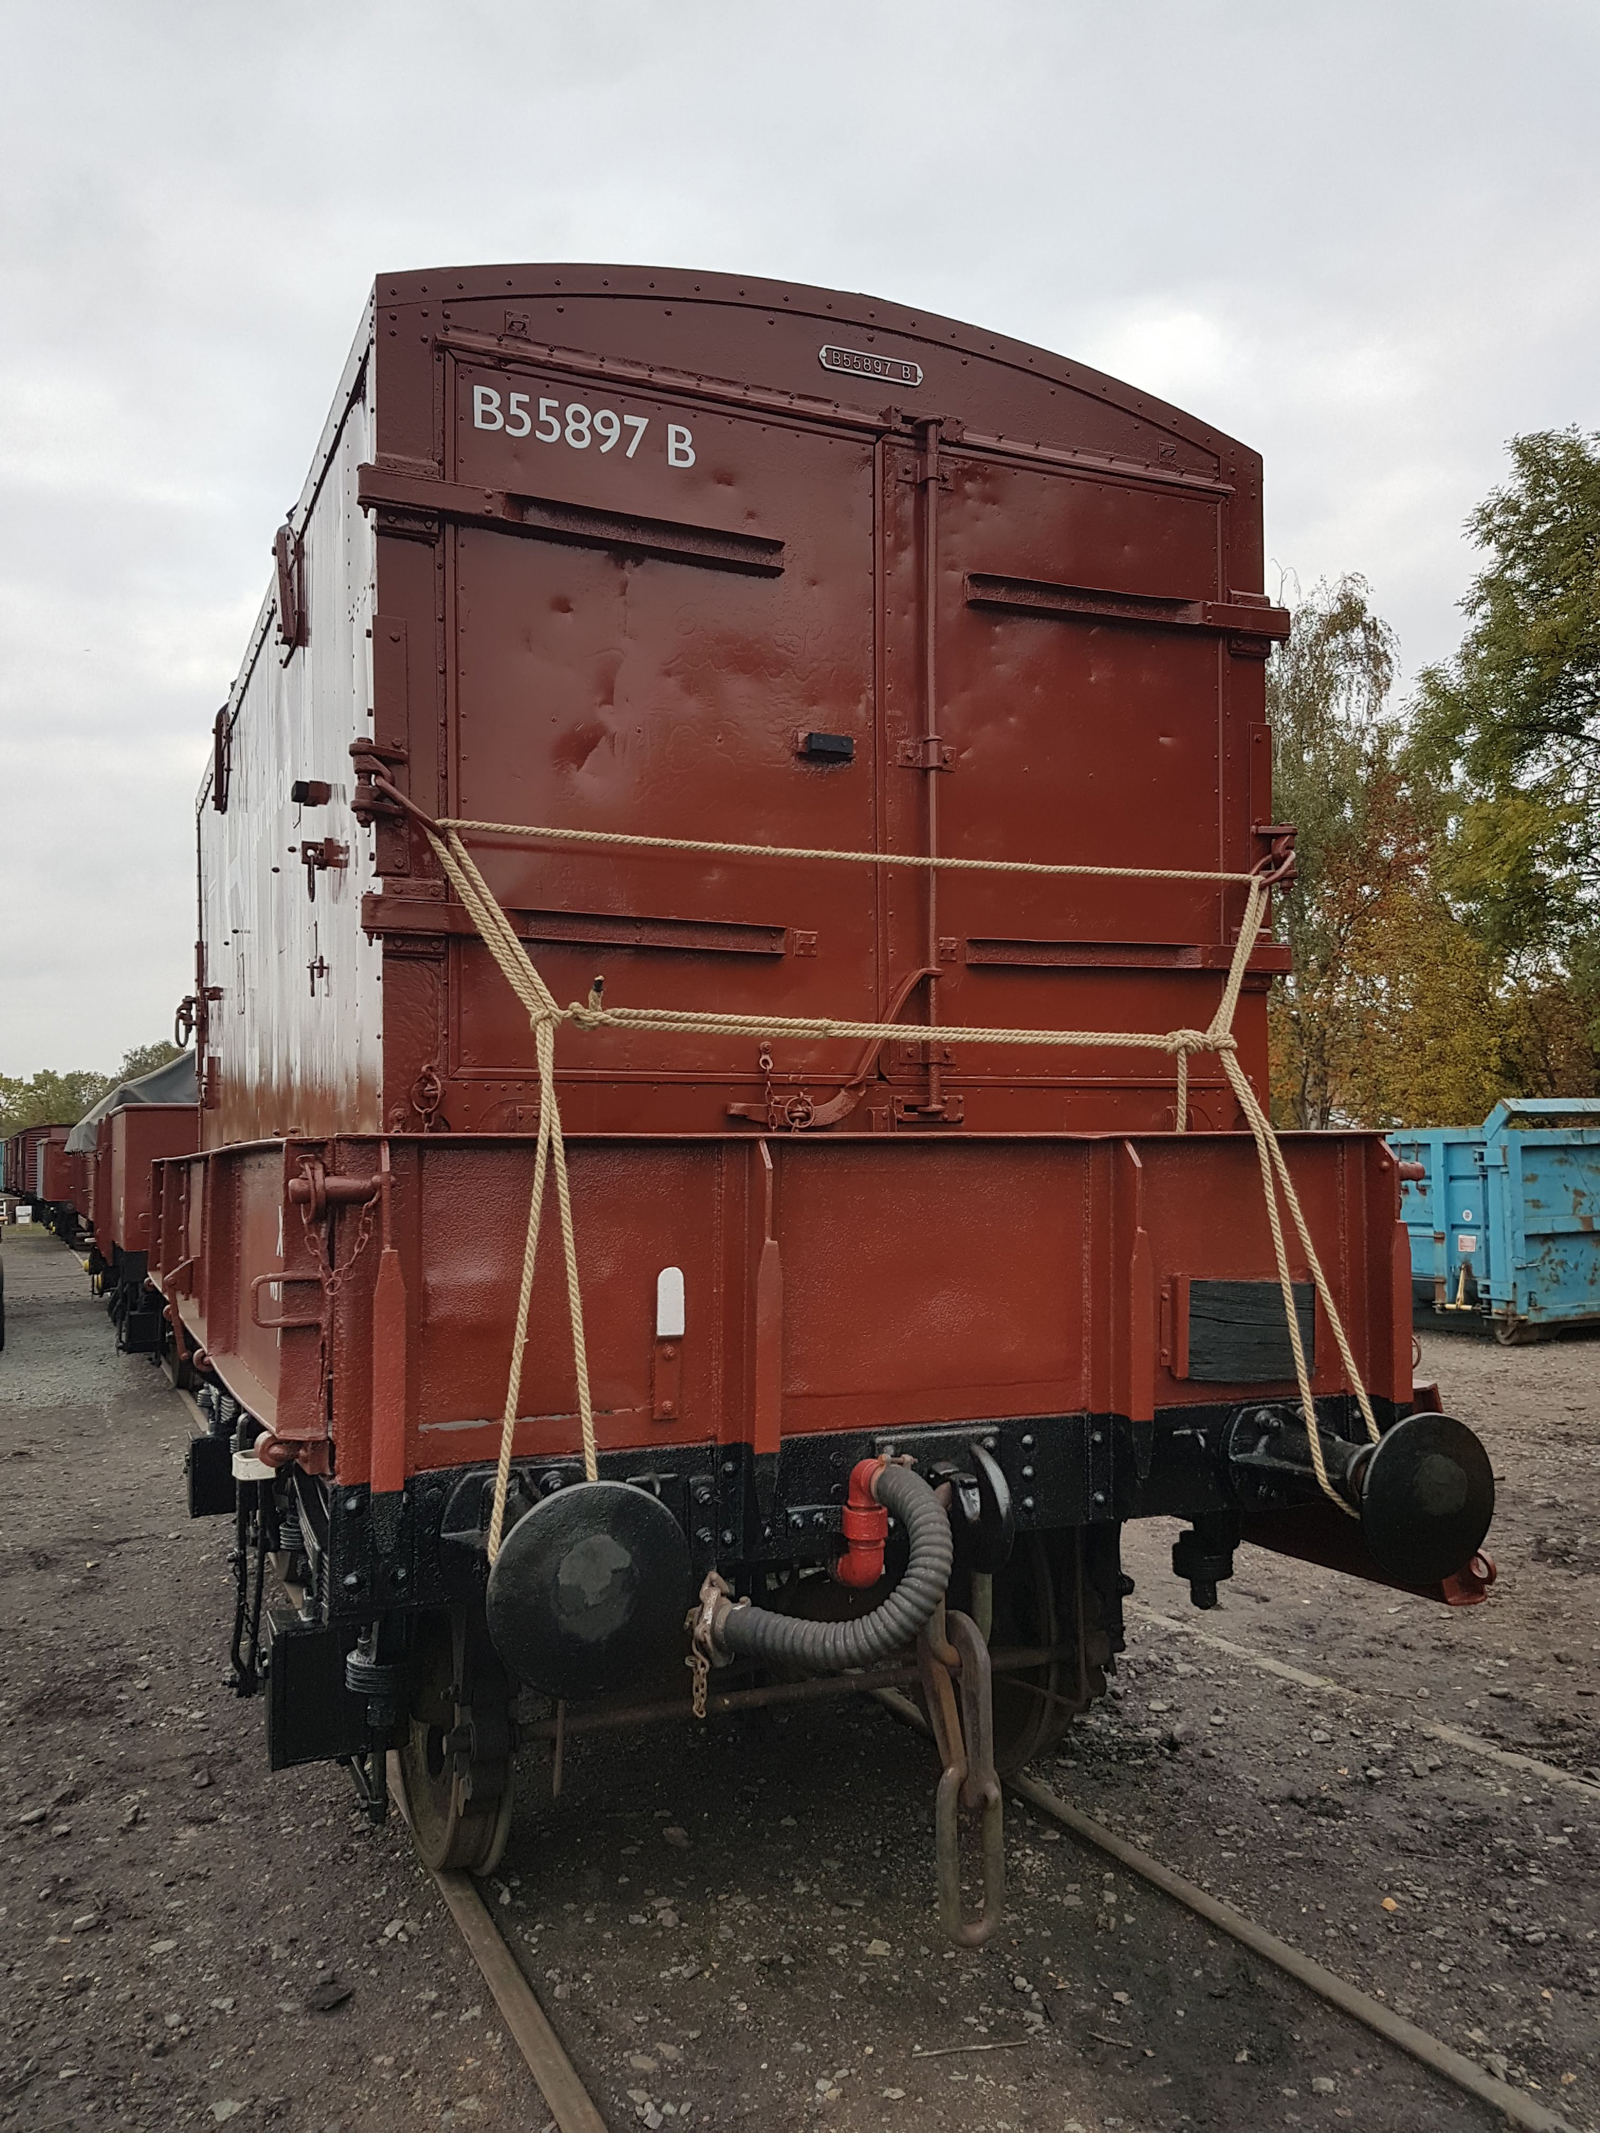
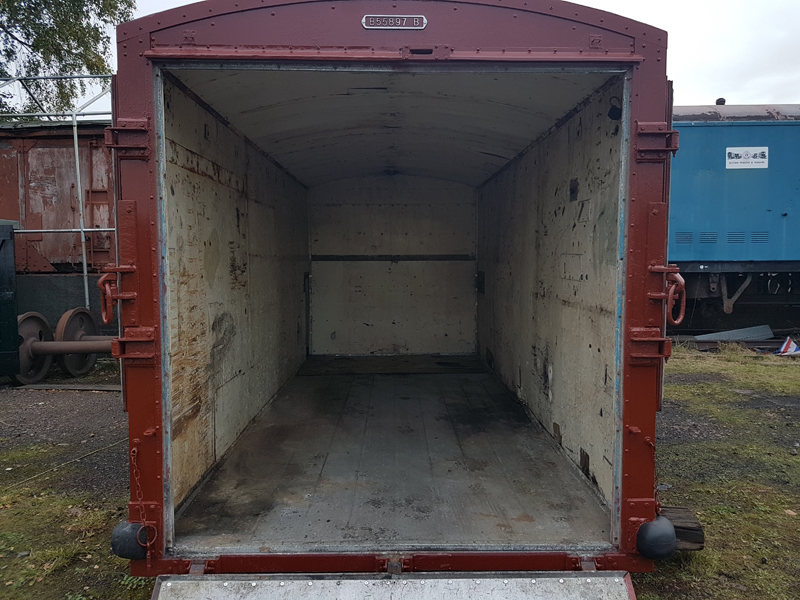
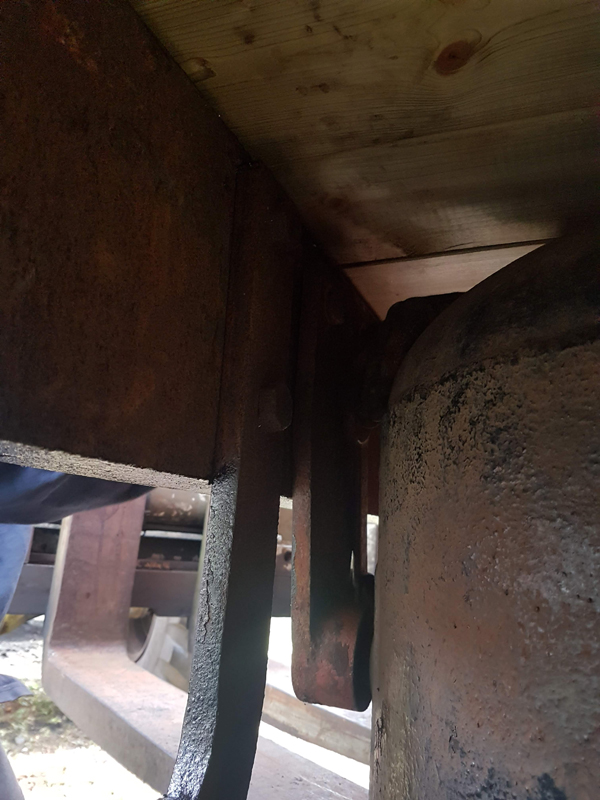
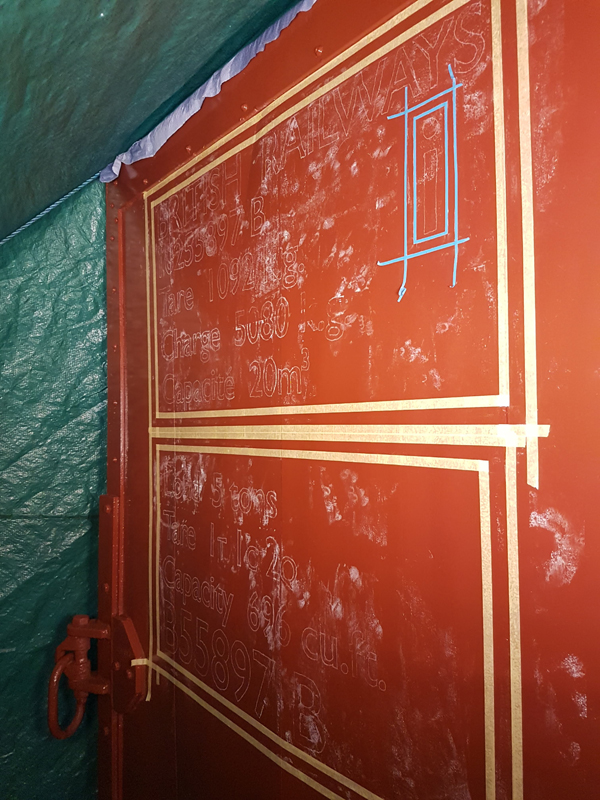
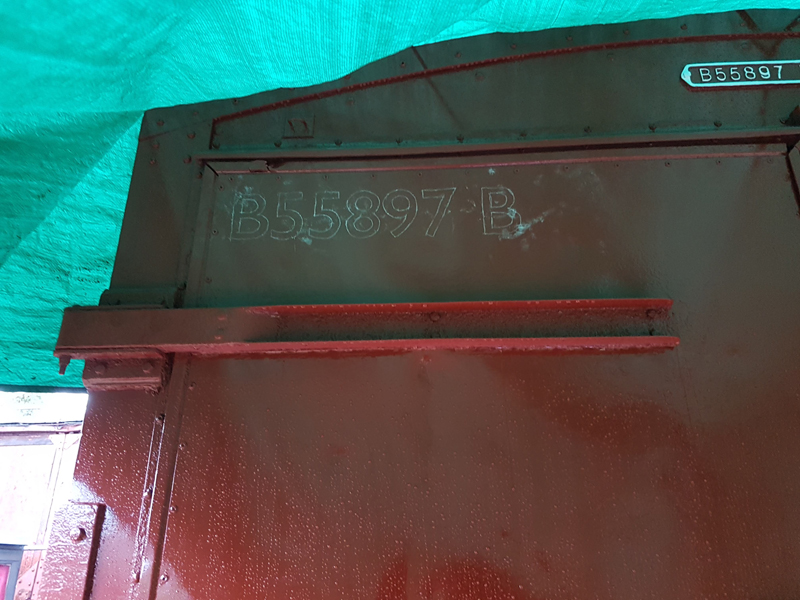
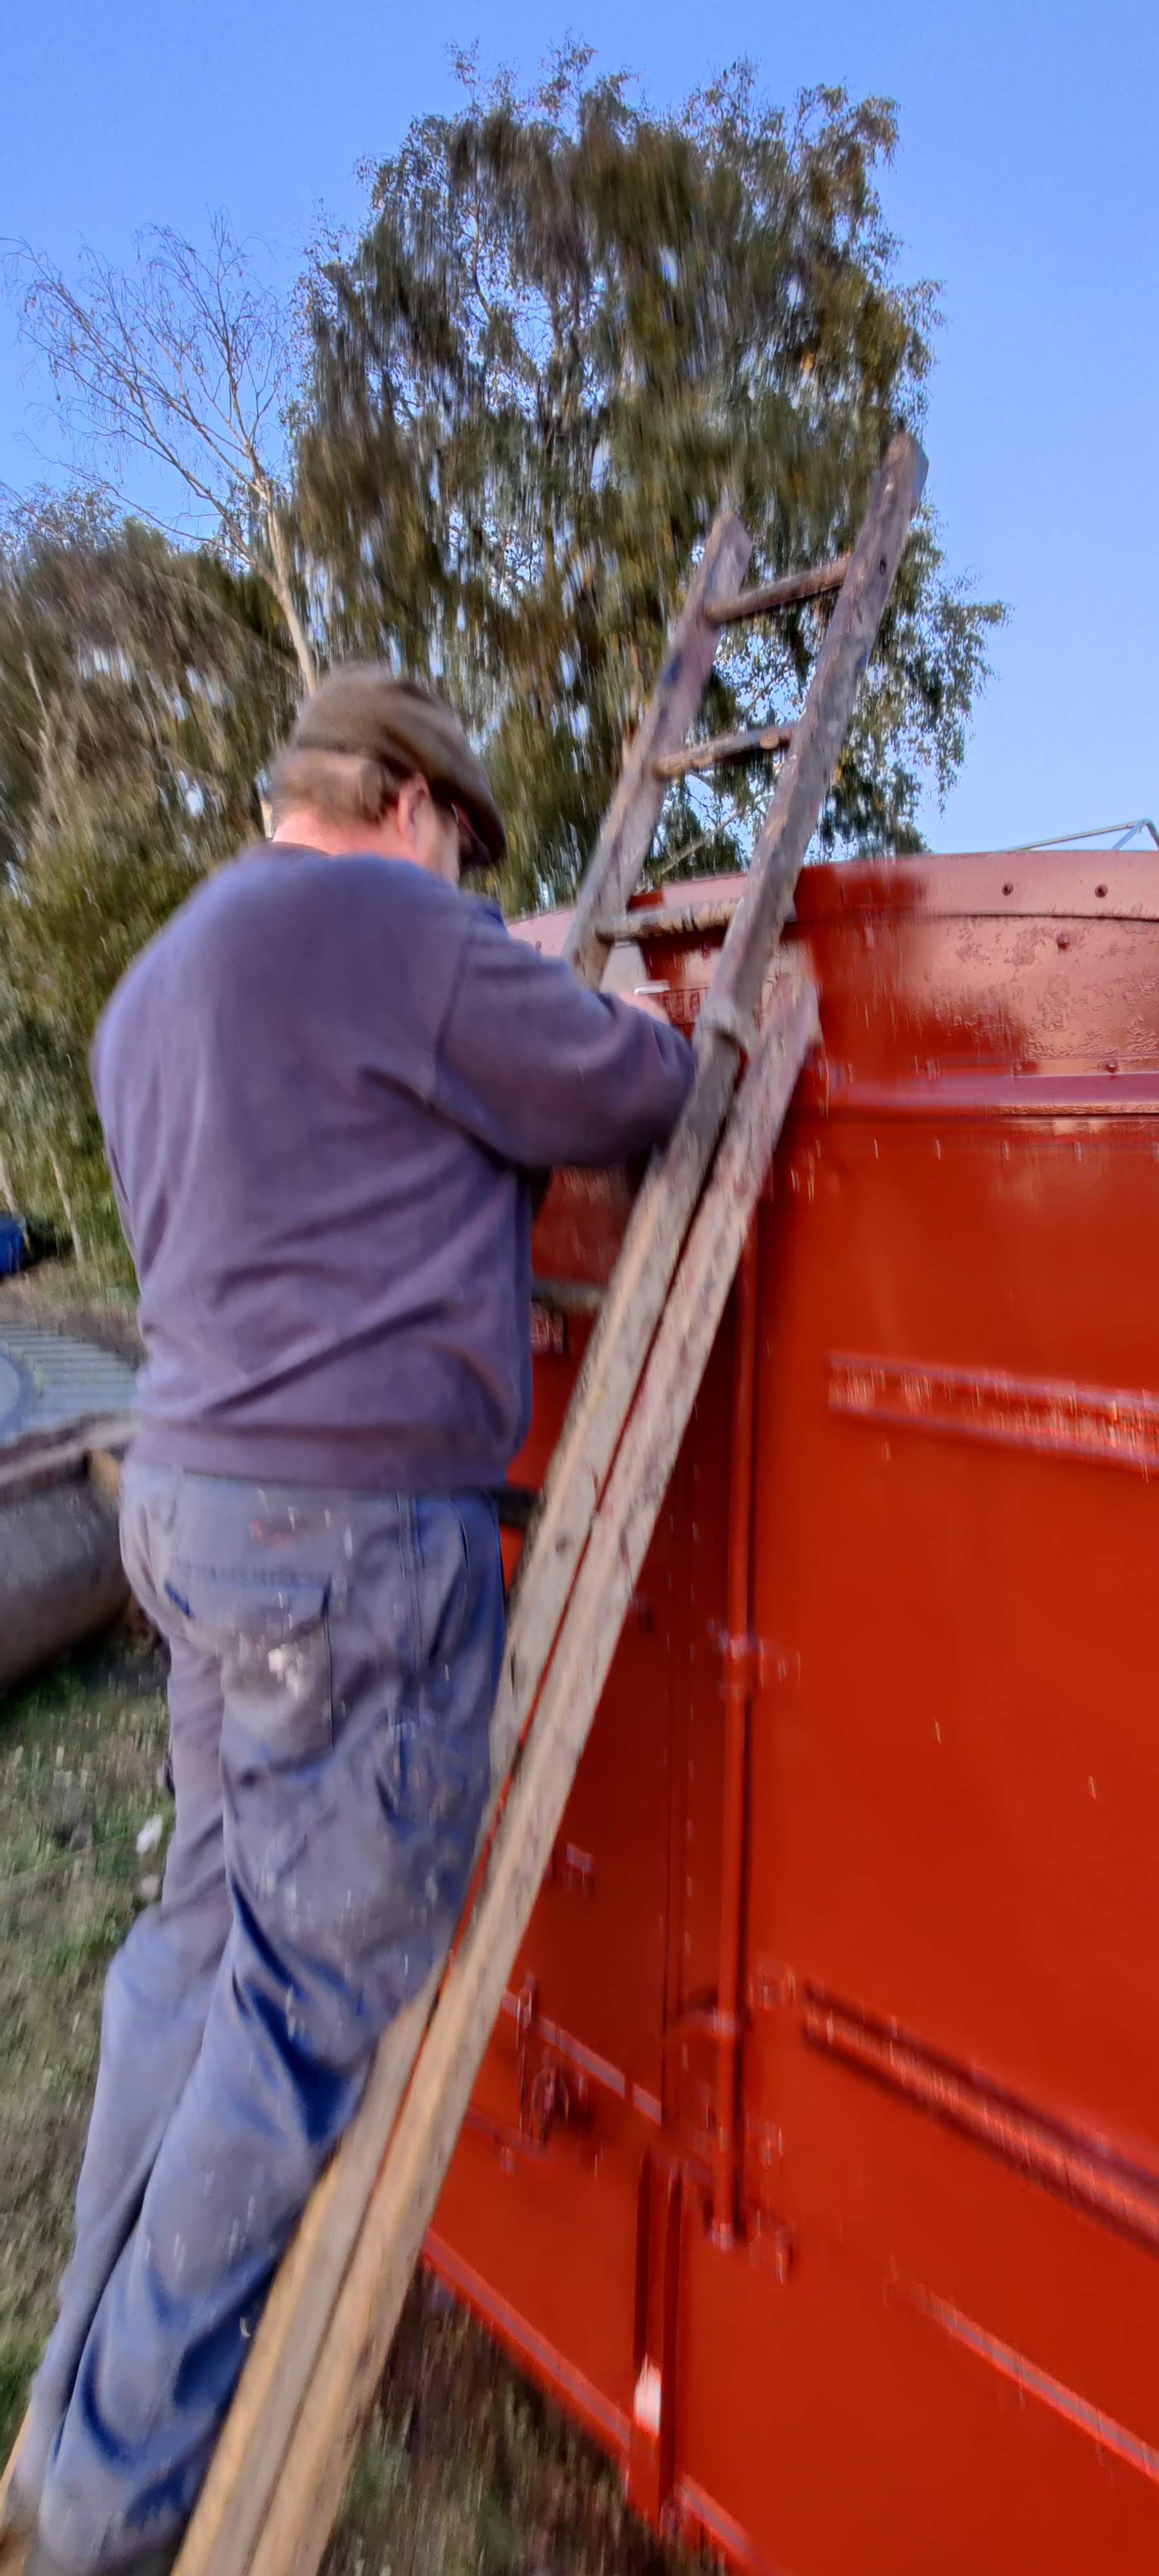
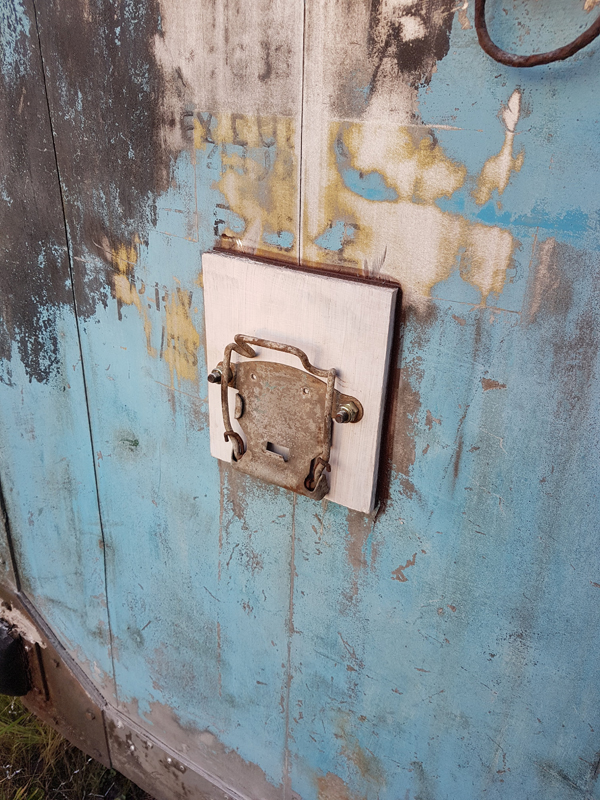
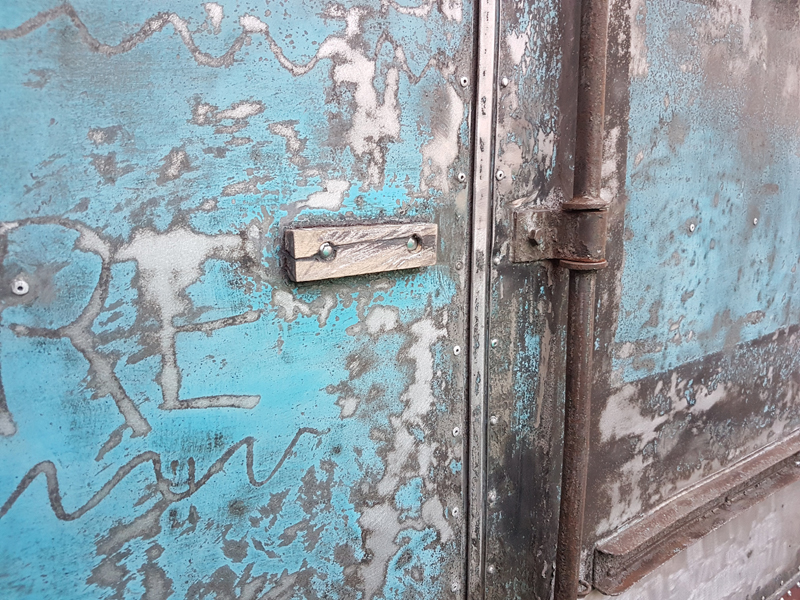
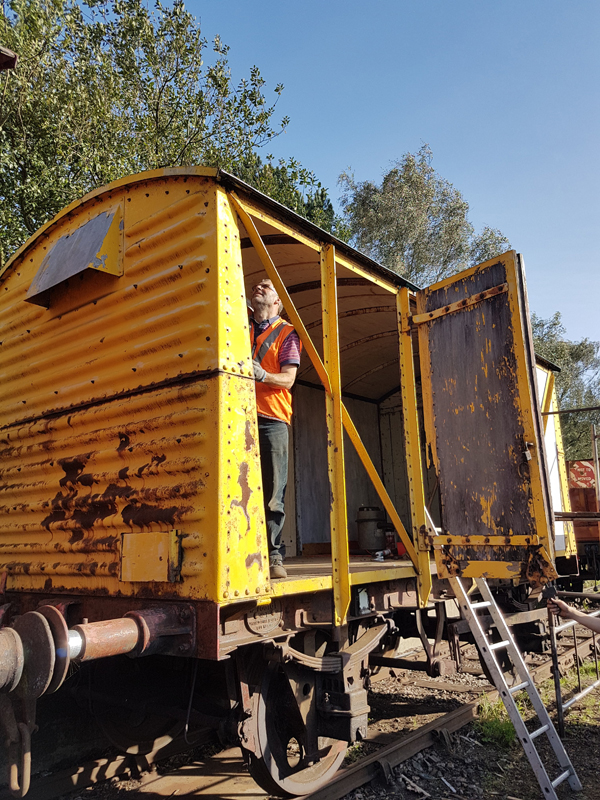
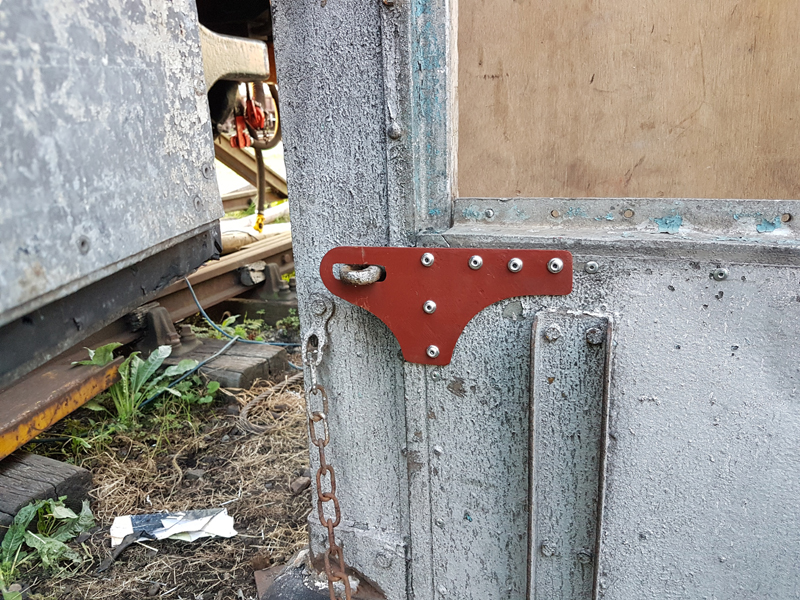
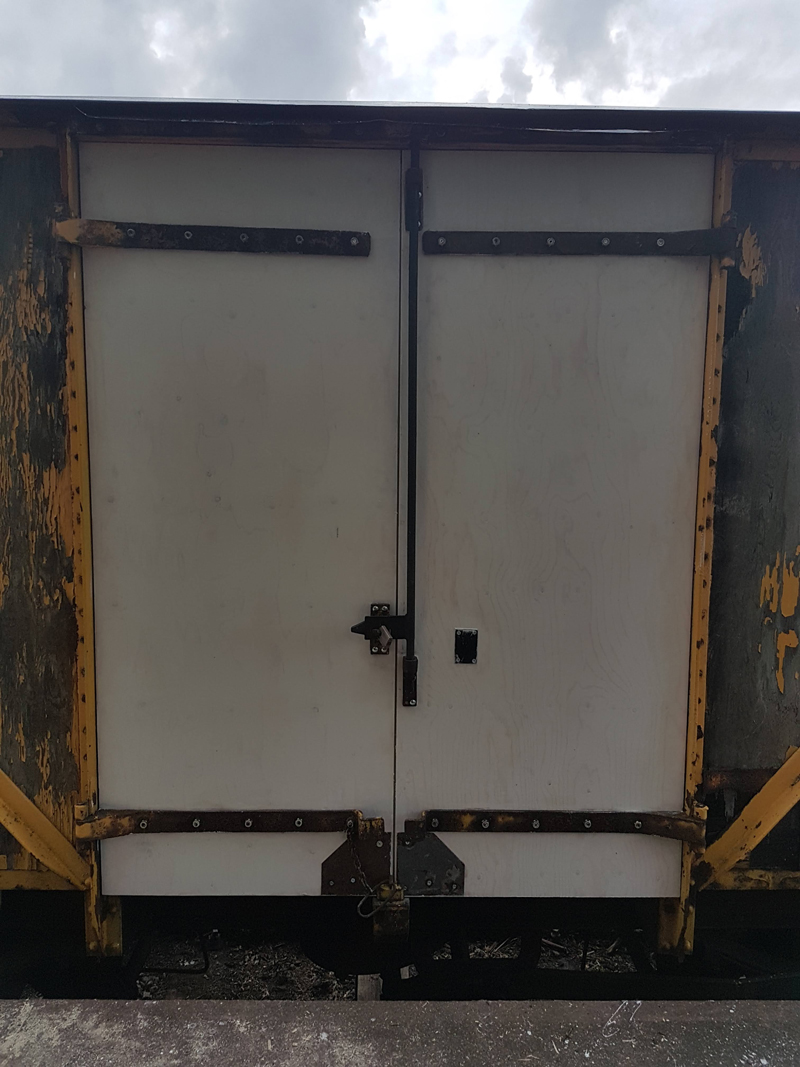
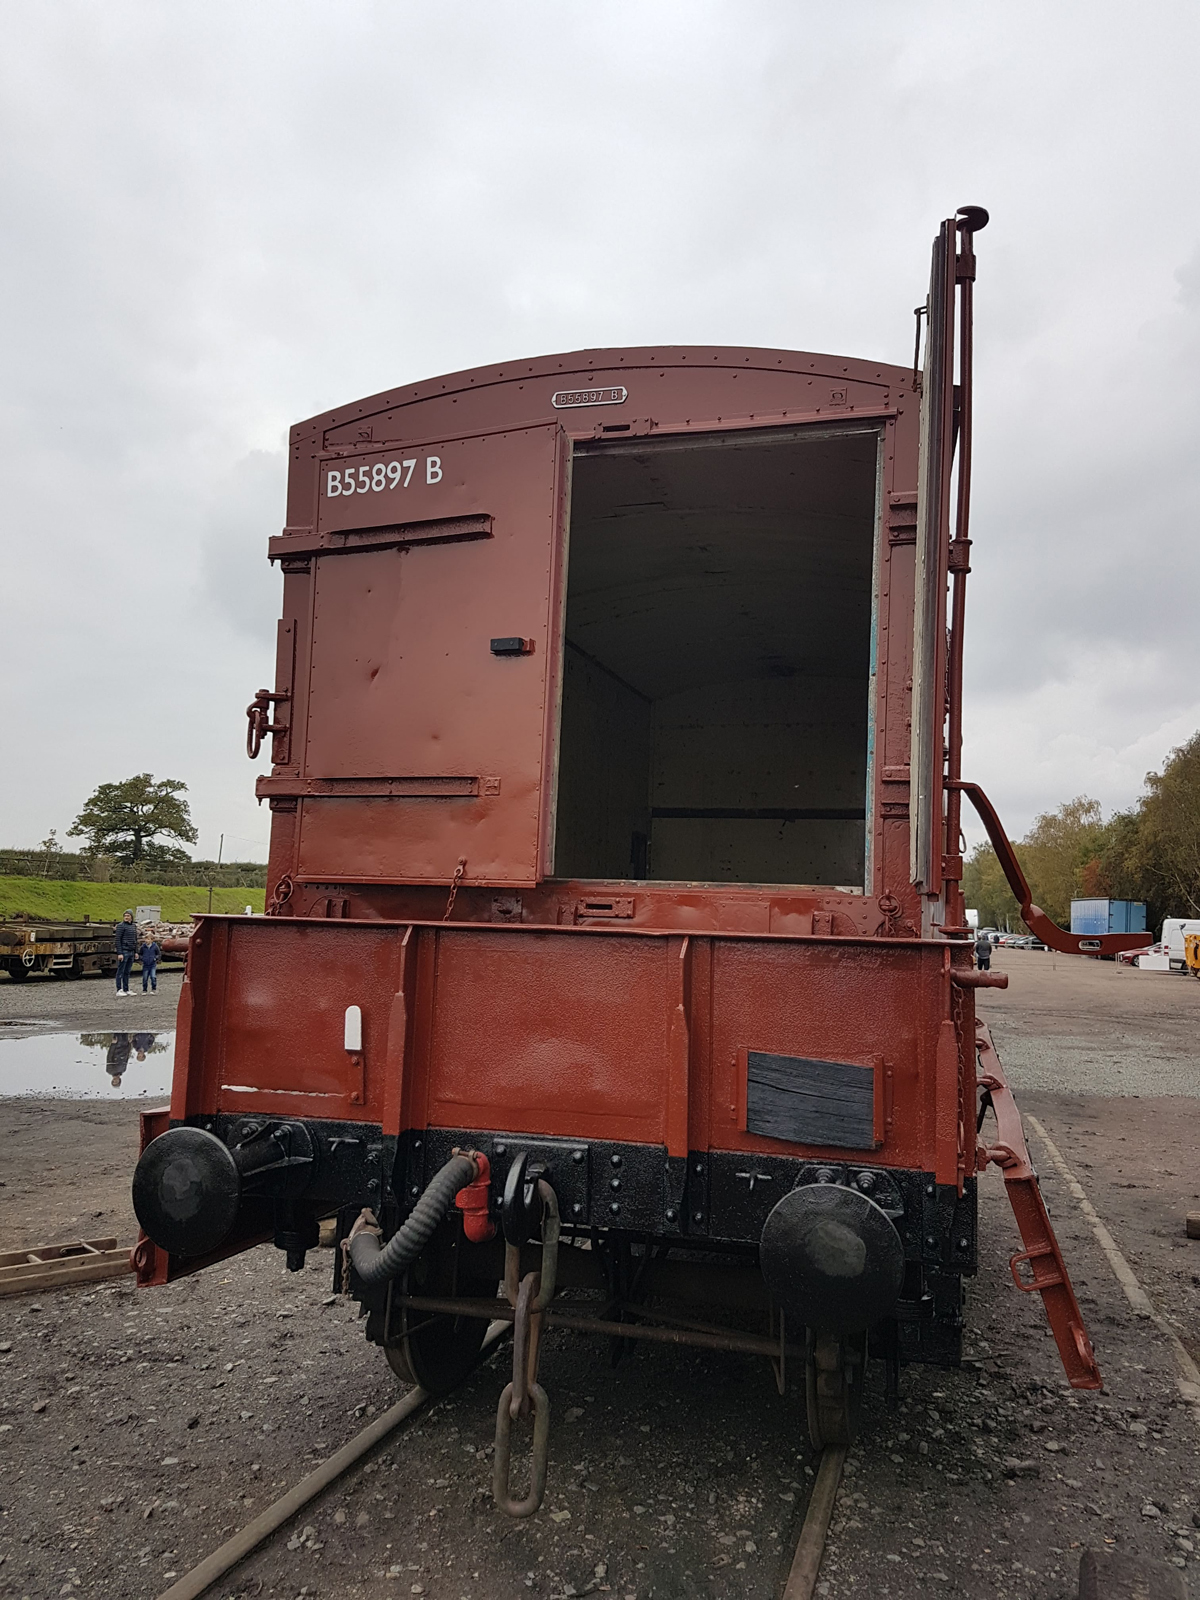
    I did read a statement somewhere that Containers in Medfits could not be opened, this image proves that statement to be untrue. Although it would be awkward to actually do anything practically.

    Finally Eddie applied the layer of undercoat to Danny’s seat.

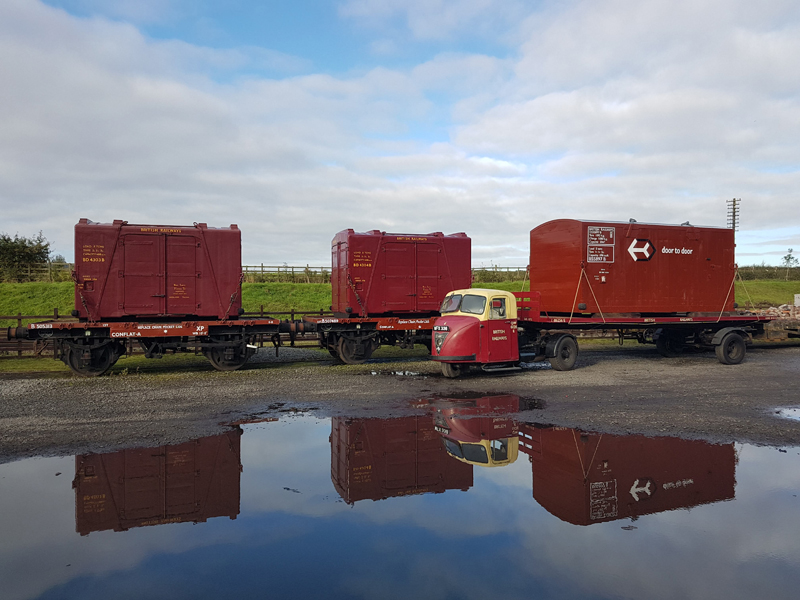
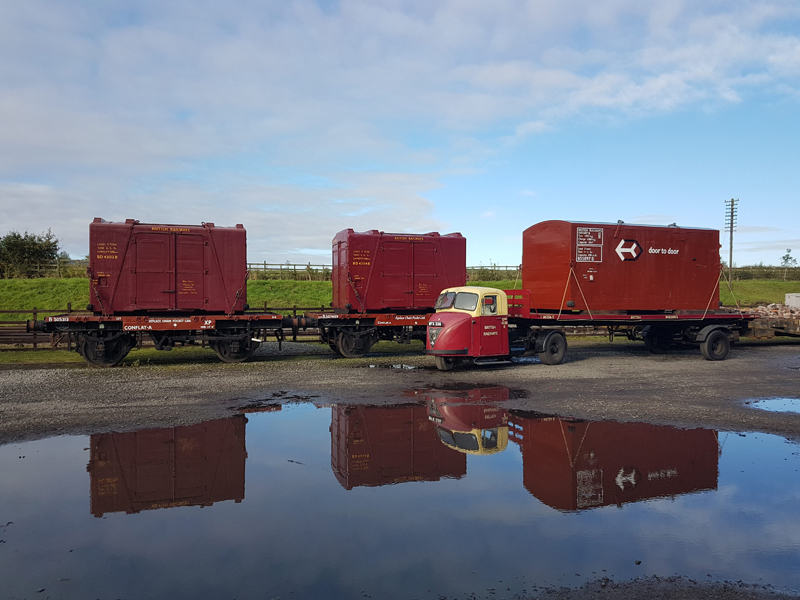
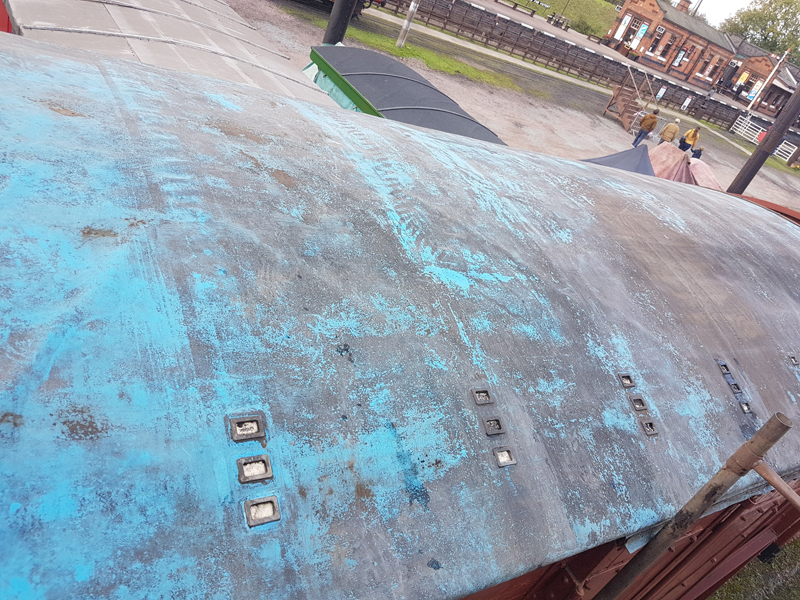
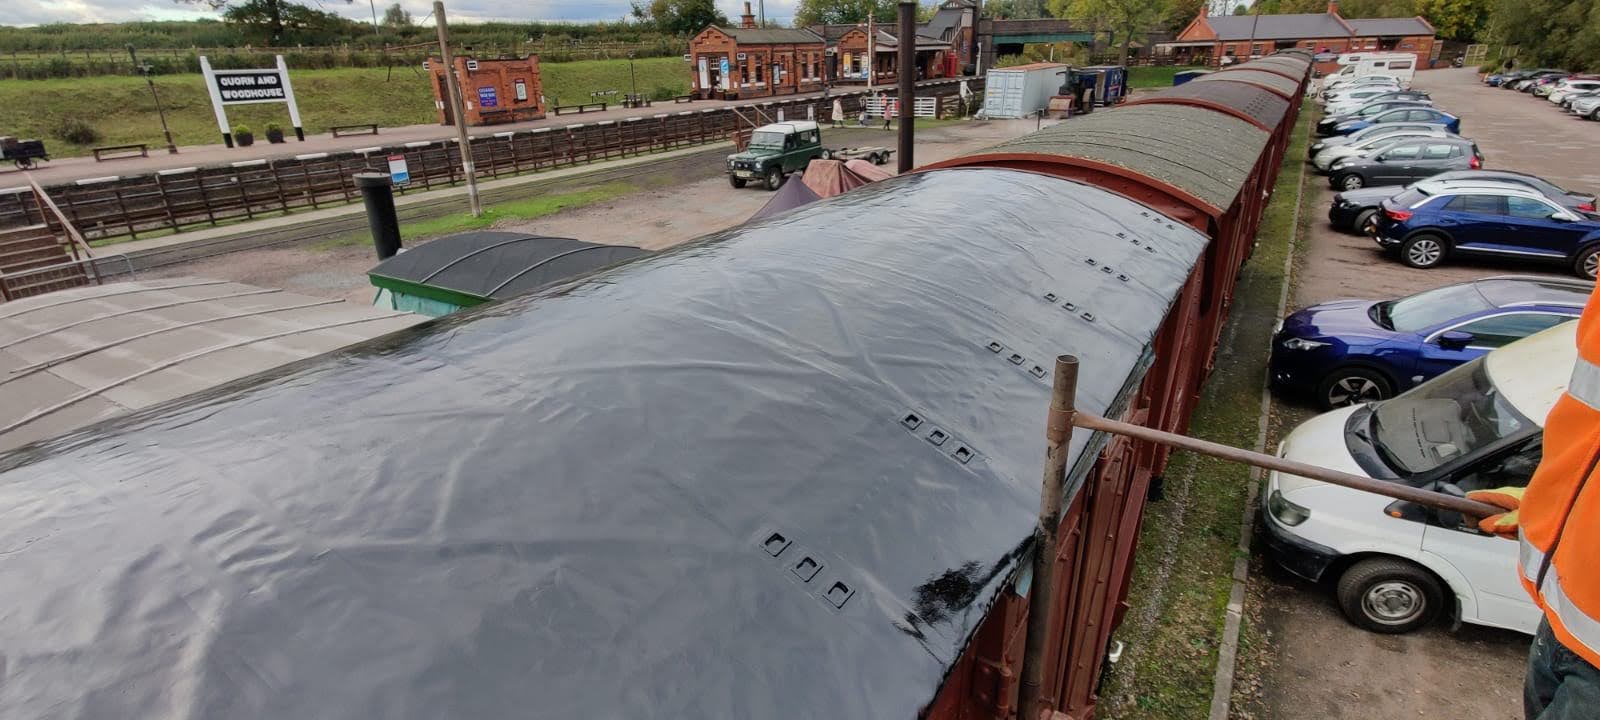
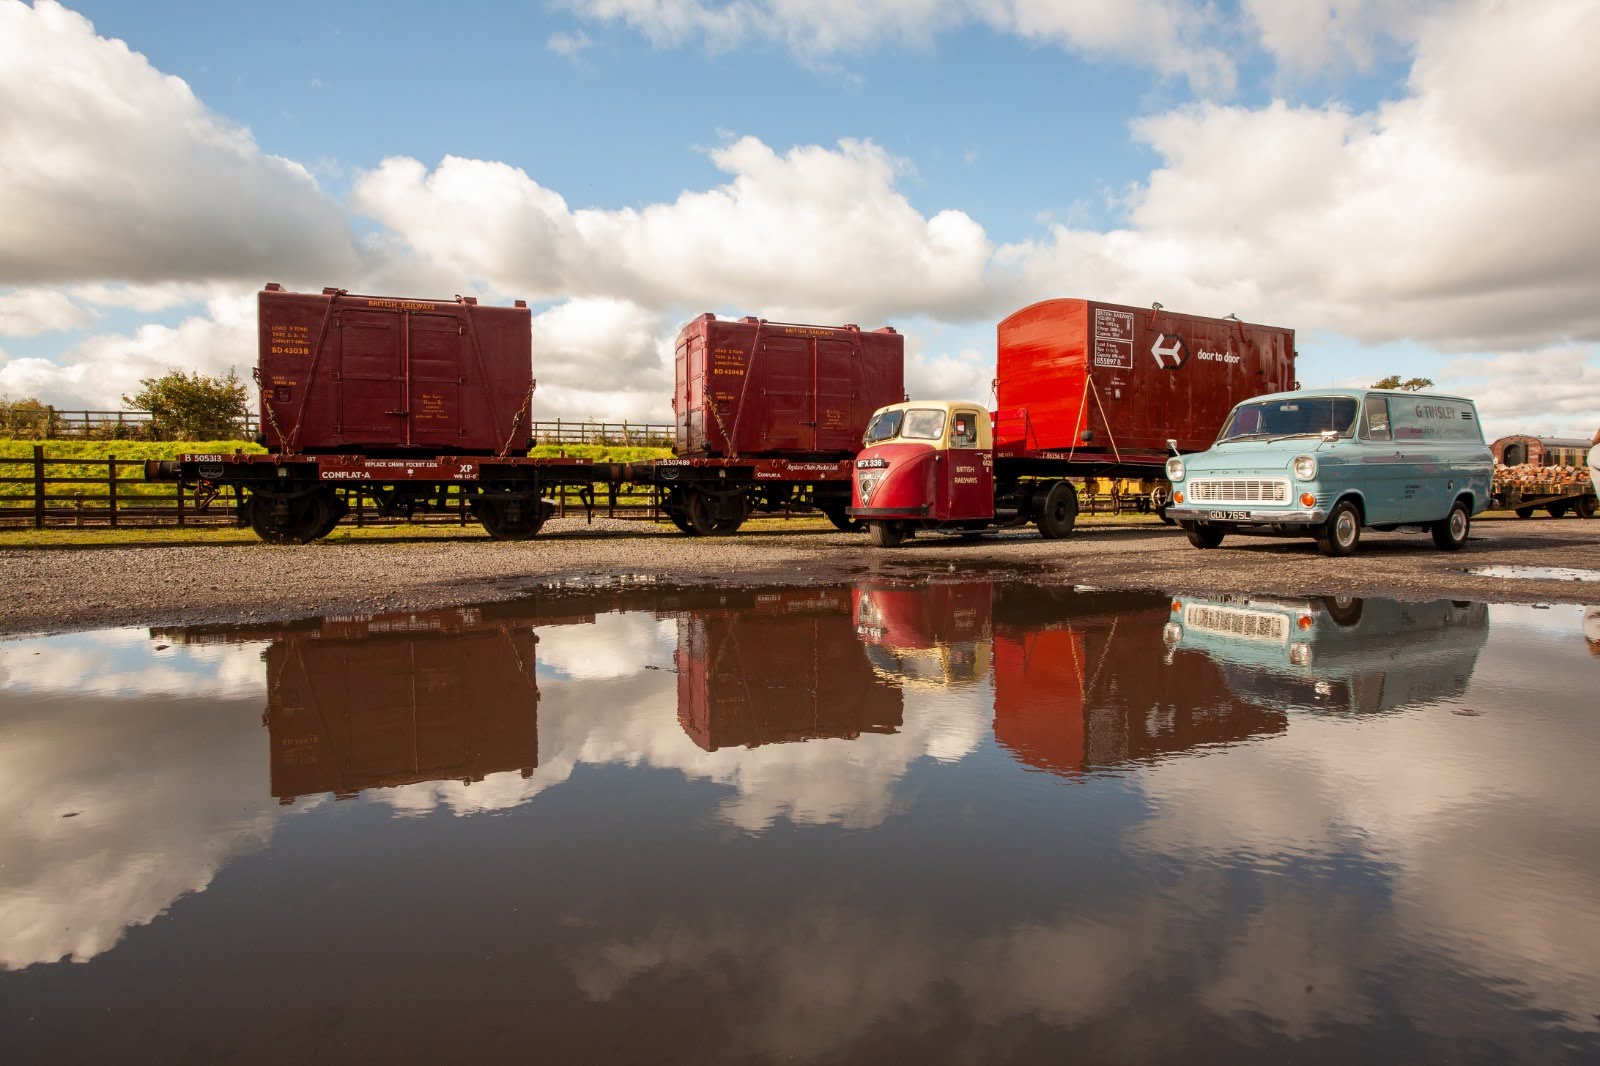
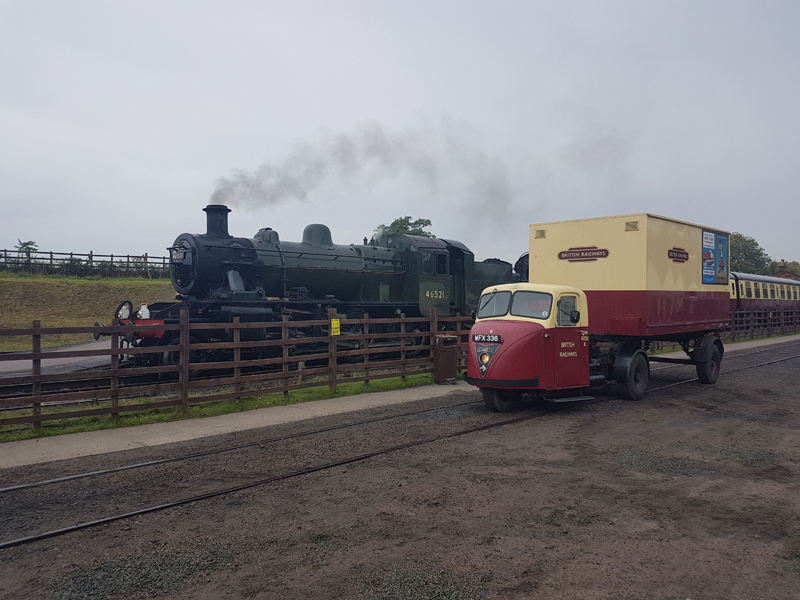
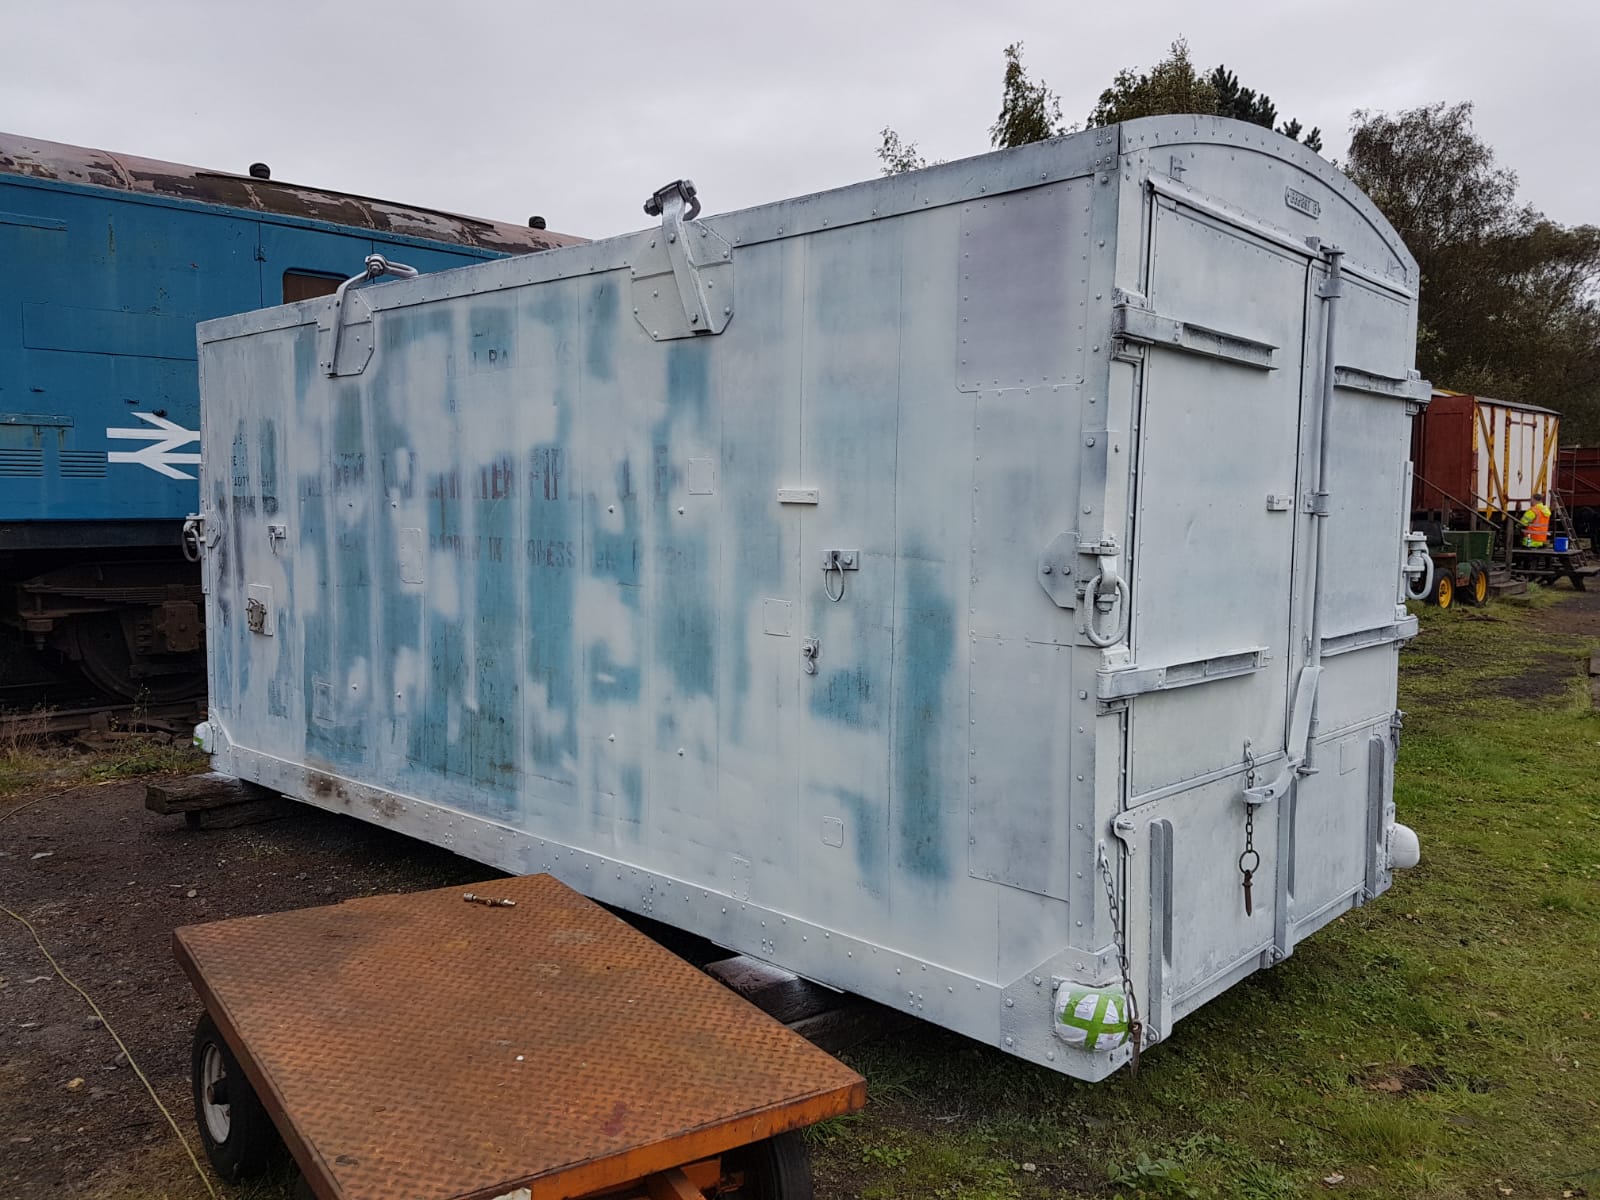
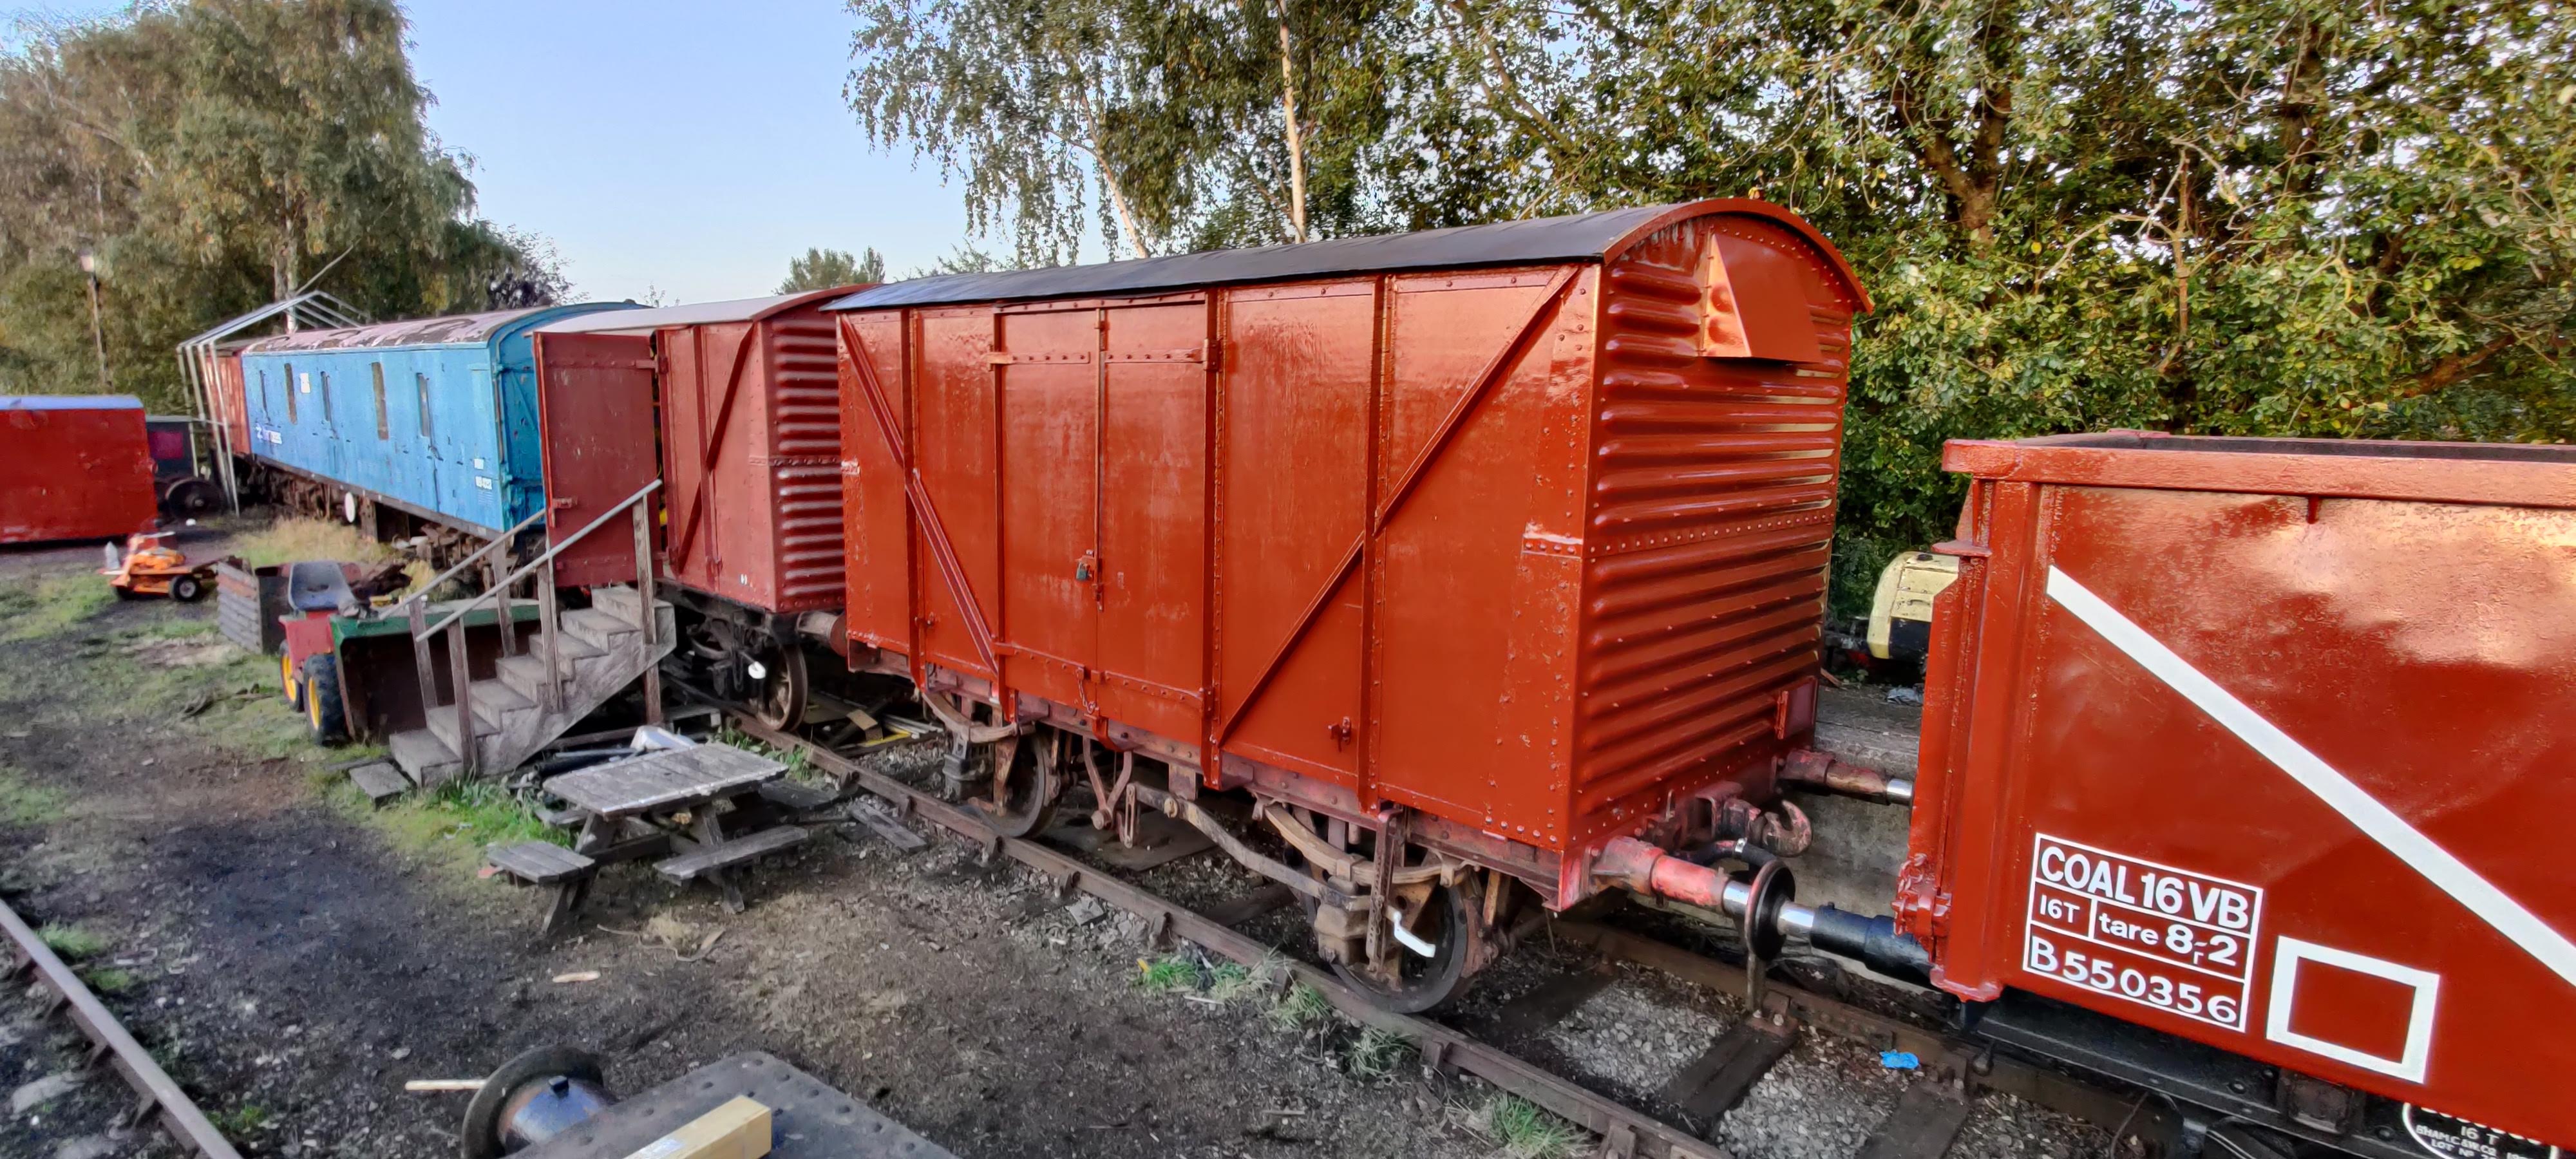
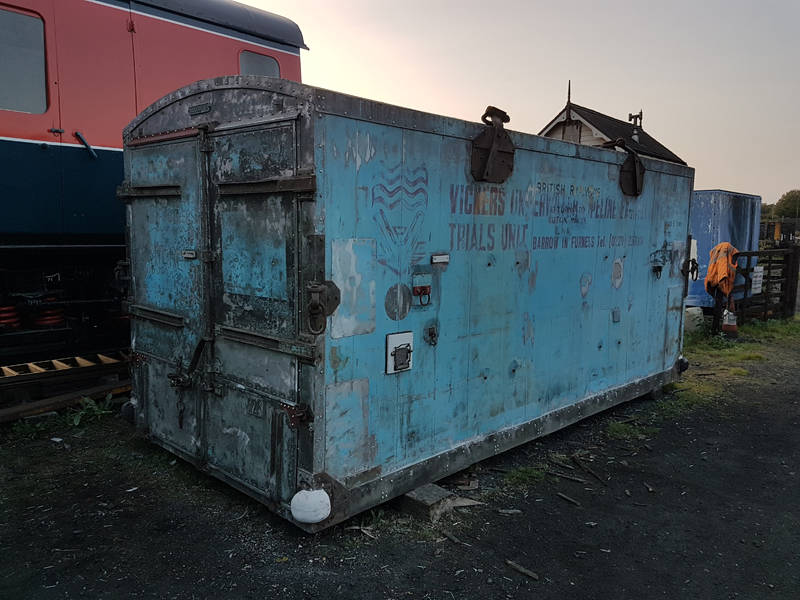
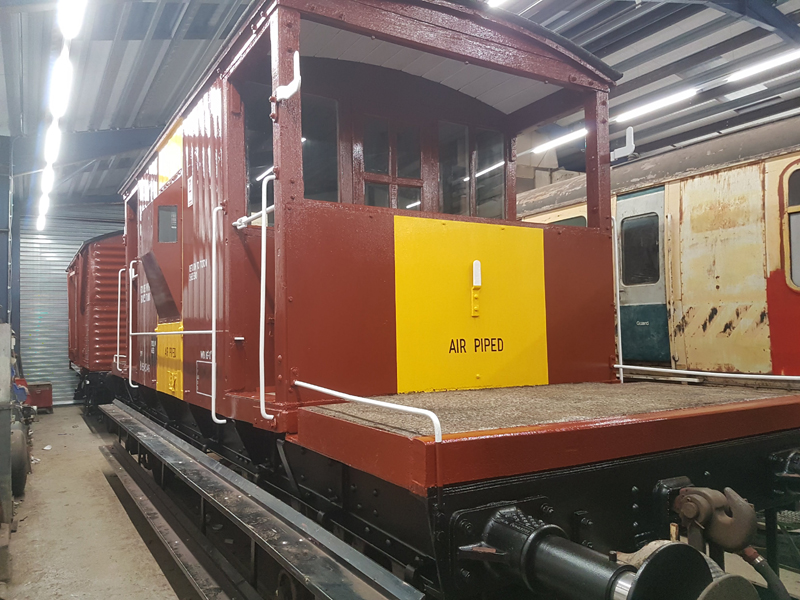
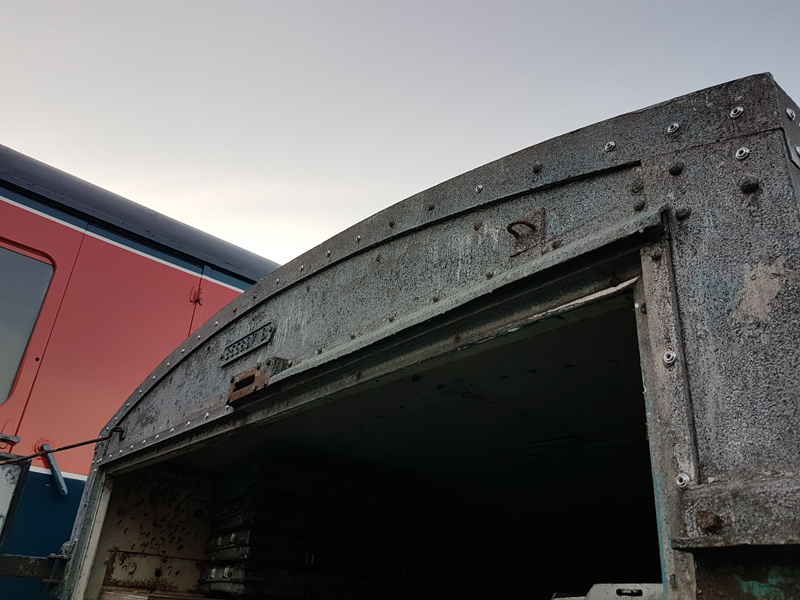
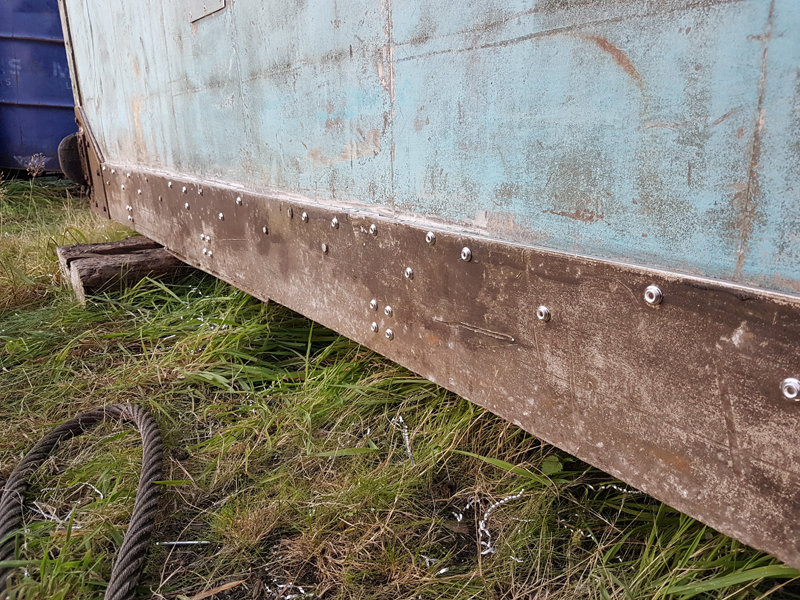
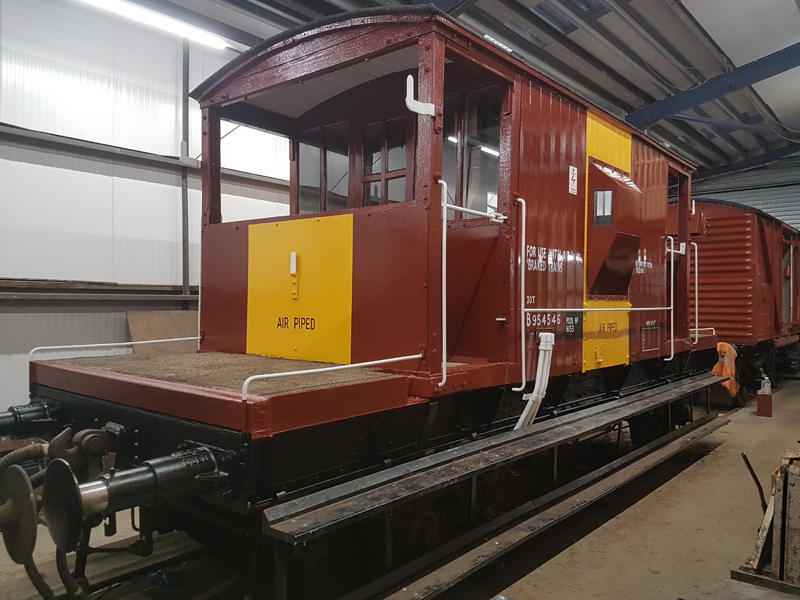
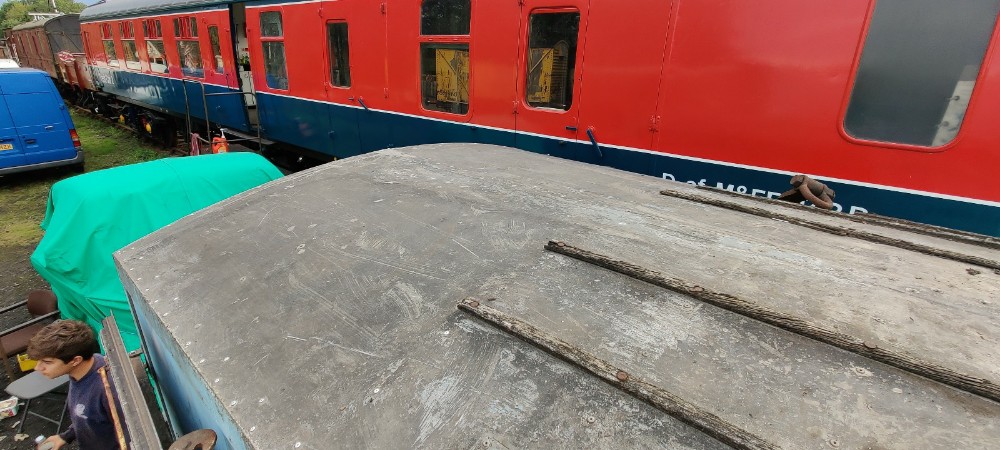
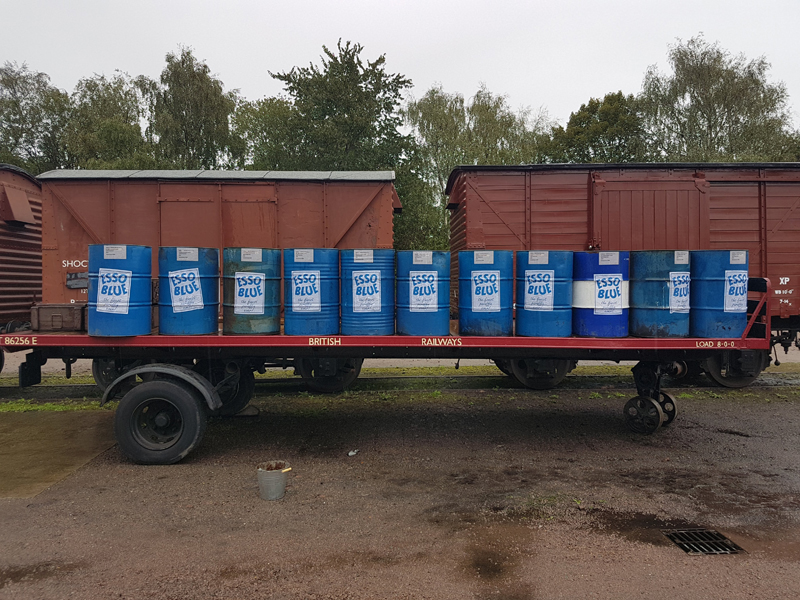
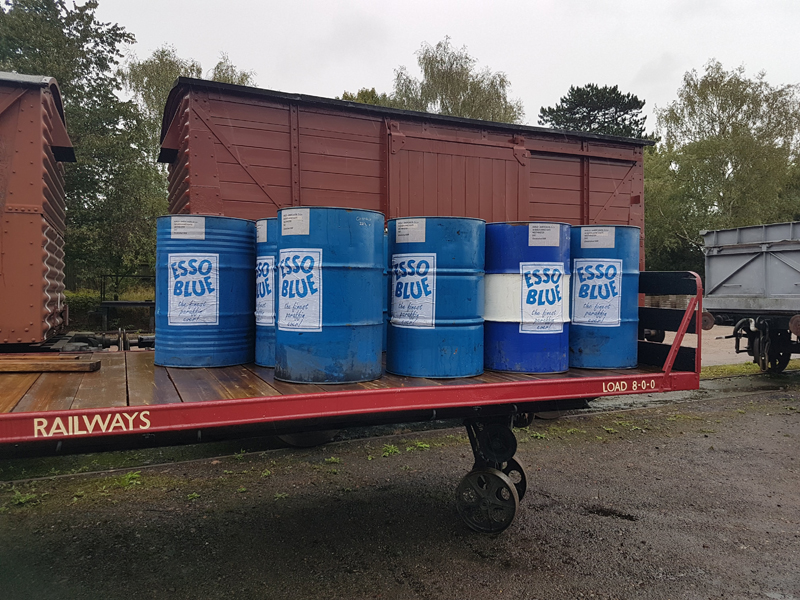
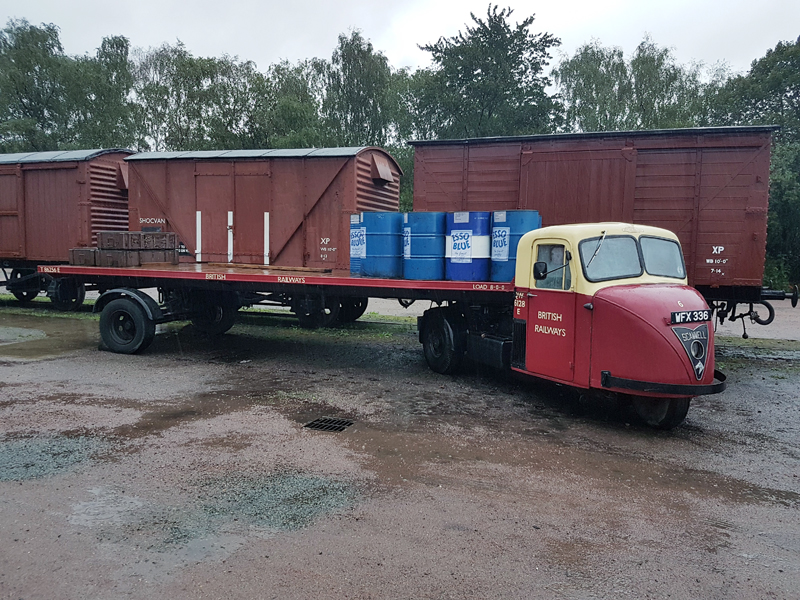
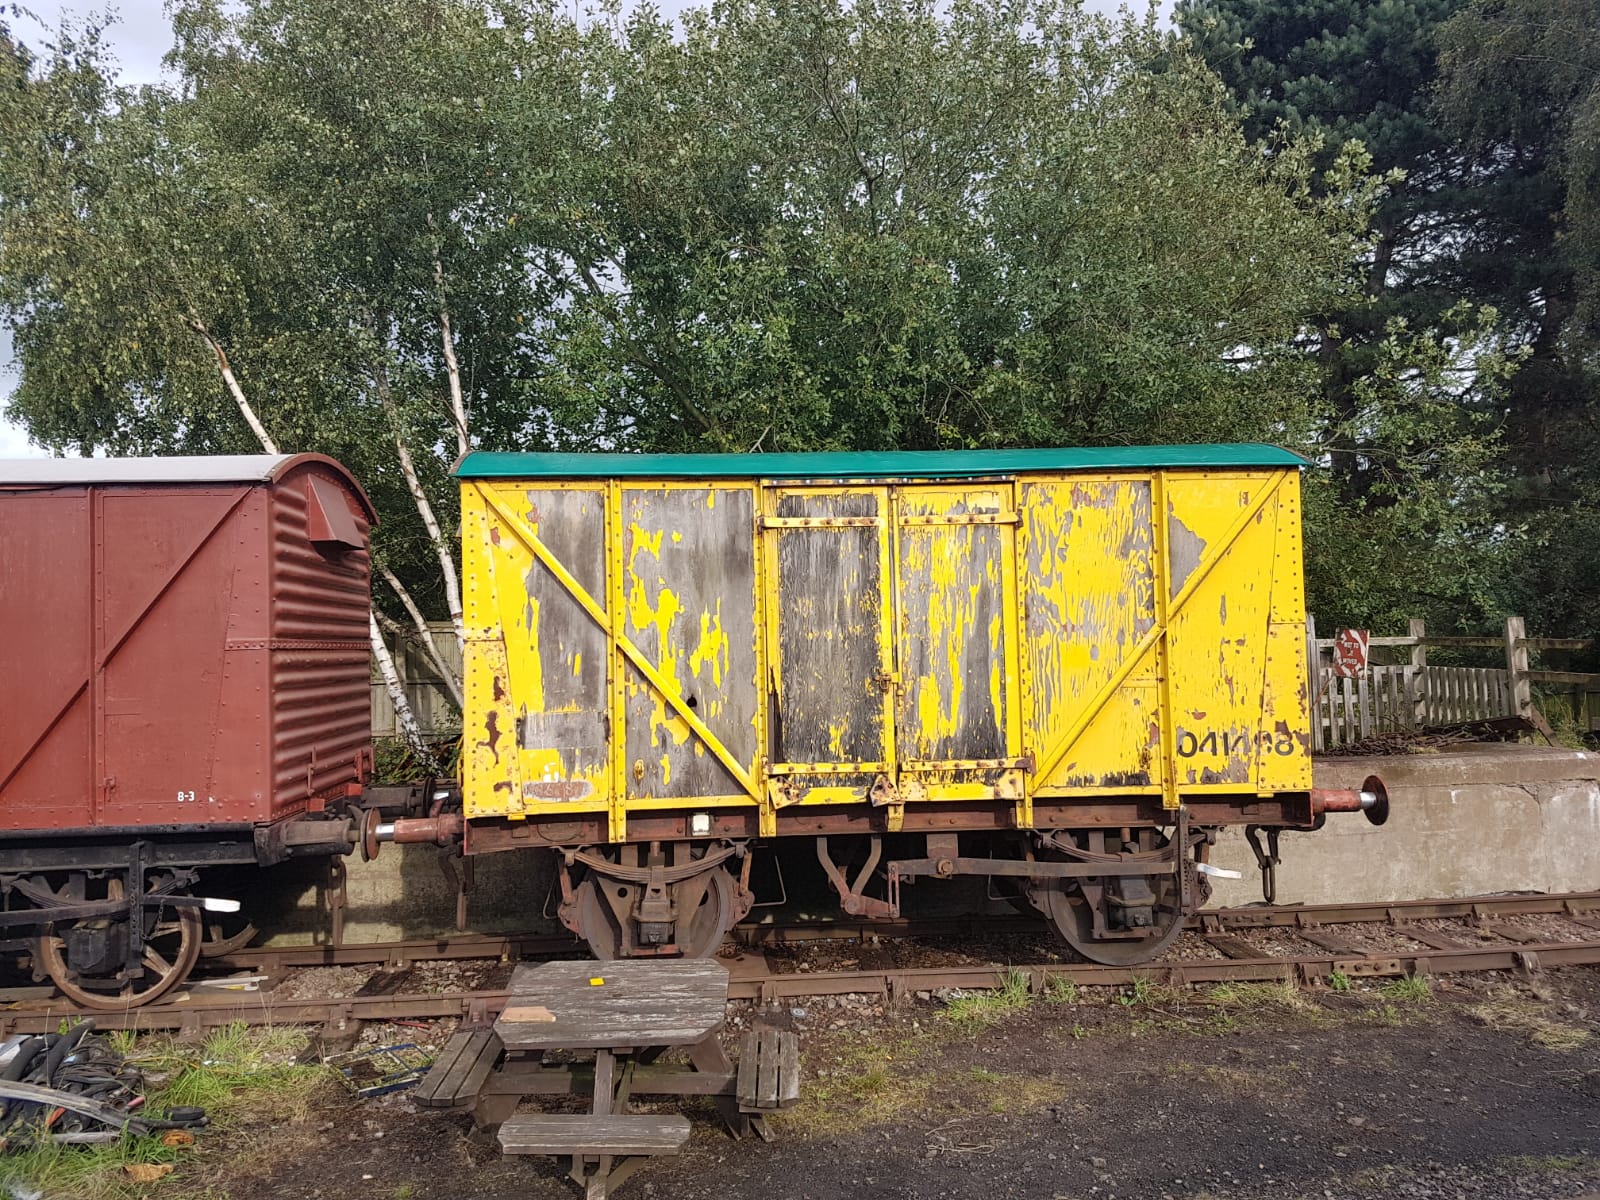
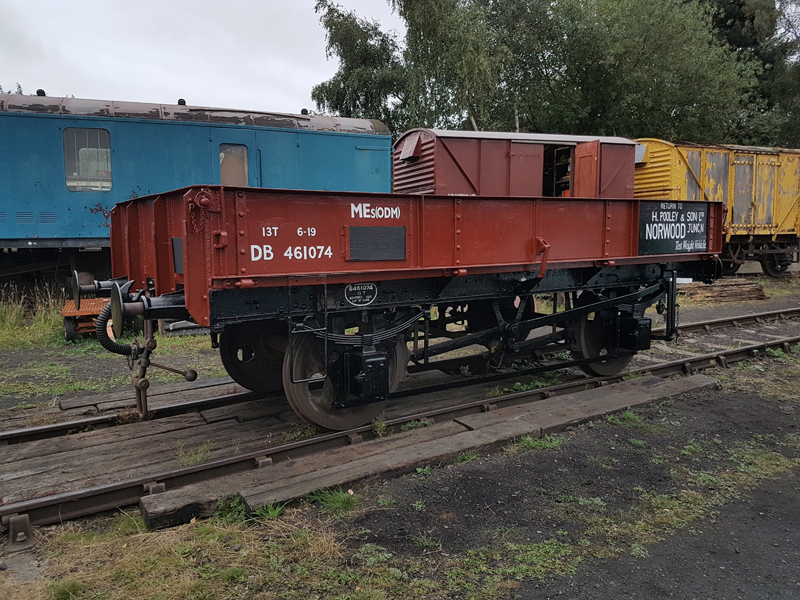
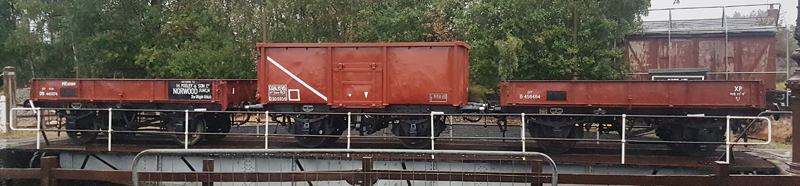
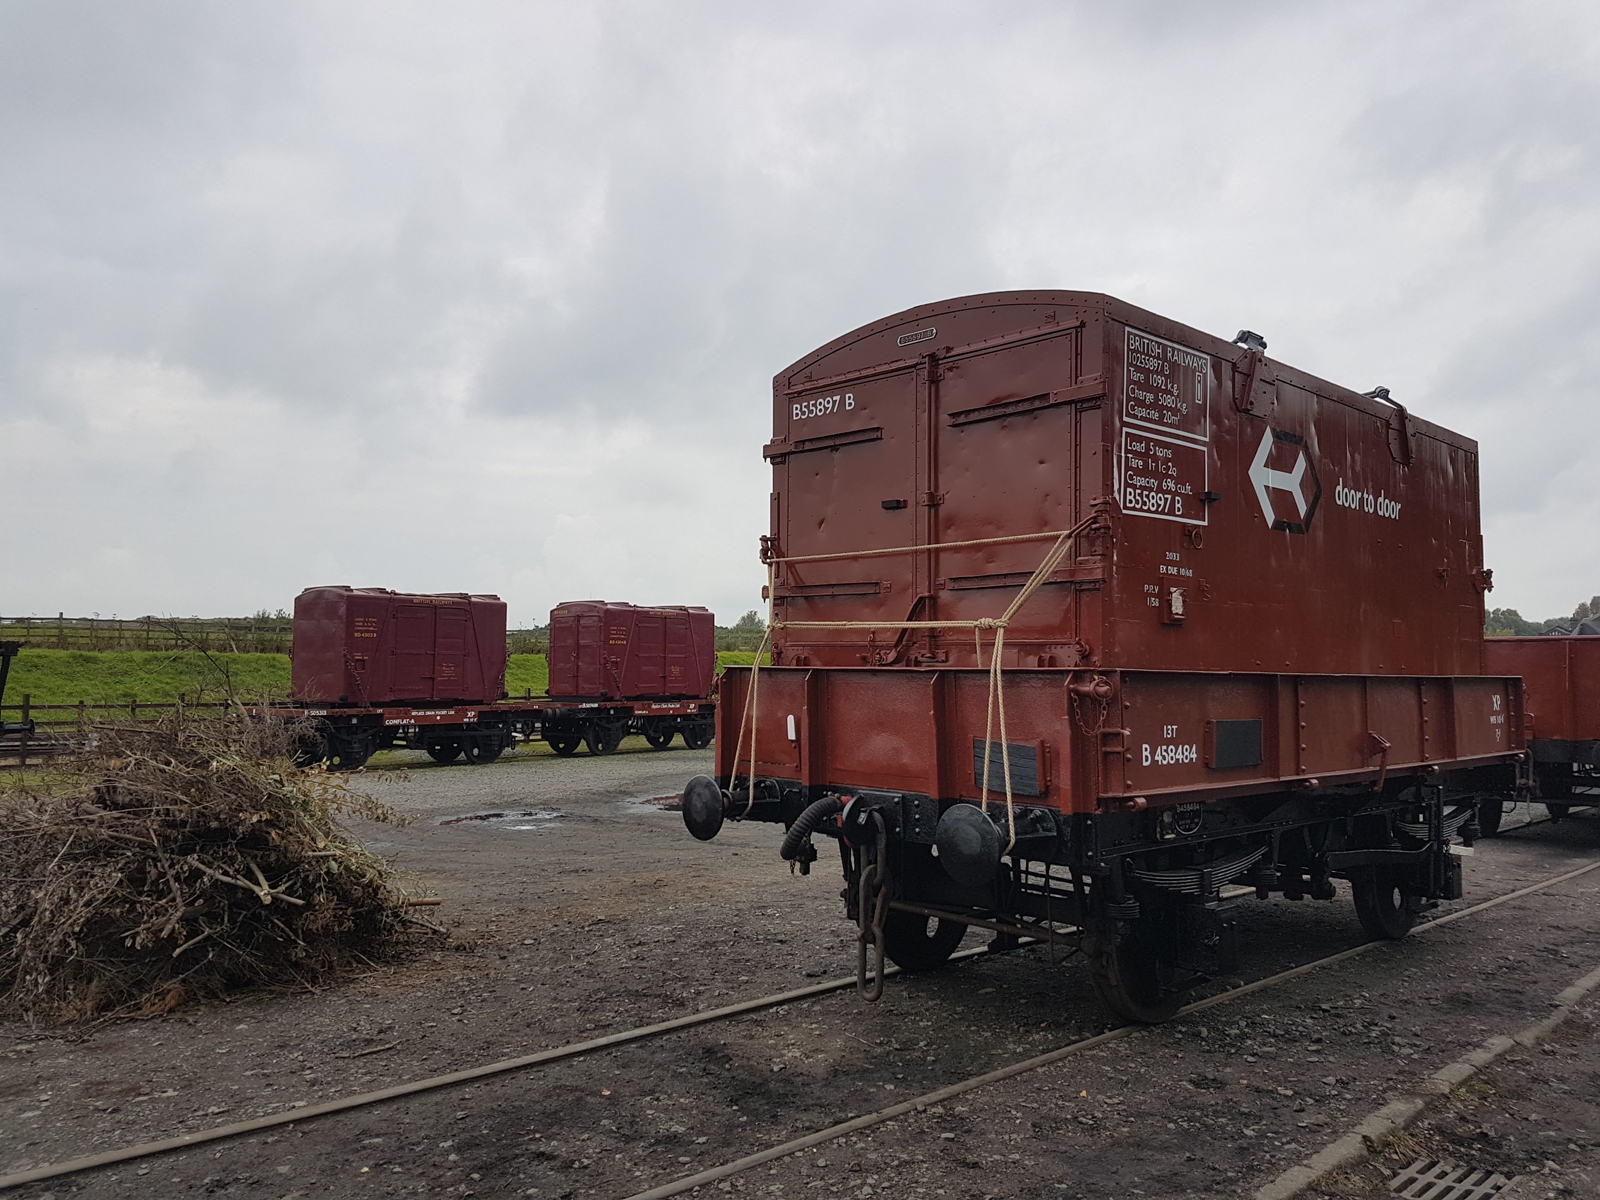
    That concludes this weeks update and I shall leave you with a few images of 3 vehicles loaded with Containers

    As always, more next week.

  • 11/10/20 Containerised Freight Revival

    11/10/20 Containerised Freight Revival

    With the completion of my Container last weekend we begin with a clearout. Container emptied and swept out, although there is still a few items to complete inside this can wait for a rainy day, well an even more rainy day.

    Nick, Jake and Dave focused on the west side axle box inspection of 786181. Splitting the boxes and inspecting the bearing surfaces, journals and oils pads. All found to be in excellent condition. No scores or damage visible.

    For this and next weekend we have planned to display the container on Madges flat trailer, this was loaded and the opportunity taken to take it for a spin around the yard.

    We then parked up next to the loaded conflats bringing our three containers together fully restored for the first time.

    All attention turned to completing 786181, chalk boards fitted and the replacement of the vacuum cylinder with one previously overhauled. The original piston rod was descaled and polished and a new gator fitted

    The east side axle boxes were then inspected, and again, no issues apparent

    I also completed the signwriting, with vacuum stars, East side wagon plate and a little note on the end chalkboards written.

    Eddie was also on site and had brought us some more parcels which we loaded in to M500954

    On to Sunday and a brake test of 786181. A leak or two was found and these quickly rectified.

    After a few applications to exercise the brake and a leak rate test carried out the brakes were left on to determine their effectiveness, they remained on for in excess of 5 hours so deemed a success.

    https://videopress.com/v/9qtiBomq?preloadContent=metadata

    With the successful brake test all that is left to say is B786181 can be released to traffic. Below can be see the transformation and of cause we have branded the van with a suitable location.

    Our attention then turned to B763305, this has been running around with a blue roof after its bitumastic covering wore off due to it raining soon after application. With the good weather this was reapplied.

    I also did a spot of Signwriting for the Class 27. A legend for the main engine room door.

    Nick brought his Mk1 Transit on site to iron out some running issues and posed with Madge and our fleet of Containers.

    That wraps up another weekend, a loaded Scammell trailer and another completed van. More as ever next week.

  • 04/10/20 – Rain shall not beat us

    Unusually we begin last Sunday, with a School visit to the GCR on Wednesday we were asked by the Education department if we could take part in telling the story of how Goods were moved by Rail. Whilst I was painting my Container roof the rest of the team along with Jack were moving into the Goods Shed.

    The blank canvas was filled with a number of our items including the bench and shelving from my container to create our interpretation of the interior.

    With the scene set, Jack, Jake and I were in attendance Wednesday to tell the story assisted of cause by Madge, we also had a visit from Channel 5 and Rob Bell but more on this at a later date.

    As quick as it was set up the building was emptied but we will be working closely with the education team to make a more permanent interpretive display.

    Jack took the opportunity to make a British Transport Films inspired video. This is included below, this will for part of a larger project and I hope you enjoy.

    https://videopress.com/v/tmduYEqN?preloadContent=metadata

    On to Friday and with the rain forecast to be with us all weekend I set up a cover to allow the signwriting to begin on my Container.

    On to Saturday and with the side completed Friday evening dried the sheet was transferred to the opposite side and also signwritten,

    The rest of the team consisting of Nick, Ross, Eireni, Jake and Dave carried out a number of tasks, Gloss coating 786181s chalkboard brackets, undercoating the chalkboards, refurbishing a number of Vacuum Release valves and sheeting 786181 ready for Sunday.

    Dave’s final task was to cut and and paint some dense foam ready for fitment to my containers door stops.

    On to Sunday and another sheet move on my container, this time to complete the door signwriting.

    Nick and Ross started Sunday preparing the sheet over 786181 tying it back to allow me to signwrite underneath.

    With my containers signwriting completed I moved on to the van chalking and painting.

    All hands turned to the van. Eddie applying fence paint to the bare doors for protection

    Nick Ross and Jake applying bitumen to the underframe and headstocks. The sheet was a godsend and with the intermittent rain held off the signwriting was complete as well as the headstocks and west underframe.

    I moved to the GUV to apply a gloss coat to the release valves refurbished by Ross Saturday.

    It was this time we was joined by something unexpected. Blue skies and sunshine, with a quick look at a number of weather apps and the forecast looking much better, the sheet was removed and the Eastside painted.

    I took the opportunity to apply a second coat to the containers roof followed by fitting the door stops and touching up a number of areas with bauxite.

    Whilst I painted gloss so did Ross with Lamp irons vacuum pipes and brake levers painted, Nick applied topcoat to the chalkboards and to finish the weekend I completed the west side wagon and repair plates.

    This completes the exterior of my container and progresses the van to the point that all that remains is to fit the side chalkboards, replace the vacuum cylinder and test the brakes.

    More as always next weekend

  • 27/09/20 – Yellow no more

    This week has seen progress on the Yellow Van, B786181 and Matt’s container, B55897. That said, this weekend starts on Friday afternoon with Matt being on site to finish off work on his container; sanding the roof and masking the rubber bumpers.

    Nick, Matt, Eireni, Eddie and myself were on site Saturday, with the first task being moving Matt’s container away from the Test Car with the Volvo. While Matt guided Nick safely to put the container next to the GUV, I started thinning down the etch primer. Our target was to have both the van and the container in undercoat by the end of the day, which seemed like a tall order as the container first needed priming.

    After a few gun issues, I got to work priming Matt’s container, starting with the roof and then the sides in the white etch primer. Once completed, I thinned down some undercoat to make a start on the yellow van, which was soon to no longer be yellow.

    With the van suitably coated, Nick painted the door edges and frames with unthinned undercoat, while Eireni and I thinned down some more undercoat in order to spray Matt’s container. As with the primer, I started on the roof, this time in my socks.

    There ends Saturday, with the container and van sat in undercoat, ready to receive gloss.

    My first job on Sunday was to paint the van into gloss, with Jake as my assistant, straining the paint and filling up the gun. Matt started by cutting out and priming two chalkboards, destined for the yellow van. He also primed and undercoated four of the necessary brackets to fix these to the van.

    The van received 2 coats of paint which was left to cure while Jake made a start on Matt’s container, not having to do the roof this time.

    With the container completed, Jake sprayed a third coat of paint on the doors of the van. We opted to do a second coat on Matt’s container too, as this was showing some patchiness, though with the light of the day it was hard to see because every time you moved the patches changed.

    While Jake and I were on painting duties, Eddie continued his efforts scraping and cleaning the underframe of the van, which I’m looking forward to spraying. Nick was again on door frame painting duty, and while during breaks was surveying the efforts of Jake and I, checking for misses.

    The last job of the day was for Matt to paint the roof of his container in Dark Sea Grey, by brush.

    And then, because he could, he picked out the letters on the number plate of his container.

    At the end of Sunday, we find ourselves with two vehicles awaiting signwriting and one awaiting the underframe spraying. If the weather holds, Matt will make a start of that next weekend. If the weather doesn’t hold, who knows!

  • 20/09/20 – Two more doors

    20/09/20 – Two more doors

    I’m afraid this update is shorter than last weeks, work continues on both B786181 and B55897B, Nick and Jake sanding down the ends and steel work of the van. Applying red oxide to bare areas of steel.

    Dave’s task was to manufacture the final set of doors which will complete the woodwork repairs for this vehicle. Measured, trimmed, assembled and primed.

    I of cause continued with my Container, manufacturing a replacement corner bumper. This was made from a foam ball, shaped, fibreglass applied for strength, then filler and sanded to shape.

    Onto Sunday Nick, Ross and Jake removing the old doors, refurbishing the surviving door furniture and hanging the new.

    Once dry the door furniture was fitted to the new doors.

    I continued with my Container sanding the doors to remove the Bitumastic based paint used by a previous owner. This also identified in a past life it was used as a Scaffold Store.

    I also applied the wooden door stops and label clips.

    Final task for mee was to remove the rotten wood from the roof, the former bolt holes being filled with rivets for waterproofing.

    Nick and Jake finished off scraping down the metal frame work and red oxiding the bare metal, this completes the body work repairs and pending good weather we are set to paint the vehicle. On the Container I have a few areas of filler to apply and sand above each of the corners and the roof to sand.

    Finally an artful shot of Madge taken after parking the trailers up.

  • 13/09/20 – 7 day bumper wagon update

    13/09/20 – 7 day bumper wagon update

    My boss for the past few months has been stating I need to use up some of my leave, so what best way than to take a week off to paint B954546. A Rothley volunteer has been slowly progressing the vehicle and enough progress had been made for external painting. For those who subscribe to the Rothley C&W facebook page you will have already seen what progress has been made.

    On to Monday and first I ensured all handrails and fixtures were secure. Followed by applying MP20 weather sealant to a number of areas of the exterior planking.
    The rest of day one was occupied with keying all of the undercoated areas, as these were a few months old, and priming any bare wood, ready for day two.

    Tuesday and day two, I was joined by Dave and Dick, Dick is a volunteer at Rothley C&W and has been chipping away at the Brakevan over the past few months.

    Dave’s first task was to look at the unsettled boards above the west side ducket, a selection of longer screws replaced those previously fitted followed up with a spot of sealant.

    I began the application of undercoat beginning with white around the duckets and each veranda end, more on the reason for this later

    Dave then began the application of the deep red undercoat to the rest of the vehicle, chosen because it was half a tin that needed using up. Once I completed the body stripes I also moved on to the deep red.

    Dick fitted new roof rain strips, tightened a few more items and fitted wagon lapel clips. As Dave and I continued with the deep red application.

    At the end of day two, undercoat was fully applied ready for day three.

    A day of gloss for day three. Dave taking care of the main event, the application of Bauxite.

    I started with the other colour, this being Warning Panel Yellow. It will no doubt be apparent that we are applying the late 1960s livery applied to Air Piped and Braked brake vans ours being Piped.

    The duckets and a plank either side of the yellow was left and will be completed once the yellow has dried.

    As Wednesday closes a full application of bauxite, two coats of yellow on the side stripes and first coat on the veranda stripes.

    Day four and continuation of the top coat application. With the yellow side stripes dry I applied bauxite to the remaining planks and the duckets. Second coat of yellow was also to the end stripes.

    Dave’s task was to apply black to the underframe and headstocks.

    I also applied white to the veranda ceilings and once Dave was completed with the black we moved on to the handrails, air pipes and lamp irons.

    At the close of play on day four we have top coat applied to all areas above and including the sole bars.

    Final day of my week off and my favorite activity, signwriting. First a few adjustments to my pre printed templates to accommodate the body side planking followed by marking up.

    Then the slow therapeutic task of applying all the letters………………..

    That concludes the mid week section of this weeks update, there is still a number of items that need progressing before the vehicle is complete and our thanks go to Dick for his excellent work thus far.

    Day six, well for me at least, and back at Quorn. Work continues on B786181, Nick, Jake and Dave removing the bolts and south west corner boards.

    The backs of the frames were then cleaned up and redoxided, whilst Dave measured and cut the replacement boards.

    These areas were then primed

    My focus was on my Container, the majority of the rivets holding the container together had corroded severely. These were systematically drilled out and replaced ensuring what integrity remains was maintained, I.E. each rivet removed was replaced to prevent areas falling apart. At the end of the day over 400 rivets were replaced.

    Eddie was also on site, touching up and re bitumening Medfit B458484.

    With the primer dried the boards were drilled fitted and bolted to the van.

    The north west corner was then striped, steel work cleaned and primed, boards cut and primed ready for fitment Sunday

    Last few tasks for Saturday, fitment of the door retaining catch and admire the days progress

    Day seven, Sunday and the final day for this update, the boards for the north west corner of the van were offered up drilled and bolted into position

    My attention was once again on my container, manufacturing a number of metallic items, namely; Over door rain strip, Lower door retaining eyes, Lower door edge trim and a replacement side repair plate. These were cut, shaped, drilled and primered.

    Eddie continued with the refresh of the Medfit and this looks superb once again.

    Dave turned to internal trim fitment, both on the van and the container. Re-used items from other areas were trimmed and fitted.

    Once the primer was dried I fitted my manufactured items.

    That completes this weeks bumper edition. A Brake van painted, I container structurally sound and a van with all but two doors replaced, that’ll be next weekends task.

    I’m now going to have a week at work for a rest.

  • 08/09/20 – Sealing it in (or out)

    08/09/20 – Sealing it in (or out)

    Welcome to another QWW update, I’m giving Matt a rest this week by wriitng the update. With Nick, Dave, Jake, Matt, myself and Eddy on-site this weekend; we’ve made more progress on B786181, Matt’s been working on his container and we’ve made some progress with the Hydrovane.

    The groups main focus was B786181, where after replacing the doors last weekend, we concentrated on replacing the side sheets on the dock side. Nick began by splitting the nuts and bolts to release the existing side sheets. Dave, assisted by Eireni, who had joined us on Saturday, and Jake overhauled a 18″ vacuum cylinder, making it ready for B786181.

    The side sheets of the van were released and pushed out to ground level, Jake scraped and painted the metal work into red oxide. Dave and I cut out the new side sheets and painted them with wood primer before they were fitted in the van.

    Matt concentrated on his container, and began by applying filler to the various holes in the skin. Later assisted by Eireni, he spent the rest of the day sanding all exterior parts of the container.

    The side sheets required some fettling with the power plane (remember: Measure twice, cut once!). Thankfully the fettling was to make the boards smaller. Sealant was applied to the metal work, and the boards offered in, and bolted up. Dave and I began tinkering with the Hydrovane in the attempt to get it running again, after an abortive attempt last week.

    Matt spent Sunday re-rivetting his container, beginning on the roof.

    Nick, Jake, Dave and I concentrated changing the other side sheets on the dock side of the van.

    In between side sheeting, Dave and I got the Hydrovane running, but needs a bit of tweaking to get the timing right. Eddy spent the weekend applying more bitumen paint to the interior of the 2 Medfits the south headstock of B458484 and applied another coat to our shed.

    Matt has made an excellent start on rivetting his container, roof sheets now all sit down again, and the doors are no longer flapping about in 3 parts.

    That concludes this week’s update. Matt and Dave are undertaking some mid week work next week, so next weeks update will be a bumper edition.

  • 31/08/20 – Bank Holiday, Doors & Floors

    31/08/20 – Bank Holiday, Doors & Floors

    Again we begin on a Friday with Nick, lubricating the brake rigging and bitumining the top of the frames of B786181. I then arrived a little later to apply some period appropriate labels to Madges barrels.

    On to Saturday with Nick, Jake, Dave, Eddie and I on site and fitment of the floor to B786181. This being drilled and bolted down.

    Eddie continuing his sterling work on the underframe scrape down.
    With the floor complete we moved to painting the roof sheet whilst Nick removed the remains of the East side door.

    Lucky the roof paint was complete before the heavens opened. With the rain putting pause to exterior work we moved into the CCT to rearrange some of the stored items to make space for those which have found there way into my Container. This is to allow work to begin, which started with the removal of the workbench and straightening of the East side which had in its previous lives attained a number of dents.

    Onto Sunday, attention was on manufacturing a new set of doors. As a means of increasing longevity, we have designed our own style of doors for vans. This is in an effort to eliminate water traps. So looking at our doors from the exterior they are a single sheet of ply.

    Whilst Nick and Ross manufactured the doors, Jake cleaned up and Red Oxided the door furniture.

    Jake and I moved on to one final task for B461074, this being to replace a number of rotten planks. 9 to be precise.

    With the main structure of B786181’s new doors complete the door furniture was added, with the ply under each being initially primed underneath before fitment.

    Doors fitted, the first layer of primer was applied to the doors front, back and edges.

    This is the first time for quite some time that the van has had 4 doors, roof and a solid floor.

    Monday and it’s my Container that takes the limelight, Nick and I continued with the dent removal. Using a combination of jacks, crowbars, heat and sledge hammers. The structure of the Container is now looking a lot better.

    I then set about removing all of the bolts and additional items such as the racking and workbench added post BR.

    Also with us today was Eireni who manufactured new label clip bases and sacrificial door protector strips that will be fitted at a later date.

    While we worked on the Container Ross looked into the Hydrovane to see if he could get it going. Main effort being rebuilding the fuel pump. Still a few options to look at for him, but we are a step closer.

    One item missing from the Container was a lashing ring, with a suitable spare found in stock, this was duly fitted, bolts trimmed and nuts peaned.

    Back inside, once swept and hovered, the rear wall ply was removed as well as a small portion of the west side. This as to facilitate further dent removal and to assist in repairing the rear wall.

    That concludes this Bank Holiday update, with a straighter Container and a secure box van. More as always next week.

  • 23/08/20 – Time to cover up

    23/08/20 – Time to cover up

    It’s been awhile since I have compiled an update, and I shall begin with some admin. You may remember whilst I was on holiday Tom Ingall was on site. He has completed a short clip and this has been posted on the GCR official Youtube channel, taking a brief look at the work we do.

    [youtube https://www.youtube.com/watch?v=brX25tkkYrI&w=560&h=315]

    Unusually we begin on Friday, with Nick and Dave beginning work in earnest on B786181. Both were on site cutting the redundant bolts, removing the loose paint and rust from the roof hoops, previous roof remains and the noggins.

    Bitumen was then applied to the cleaned up areas.

    Dave could only stay for the morning and Nick was joined by Matt in the afternoon. Matt continued cleaning and scraping the iron work on the inside of the van adding bitumen.

    The backs of the Noggin retainers and end roof hoops were also scraped and bitumened, ready for the weekend.

    Saturday arrives, along with the rest of the team. Nick, Jake, Dave, Matt, Ross and Eddy all on site. The main focus was to cut the new plywood sheets for the roof, fix them down and paint the upper surface in black bitumen paint. As we haven’t currently found a source for a like for like replacement of the full size sheet (17ft6in x 8ft8in and 3/8 – 1/2in thickness), we use 10ft x 5ft x 1/2in sheets cut to width and jointed together with the strips of offcut material.

    Once the boards were cut, they were lifted on to the roof, positioned and clamped into place. Matt drilled from inside the van through the roof support hoops, and bolts where pushed through from the top. Whilst we were doing this, Eddy continued his work scraping the headstocks and solebars of the van, preparing them for paint. He’s making a fabulous job of cleaning thes down, and as such they should paint up a treat!

    The weather was as changeable as ever, and it wasn’t long until a downpour occured. Our plan was to get the roof painted in bituminous paint to give it a bit of waterproofing as a sort of secondary protection, so the rain nearly affected that. With a sufficient break in the shower as a team we got the boards painted.

    With the roof painted, we cleared up and moved onto Sunday. Sundays first job was to pick up a roof sheet from Rothley, which gave us a chance to look on 2 of Nick’s other vehicles, both being worked on by other parties. 3436 has been taken on by Swithland Wagon Group, and has been moved to Rothley for better access. B954546 is coming on leaps and bounds, and has been moved inside the shed to allow painting to progress.

    With the sheet in Nick’s van, we headed back to Quorn to cut the sheet down for use on the van roof.

    The cut to size sheet was lifted onto the van roof, positioned and fixed down at one end using the roof end clamping strip. the roof was then rolled out, keeping tension and fixed to either side using stainless steel staples. When we got to the other end that too was fixed down with the roof end clamping strip.

    With the roof sheet trimmed and tidied, Nick and Jake refitted the ‘noggins’ above the doors, ready to make some new doors in the coming weeks.

    Unfortunately, that is were we leave progress this weekend. The weather halted our plans to paint the roof covering a more suitable black colour, again using our favourite bituminous black paint. This will be tackled next week, along with fitting the van with its new floor. Join us then, won’t you?

  • 16/08/20 – A “Pooley” chosen livery

    16/08/20 – A “Pooley” chosen livery

    Final push for Medfit 461074 as Dave and I apply the livery details. First application of black panels on the right hand end of each side.

    I began by chalking and then applying the details on the left hand end of the vehicle.

    Whilst Dave and I attended to the Medfit, Nick began 786181‘s restoration. First task for this vehicle to remove the rust from the top of the underframe and clean up and inspect the brake rigging.

    As I continued signwriting awaiting for the black to dry dave painted the white and red details, hand brake ends, lamp irons and swan necks.

    Once dry Dave chalked the right hand details in preparation for me to signwrite

    Whilst I applied the lettering Dave painted the chalkboards, including undercoat and top coat to the one manufactured last weekend. During application and because of the rain a makeshift rain cover was required.

    Sign writing continued on to Sunday with the right hand end of the east side, including the need for the rain shelter again.

    Ross applied the final touches to the Medfit, these being the Wagon Label Clip with Block and the Vacuum release cord. The bolts were cut down a little later.

    Eddie was on site, focusing on the all important task of keeping the site clean and tidy, he also continued with scraping down 786181’s sole bar.

    Attention then turned back to the Mineral and a defective buffer. Mineral wagons have handed buffers unfortunatly we only have a right hand spare, as you look at the vehicle, until such time as a correct 2ft lefthand buffer can be sourced or the removed one repaired. We have elected to place the spare on upside down. This was an acceptable BR approach and allows the vehicle to operate.

    The new buffer was then given a coat of bitumen before the heavens opened.

    That completes another vehicle, although we do still have some planks to change and the inside faces to paint but aesthetically it can join the Mineral and its sister, taking pride of place on the turntable, for now at least.

    We have chosen the livery of Henry Pooley & Son Limited. Renown for weighing equipment, from small platform scales to large locomotive sized weigh bridges. The company had a reasonable fleet of vehicles and the Medfit was a common vehicle type. 461074 is not a genuine Pooley vehicle but we thought the livery would make a nice addition to our fleet.

    Finally, Dave has refreshed his stock of books, so if anyone would like to purchase a copy they are available direct from him.
    Please visit https://www.bowerbooks.co.uk/ for further details and a chance to own this excellent book which details Dave’s experiences as part of the Department of Mechanical & Electrical Engineering and working on BRs test vehicle fleet.

    RVT pic for QWW -v3