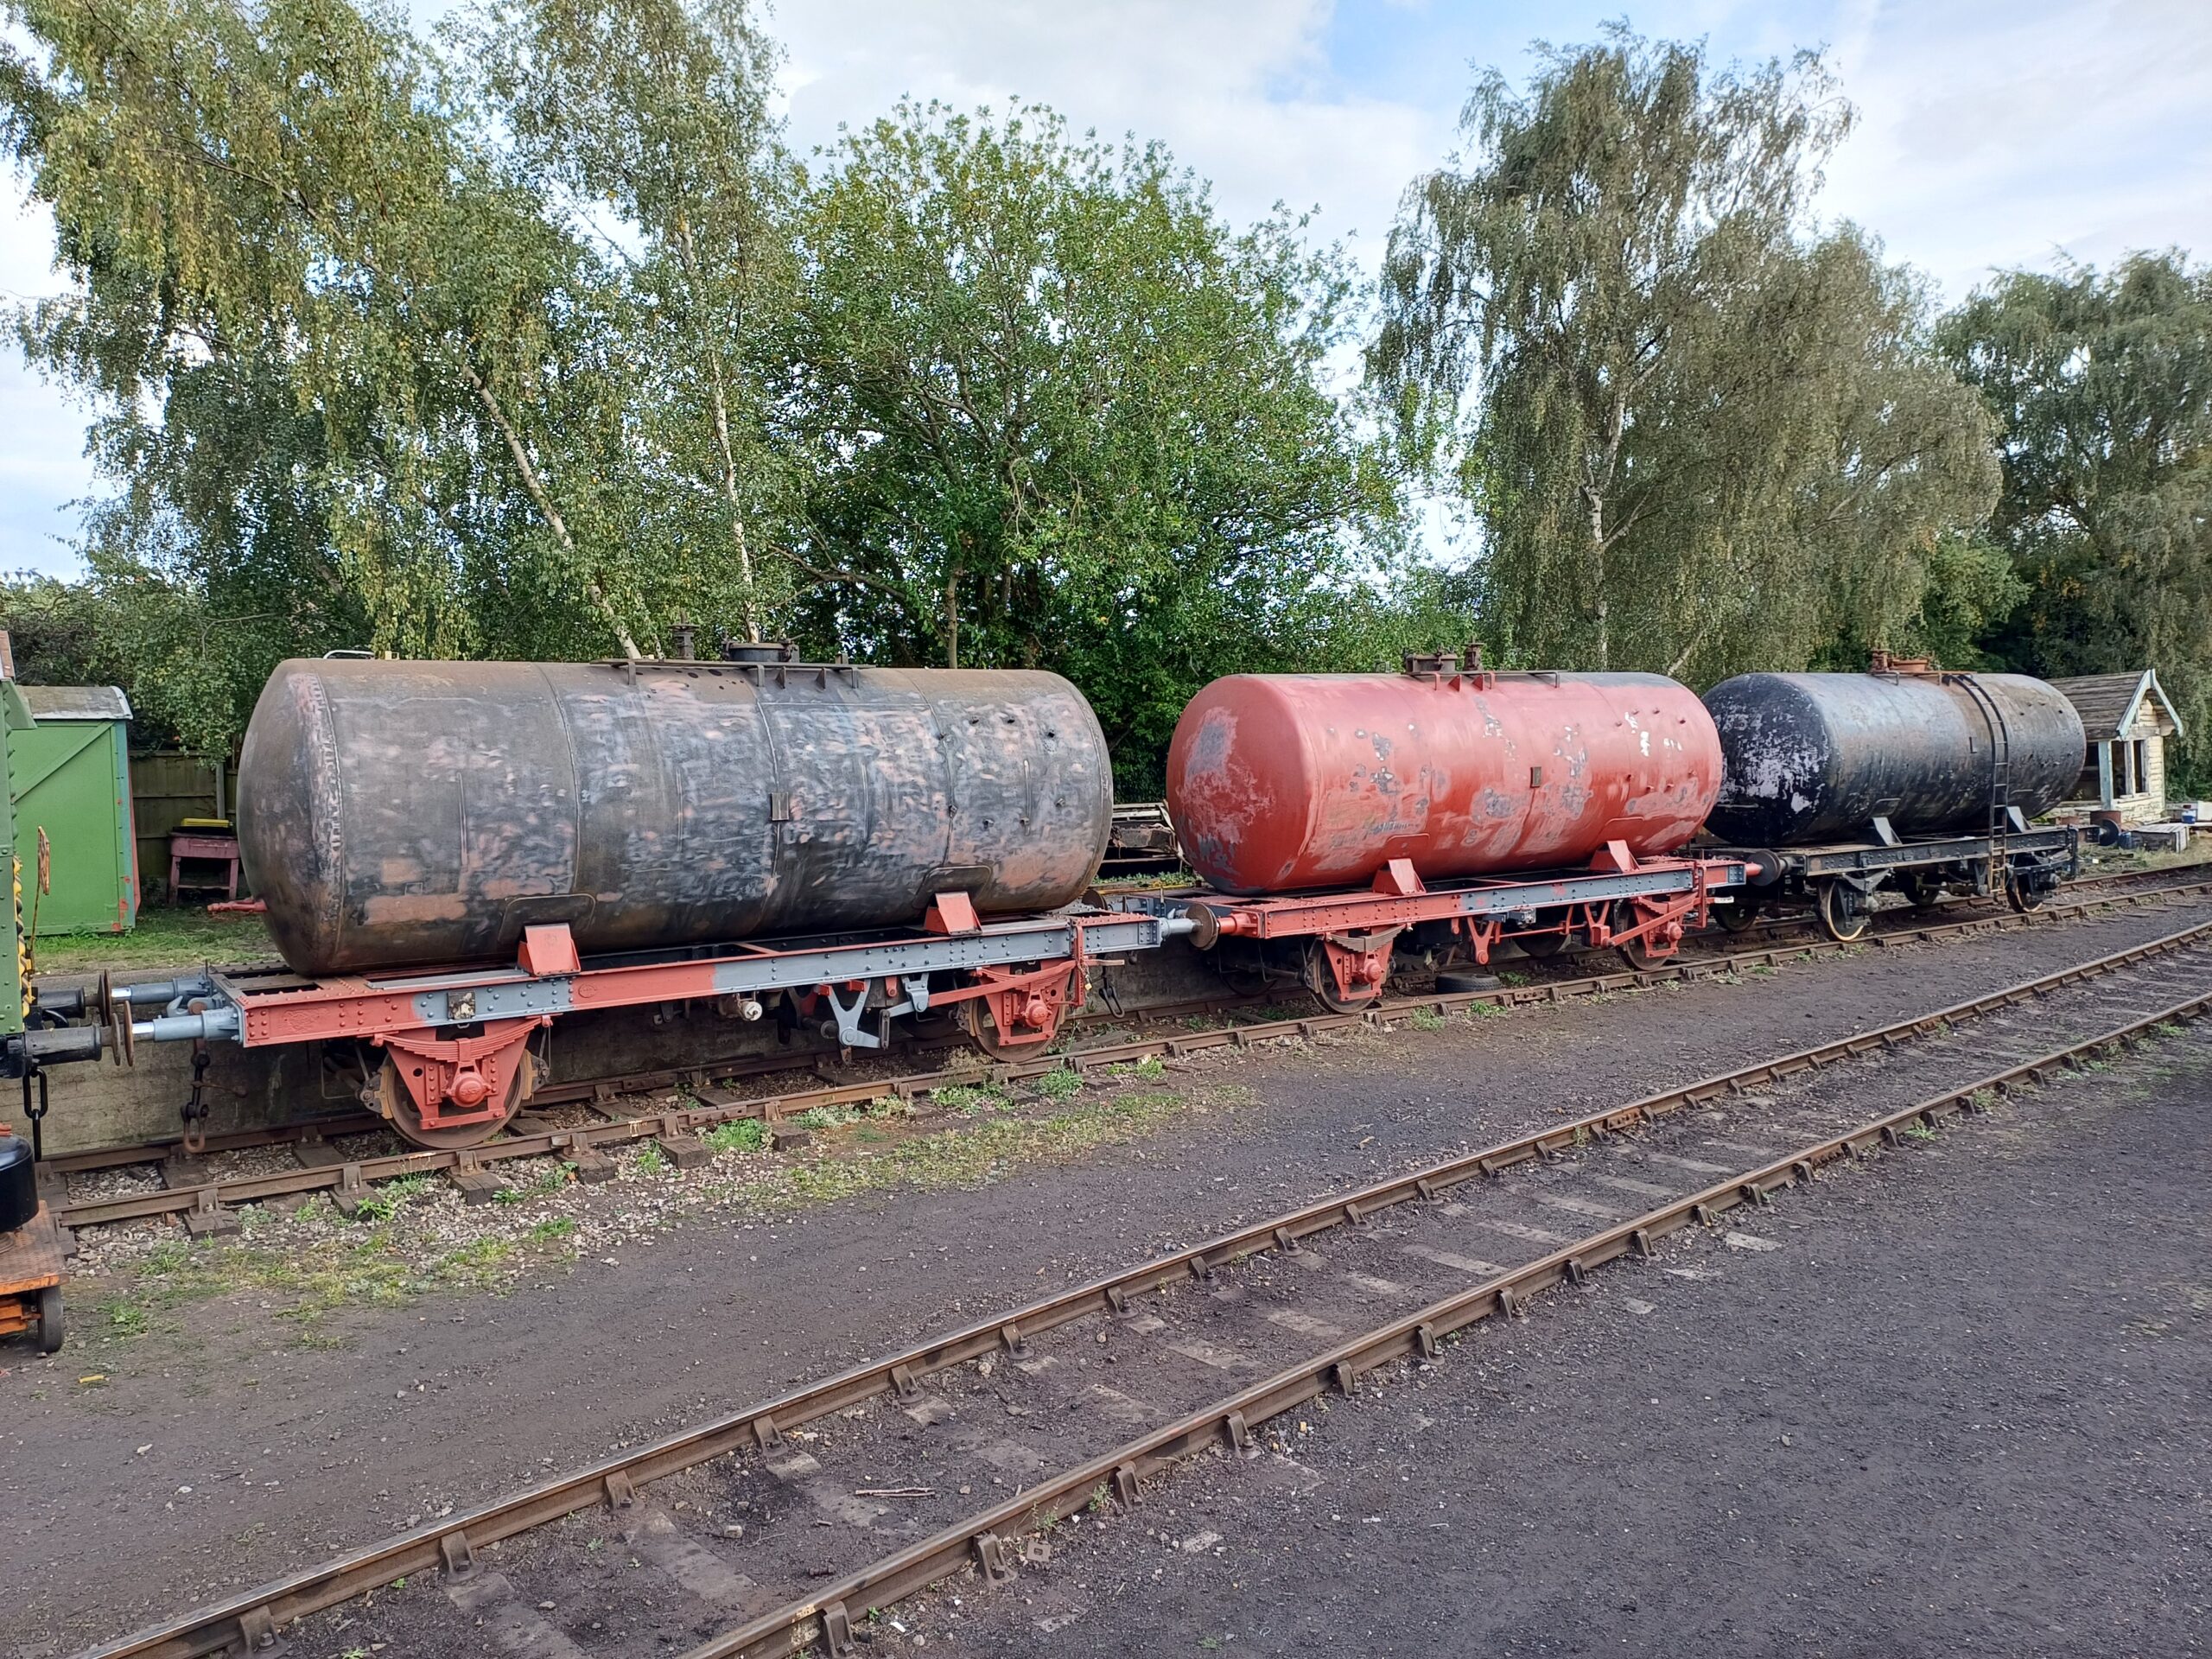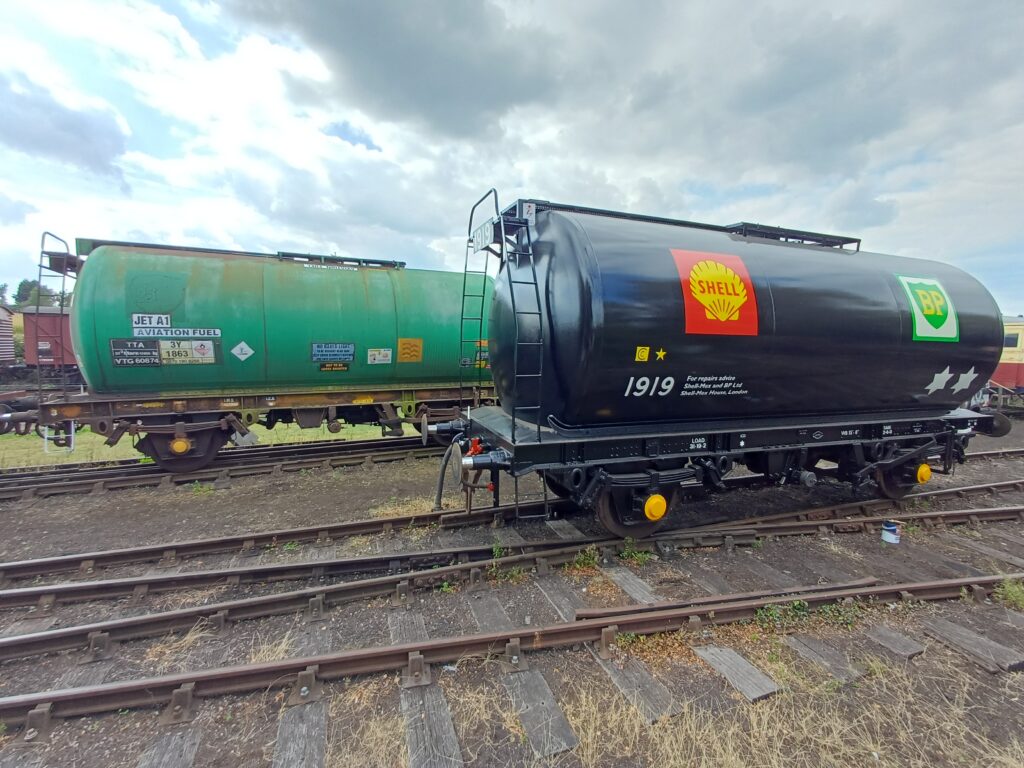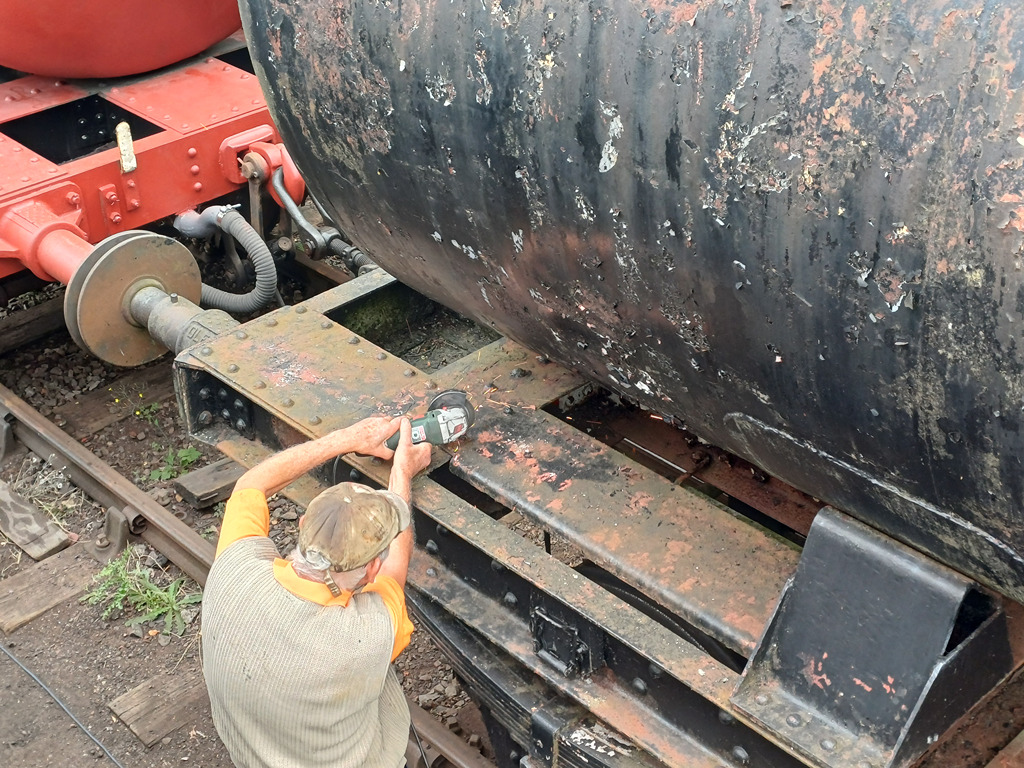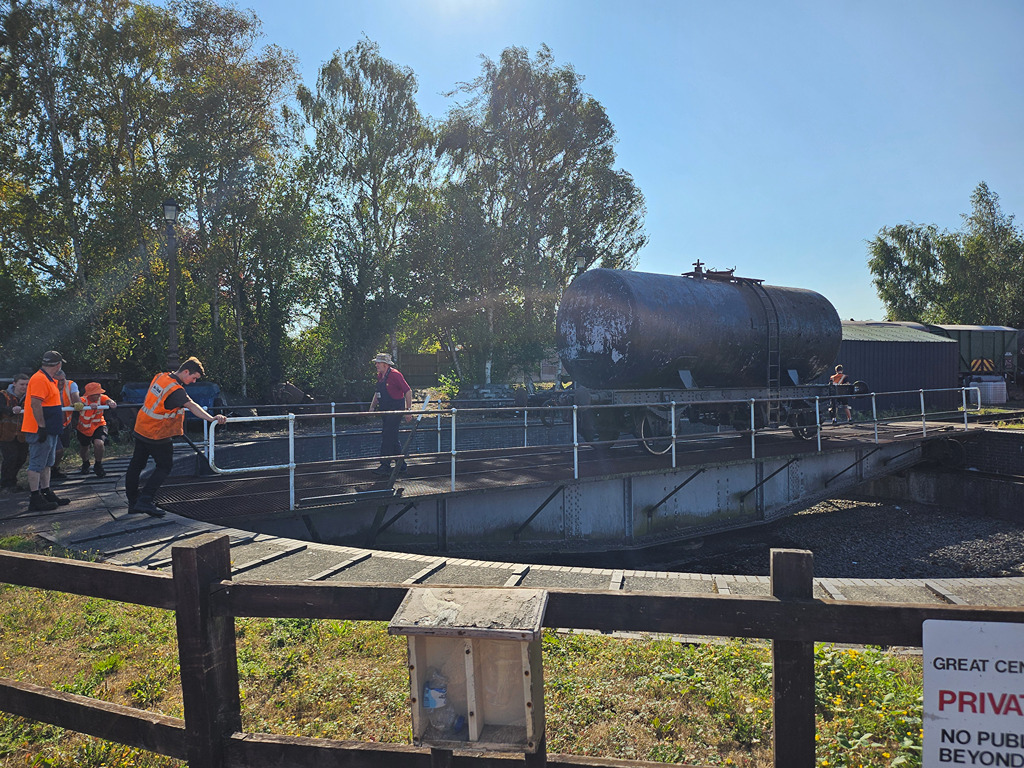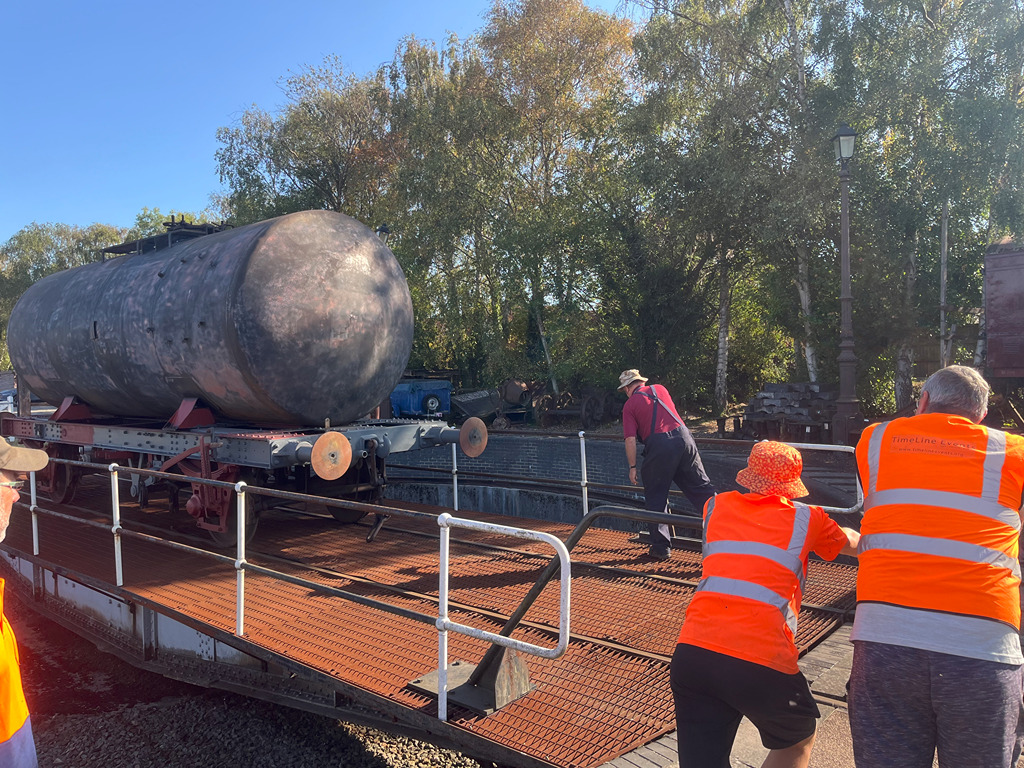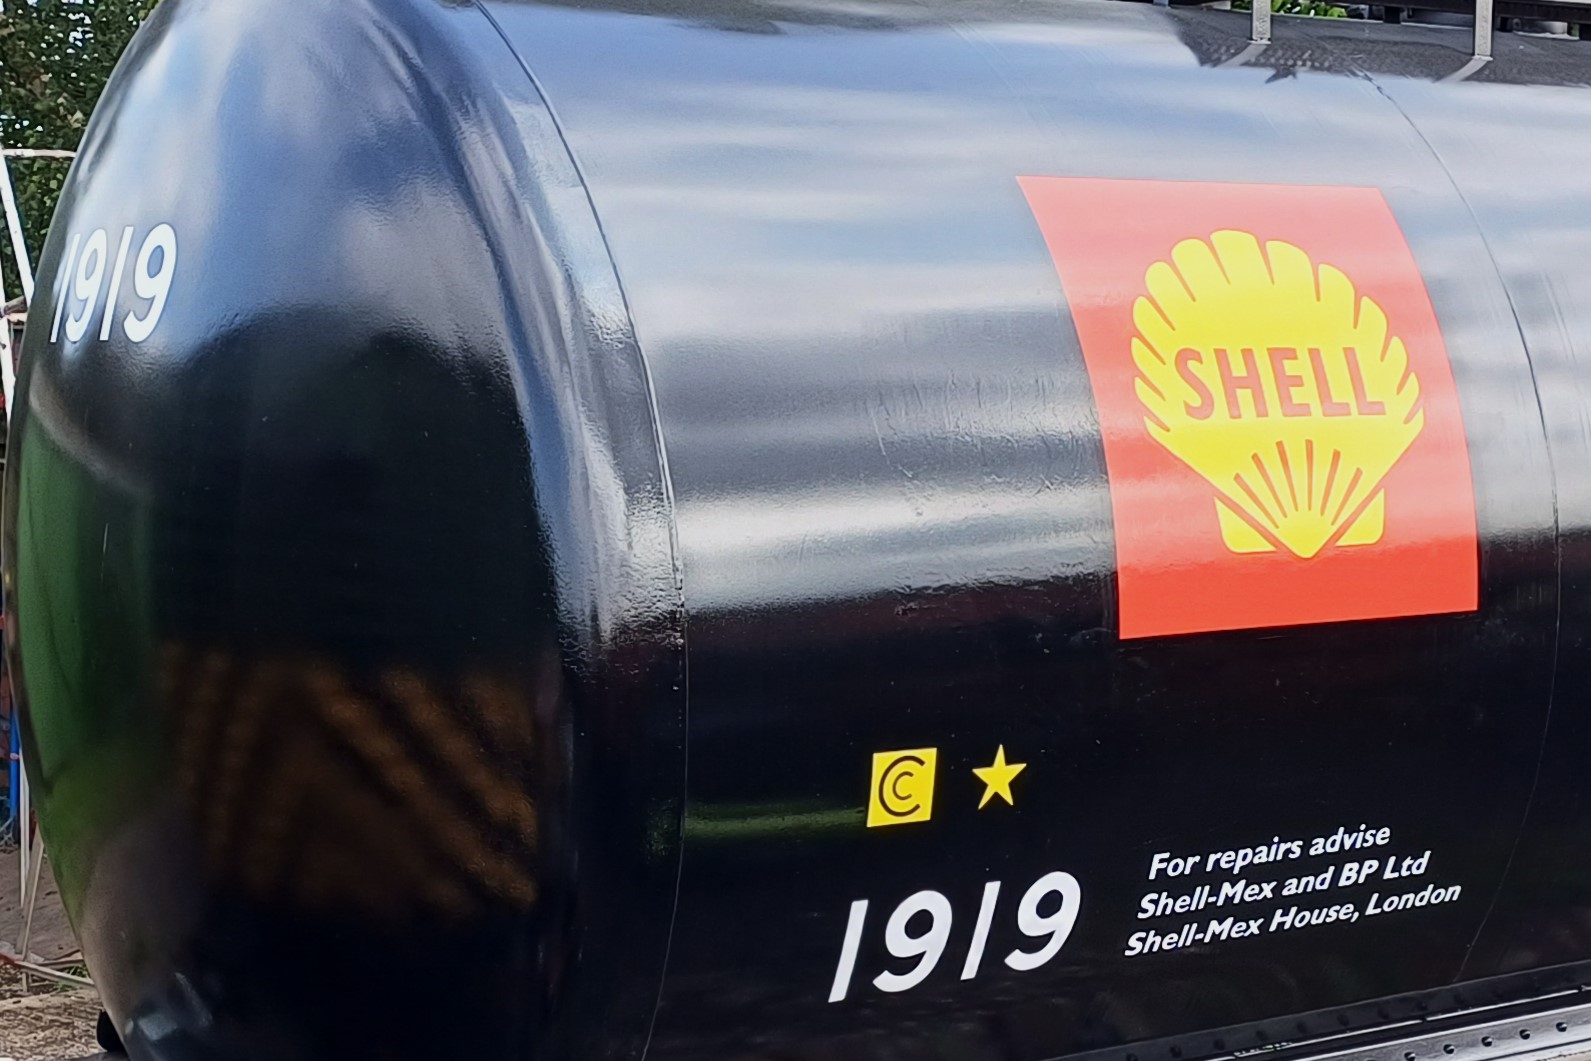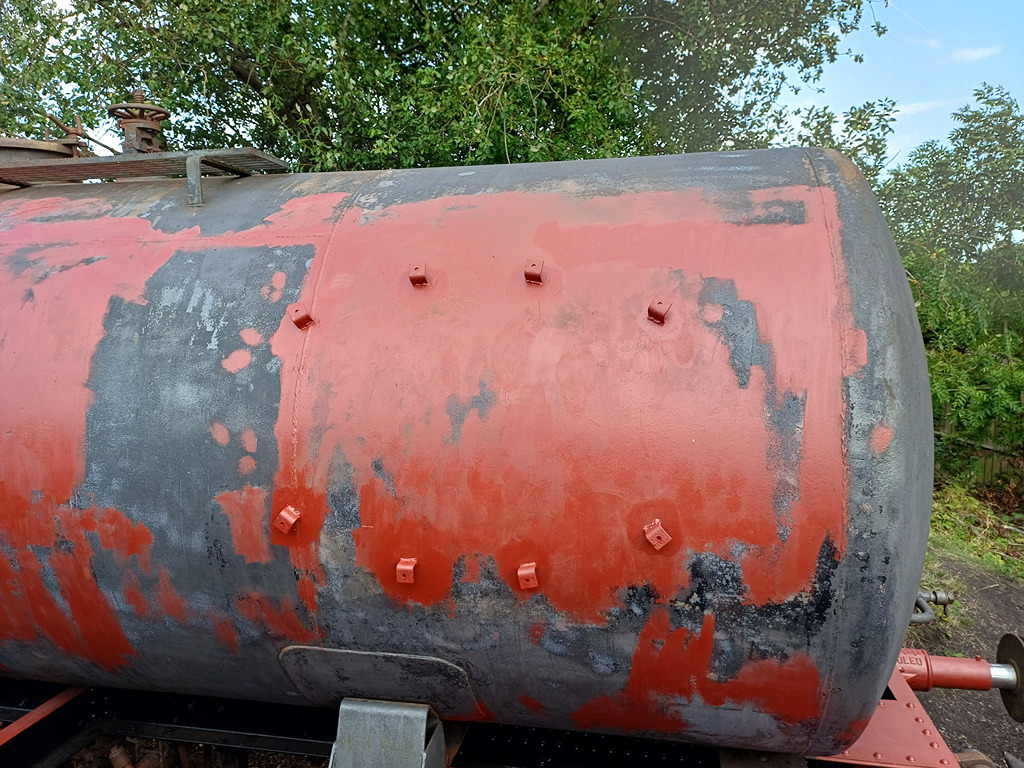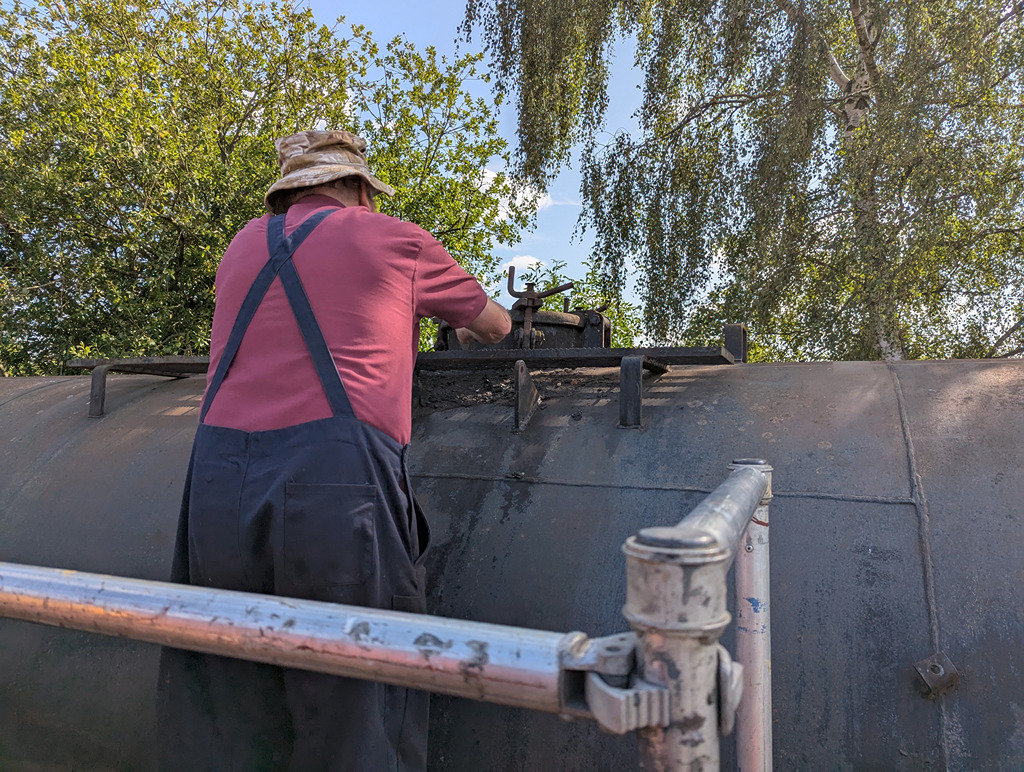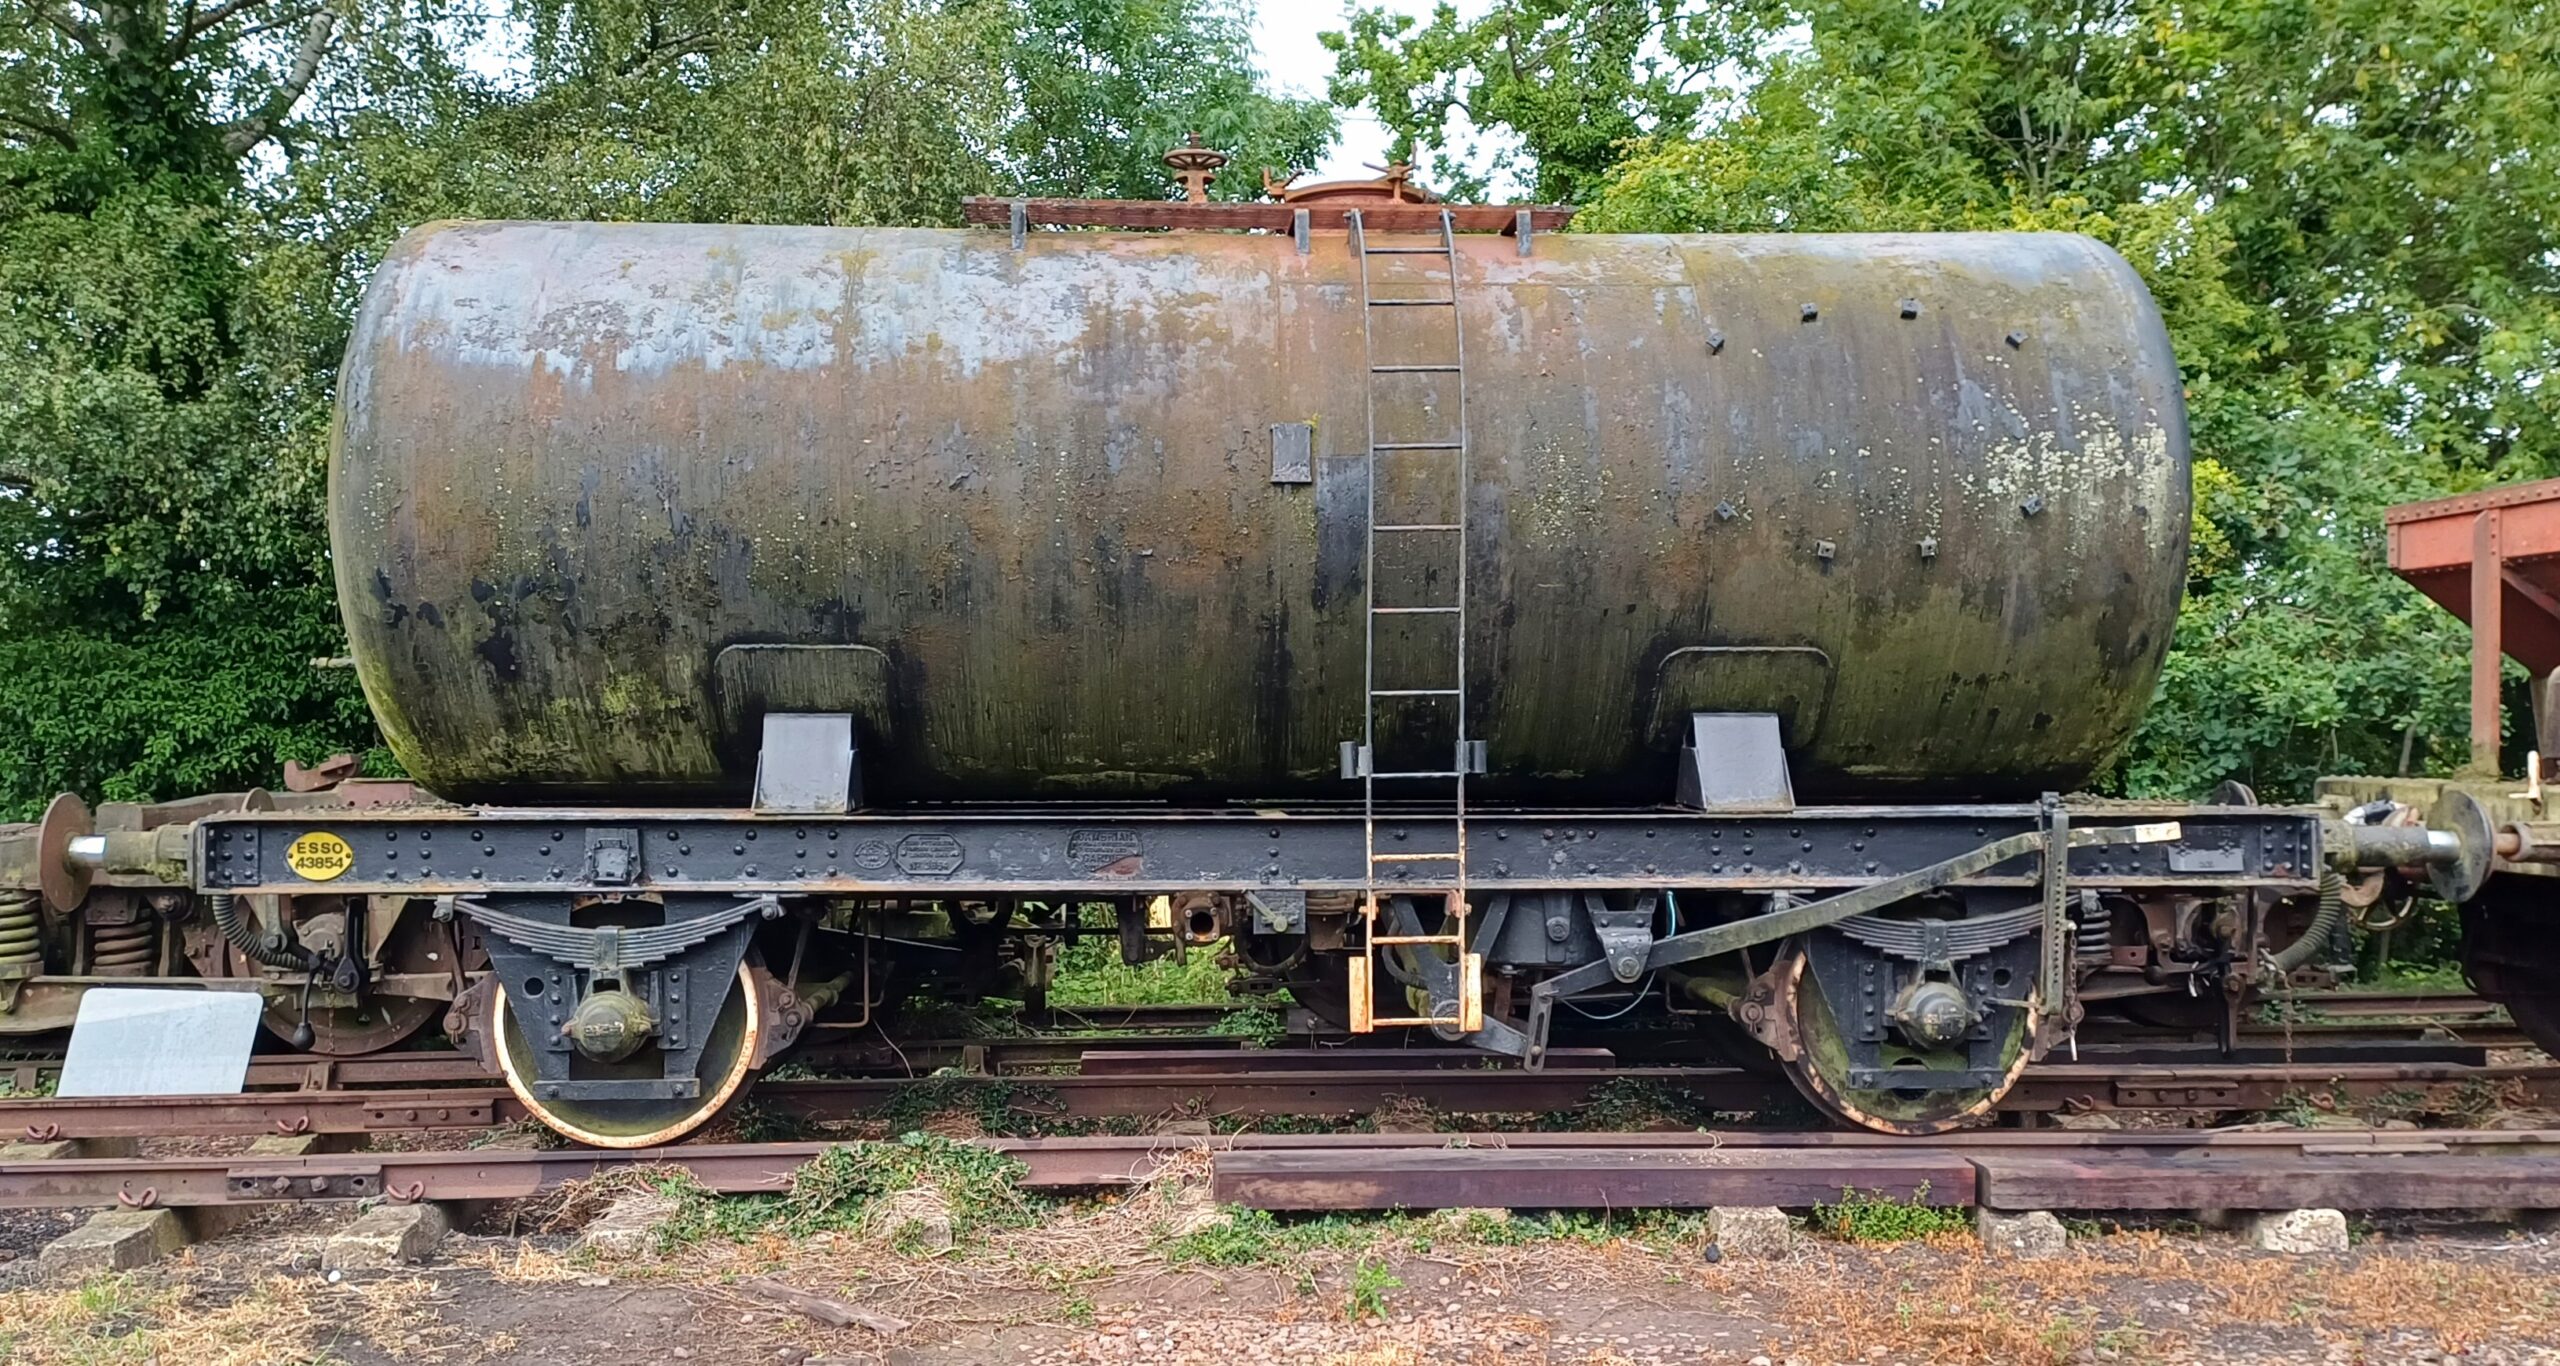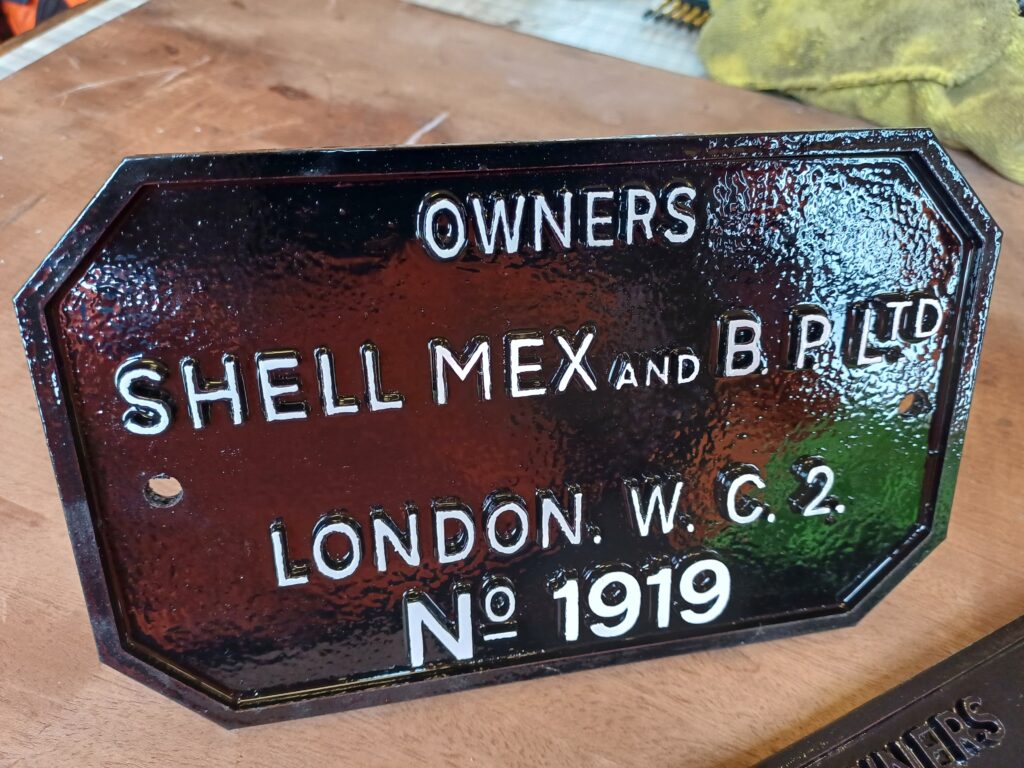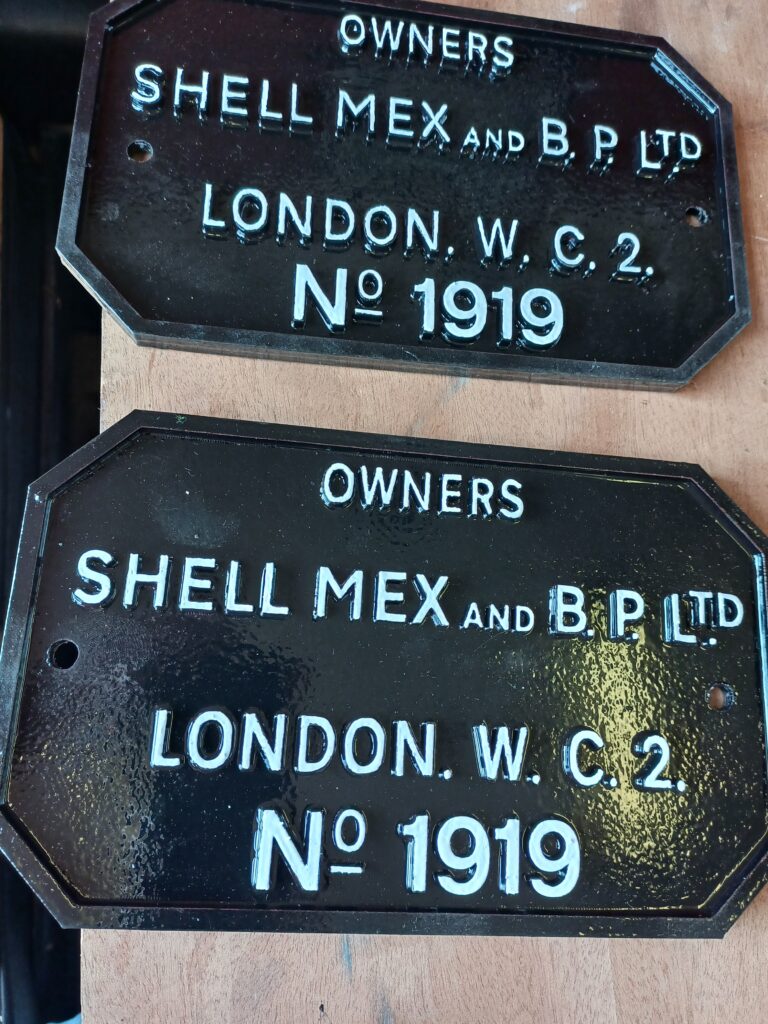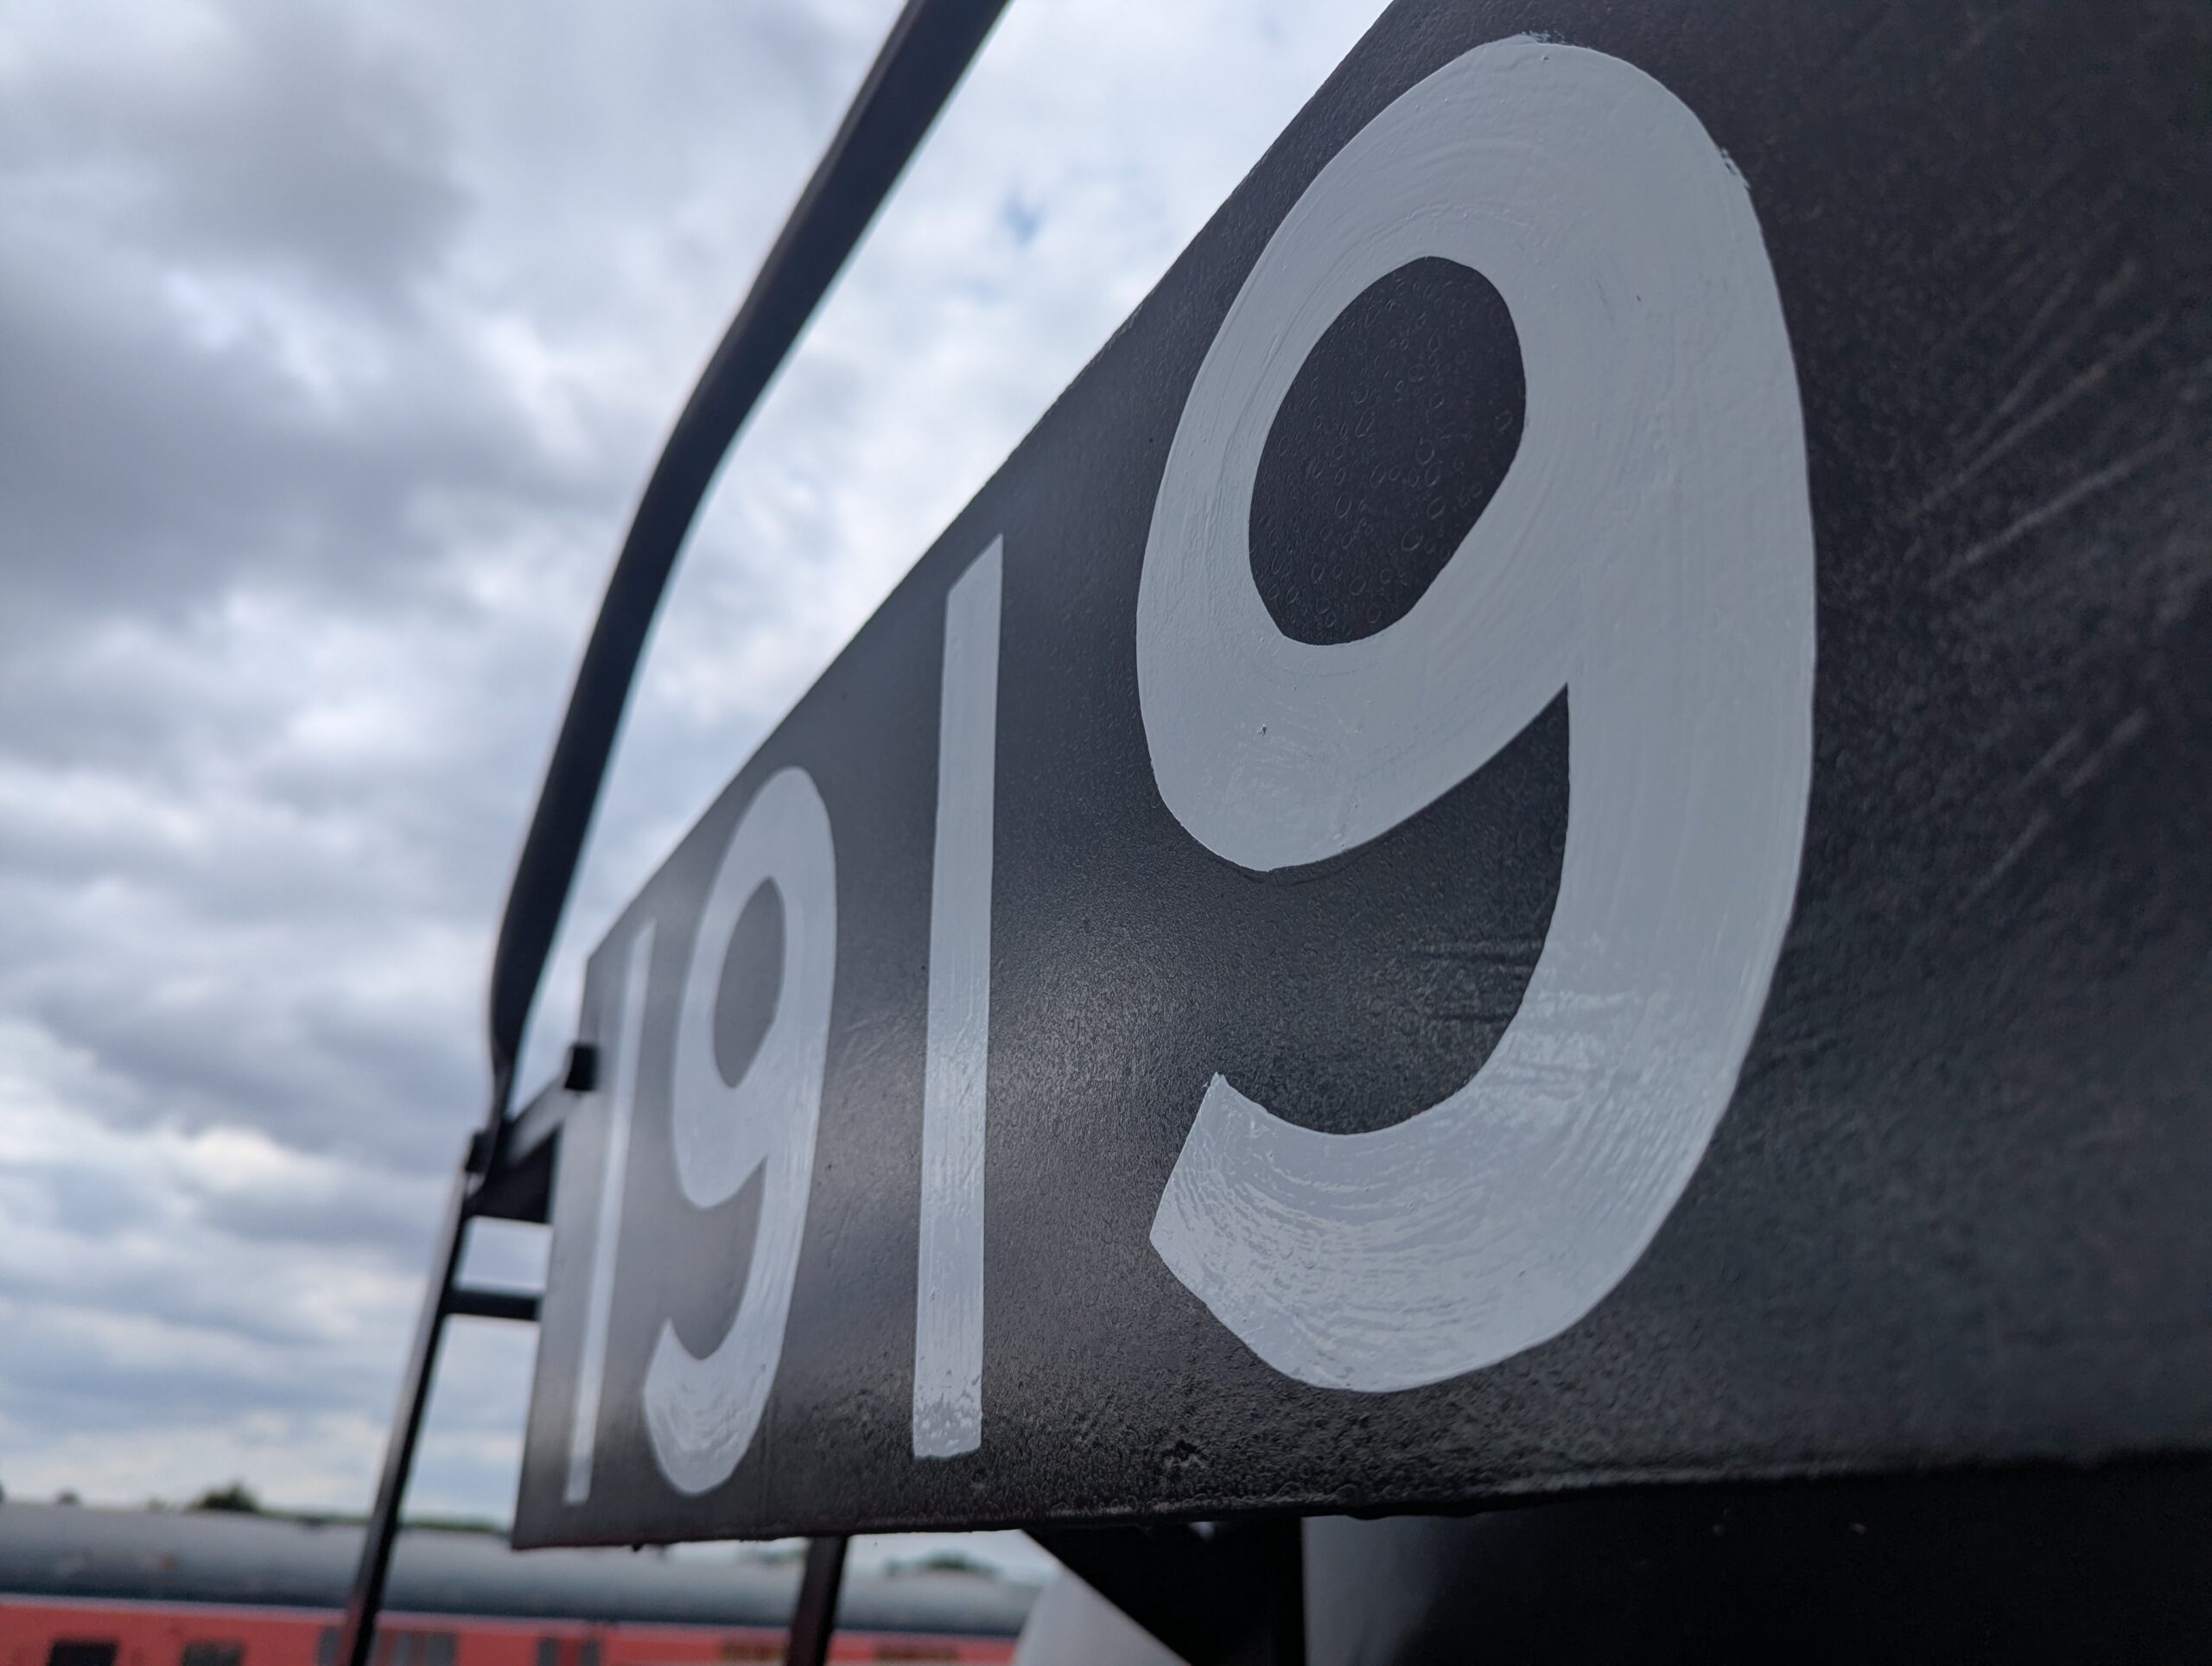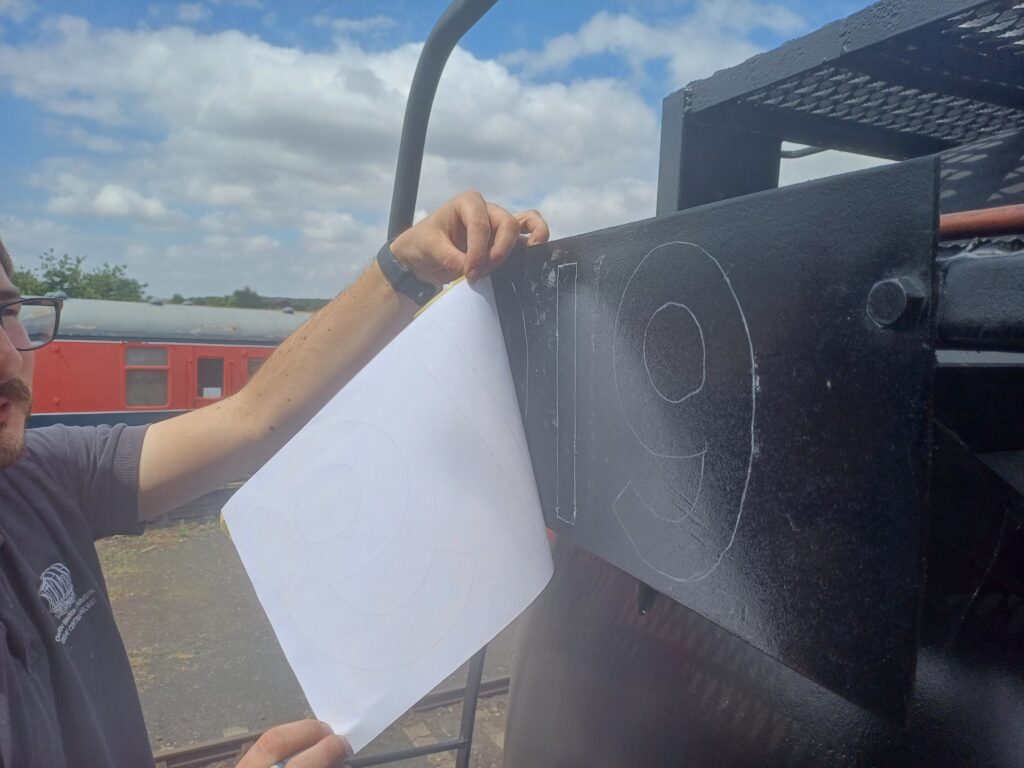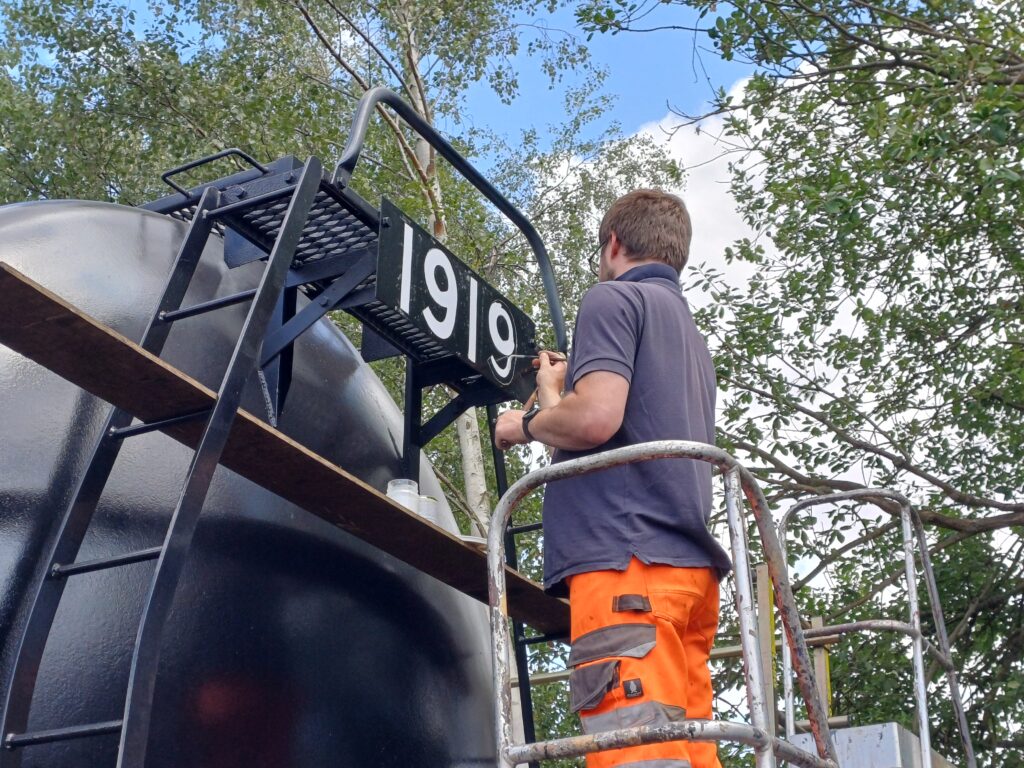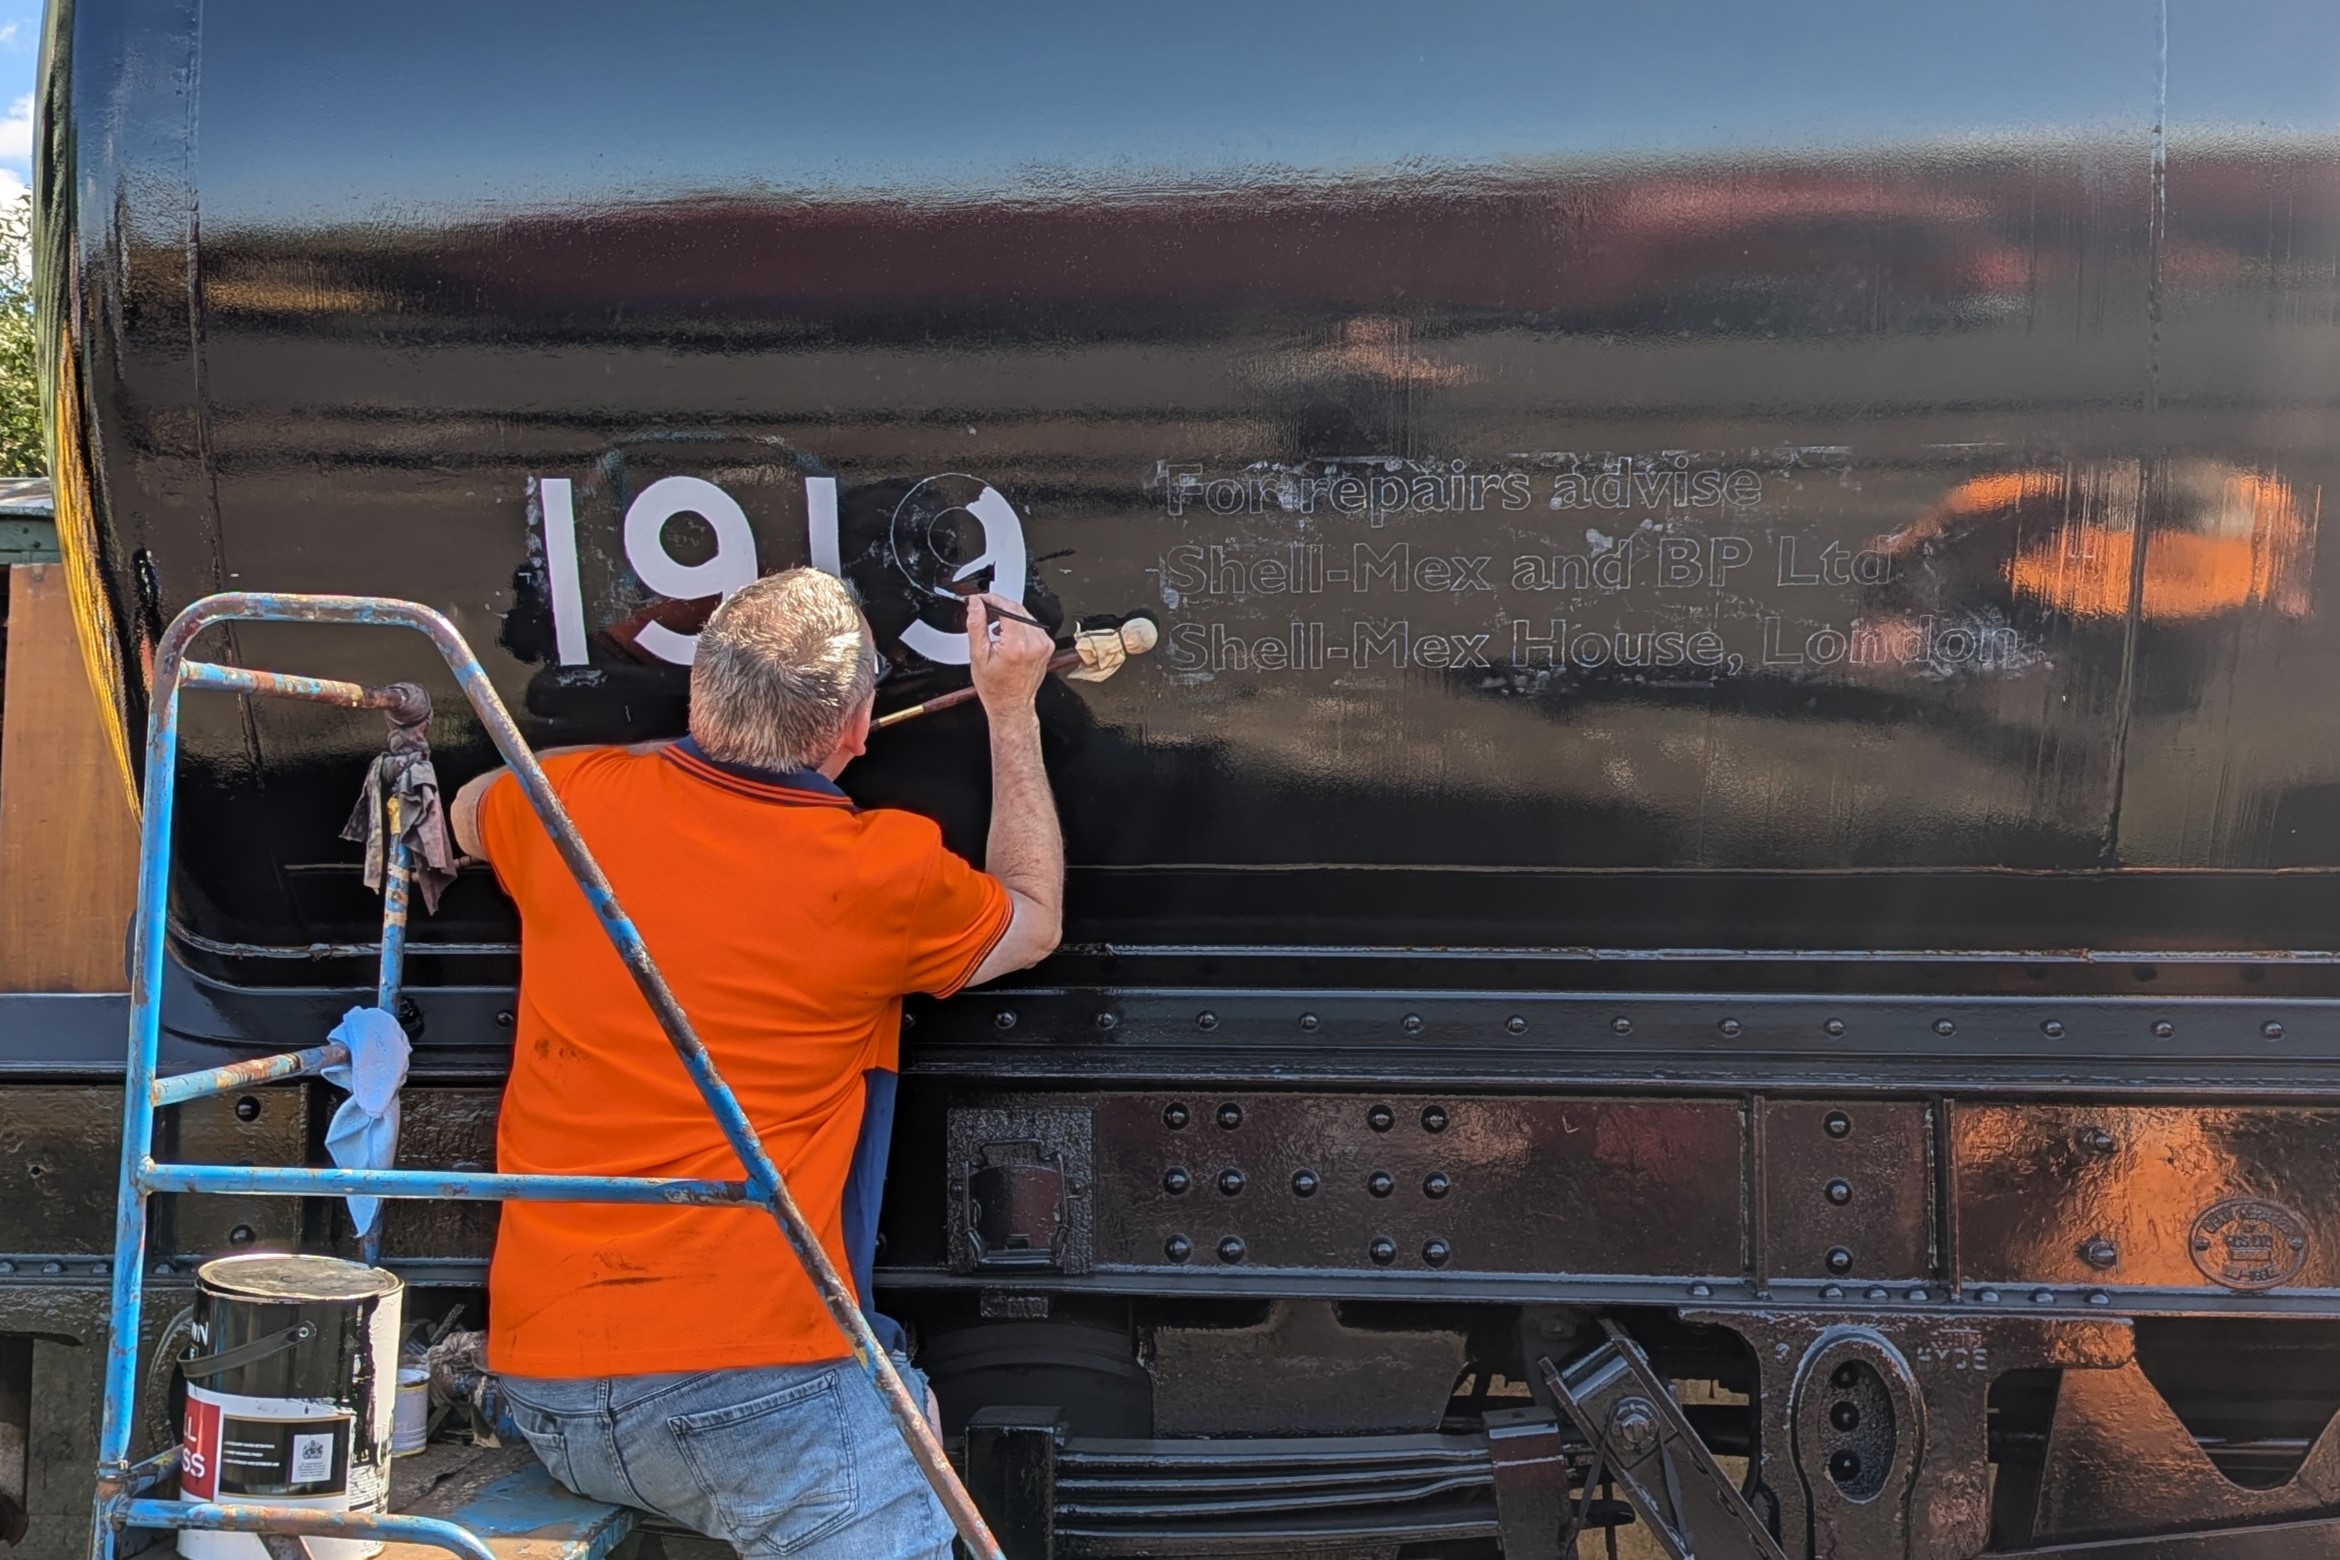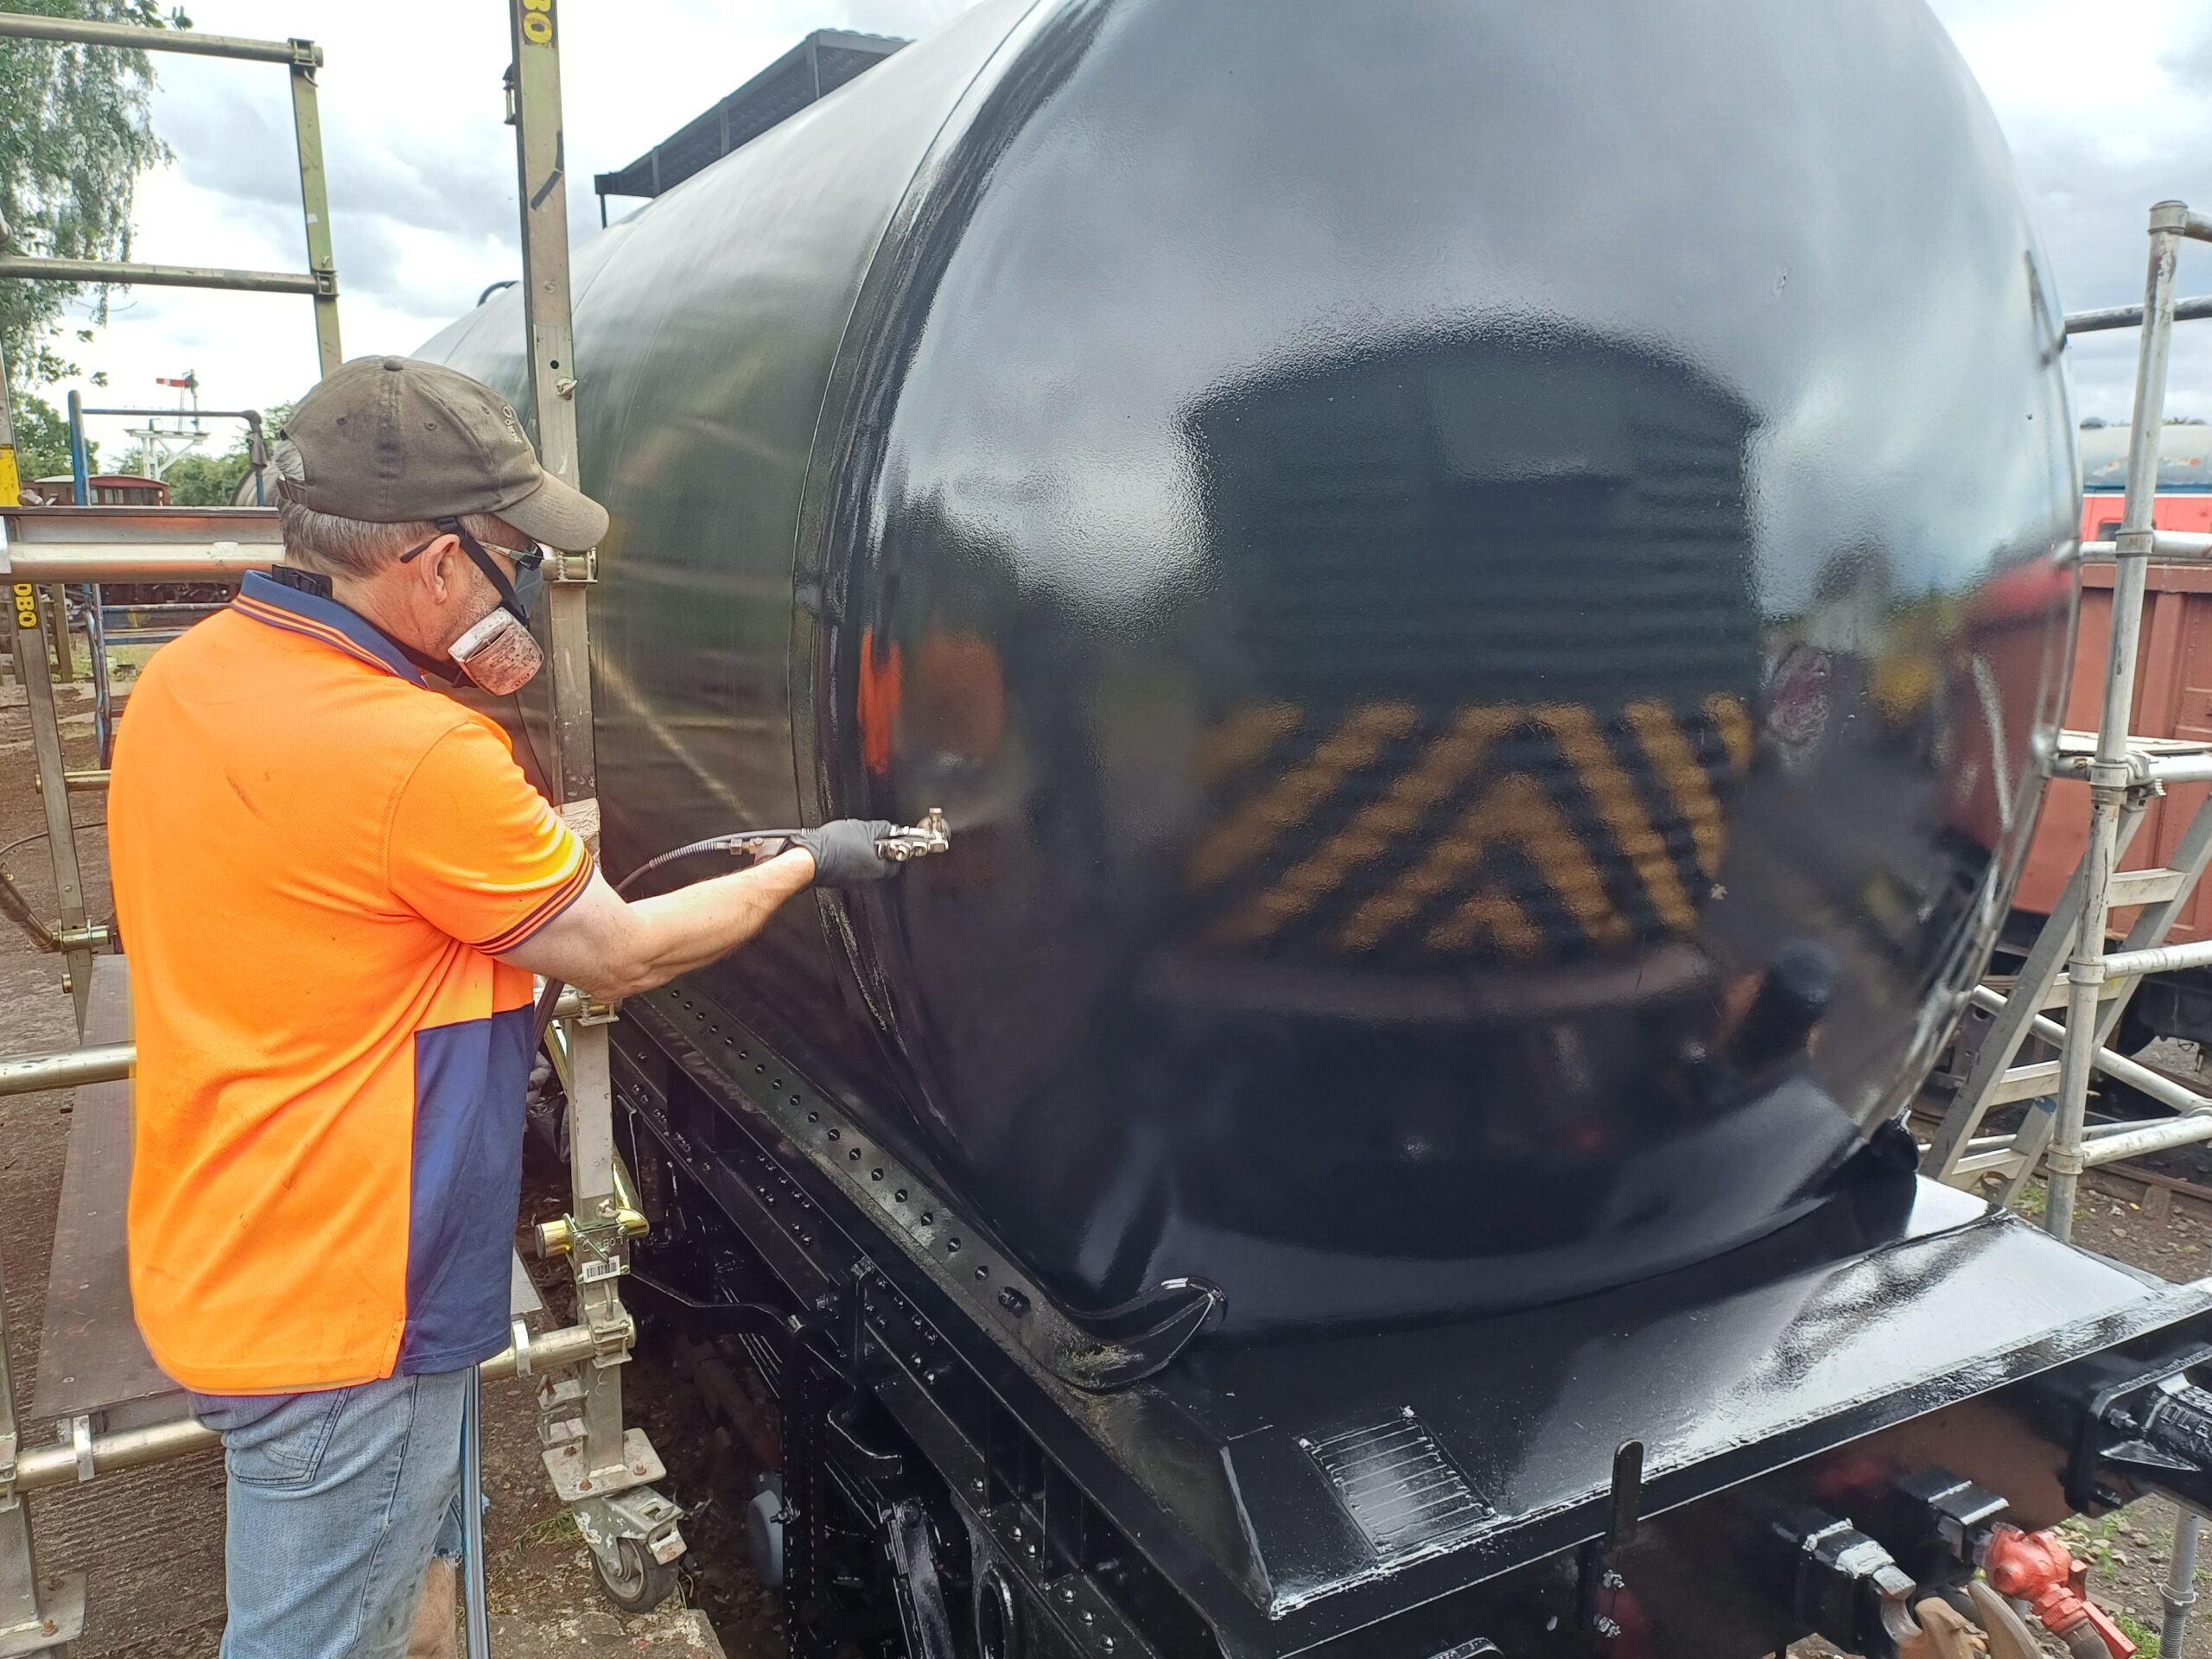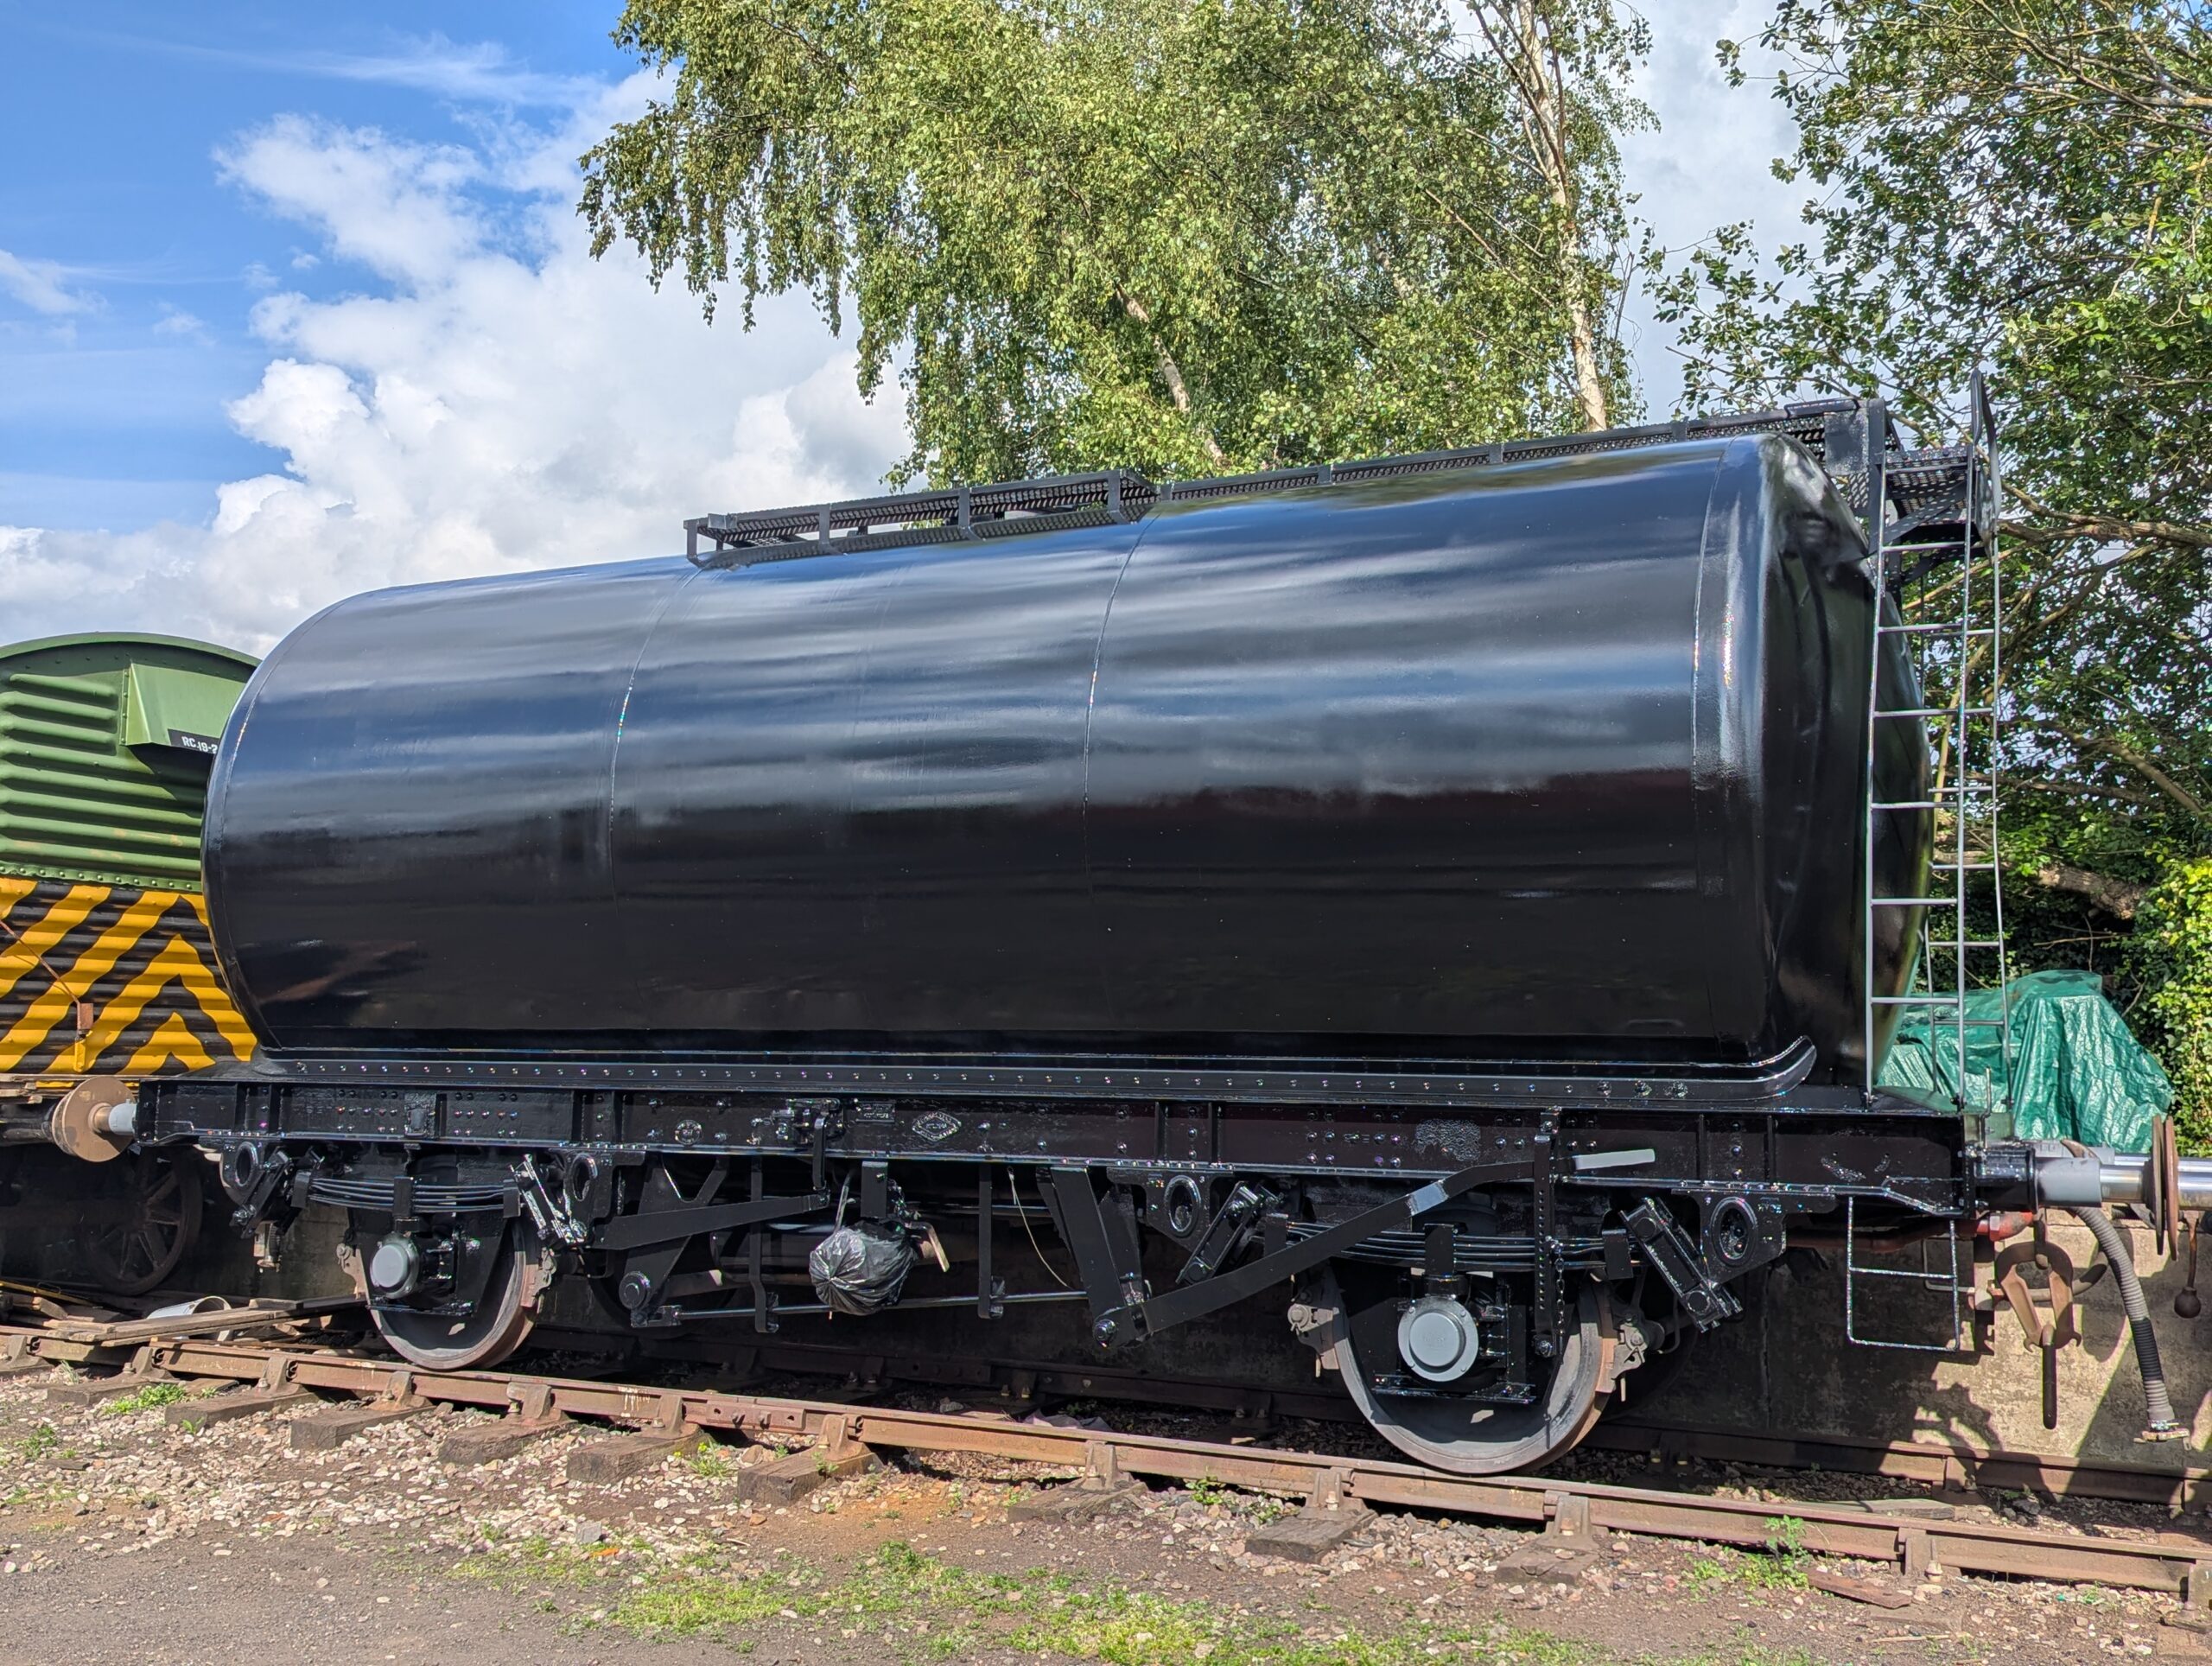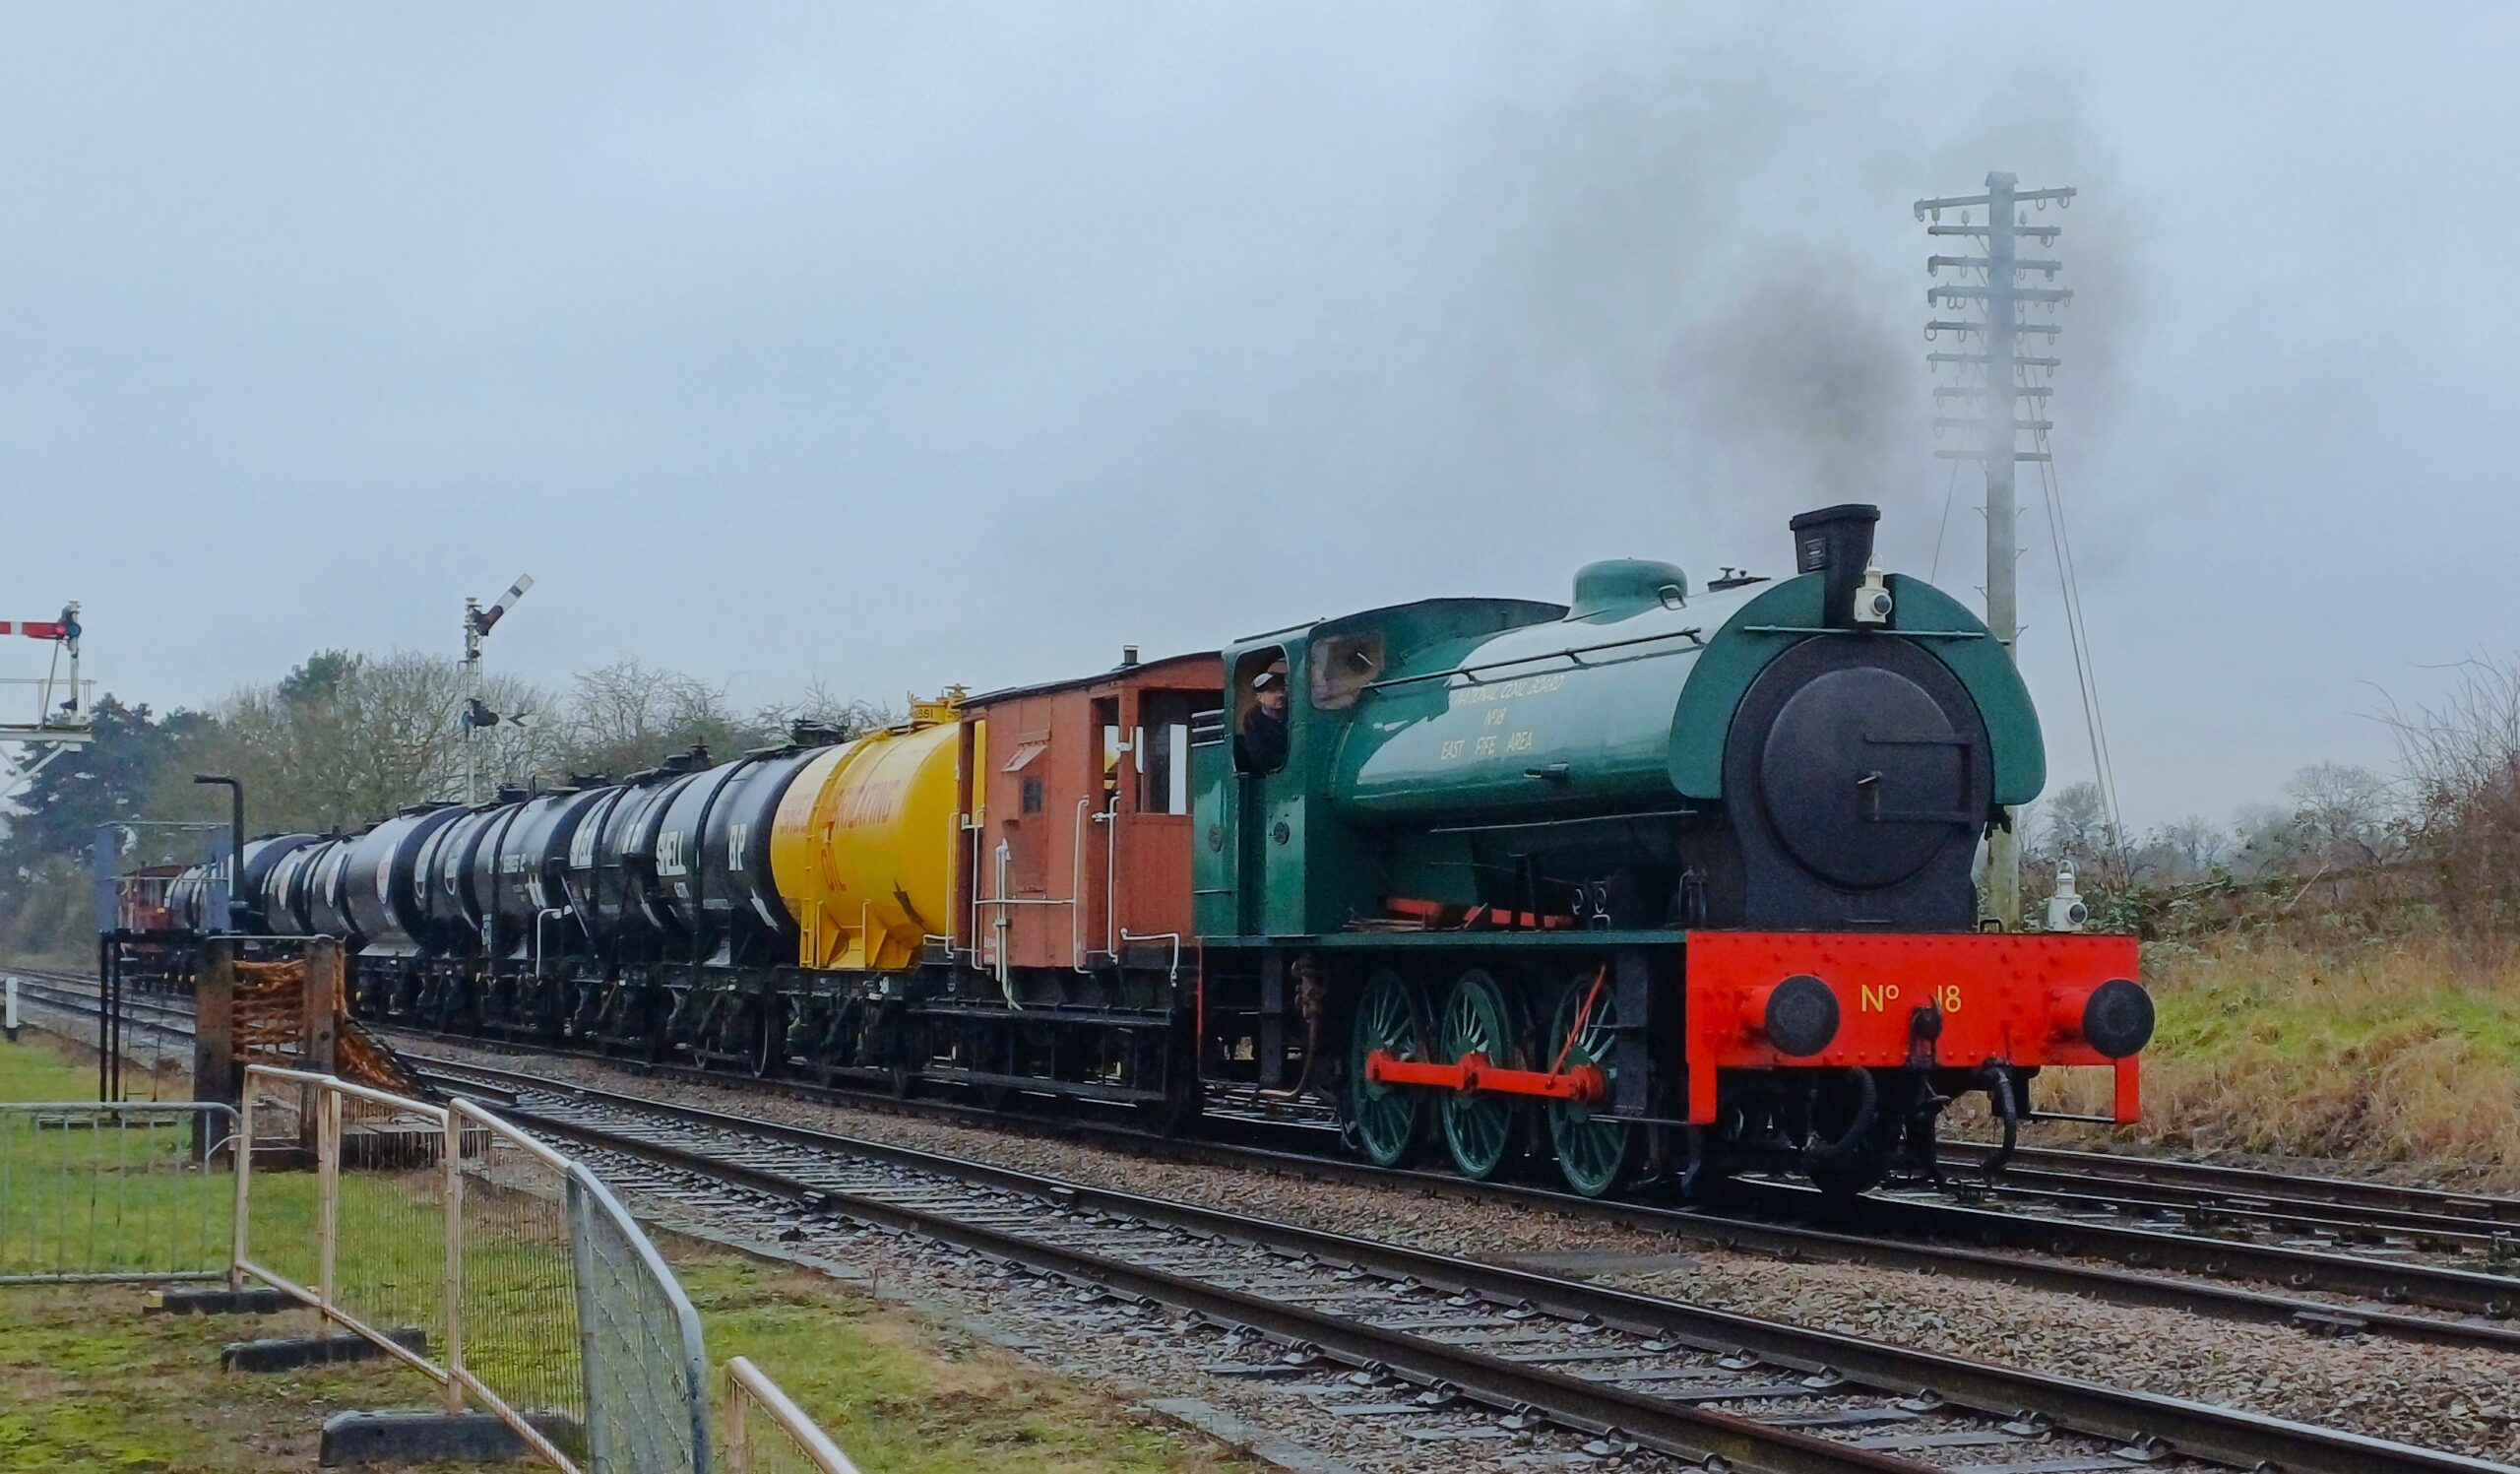
Hello everyone and welcome to this week’s update from the railways winter gala. The tank train has been up and down, with both 3606 (sans Esso plate, though more on that later…) and 1919 making their freight train debuts. Apologies to some of you as they were both facing north!

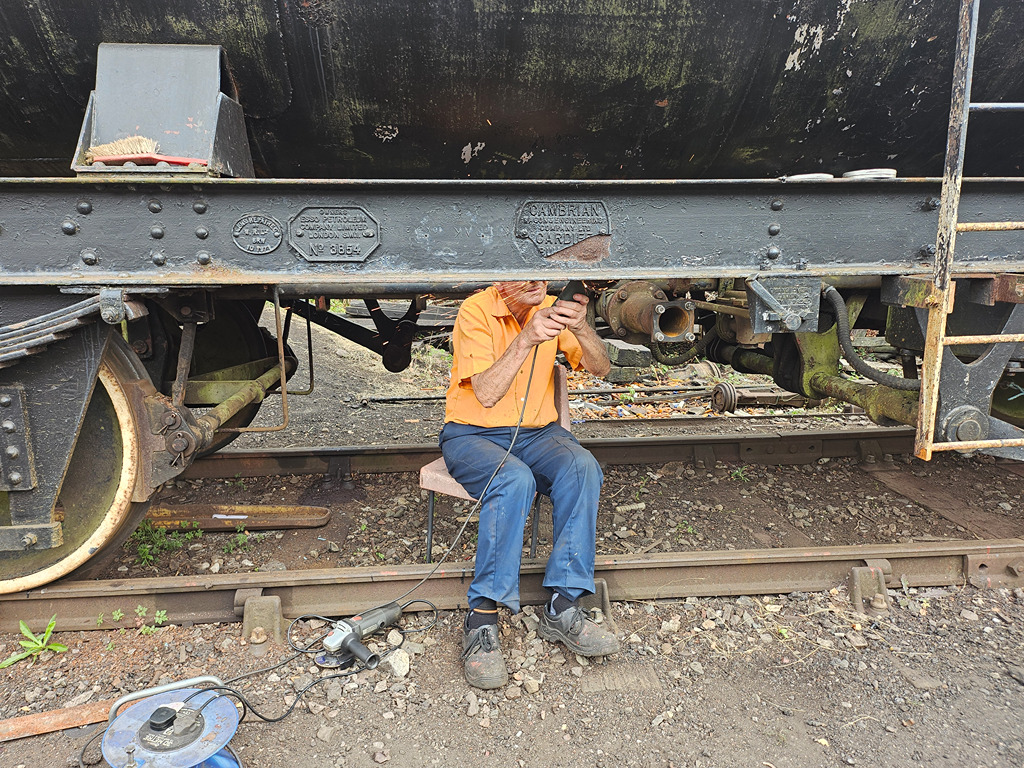
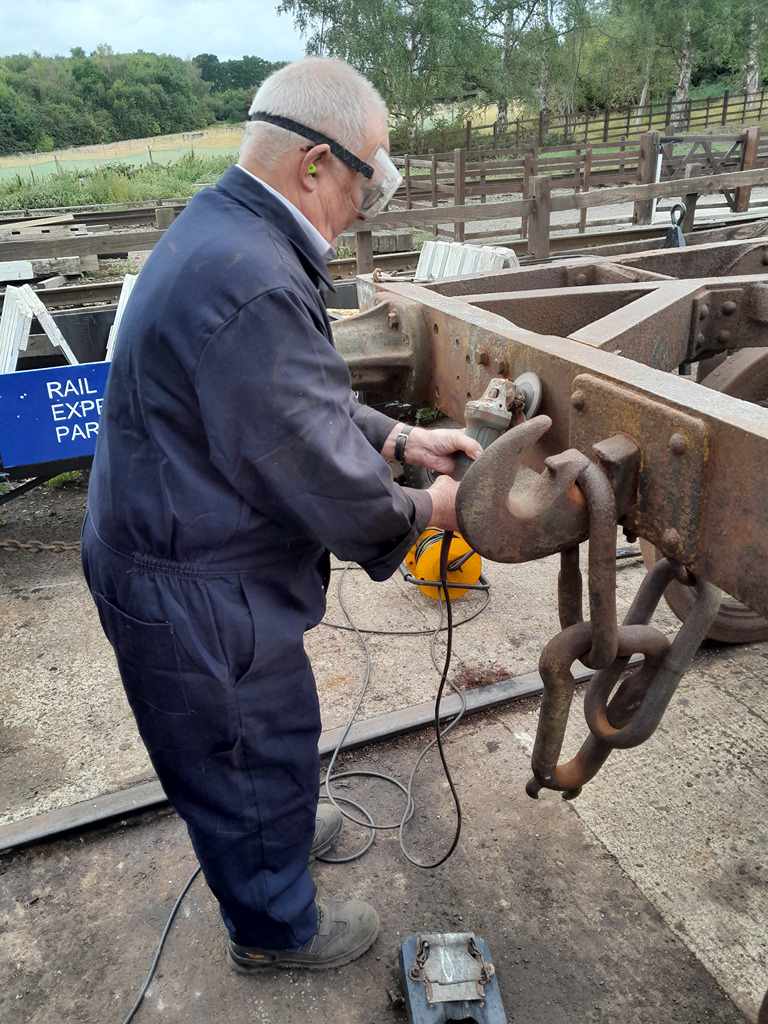
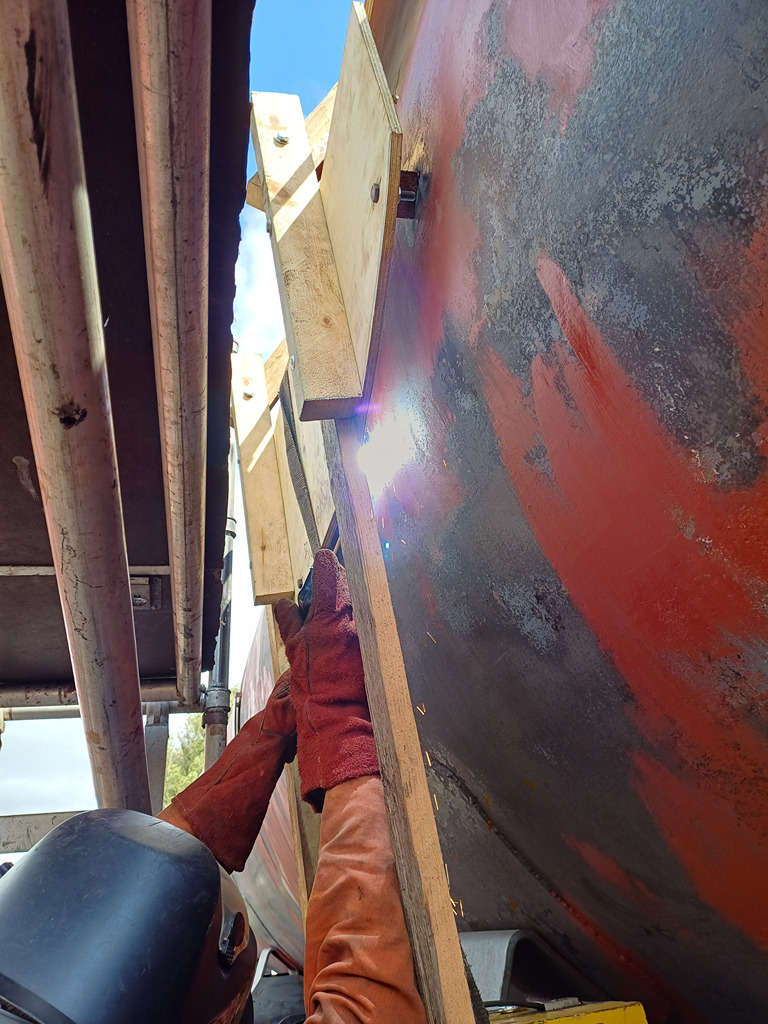
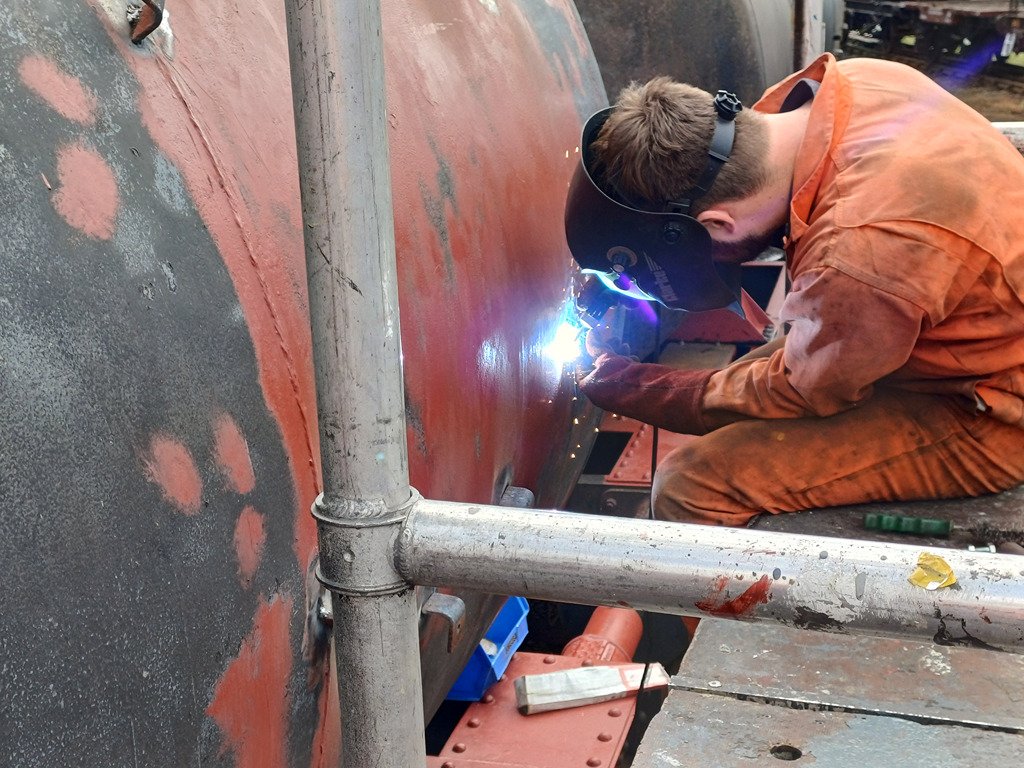
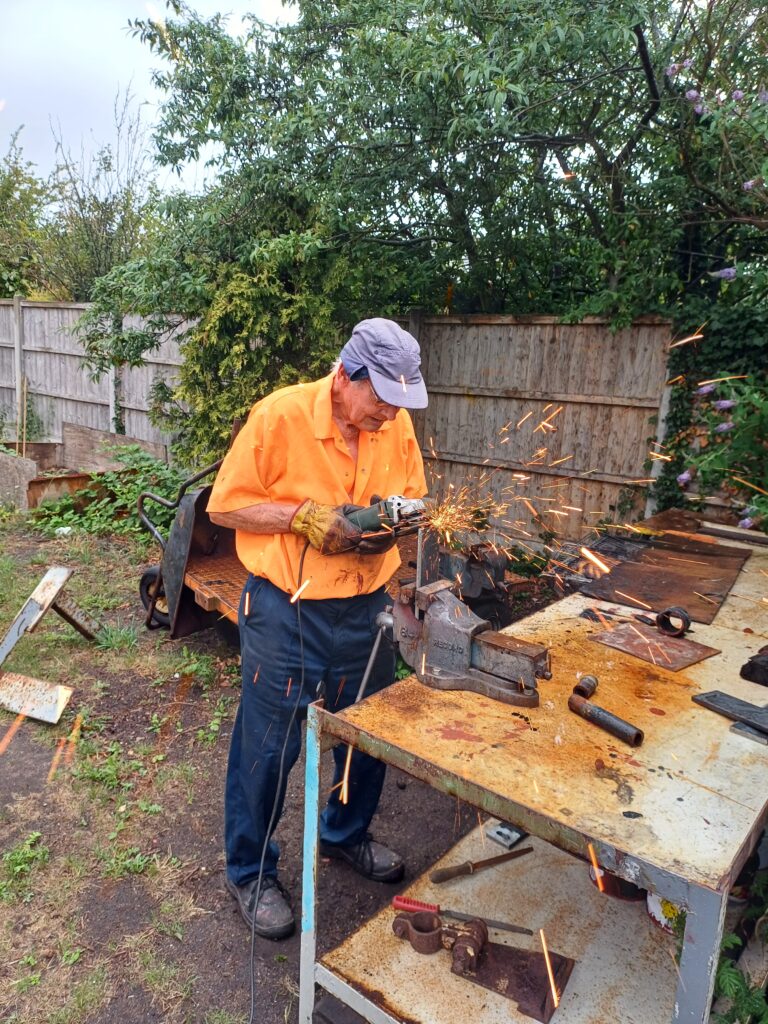
Ernie carried on with Operation Vacuum Colander, tackling the cylinder removed from 3689 with the hole in the side. Using side wall sections out of a donor cylinder, Ernie cut out the rot and replaced with the ‘new’ metal. This kept Ernie busy for most of the weekend, as more metal was put in the more holes appeared!


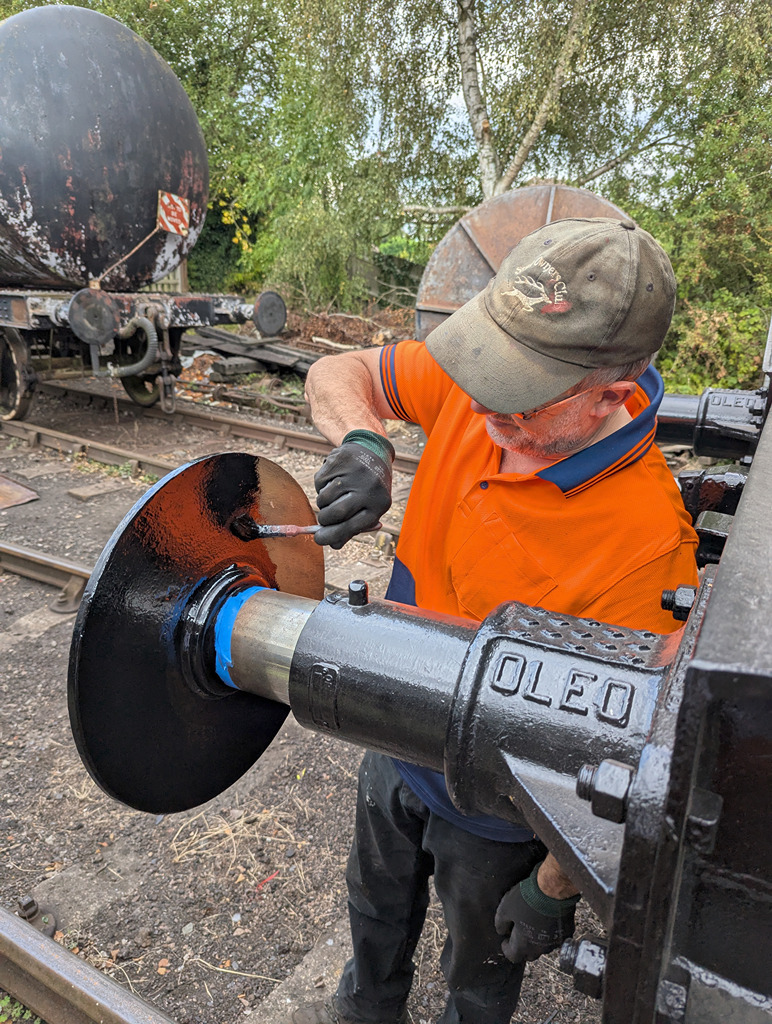
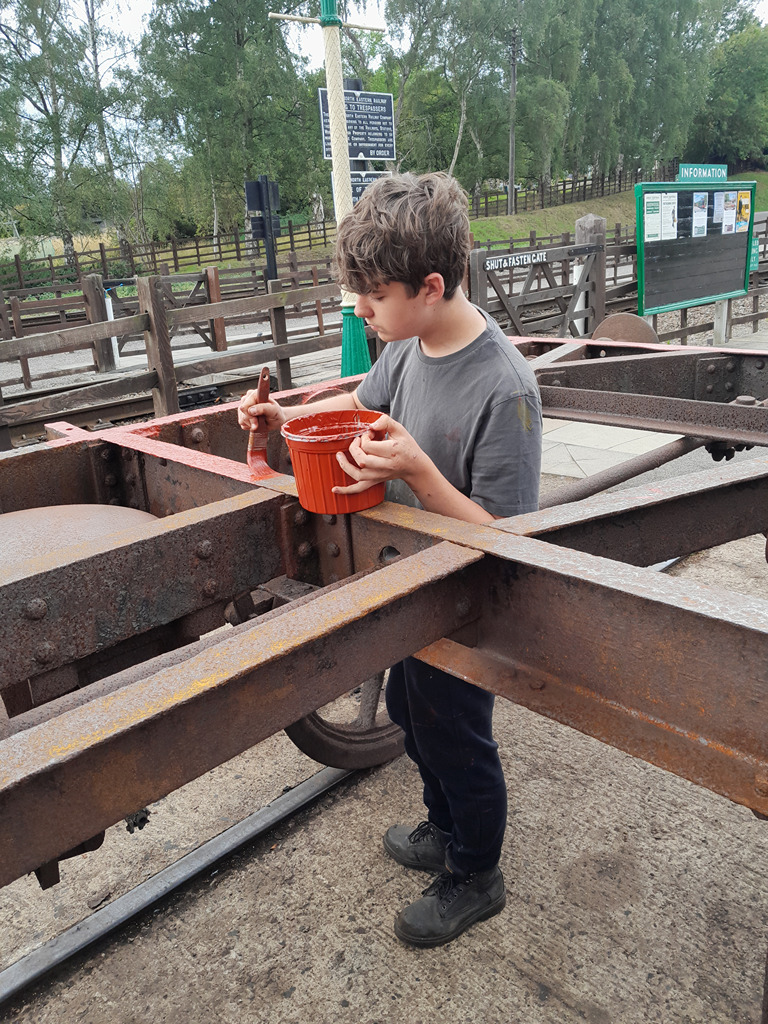
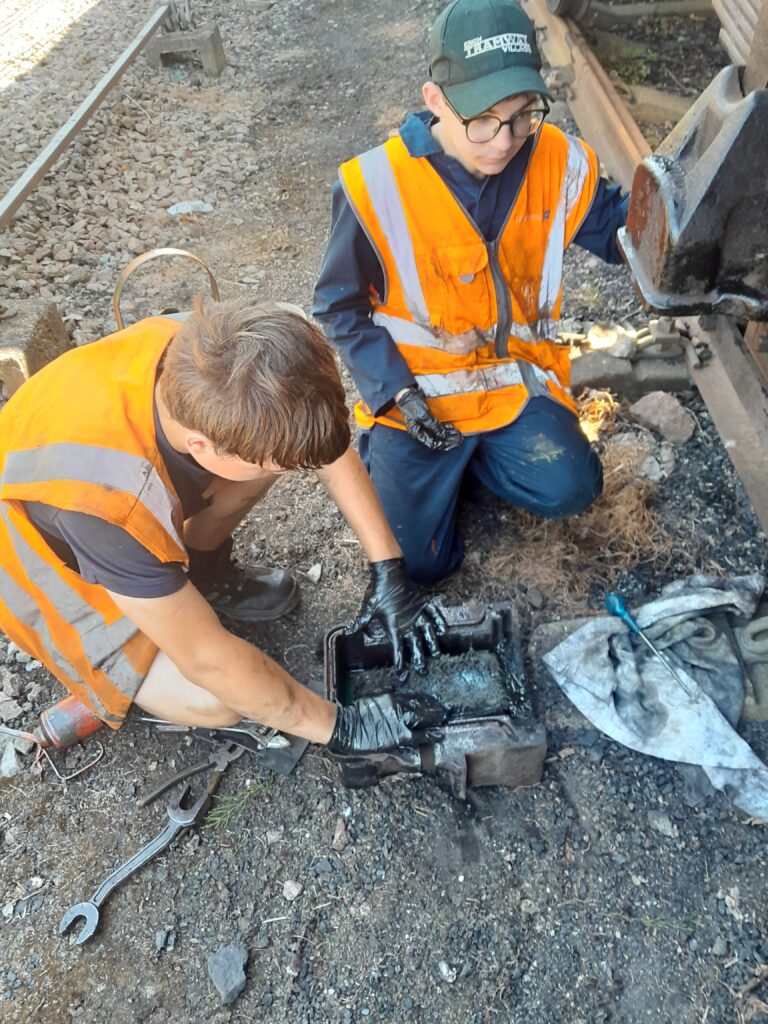
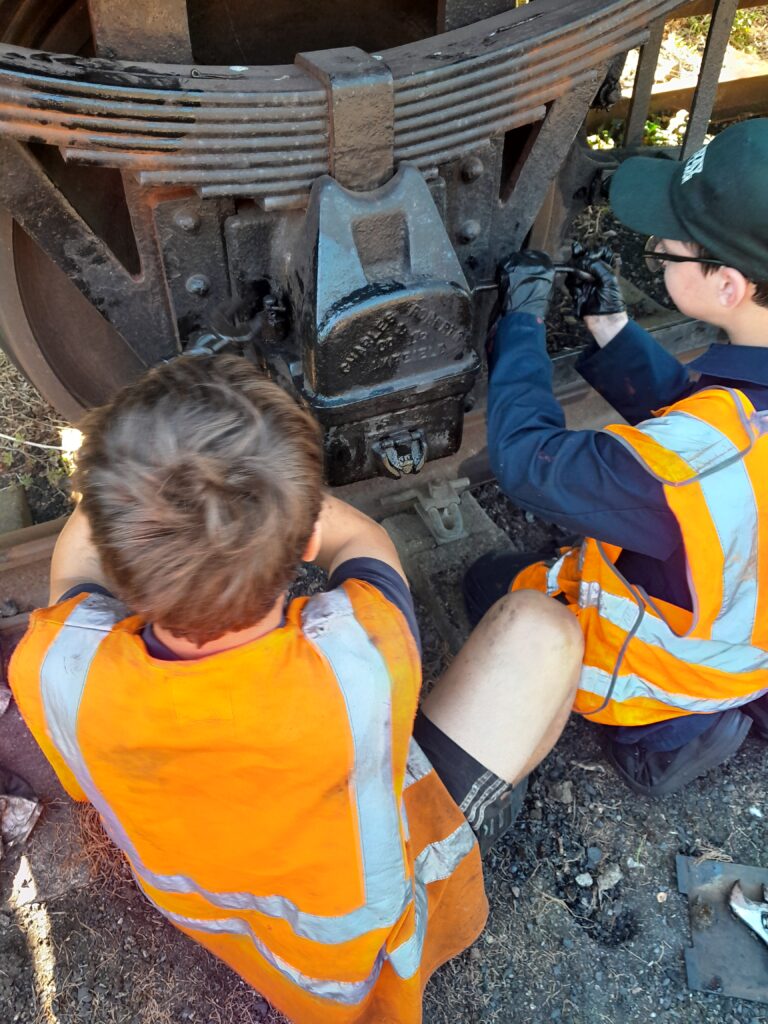
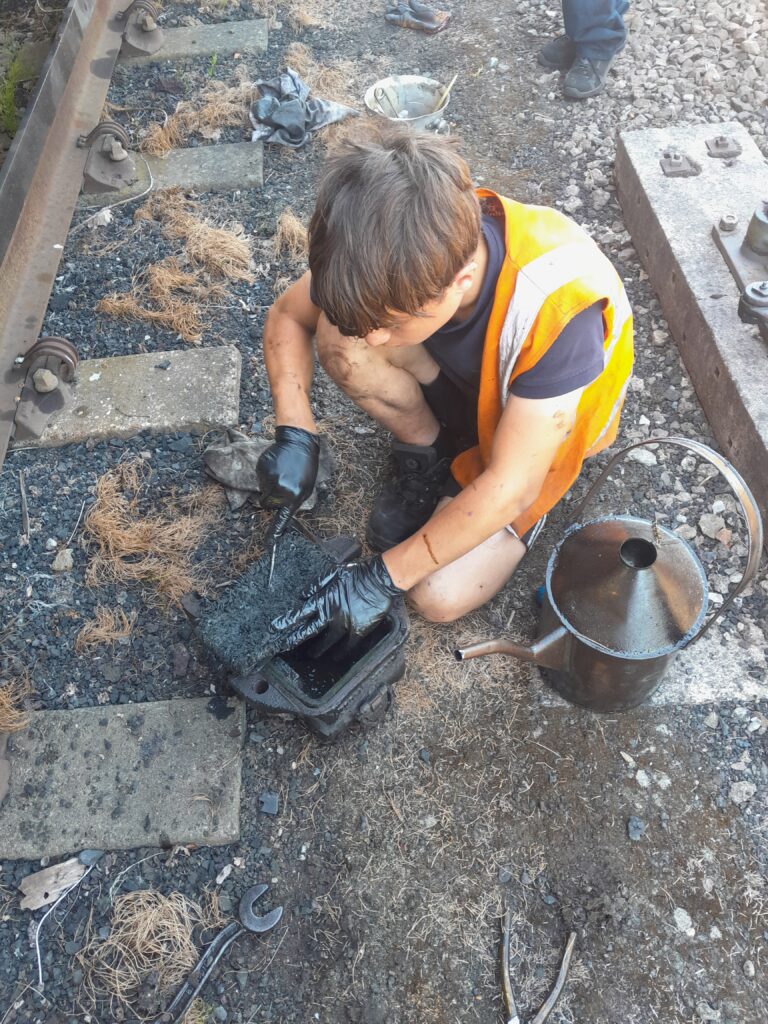
Daniel and Charlie started wire brushing two vacuum cylinders which have been in the garage in bits. The surface rust has been removed now ready for some primer to be applied to the appropriate areas


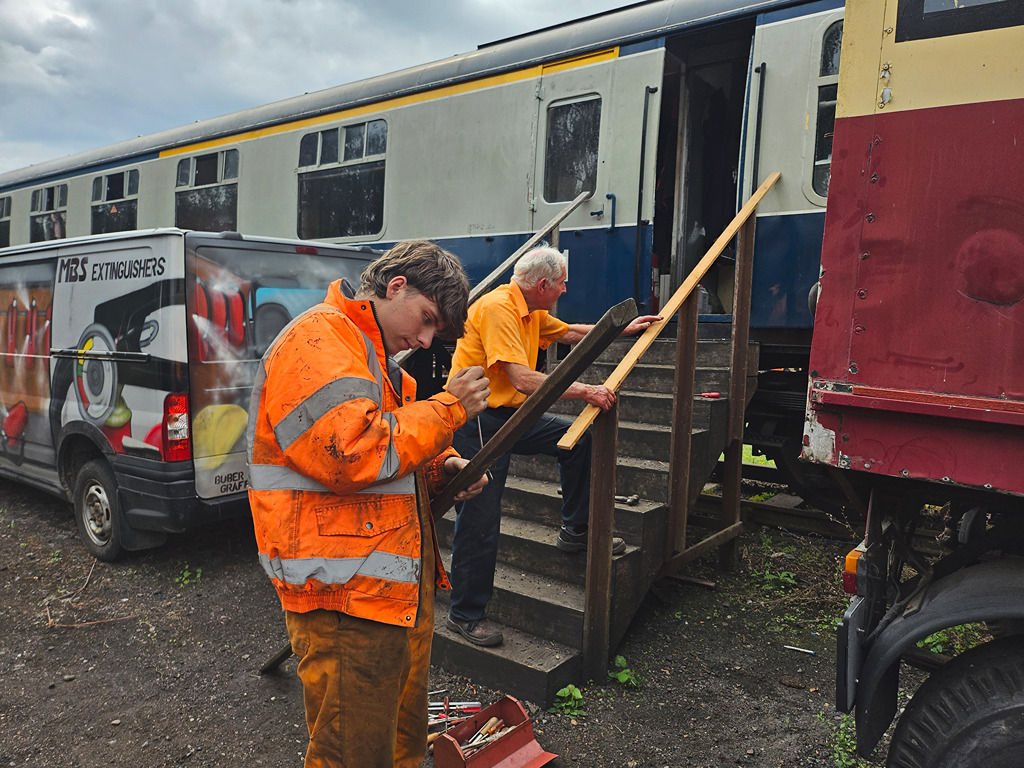
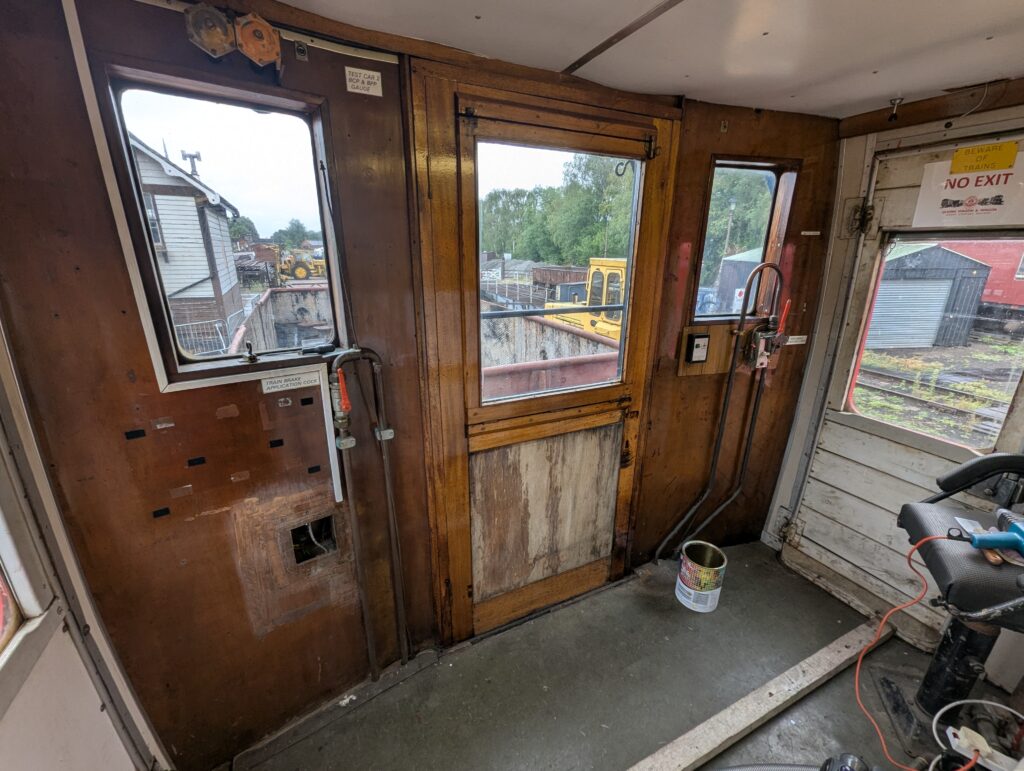
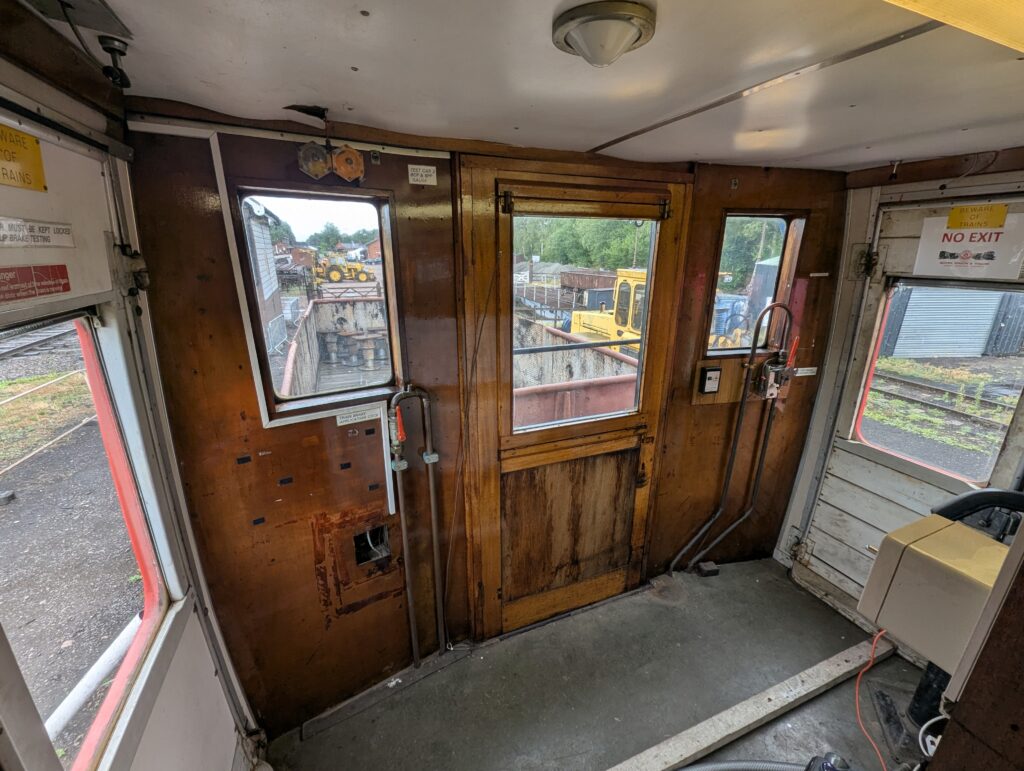
James helped me fix down the table top in the mess coach, finishing the preparation and spreading the glue contact adhesive on both surfaces. The Formica surface was lowered back onto the wood and then clamped and weighed down. I’m going to try and polish the Formica and the surrounding wood will get a coat of varnish too.
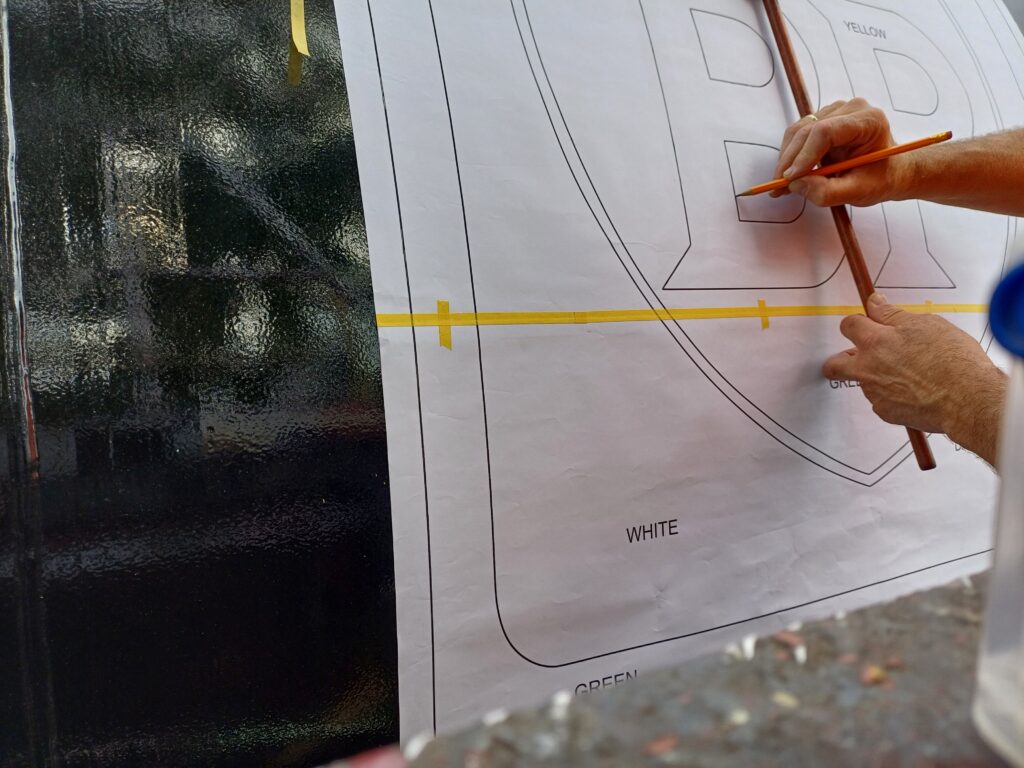
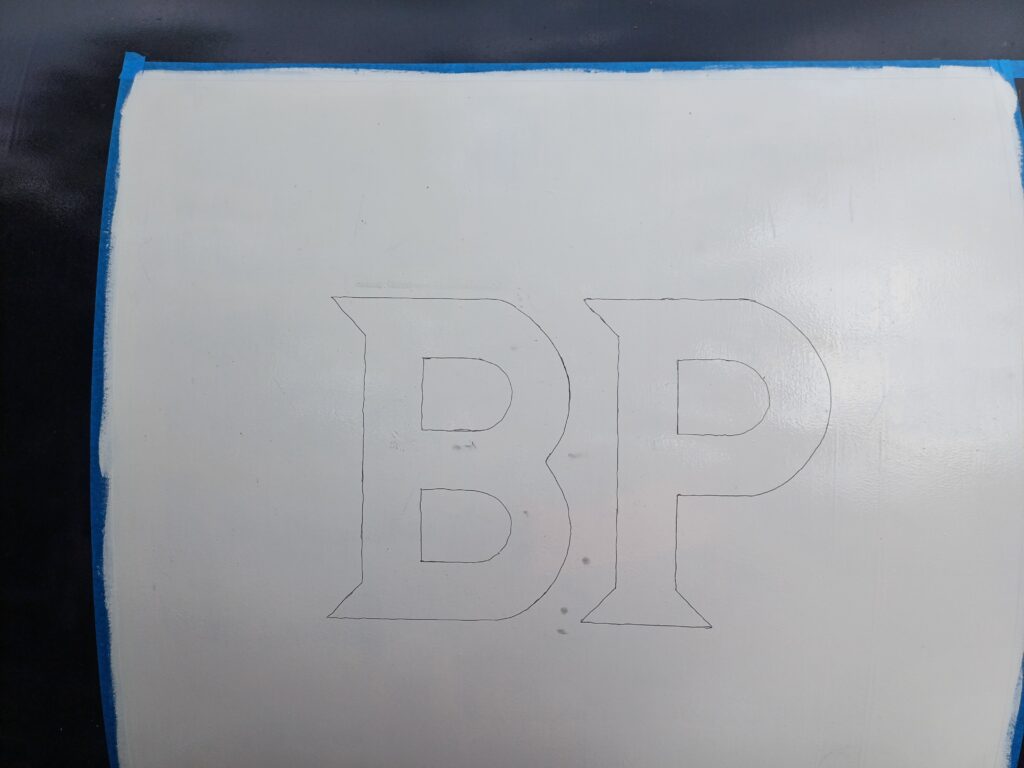
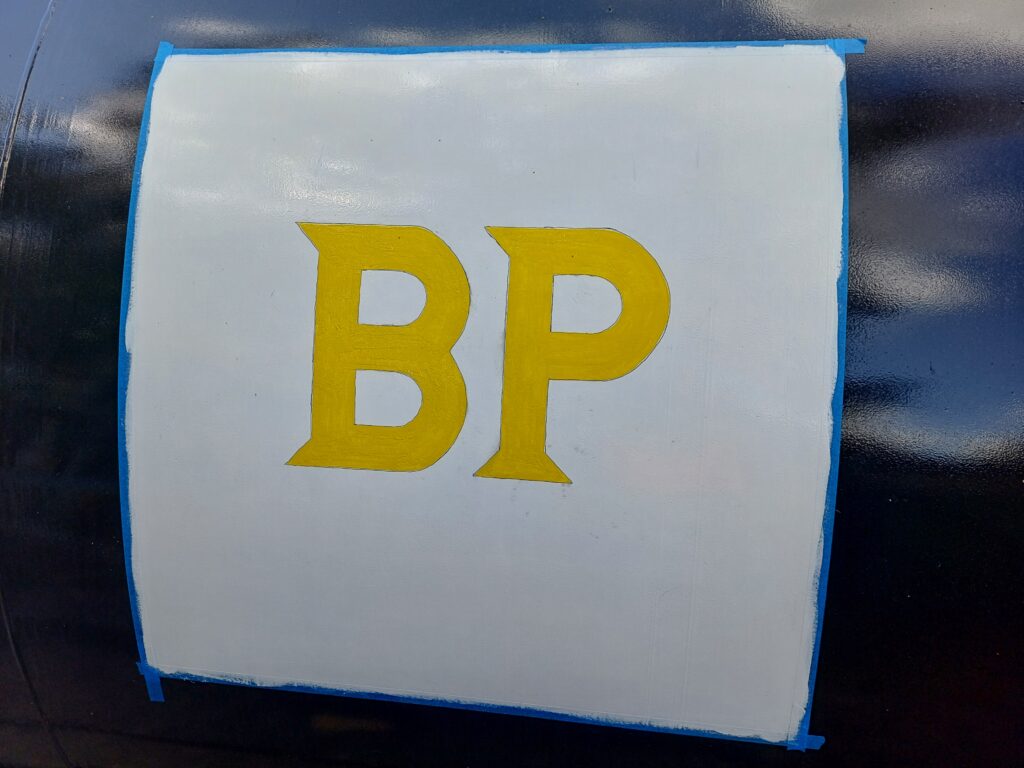
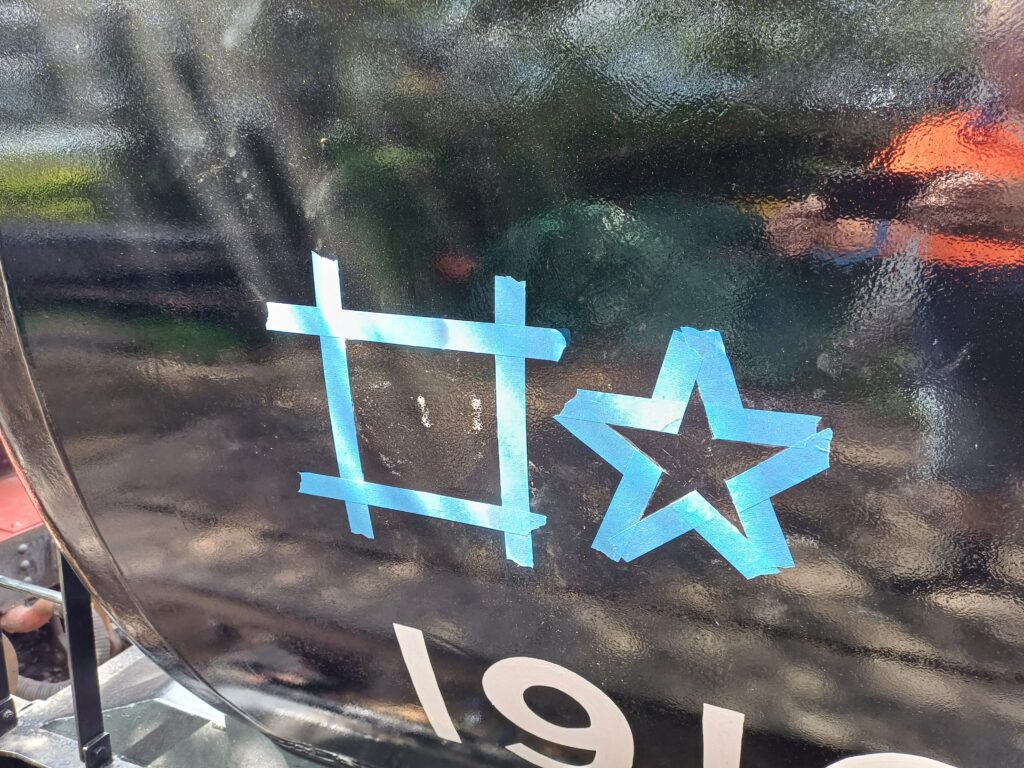
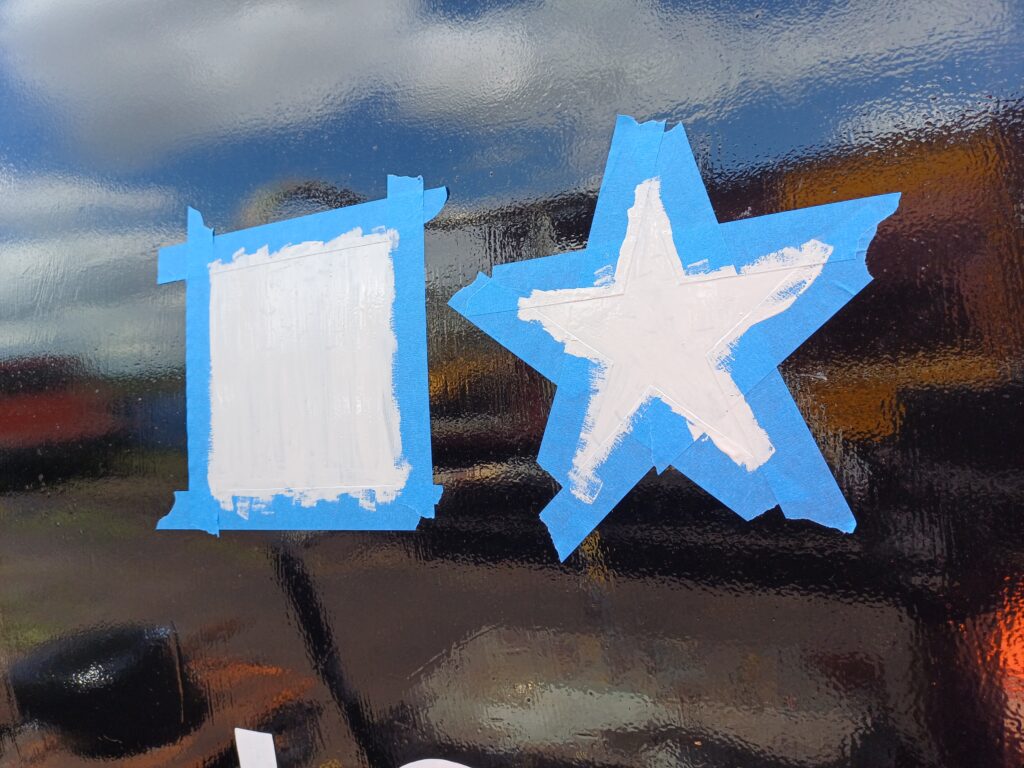
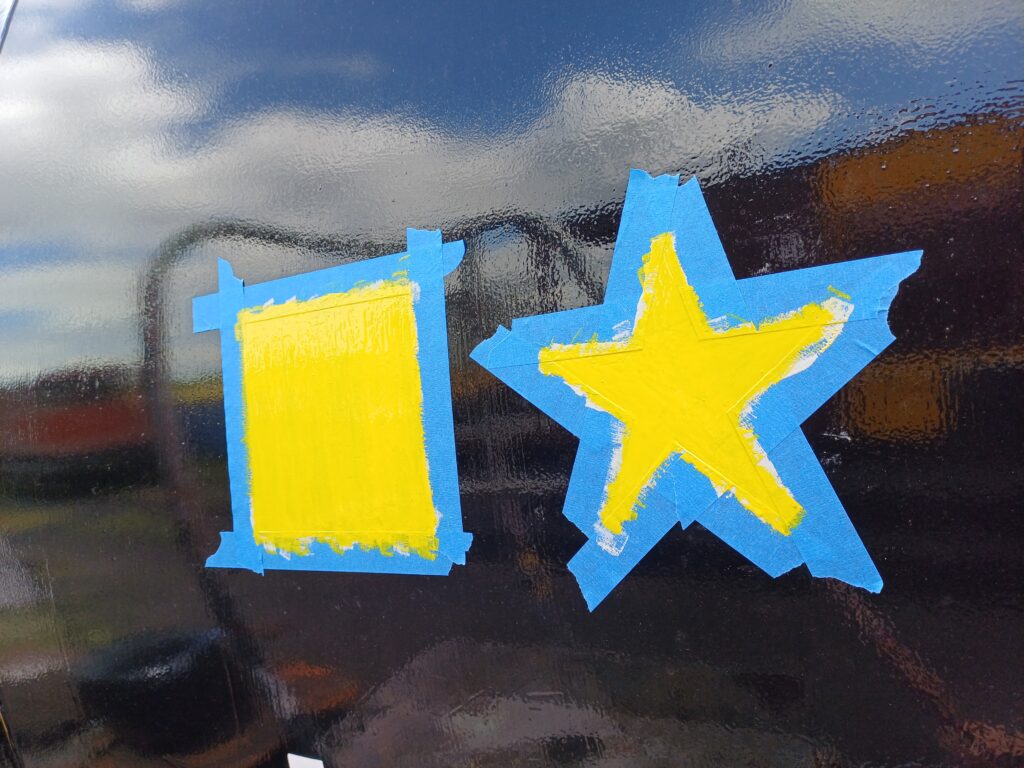
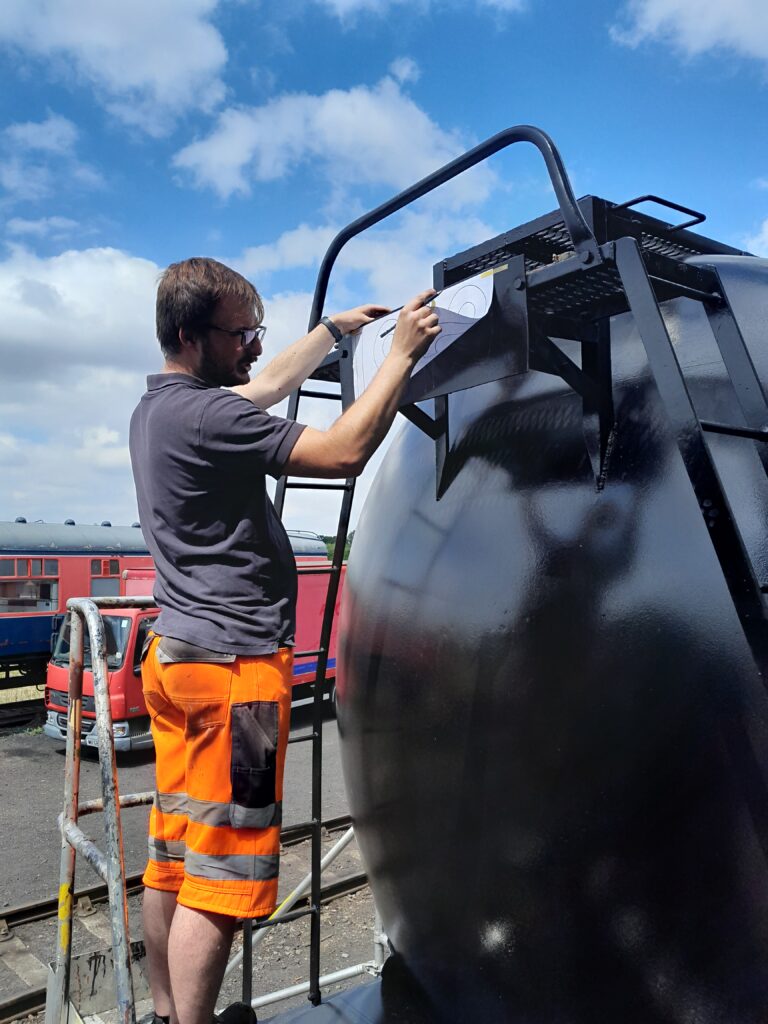
During the week, I collected 8 Esso plates from DEU in Derby who cut, rolled and painted them white for us. This leaves Dave and I to signwrite them. Nick and I unloaded these from my car and stored them in Madge’s box trailer out of harms way.


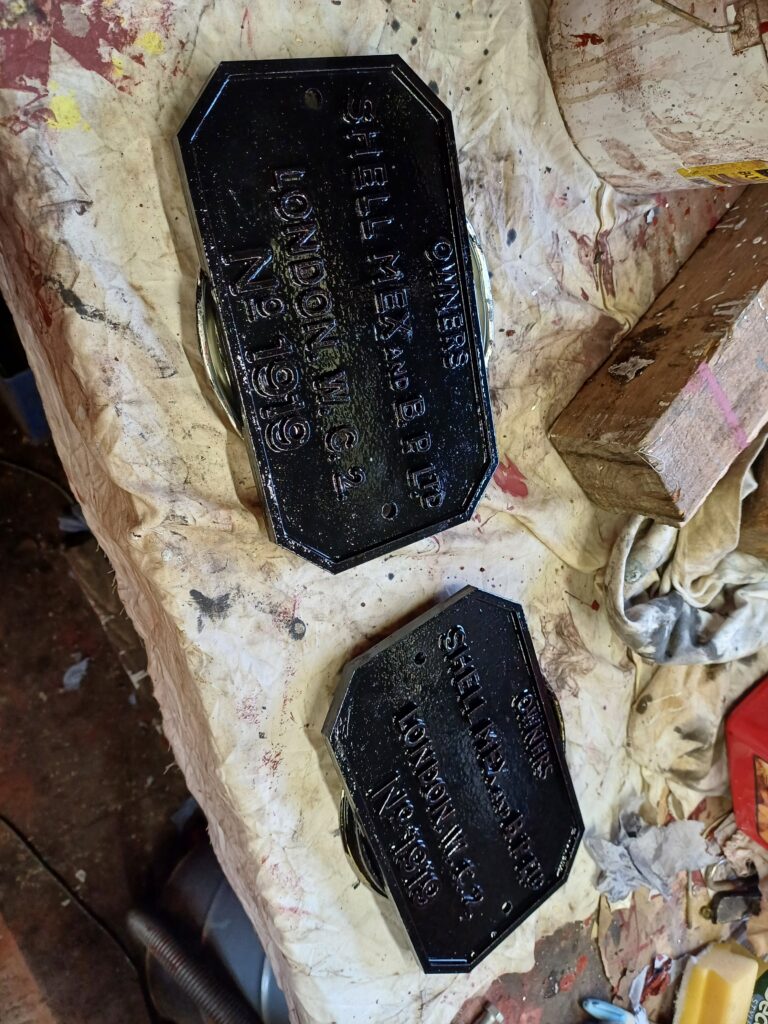
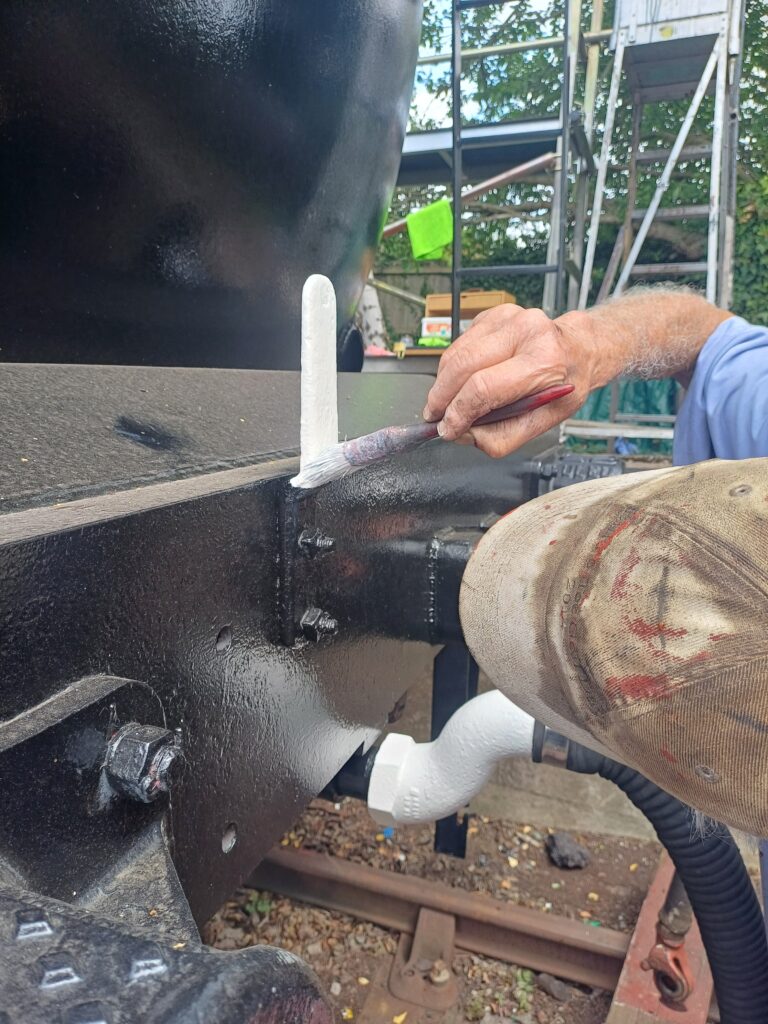
Dave used the good day on Saturday to get the ‘Esso Petroleum Company Limited’ wording on the west side of 3621, which finishes the lettering on that side, just details left there now.


Nick, Charlie and Oliver went to Swithland on Sunday to recover a gas box to fit to the mess coach, which was done when they got back. We’ll use the gas box to store the fuel for the new heater.


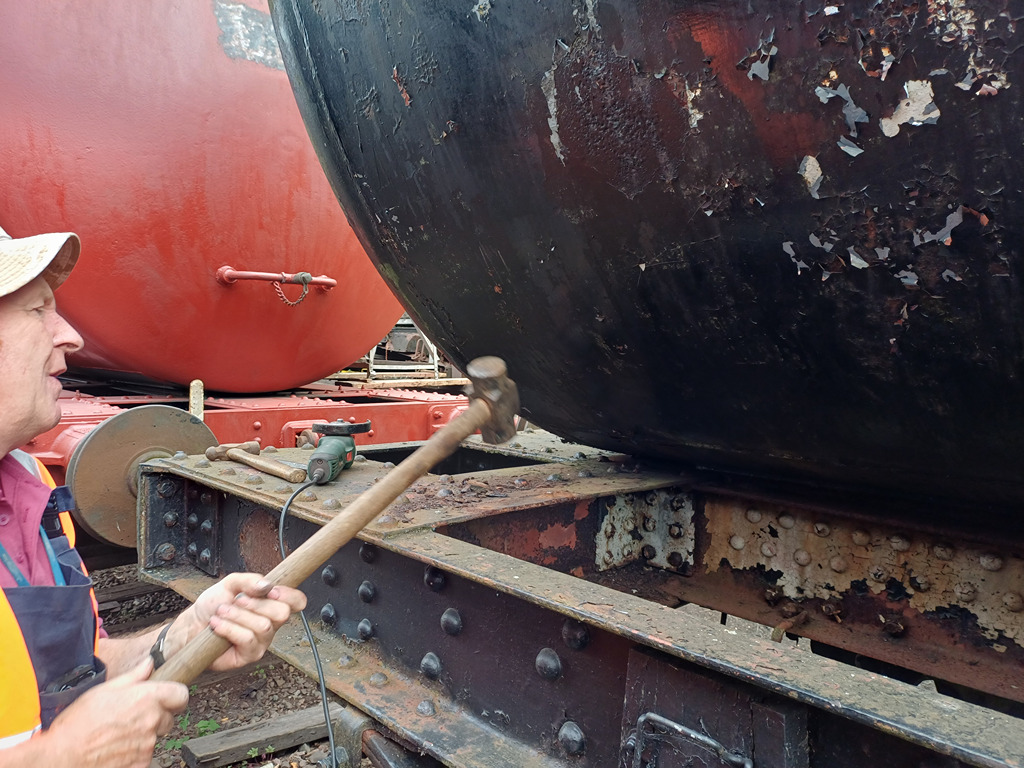
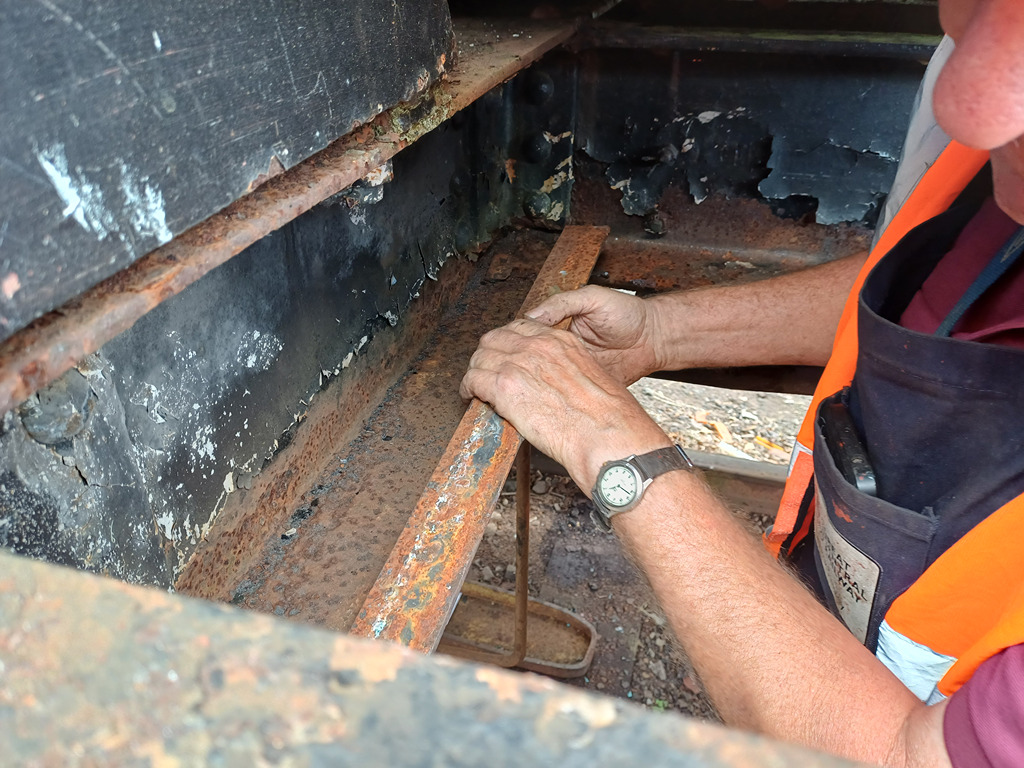
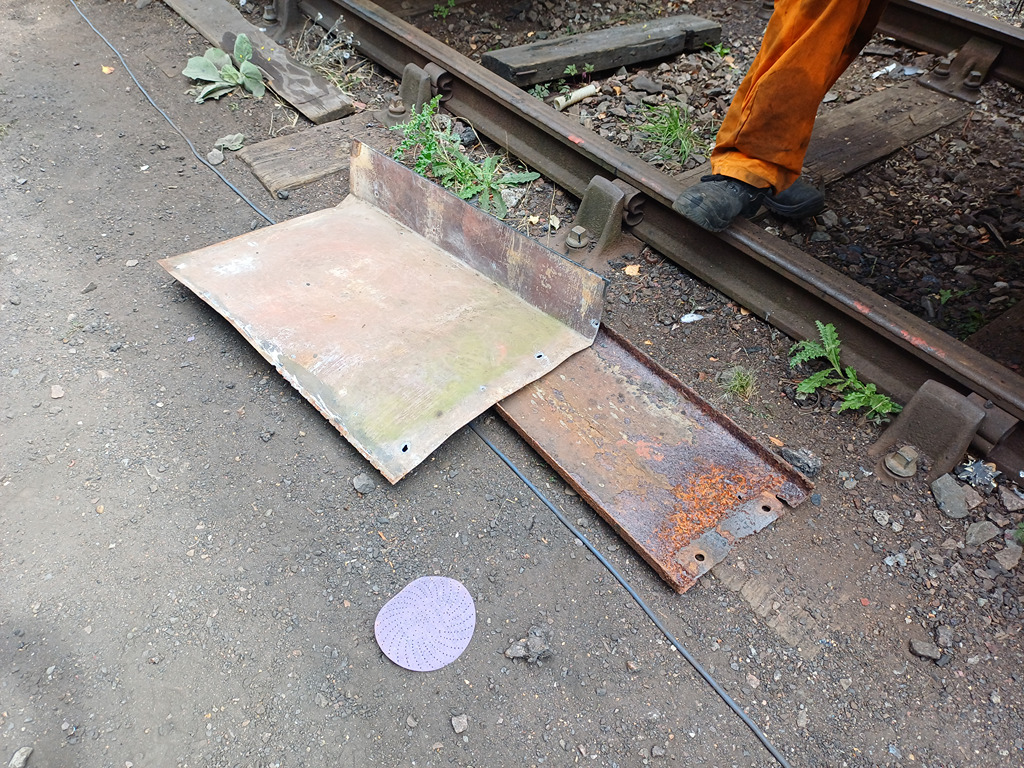
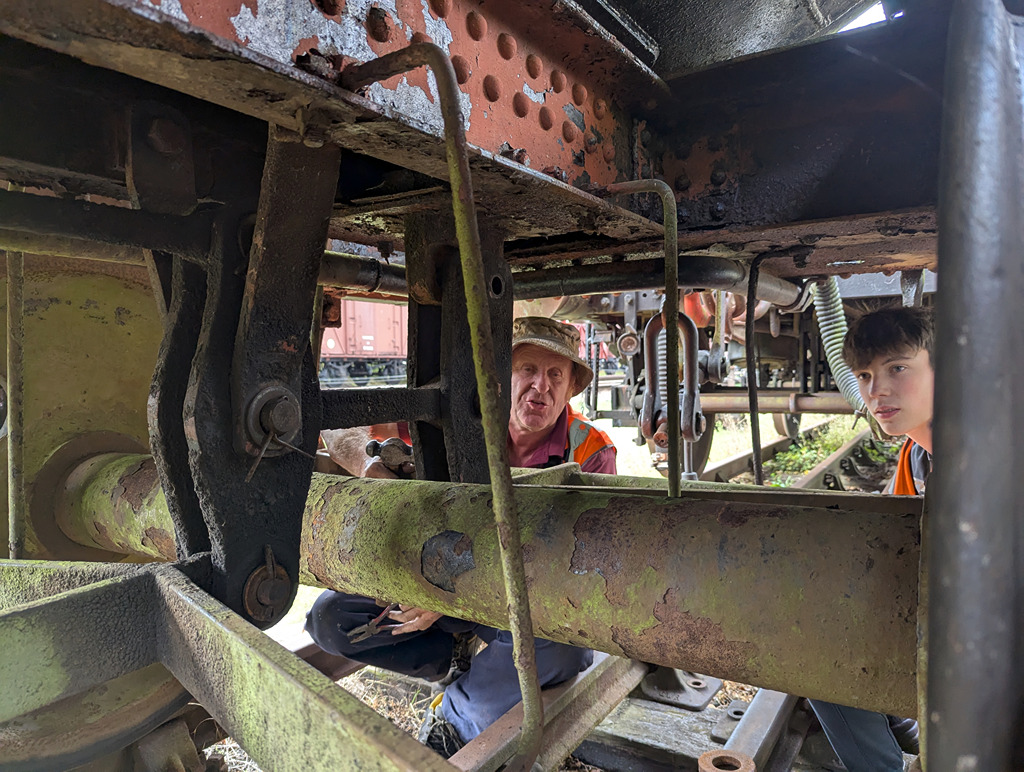
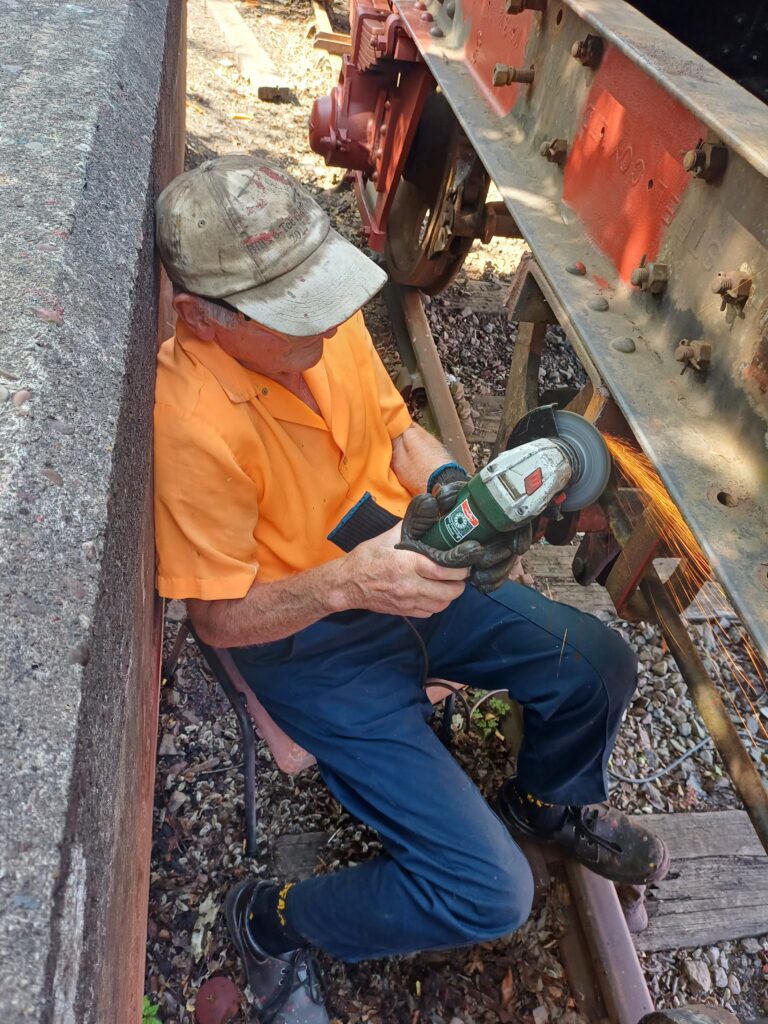
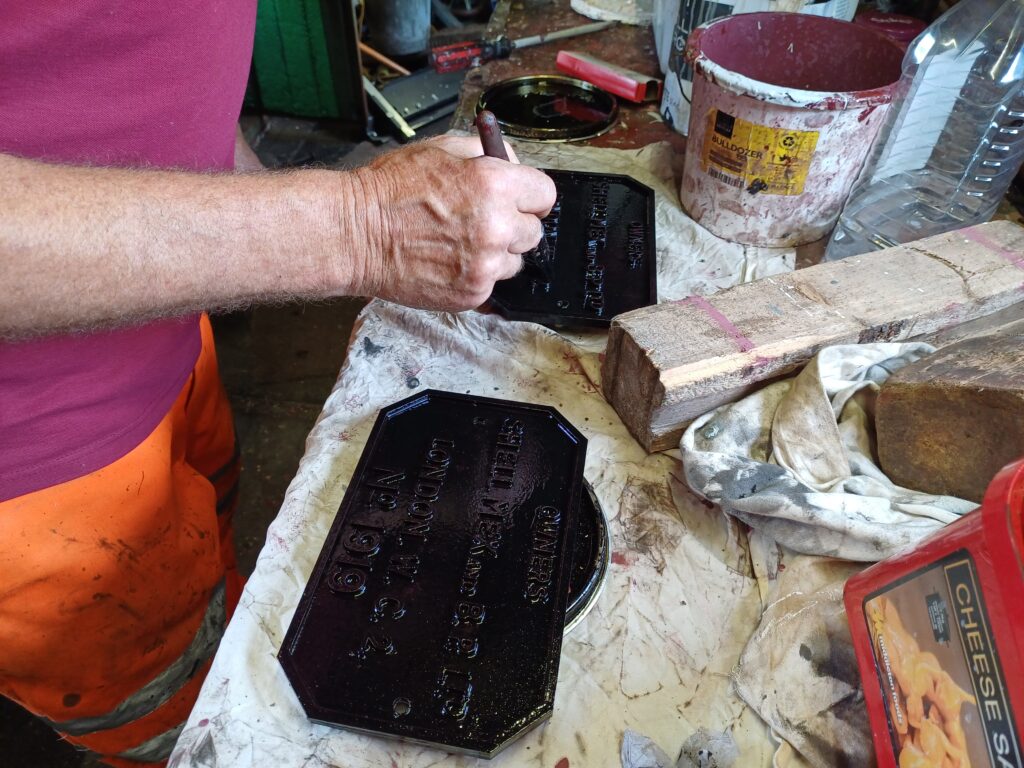
Mark and Tom gave the Conflat a wash down, and then got the needle guns out to prepare the end pockets on 3689. While they did this, Dan picked out the lettering on the Hurst Nelson builders plates.


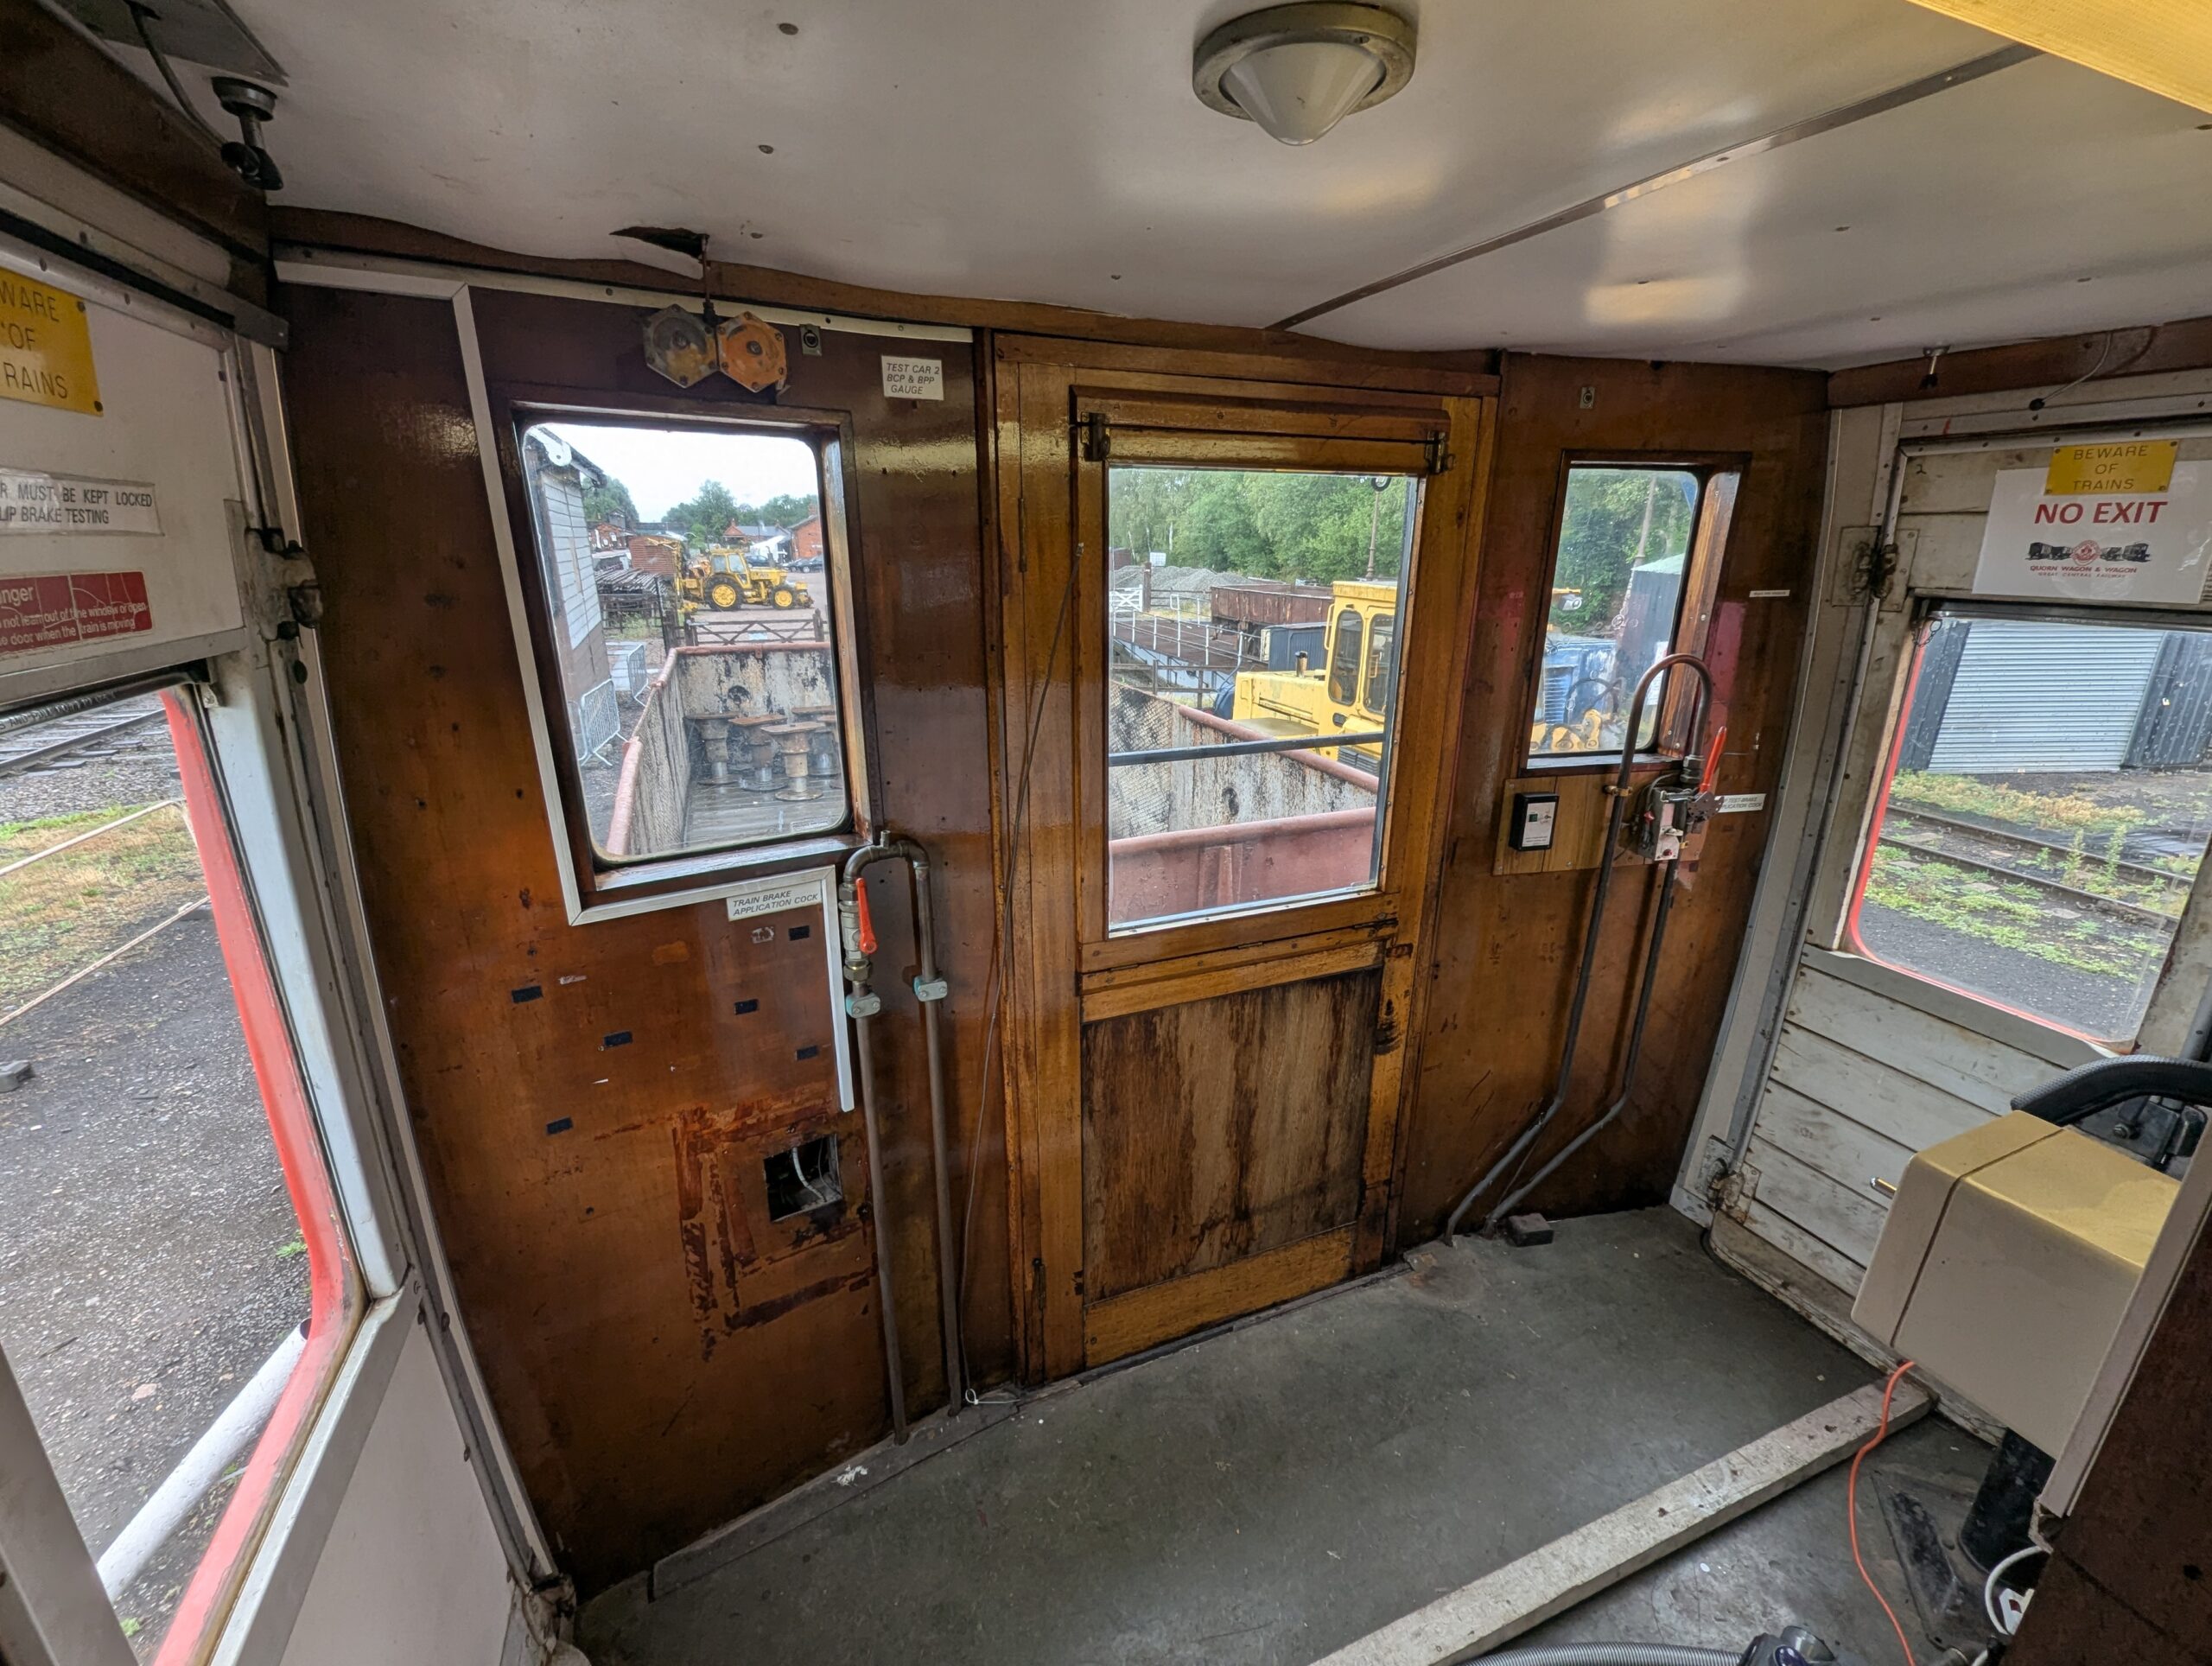
Dave and I got set up in the Test Car, each of us tackling an Esso plate. There is some work still to do on these including a coat of varnish. Not sure if we’ll put these on 3606 or 3621 yet, but they’ll appear out in the wild soon!


Thanks for joining us, and hopefully you’ve enjoyed seeing the tanks out again at the gala. Next week, I’m sure there will be more tank related activity, but who knows! See you then.