Tag: 500954

  • 06/05/19 – Brakes hard on.

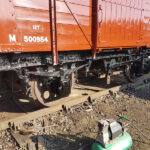
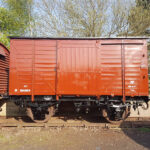
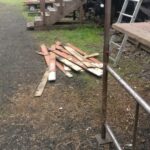
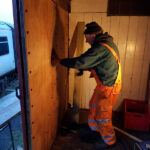
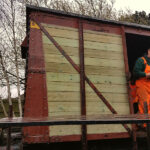
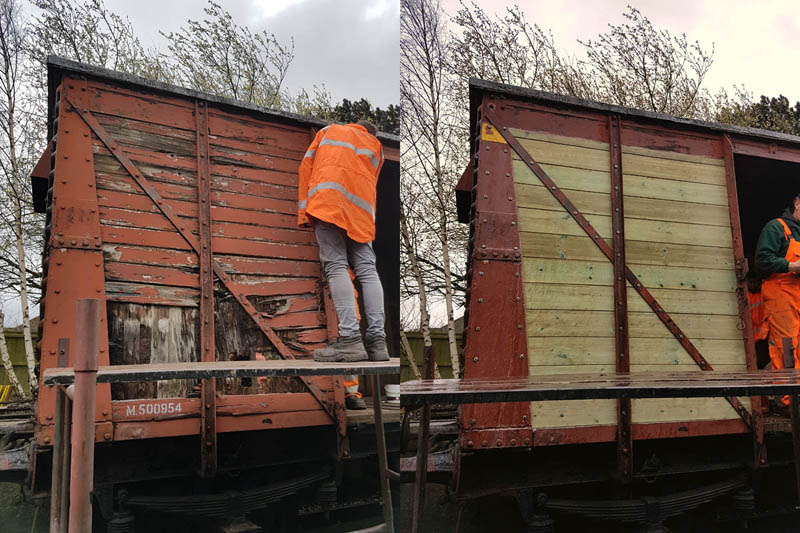
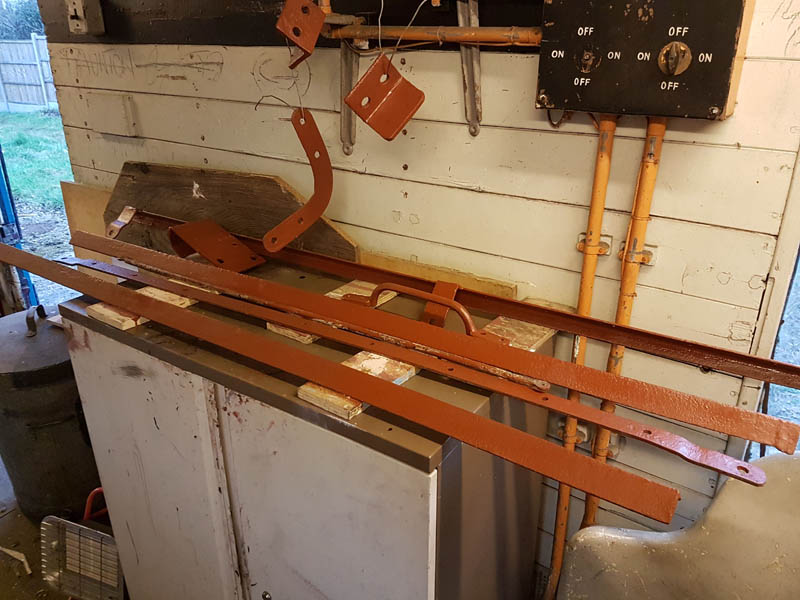
    500954 has left us to have its actuating arm welded at Rothley and will return to traffic as part of the Parcels rake at the upcoming Goods Galore gala before it joins the rest of the vans for future events.

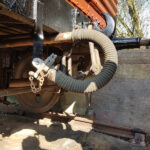
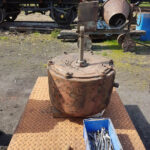
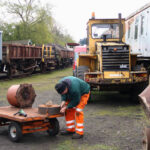
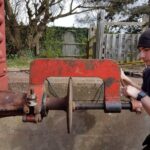
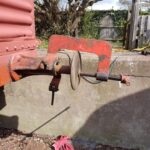
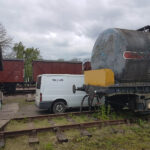
    On to this weekend and first a trip out to collect a Hydrovane Compressor kindly donated to us, this will be a great asset for the future and our thanks go out for this kind donation.20190505_182152

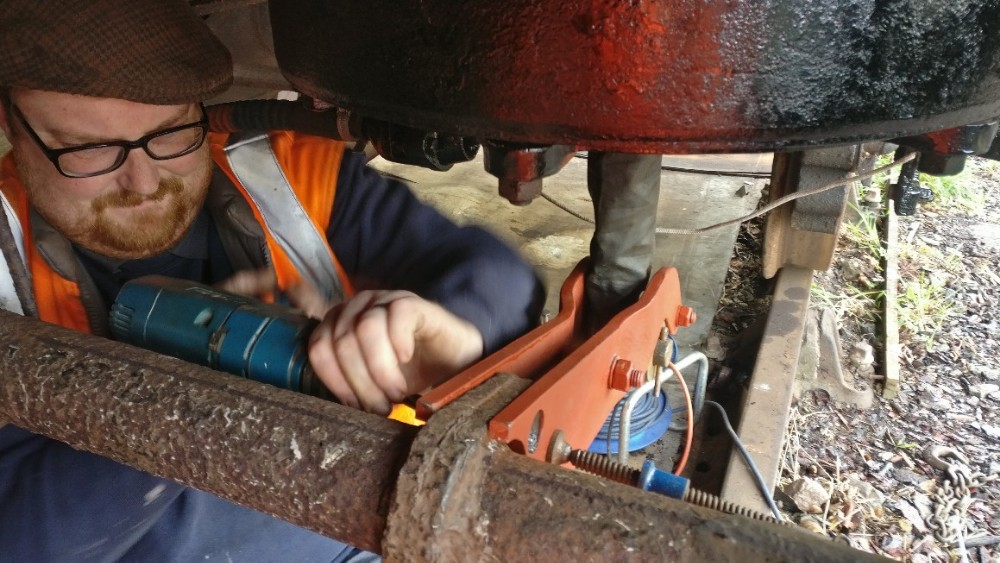
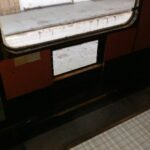
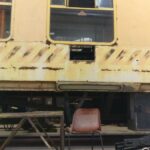
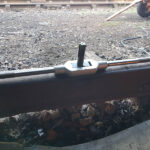
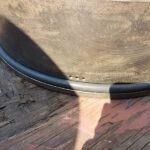
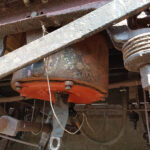
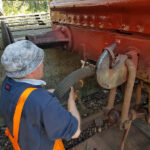
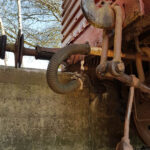
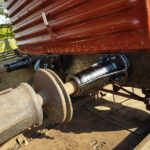
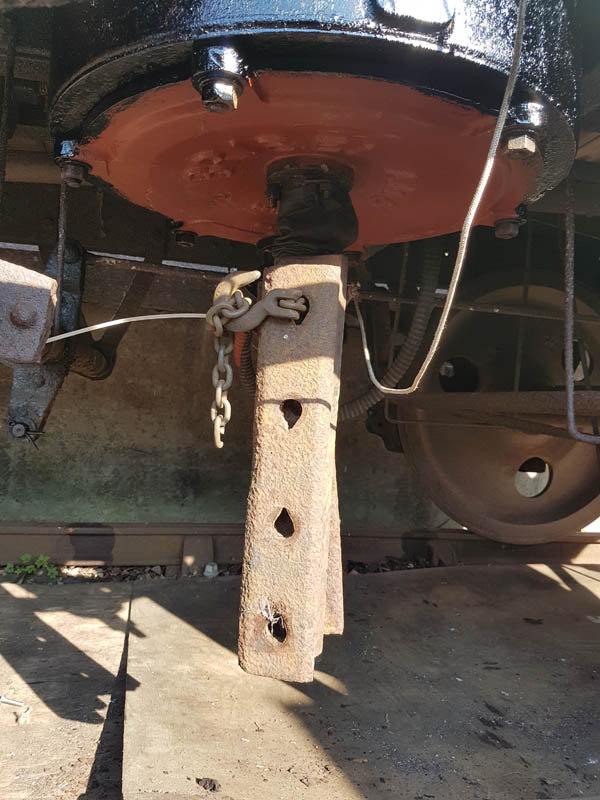
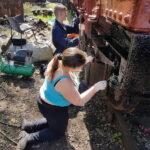
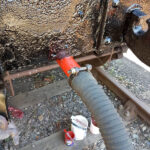
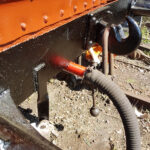
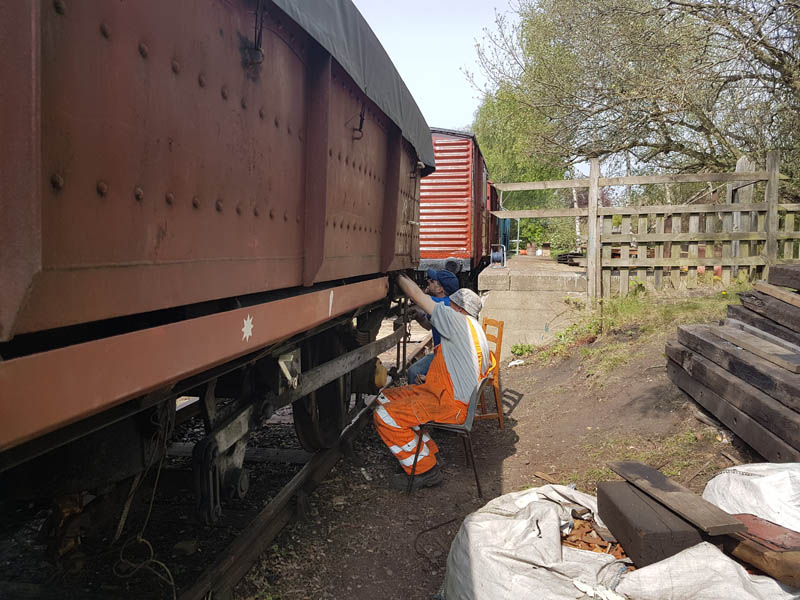
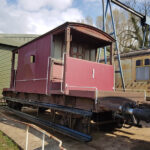
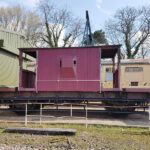
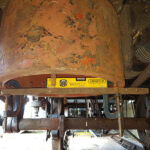
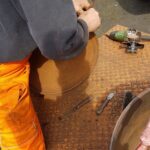
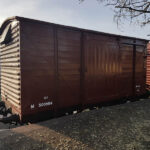
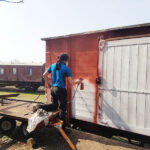
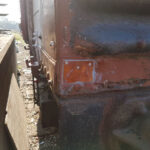
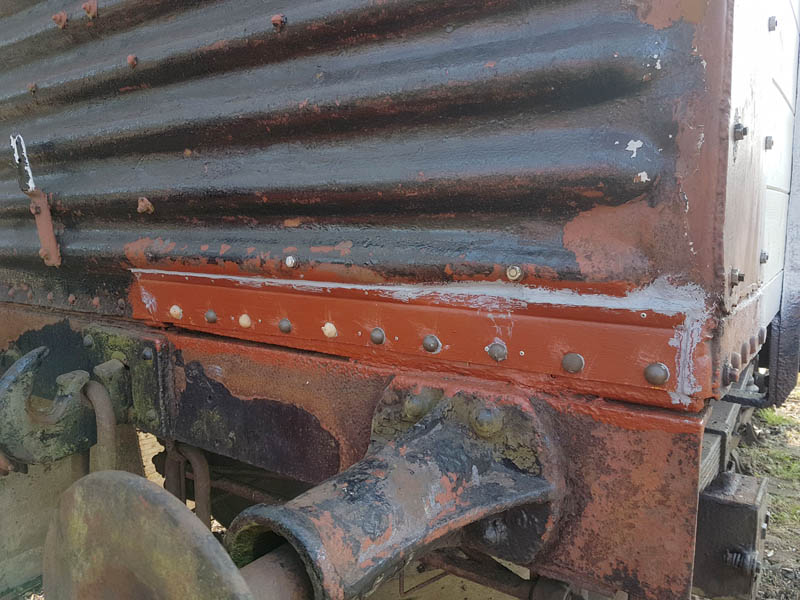
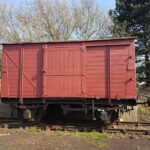
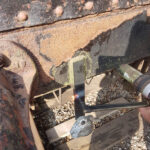
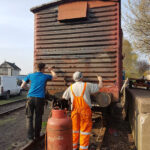
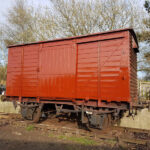
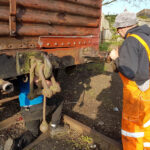
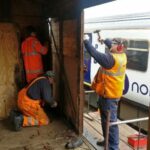
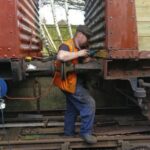
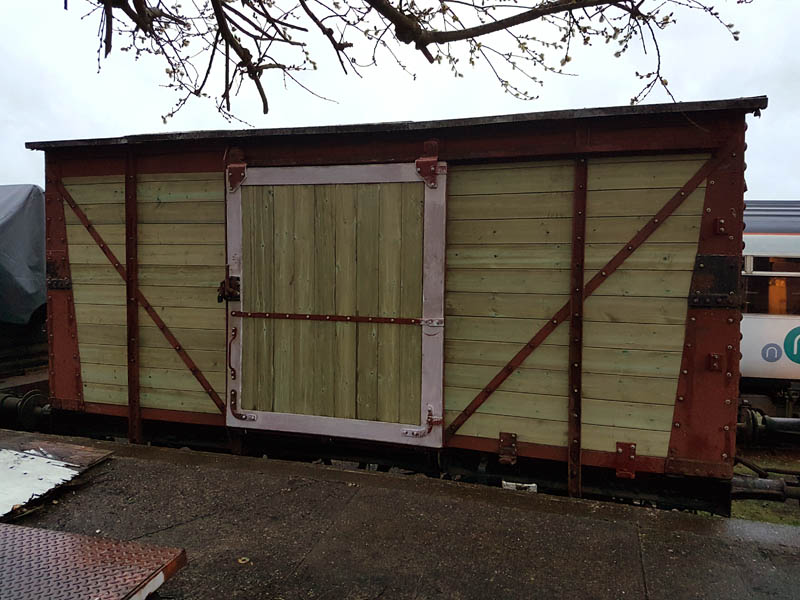
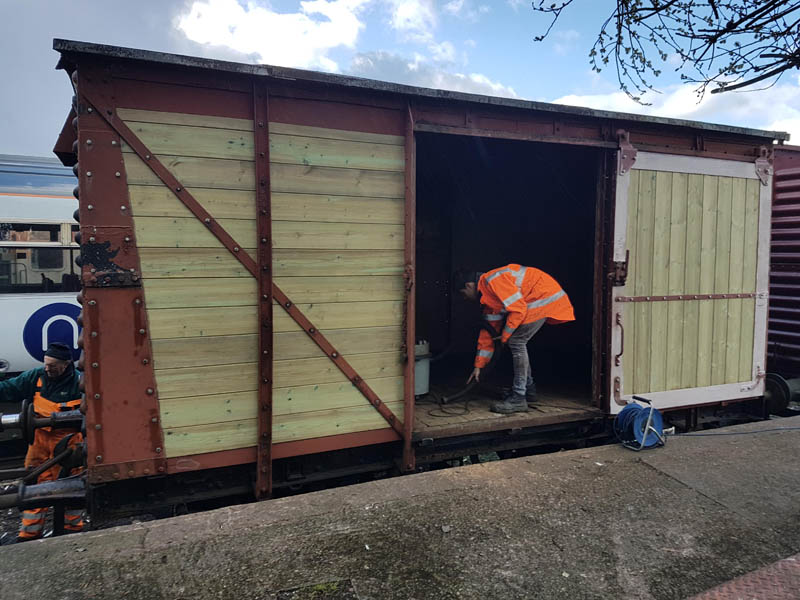
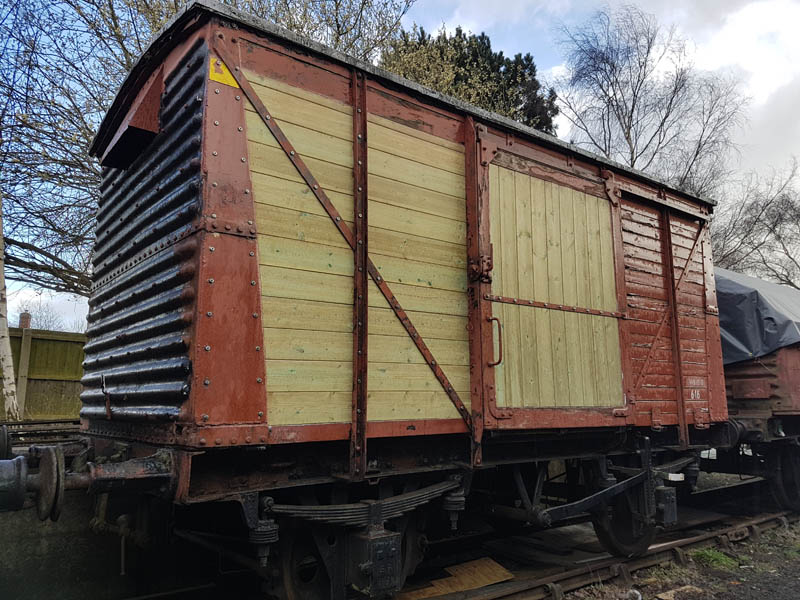
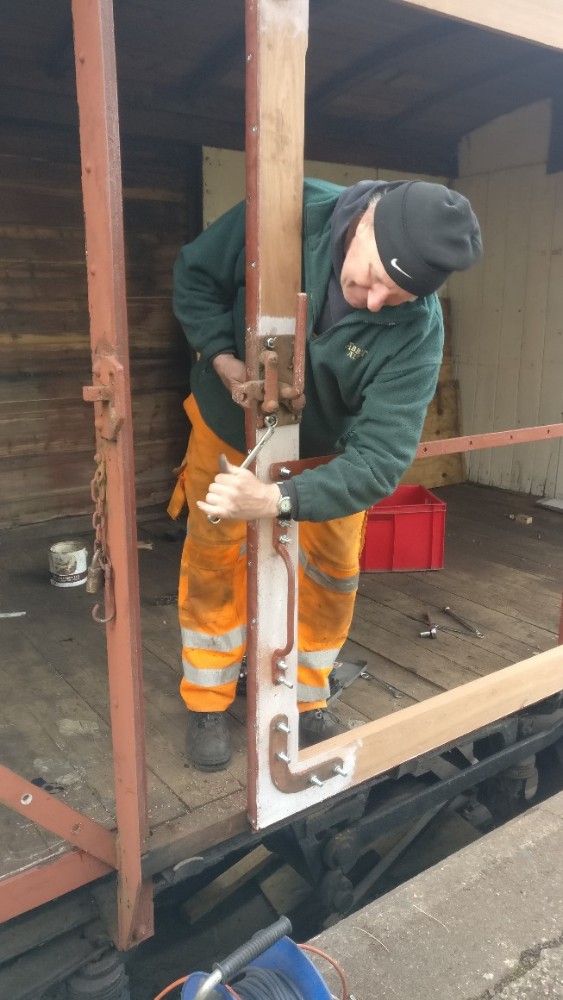
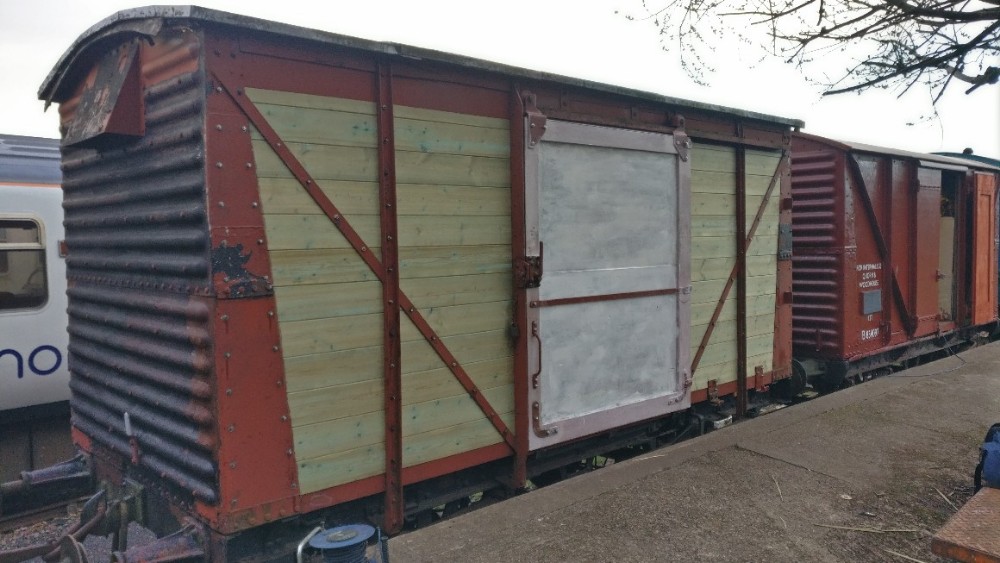
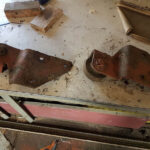
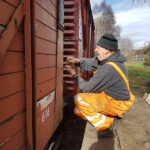
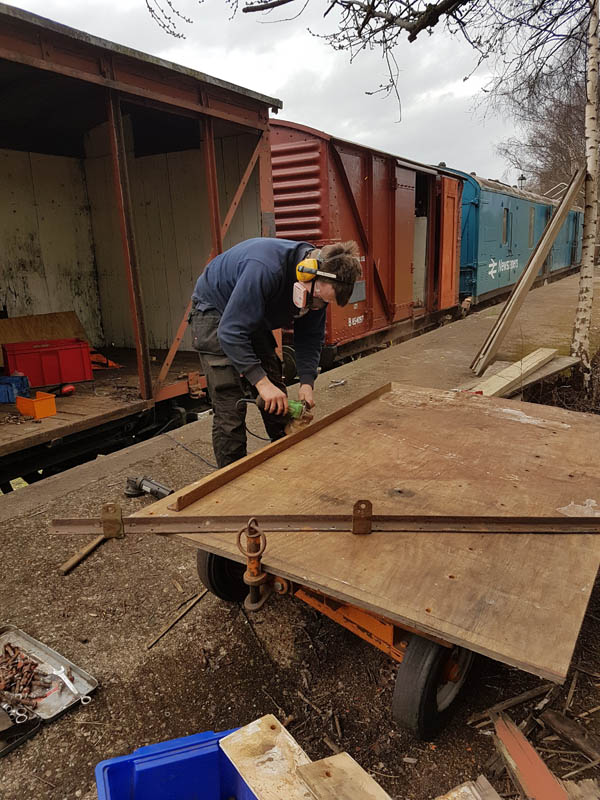
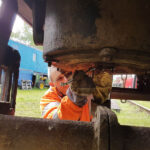
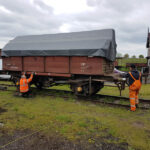
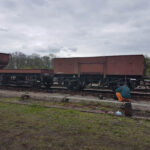
    Due to the changeable weather, our attention has turned to the vacuum system of the Shockhood B.  This had been isolated sometime ago and was picked up during our routine maintenance. The vehicle has an Empty / Loaded change over valve which once selected to the loaded position introduces an additional 15″ cylinder into the brake system as well as the standard 18″ cylinder.  When we last looked at the vehicle we connected the 15″ Cylinder direct to the train pipe of the vehicle.  After replacing the south end vacuum hose we carried out a brake test. 

    This performed unsatisfactorily even after the replacement of the release valve.  We swapped the direct connection to the 18″ cylinder and again this did not meet with expectation.

    The piston gland seal was replaced and again no change to its performance. So with a new release valve, gland seal and a missing nut replace from beneath the cylinder the issue must be internal.

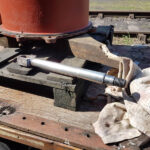
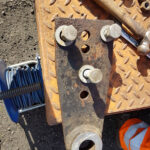
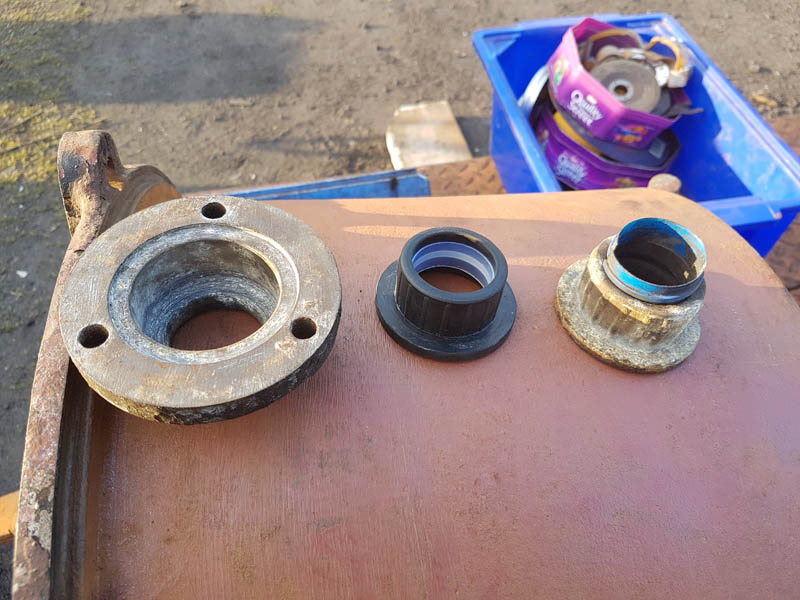
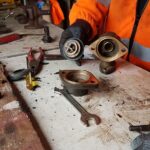
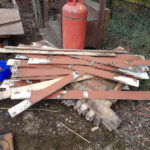
    With a plan formulated for Sunday,  we removed the release valve from the 15″ cylinder as well as the now redundant pipe work.

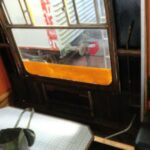
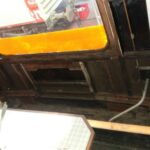
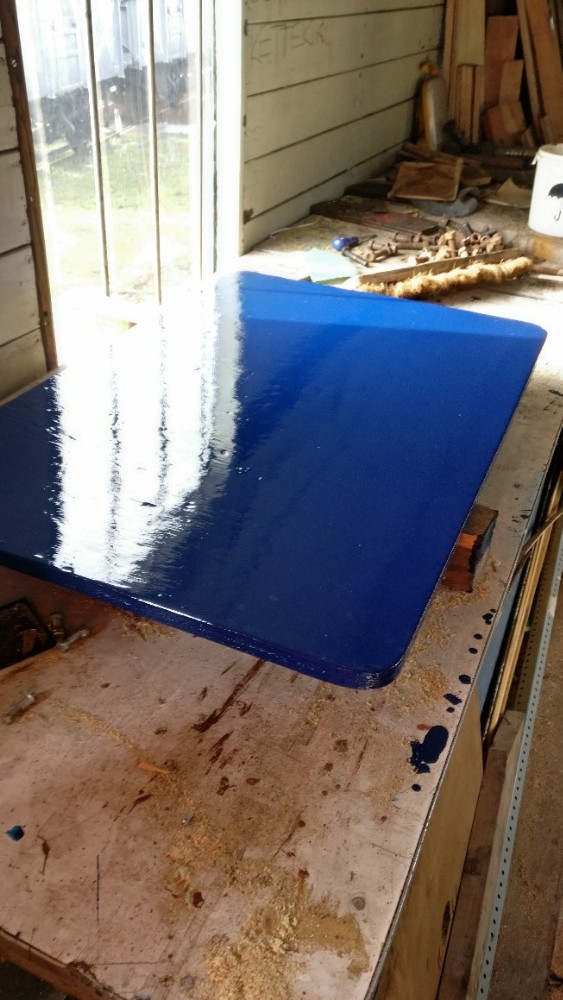
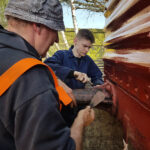
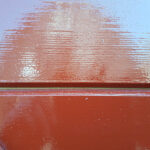
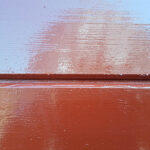
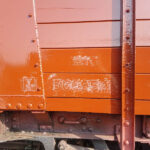
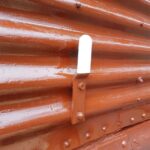
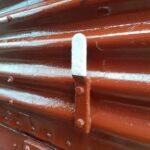
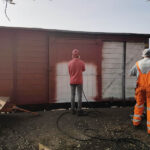
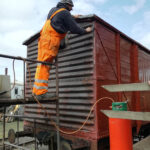
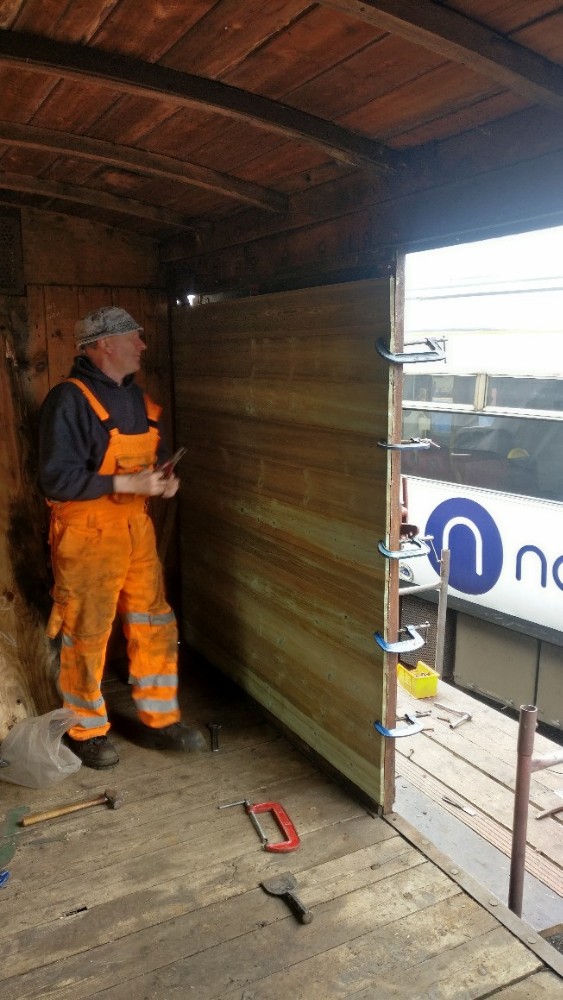
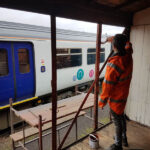
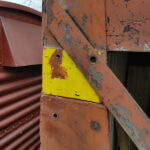
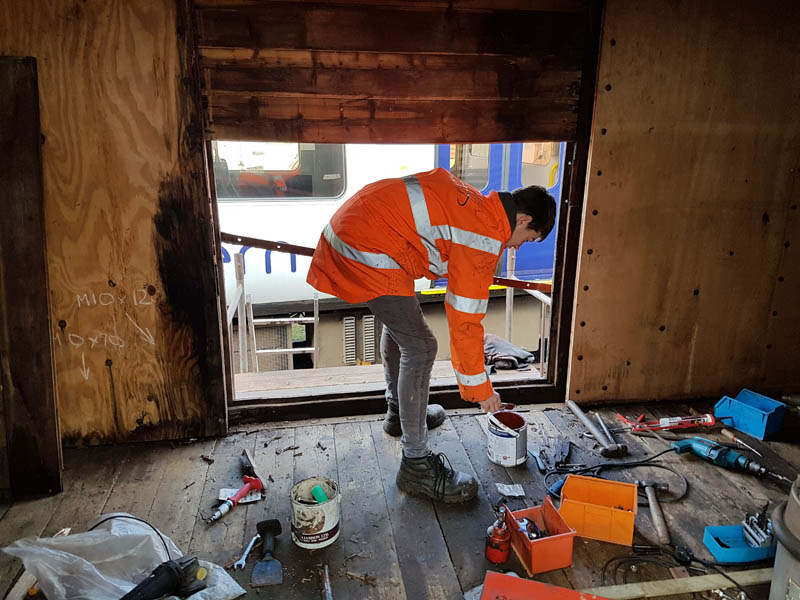
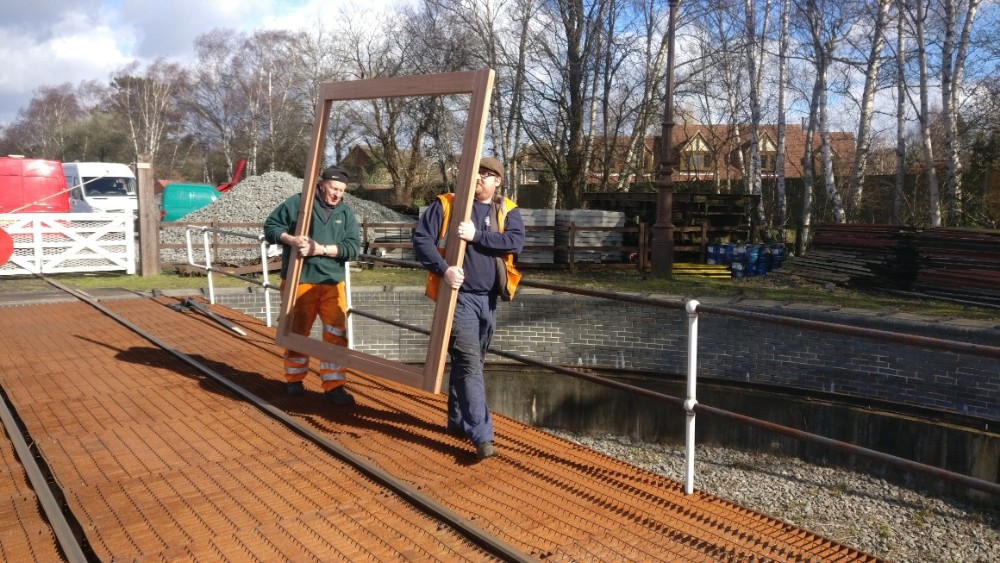
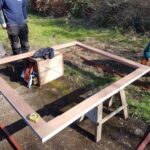
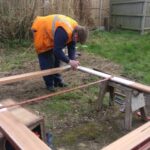
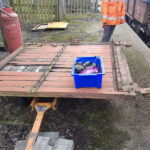
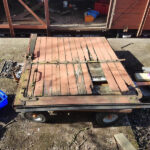
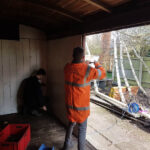
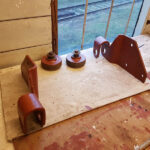
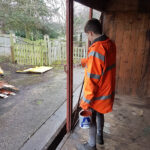
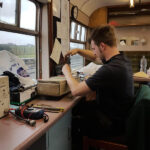
    The final job for Saturday was a spot of signwriting for Renaissance Railcars20190504_215306

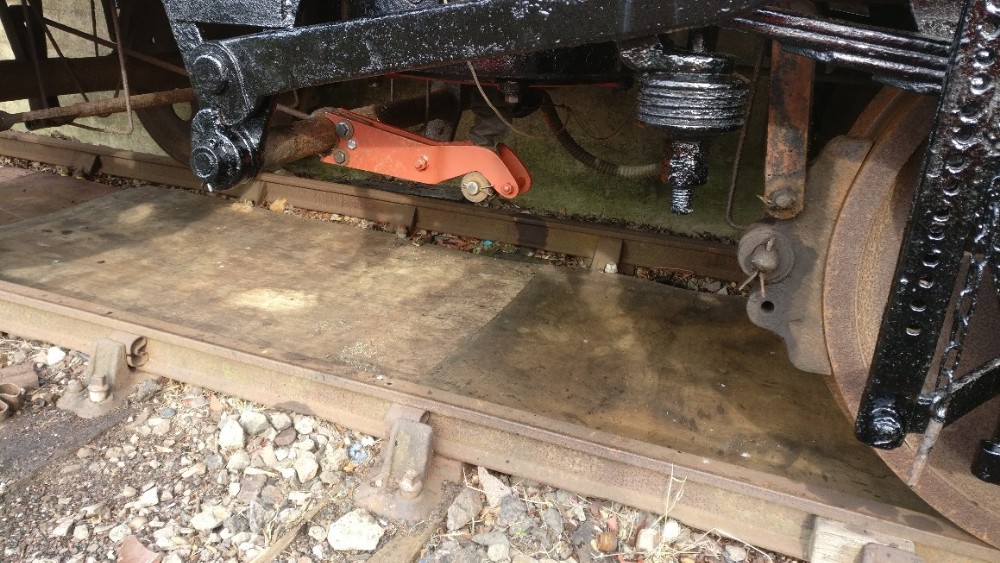
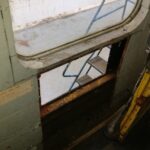
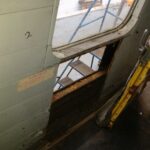
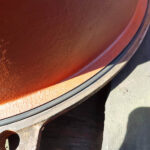
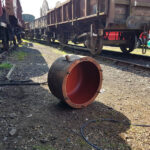
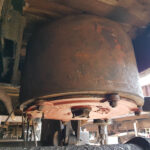
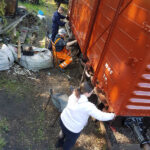
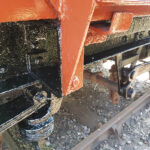
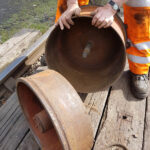
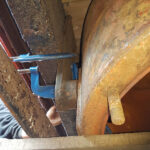
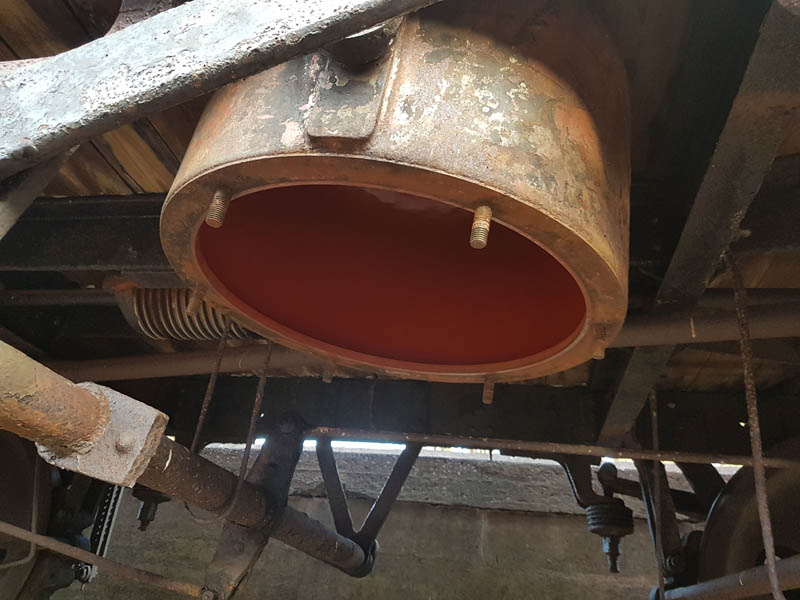
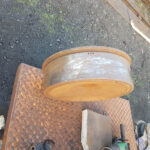
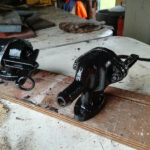
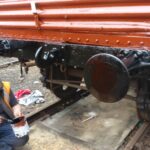
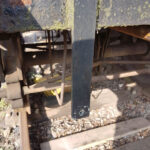
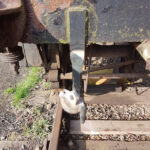
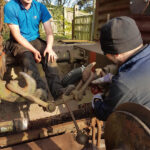
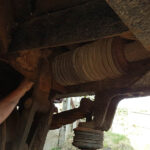
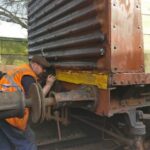
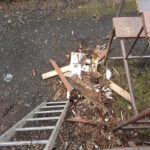
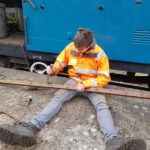
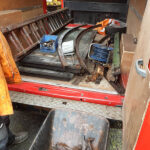
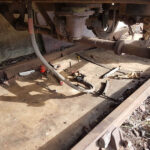
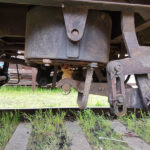
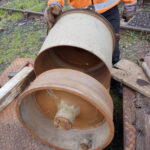
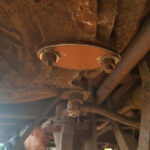
    On to Sunday and we dropped the 18″ cylinder from the Shockhood.

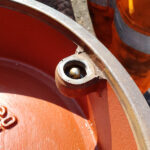
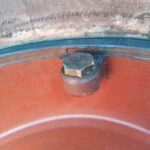
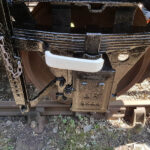
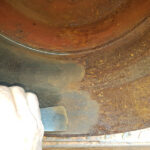
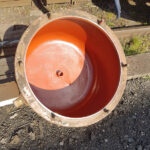
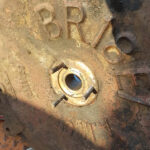
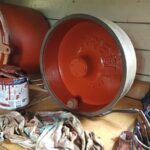
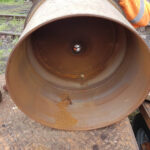
    The cylinder was last overhauled in 1993 and its internal condition was remarkable only the seals were in very poor condition.

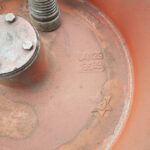
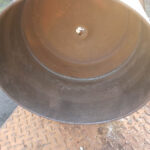
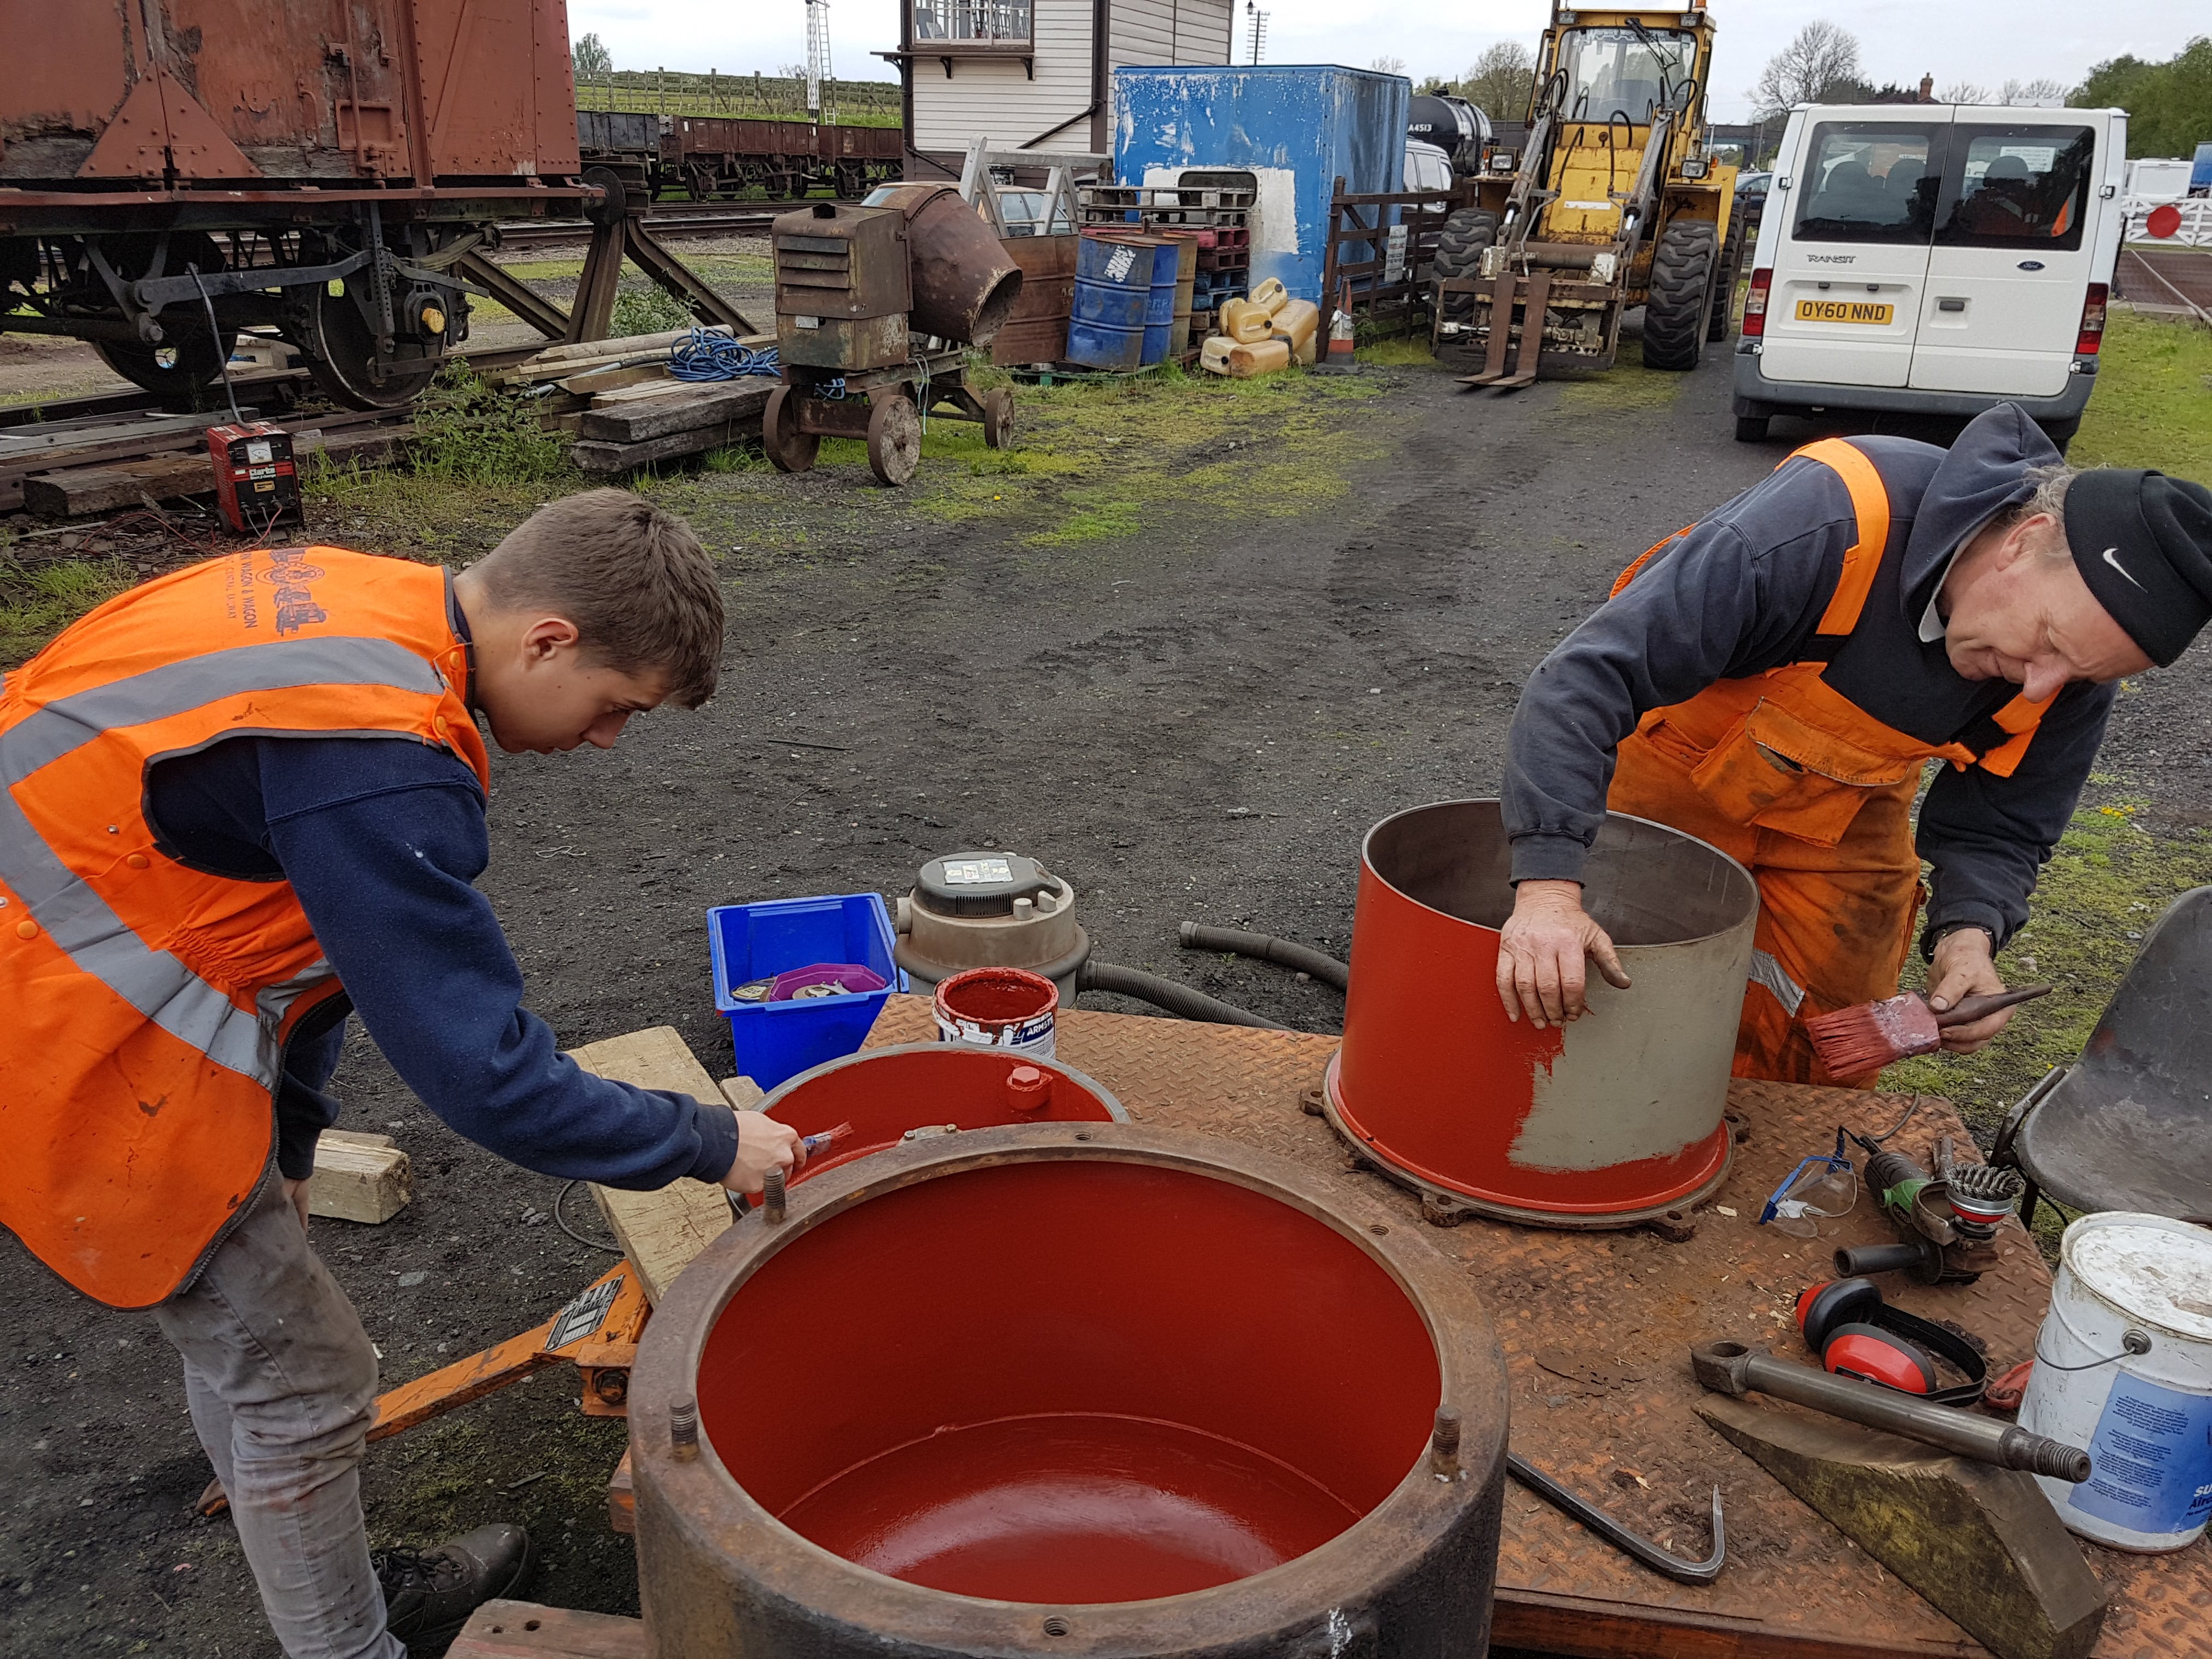
    With the seals replaced the cylinder was reassembled and the top of the dome painted in bitumastic paint.  Once it is refitted this area will be inaccessible.  Once together the cylinder was refitted, plumed back in and a test carried out.  This time the cylinder held until we released it after a tea break.

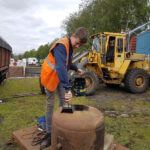
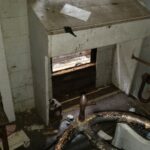
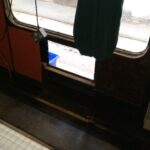
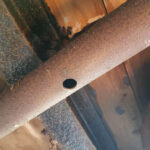
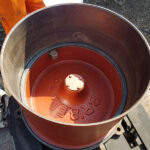
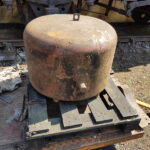
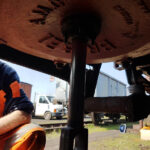
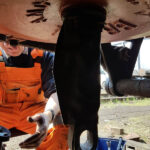
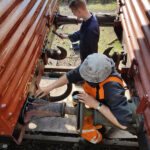
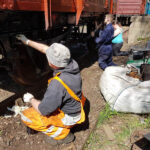
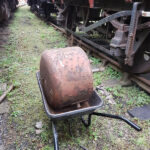
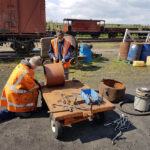
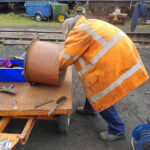
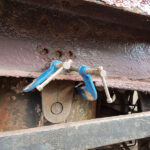
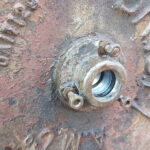
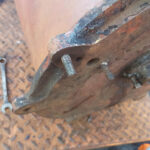
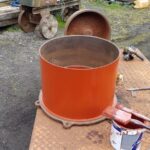
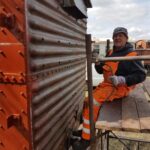
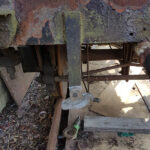
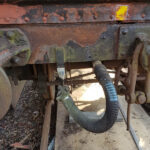
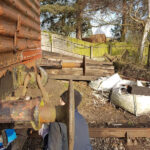
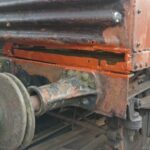
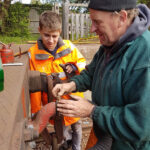
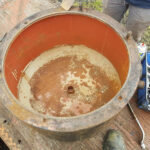
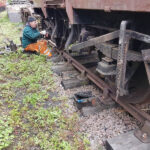
    With a boost in confidence, we turned our attention to the Medfit and again cylinder out.  This time however we lifted it out.

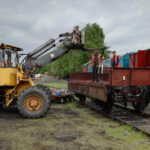
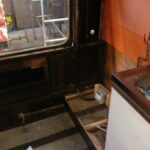
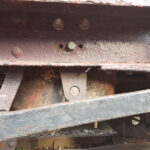
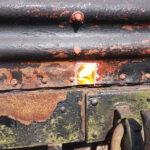
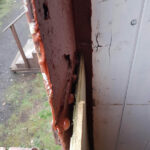
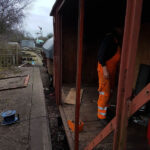
    This one shows the importance of sealing an out of use cylinder,  the Shockhoods was sealed when isolated keeping the elements out of it, the Medfits however left to the open and internally it was very poor.

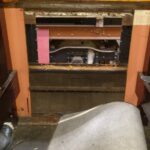
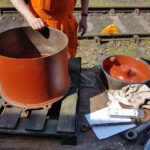
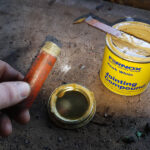
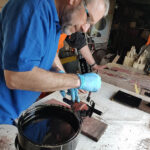
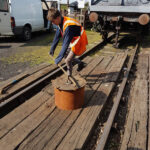
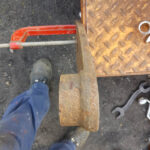
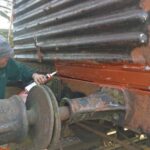
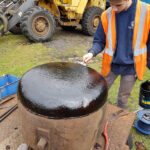
    With a scrape, wirebrush and then Red Oxide it was time for another tea break.

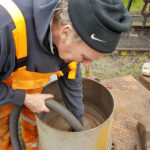
    This allowed the Red Oxide to dry so we could reassemble the cylinder with another full set of seals and it was refitted to the vehicle.  The two vehicles were then connected to the test rig individually, the cylinders operated a number of times and then the brake finally destroyed and left.

    I finally brought my latest bit of signwriting out into the sun.IMG-20190505-WA0000.jpg

    On arrival Monday the vehicles still had their brakes applied. Hardly any drop on either cylinder.

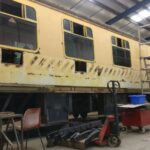
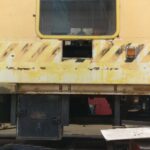
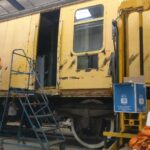
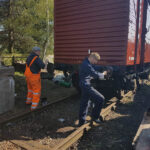
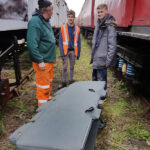
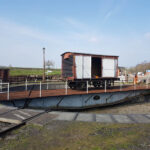
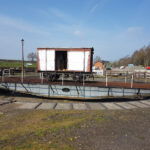
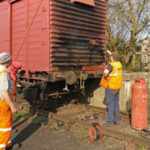
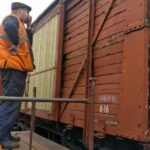
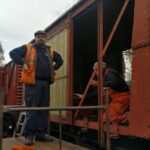
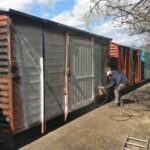
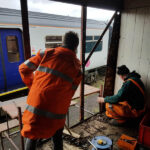
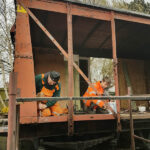
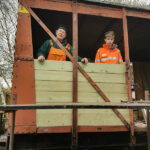
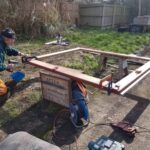
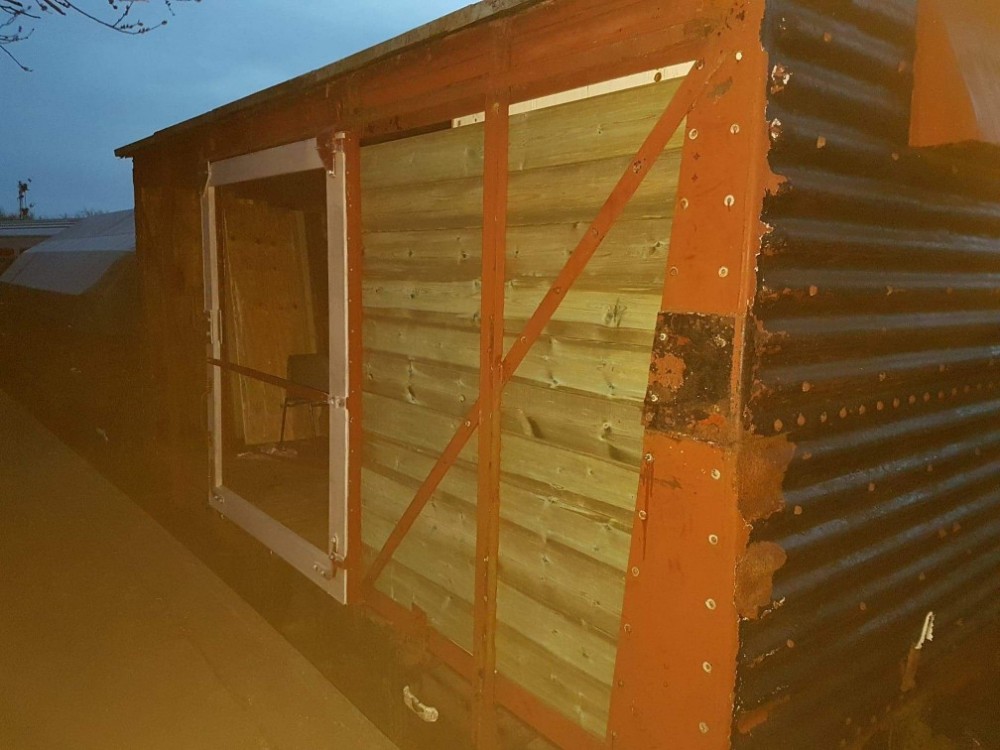
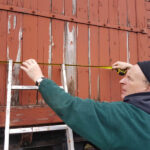
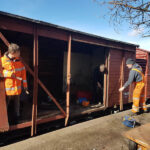
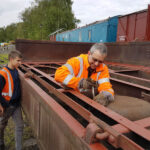
    Our task, however, was gala prep.  Next week is, of course, Goods Galore and a few of our vehicles are in operation.  We were asked by the Operations Manager to look over not only our vehicles but all those in operation.  It also gave us the opportunity to complete the Winter Maintenance of E280364 and DB916549.

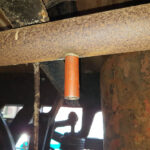
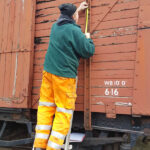
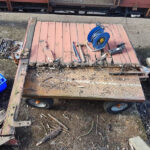
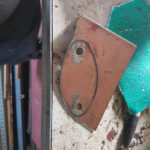
    Back at Quorn and to complete the day I manufactured a blanking plate for the now redundant 15″ cylinder on the Shockhood and Nick manufactured 2 chalkboards for the Medfit.

    As I mentioned above next weekend is Goods Galore so feel free to come down and see a substantial number of our collection in operation.

  • 28/04/19 -Operating arms and bases

    Good morning everyone and welcome to another update from Quorn. This weekend, we have finalised work on the LMS van and continued the overhaul of another 18″ wagon cylinder. We have also begun to strip out the interior of the Yellow Coach so that bodywork repairs can begin.

    Nick, Jake and Olly continued to refurb an 18″cylinder, scraping, wire brushing and abrading most surfaces of the components. The cylinder is a Westinghouse affair and has some detail differences between it and a ‘BR’ one, most notably the piston doesn’t have a ball valve in it. In our spares ‘department’ we only have E- Type release valves, which fit the standard ‘BR’ cylinders. The one for this cylinder has a ball valve as part of the release valve, which we don’t have one of currently. Perhaps there will be one in one of our box vans.

    Whilst Nick and the lads continued their work on the cylinder, Matt and I got stuck into the operating shaft of the LMS van. The arm extension that Matt had designed, and ably manufactured by Mick Carr at Loughborough (thanks Mick!), is designed as a bolt on extension to the stub left on the cross shaft. The ‘old’ arm was a rather soft steel, so drilled quite easily when one found a sharp drill bit. Sadly, not many of our drill bits are sharp so Matt racked up quite the kill count for drill bits this weekend.  He also left 2 drills smoking. I can’t say much though, as I broke a tapered reamer. Ouch! After a lot of struggling, the arm was fitted and tested. There was a slight rotation of the arm relative to the shaft, but we plan on having the arm welded where possible to increase rigidity.

    wp-1556523118173151295078350533271.jpgwp-15565231183806725555382291472951.jpg


    [wpvideo mkY1PrKf]
    On to Sunday, and a change of scenery. A while ago, our mess vehicle, the Yellow Coach was shipped off to Rothley for some very much needed bodywork attention. Jamie and Pat have now surveyed the vehicle (and affectionately named it Booths) and told us where we need to strip to reduce the fire risk when it comes to cutting out and welding. Matt and I stripped out all the body-side gas heaters, which we don’t plan on using again, and Nick and Olly started to remove the panelling around the window in the first class toilet, where whoever had fitted the plastic window had used steel machine screws in the aluminum window frame. Brass machine screws should have been used. The body-side heaters put up very little resistance and made their way to the scrap pile. Matt then concentrated on one of the mess area windows, and I set upon the kitchen. The fridge was disconnected and removed, and the oven received a similar treatment. The wall cupboard was cleared out and removed, and then I set upon the body-side wall paneling. The kitchen has an electric heater under the window. I disconnected and removed this and discovered historic fire damage on the wall behind it. When it comes to reassembly, we now have to opportunity to give the kitchen a deep clean.


    We left Rothley with items we had wanted to keep from the yellow coach and returned to Quorn to tidy them away. Matt also took some time to admire his work on a sign he is working on for Renaissance Rail Cars.

    wp-15565231174547402620111642014105.jpg

    Thanks for reading, and join us again next week for some more adventures of the wagon variety.

  • 22/04/19 An “eggcellent” bank holiday

    Four days of wagon eggcitement,  that’s the end of the Easter puns. So, on to Good Friday. Just me and Nick and work continues on reinstating the vacuum system too M500954.  With the red oxide dry, Nick gave the components a last check and hoover to ensure the best from the cylinder once assembled.

    I began by creating a branch pipe for the cylinder. Thanks to C&W at Rothley who assembled a kit of tools for me, I first drilled a hole,  this was tapped and a section of pipe pre-prepared fitted with a little jointing compound.

    Once fitted and Nick had finished we turned to assembling the cylinder.  The ball valve was checked to ensure complete and unscored this was reassembled and the Piston Rolling ring and cylinder sealing ring were positioned.

    The piston its self was then slid into the cylinder body, lowering steadily and under control. Another hoover and the Cylinder dome was removed from the van.

    The dome was fitted and bolted to the rest of the cylinder and placed on a pallet ready for fitting. The piston rod was polished also ready for fitting.

    The only means available to us to fit such a heavy item under a vehicle is by a loading shovel fitted with lifting forks.  So with a few fine movements, the cylinder was hung initially from the inner trunion.

    The outer trunnion was bolted in place as well as all the associated fittings. Piston Rod, Gator, Release valve, release chord, and cylinder hose.

    To complete the vacuum side new hoses were fitted to either end of the van, these are fitted without swan necks as the pipe was welded in position by its previous owners and we see no reason to remove it just to thread the pipes. As we have said numerous times,  we don’t restore vehicles we repair them.

    With the new pipes fitted, we weighed the cylinder piston with roughly 25kg as is the requirement for a static test and using our test rig we sucked up a vacuum.  A small leak was apparent from the new branch pipe, which we expected so a quick visit to Rothley will be required to weld the branch before release to traffic.  The cylinder I shall mention lower in a moment.

    Unfortunately Saturday I spent most of the day at work however work was continued by Nick and Olly scraping and painting the West side underframe and North headstock.

    The vacuum cylinder continues to hold a vacuum 24 hours after application.20190420_170040.jpg

    On to Sunday and I started by signwriting the Wagon plate and Vacuum release star to the west side and XP markings on to both sides.  Now there was no doubt the vehicle will be operated as a fitted one.

    Nick and Olly along with my wife Michelle scraped and applied bitumastic paint to the east side underframe as well as the Northend buffers.

    I continued with further detailing. Vacuum pipes painted red, handbrake ends white, where shrunk bare wood was painted and any missing bauxite touched up.

    With the east side painted and because of the extraordinary weather it was dry within a few hours and the east side details applied,

    Final day and with the morning light certain areas that had been missed were touched up.  The chalk from the signwriting removed and Nick carried out a pad exam and oil.  Dave joined us and continued his work on overhauling our spare release valves.

    Apart from the actuating arm and the quick weld on the vacuum branch pipe this sees M500954 essentially complete
    Attention now turns to B726344, preparing it for paint20190422_140849

    As the day drew to a close the evening sun shone on to our latest vehicle and Dave managed a sneaky snap of myself and Nick admiring our handy work.

  • 14/04/19 – It will soon suck once again

    This weekend we started with a morning trip “Up” the line to Swithland then on to Rothley.  The Swithland stop was to pick up an 18″ Vacuum cylinder for 500954 and also as the gang is increasing in size a set of seats for Nicks Transit to move us all about when necessary.  On this point, we welcome back Olly, who use to help Nick some time ago.

    On to Rothley and some overalls, boots and high-vis for Olly stored in “The Yellow Coach” and a quick look at B954546 which has been recladded on the Westside and received new footboards all-round, amongst other work.

    Back at Quorn and the task of overhauling the cylinder. According to the overhaul tag it was last split in 1975 and as expected a few difficulties were encountered. The piston had seized, but the dome was removed without too much hassle. The piston was loosened with a little sledgehammer application and once free Jake unscrewed the piston rod.

    Once in kit form, Jake and Olly began to clean up the individual components.

    Whilst the dome was empty it was easier to handle under 500954 so Nick and I used it to position and mark the new outer trunnion.  The new item is a BR Coach one which is narrower than the LMS wagon one. The Trunion was offered up, the cylinder leveled and squared and the trunnion clamped and marked up.

    The pivot mount was found to be too thick so the trunnion was unclamped adjusted with an angle grinder and reclamped.

    The dome was checked for clearance and found to pivot freely so the final hole position was marked and drilled.  The inside of the dome was also “descaled” and painted before being bolted temporarily into position, the first time since 1967 a cylinder has been hung under the vehicle.

    Back on to the other components and with Olly’s help I removed the old gland seal, although 2 out of the 3 studs sheared.20190413_182919

    With 2 pieces of replacement threaded bar located the new gland seal was fixed in position and by luck one of the sheared studs had enough thread remaining to replace the missing release valve stud.


    Last items for Saturday and Jake and Olly made a superb job of the component clean up.

    On to Sunday and I was occupied crewing the Class 47 during the GCR’s Diesel Gala.

    Jake and Nick continued with the cylinder overhaul ensuring every ounce of rust and detritus was removed.  The plain faces of the cylinder were then red oxide-d ready for next week’s assembly.

    Dave was also with us and took on the task of overhauling a few of our spare release valves.

    Ross, in the meantime, is once again on his way to Greece on a family holiday.57206048_312782232745429_7208615698778554368_n

    4 days for wagons next weekend, anything can happen with so much time.

  • 07/04/19 – Getting round to the end

    Thanks for joining us for another QWW update. This week we have been working on progressing the LMS van, M500954. Those of you who follow our Facebook page will already know that on Monday, Matt had popped in after this early shift at work to signwriting the still drying van. The van is now signwritten, but will receive its XP rating once the vacuum cylinder is refitted as intended.

    On to Saturday and Nick and Matt began by finishing scraping and wire brushing both ends of the van. The north end required a capping wood trimming, then the remainder of the paint removing.

    Whilst removing the paint, we found some more concrete evidence as to the van’s new number. As we have mentioned previously we settled on 500954 as it was the most likely number from the disposal list of 1000 vans. The van was recorded as withdrawn at Barassie works, and its final location recorded as Inverkeithing. This is the only van of those withdrawn at Barassie that wasn’t broken up there, and it ended up 1 mile from Inverkeithing as an internal user at MOD Rosyth.

    Getting to the point, we uncovered the roof covering date: “7090; 23.10.54”. The depot code for Barassie is 7090 in the 4 number code system. This confirms the van was in Scotland towards the end of its revenue earning service. This we know, as the van was withdrawn at the same works in period 8 in 1967. It was then recorded at Inverkeithing in period 13, 1967.

    wp-15545851386814579001820699400838.jpg

    Once the ends of the van had the paint removed and wire-brushed, I set about applying primer, then undercoat and then top coat to the ends. Whilst I was doing the north end, Matt and Nick fixed the buffer identified as loose last week, which involved an item we have stored in the corner of our tool van, but never once used; a buffer clamp. Usually, we would pin the wagon down and then compress the buffer using the forklift.

    On to Sunday, and with it I found myself out of action performing repairs to my car for a forthcoming MOT. I was on site however should any assistance be required. Matt and Nick set about scraping the tin roof of the LMS van clear of its flaking paint, and applying a coat of bitumenous paint.

    Matt also reapplied the roof covering date to the north end of the van were it was found. He also picked out the lamp brackets in white, as this is intended to be a fitted vehicle. Finished with the roof, Matt and Nick set about using up what was left in the bitumen tin by painting the south end headstock.

    I’m now signing off for 2 weeks, as I am again journeying to Greece. Join Matt again next week for more tales of the LMS van story!

  • 31/03/19 – A touch of gloss

    This weekend work of cause continues on 500954,  with the weather as it is it would have been silly to waste it.  The priority has been to paint the sides of the vehicle.  The metal work was scraped down on the East side and Jake and Ross began the spraying. 

    Whilst this was going on I tended to some of the last details on the vehicle ends.  Two further plates were manufactured and sealant applied. 

    The large repair plate that was fitted last weekend received a row of false rivets to blend the repair into the vehicle.  20190330_122632

    Once the east side was in undercoat, we manhandled the vehicle round to the turntable for a quick spin,  this served two purposes, to make the job of spraying the former westside easier and to allow access to the vacuum cylinder location as we will be reinstating the vacuum brake which was removed when the vehicle was sold out of BR ownership around 1964. 

    Whilst the spraying of the new Eastside began my attention turned to fitting the vacuum pipe dummies.  Holes drilled, radiuses filed and the dummies bolted into position.  

    Once fitted the metal work was heated and twisted to allow the vacuum hose to be fitted to the dummy when not in use.  

    With the sides in undercoat, all hands turned to stripping the South end of the vehicle,  it had been painted in bitumastic paint and this will cause issues if we do not fully remove it. 

    The stripping of the vehicle end continued into Sunday morning and the entire south end was successfully complete along with most of the way up the north end, unfortunately, it could not be complete due to the loose woodwork under the roof end which would not react well to our paint removing technique. 

    I, however, spent the day at the Mountsorrel Railway carrying out demonstration shunts, Dave was on site to assist in my absence.  Although I was also on a fact-finding mission as I took the opportunity to measure the brake cylinder actuating arm on the main brake cross shaft of our LMS medfit. This item is missing from the van and we will require it to reinstate the brakes.20190331_100630 - Copy

    The main event was the top coat being applied to the van sides and this was duly applied by Jake and Ross.

    Final tasks were to free off the screw couplings and investigate our loose south-east buffer,  the prognosis, a missing compression rubber. 

    That concludes this weekends work,  as always we shall keep you up to date next week.

  • 24/03/19 – First (spray) Paint

    Thanks for joining for another update! Work this week has continued on the LMS box van. Last week, it was left with 5/6 side sheets replaced, so this week we completed the re-cladding of the van. When I’d arrived, (admittedly later than usual) Matt and Nick had undone most of the bolts holding the remaining cladding to the vehicle. Once the internal cladding had been removed, the planks were removed.


    The door on this side of the van has always been stiff to open, so with the side out, Matt began to investigate why.  He began by removing a bit of angle iron that was rubbing on the door, a sort of steel draught excluder.  This helped, but didn’t completely solve the issue. With Matt out of the way, Jake cleaned and painted the backs of the steel uprights, in preparation for putting the boarding back in.


    Once started the cladding came together extremely quickly; a blink and you’ll miss it moment!

    wp-15535001652288240665825837648243.jpg

    As with the other corners, this was then fixed into place. Matt, meanwhile, began repairing a hole in the van’s end pressing. As mentioned before, we don’t have the ability to weld in the south yard, so any metal repair has to be bolted or riveted. Matt spent his time in the RAF as an Airframe technician, carrying out riveted repairs to Nimrod airframes among other things. Using the skills honed in the RAF, Matt set about fabricated a patch to go over the lack of metal at the bottom of the end pressing.


    As Matt was at the Bluebell Railway on Sunday, Nick and I finished up riveting the plate into position. Also on Sunday, Jake continued his practise at using the spray gun, and both he and I got both van sides into wood primer. Whilst we tackled the Dock side, Nick continued fettling the reluctant sliding door on the west side of the van, and sealing the side of the van.


    The painting and the door fettling completed, we turned our attention to the Shochood B and Medfit’s vacuum system. At some point in the past, unknown to us, these vehicles had had their vacuum systems isolated, so were effectively running through piped. We completed the system, and began to diagnose. Nick gathered together some branch pipes and set about reconnected the cylinders. Doing this first step allows us to diagnose the vacuum system, and see where we need to next turn out attention to. That done, I freed the vacuum test rig from the corner of the tool van, and assemble its hoses to begin testing. results from the testing are as follows: the Shochood B requires a new vacuum hose at the south end, and the Medfit requires 2 new hoses and a cylinder overhaul. Though we are thinking about a quieter test rig! (ours is powered by a Lister-Petter diesel engine, so an electric motor probably won’t go amiss!)

    Thanks for reading, and who knows what we’ll be doing next week!

  • 17/03/19 -“You only paint them”

    17/03/19 -“You only paint them”

    We have heard in the past that some say we only repaint our vehicles,  I hope those that once thought that have had a change of opinion and that the last 3 weekends reinforce that opinion.  Work of cause continues on M500954.  First job to complete the East side.  Door planks were trimmed and any areas that will allow moisture in were sealed.


    On to the west side which traditionally is the weathered side and this one is no exception. We focused on the North corner and as the bolts were removed the side basically fell out.


    Jake then cleaned down and applied red oxide to the back of the frame whilst I manufactured a plate to cover the hole that has allowed water into and subsequently rot the van side.


    With the wind whipping around the now open side the red oxide dried very quickly.  The planking then began.  Once we got half way up recesses were cut to allow the planks to sit flush despite four rivets.


    Once fully planked plywood inner sheets were cut to size, fitted, holes drilled and bolts fitted, with the final task for Saturday to screw areas on the inner ply skin that was not supported by bolts.


    As can be seen, quite a transformation if we don’t say so ourselves.Untitled-1
    On to Sunday and attention turned to the West side door.  The old planks were removed, well fell off if we are once again being honest. As well as the locking catch.


    Some of the rot had penetrated into the inner planks so these were also removed as required.  This allowed access for Jake to clean and red oxide the doors centre bar.20190317_095652.jpg

    The plan is not to remove this door but a few areas were tight, so the remaining planks were sanded down to allow clearances to allow the door to slide easily. Measurements were taken and a suitable piece of ply was cut to size and fitted.


    Jake primed the edges before fitment and then the outer face once in position, the new door planks were also trimmed to size and locking catch refitted.


    The planks were of cause fitted, bolted and screwed top and bottom.


    Last job was to clean and hoover the inside ready for the final push.20190317_154646

    This completes this weekends work, we are 5/6th of the way through with just one corner to go.  This of cause will be the topic for next weekends update.20190317_155605


  • 11/03/2019 – Framed again

    Good morning everyone, and welcome to another update from Quorn Wagon and Wagon.  This weekend, we have continued to work on the LMS box van.  At the end of last week, we had stripped the side from the van and removed the door frame for patterns.

    On Saturday morning we took delivery of the new side planks for the van from Harlows timber merchants. These planks have been pressure treated, so should stand up to the beating the weather throws at the body sides. We also took delivery of a new sliding door frame, ably carried by Matt and Nick.

    wp-15522899225777432063831640314855.jpg

    So the day begins, we began by building up the door frame with all the bits of steel framework to enable the door to be refitted to the van. Taking advantage of the good weather, Matt and Nick set up shop on the dock. Before mounting anything to the frame, areas where things were to be mounted had a generous coating of wood primer. A tea was consumed to allow the paint to dry a little bit, and then the top and bottom angle irons were fitted.

    Then the side frame was added, which governed the placing of the rollers at the top of the door, and the corner reinforcing pieces at the bottom.

    What was I doing whilst Matt and Nick were readying the door? I was repairing some other doors, as fitted to another Transit van. I replaced locks on the load space doors, and then sat in the warmth of TC2 and repaired the rear door wiring loom. Once I’d fixed the central locking, I assisted Matt and Nick with the rehanging of the sliding door. We’d managed to slide the door on, but some adjustment was required to allow the door its full range of movement. Last thing to fit to the door was the latch.

    wp-15522899229256243471412458871704.jpg

    Just before hometime on Saturday,  Matt painted the door frame and rebates in wood primer and part of the side ‘fell’ in.

    wp-15522900128594679823104408427669.jpg

    On to Sunday. Before I had got there, Matt and Nick (in between perusing the Swapmeet) had fitted the south side planks. Both end required a filling strip, at the top of the cladding, which I set myself up in the GUV to make. These were slid in, and then a team of Dave, Jake, Matt and Nick set about bolting the side planks and internal cladding to the van side. Whilst they did that, I cut out the plywood back piece for the sliding door. The vertical front planks screw to this backing wood, so this task readies us for next week.  Nick, using the angle grinder, cut off the end of the bolts that were considered too long, whilst I was inside screwing the backing boards to the door frame. Now the sides are in its a bit dark in there! Jake finished the door off by painting the front face of the plywood in wood primer.

    wp-15522899227674054112798316505518.jpg

    Next week, the door planks will be added and the side planks painted with wood primer (weather dependent). Then onto the other side!

    Thanks for reading!

  • 03/03/19 – Business as usual

    As the title suggests we have returned to what we can only describe as our usual business. M500954, the LMS boxvan, is our next project.  The first task was to measure the vehicle so accurate replacement planks can be ordered.


    With measurements taken attention turned to the east side of the vehicle.  The door was removed, this basically fell off as it was quite rotten. My job being to dismantle it, salvage the steel fittings and as much wood as possible.


    Although the frame remains most of this will require replacement but it is being retained for templating.  Nick, Ross and Jake removed the bolts from the side planks and dismantled the inner and outer skins.


    All of the metal components removed from the door and an L angle from the frame were scraped down, cleaned up and red oxide applied.


    The last job for Saturday was to red oxide the frame were the L angle mentioned above lives.  This angle tightens the gap between frame and door when it is closed, a metallic draft excluder if you will.  Straight on to Sunday and with both frame and L angle dried they were bolted back together.


    Sunday morning was spent at Loughborough.  With preparations for unifying the GCR with its Northern counterpart, a number of grounded vans are requiring to be removed.  We have earmarked a number for possible future use but our trip was to collect spares that could be more useful in the short term. We have also looked at the viability of the Containers so expect further news on these.


    Back to Quorn and we were happy to have a further visit from Dave Bower.  We have some exciting ideas for Test Car 2 which we will shed light on in future updates.

    Jake returned to work on M500954 and applied red oxide to the back of all of the now exposed metal work.  Ross took a look at the Slip Working headlight whilst I looked at the possibility of manufacturing chalkboard brackets.  I am happy with the result.


    This week we shall be placing orders for wood and hopefully delivery will be in time for next weekends activities, we, as always shall keep you up to date.