Tag: 56010

  • 03/08/25 -Then there were Six !

    03/08/25 -Then there were Six !

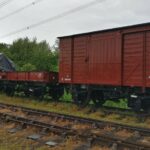
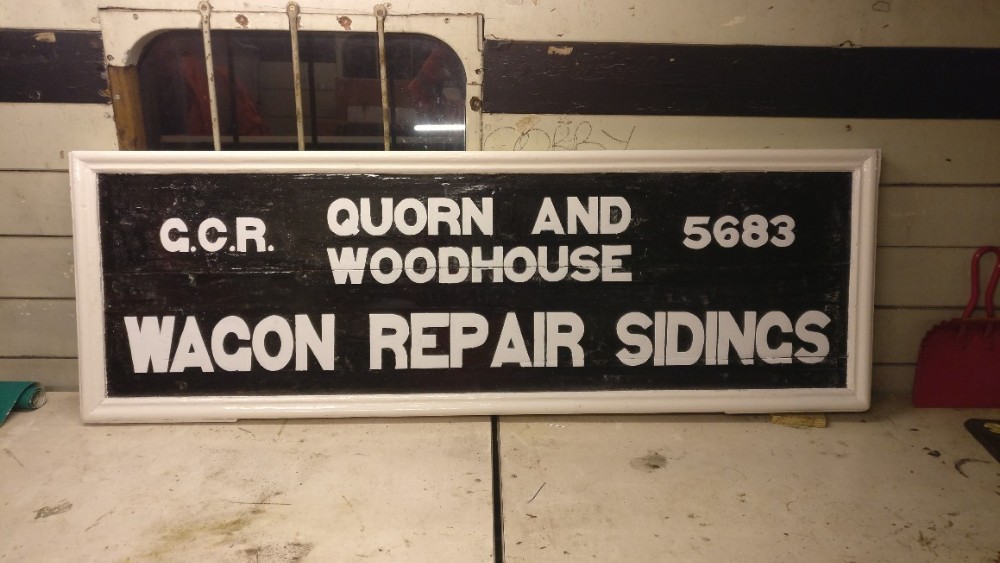
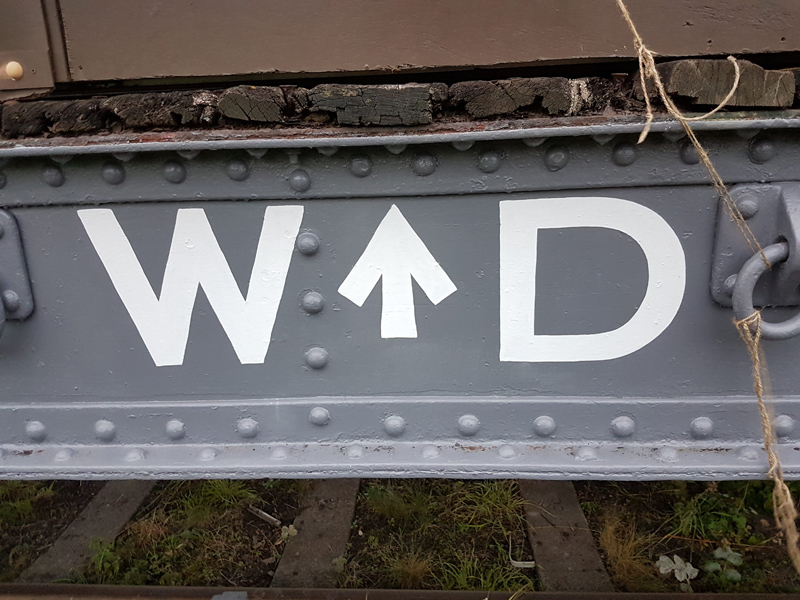
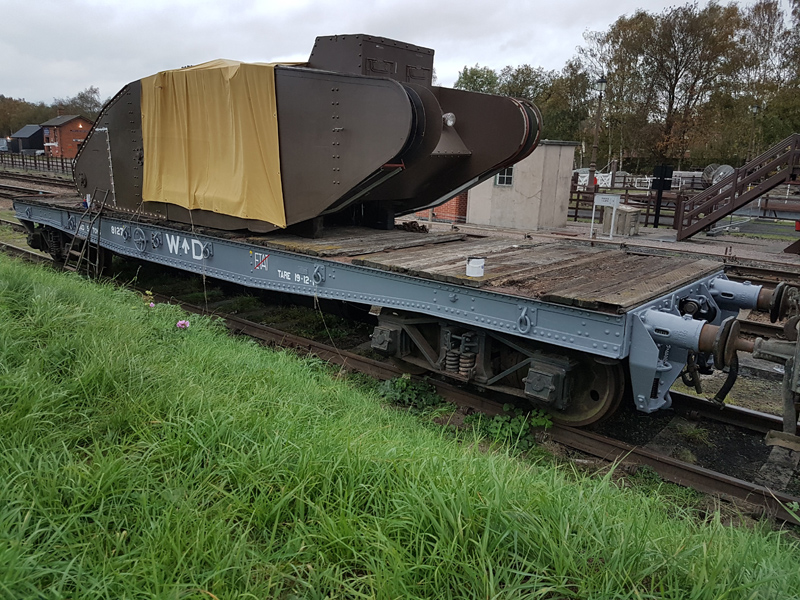
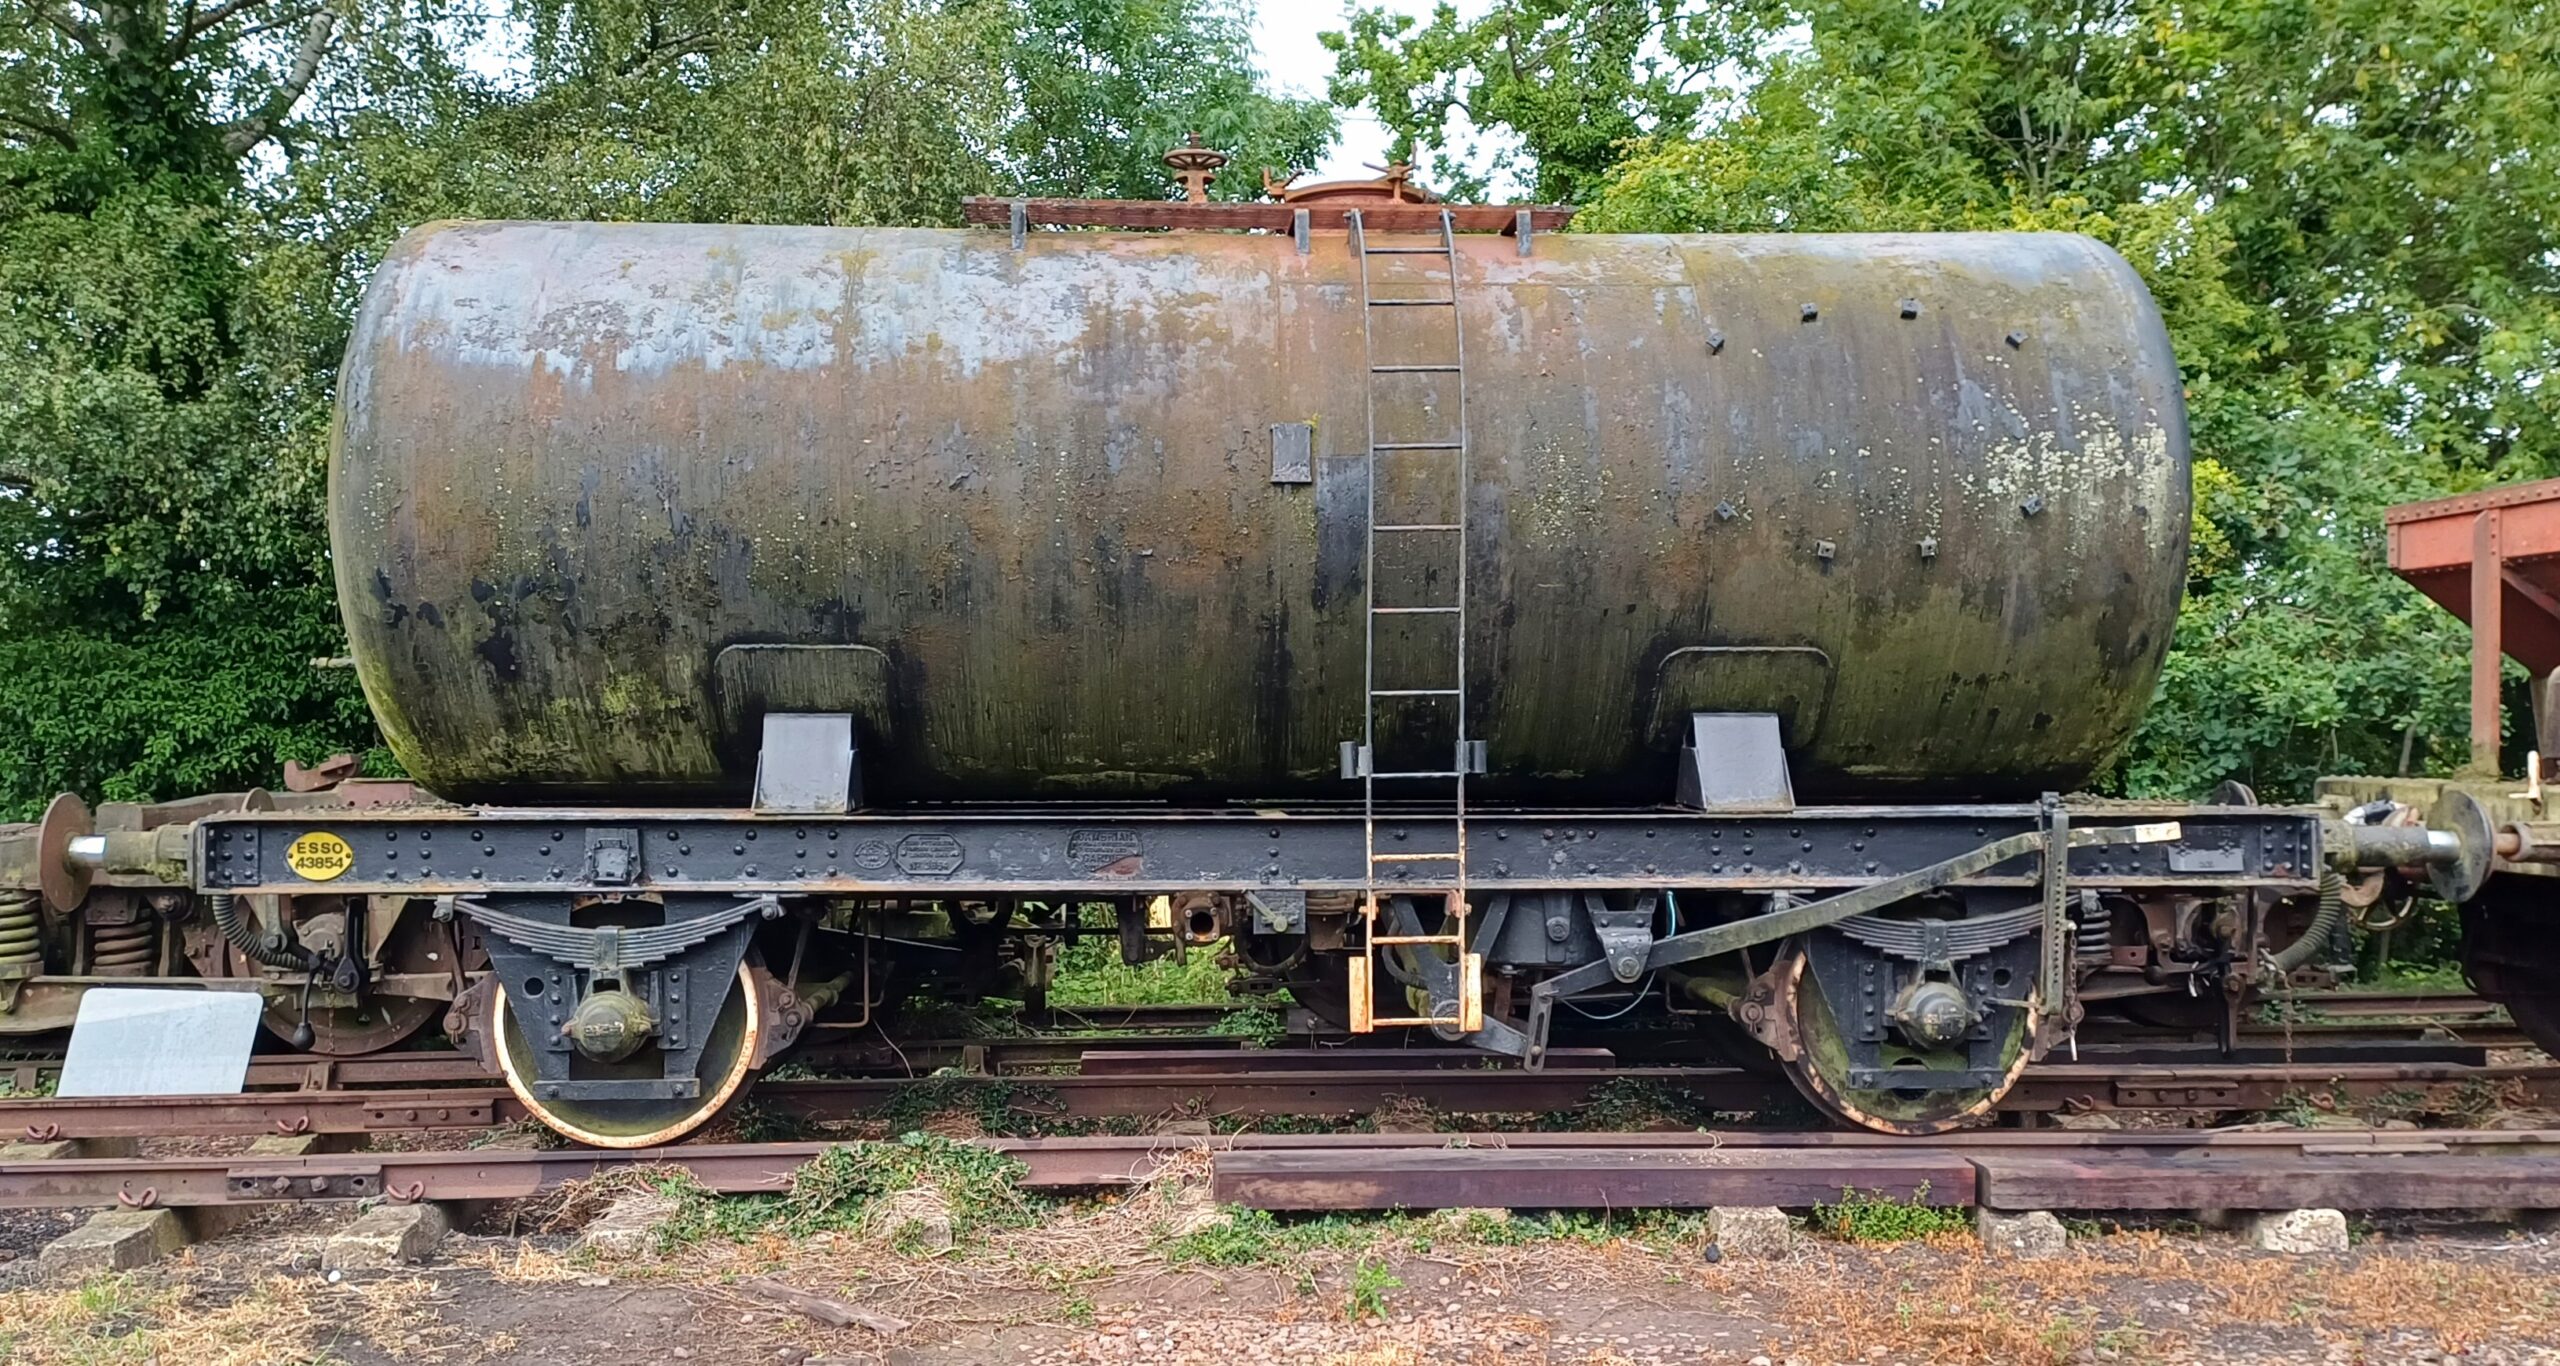
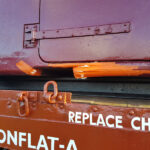
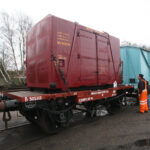
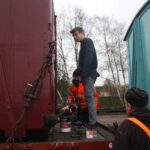
    Hello and welcome to another bumper update from the team at Quorn. We have a new arrival, 22T capacity Esso petroleum tank 3854, built by the Cambrian Wagon & Engineering Company in 1958. The tank arrived on the 22 July from Llangollen, whilst Grampus wagon DB985884 departed on the same day being transferred up to the GCR(N) at Ruddington on loan.

    Tank 3854 joins the others of this design we have in the fleet, with six of this type now at the GCR. The plan is to restore this along with 3606 and 3621 to match the three already completed 3436, 3711 and 3777.

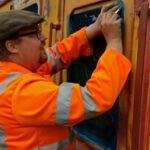
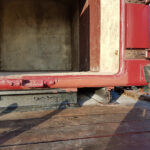
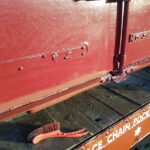
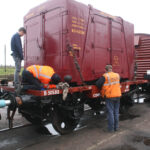
    On the 24 July our friends at Lauda Fabrications made a start welding the tank barrel of 3606 onto the underframe, the north end seams on both sides were completed.

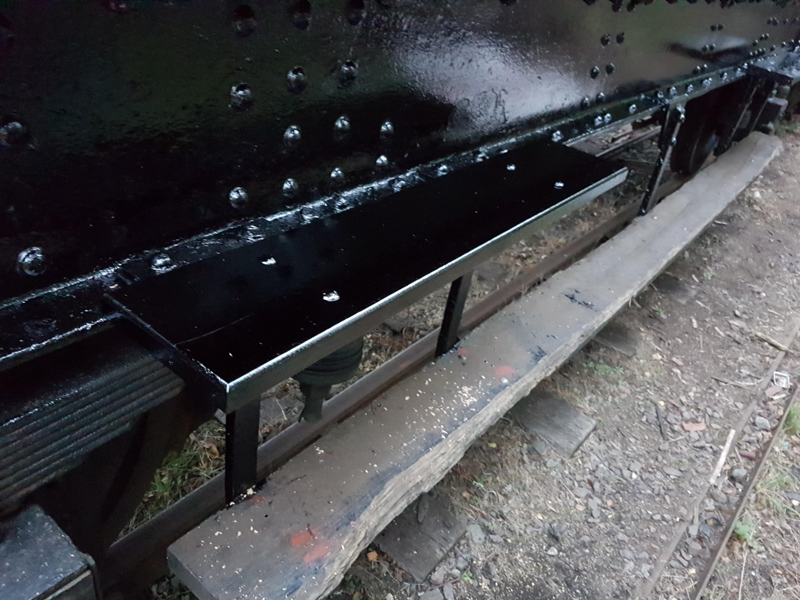
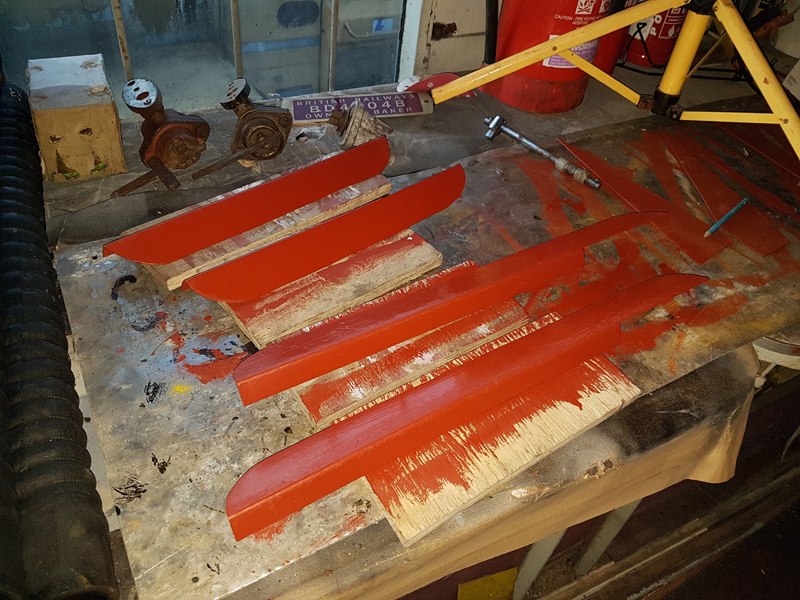
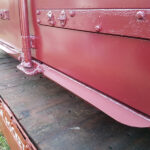
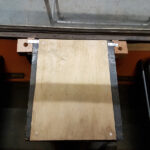
    Lauda Fabrications also brought along the the supports that they had fabricated up for us using the drawings that Ross had produced. Ernie set to work trial fitting these around the wagon to sort out which of the 4 supports fitted best in which location. The mounting holes were then marked up ready for Lauda to drill out.

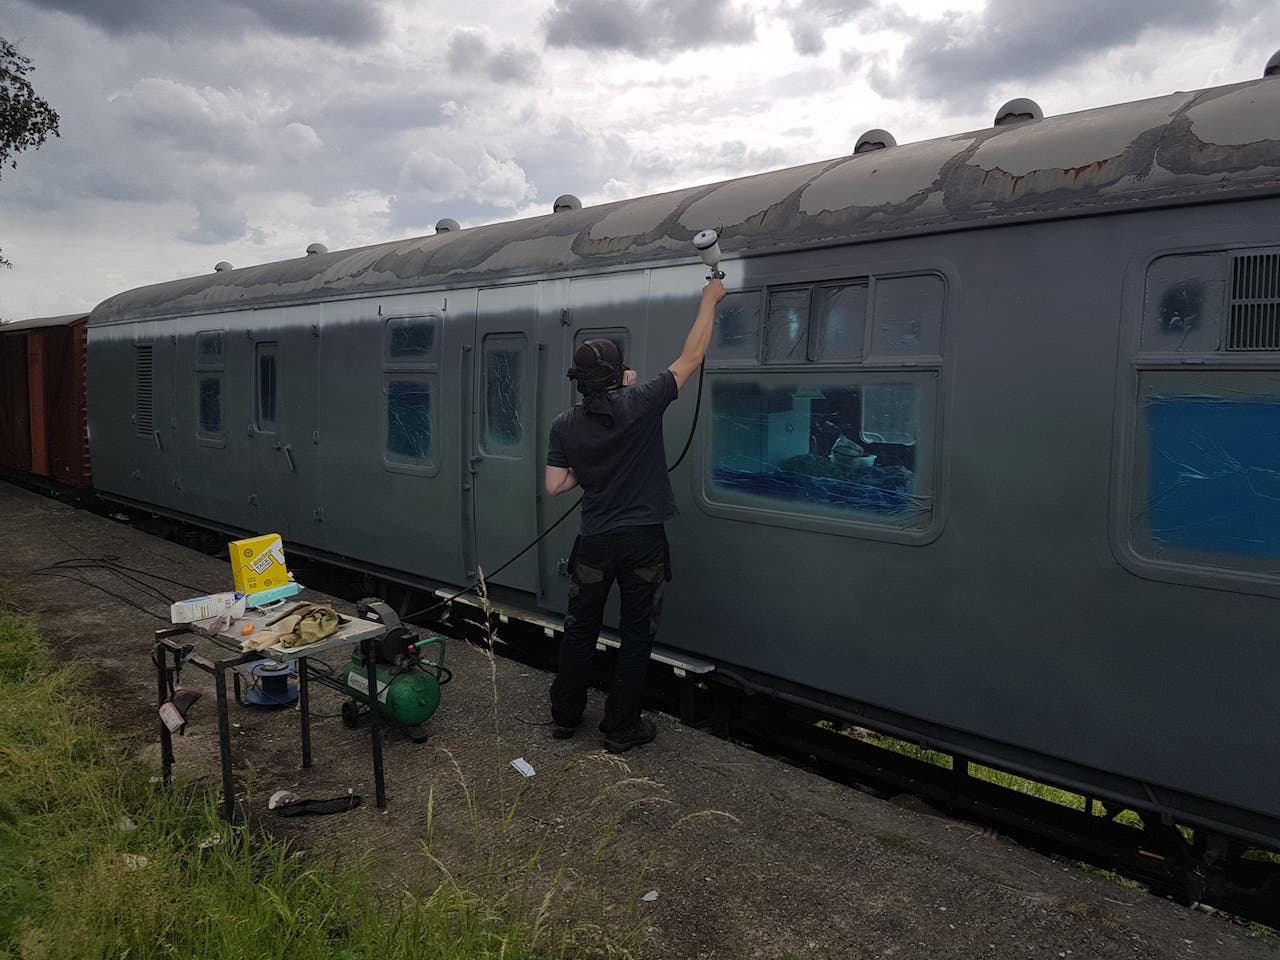
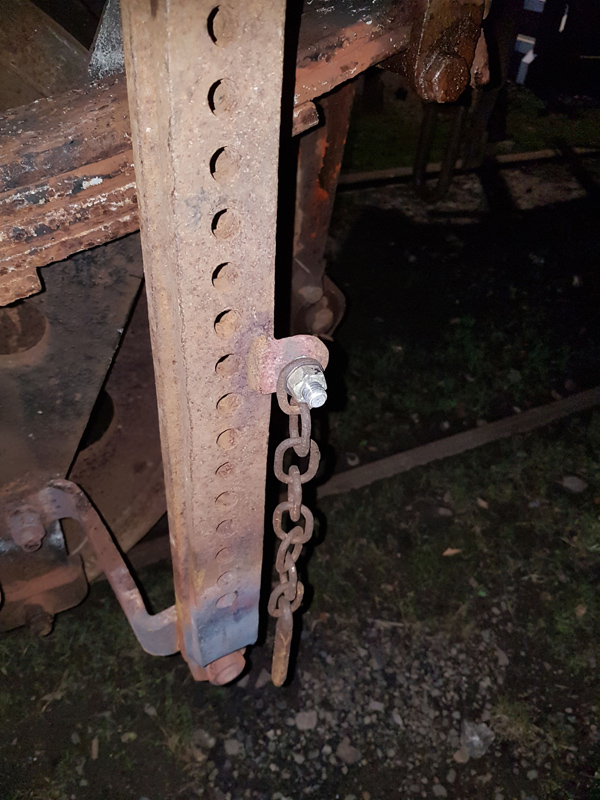
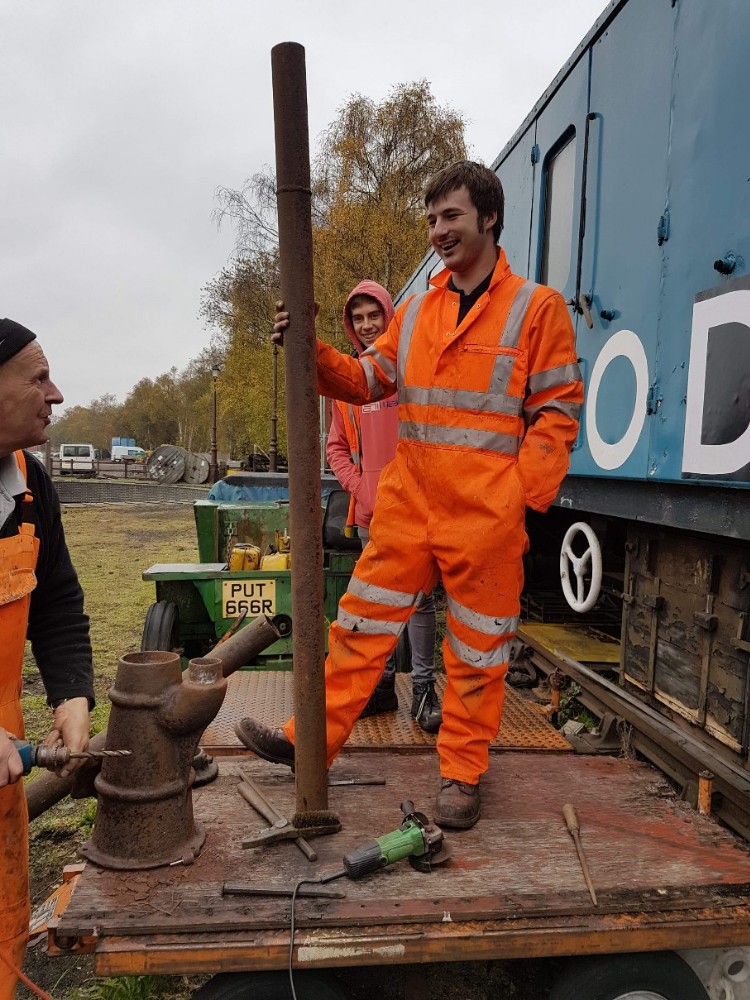
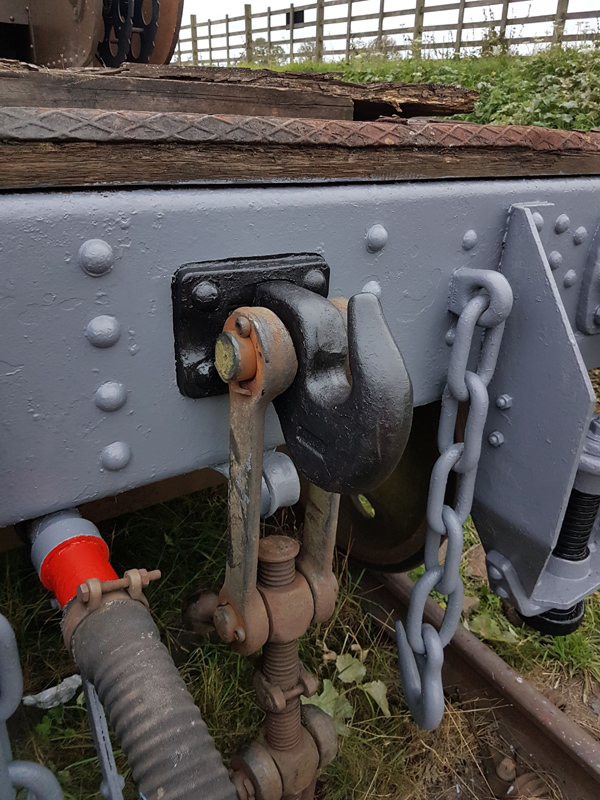
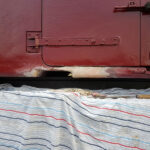
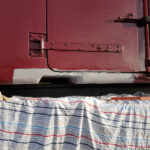
    The 26th July was a busy day with a few tasks on the new tank 3854, including replacing a missing handbrake pin, fitting lamp irons, grinding off the odd tubes that had been welded to the side of the ladders, and giving the tank barrel and underframe a good pressure wash.

    The painted up 3d printed Owners plates were fitted to tank 1919.

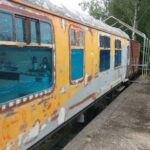
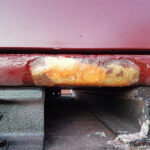
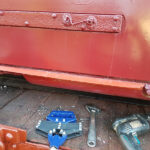
    Work on tank 3621 continued with barrel, scraping, sanding and red oxide primer application where necessary on any areas of bare metal.

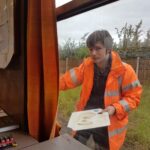
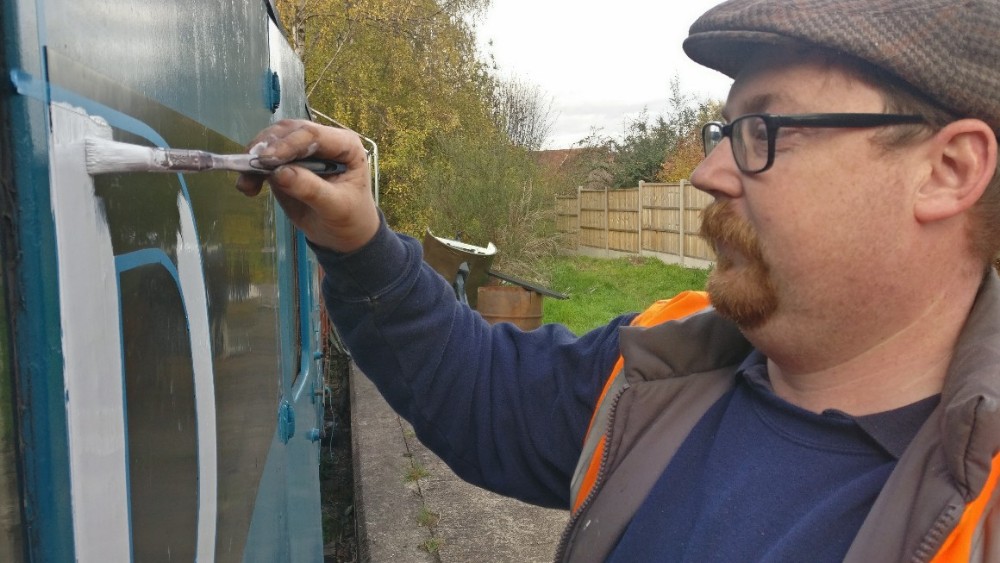
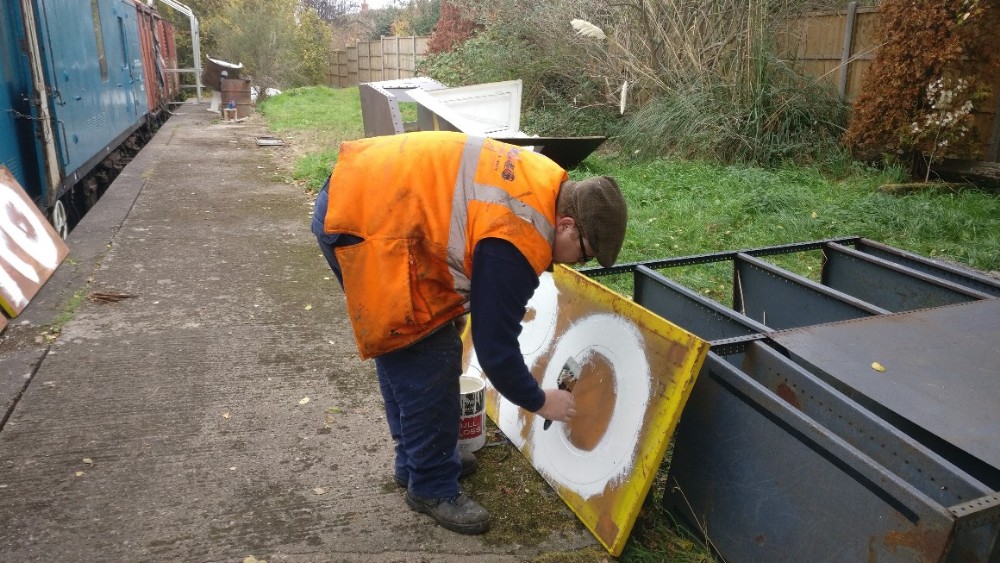
    Some progress was made with the tank side logos and commuted charge signage on tank 1919.

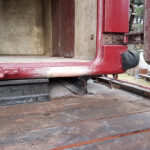
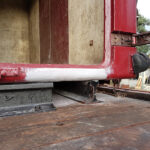
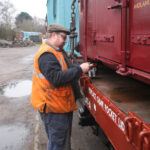
    The south end tank mounting was welded up on the 28th July and the drilled out supports returned from Lauda ready for painting and fitting. The step ladder mounting brackets that Ernie had made up were also welded into place.

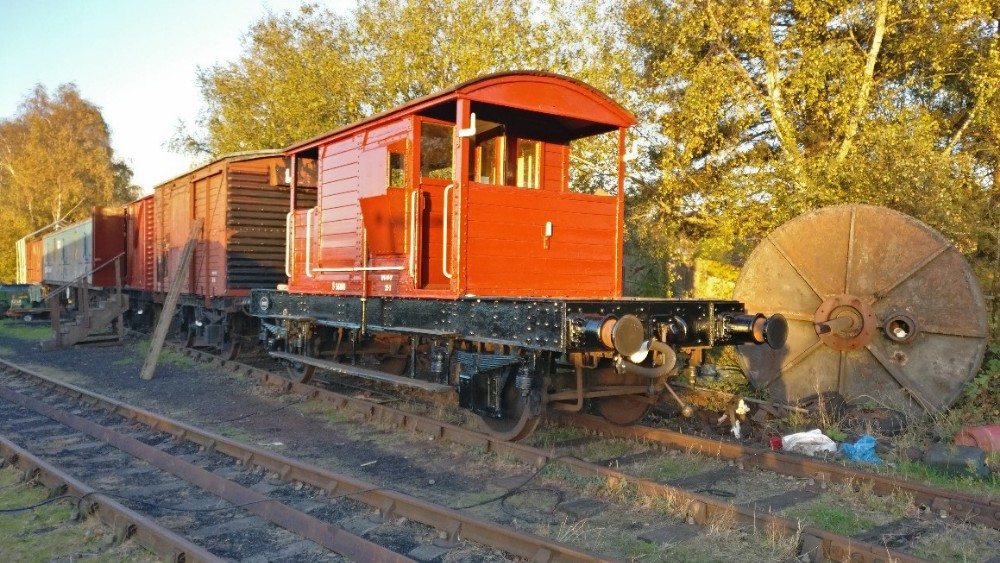
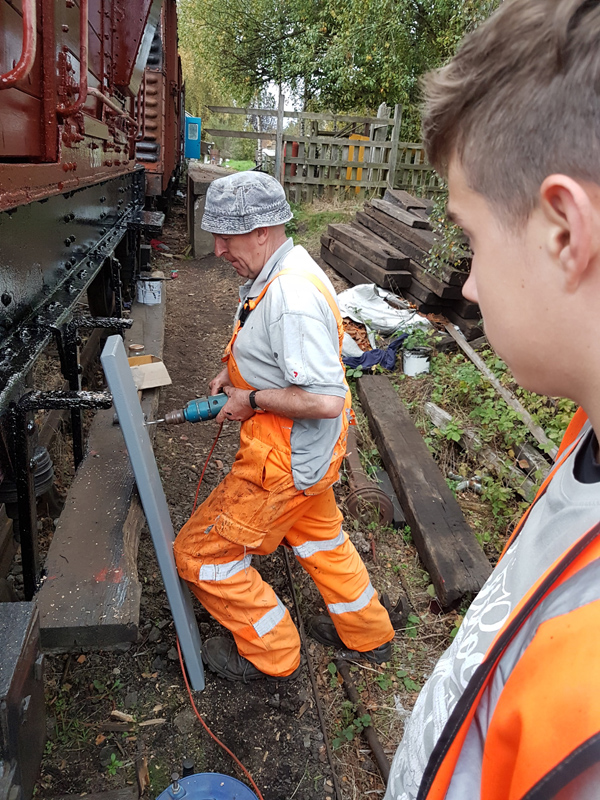
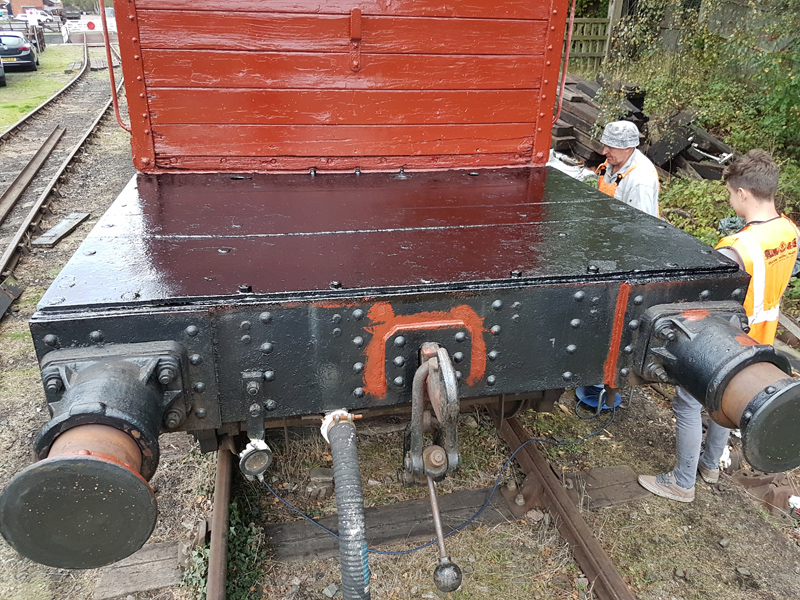
    Dan painted the air brake valves and pipe connectors on tank 1919; and also applied some gloss Bauxite to the planks on Brake Van B954268 that had been previously undercoated.

    In the week after his wedding Ross was busy back at work looking after the Hydroflex train at the Greatest Gathering weekend in Derby.

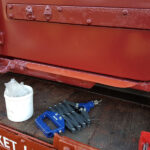
    The fabricated tank supports were primed and undercoated before having some black gloss applied to the undersides on the 2 August.

    The ladder mounting brackets and barrel welds on tank 3606 were cleaned up and red oxide primer applied, and the tank barrel support pads got some black gloss.

    Further work was done on the tank barrel logos on 1919 including the green on the BP logo on the east side getting a second coat, and the commuted charge signage completed.

    Suitable bolts were chosen and the tank supports on 3606 were trial fitted one by one, ensuring alignment and packing where necessary to give even contact in each case with the tank barrel.

    Once all were aligned then they were bolted down securely.

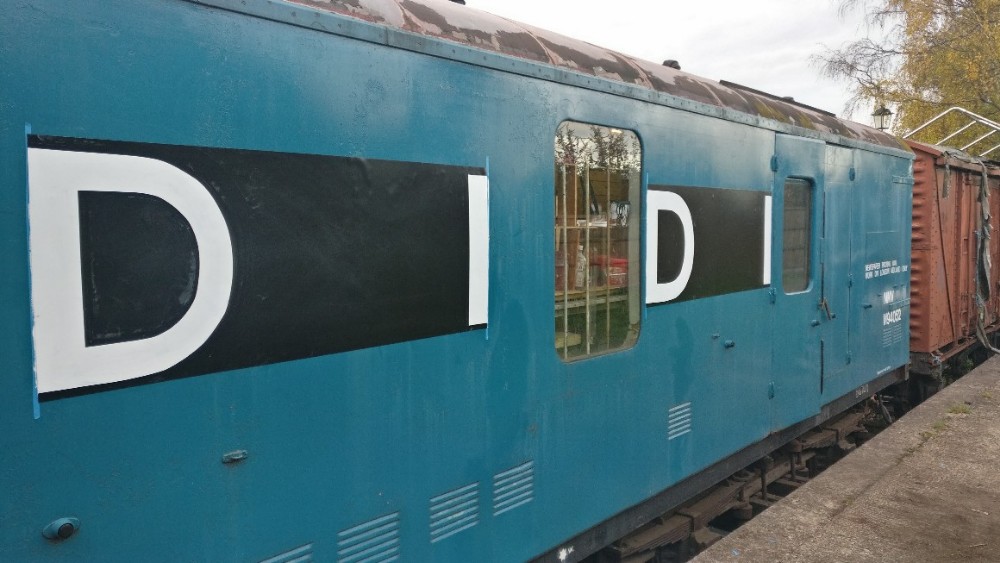
    Sunday 3rd August I continued with the west side BP logo on tank 1919.

    Some more sanding and cleaning up on tank 3621 was progressed.

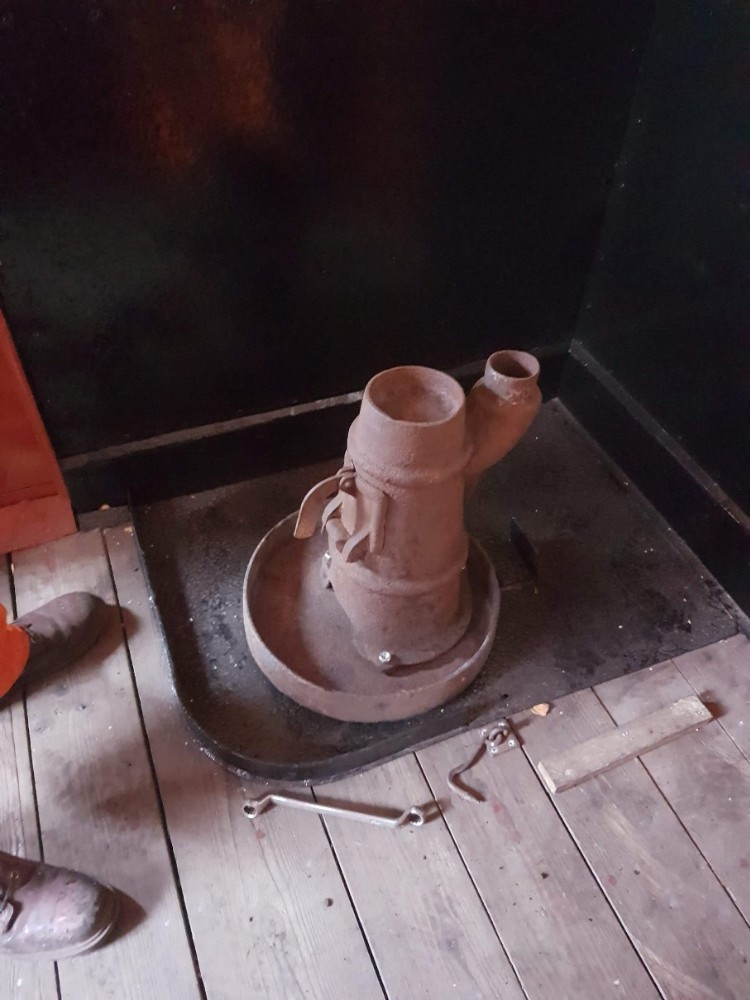
    Ernie ground off two extra pipes that had been welded to tank 3606, then cut out two blanking plates that will be welded to cover the resultant holes.

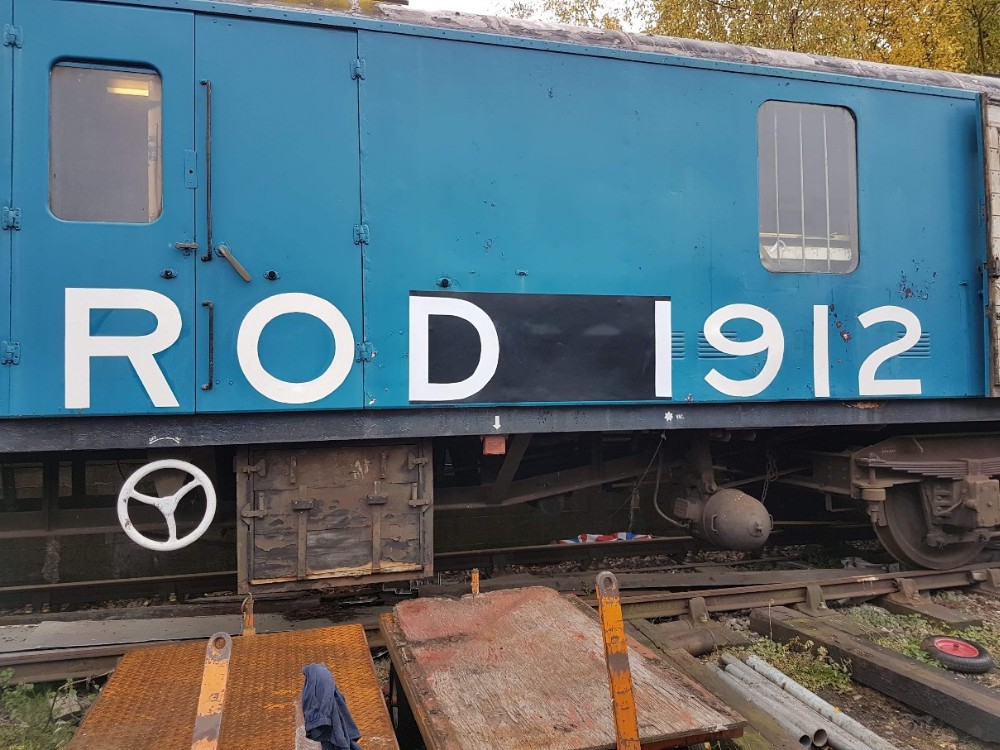
    I marked out and applied the running number to the north end of tank 1919.

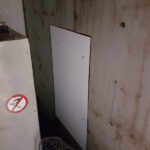
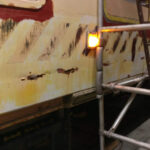
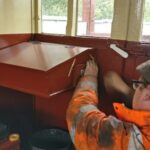
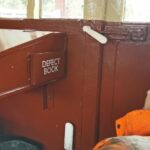
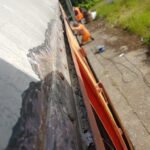
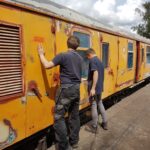
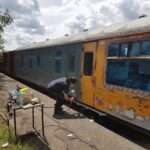
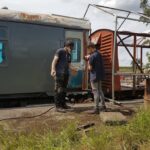
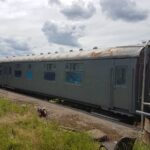
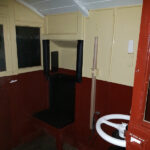
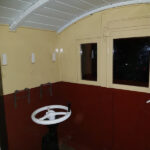
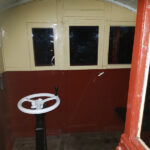
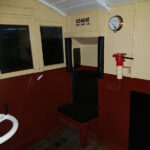
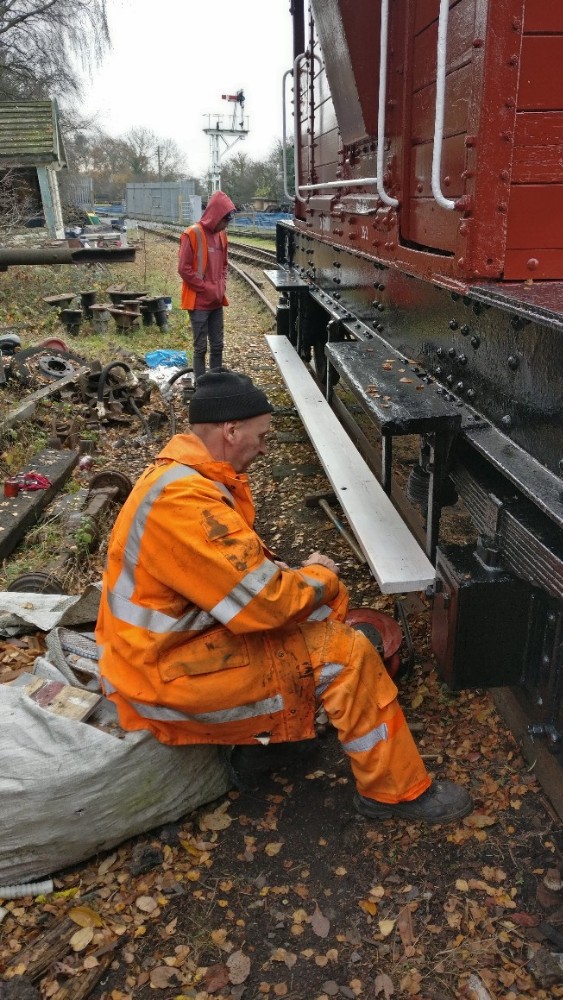
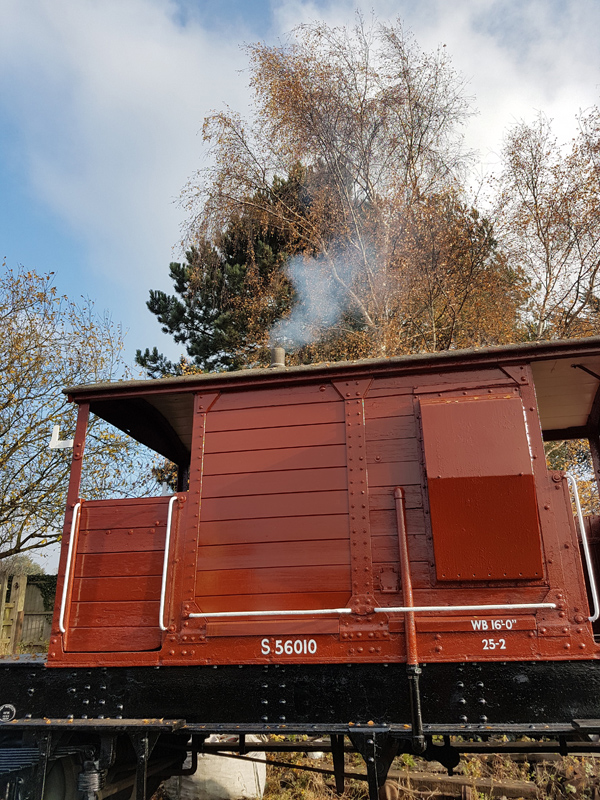
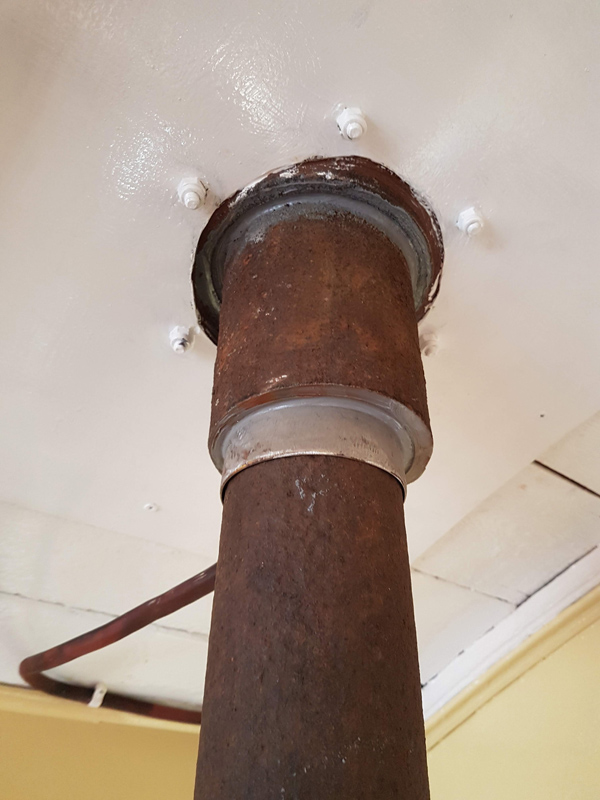
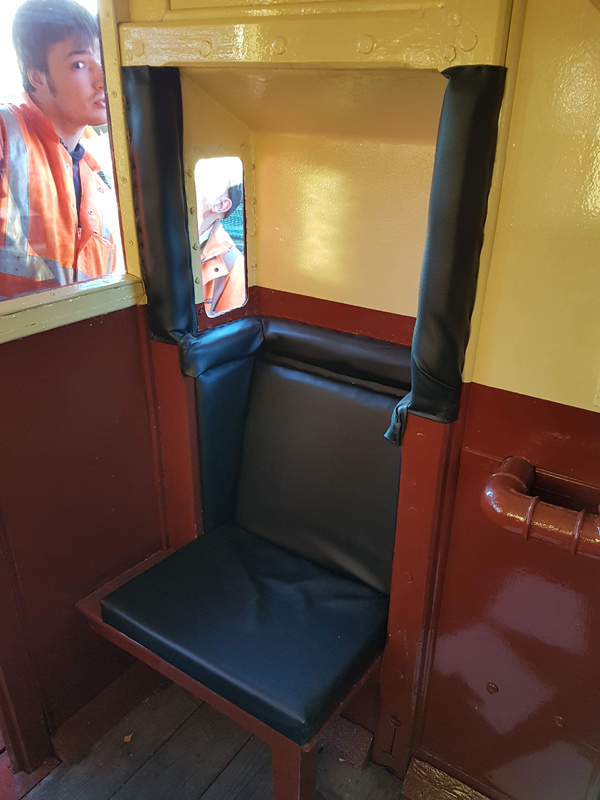
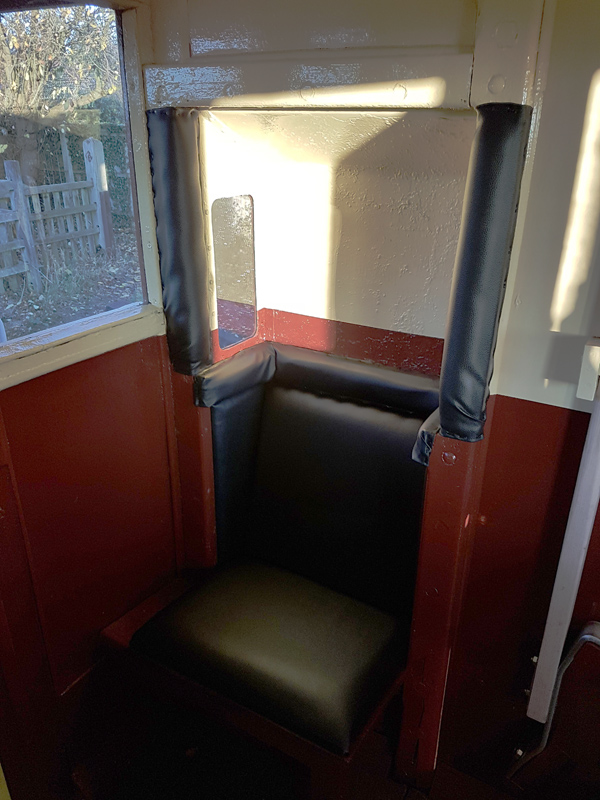
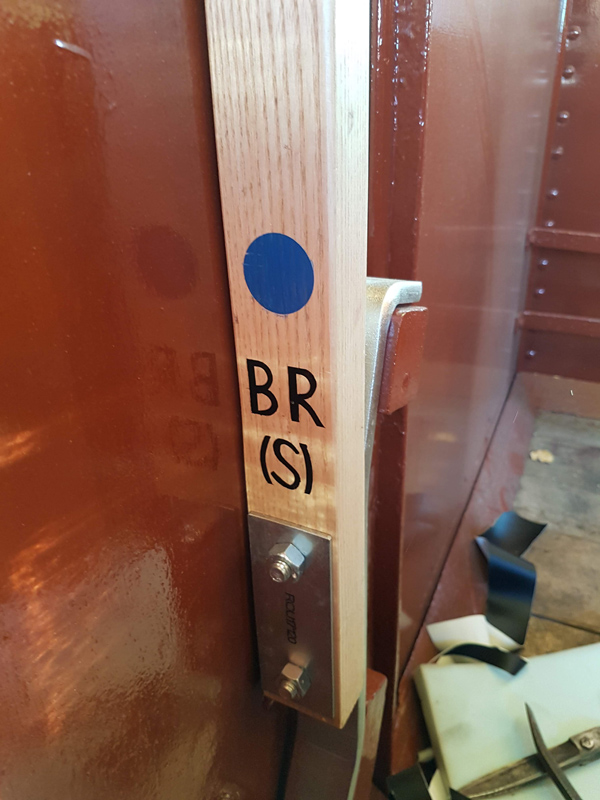
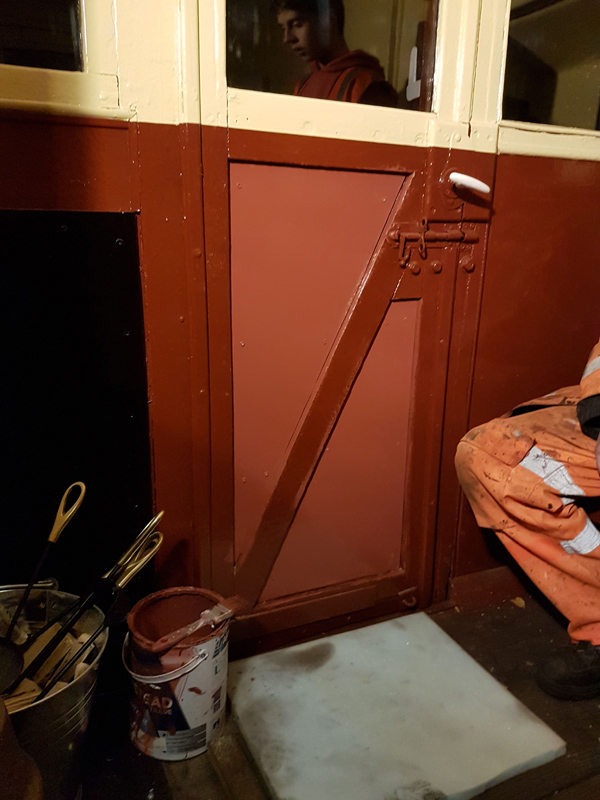
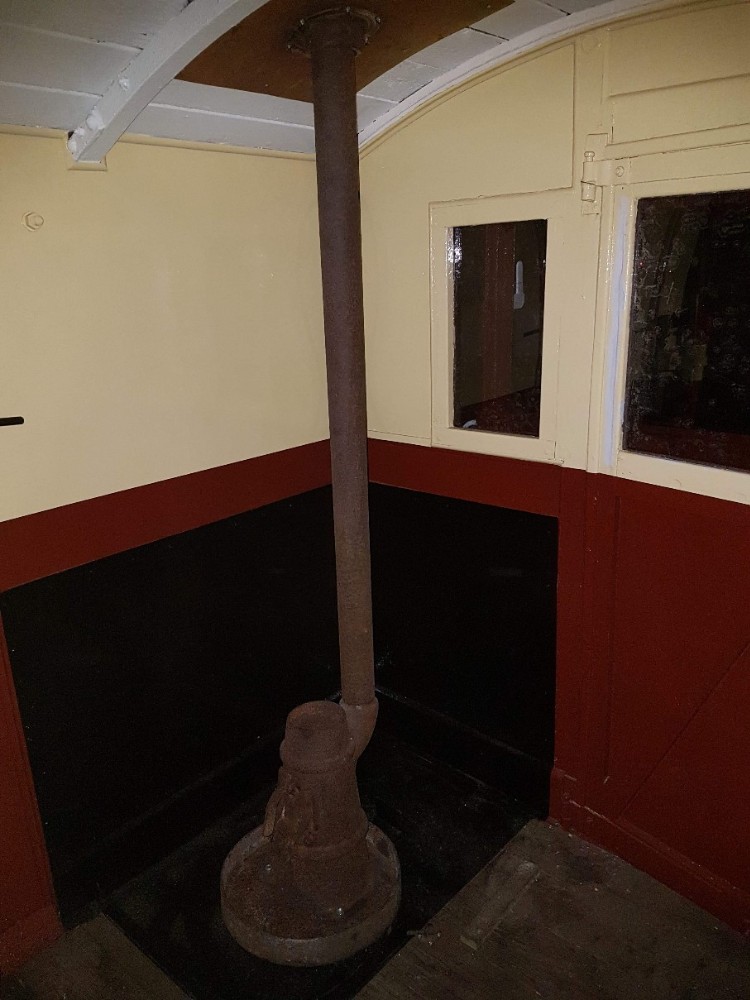
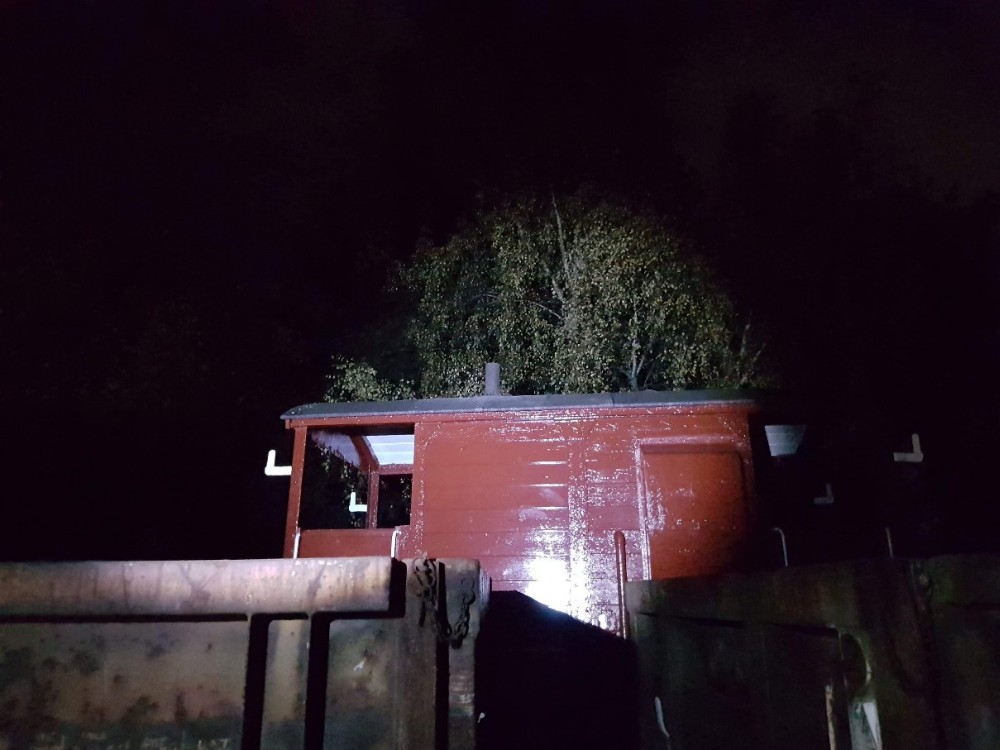
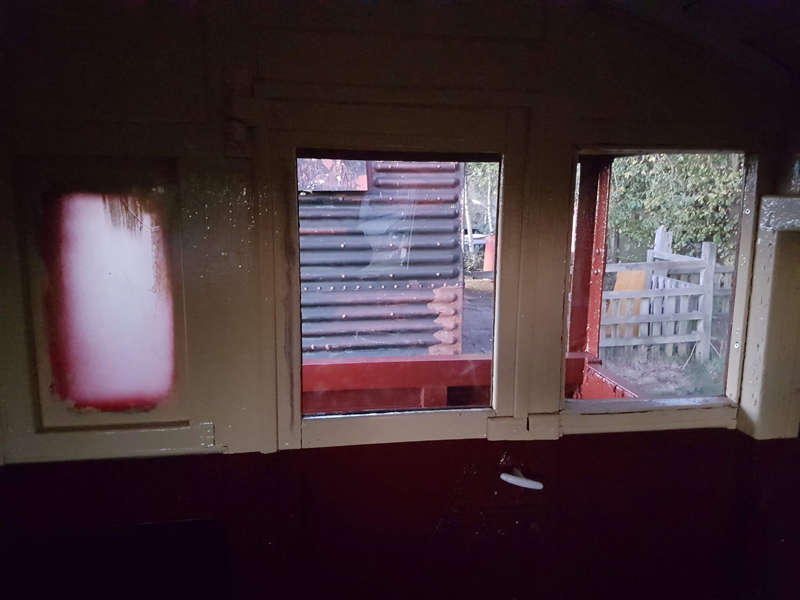
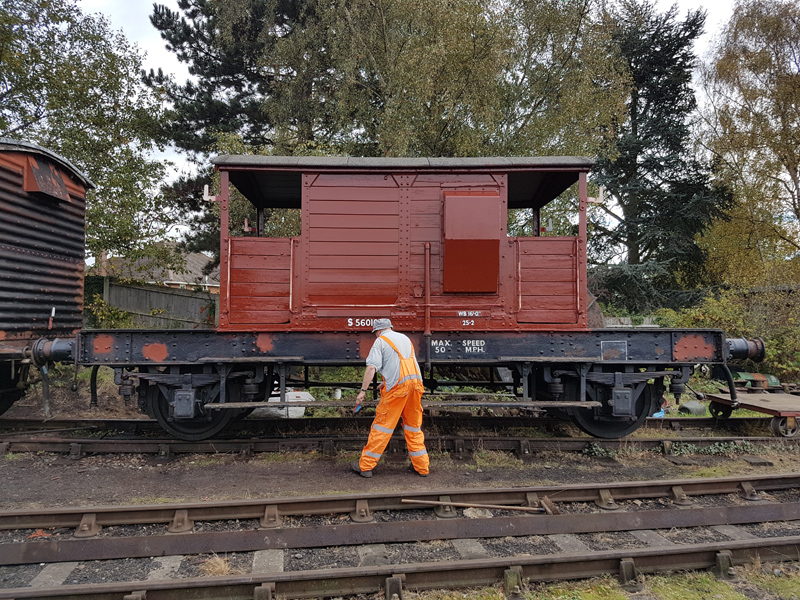
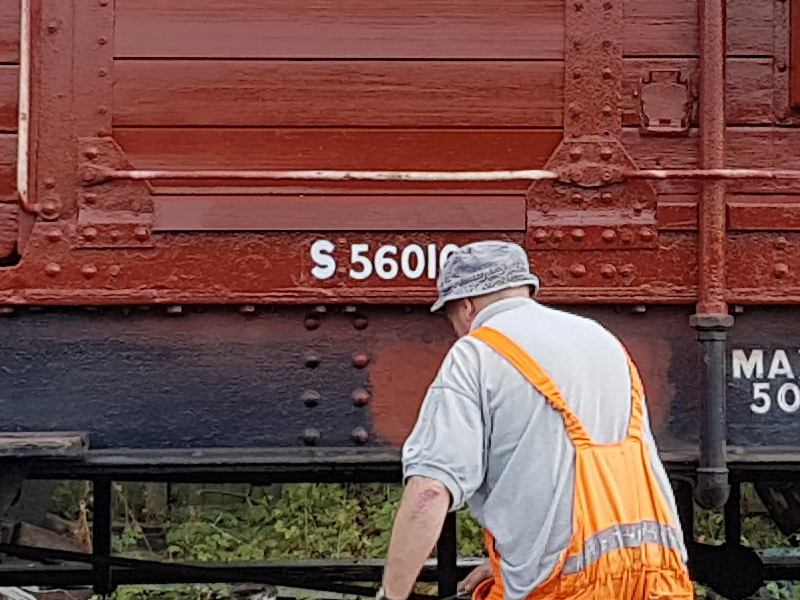
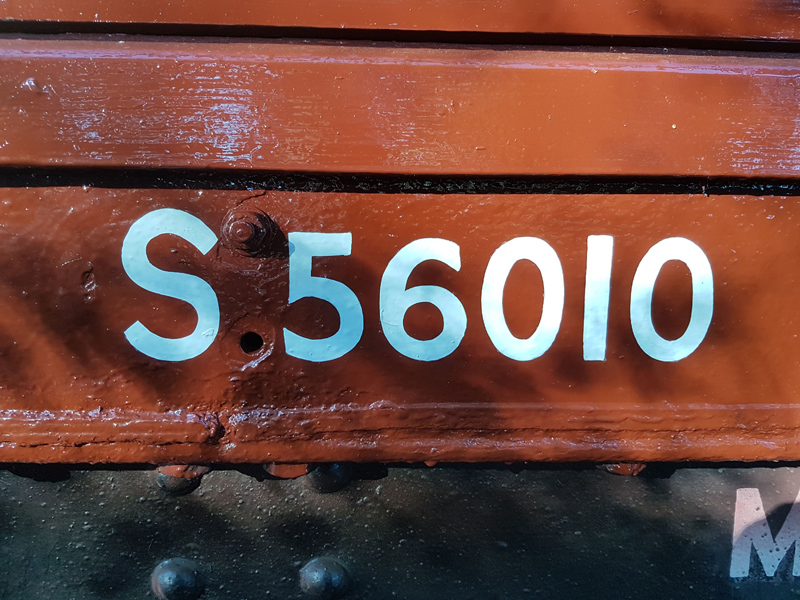
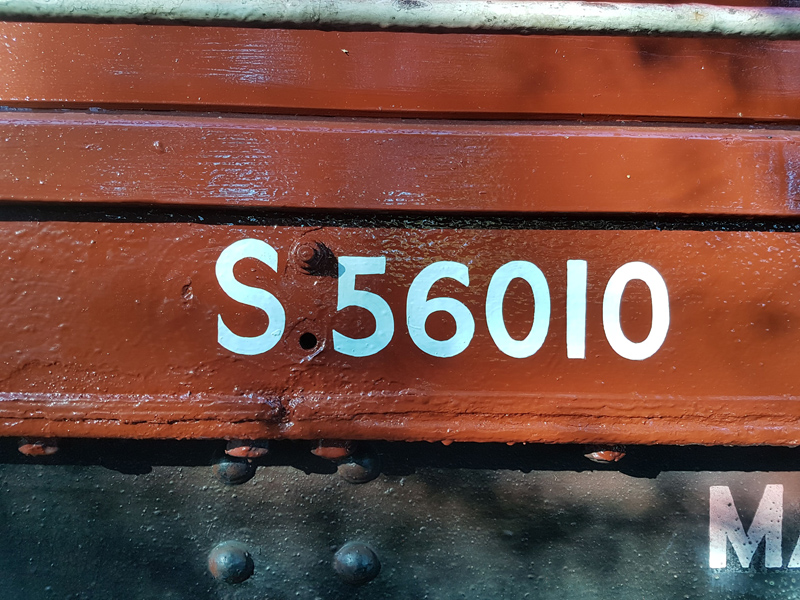
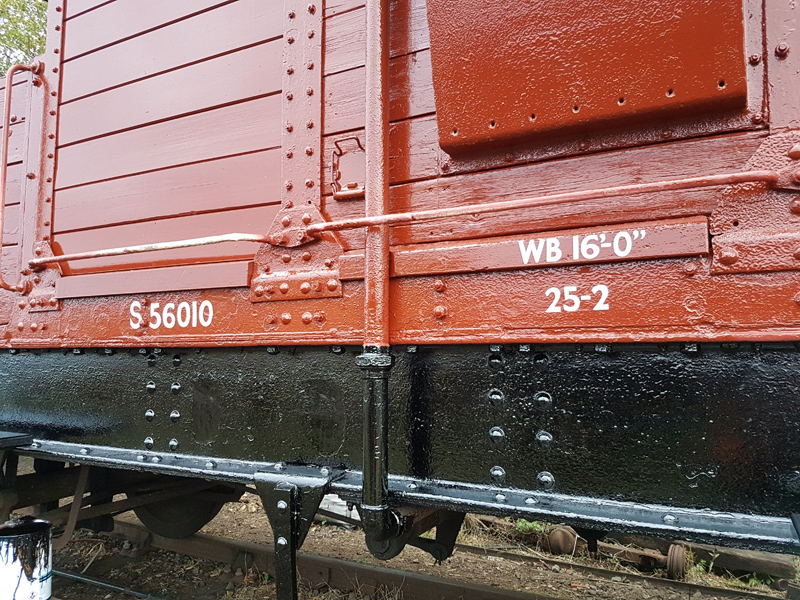
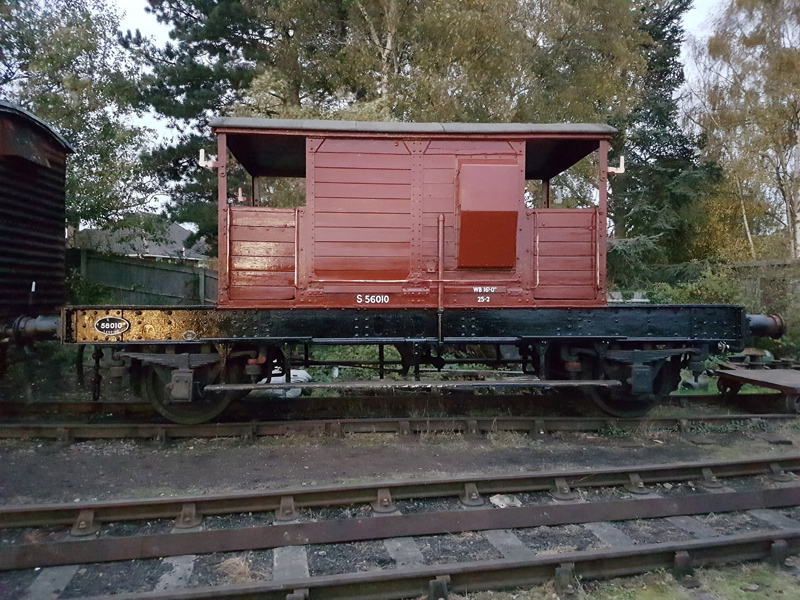
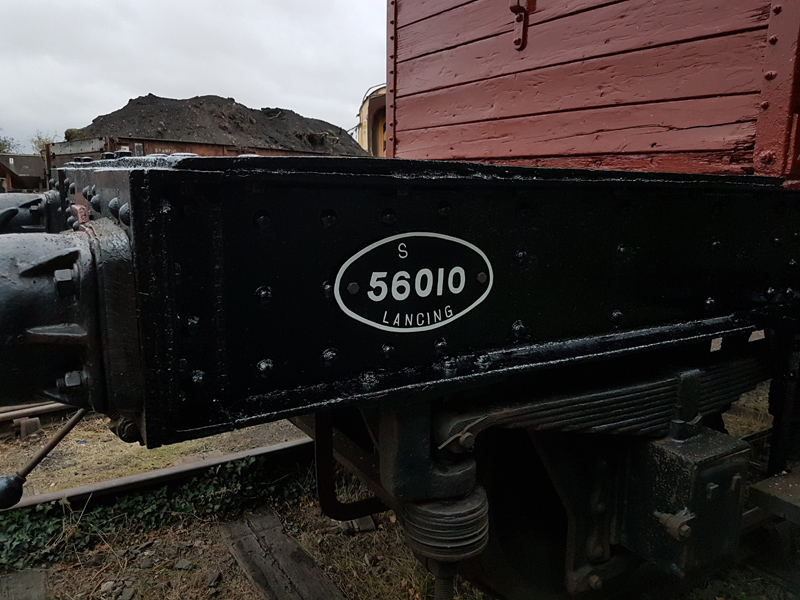
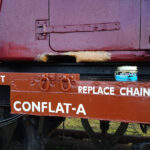
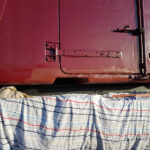
    An inspection of the van train that was stabled in the Down siding at Quorn revealed a damaged roof felt letting in water on the Southern Brake Van S56010. A new piece of felt was cut, sealant applied and stapled in position across the affected area of the roof. This should keep it water tight until a full roof covering replacement can be affected.

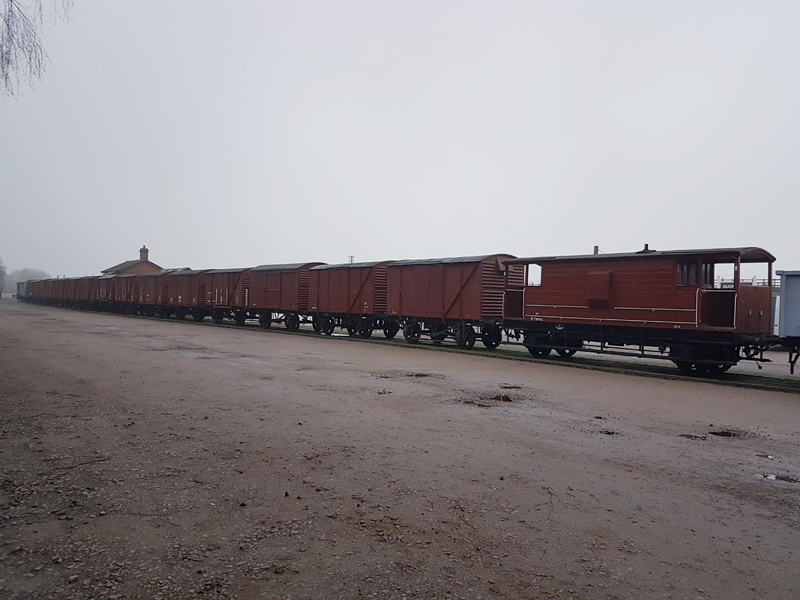
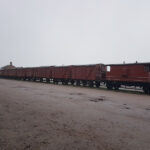
    That about wraps up over 2-weeks work for the team, I’ll leave you with pics of the four tank wagons, all progressed a little bit further.

    Cheers of now, Dave

  • 29/12/19 – It’s Christmas

    29/12/19 – It’s Christmas

    So with the Christmas period upon us, it’s no excuse to hold back. Monday, Nick and I in attendance. Nick applied sealant to the Midland and Southern Brake vans this completes the Overhaul of the van trains brake system and we await a full brake test of the rake, later in this update.

    I began the final tasks on Container BD4303B filling holes with foam. and applying a layer of fiberglass to each. Nick applying heat to cure each once the resin was applied.

     
    To complete Monday’s activities I manufactured sand red oxided the missing fork protectors that sit under each of the side doors.

    20191223_155729

    Tuesday or as most seem to know it as Christmas Eve. Nick and I again, continuing with Nicks Container. Filler applied to the fiberglassed areas.

    Nick applied heat to reduce the cure time and allowed me to sand the areas.

    Once sanded fiberglass primer was applied followed by undercoat again heat applied to assist the drying of the paint.

    Once the paint was sufficiently dried we riveted the fork protectors under the side doors and applied undercoat.

    Finally for Tuesday an unusual perspective from inside the container.20191224_124427.jpg

    Wednesday was of cause set aside for other duties with no one on-site. Back to normal on Thursday as we made up a few spare vacuum hoses in preparation for a brake test of the van train on Friday.  But the weather didn’t play ball so the rest of the day was spent Signwriting “Madge” the Scarab.  No images yet we are building the suspense.

    On to Friday and we begin at Rothley, assisting Jamie from the C&W staff welding up the south end of ADB977107

    Friday’s main task was the scheduled brake test of the van train. 15 Bauxite Vans, 1 Conflat, 1 Fish van, and 2 Brake vans. Our motive power was once again provided by the Heavy Tractor Group’s 37714. The test was a success, with 19.5 – 20 inHg shown on the 19th vehicle.

    Harry and Eddie were also in attendance and made an excellent job finishing the clean of the Yellow Coaches kitchen as well as the office.20191227_130306.jpg

    Saturday and the full gang in attendance,  first job with a favorable temperature was to apply the final topcoat of crimson to the previously repaired areas and folk protectors on BD4303B.

    Once we completed the container we did a few items on QW6128E namely painting the engine and wheel hubs. We then moved up the line to Rothley.

    My first job was to secure the table in the office. The previous image above it is just perched on the cabinet.  The cabinet was secured to the window frame and two locating blocks for the table.

    Dave’s attention was on the ceiling of the Guards compartment which had been damaged by water ingress. The remains of the old ceiling were removed, new baton affixed and were possible the previous ceiling panels reused.  Those that could not were either replaced or trimmed to be used elsewhere.20191228_184614.jpg 
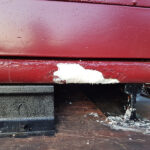
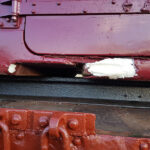
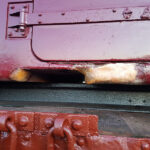
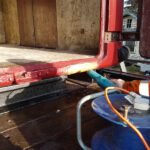
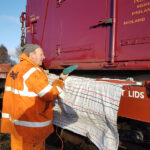
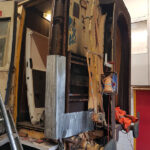
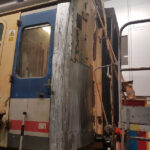
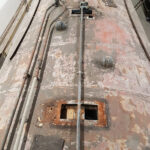
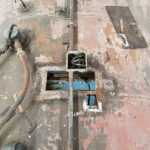
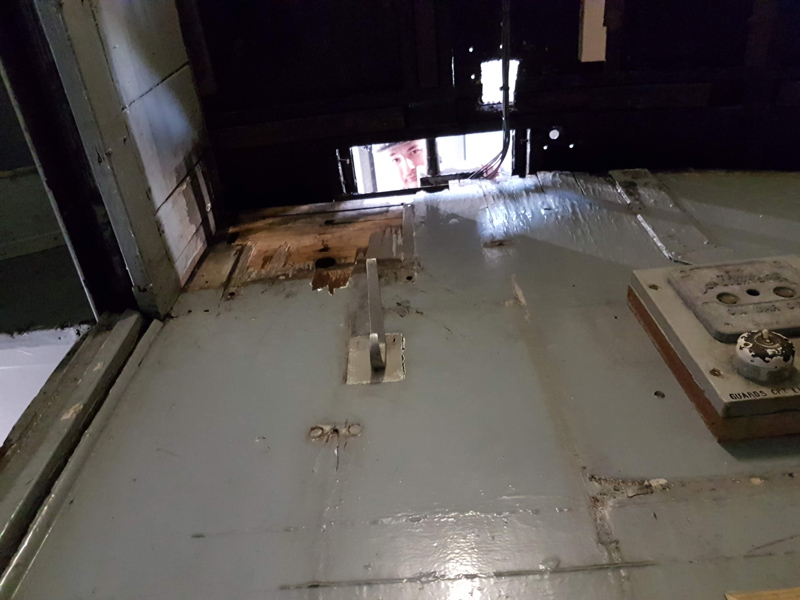
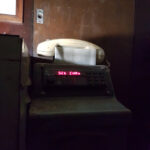
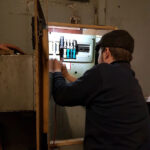
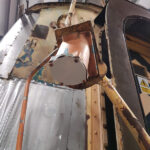
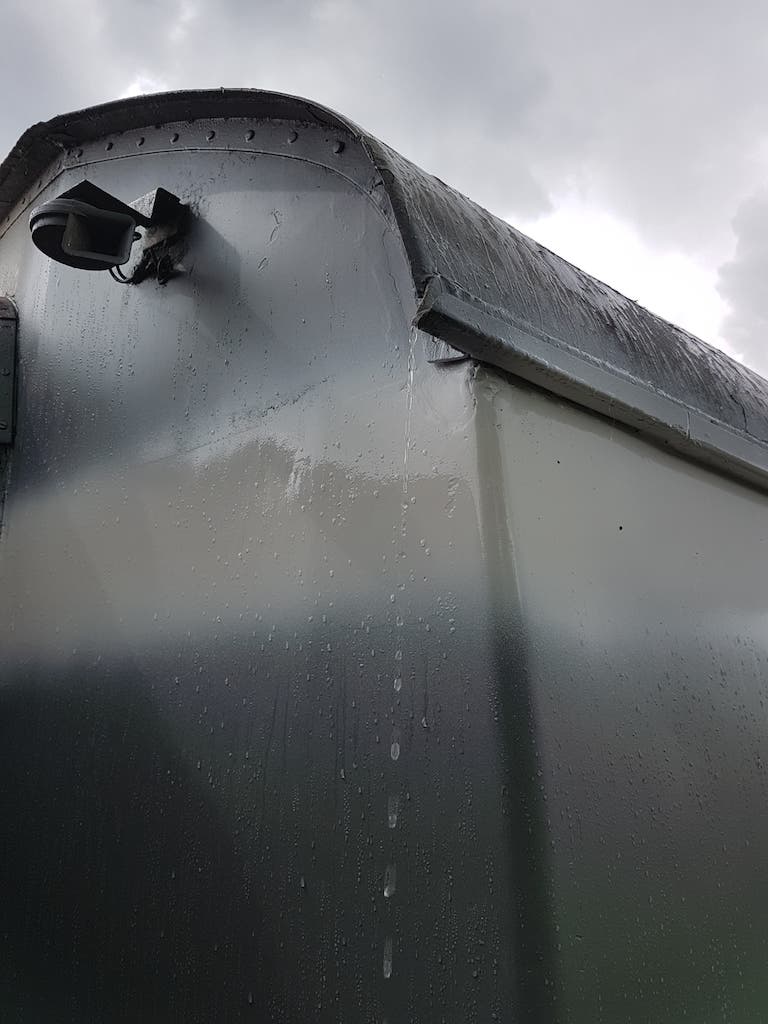
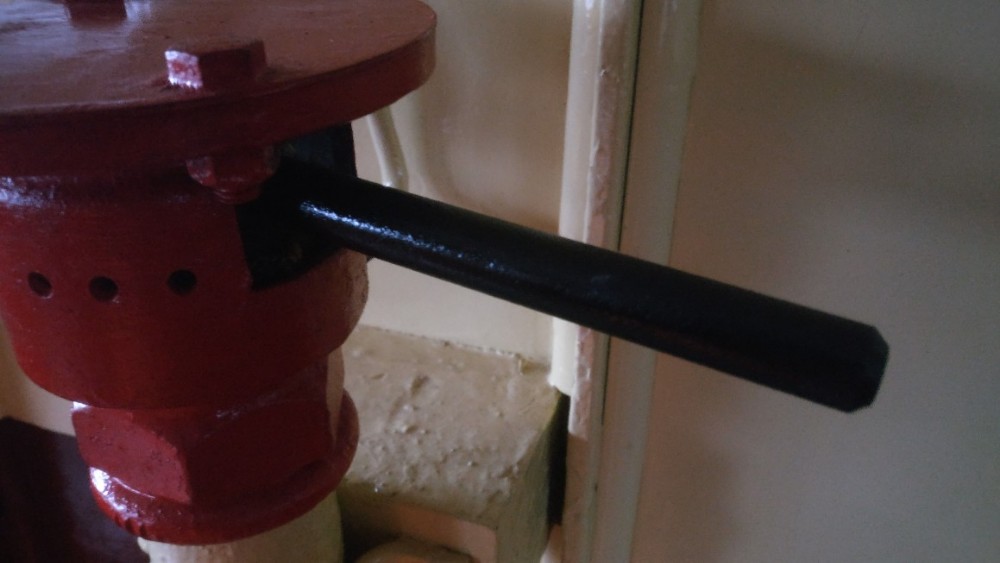
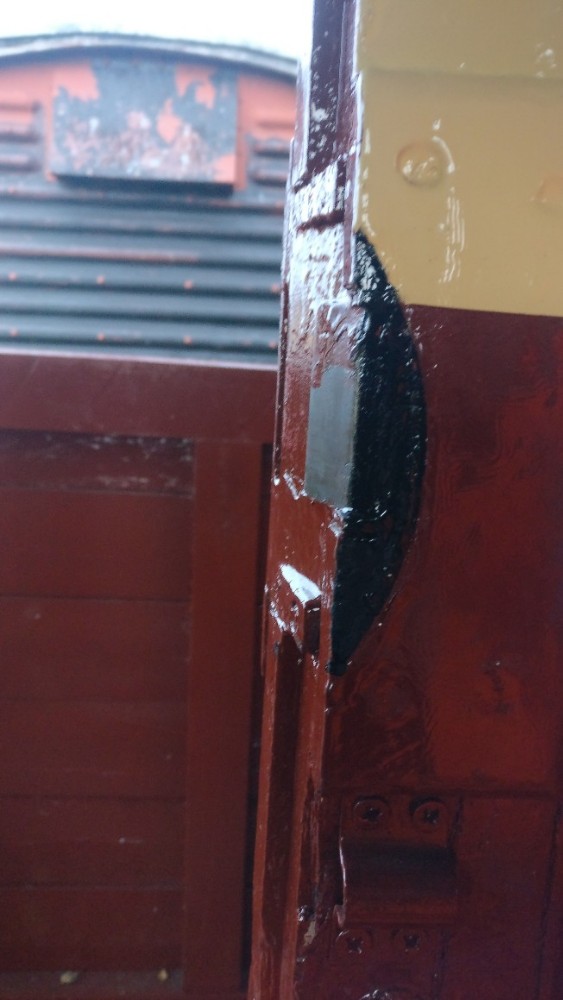
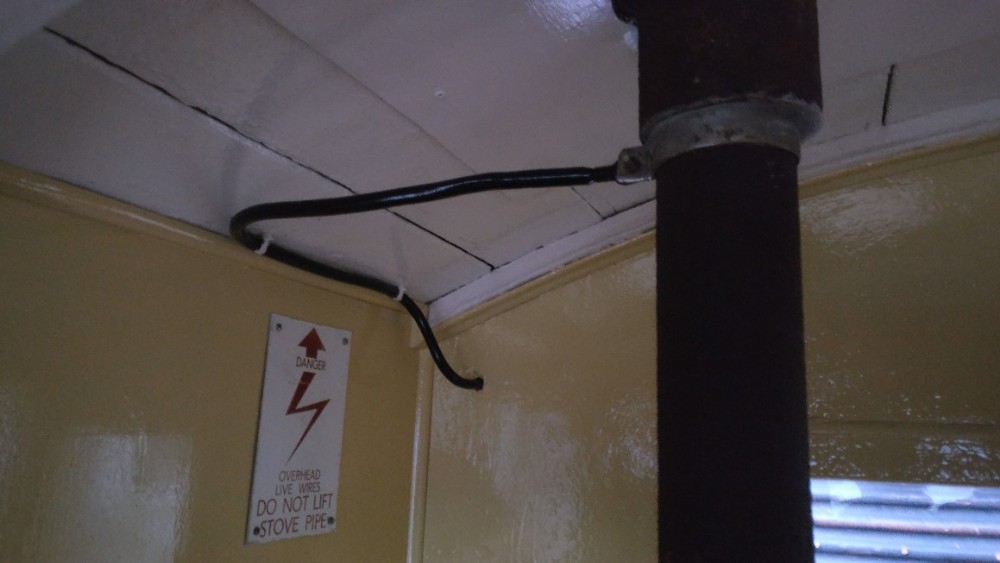
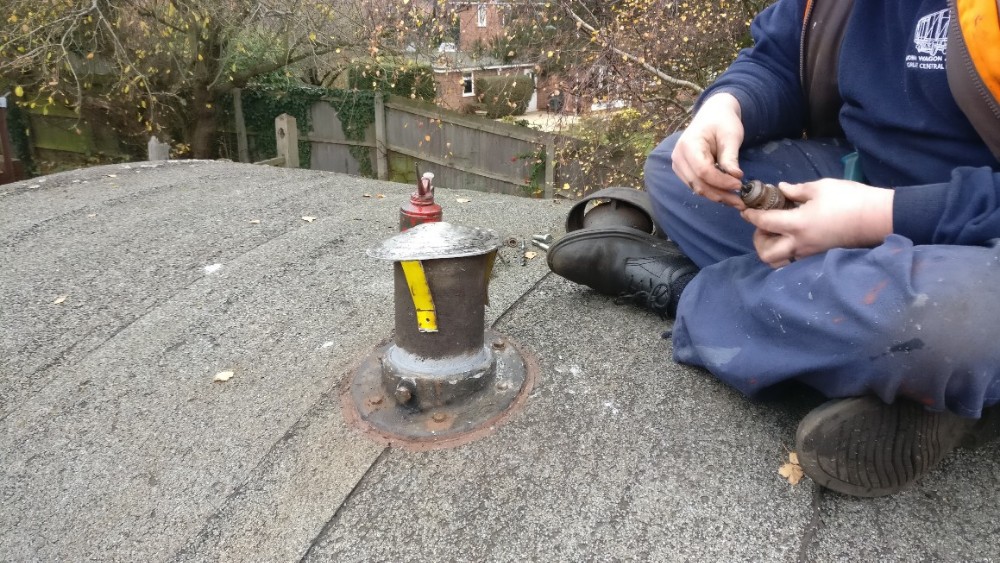
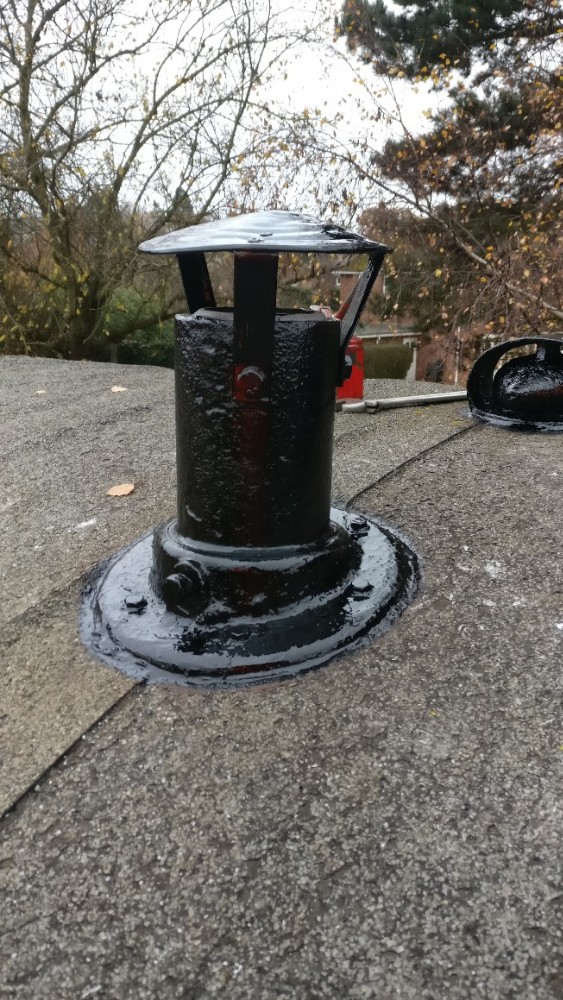
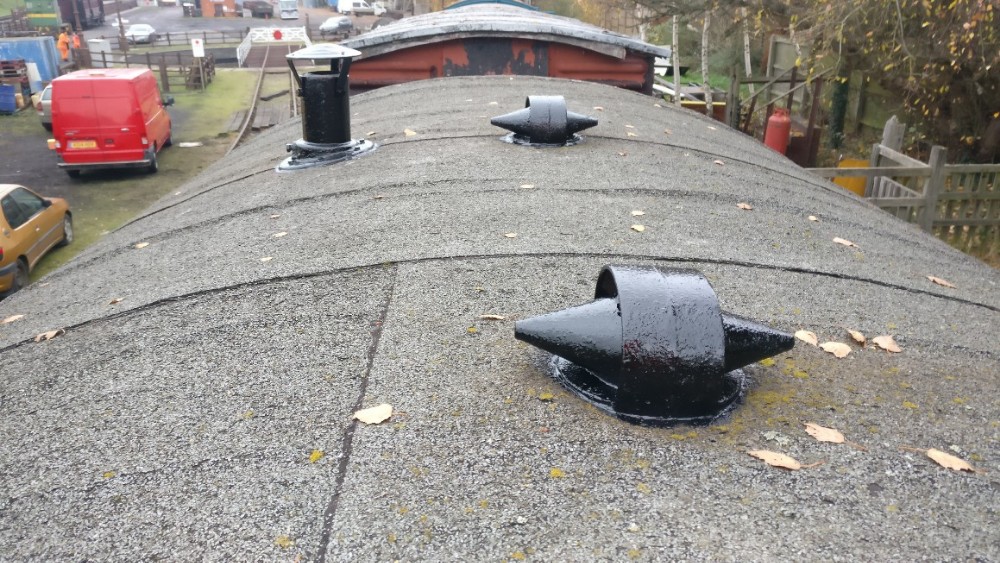
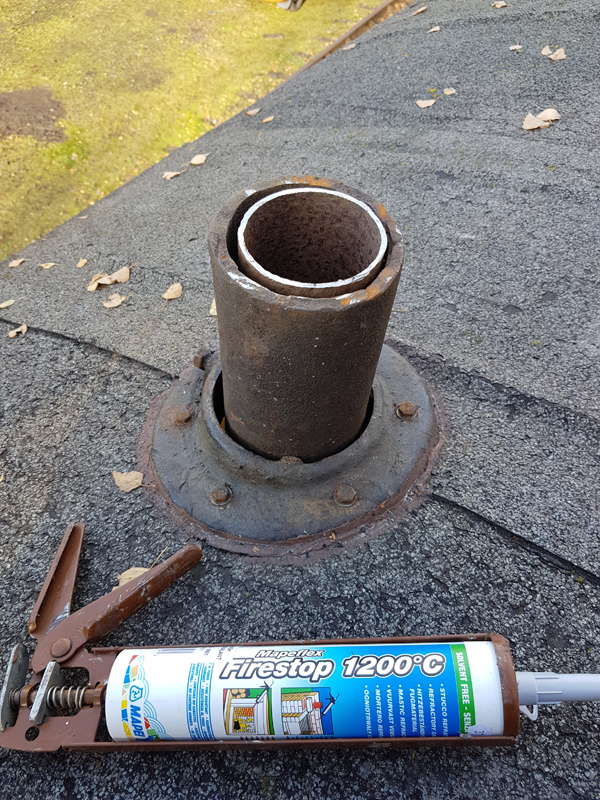
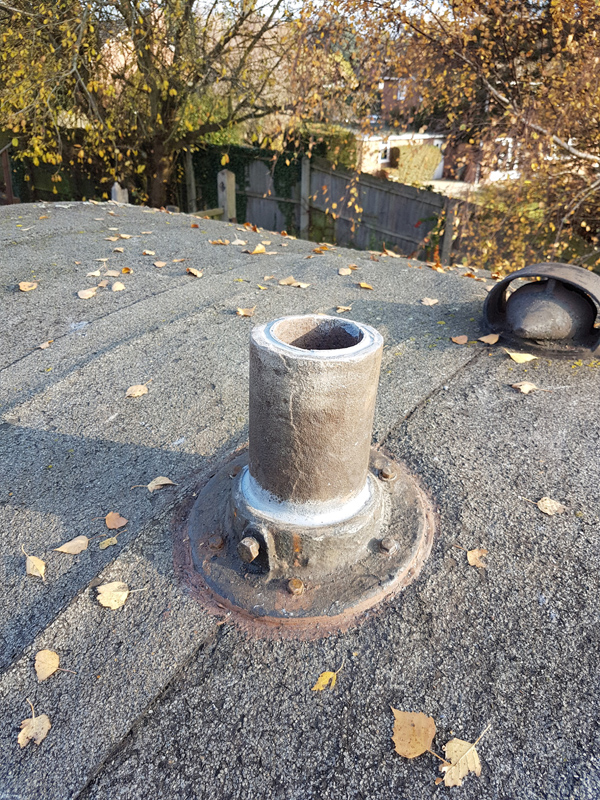
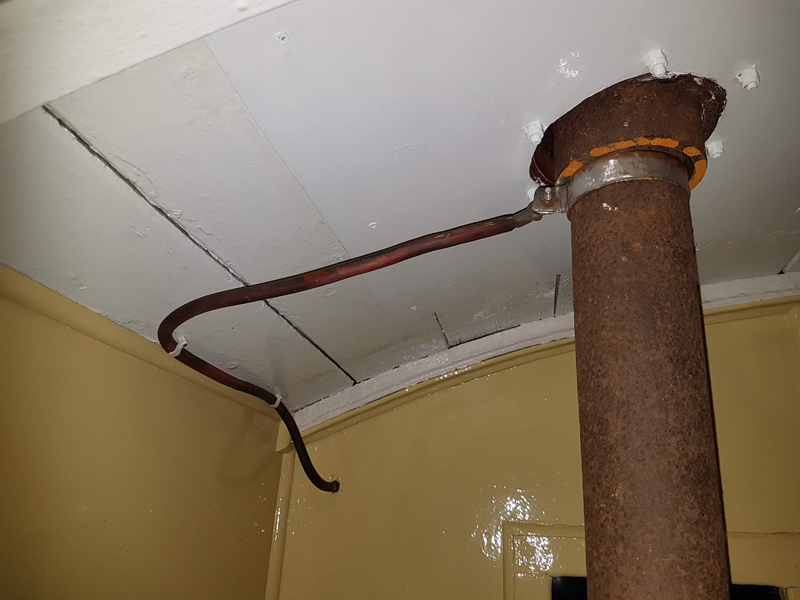
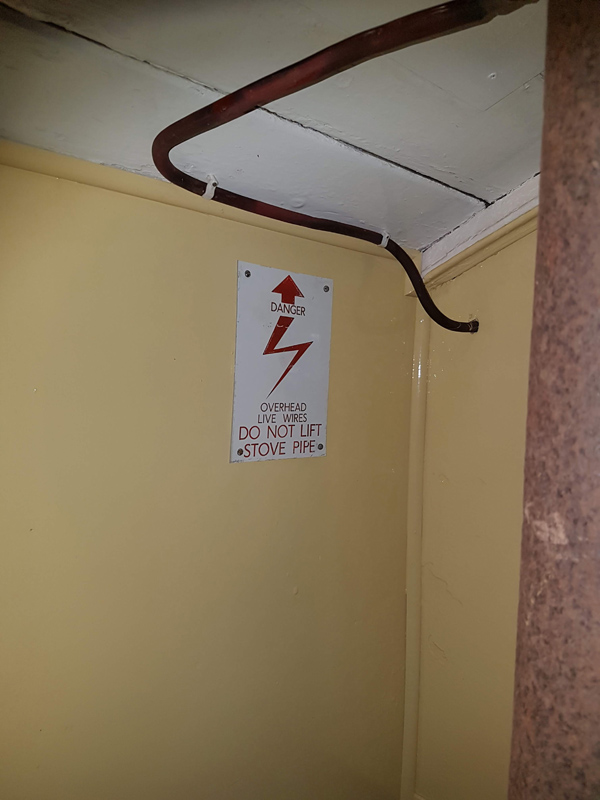
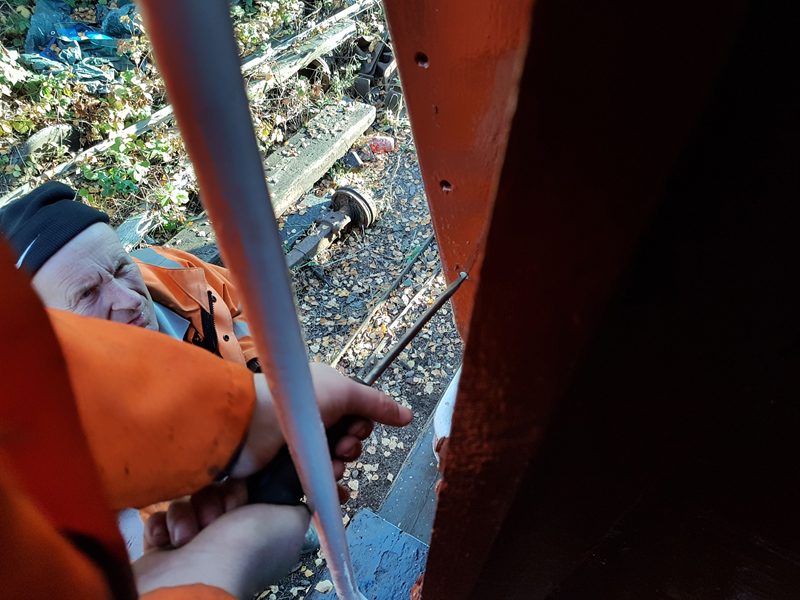
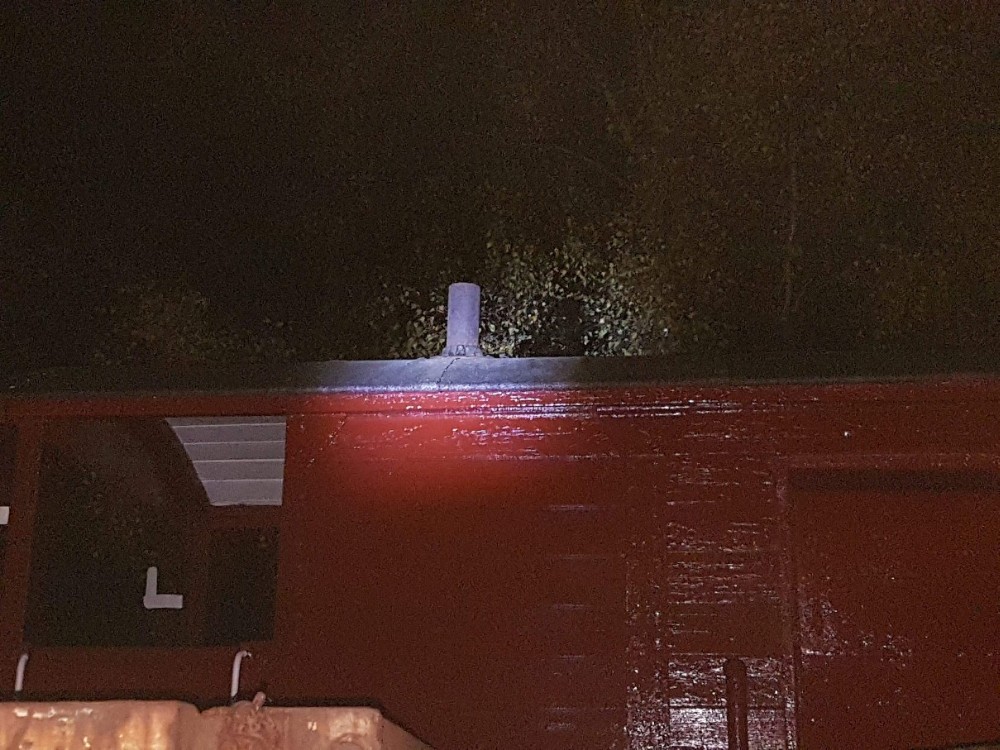
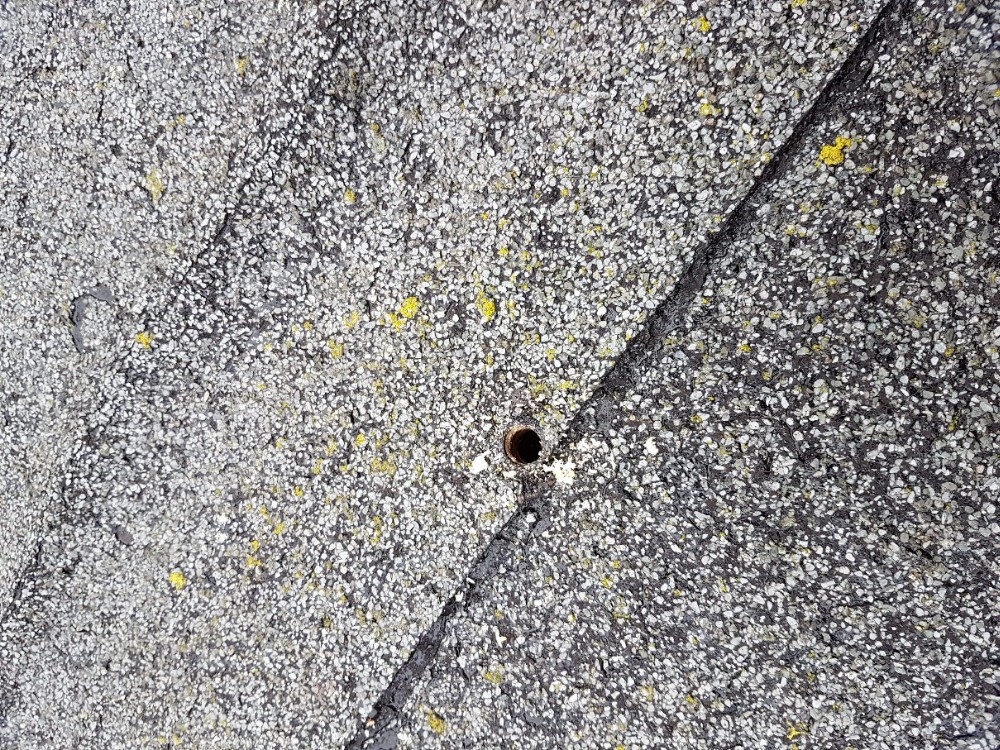
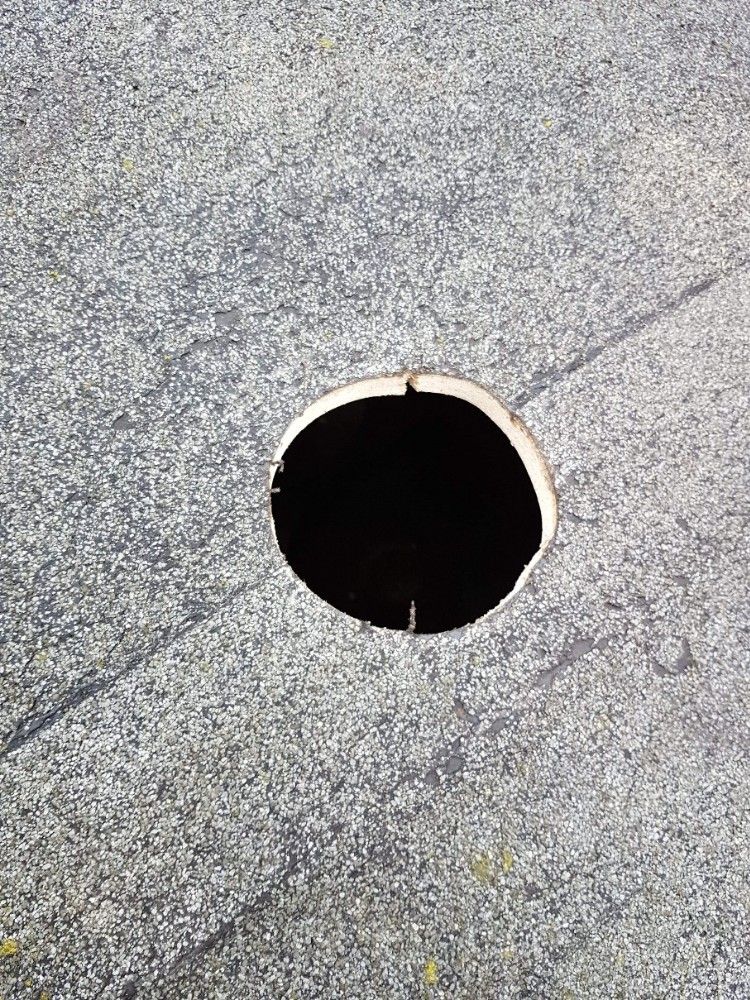
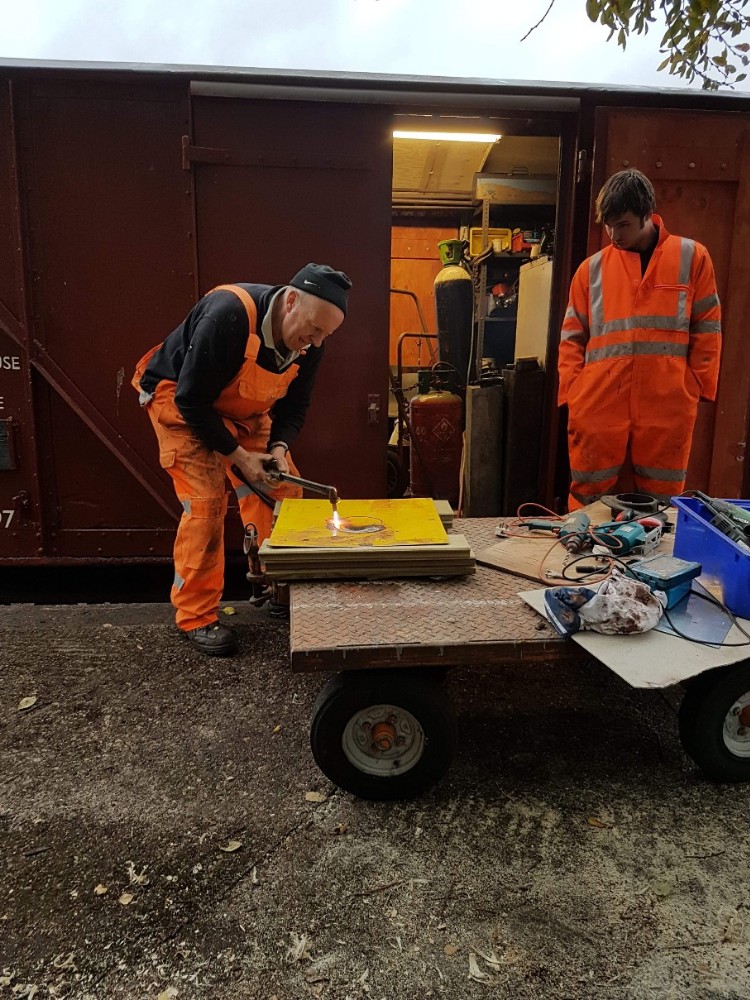
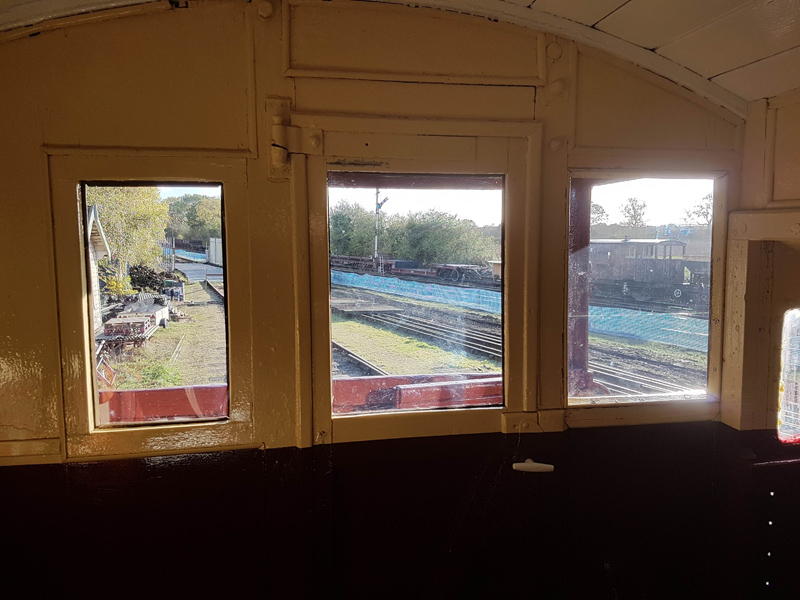
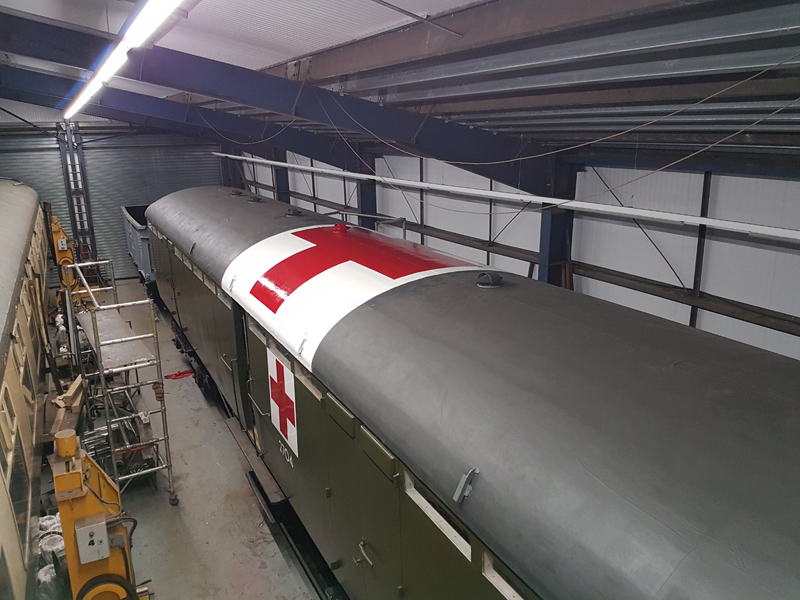
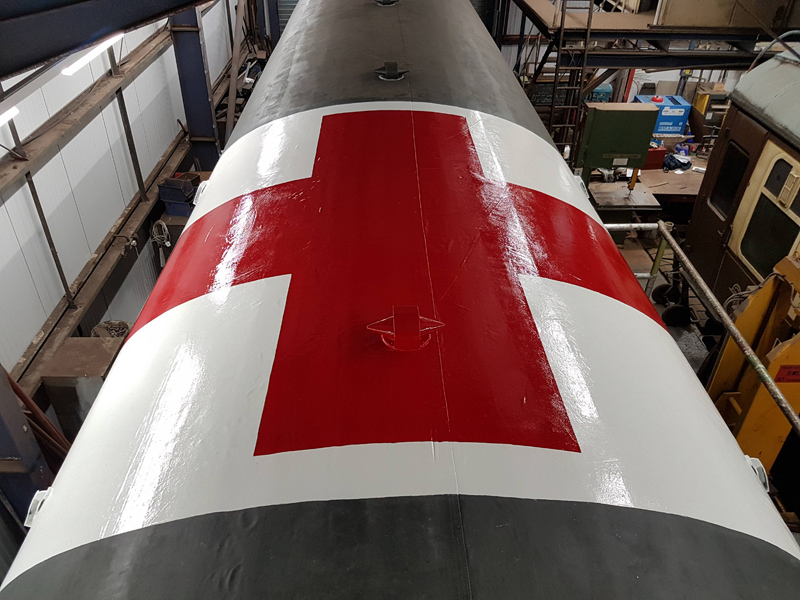
I went on to the roof to find the source of the leaks although I had a really good idea.  As suspected the blanked off periscope holes were the culprits. I removed them but during its departmental conversion, the 110v feed was placed over one of the repair plates, this will need dismantling to ensure a good repair can be carried out.

    At the moment the main coach feed is via the 110v inter carriage supply, Ross is looking at manufacturing a new 240v lead that will supply the main shore supply input.

    Nick and Jake acted as the odd job men.  Holding, finding and assisting where possible. The other tasks complete were a backing piece for the previously created access hatch.  Fitment of a lighting control panel, moving the detonator storage and fitting a coat hooks.

    On to Sunday and the final segment for this bumper addition. Priority being the electrics. As mentioned above the 110v distribution box was placed over the area I need to carry out a roof repair. The first job ensure the coach can be powered from the shore supply point, this has never been done whilst the vehicle has been on the GCR.  Ross completed the new cable, all the fuses were removed and the plug fitted. The power was applied and no issues. The first fuse to go in was the main supply fuse and pop, the coach tripped. This also happened when we initially tried Test Car 2 the solution was to feed the other side so we did and this time no trip. We systematically replaced the fuses and all came online correctly apart from the shore supply applied lights. A quick check of the bulbs and both were blown. A quick trip to B&Q, new bulbs and for the first time since at least 2010 the lights came on.

    With the coach now powered from an alternative supply, we went on to the roof and the 110v cables were disconnected from each end isolating the roof and vehicle end conduits. This will allow us to make a full weather tight repair to the roof however the cables and conduit will be sealed and left in place and if the needs arises a new hole can be cut and the 110v reinstated.

    Whilst up on the roof, the areas for repair were cleaned up and red oxided and the repair plates cut to size by Nick and visiting us from the Mid Hants Railway Wagon Group, Dillon has known Nick for many years and assisted Nick when he first started to collect wagons.

    Ross tidied the now redundant cables, we also got the NRN radio to power up although with the network ceasing to operate on the 12/12/15 we couldn’t locate it.

    Other tasks included fitting the sawdust bin and chock stowage to the Guards compartment fitting a blanking plate to one of the end sockets used for the new shore supply cable and a look into the electric heating system which is missing its thermostat and is the only fuse not to be reinstated.

    All that is left to say is Merry Christmas, thank you for reading our updates, we are looking forward to the New Year and we wish you all a happy and prosperous 2020.

  • 09/06/2019 – Grey Days

    09/06/2019 – Grey Days

    Welcome to another update from Quorn. It has been a bit quieter for us this week as Nick was away camping, which left Matt and I on Saturday. Jake joined us on Sunday, with Nick coming to inspect on Sunday evening.

    Due to the weather, Saturday was a small jobs day. Matt and I initially went to B&Q to get a few supplies such as fluorescent light tubes and round headed wood screws. We fitted a new light tube in the saloon of the coach, which had been broken during a jumper removal. Having the folded and painted the defect book holder in weeks previous, Matt sign wrote them in the comfort on the Test Car. Once sign written  and dry, we fitted them to the BR van currently stopped due to wheel damage (B954268) and the LMS brake van, situated in the down lieby (M730562).  Having sorted these vans out, we then journeyed to Swithland to fit the defect book holder to the Southern brake van (S56010). The 2 operational brakes have also been kitted with PCV first aid kits. We are planning to build some boxes for these, some they look more period appropriate.

    After viewing our 3 most recently outshopped vehicles, we returned from Swithland. The weather dried up, so we started to mask the windows using a window film obtained from Toolstation. After much struggling and faffing the windows were masked. Doing the masking gave the the bodyside time to dry allowing us to continue filling the final few areas on the coach.

    On to Sunday, and it the hope of getting paint on the coach. First though, a bit of light sanding and cleaning down. jake use the blowgun to get rid of the heavy areas of dust , and I used some tack cloths I had bought in the week that helped to remove the dust from the bodyside.

    Then I painted.

    and then painted some more.

    62399998_2992027011022402_6698019034463469568_n

    Only issue being is that the weather, being British and changable, started to rain before I could to the lower line. However in a gap in the rain, I completed the lower line but not without some damage to the paint already applied.

    62098547_456162155213220_1834830232377360384_n

    Finally, the 2 lines were done.

    62259845_1025787600959374_7573228387502653440_n

    That concludes this week’s work. Next week we are planning to continue with the repaint of the Test Car, with the next stage of the livery being applied. Thank for reading!

  • 09/12/18 – Feeling hot hot hot.

    09/12/18 – Feeling hot hot hot.

    Saturday begins, and work continues on the new arrival; Palbrick B462709. I didn’t manage to take any pictures, as Nick, Jake and I have been quite busy continuing to get the wagon fit to move. Matt was attending the Quorn Station Christmas Doo

    It had been brought to our attention that the vehicle was prone to derailment. As with all vehicles we work upon a thorough inspection is carried out.  We have attributed the vehicles poor running to a number of factors:

    1. The brakes had been seized in close proximity to the wheels restricting rotation under certain circumstances 

    2. The majority of the track at Litchchurch Lane is buried so the wagon, being light, is likely to ride on top of any obstruction of the flangeways

    3. At one end, the W-irons are not vertical and are forcing the wheelset in one direction.  Sat on straight track the wheelset is not sitting centrally and is hard up against the flange of one side with both irons pushing against the axle boxes

    All of these factors add to the likelihood of a derailment. As a matter of cause, we have lifted the wagon to be sure that the axle boxes slide up and down in the horn guides, which they do freely but we will address the W Iron issue.


    Today also saw the Eastside handbrake fitted. The eagle-eyed amongst you will have read that last week we fitted the east side handbrake. The vehicle was turned in the week during work for the testing contract in Quorn South yard. The fitting of the handbrake was quite involved as we had to use the ‘hot spanner’ to adjust the handbrake rack so that the holes for the handbrake pin would line up. We also had to align the holes to mount it to the wagon, activity that continued long into the darkness.20181208_172015

    On to Sunday and it is Matt that continues this report. 

    Returning Sunday and straight into straightening out the W Irons.  Using the “heavy hammer” AKA a Volvo L70.  Pressure was first applied to the North West iron. The pressure remained and the top of the iron heated allowing it to relax into the more favorable position. This was repeated on the North East corner although the iron was pulled with heavy duty chain and again heated and allowed to relax.

    The result is a full set of straight W Irons one in each corner.  Again the wagon was lifted and the axle boxes proved to move freely.

    Next job and the removal of the seized brake block carriers.  Despite successful removal they were in a poor condition and are not fit to be refitted.

    This once again leaves the vehicle without brakes so it has been coupled to a Grampus and next week once spares have been recovered it will be reassembled.

    The brake pin racks were also fitted with pins.20181209_161804

    I also did my time team bit and revealed the original running number.20181209_123213

    S56010 is also absolutely complete and once the point is back in can be released to traffic.  The last job completed was the fitting of filler pieces in each corner of the bodywork which was sealed and painted.20181209_162432

    I shall also add some images of the fully refurbished interior and those that remember it originally will notice the changes.  Unfortunately, we didn’t take any images before refurbishment but it was extremely work worn.


  • 25/11/18 – Don’t get hooked up on that!

    25/11/18 – Don’t get hooked up on that!

    This weekend has seen work on the Southern brake van (S56010) very close to completion. Next week should see the van ready to leave the yard.  On Saturday, I began the day by making running repairs to a new acquisition of Nick’s.

    Whilst I was doing this Matt painted the handbrake standard, stove surround, earth strap and vacuum setter handle in black gloss. This concludes the work for the interior of this van. Matt then went on to manufacturer a chimney cowl for the stove pipe.  See if you can work out what it is made from! It is small enough to not be noticeable, but should be large enough to keep the rain entering the stove and causing damage.

    Now finished replacing brake pads, I assisted Matt with fitted the cowl to the chimney. The stove pipe was drilled and tapped in 3 locations to accept M10 bolts, which also will help to prevent the inner flue tube from wobbling inside the outer sleeve. Matt then painted the stove pipe, and the 2 torpedo vents in black bitumen paint.

    Whilst these were going on, Jake had painted the East side step irons in black bitumen once the old step board had been removed. Jake then primed the new step board once a chamfer had been planned on to the edge. Matt got his signwriing paint out and picked out the lettering on the handbrake standard.

    The day finished with Nick and I cutting out some filling pieces for some external pockets and priming them. Matt has also sign written our sign. 

    Sunday rolls around, and Matt is off playing with a Phantom. 

    Nick, Jake and I fitted the east side stepboard, with was still slightly tacky. Once fitted we found some of the step irons were not vertical.  We used a 5 ton ratchet strap and various landscape features to pull the irons back to vertical. Once we’d done this, we drilled the board and bolted it into position.

    We then let Jake loose with the bitumen paint again to paint the stepboard. Jake left Nick and I at 1400 to entertain visiting family. Nick and I journeyed to Swithland to retrieve components stored in the van train to begin our next project! Read next week to find out what this exciting new project is!

  • 18/11/18 – Home Comforts

    18/11/18 – Home Comforts

    Having spent a week looking at images of SR Pillbox brakes my thought was S56010‘s stovepipe is too tall.  Although within the loading gauge we made the decision to lower it.

    Once lowered I applied heatproof sealant between the Outer Stovepipe and cast roof fitting and the inner and outer stovepipes, both externally and internally.

    Once this had cured we moved to a preservation first.  Since its arrival in 2005, the brake van has never had a stove. Having now fitted one we lit the first fire in at least 13 years.

    In the week I had purchased galvanized buckets, dustpan and “fire irons” for the van when I dropped these off I also added the earthing cable for the stovepipe.

    In the now warmed van, Ross and I fitted the ducket head cushions for the Guard.

    20181117_171551

    To finish off Saturdays tasks the original stove pipe sign which was saved when the interior was dismantled was refitted in its original position.

    On to Sunday and the main task was the final fitment of all the upholstery.  Ross and I completed the east side cushions and I fitted the Guards cushions that fits above the main backrests and finally, all of the staples were painted black.

    The main cushions were also screwed into position from outside the duckets and the screw heads then painted by Jake.

    Whilst I had the black paint out I also added a BR(S) to the short circuit bar.20181118_142402

    The whole teams’ attention then turned to the fitting of insulation to the North end door.  During our test fire of the stove, we found if the door was left opened it started smoking.  So we added insulating material, steel covers and Jake primed them.

    One more morning of work left and then we need a new wagon to work on.  Next week you’ll find out which.

  • 11/11/18 – Lest We Forget

    11/11/18 – Lest We Forget

    A small update this week, due to Great War Great Central Event, and the slow winding up of the Southern Brake van.

    The event that we have been building up to for months has now taken place. For the centenary of the Armitice, Jack Shaw has been preparing this event based around the First World War, to commemorate those who lost their lives. For the event, as you’ve read here, our Warflat and Weltrol have been stripped and re-painted into a livery appropriate for the period. Most of this work was done by Matt, with a little bit of help along the way from others. Thank you Matt for all the work you put into these vehicles. They look great, and you should be very proud of your efforts.  Both Matt and I dressed up as WW1 Royal Engineers for the event to staff the footplate  of ‘ROD 1912’ (O4 63601) and talk to people as they come aboard the locomotive.

    Nick and Jake have completed a small amount of work this weekend on the Southern Brake (S56010)  Both, armed with a paint brush, put the finishing touches to some of the interior details, which leaves the upholstery to finish and an outer lower step-board to change. Last week I said that the stove would be lit for the first time in the van, but this will now take place next week. We still also have to make a chimney cowl and seal around the chimney to prevent water leaking in.  I have cut out the leatherette for the seats, and this now needs sewing up and stapling to the cushions.

    Thanks for reading!

  • 04/11/2018 – I’ve put the stove on, time for a sit down.

    04/11/2018 – I’ve put the stove on, time for a sit down.

    Work at Quorn Wagon & Wagon continues on the SR brake (S56010), and preparation work carries on for Great War, Great Central with Matt working on the ‘re-branding’ of the O4.

    Saturday saw Jake painting the veranda ceilings in white gloss to match the BR and the LMS brake (B954268 and M730562), whilst Nick and I dealt with a misbehaving heater and extension cable in the mess coach.  After Tea, Nick and I cut out the seating boards ready for upholstering. Matt spent the day cutting letters out of magnetic sheet for the Great War, Great Central event, once they had been cut out, he painted them in gloss white.

    Back to the brake van on Sunday with Nick, Jake and I put a 2nd coat of white on both veranda ceilings,  the ‘so called’ one coat paint had failed us!  Turns out the verandas aren’t really meant for 3, which resulted in much hilarity. Surprisingly, neither of the three of us got covered in any white paint. Once the mandatory tea had been consumed, Nick and Matt went to a local farm to retrieve an eBay purchase: a brake van stove, base and stove pipe! We have been planning to refit a stove in the SR brake since its rebuild started. the stove is something that has been missing for some time, and got so far as having the base plate in. The eBay purchase finishes of the puzzle.

    The stove was first de-scaled internally and externally, with some grinding taking place on the flue outlet so that the pipe would fit over. The stove was then fitted in the van, and using a highly accurate piece of wood, we began marking out the hole for the stove pipe for exit the roof of the van.

    Drawing round the piece of wood, and then joining the diagonal corners and the resulting square gave us a x to aim for. Matt then drilled through the roof in the middle of the x to transfer the mark from inside to outside of the van.

    Using the casting that holds the pipe, a circle was drawn around the drilled hole which was then cut out using a jigsaw.

    wp-15414006346133630159859911564300.jpg

    Having now descending from the van, Nick and Matt then cut a similar hole in some insulation material and a steel sheet to protect the roof boards from the heat of the stove pipe.

    The assembly was then taken to the roof and clamped into position to allow through bolt holes to be drilled to fix the casting, insulation and steel sheet to the roof. This was then sealed with mastic. The stove pipe we received with the stove was too small for the casting on the roof, and the cast iron stove pipe we had in store was too short to be able to be used. We decided to use a section of the cast iron pipe as a sleeve for the smaller steel stove pipe. We positioned the cast stove pipe so we could mark it for cutting. Having cut that down and putting it in position, Matt then carefully threaded the steel flue tube through the cast pipe and up onto the roof. to finish the job, Matt came up on the roof with the angle grinder (and some lights) to trim the pipe down to match the length of the cast pipe.

    The finished result below. Alas we couldn’t light the stove this weekend, as it had got too late, but at some point next weekend the stove will have a ceremonial first lighting.

    Whilst Nick and Matt worked on the stove fitting, I spent some time with my sewing machine building up a seat for the west side ducket. This was a pain to fit back into the ducket, so I am looking to review the assembly method so see if I can make it fit easier. It is at least comfortable and looks good.

    Thanks for reading, and join us again for next week’s update.

  • 28/10/18 – Did you set the clocks back?

    28/10/18 – Did you set the clocks back?

    As I stated in the last update I was on a week of earlies.  Monday I made a start on replacing the windows of S56010.  Unfortunately, there was only time to replace 5 out of the 6 vestibule windows.

    For the rest of the week, I have been carrying out work for Railway Vehicle Preservations as part of the ongoing preparations for Great War, Great Central on the 10th & 11th November. I have been Signwriting their Ambulance Coach in readiness for the event.

    On to Saturday and Nick and Jake in attendance, before the weather turned for the worse they were able to paint the headstocks of S56010.  The rest of the day turned to prepare for a number of future projects and generally tidying the sidings.

    Sunday and everyone on site.
    Ross and Jake started with spraying the Bogies of the Tankflat as I added the final detail, the fictional registration plate.  After the Remembrance event, this will be altered to more accurately reflect the vehicles 1942 origins. With these final details complete this brings a close to the repaint of this vehicle.

    Back on to the Southern brake and myself and Nick completed the replacement of the van windows I began on Monday.  Only one of the original panels remain as this was an original glass one still in situ and was easily cleaned up.

    Ross and Jake then joined us to add the external white details, Handrails and Lamp brackets.

    As can be seen below the vehicle is very much approaching completion and has come along way from the poor state the vehicle had reached.

  • 21/10/18 – Evolution of an S

    21/10/18 – Evolution of an S

    Just myself and Nick on Saturday for me a full day of signwriting and for Nick a full day of scraping. Nick prepared the underframe of S56010 for painting, sole bar, headstocks and running gear.  My first task also centred around S56010 applying the running number, wheelbase and tare.20181020_120910

    I then moved over to the Tankflat. Although it is a 1942 built vehicle for the purposes of the Remembrance event it is receiving the livery of a first world war flat.  Visually there is little difference between a 1st or 2nd World war built vehicle.  Those built in the 40s are able to carry a load of 50T the earlier ones being 40T.  This is distinguishable by the riveted L angles along the entire length of the main frame, top and bottom.

    The marking ETAT was added to vehicles that went to France and translates as State,  referring to the National State Railway,  this means the vehicle is maintained and operated as part of the French railway system.  When crossed out the maintenance and operation returns to the War Department and the Railway Operating Division.

    Once complete with the Brakevan Nick came over and prepared the West side bogies for Paint.

    On to Sunday and we were joined by Jake. When I left Saturday I wasn’t solely happy with the letter S I had applied to the Brakevan.  It was weighted more than the rest of the number and really looked out of place.  This is an advantage of signwriting, I narrowed the whole letter and finished it to match the number it accompanies.

    Nick and Jake continued with the underframe applying the bitumen based paint to the areas prepared the previous day.  They also replaced 3 of the 4 top steps that were life expired.

    I continued with the tank flat applying top coat to the headstocks and applying paint to the details, Draw hook, Lamp irons, Vacuum pipe and jack screw threads.

    I also sign wrote what would normally be a plate to indicate what direction to turn the handbrake wheel.

    The final task once the underframe paint on the brakevan had dried was to fit the wagon plates and pick out the lettering on the repair plate.

    Another week of earlies for me so anything can happen.