Tag: 854782

  • 02/08/26 – Many hands replace sides

    02/08/26 – Many hands replace sides

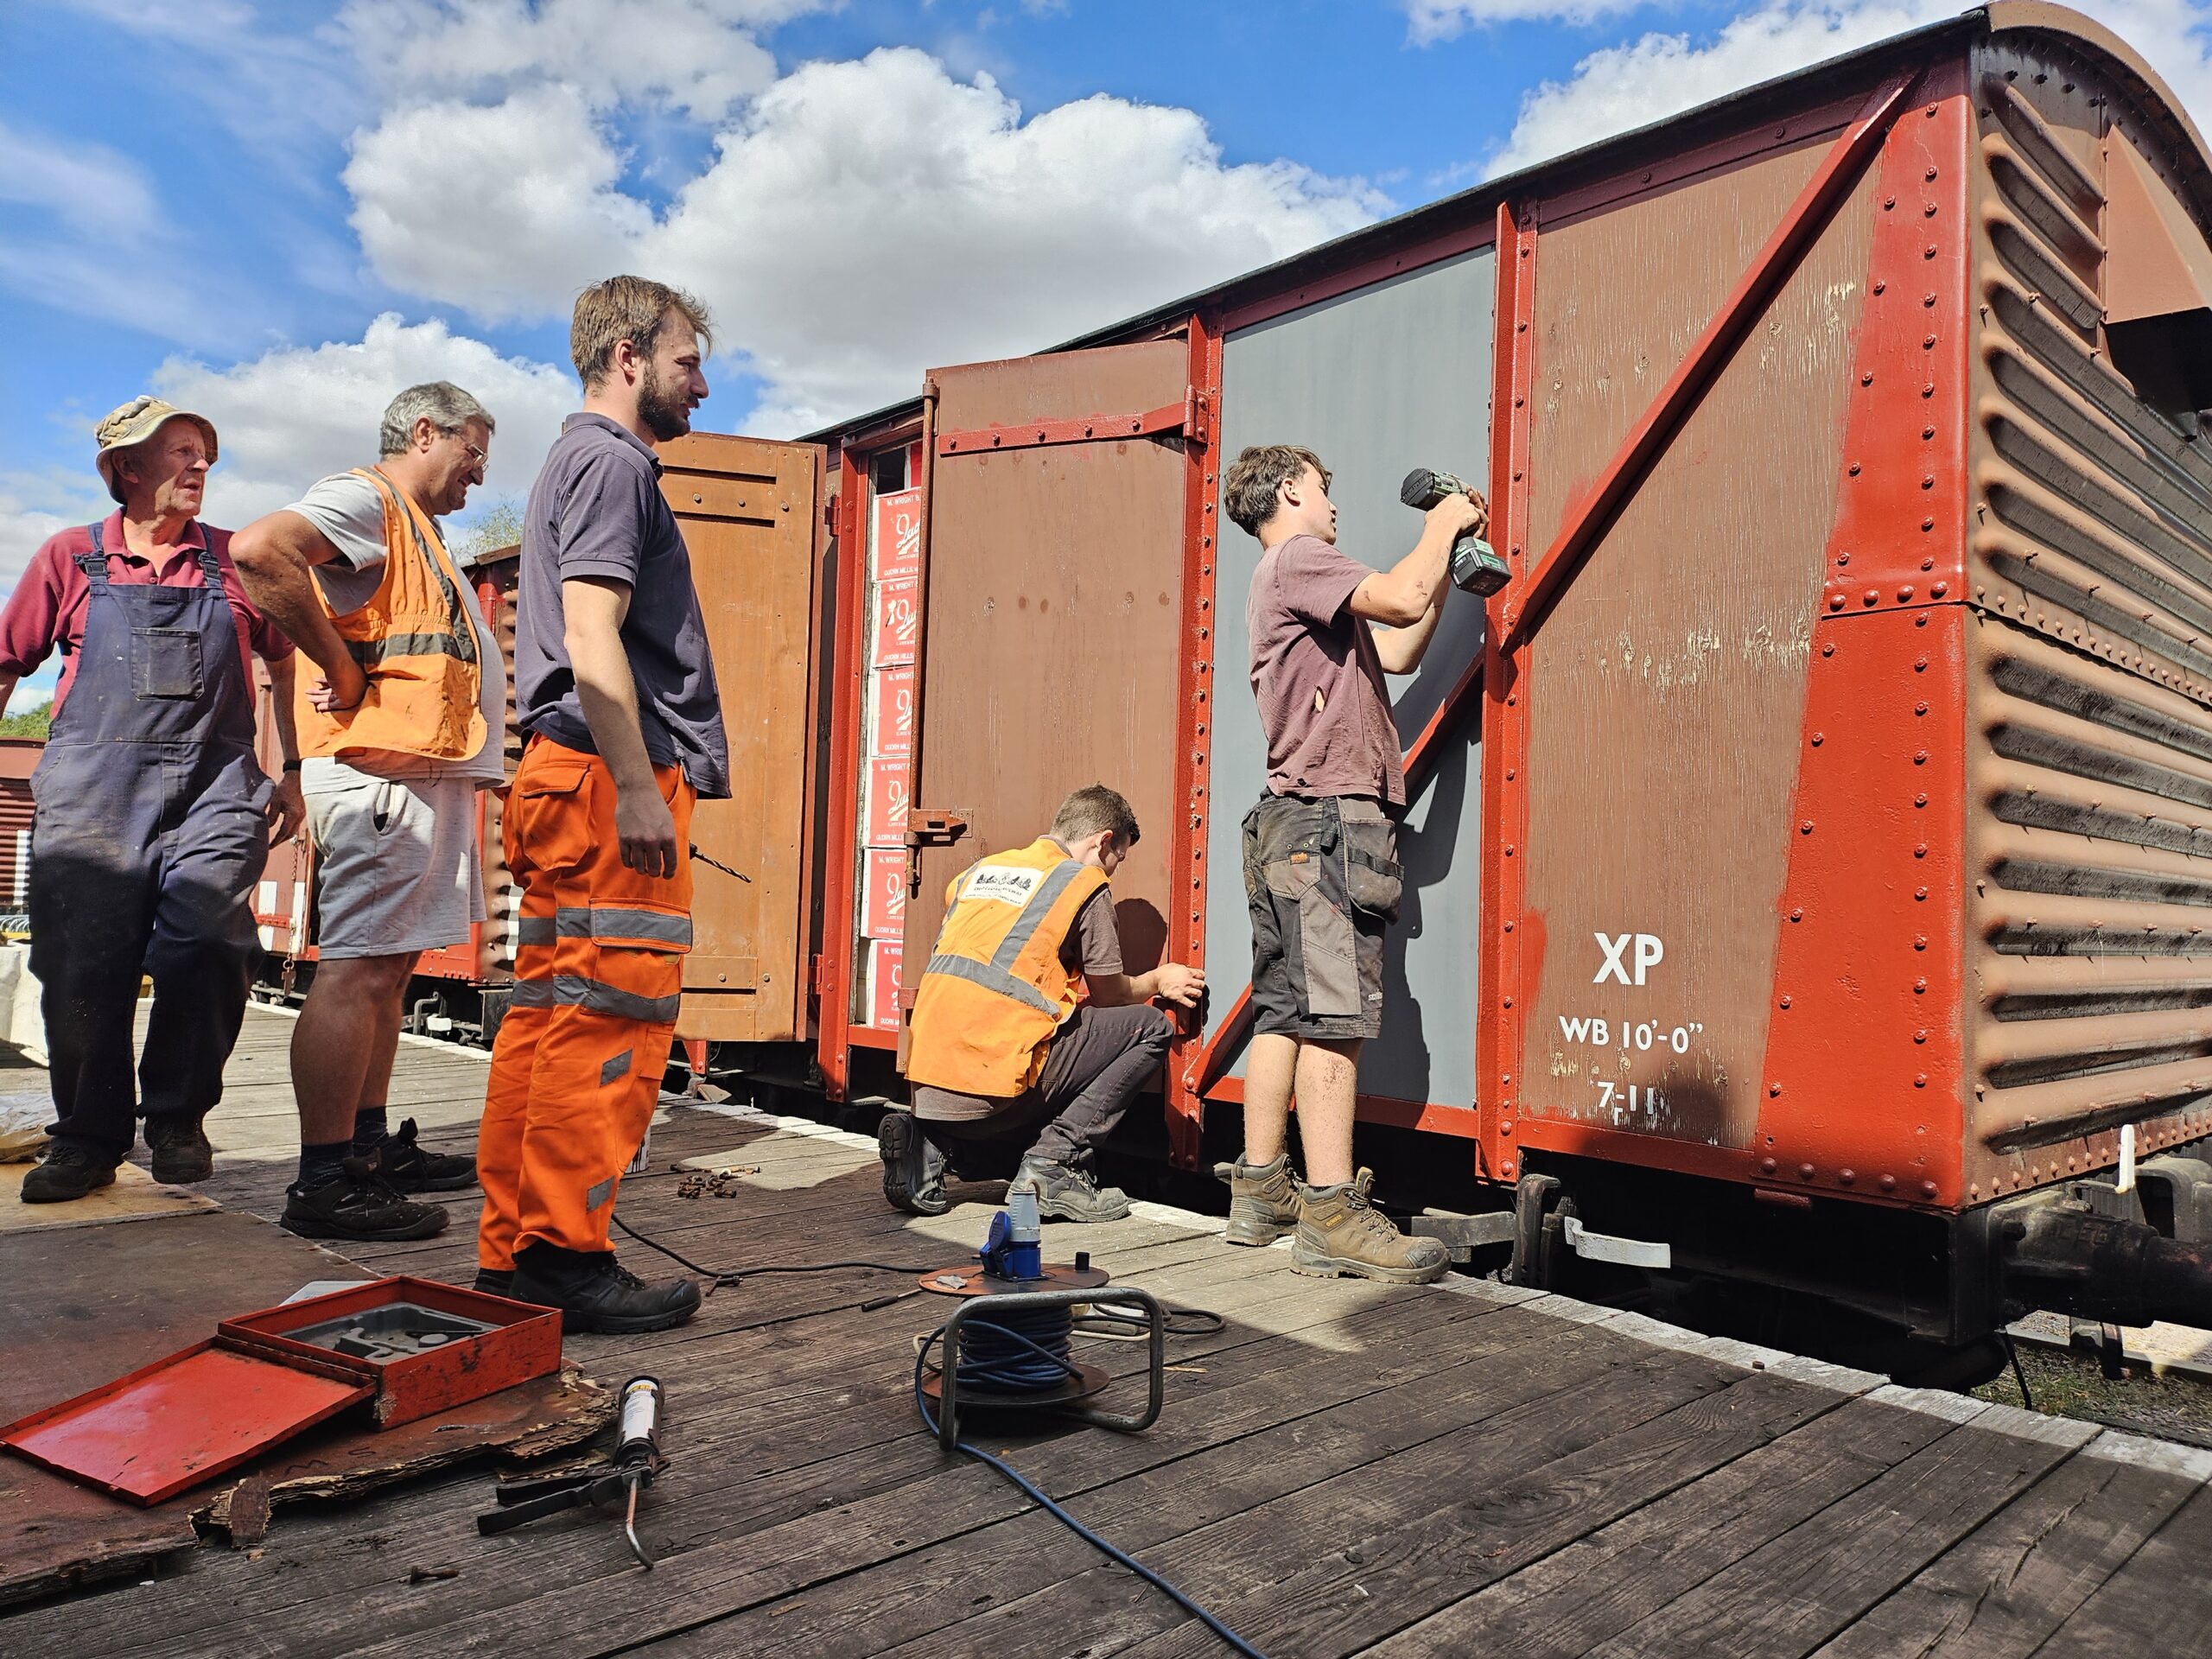
    Hello everyone and welcome to this week’s update from Quorn. We’ve been working on the vans this weekend, progressing with the replacement of the rotten sides identified on the theatrical vans which had been loosened off last week.

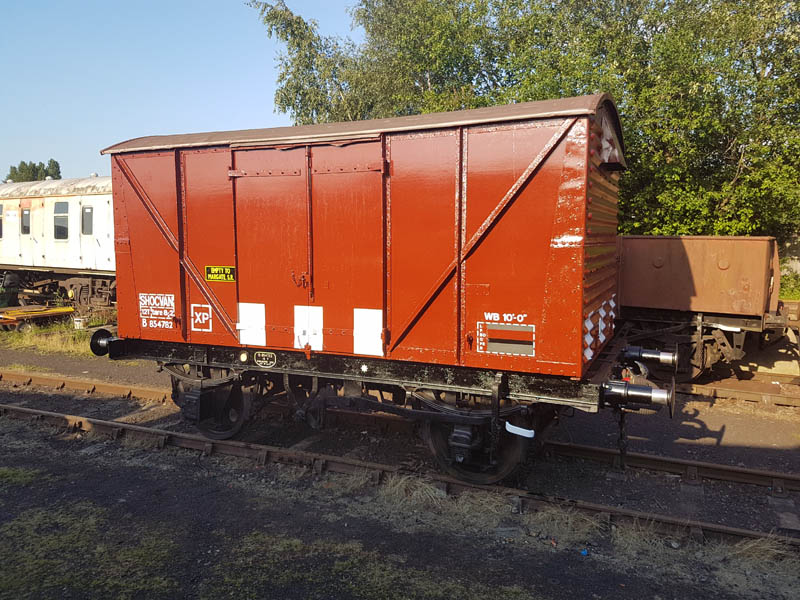
    We got set up around the goods shed and removed the last few bolts holding the sides from B852838, B854782 and B786181. Three new ply sheets were retrieved from the Palshocvan and taken to the dock to be cut to size.

    The measurements were checked for each van, with both Shocvans using the same size sheet and the standard van using a taller sheet. Oliver and I cut the sheets down to the correct height and width using the circular saw under the careful supervision of the resident House Martin.

    While Oliver and I cut the new panels, the metalwork of the van was scraped and prepared back then primed with red oxide primer, inside and outside the van.

    Each panel was dry fitted to check it for size and then painted into primer and left get touch dry. We started in fitting the panel into B786181, first applying sealant to the metal work and then letting the panel in before drilling all the holes and getting the panel bolted up.

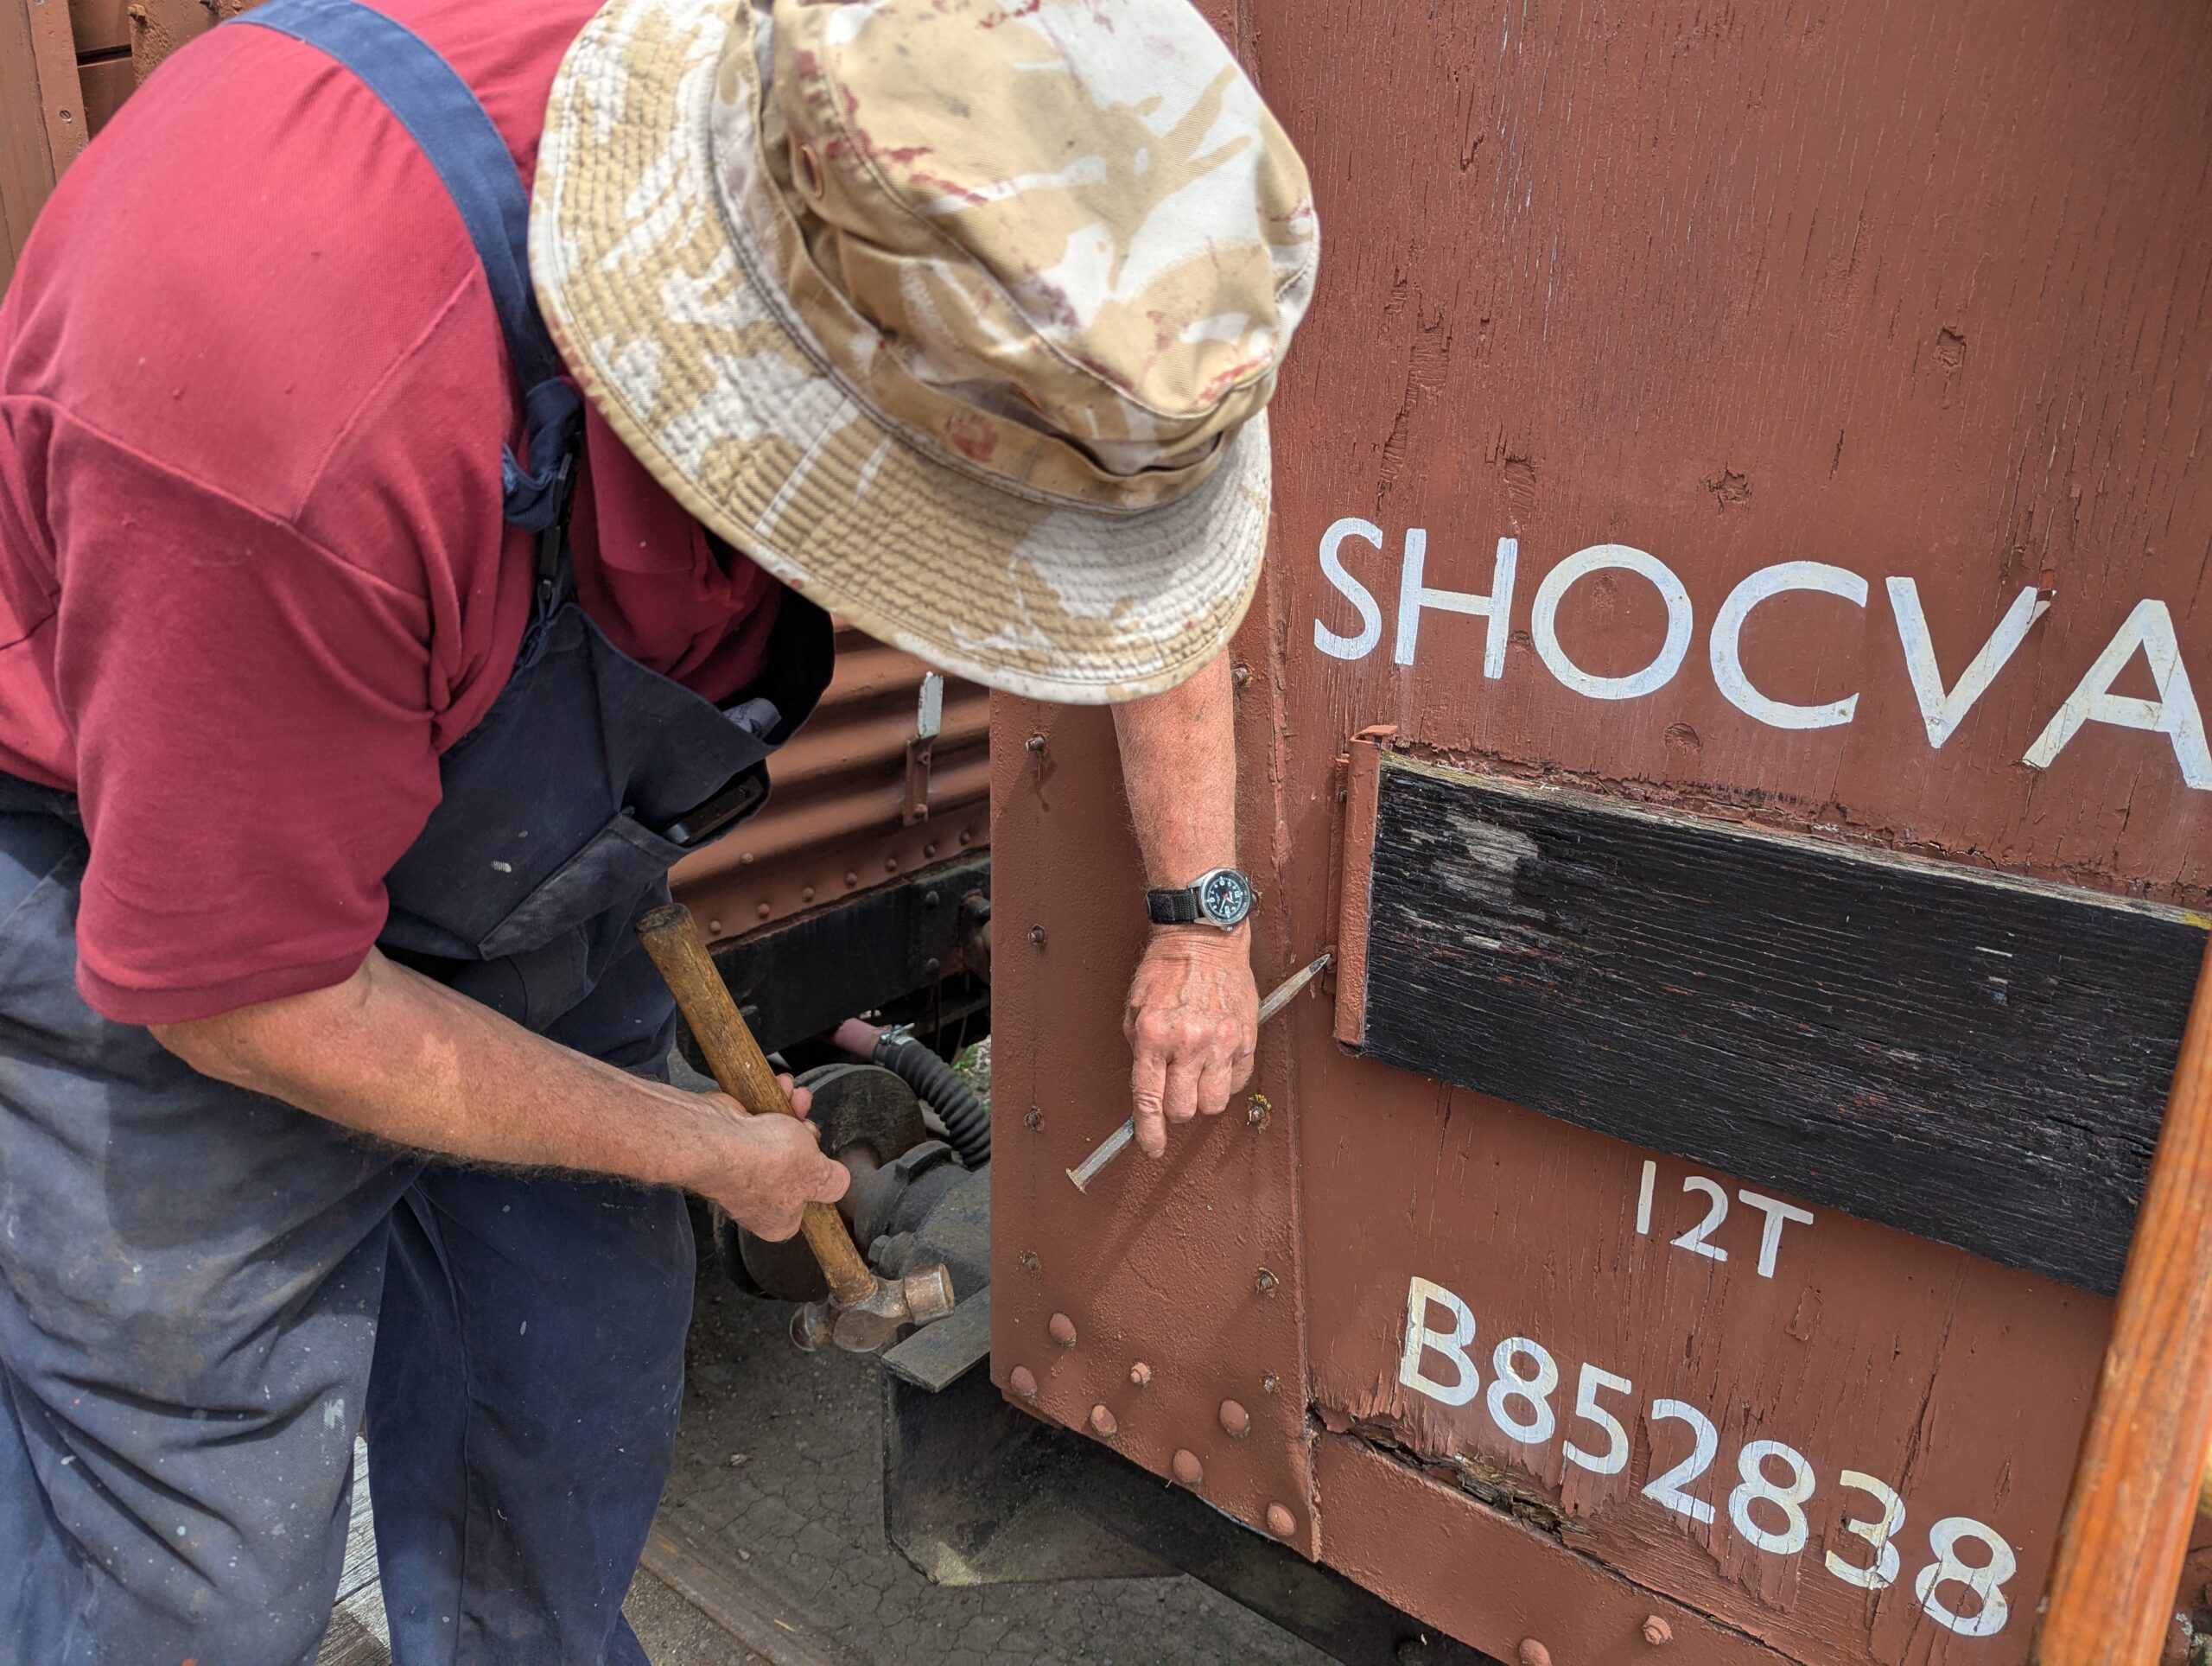
    The panels for the two shock vans needed some relief holes drilling for the rivets joining the corrugate end. The panels were fitted to the shock vans on Sunday morning, and then we moved our attentions to one of the doors on B854782 which had a rotten corner. We think this is the first of our ‘re-designed’ doors to have rotted and come up for replacement.

    We dismantled the existing door and got the required measurements to cut down another plywood sheet to make the door. We drilled the hinge bolting holes using the old sheet, then fitted it to the van and checked the operation of the door before giving it a coat of primer.

    Dave trimmed some of the side sheet bolts, then Ernie came and painted all three replacement panels into the deep red undercoat for the bauxite gloss. Dave also went back up to the workshop to clean out the thread on the door bolts

    Next week should be more of the same, with more van sides and doors to be replaced which is good as we’ve now found our rhythm with them again. Join us then and see what we get up to!
  • 05/07/26 – Déjà van

    05/07/26 – Déjà van

    Hello everyone, and thanks for joining us for this week’s happenings from Quorn South Yard. Some more signwriting has taken place on 3854 and we’re getting ready for starting the work on the van train.

    I started off by putting the number on the dockside of 3854, I had every intention of doing some more but got a little distracted!

    Ernie and Nick started sorting through some recently donated hand tools to file them, and then moved onto sorting out our spanner collection and segregating the Whitworth and the metric spanners.

    Ernie and I got to making some more label clip mounting blocks for stock, with Ernie cutting the board downs down to shape. I then put each block through the planer/thicknesser a few times to get them to the correct thickness.

    Nick and Charlie went to collect 8 sheets of plywood for us to use in the repairs of the box vans, Ernie, Daniel and I went to assist with unloading them to store until required in the Palshocvan.

    After tea, we got to clearing room in B852838 and B854782 moving the parcels out of the way. We then started undoing the bolts from the side sheet in B854782. Fortunately we’ve been here before and all but a few bolts undid.

    For B852838, the panel we are replacing hasn’t been out before so is believed to be original fitment. We had to split each bolt and nut to be able to loosen the board sufficiently. the final act in this van was to use a small circular saw to cut the side sheet which was originally made the full length of the side. Easy for construction, however makes replacement a bit trickier!

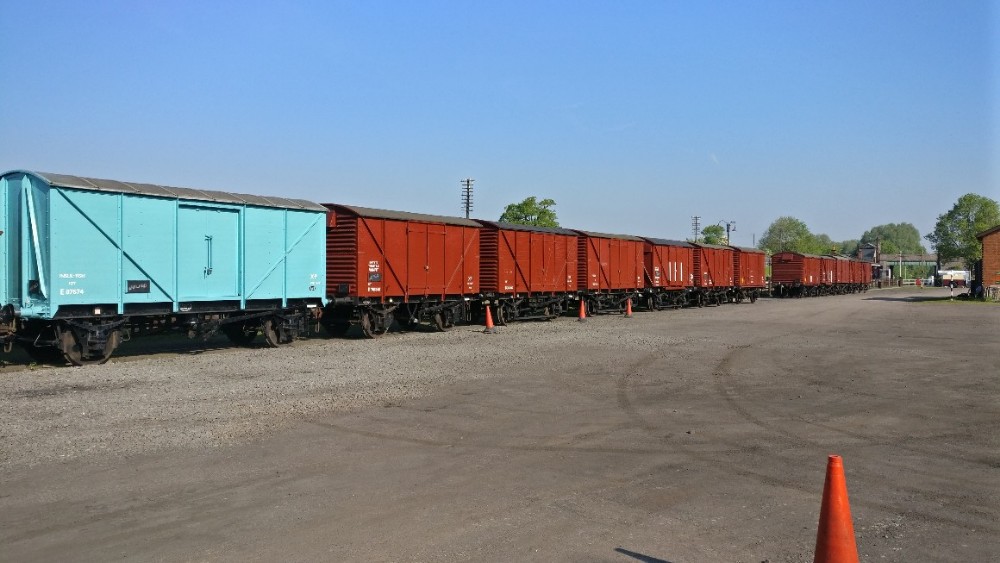
    That wraps up this weekends activities. One last reminder that next weekend is the Reunification Weekend where you can take trips on both halves of the railway linked by heritage rail replacement bus. We’ll have Test Car 2 open for you to visit, and we’ll be replacing the sides on the two vans some people can see what we do. Do stop us and ask question about the wagons or indeed the Test Car! See you then

  • 07/07/19 – Dumper Doctor

    07/07/19 – Dumper Doctor

    This weekend has been one of hospital jobs, but before we get to that we have some week work to catch up on. Those of you that are following our Facebook page will know that several things has happened this week. Firstly, Matt bought and fetched a fibreglass container with Nick. Secondly, Matt completed the signwriting on the Centre Shock van, thereby releasing the vehicle to traffic. It can now join the rest of the van train. Lastly, courtesy of the Heavy Tractor Group, the Test Car has been turned so that we can start work on the other side.


    On to this weekend. Saturday and Sunday has been one of small jobs, tidying up the workshops and storage vehicles. We have been hard at it on various project over the past few weeks, so we’ve taken the time to stop and have a sort out. I played doctor to our Winget site dumper, Danny. As the skips have moved down the yard, and with the vans hopefully coming back for attention to the vacuum system, we have decided to get Dnny back up and running. Danny has been out of use for some time for various reasons, the biggest of which is the lack of fuel getting to the injector. I ordered a rebuild kit for the fuel pump in the week, and armed with a certain amount of naivety I set upon the dumper. I removed the fuel pump from the engine to find the cam follower seized, which would explain the lack of injection. I freed of the cam follower with a mixture of penetrant and diesel. I disassembled the fuel pump and rebuilt it, following the manufacturer’s instructions from the workshop manual. I then reattached it to the engine and bled the fuel system. after a few false starts, the little Petter engine popped into life.


    With the engine of the dumper up and running, we decide to sort the steering which had gone stiff with standing. First the oil was topped up. this worked up to a point. Sadly something had become amiss in the steering box, as it started to only turn in one direction. Turning the steering wheel the opposite way had no bearing on which way the wheels pointed. The footplate was removed, and the steering box eventually came free. I will be contacting the OEM (who are surprisingly still going!) to try and get a quote for its rebuild.


    Matt was at work Saturday, but came down after work, and made a board so that we could stick our QWW magnet to something other than the newly painted Test Car. Matt also got out his signwriting brushes and picked out some details on the underframe of ‘2 car’ now that it has been turned.


    Sunday saw Matt showing us his green thumb by strimming the dock area. This should cut en on insects landing on the fresh paint (when we get around to it). Matt then went on the roof of ‘2 car’ to repair the periscope blanking off plates. These had lifted due to the pop rivets failing. In drilling through the roof, Matt broke all of our 3.5mm drill bits. New plates were cut, and riveted over the holes using new rivets, and plenty of sealant!


    Nick continued the task of scrapping down the roof of the Test Car, in preparation of the roof repaint. I continued tinkering with Danny, and freed off the rod brakes. one then promptly snapped. Win some, loose some I suppose. Hopefully, it can be welded, if not a new set from Winget probably wouldn’t hurt. I also removed and refitted on to the mudguard to some out some rust that had built up between the mudguard and chassis.

    I think that covers everything this week. Join us again next week, when we begin the process of repainting the other side of the Test Car.

    Thanks for reading!

  • 03/07/19 – A mid-week Con.

    03/07/19 – A mid-week Con.

    A mid-week update,  it happens occasionally and today is a very good reason to have a separate post.  Just myself and Nick in attendance and it was all my fault.  Last week I had an opportunity that could not be me missed and purchased my largest railwayana item to date. This resulted in an 08:00 departure from Quorn, with a 7 Ton Lorry, North to Barnsley.20190703_093022

    Just off the M1 and outside a farm already loaded on to a forklift, 1959 built BD4304B Fiberglass Container. Built by Mickleover Transport in a batch of 6.


    All loaded and secured we made the run back to Quorn and having been sat on a farm for many years the container was once again on another forklift.


    At this point, we would like to thank our friends at Kenway Construction for the loan of their vehicle, a superb help to our cause.

    Now safely on the ground, the Container takes a temporary place in the compound to allow us to restore it in preparation for the arrival of one of the Conflat-As and its eventual home.


    I also took the opportunity to take some measurements of the lettering in readiness for making the signwriting templates and to answer my curiosity having seen the very container in Don Rowlands British Railways Wagons book.  In his book, there is evidence of branding but the image is too low quality to read.  The answer………………20190703_134929

    Having exposed the branding it also confirms its livery of BR Crimson with Golden Yellow lettering.
    Inside was more evidence of it BR past and its solid condition.


    Further opportunity was taken to do a touch of signwriting on the Shocvan and we are so tantalisingly close to the completion of this vehicle, just need to Dot the I’s and Cross the T’s


    The eagle-eyed amongst you will also notice that once again I have applied Shock markings and have not been happy with there position.  Some extra Bauxite and White paint I am much happier.


    That  concludes this special Midweek update as always more this weekend.

  • 30/06/19 – Lines and Squares

    30/06/19 – Lines and Squares

    A small team Saturday, consisting of Nick and Ross.  As Ross stated last week the second coat of gloss for the boxvan was sprayed. Gloss was also applied to the door ends and areas covered by the doors when closed.   

    The northern headstock, eastern sole bar and parts of the western sole bar also received bitumastic paint.20190629_183514.jpg
    On to Sunday, much cooler weather and a full complement, both the Shocvan and Test Car 2 were hit from all sides.  Nick completed the sole bar painting on the Shoc as I tidied up the lining of TC2. 

    Dave, Ross and Jake looked over all the finer details door edges and inner frames. all areas of overspray. The gangways and the solebar.

    I also painted the lettering on the spec plate, Ross added the OLE warning flash and Dave painted the details on the reducing valve.

    All of this completes the body side of “2 Car” and the request has gone to the Ops department to turn it.  Not only will this allow all of you to see our work in the flesh but will also allow us to begin it all again with the other side.

    Whilst most of the above was continuing I turned my attention to the Shocvan,  applying the Shoc boxes, we are going for the post-1964 livery and the stripes as applied to our other shock vehicles has made way for the boxes.  I also added a black patch for the branding and assorted shades of black for the data panel.

    Nick also painted the Lamp irons and Vacuum pipes as well as cutting and priming a pair of Chalk Boards, my last task stanley knife blade in hand to remove the overspray from the windows.

    That concludes this weeks update. As always we shall continue next week.

  • 23/06/19 – BLUE!

    23/06/19 – BLUE!

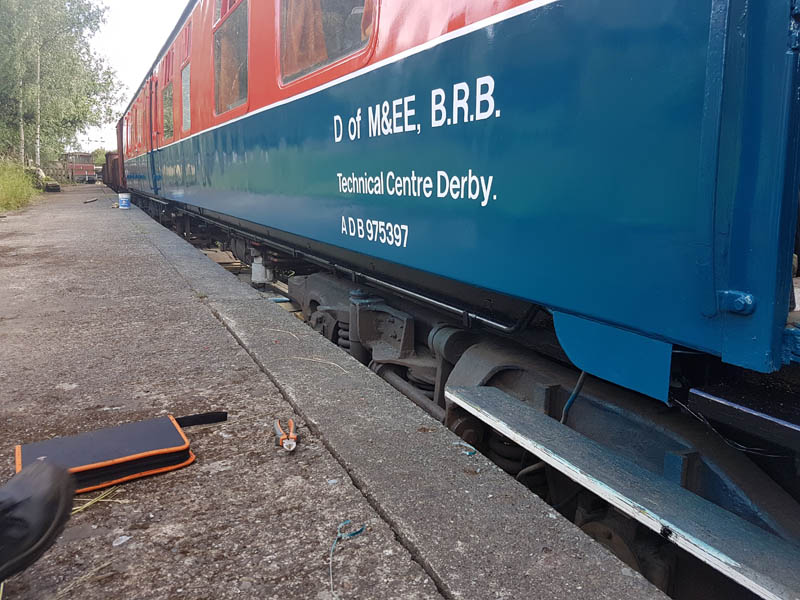
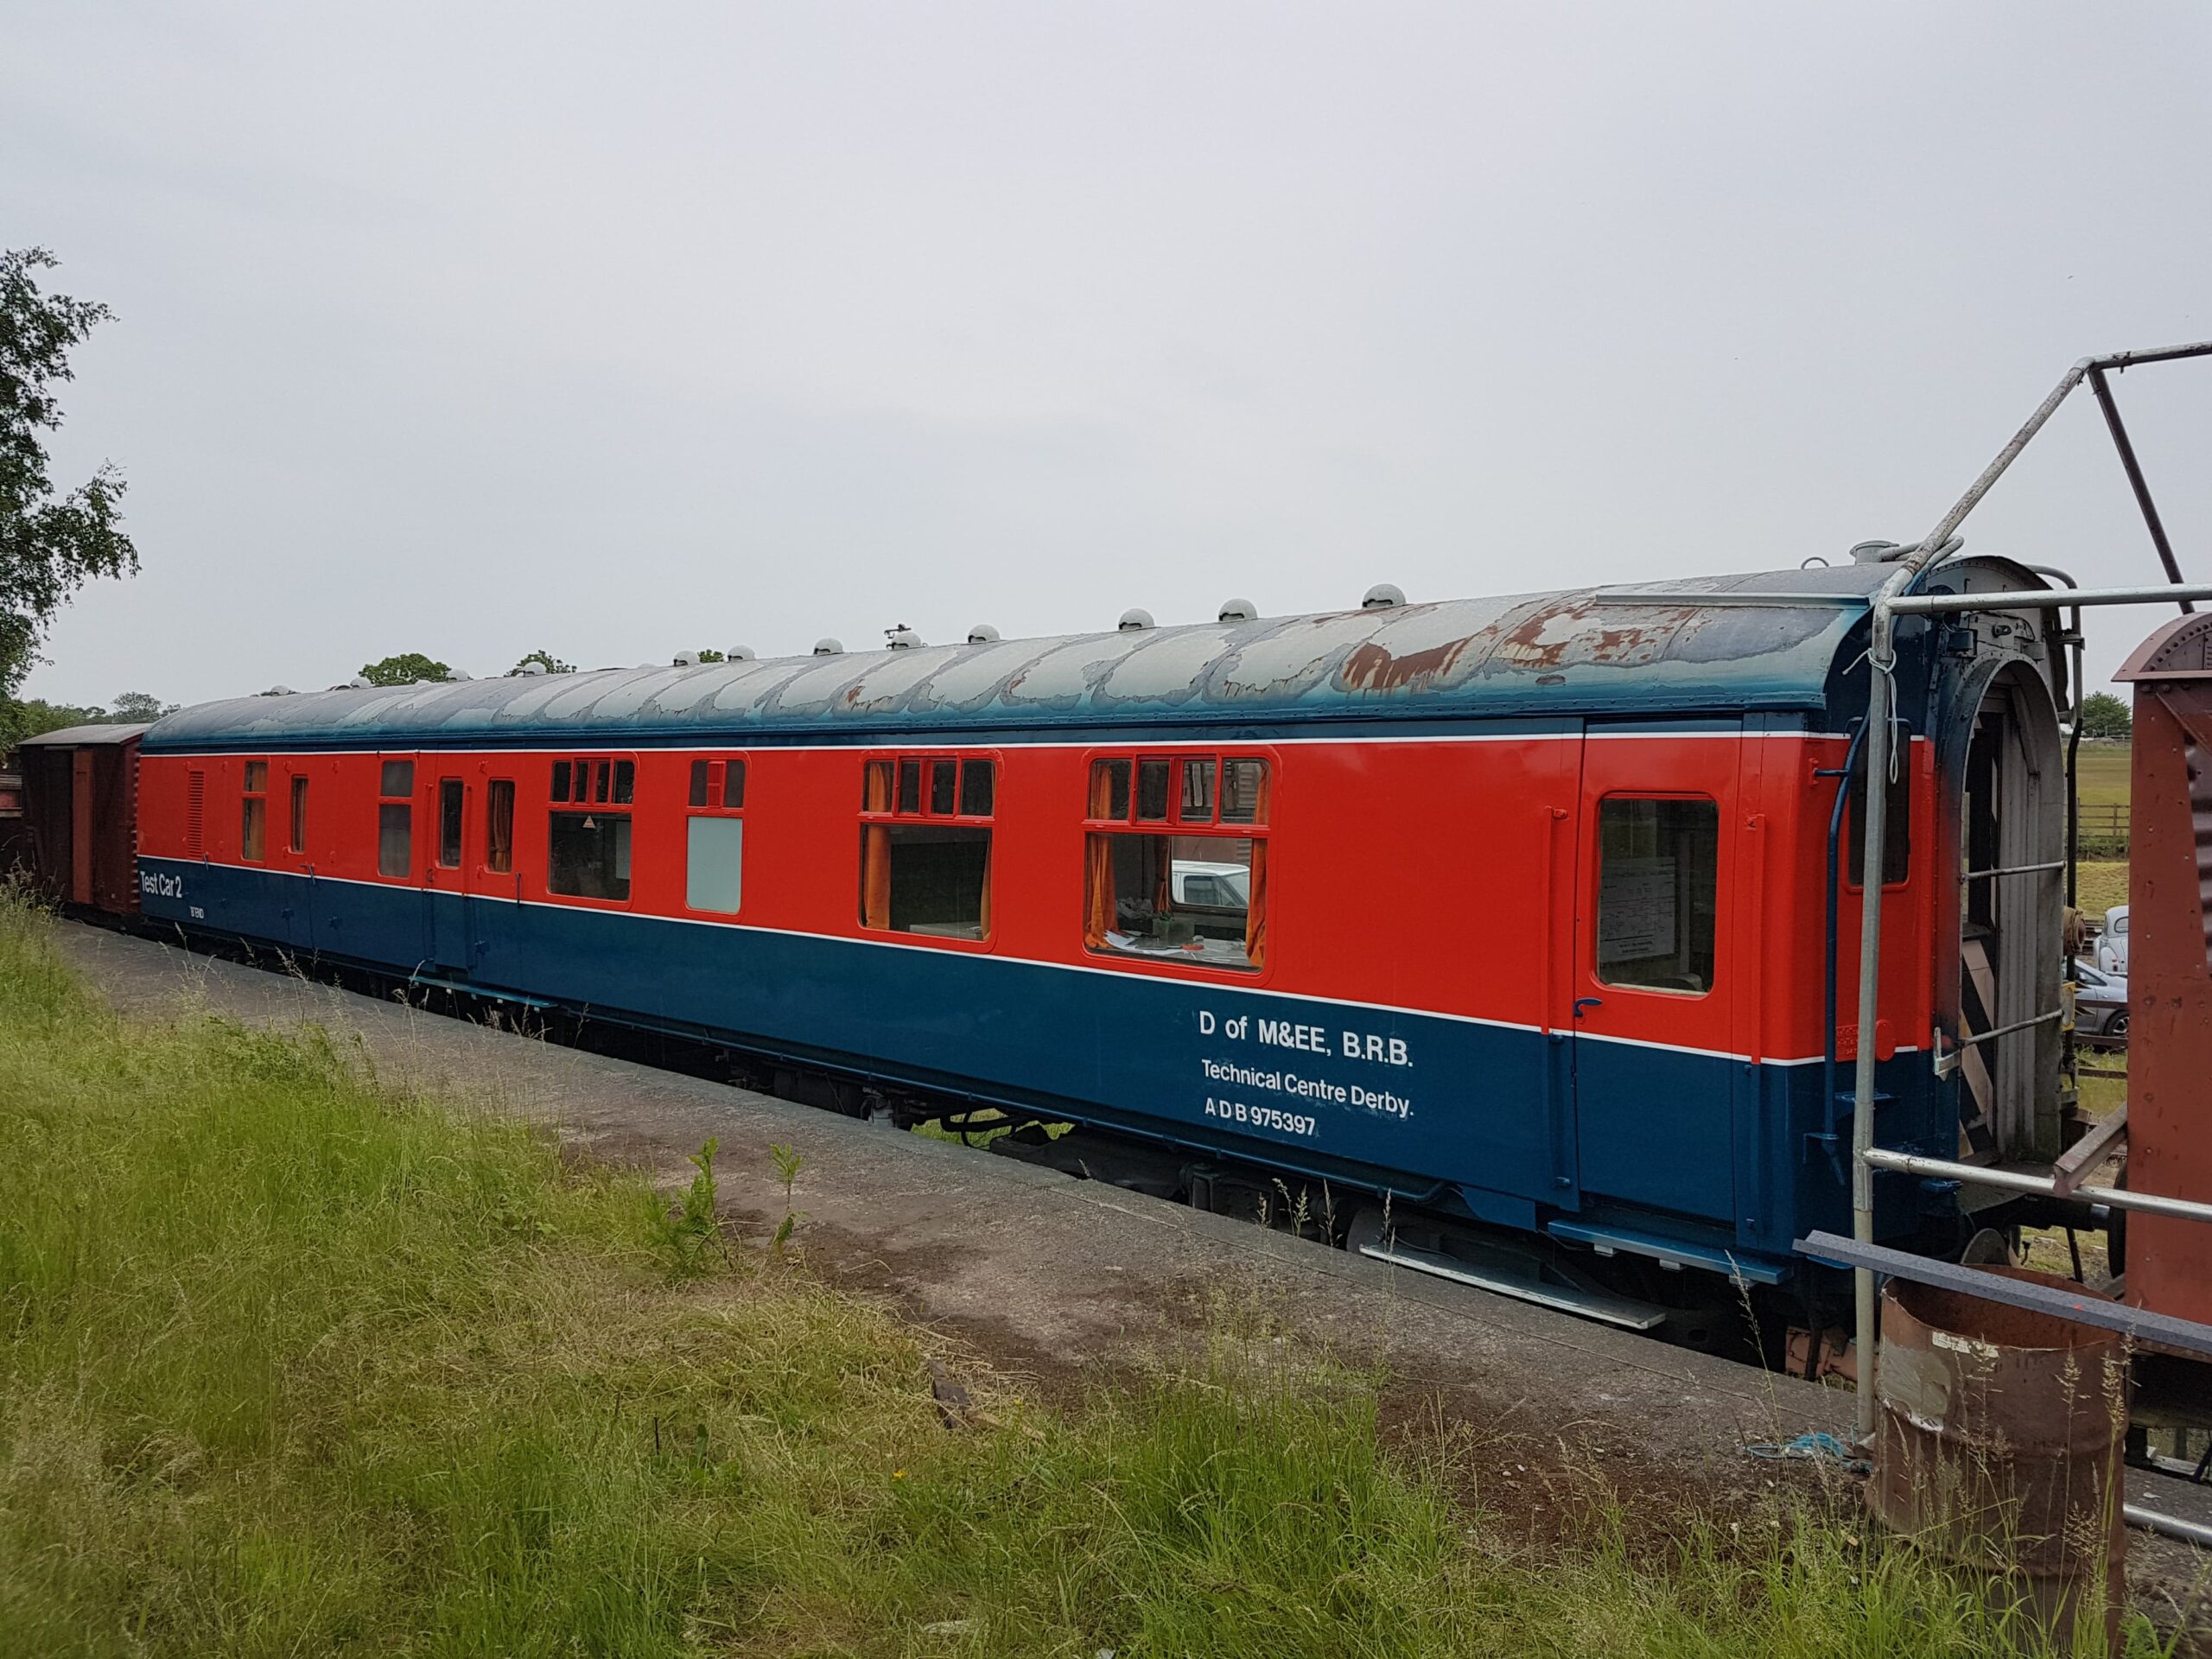
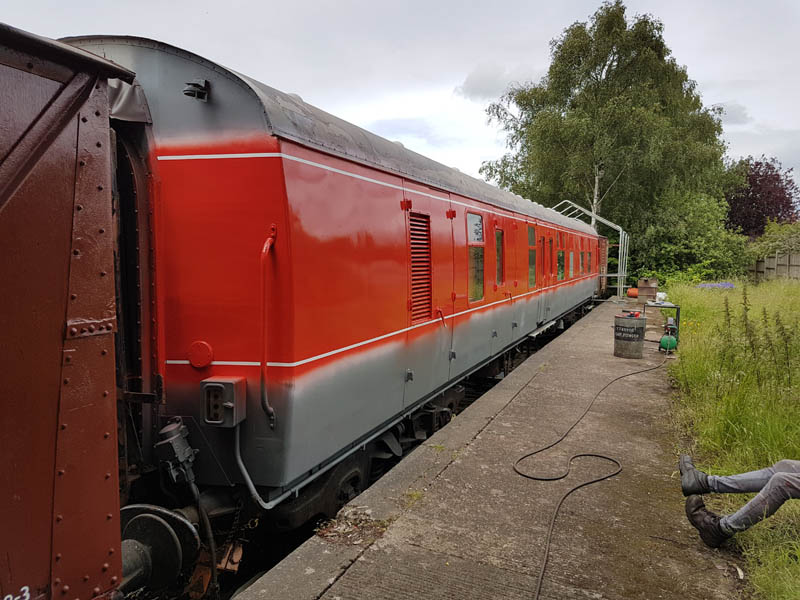
    Painting has occurred this weekend. Lots of painting. The main focus for this weekend has been, of course, Test Car 2. Last week, we got the Flame Red painted around the coach, which left the Rail Blue for this week. The Flame Red  and the white lining had to be masked, so Matt, Jack and I popped down on Friday afternoon to mask off the red and white with masking tape and brown paper, ready for Saturday.

    Saturday arrives, and to start with the Red and white overspray got a gentle key by Dave and Matt while I thinned down the blue paint ready for application. Jake was arriving slightly later, so I had to utilise a stand-in assistant.

    65249480_395903701035964_659895890802114560_n

    I applied the first coat of blue, with Jake applying the 2nd coat all over. I then applied the 3rd coat over and around the gutters, and Jake finished the 3rd coat on the bottom of the coach.

    [wpvideo wHOO8nPr]

    While Jake and I painted the Test Car, Dave, Nick and Matt continued work on the internal cladding of the Shocvan.

    And then onto the exterior

    After lunch, we unmasked the Test Car.

    With the coach left with it’s paint drying in the sun/hot weather, Jake and I assisted with the van.

    On Sunday, more painting took place. For Matt, the signwriting of the Test Car beckoned. For me, I got the spray gun out again and gave the Shocvan a coat of undercoat, and then in the afternoon, gloss. The gloss will need another coat next week, but it is a start.

    [wpvideo ZxAbF7Fi]

    wp-15613218199474425400878905815264.jpg64760585_675034822922554_4452542572279103488_n64724632_199269470996650_9152669225825861632_nwp-1561321819378792386558408803630.jpg

    Next weekend will see another coat of gloss applied to the Shocvan, the headstocks and other details painted and the lining tidied up on the Test Car. Then we’ll have it all to do again on the other side! Join us next week for more Test Car adventures!

  • 16/06/19 – Red, White and………..not yet!

    16/06/19 – Red, White and………..not yet!

    So we begin the same way we spent the week,  looking at the weather forecast.  With favorable conditions until 16:00 we went for it.  Whilst Ross thinned down the paint in preparation for spraying Dave, Jake and myself prepared Test Car 2 for paint.  Masking tape applied where required, this being 3/4″ thick correct for the lining.  The white gloss that was left exposed was keyed and the resulting dust removed by tac cloth.


    Once complete Ross started his task, the application of the BR Flame red.  3 Coats in total.


    Whilst Ross and Jake took care of the external surfaces Dave continued with some tasks inside.  Once complete the vehicle will be available for public display and we have had some interpretation boards made up to tell the story of Test Car 2 specifically and some details of the DM&EE Test Fleet in general.  Dave added a board to the equipment rack that will be used to mount some of the displays.


    Nick and myself turned to the Shocvan cleaning down and red oxiding were required and trimming down excess material.


    This brought us to the exciting part of the proceedings, de-masking the Test Car.  This is so there is no risk of the tape damaging the paintwork and when the blue goes on all of the Red will require masking so its a clean sheet to work with.


    If you haven’t guessed by now we are applying the DM&EE livery carried from 1974 until the mid 1990s:20190615_141420With all that can be accomplished on the Test Car complete the whole team turned to the Shocvan.  Measuring and cutting the new plywood sides.


    These were then primed


    And with everything then drying some final cleaning tasks in the Test Car and the removal of a few of the Vinyls on the other side.


    On to Sunday and the test car has been left alone to cure and harden all attention turns to the Shocvan.  The primed sides cut previously were lifted into place one by one.  The large end sheets had recesses drilled for the rivets located in the vehicle ends.


    The new ends replaced by the Locomotive department had holes marked and drilled.


    Once all of the holes had been picked up the side sheets had sealant applied and they were bolted into position.  Although a short part of the update, in reality, this was Sundays task in a nutshell.


    Finally, Dave continued with the interpretation displays within the test car.


    This concludes this update and we are all looking forward to applying the Rail blue to the test car, of cause the Shocvan also marks the final van in our collection for the van train although our aim is still 17.


  • 02/06/19 – Independent Test Car

    02/06/19 – Independent Test Car

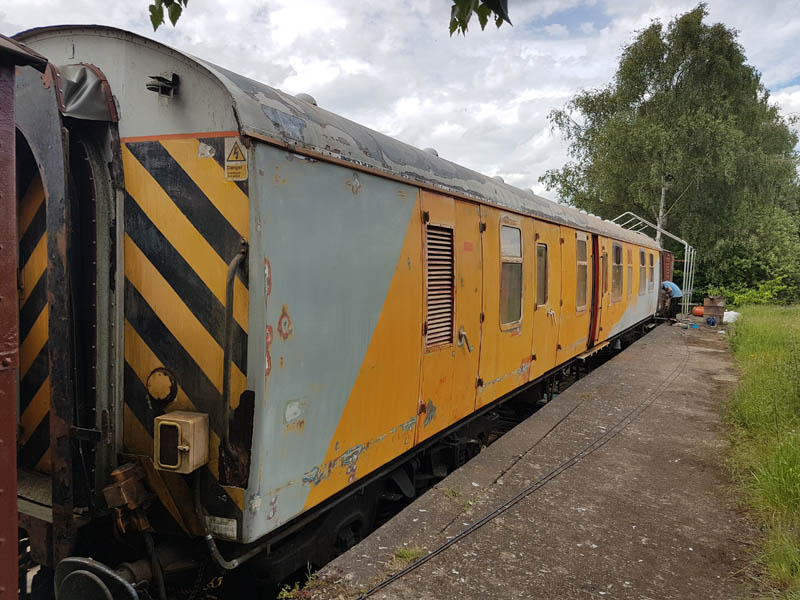
    More mid-week work but not from me this time.  Ross has been popping in of an evening pressing on with Test Car 2.  First the removal of the stickers and vinyls on the dockside.

    Once the lettering was removed, the task of preparing the bodywork for paint was started, Nick also joining in after work to assist and focused on the roof. 

    I was not idle in the week either having ordered and collected the paint for the vehicle.  We also had a delivery of our next few projects. The 2 LNER Steel Highs E281882 E280364, the iron ore tippler B385782 and back from the loco shed; our centre shock shocvan B854782 . This has had significant repairs to the two ends, our thanks once again to the loco department for their excellent work.

    On to Saturday and work continues on preparing Test Car 2,  Dave continuing the work started by Ross in the week. 

    Whilst Dave was sanding away the rest of the team returned one of the overhauled vacuum cylinders to its position under the center Shockvan20190601_104030.jpgOnce back in position all of our attention turned to the Test Car.  Due to the poor condition of the inward opening door on the “A” End or the Slip End as its known the decision was taken to change it for another held in stock.  This was trial fitted and due to some accurate measuring previously, fitted with no problems at all.

    The door was removed so I could carry out my major task for the day.  A set of edging strips were fitted either side of the Slip end doors when they were modified from outward opening to inward opening.  Unfortunately, the weather has not been kind to these and the usual bulging due to rust had occurred.  I removed the internal trimming and handrails before de-riveting the edging strips themselves.

    Once cleaned up and straightened, red oxide was applied to all parts a wooden backing applied and the strip screwed back into place followed by refitting of the hand rail.

    Whilst the new door was off Dave took the opportunity to sand it down. 

    Jake also assisted with some of the coach prep whilst Nick replaced the rotten step board. 

    The final task for Saturday to refit the new door and admire the prep carried out

    On to Sunday and continuation of the body prep.  Red Oxide being applied to areas requiring it and once dry the filling began.  Dave and Nick also continued with some of the detailing, cleaning out window runners and prep around the end components.  I also had another go at cleaning the windows in preparation for applying the window film as we will be spraying the vehicle.  As part of our sanding down, we were able to see the layers of paint applied over the years, right down to the first application of maroon when the coach was built. 

    Unfortunately, the weather had other ideas and attention turned to dryer activities.  Ross and Dave took the lead on giving the generator some TLC. With the water and oils checked, the battery charged it was coaxed into life.

    [wpvideo t4UOtXI5]

    With it running smoothly, the leap was taken and for the first time since at least 2010 the shore supply was switched off in preference to the generator supply.

    The compressor was then tested as well as the 240v supply all successful.  The compressor was also connected to the main reservoir and charged.

    The last task for the weekend was to vacuum test the shocvan and after 8 hour the brakes were still hard on and so deemed a success.  20190602_192401

    That concludes this weeks update and our hope is for better weather so progress can continue with Test Car 2

  • 29/05/18 “Mind the lamp irons”

    29/05/18 “Mind the lamp irons”

    A slightly delayed update this week.

    B854782 has been moved from Quorn to the Loco shed at Loughborough for welding.

    With the Shock van away our attention turns to B954268 which had started to look very work worn. With staging erected the task of sanding down the body began, being a brake van with verandas the amount of body work is quite substantial when compared to that  of a box van. Nick, Ross and Jake with sanders and scrappers in hand set to work.  Each time someone climbed onto the ballast ends Nick used his new catchphrase “Mind the lamp irons”, these are of cause set at head height when working on the extreme ends and can cause very nasty injuries if contacted with some force.  Fortunately thanks to the constant warnings no injuries occurred.

    I went back to P18422, as a Ministry of Supply ordered vehicle this would have carried a registry plate and the position of this is clearly visible so using our “patented” anti theft plates I duly applied them.

    Once complete I joined the main work on the brakevan and began cutting out areas of rot on the body sides,  as the majority of the boarding is solid we replaced only those areas that are affected,  as a reminder we do not restore vehicles at Quorn we repair them using modern materials and techniques. With such a large fleet and a small pool of manpower and resources it would be impractical for us to carry out full overhauls on every vehicle every time when a simple repair will add years to its service.

    Once areas were repaired Masking was applied to all the windows in preparation for painting.

    Half way through the weekend we had the vehicle body work sanded, masked for painting, body repairs carried out and wood primer applied to those areas requiring it.

    As Ross applied the undercoat, Nick and Jake started assessment of the Southend veranda floor this has suffered badly from wood rot and the rotten boards were removed.

    The vehicle will be finished in post 1964 livery and as such will require overhead line warning stickers and with the other works going on I took the opportunity to prepare them.  We have in stock OLE stickers and these I applied to stainless steel backing plates and drilled in preparation for fitment.Warning Flashes

    The hard work was of course broken up with the mandatory railway requirement of Tea, drunk from our new QWW mugs in the glorious sunshine of the bank holiday as we watched the trains go by,  If you was on the railway this weekend then this is the position you would likely have seen us in, Thank you to Andrew Morley, Quorn Signalman for the image of us enjoying the weather.

    Final day and the final top coat to the body.  This includes the Ballast surrounds on each end of the vehicle,  Originally black was applied but as we are going for the later livery each works began to show a preference for whether these were indeed black or body colour, on this occasion the boss has decided body colour.

    Finishing touches, inside and underframe are planned for this coming weekend as the rest of the railway goes back to the 1940s.

  • 20/05/18 Shock(ing) Van

    20/05/18 Shock(ing) Van

    This weekend saw us working away on B854782, preparing for its visit to the loco shed to have some remedial work to the corrugated ends. Matt has also removed the branding posters pasted onto the vans for the photo charter and gala, and touched in the paint where it had become detached.

    wp-1526849093112413449020420690207.jpg

    Last week we scraped the underframe on B854782 down in preparation for painting. As the welding work is predominantly occurring on the ends, we took the opportunity to paint the underframe, aside from the headstocks.

    wp-15268468156465035258087688316117.jpg

    The item we have been calling the tax disk holder has been painted in black and reassembled onto the van. This details the non-standard, experimental centre shock system fitted to a batch of these vans. Once fitted the screw heads were touched in the same black paint as the cast ring.

    As we were working below solebar level, we also performed an axle box exam. A while ago, we came into a TOPS wagon codes book, so we chalked the cripple code for this van on the doors. CG denotes a green card (defected but able to run at design speed), D denotes defect due to damage, and the C denotes Bodywork.

    wp-15268468627041165572332233676491.jpg

    Next week, we hope that this vehicle is in the engine shed being nursed back to health, and that B954268 is in a position to enable us to give it some due attention.

    Thanks for reading!