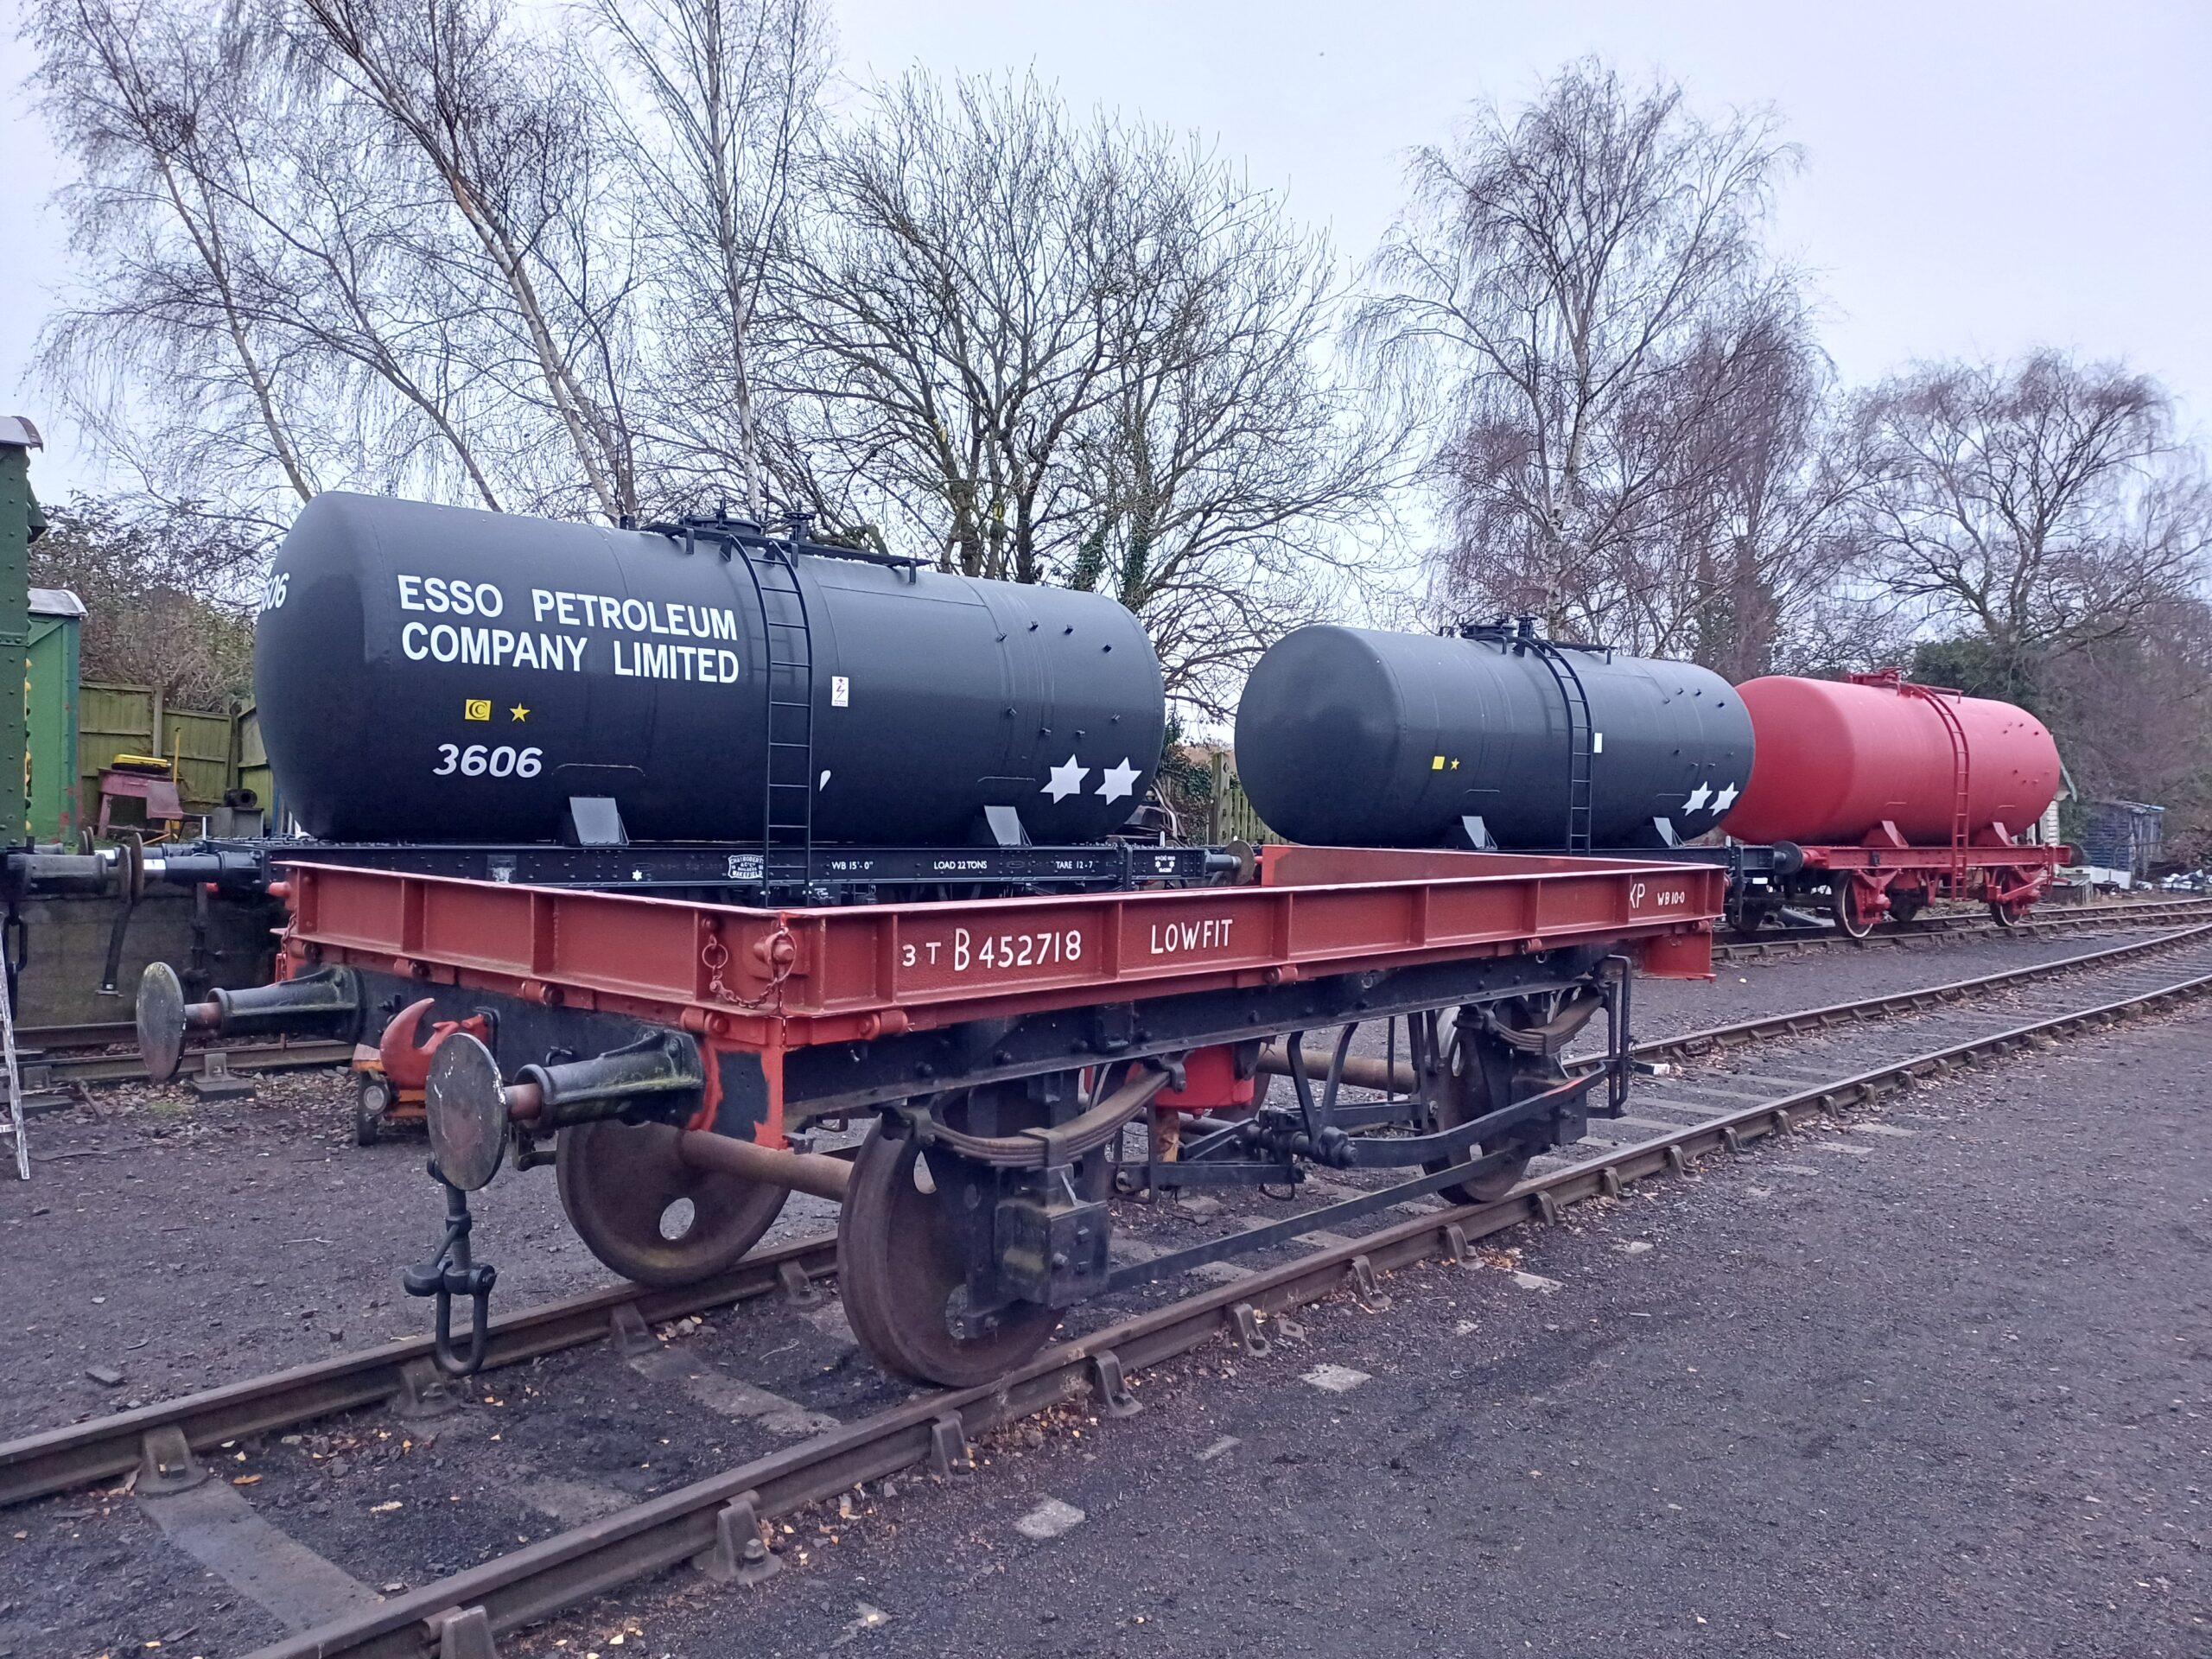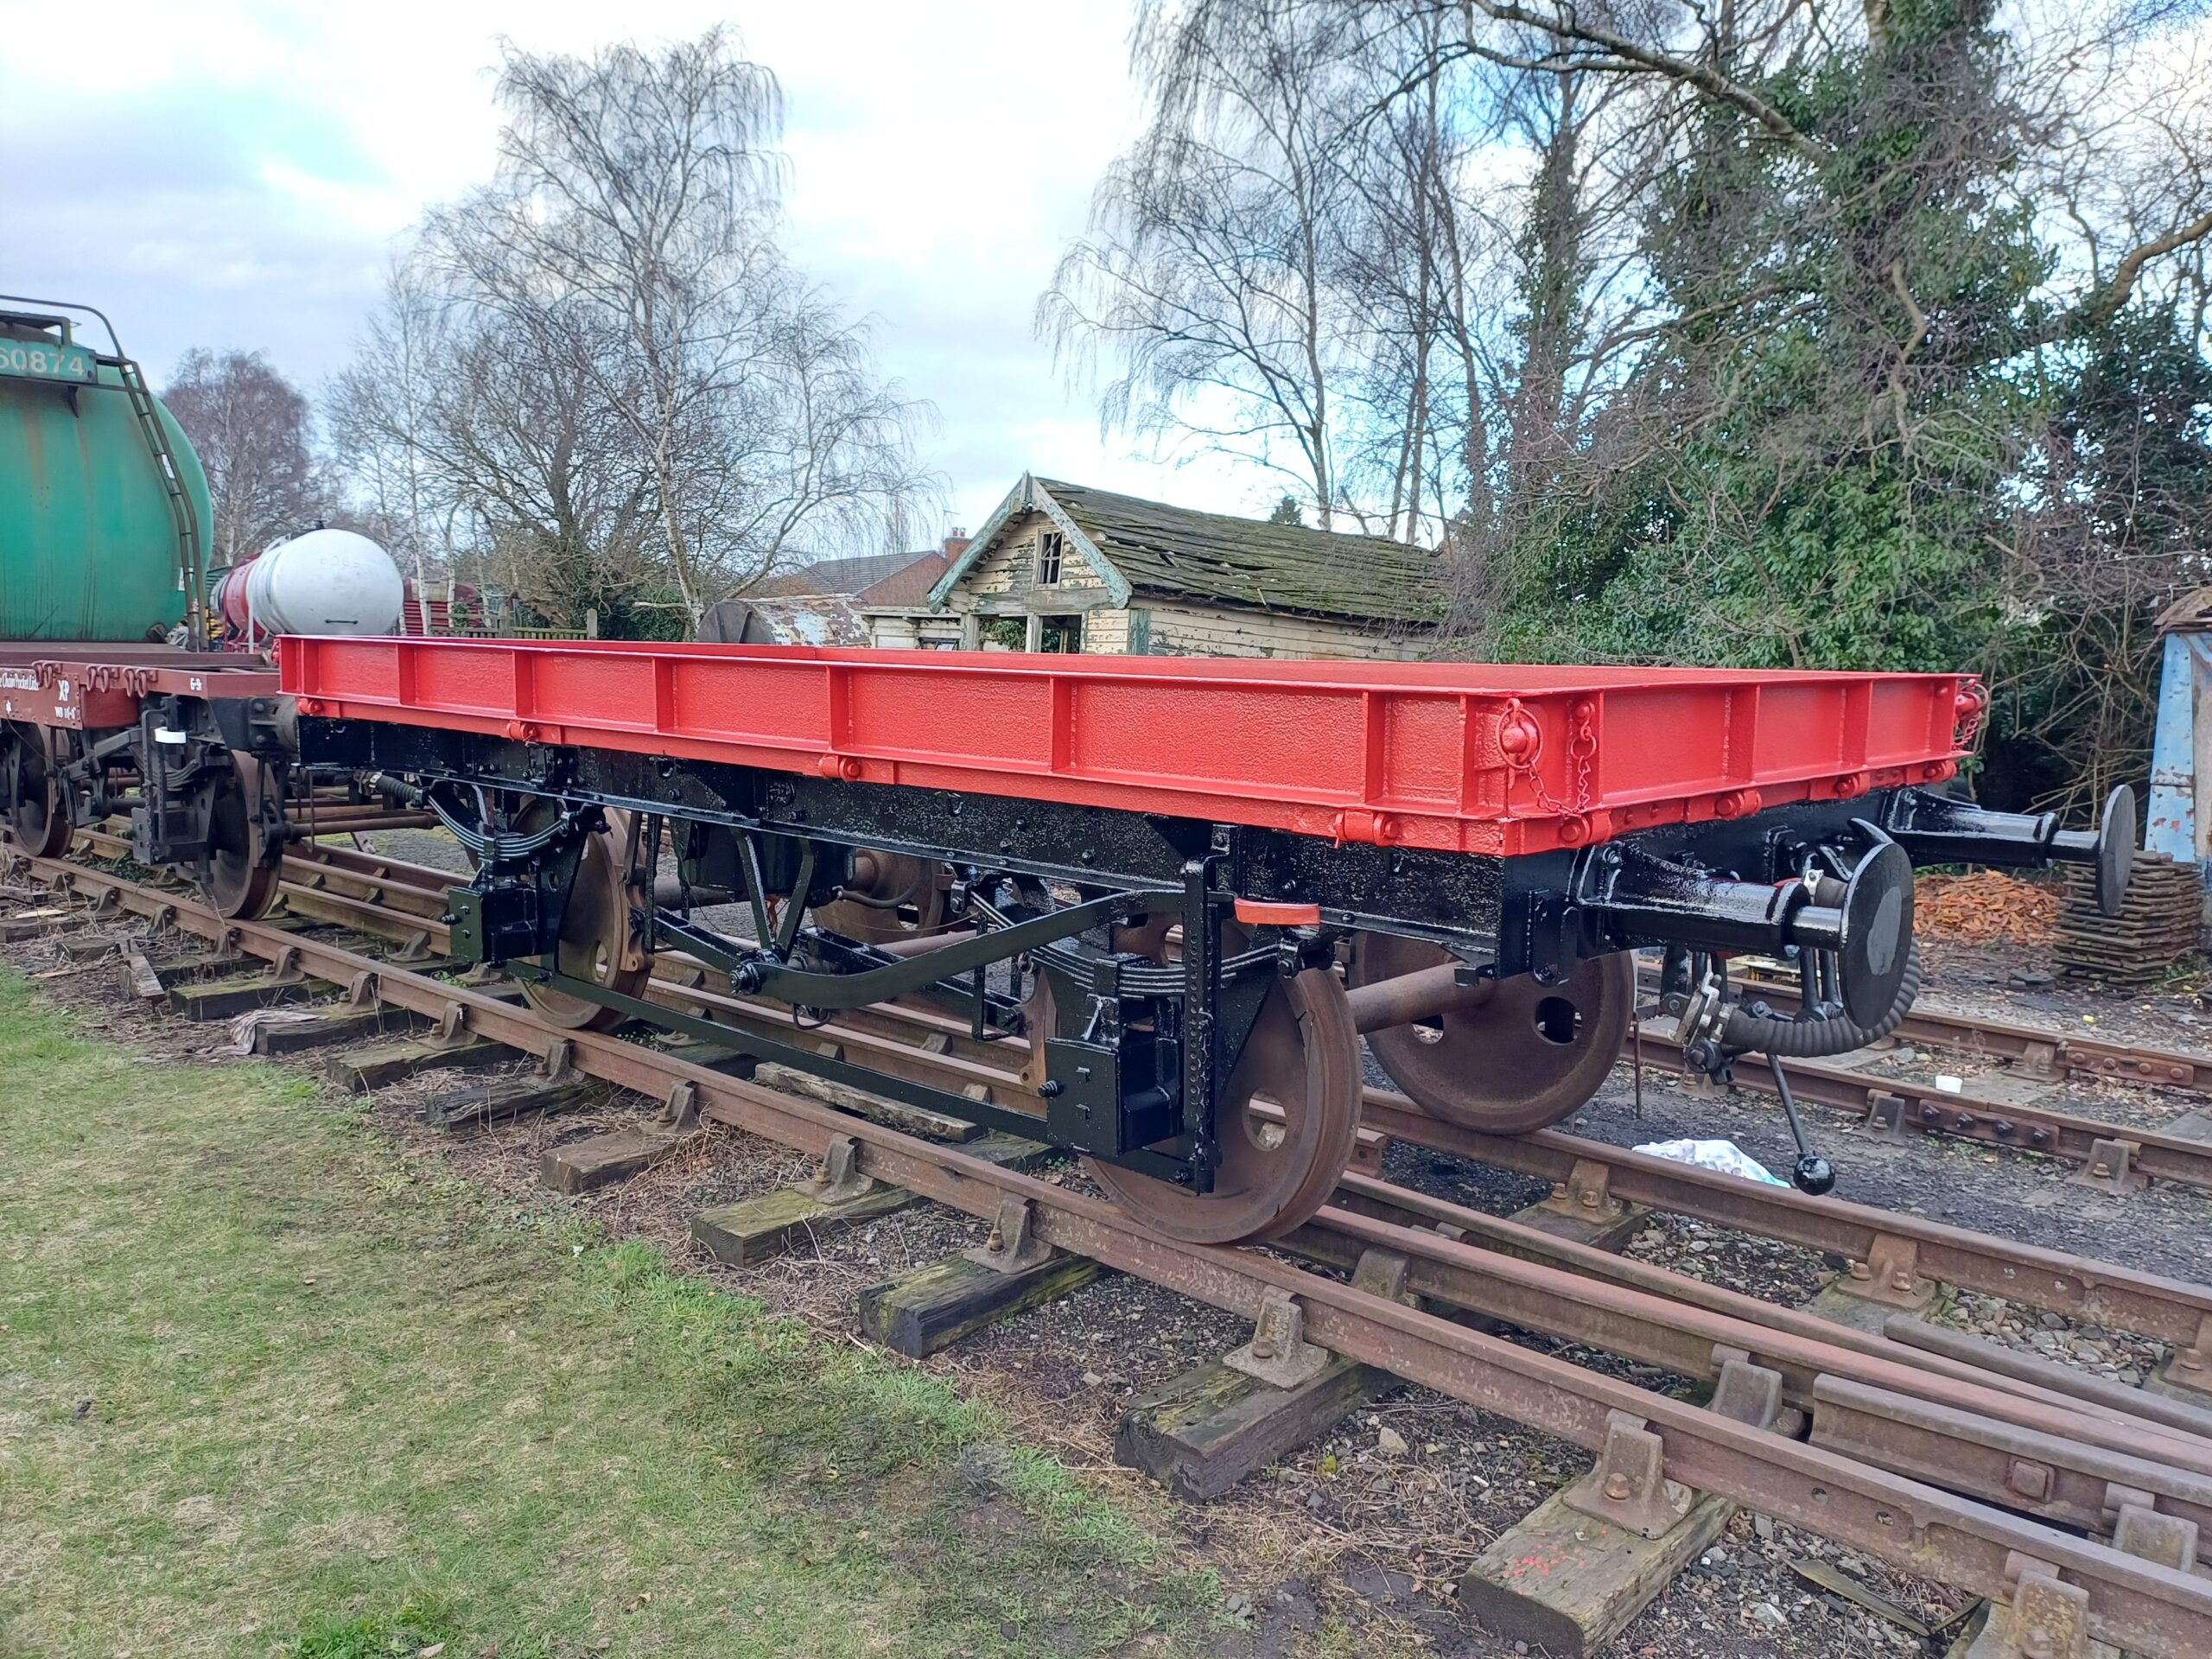
Hello everyone and welcome to another update from Quorn. This week we’ve had a good weekend sorting out the vacuum on 3854 after one of those 5 minute jobs and the Lowfit has had its coat of undercoat finished and the underframe glossed in black.
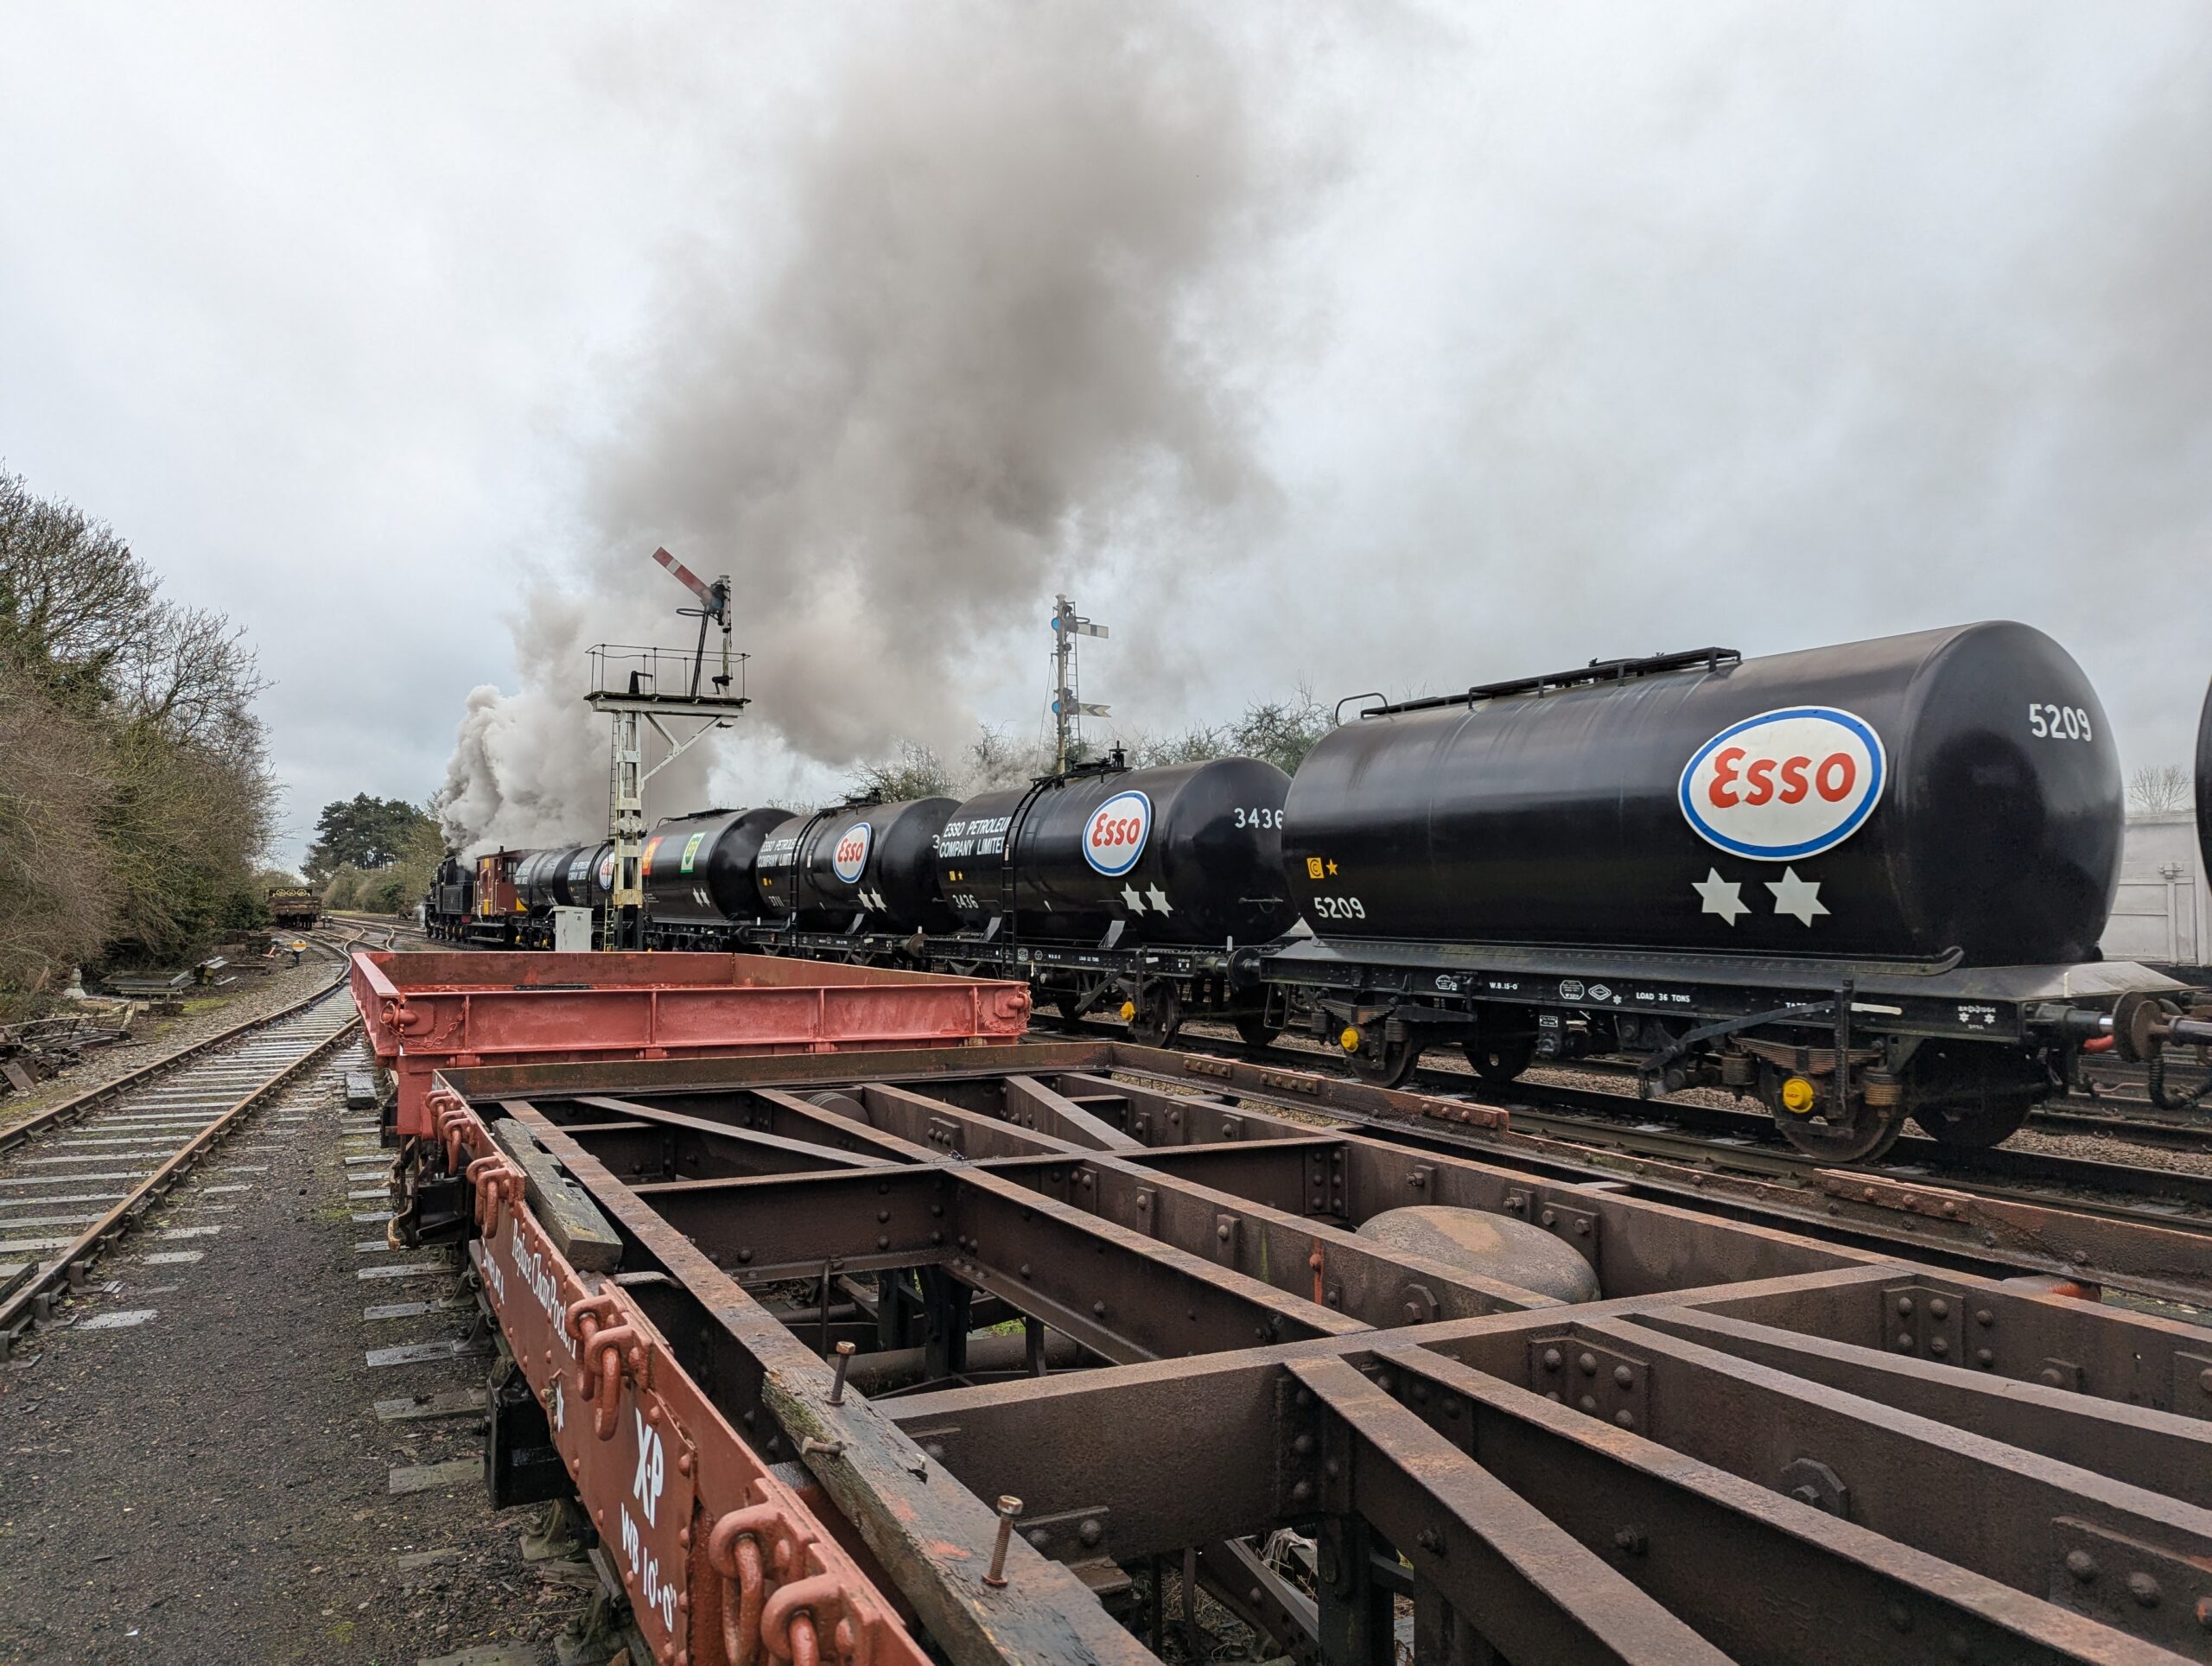
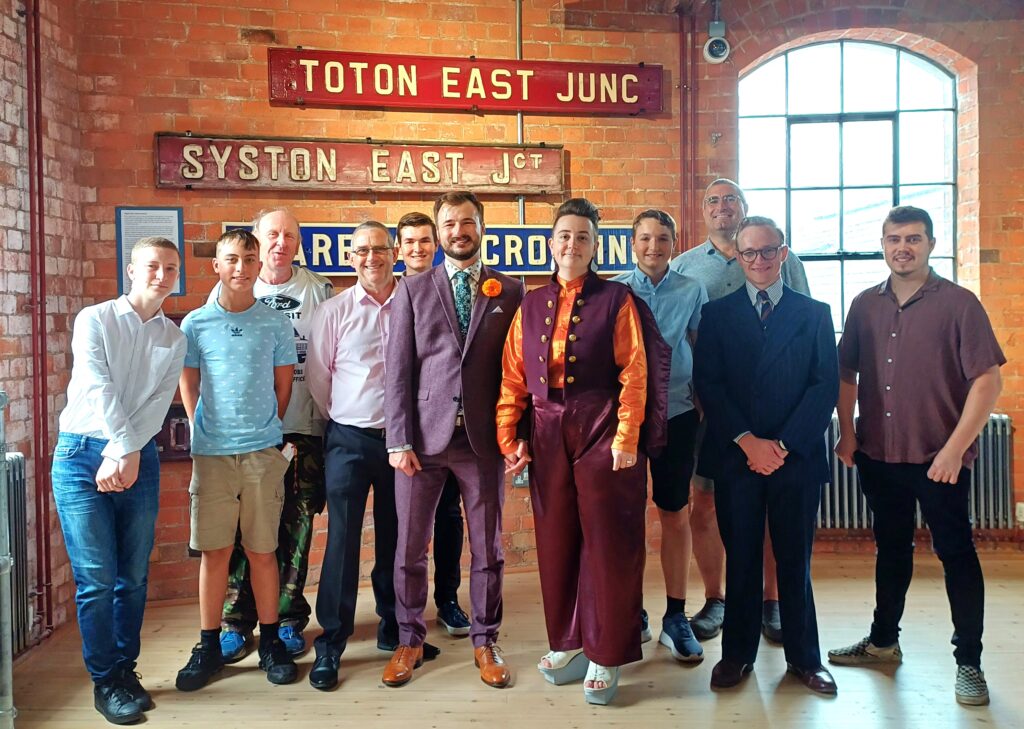
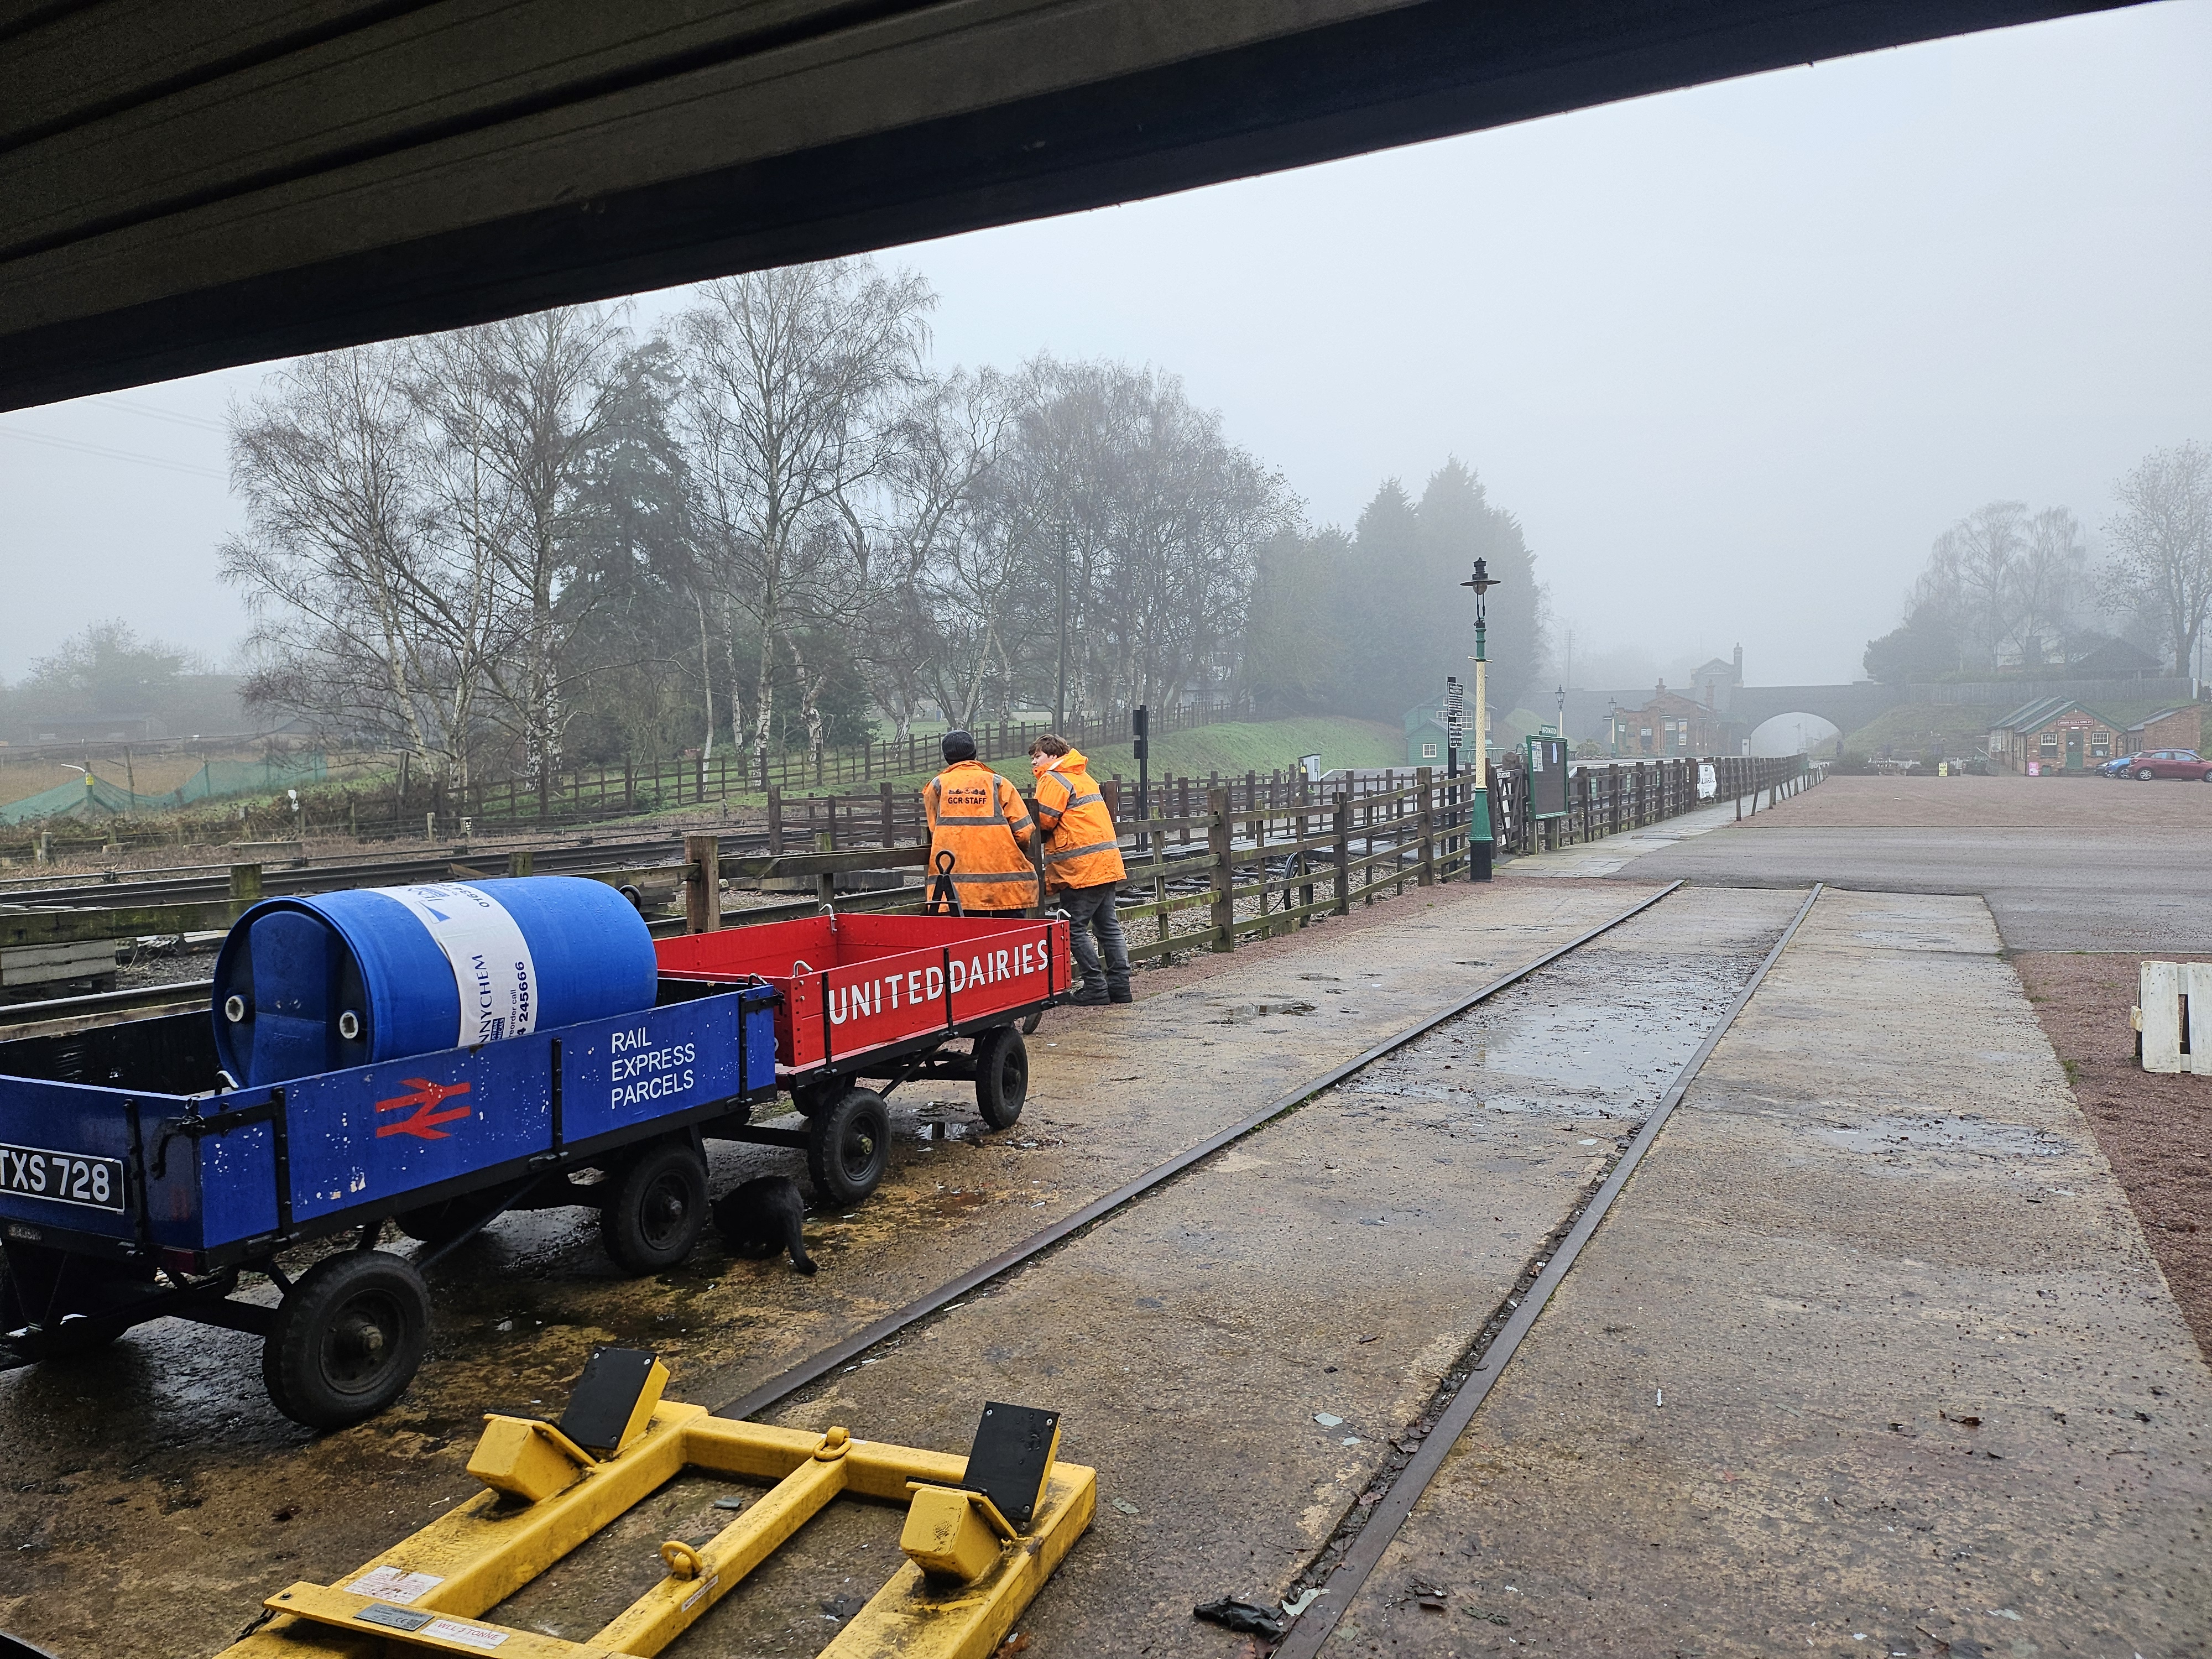
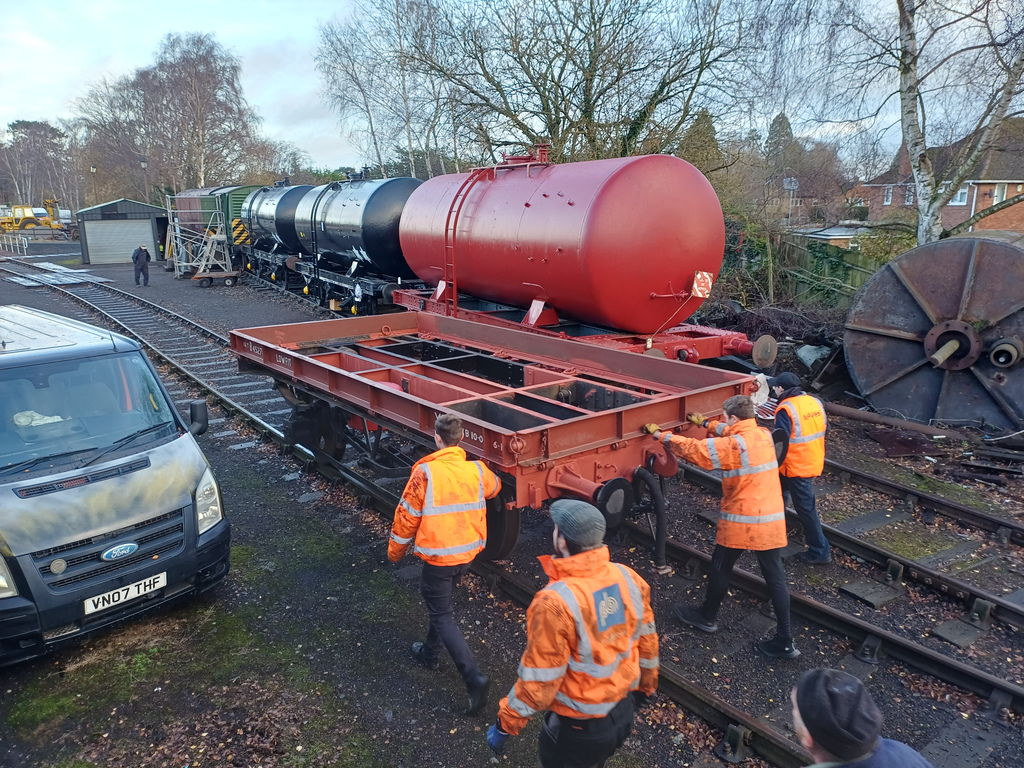
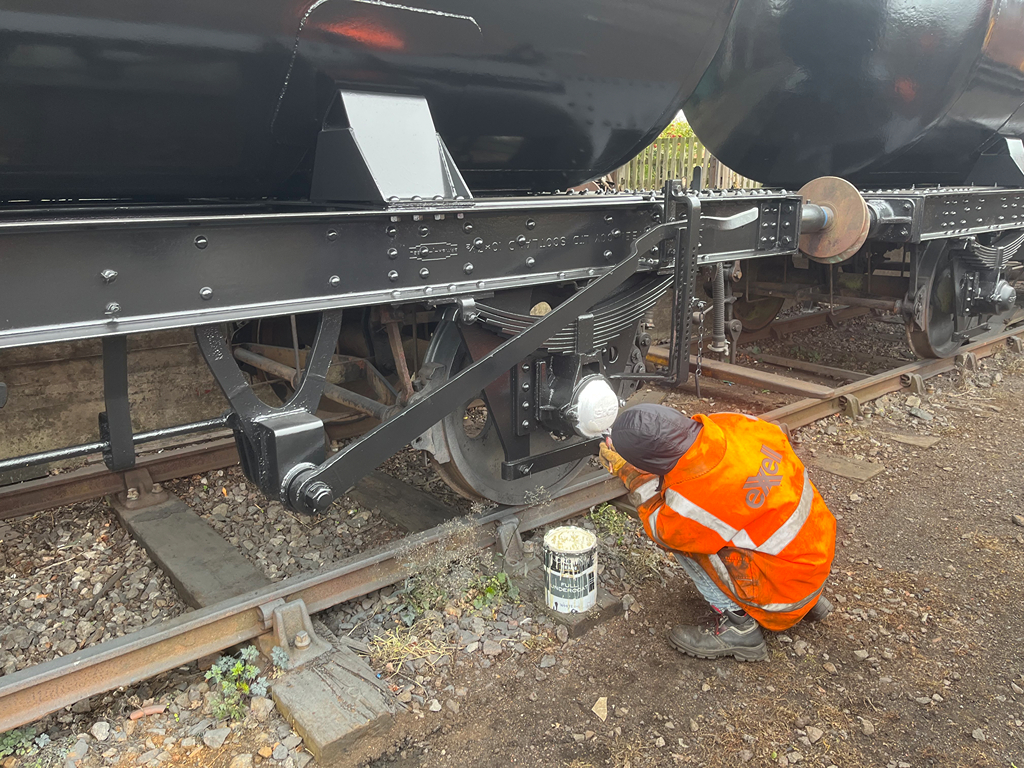
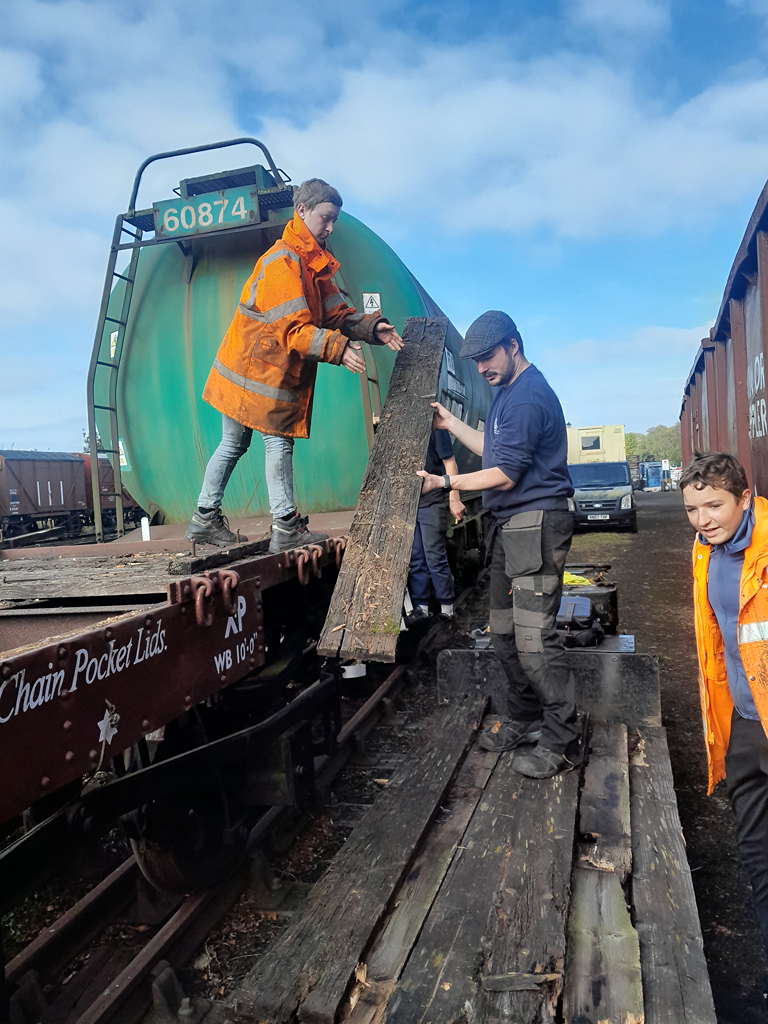
We started the weekend as ‘QWW Patrol’, helping to repair one of the mineral wagons in the train after the drawhook was found to be loose and rotated 90degrees. Nick and Charlie enacted repairs and Jamie from C&W came to sign it off prior to it running this weekend.


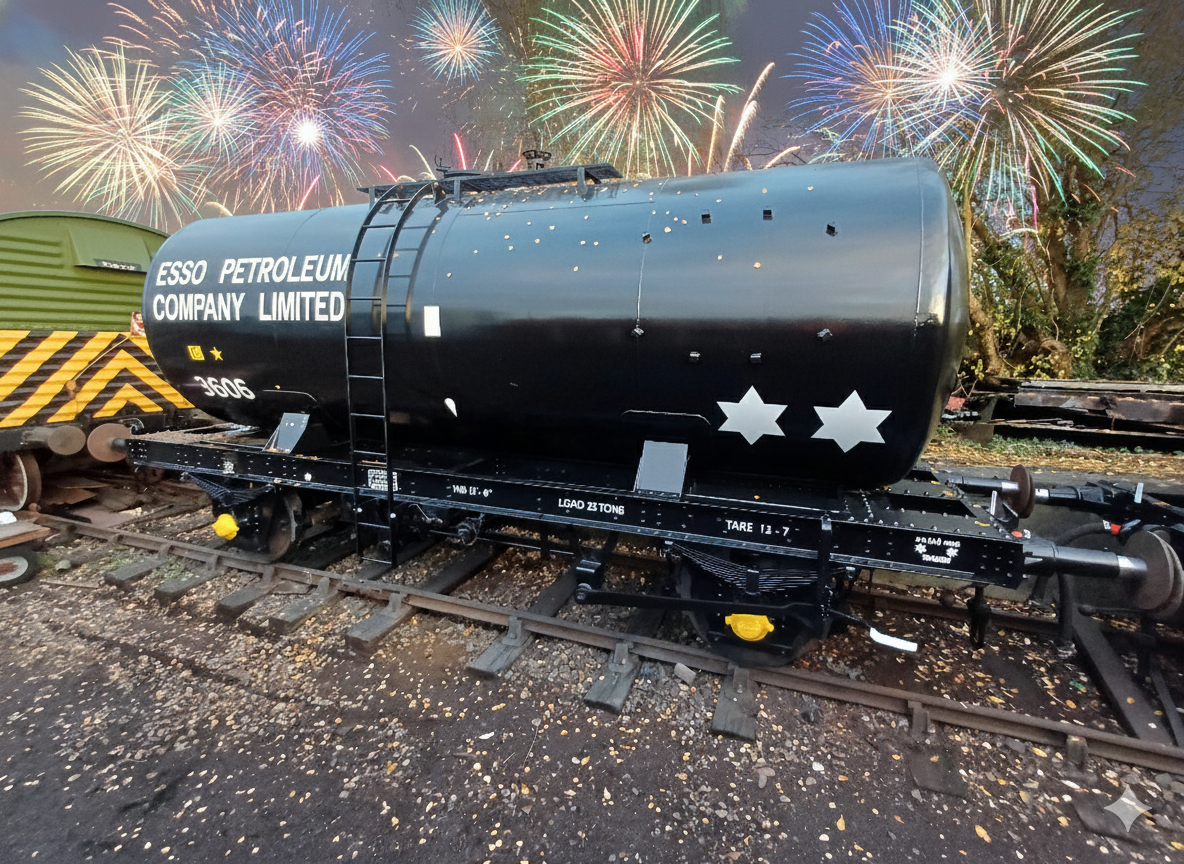
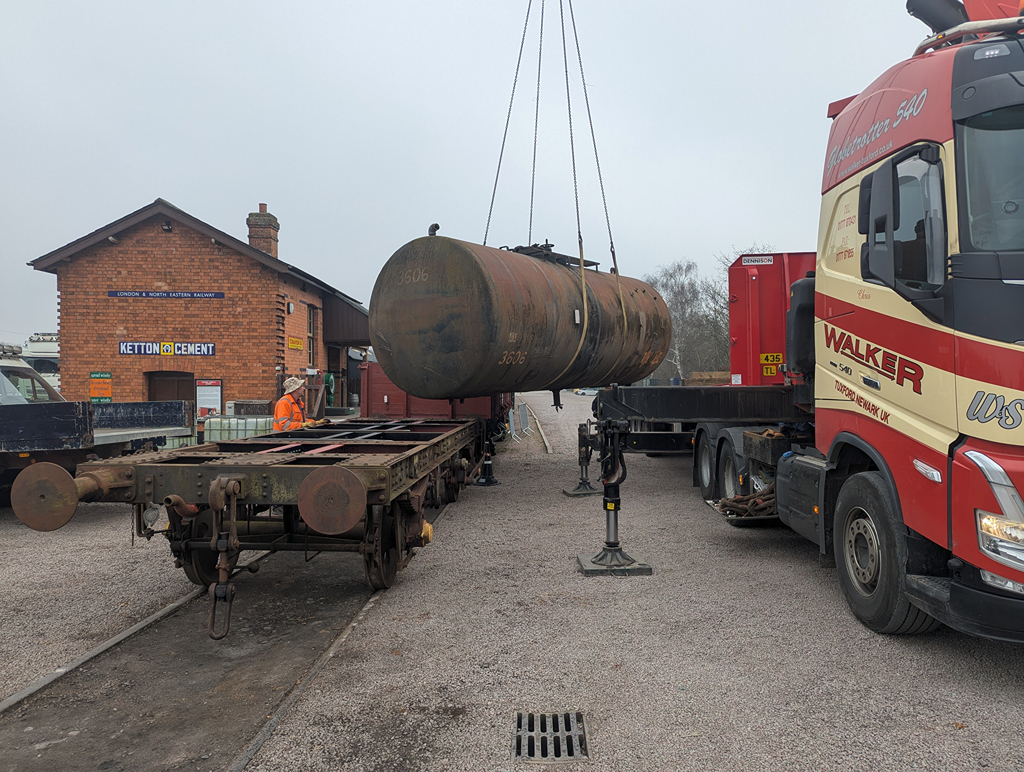
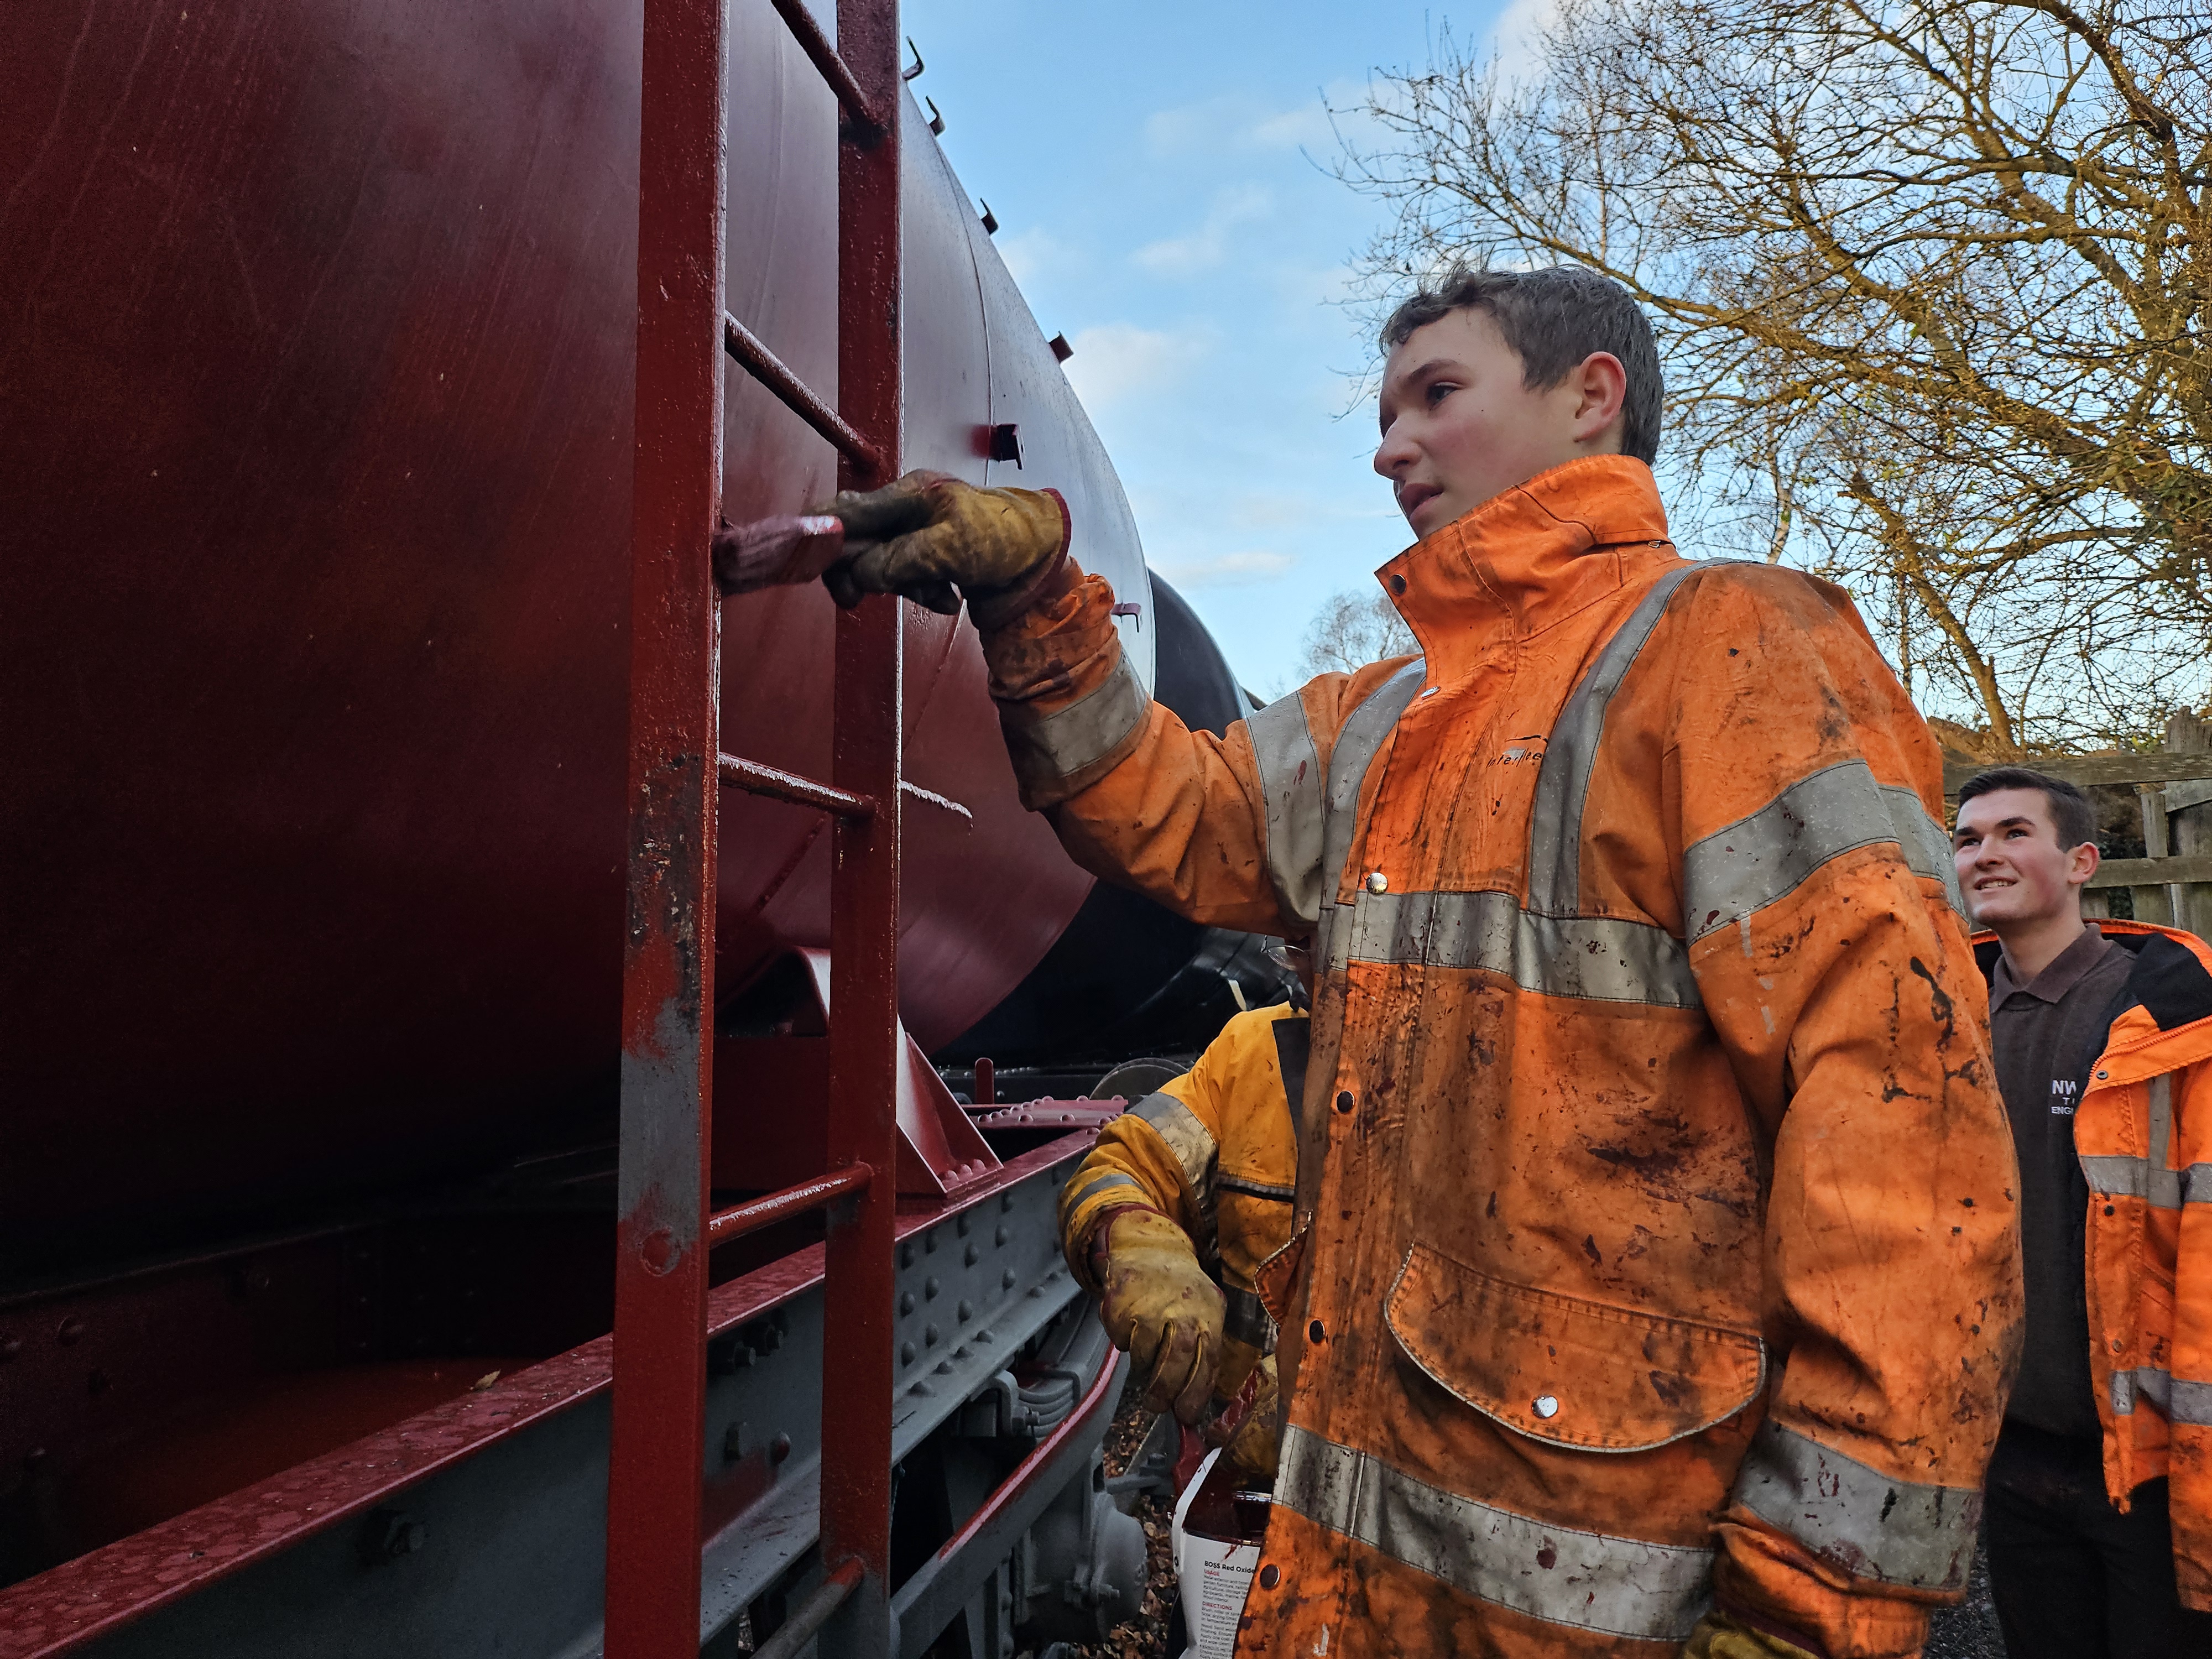
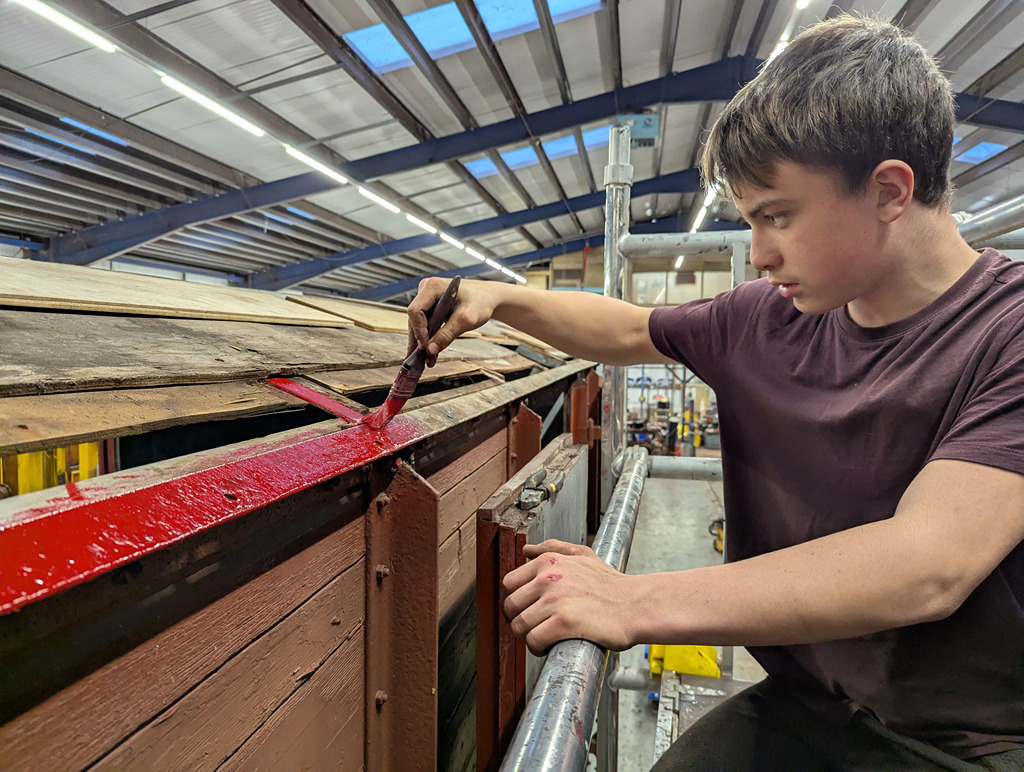
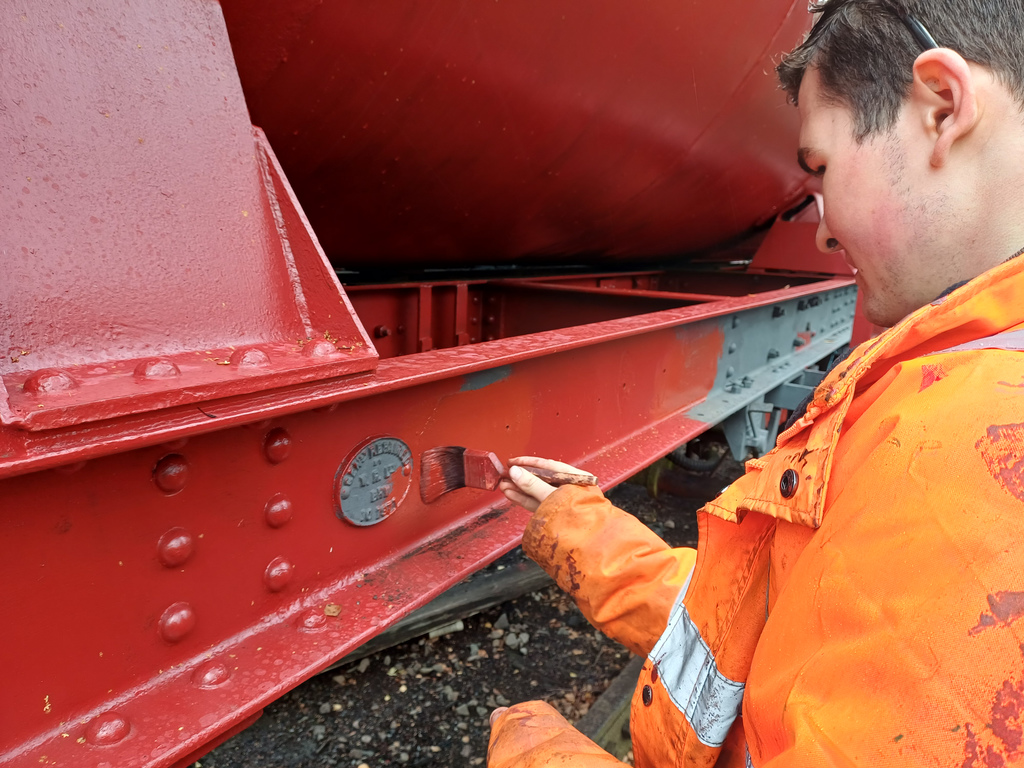
Dave has also made a start two more Esso plates for 3606 which had been set up in the Test Car. Starting with laying out with the chalk, paint the blue and the first coat of the red.


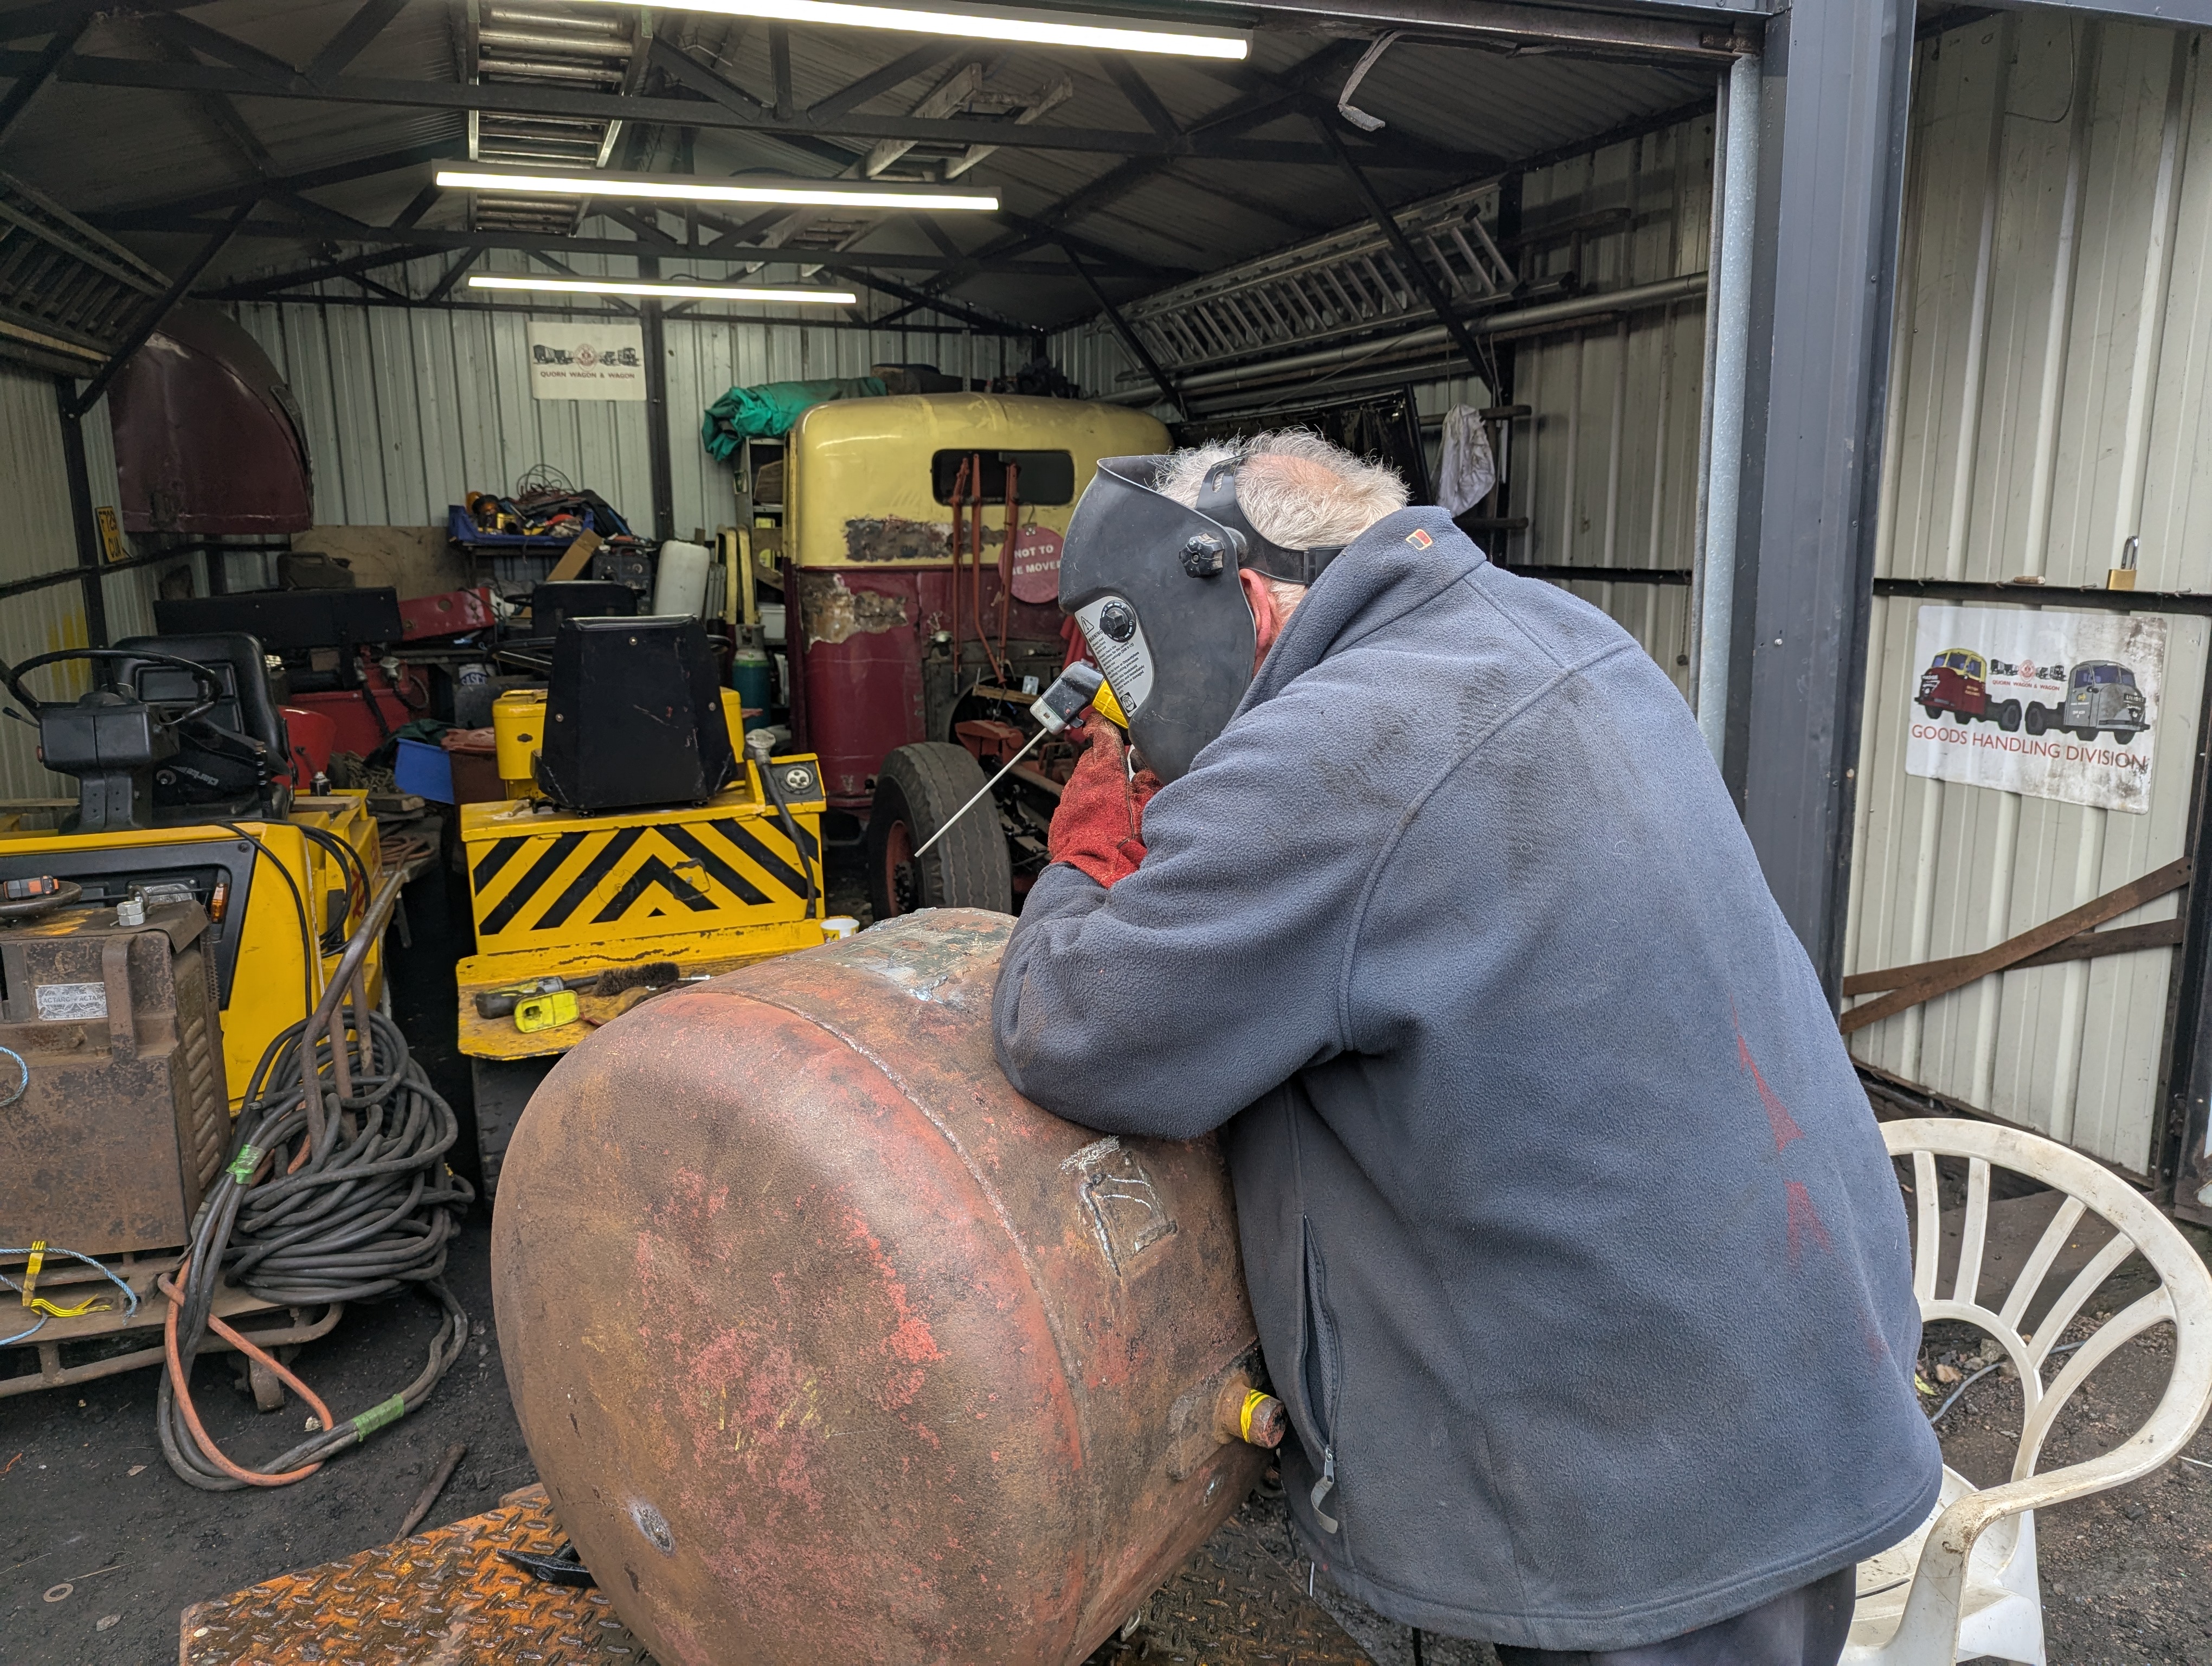
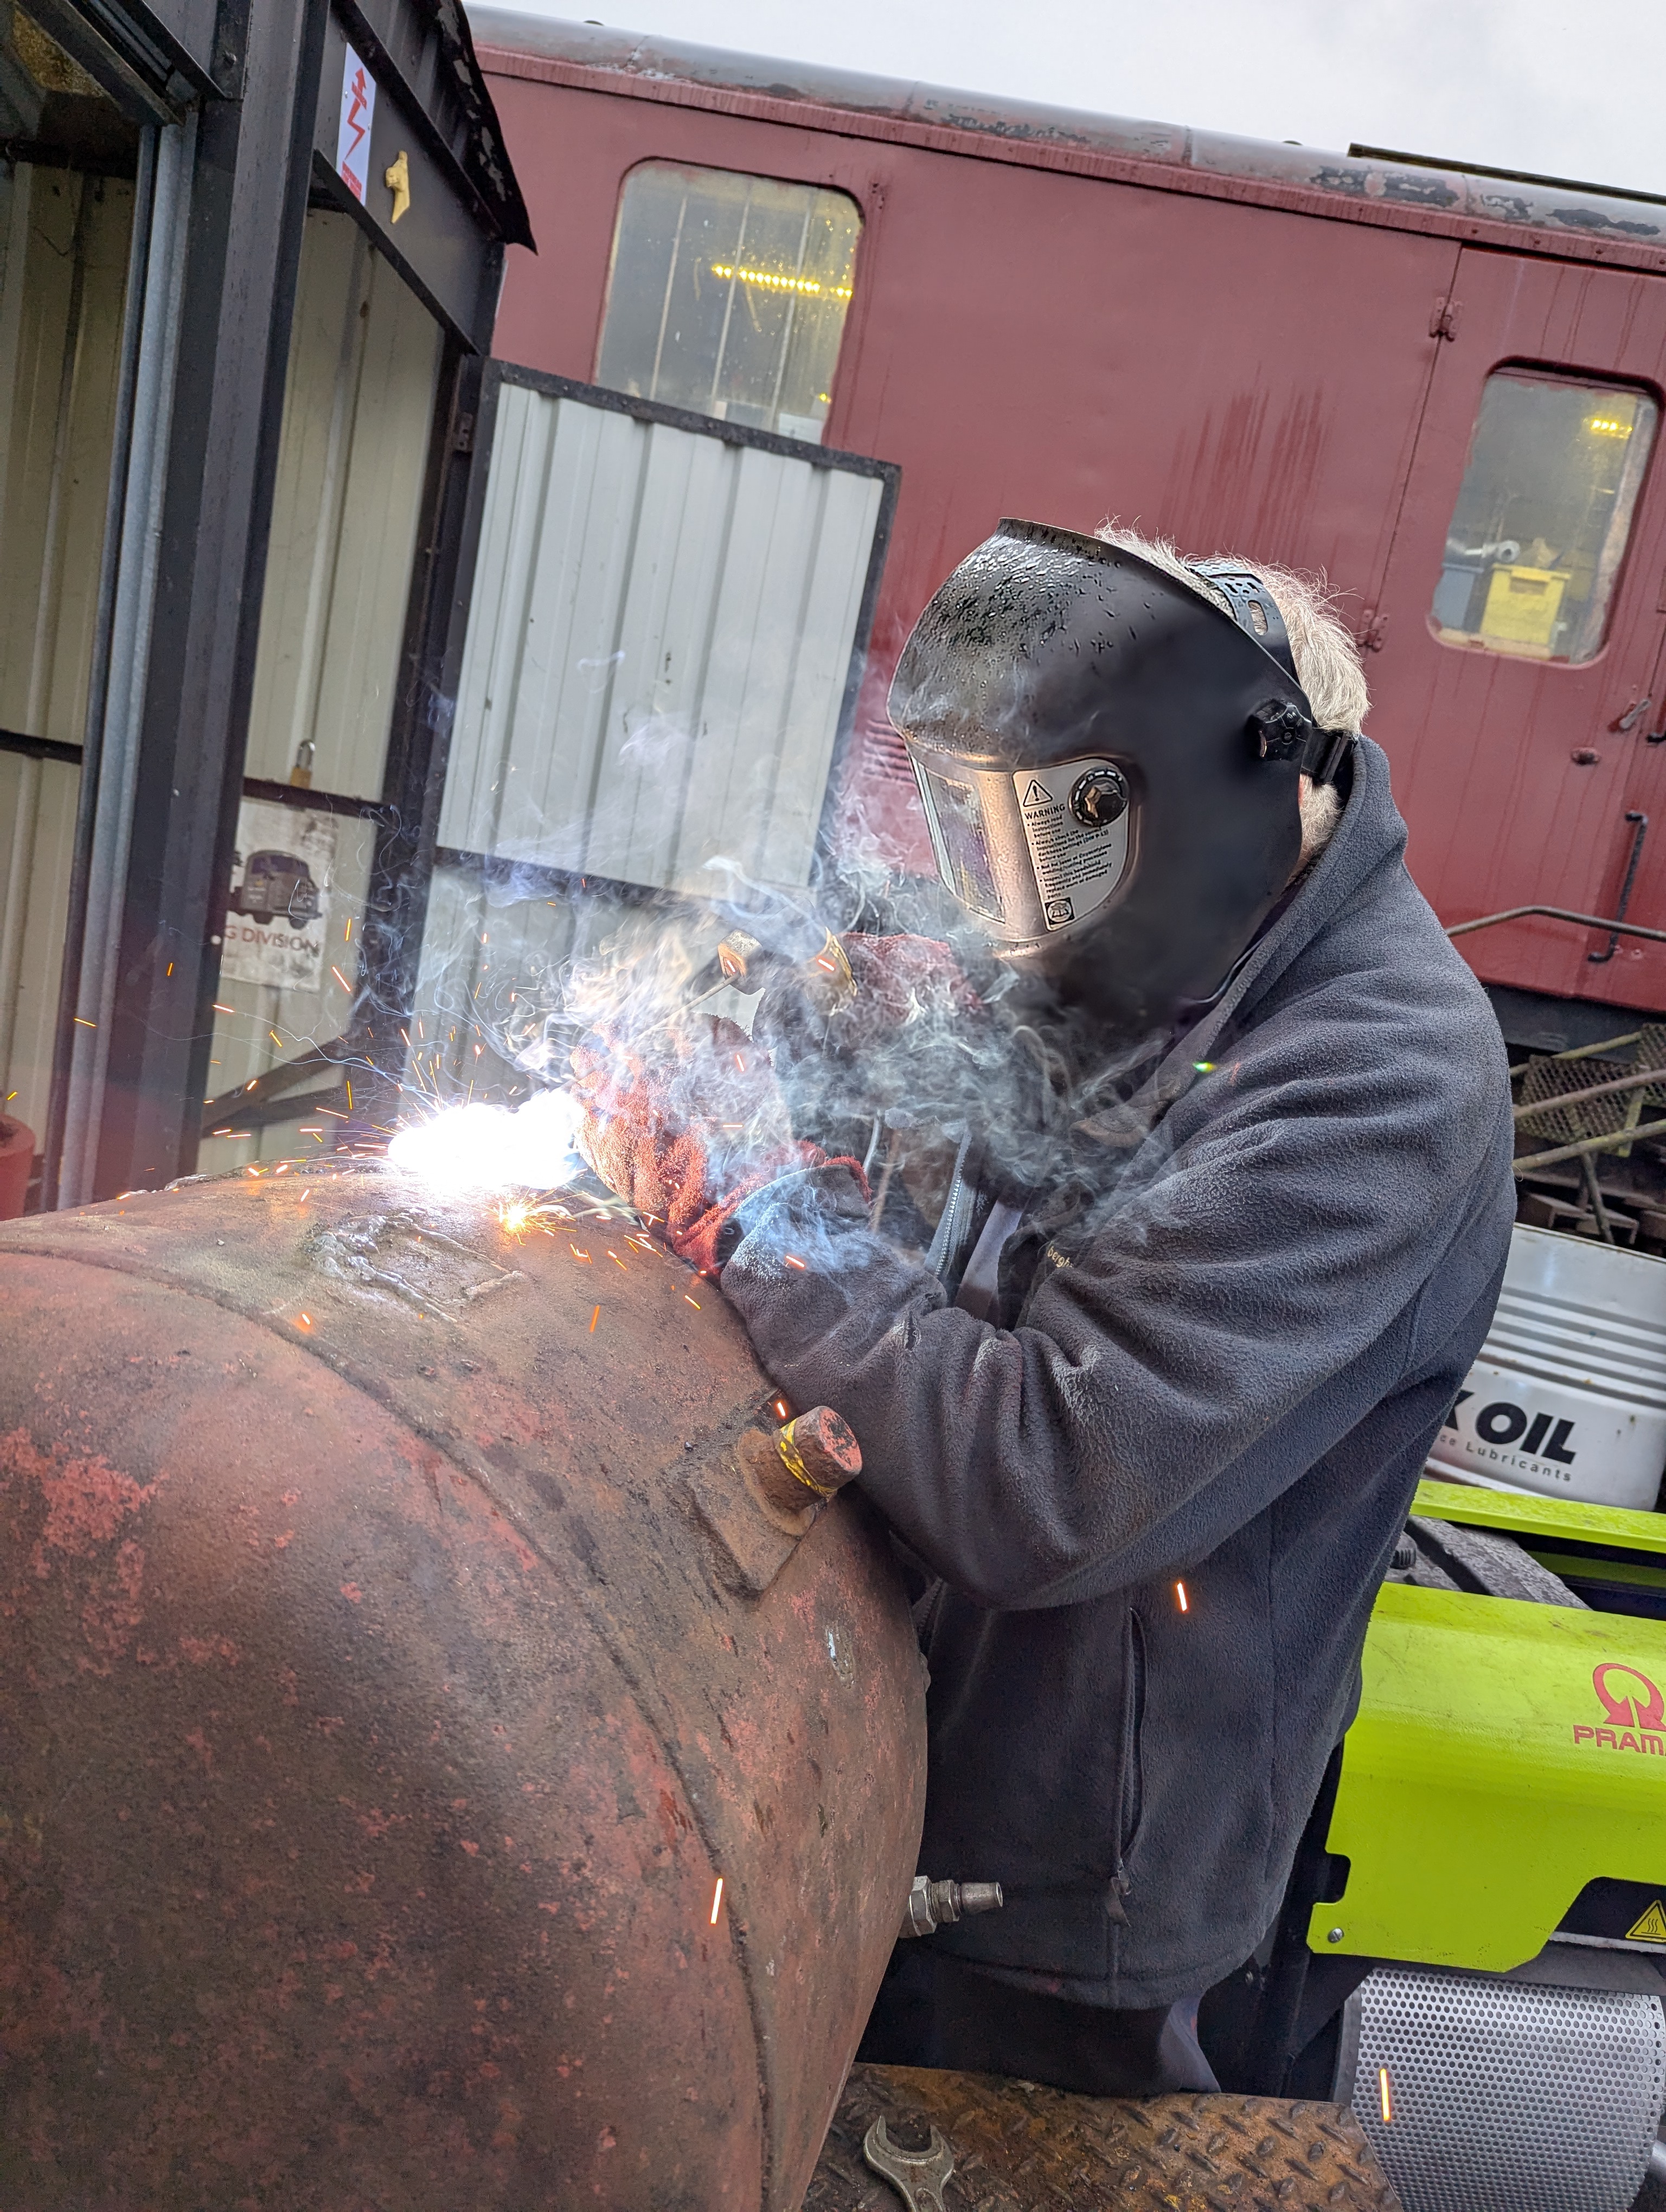
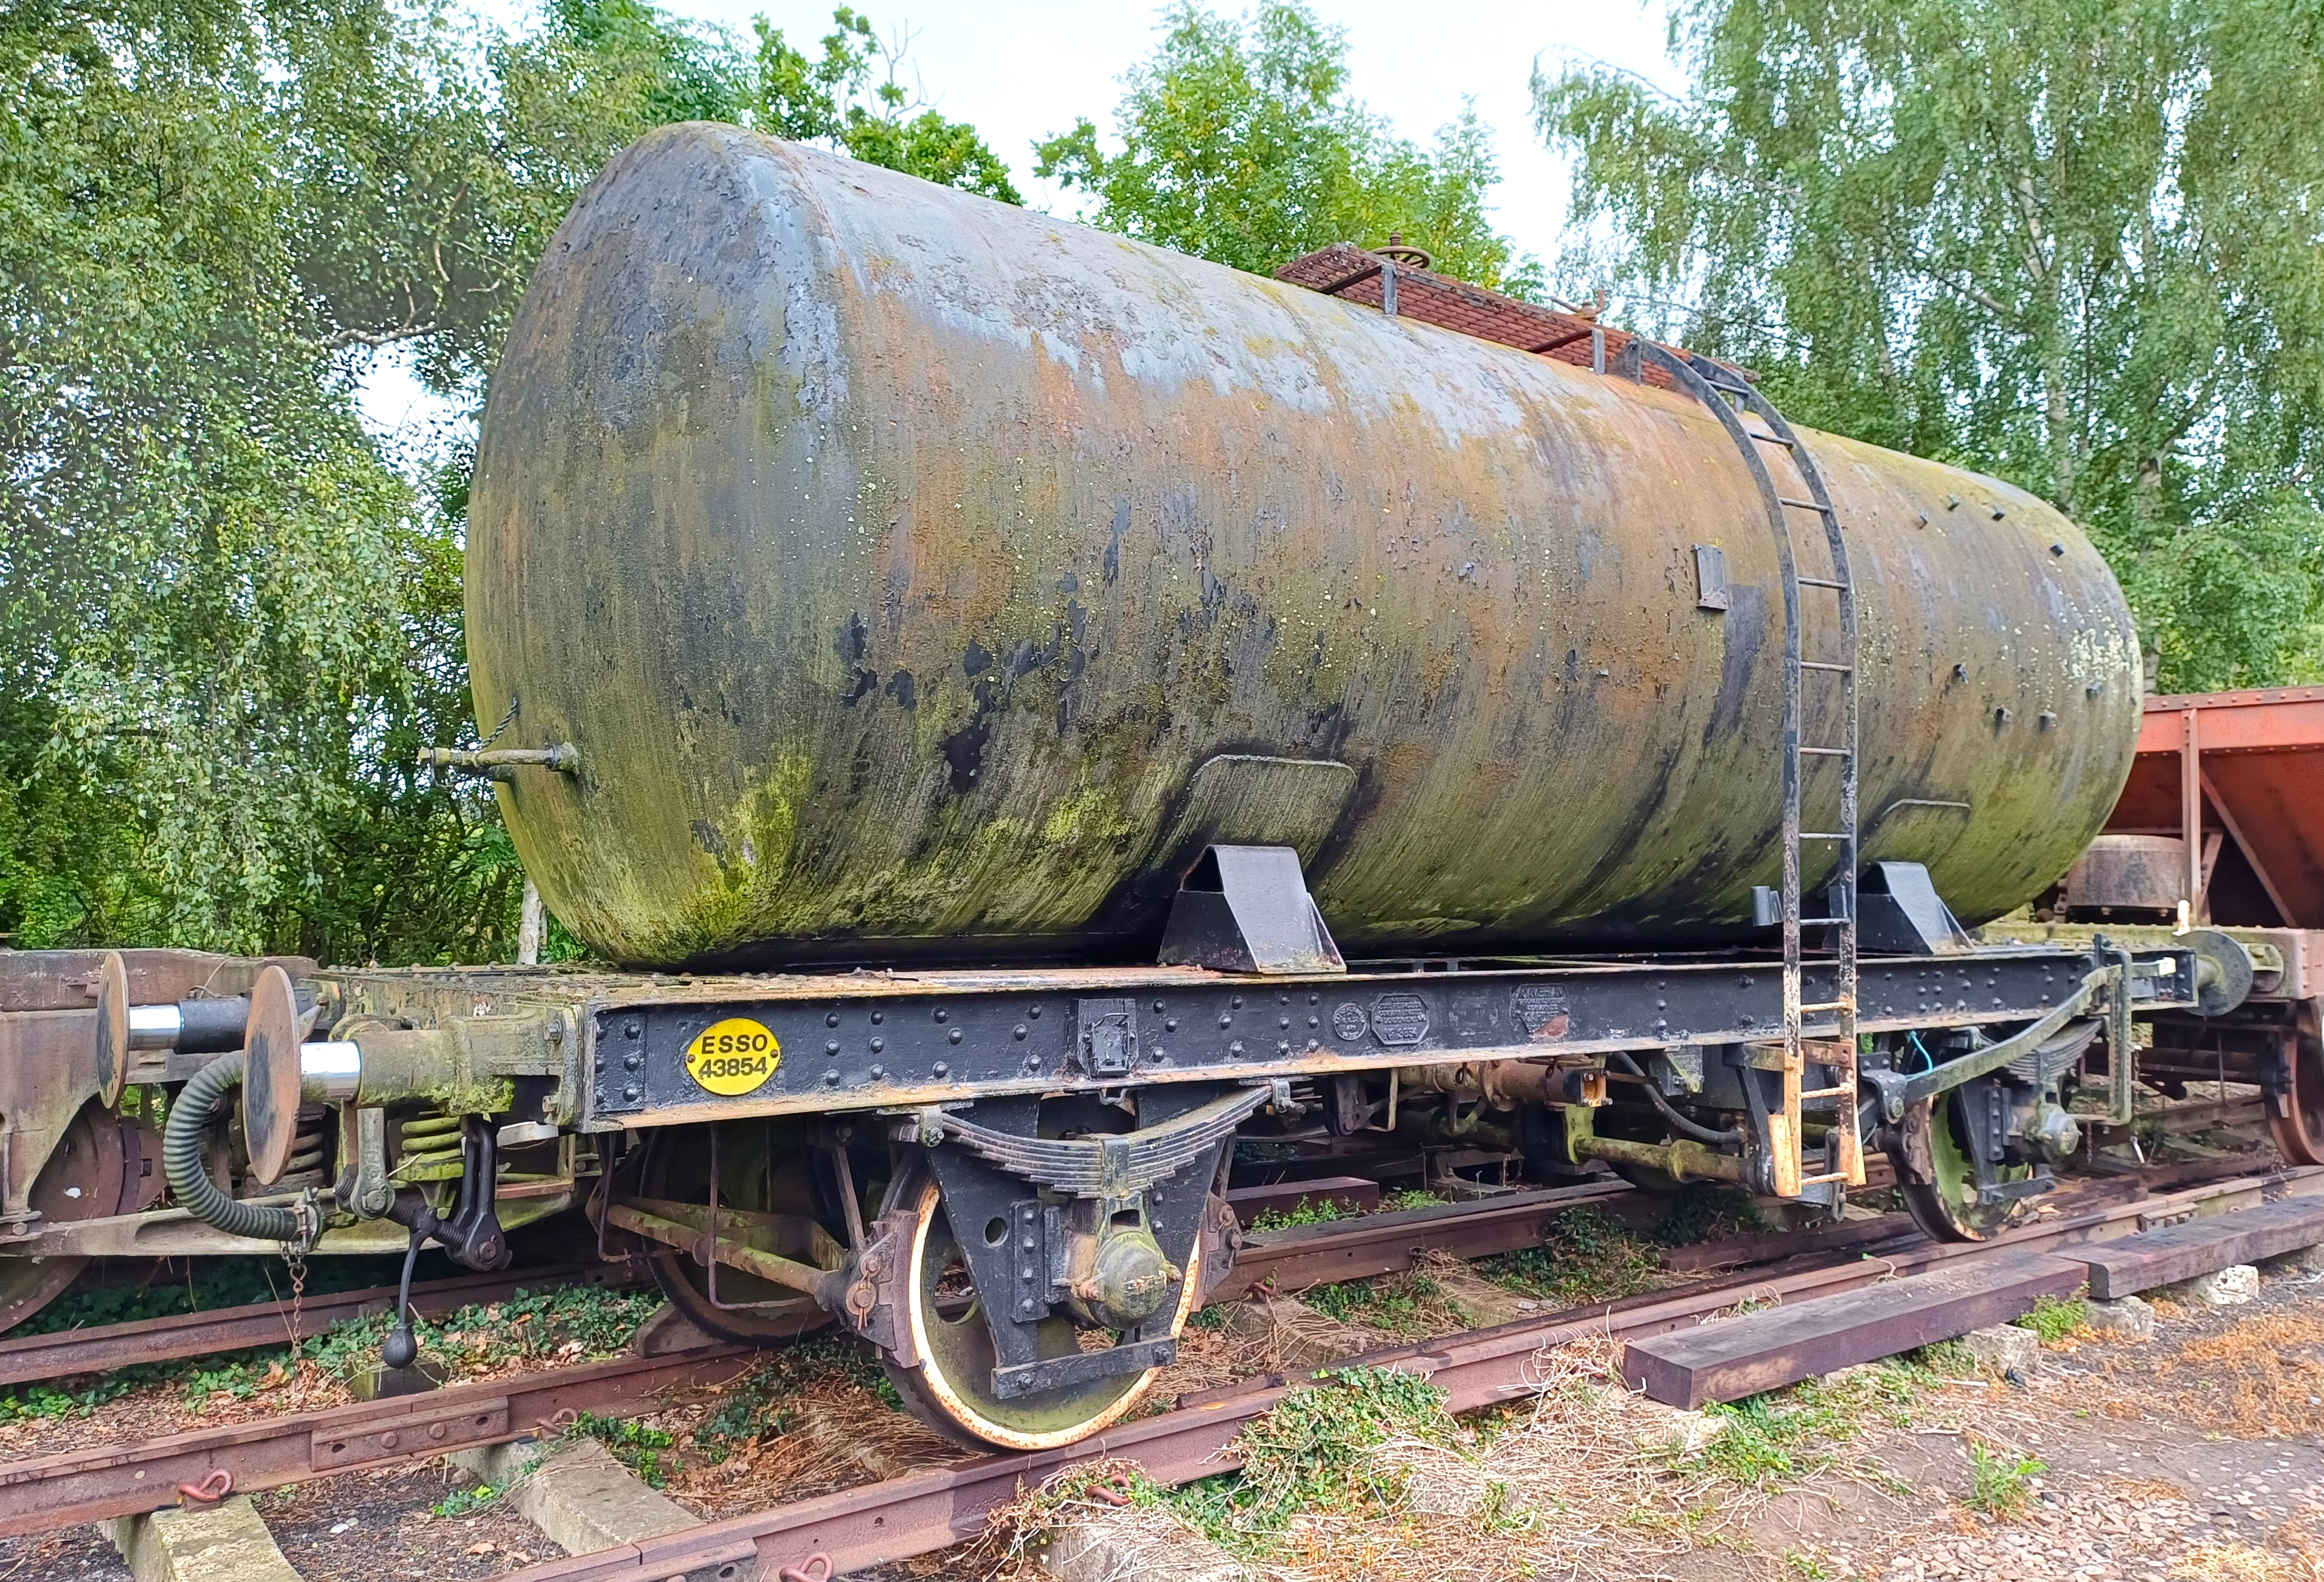
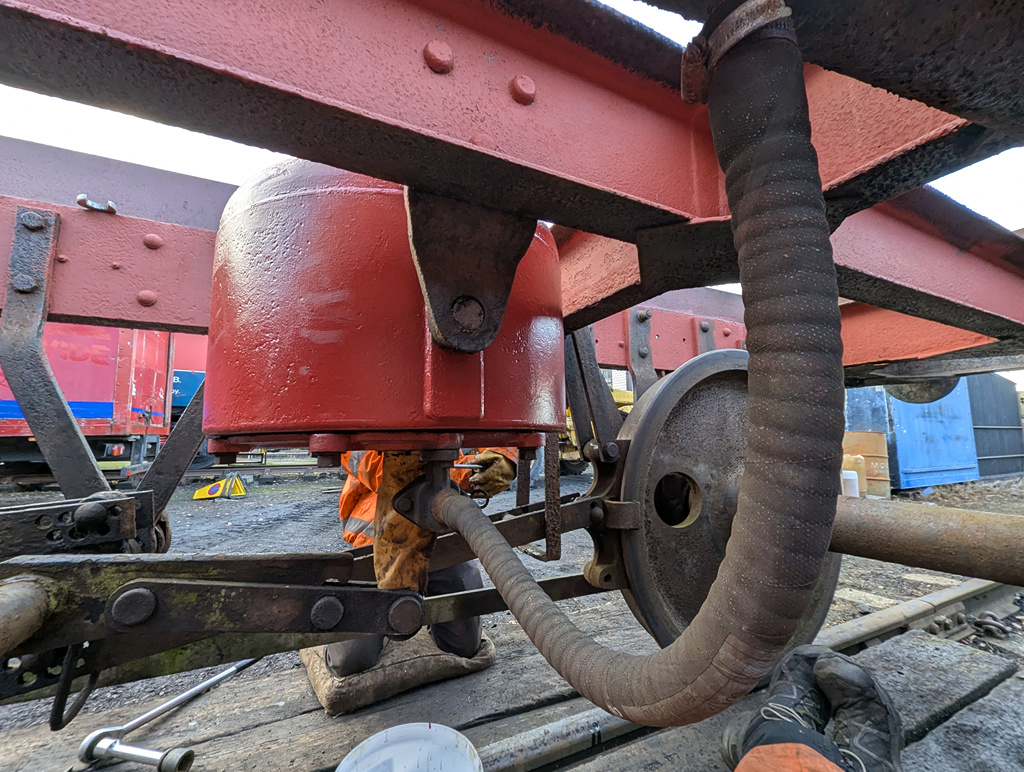
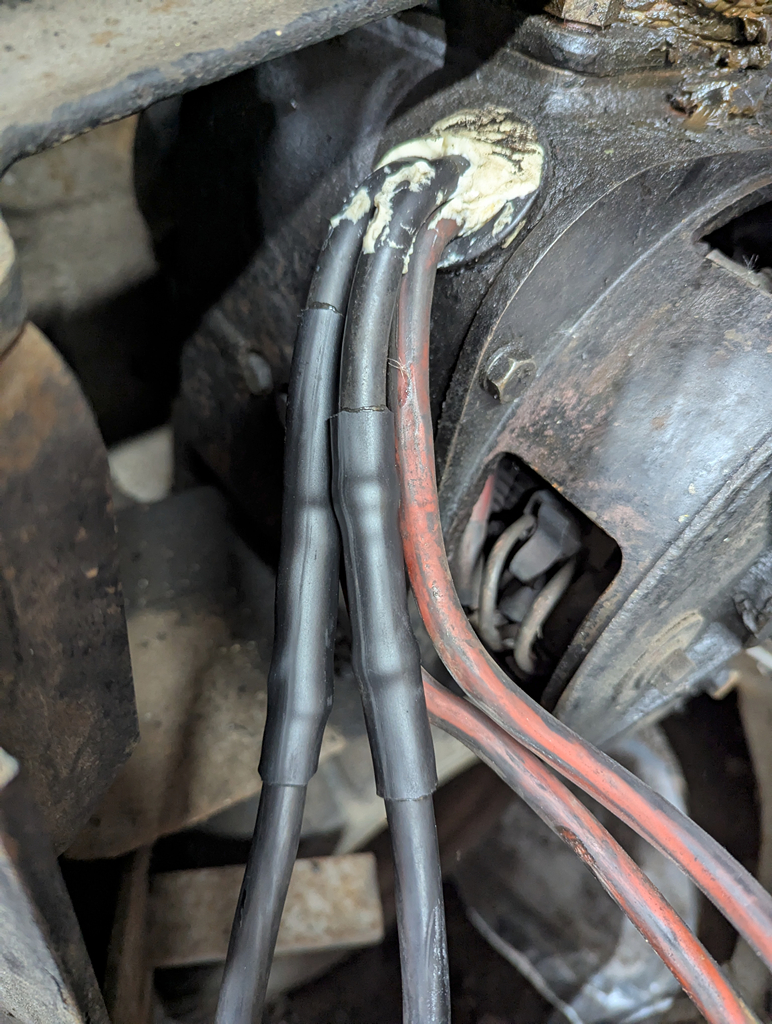
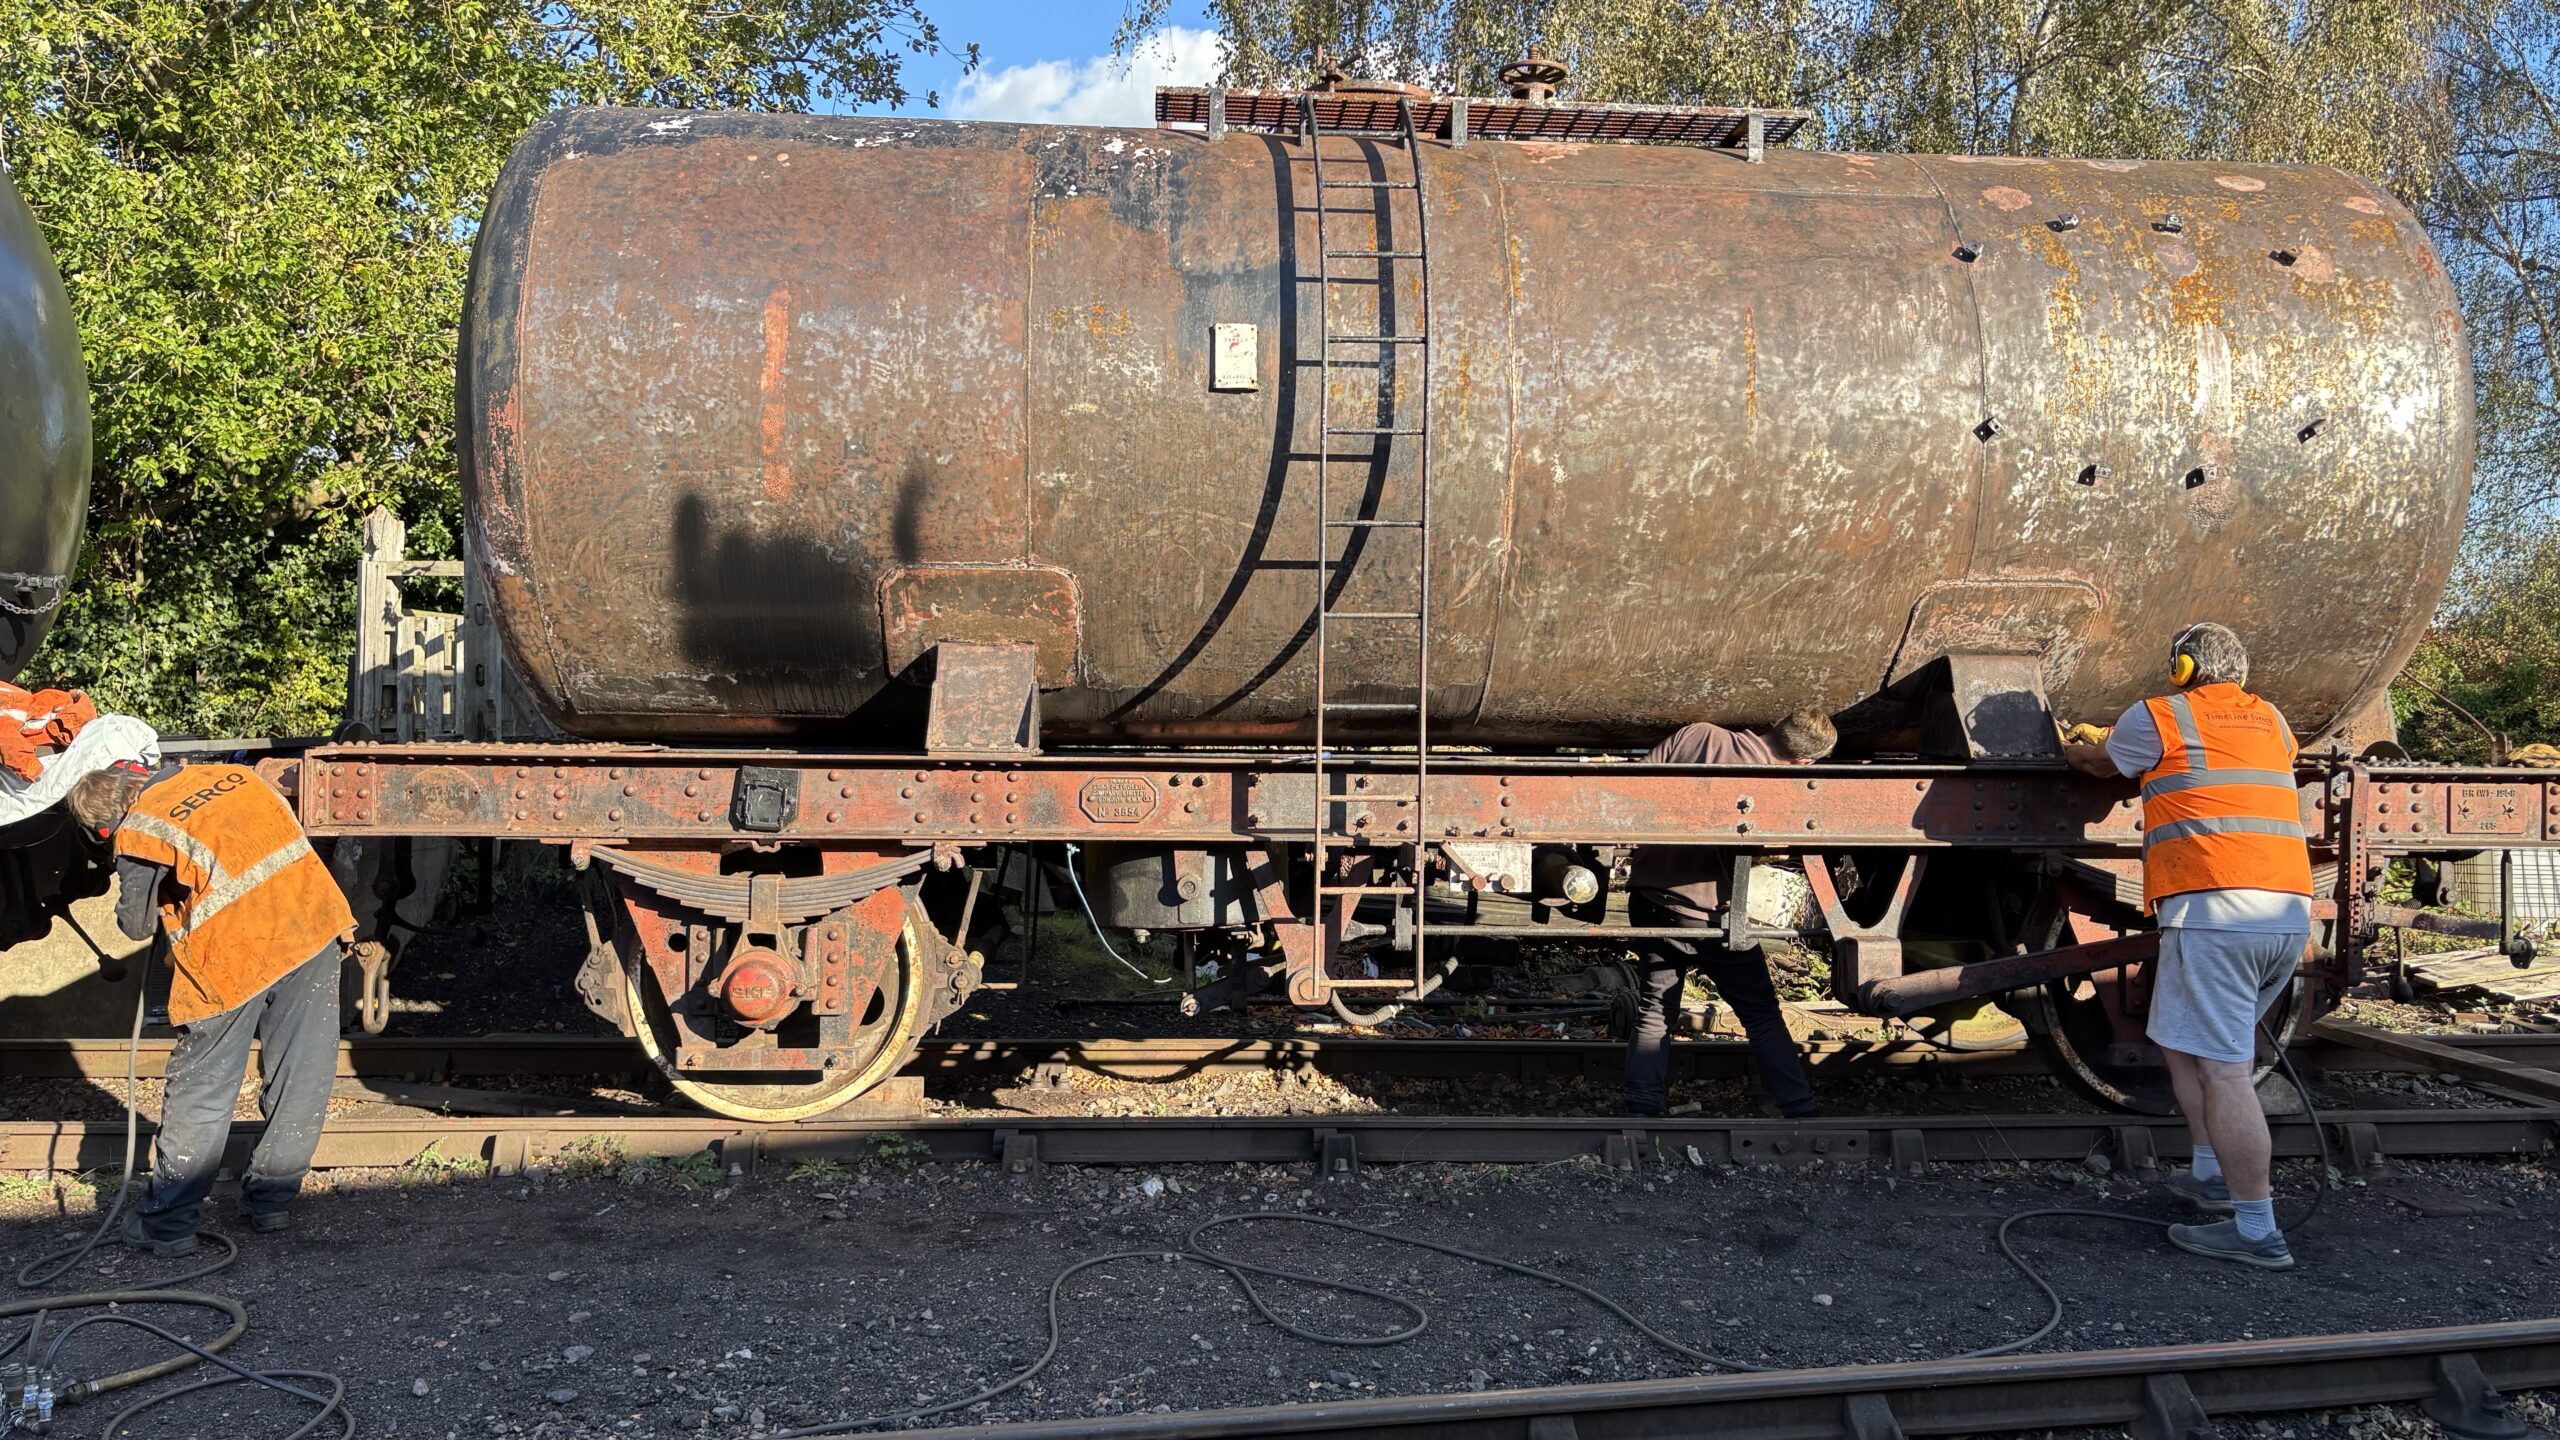
Charlie, Nick and I started to look at 3854’s working vacuum cylinder which has previously been re-assembled with the release valve out of position. Initially we thought we’d simply lower the cylinder down, rotate it round to the right position and then lift it back into position. It became apparent that it would actually be easier to drop the cylinder off the wagon and re-build it.


With the weather being quite poor, Ernie opted to stay in the coach and work on some more lamps, this time a few examples of the oil lamp found in Mk1 brake coach emergency cupboards.


With the cylinder in the garage, we stripped it down, fitted a new guide bush and new bottom joint ring, reassembled the cylinder and got it fitted to the wagon. Using the test rig, it was tested and passed with flying colours.


With Sunday having the better weather, the team were out in force to try and get some more paint on the Lowfit, firstly finishing off the undercoat on the drop sides, then moving onto the underframe, applied a good coat of gloss black.


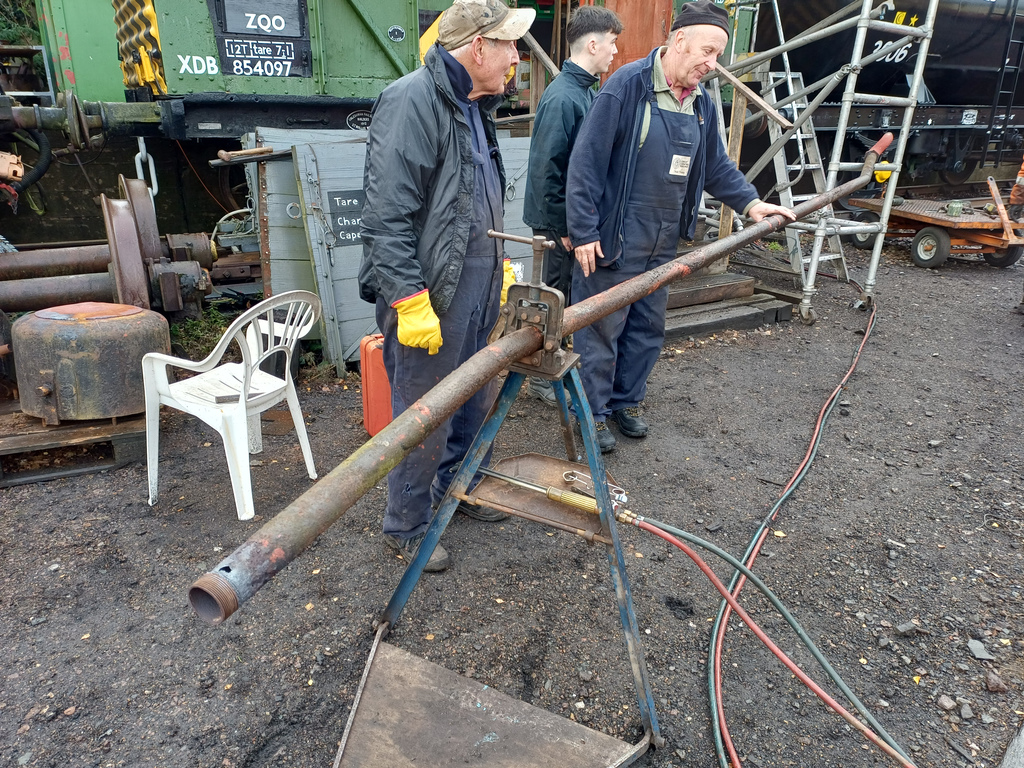
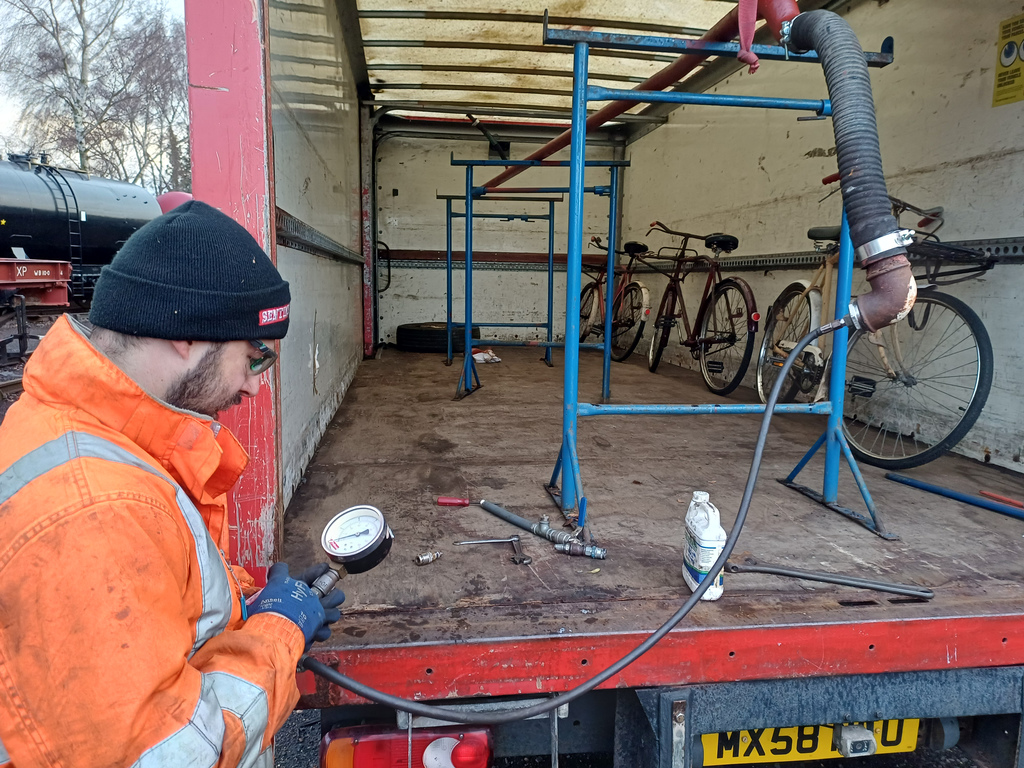
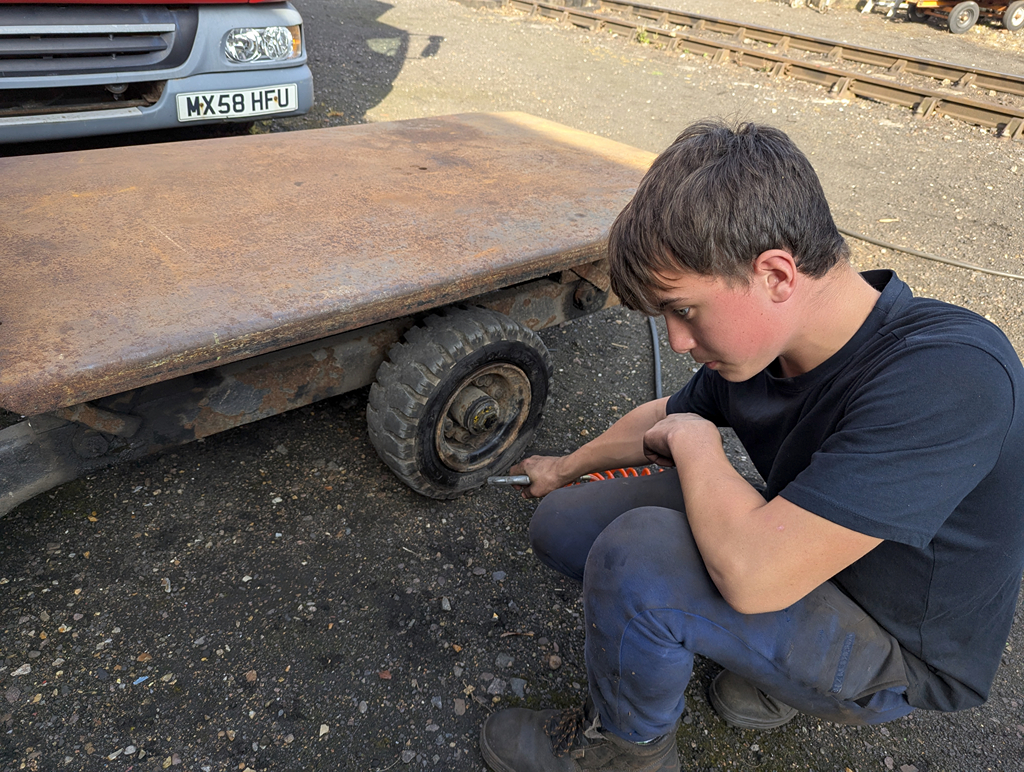
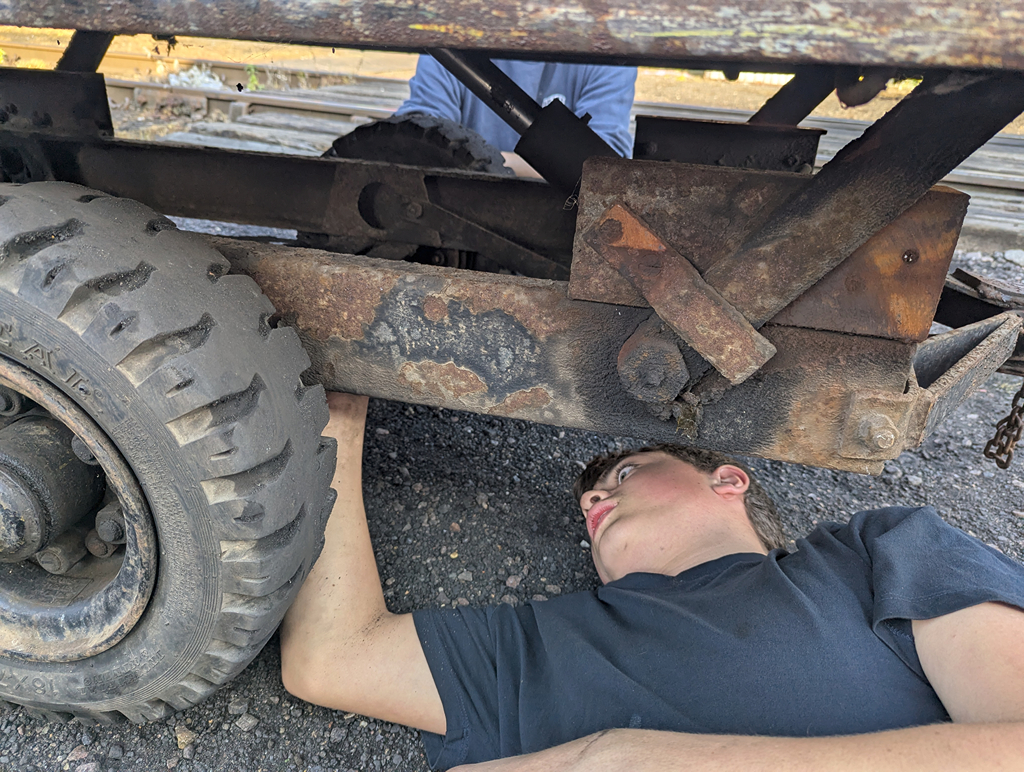
I used a new to us tool to measure the bore of a vacuum cylinder we had found in the bushes to check whether its worth use bothering with or not. Ernie started cleaning up a piston found under Madge’s trailer, which wasn’t as bad as first thought.


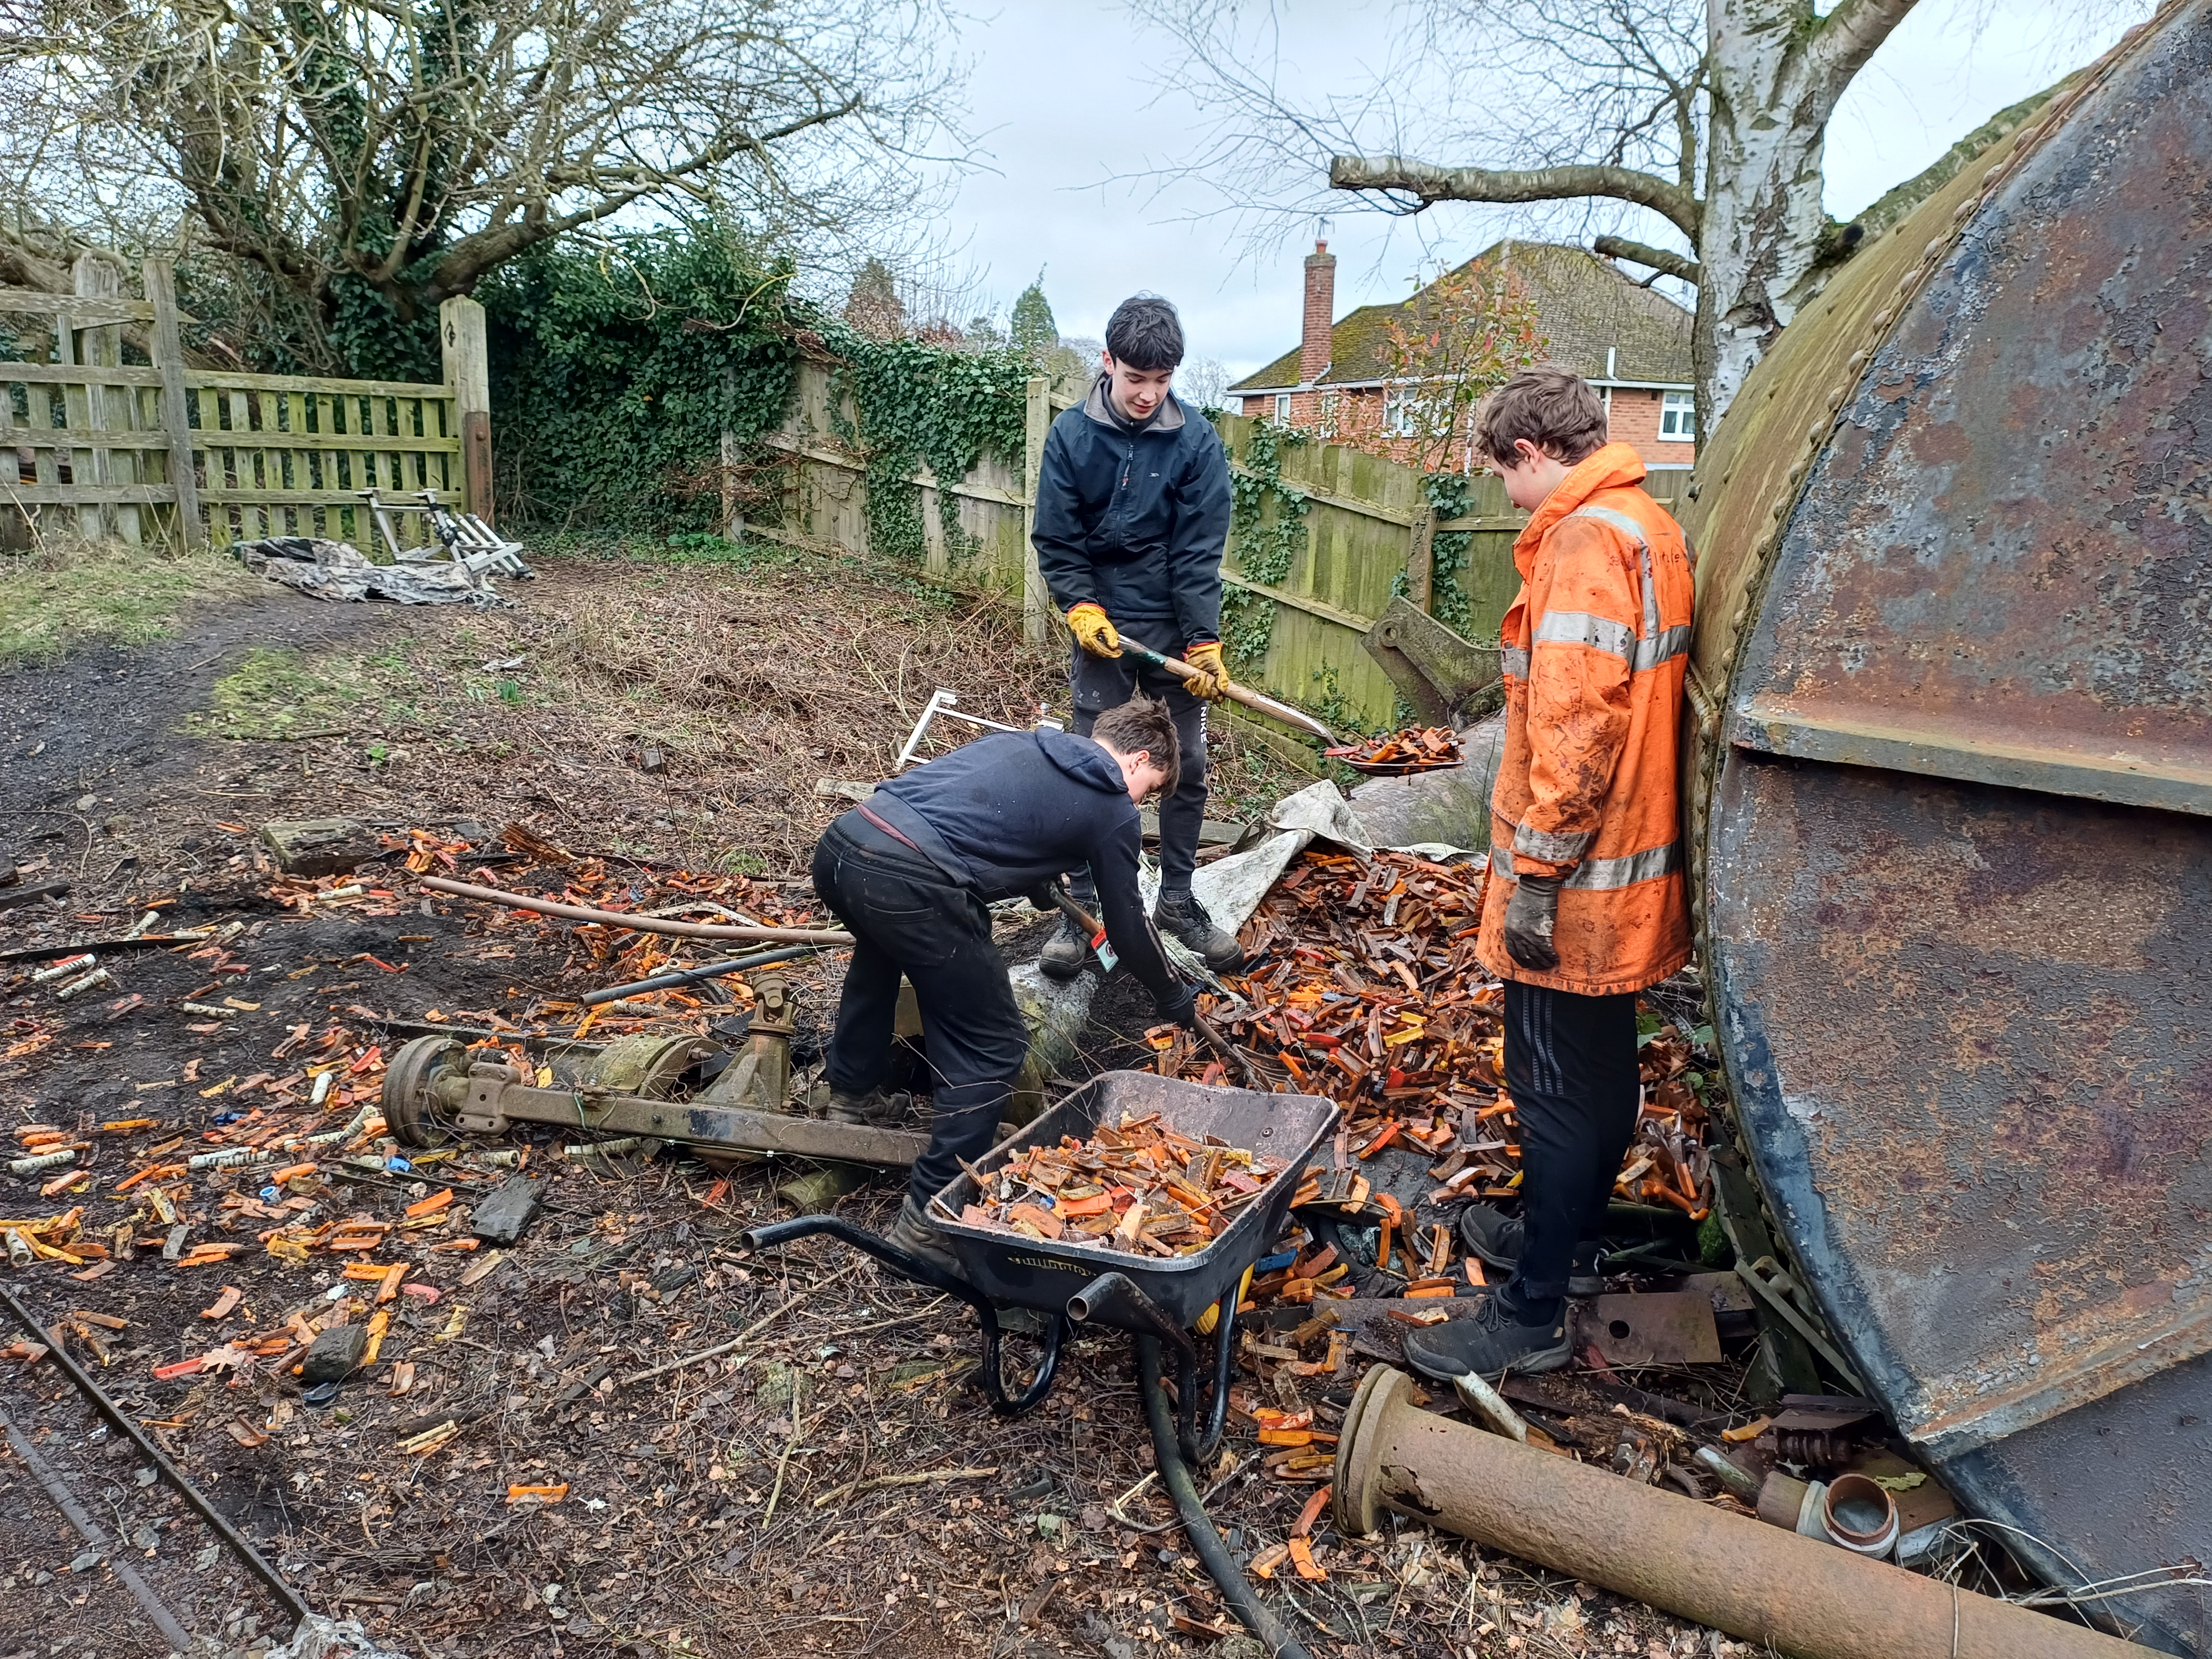
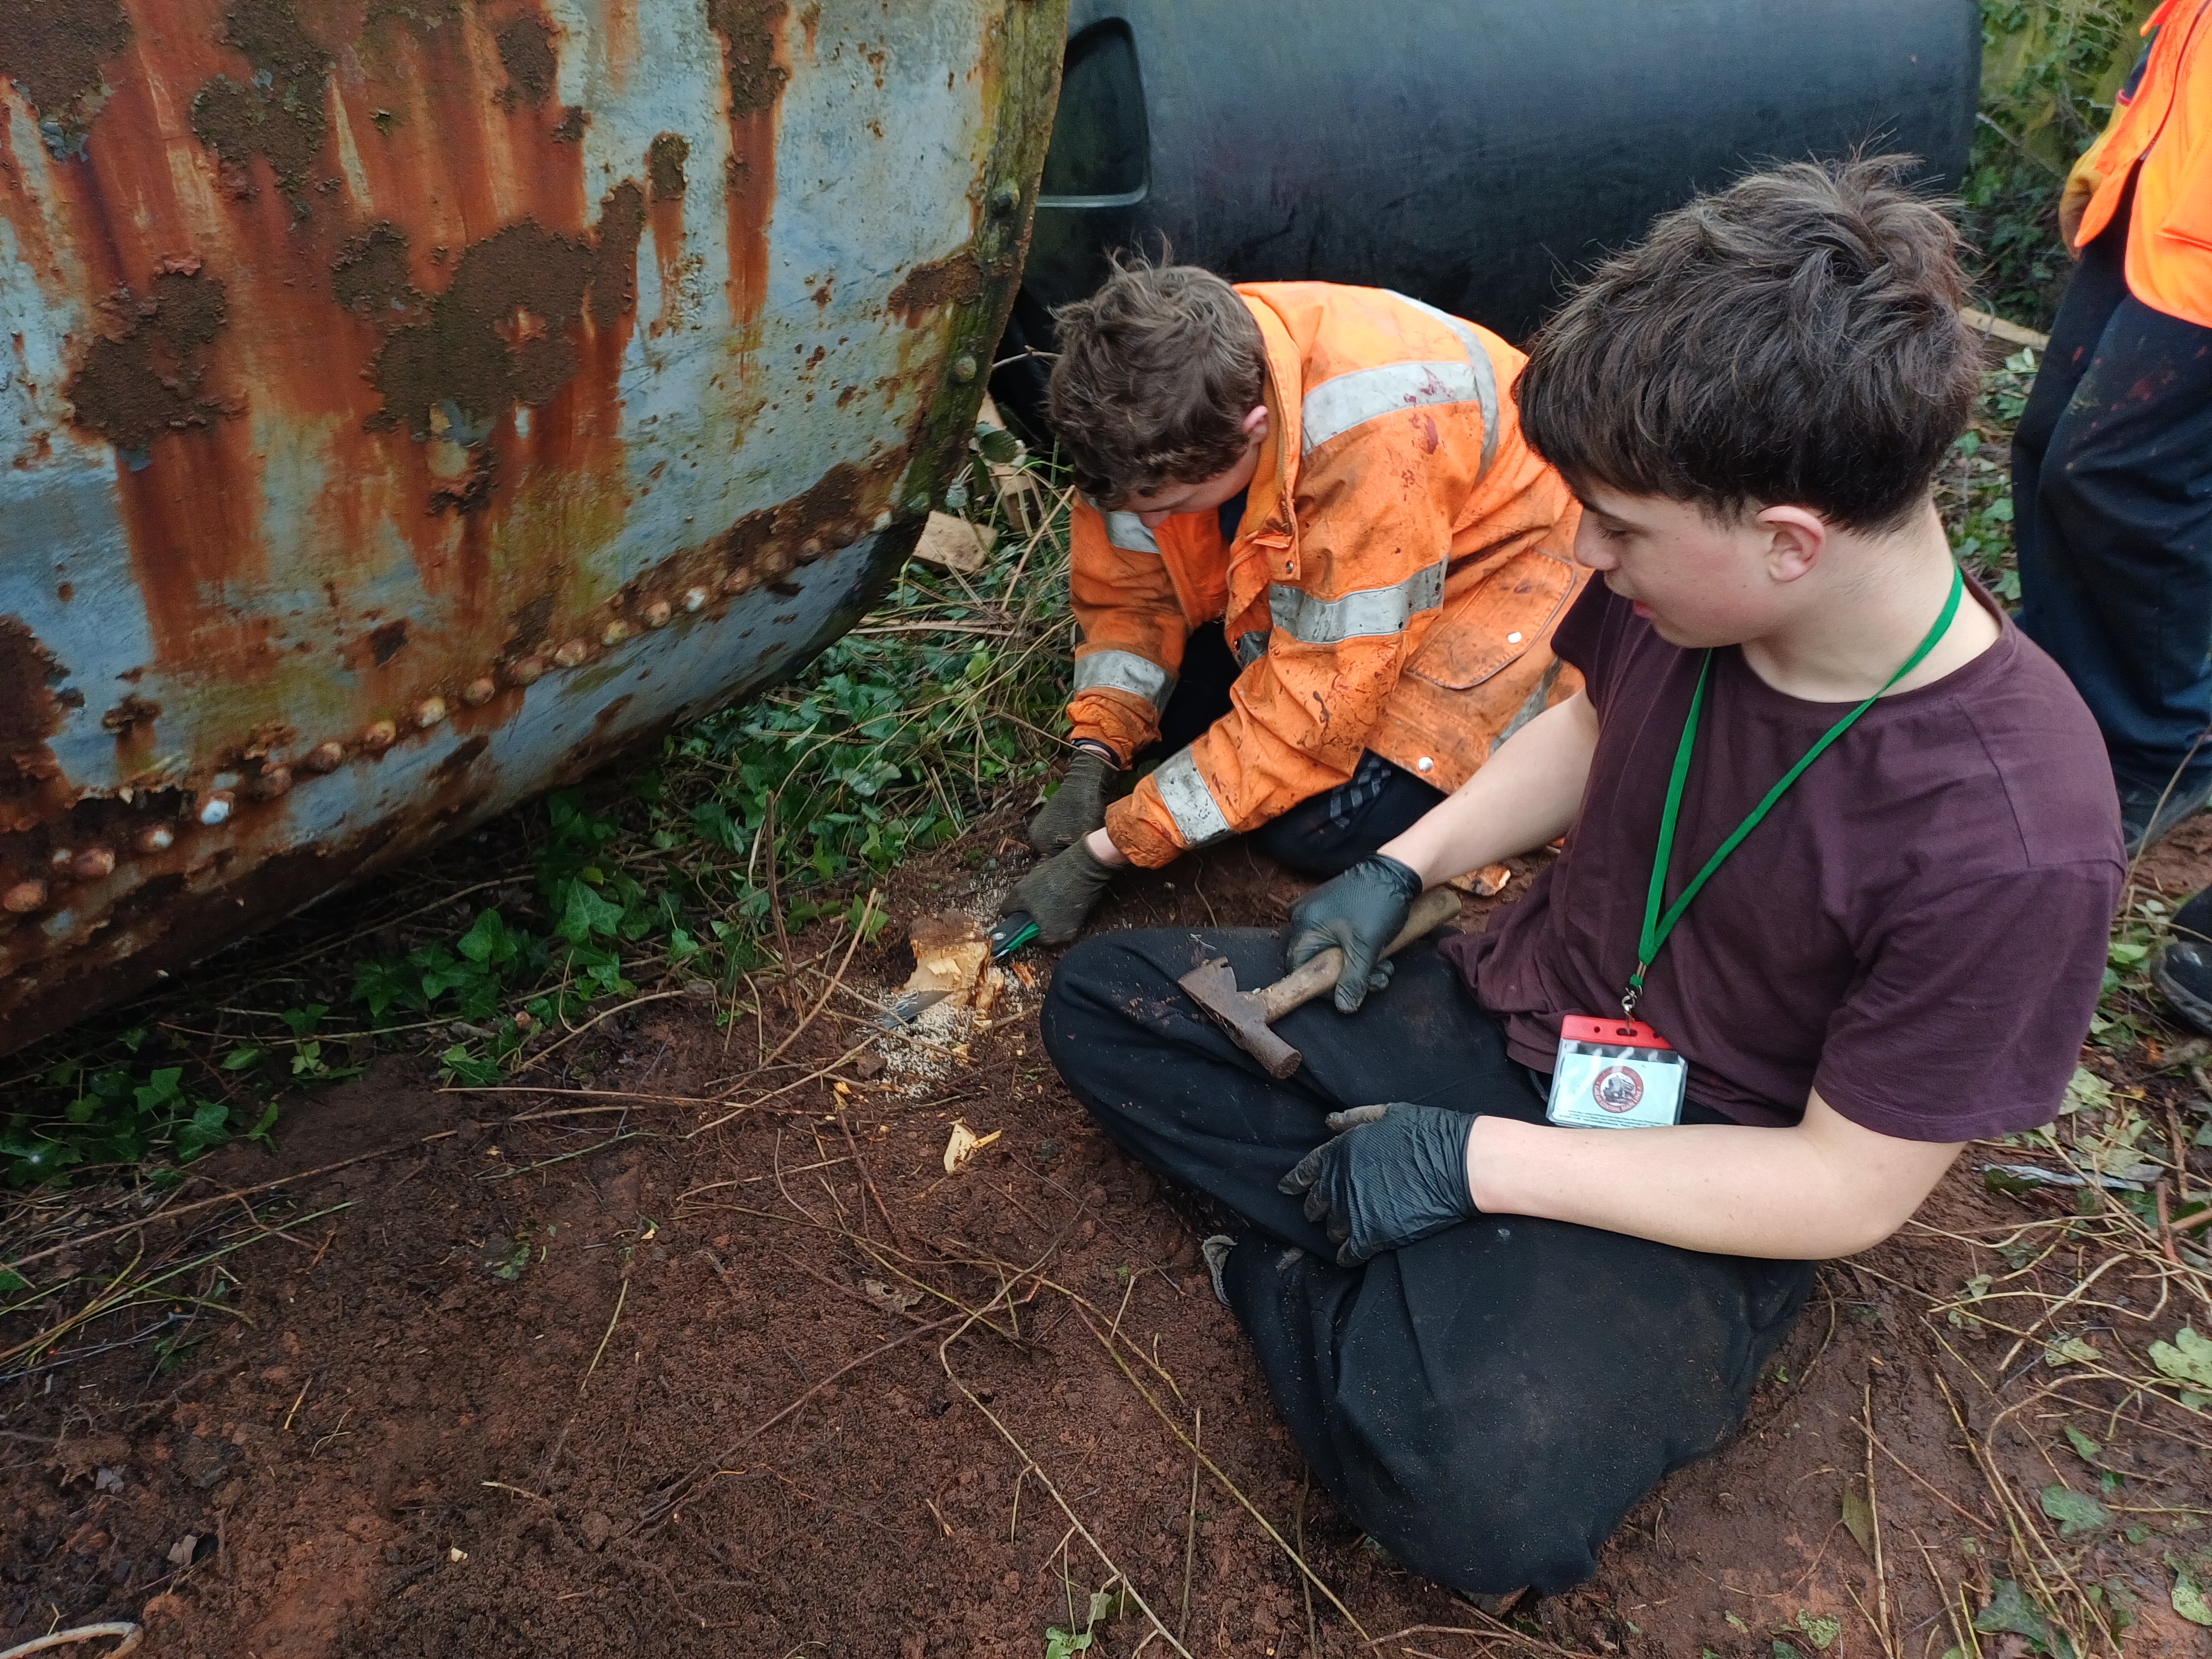
The team also continued the side project of tidying up the area around between the dock road and the boundary fence. Tidying up some track ‘biscuits’ but also ended up moving the water tower top, mainly to be able to open up the walkway on that side of the siding.

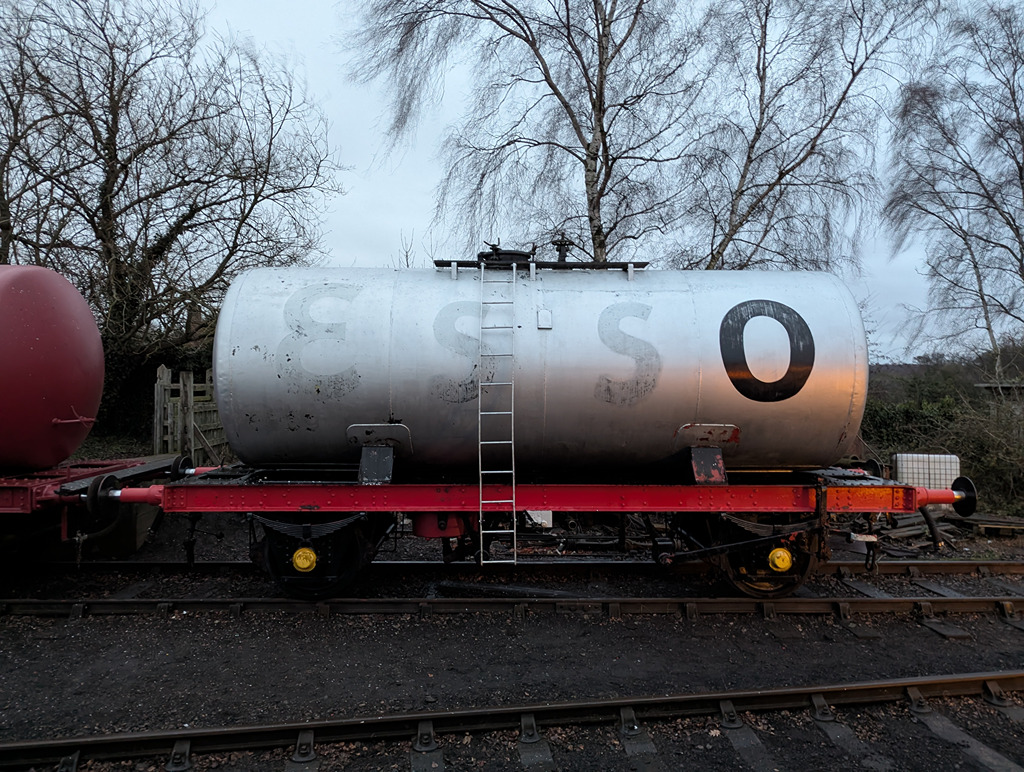
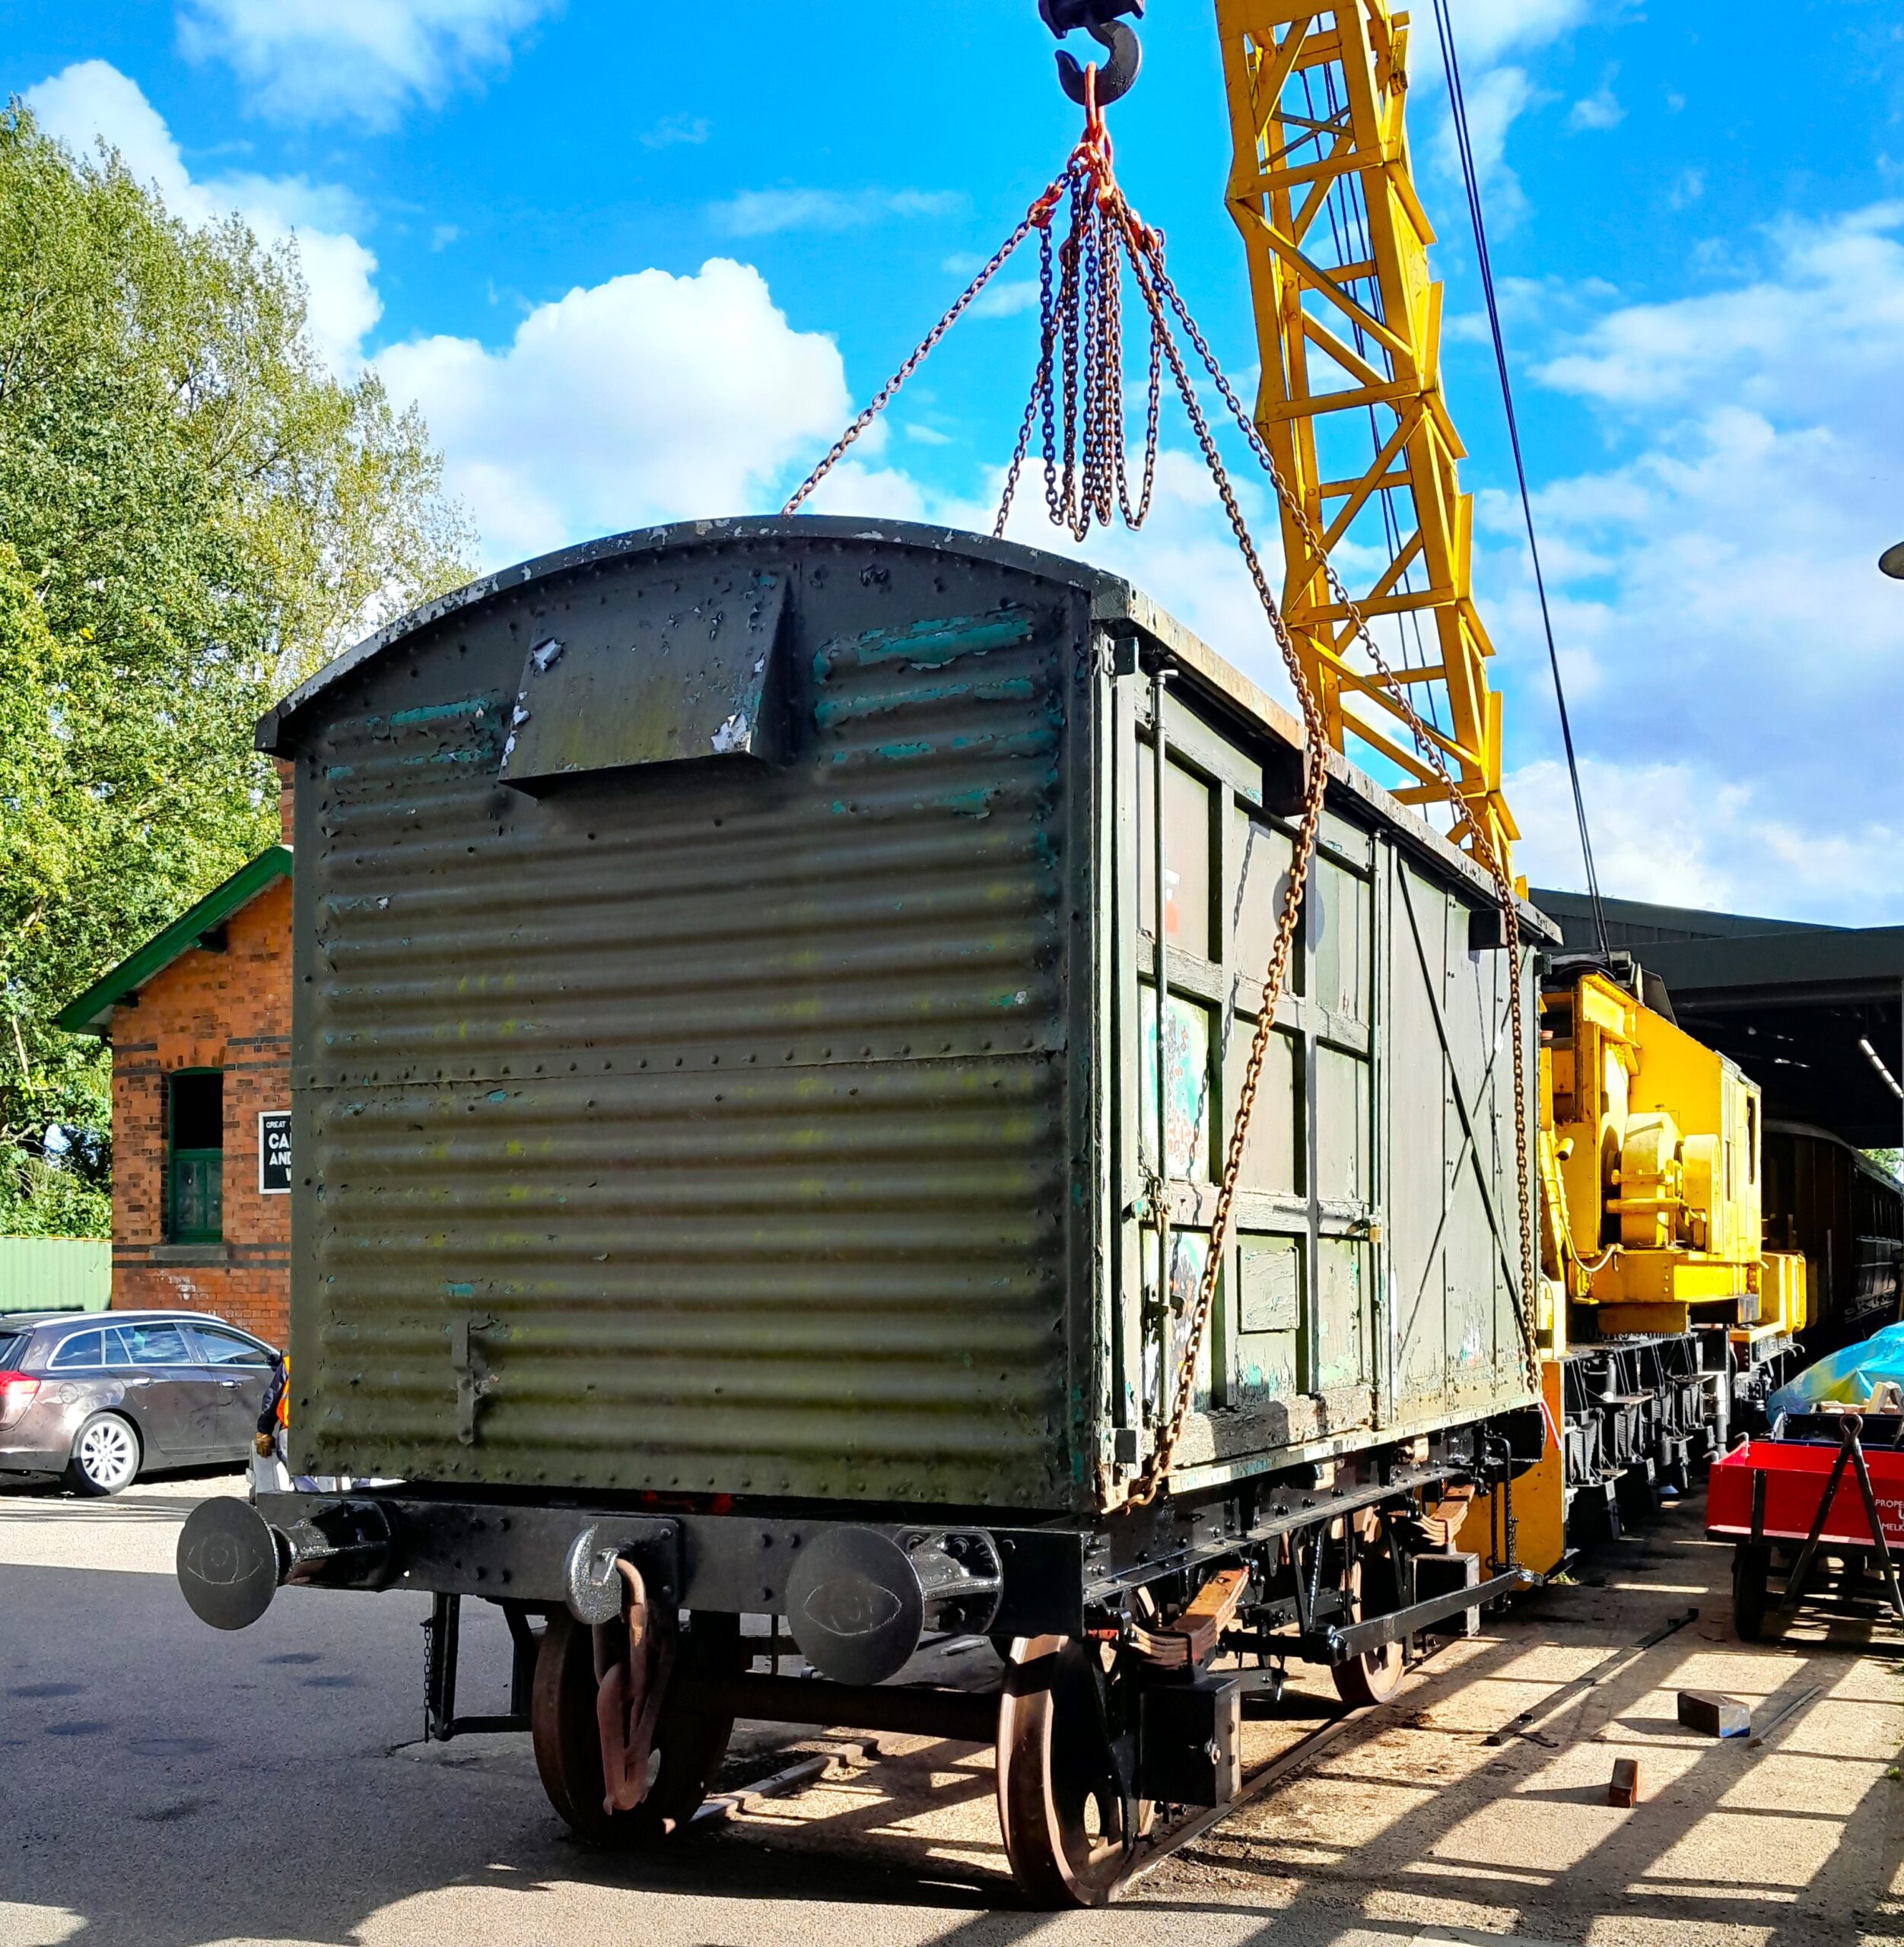
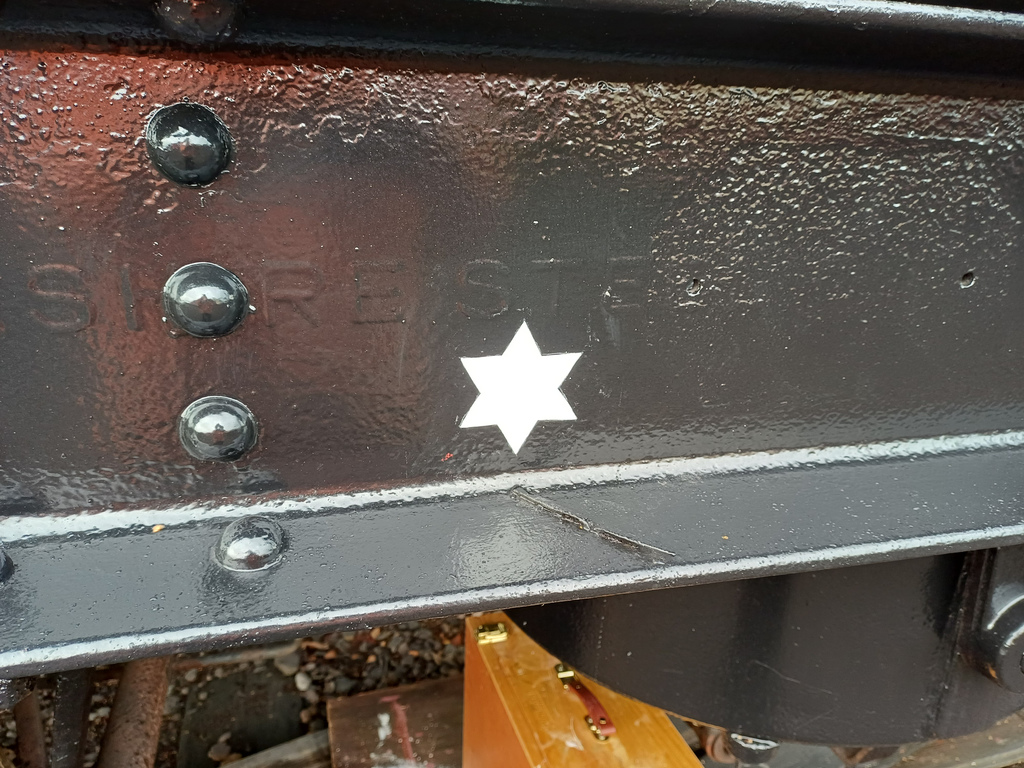
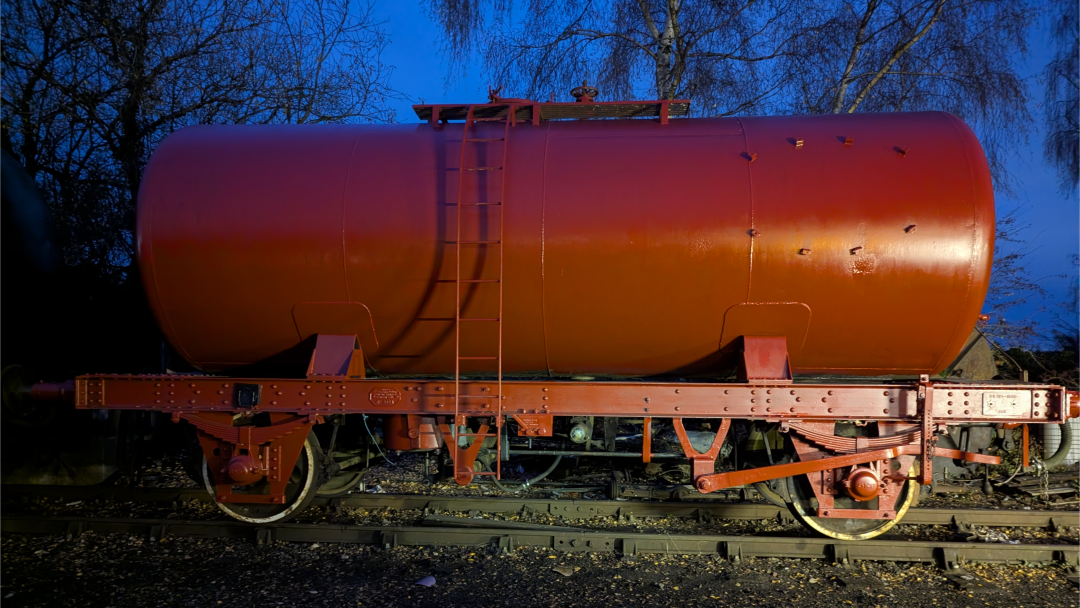
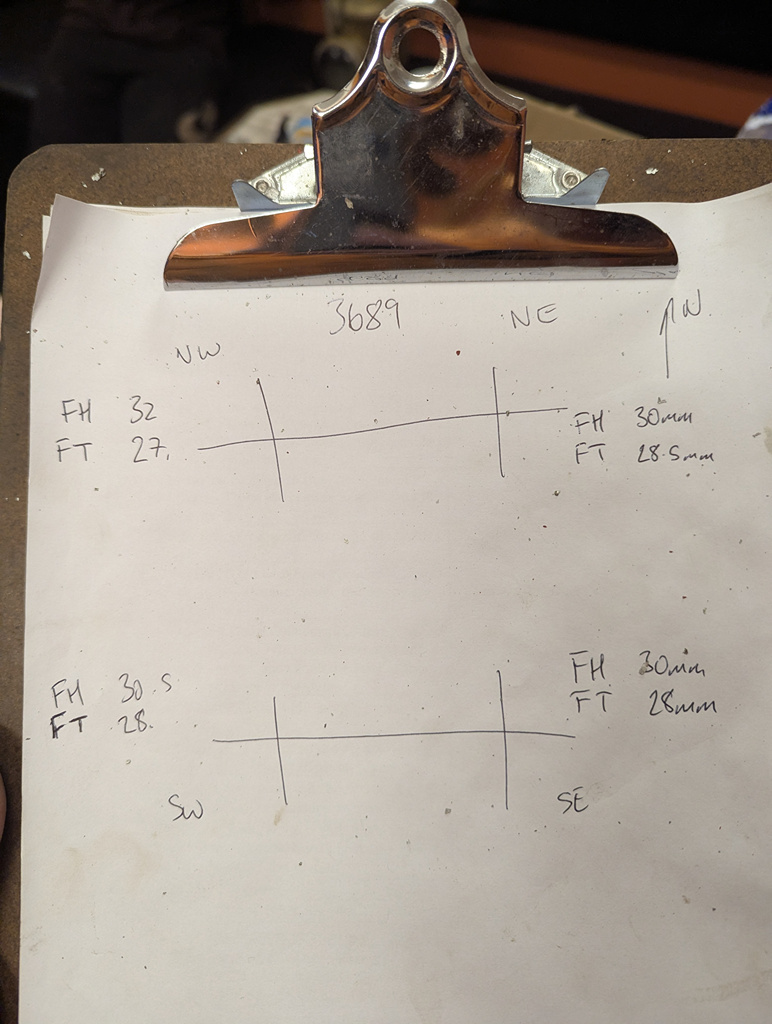
Dave got a sander out and gingerly sanded 3689 to try and finally confirm its departmental identity, which has now been confirmed as DB999088.


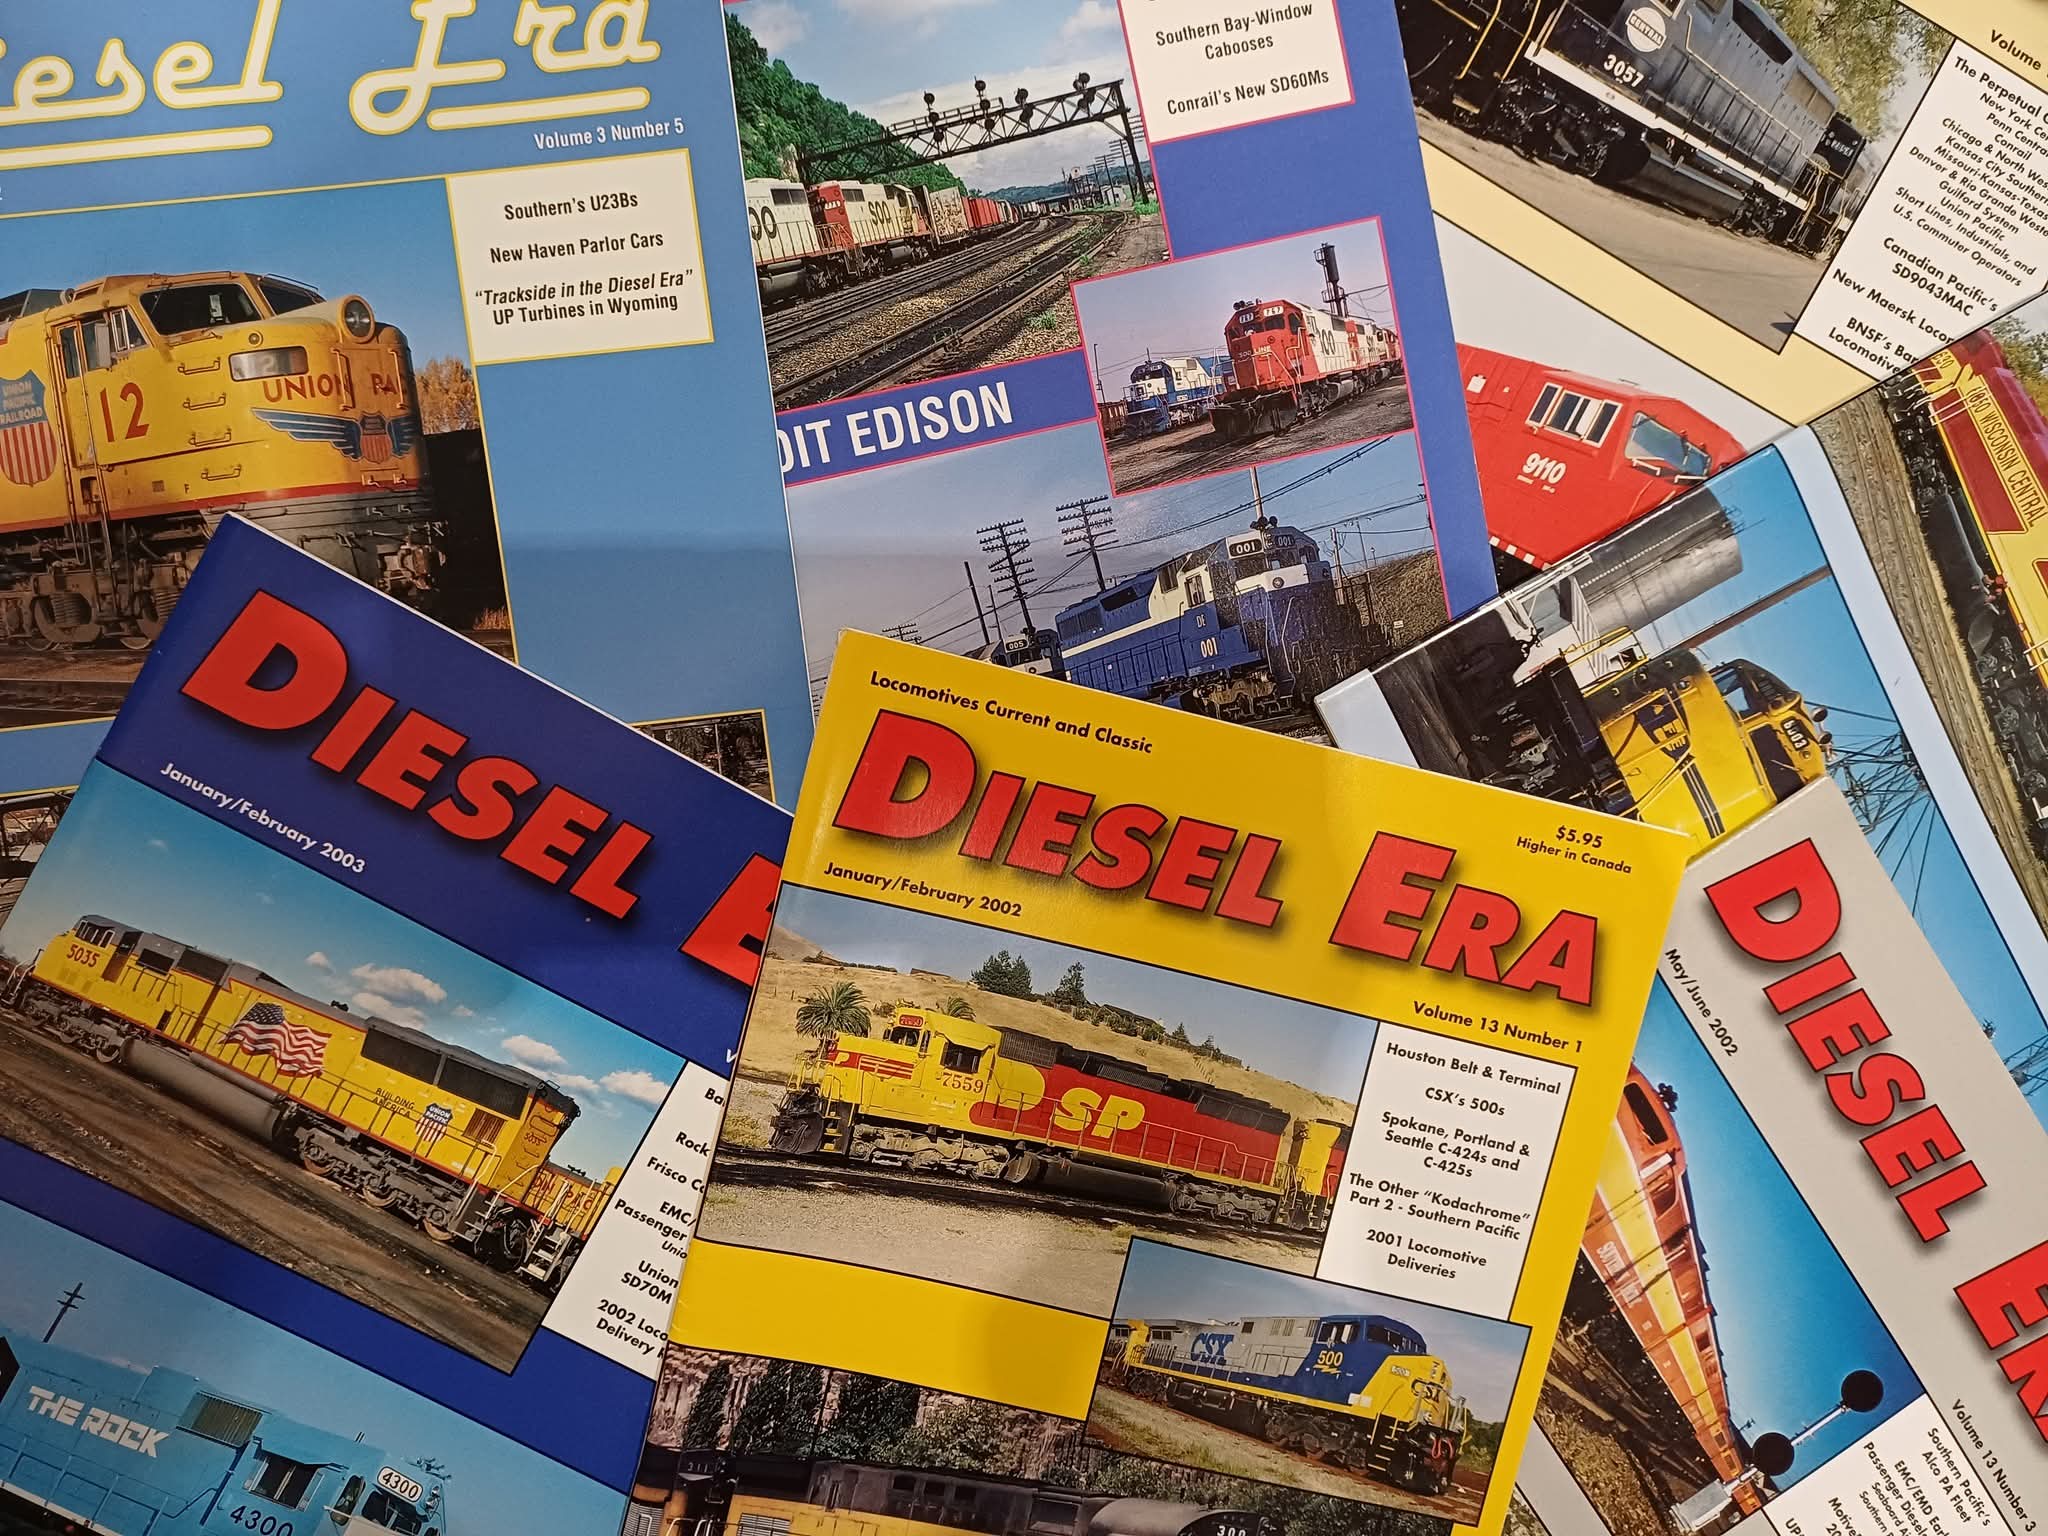
Lastly, we’ve been very kindly donated some late 1990s/early 2000s Diesel Era magazines which aren’t readily available in the UK. These are for sale on Dave’s eBay account, so do take a look and spend a few pennies if you are interested. All proceeds do go back into the wagons and support us in their care.
Thanks for reading, and join us next week to find out what we get up to! Cheers, Ross