Author: rloades109

  • 28/03/21 – Oiling and Overhauls

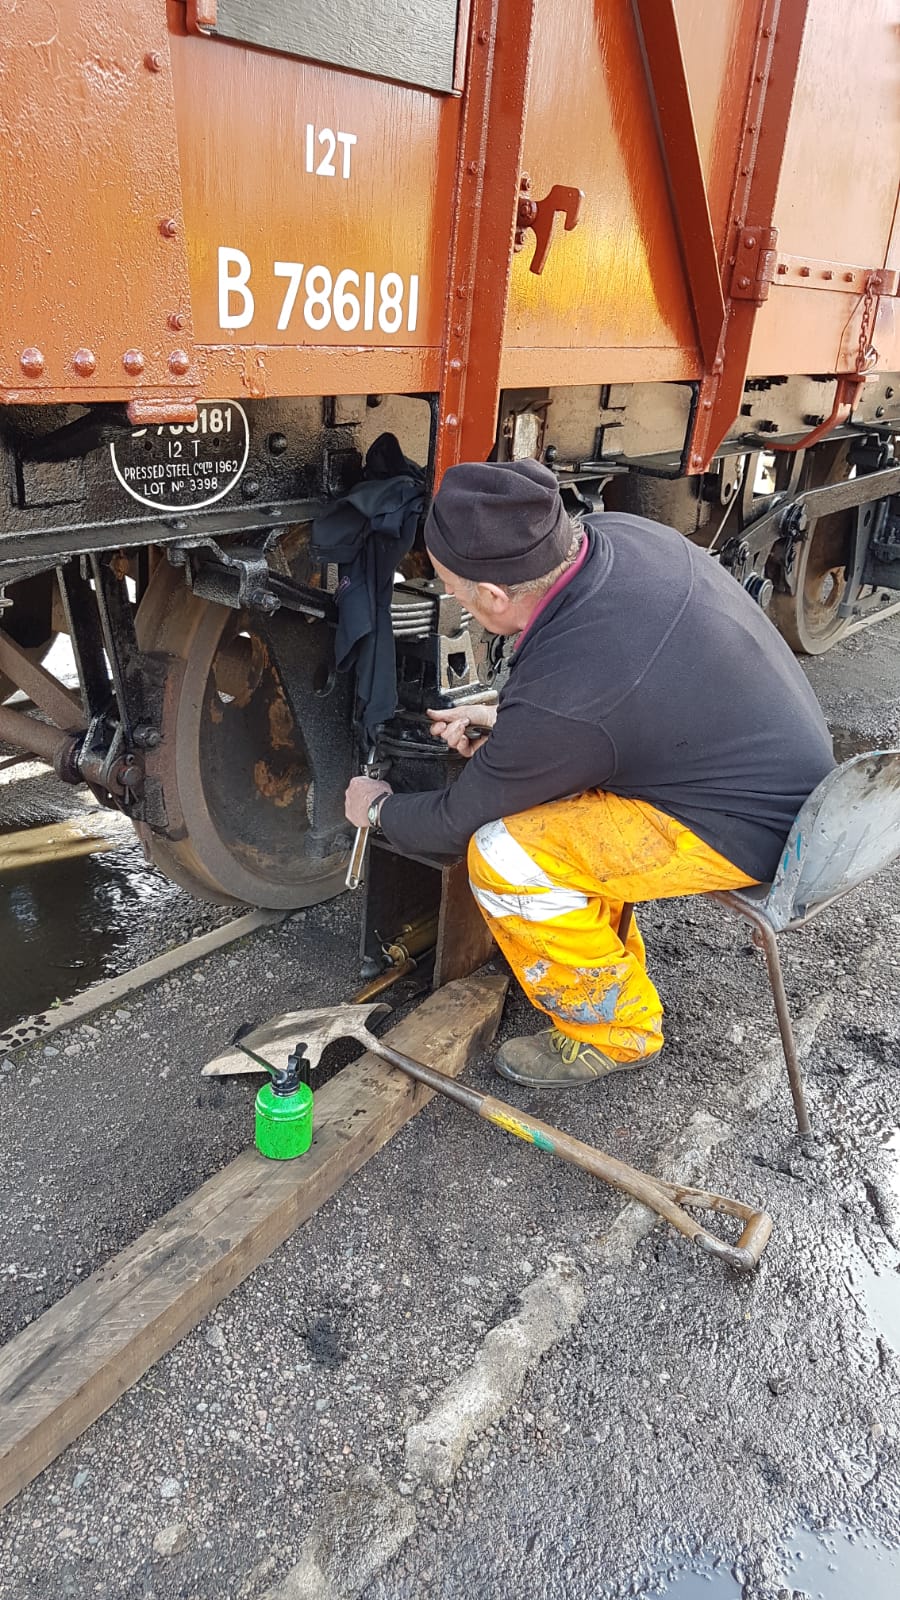
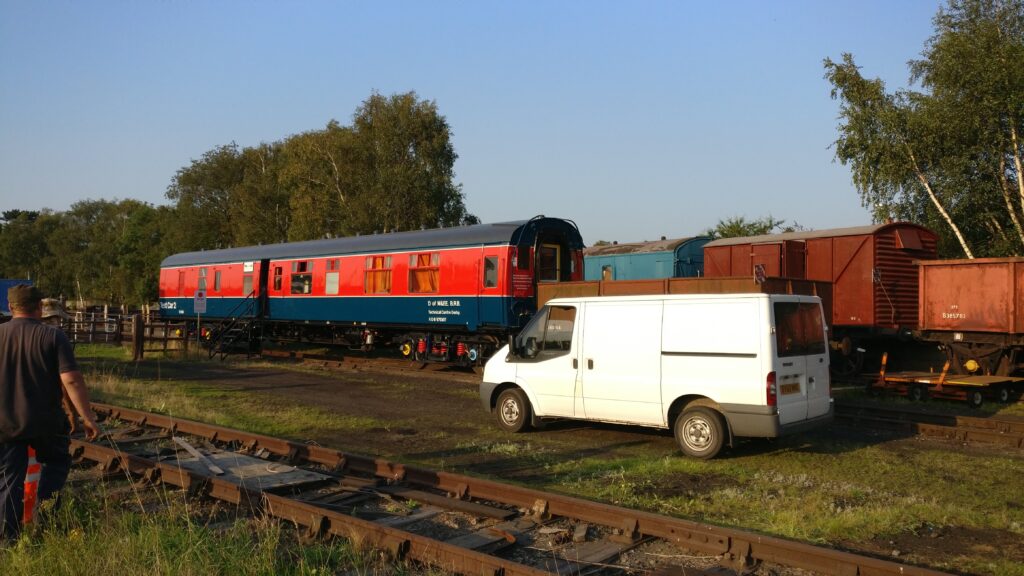
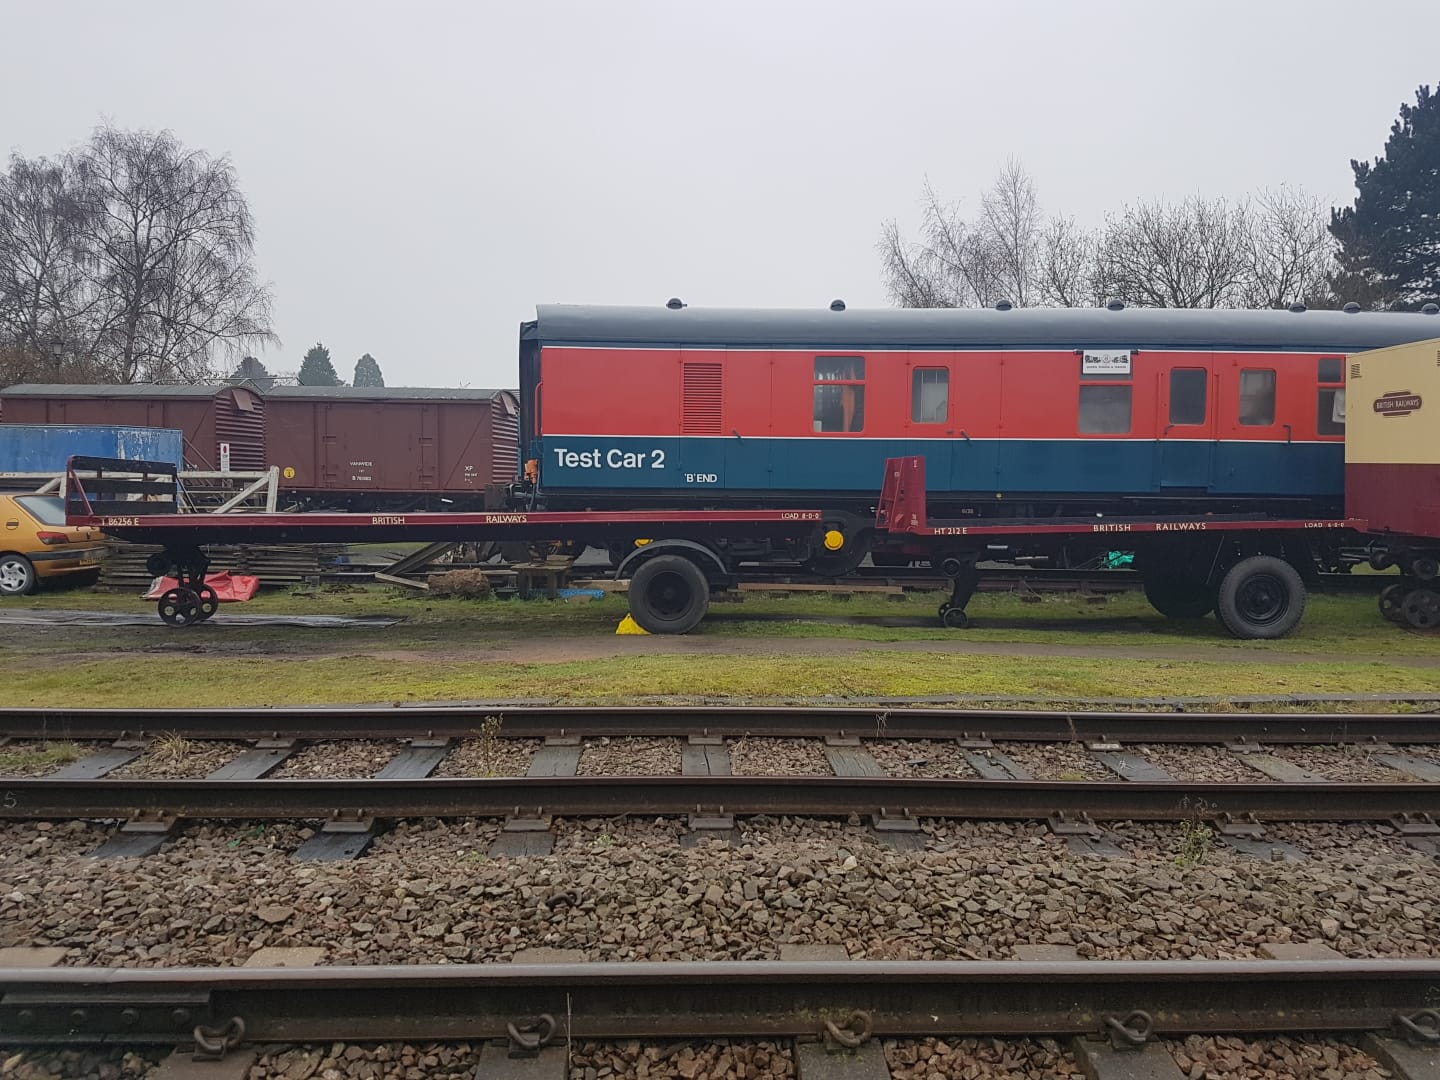
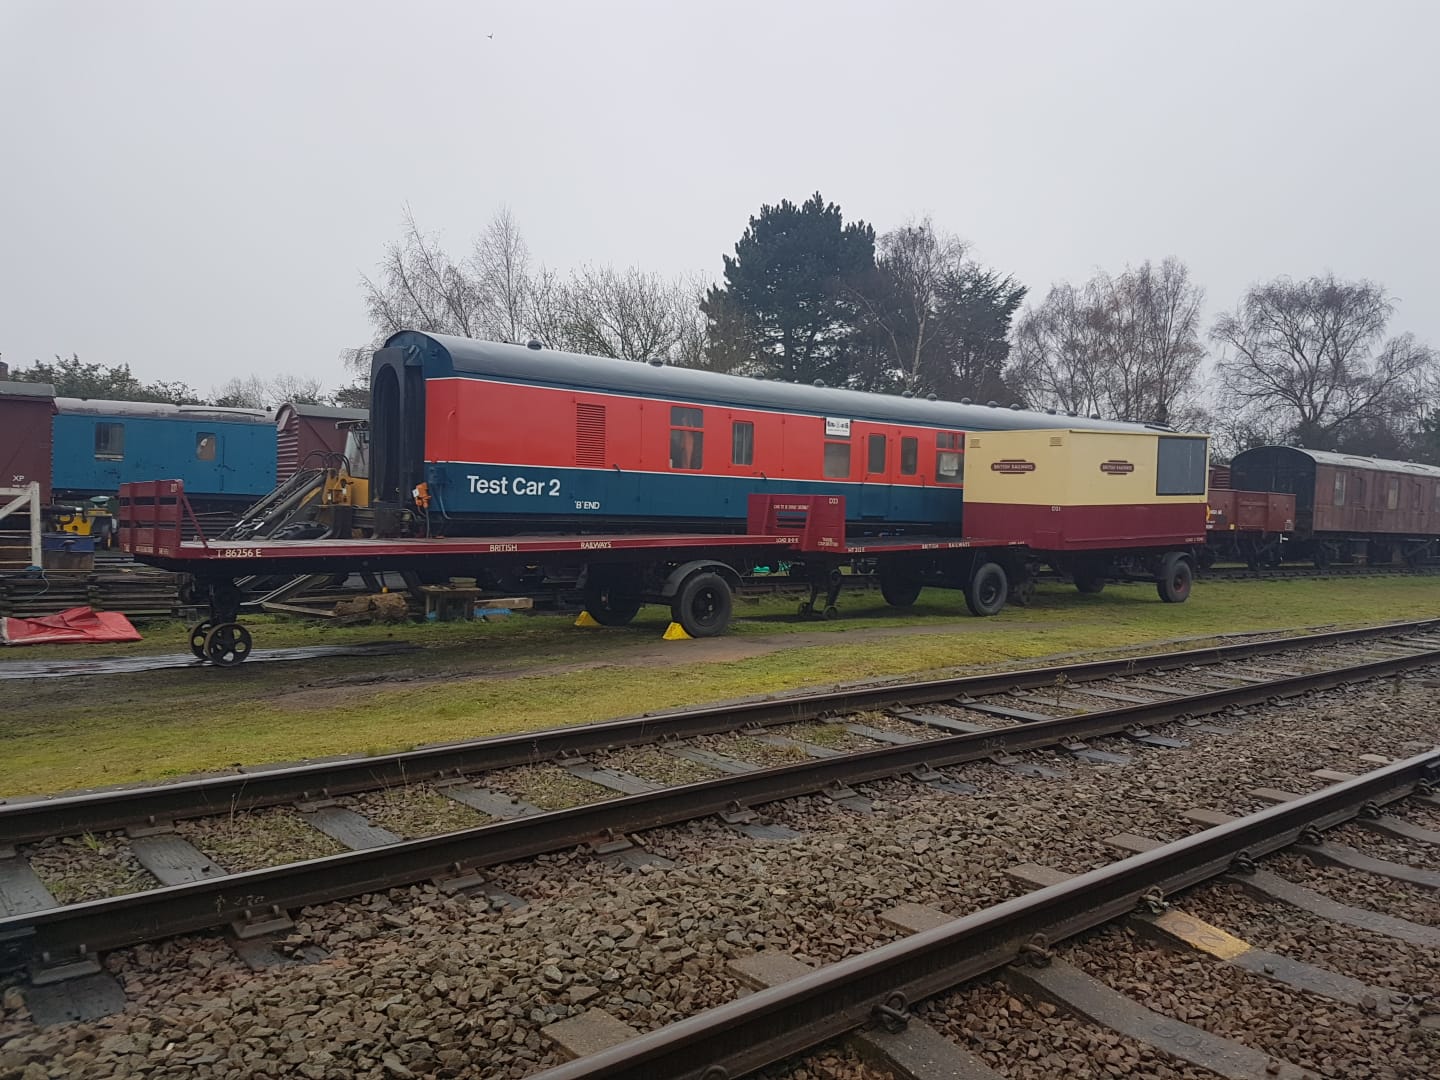
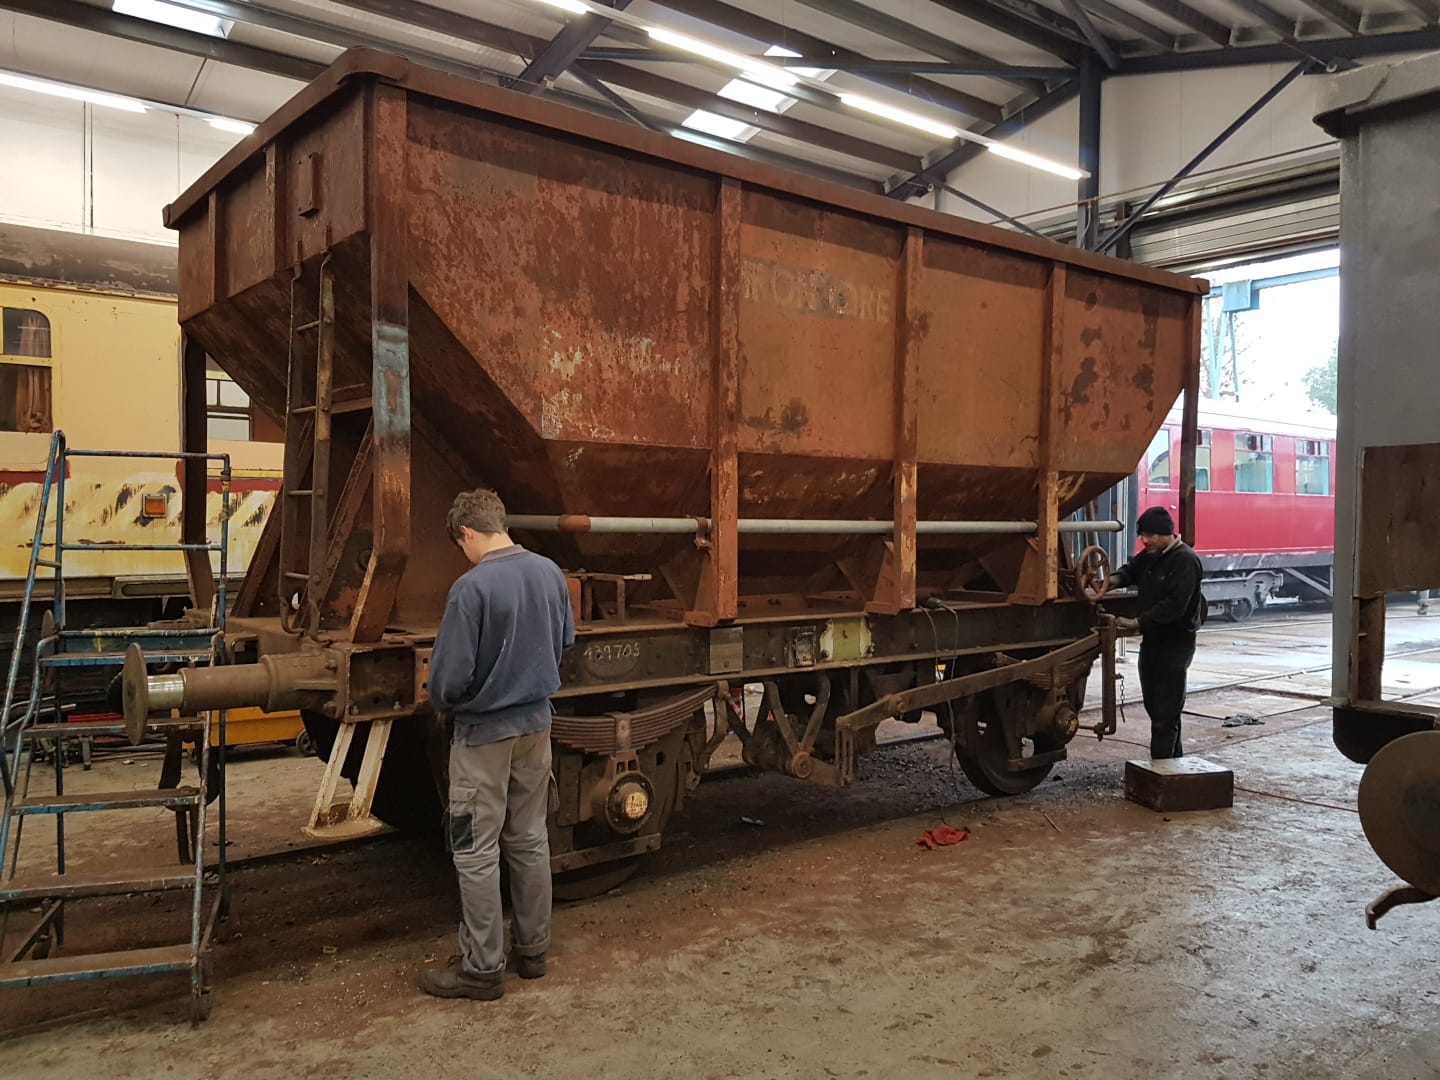
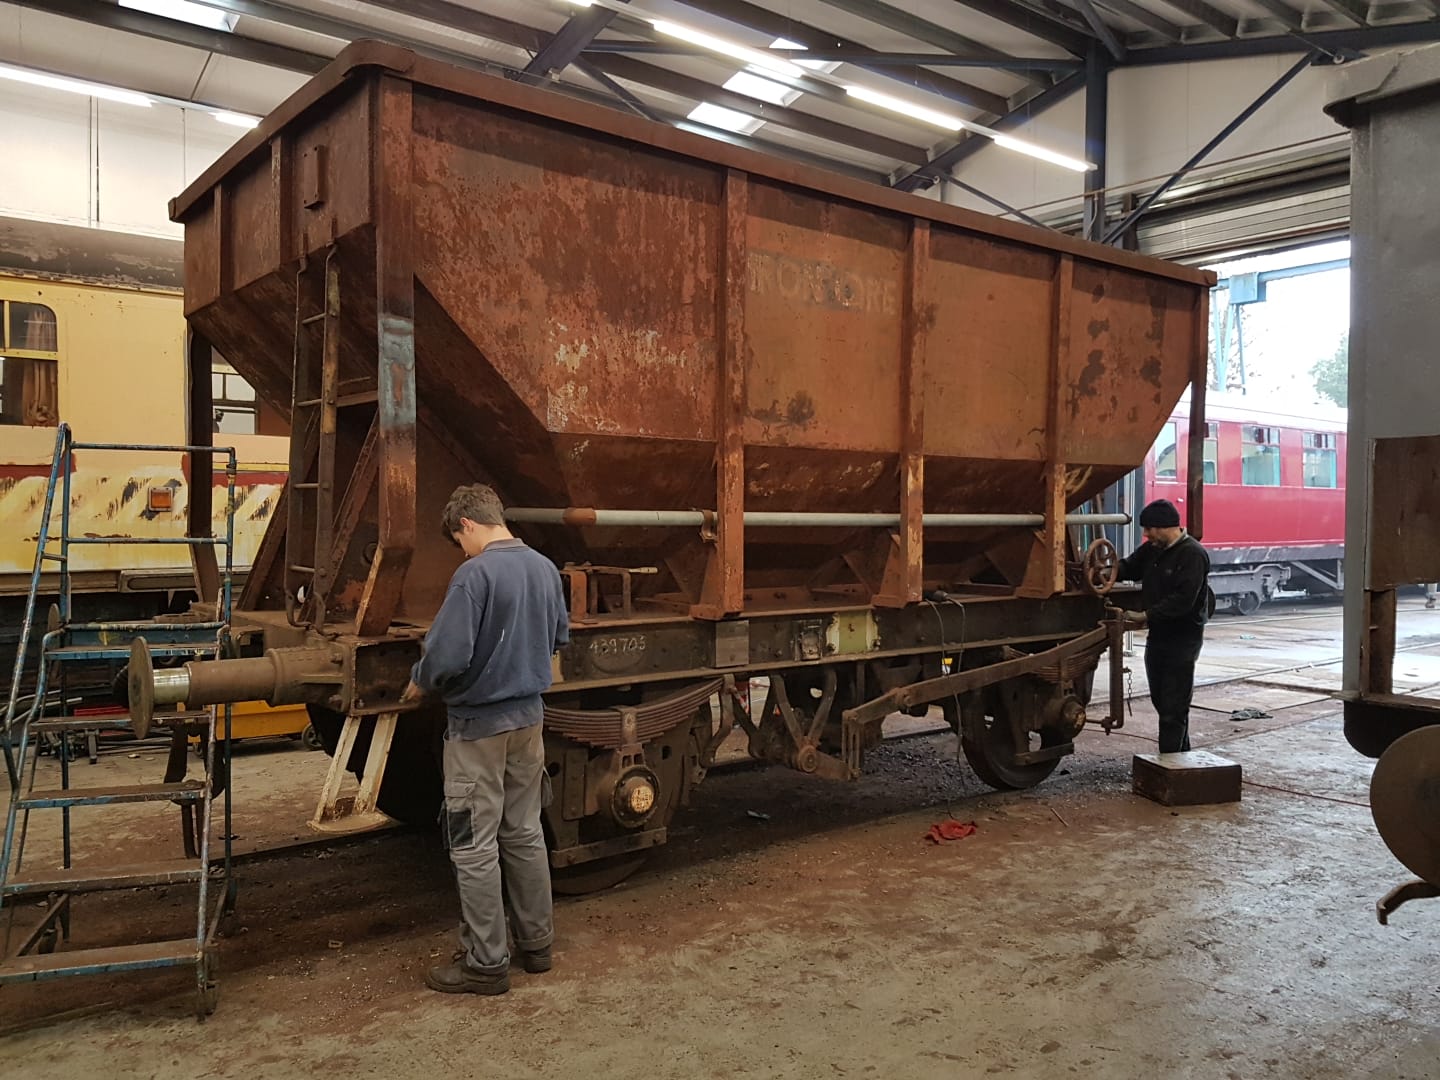
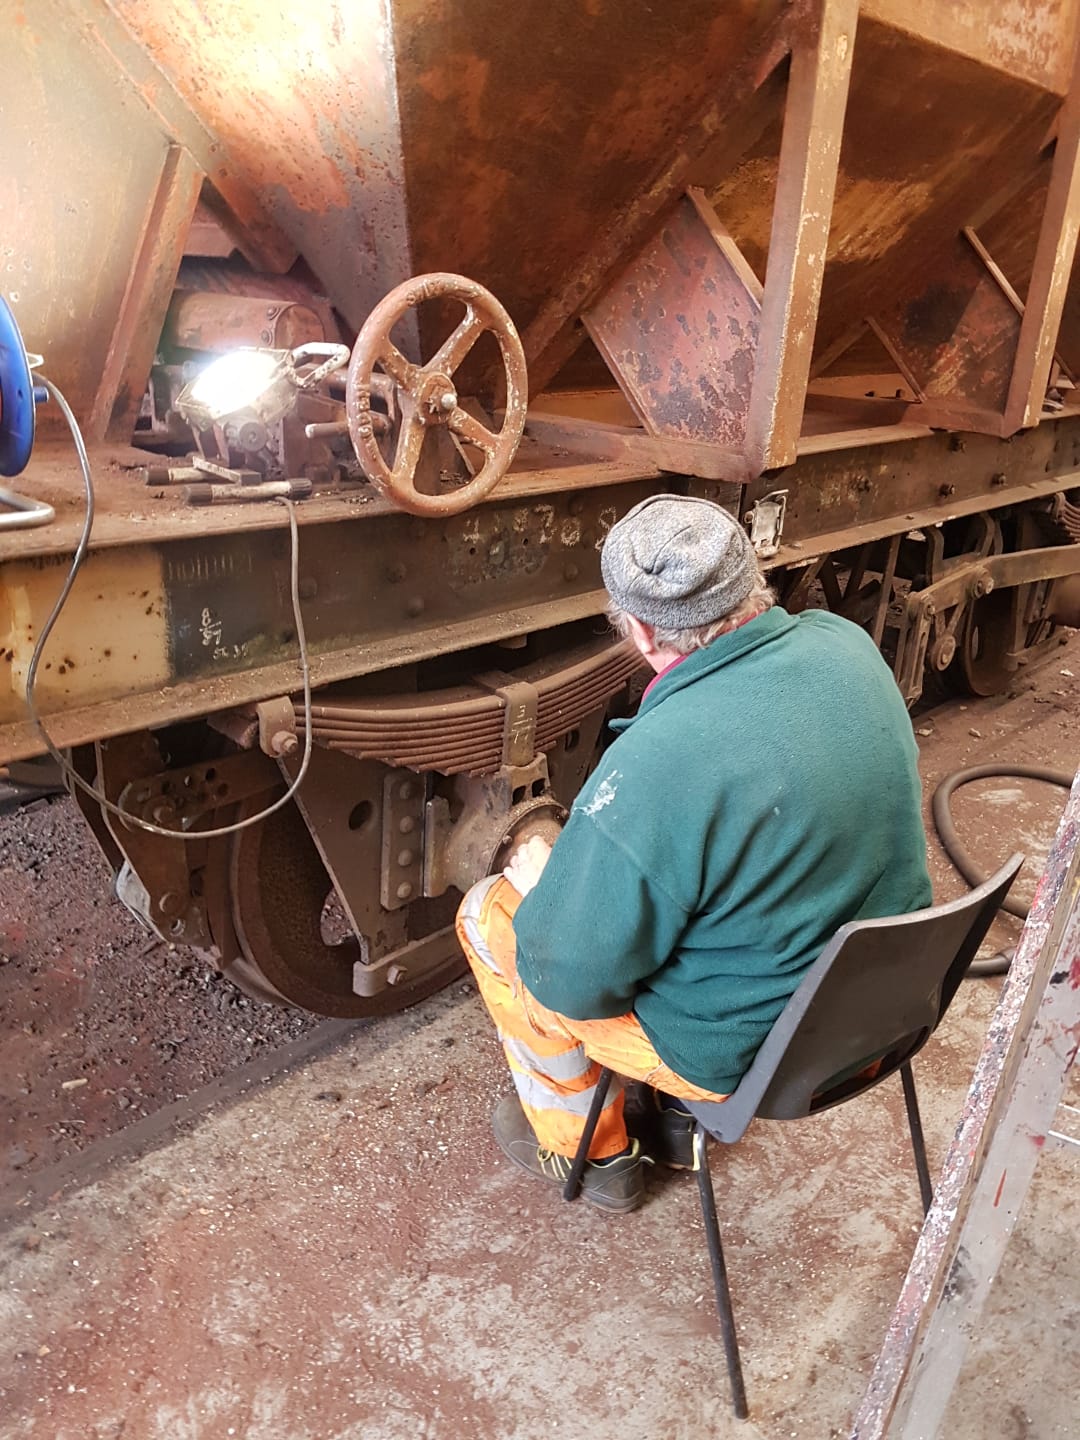
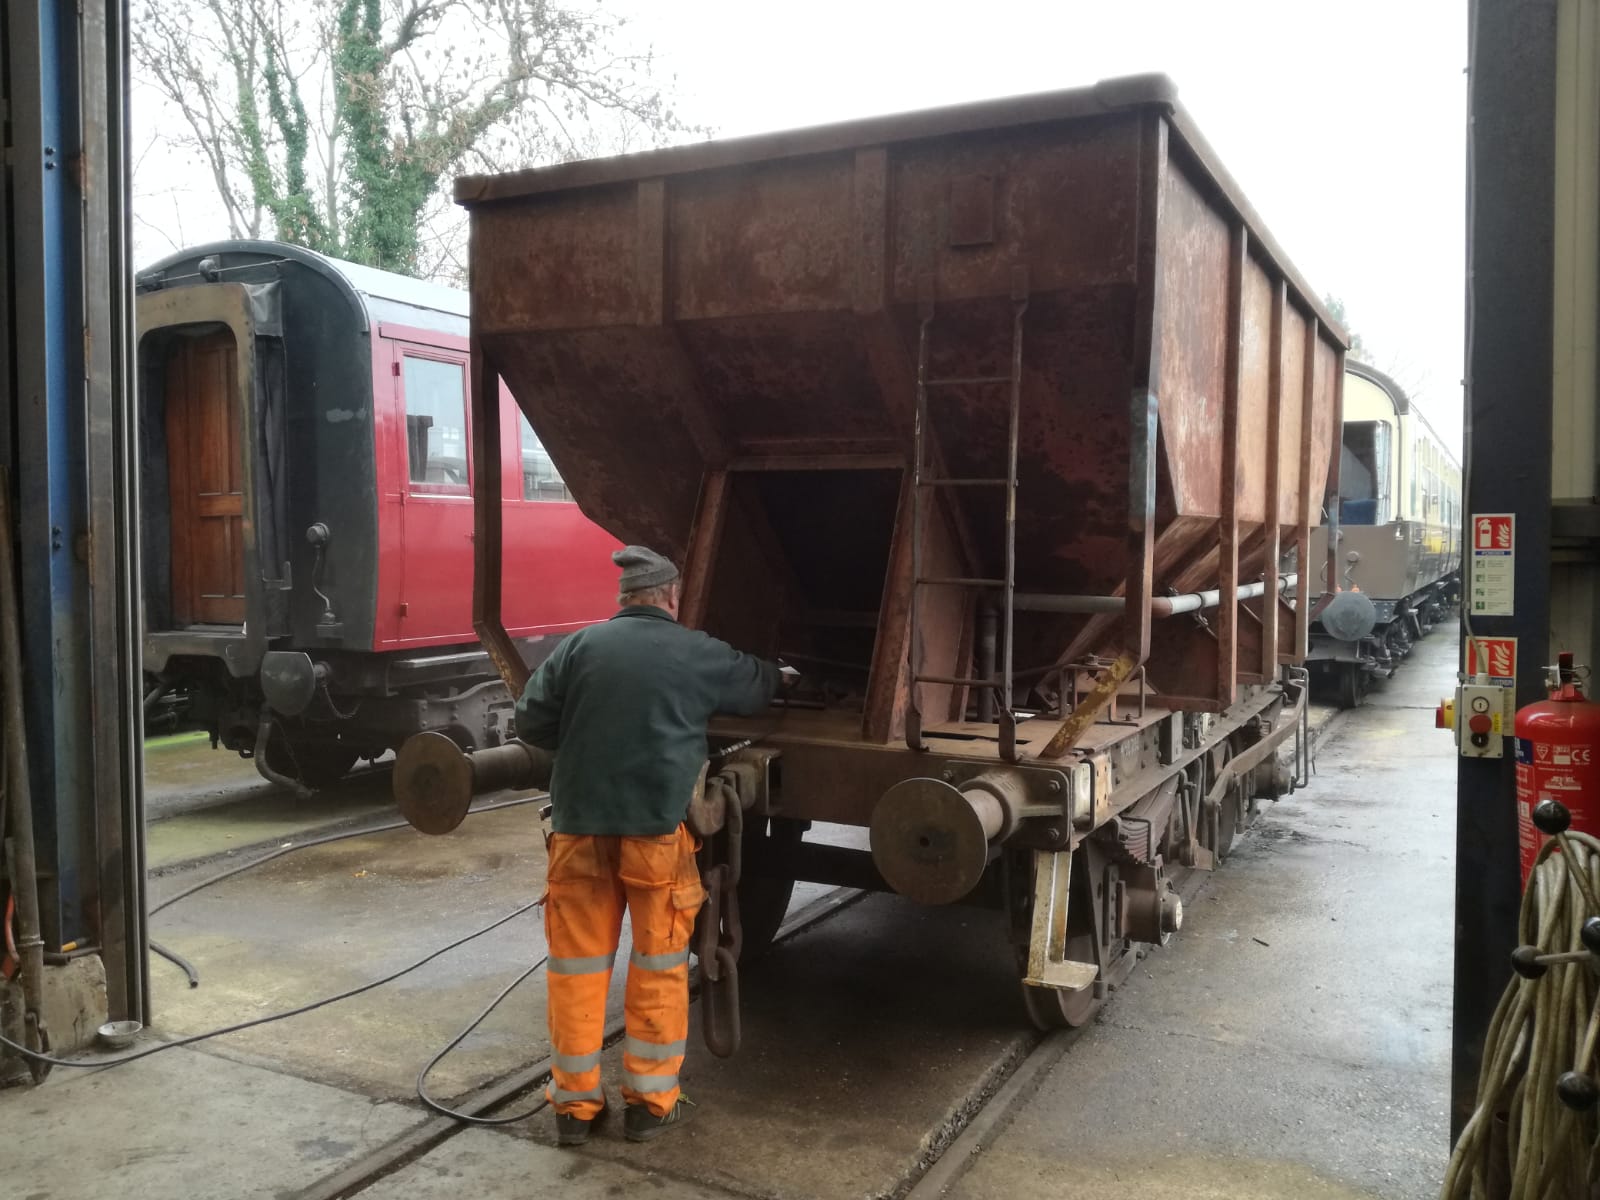
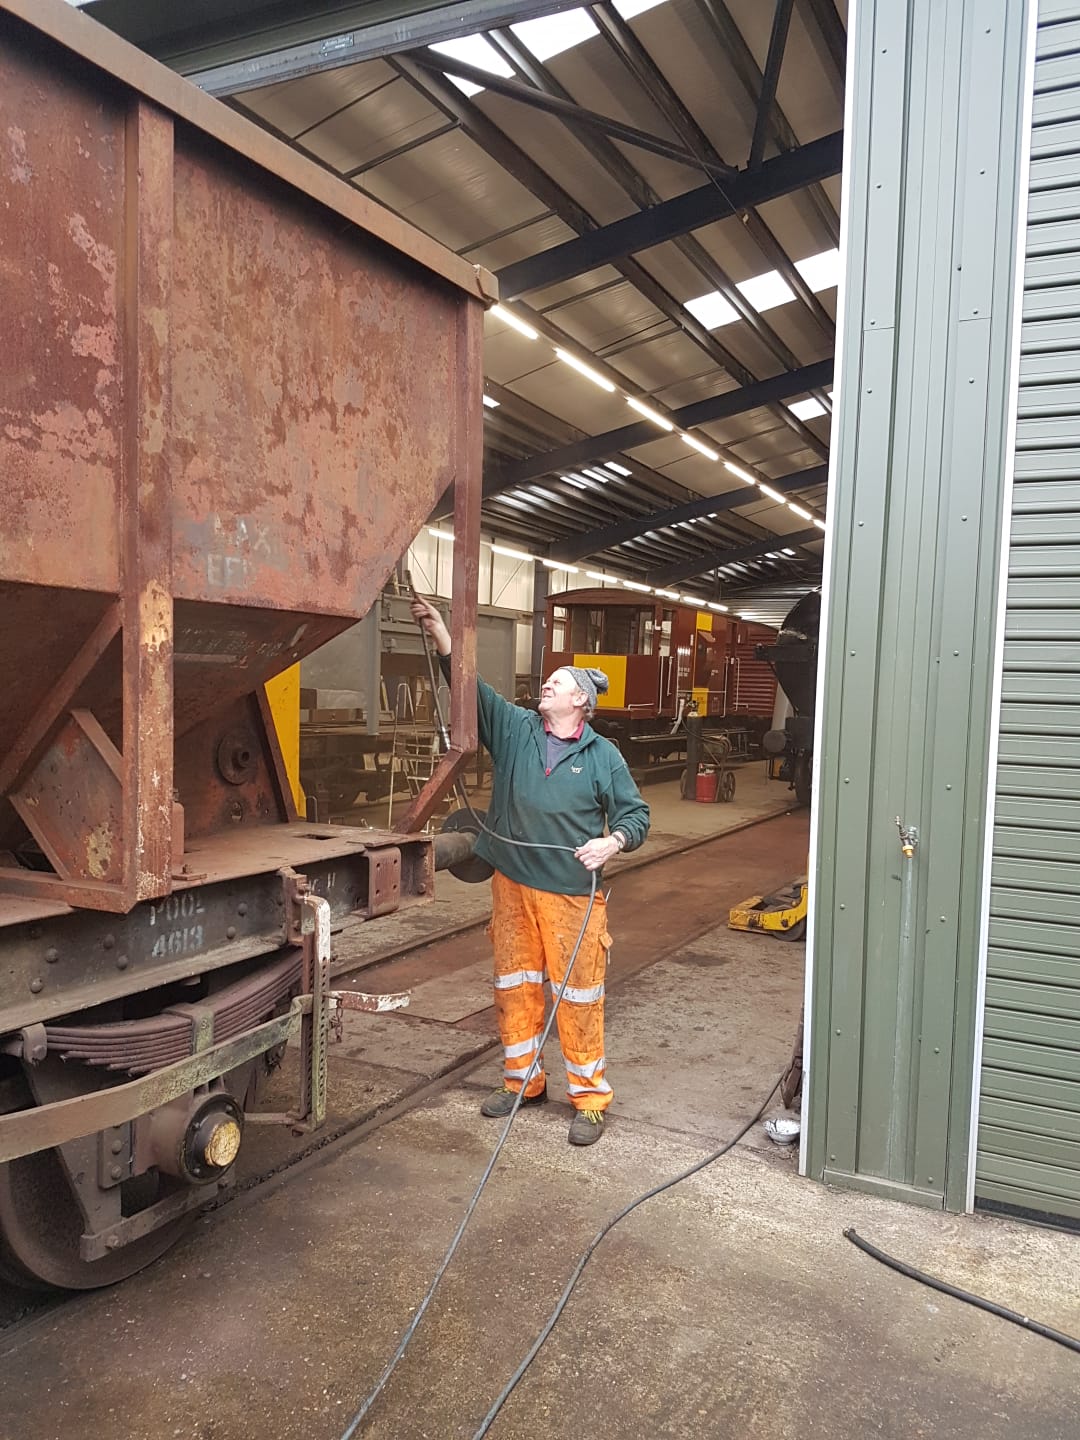
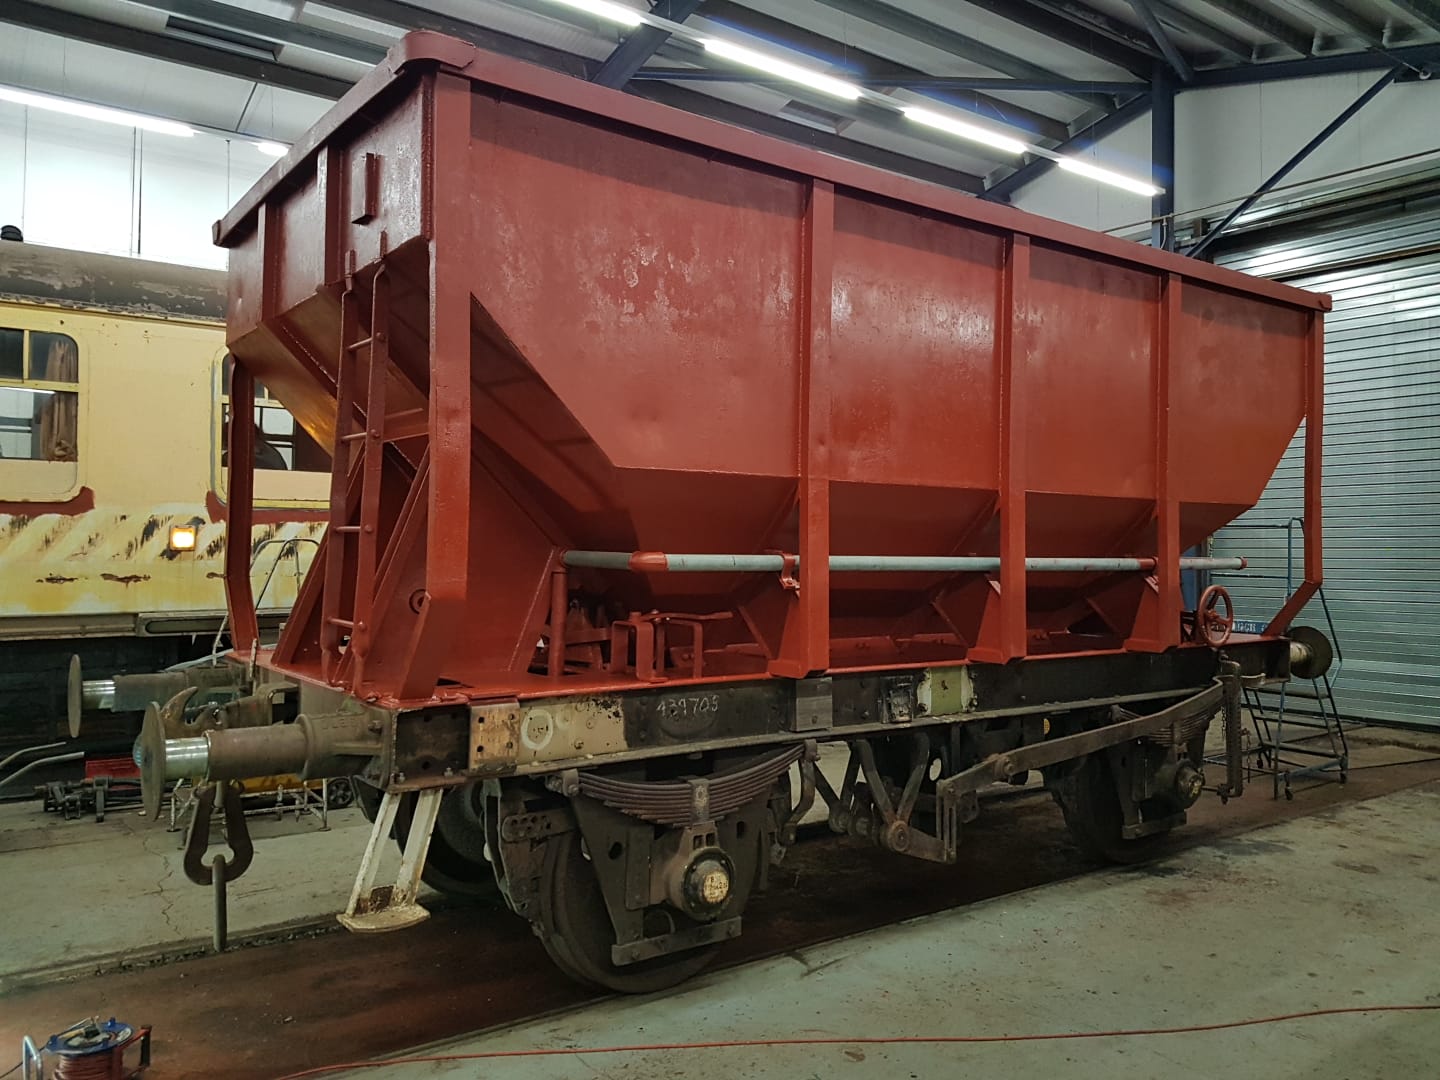
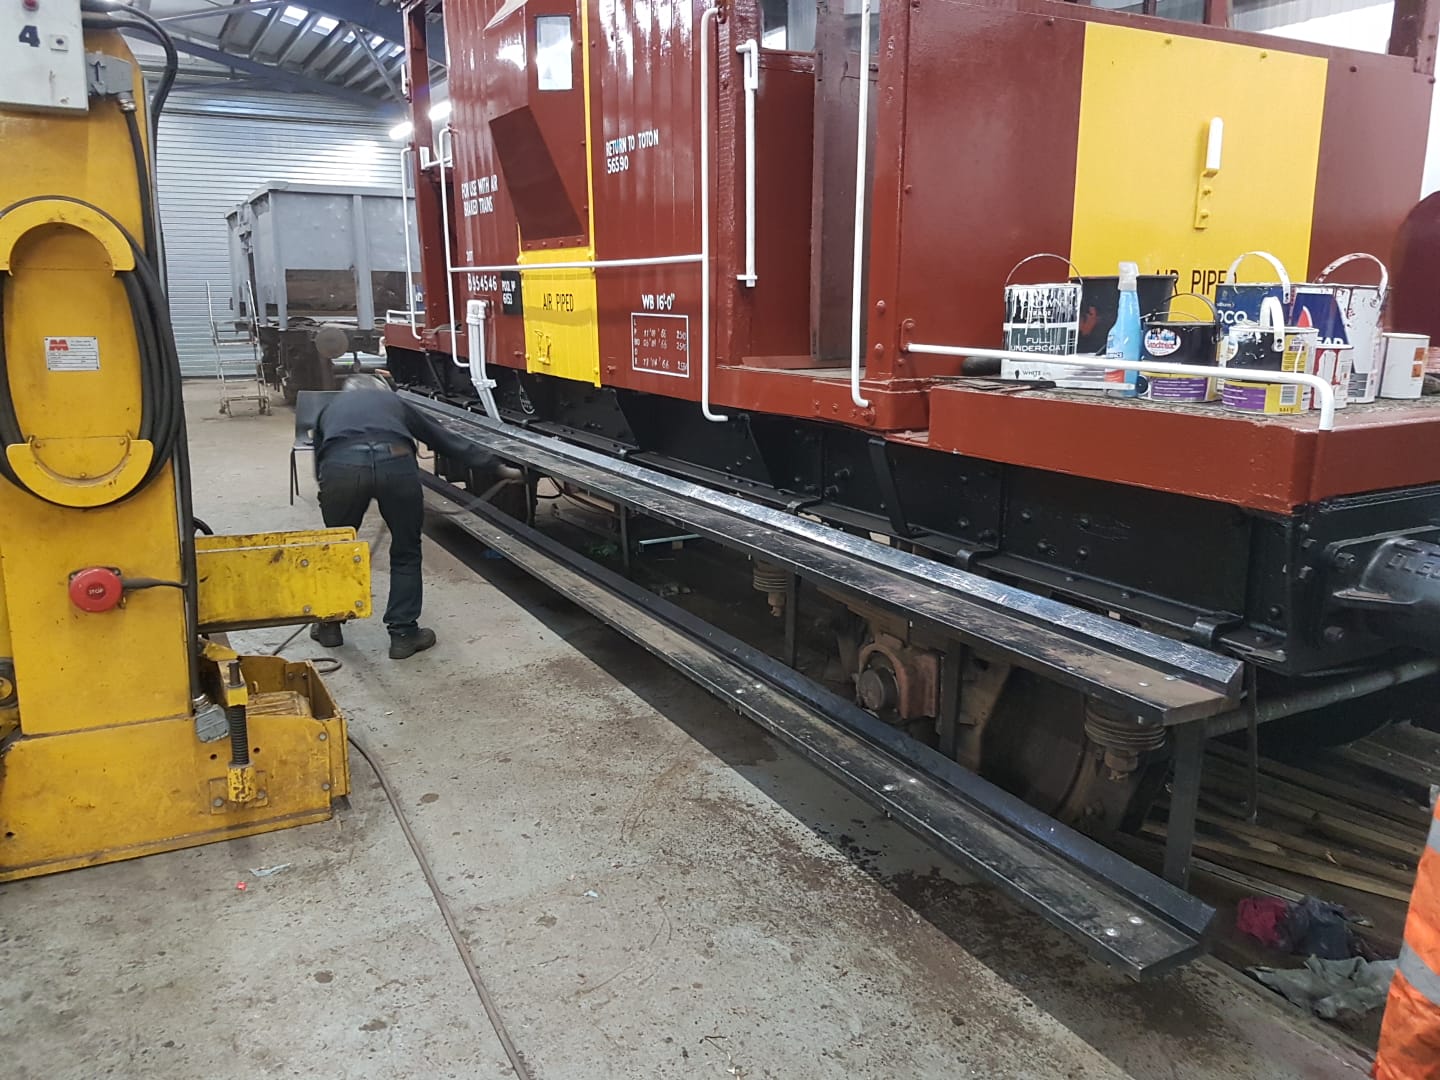
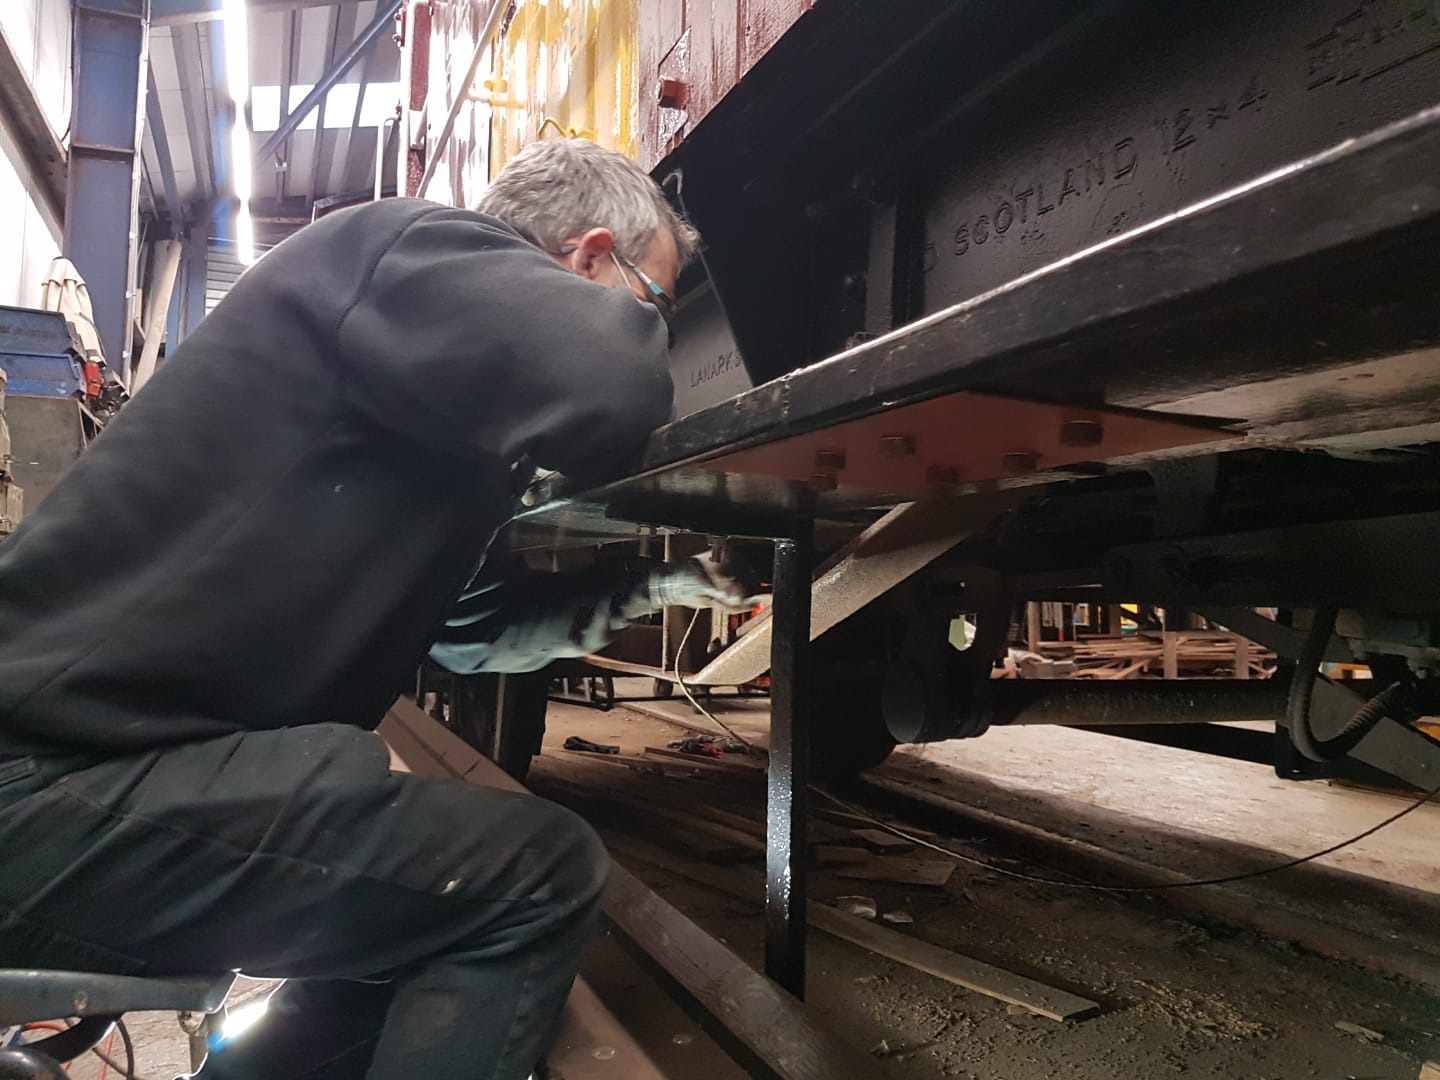
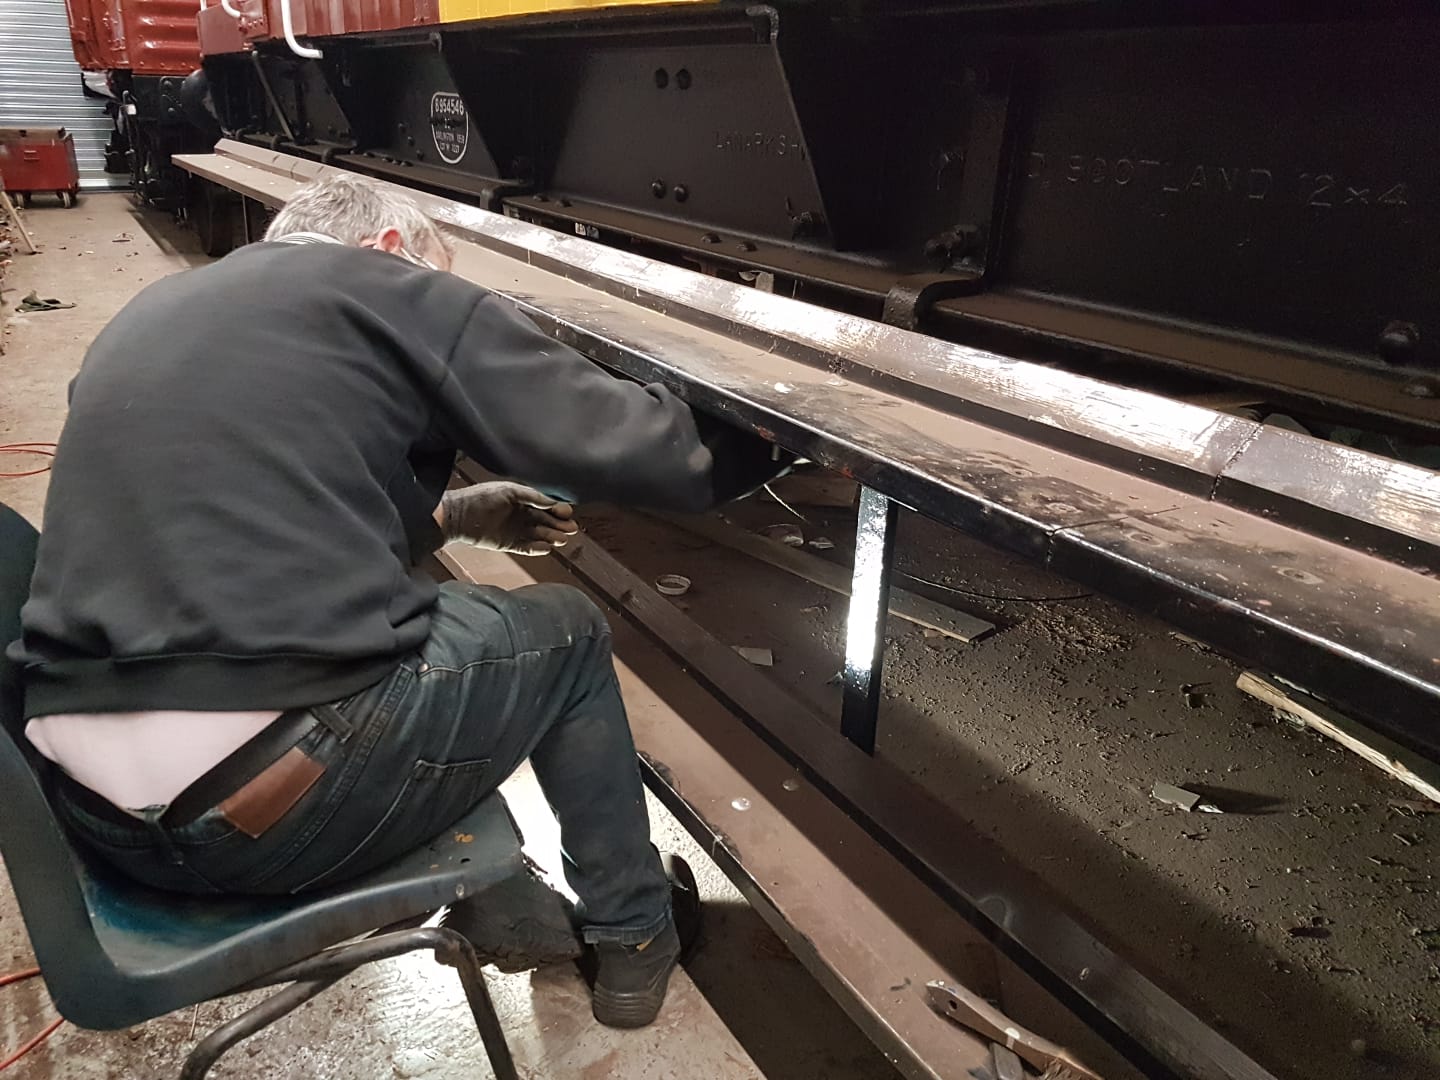
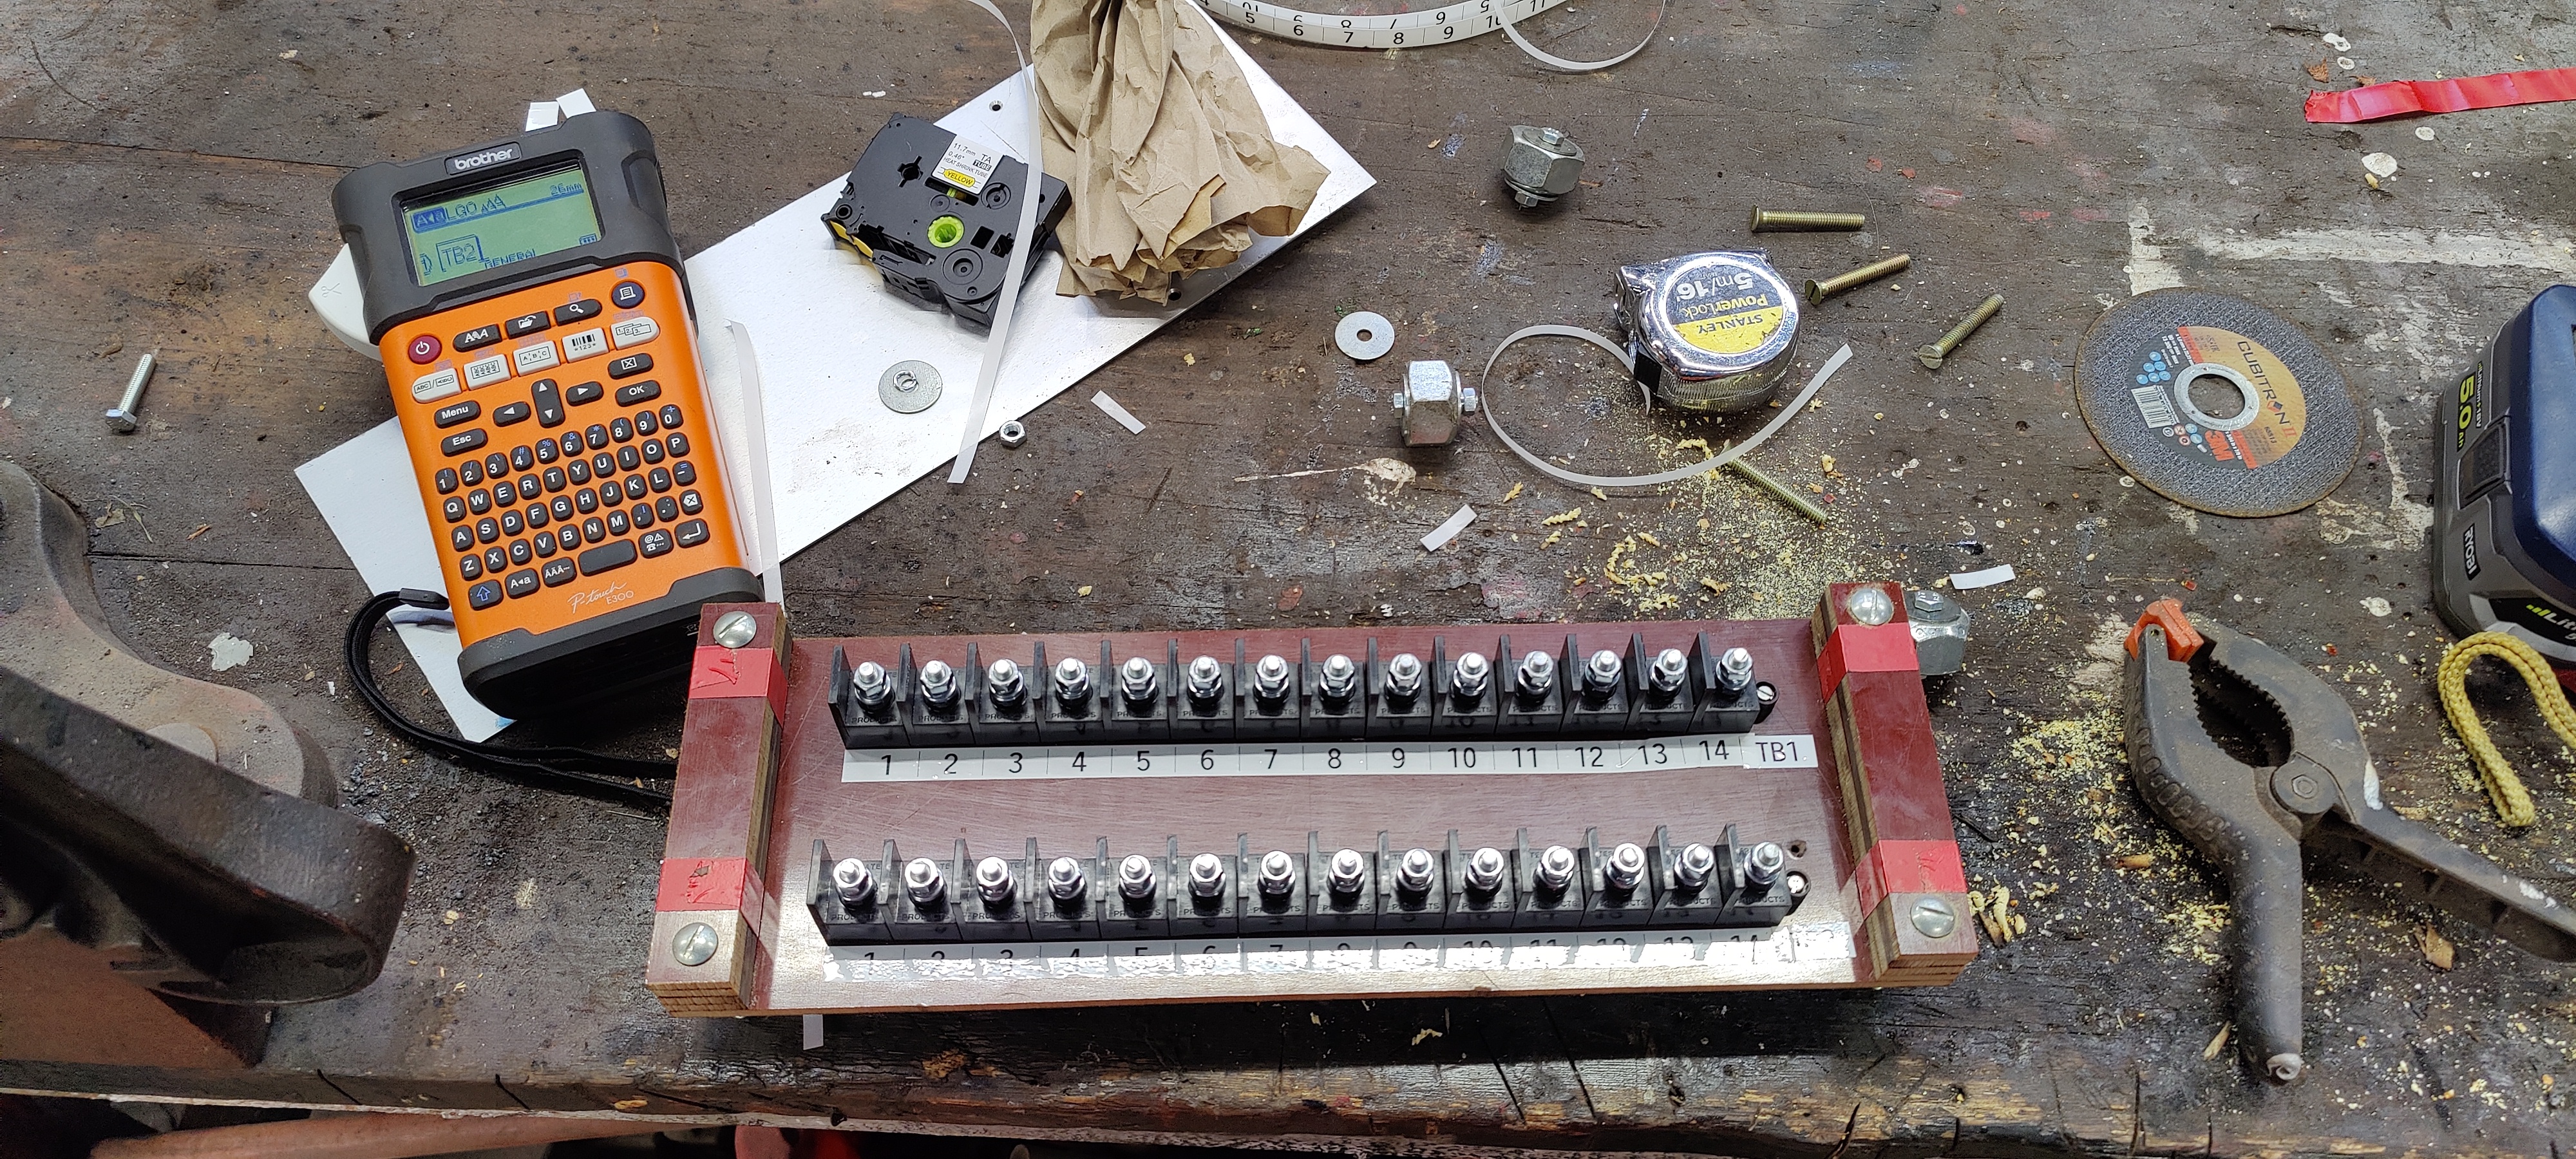
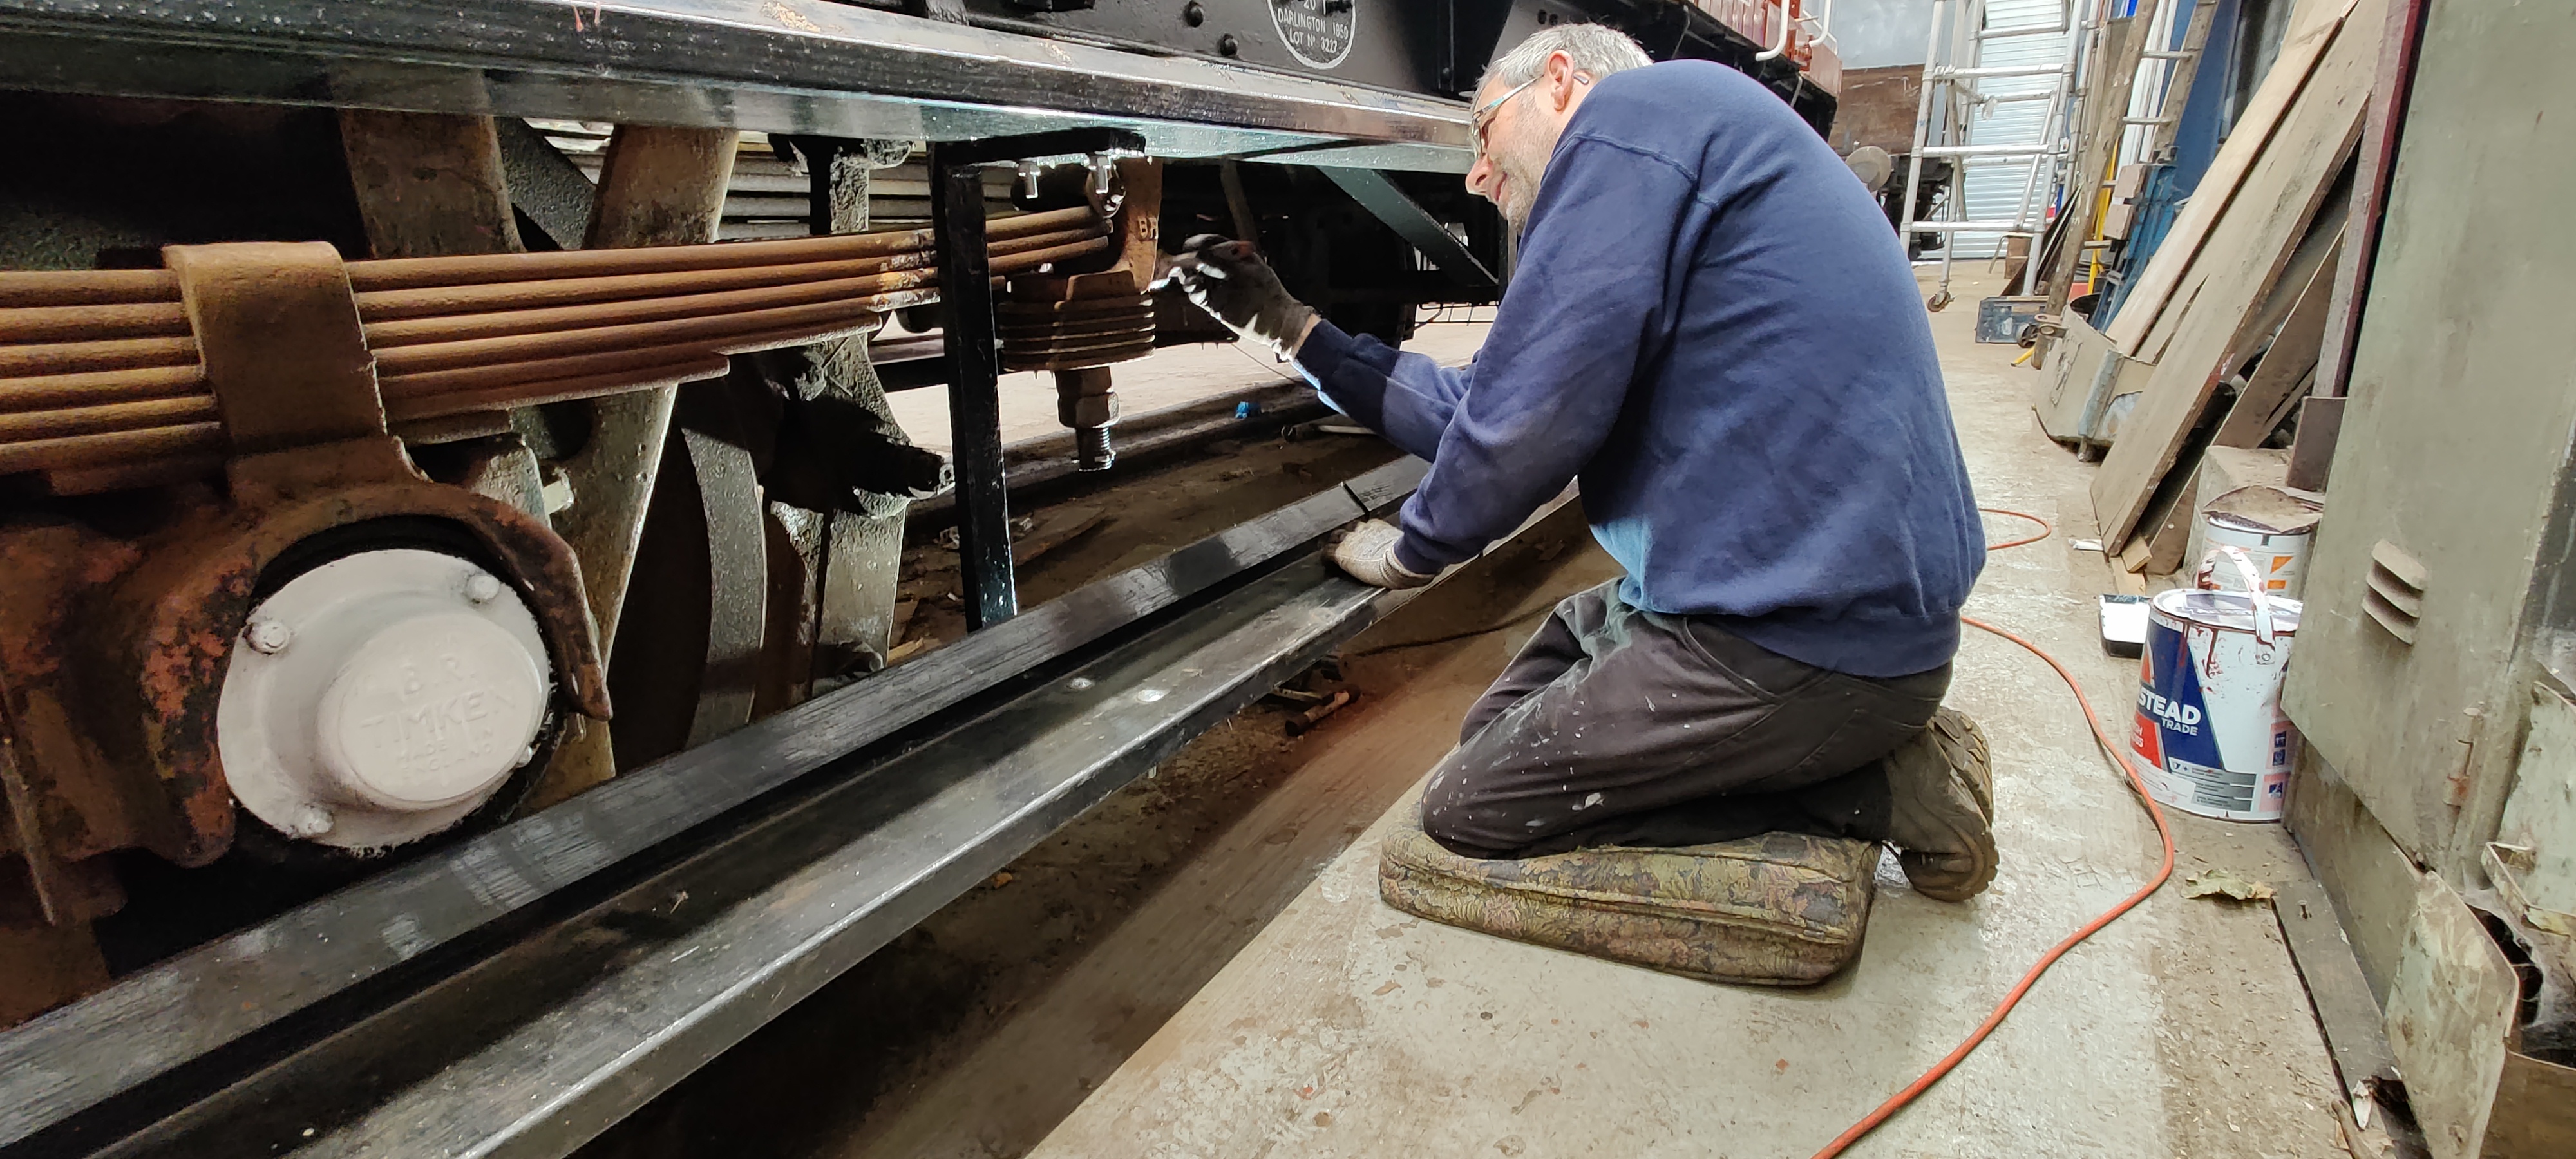
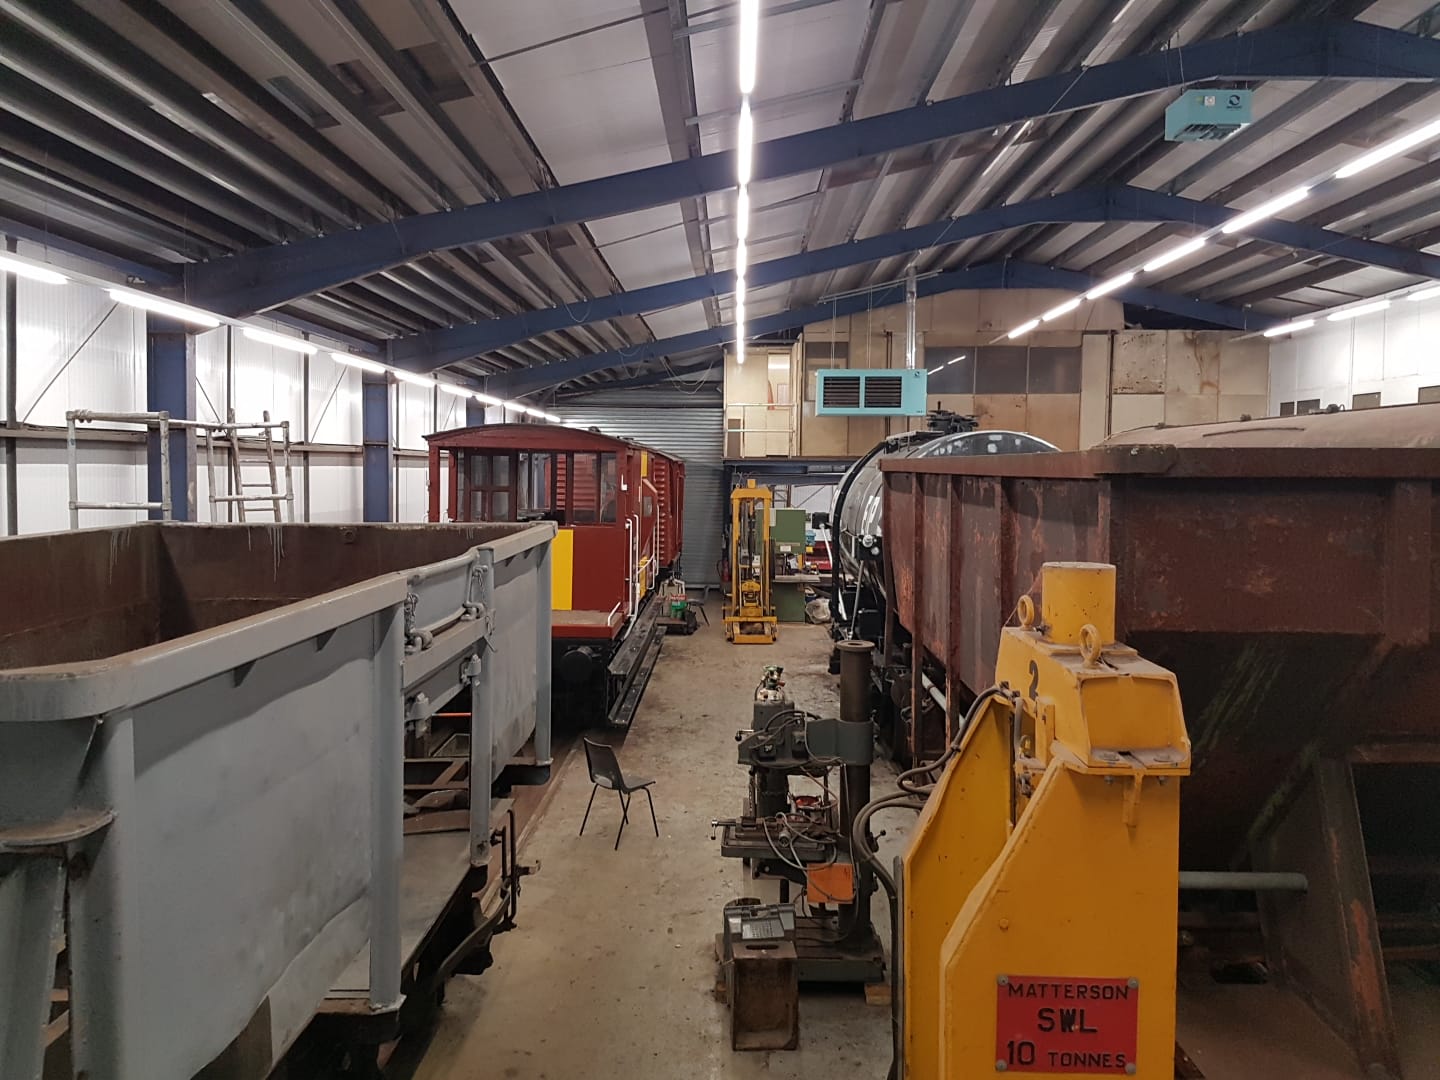
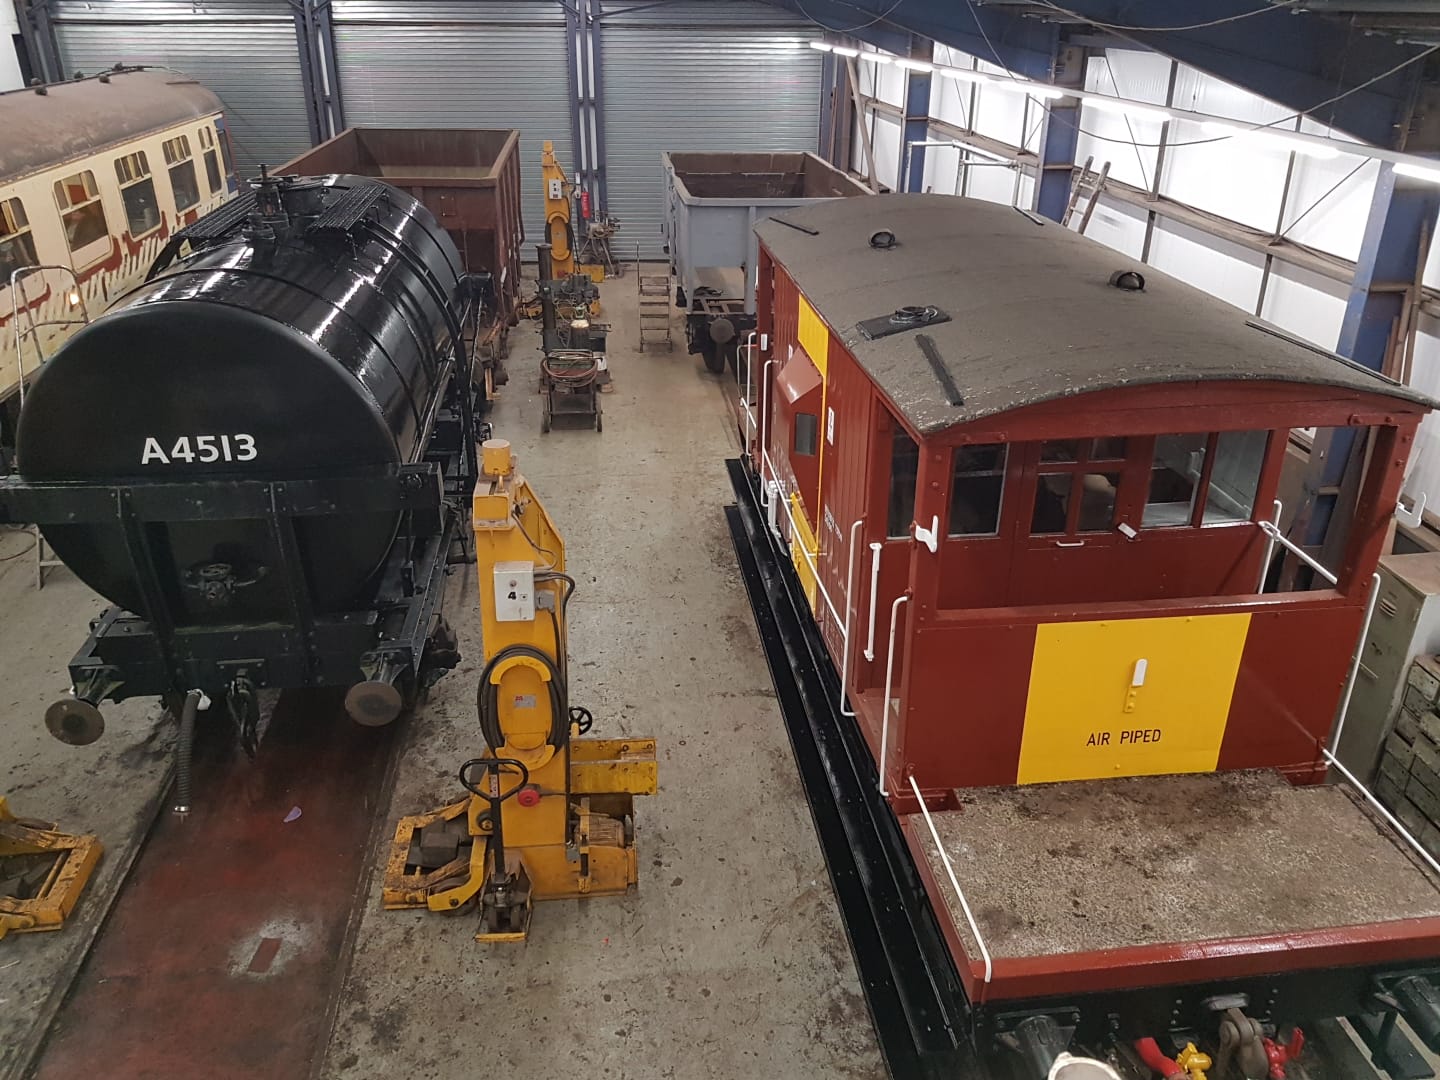
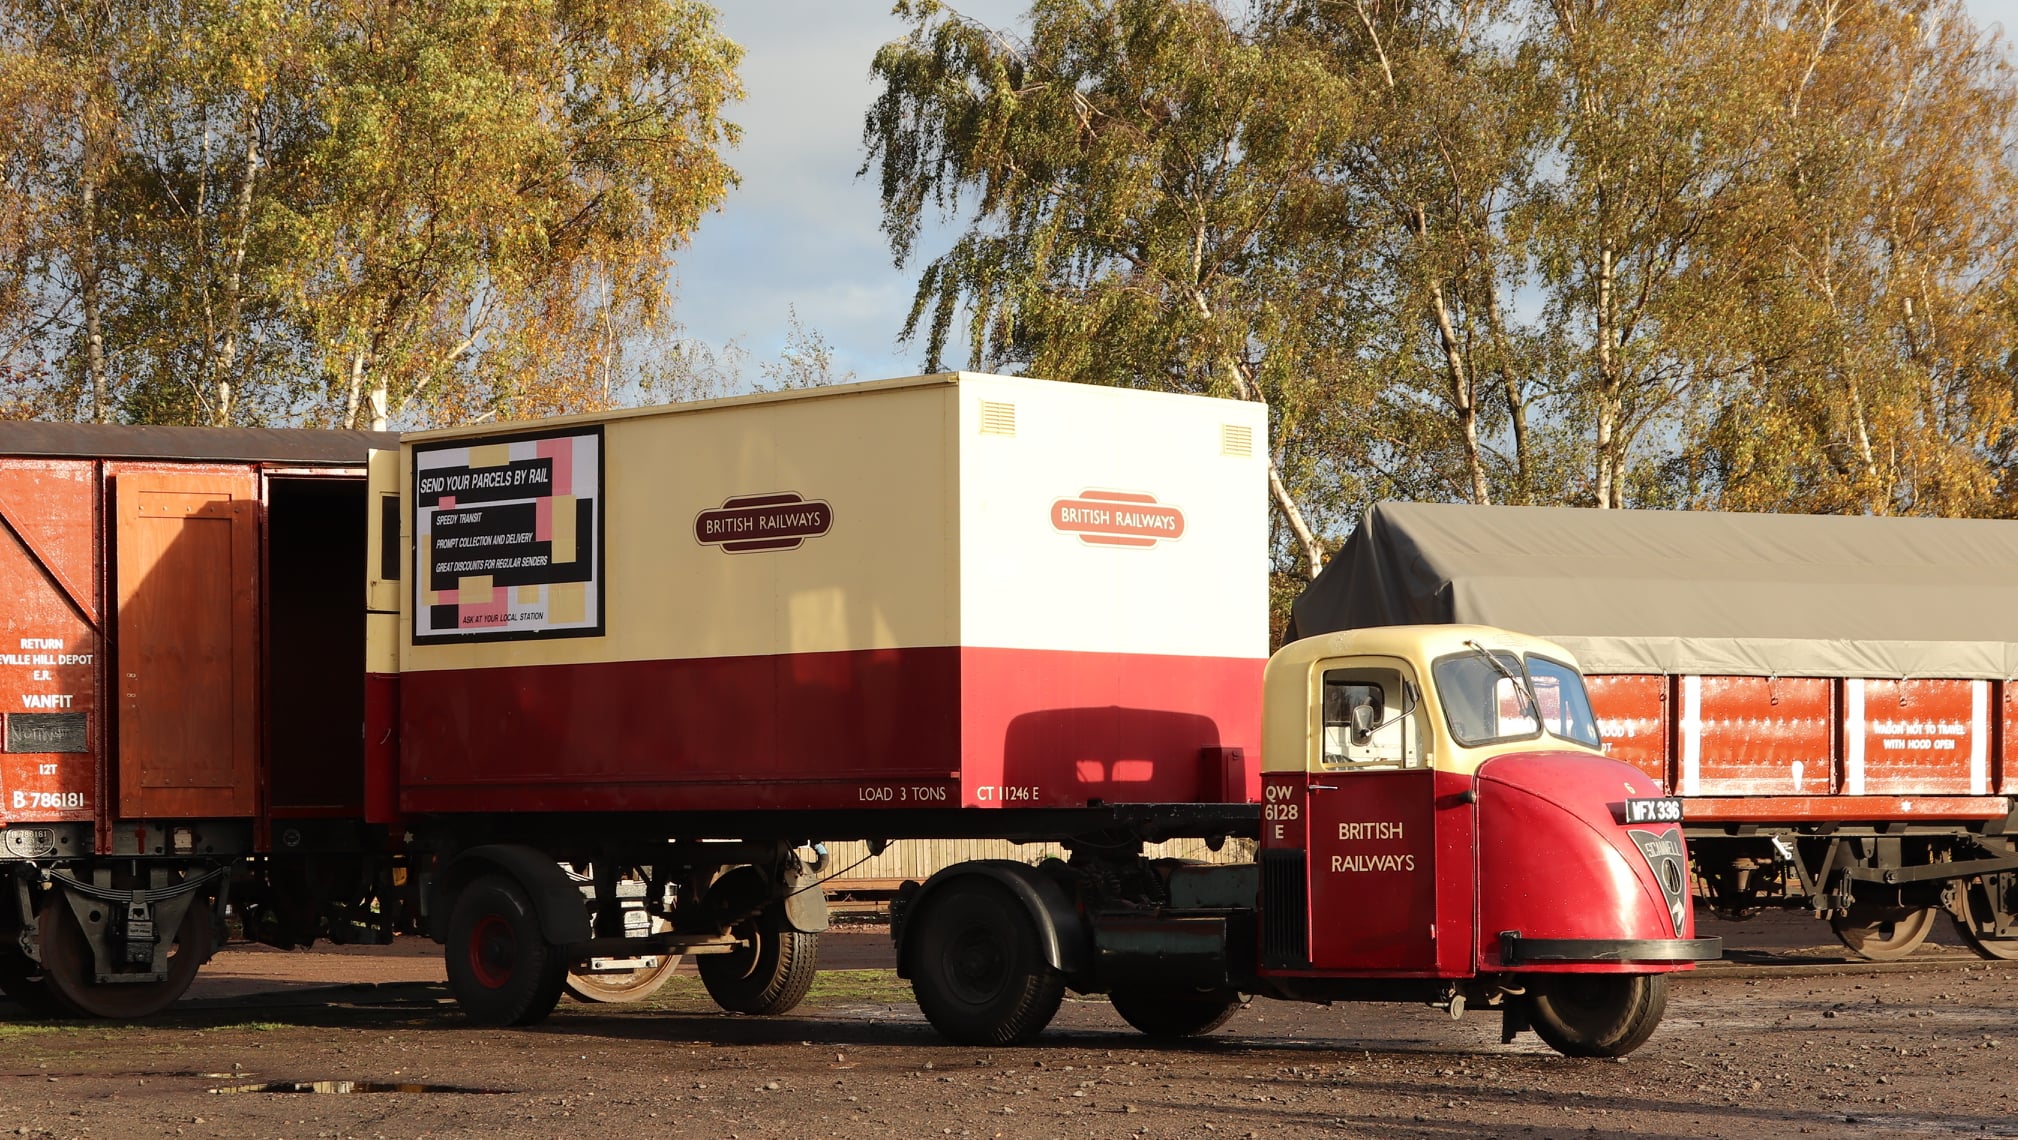
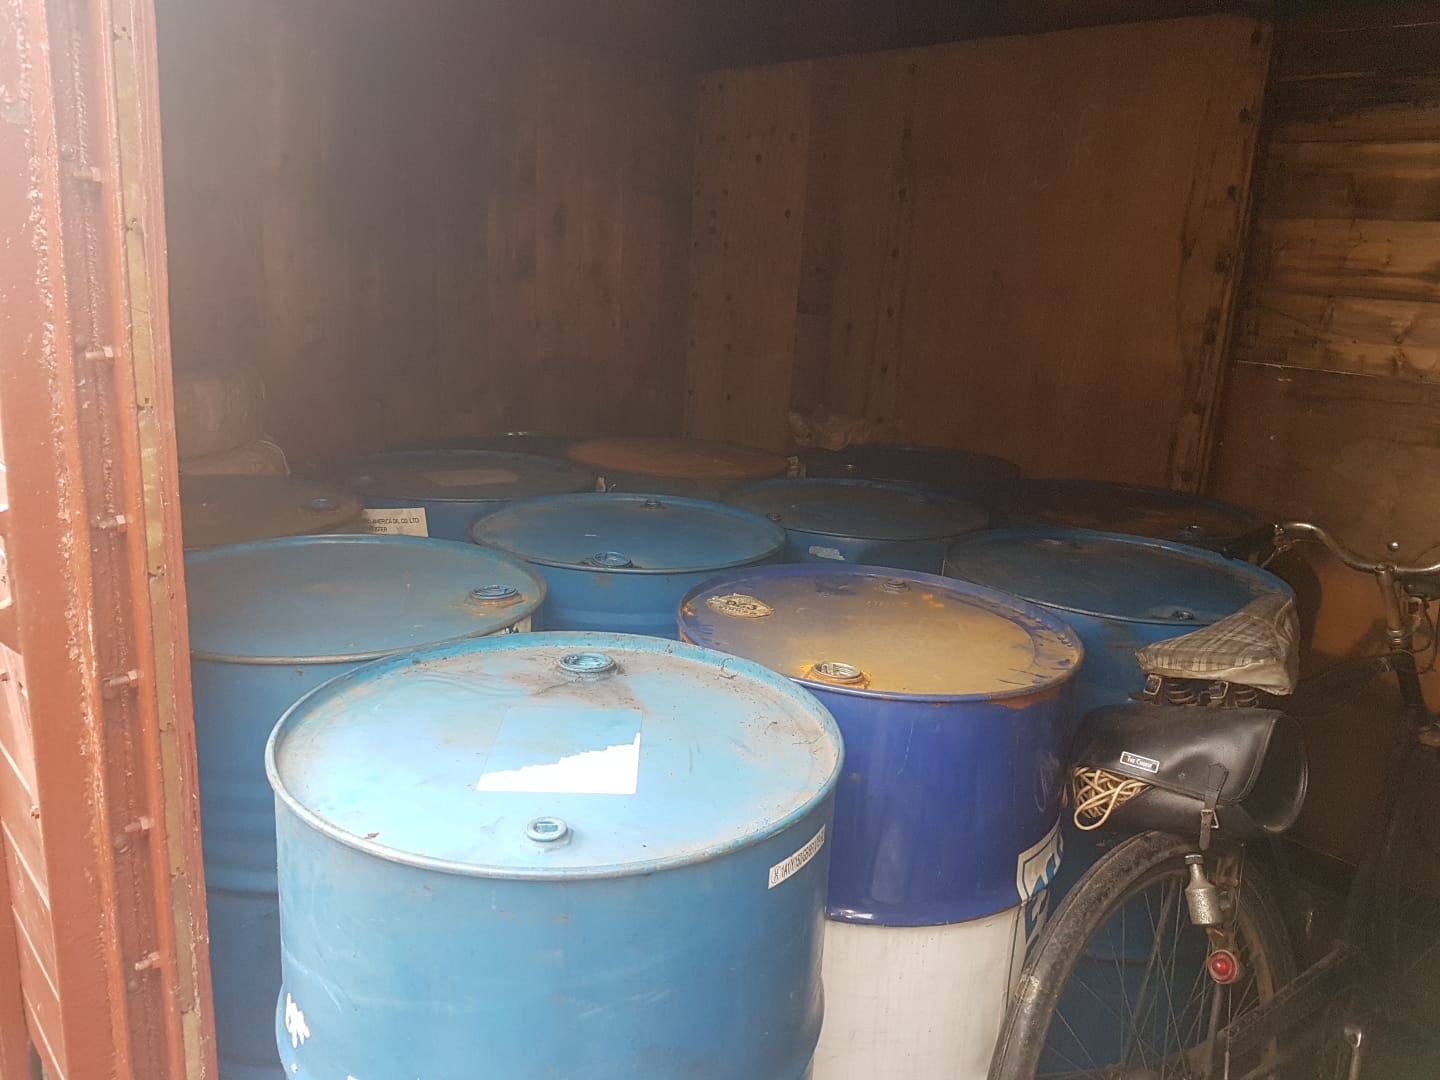
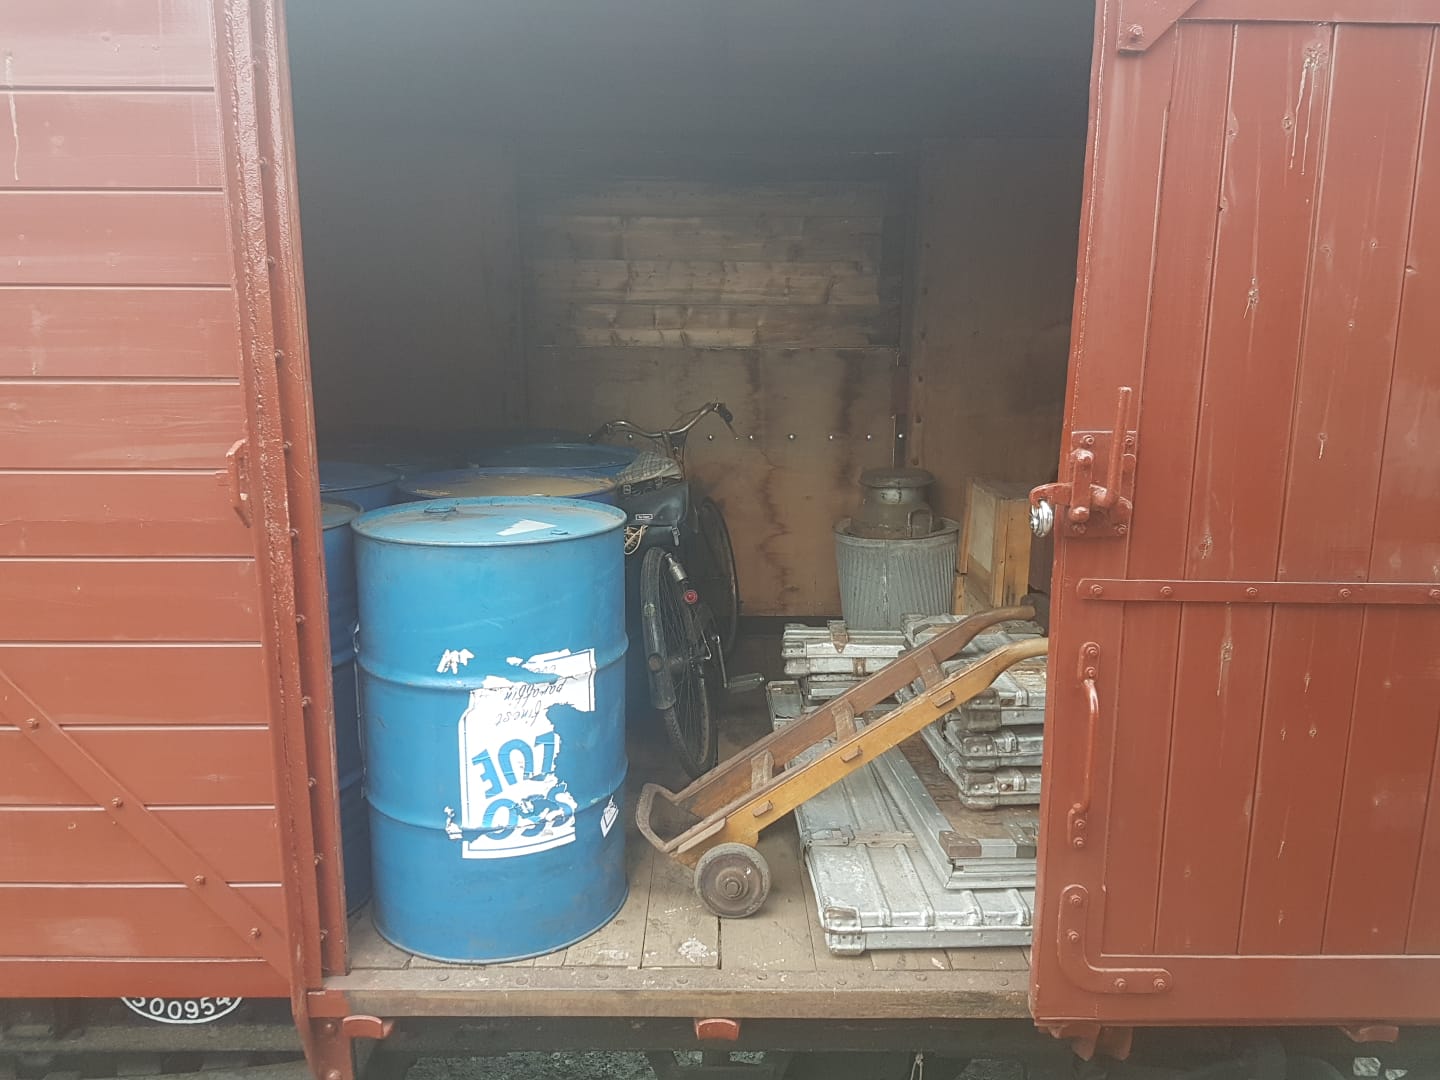
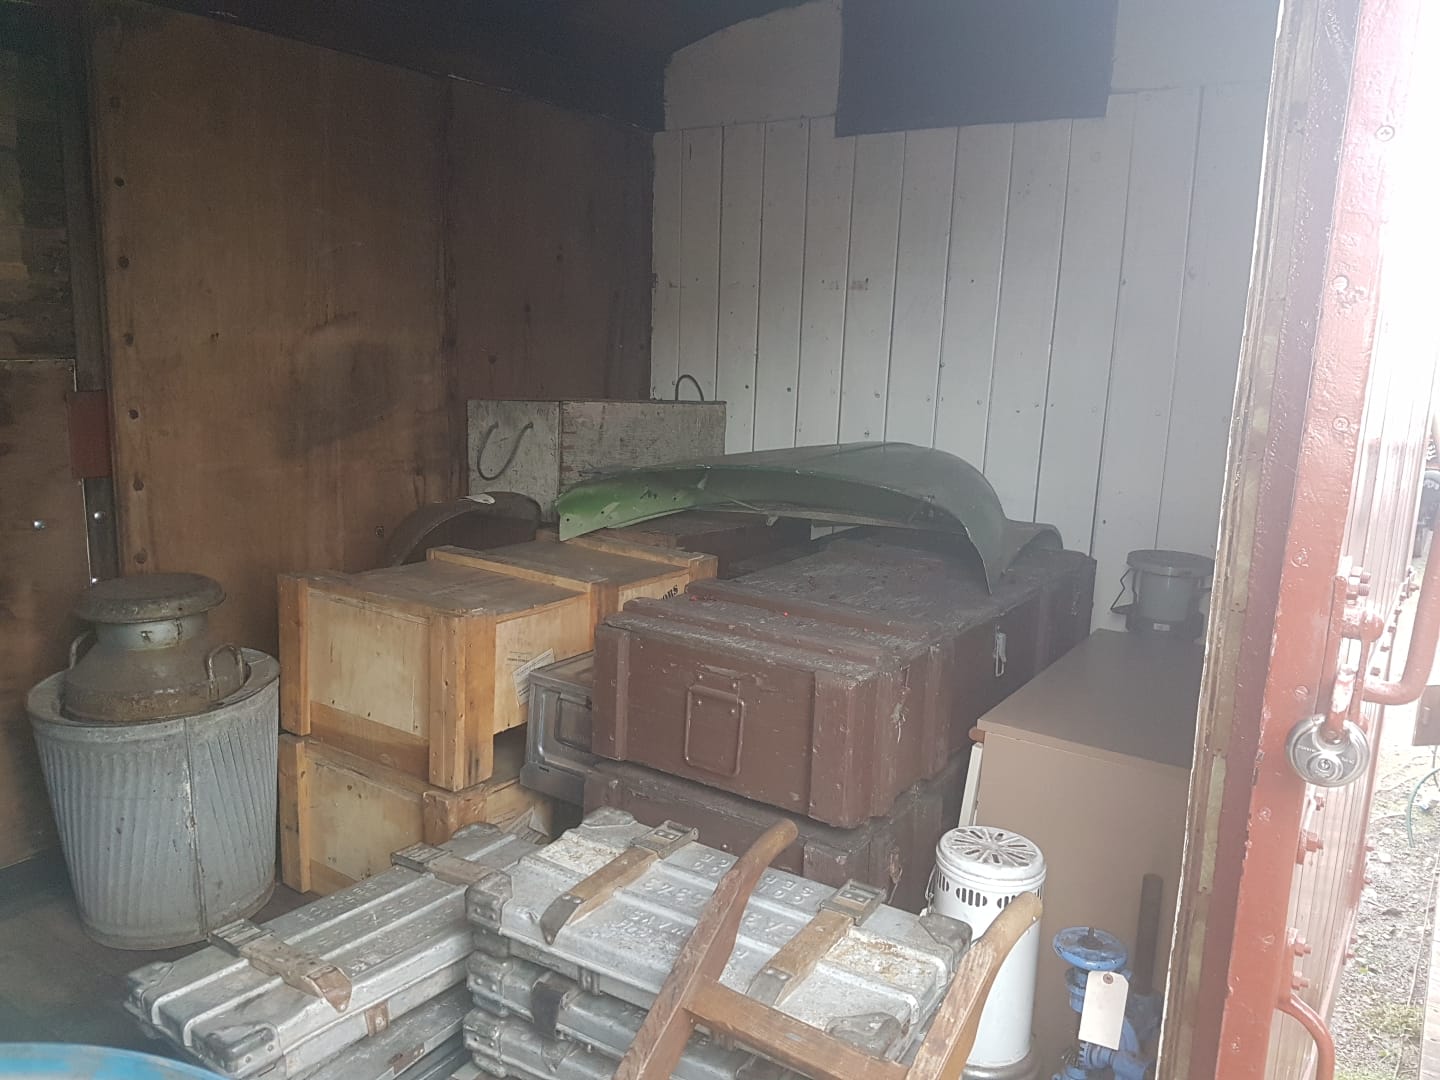
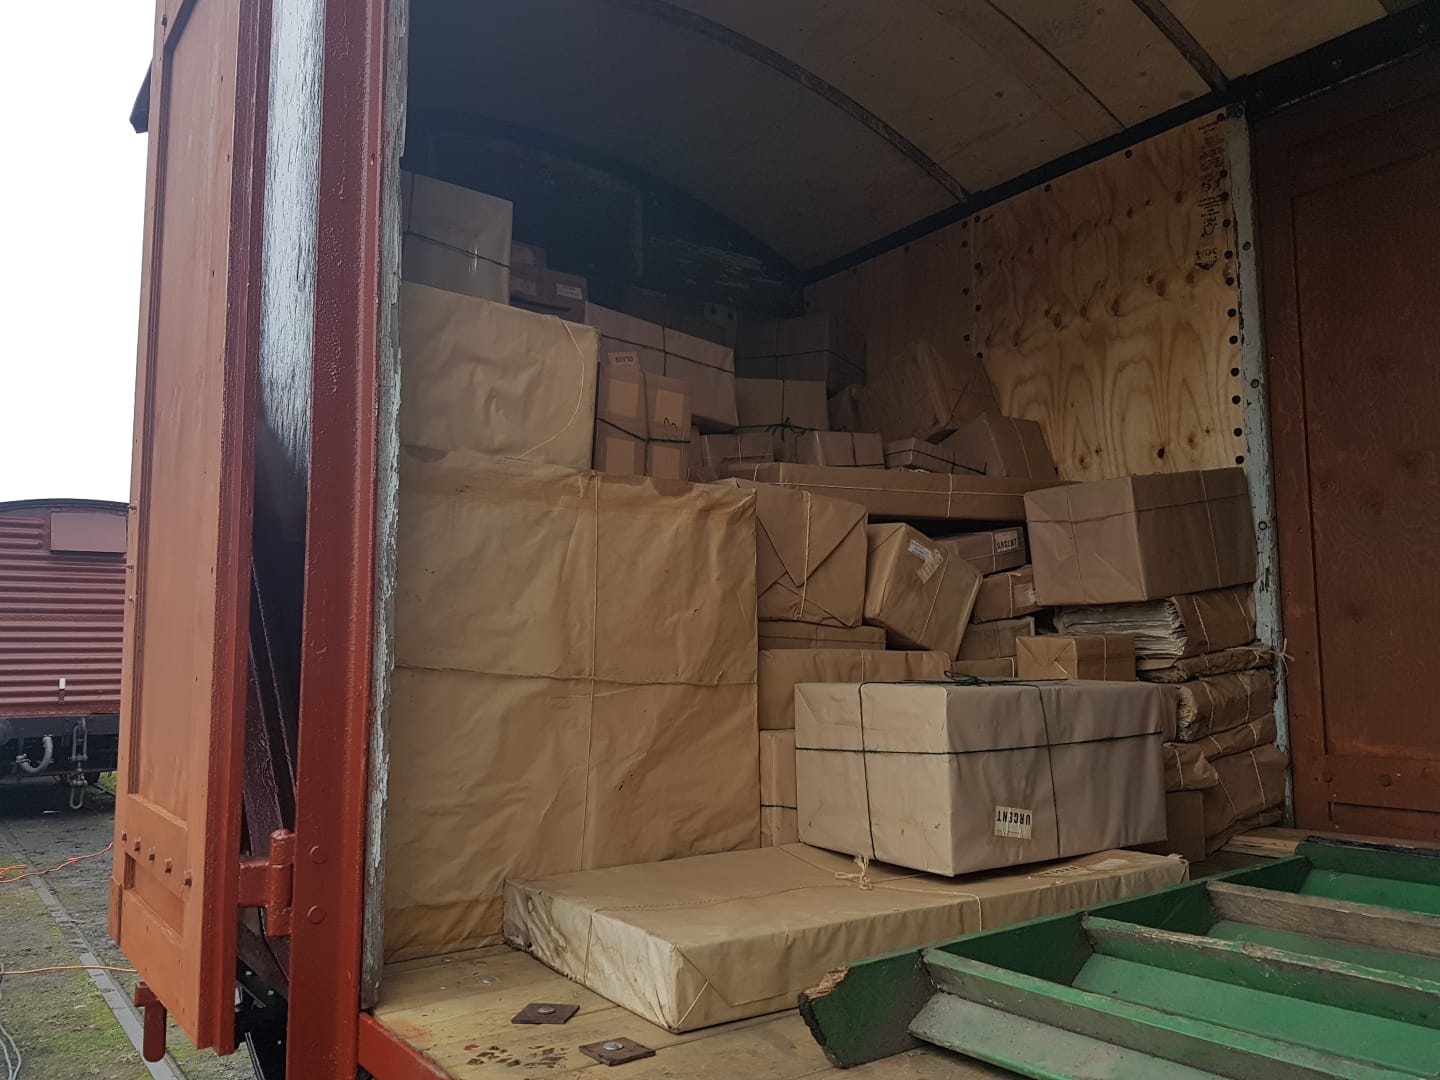
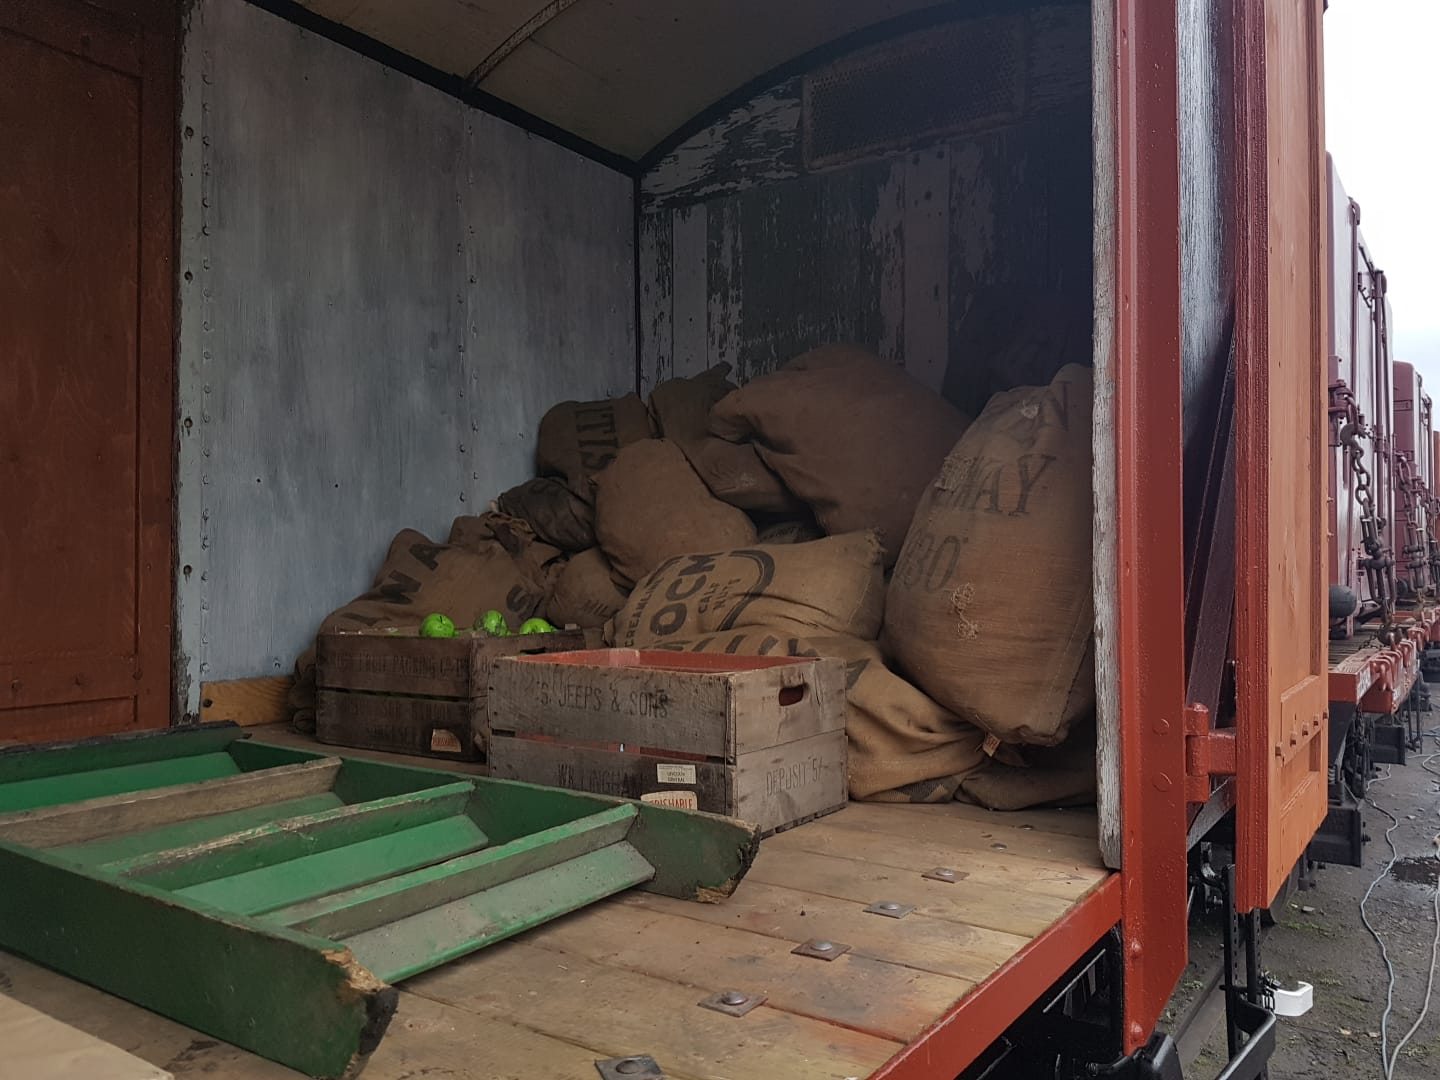
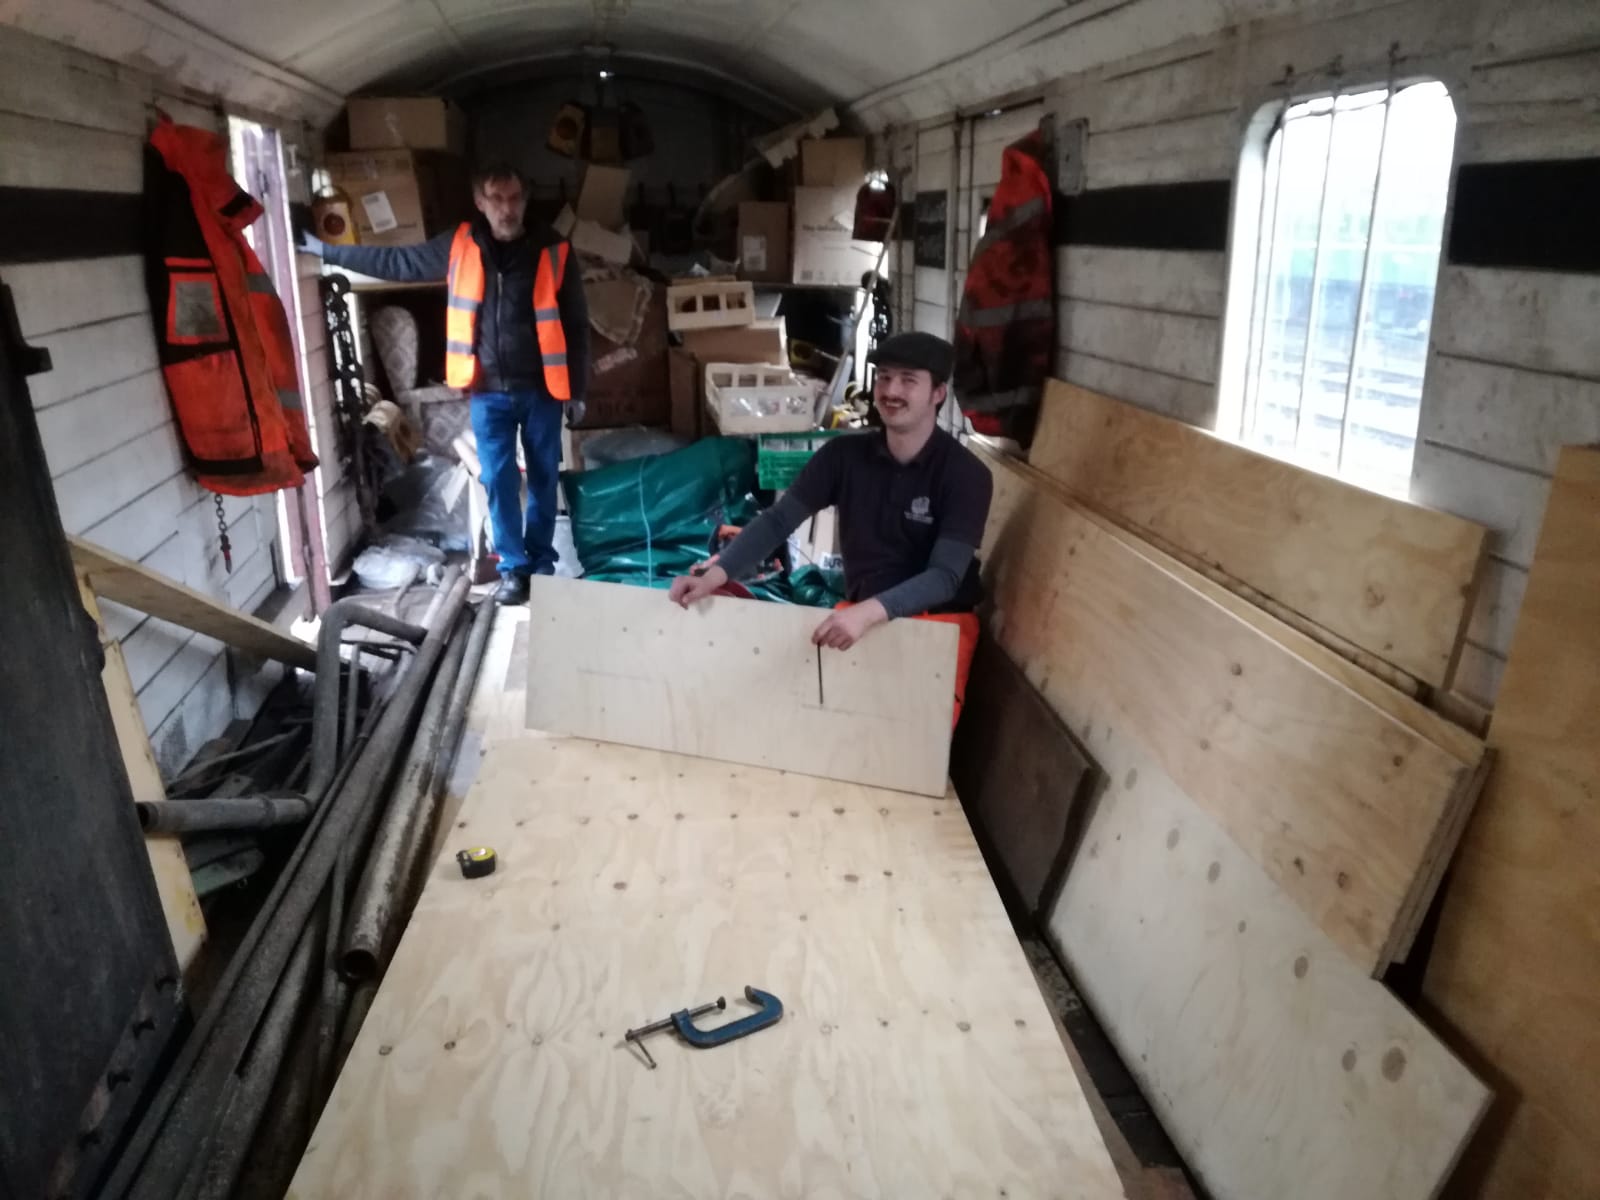
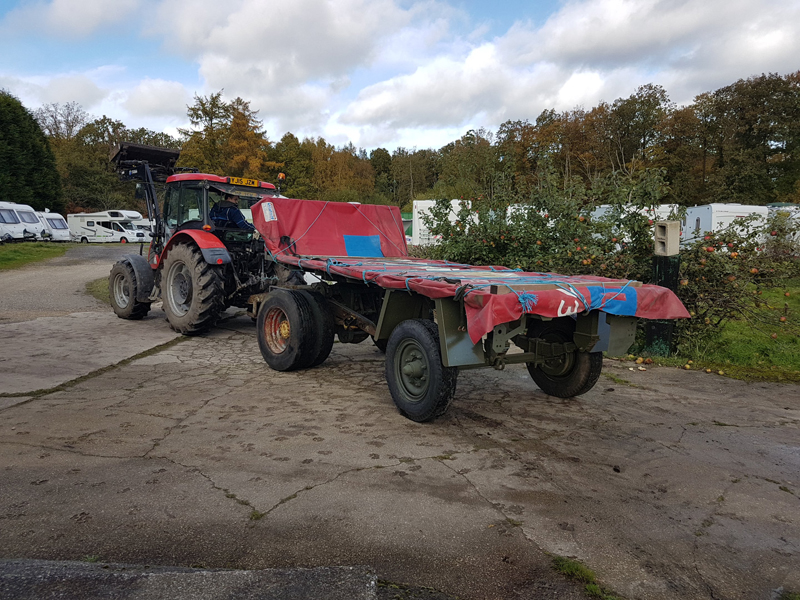
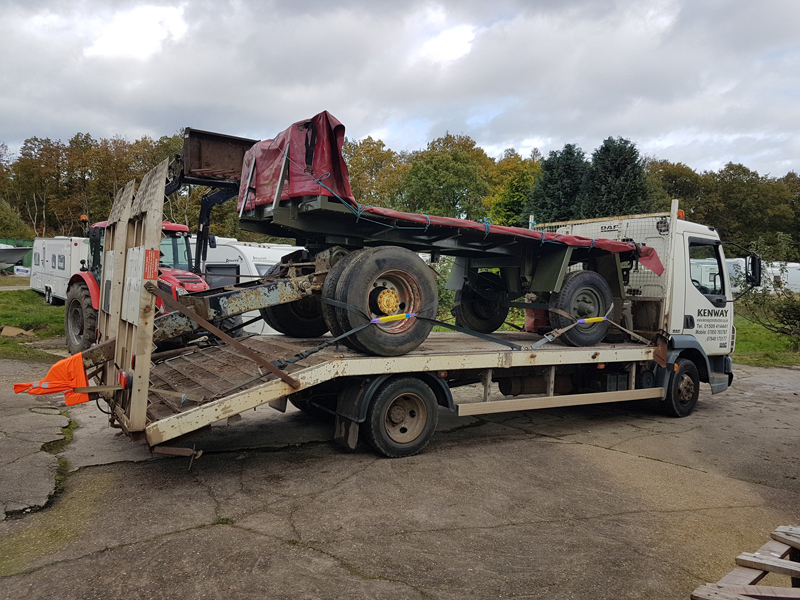
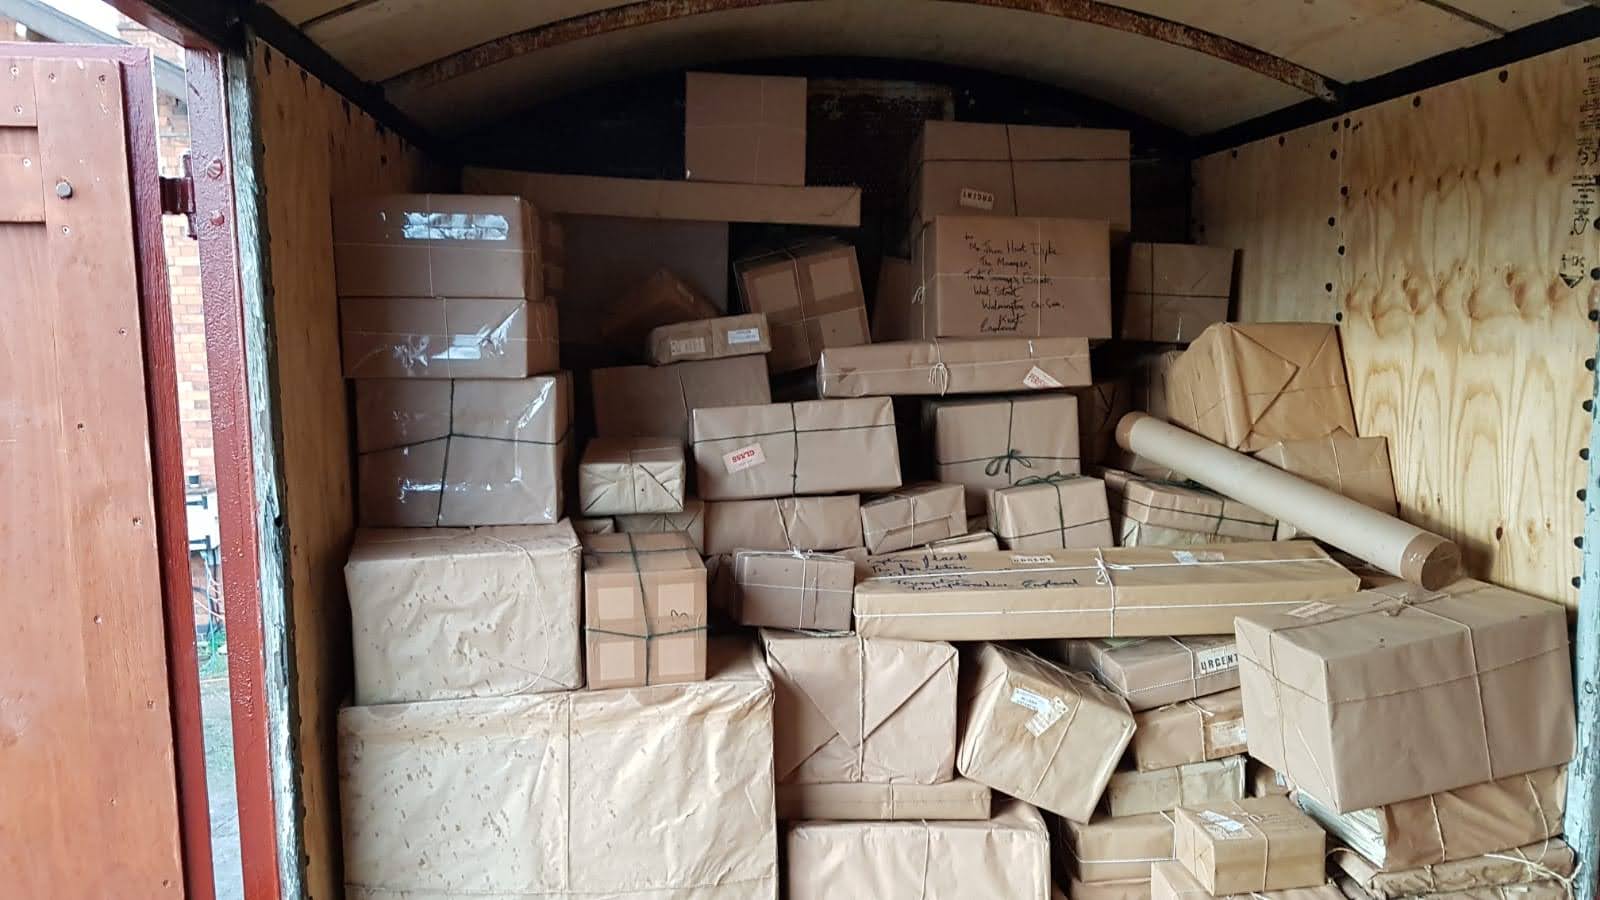
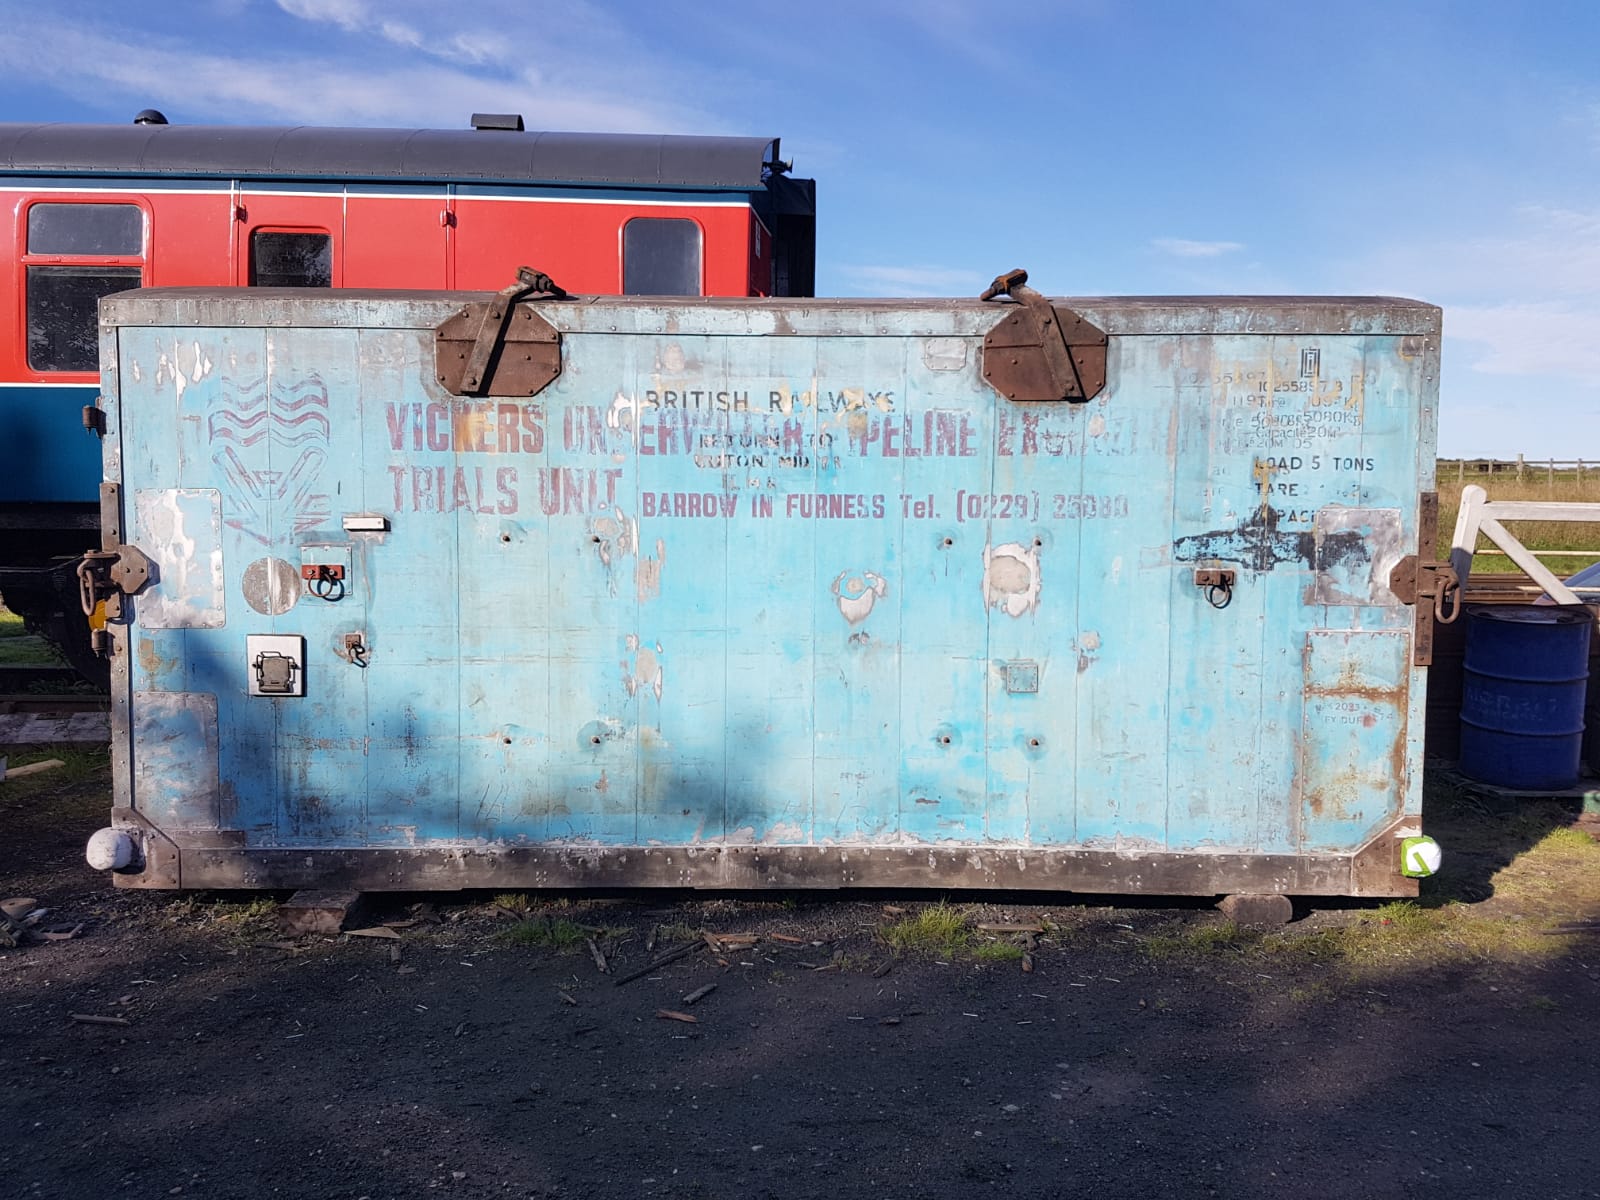
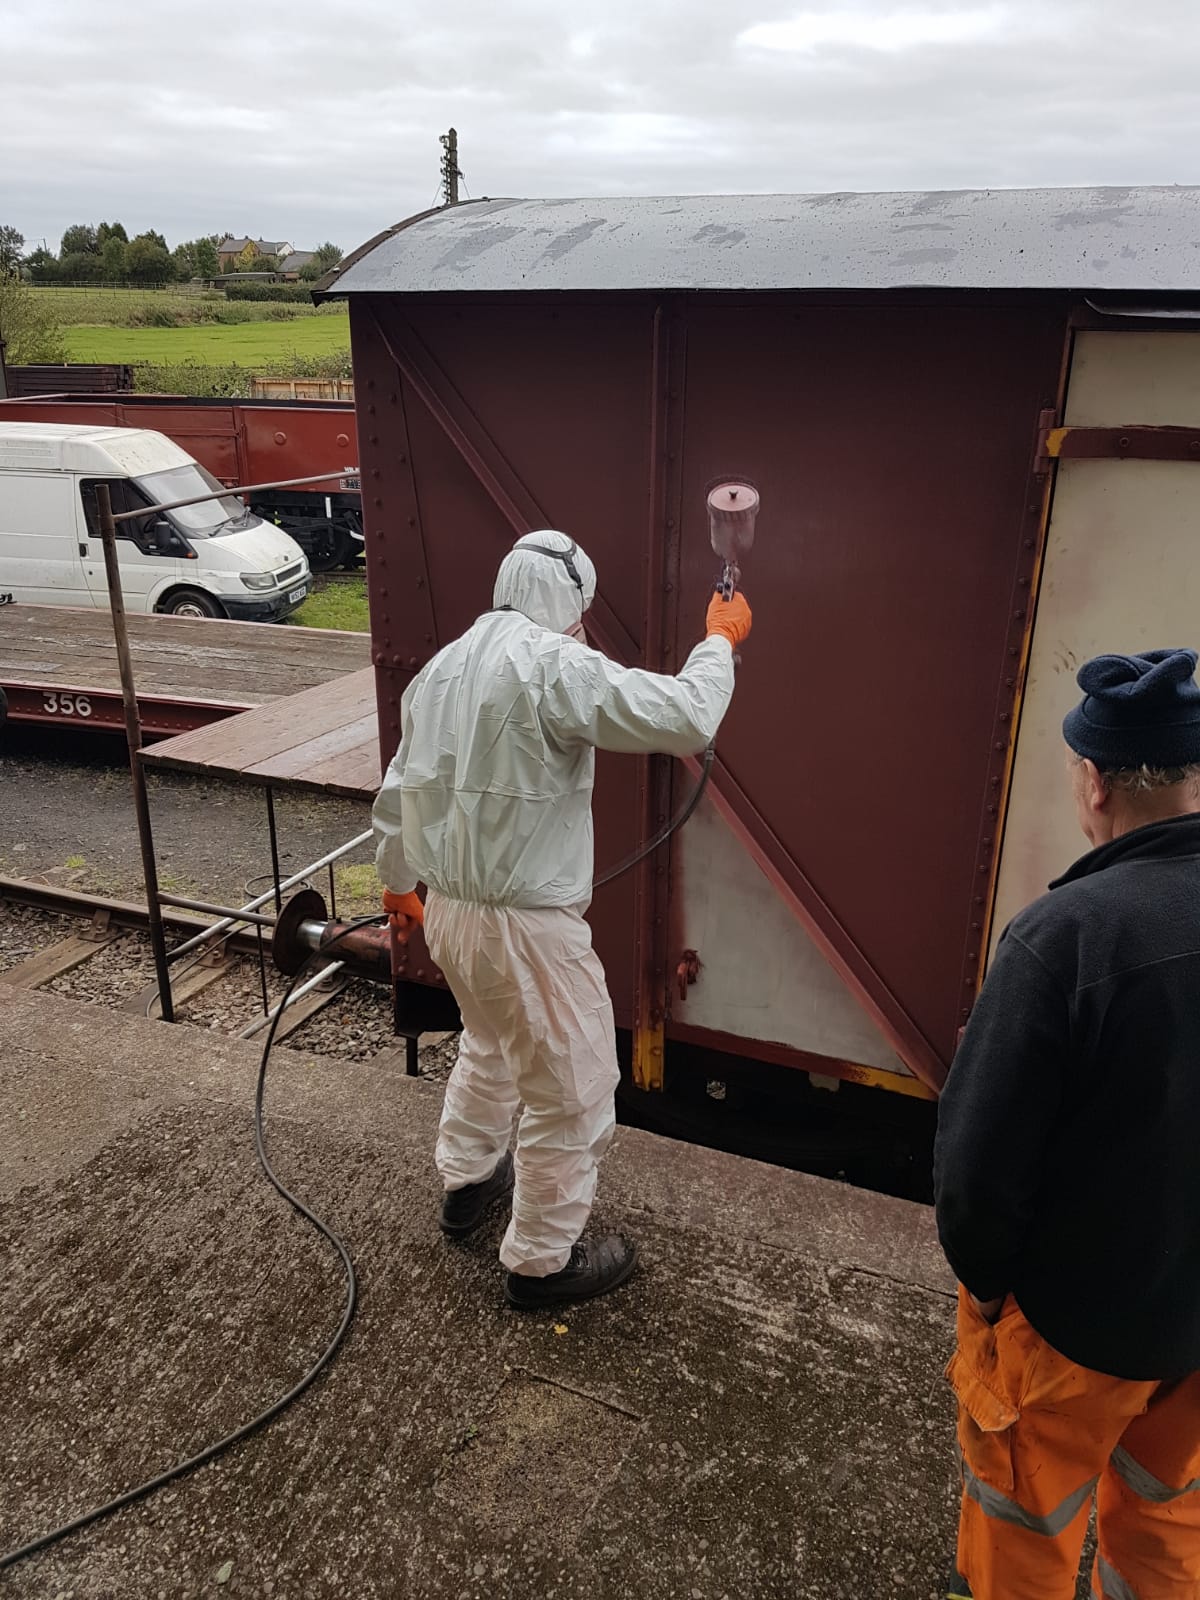
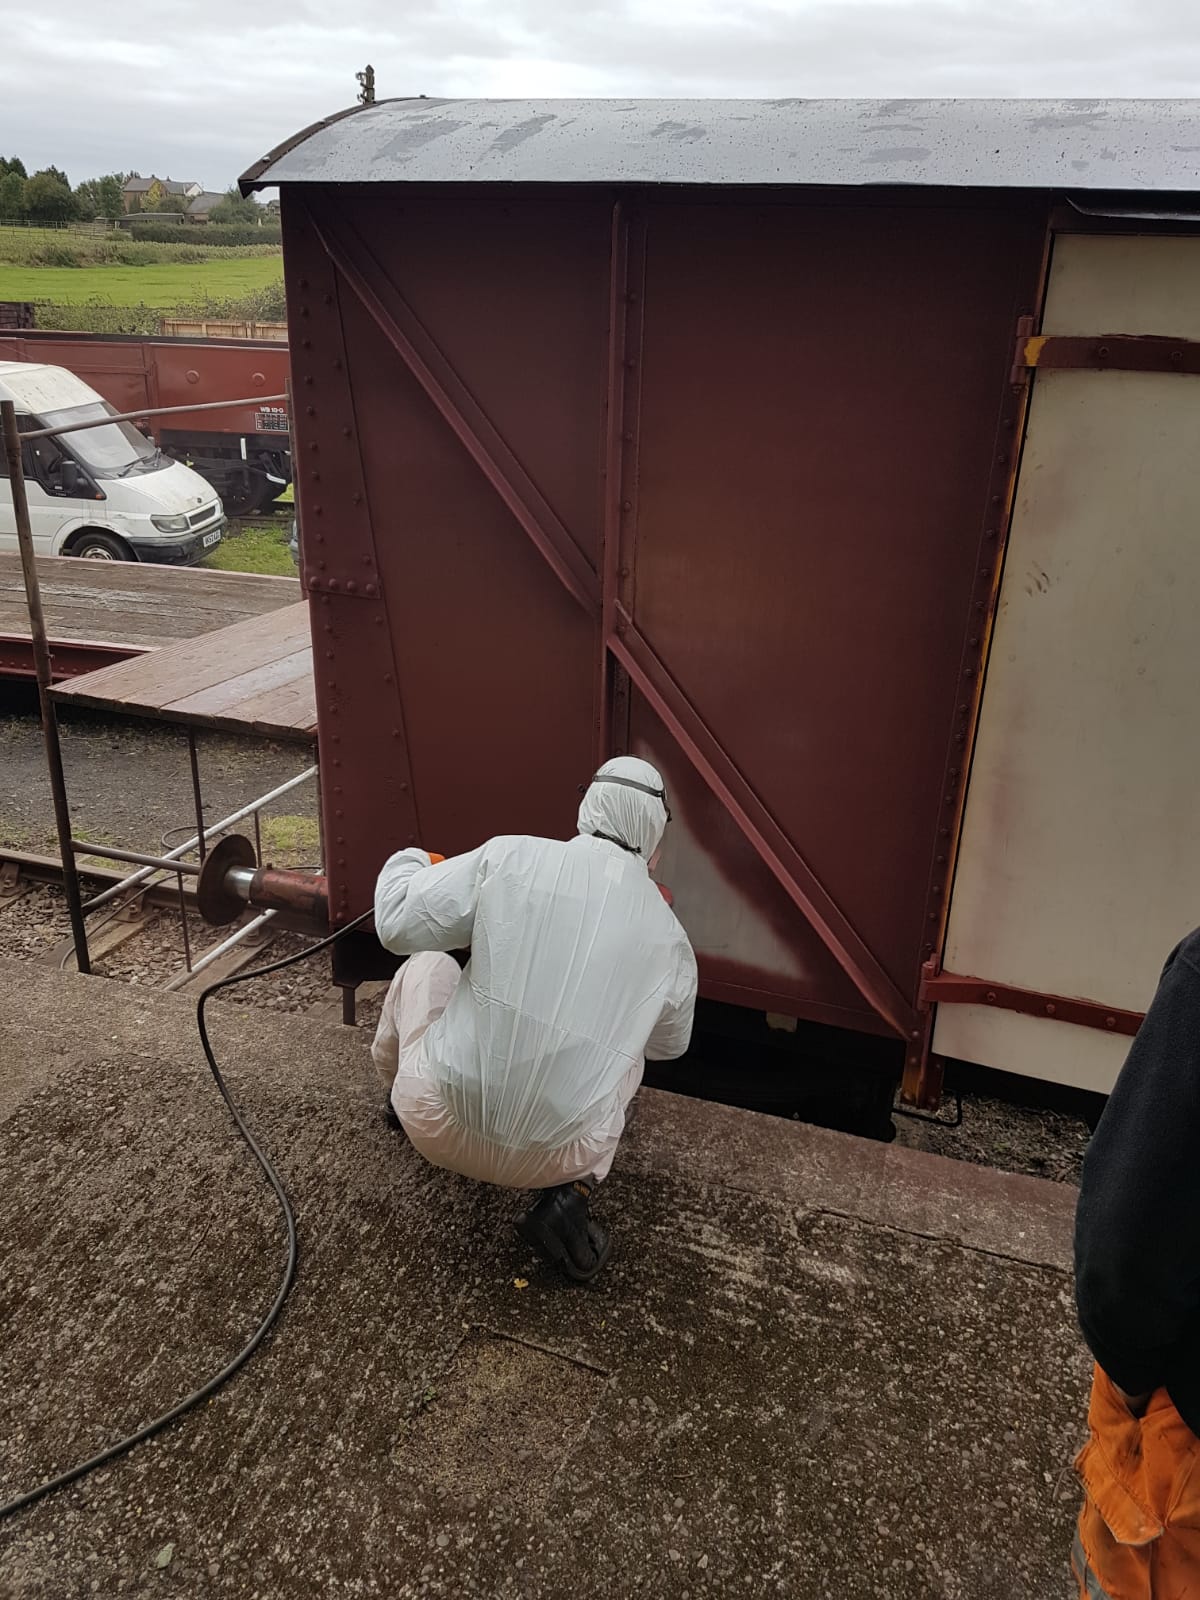
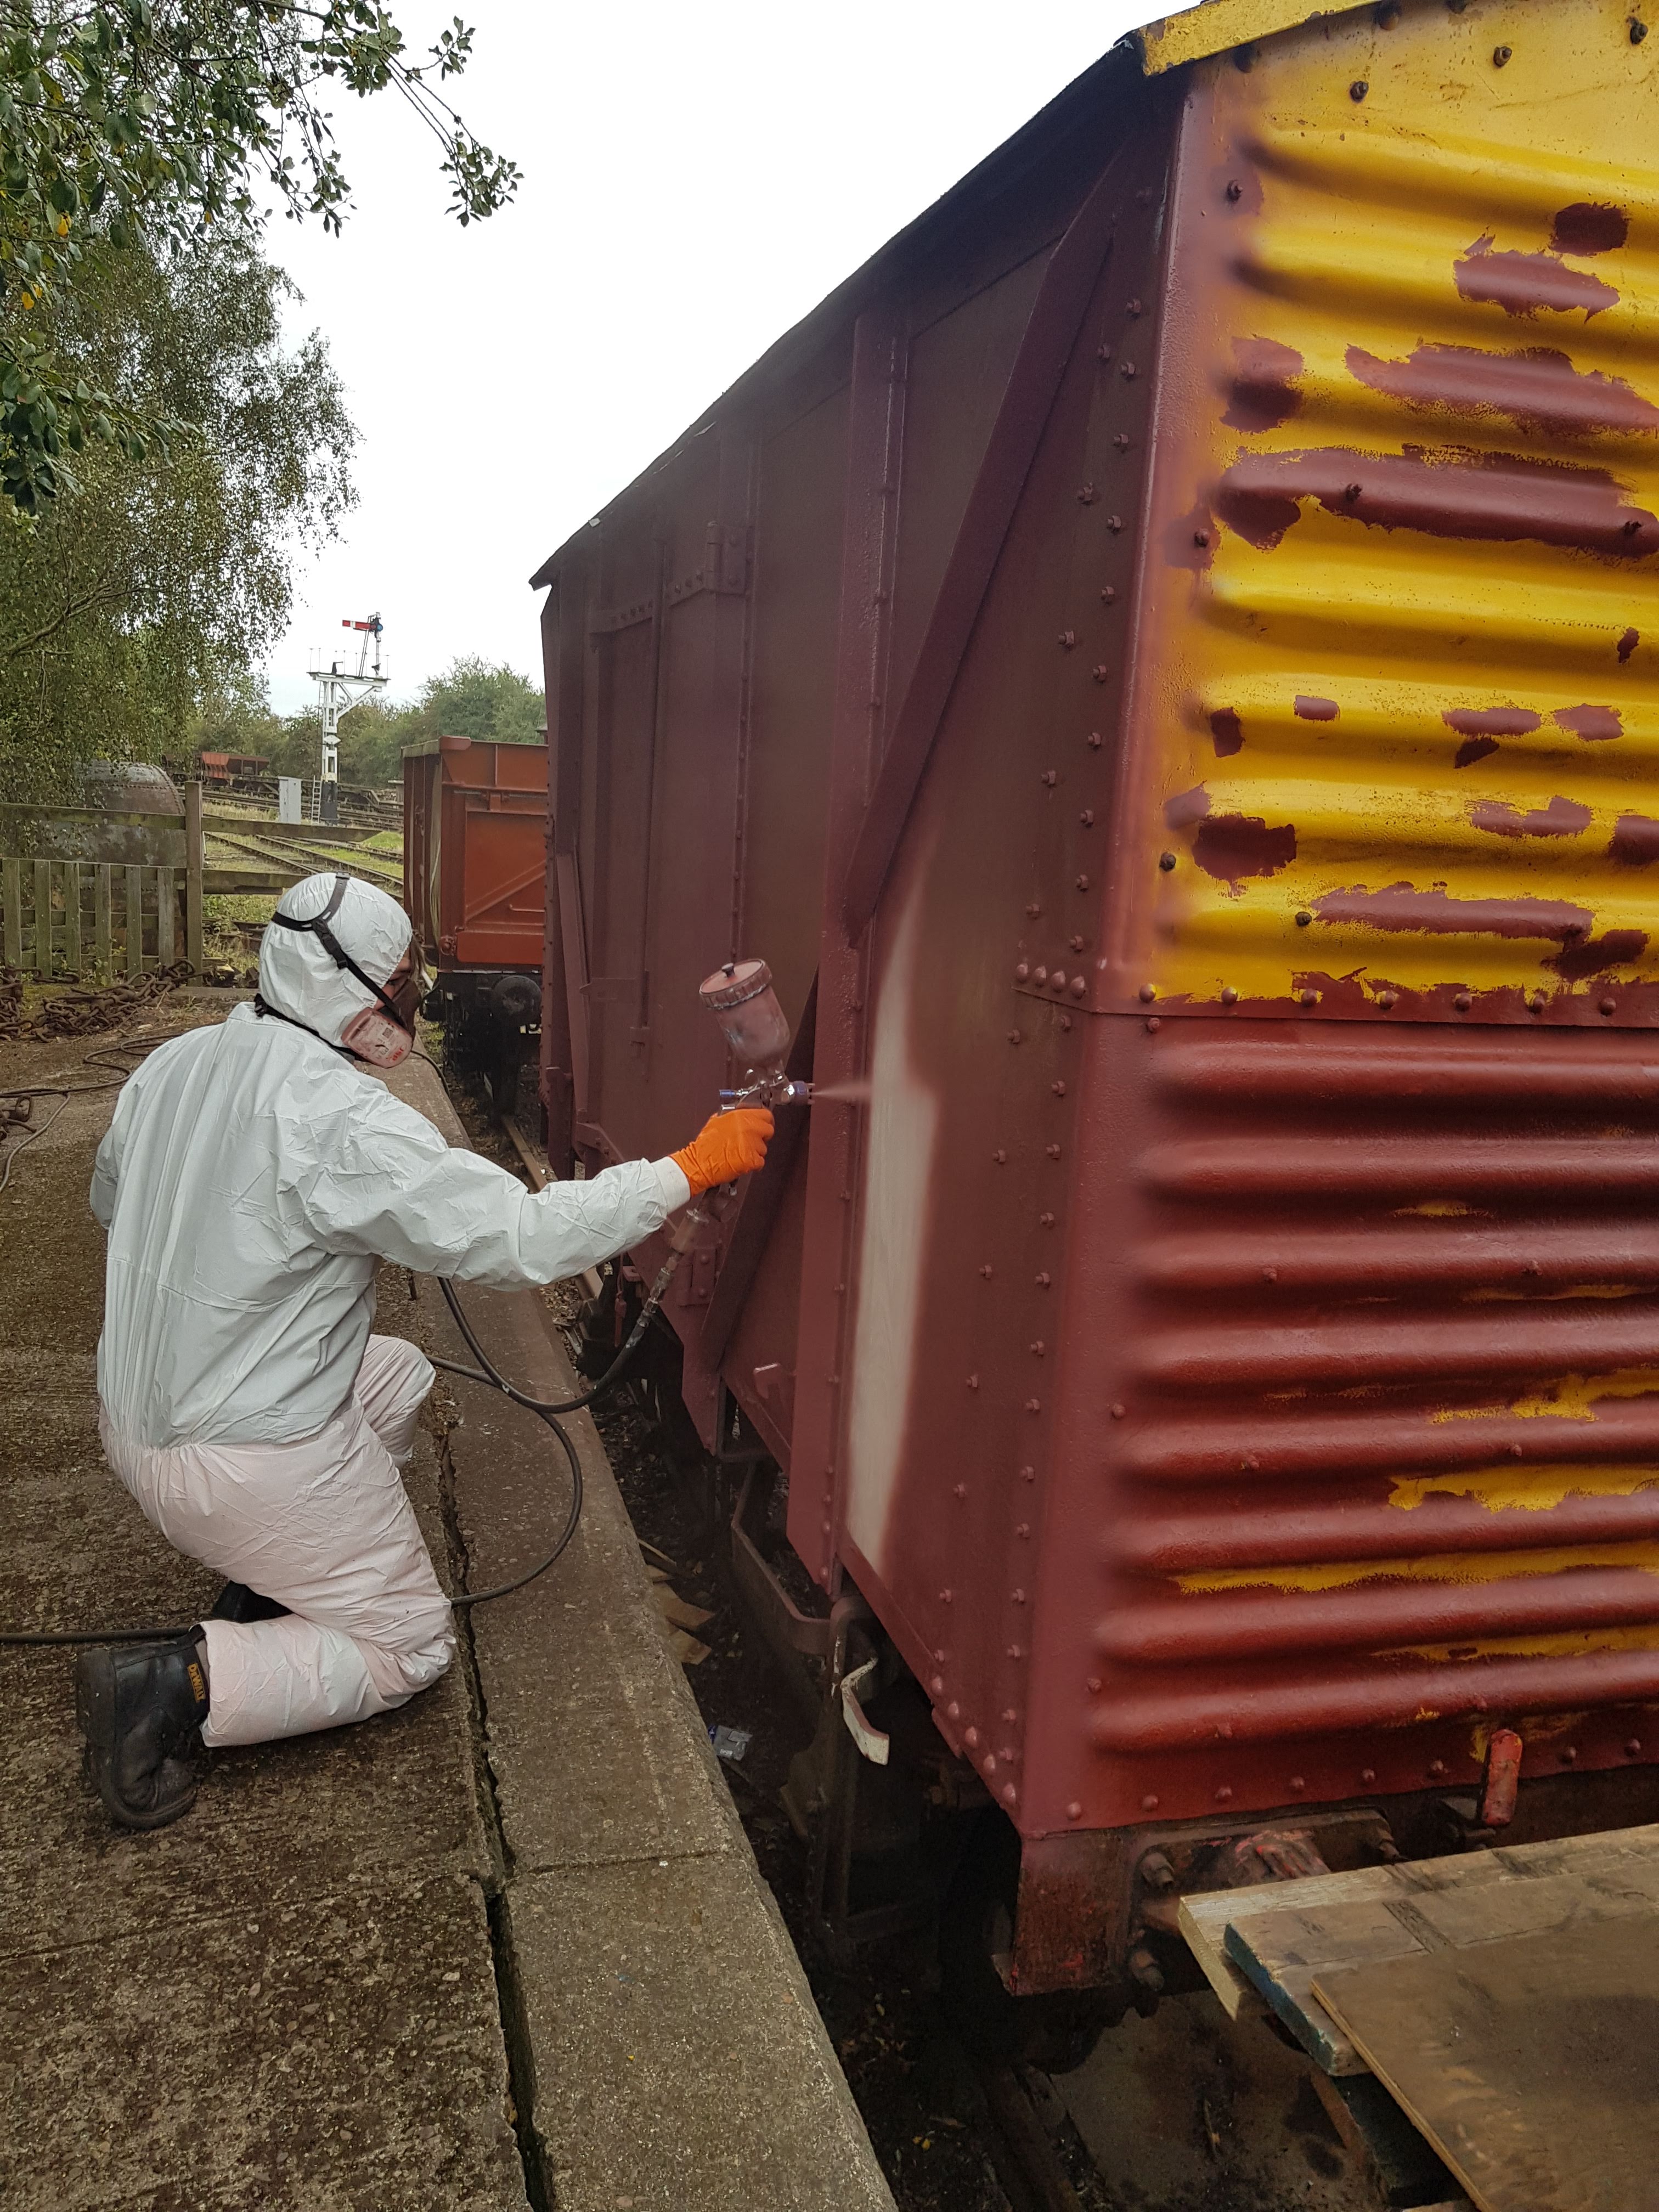
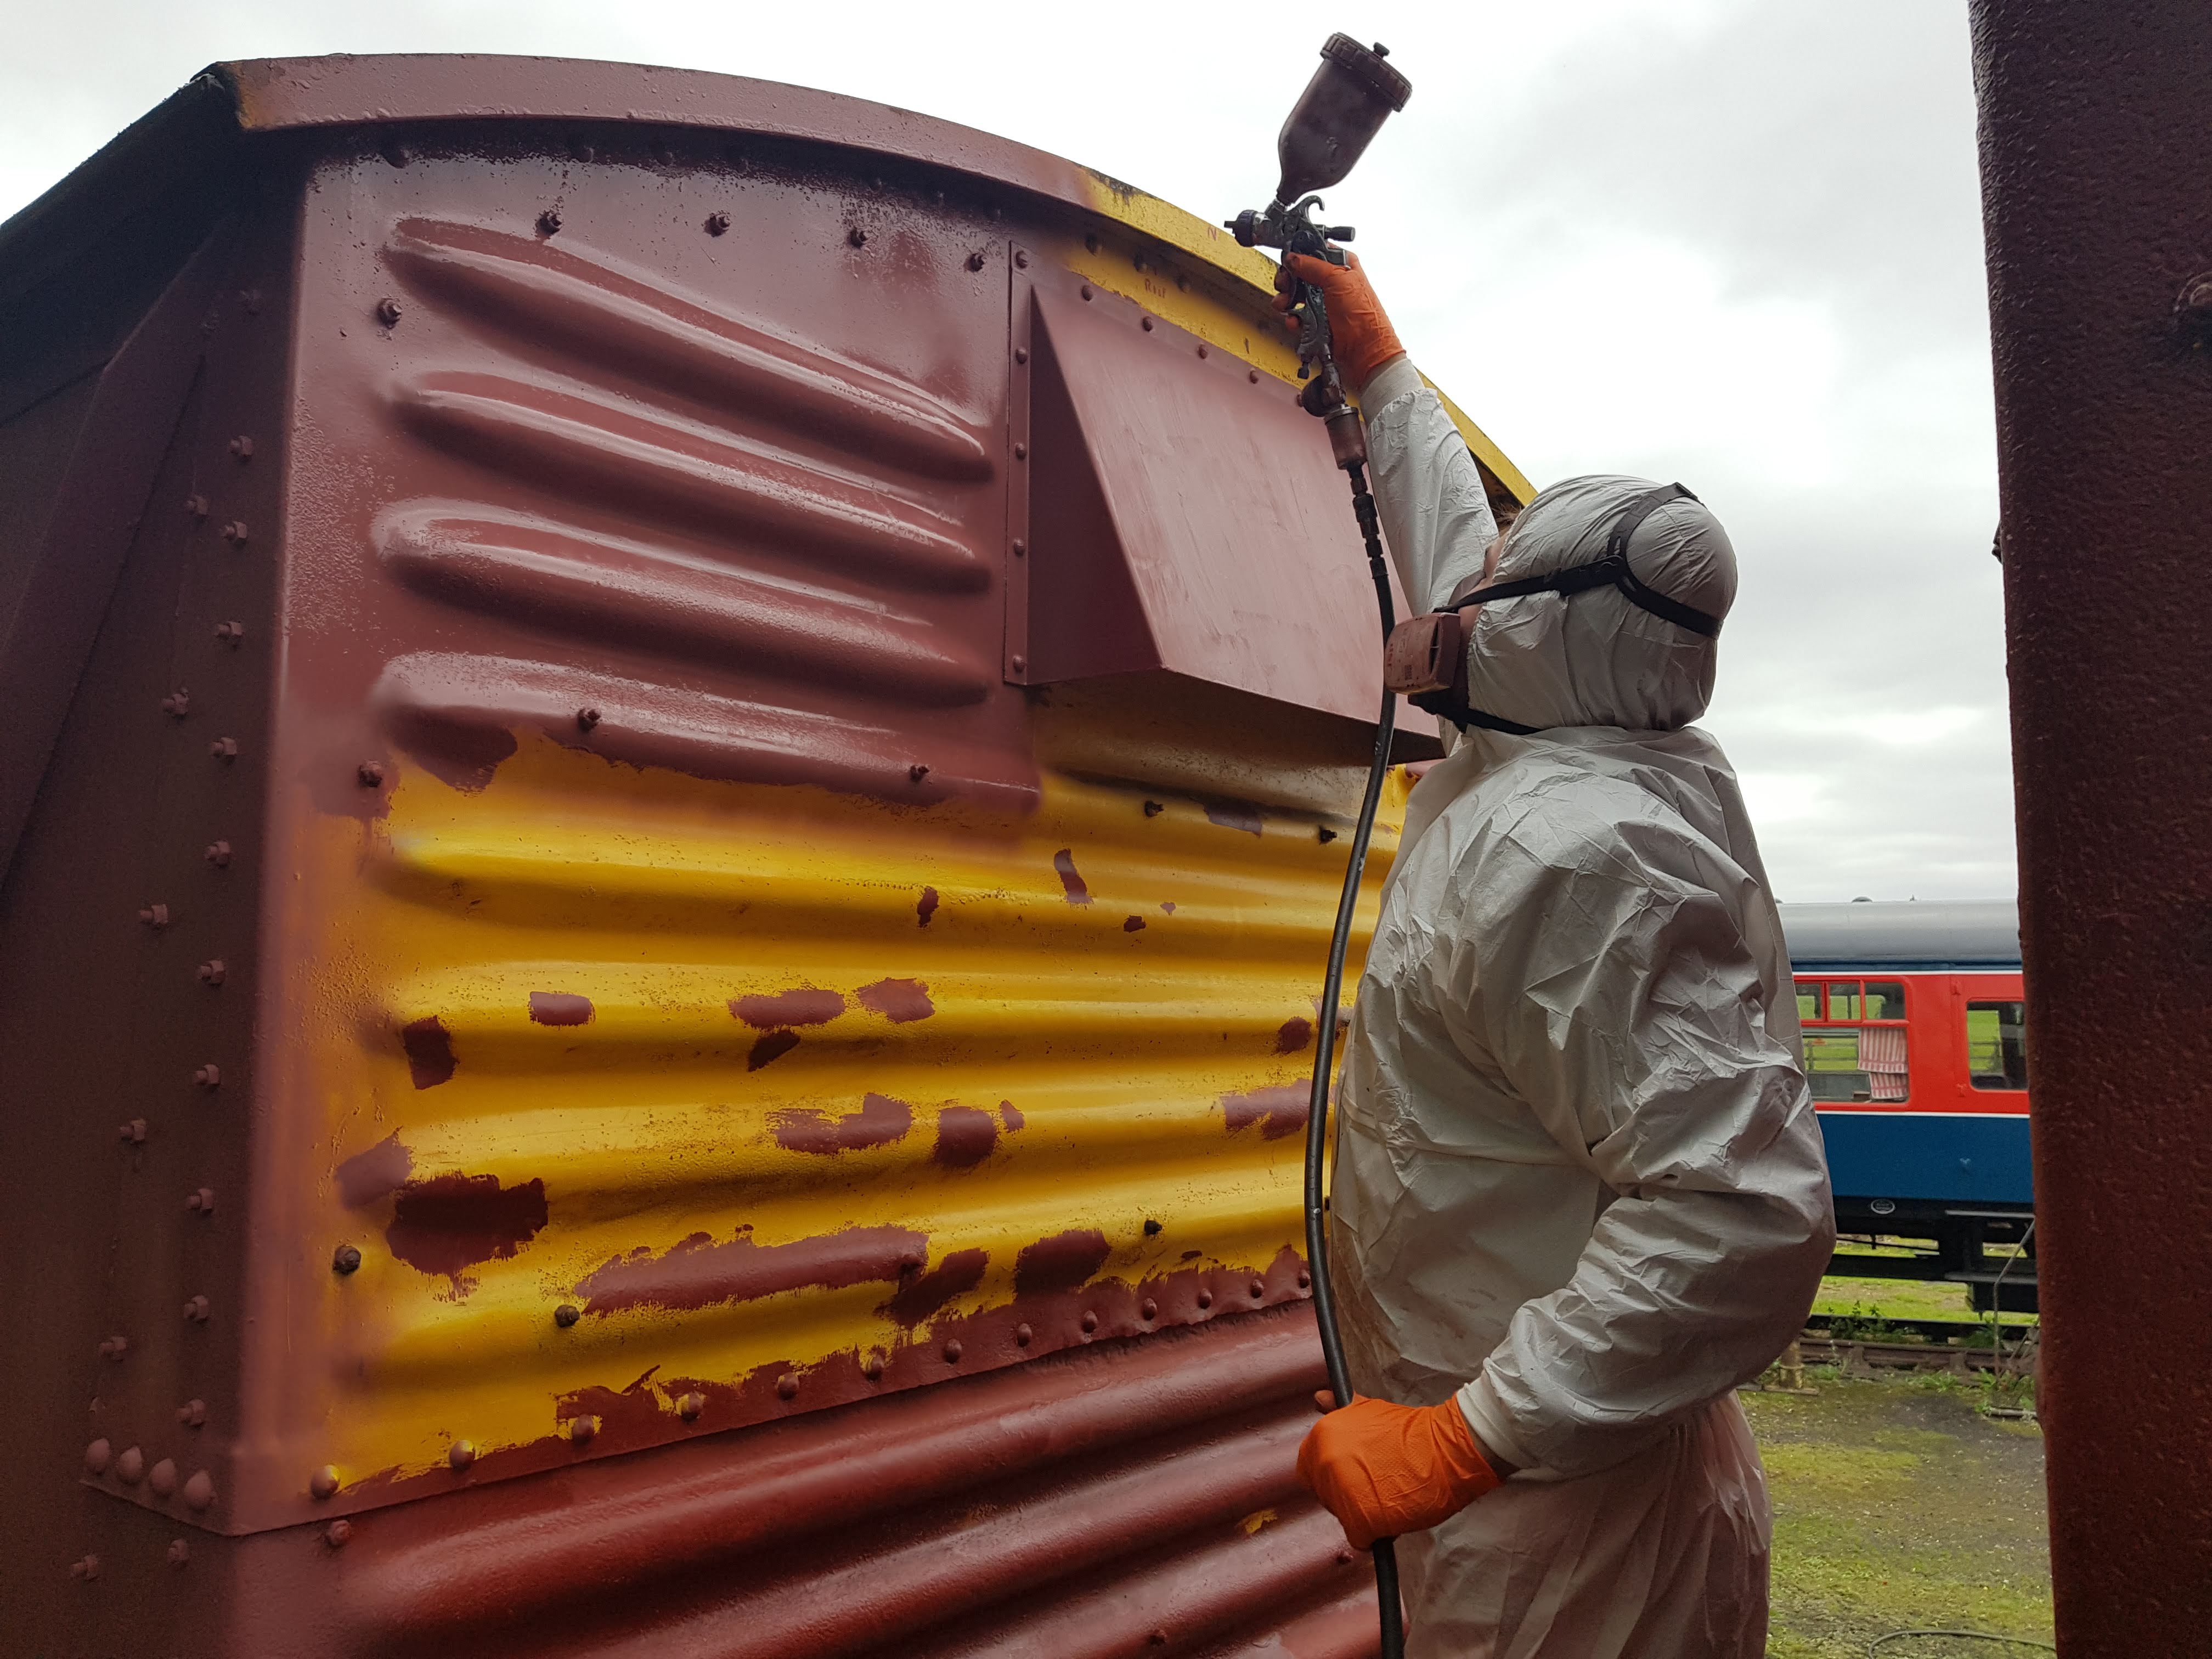
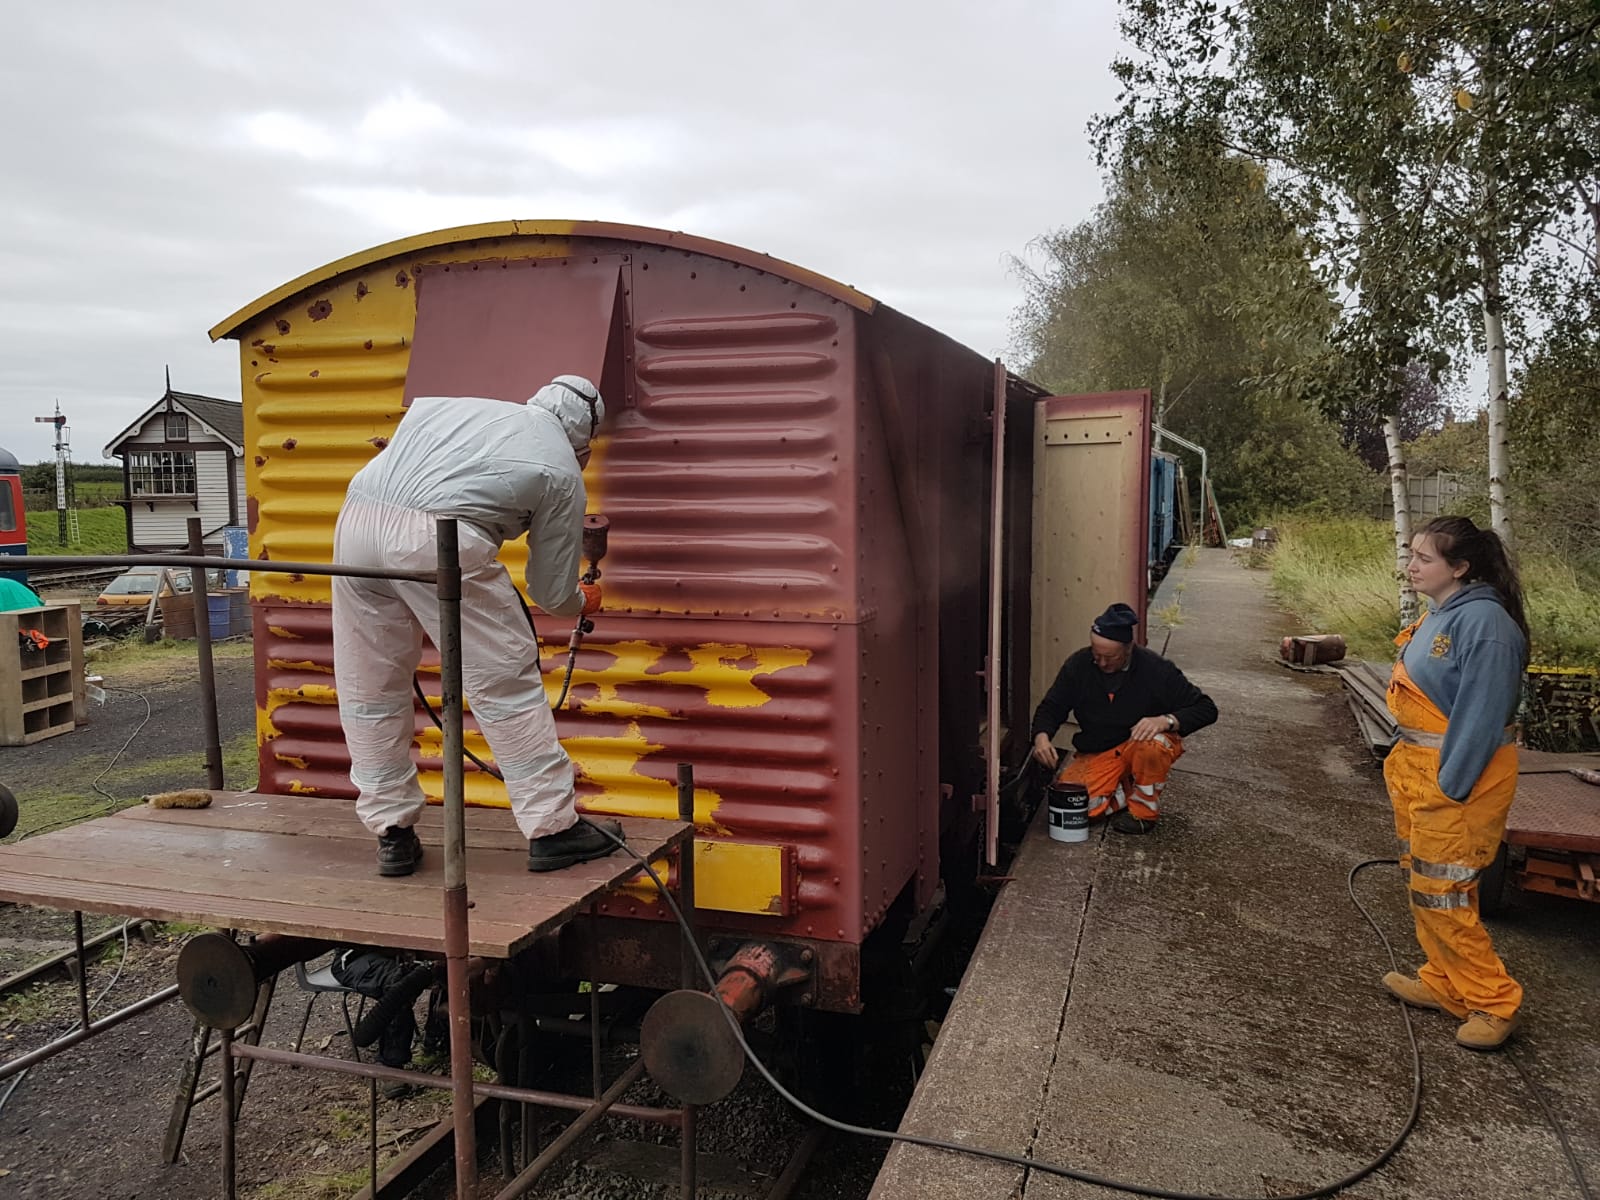
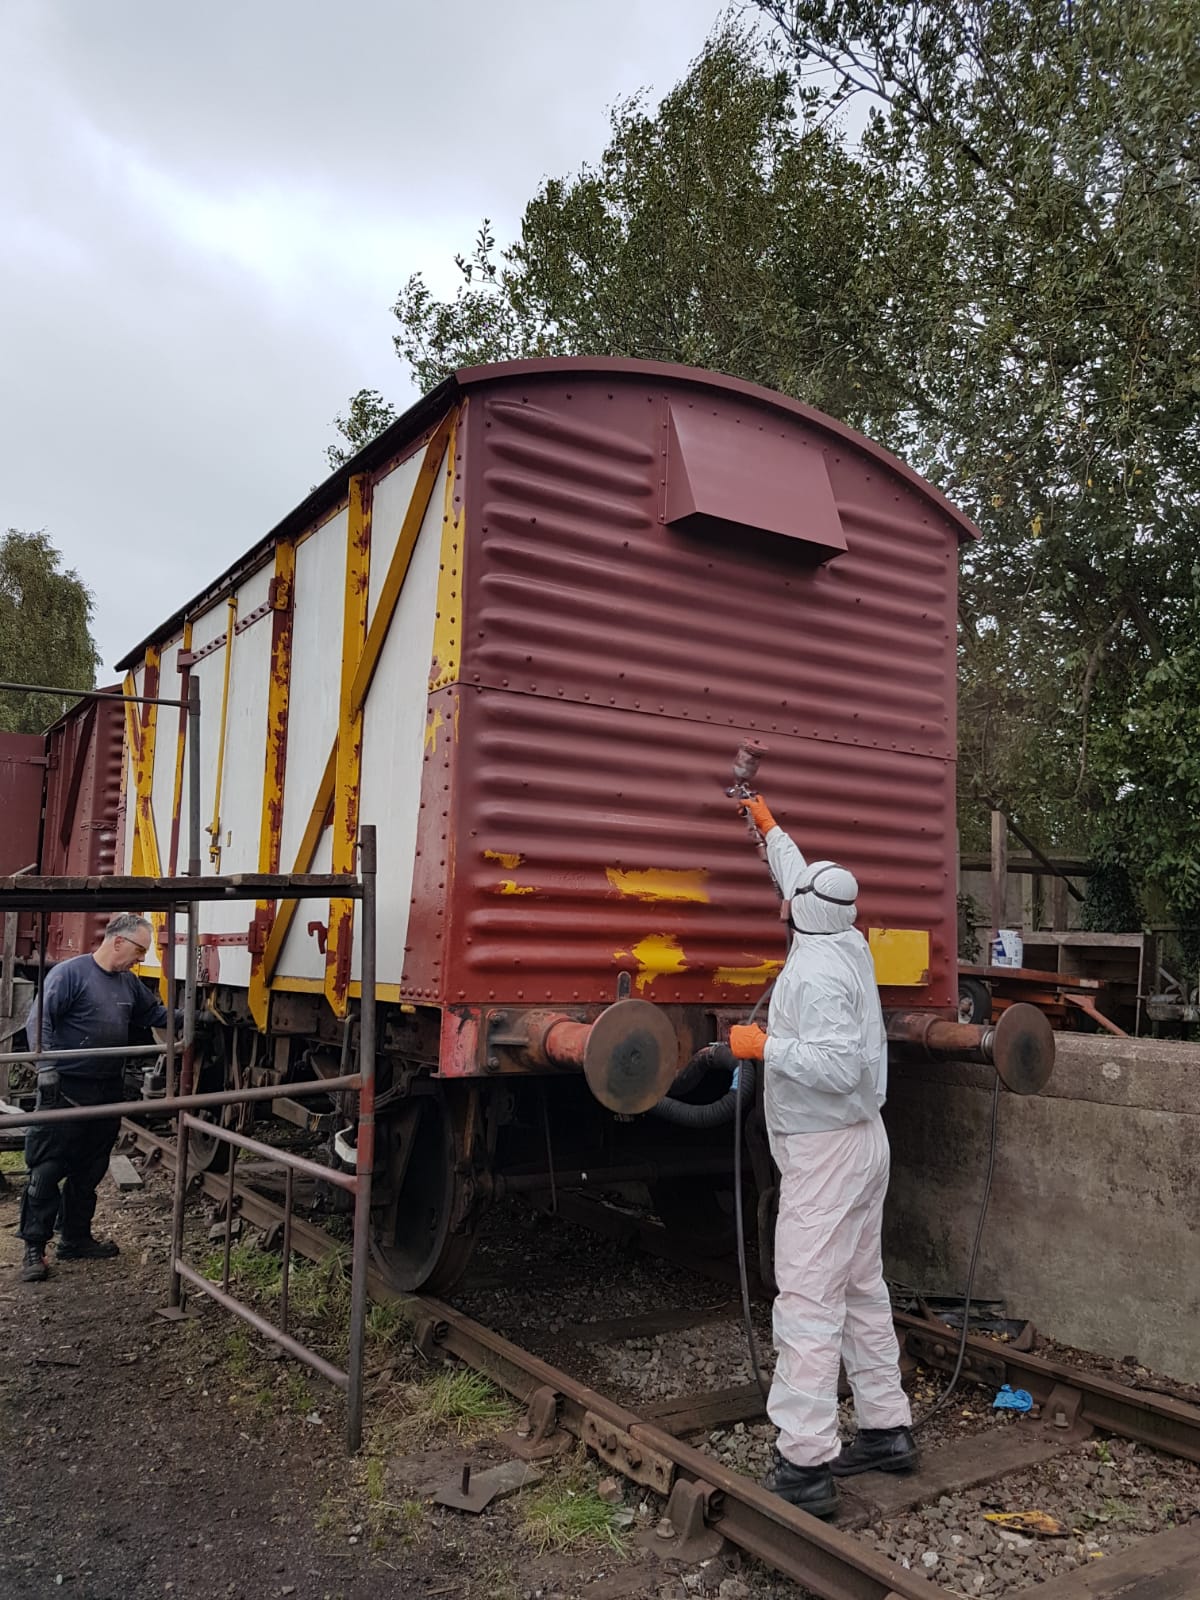
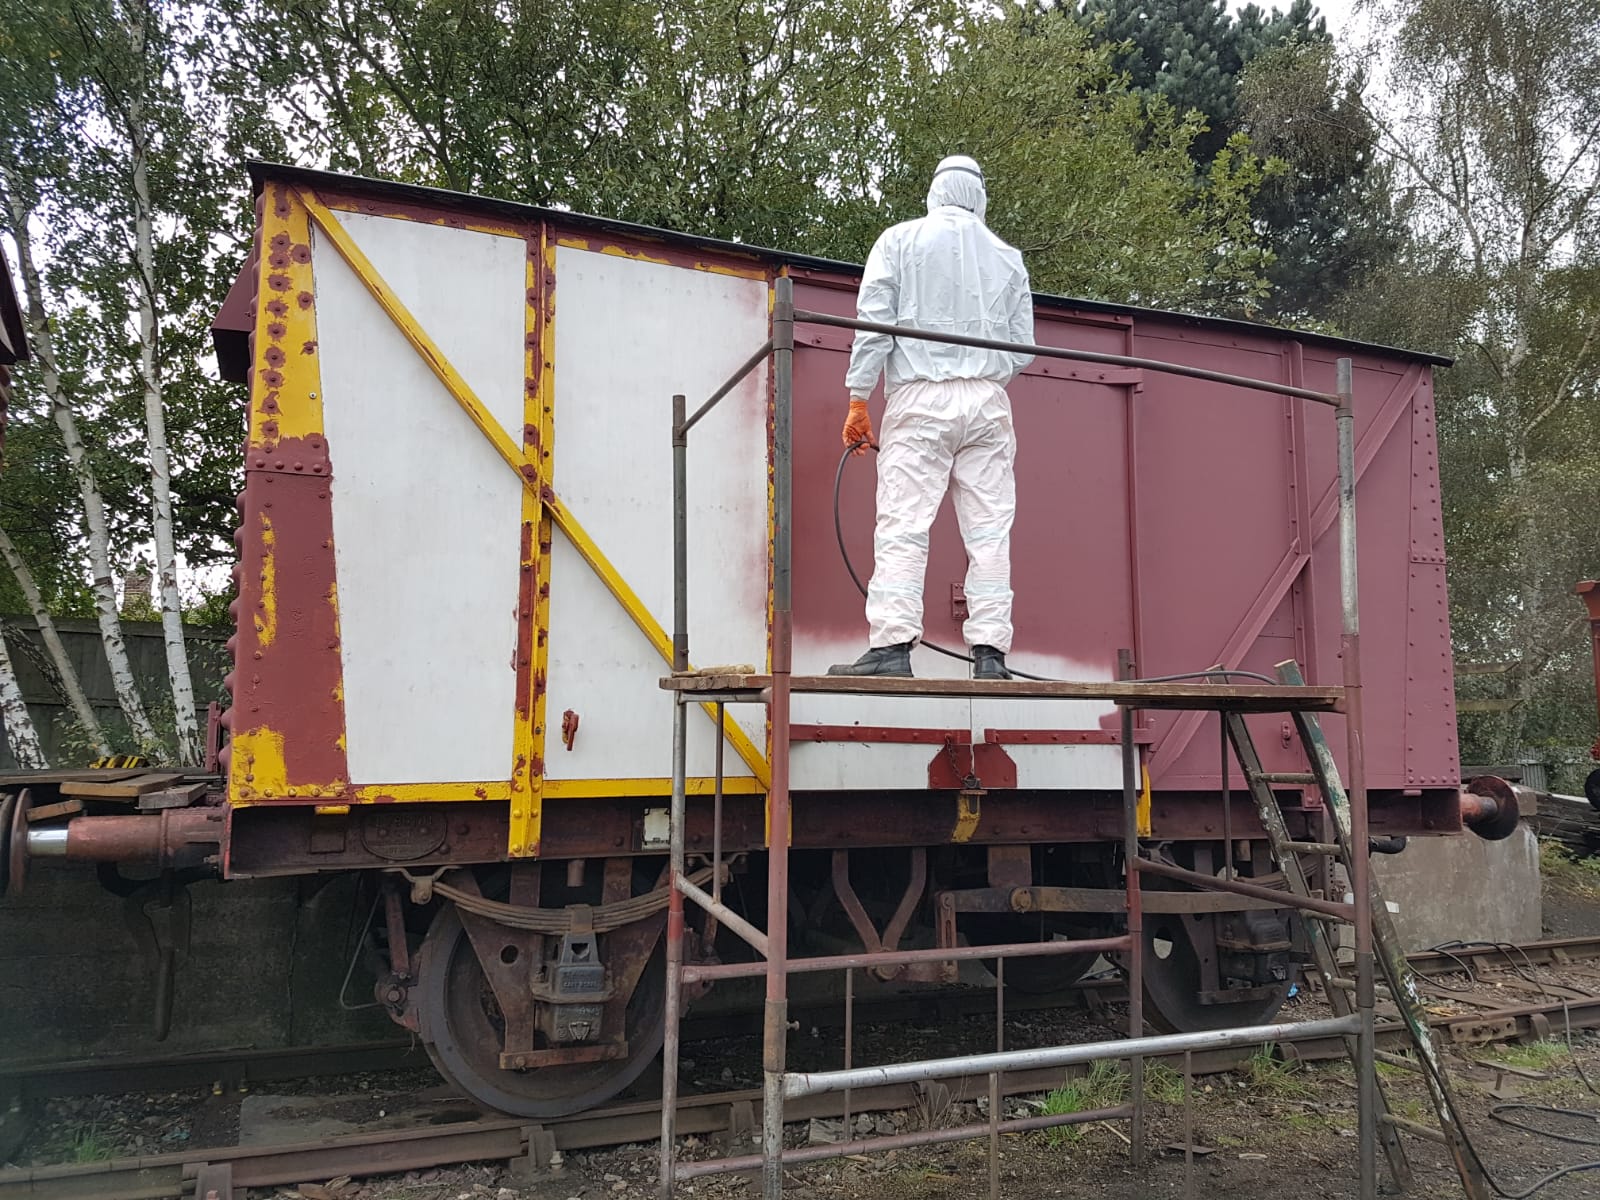
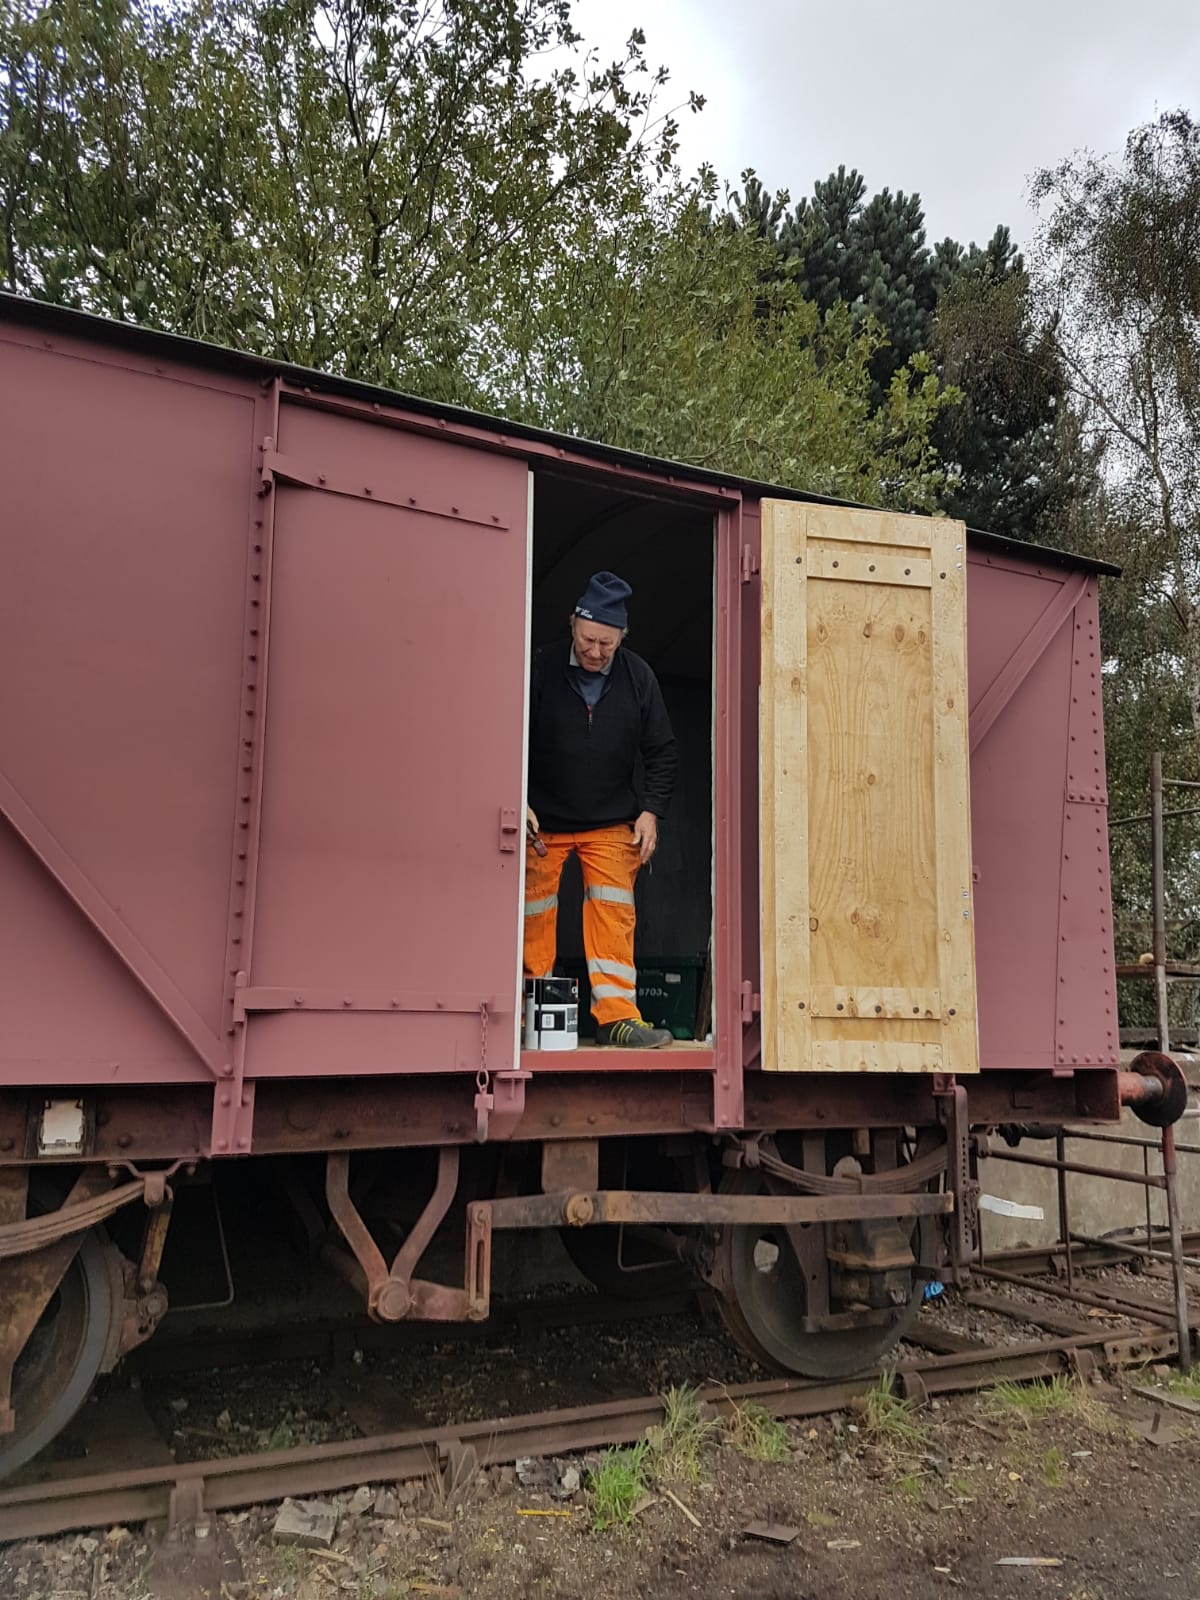
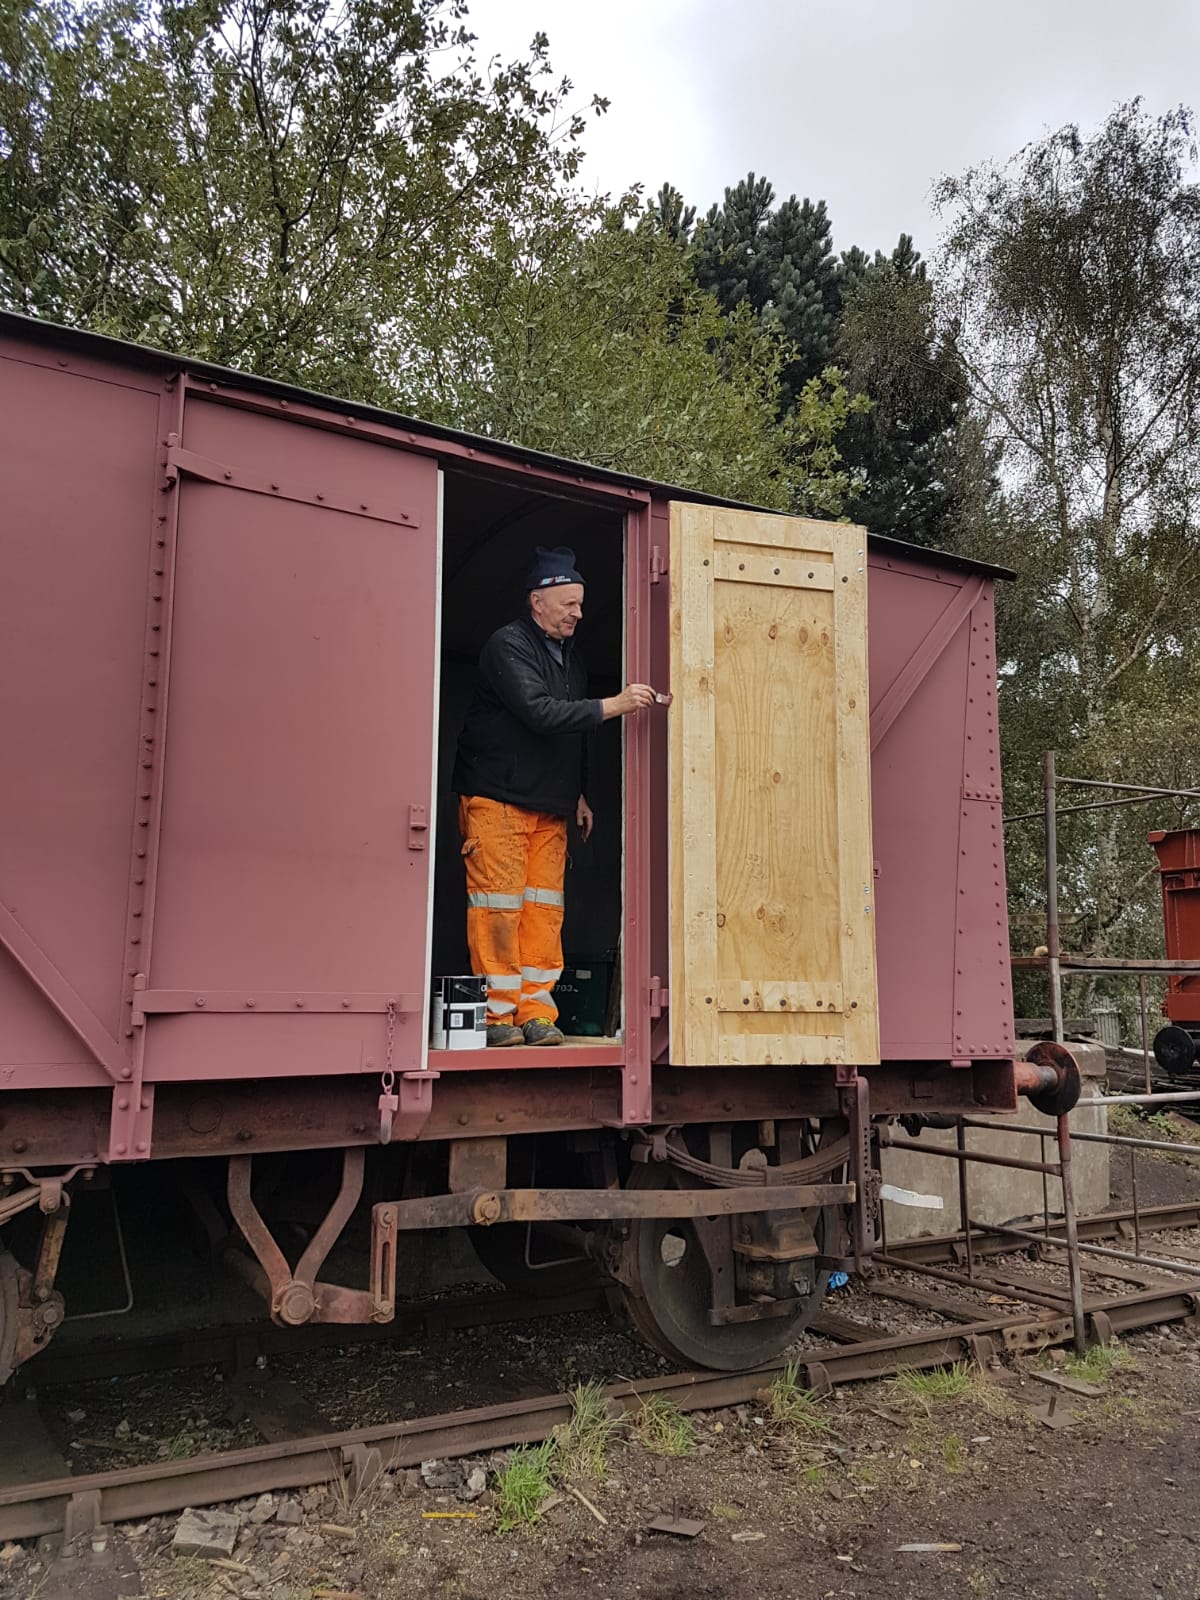
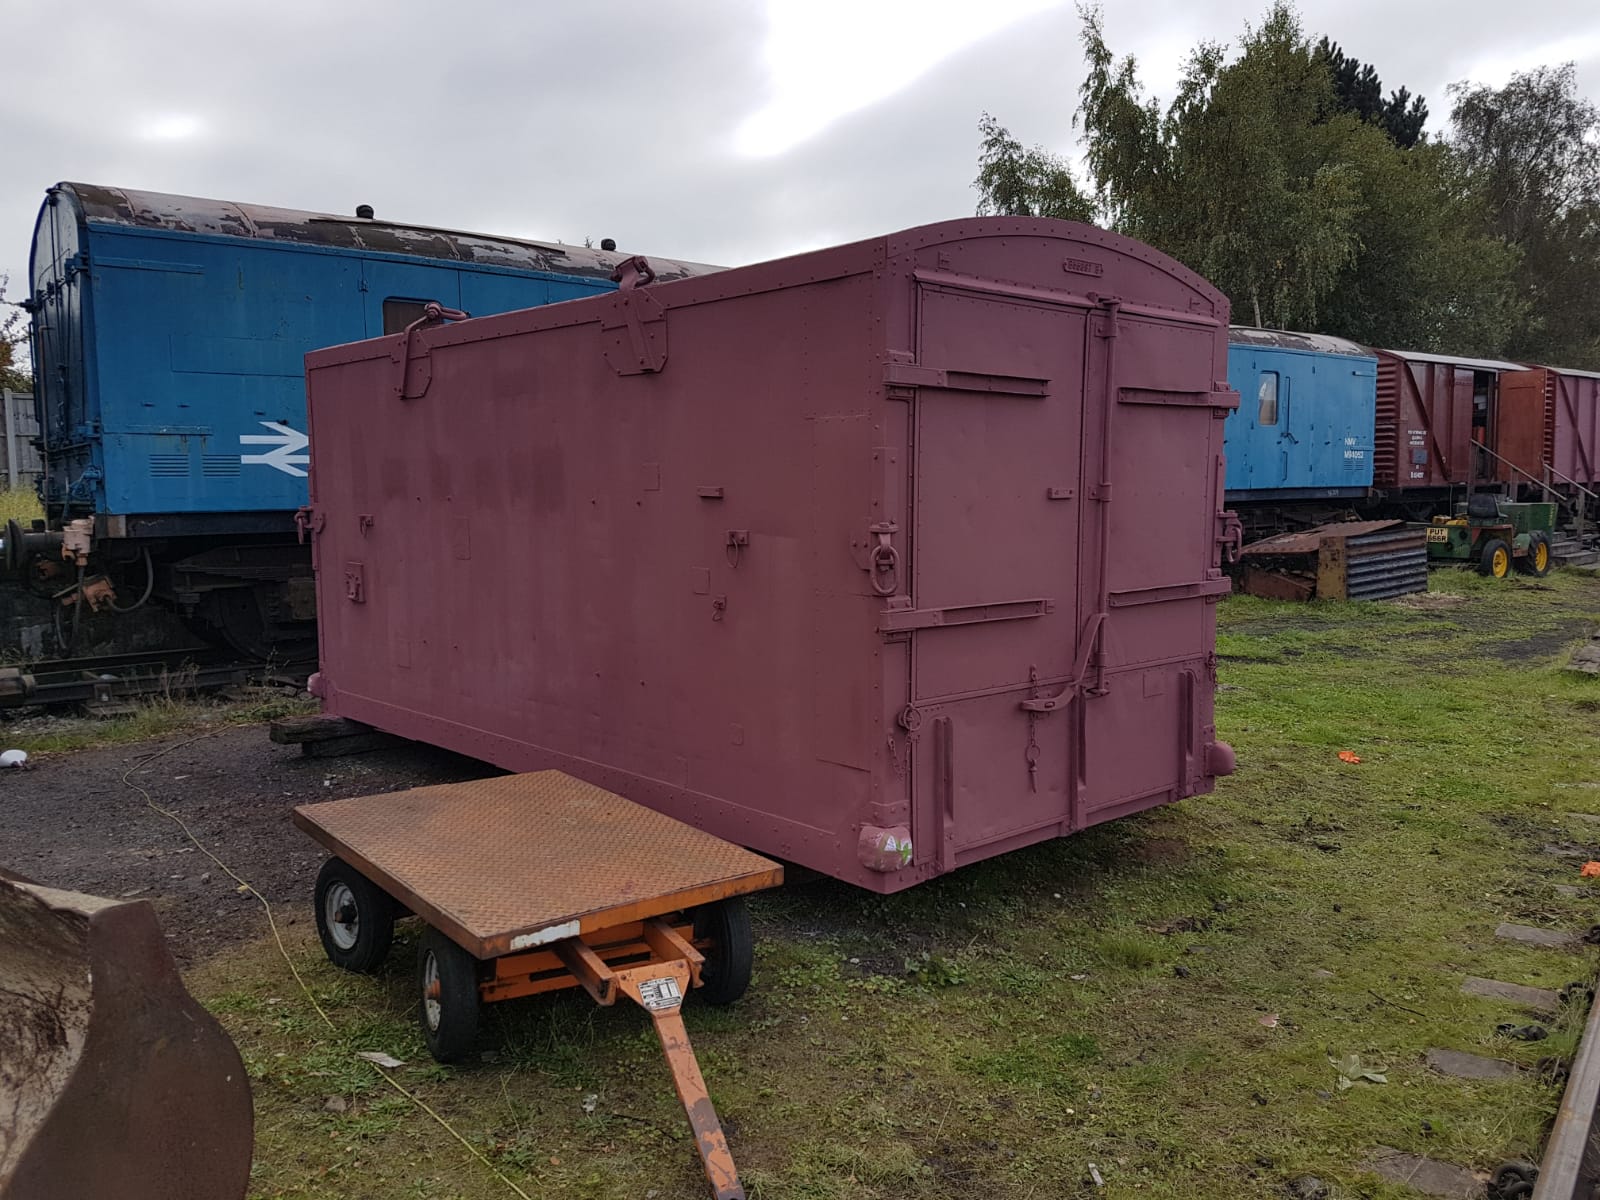
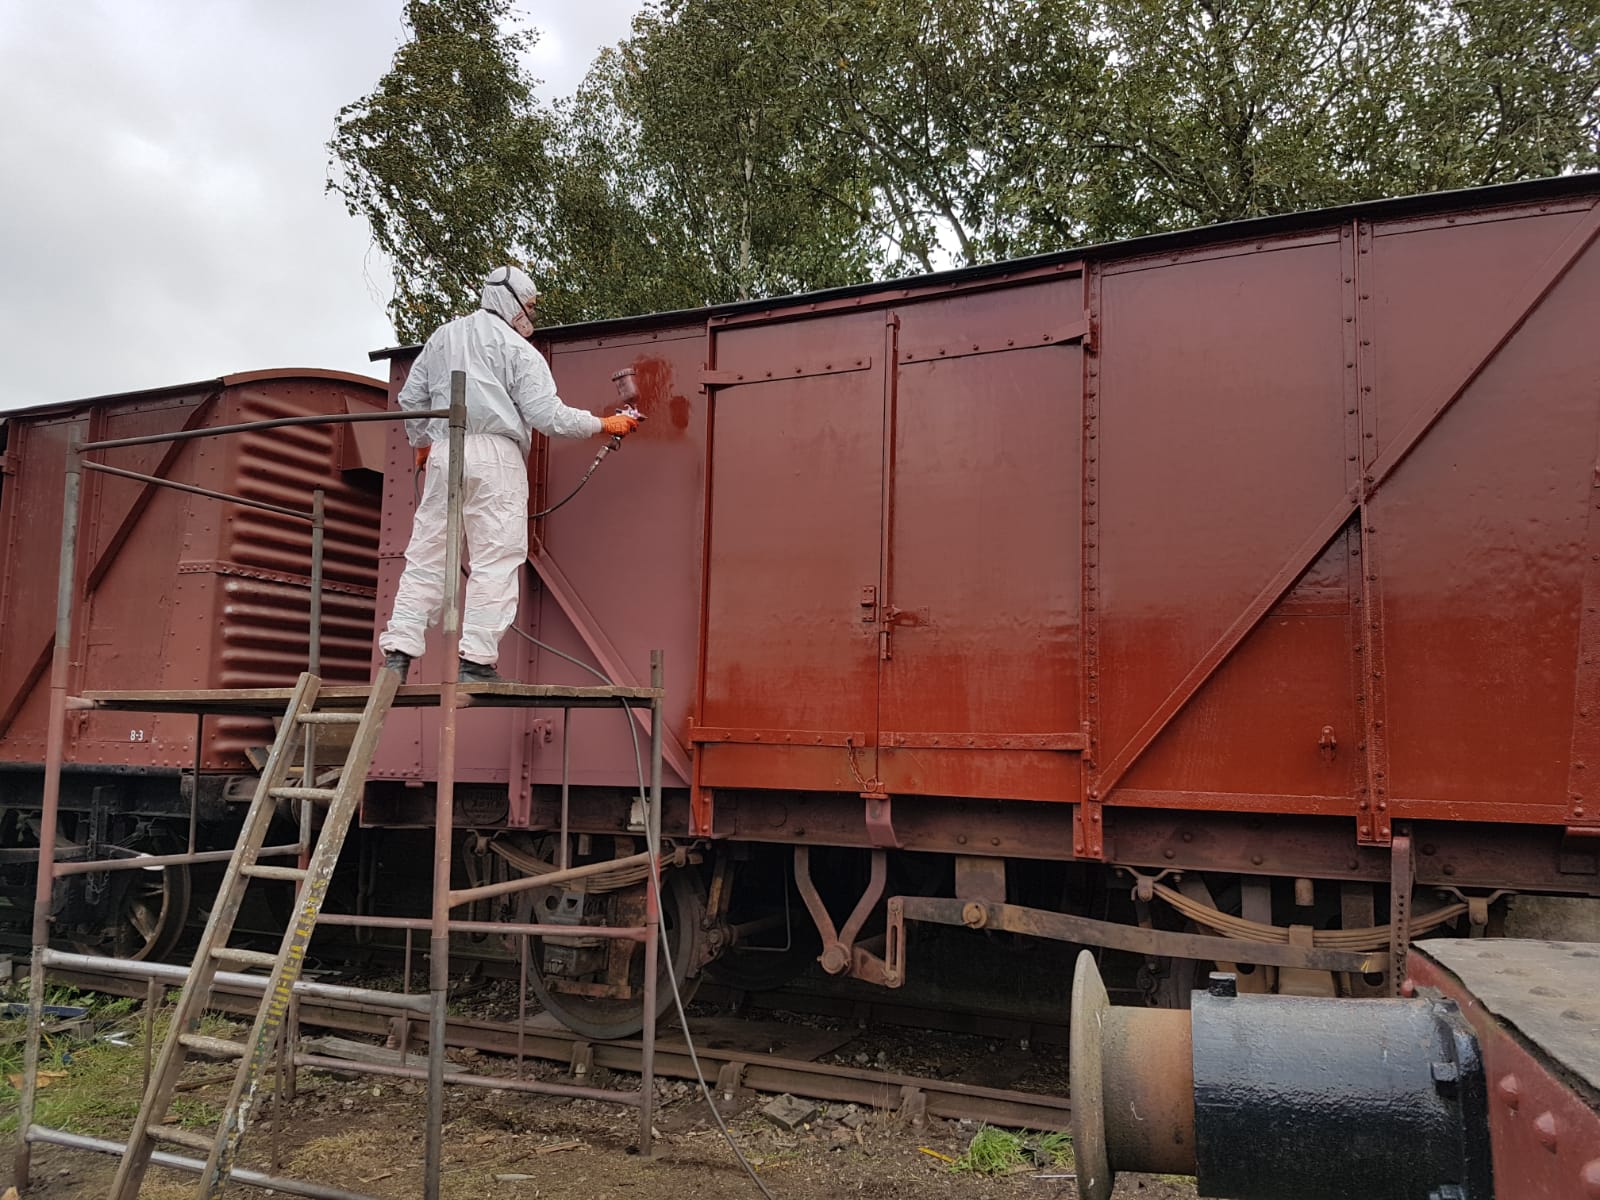
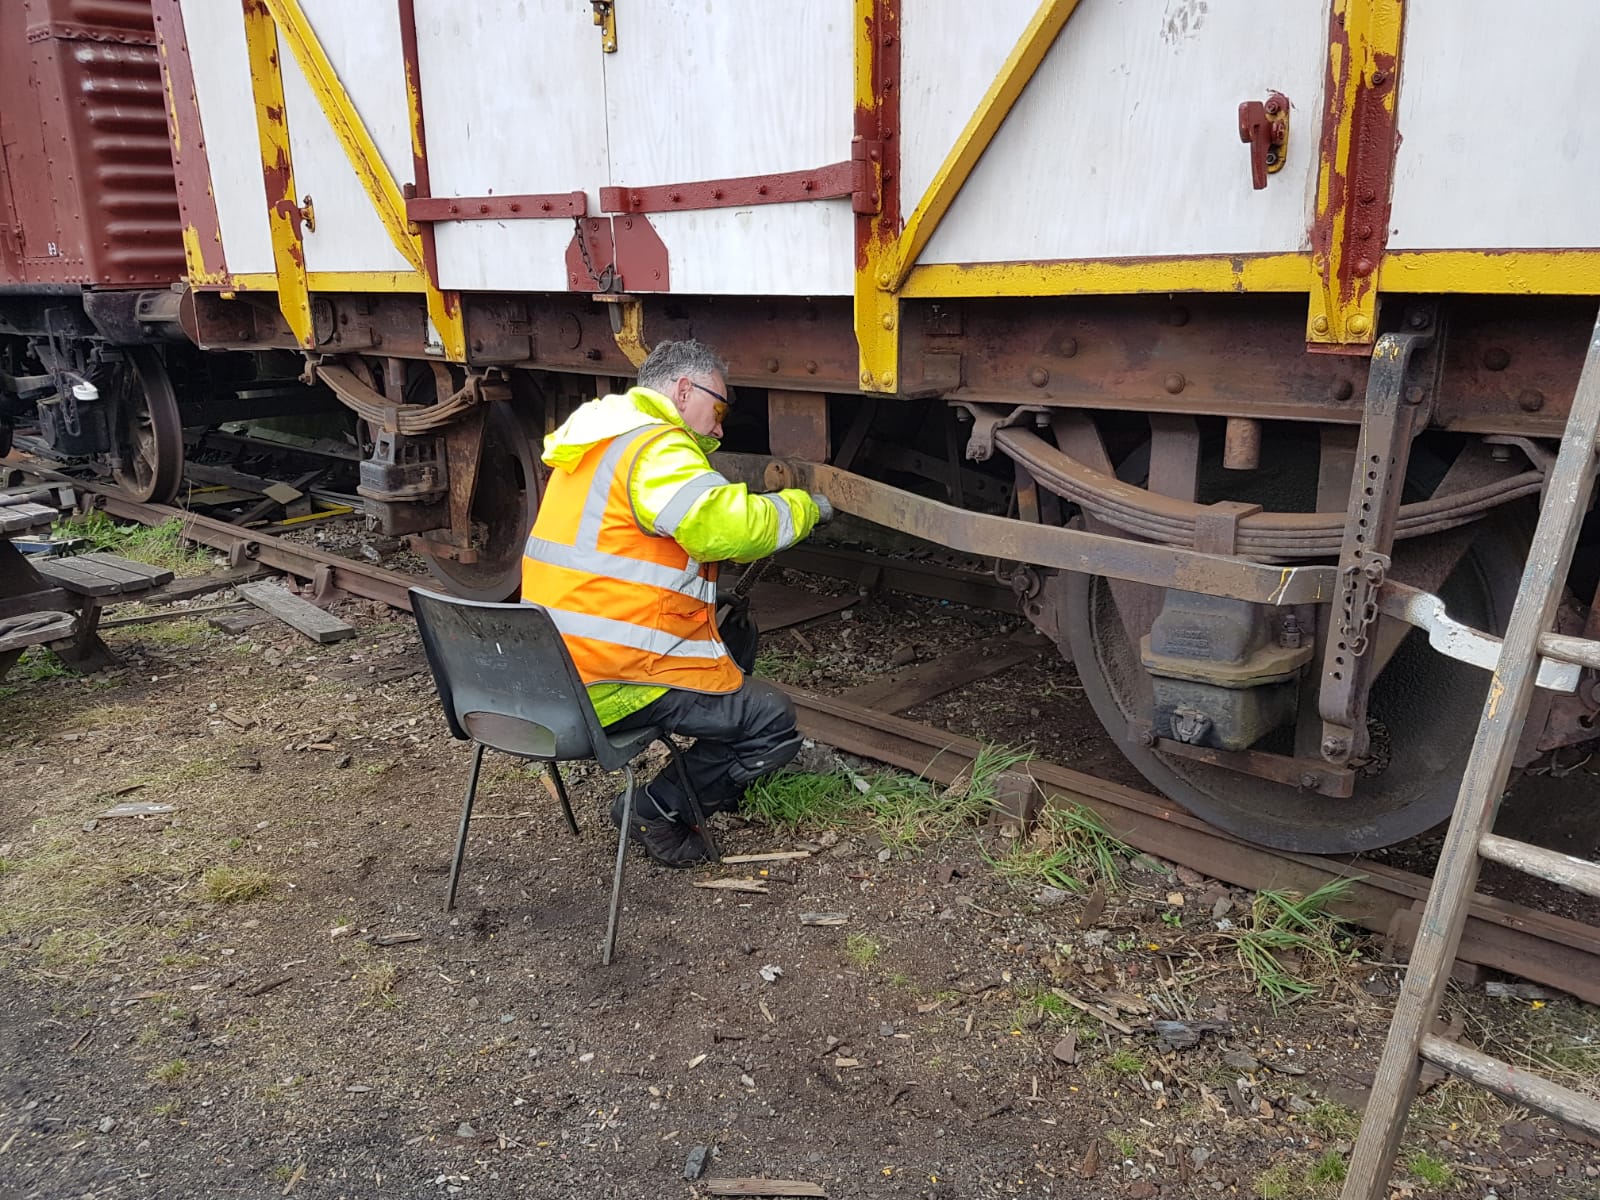
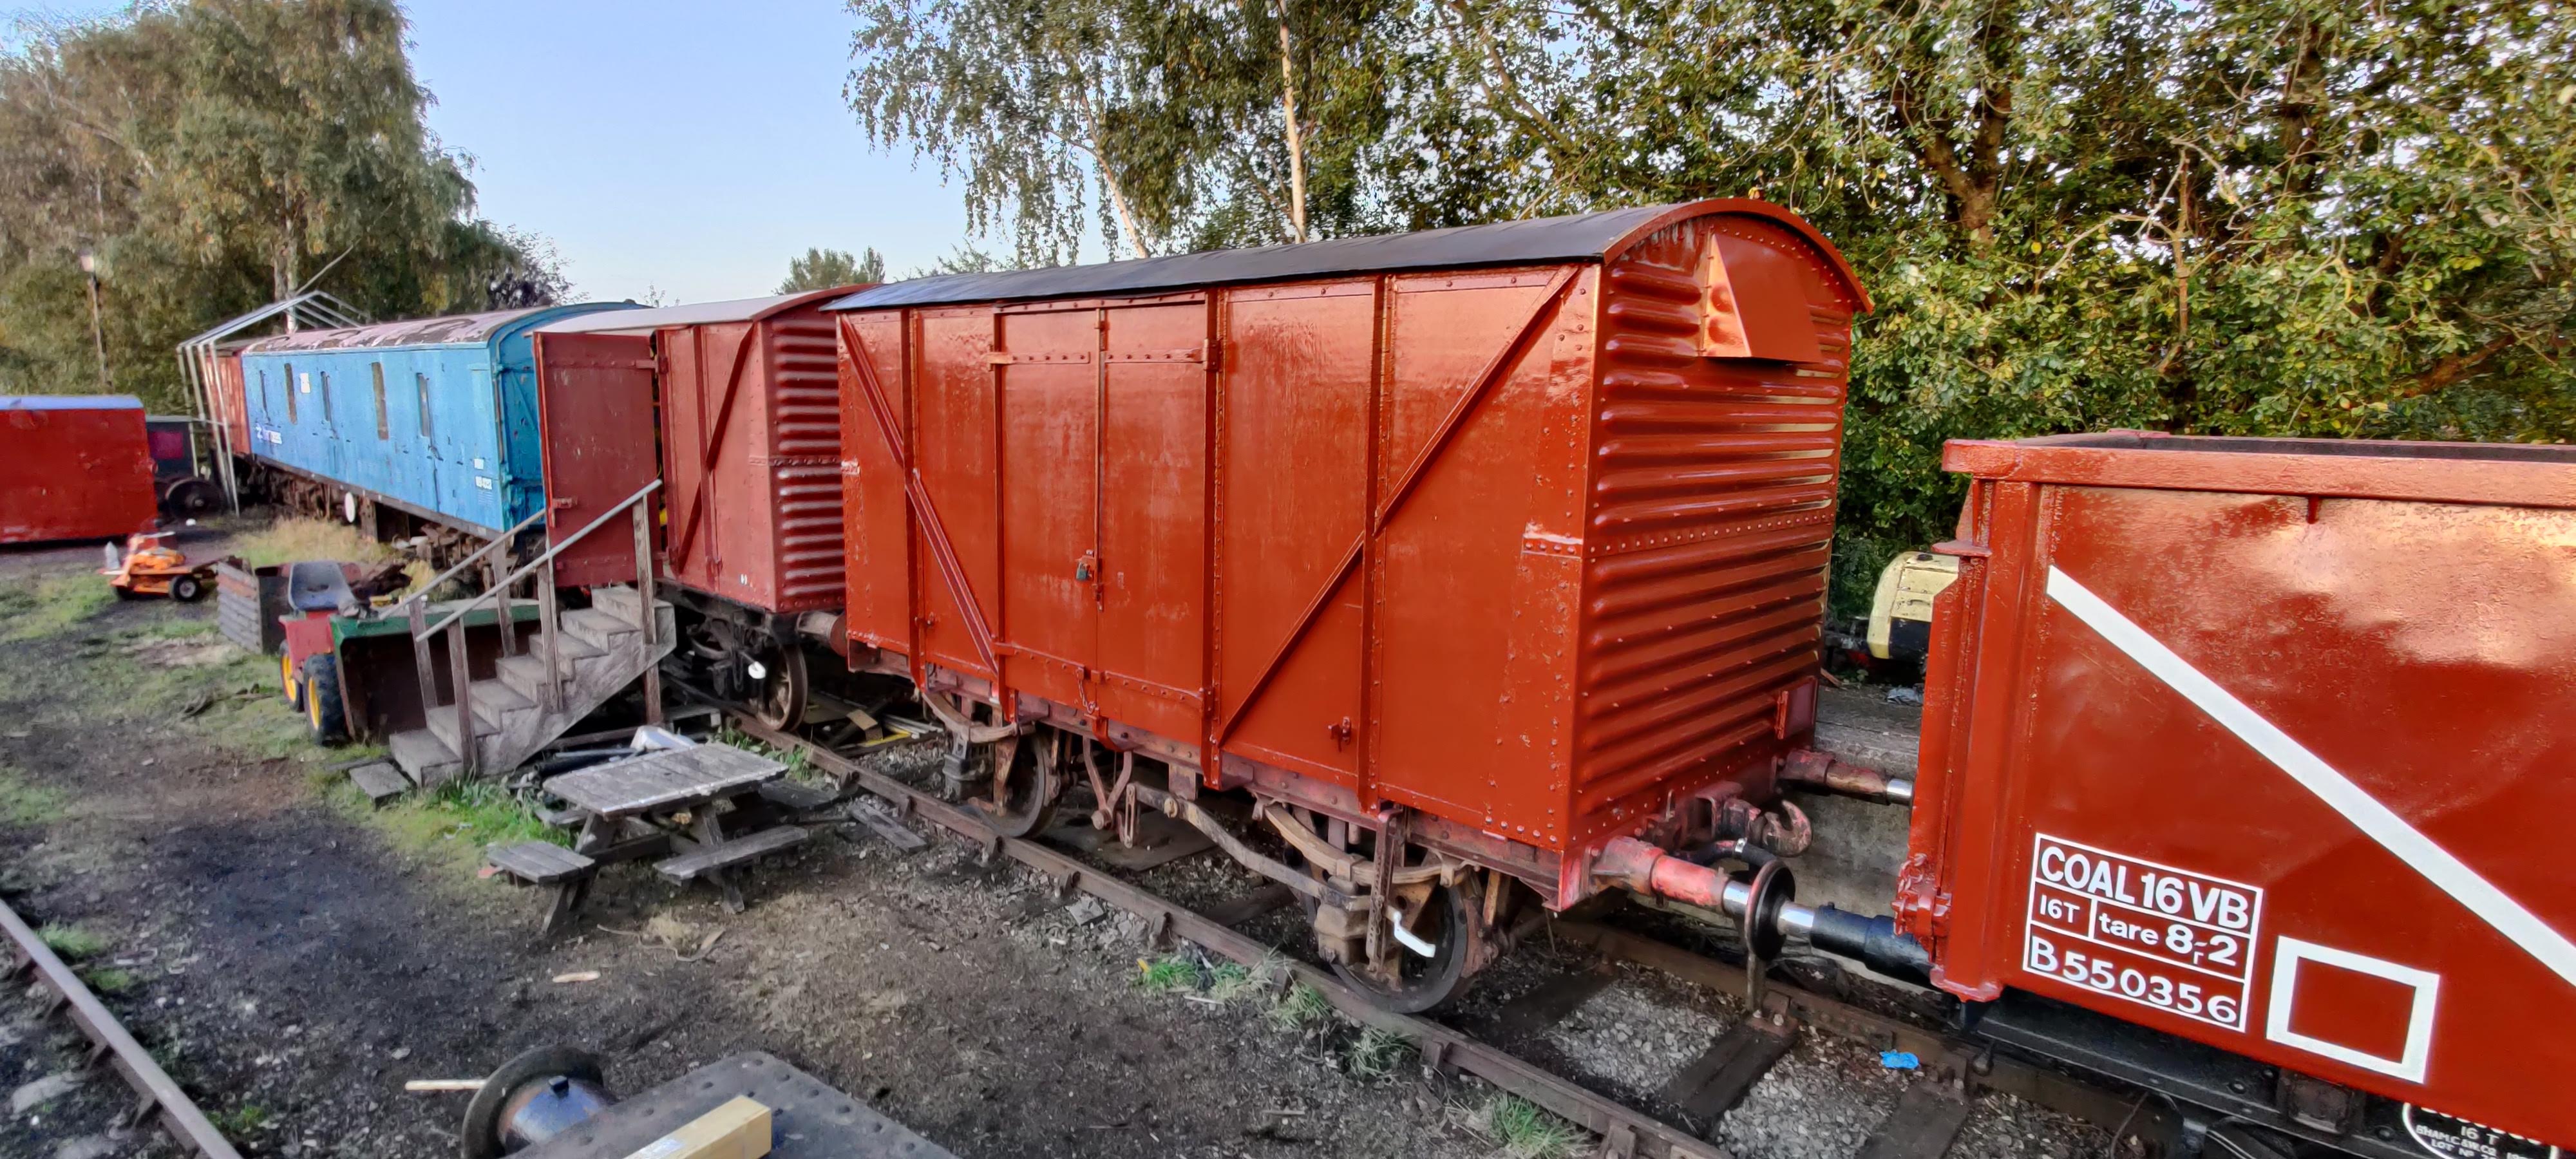
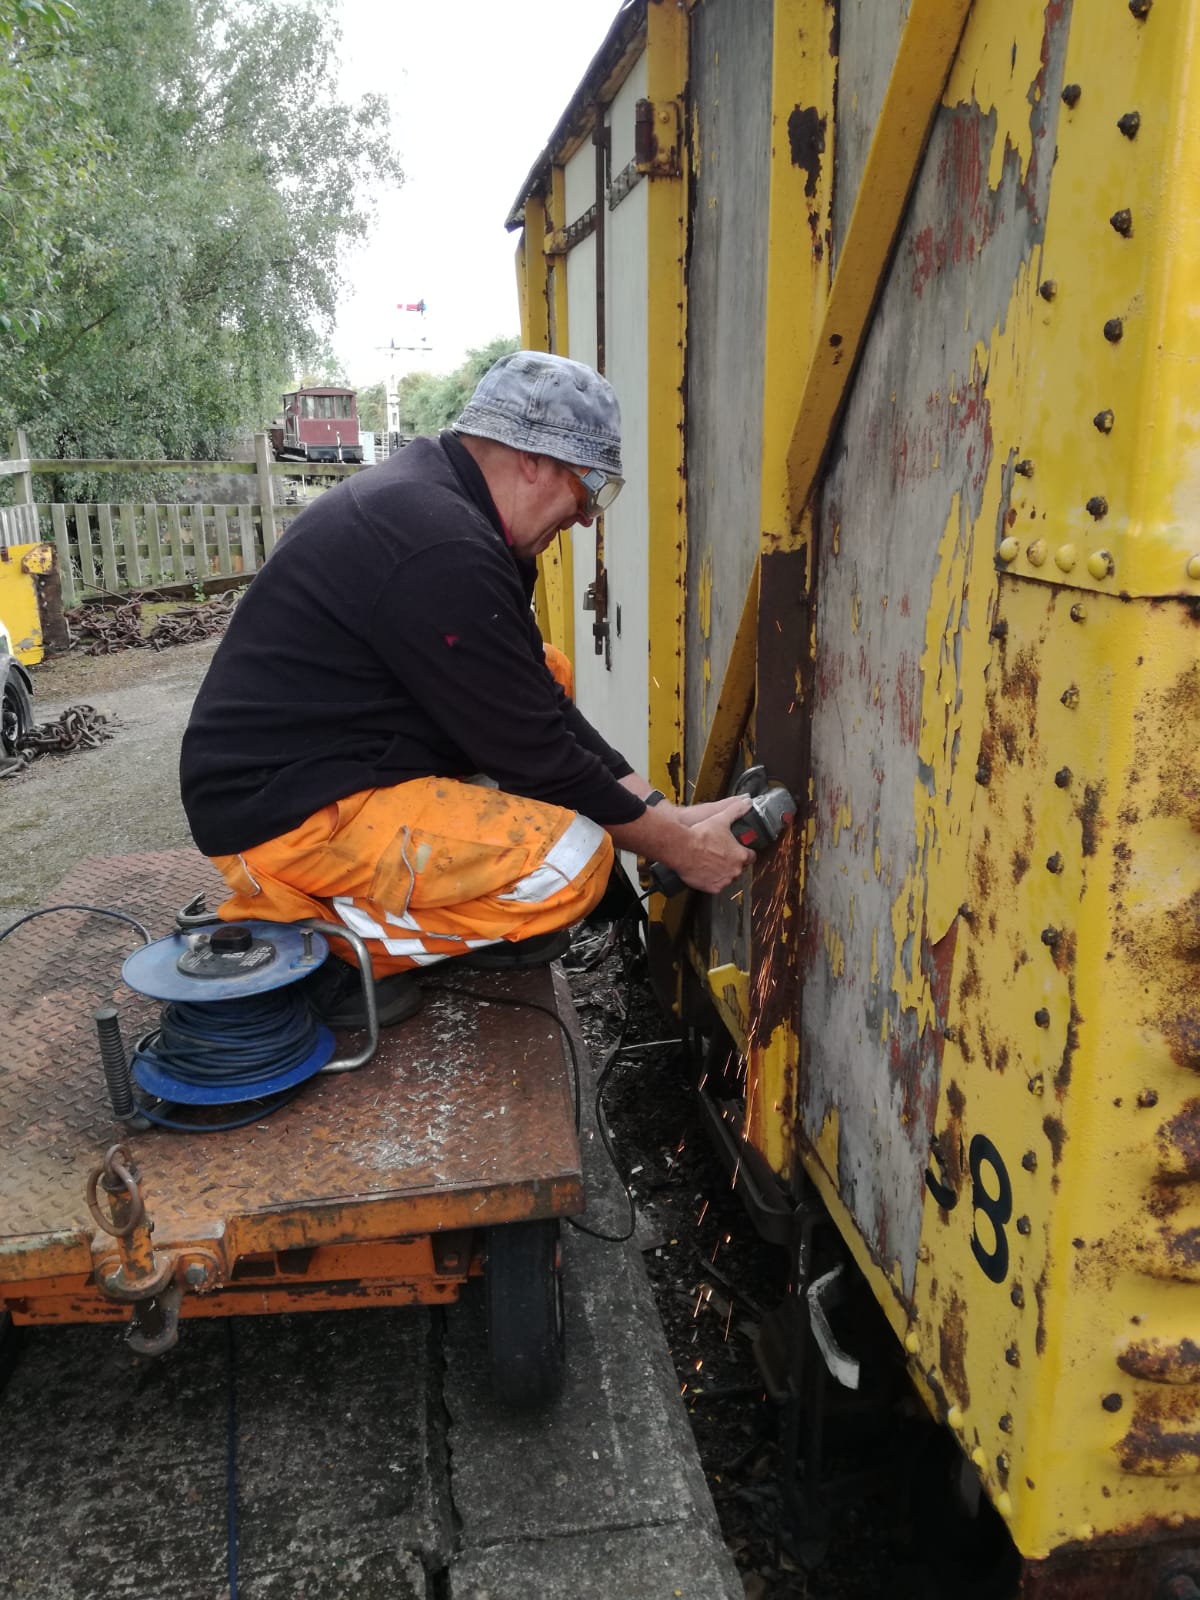
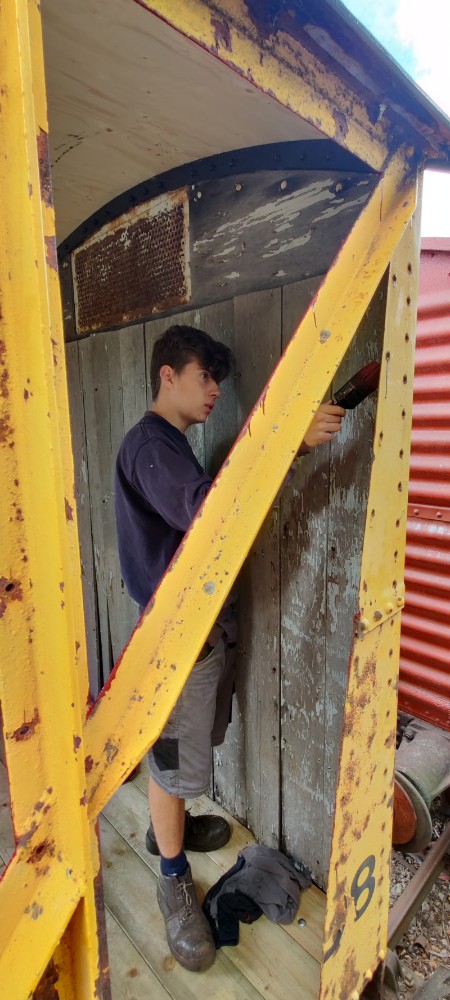
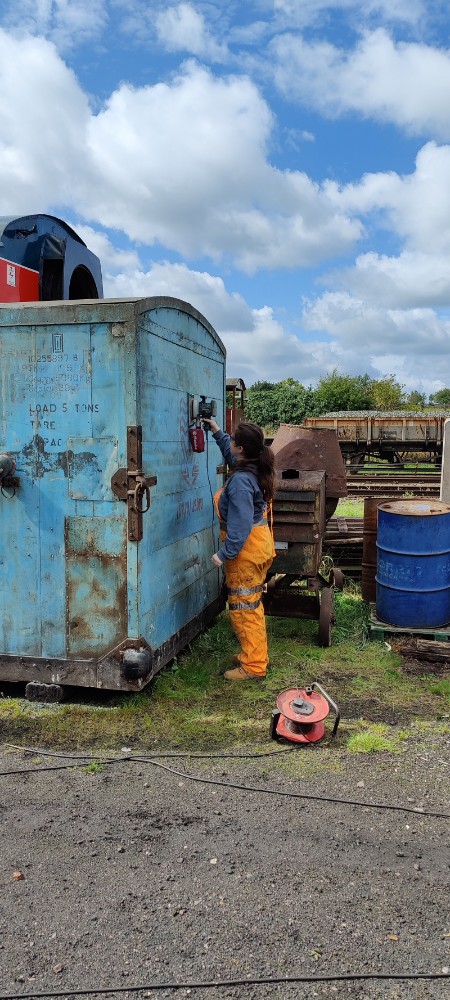
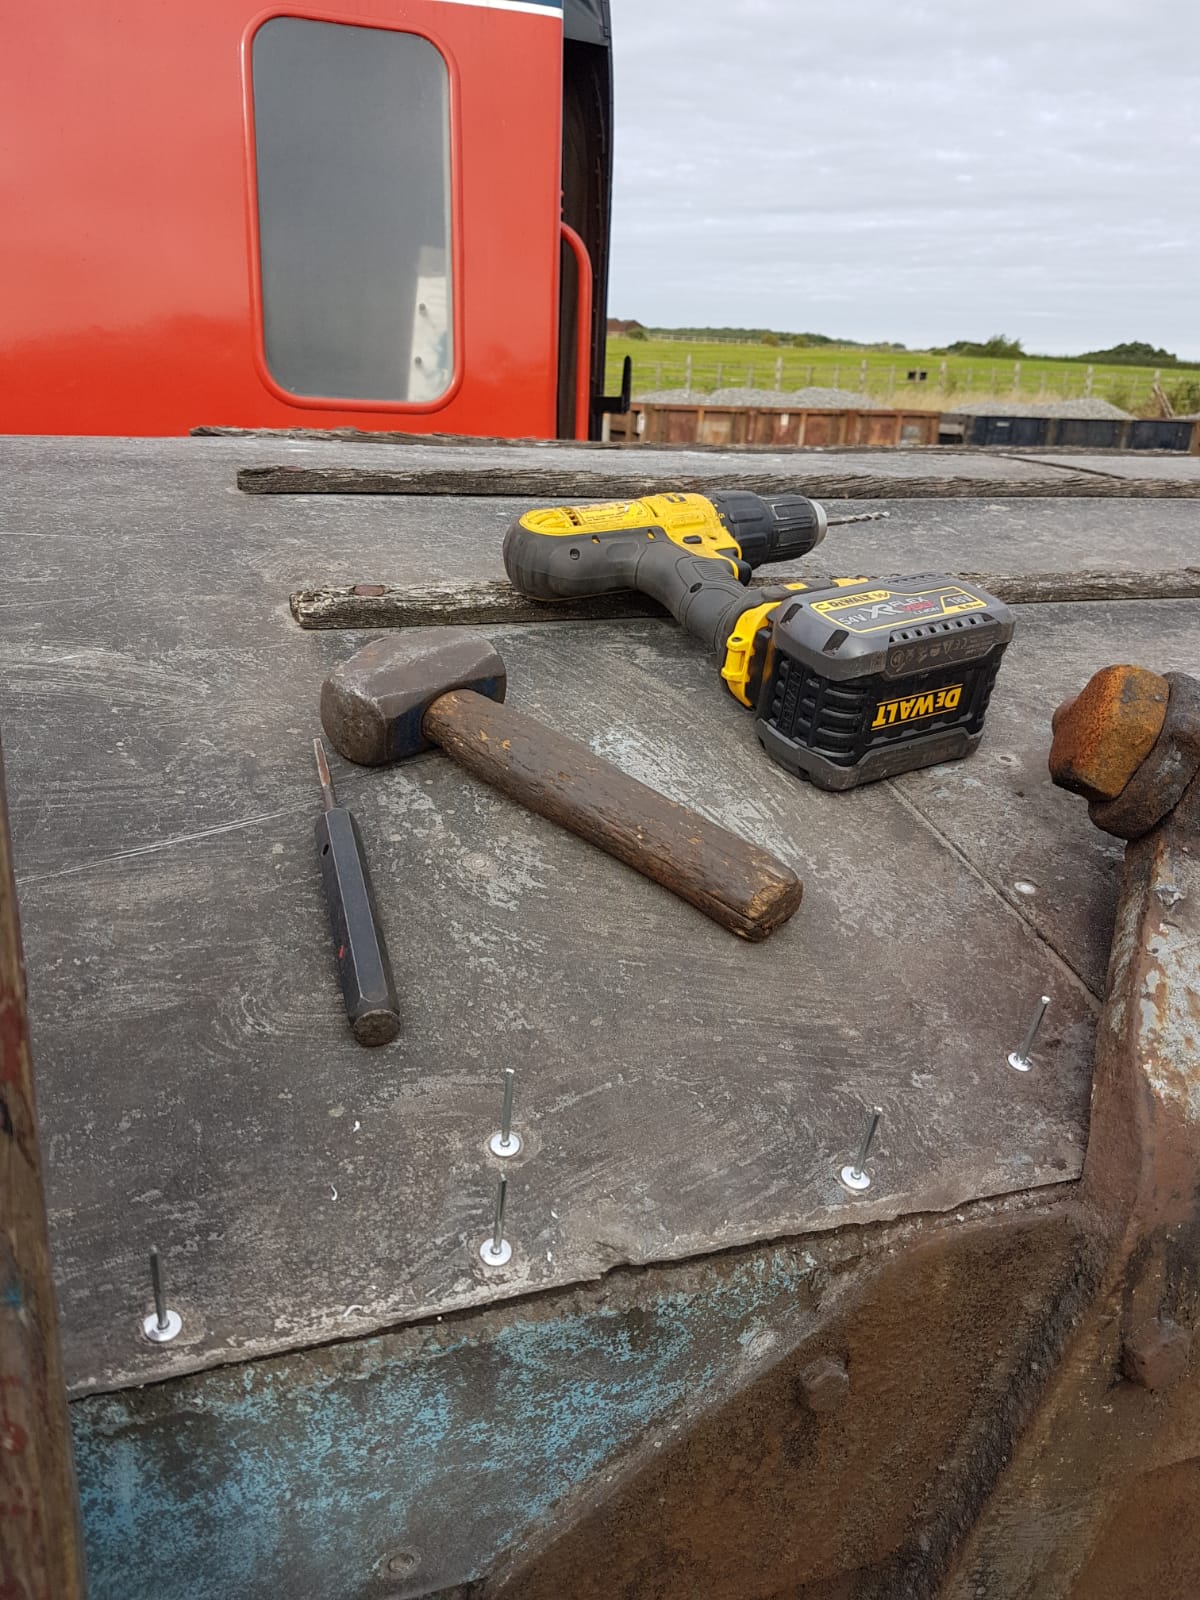
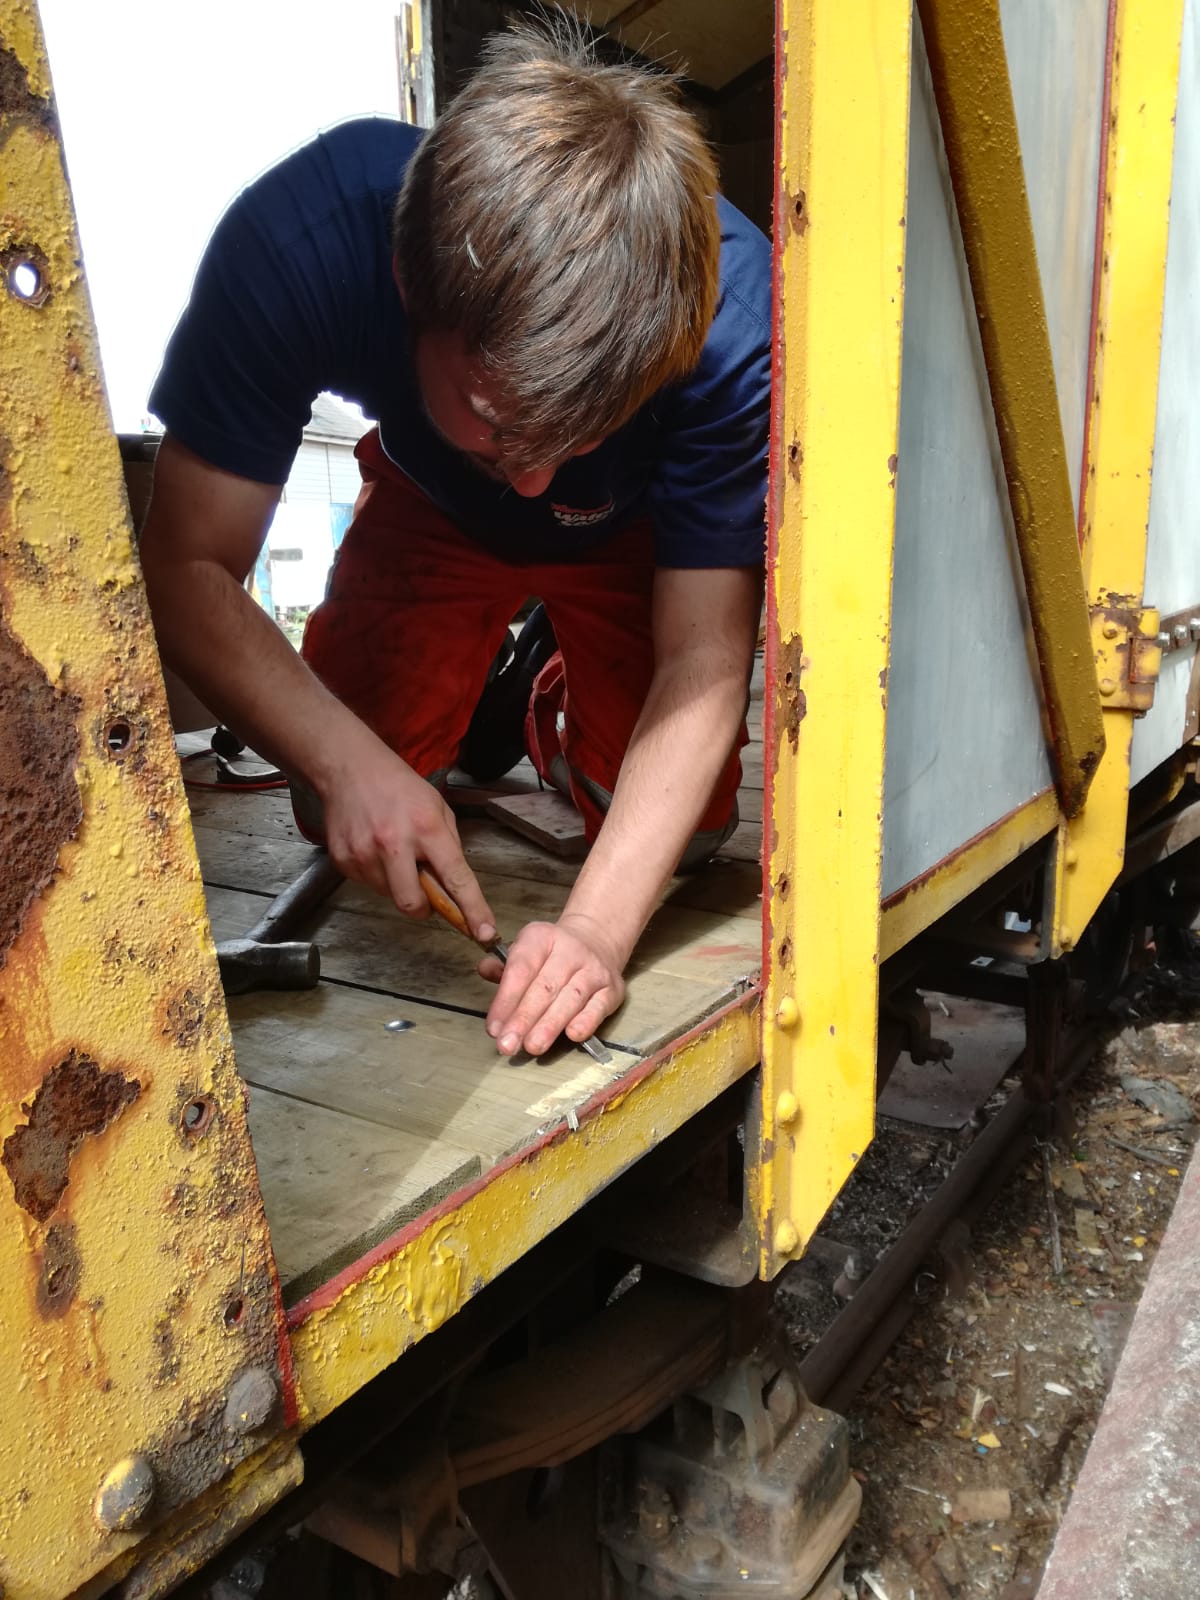
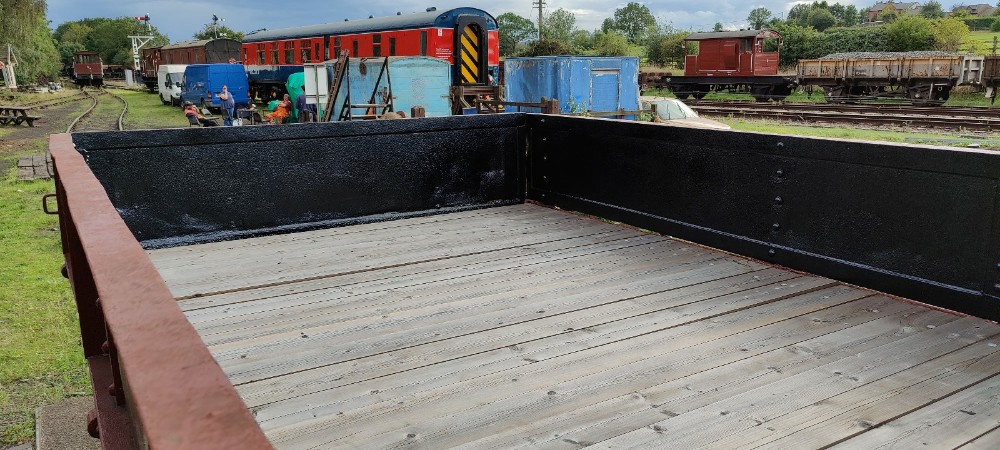
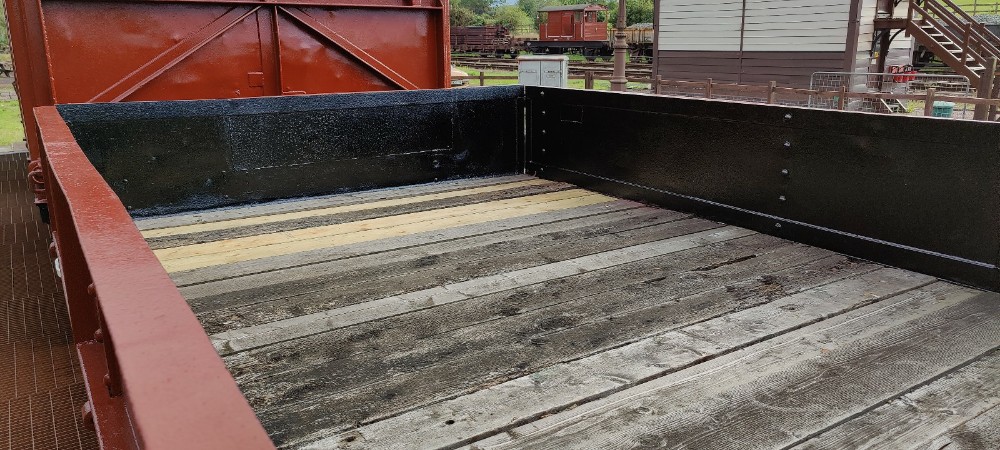
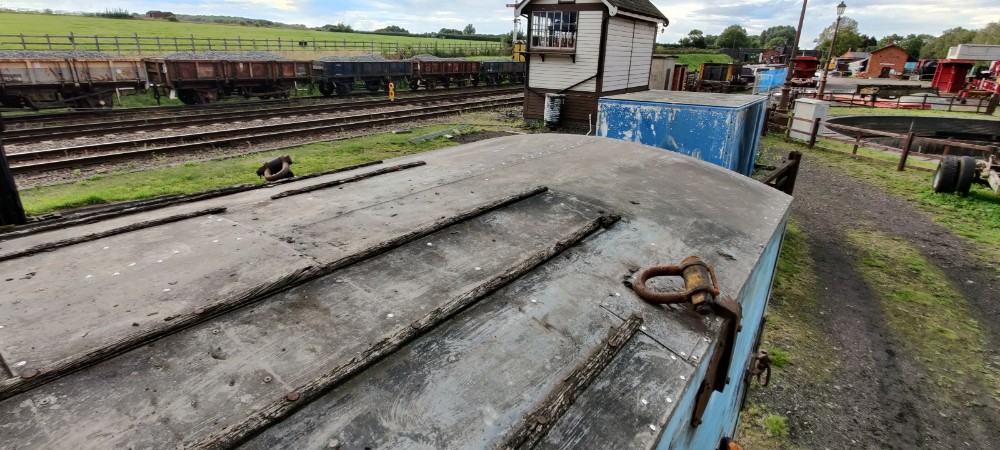
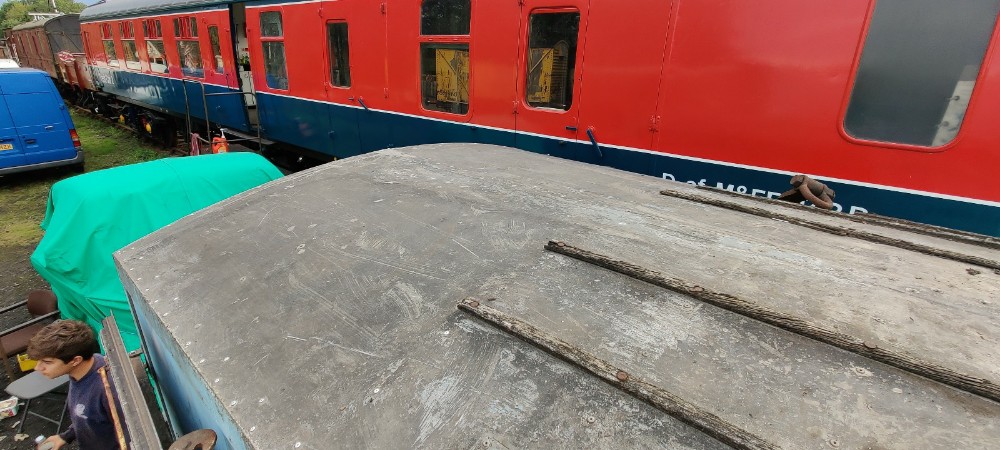
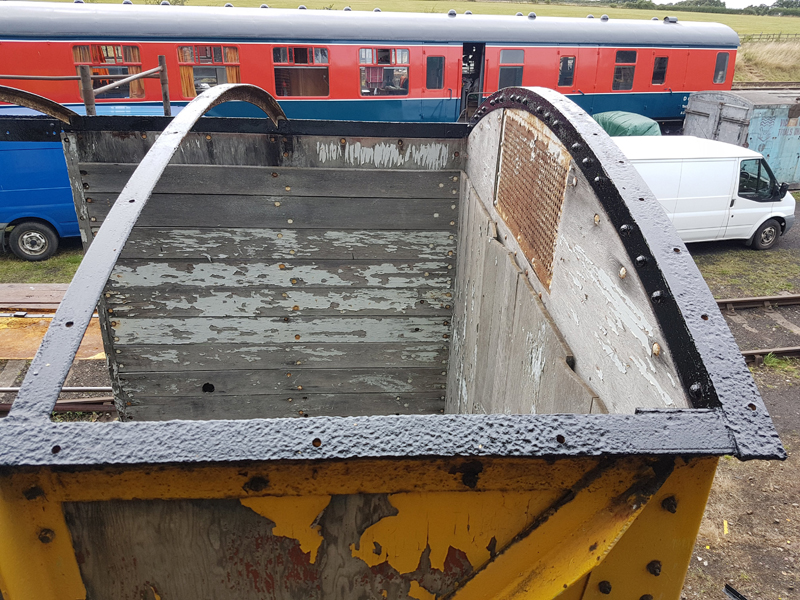
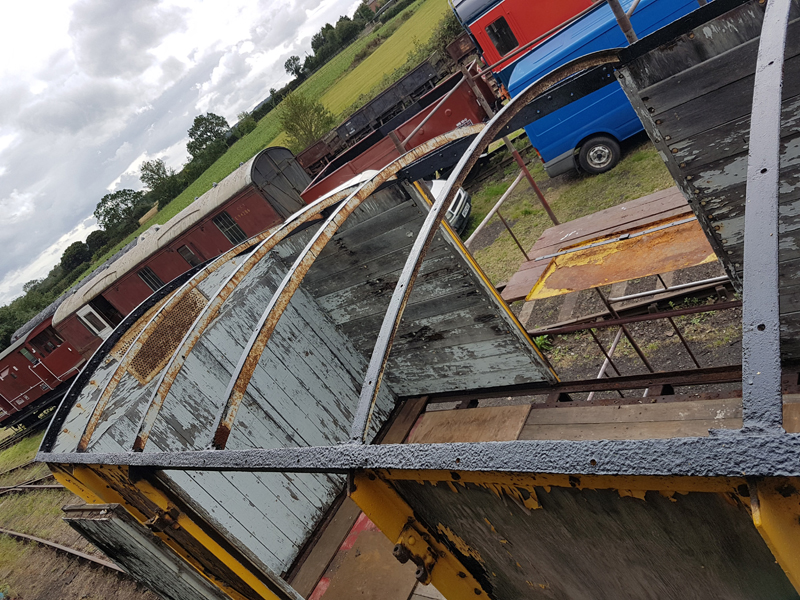
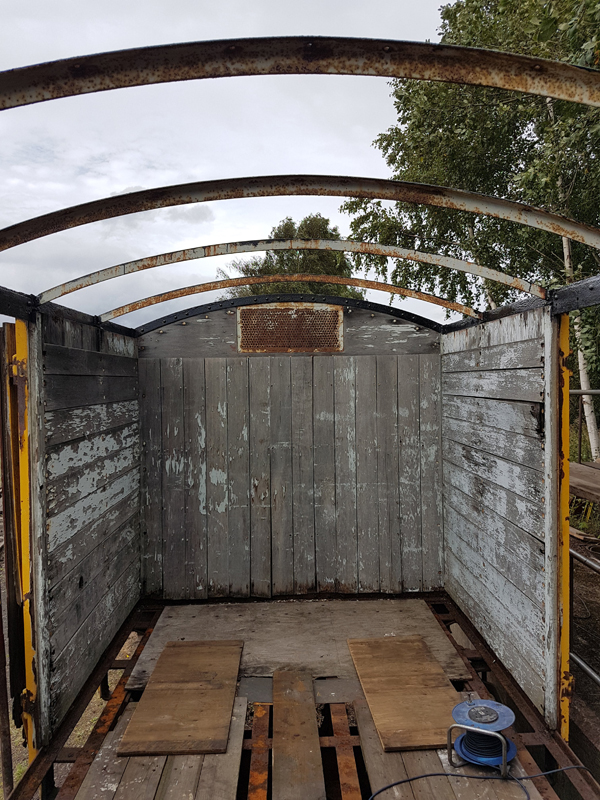
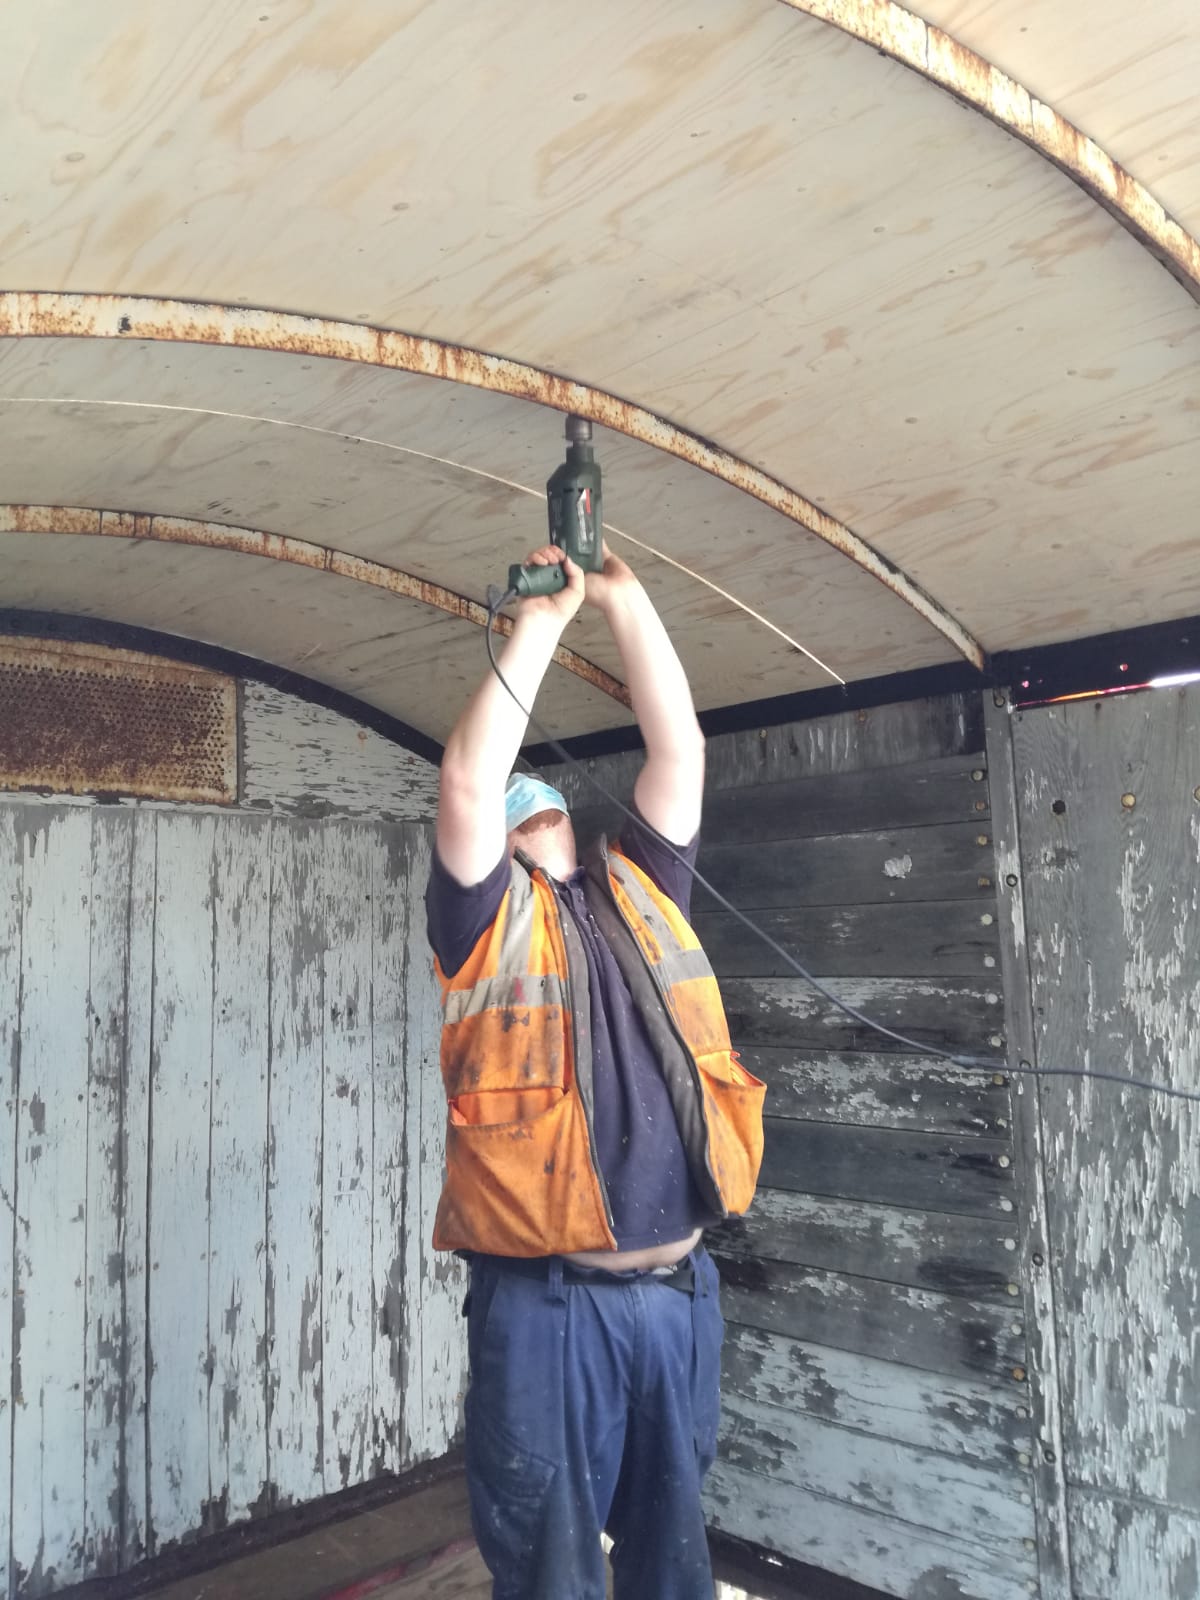
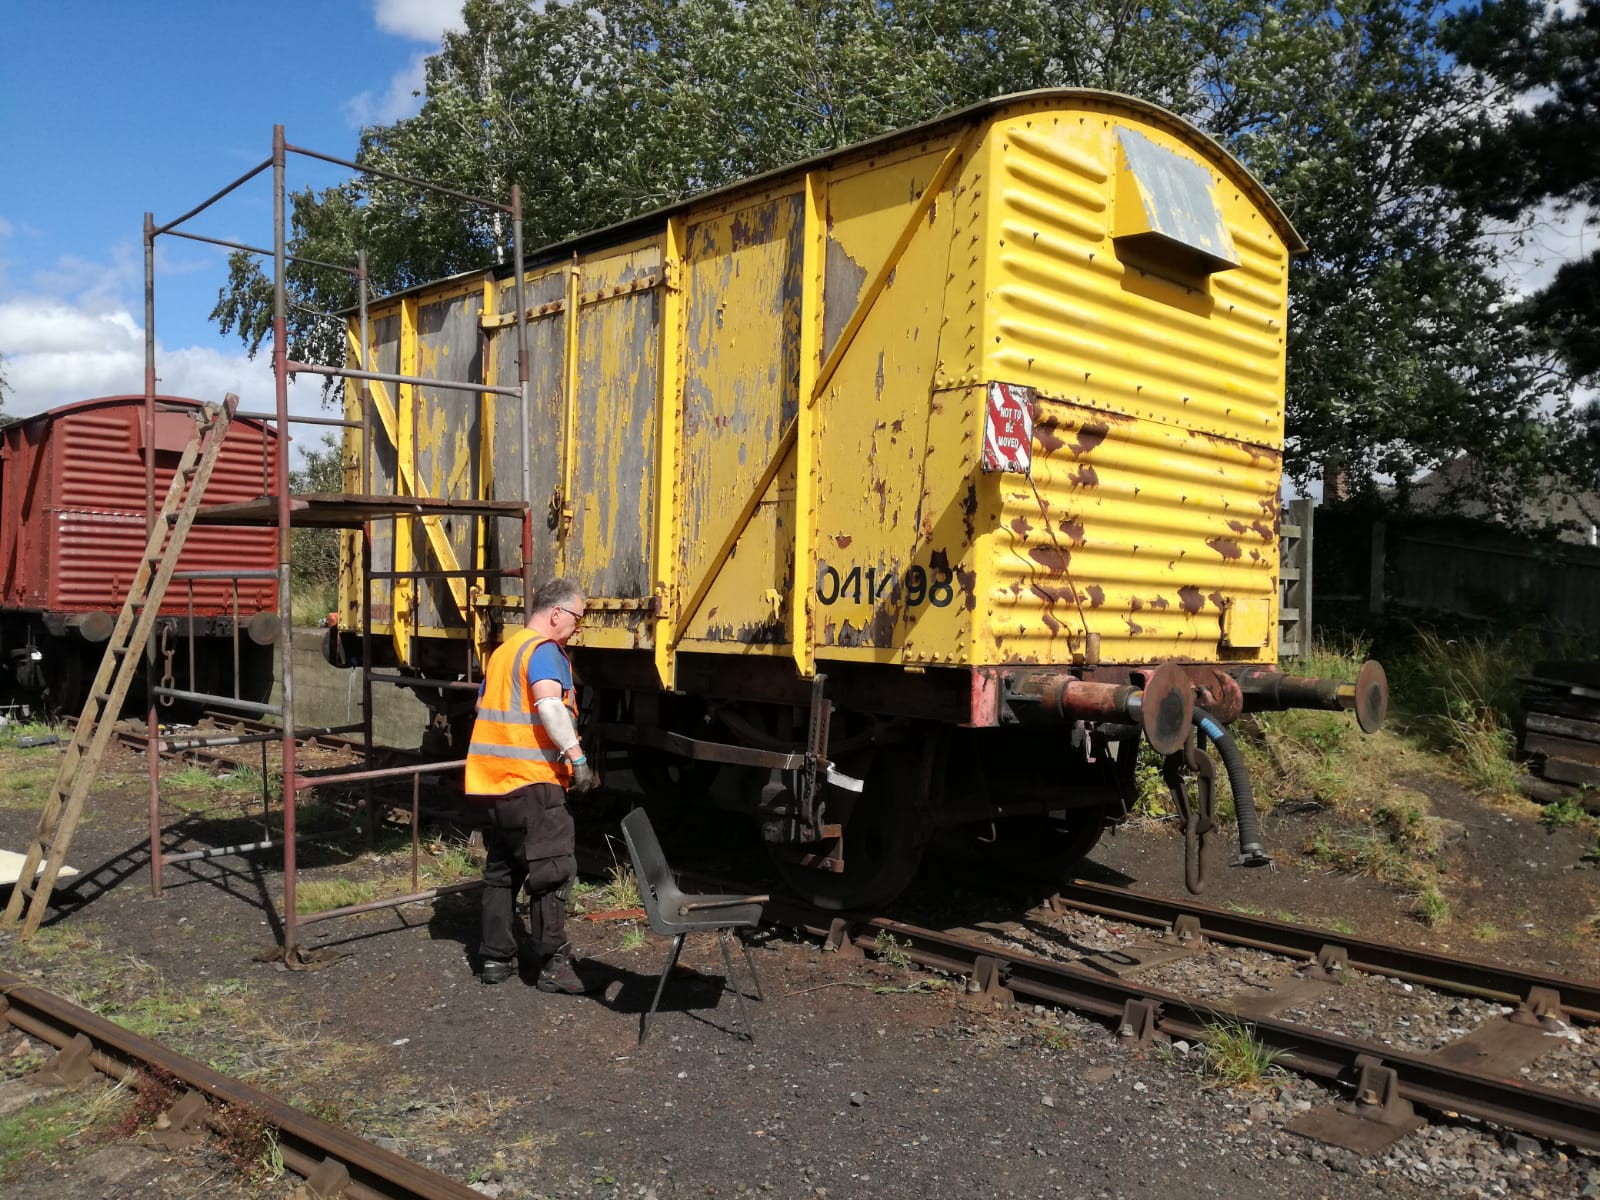
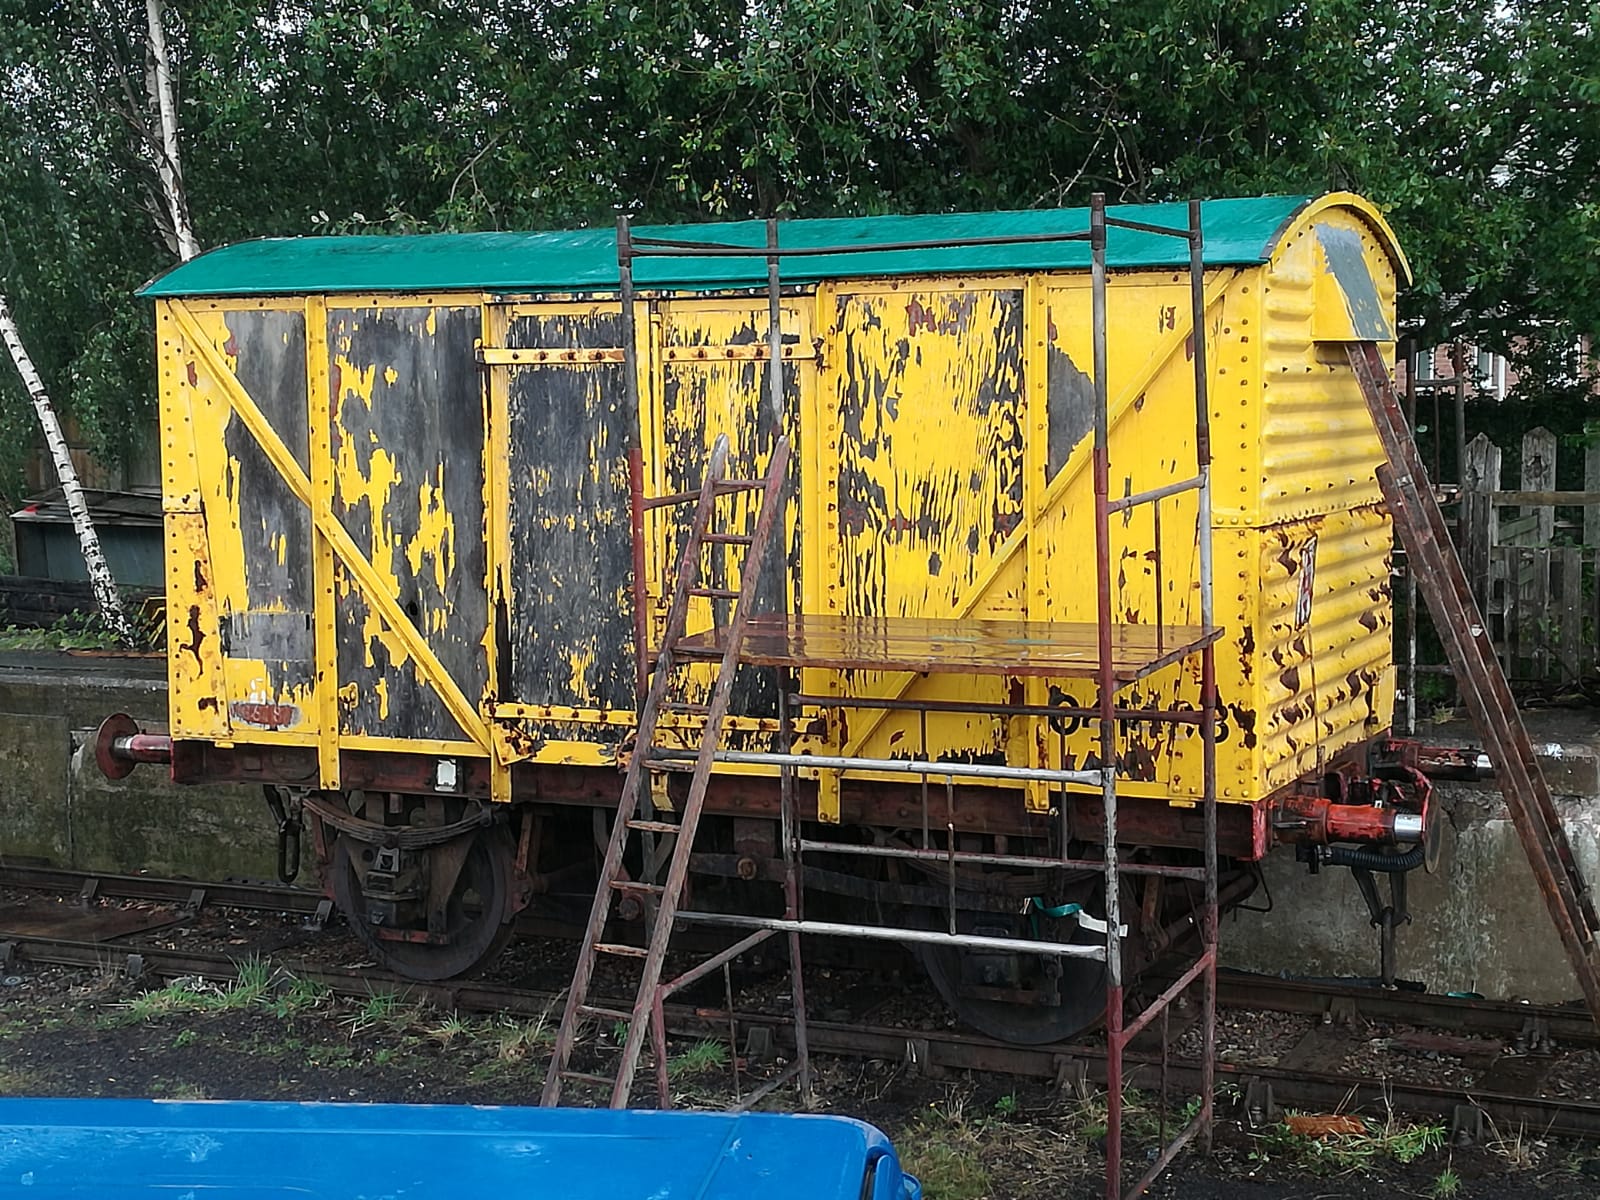
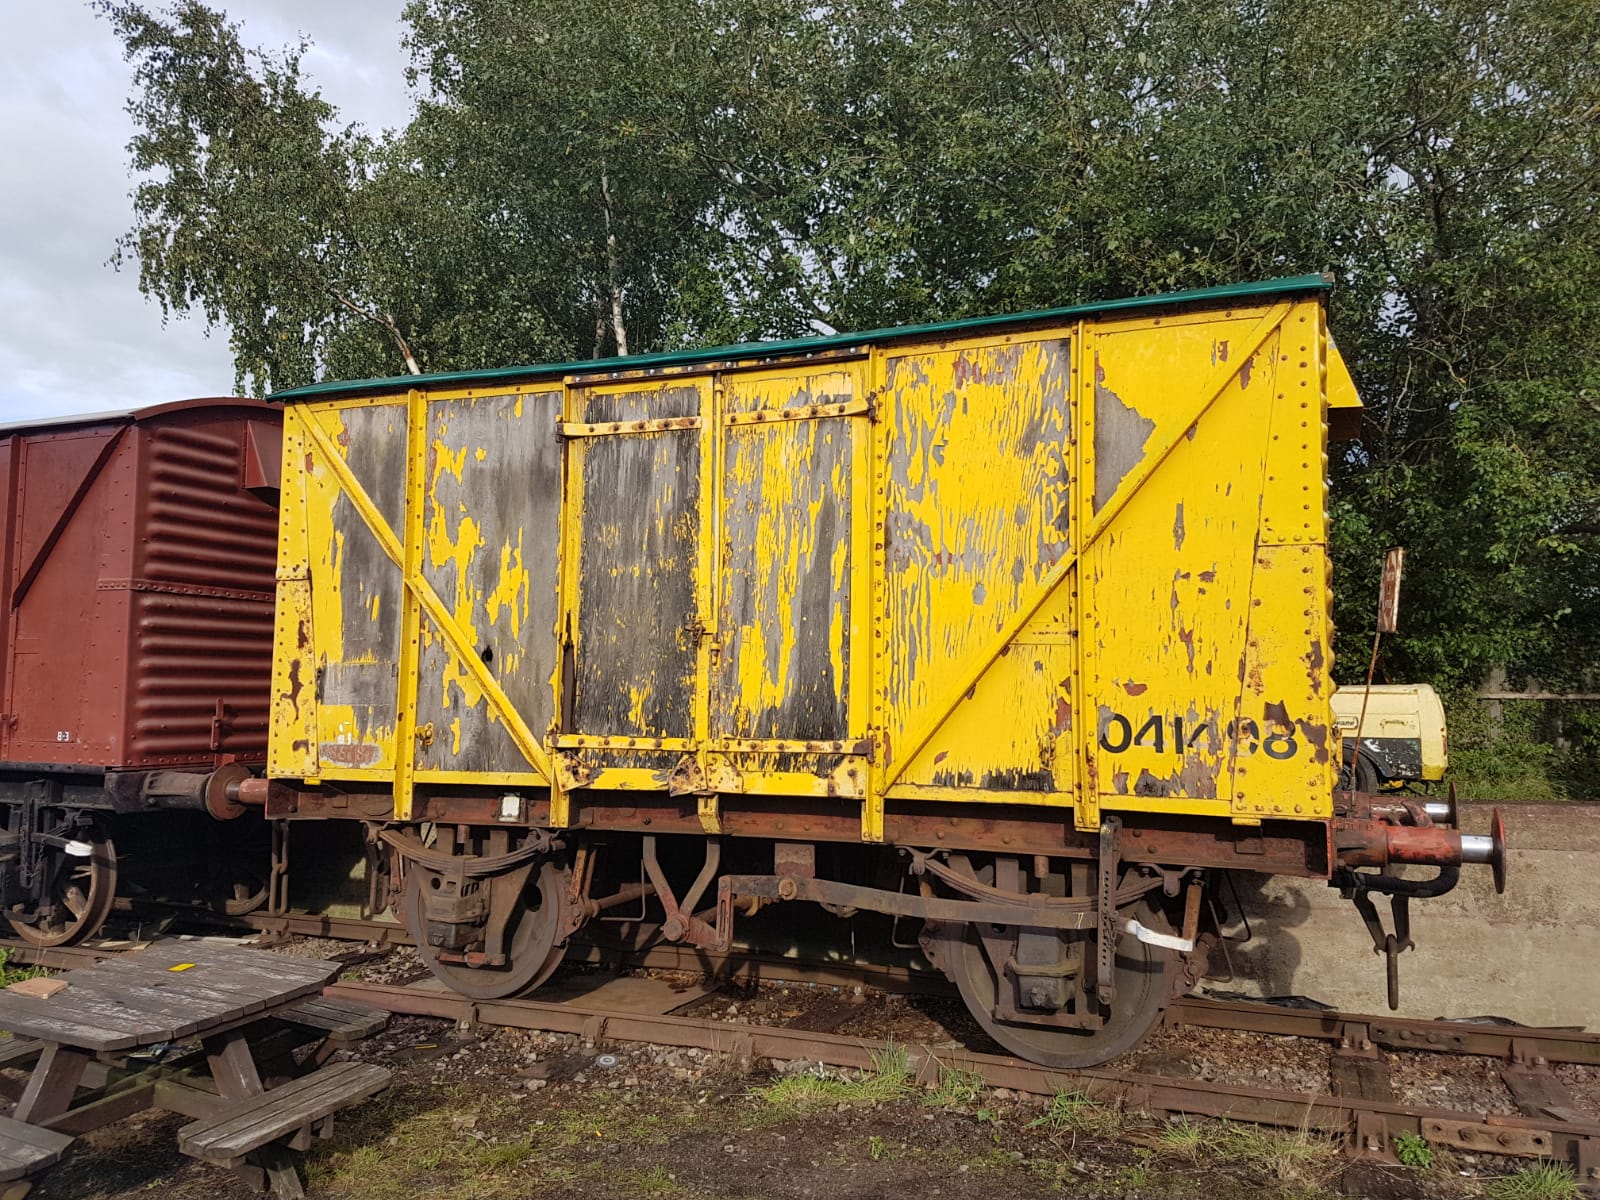
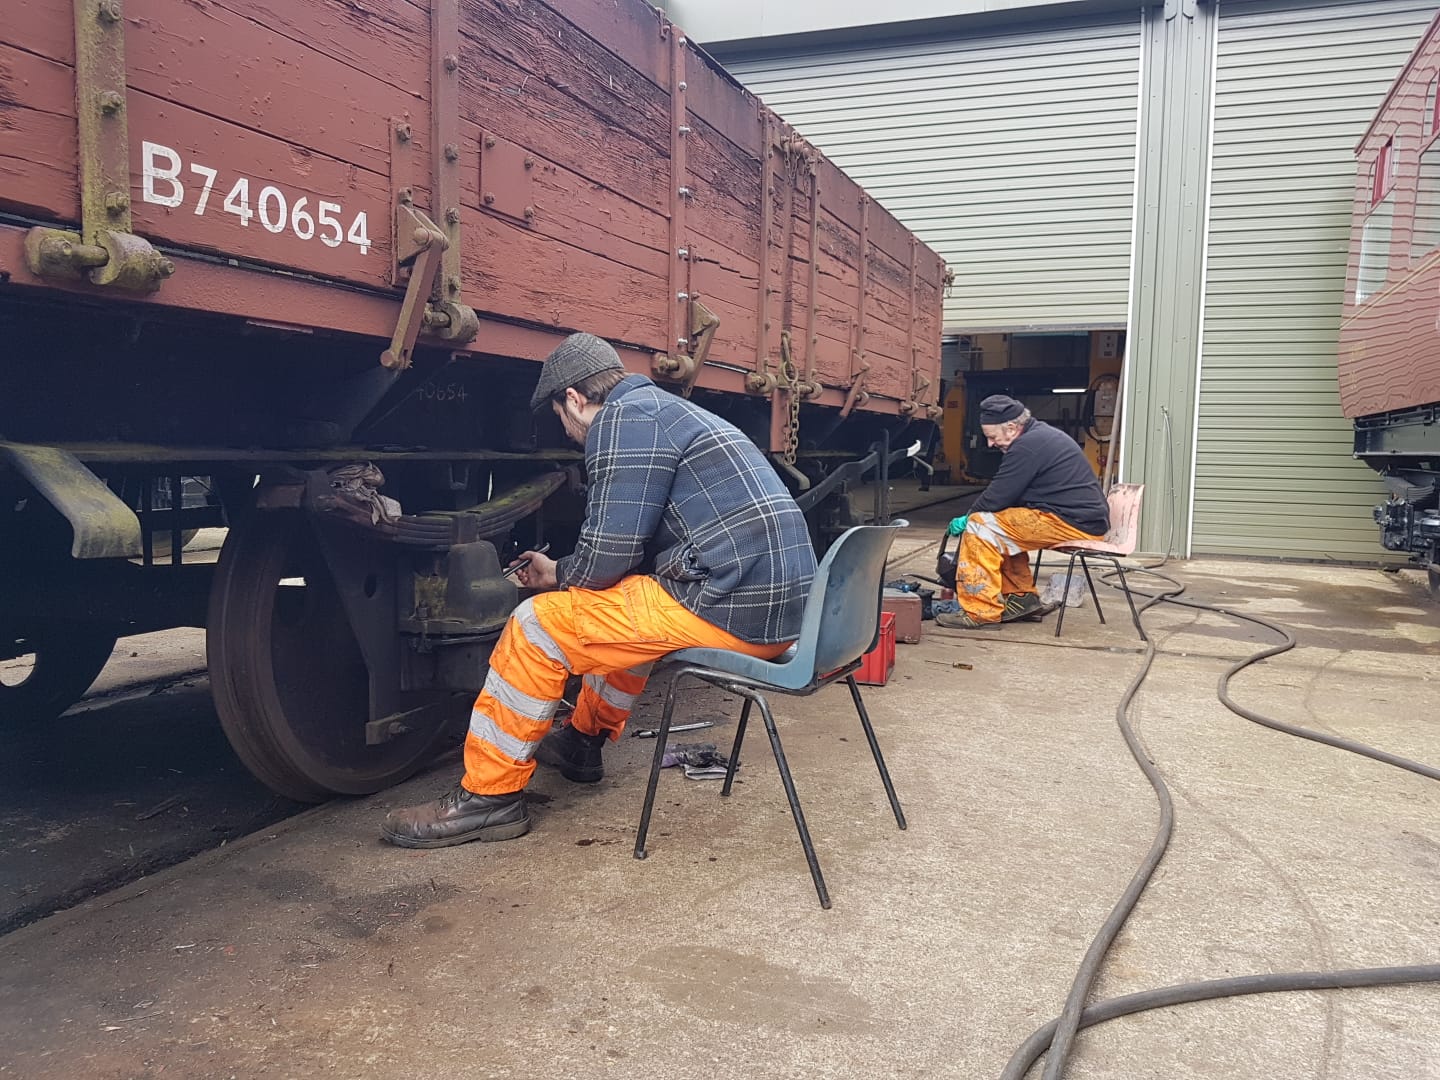
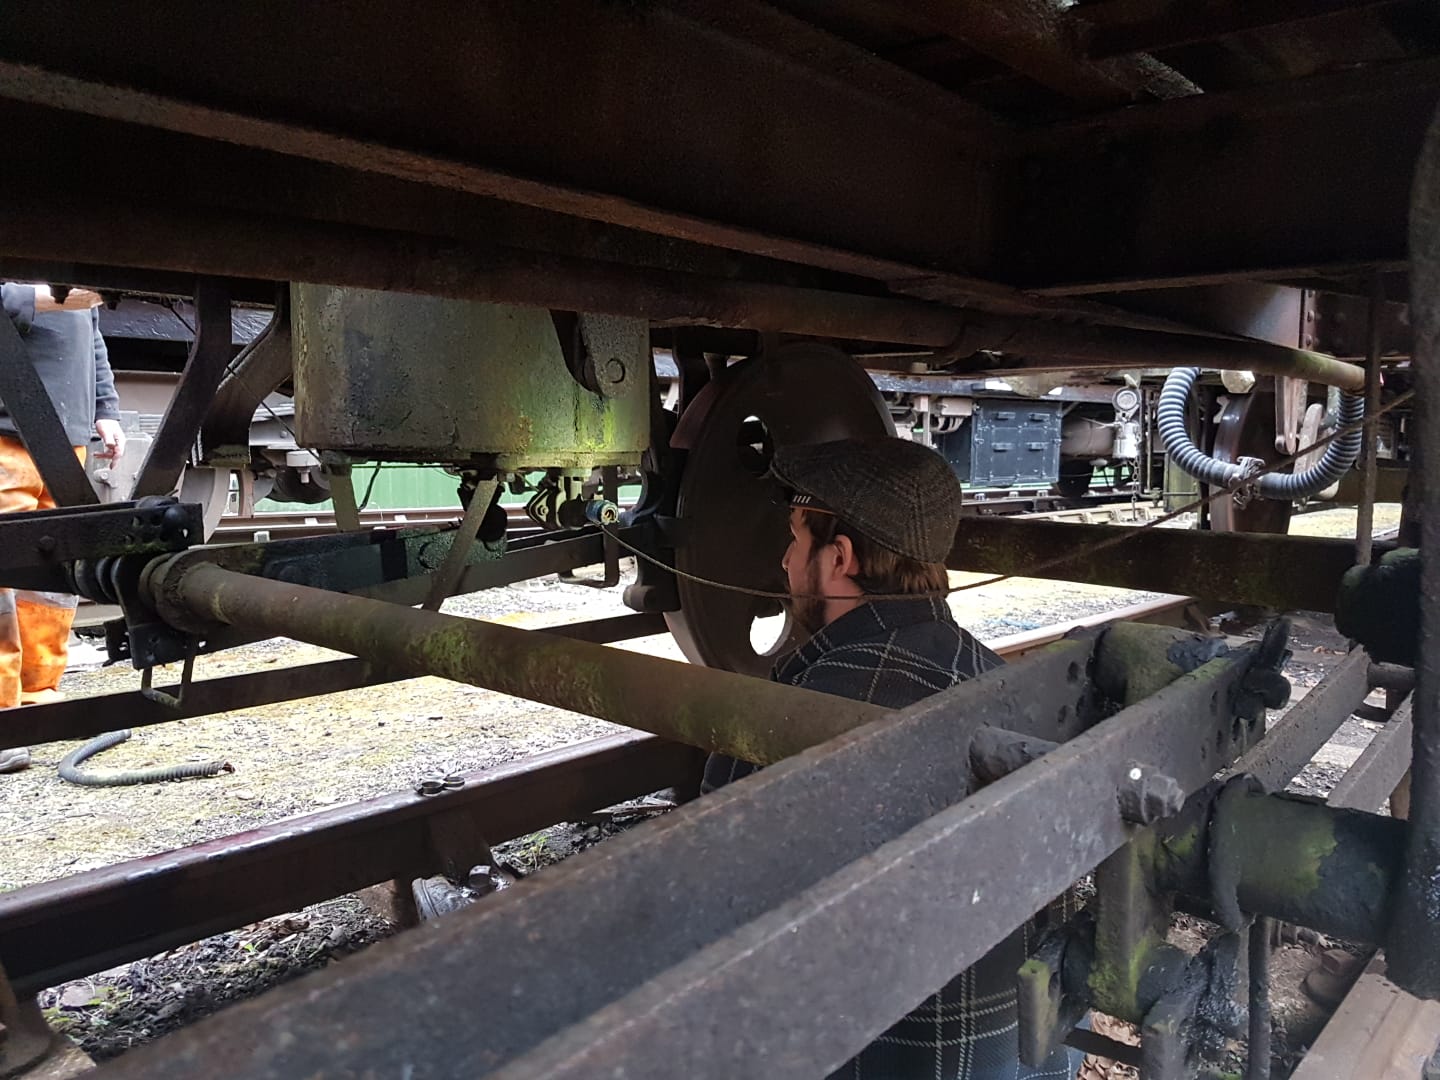
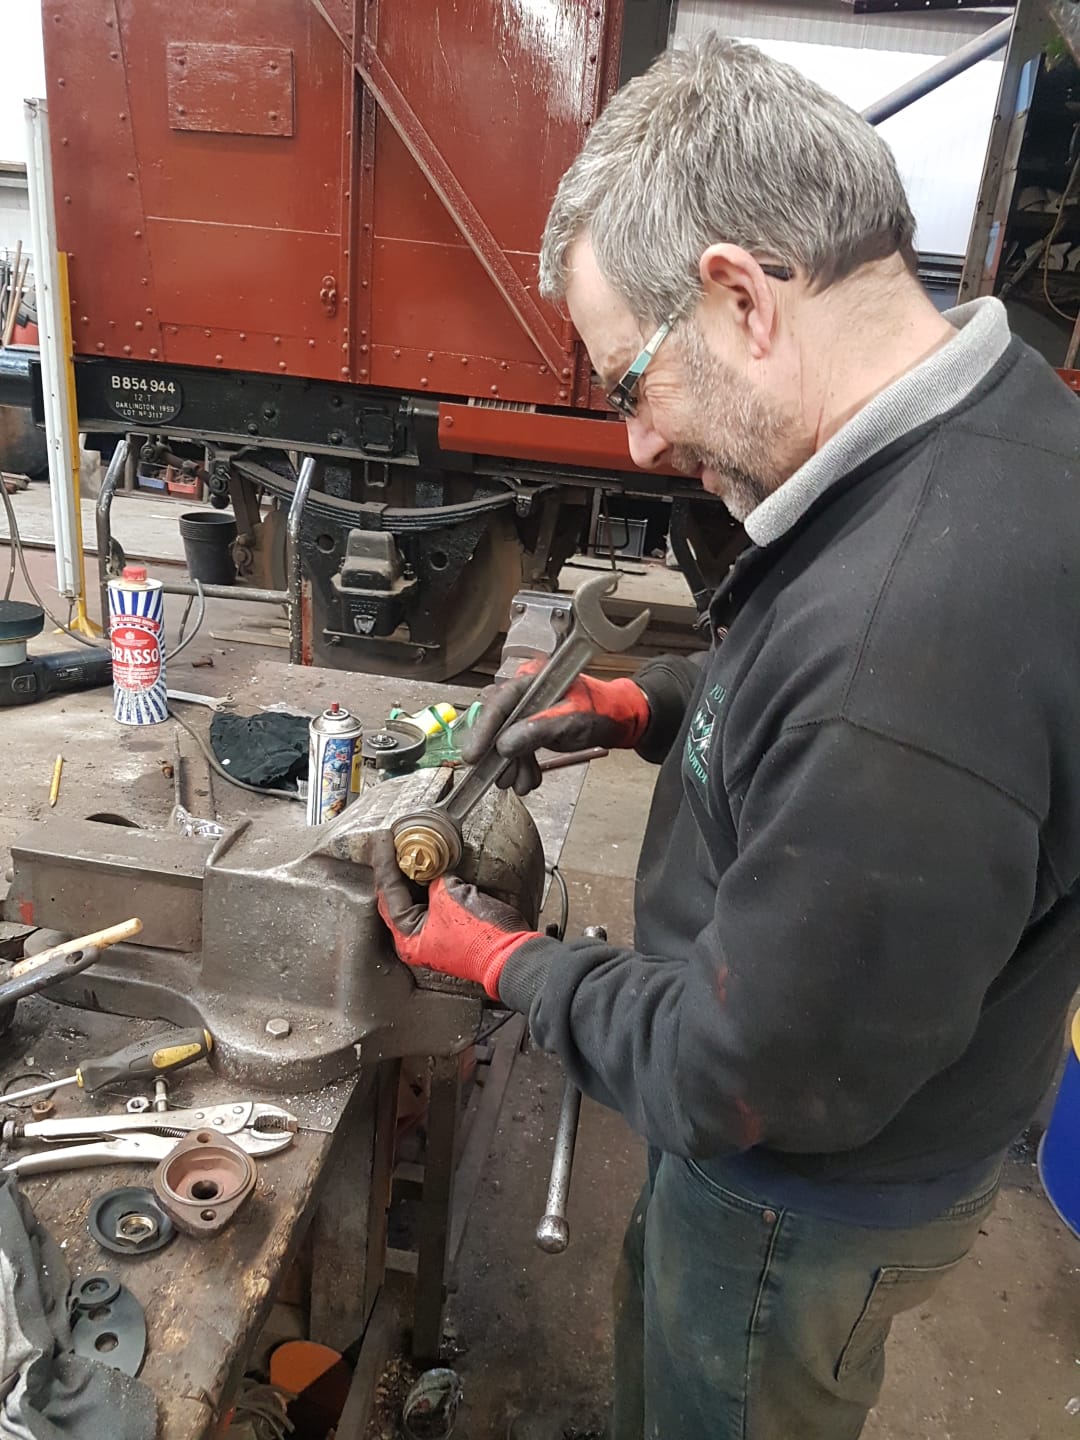
    We’re back again for another weekend of maintenance, this time on a portion of the mixed freight set. Those being: B740654, B721587, B724570, E301588, B732357, E212315, B916549 and B425356. As per the preceding few weeks, the wagons received an axlebox exam and the brake gear oiled. Dave and I also inspected each vehicle, noting down items/issues as required.

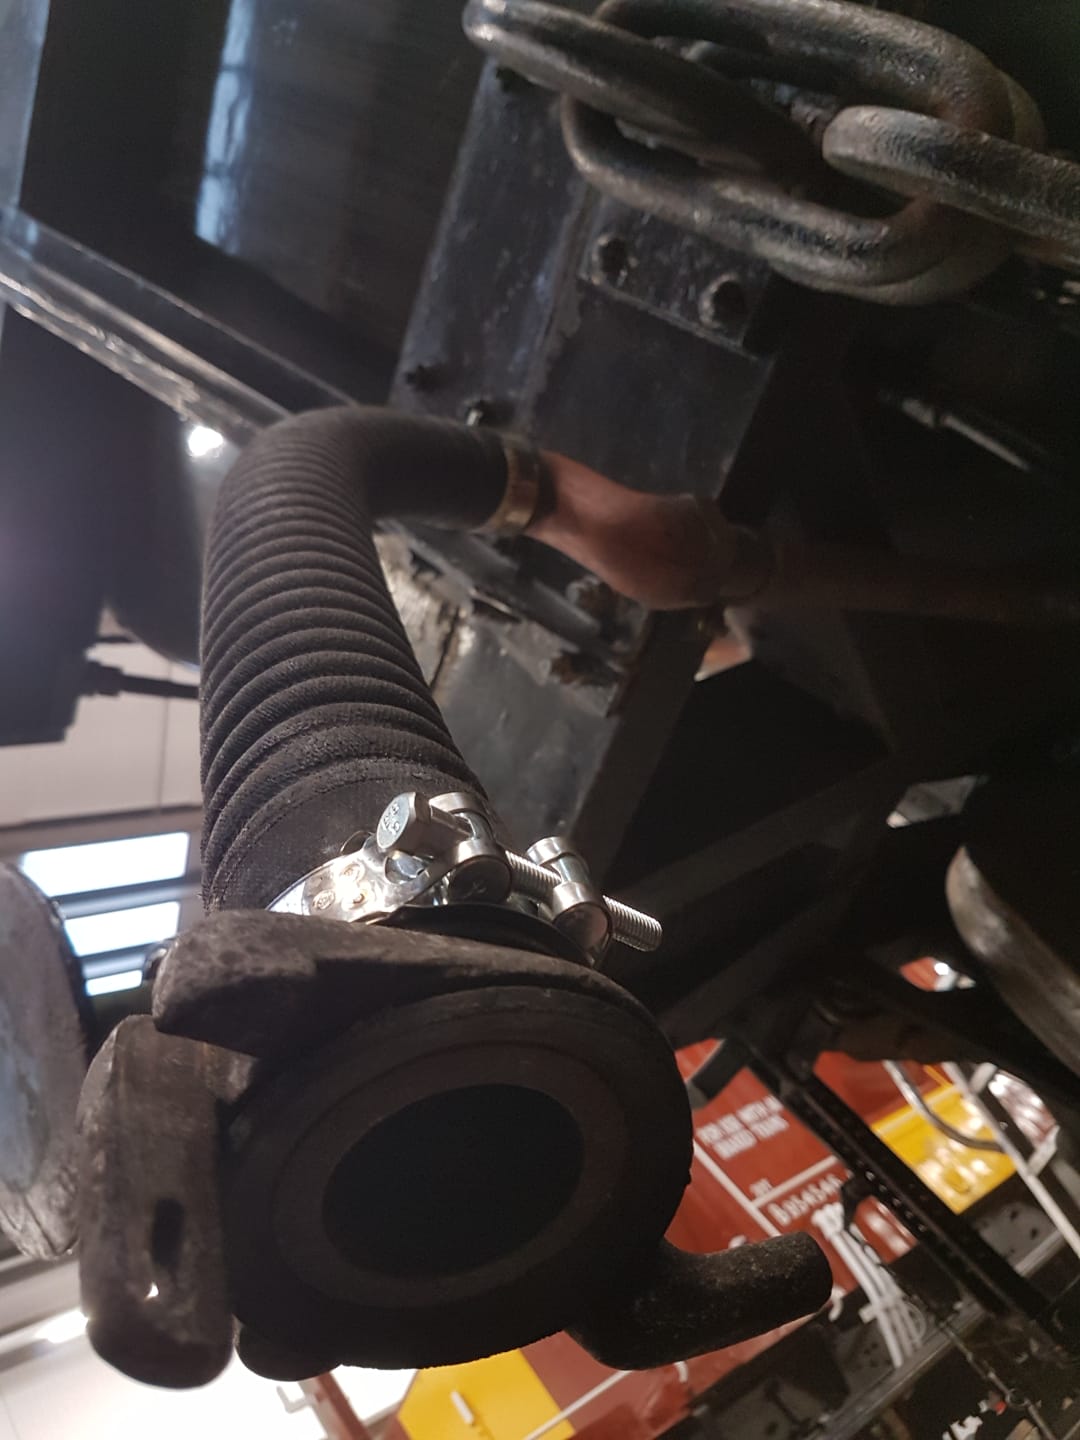
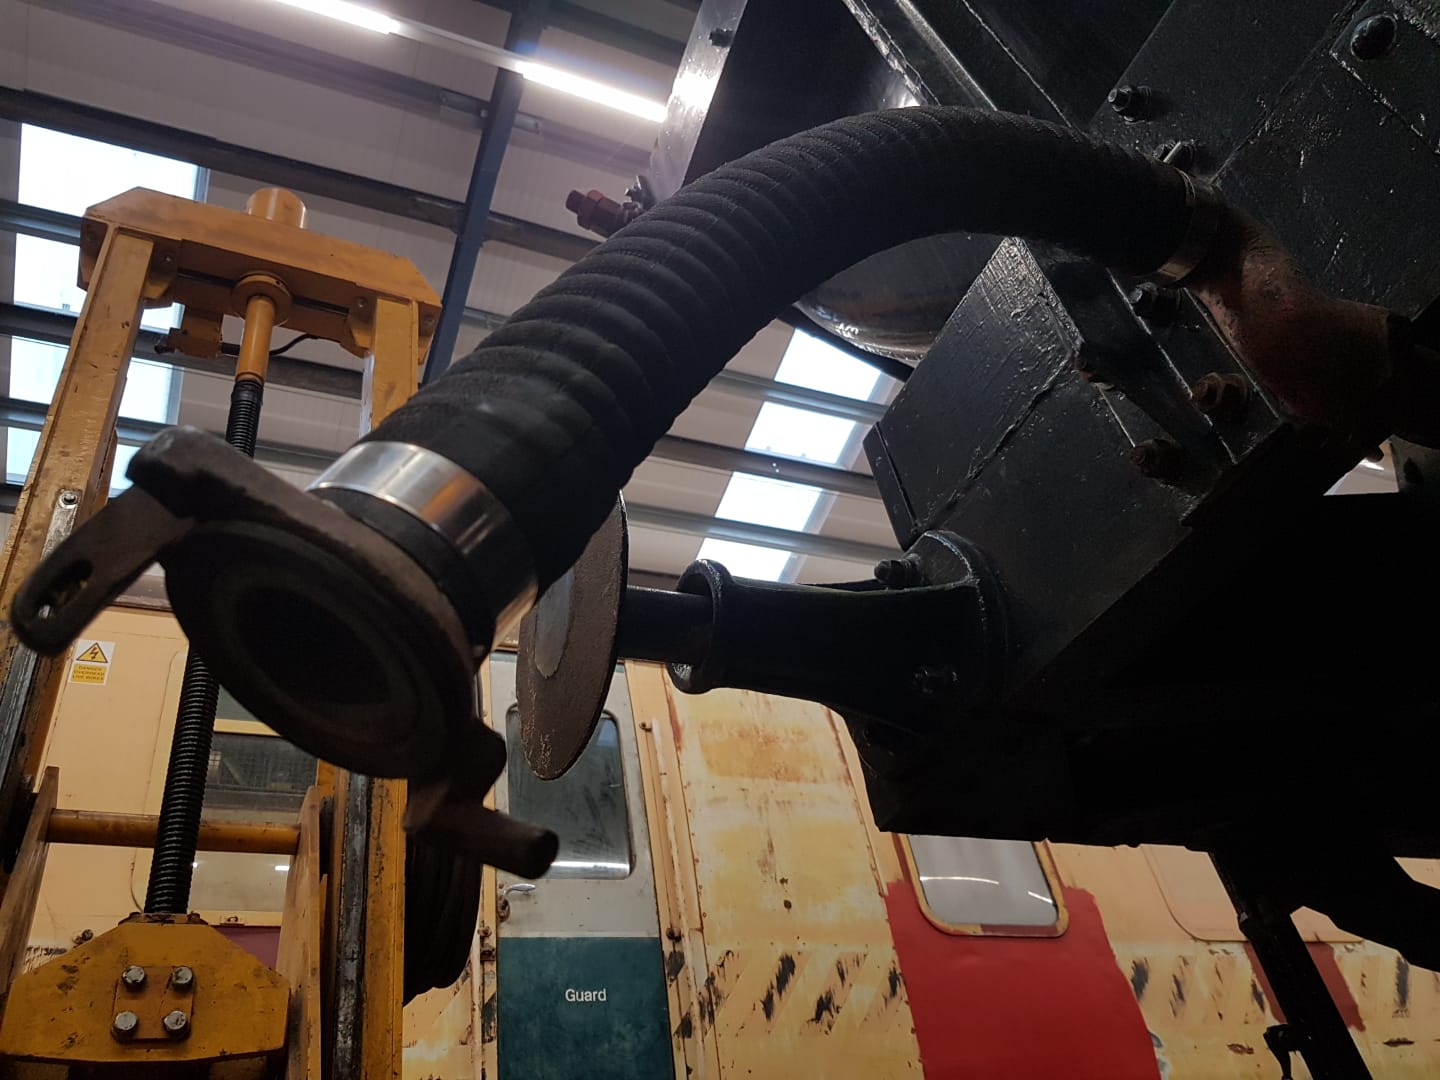
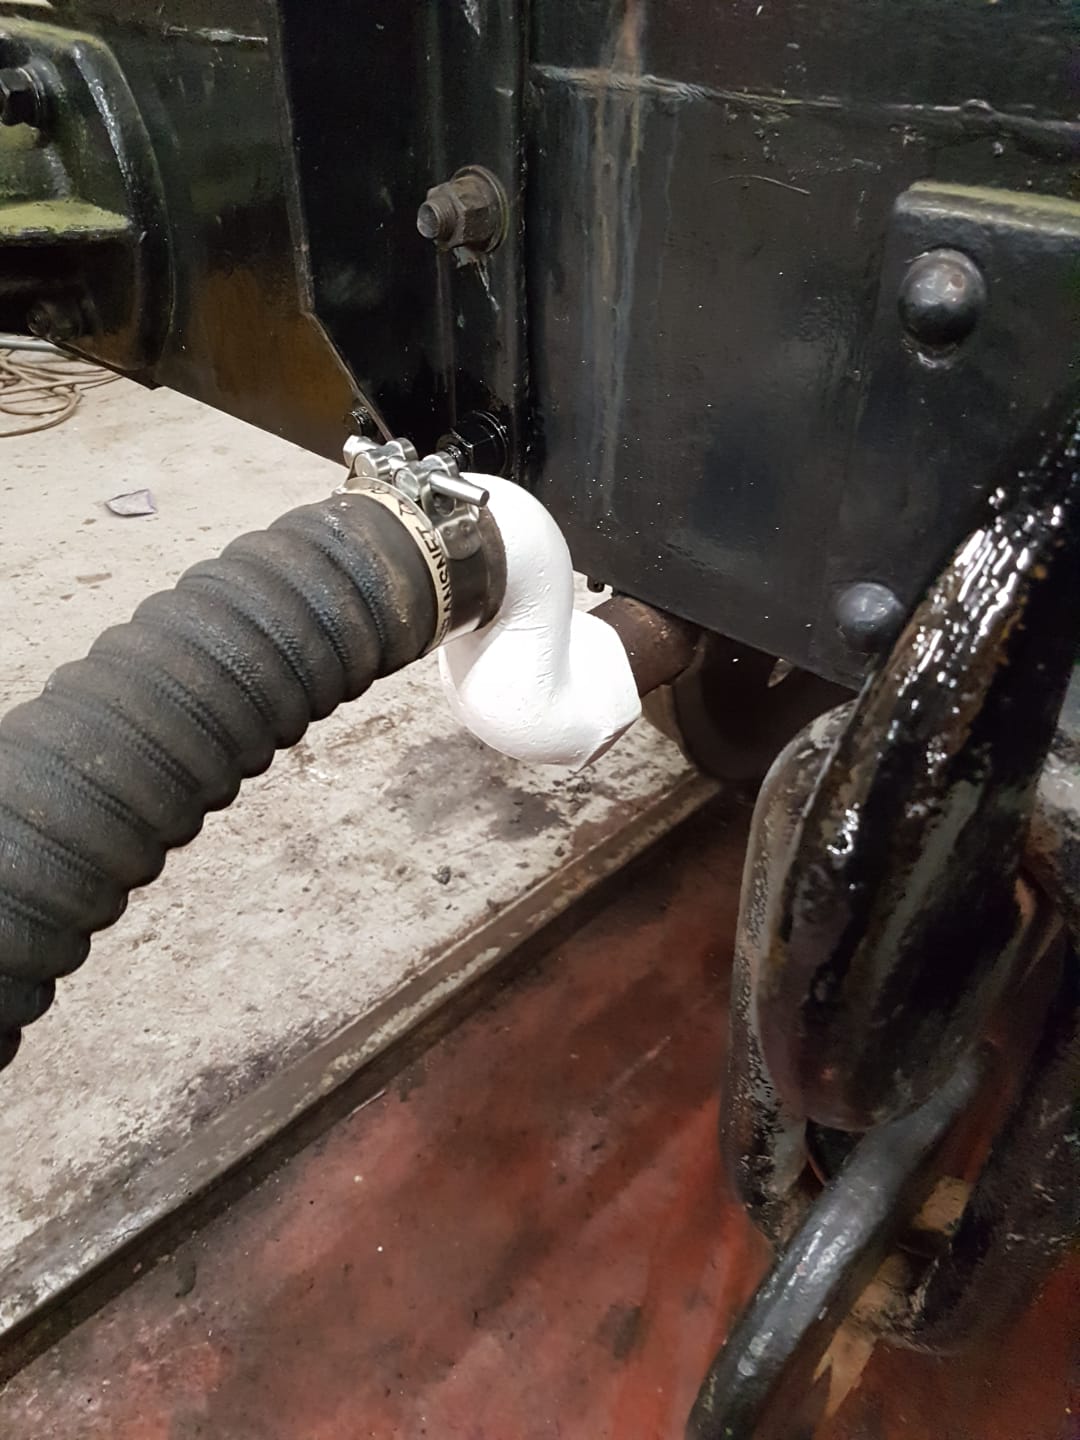
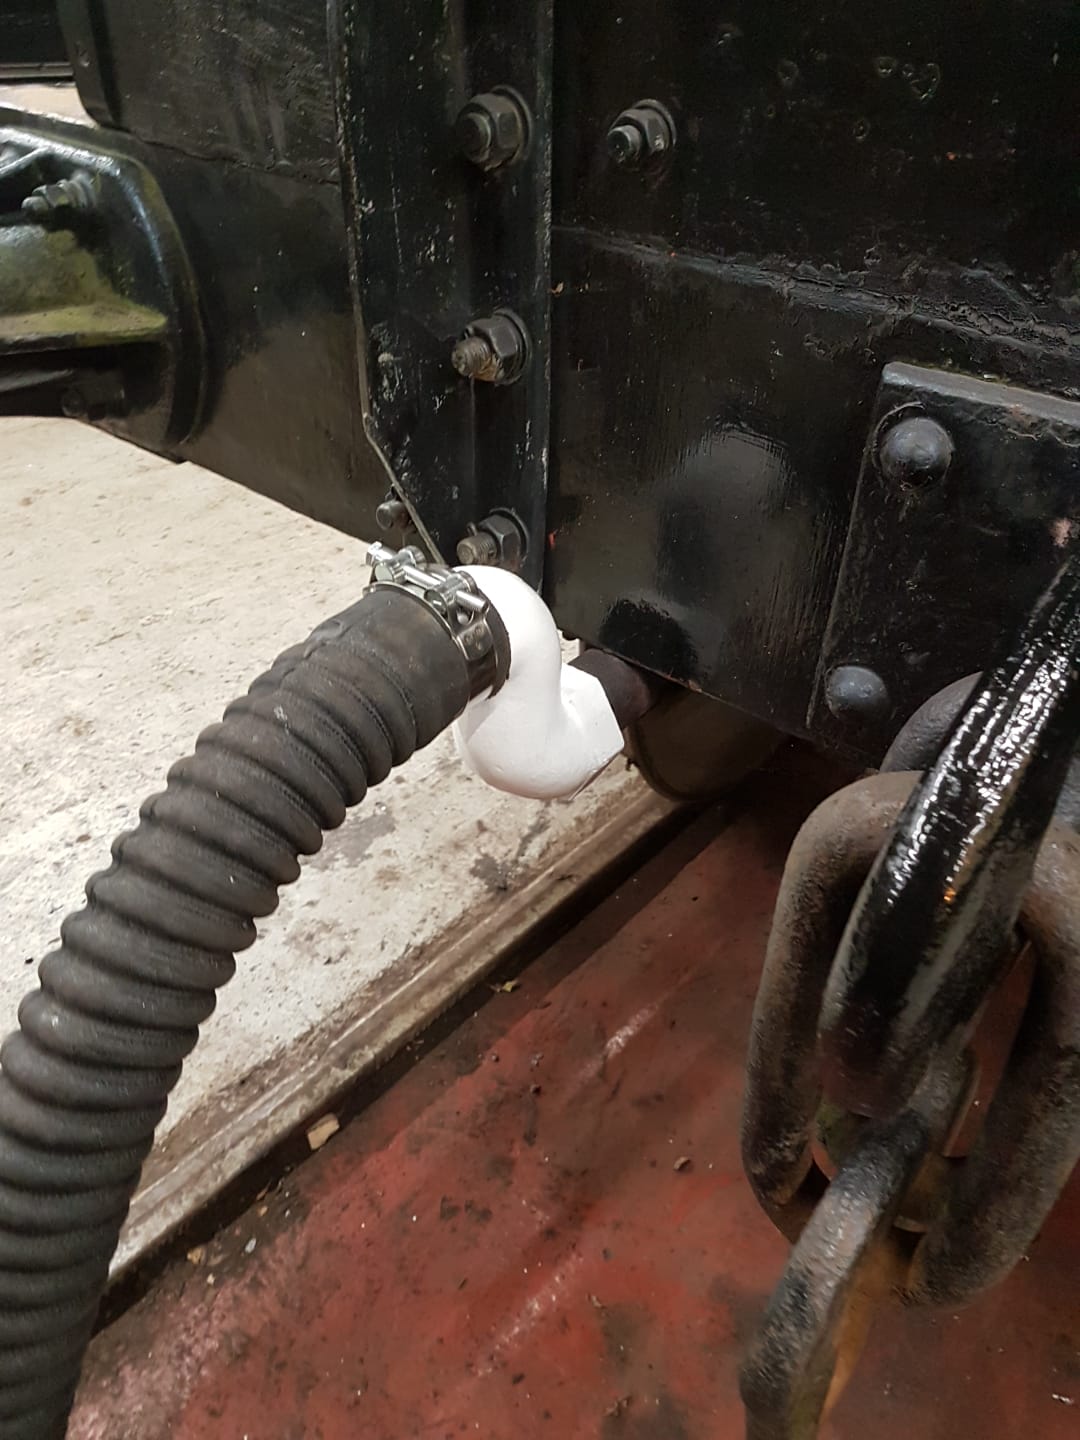
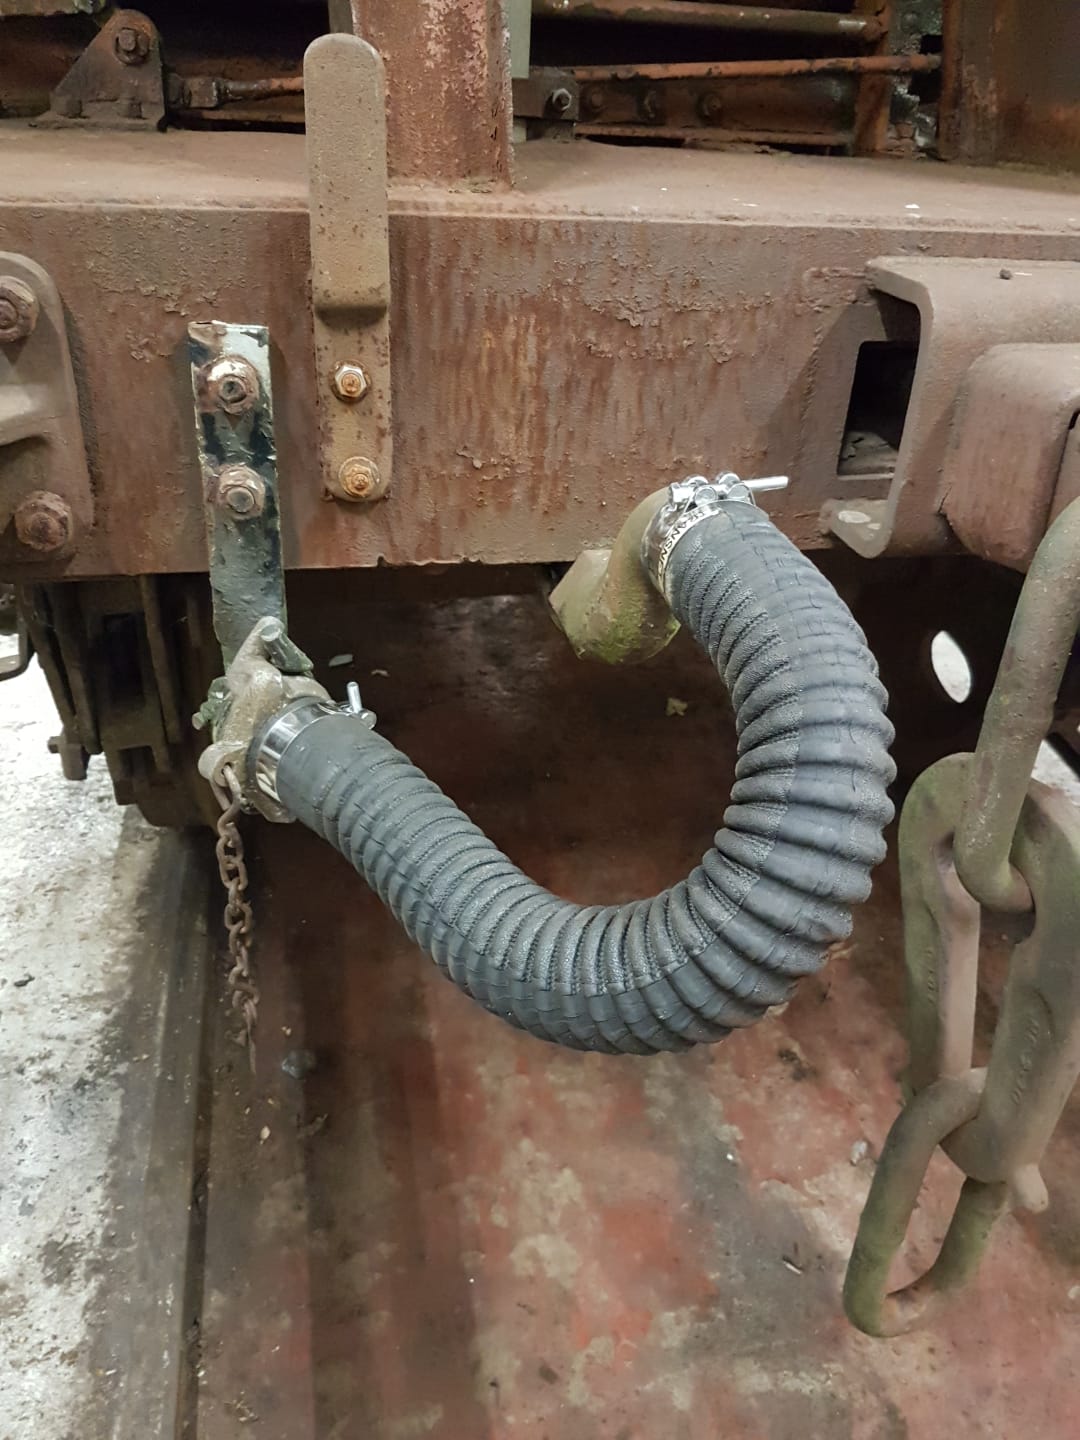
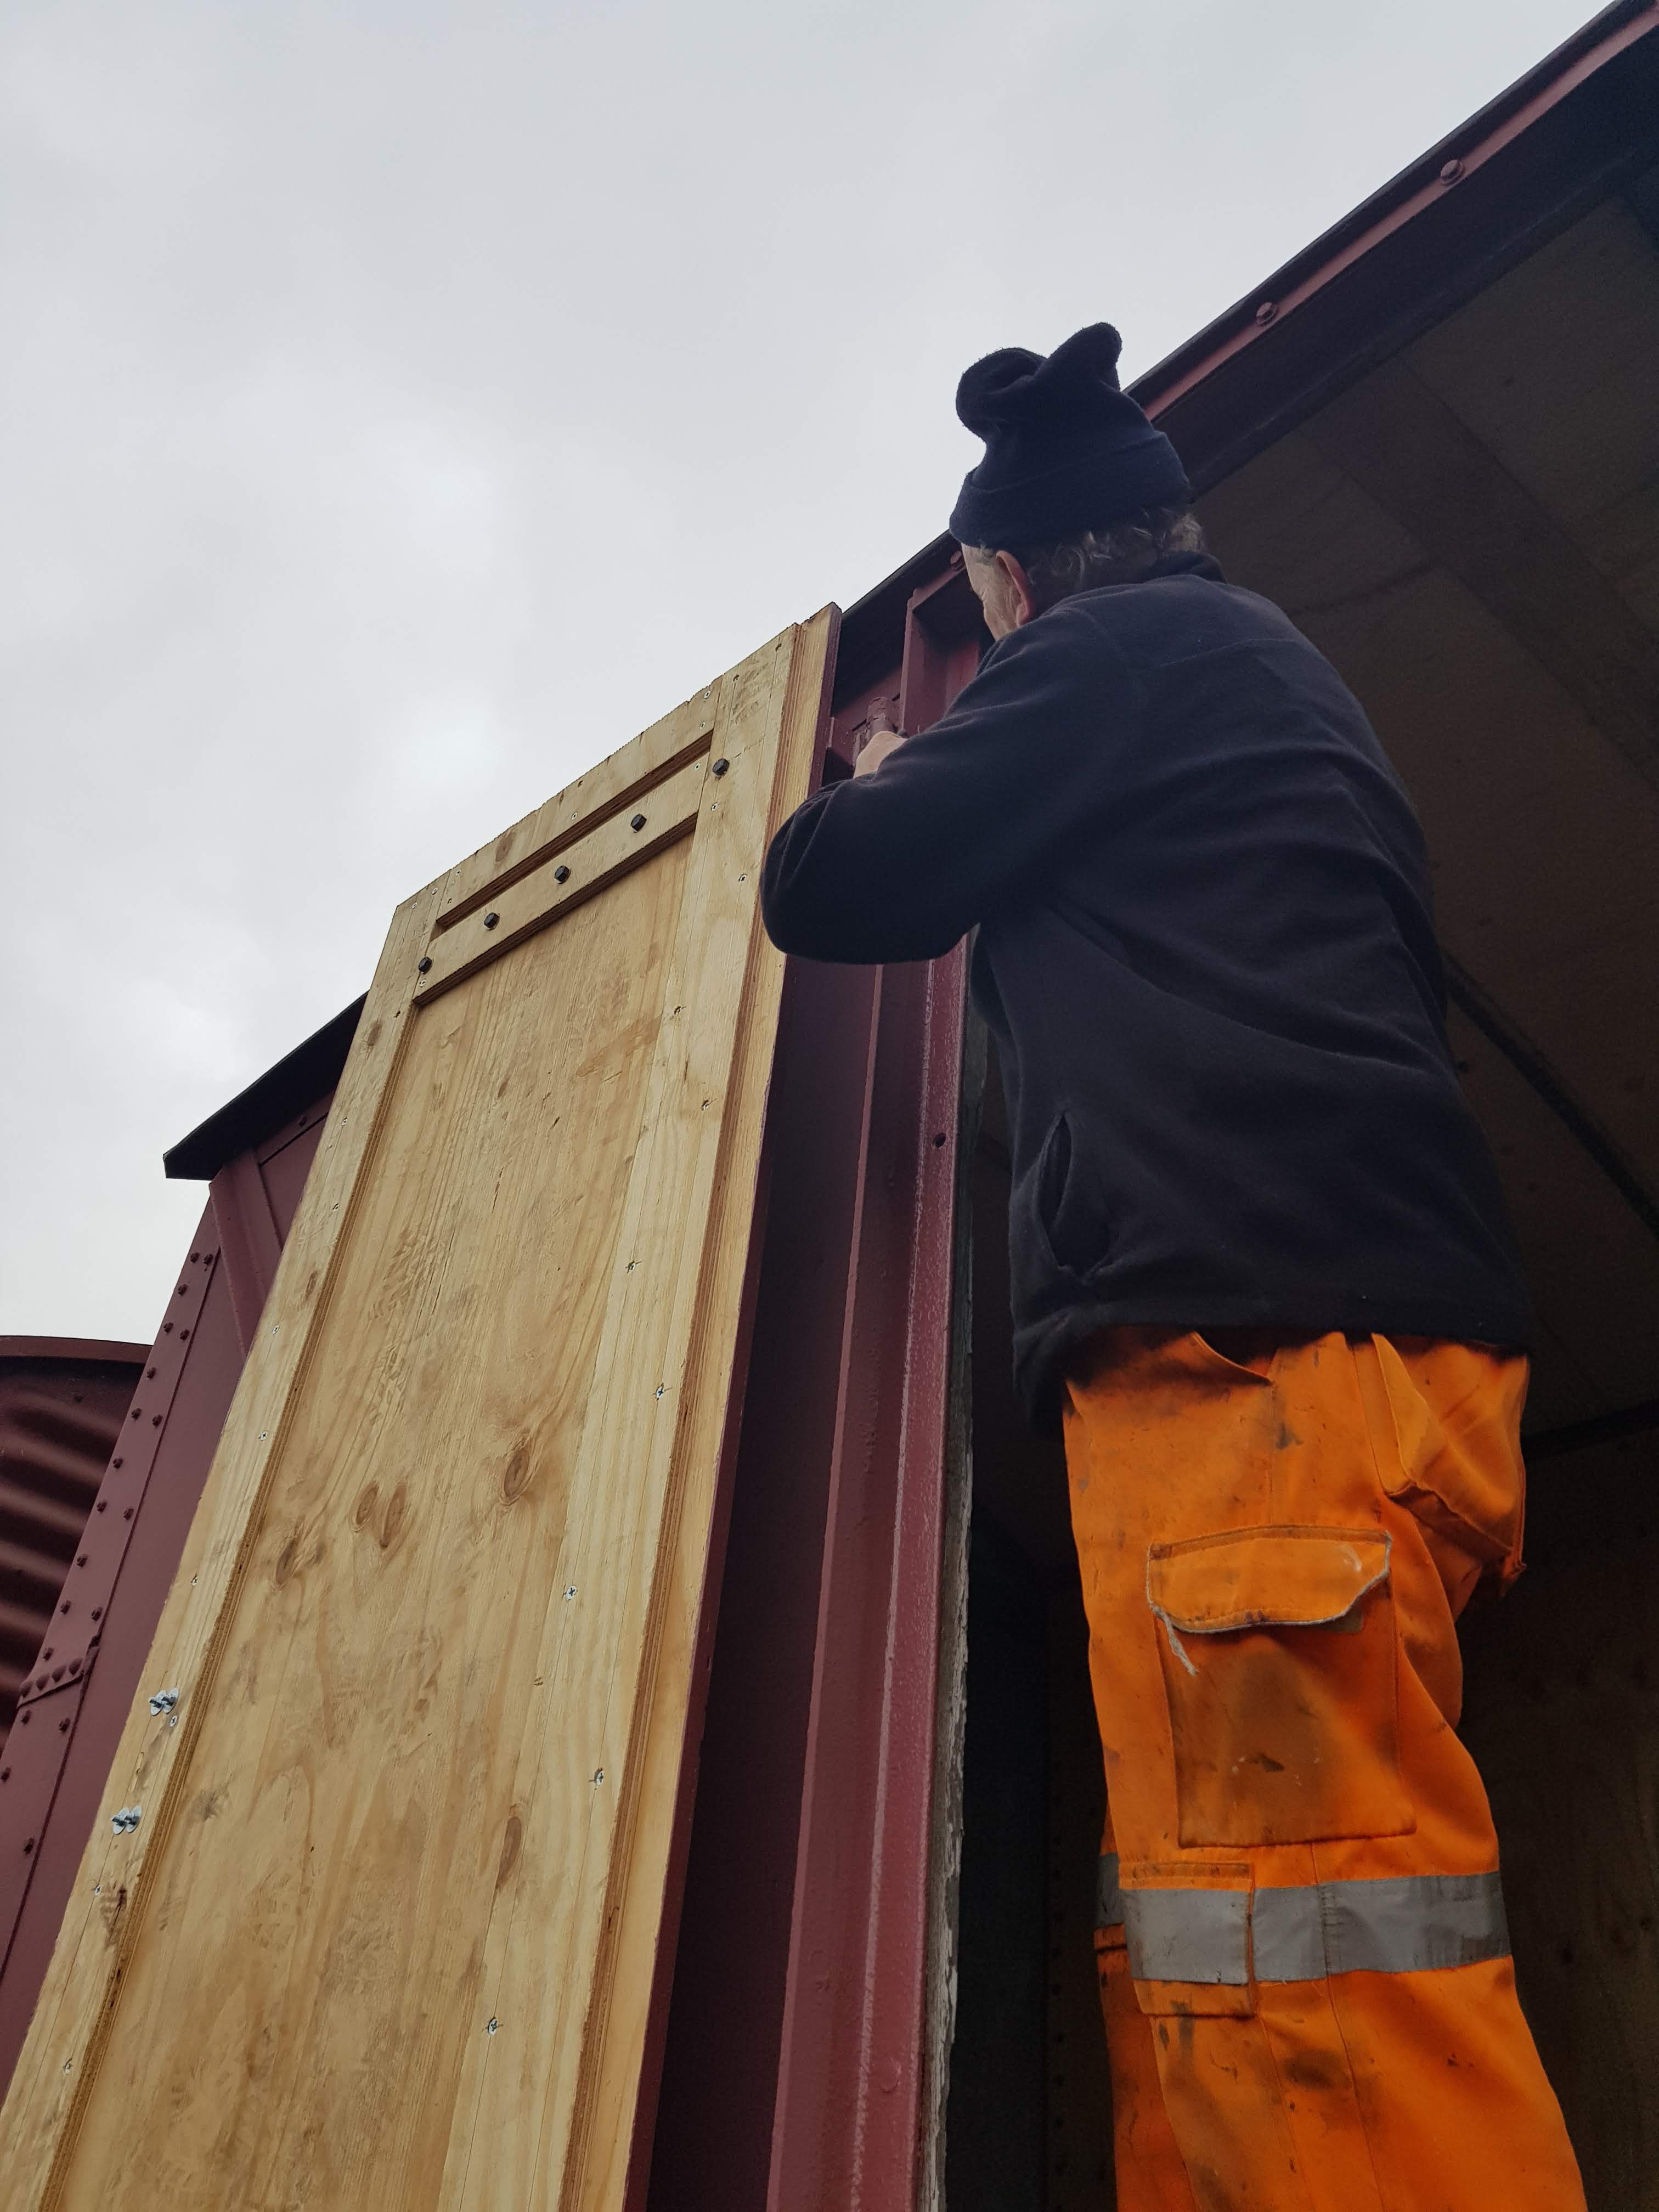
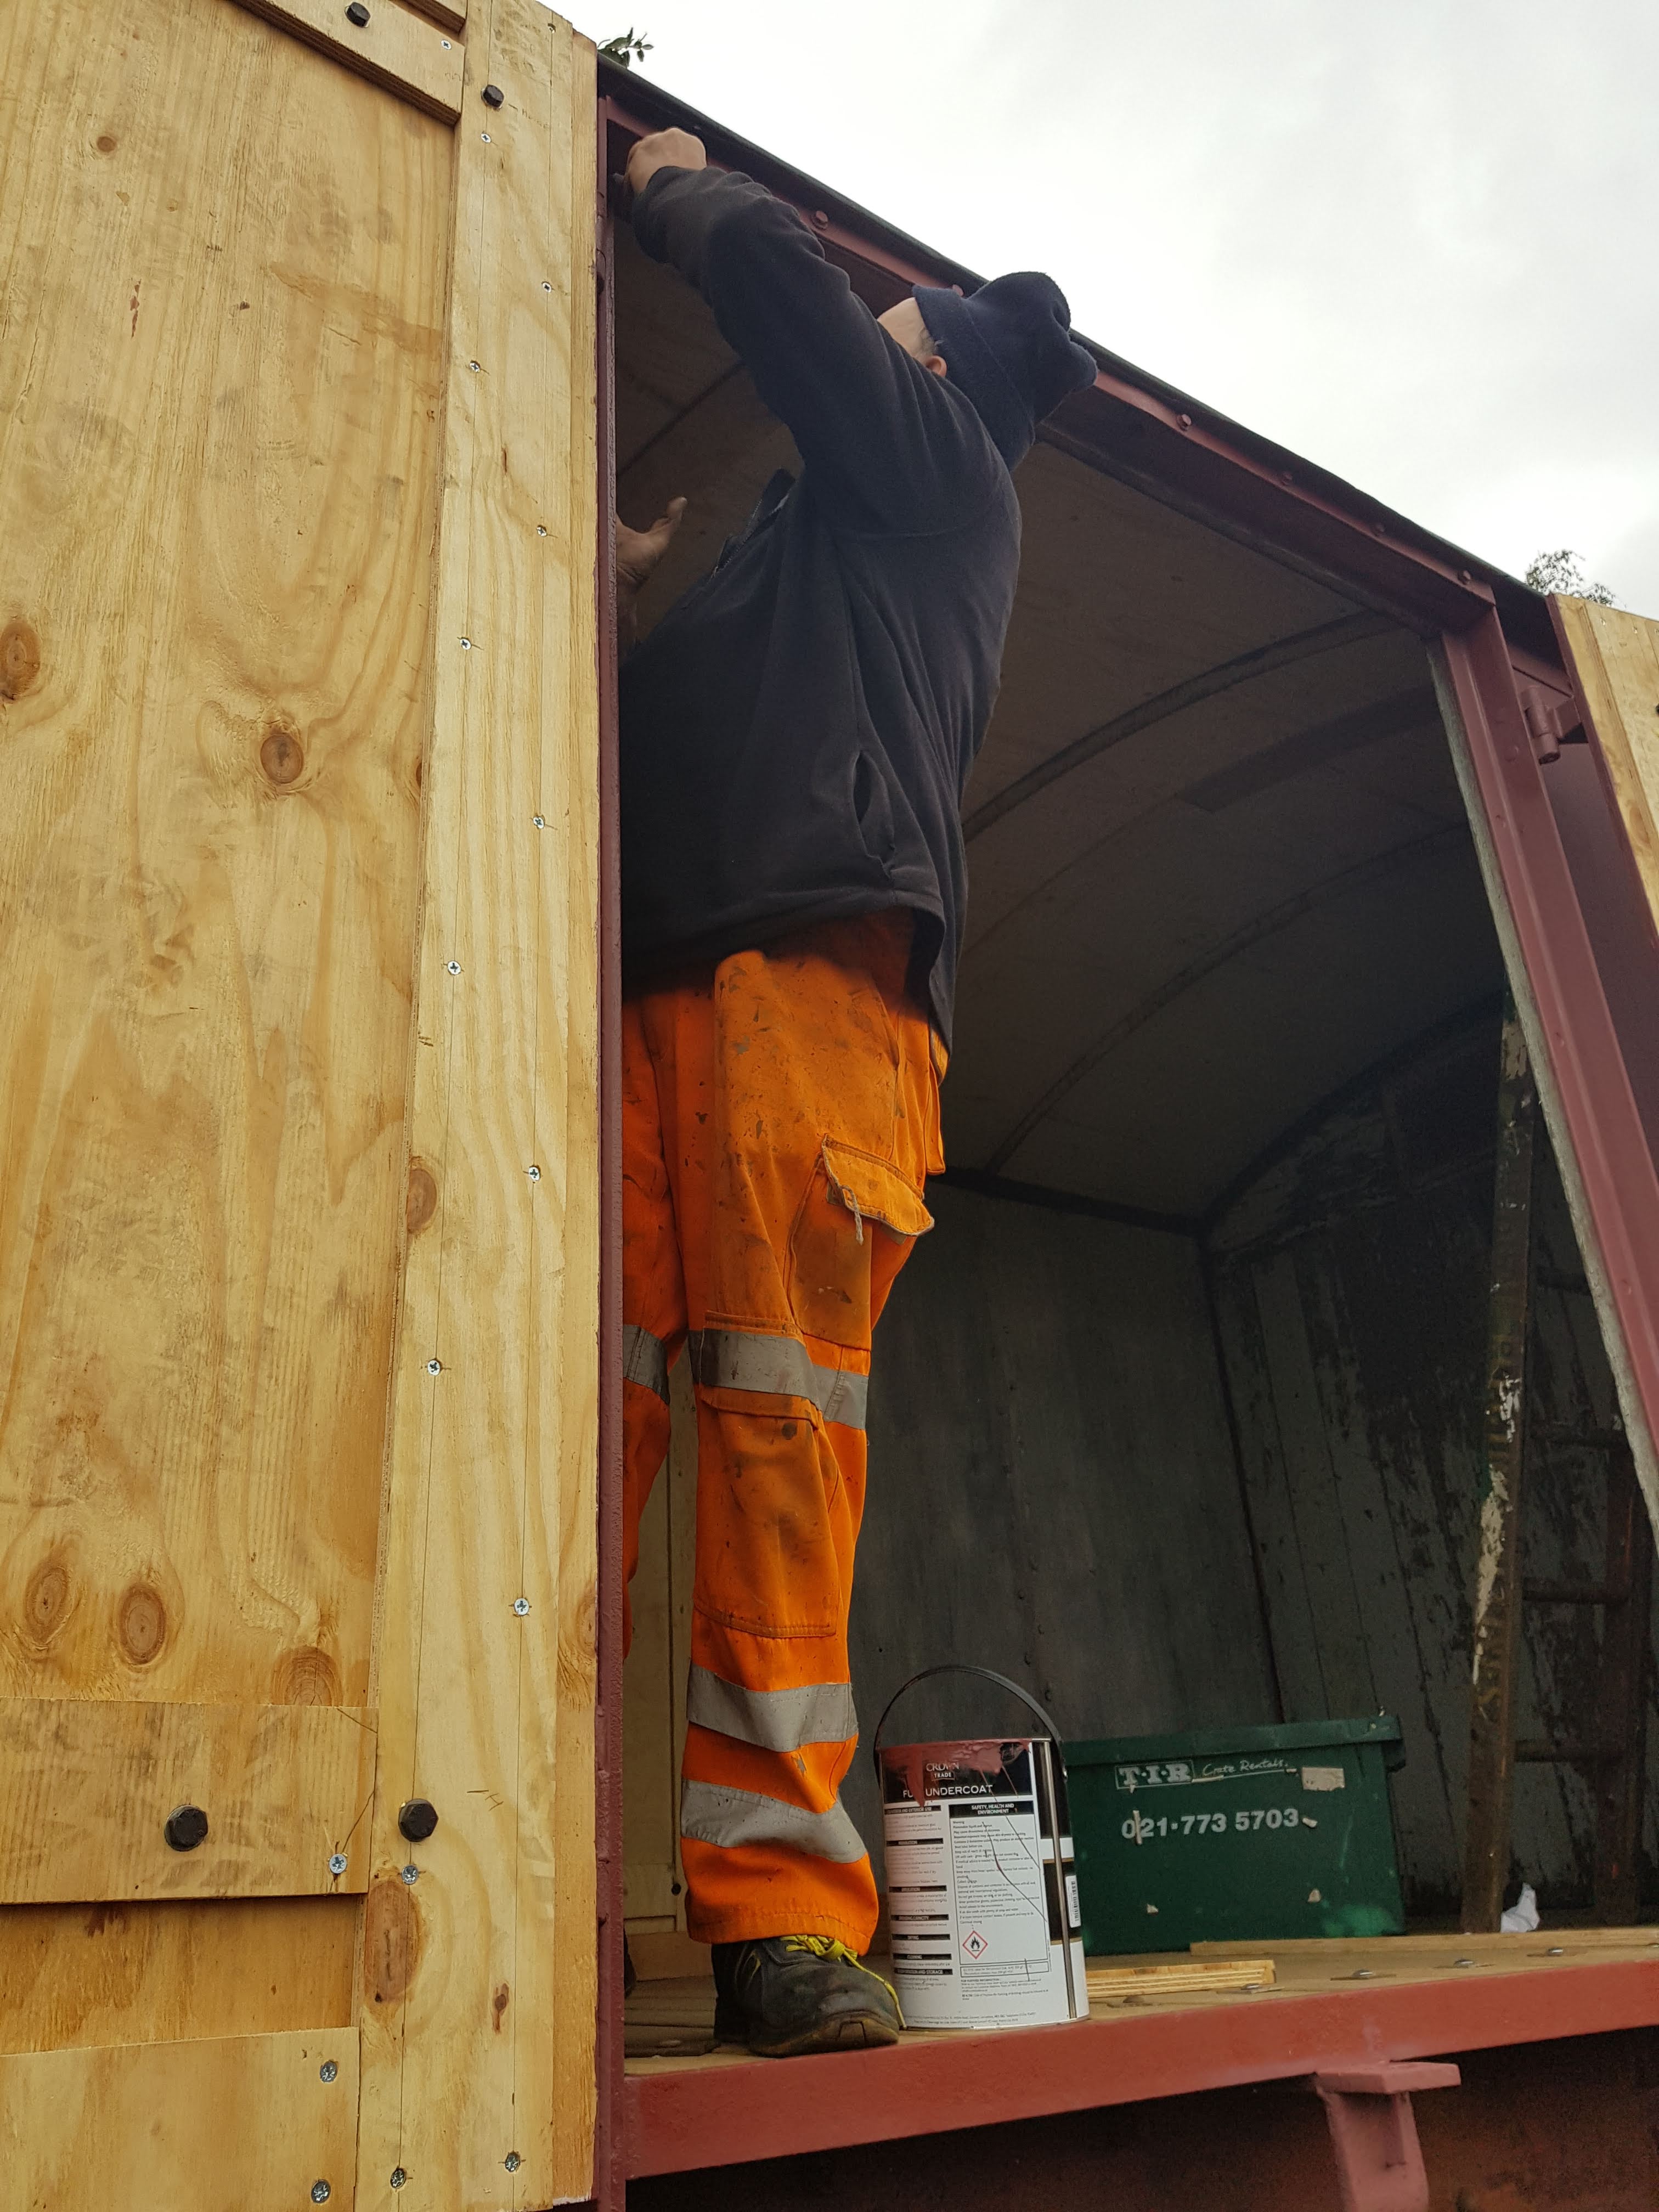
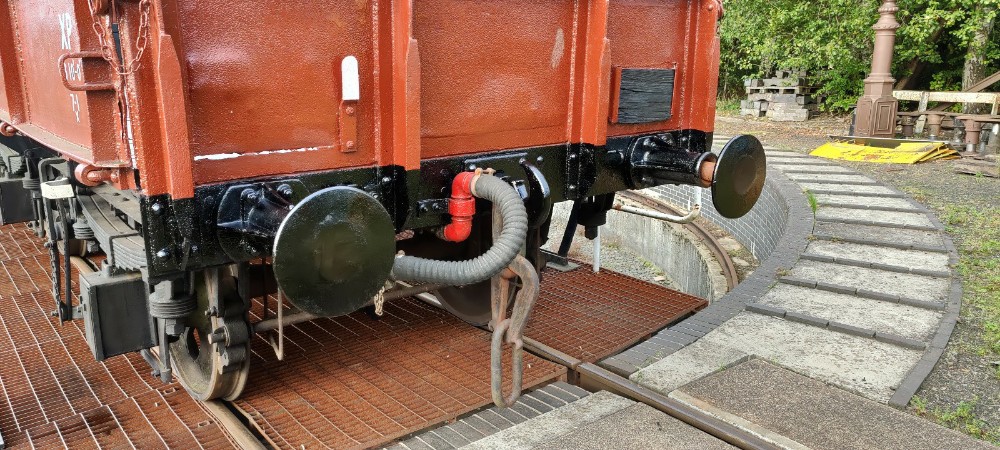
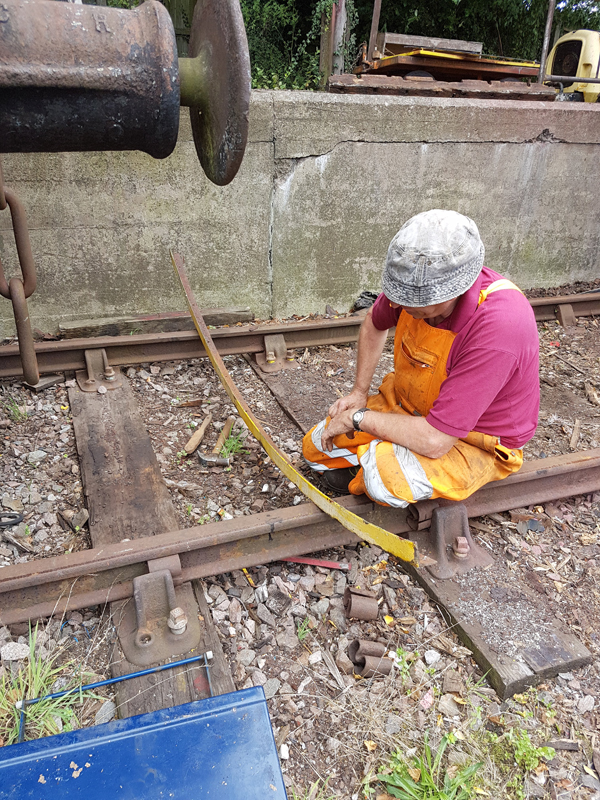
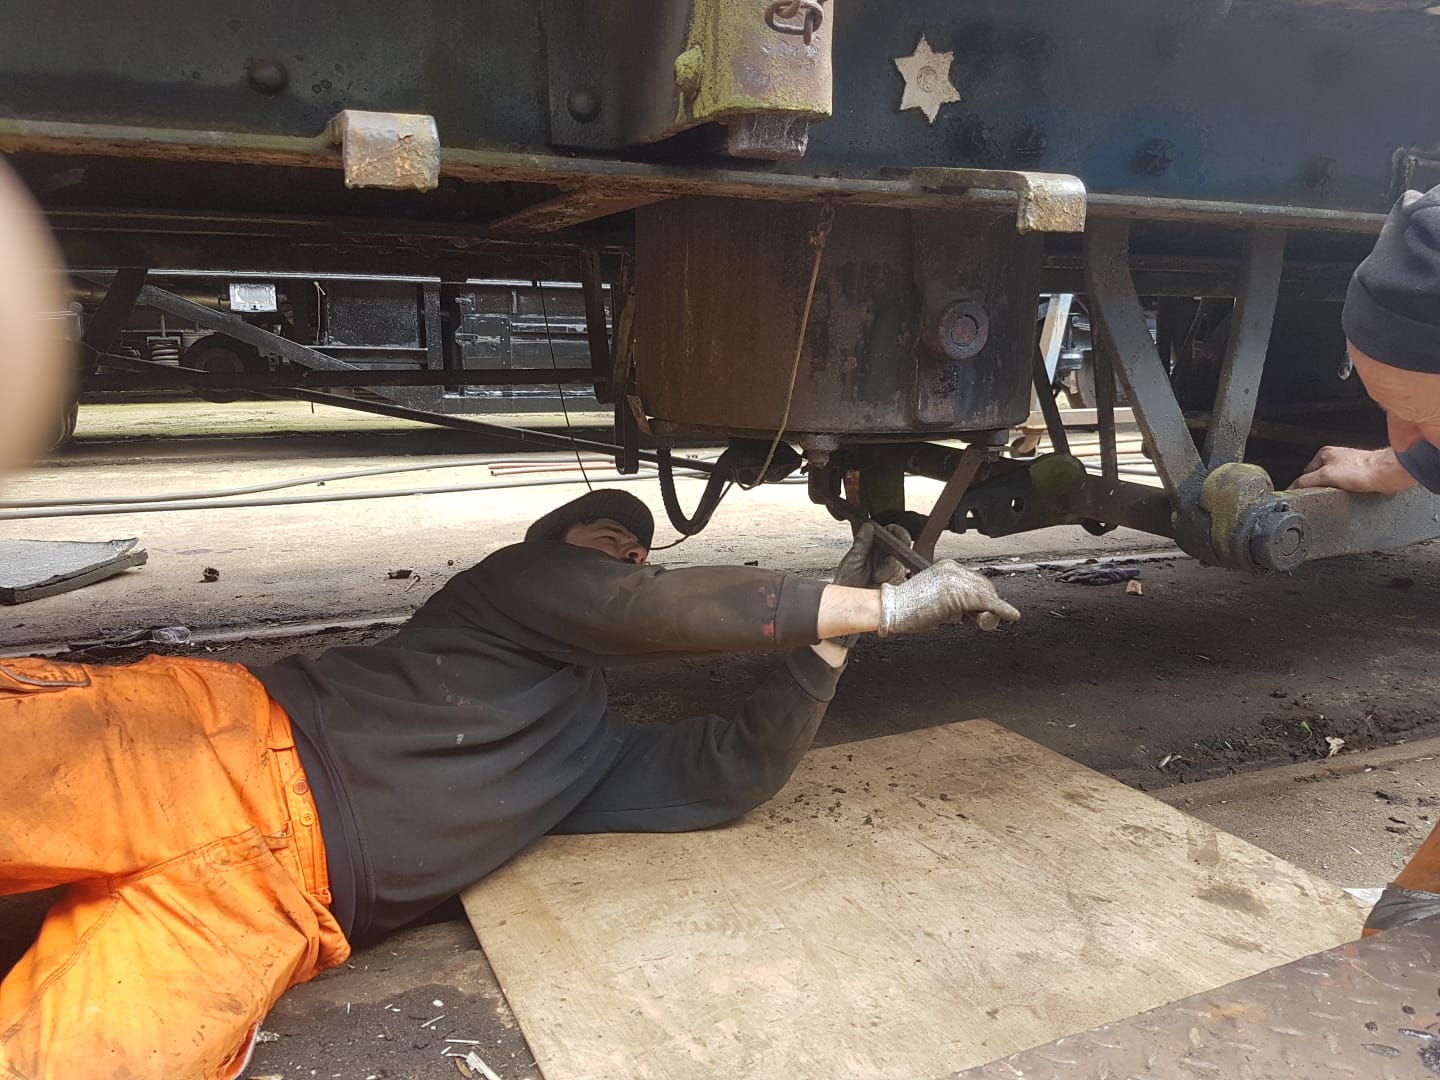
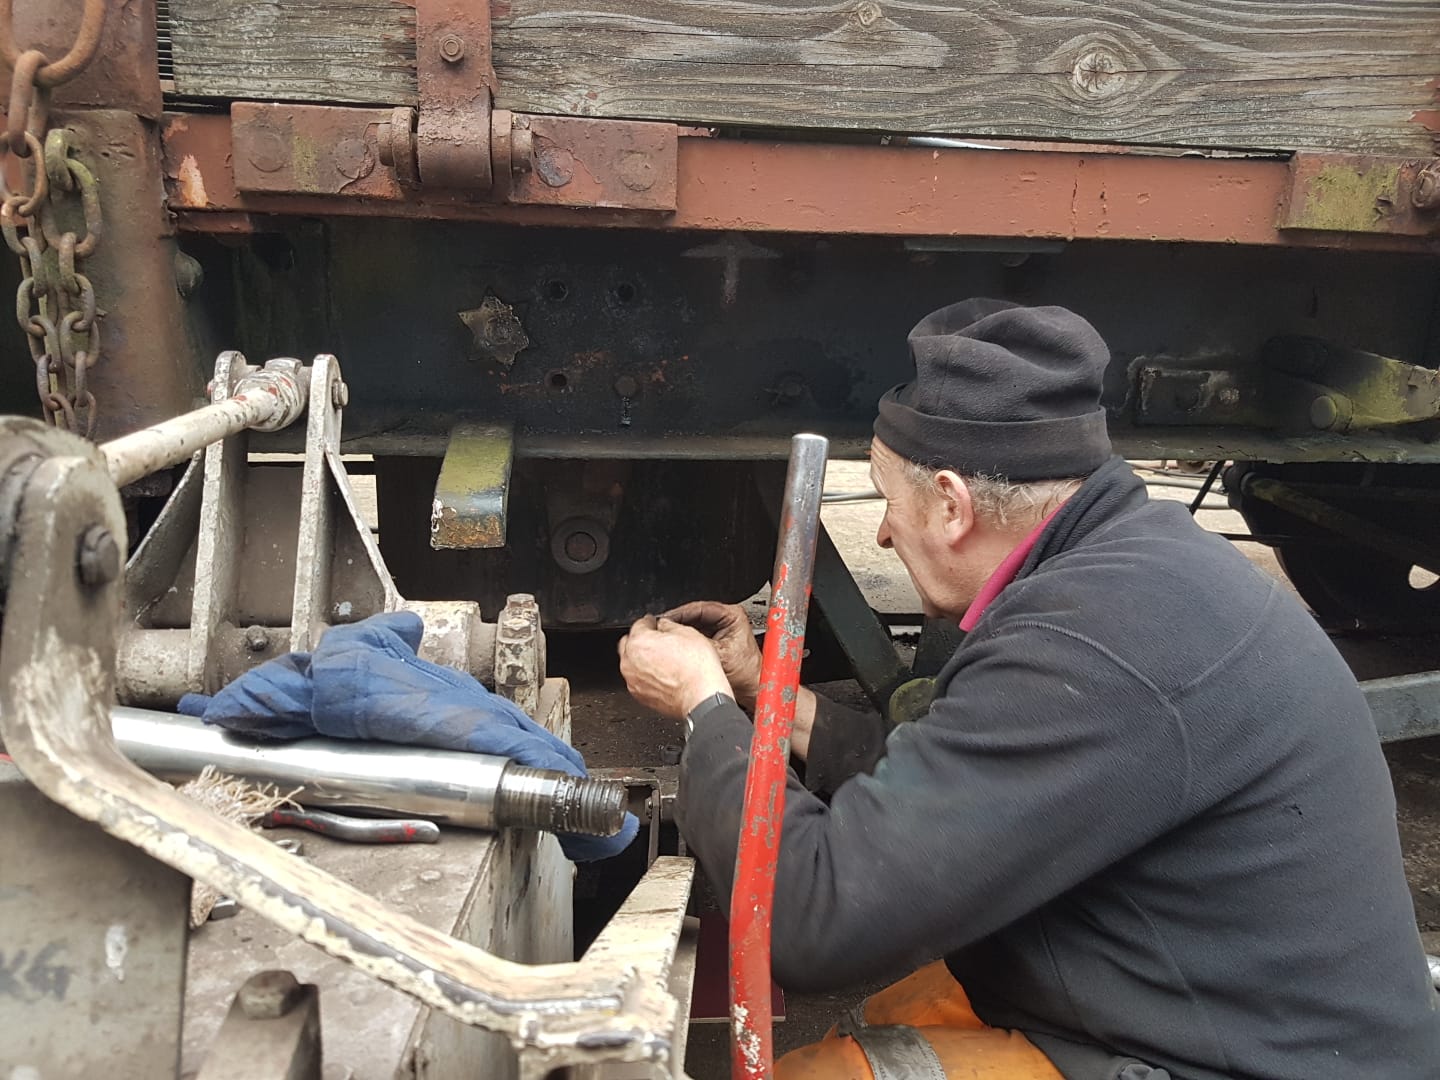
    The vehicles that we have been working on this weekend haven’t seen any vacuum attention for a while, so it was decided to test the vacuum and give the fitted vehicles a vacuum overhaul. The vacuum piped vehicles had their hoses changed as required and the vacuum hose & dummy seals replaced. I also replaced some vacuum branch pipes which had seen better days.

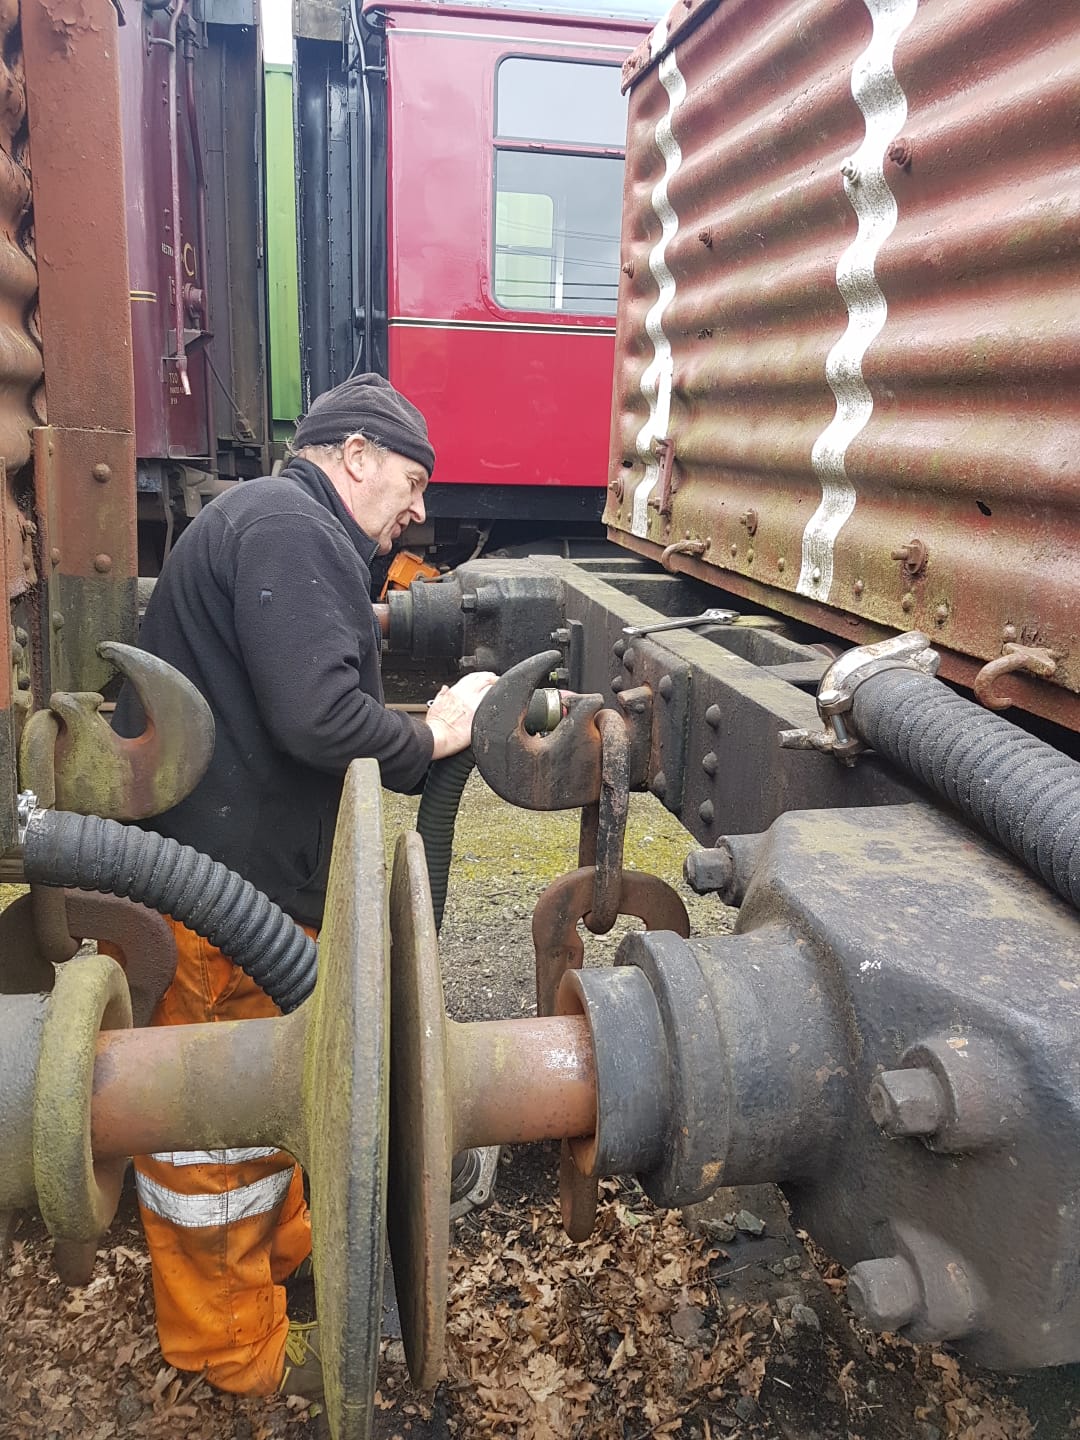
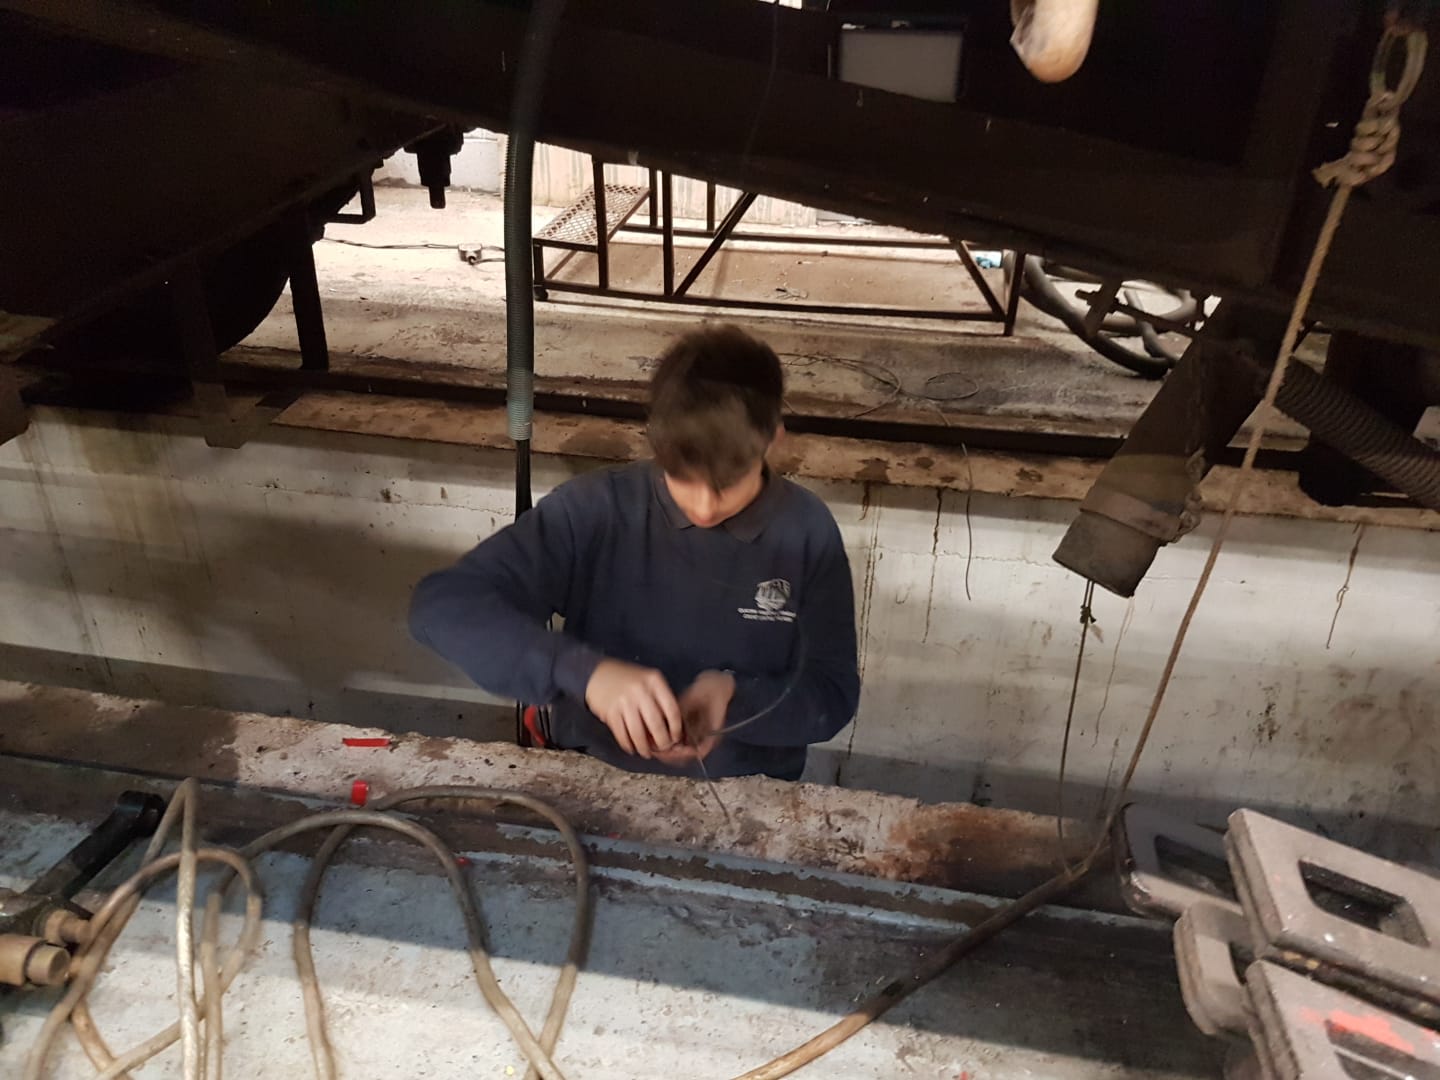
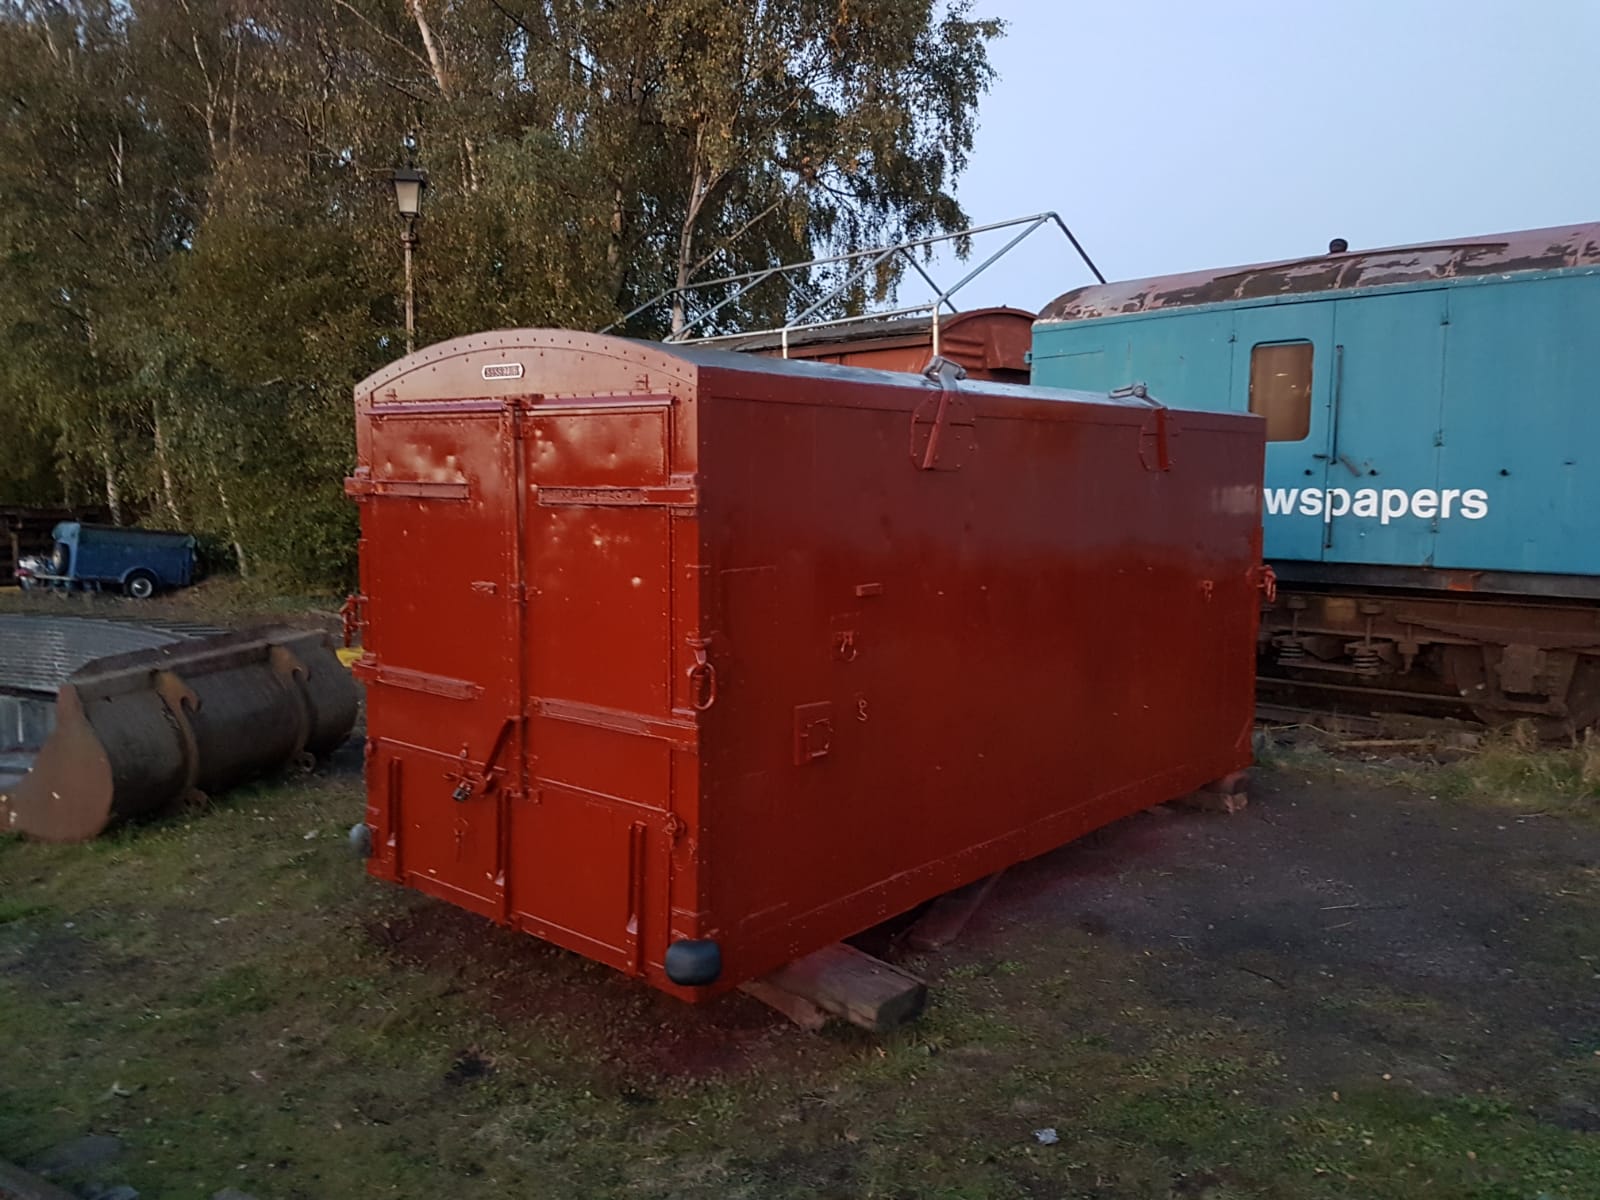
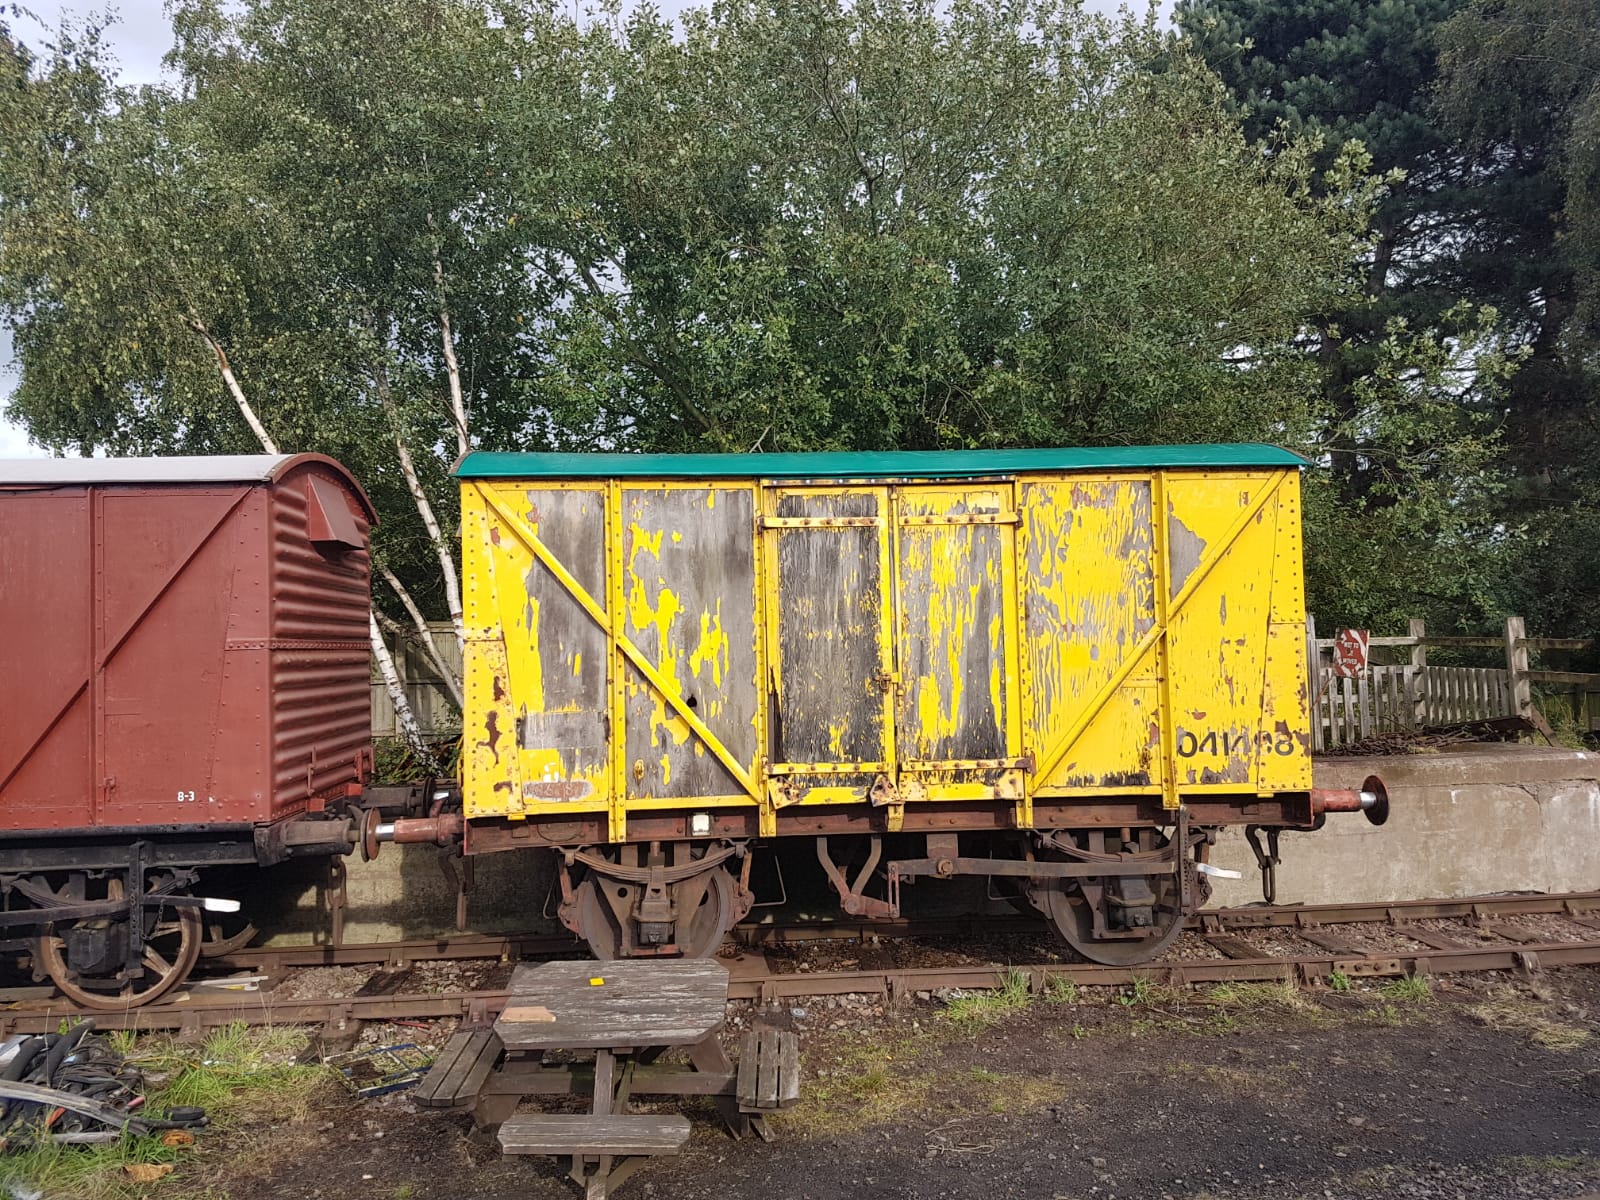
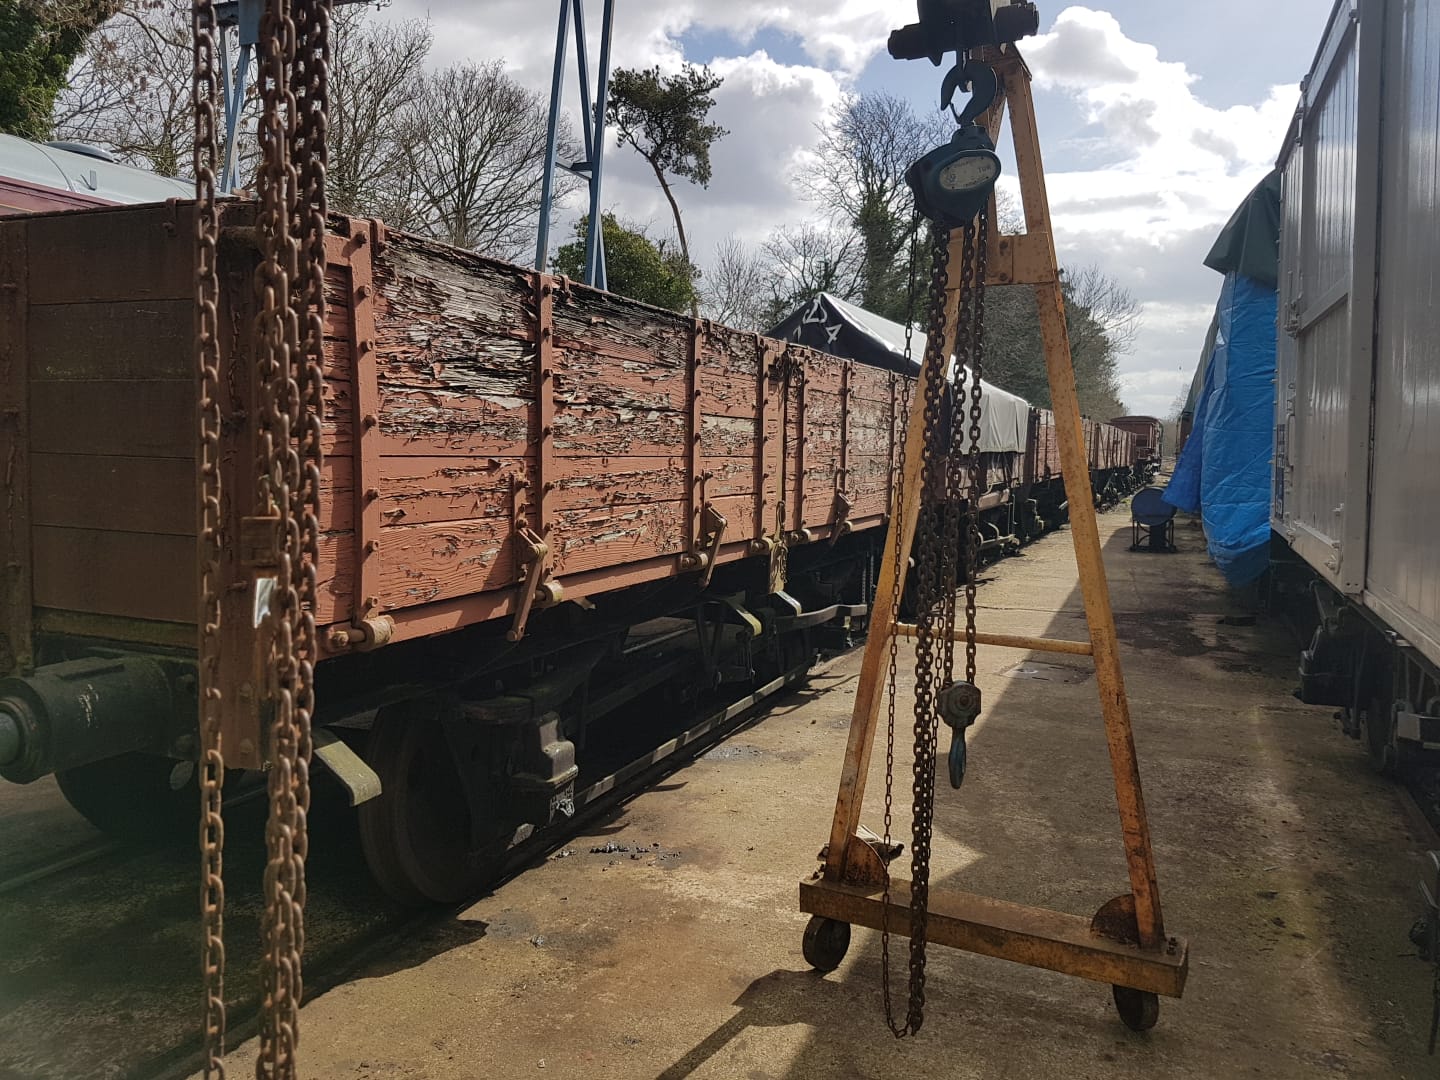
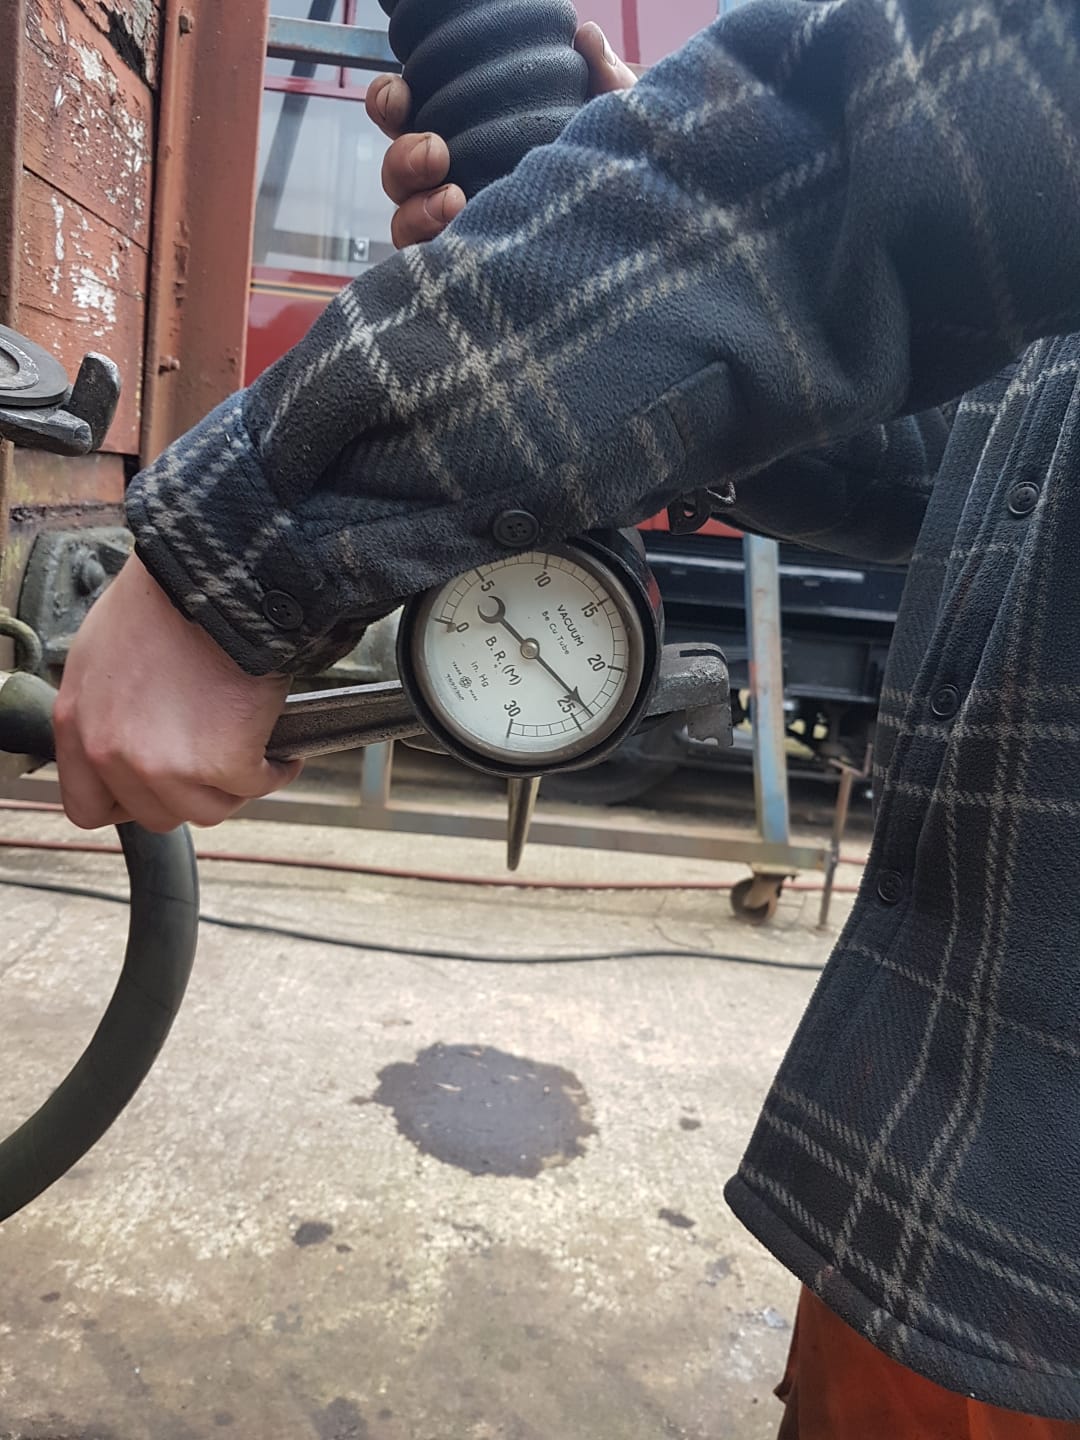
    Given the new hoses and seals, we connected the exhauster plant up and tried to create a vacuum, which got got to 19 inHg at the other end of the consist. The vacuum was destroyed using the test cock and the brakes observed for any activity. Two vehicles passed the vacuum test, having just had their hoses replaced. These will of course be done when they come back to us for bodywork and painting. Of the other vehicles, three are piped (though one with an issue) and the other three had failed the test. The Pipe, Shock Hybar and LNER Tube will receive vacuum overhauls over the coming weeks.

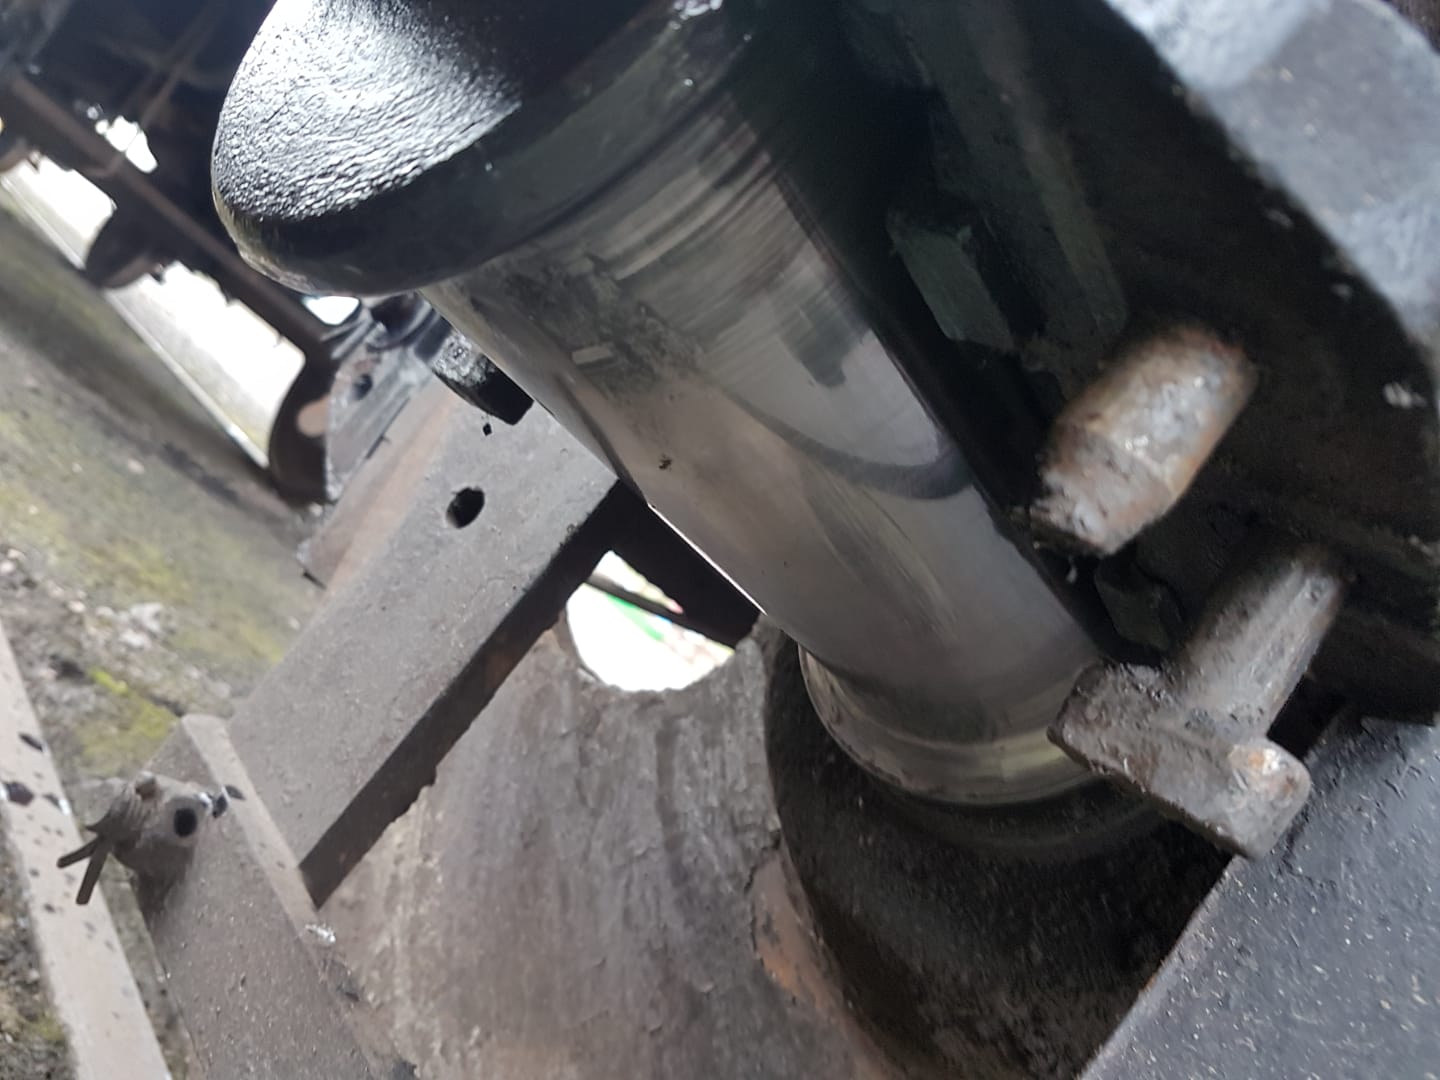
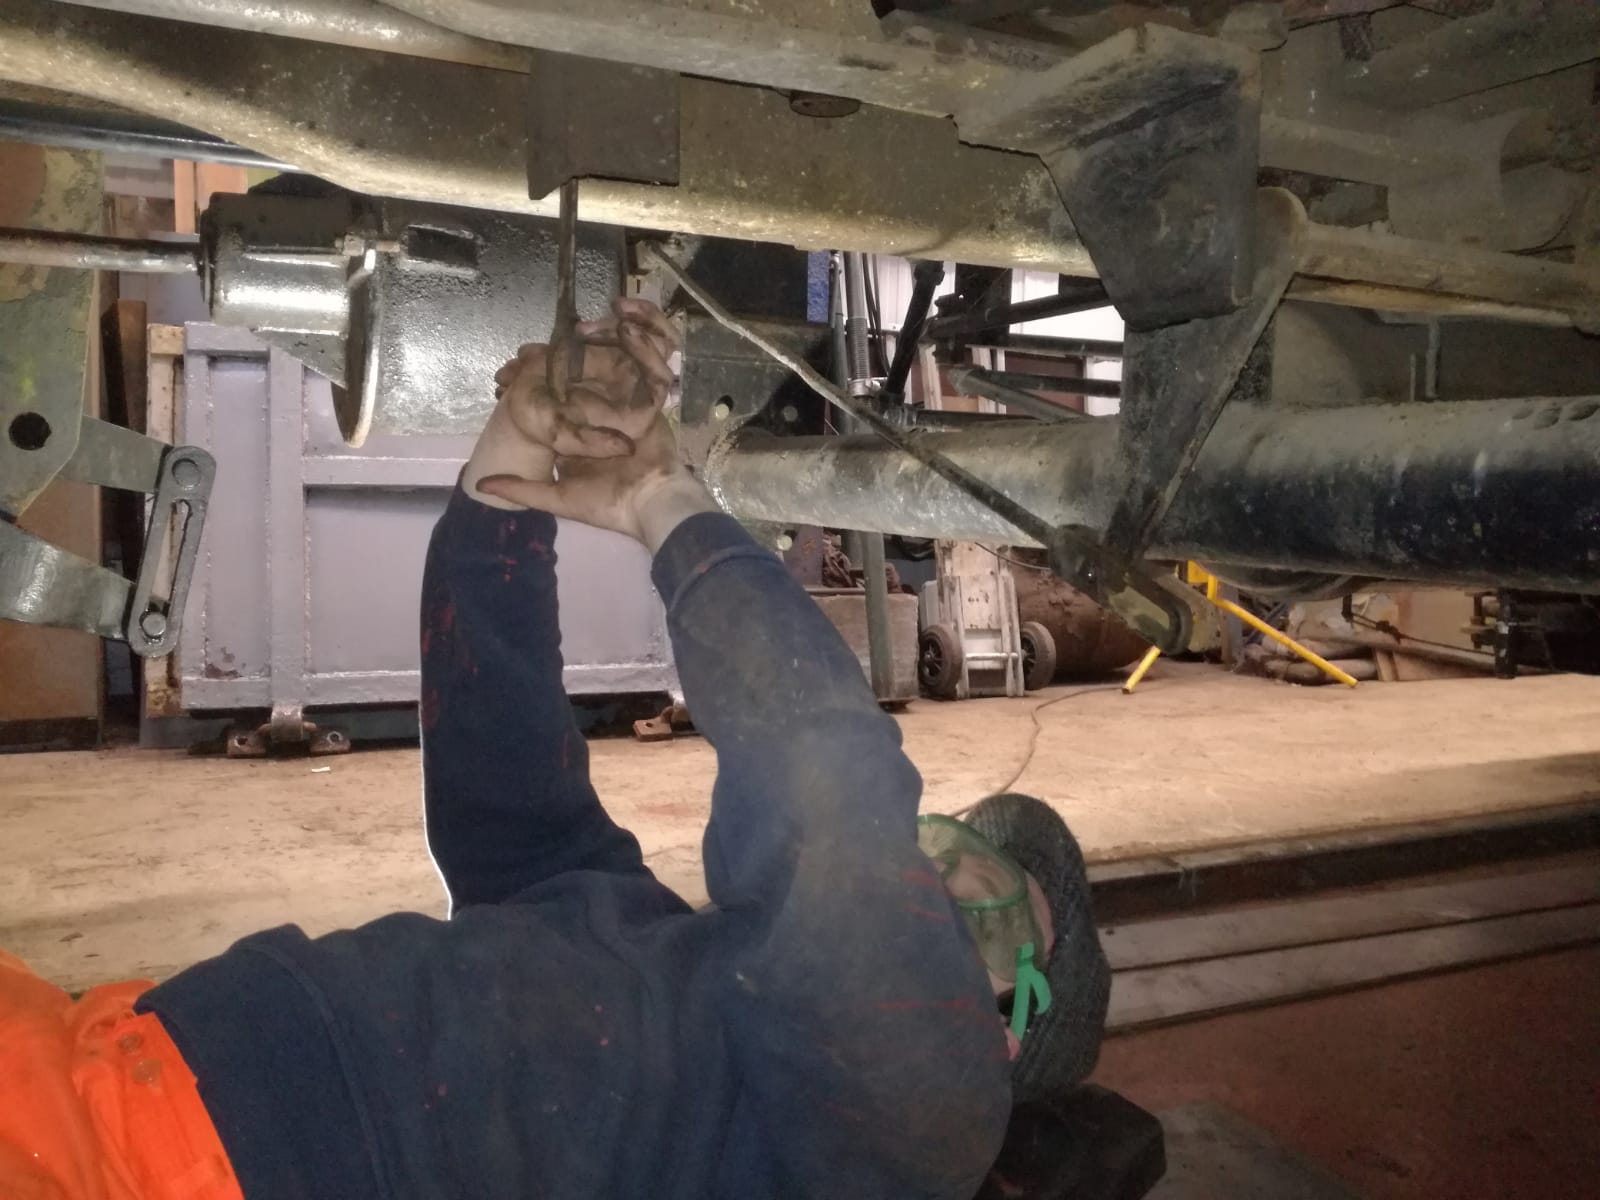
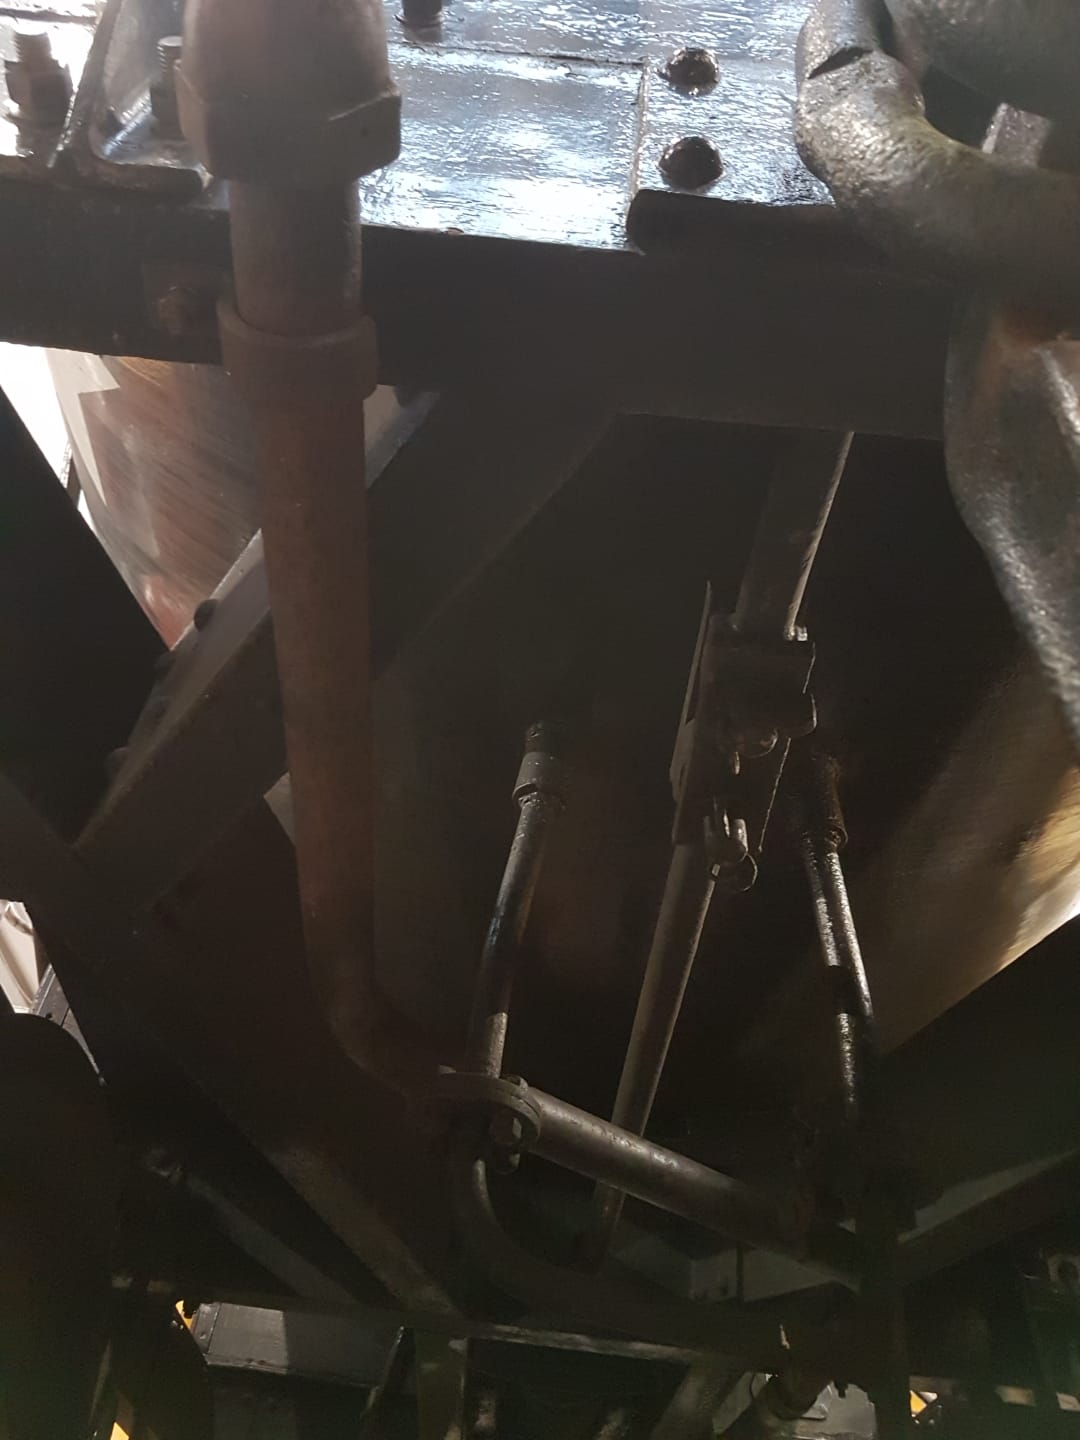
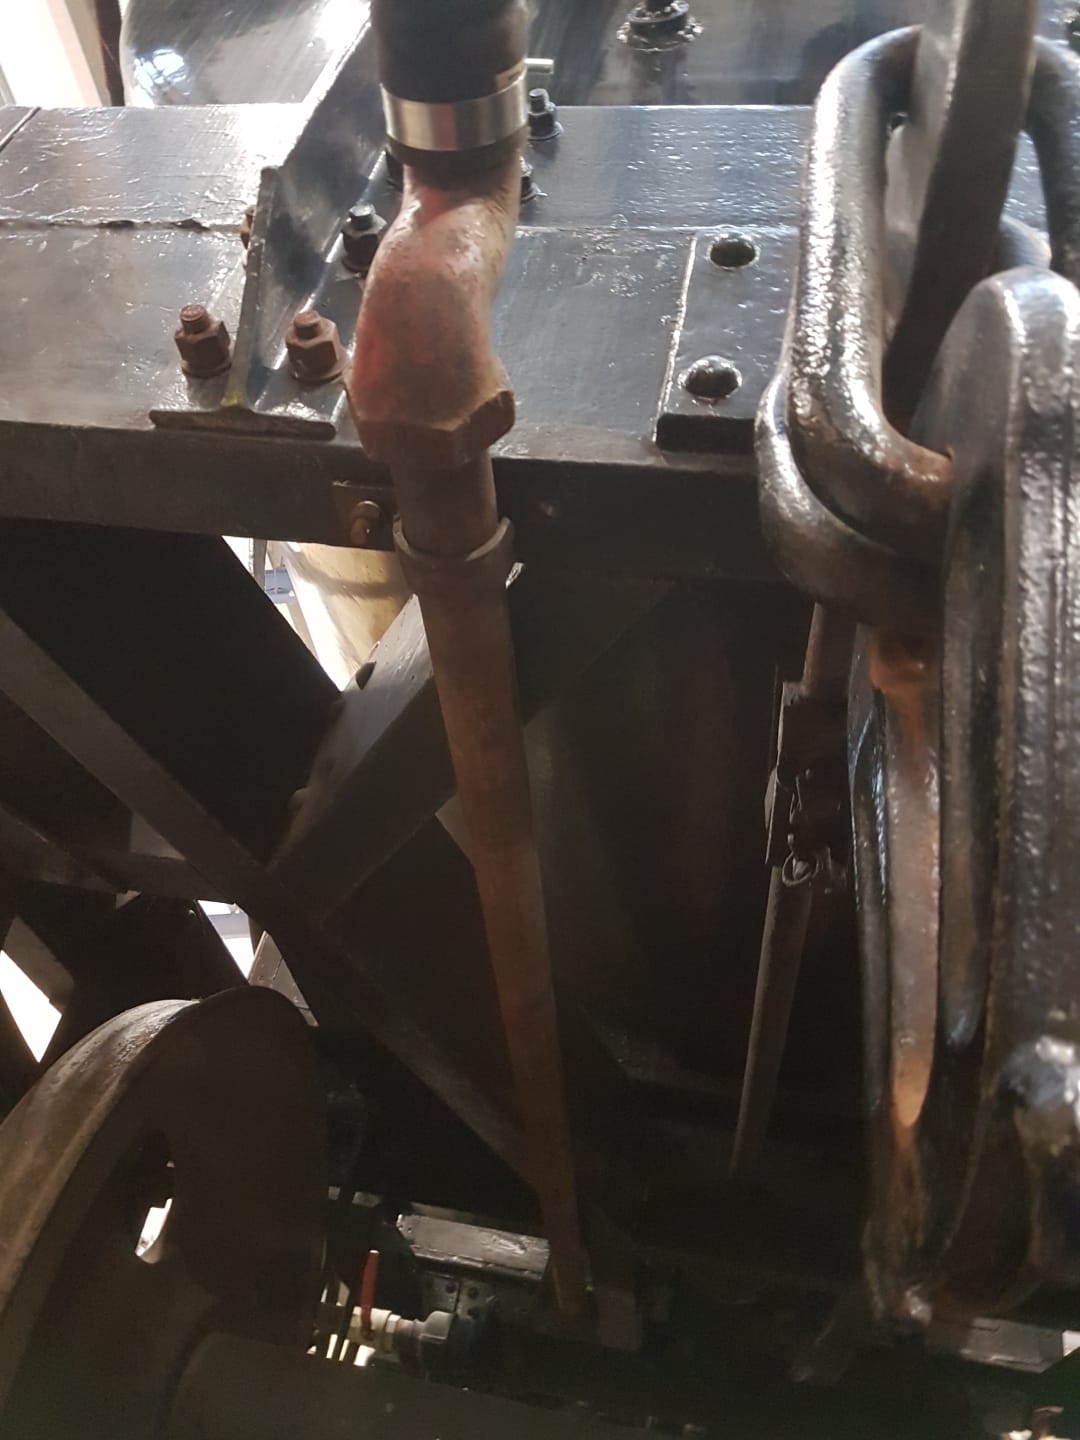
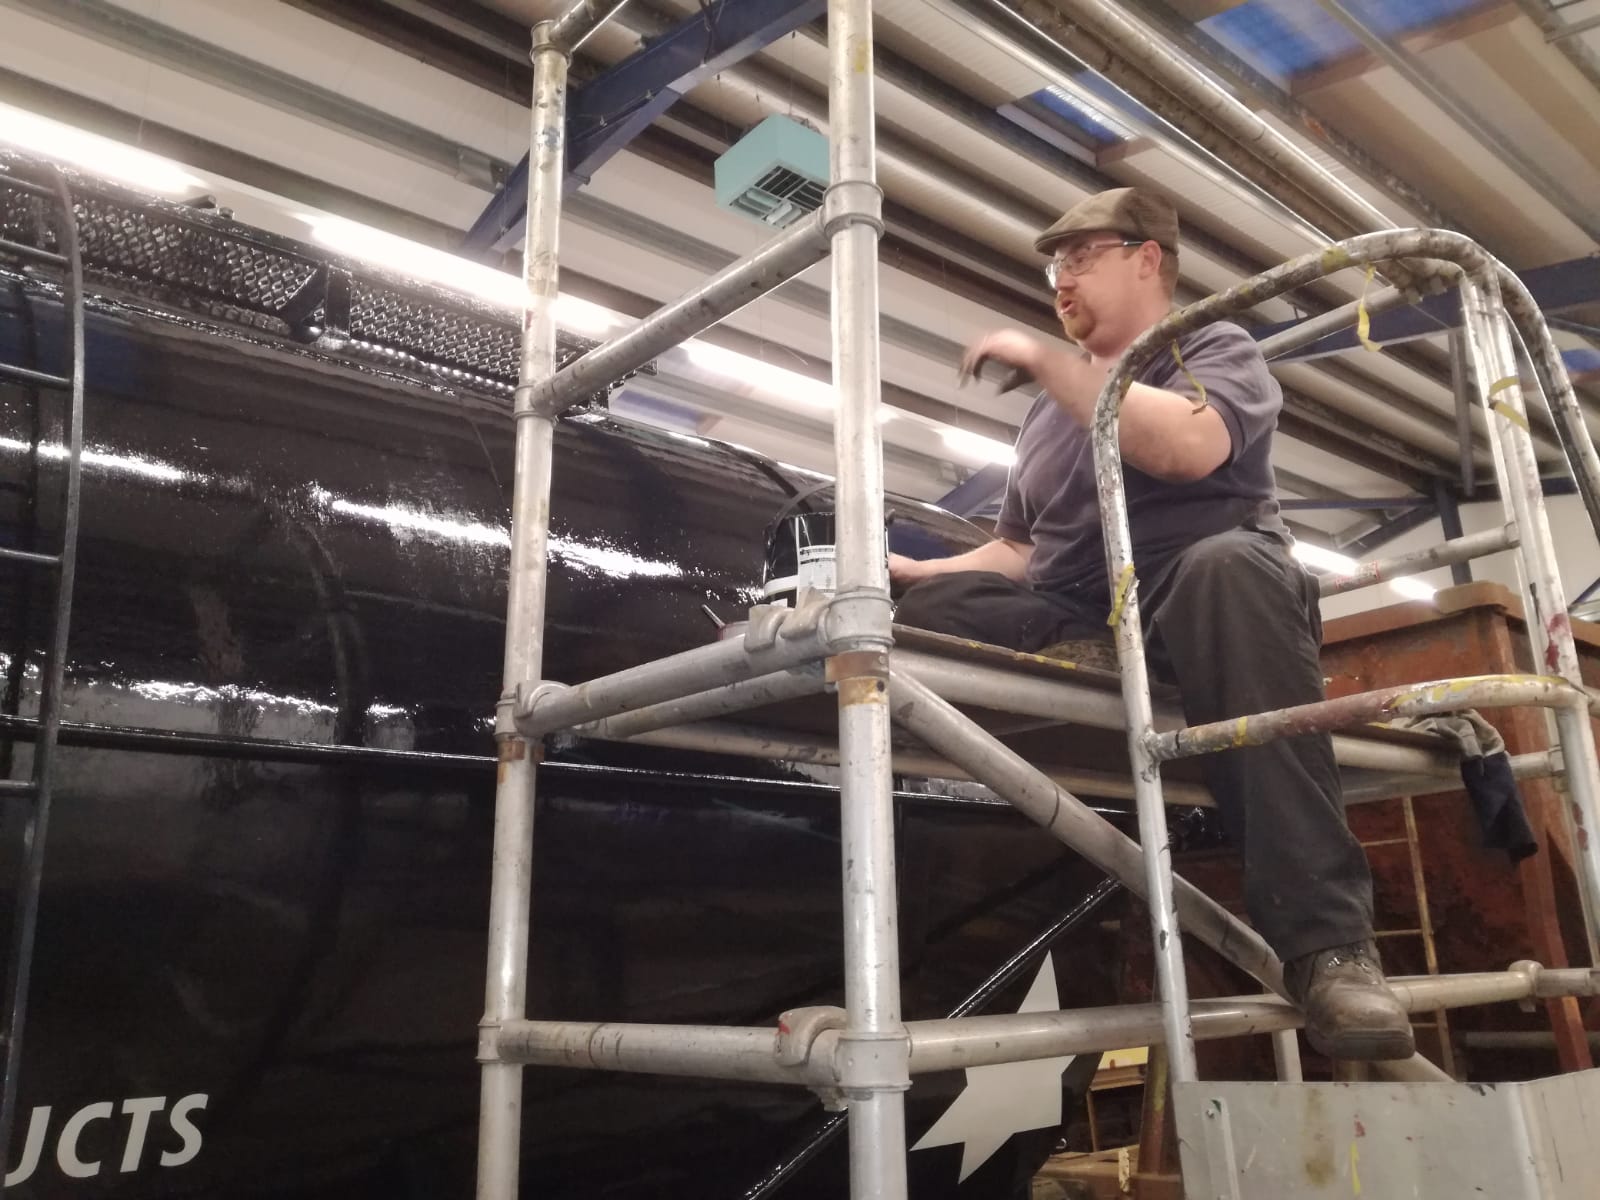
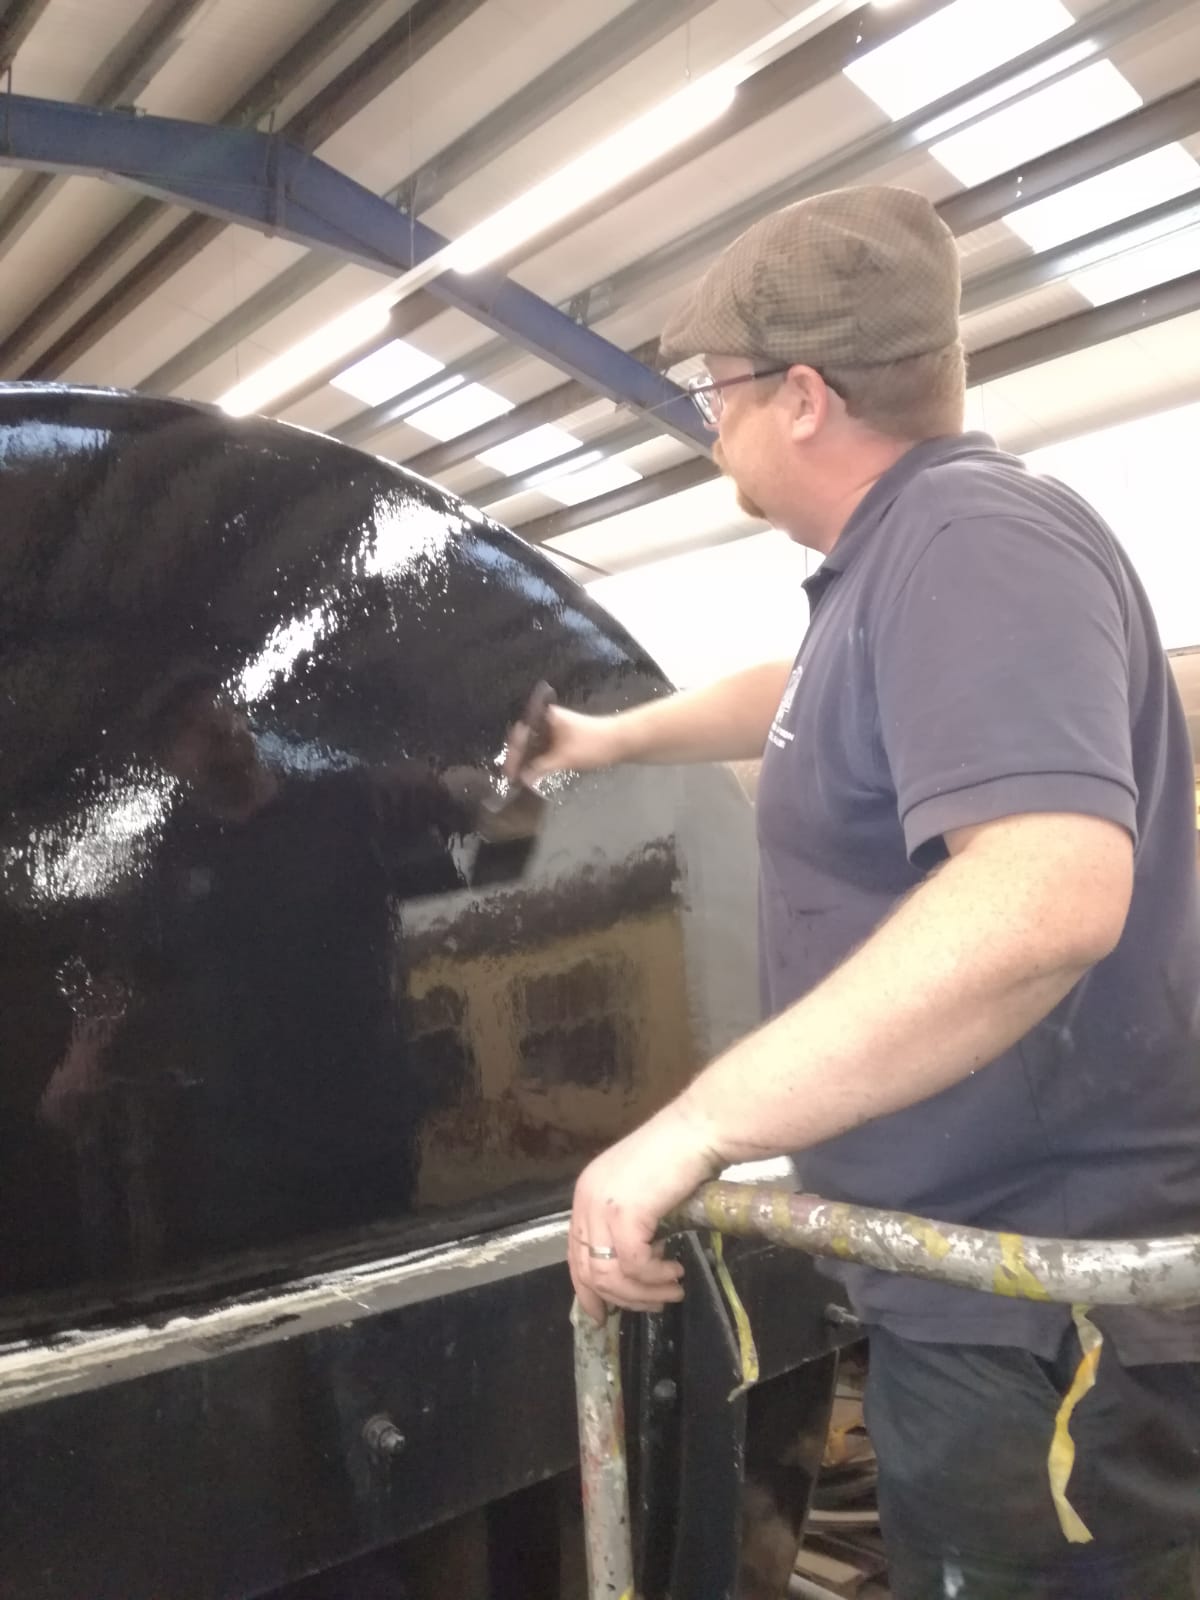
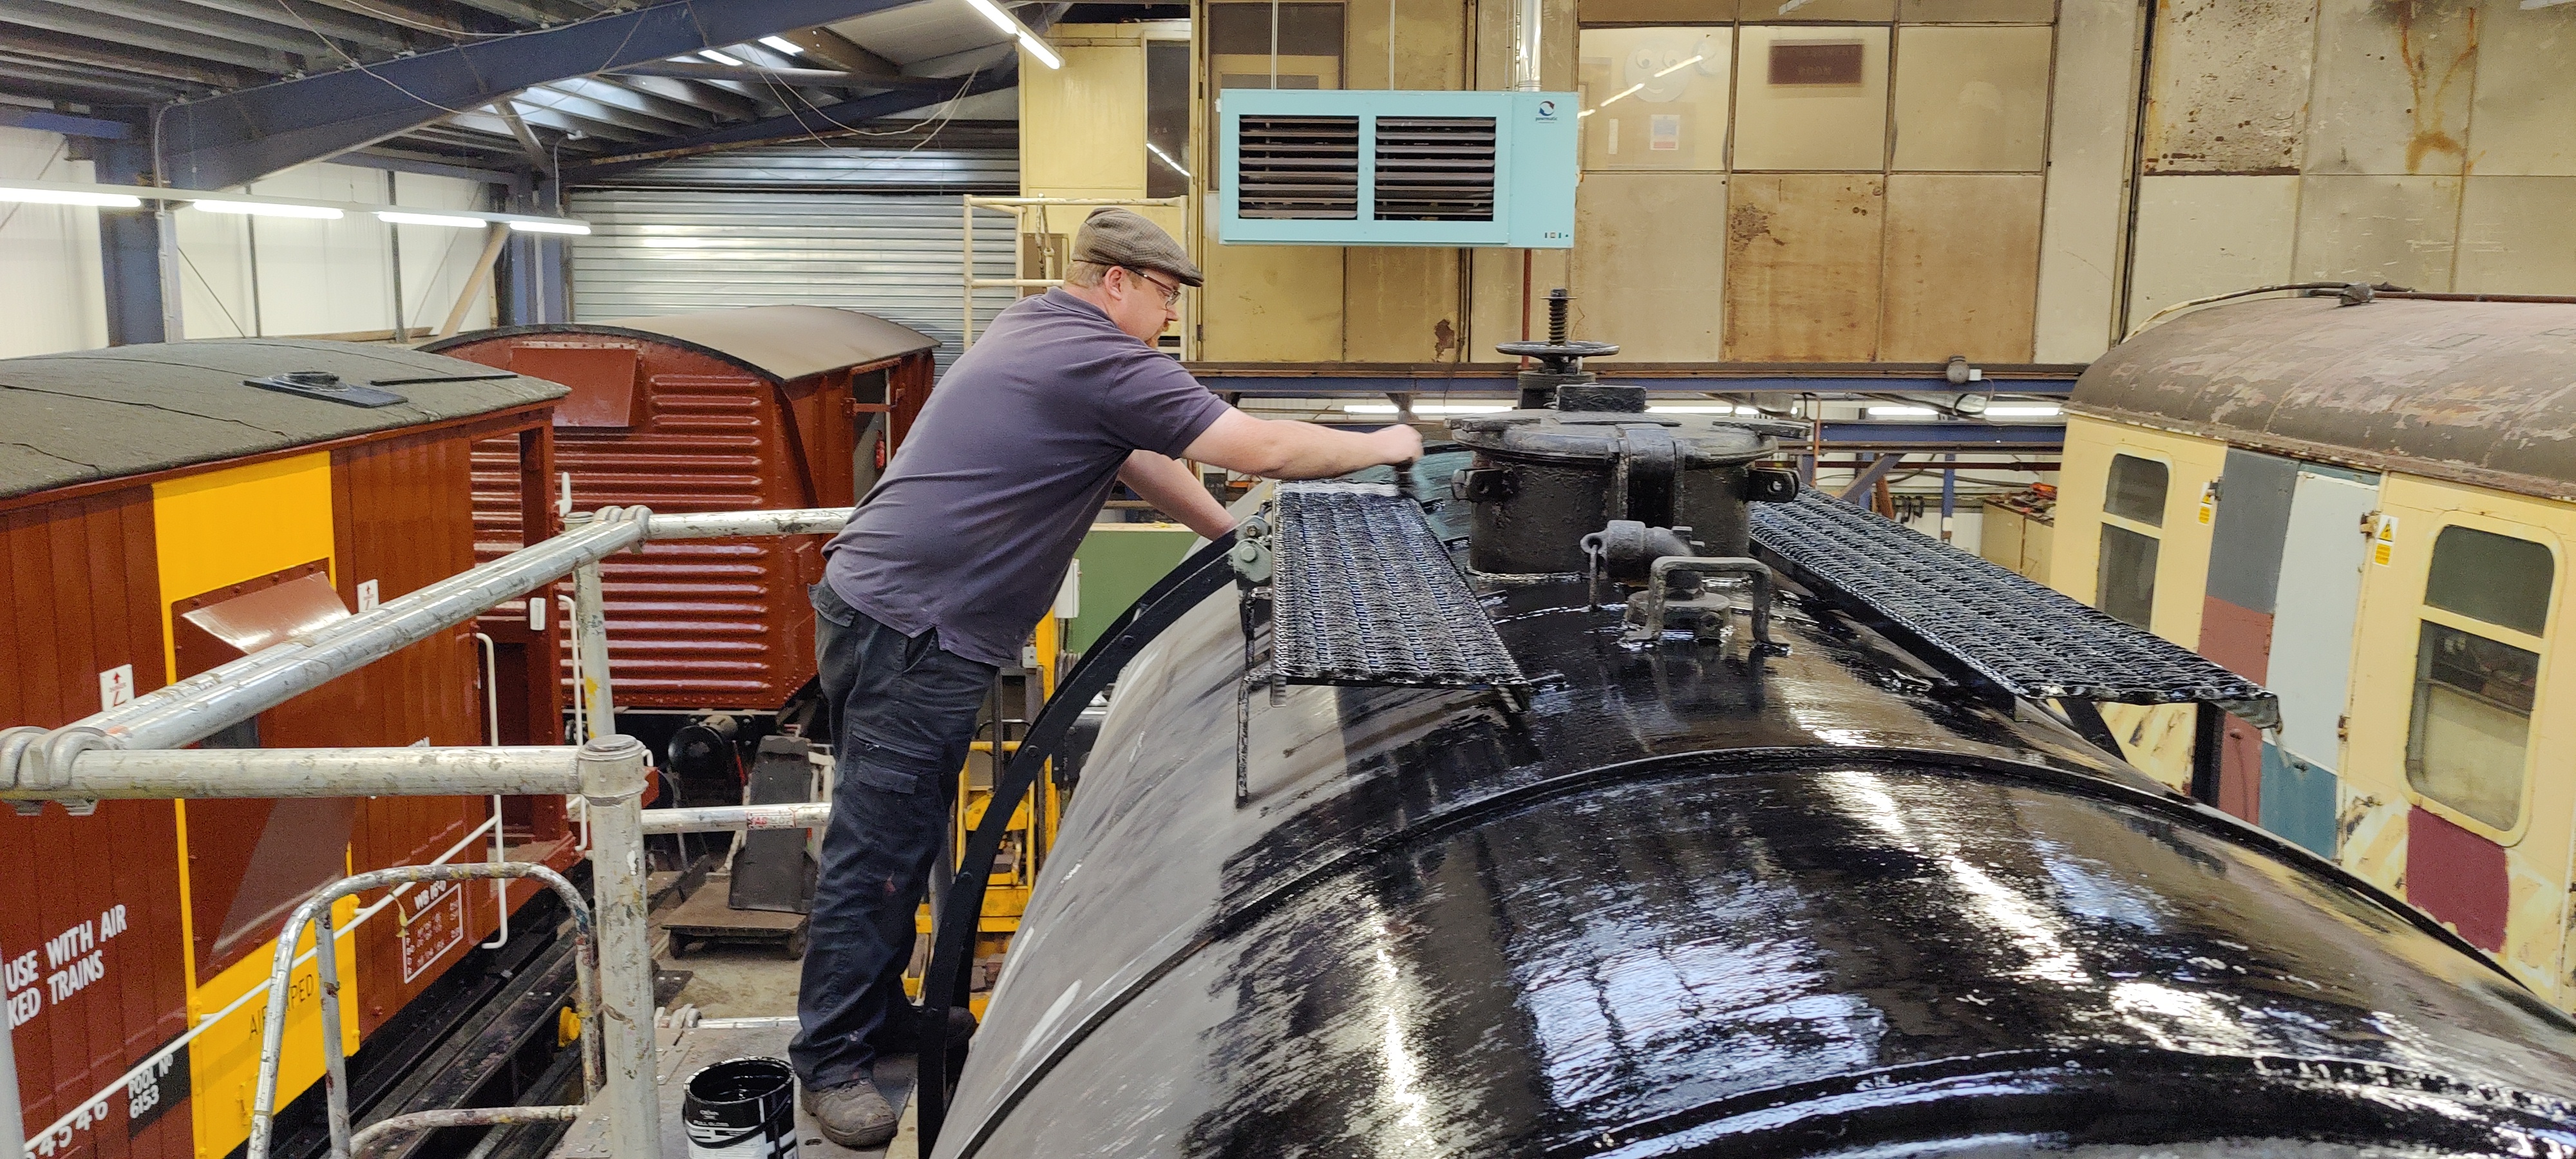
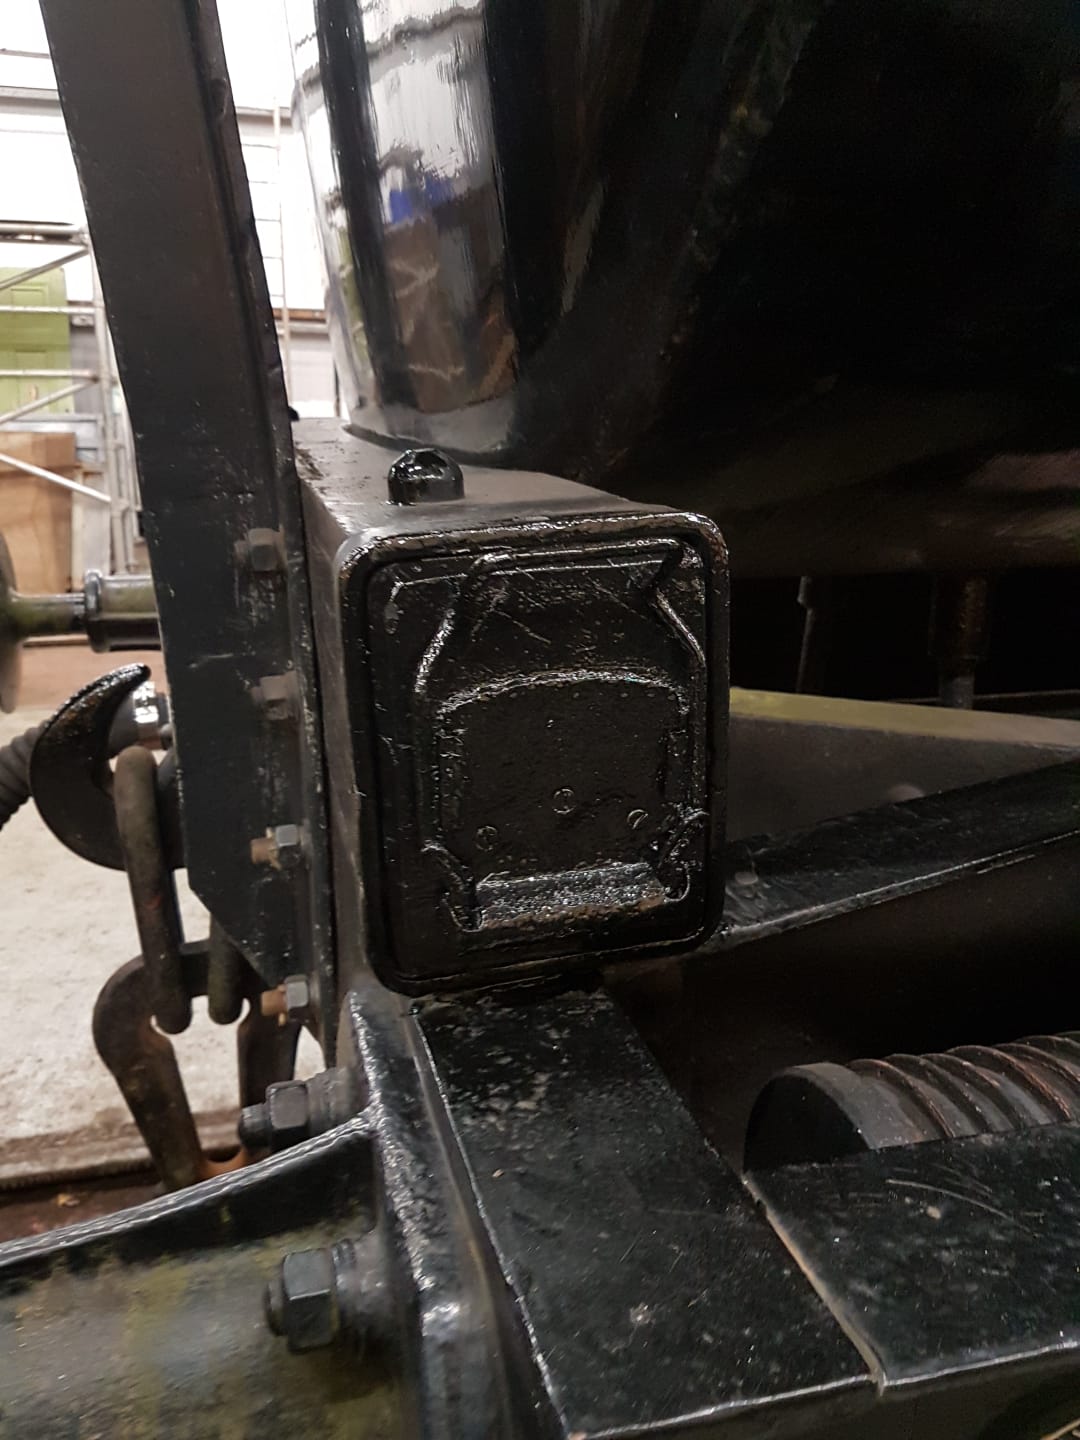
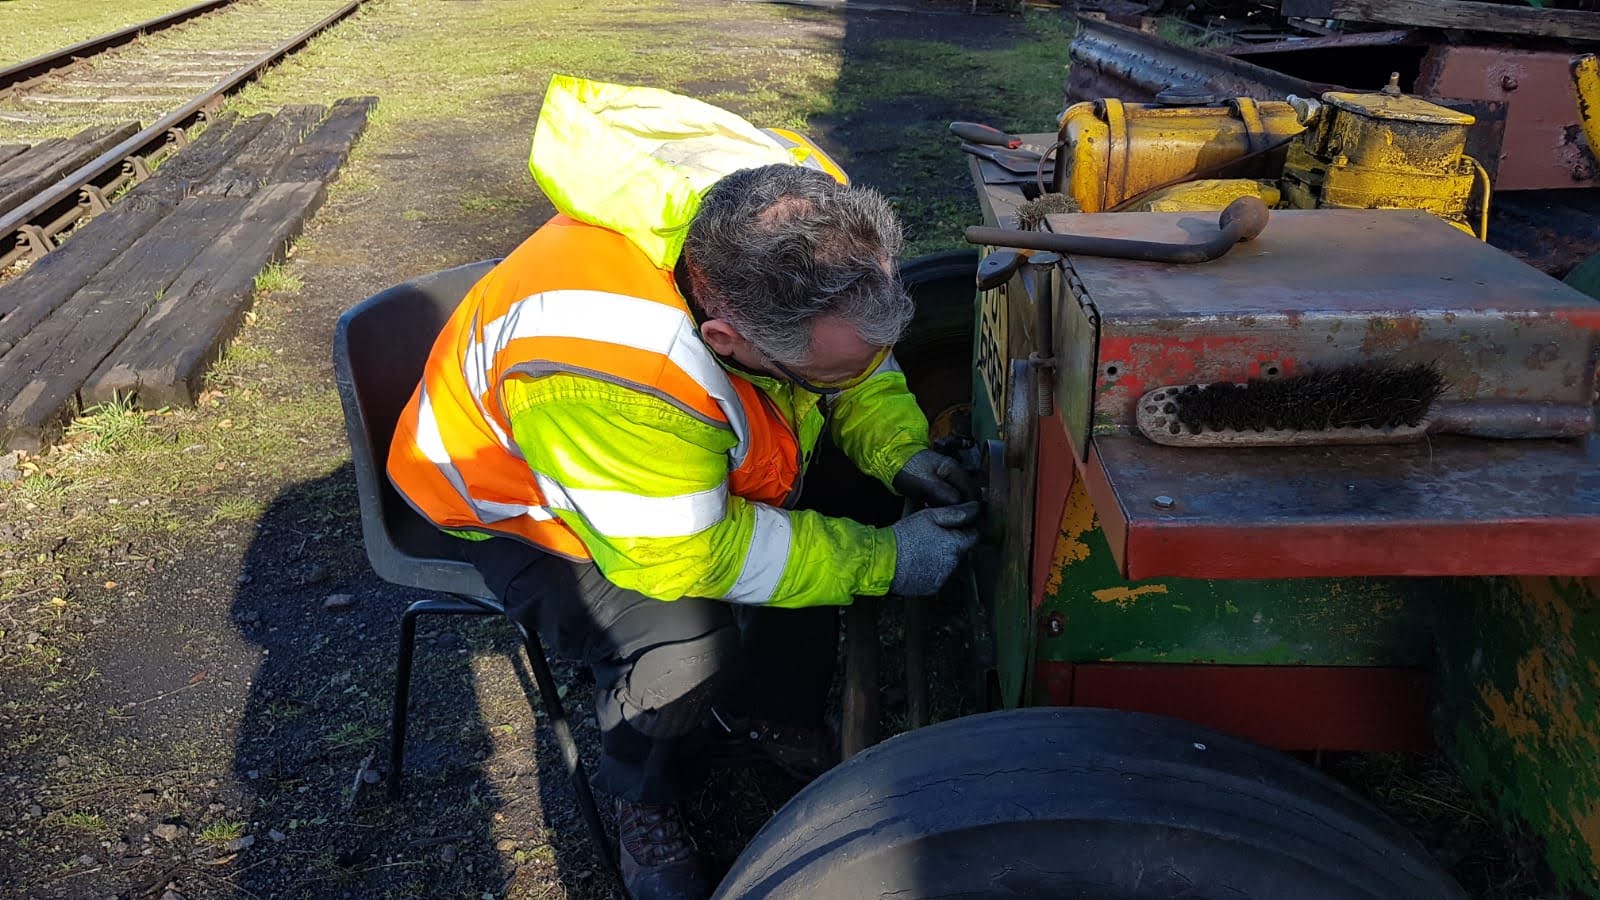
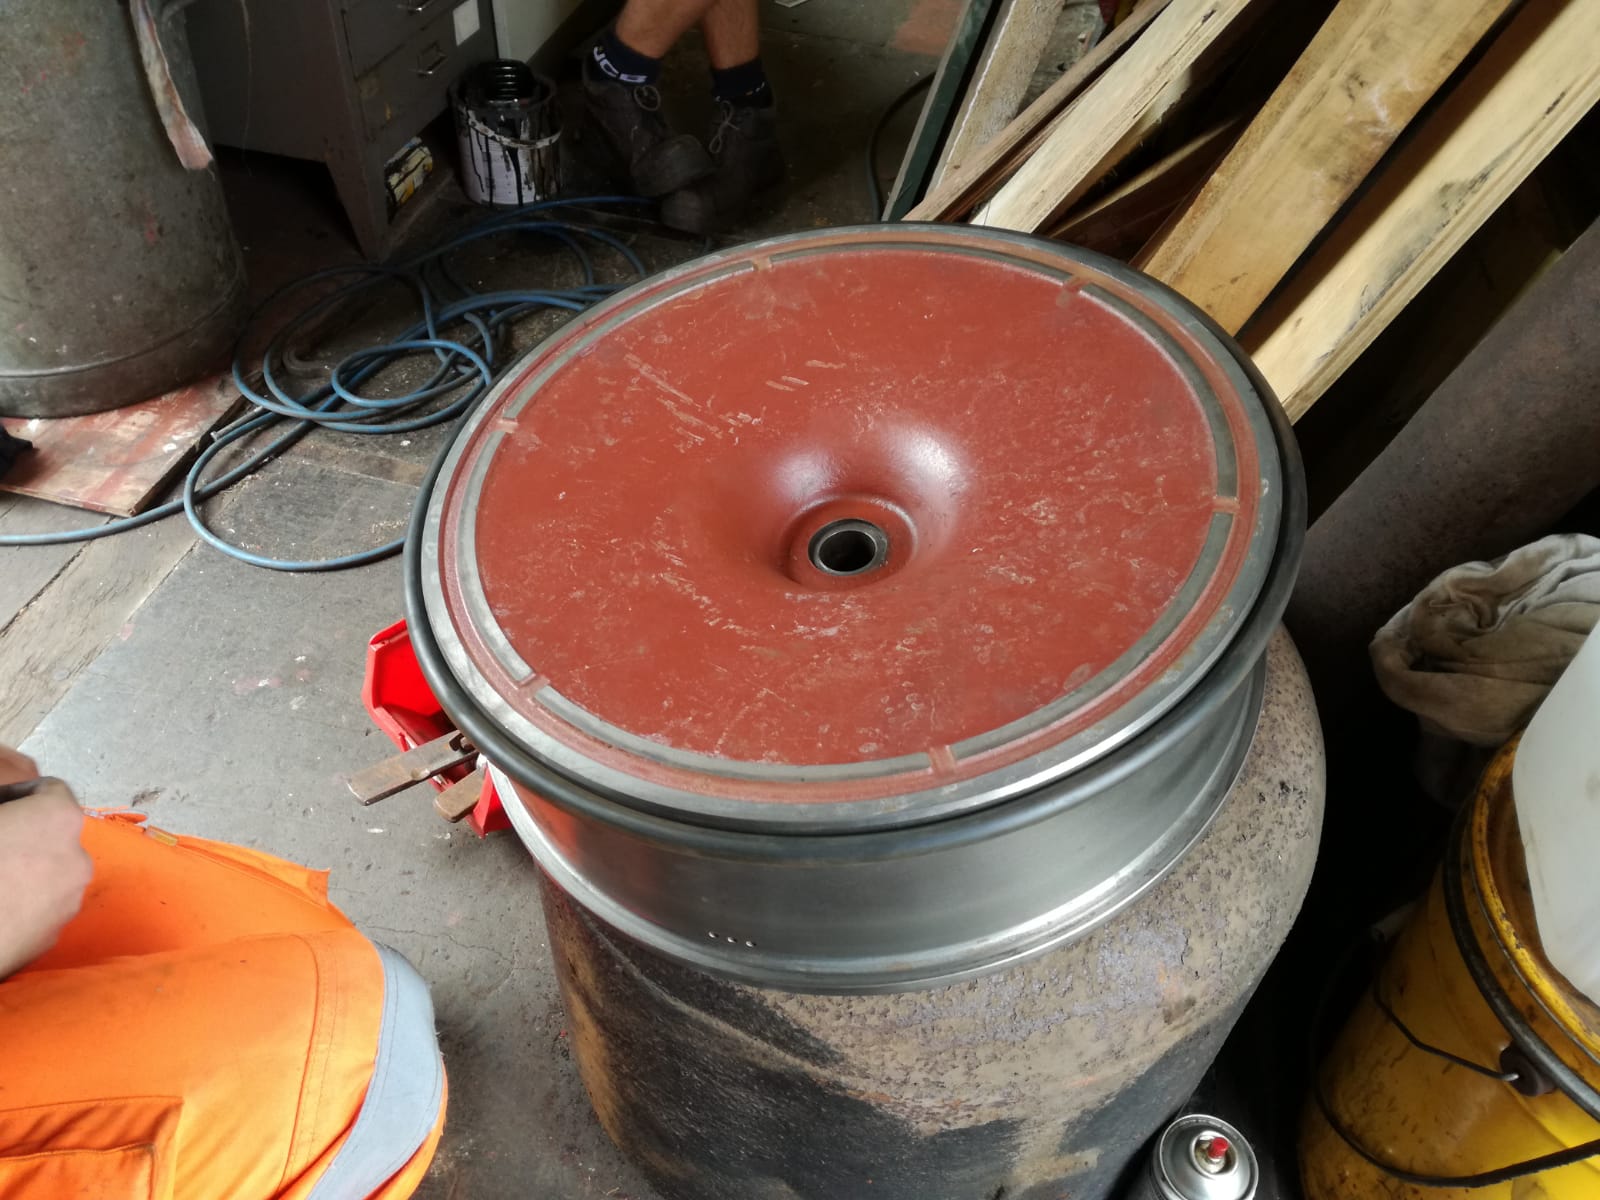
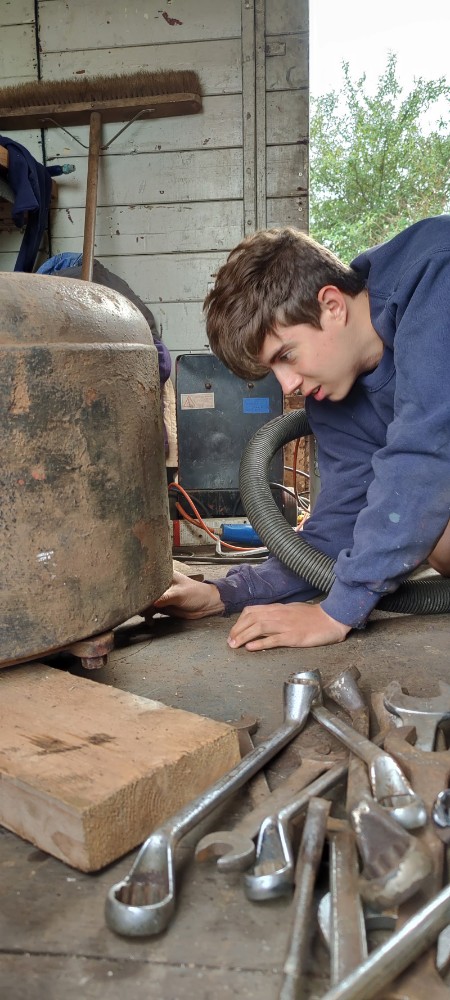
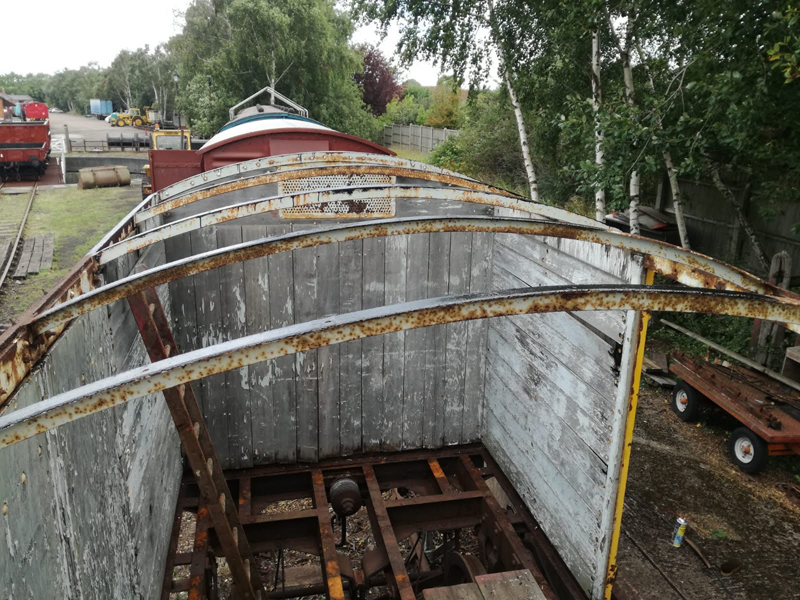
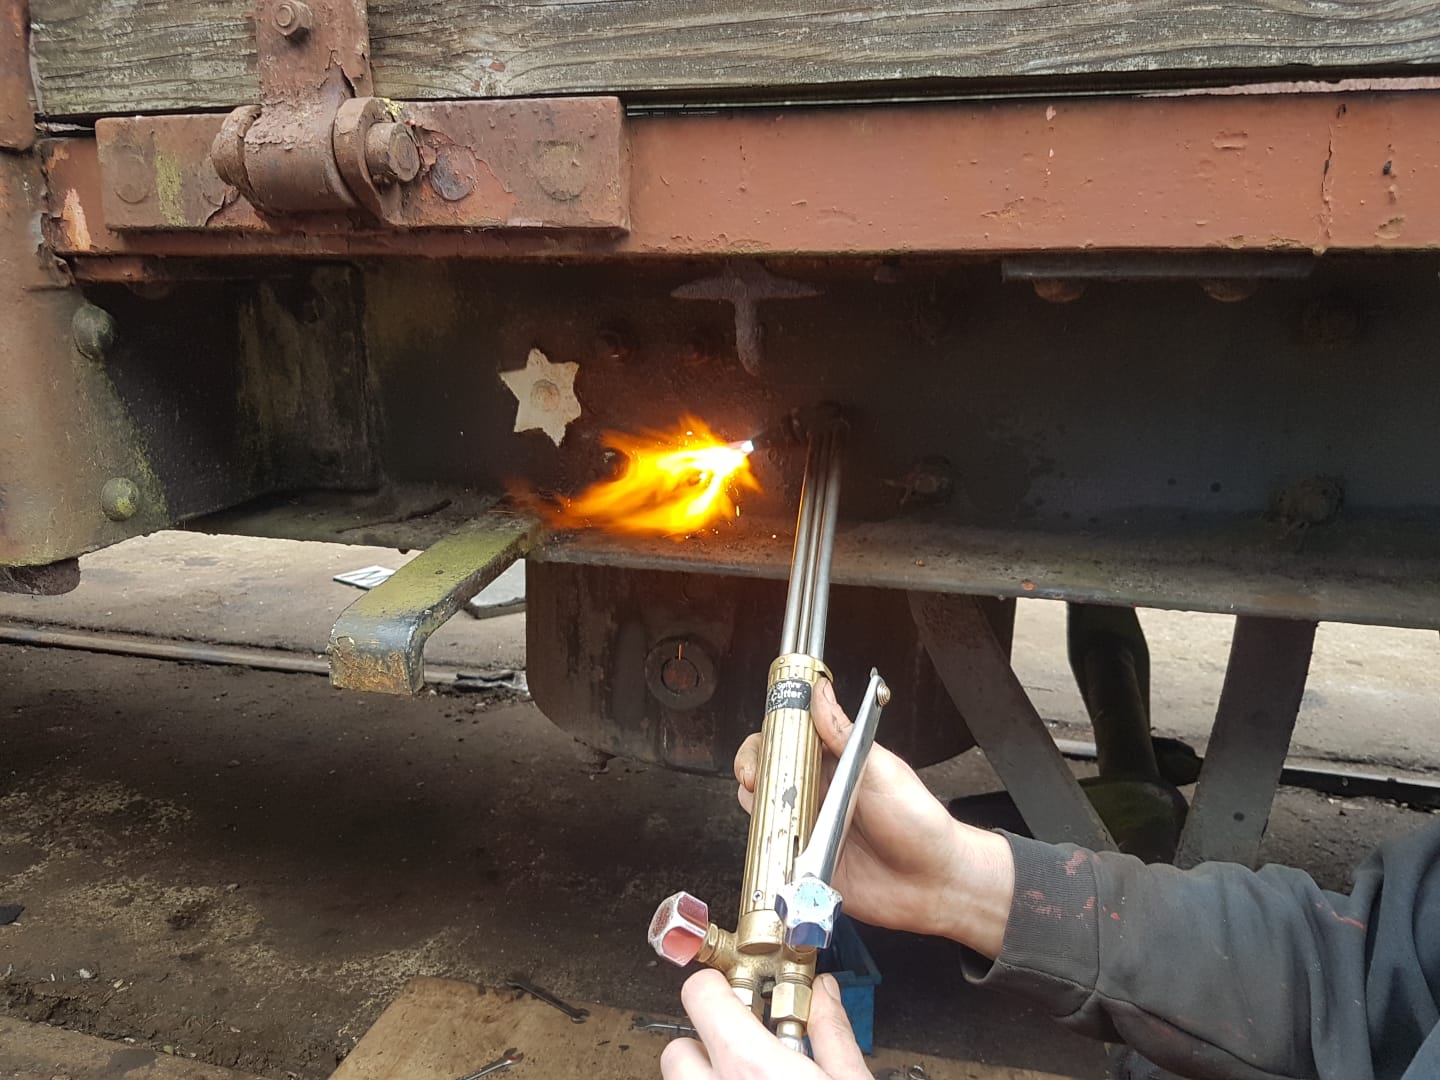
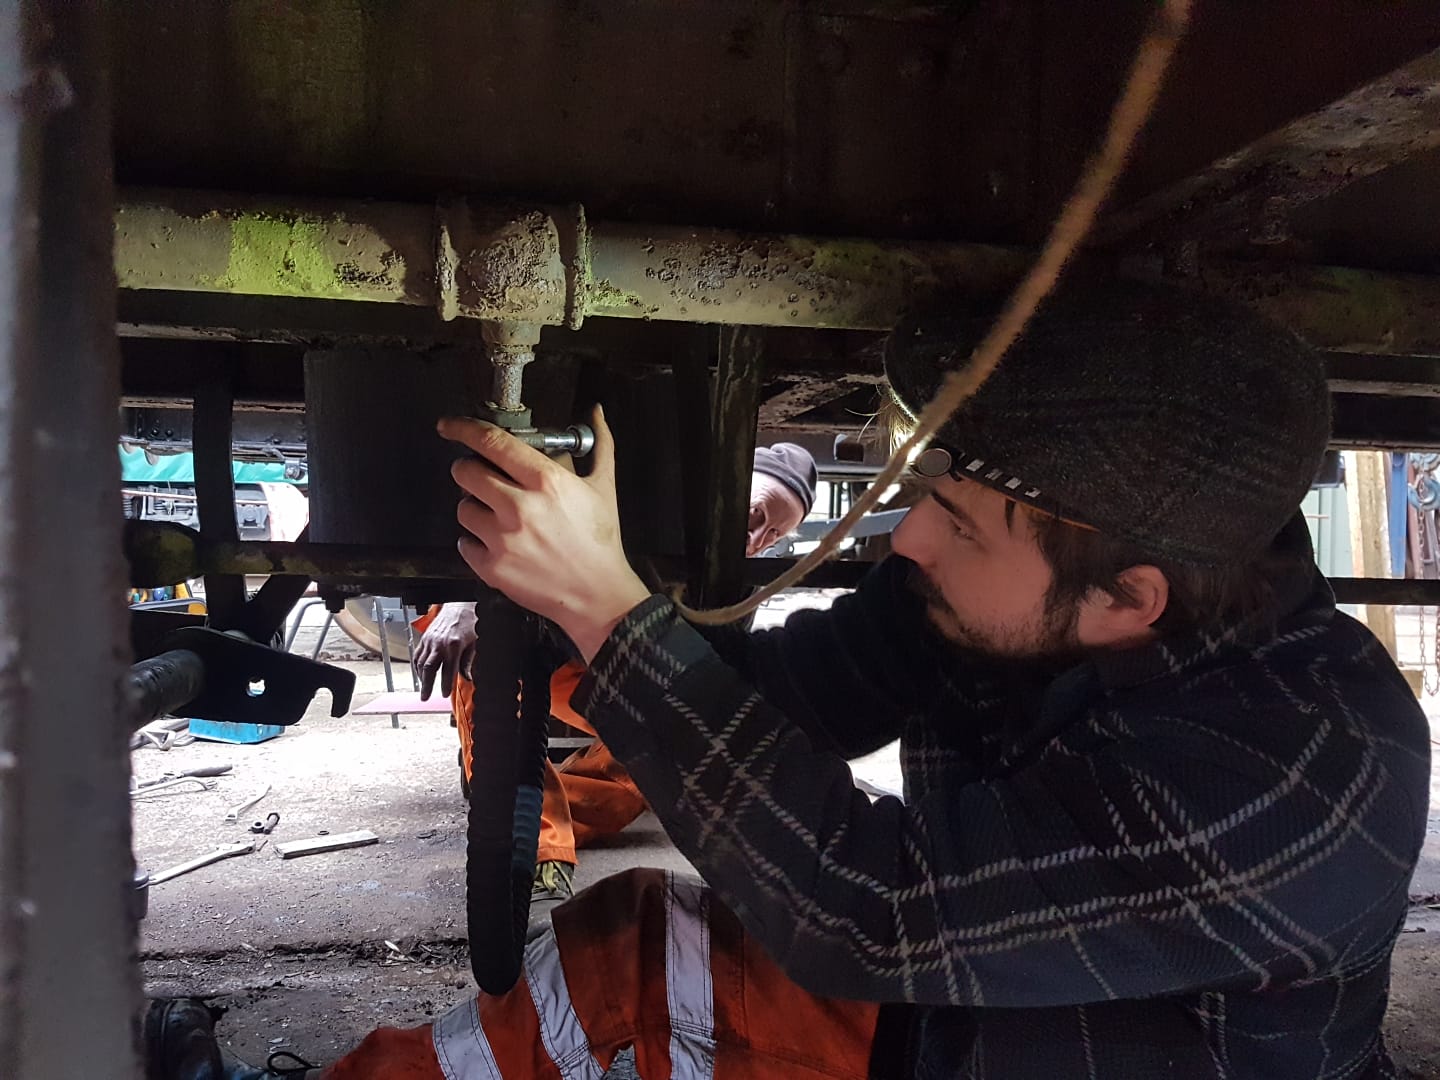
    Sunday saw us attempt the vacuum overhauls of the three failed vehicles, starting with the Shock HyBar. Our conclusion is that this vehicle is a right pain to remove the vacuum cylinder from, having to remove the door banger/stop and possbily the handbrake lever. After a considerable amount of faff, the cylinder was removed and taken apart for inspection and overhaul.

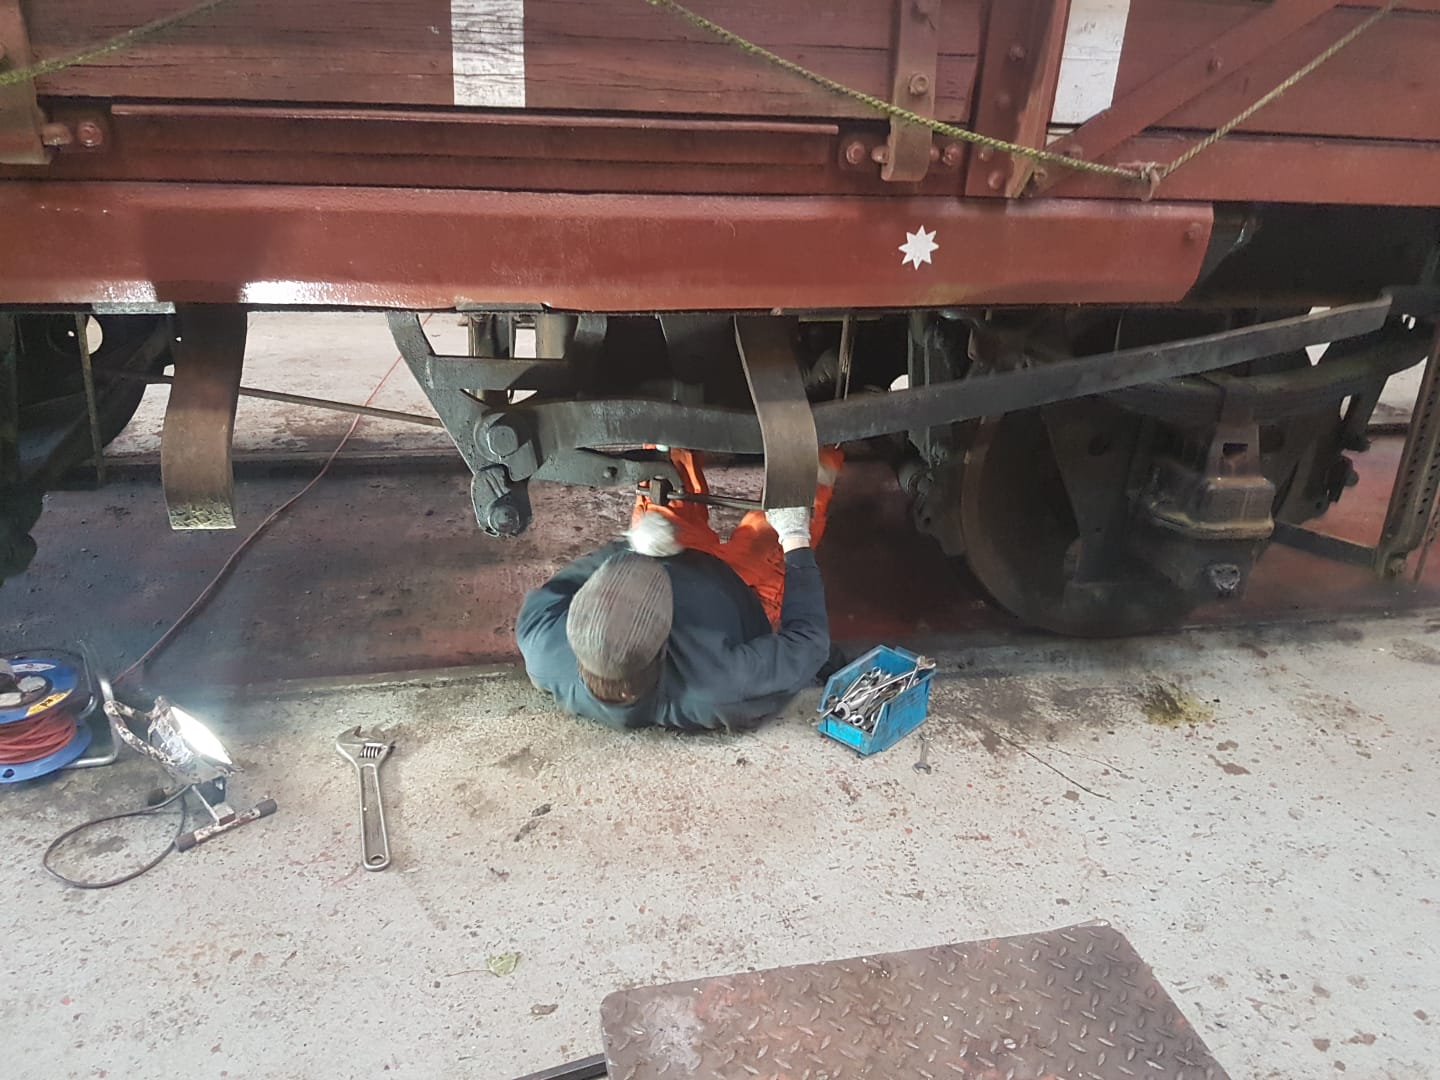
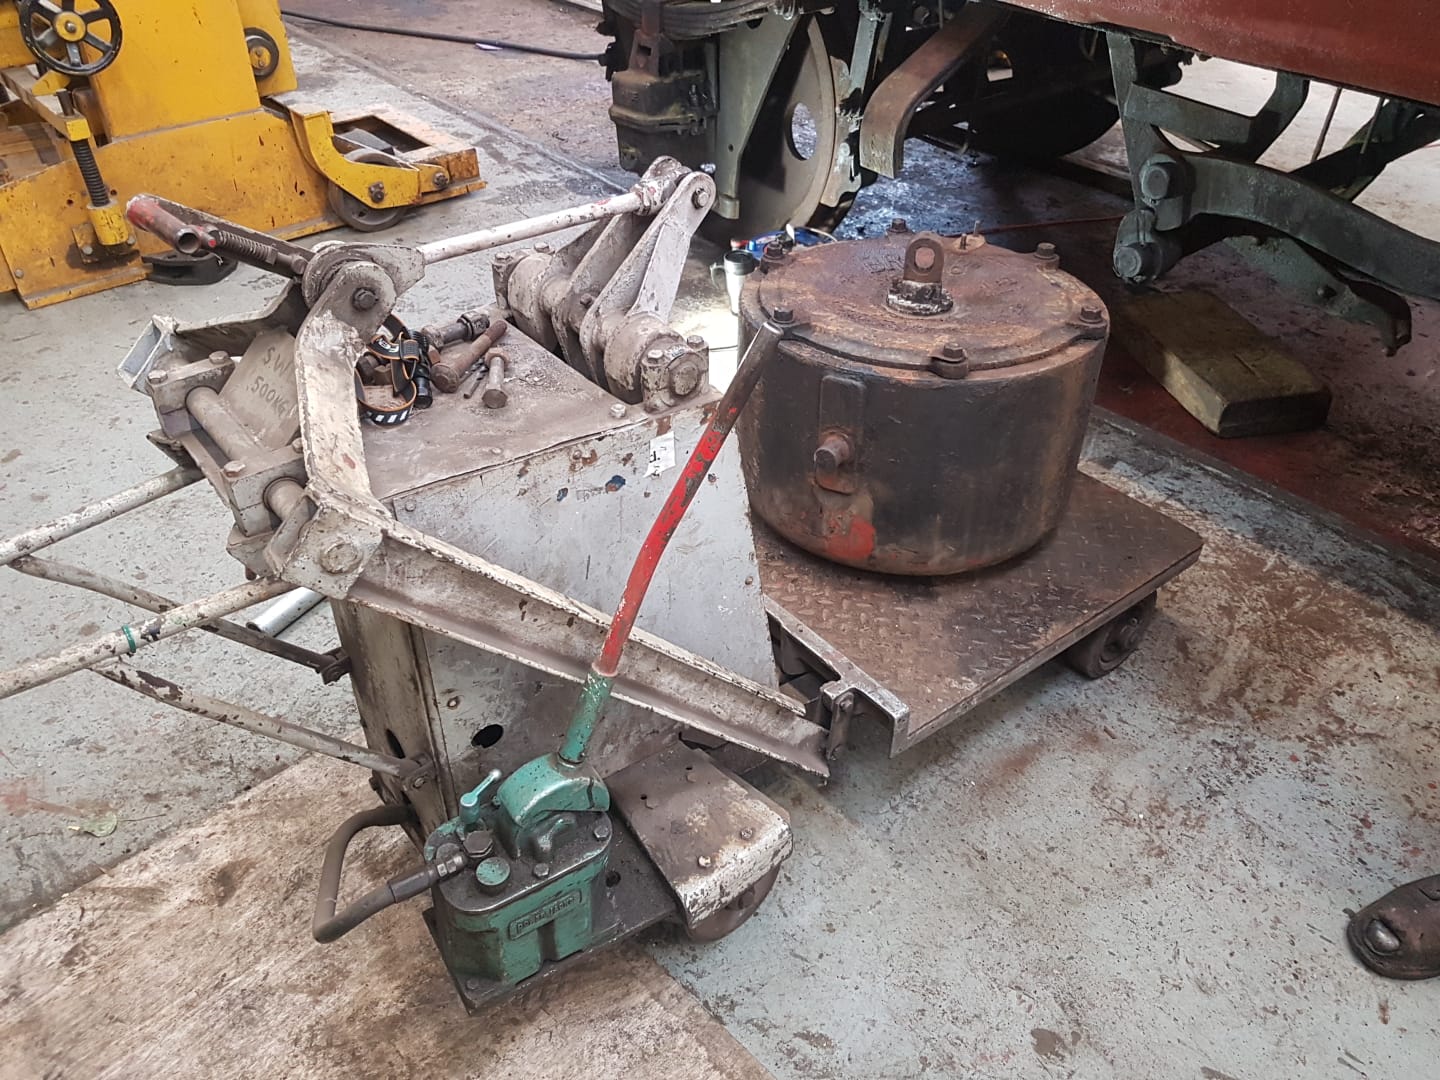
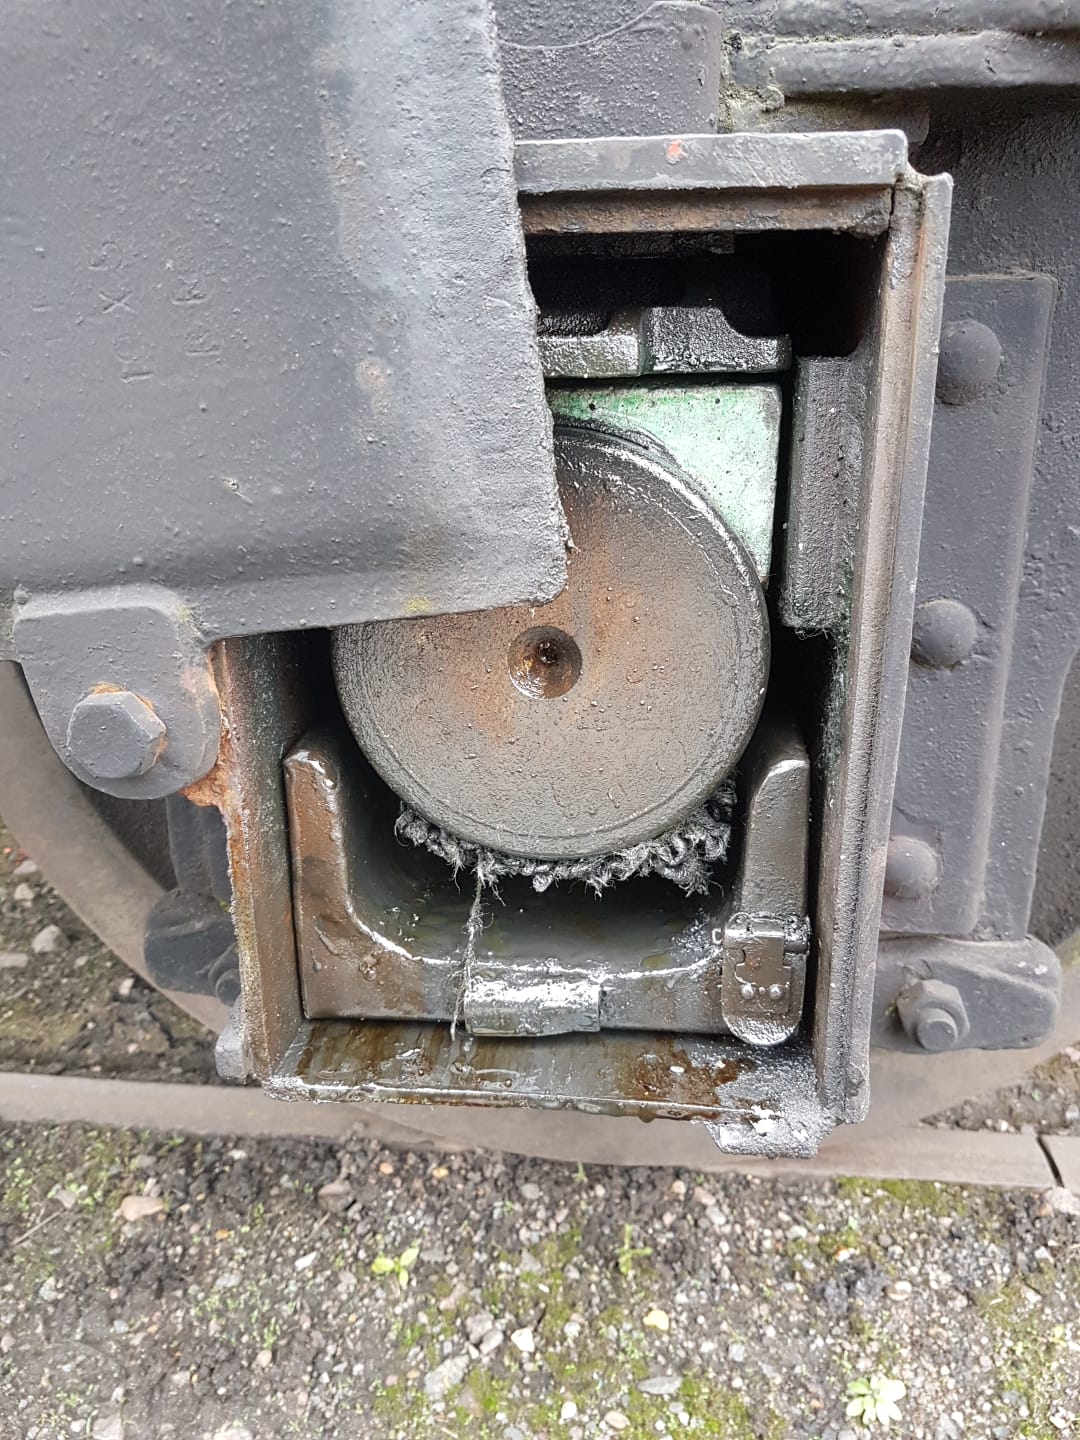
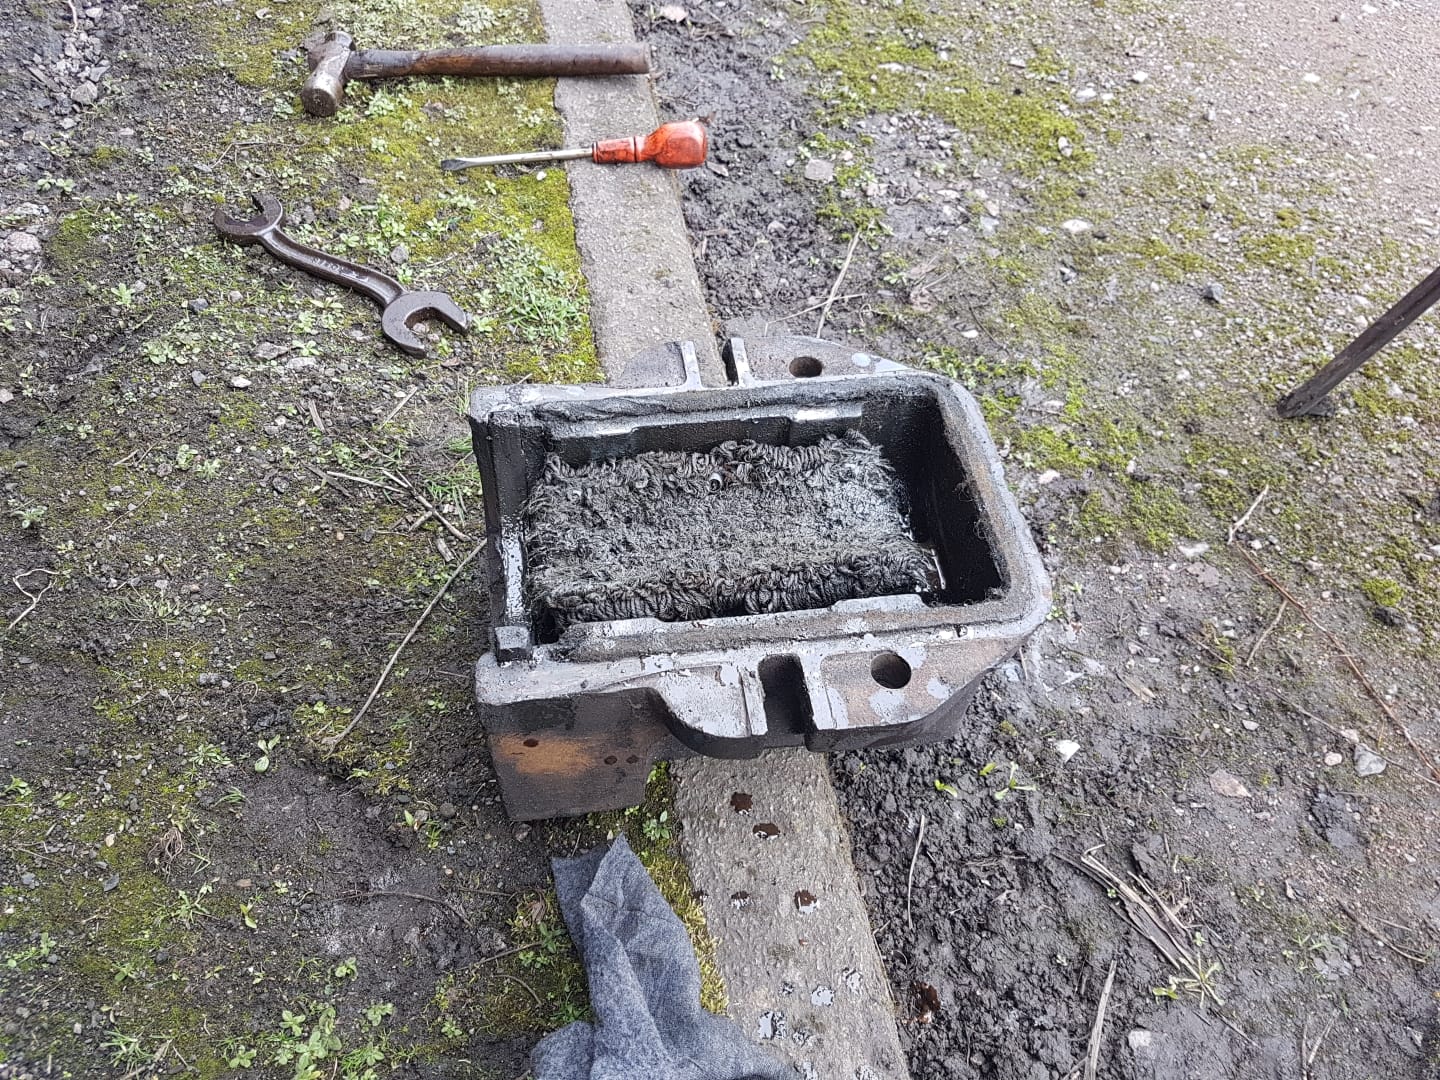
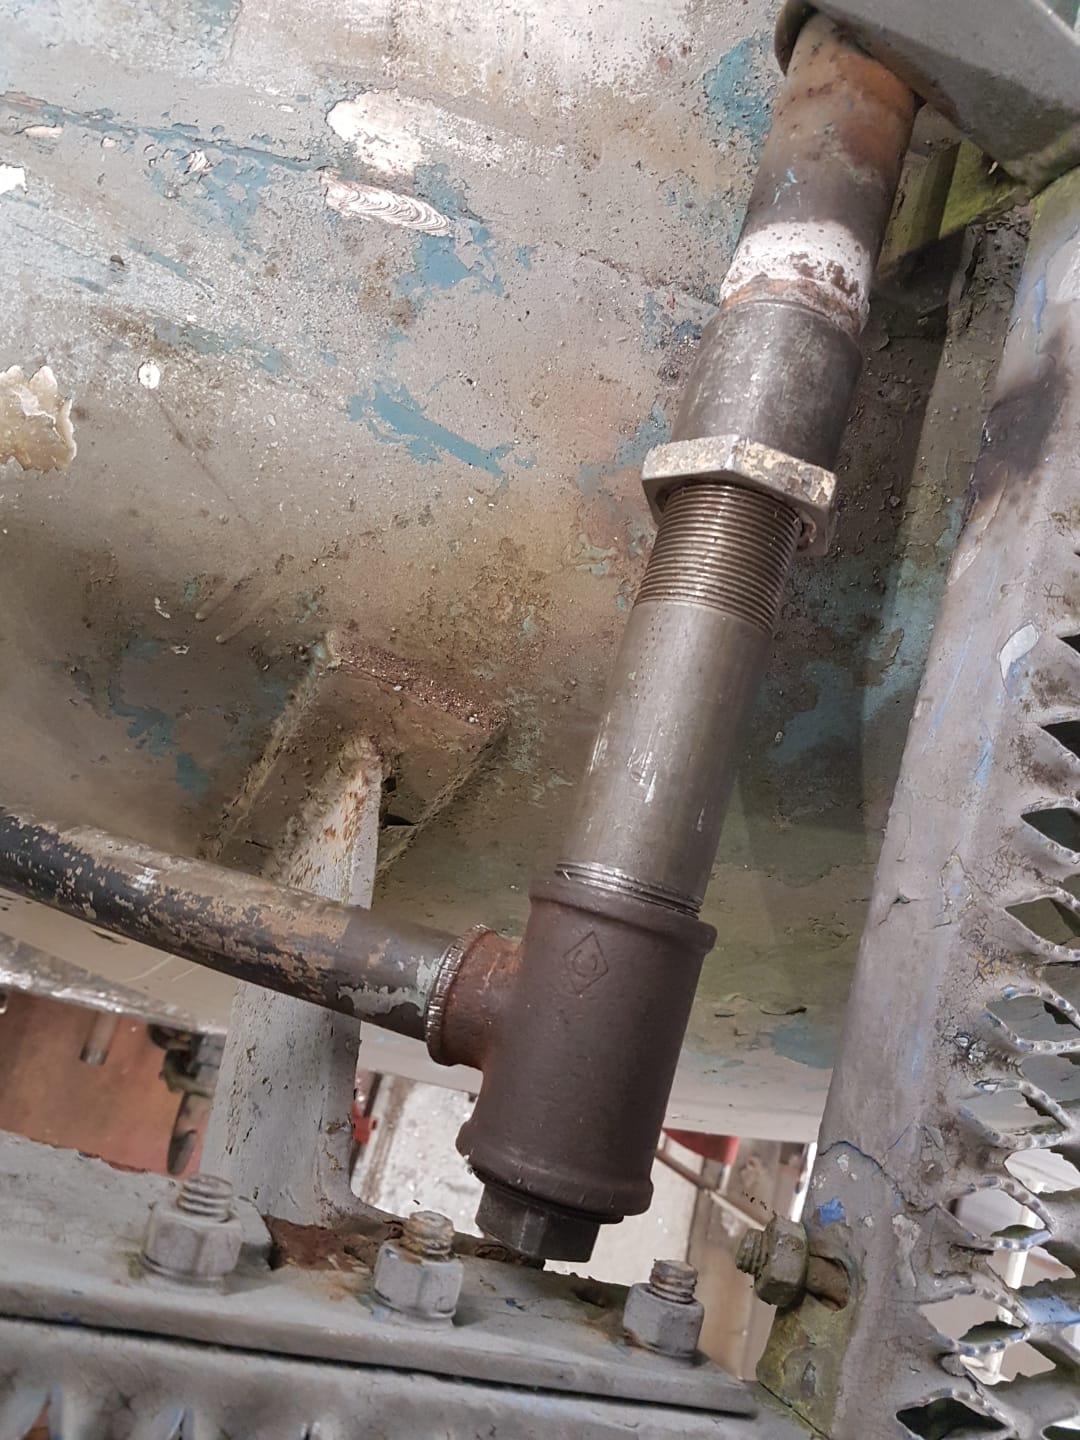
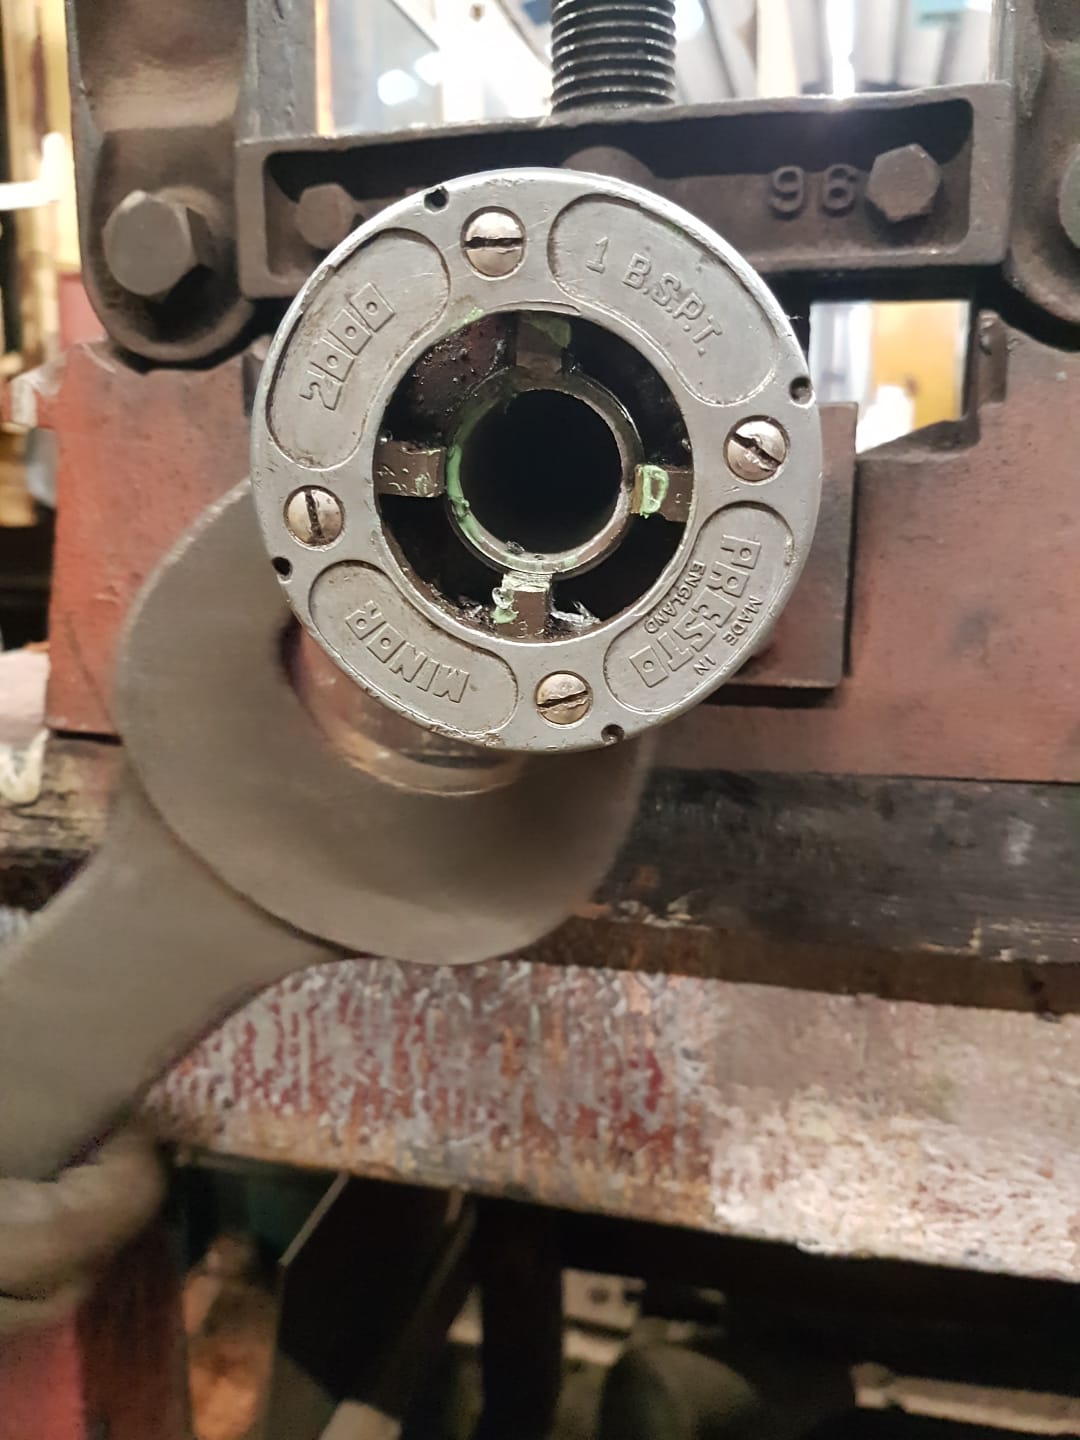
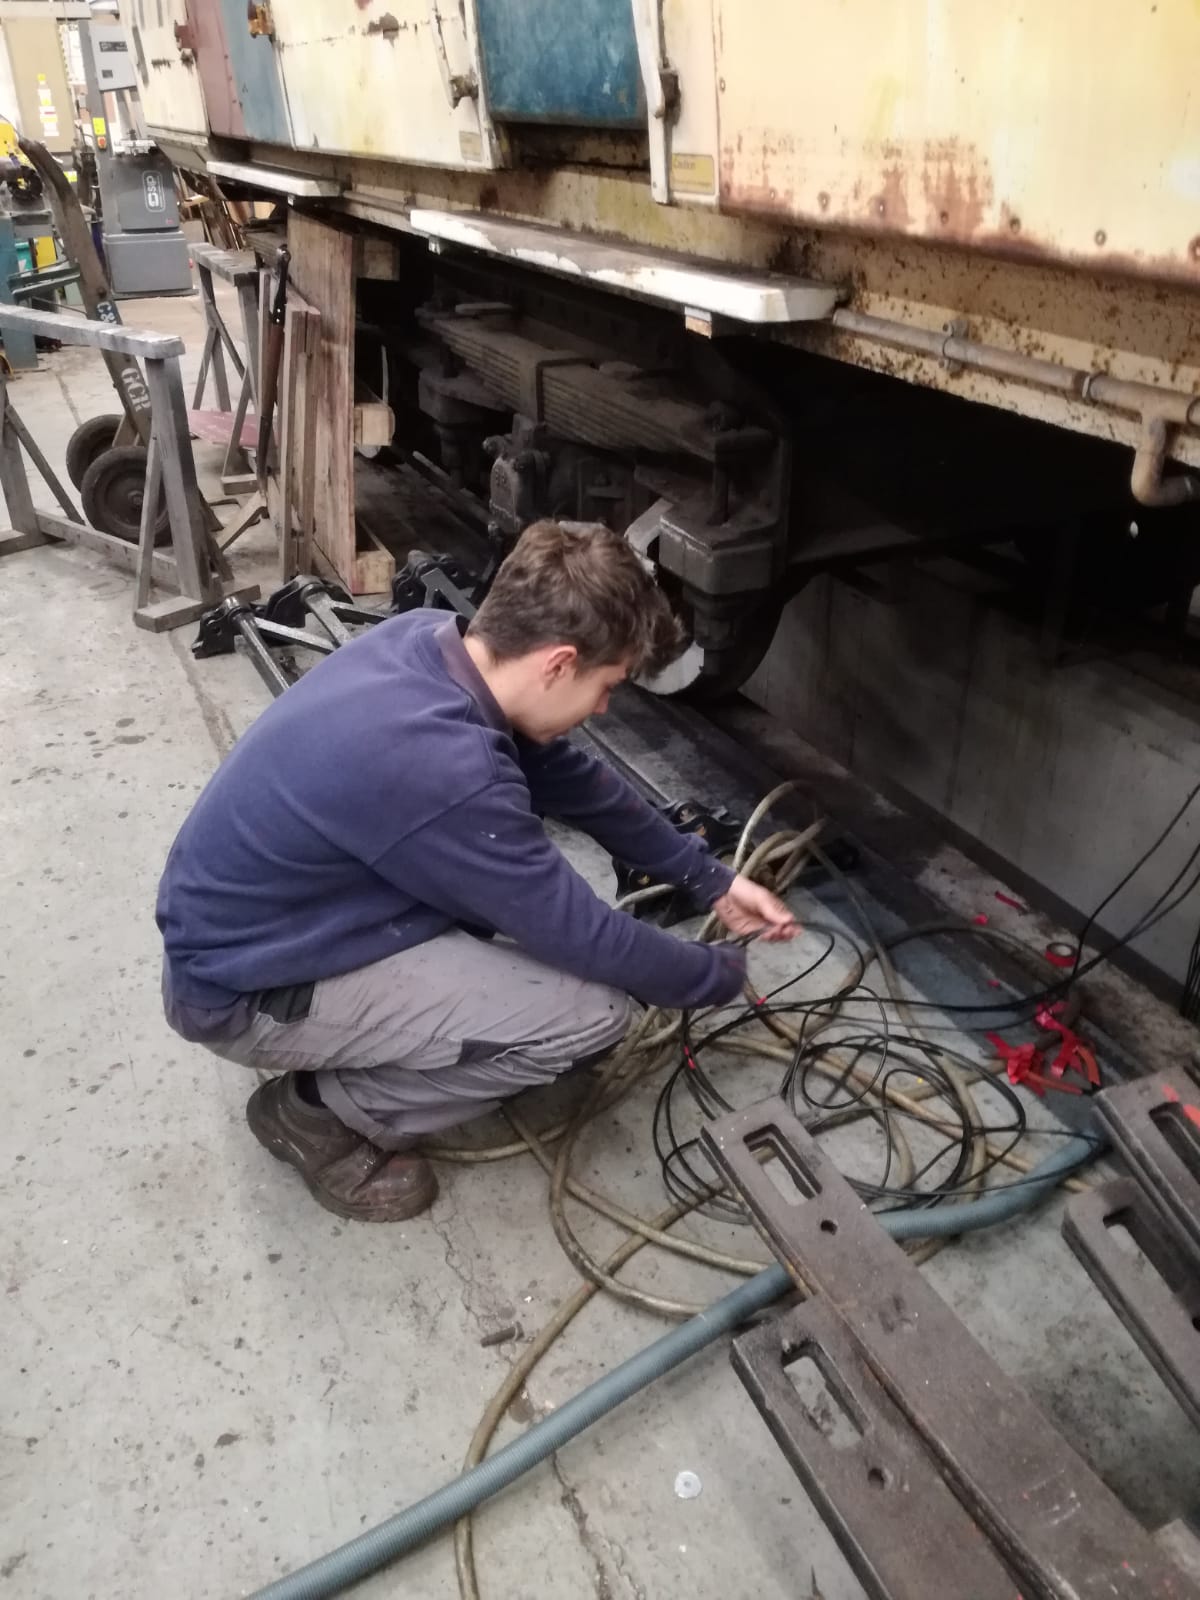
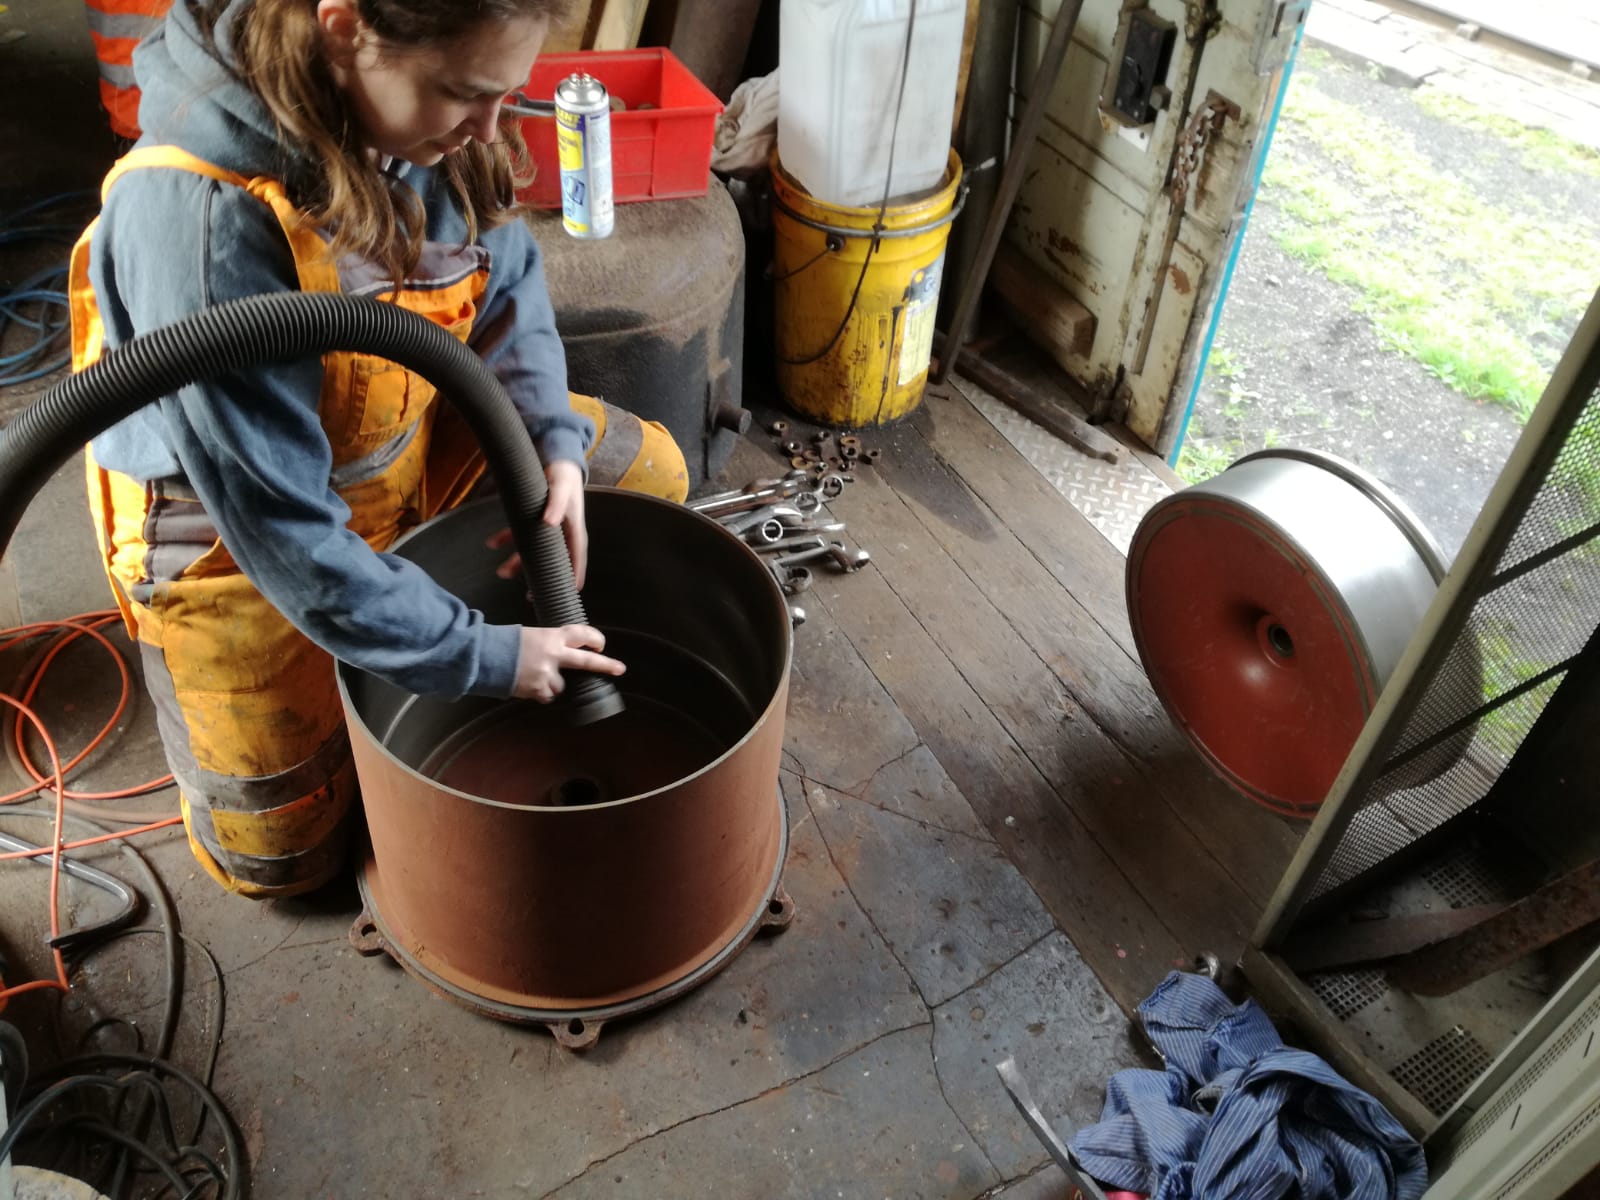
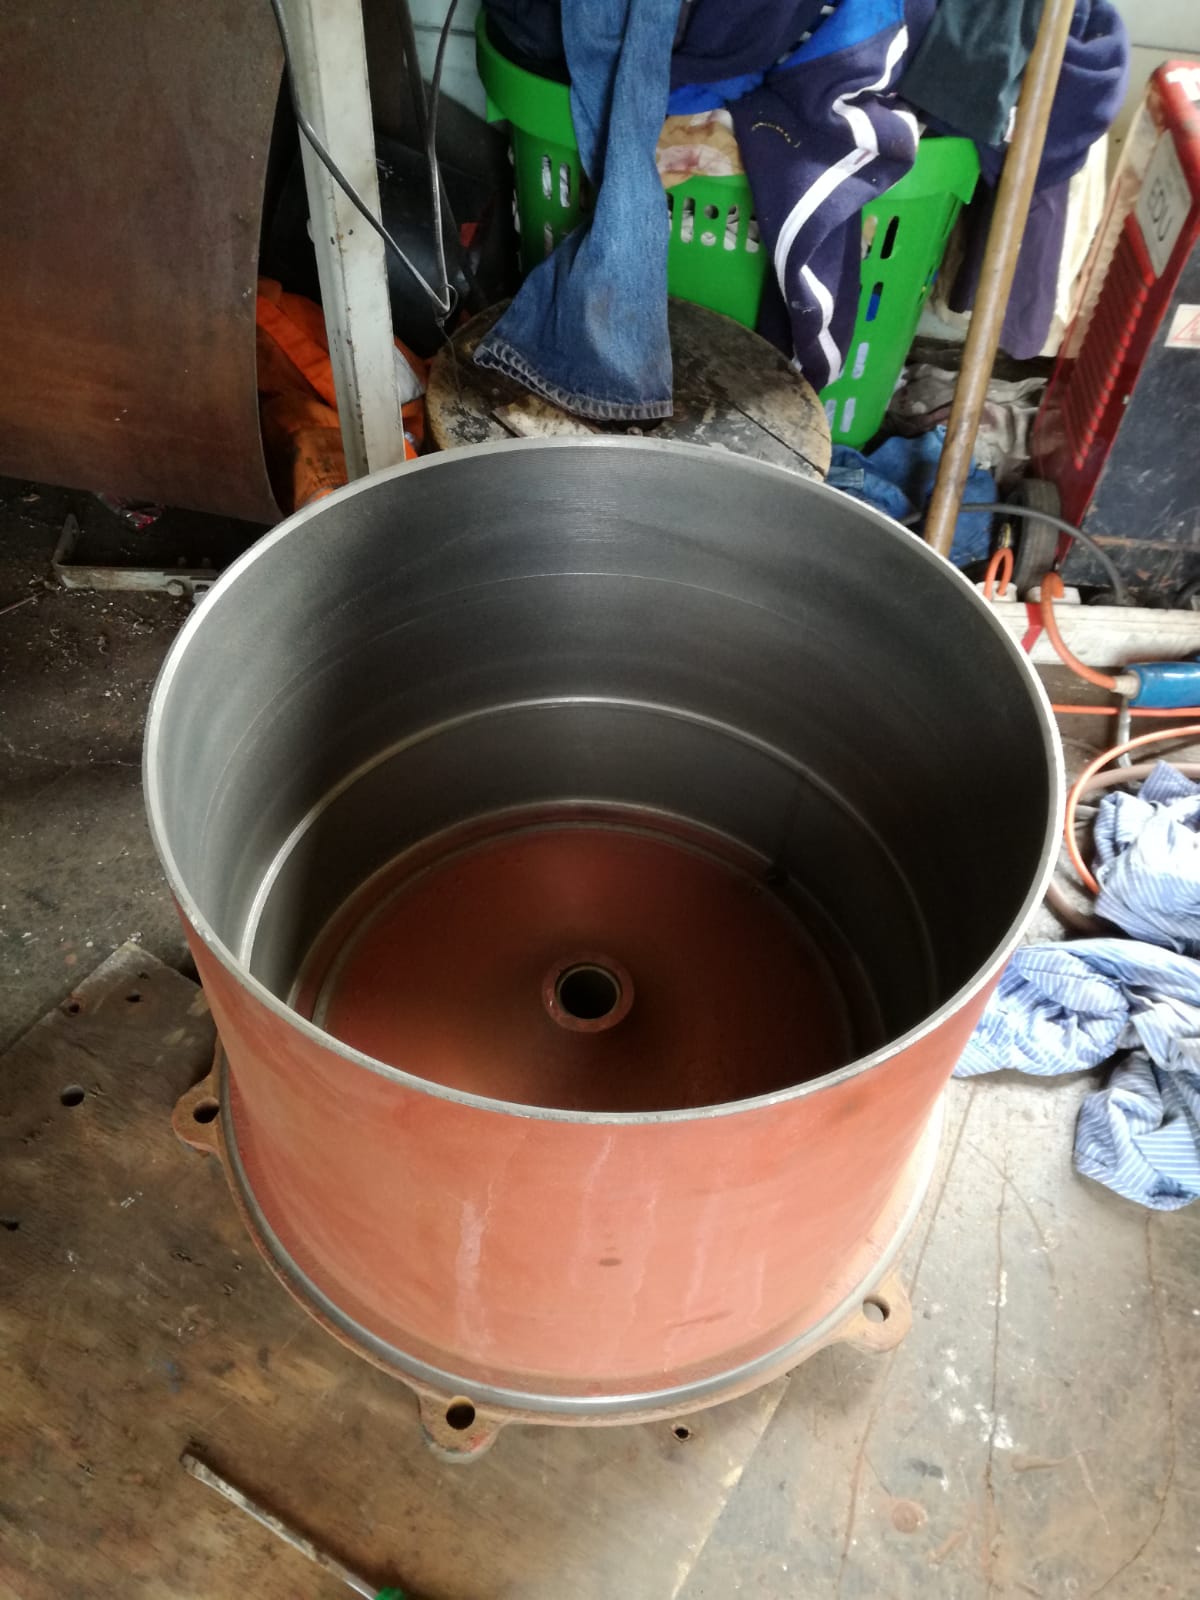
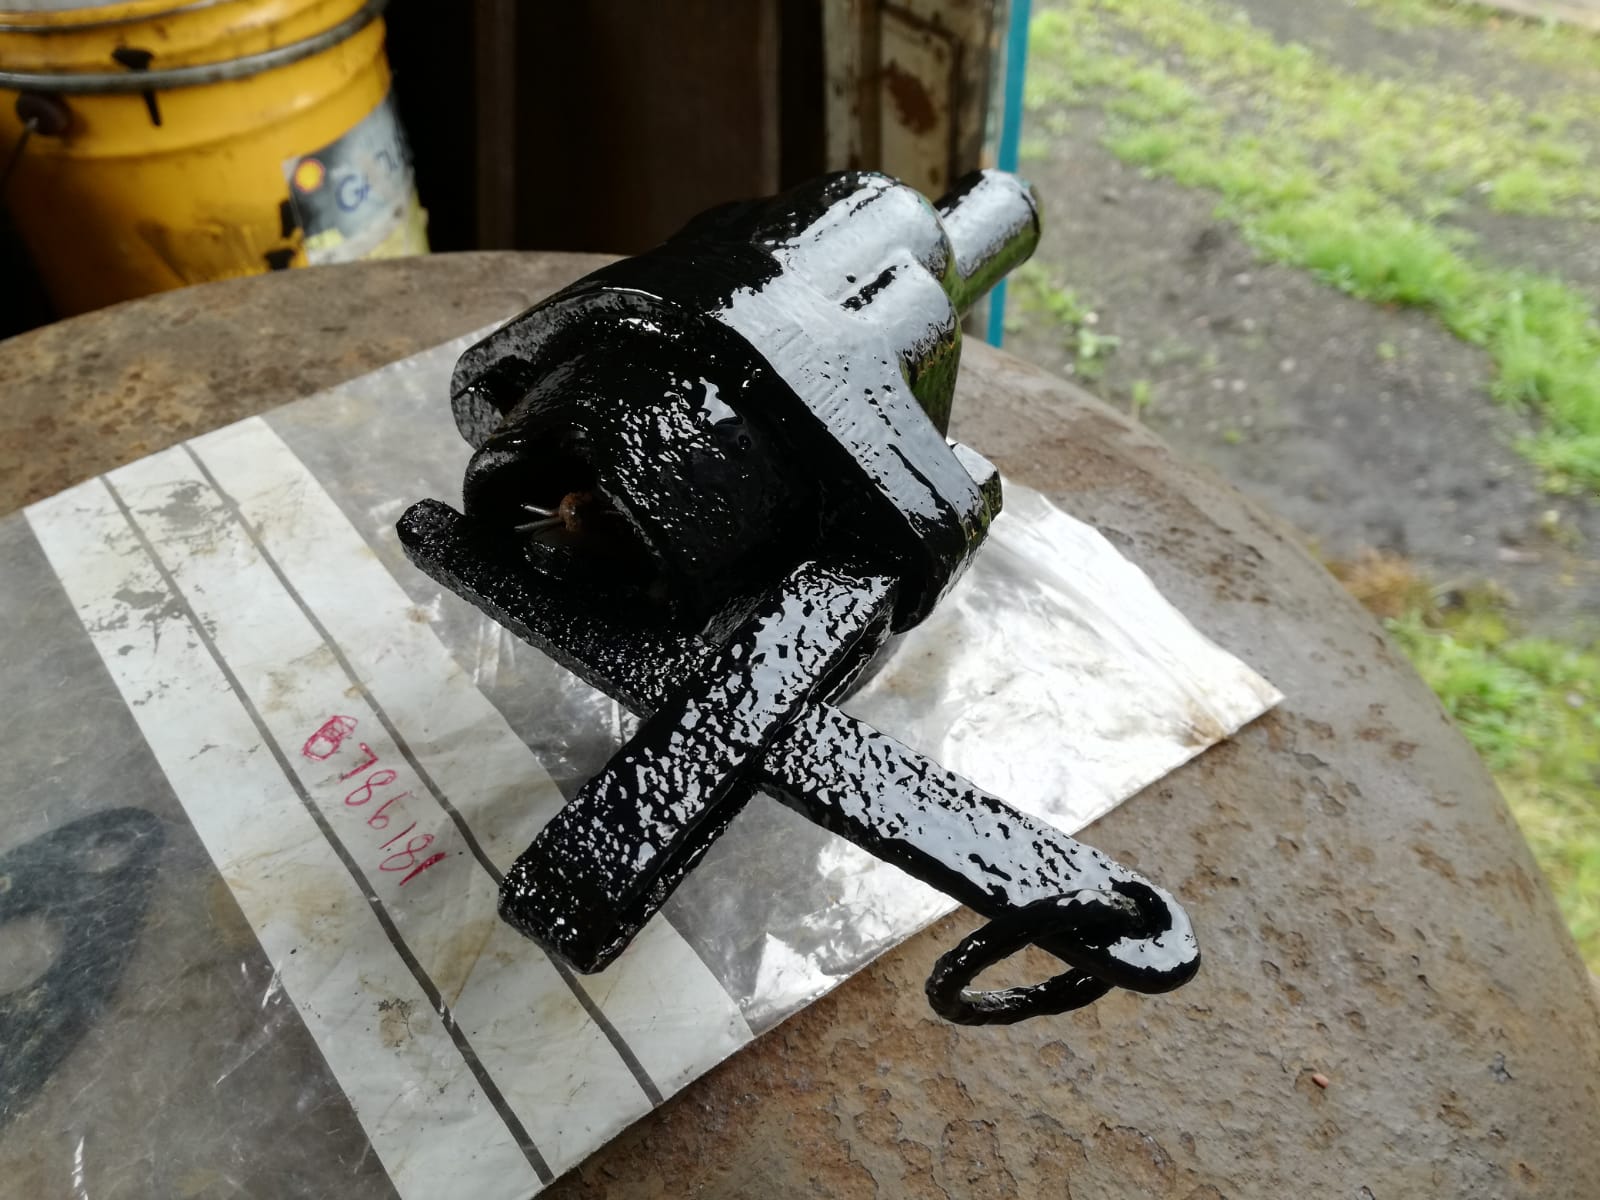
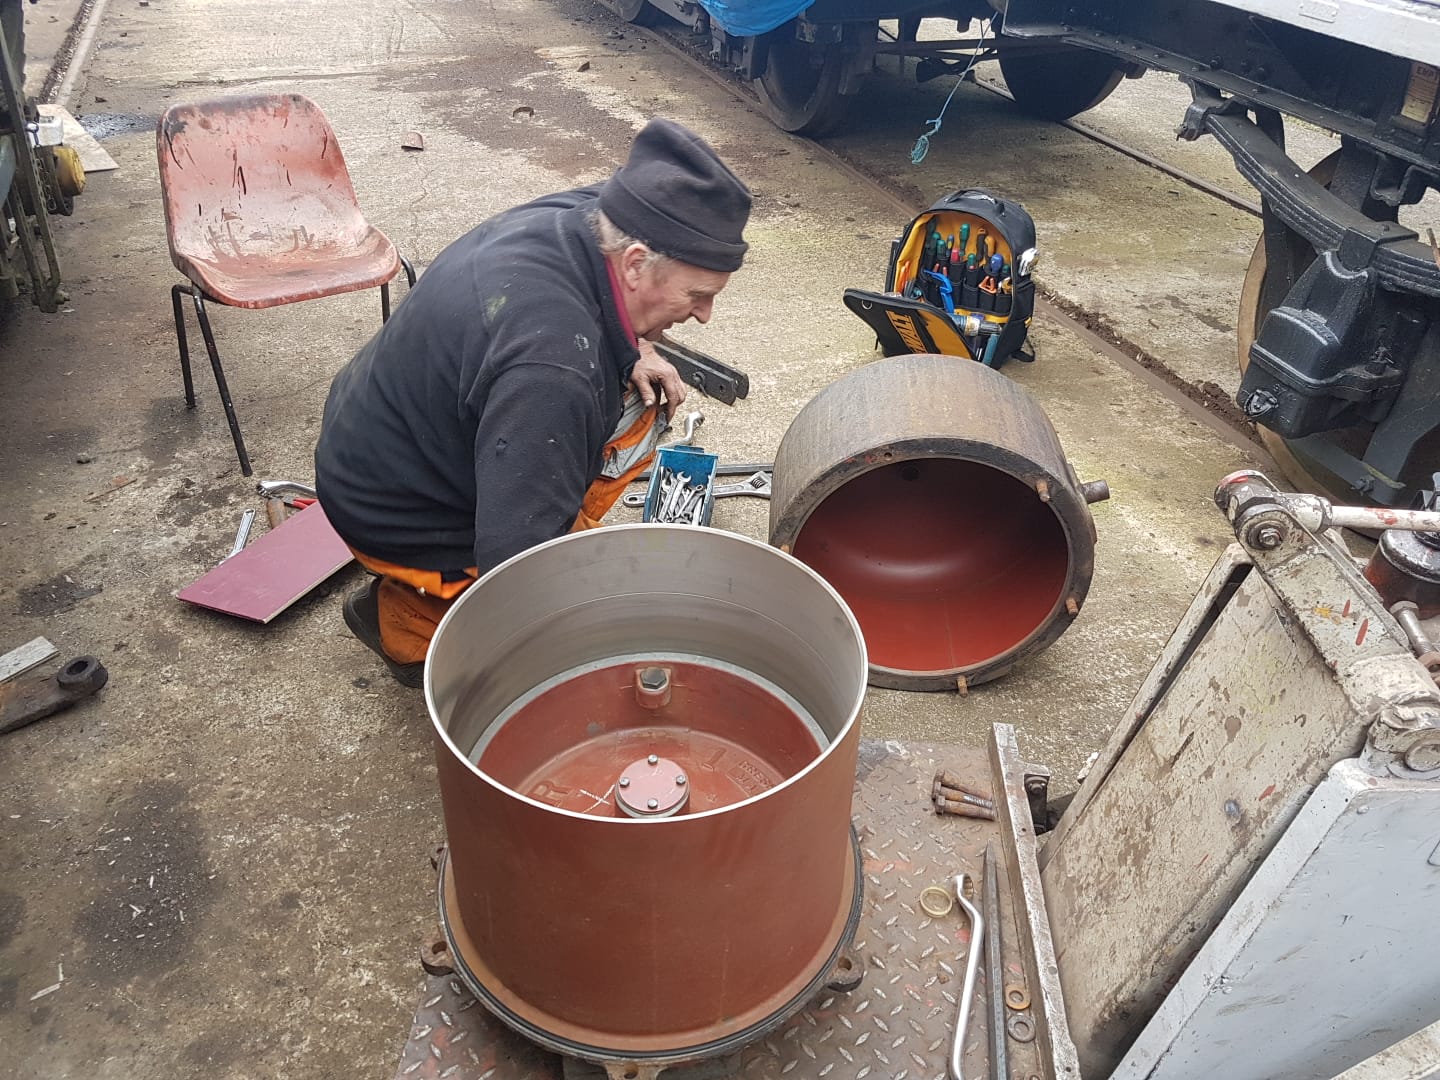
    The Shock Hybar having taken longer than expected, we then took a look at the LNER Tube. This was somewhat easier to remove (although the hot spanner was required to undo the nuts) and was in remarkable condition when taken apart. The cylinder was cleaned out of the rolling ring dust and reassembled with new rolling ring and joint seals. Dave removed the release valve and overhauled that so it was ready to refit when the time came. Matt took away the piston rod and polished it.

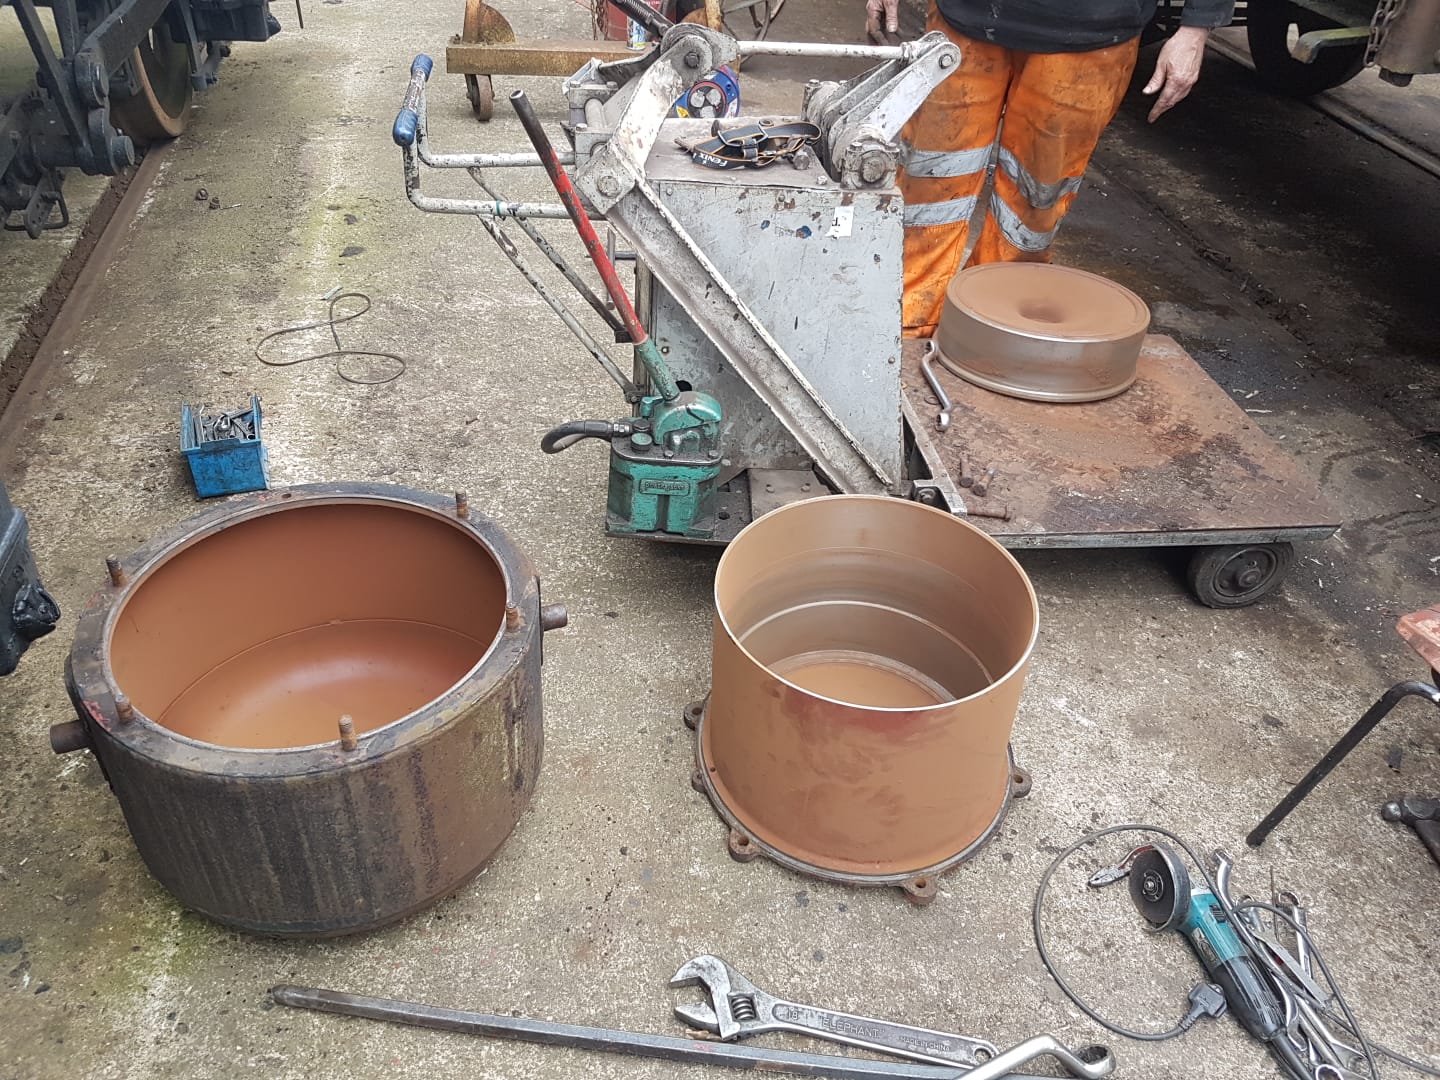
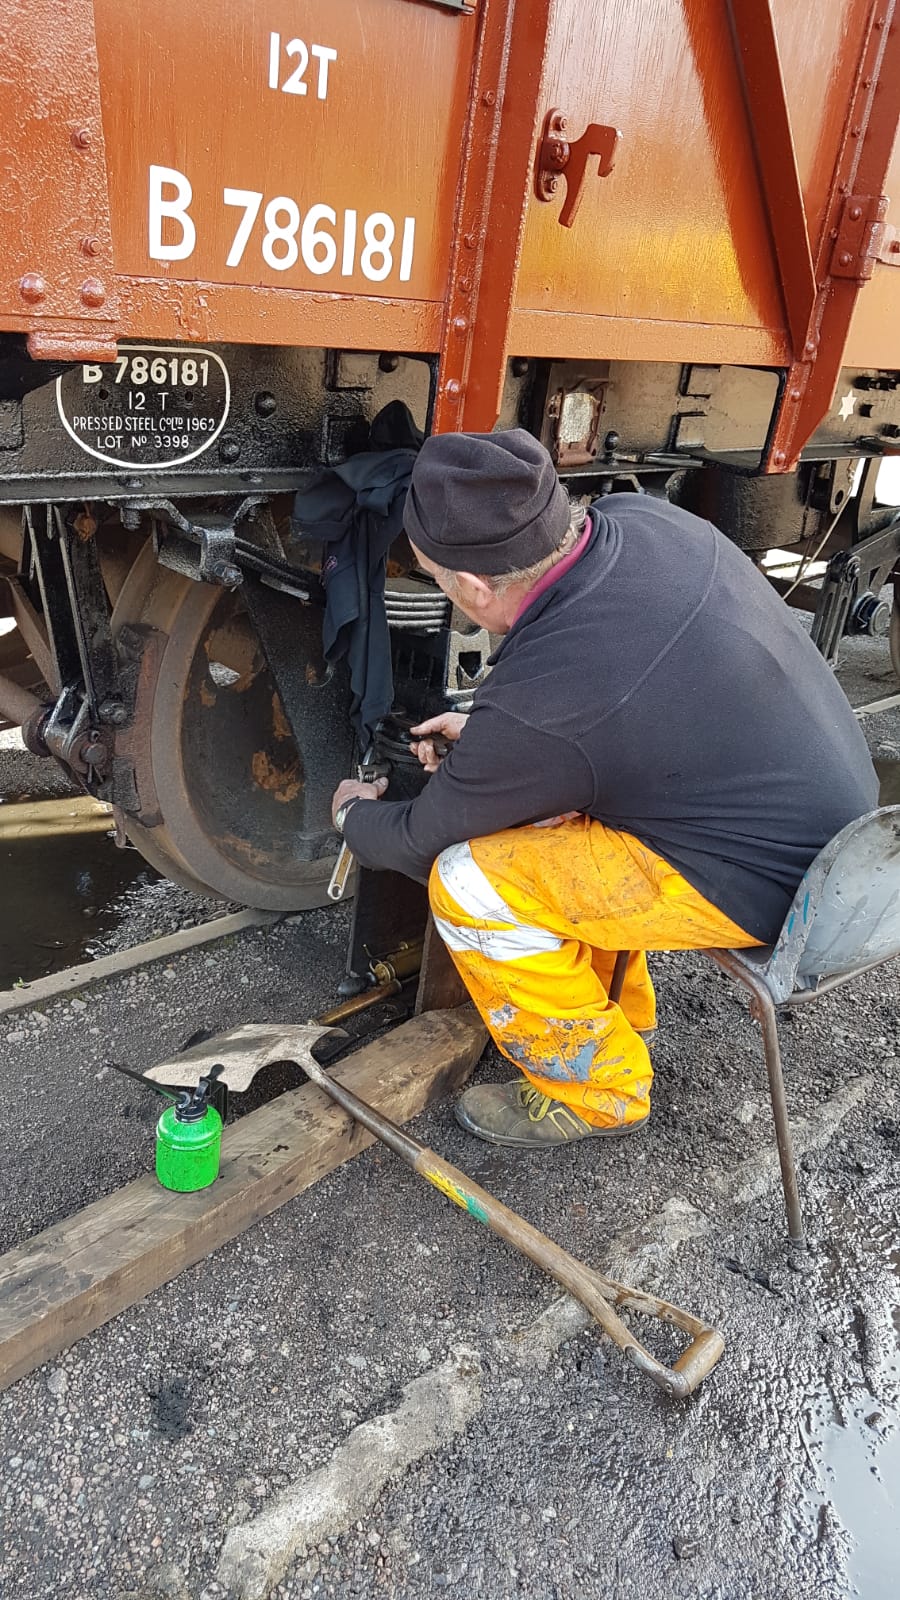
    The cylinder was re-assembled and it was put back under the wagon and tested. The re-fit was much easier than the removal!

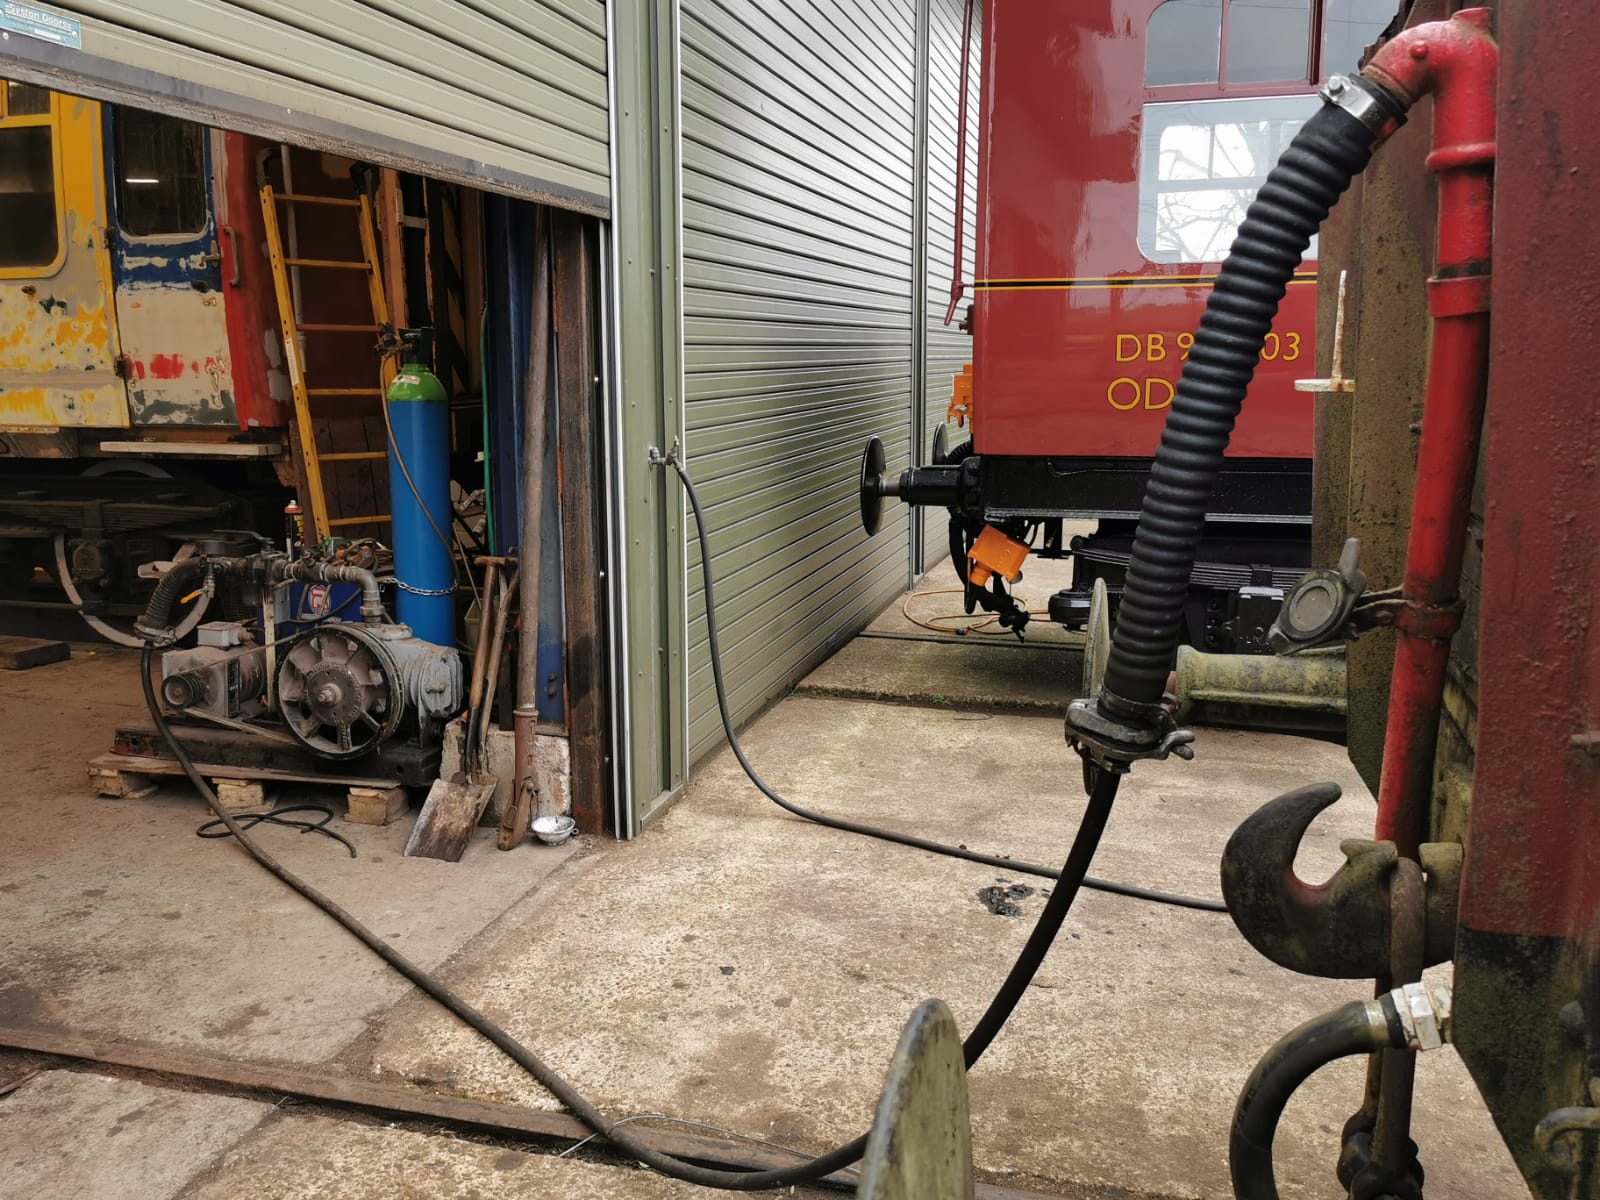
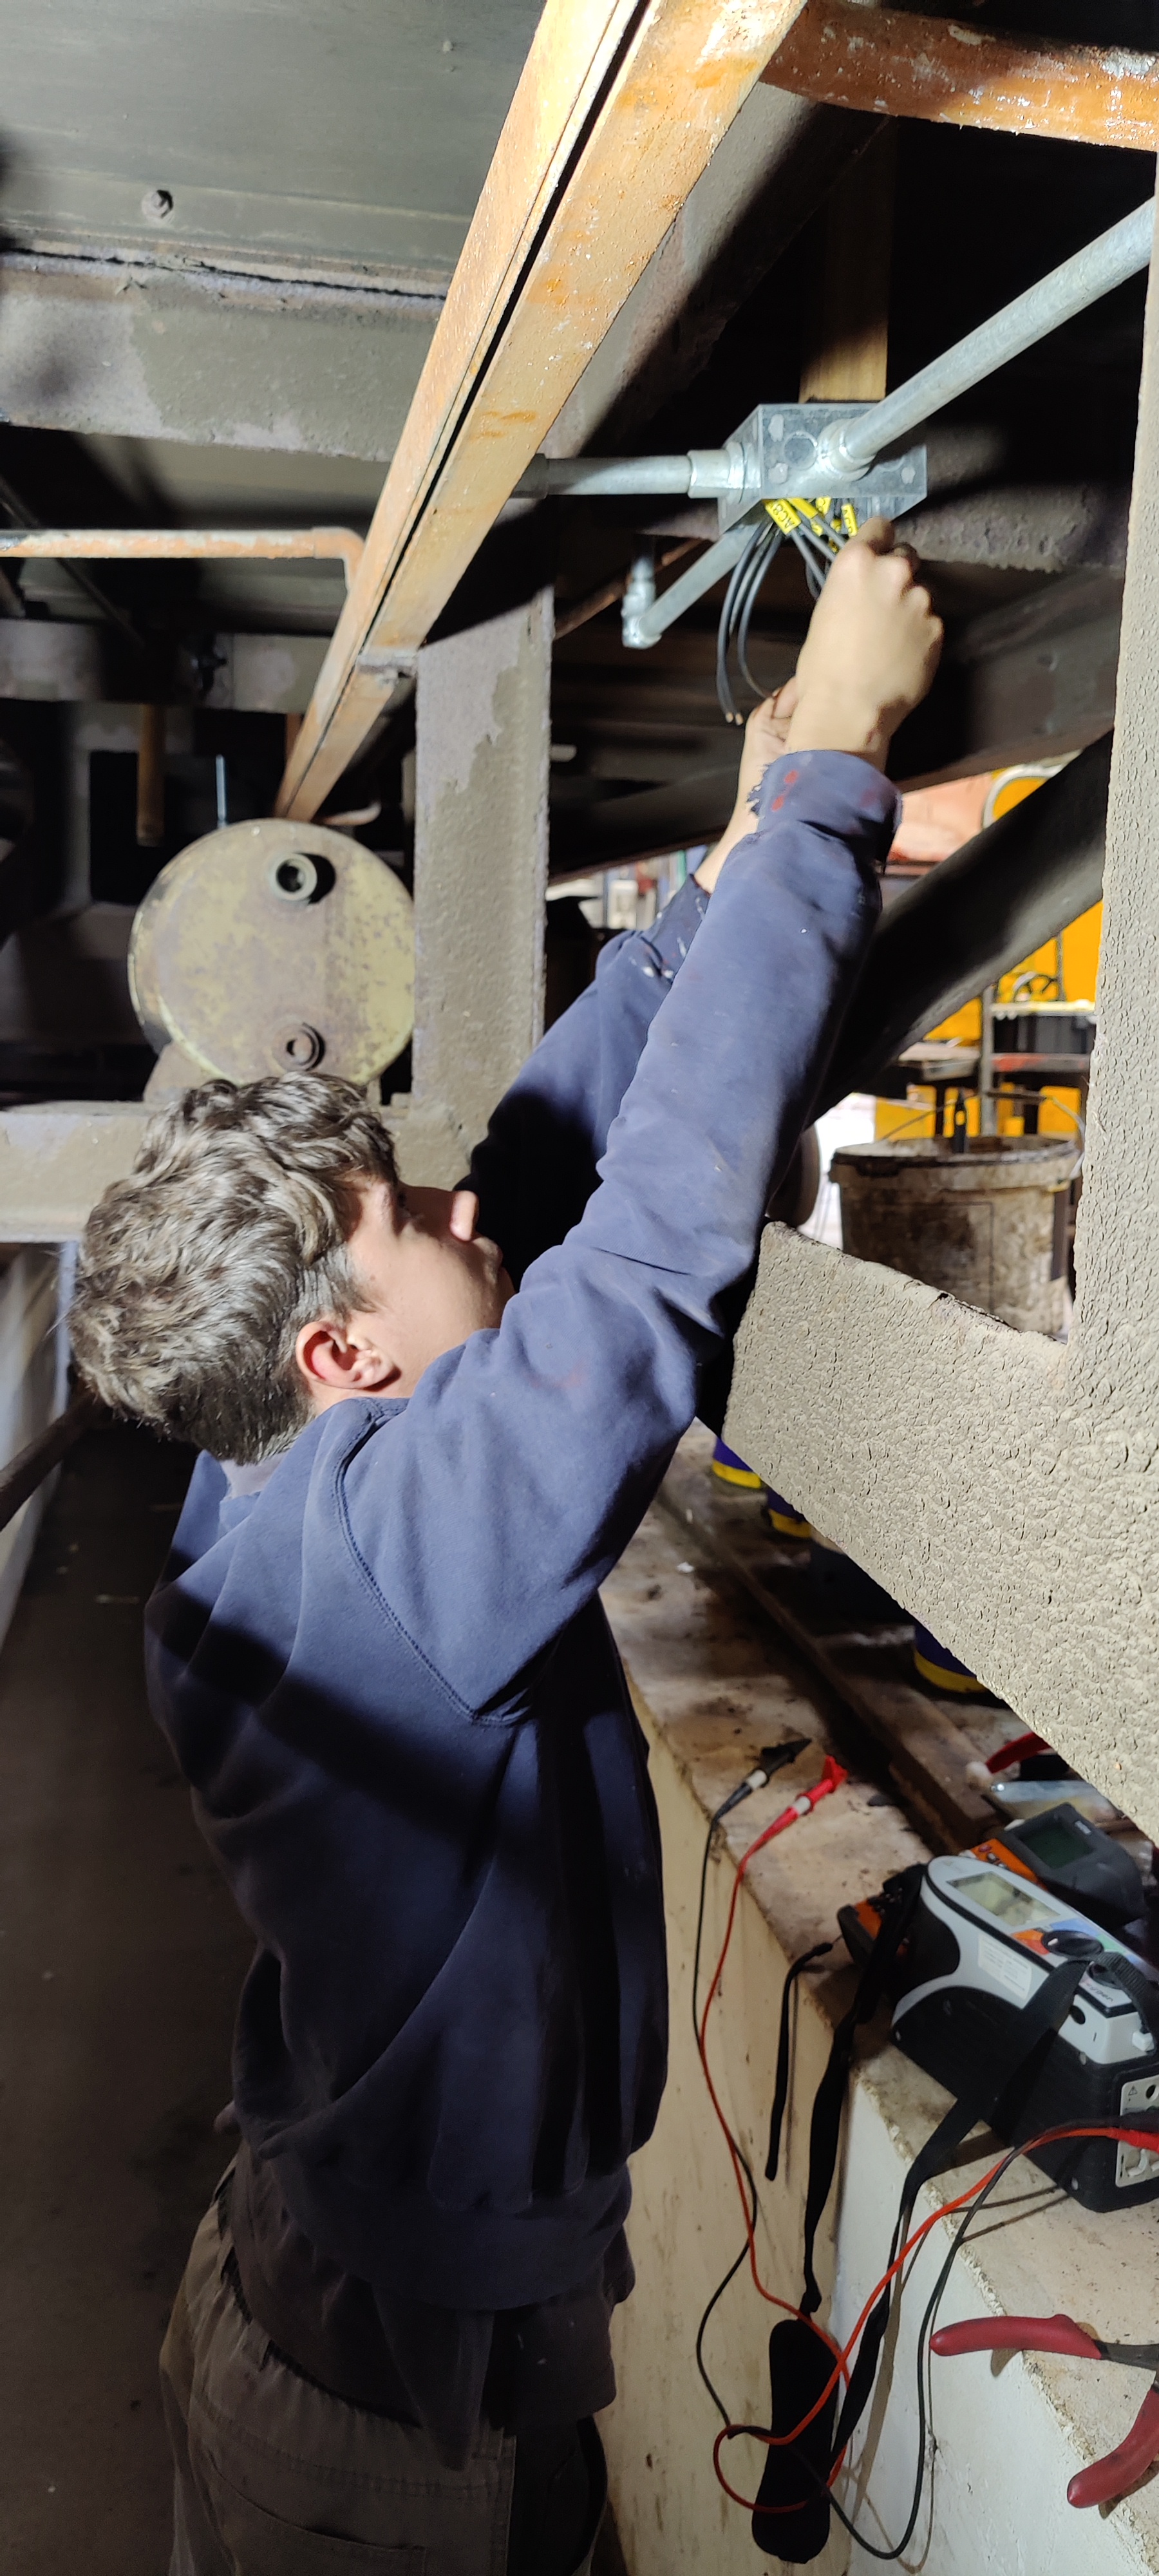
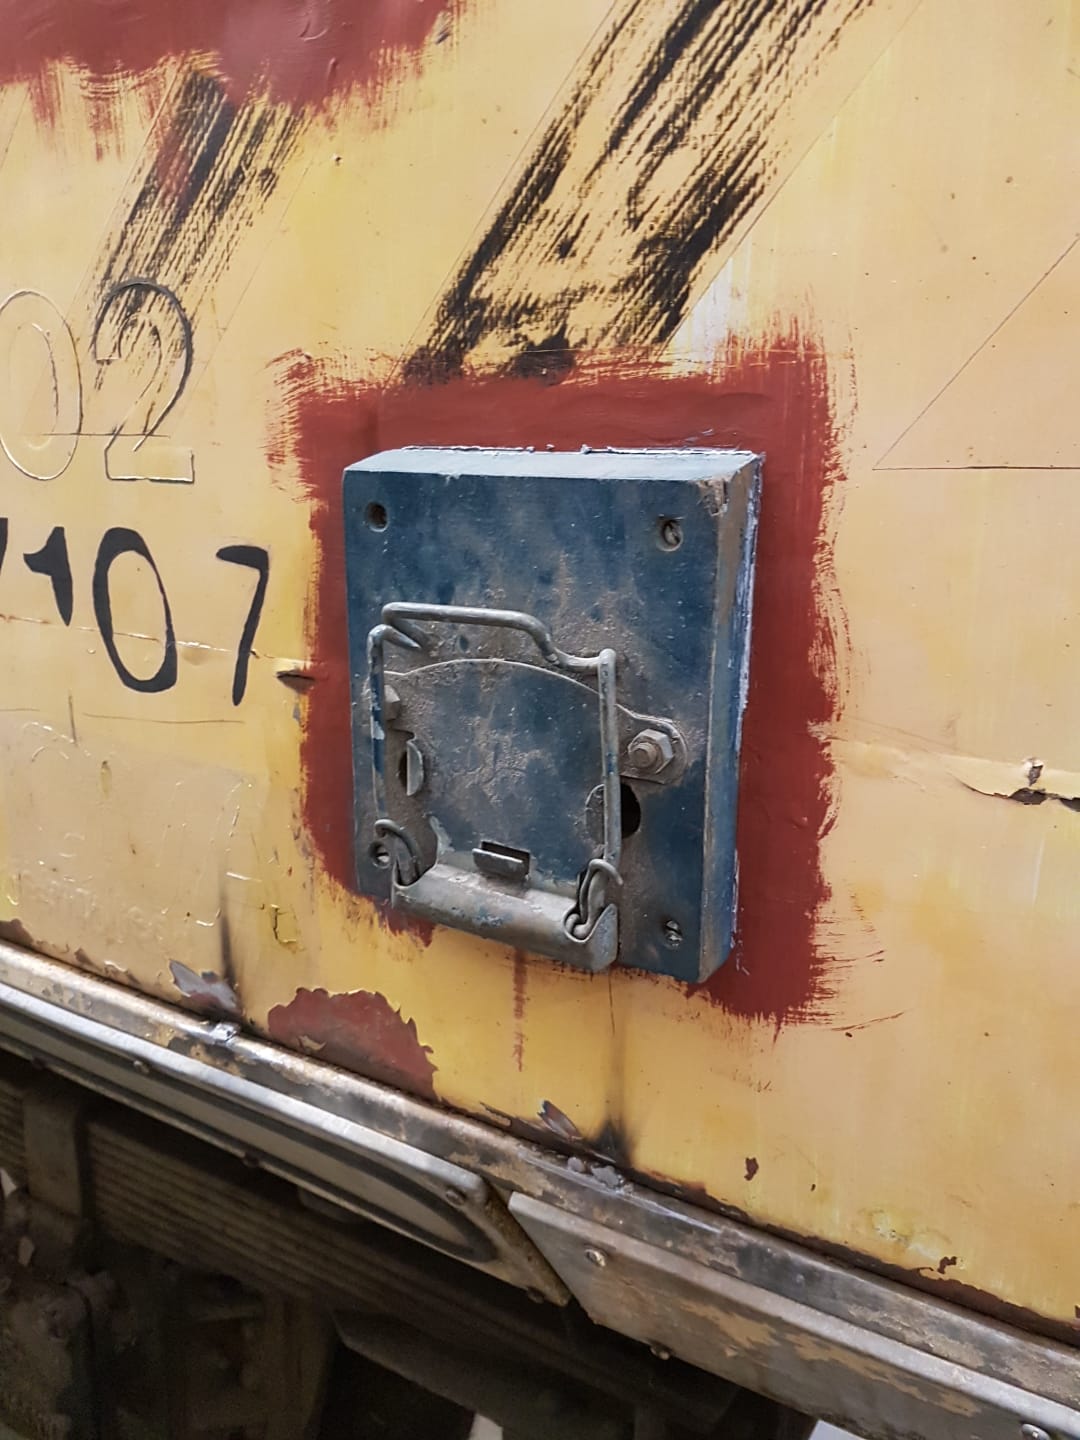
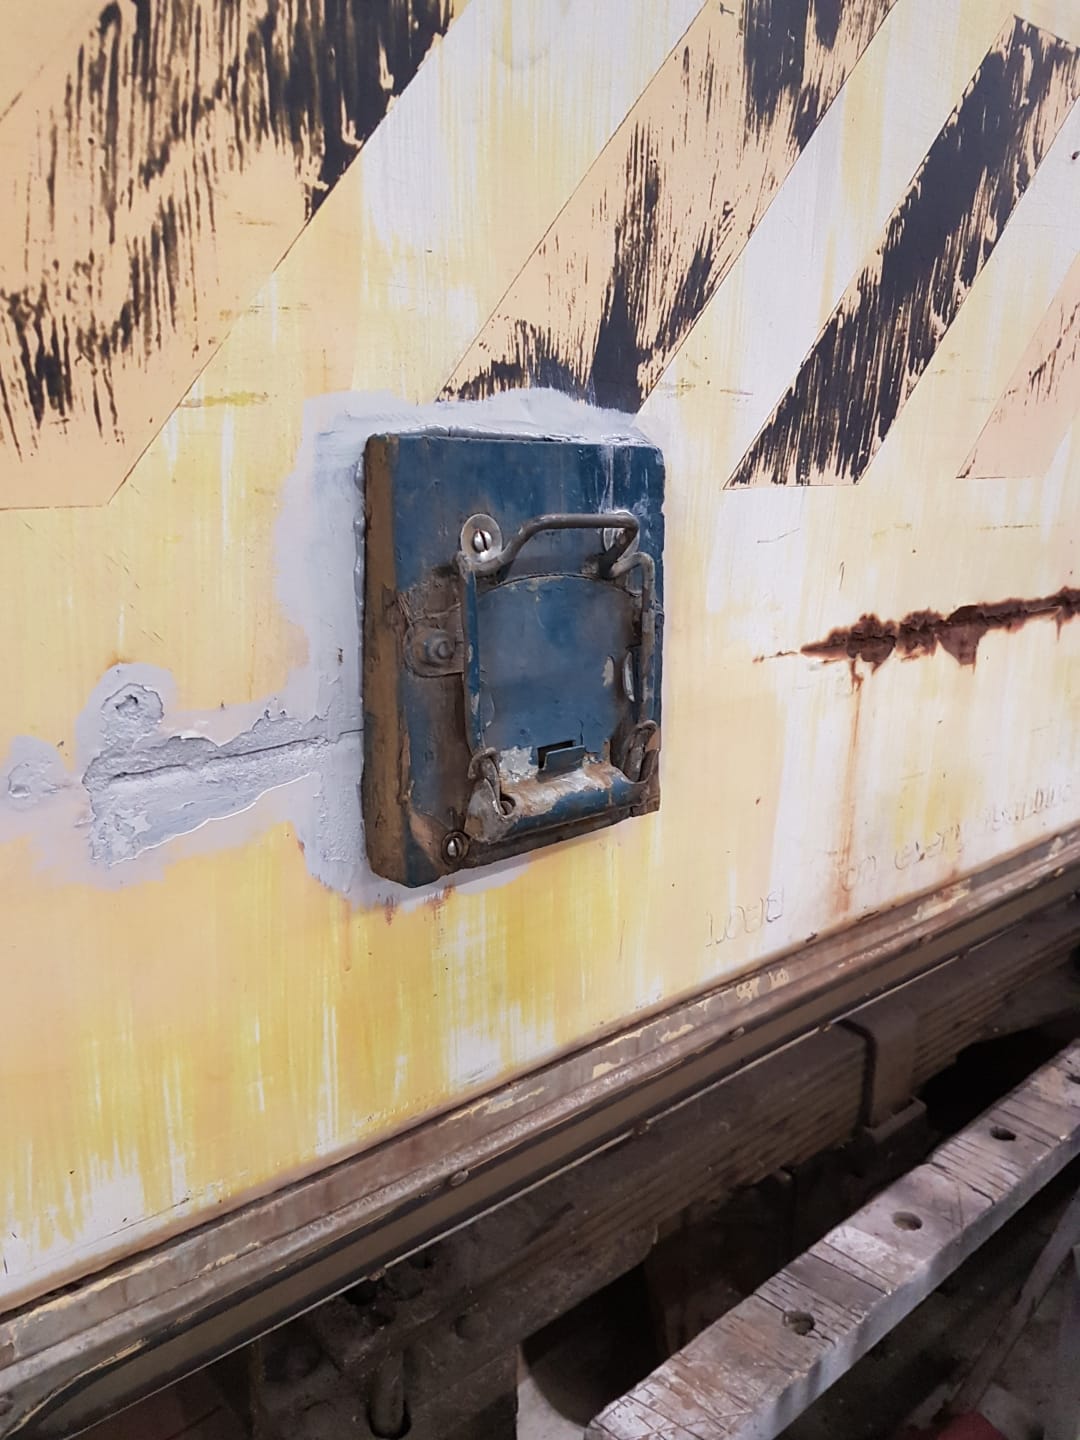
    With just the Tube connected to the exhauster, 21 inHg was achieved and exceeded with the rig, and the cylinder exercised a few times. The brakes applying and releasing just fine, a slow brake application was made and the brakes allowed to apply and sit. The brakes were applied around 1600 and were still on when we left Rothley at 1800, a good result as when initially tested yesterday the cylinder didn’t apply at all!

    Next weekend is Easter weekend, and the vacuum overhauls will continue on the Pipe and the Shock Hybar and we will also look at the leaking trainpipe on the Coal Hopper. Join us then and see how we get on!

  • 14/03/21 – Bearing up

    Our second week back, and continuing with our routine maintenance regime. This weekend the gang has been at Quorn undertaking axle box exams and brake oiling on the van train, its brake vans and a few other vehicles. These vehicles being the 2 Catfish, which also had their doors oiled; the Fish Van, which just had its brake gear oiled as we ran out of the bearing oil; and the Iron Ore Tippler, which had its brake gear oiled. We were quite stuck in, so not so many pictures which makes this rather a short update.

    Once work on the van train was completed, we took the opportunity to rebalance some of the loads in the van train including some of our parcels.

    We’ll be back again next week, working back at Rothley on the Rudds and some of the Grampus wagons.

  • 14/02/21 – Support Vehicles

    14/02/21 – Support Vehicles

    This week’s feature again starts with a small update: Matt returned to Mountsorrel to complete their LMS 12T van, mainly the east side door and the solebar ‘D’ Plates which completed the van.

    The van was drawn outside by Mountsorrel’s resident Ruston, so the livery could be seen outside for the first time.

    I have been continuing to make progress on the Slip Lamp for Test Car 2. All components have now arrived, so I can now focus on final mountings for all components and then wiring. As Matt said last week, we will have this on show as and when we can open the Test Car to the public again.

    This week’s feature is a bit of a sideways step from the wagons, but is all about the road/site vehicles that support our endeavours restoring our wagons. The first to mention is our one-ton site dumper, Danny.

    Not a lot is known for Danny’s history, but it was built by Winget around 1976. The dumper was registered in 1976 with the registration number PUT 666R. Danny is a Winget 3SE, and was in use by a local scout campsite before Nick became the owner. The powerplant is a Petter PH1, producing an enormous 9hp running to the front axle through a 3 speed manual transmission, a layout in common with many of the other site dumpers of the period. We use Danny for trumdling items around Quorn Yard and for the skip run when required. Danny can also pull a fleet of trailers we have, which added to Danny’s carrying ability.

    We have begun to do some work on Danny, starting with having the steering box rebuilt. With the rebuilt box Danny was properly mobile again, so it was decided to paint Danny into a scheme representative of its current location. This started last year, but got postponed due to the decreasing temperatures.

    The next vehicle is the Volvo BM L70 Loading Shovel, bought by the railway for the P’Way department to replace an even older Volvo Loading Shovel (still very muich missed from my point of view). The P’Way department now use a Telehandler, so we have sole use of the Volvo which we use to remove vacuum cylinders and generally lift and shift items around the yard.

    There is a little work outstanding on the Volvo, mainly on the exhaust system. A new silencer is required and the relvant pipes to connect it to the turbo outlet. If anyone knows where we might get a suitable exhaust silencer for this, please do get in touch! Once the exhaust is done, we’d like to give it a spruce up.

    Lastly, the one vehicle I would be remiss not to mention would be Nick’s daily driver, the humble Transit Van. Without the van, we’d not be able to move anything between the sites without the relative ease that we have or have the ability to collect wood from timber merchants and keep it dry or any other tasks like that. A very useful vehicle indeed.

    When we are able to return to the railway, we will look to progress these vehicles alongside the rest of the wagon fleet.

  • 20/12/20 – Tanking Along

    Another weekend of our residence at Rothley, this time working on the China Clay Slurry tank, 51408 , the Yellow Coach, ADB977107, and the Iron Ore Hopper, B439708.

    Dave started by painting the roller bearing endcaps yellow and putting another coat of white paint on the handbrake ends and vacuum swan neck, appropriate and this is fitted with a through pipe only. This concludes the ‘exterior’ work on this wagon, which only leaves the painting of the ‘interior’ of the hopper in bituminous black paint. Jake and Nick undertook this task.

    Dave and I then looked at the brake rigging on the tank, with the aim of making the handbrake work better. We reset the ‘A’ gap on the slack adjuster which has resulting in a much better handbrake.

    Eddie concentrated on the scraping of the Tank wagon. While Dave and Matt sorted out another feature for the tank. During a visit from one of the GCR’s Health and Safety Reps on Saturday, a ground level filler connection was requested, to take the form of a standard carriage filler connection. The tank already had a suitable pipe fitted to the top of the access walkway, so all was required was the fabricate a pipe to drop it down to solebar level or just above. After some scrounging for suitable fittings, Dave and Matt whipped up a pipe and fitted it to the wagon.

    I concentrated on the Yellow Coach, removing the end Jumper plugs and conduit. This will make painting and looking after the coach ends easier, and means I can re-use the parts to make a jumper to power the coach from the Test Car, if required.

    Jake finished off the painting of the inside of the Iron Ore Hopper on Sunday, which concludes work on this vehicle. It will be shipped outside the shed tomorrow to clear more room to work on the tank. It’ll be the first time the vehicle has run on the railway, so it will be a treat to see it run in the mixed freight as and when that happens

    We all then dropped onto the tank, scraping the barrel down to the bare stainless steel ready for the etch primer. The paint was, for the most part, easy to remove with the scrapers we had. Power tools can’t be used on a Sunday, but I don’t think a power tool would have helped us. We did briefly try a sander, but found the scrapers removed the paint much quicker.

    With the Christmas period now upon us, we have a few more opportunities to get down to the shed so keep your eyes peeled for some mid-week updates in the coming days.

  • 29/11/20 – Hilarity and a hopper

    First thing to mention in this update is the wonderful production by Jack Shaw, ‘This Is Quorn’. Jake, Matt, Dave and I all have starring roles, along with Wilbur and Madge. I’ve embedded the video below, but you can also view this on the Quorn and Woodhouse Station Facebook Page here, where you can also give them a like.

    Another point of order before the main event, we have been successfully shortlisted for this year’s Heritage Railway Association Awards in two categories; the Morgan Award for our 3 container restorations and the Small Groups award. Best of luck to all of those also shortlisted for an award this year!

    Right then, now onto the main event, this week we’ve again been at Rothley focusing our efforts on the Yellow Coach and the Iron Ore hopper. Matt and Dave first went to Quorn to move Madge’s trailers out of the main yard.

    Jake and I finalised the termination of the wires added to the Yellow coach, continuity testing each wire before identifying it on both ends become applying a crimped terminal. That finishes this stage of the modification. Dave very ably made a new lacing bar for the cubicle and then undercoated the ceiling in the guards office.

    Once complete, Dave joined Nick, Matt and Eddie in scraping the hopper. A tedious task, but once that has to be done before painting can commence. Special attention was paid to the door linkages to clear the years of muck and detritus away. As we are at Rothley with the hopper the opportunity was taken for its axlebox exam, done of course before the underframe is painted.

    Some of the bent corner post on the hopper were also attended too.

    Sunday saw the hopper concentrated on again, first finishing up any missed areas of scraping. The hopper was then moved outside for all of the flakes of rust and paint to be blown off. While the space was vacant, Dave swept up all the bits of paint and rust that had fell on the floor.

    The five of us descended armed with paint brushes to apply a much needed coat of red oxide primer. Its been a while since we’ve all brush painted an entire wagon, I know for one my arms are aching! A certain amount of fun and hilarity was had; a good tonic for the current situation.

    The end of the weekend sees the hopper body in an all over coat of red oxide primer, ready for next weeks coat of undercoat. Join us then and see how we get on!

  • 15/11/20 – Keeping busy

    Yet another mid week start to an update, this time from me. I booked Wednesday afternoon off work with the intention of getting some paint on the bare areas on our Site Dumper, Danny. Eddie has been hard at work over the previous few weeks scraping and degreasing the dumper, in readiness for some paint. Given we are loosing weather for painting and starting to move to Rothley to work on the Yellow Coach for winter, something had to be done to protect the metalwork over the winter. I’ve applied a coat of etch primer to the area made bare on the dumper’s chassis by Eddie, and a coat on each of the removed body panels. I shall return later in the week to paint these up into an undercoat.

    Another afternoon booked off work, this time Friday and some more time spent painting the dumper and its bodywork, this time into grey undercoat.

    Saturday saw the team at Rothley, focusing on many vehicles. Currently A4513, B954546, B439708 and of course ADB977107 inhabit the shed, which gives us lots to focus on without getting wet in the lovely weather. Matt, Nick and Jake started by fitting a vacuum through pipe to A4513 which enables this vehicle to run in the railways freight trains. Once completed, Matt began by keying the top half of the wagon’s barrel ready for a top half repaint.

    Dave and Eireni scraped the bottom parts of B954546 ready for a coat of paint to match the solebar. The roller bearing end caps got a coat of undercoat before their yellow gloss coat.

    Jake and I concentrated on finishing the wire pulling on the Yellow Coach, with the last wires pulled into the Electrical cubicle, which finishes the underframe work. The two new junction boxes fitted to the underframe got wire labels applied to the wires and insulation resistance tested, all passed. I also checked the shore supply indicators fitted to the coach. These had briefly seen life but the lamps previously fitted had a short life and their blowing blew the fuse. New lamps fitted and a new fuse and the Bodyside Indicators glowed once more. Last thing I did was to make a new terminal board for the cubicle to terminate the new wires onto. Jake got quite distracted by a cake I’d baked for the team.

    A new day dawns and Matt started applying a fresh gloss back coat to the top of the tank wagon. Dave was painting the rest of the freshly scraped brake van underframe. Paint was also applied to the roller bearing end caps (yellow gloss) and the brake van side steps (black gloss)

    Nick and Jake removed a buffer from the tank wagon to try to locate a position to attach a wagon label clip to the tank wagon. This came to nought, so the buffer was reassembled. Eventually a home was found for these on the end grain of tank supporting wood. These may seem like little details, but these are used operationally to attach labels to if the vehicle requires works attention or has a defective hand brake, for example.

    Nick took a journey to Quorn to pick up some suitable wagon label clips for the tank and the Yellow Coach. He also painted the chalkboard and bare bolt heads on B852838, putting a finish on the work on that vehicle until the warmer and drier weather is back with us.

    Jake and I continued with the wiring on the coach, me mounting the terminal board made yesterday and Jake labelling and terminating some of the new cables we’d pulled into the box. Some of these were continuity checked, with the rest being done when work is picked back up again.

    Other small jobs included new vacuum hoses on the Iron Hopper and the tank wagon, with the integrity of both through pipes tested using the exhauster at Rothley. Jake also cleaned out some of the detritus gathered in the bottom of the hopper.

    Quite a lot achieved this week. Join us again next week to see what we get up to!

  • 25/10/20 – BR road pair.

    25/10/20 – BR road pair.

    This week’s update predominantly features our vintage road vehicles, the main focus of which was the Timeline Events photo charter held on Friday. The focus being Quorn yard, were we attempted to recreate Goods Yard scenes of a bygone era. We saw the first public appearance of B786181. We believe this is the first time since at least 1968 it has been moved by Steam traction, in the form of BR Standard Class 2 78018.

    Matt was also happy as we saw the return to the railway, after a 5 year hiatus, of Wilbur. This is Matt’s 1968 8 cwt Morris Commercial Van. Meeting Madge for the first time, the pair look stunning in their BR Crimson and Cream livery.

    Another Charter depute was Nick’s Mk1 Transit van, carrying the livery of his late father’s business. Although a 1972 registration the Mk1 Transit began production in 1965. Nick and Matt both intend to purchase show plates with more age appropriate steam era plates for these types of events.

    Left Hand image courtesy of David Pond
    Right Hand image courtesy of Mark Cullen

    The Charter raised the group some additional funds and we send our thanks to Neil and his team. We hope the photographers enjoyed what we were able to bring together for the event. Below are a few images.

    Images courtesy of Mark Cullen

    Images courtesy of David Pond

    Images courtesy of Nick Halling

    On Saturday, we wrapped up after the charter, tidying items away and sorting out our ‘props’ vans. Matt sorted out Madge and I undertook a little bit of work on Wilbur, tightening a loose alternator belt and changing one of the mounting bolts to make them the same size.

    Jake and Nick got four sheets of ply to begin production of the side sheets to repair B852838. This van got measured and the sheets cut in the CCT, out of the rain. These were then stood up in the CCT and painted into primer. These have been left to dry after which they will be undercoated and glossed before they are fitted to the van. Dave and Richard helped with the cutting of the sheets, and Jake hoovered up after us. Matt and Nick readied the lorry and loaded the Scammell dolly on to it ready for tomorrow. I also fitted the new handbrake pawl spring and skip catch springs to Danny.

    Dave finished off by sanding back the undercoat on Danny’s seat and applying a first coat of grey gloss to the top side of the seat.

    On to Sunday, Nick and Matt heading off on a road trip, again our thanks to Kenway for the loan of their 7.5T lorry. Heading north to High Green the trip was to pick up Matts latest purchase, a Taskers Trailer for Madge, this is a 15ft trailer and will be more prototypical behind the Scarab.

    Back at Quorn Jake continued the mid project tidy, clearing out our used can mountain amongst other tasks

    Eddie and James were also on site, continuing the paint prep for Danny.

    Eddie also brought some more parcels, the pile is almost touching the roof.

    Nick and Matt returned and after unloading by Volvo, the trailer was tested with Madge.

    With the weather now turning and the light failing in the afternoons its likely our updates will move to Rothley, but as always we shall let you know next week.

  • 27/09/20 – Yellow no more

    This week has seen progress on the Yellow Van, B786181 and Matt’s container, B55897. That said, this weekend starts on Friday afternoon with Matt being on site to finish off work on his container; sanding the roof and masking the rubber bumpers.

    Nick, Matt, Eireni, Eddie and myself were on site Saturday, with the first task being moving Matt’s container away from the Test Car with the Volvo. While Matt guided Nick safely to put the container next to the GUV, I started thinning down the etch primer. Our target was to have both the van and the container in undercoat by the end of the day, which seemed like a tall order as the container first needed priming.

    After a few gun issues, I got to work priming Matt’s container, starting with the roof and then the sides in the white etch primer. Once completed, I thinned down some undercoat to make a start on the yellow van, which was soon to no longer be yellow.

    With the van suitably coated, Nick painted the door edges and frames with unthinned undercoat, while Eireni and I thinned down some more undercoat in order to spray Matt’s container. As with the primer, I started on the roof, this time in my socks.

    There ends Saturday, with the container and van sat in undercoat, ready to receive gloss.

    My first job on Sunday was to paint the van into gloss, with Jake as my assistant, straining the paint and filling up the gun. Matt started by cutting out and priming two chalkboards, destined for the yellow van. He also primed and undercoated four of the necessary brackets to fix these to the van.

    The van received 2 coats of paint which was left to cure while Jake made a start on Matt’s container, not having to do the roof this time.

    With the container completed, Jake sprayed a third coat of paint on the doors of the van. We opted to do a second coat on Matt’s container too, as this was showing some patchiness, though with the light of the day it was hard to see because every time you moved the patches changed.

    While Jake and I were on painting duties, Eddie continued his efforts scraping and cleaning the underframe of the van, which I’m looking forward to spraying. Nick was again on door frame painting duty, and while during breaks was surveying the efforts of Jake and I, checking for misses.

    The last job of the day was for Matt to paint the roof of his container in Dark Sea Grey, by brush.

    And then, because he could, he picked out the letters on the number plate of his container.

    At the end of Sunday, we find ourselves with two vehicles awaiting signwriting and one awaiting the underframe spraying. If the weather holds, Matt will make a start of that next weekend. If the weather doesn’t hold, who knows!

  • 08/09/20 – Sealing it in (or out)

    08/09/20 – Sealing it in (or out)

    Welcome to another QWW update, I’m giving Matt a rest this week by wriitng the update. With Nick, Dave, Jake, Matt, myself and Eddy on-site this weekend; we’ve made more progress on B786181, Matt’s been working on his container and we’ve made some progress with the Hydrovane.

    The groups main focus was B786181, where after replacing the doors last weekend, we concentrated on replacing the side sheets on the dock side. Nick began by splitting the nuts and bolts to release the existing side sheets. Dave, assisted by Eireni, who had joined us on Saturday, and Jake overhauled a 18″ vacuum cylinder, making it ready for B786181.

    The side sheets of the van were released and pushed out to ground level, Jake scraped and painted the metal work into red oxide. Dave and I cut out the new side sheets and painted them with wood primer before they were fitted in the van.

    Matt concentrated on his container, and began by applying filler to the various holes in the skin. Later assisted by Eireni, he spent the rest of the day sanding all exterior parts of the container.

    The side sheets required some fettling with the power plane (remember: Measure twice, cut once!). Thankfully the fettling was to make the boards smaller. Sealant was applied to the metal work, and the boards offered in, and bolted up. Dave and I began tinkering with the Hydrovane in the attempt to get it running again, after an abortive attempt last week.

    Matt spent Sunday re-rivetting his container, beginning on the roof.

    Nick, Jake, Dave and I concentrated changing the other side sheets on the dock side of the van.

    In between side sheeting, Dave and I got the Hydrovane running, but needs a bit of tweaking to get the timing right. Eddy spent the weekend applying more bitumen paint to the interior of the 2 Medfits the south headstock of B458484 and applied another coat to our shed.

    Matt has made an excellent start on rivetting his container, roof sheets now all sit down again, and the doors are no longer flapping about in 3 parts.

    That concludes this week’s update. Matt and Dave are undertaking some mid week work next week, so next weeks update will be a bumper edition.

  • 23/08/20 – Time to cover up

    23/08/20 – Time to cover up

    It’s been awhile since I have compiled an update, and I shall begin with some admin. You may remember whilst I was on holiday Tom Ingall was on site. He has completed a short clip and this has been posted on the GCR official Youtube channel, taking a brief look at the work we do.

    [youtube https://www.youtube.com/watch?v=brX25tkkYrI&w=560&h=315]

    Unusually we begin on Friday, with Nick and Dave beginning work in earnest on B786181. Both were on site cutting the redundant bolts, removing the loose paint and rust from the roof hoops, previous roof remains and the noggins.

    Bitumen was then applied to the cleaned up areas.

    Dave could only stay for the morning and Nick was joined by Matt in the afternoon. Matt continued cleaning and scraping the iron work on the inside of the van adding bitumen.

    The backs of the Noggin retainers and end roof hoops were also scraped and bitumened, ready for the weekend.

    Saturday arrives, along with the rest of the team. Nick, Jake, Dave, Matt, Ross and Eddy all on site. The main focus was to cut the new plywood sheets for the roof, fix them down and paint the upper surface in black bitumen paint. As we haven’t currently found a source for a like for like replacement of the full size sheet (17ft6in x 8ft8in and 3/8 – 1/2in thickness), we use 10ft x 5ft x 1/2in sheets cut to width and jointed together with the strips of offcut material.

    Once the boards were cut, they were lifted on to the roof, positioned and clamped into place. Matt drilled from inside the van through the roof support hoops, and bolts where pushed through from the top. Whilst we were doing this, Eddy continued his work scraping the headstocks and solebars of the van, preparing them for paint. He’s making a fabulous job of cleaning thes down, and as such they should paint up a treat!

    The weather was as changeable as ever, and it wasn’t long until a downpour occured. Our plan was to get the roof painted in bituminous paint to give it a bit of waterproofing as a sort of secondary protection, so the rain nearly affected that. With a sufficient break in the shower as a team we got the boards painted.

    With the roof painted, we cleared up and moved onto Sunday. Sundays first job was to pick up a roof sheet from Rothley, which gave us a chance to look on 2 of Nick’s other vehicles, both being worked on by other parties. 3436 has been taken on by Swithland Wagon Group, and has been moved to Rothley for better access. B954546 is coming on leaps and bounds, and has been moved inside the shed to allow painting to progress.

    With the sheet in Nick’s van, we headed back to Quorn to cut the sheet down for use on the van roof.

    The cut to size sheet was lifted onto the van roof, positioned and fixed down at one end using the roof end clamping strip. the roof was then rolled out, keeping tension and fixed to either side using stainless steel staples. When we got to the other end that too was fixed down with the roof end clamping strip.

    With the roof sheet trimmed and tidied, Nick and Jake refitted the ‘noggins’ above the doors, ready to make some new doors in the coming weeks.

    Unfortunately, that is were we leave progress this weekend. The weather halted our plans to paint the roof covering a more suitable black colour, again using our favourite bituminous black paint. This will be tackled next week, along with fitting the van with its new floor. Join us then, won’t you?