Author: rloades109

  • 26/07/20 – One more in the mix

    26/07/20 – One more in the mix

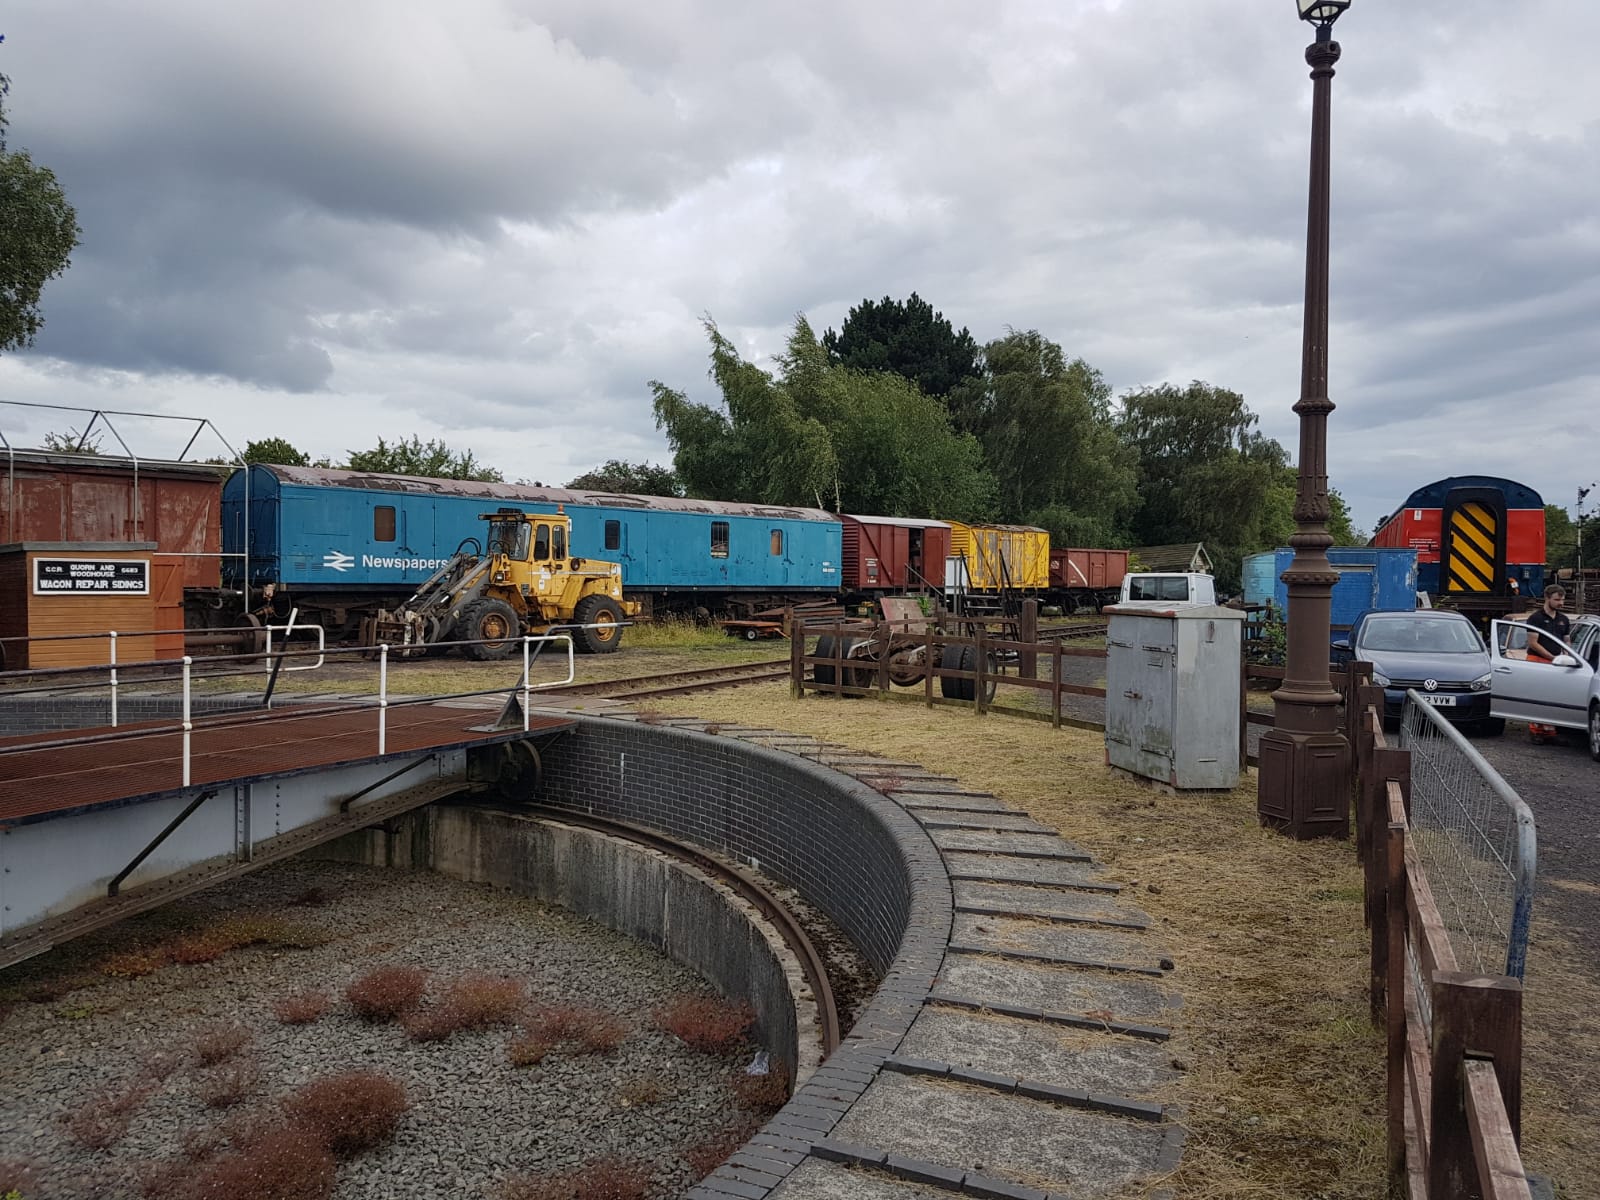
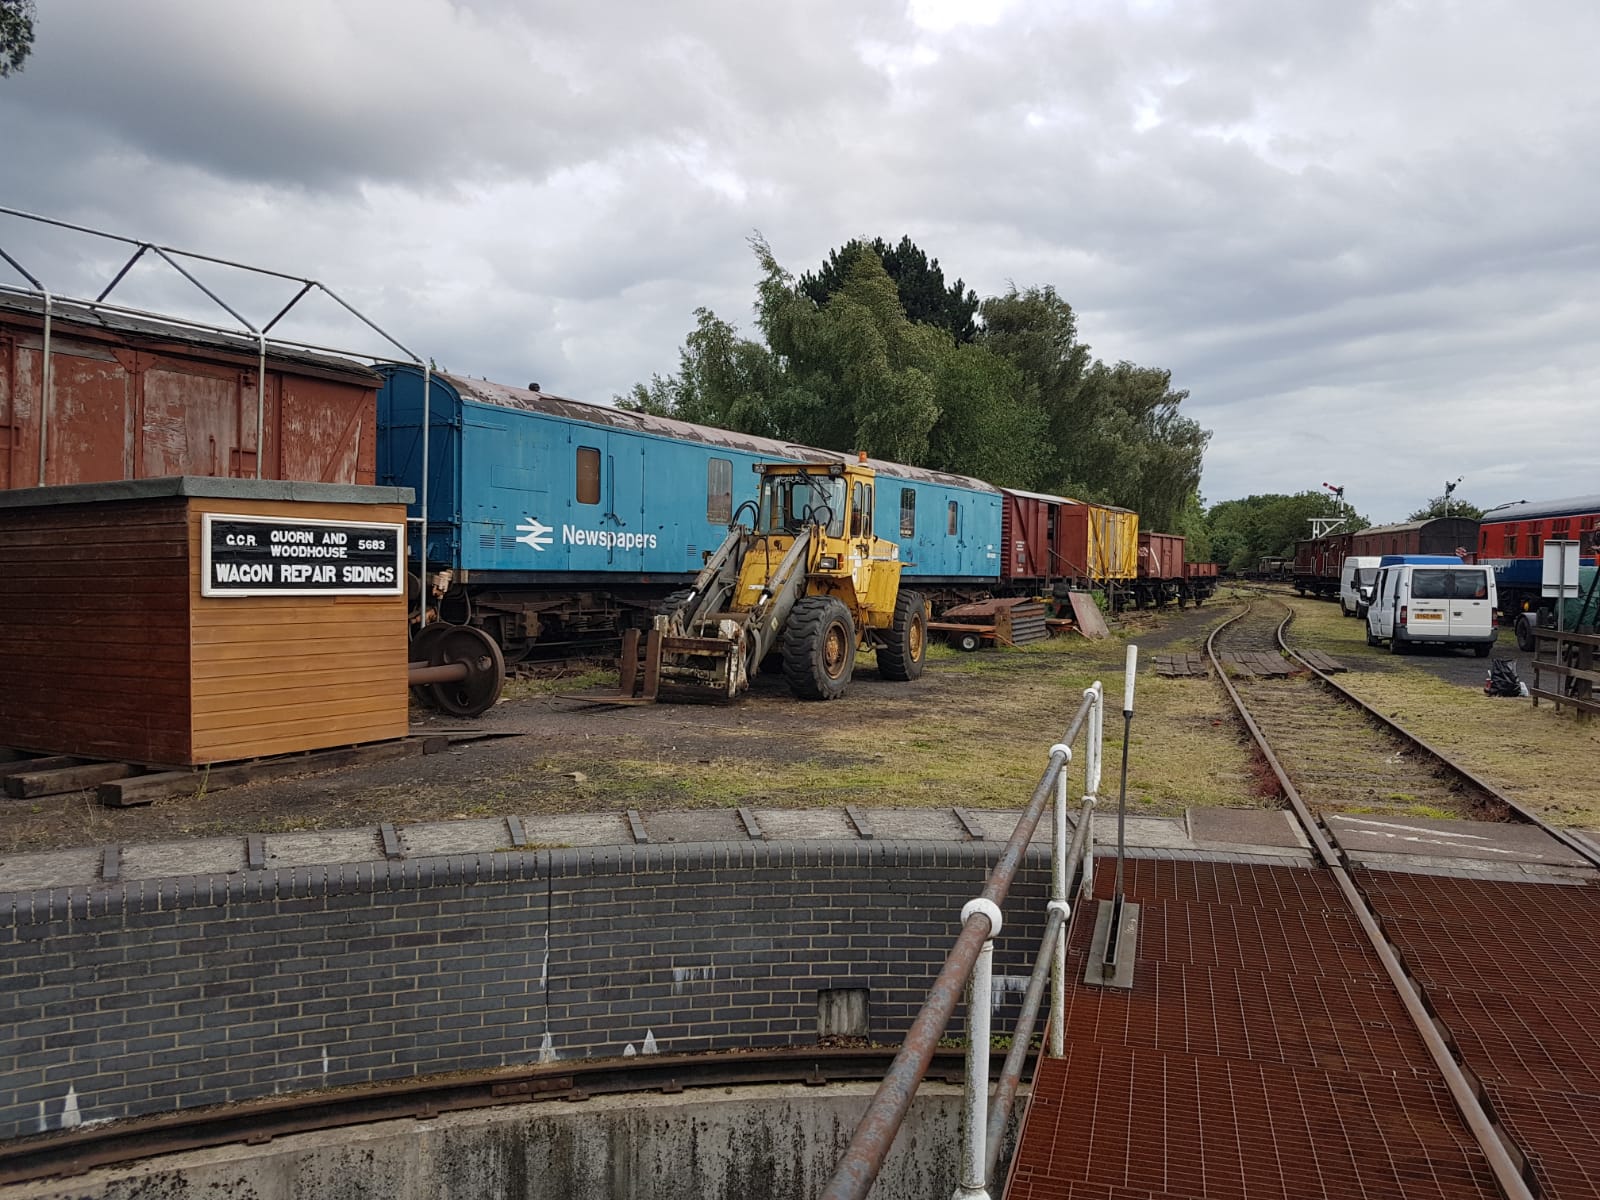
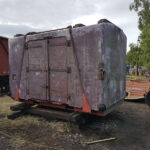
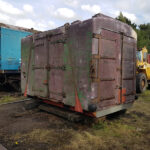
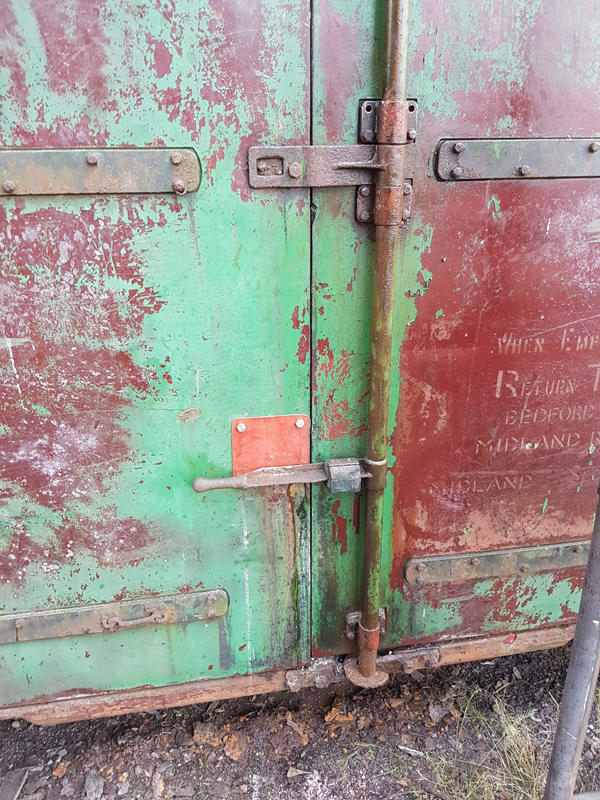
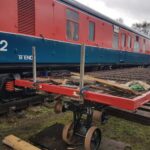
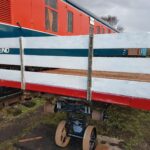
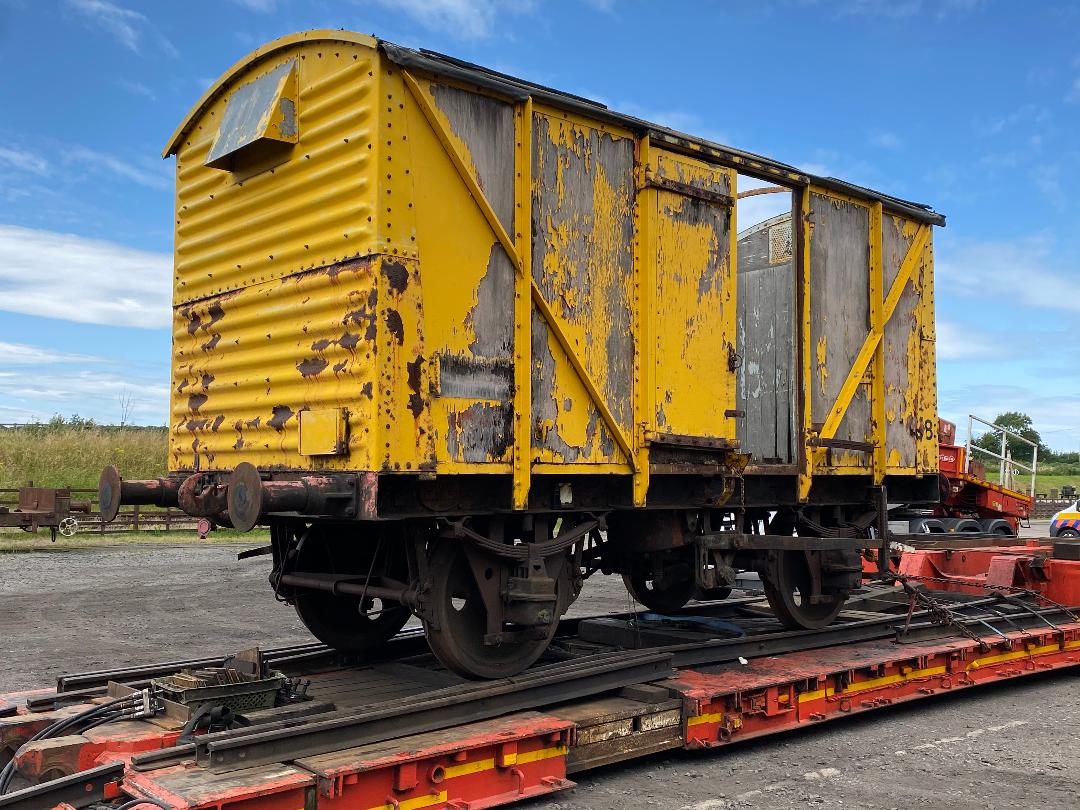
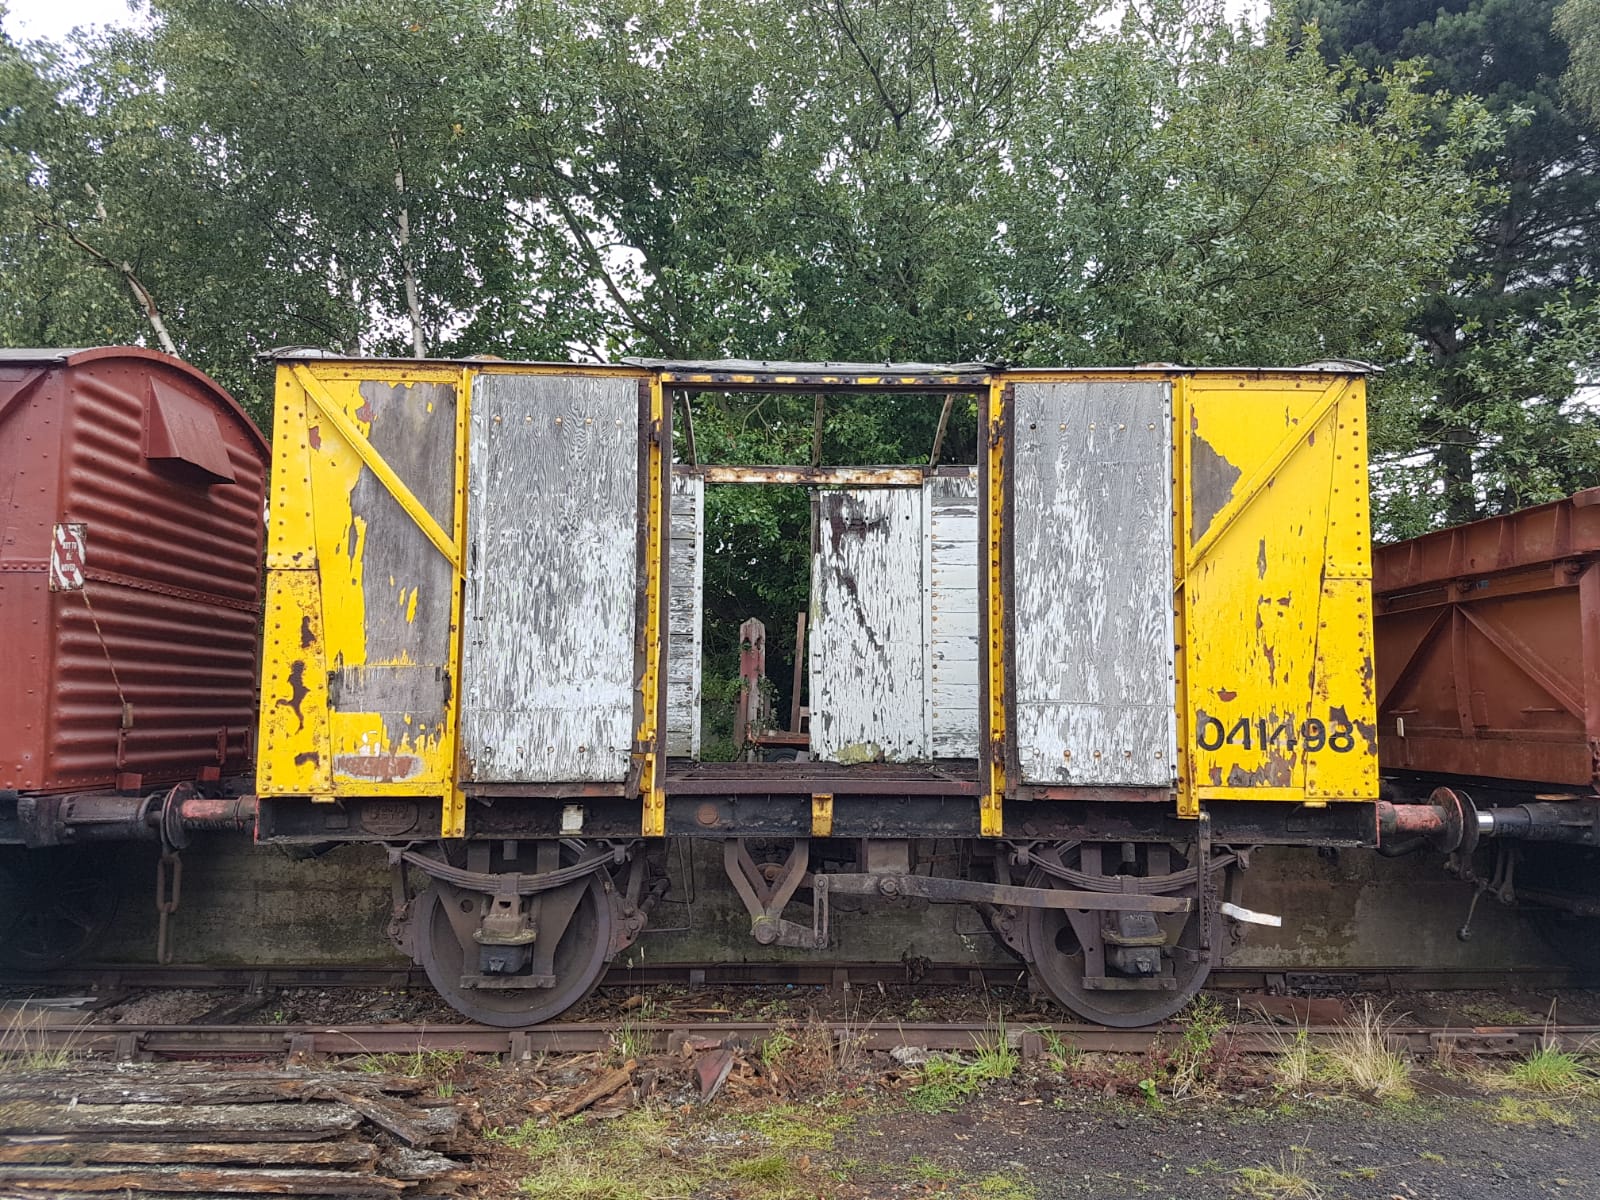
    First thing to deal with is the arrival of box van, B786181. Thanks are due to East Midlands Railway for their very kind donation of this vehicle from their Neville Hill depot. It touched GCR metals on Wednesday 22nd July and was shunted into the dock road for our further attention. 

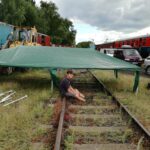
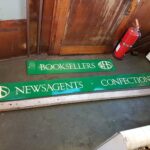
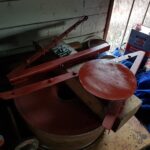
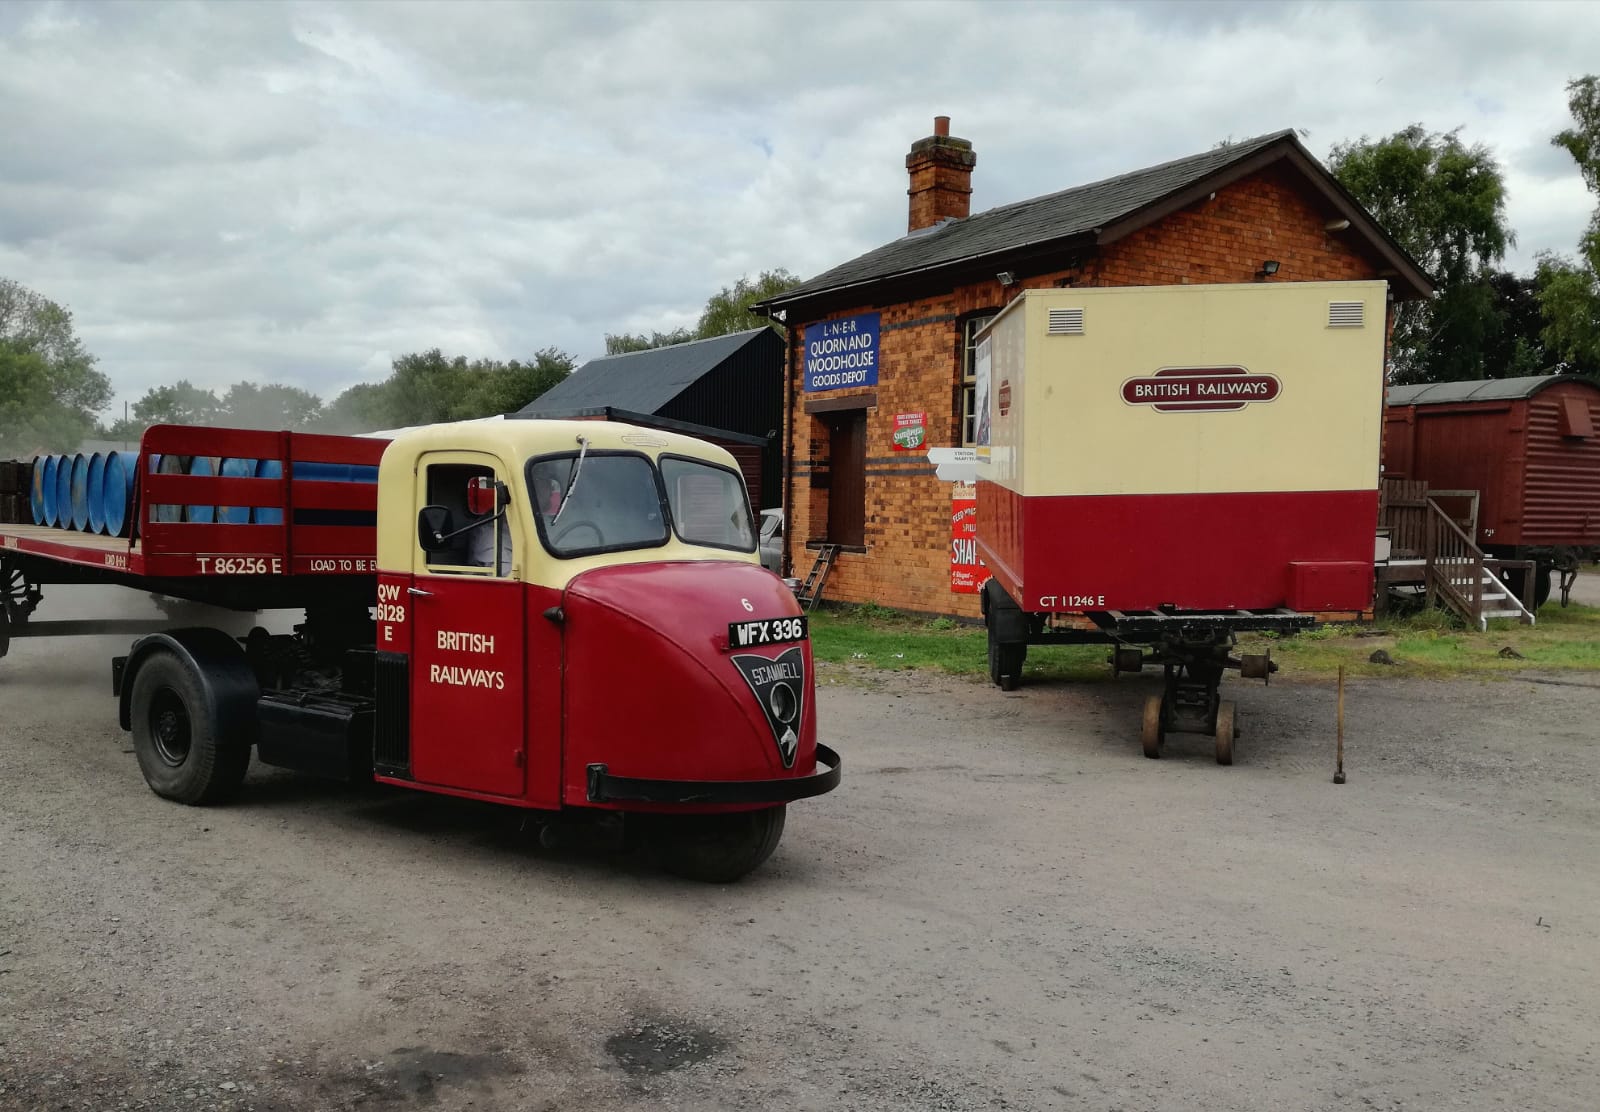
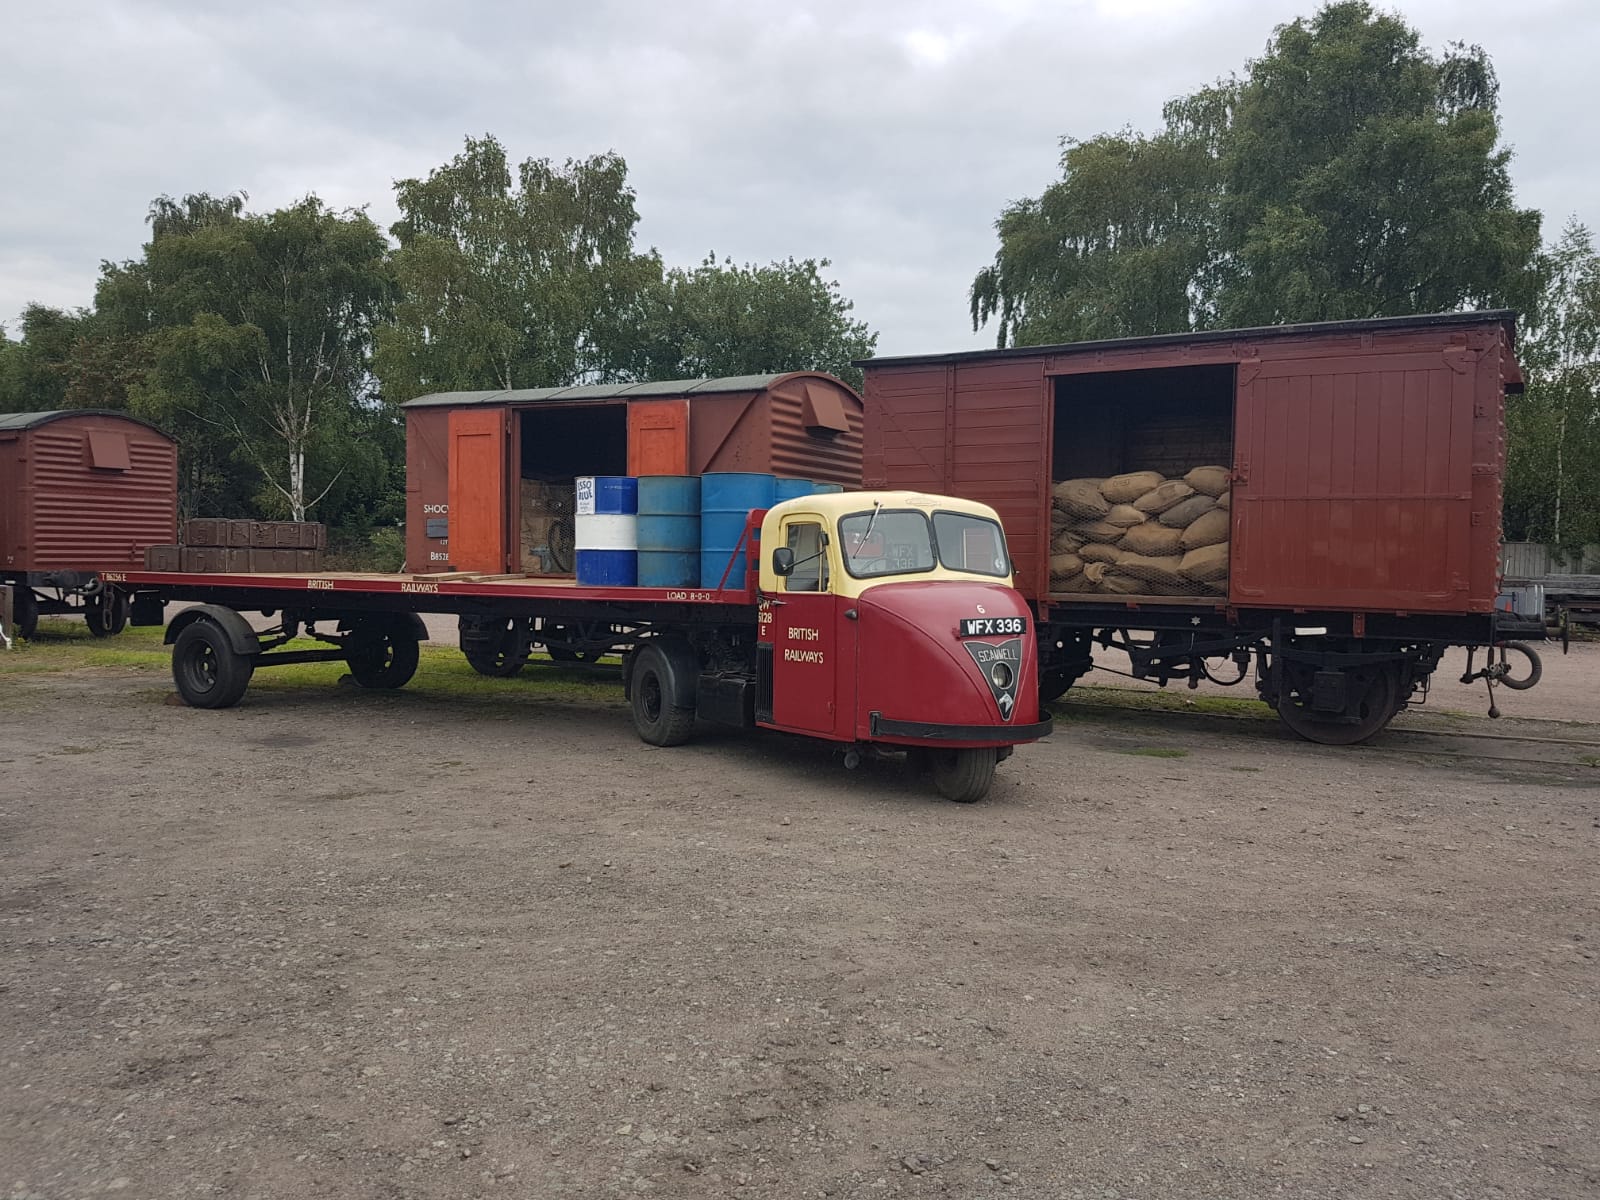
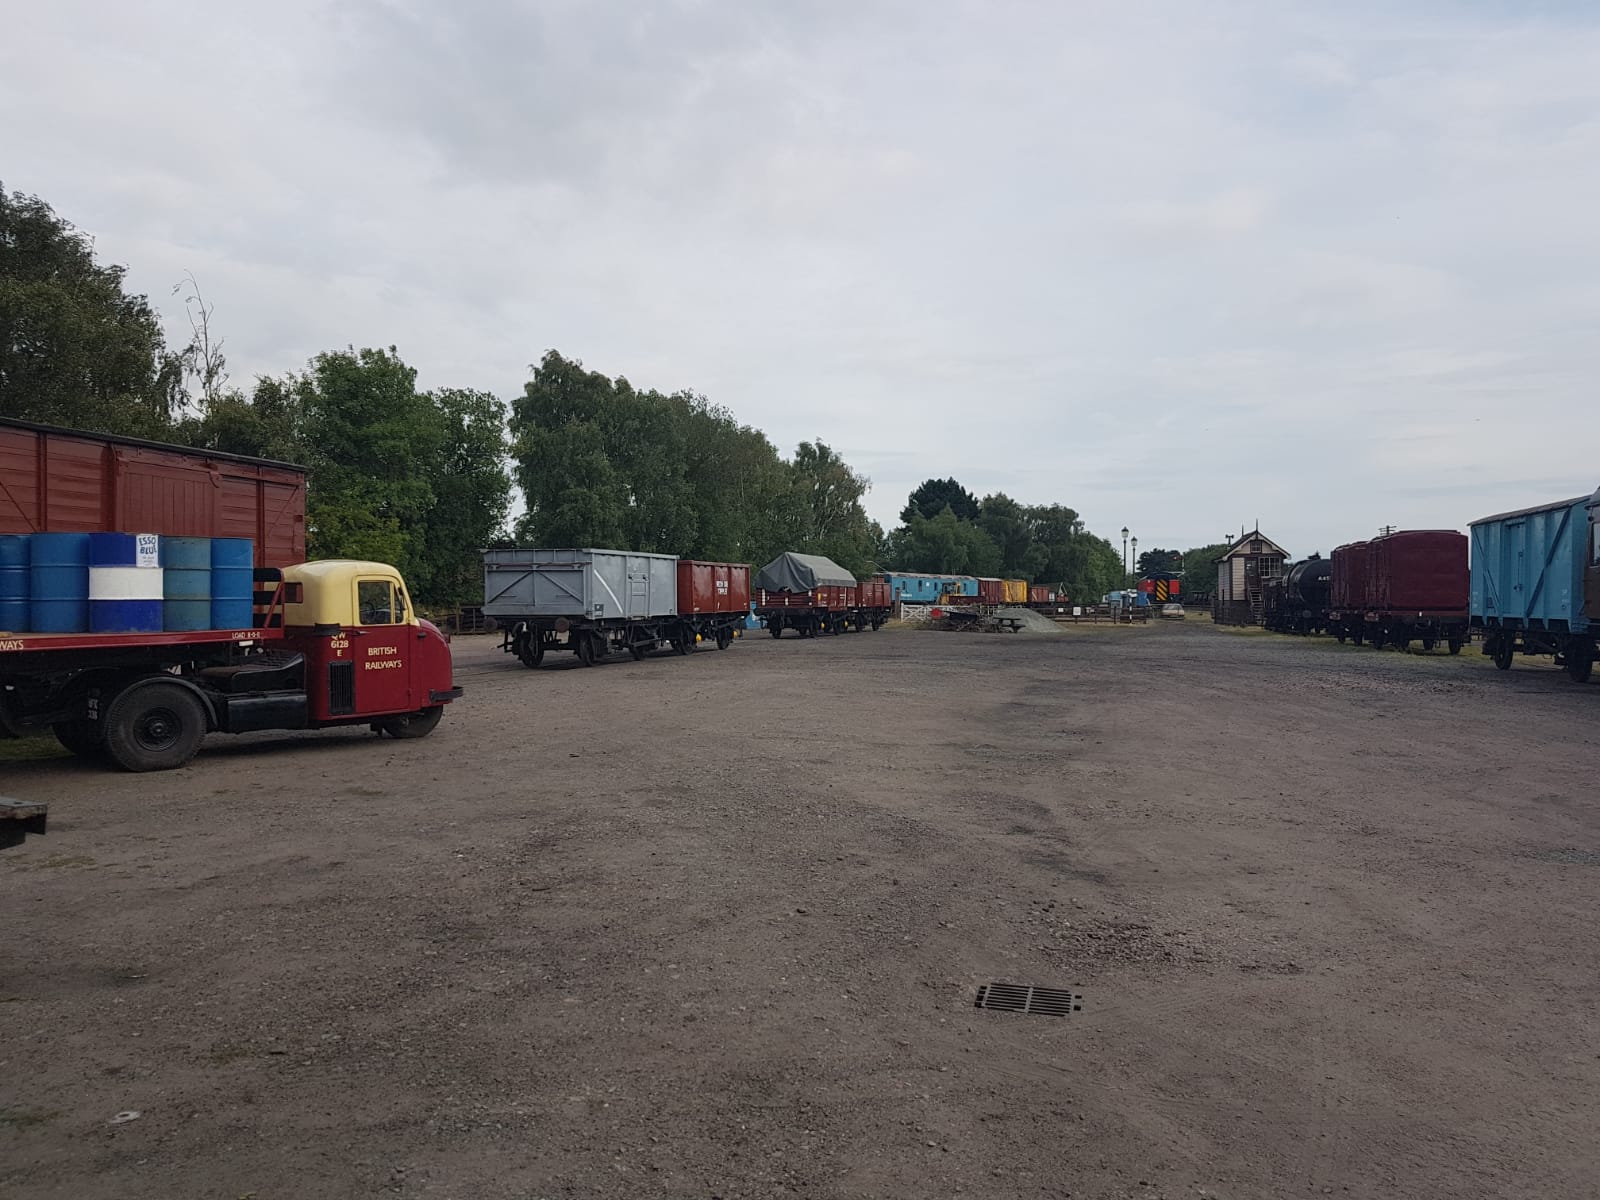
    On Friday Dave and Matt had got Madge set up in position for the goods display set up in the yard for interest when the the railway reopened on Saturday.

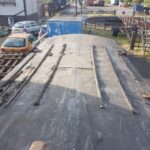
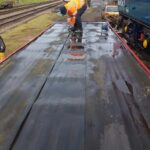
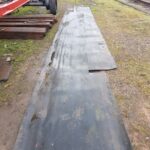
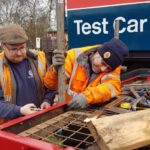
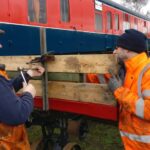
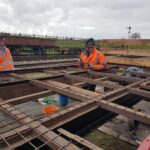
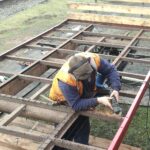
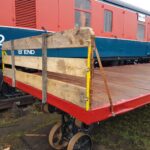
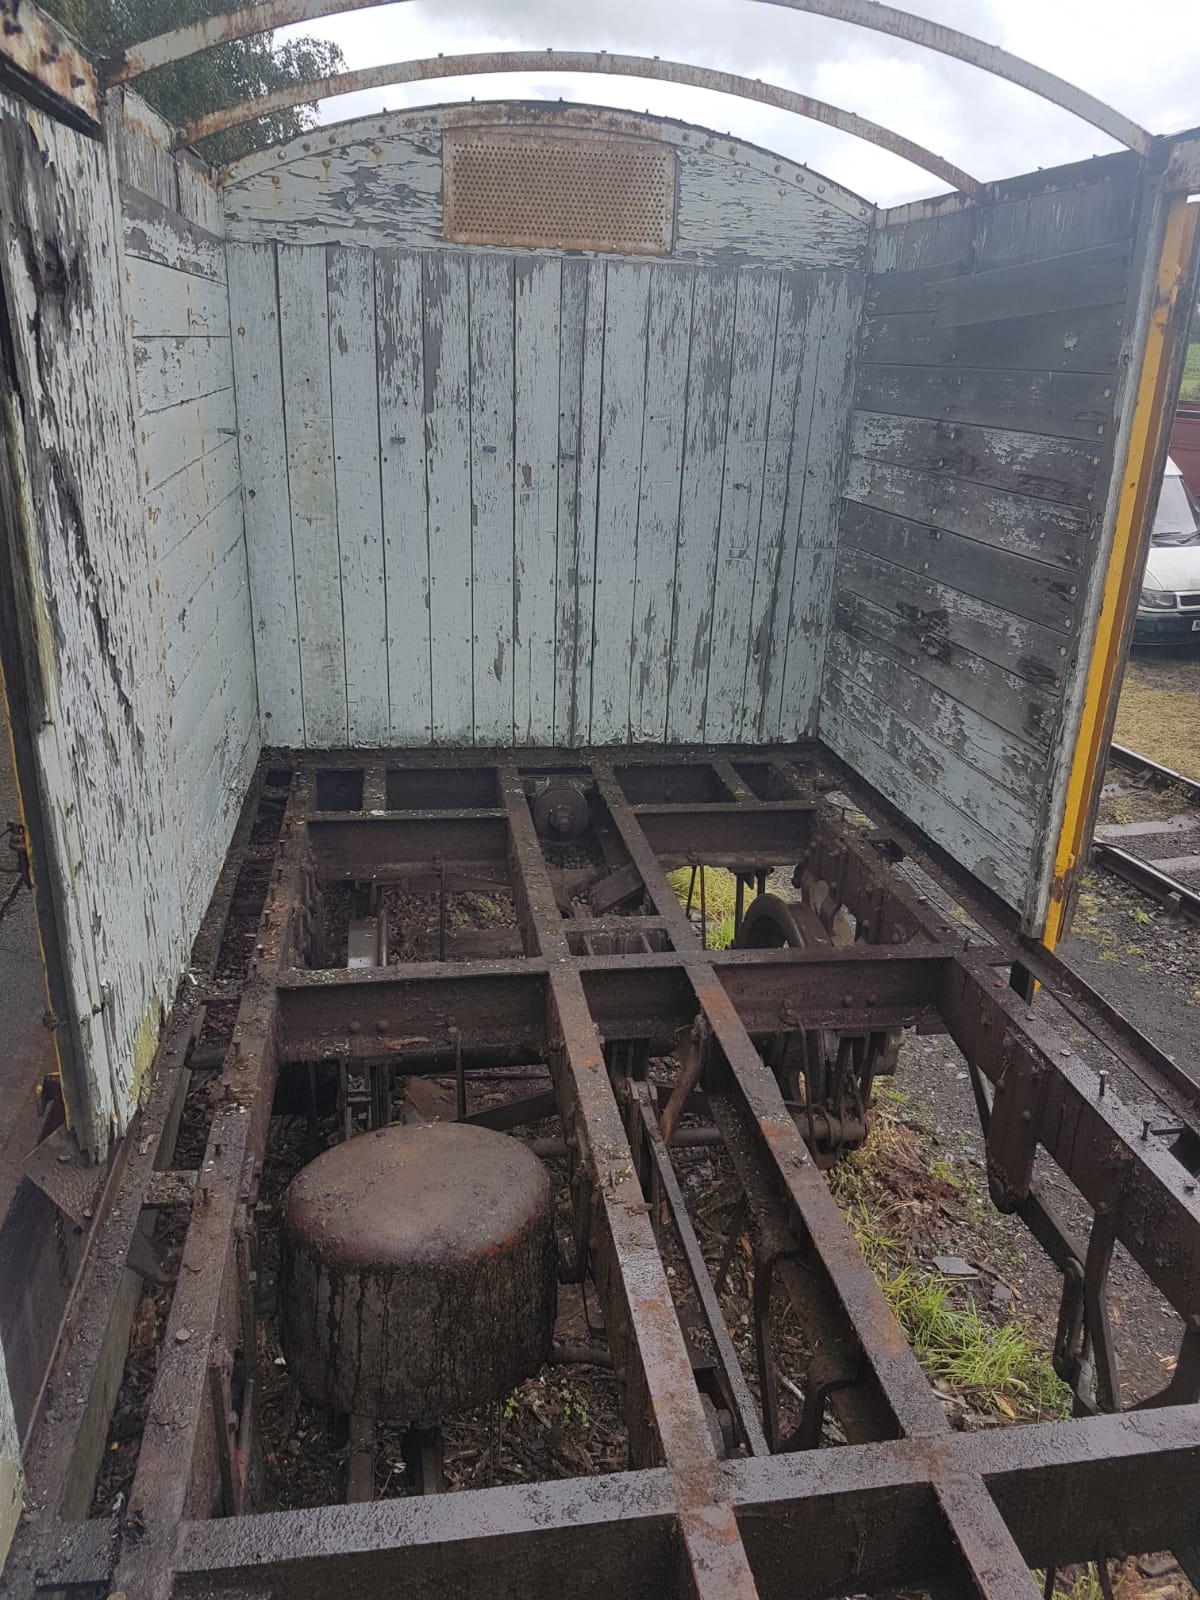
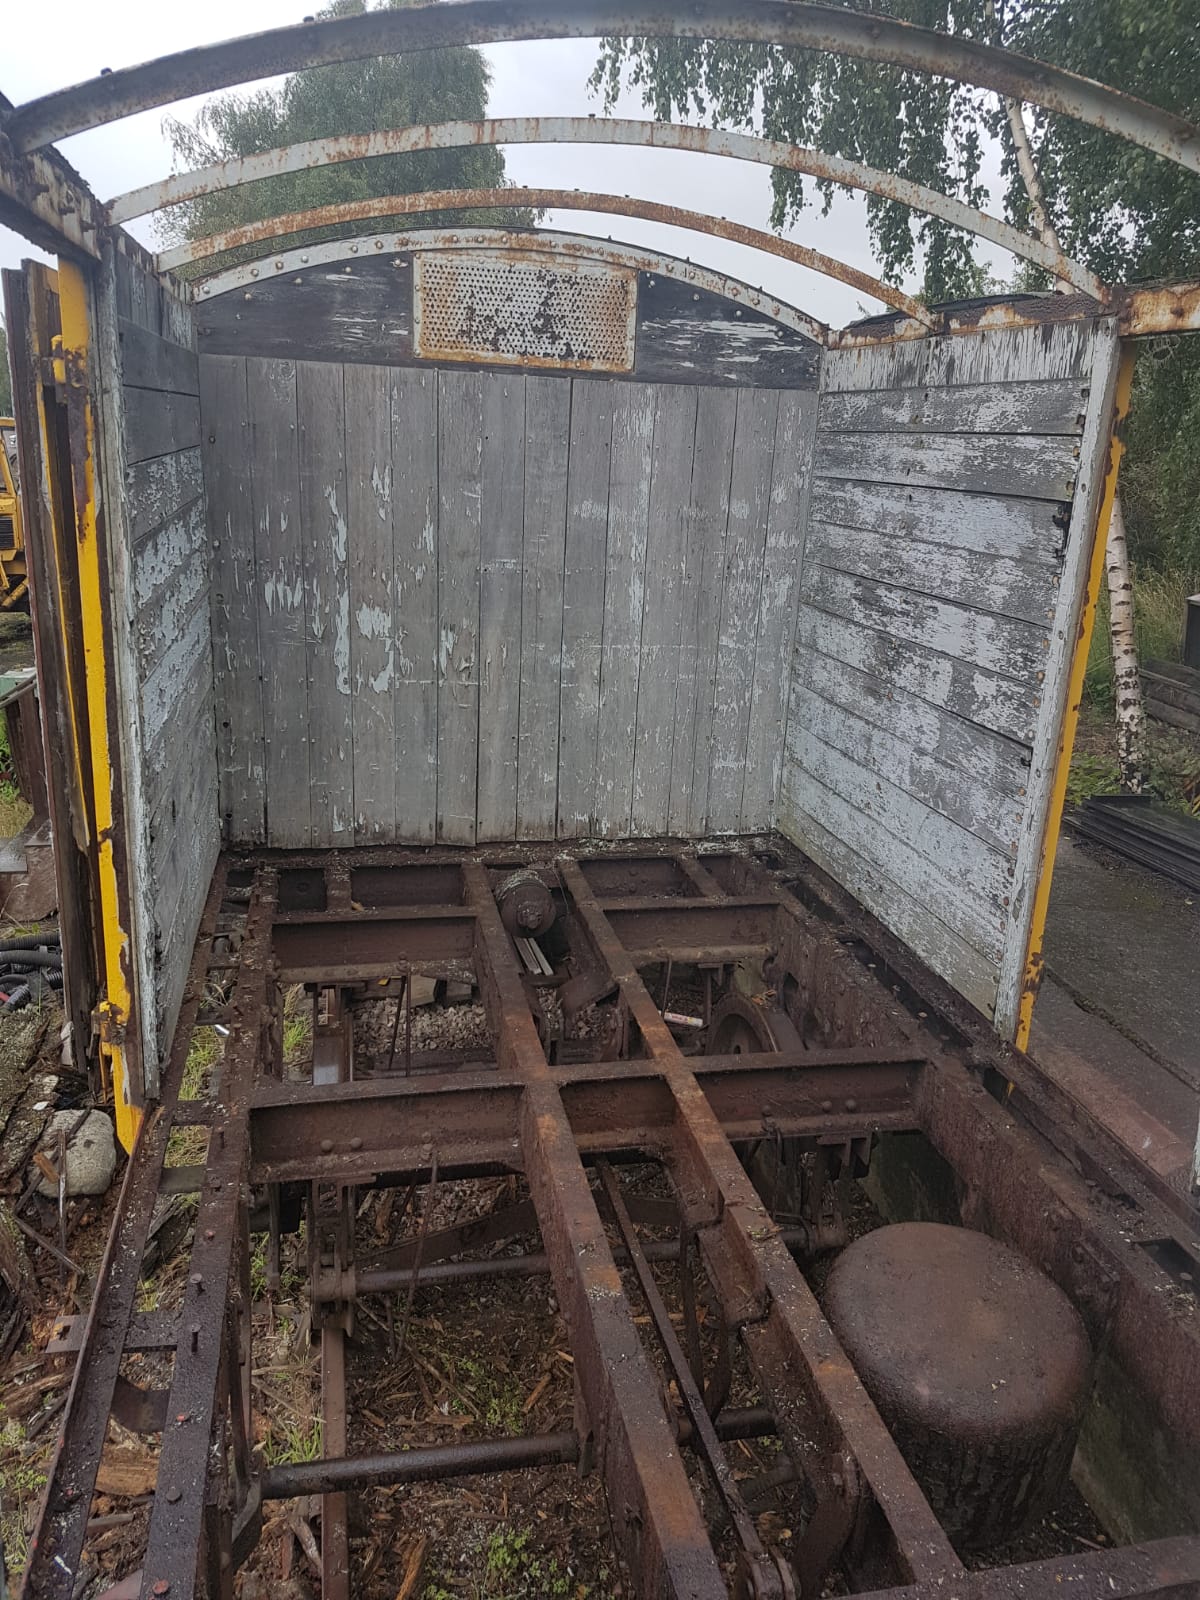
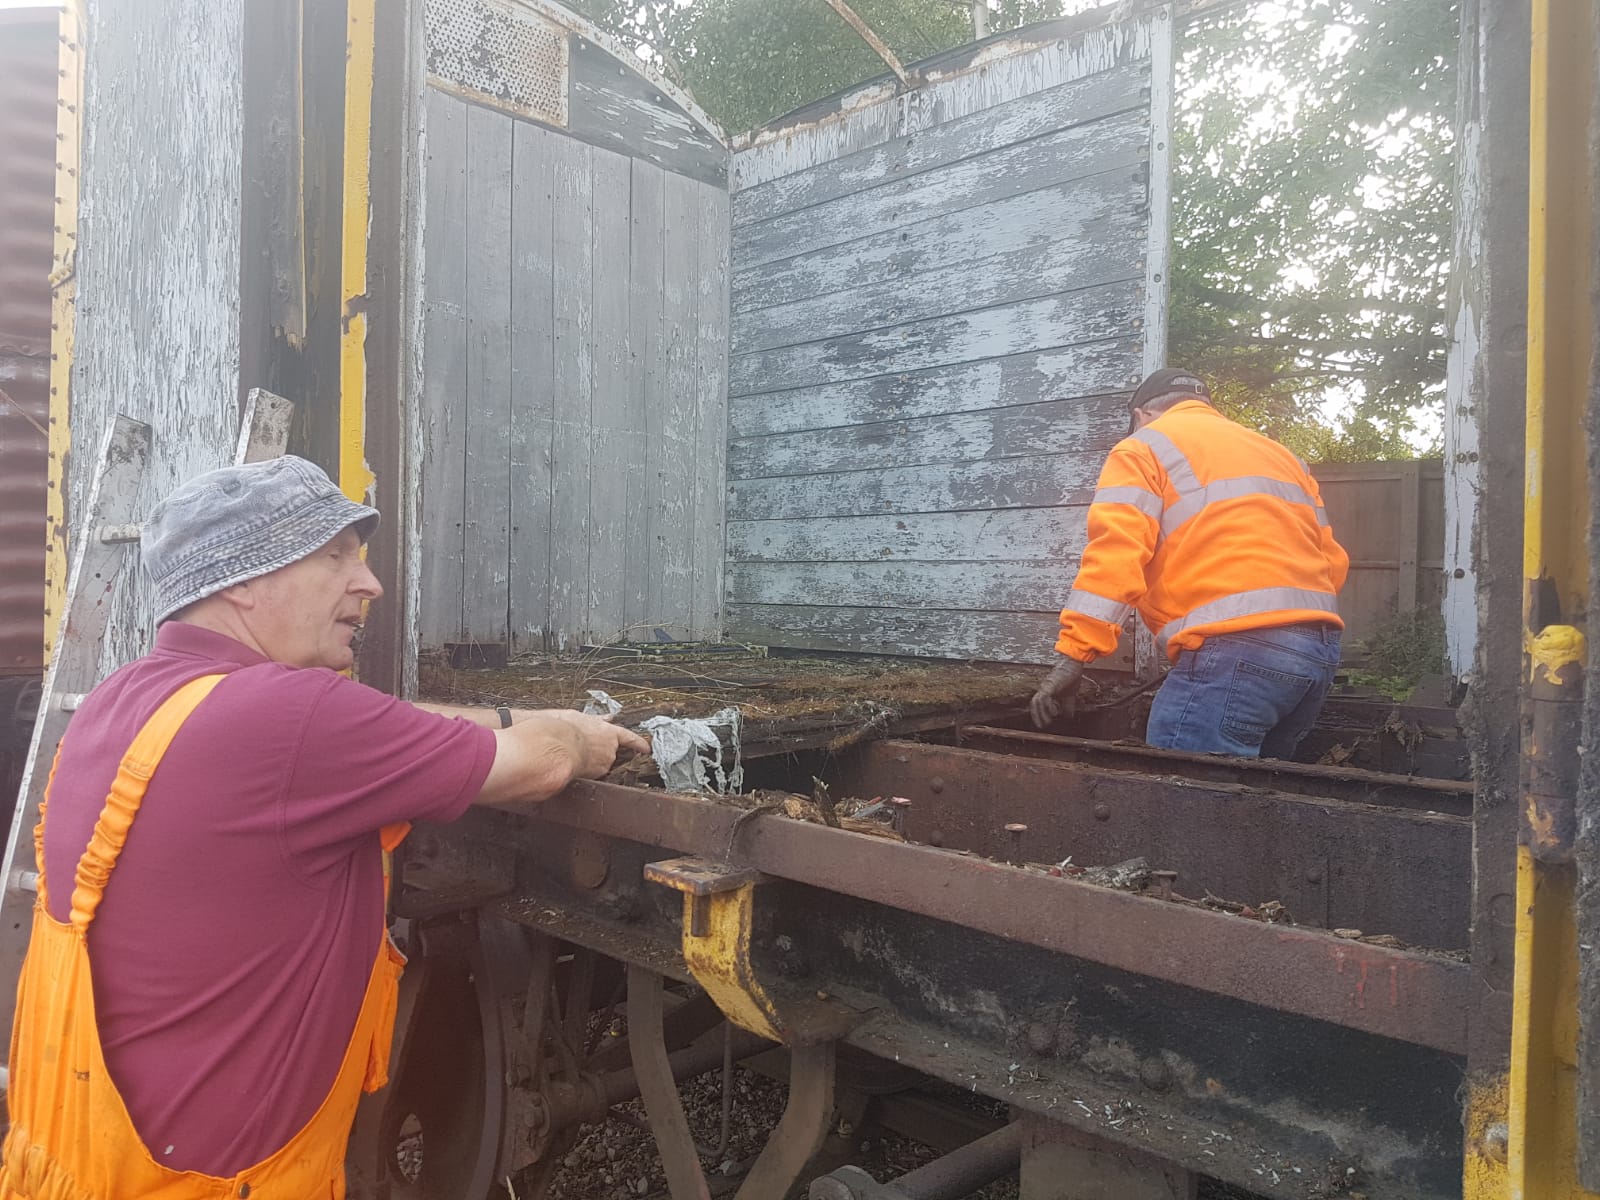
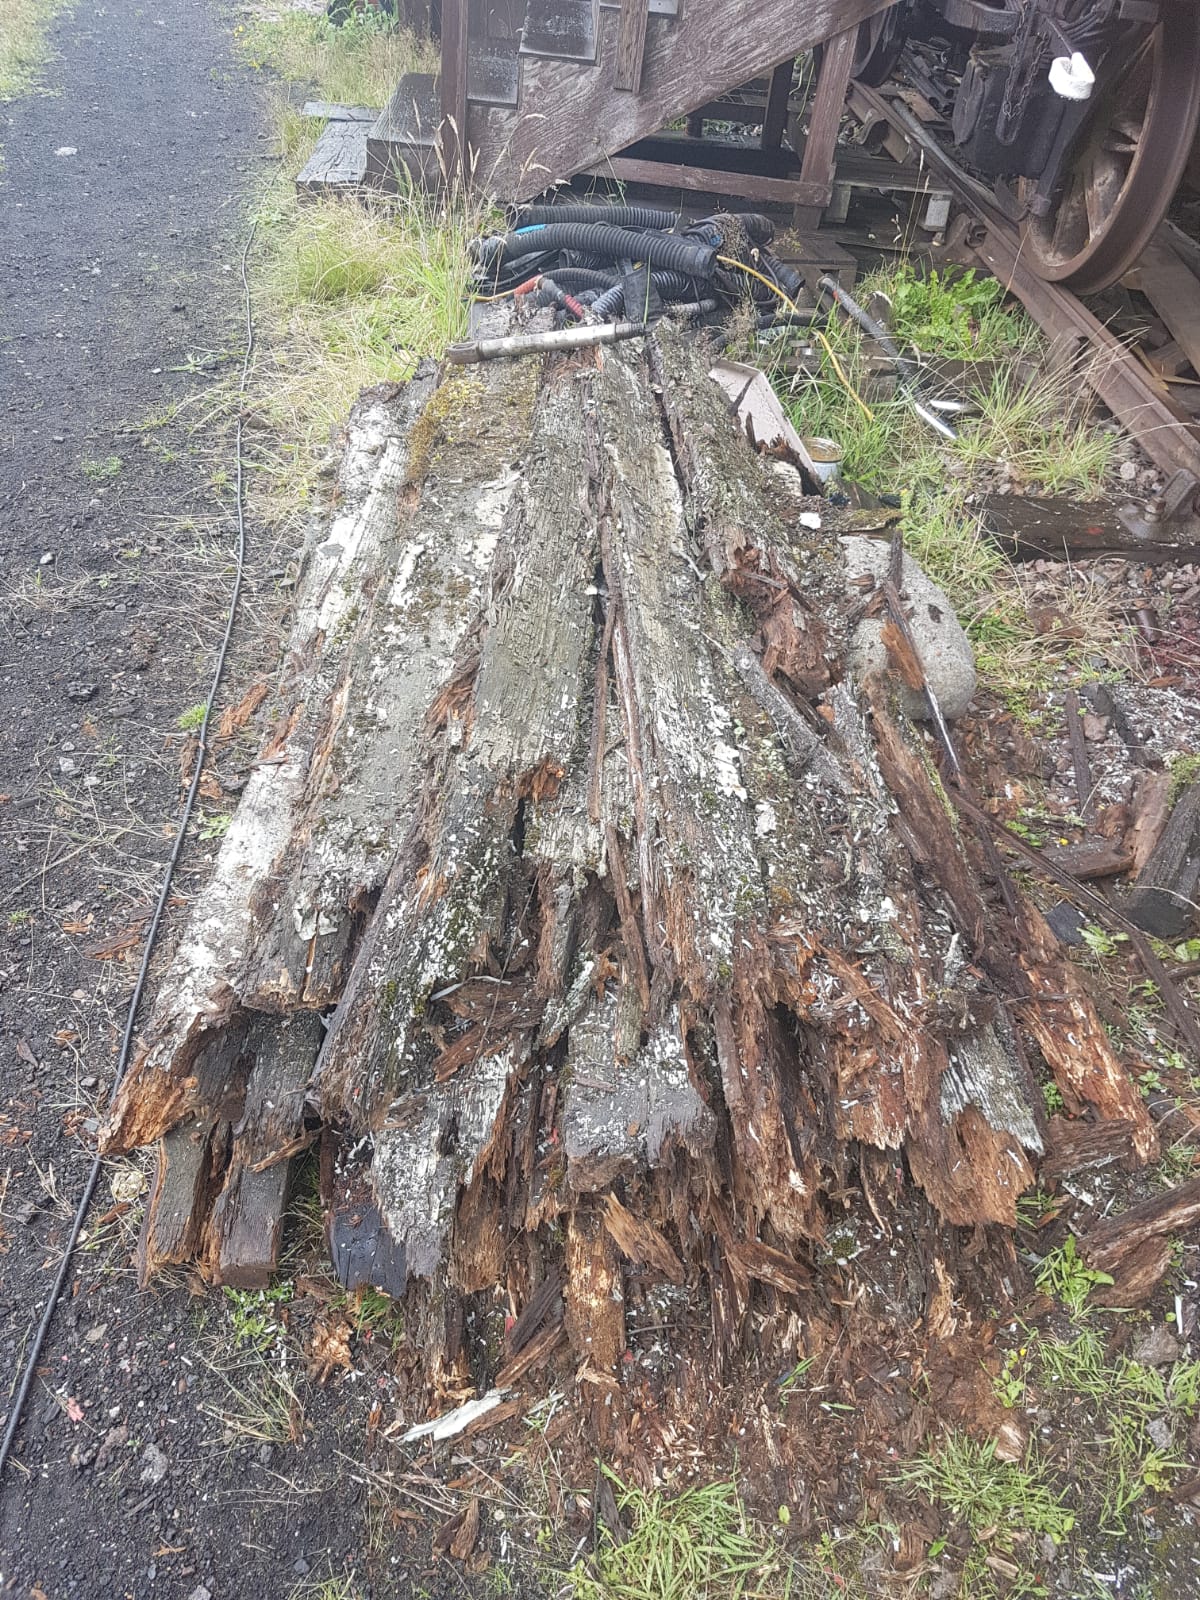
    First things first, with no door on the ‘new’ van, and a very spongy floor it was decided to remove the ‘floor’ to make it obvious to any one that the floor wasn’t one.

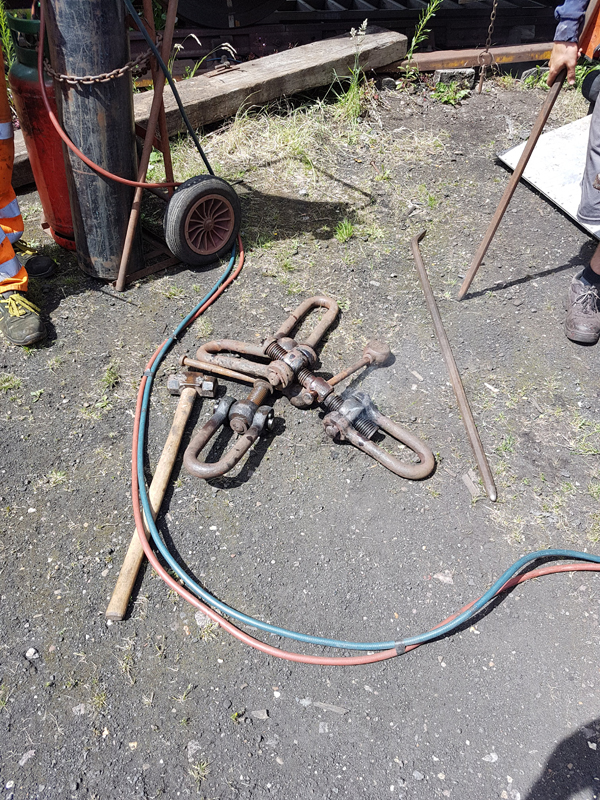
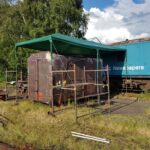
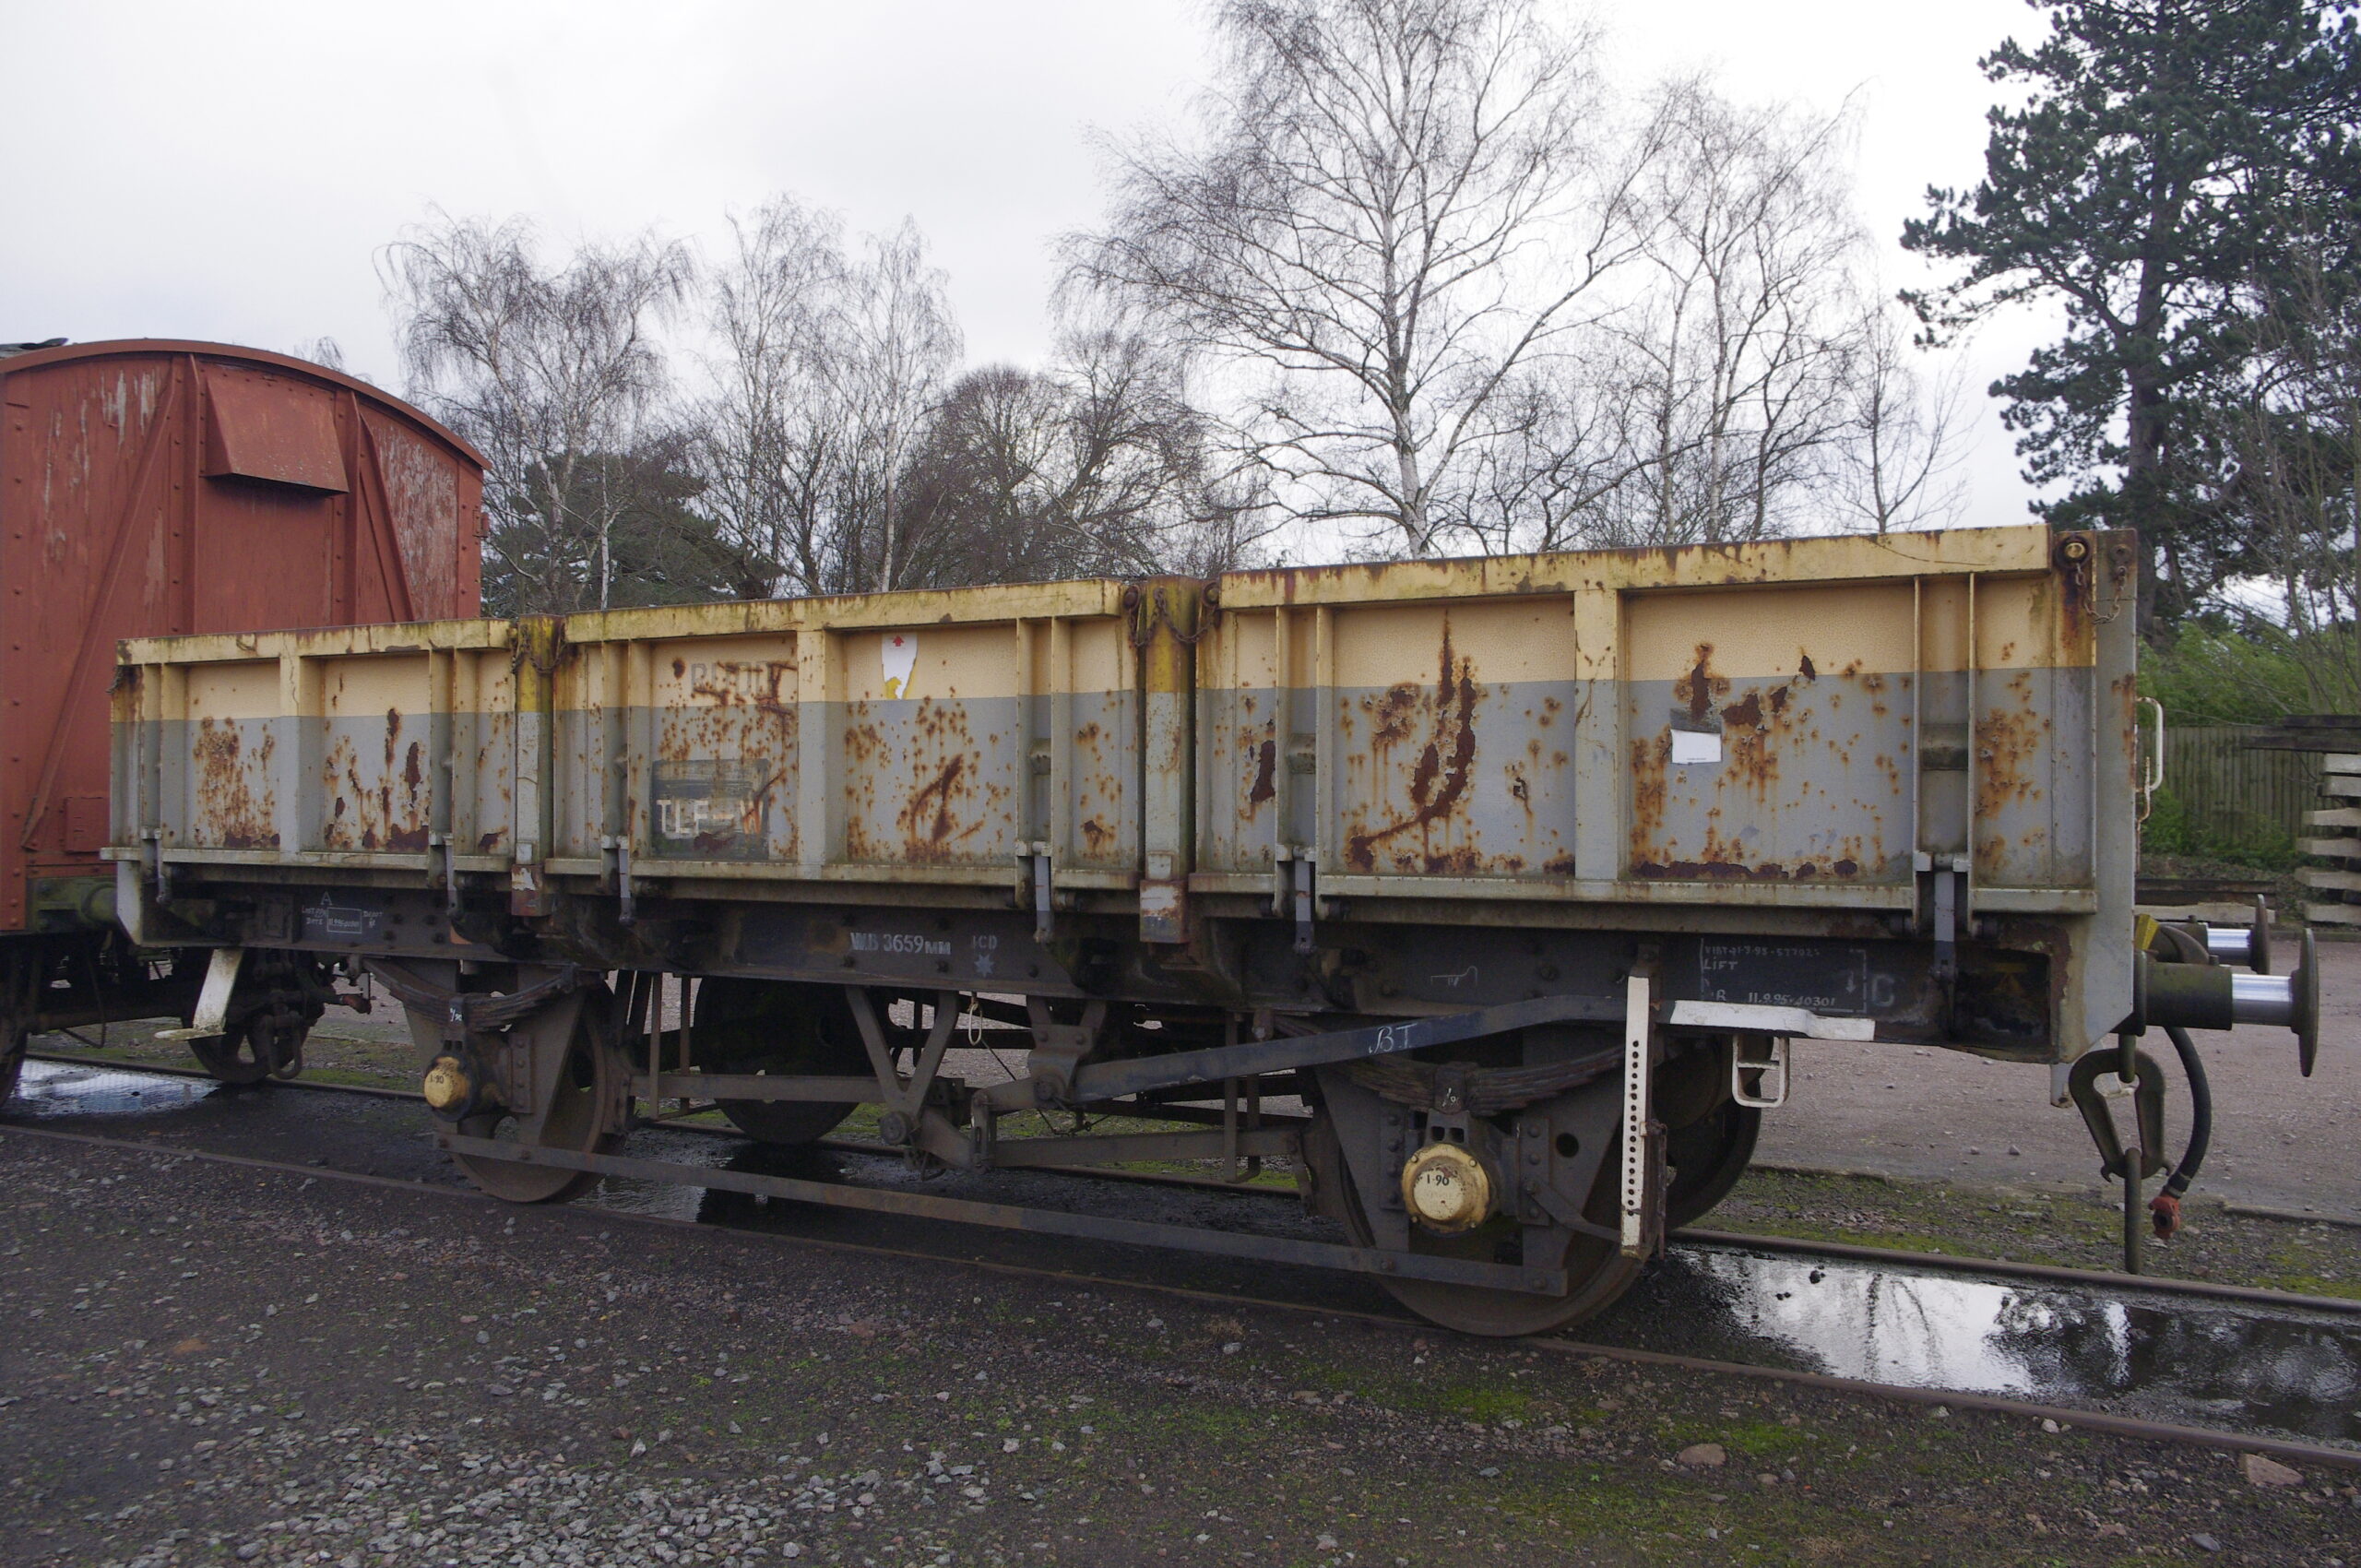
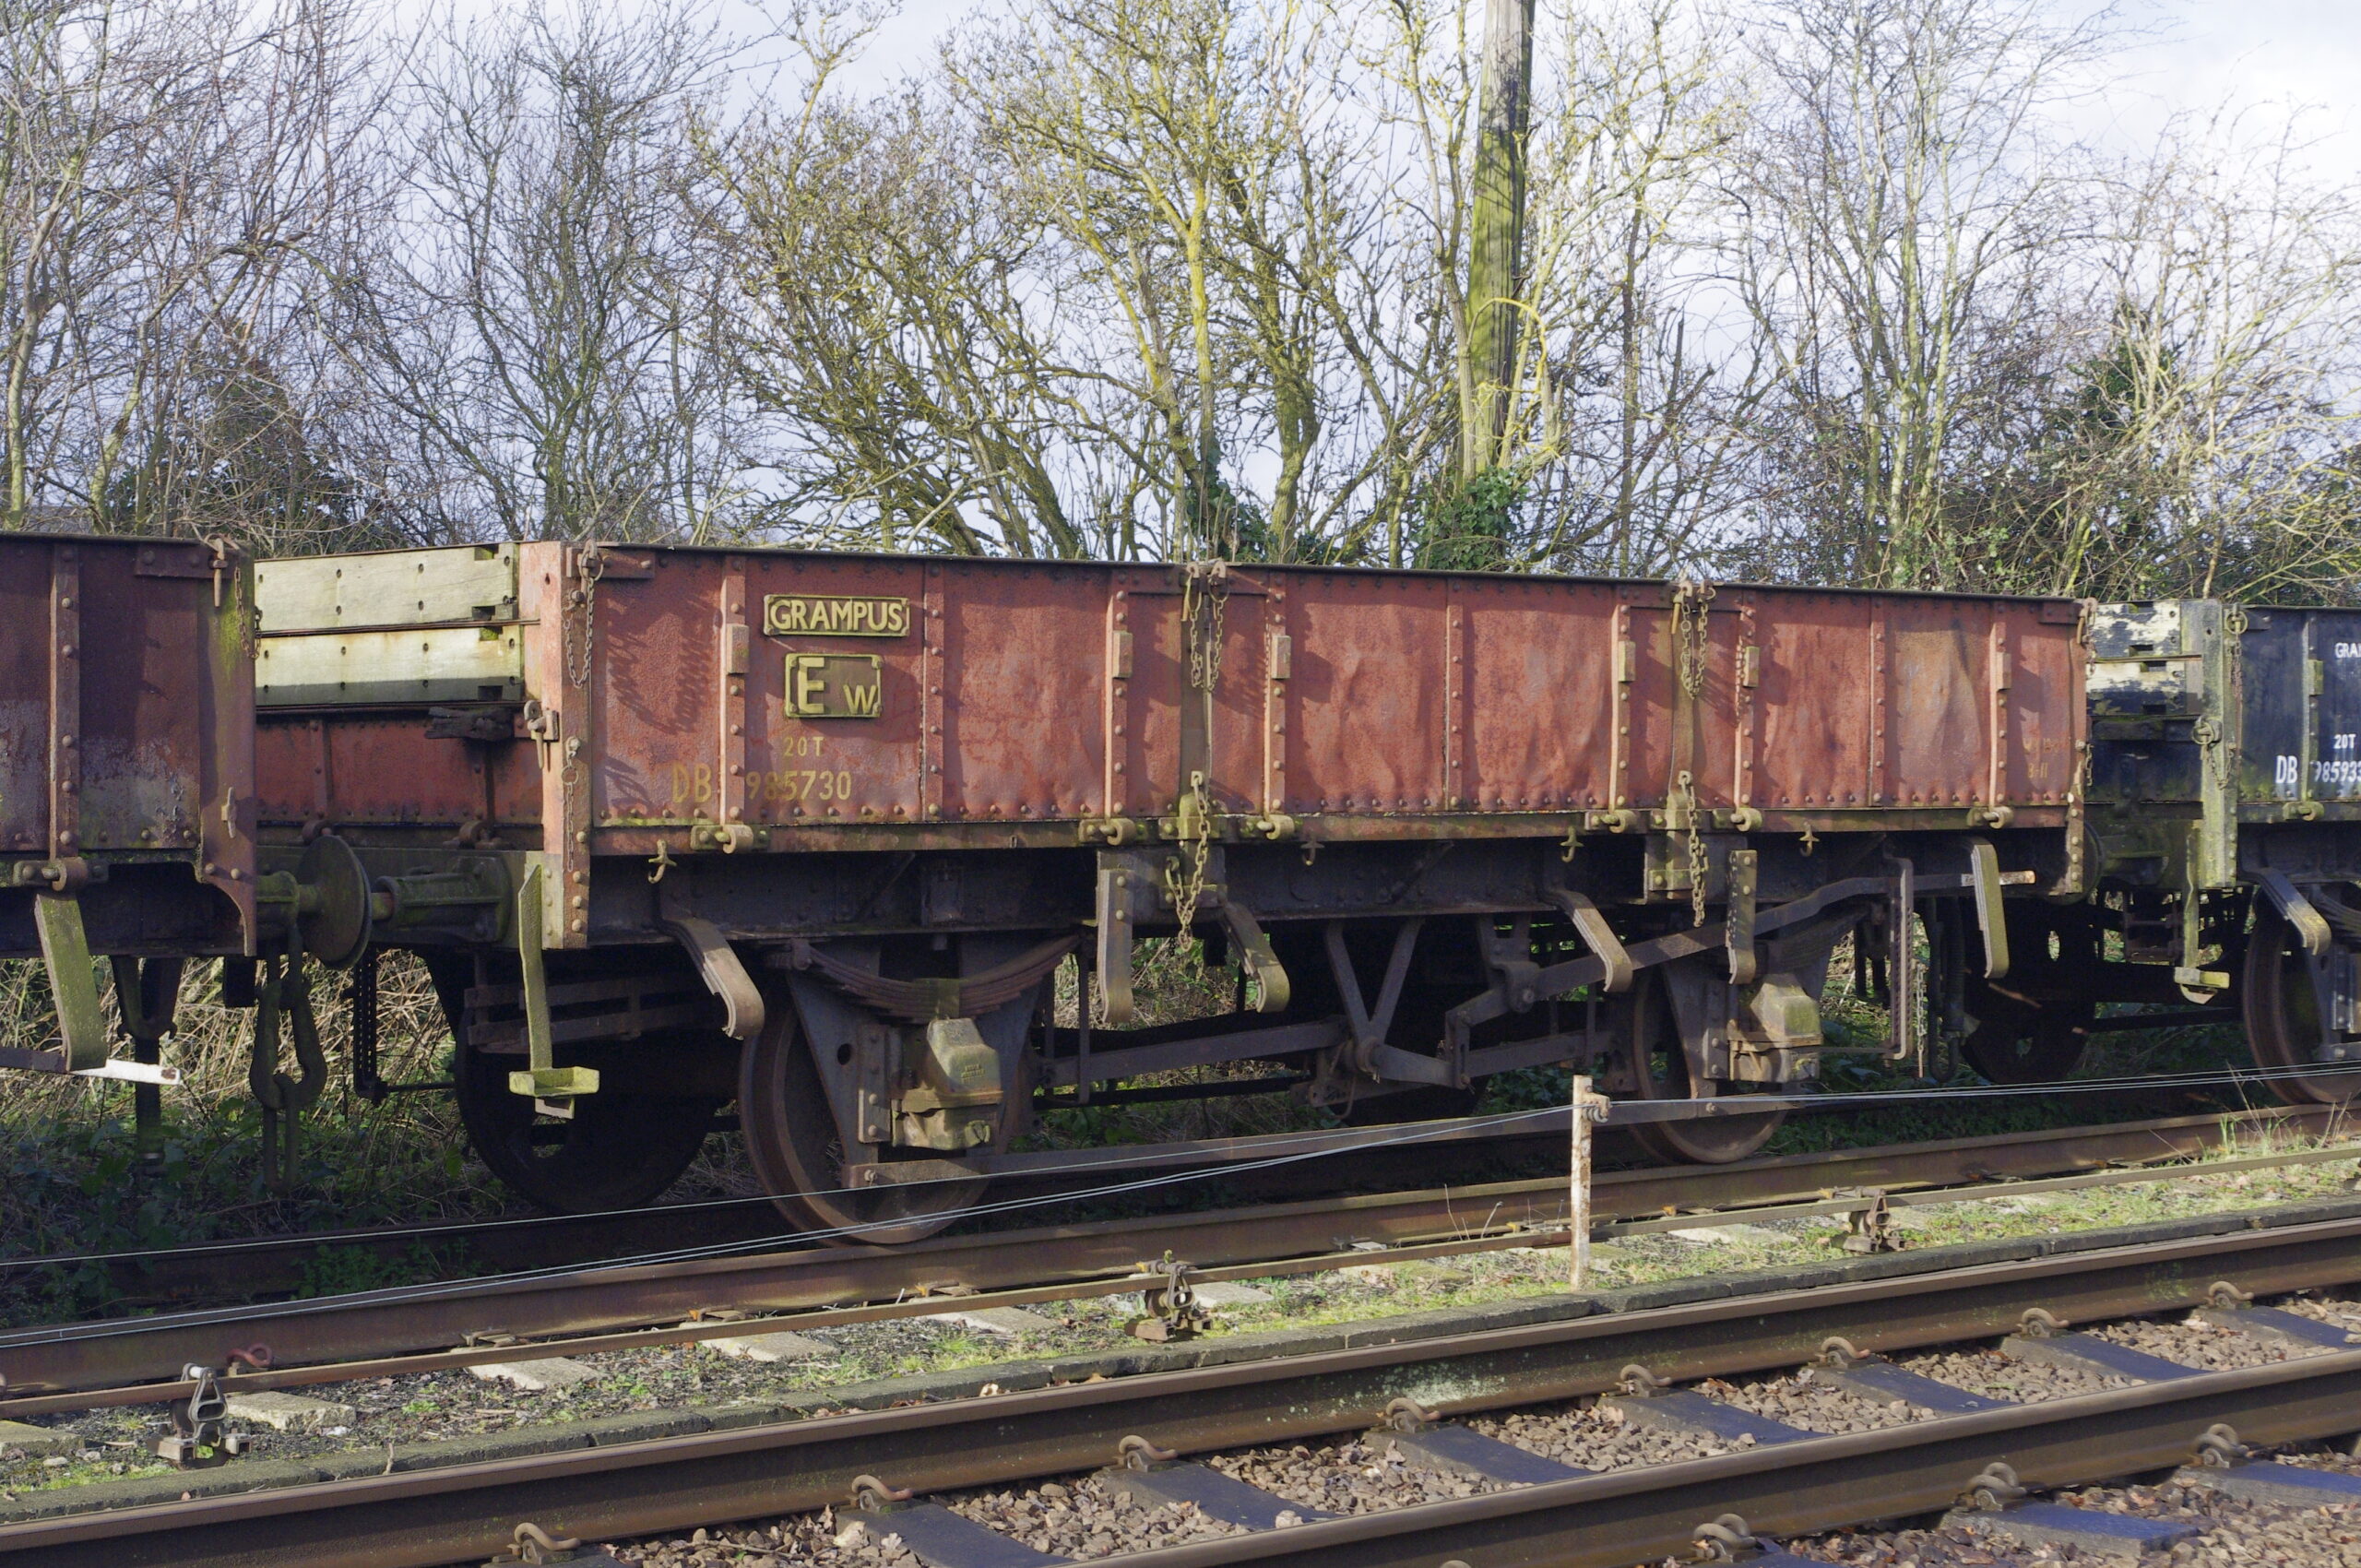
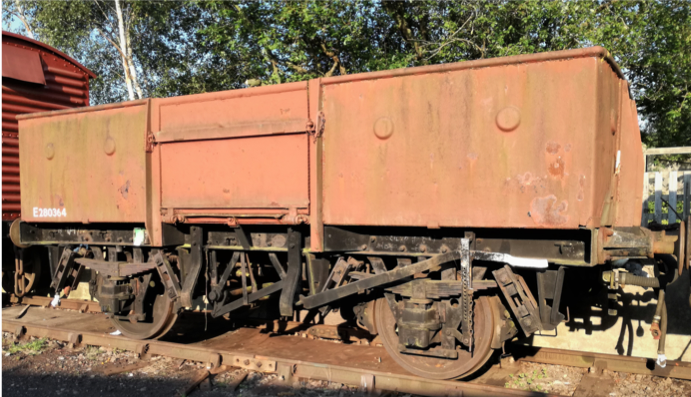
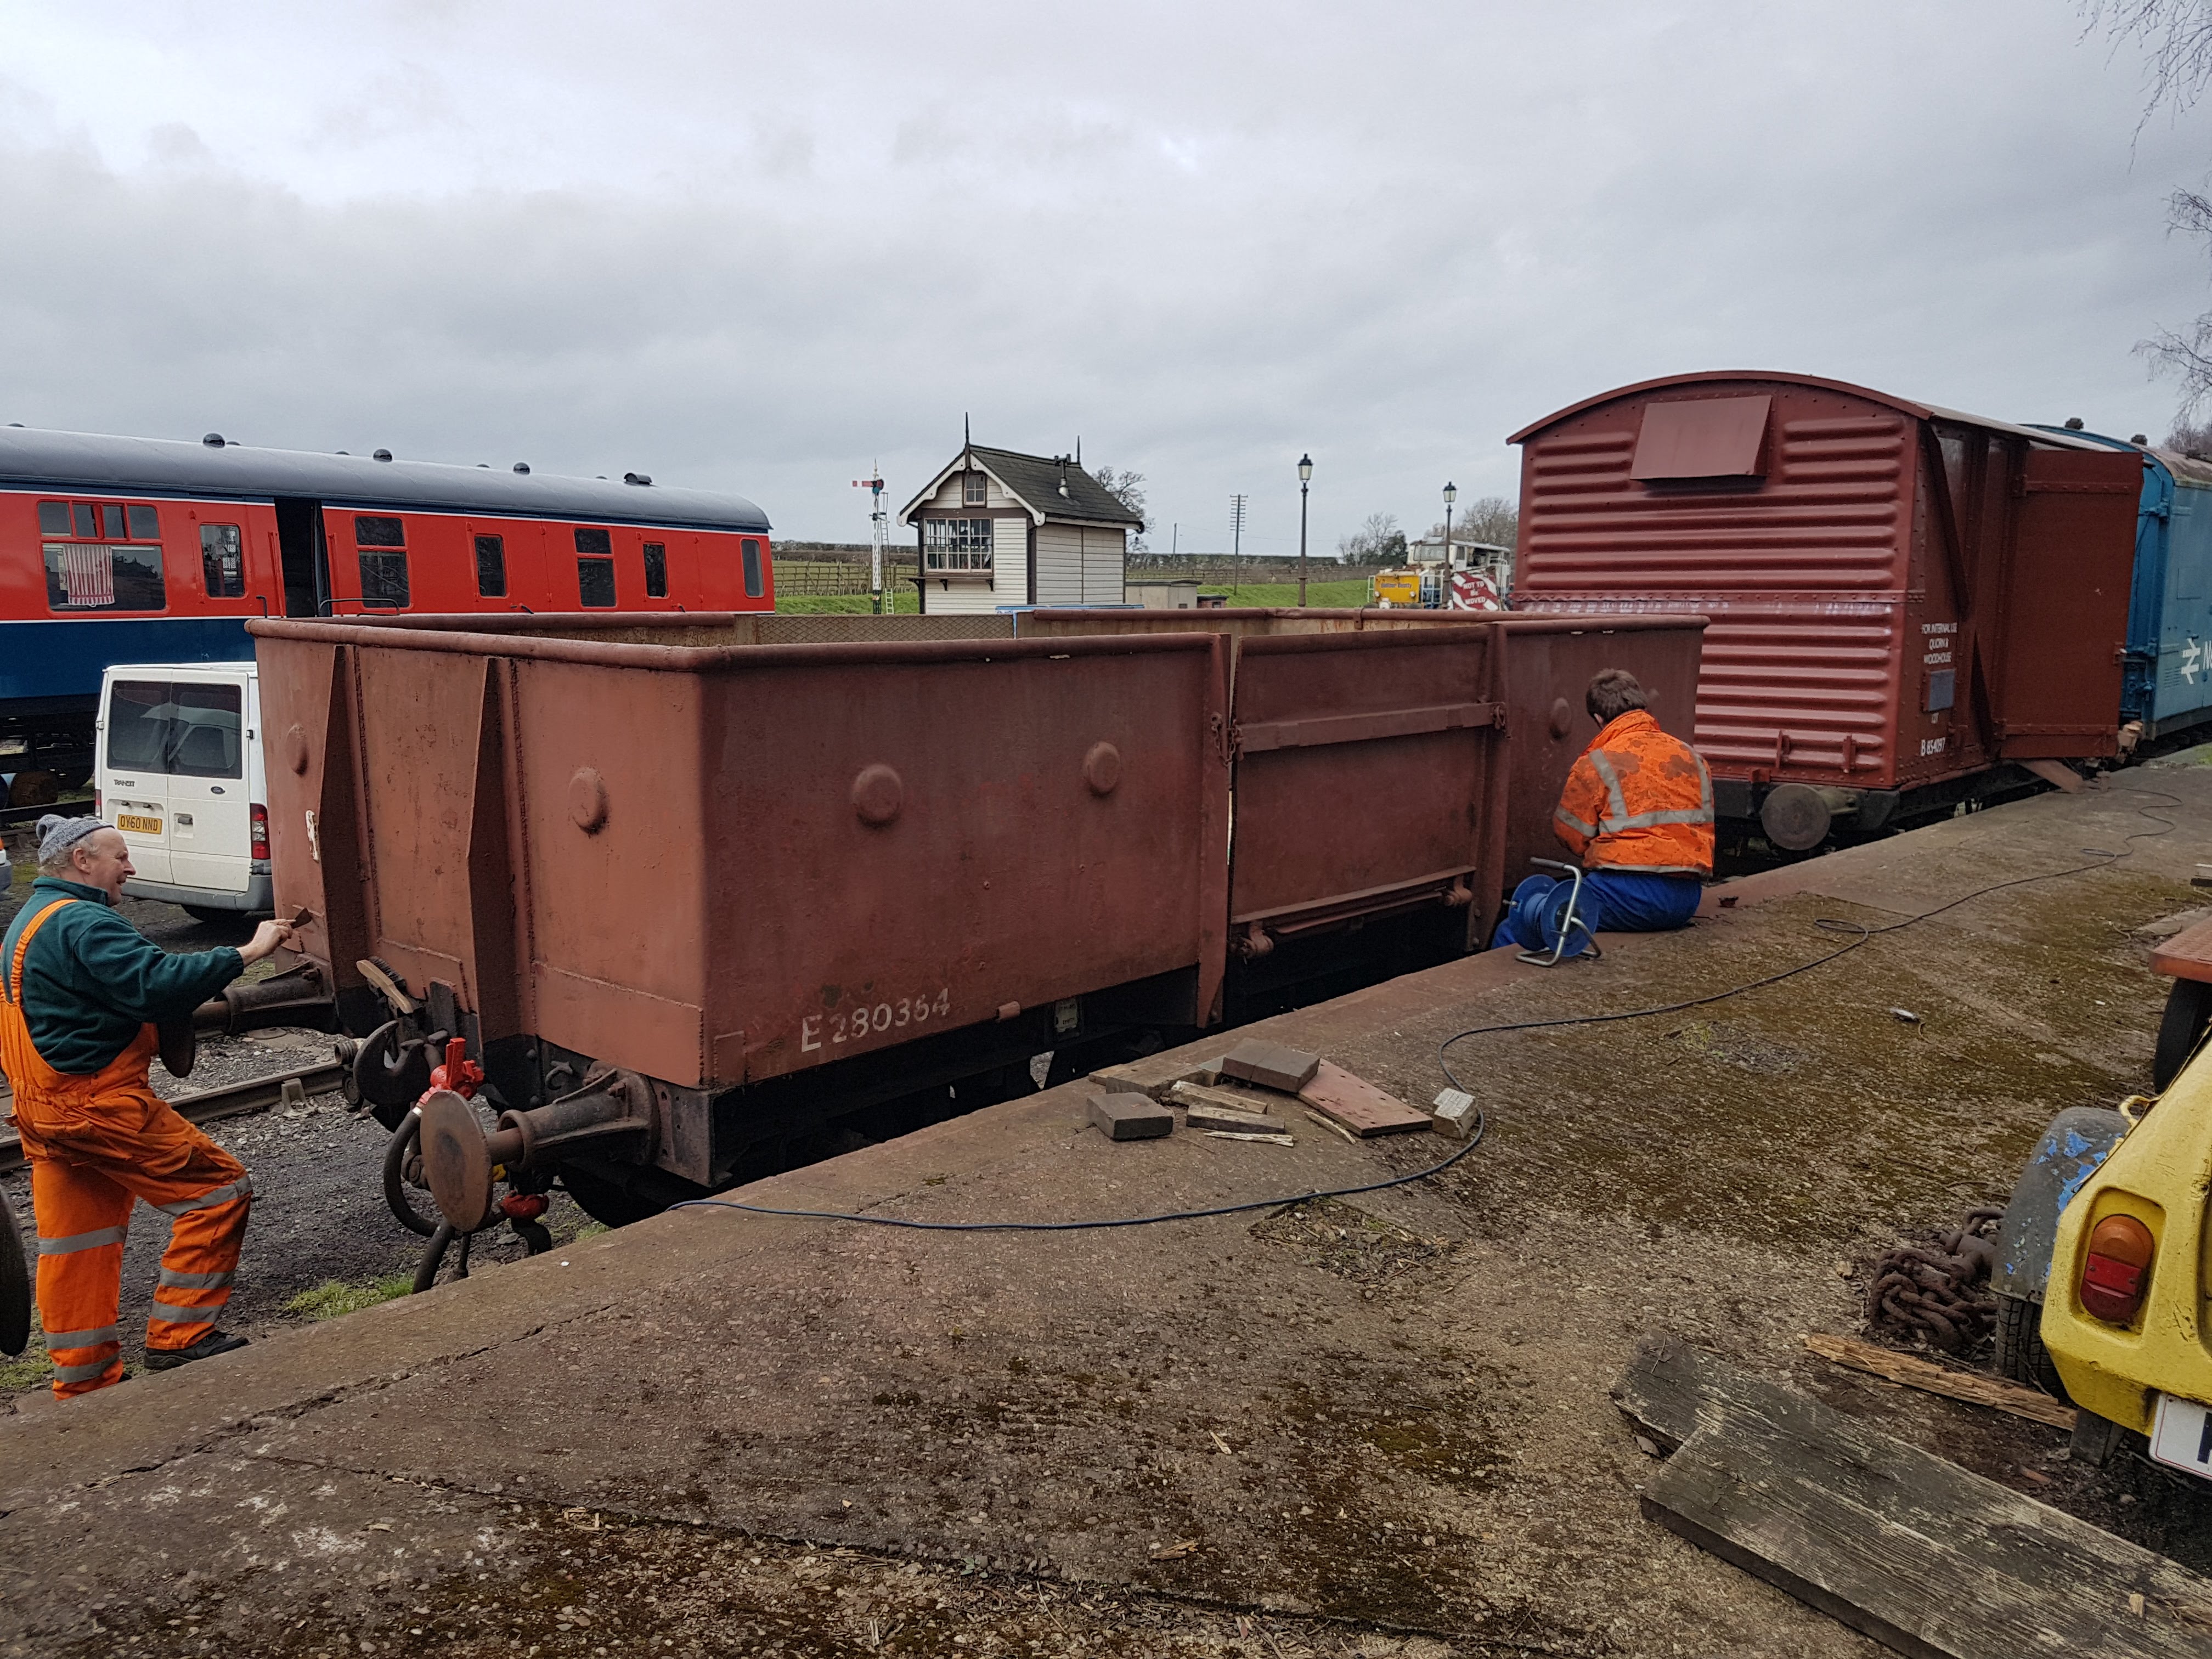
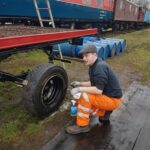
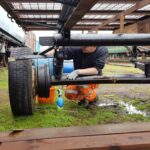
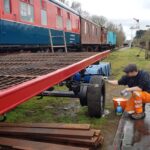
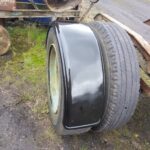
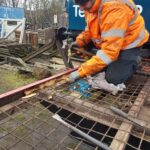
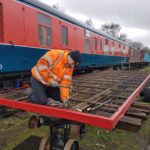
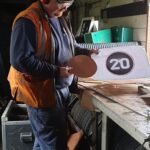
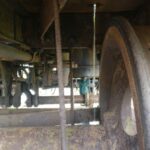
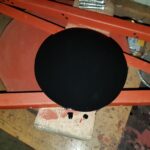
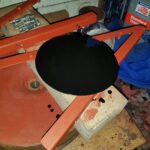
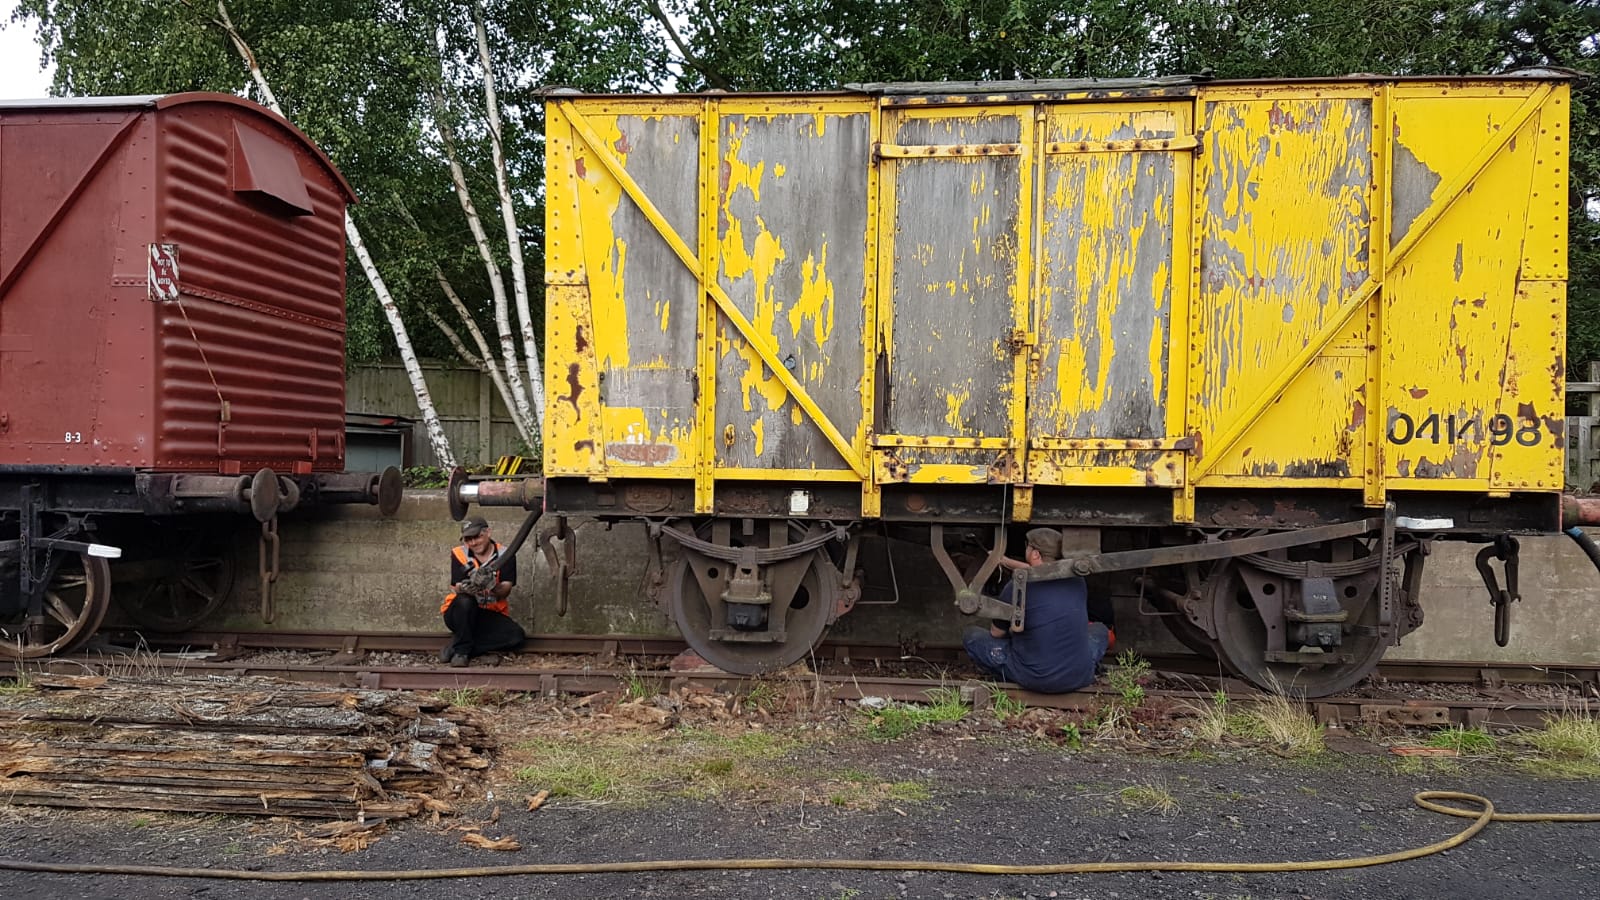
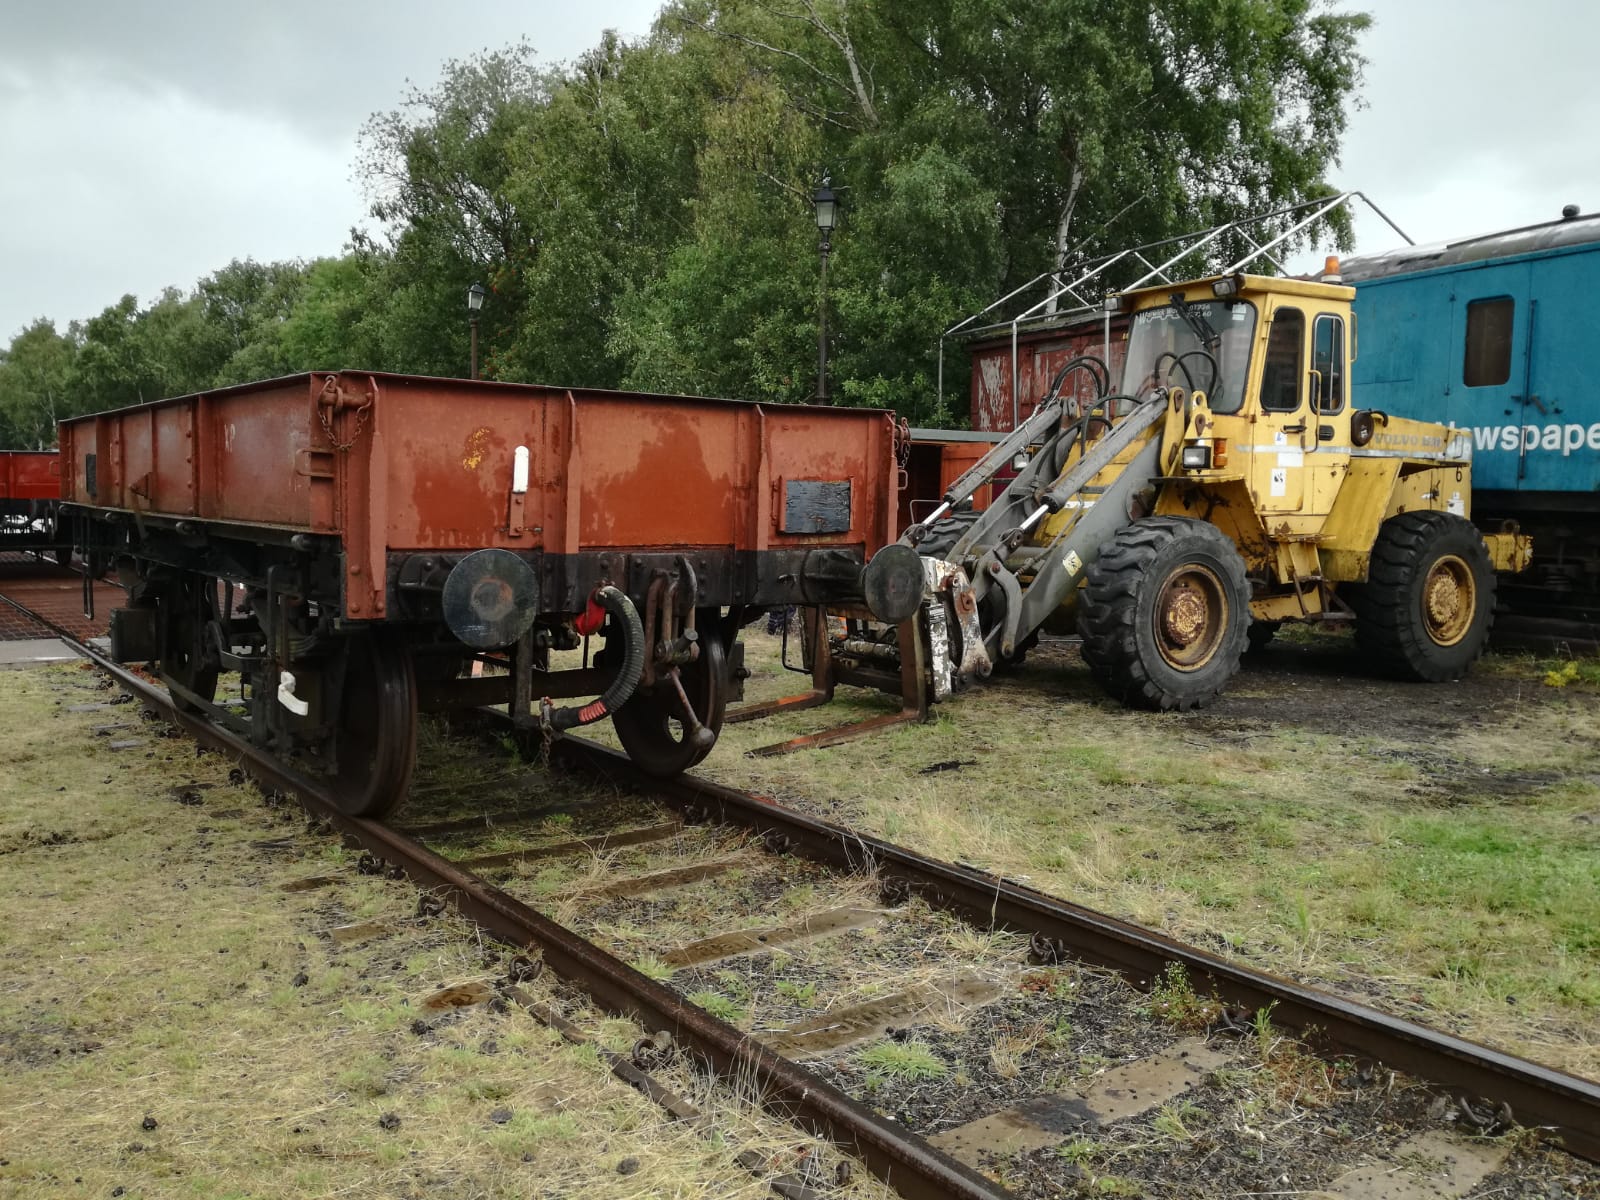
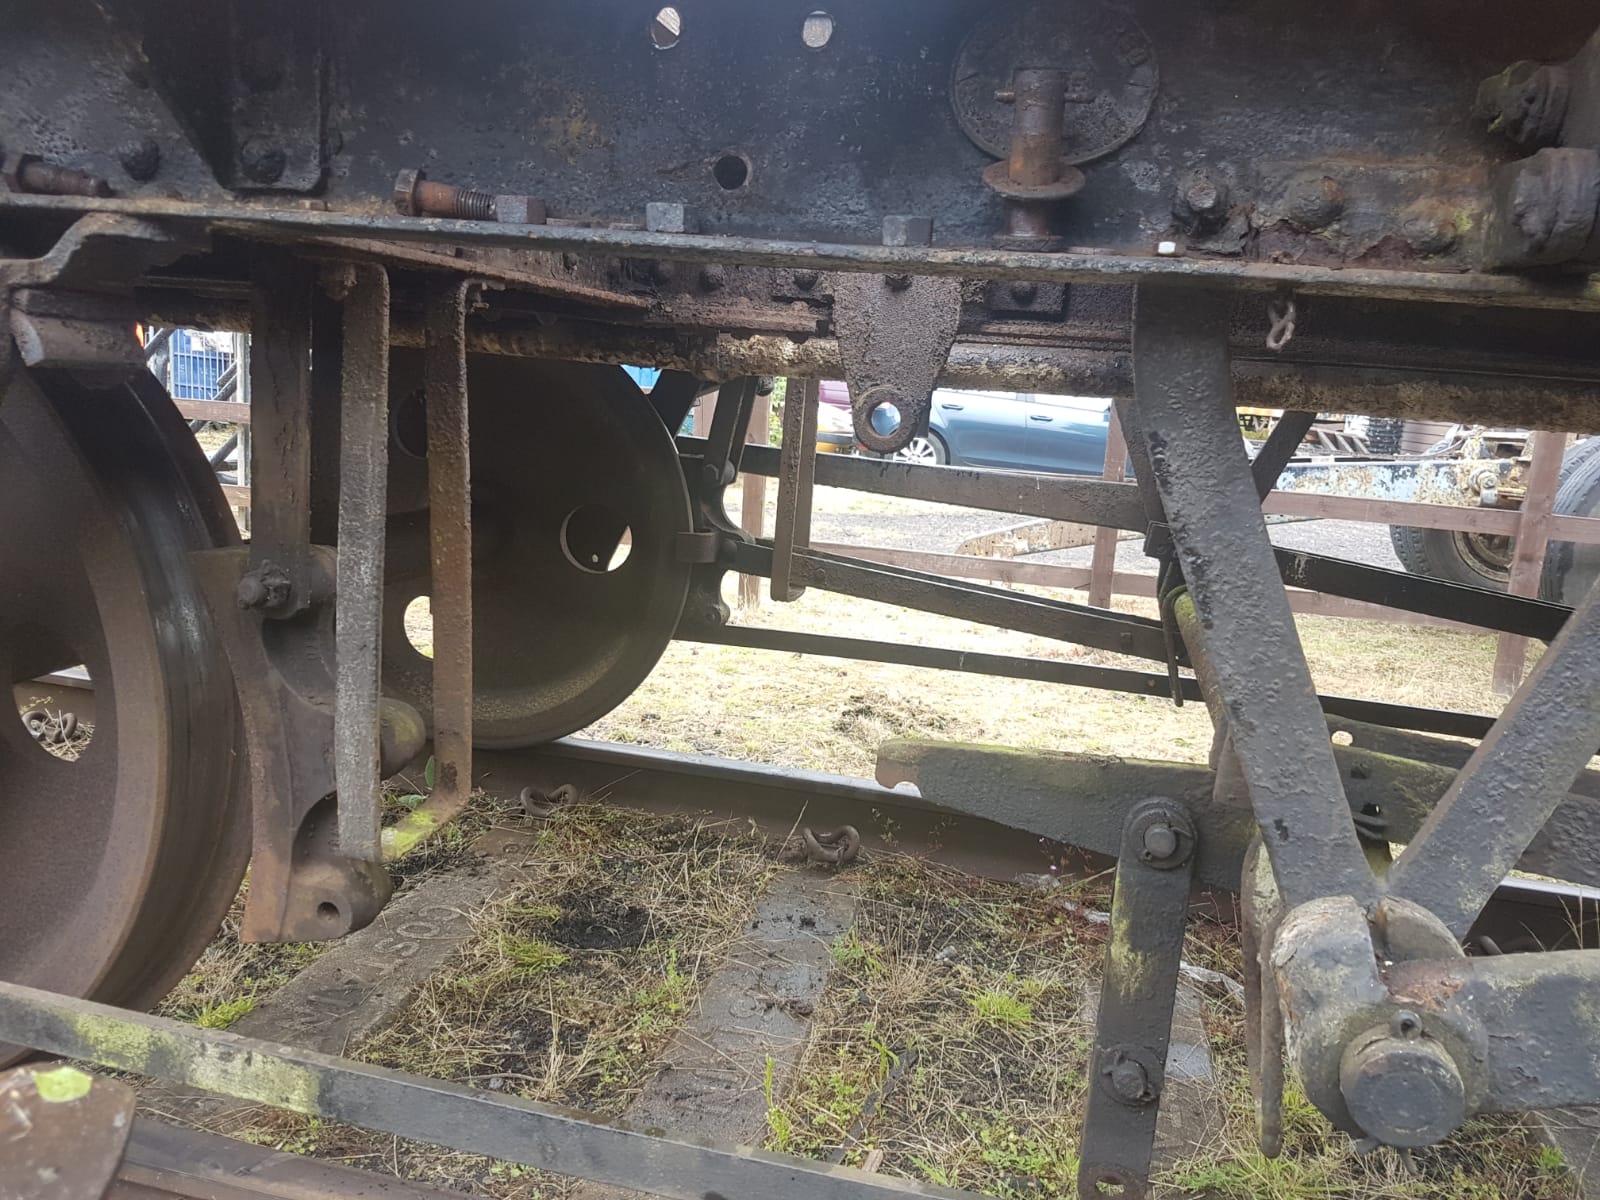
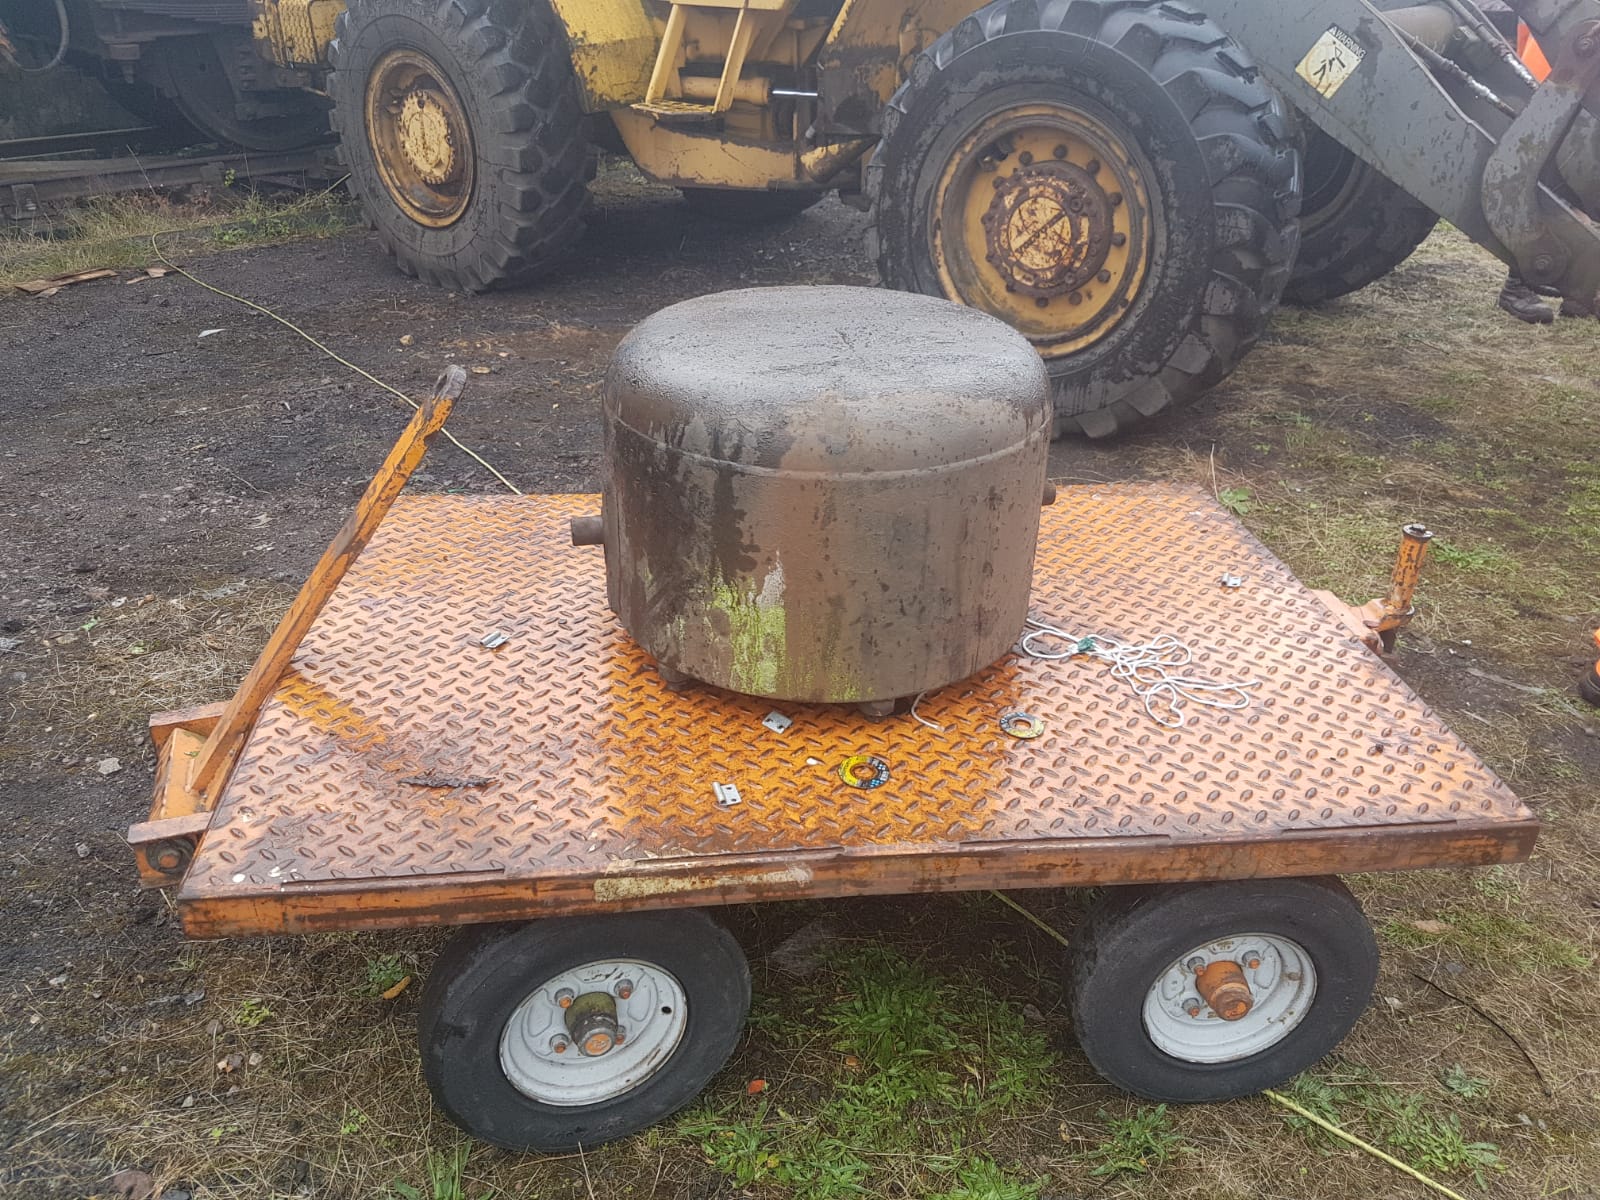
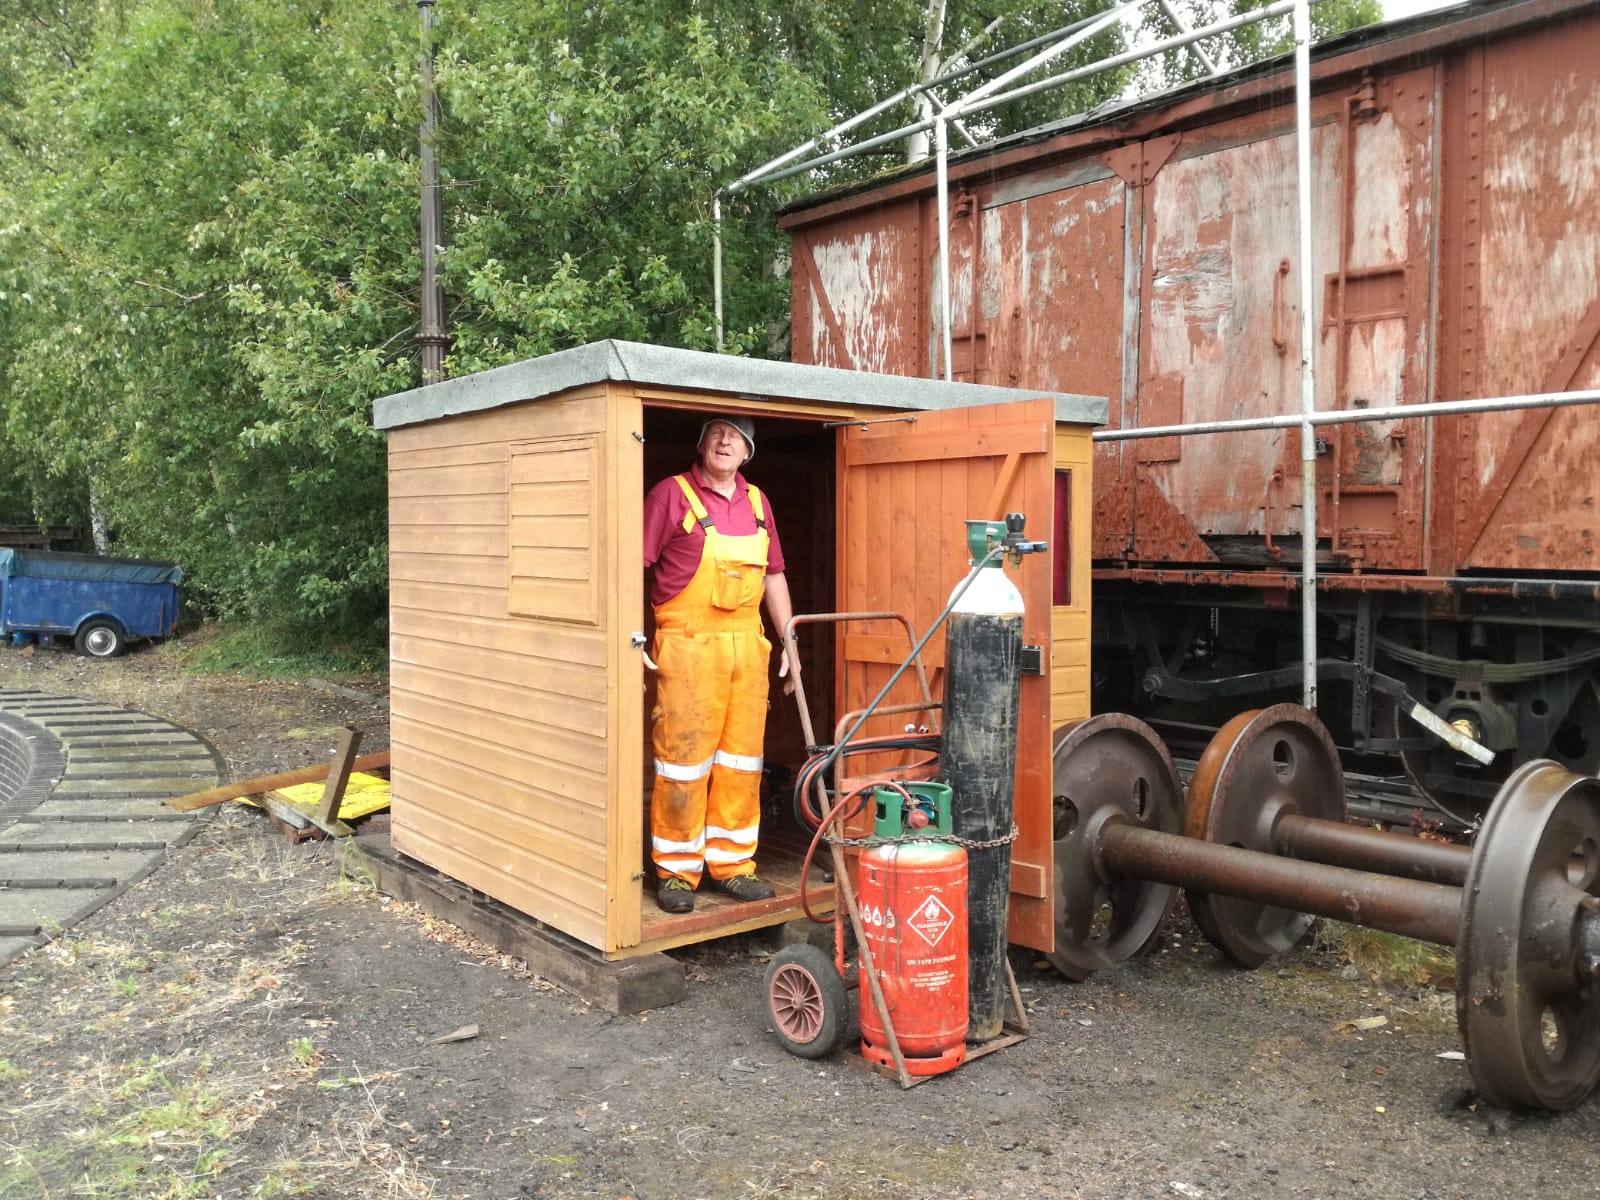
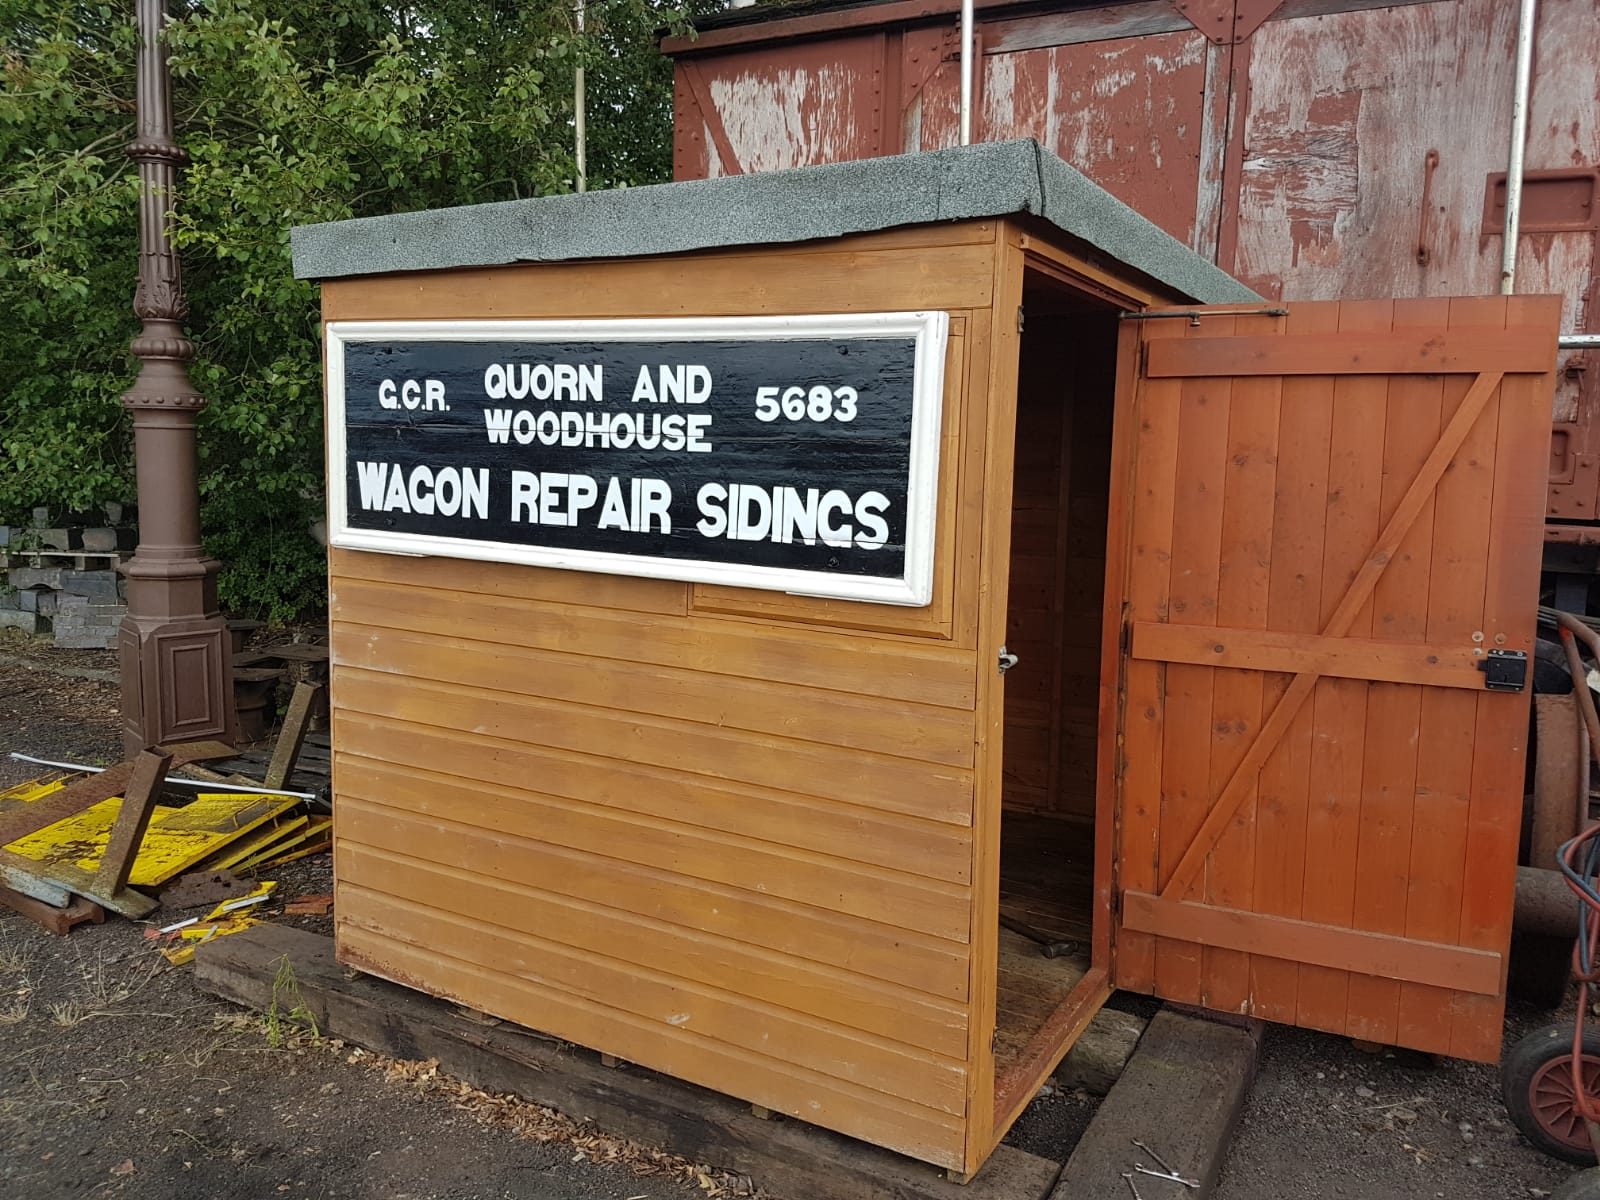
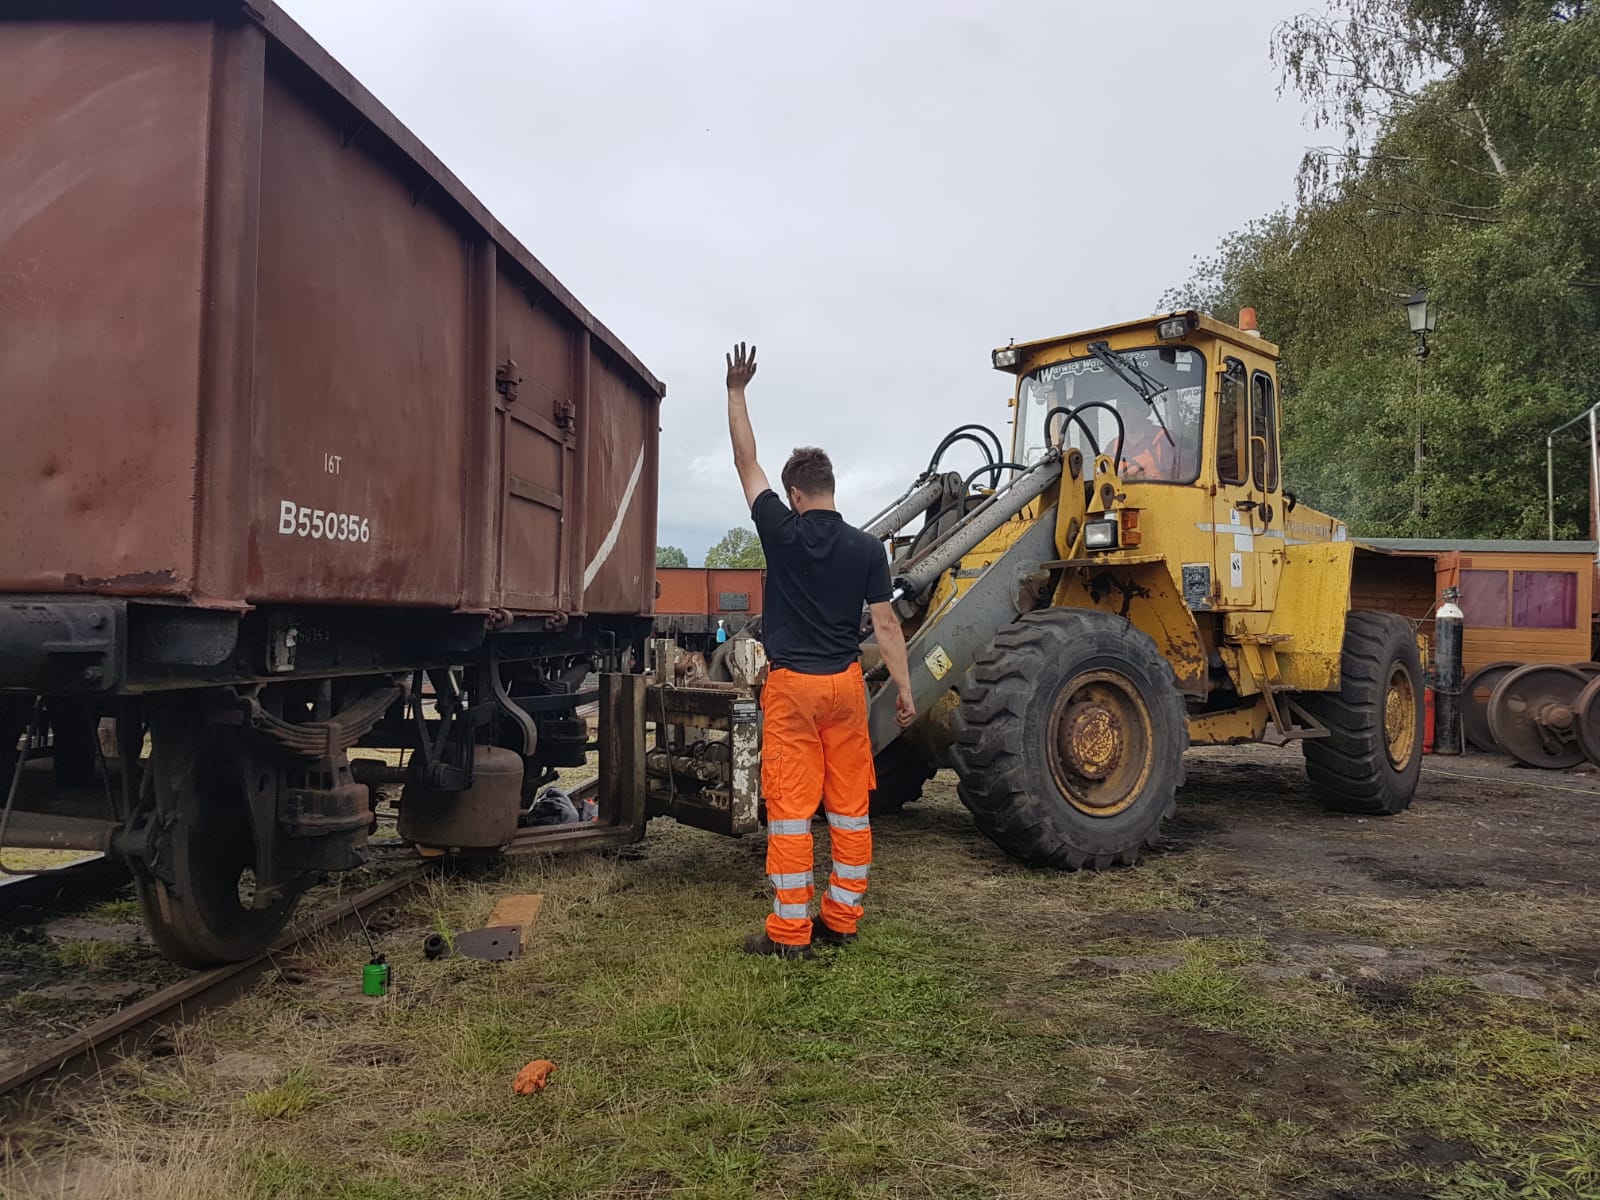
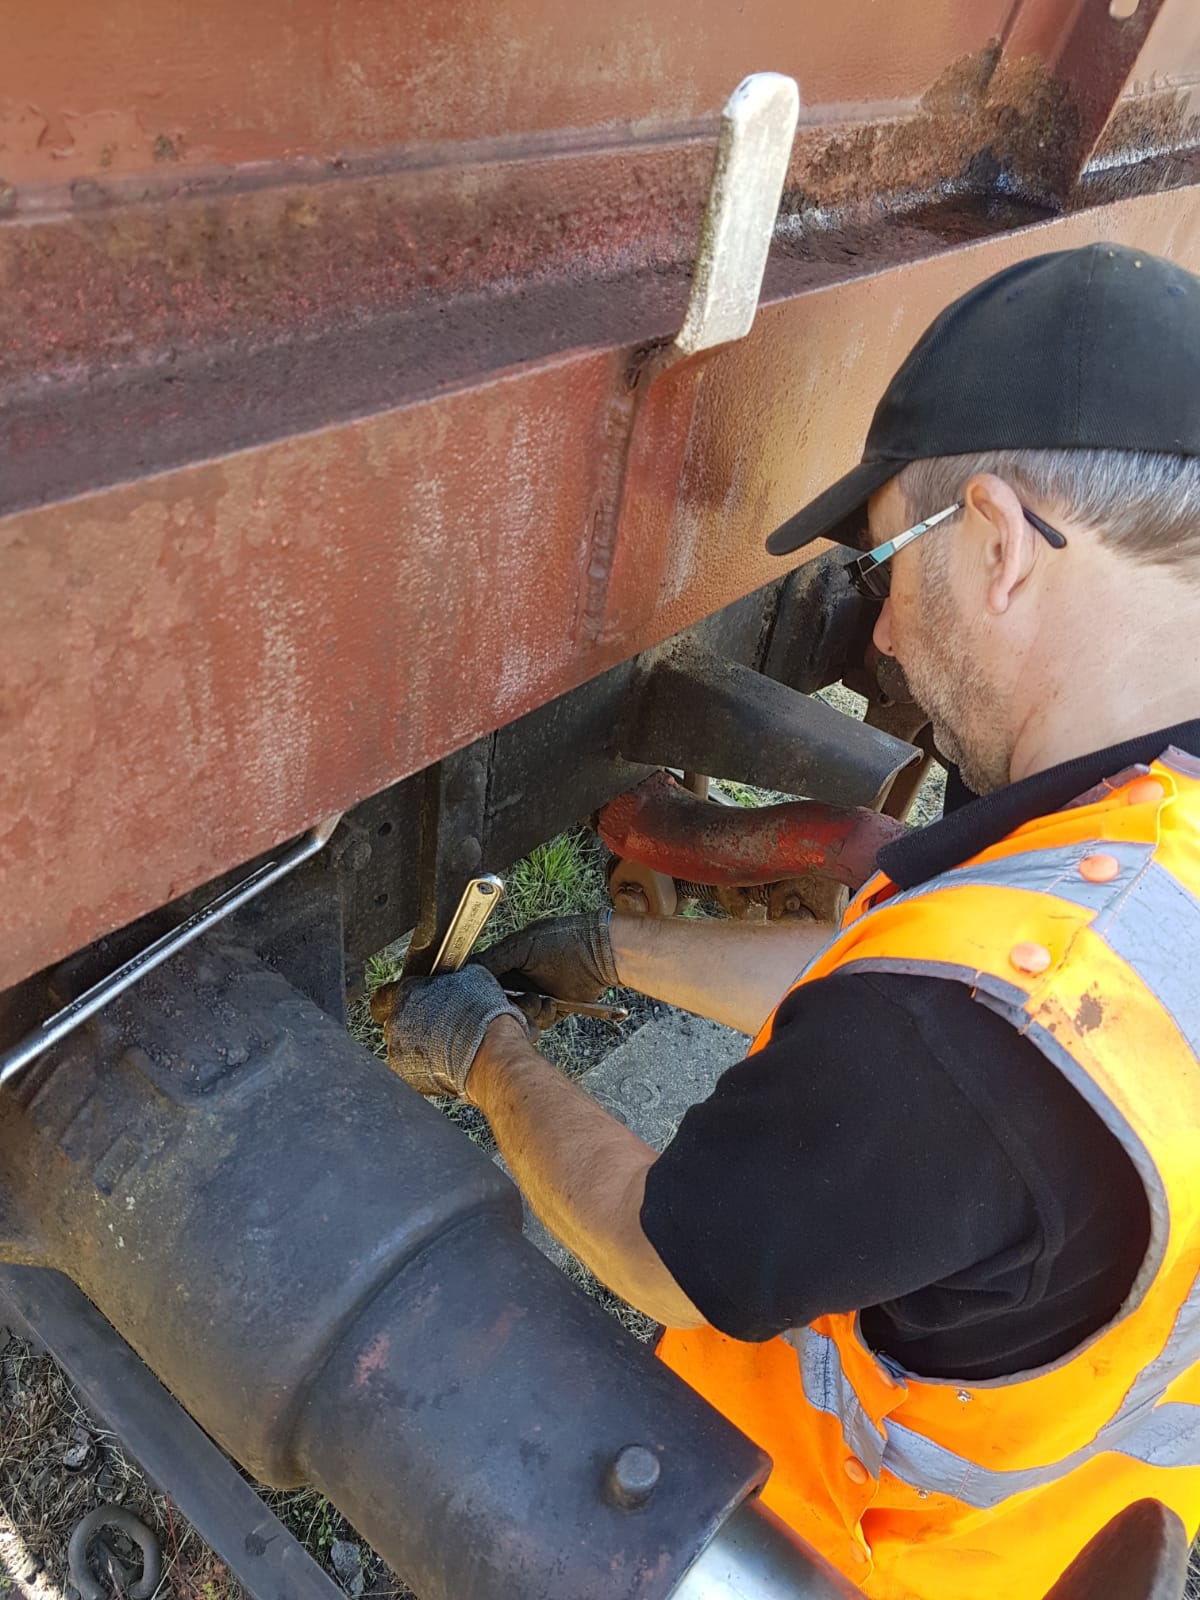
    Matt got stuck into the Mineral using a new toy to rivet the repair plates he’d prepared last week to the body. Dave, Nick, Jake and I concentrated on replacing the vacuum cylinder under the Medfit. The wagon was pushed into position and the Volvo used to remove the current cylinder from the wagon, which was replaced with one Nick and I had overhauled last week. We also built a shed which would have otherwise been burnt, and attached a sign that Matt had signwritten and stored in the GUV.

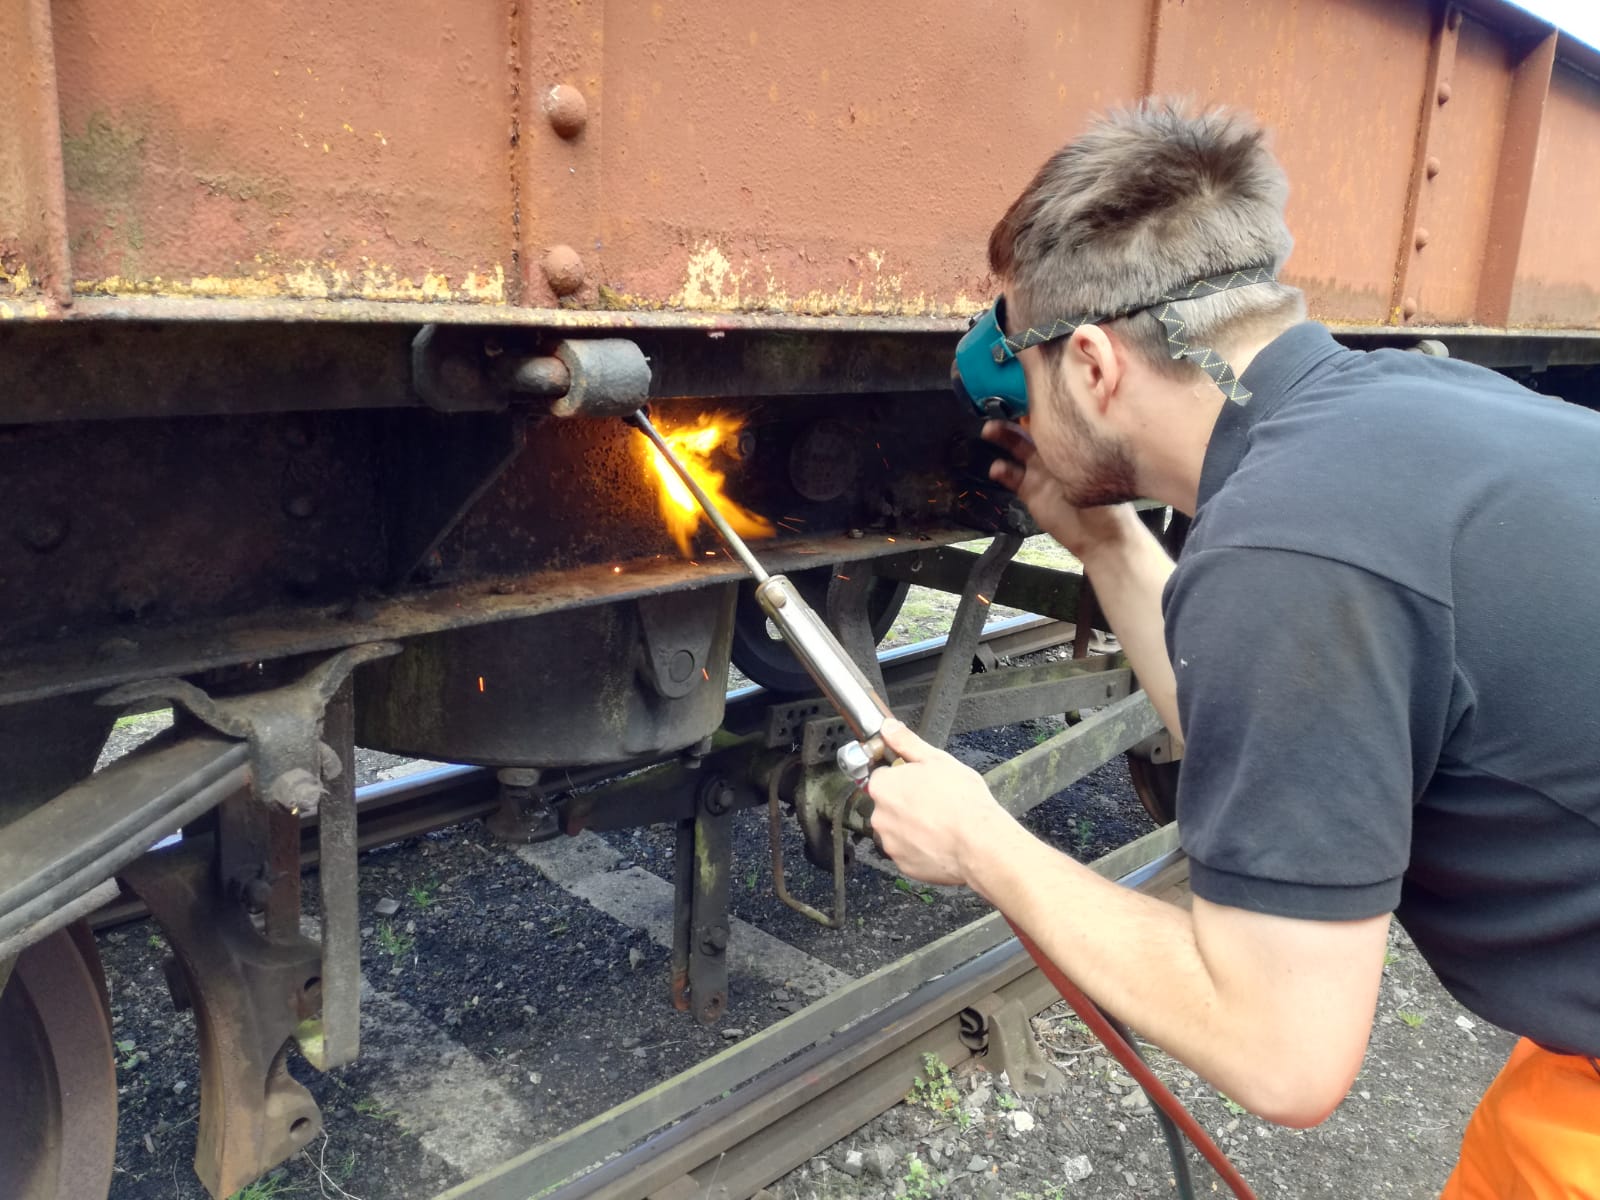
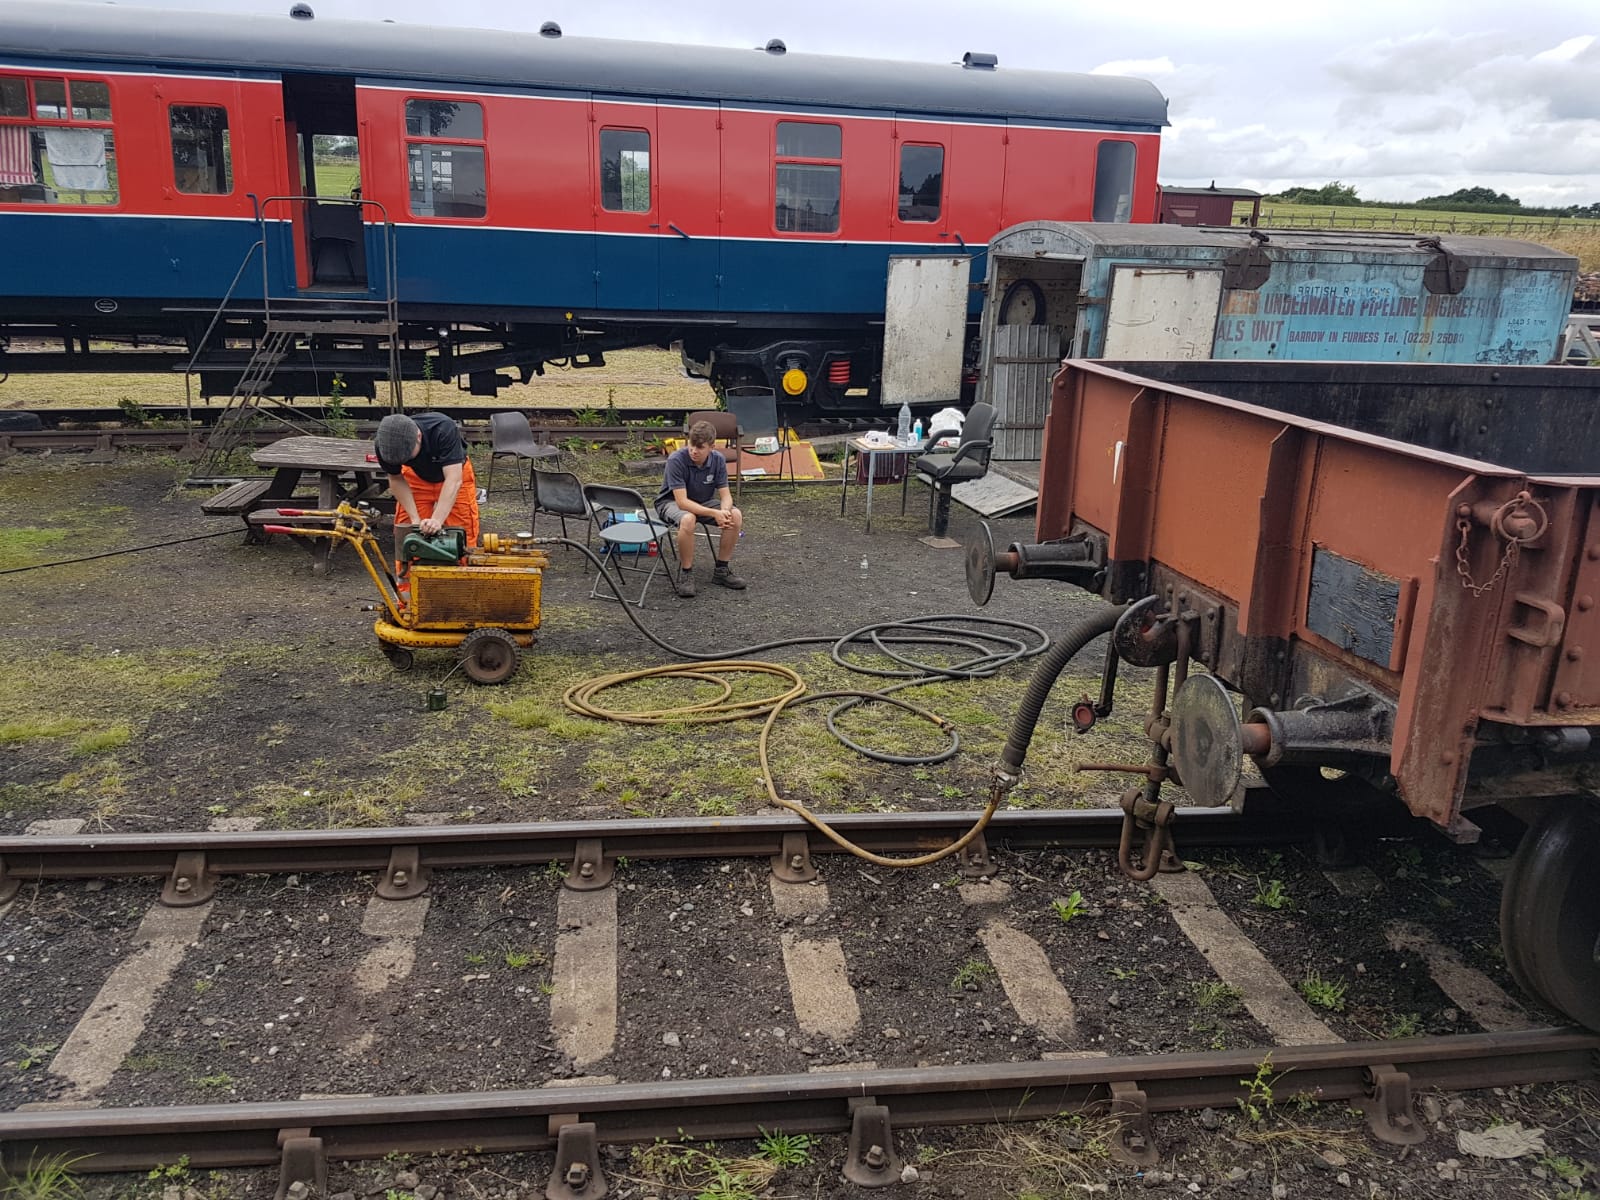
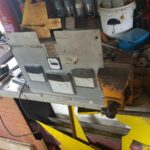
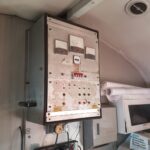
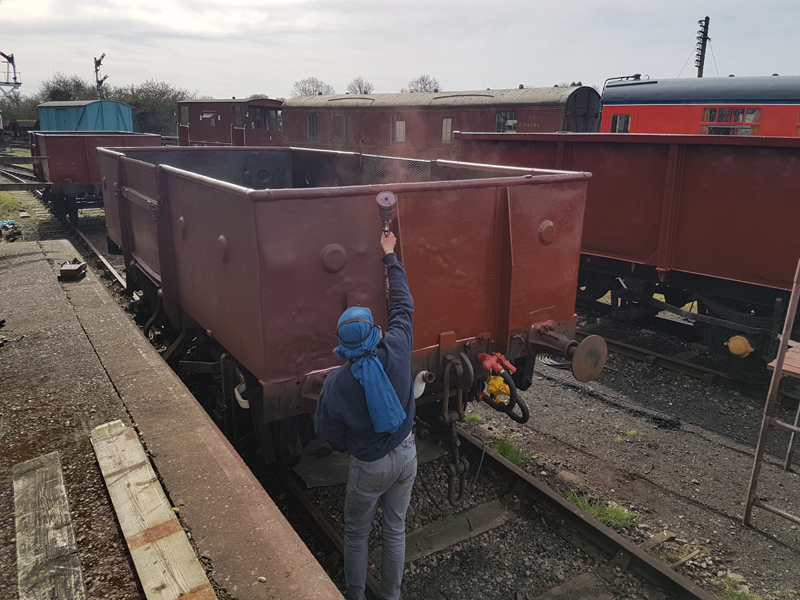
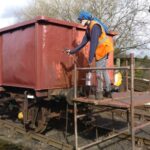
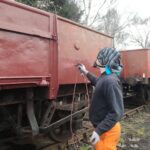
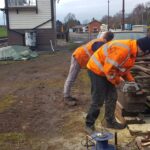
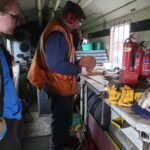
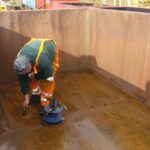
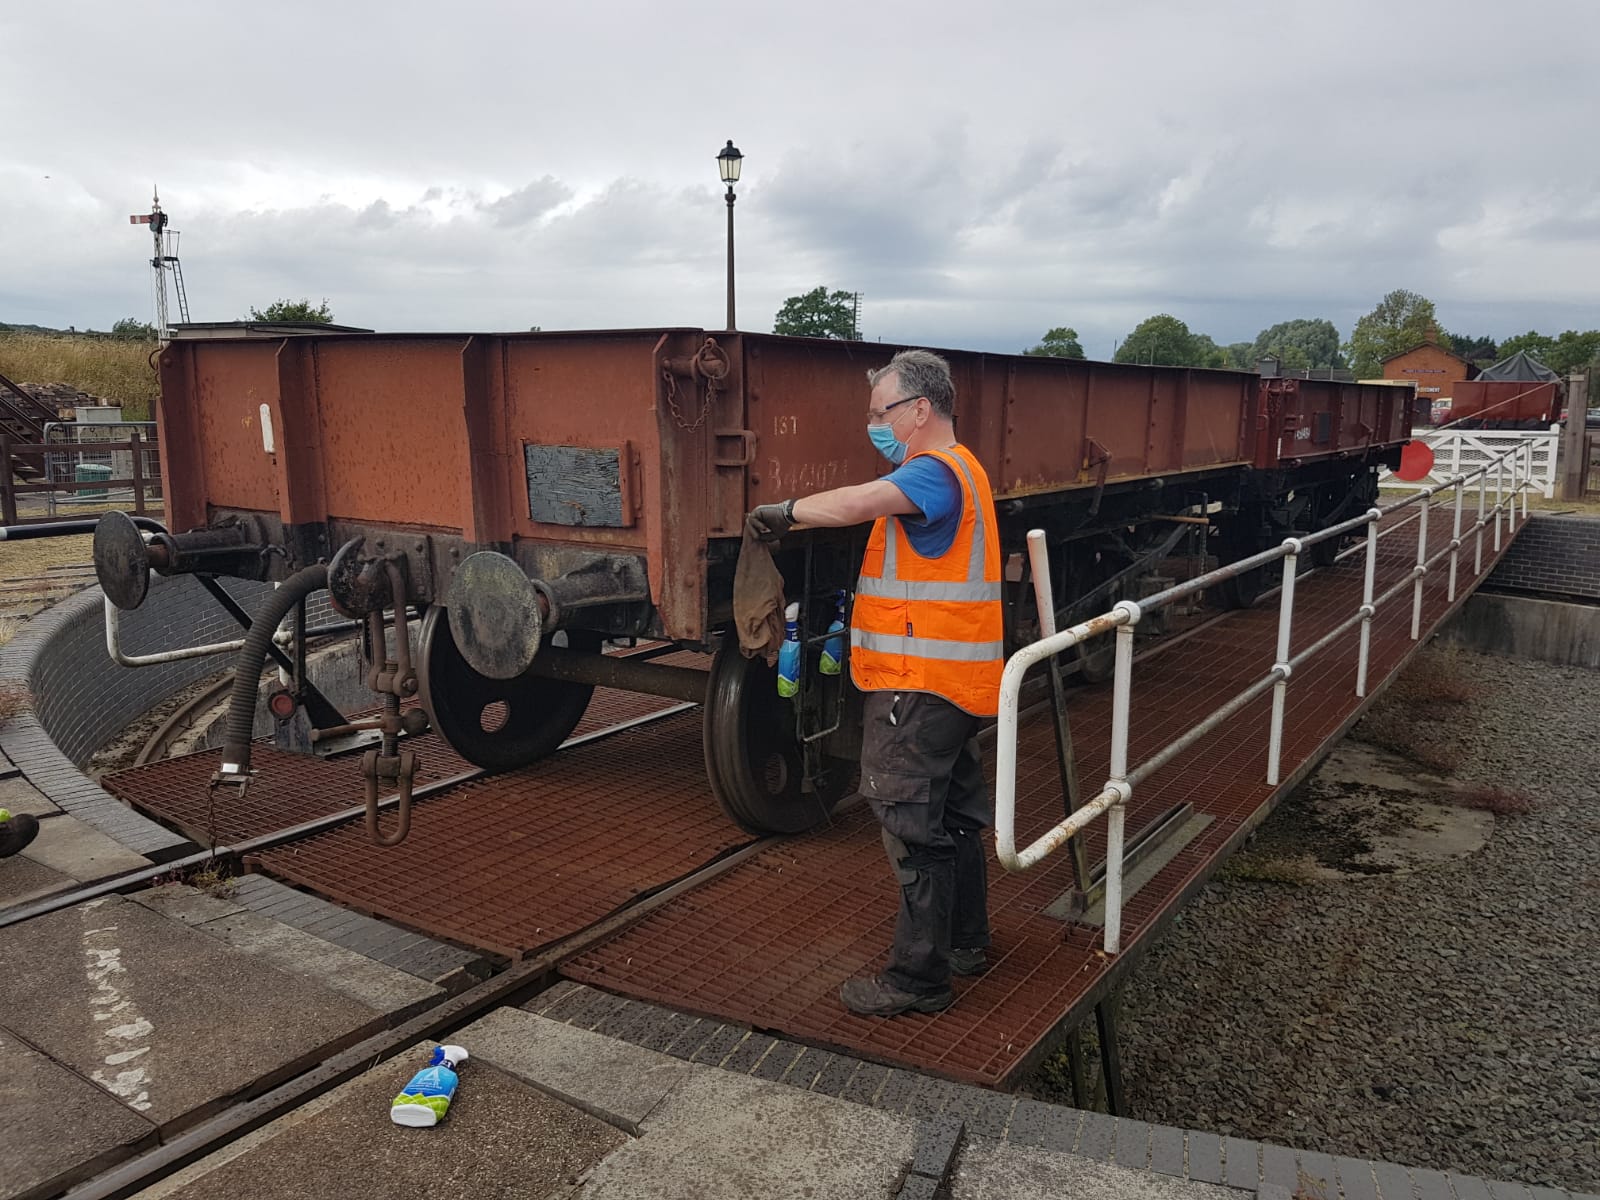
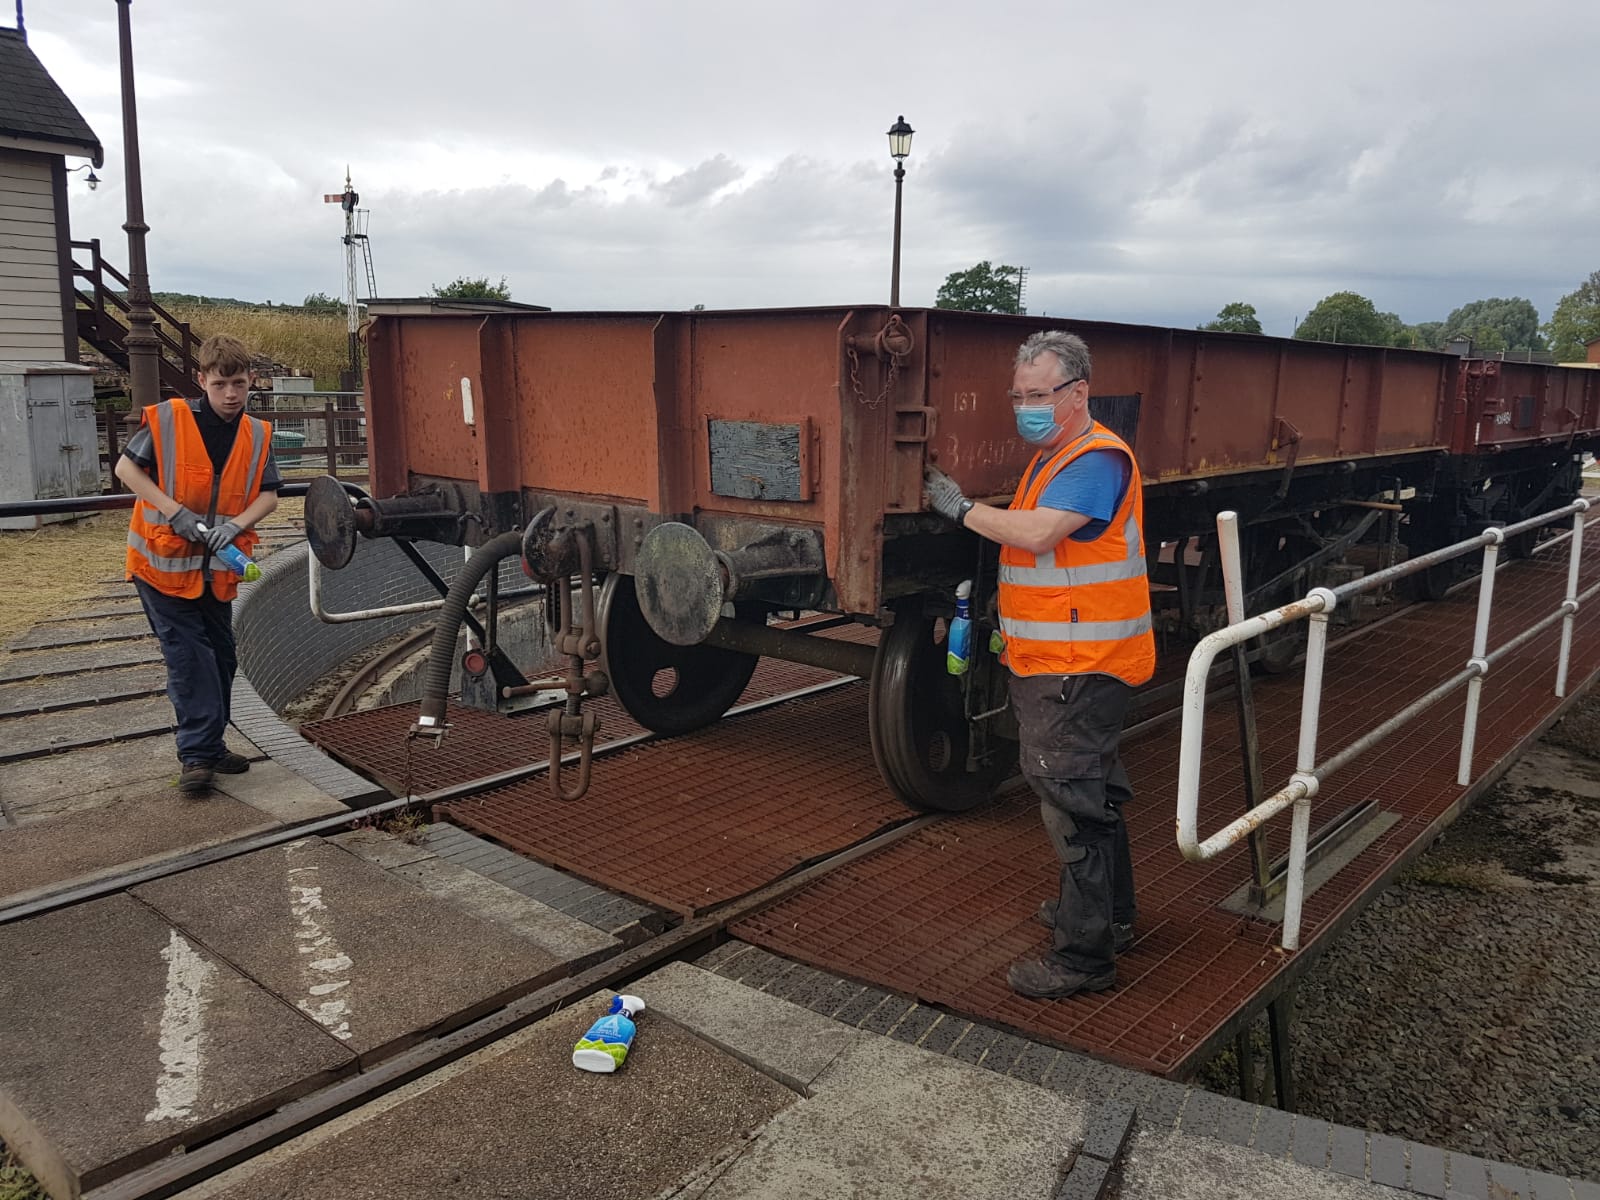
    In between downpours the cylinder had the release valve fitted and was piped up to train pipe. The test set was extracted and used to leak test the installation, and then apply and release the cylinder repeatedly. The wagon was then pushed down and the brakes were applied for one final time to see how long they would hold. Eddie and Harry continued prepping this wagon for paint by removing the algae/verdigree from the wagons, and continuing to scrape the body.

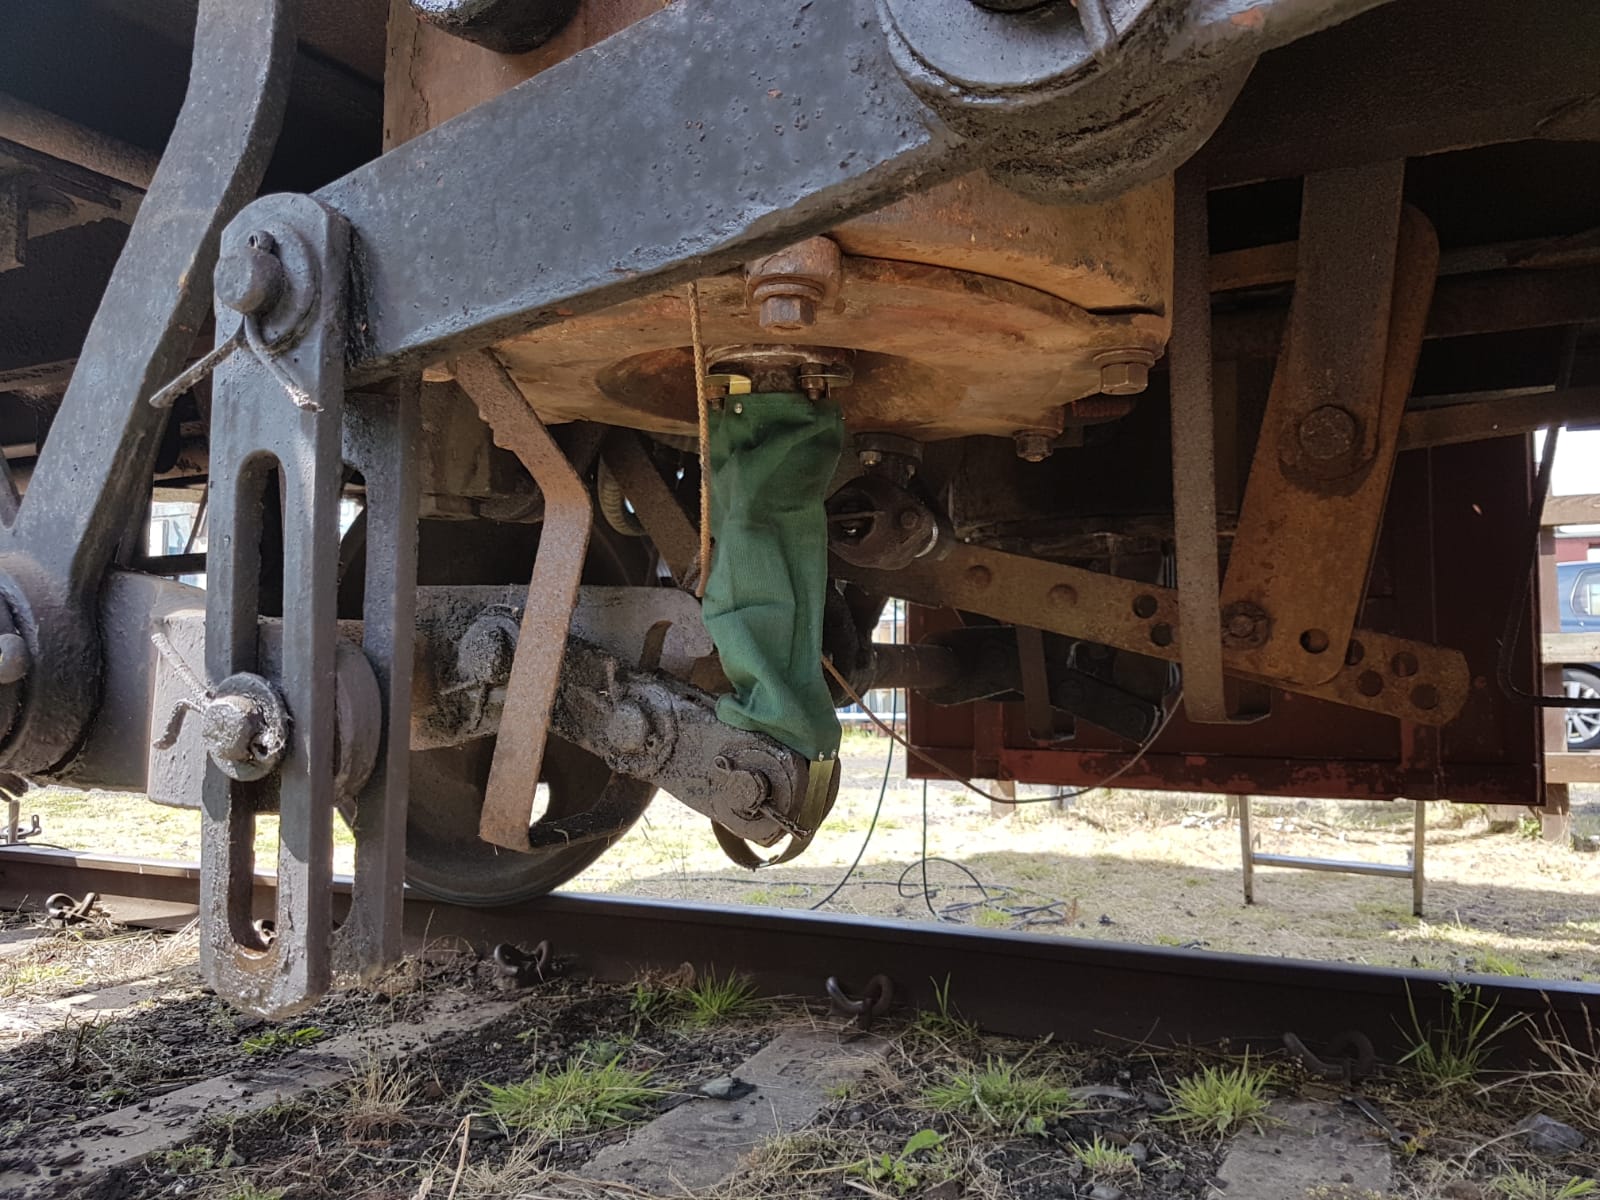
    Rain had stopped play on the Mineral for Matt, so we pushed that down to changed the 15″ cylinder with another one Nick and I had overhauled. The cylinder got re-hung but we weren’t able to finish connecting it up.

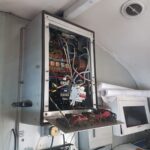
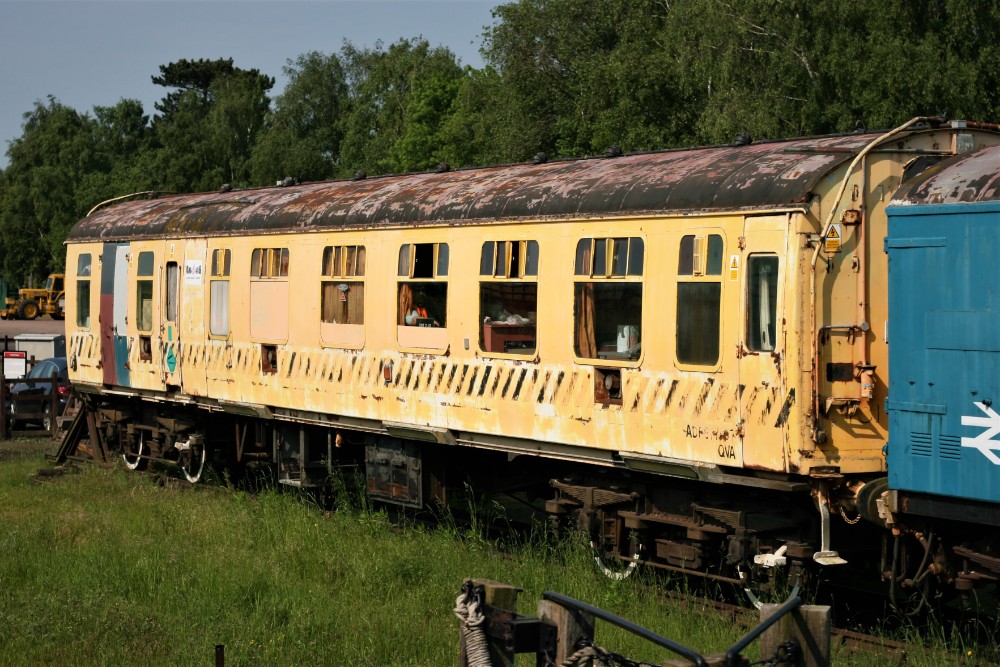
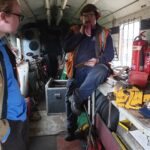
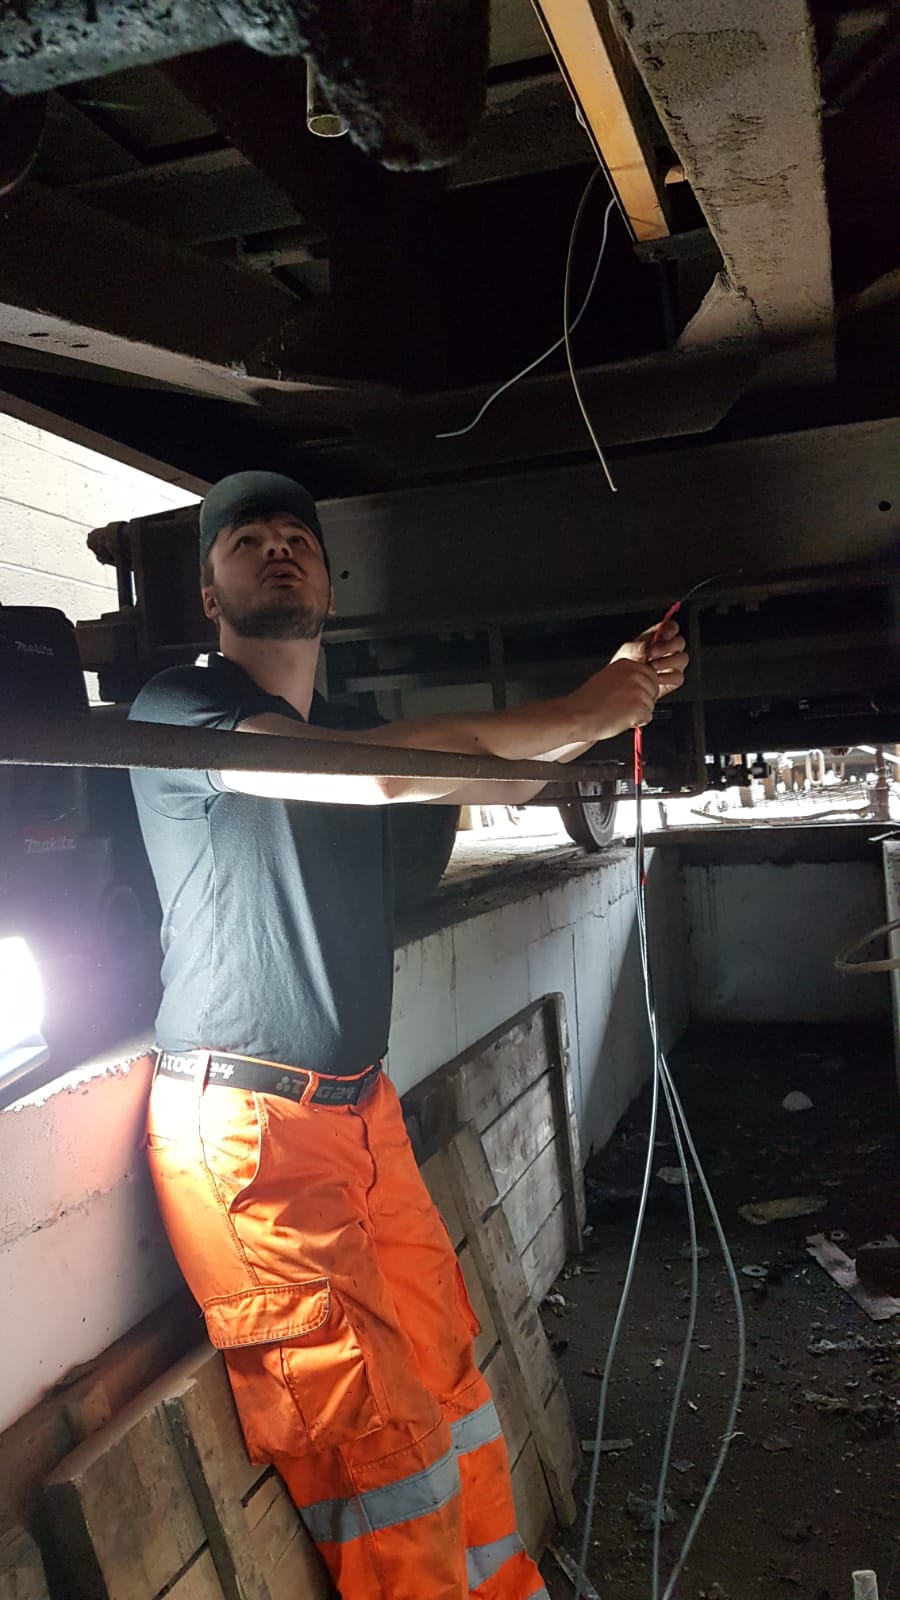
    Onto Sunday morning, and a swift, well aimed kick at the Medfit proves the brakes are still holding which means they’ve held for more than 12 hours (they went on to hold for over 24 hours). Nick had gone to Rothley to assist Jamie with further welding on the Yellow Coach. I popped to Quorn to let Dave in and then hung around to help him finish connecting up the mineral’s cylinder. With Matt having arrived, I went to Rothley to continue my efforts wiring the Yellow Coach, assisted by Jake. I estimate there’s half a day left underneath the coach before I move inside the coach to continue in there.

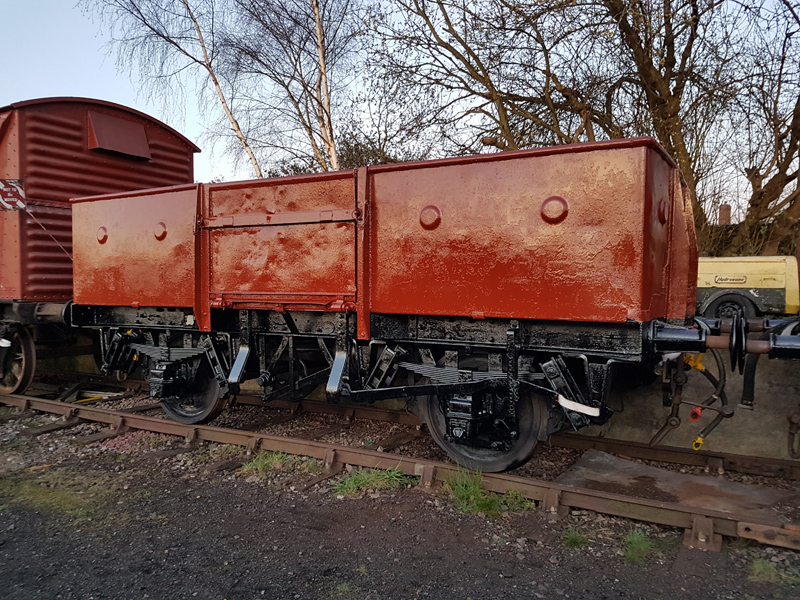
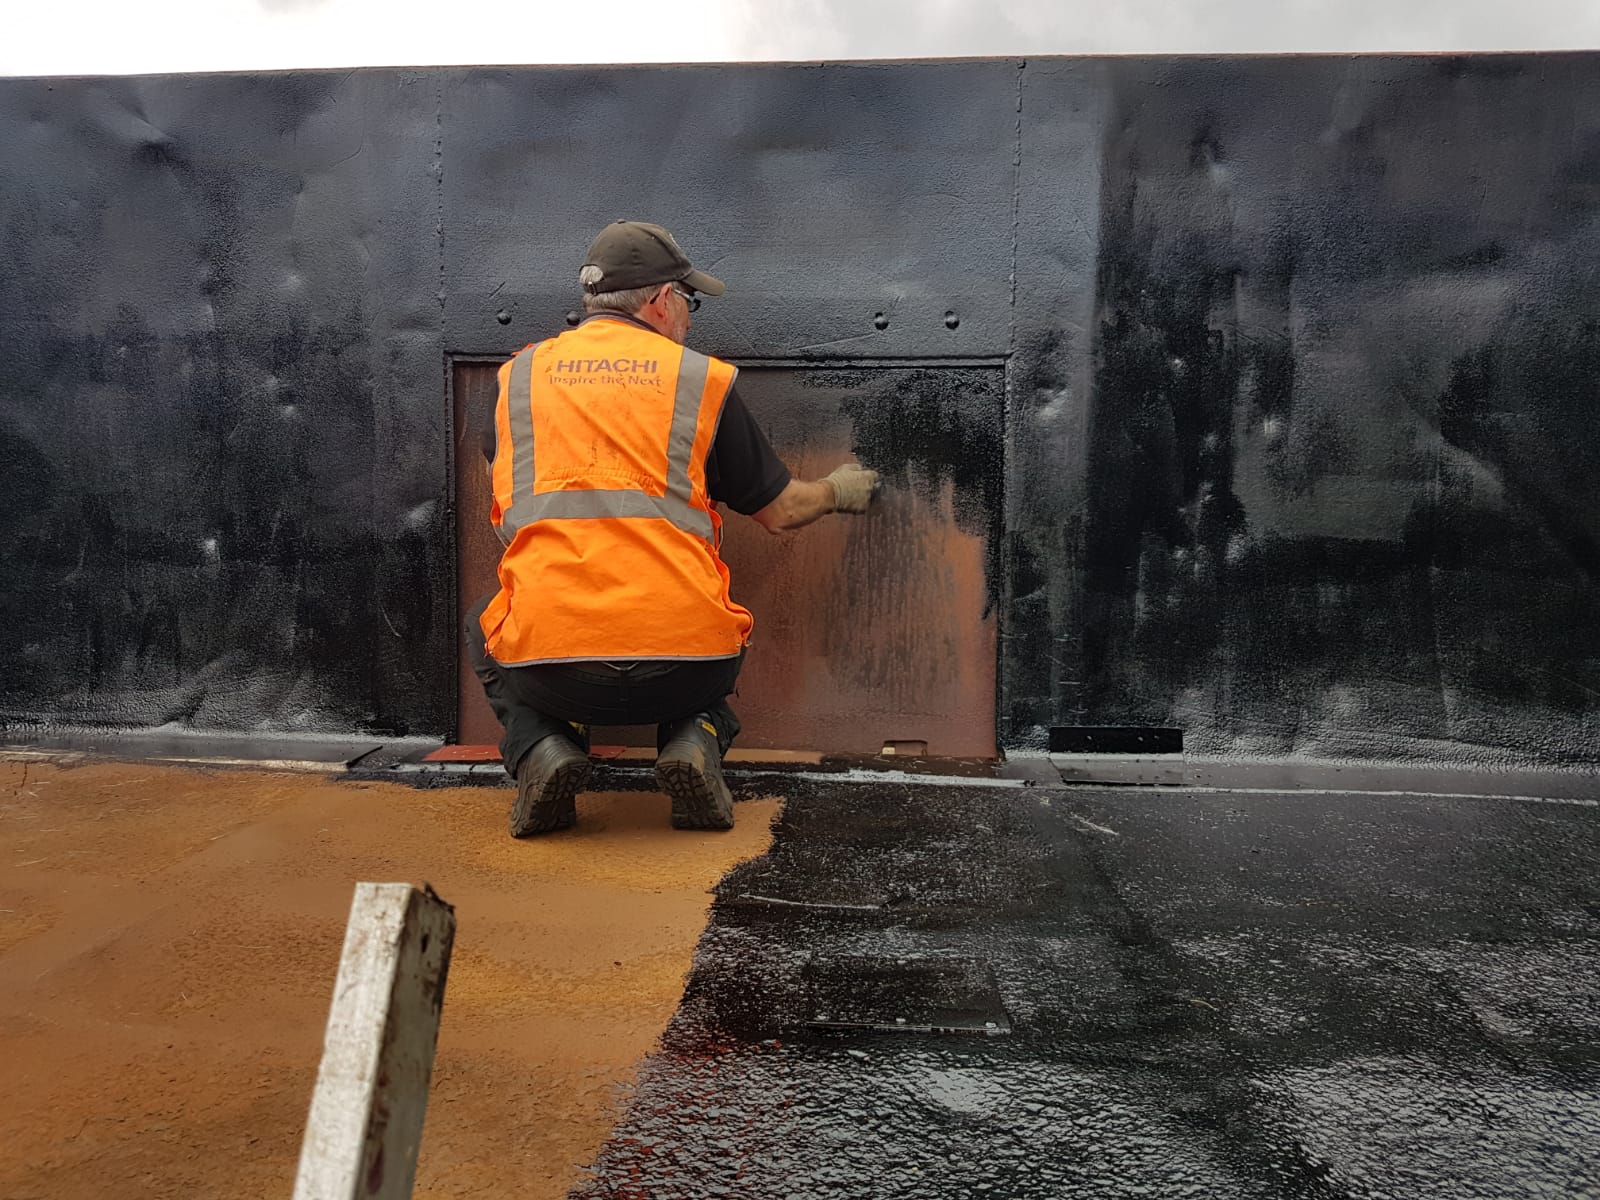
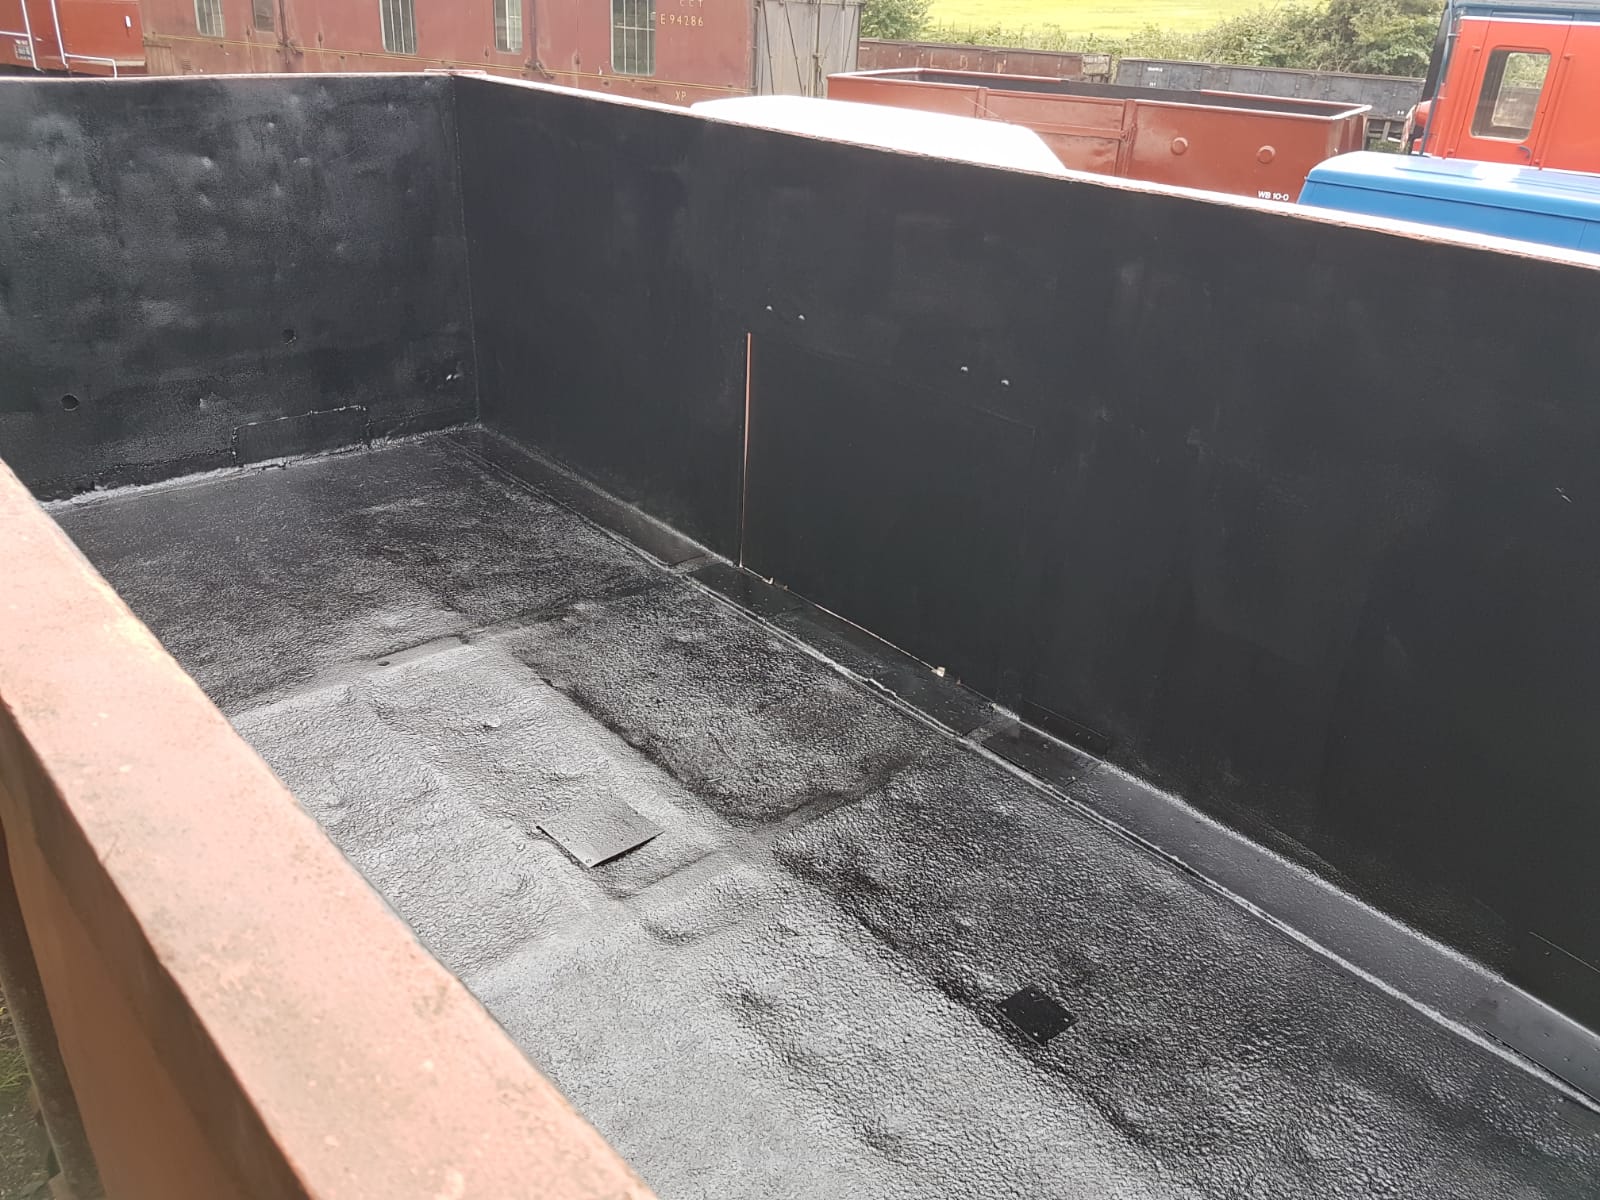
    Back at Quorn, Dave and Matt continued working on the mineral wagon, fibreglassing holes in the bodywork and painting the remained interior with Black bitumen. The vacuum system was also tested to prove the overhaul and the modification. Both the leak test and application test passed which means the vacuum system requires no further work.

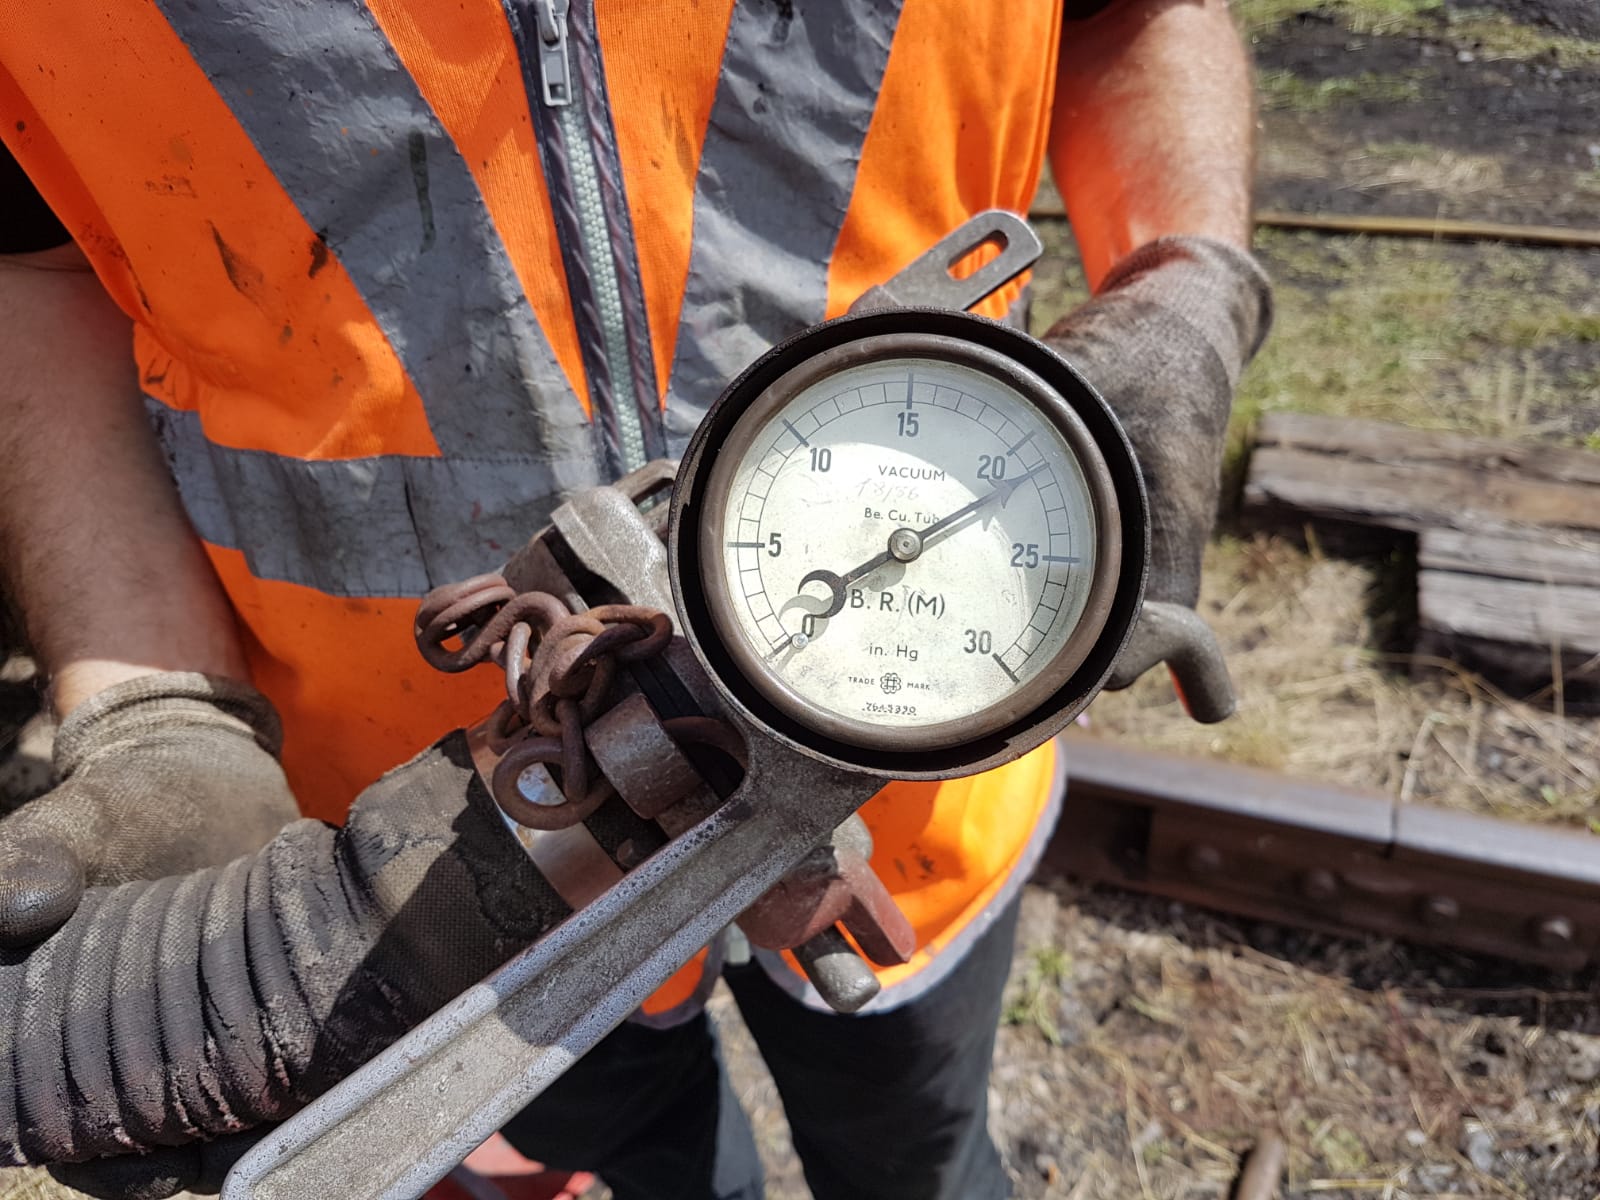
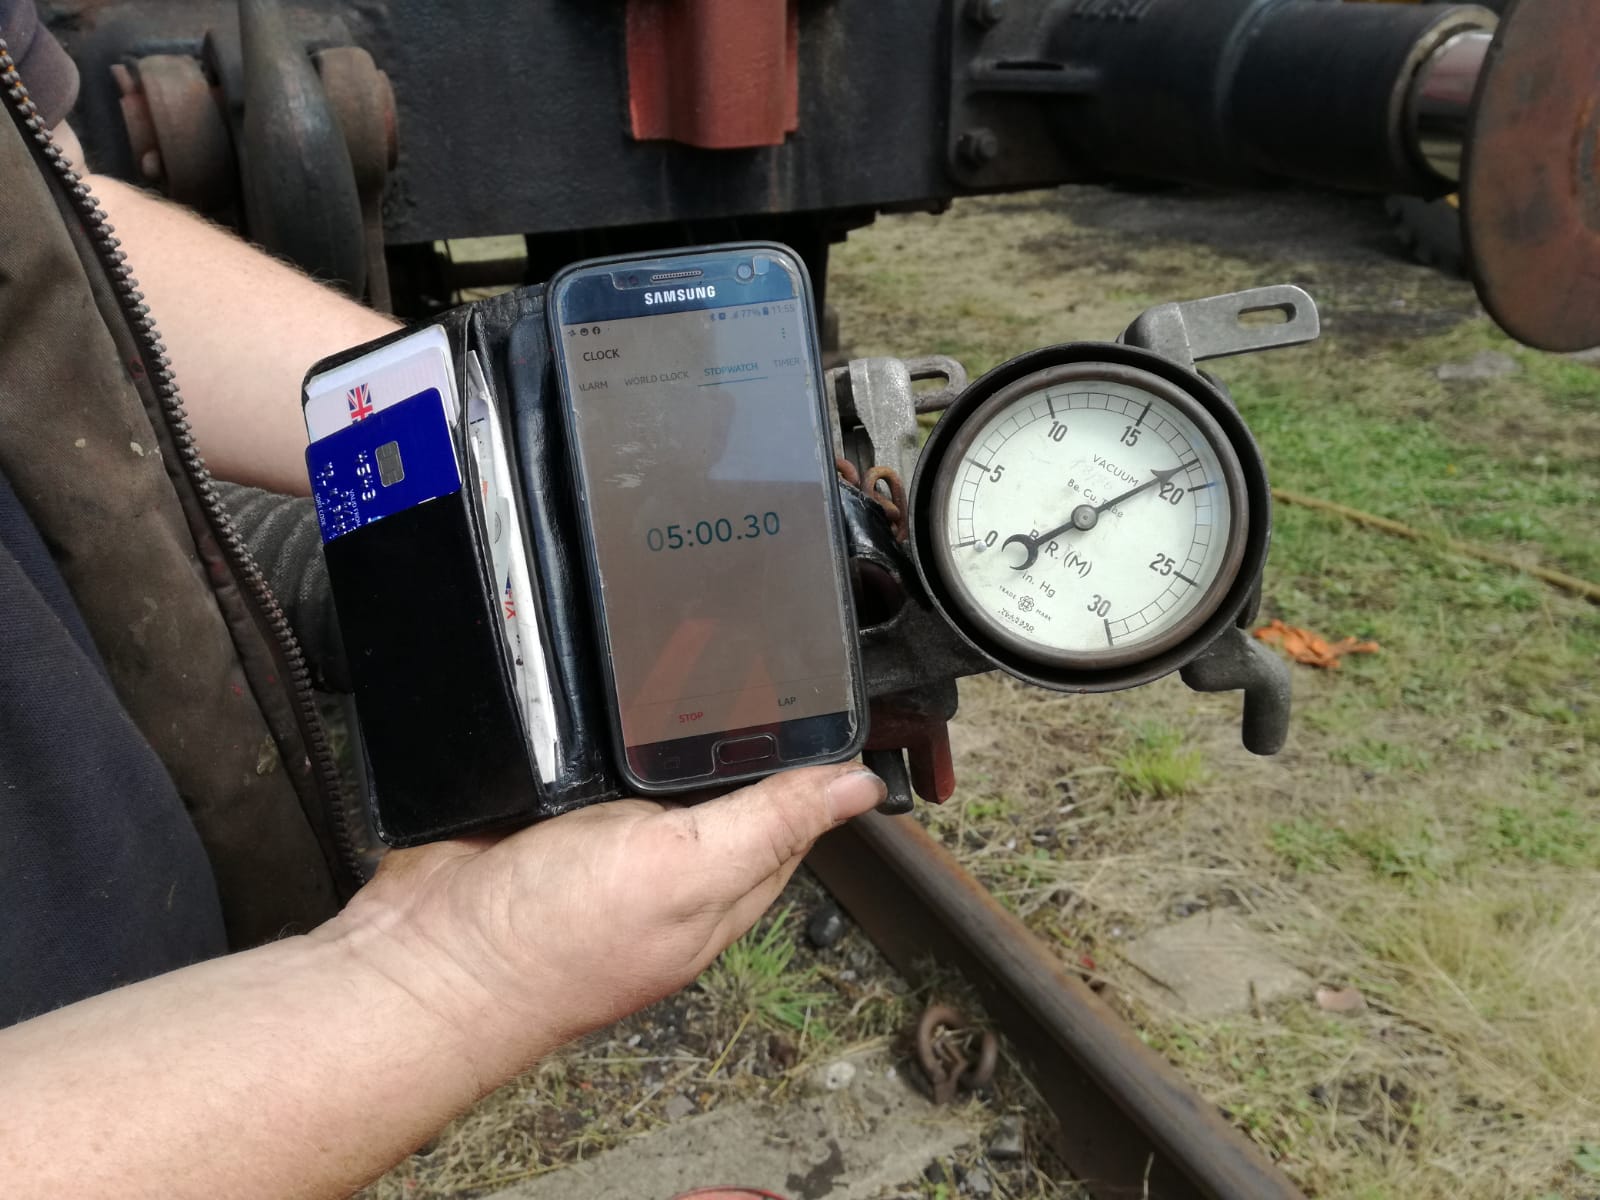
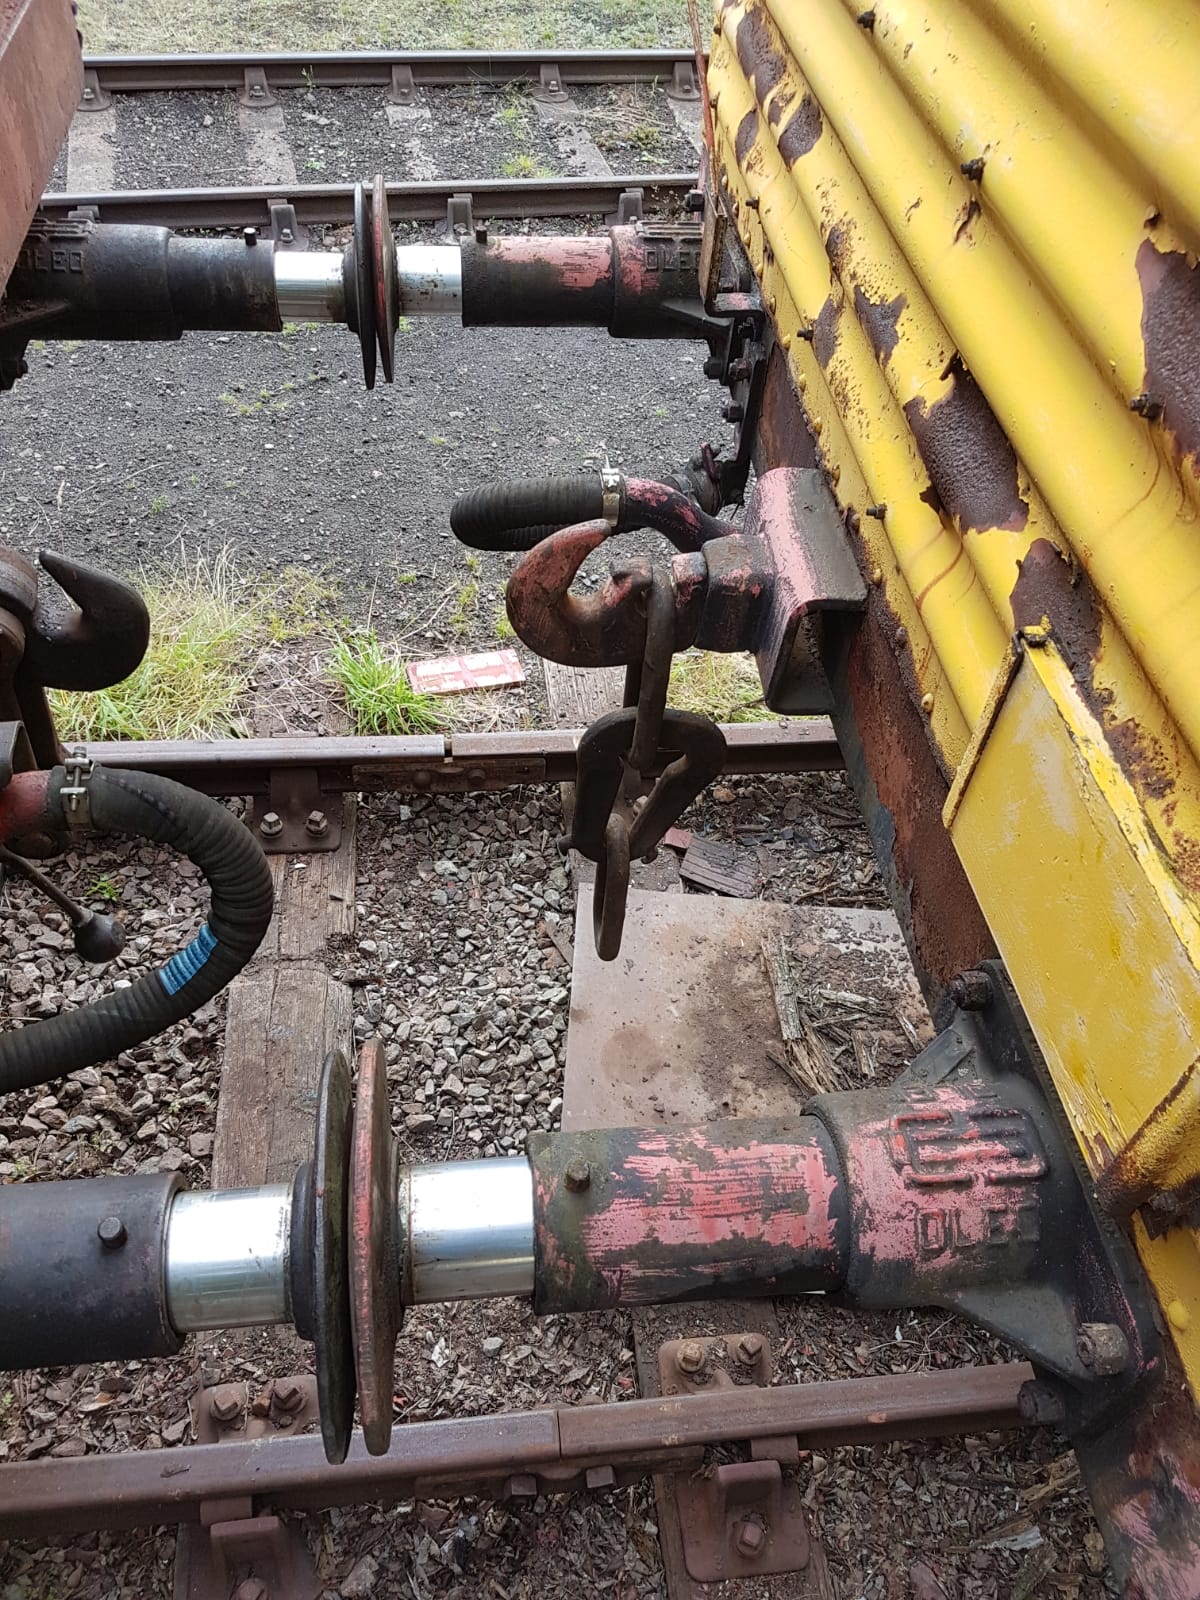
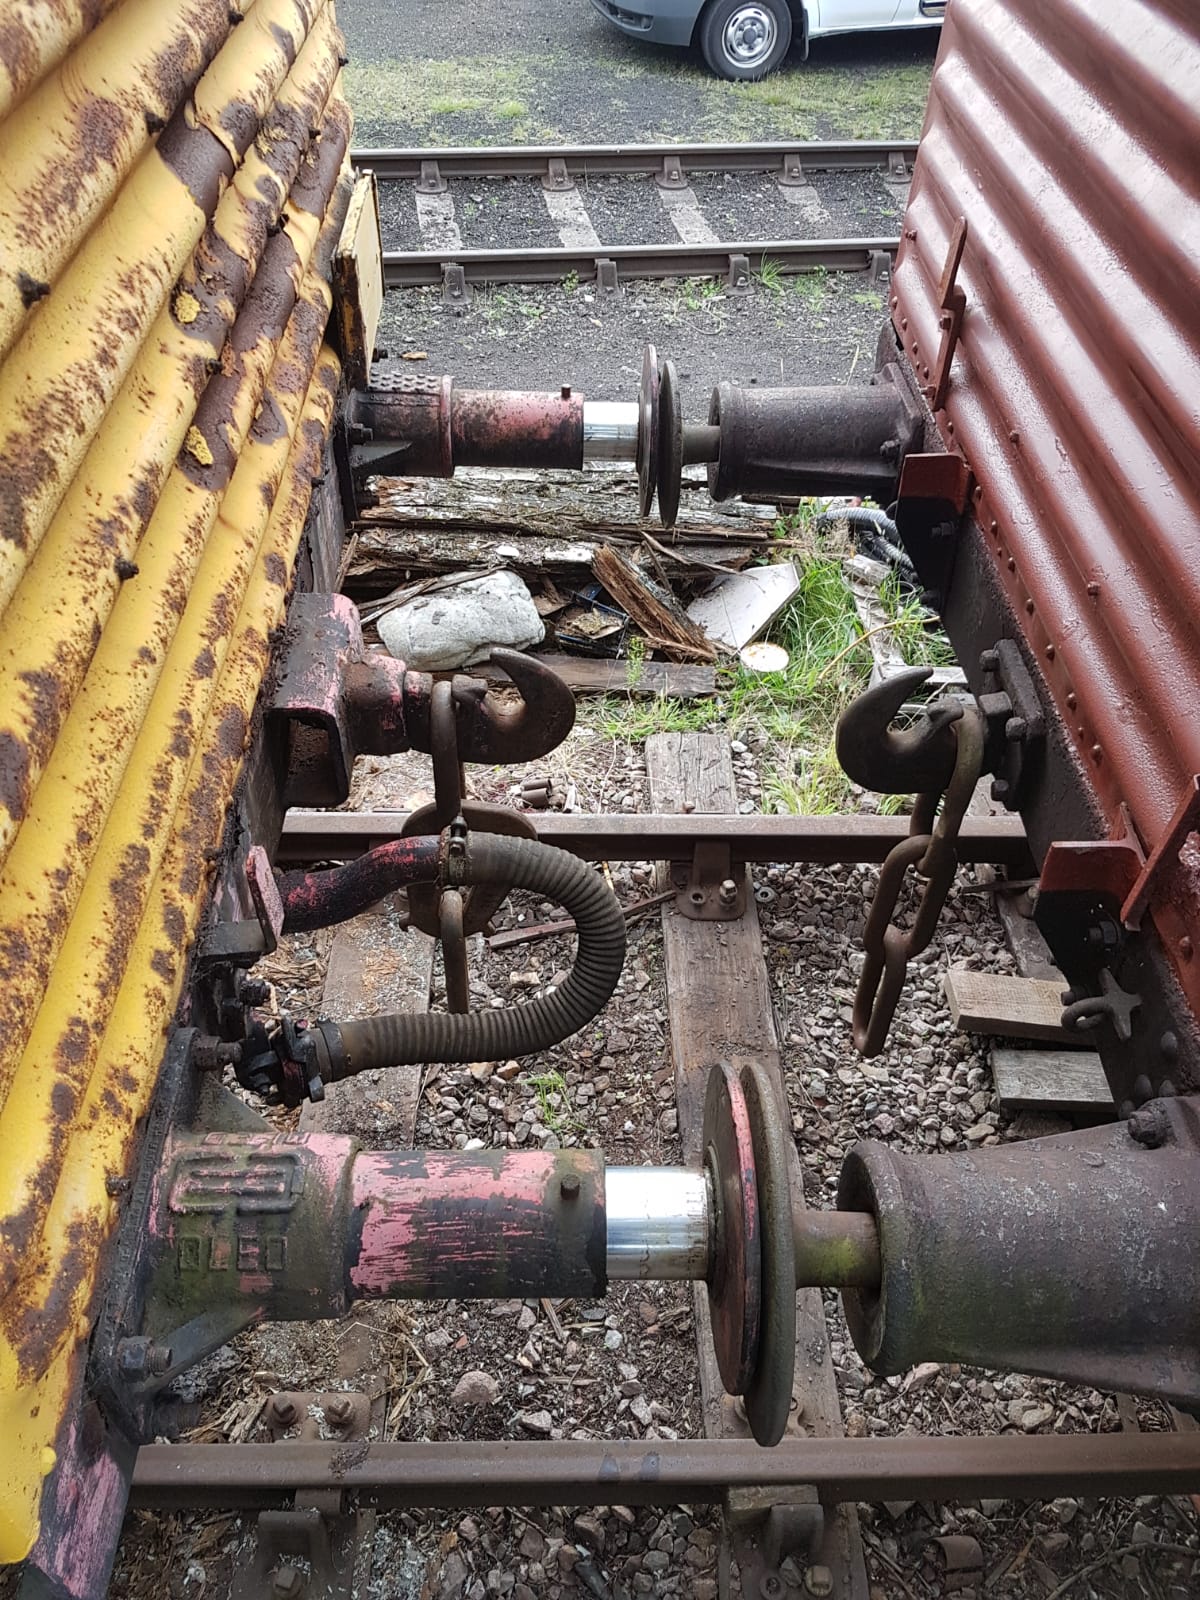
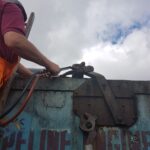
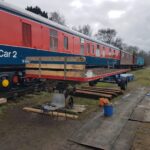
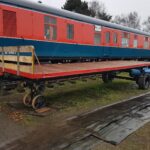
    Nick, Jake and I returned from Rothley and spent a little time on the new arrival, seeing if the buffers could be jacked out. When OLEO buffers are left compressed, they can stick it which is what had happened with all four on this van. Thankfully, with some persuasion, all four buffers extended back out. We shall monitor these for the time being to check they will work as expected. With the Vacuum test set still out we tried the brakes on the new van. Much to everyone’s surprise a vacuum of 20in Hg was achieved and the brakes applied. The cylinder applied, but the subsequent release was hampered the dry brake rigging and the cylinder itself. The brakes were persuaded to be released and the van shuffled down, with the Mineral and the Medfit put away on top. That finishes up this weekend’s work. The team will be back next week, prepping both the Mineral and Medfit for paint.

  • 28/06/20 – Container puns dwindling

    This weekend we have been, again, working on the containers grounded in the yard at Quorn. Matt, Dave and I worked on the fibreglass container, BD4304B. Dave continued filling and sanding the container, while Matt first refitted the removed rain strips and then made a start on fabricating some cladding for the supporting cradle of the container. The cladding will tidy up the frame and replicated a valance which has been seen in historic photos of this type of container.

    Nick and Jake worked on the recently arrived aluminium B Type container, B55897B. Using the hot spanner, a large adjustable and a lump hammer, they removed the four wire ropes and shackles fixed to the lifting eyes.

    I also carried on tinkering with the Volvo’s charging system, which I’m still seeing niggly issues with. After this I finished off with some work in the Test Car, ADB975397. A while ago we replaced the supply changeover circuit which had failed. Initially, I had fitted the switch and left the panel half built back up, which made the cage look quite untidy. I’ve mounted the switch using some DIN rail, which has allowed me to rebuild the panel completely

    To aid Matt in his cladding manufacture, the container was lifted up to improve access to the supporting cradle.

    Jack also came down later in the afternoon to wrap a few more parcels as its been a while since we have done so, and you can never have to many. He set up shop in the Aluminium container.

    On to Sunday with the operations department on site in the morning. The BG which arrived a few weeks back for loading was booked to move further down the line and the opportunity was taken to rearrange and prepare for our next projects. The Air High was moved next to the Test Car and the Fish van, Shockhood B, Vac High and Iron Ore Tippler left for Swithland.

    Matt continued with Dave’s help manufacturing and fitting the cladding to the containers support craddle.

    Jake and Nick took the opportunity to lubricate the screw couplings of all the wagons in Quorn. The Vans, PWay wagons, and other miscellaneous vehicles doted around the site as well as free off a few held in store.20200628_121454

    BD4304B now stands complete awaiting better weather to apply paint and its final hurdle. Our next 3 projects are also due to arrive in the week so we will reveal what will occupy us for the second half of the year.

  • 14/06/20 – Unable to Container the excitement

    No, you didn’t imagine last week’s update; we are really back, and this weekend carried on with the standard social distancing regulations in force. Thanks to the sunnier, hotter weather Matt has been able to make a start on undertaking the fibreglass repairs to his container. Our staggered approach to having the team back has seen Dave return this weekend. Dave, Matt and Jake made a start on the container by removing previous, failed repair patches and scalloping the edges of the damage out to get a good edge for the adhesion of the new repairs.

    With the old repairs and damage prepared, Matt then went round with expanding foam to fill up the big holes. I’d struck up the Test Car’s Generator and compressor at this point to build air to blow down the dust from the container to continue with the repairs. By the time the air had built up and the container blown down, the sun had got quite hot. Matt had the idea of dragging out the £50 gazebo he’d bought for Madge and using it as a cover/sun shade to use while working on the container. With suitable leg extensions fitted, the gazebo was erected over the container.

    By this point it was lunch time, so we’d stopped for lunch. Matt got out the fibreglassing kit, and started smoothing off the expanding foam and applying resin and matting to the areas that required it. This was then followed by Isopon P40 to bridge smaller holes, and fill repairs to surface level.

    The process so far, Old repairs removed,  voids filled with expanding foam and tided.  Fibreglass matting bonded with resin applied over the foam.

    Sunday with Nick, Matt, Dave and Jake on site continuing on Matts Container. Jake and Nick looked at opening the locking bar on the North set of side doors.  This was to allow Matt to make a repair to the door behind the bar.

    Dave went around fitting the plates manufactured for the corner strapping to return them to the correct profile.  Although the North East corner was deemed not to require them.

    Once fitted Dave moved to the roof to remove the redundant stacking plates and remains of screws which had corroded severely, as per Nicks Container these will not be replaced. Matt continued filling all the previously prepared areas.

    After lunch Matt manufactured a repair plate for the door, Red Oxided and with Jakes help fitted.20200614_163259

    Whilst in a manufacturing mood Matt also created the blanking plate for the disconnected loaded cylinder on the Iron Ore Tippler and also closed the vacuum hoses into a loop so to reduce the possibility of the redundant hoses deteriorating.

    Dave began the long task of sanding the container and this will require filling and sanding until the desired finish is reached,  so a few weekends of filling and sanding expected.

    To complete the process above, Filler applied and sanded

    A good chunk of work done on the container.  To finish the afternoon a visit from EE Type One D8098 dropping of a few coaches, including our very own BG

  • Vehicle Profile #6 – Salmon

    Vehicle Profile #6 – Salmon

    Thank you to Matt for the articles on signwriting. A very useful reference for those of us looking after and modelling heritage rolling stock. For this weeks update, I’ve gone back to the Vehicle in Profile series to look at what is the longest wagon in our fleet – a Salmon.

    Built to an LMS design, the Salmon was built between 1949 and 1961 to 15 different lots. In that time many sites and companies built them including Head Wrightson Ltd, G R Turner and British Railways at Derby and Wolverton. The designs started with diagram 1/640, which had LMS style bogies with an independant ratchet handbrake on each bogie (shown in the picture below). There was a wooden floor down the 62ft length of the wagon with 5 bolsters. Early on Salmon were found unfitted or fitted with a vacuum through pipe.


    Paul Bartlett's Photographs: BR LMS design Salmon Diag 1/640 YMO &emdash; DB996003 YMO 03
    Image courtesy of Paul Bartlett’s excellent website.


    Later designs of Salmon had  Plateback bogies with a wheelbase of either 5ft. 6in. or 8ft. These still had oil axleboxes so were limited to 50mph. In the TOPS era these were classed ‘YMO’. In the 1980s some of the fleet of Salmon were overhauled and had air brakes fitted, with extra tie down points added for ratchet straps. These became YMA or YMB depending on whether they retained the vacuum through pipe or not. In the late 90s two wagons were fitted with roller bearing bogies. A further 125 wagons were converted. The conversion didn’t result in a speed increase for the wagon, but bought about reliability improvements. For those remaining in service further conversion work was undertaken in 2009 to add 3 bolsters to the wagons to simplify the loading of track panels. The bolsters would locate the track panel on the wagon laterally and longitudinally. These conversions received another TOPS code, YKA, and another fishkind name; Osprey.

    Our Salmon is the sole survivor of the LMS designed batch. Numbered DB996000 is was the very first Salmon built by BR to the LMS design. It was built at Derby Litchurch Lane works in 1949. Not a lot is known about its service life, but this wagon ended up as an internal user with the number 024717. It served at the very works it was built at as a vehicle to move items around the works. We don’t know exactly when it was confined to the works, but the earliest sighting on departmentals.com puts it at Litchurch Lane in 1985. It served in this role until 2014, where it was donated to us by Bombardier Transportation.  Soon after it had arrived various accoutrements were ground off and a floor added using used sleepers cut in half down the length. With a pad exam and oil up of the brake gear it was released to traffic and has remained available ever since.

    Thank you for reading! We hope everyone is keeping safe and healthy at this time.


  • Vehicle Profile #5 – Rudd

    Vehicle Profile #5 – Rudd

    Last week, we published a profile of the Grampus wagon, a versatile 20 ton capacity engineering wagon. Our next Vehicle Profile covers their one of their replacements; the Rudd.

    With design of the Grampus and other engineering wagons becoming unsuitable for the change in working methods, replacement wagons were converted from stored HTV coal wagons to varying designs. These use the Fishkind names of the Tope, Clam and Rudd. Of note to us are the Rudd design, of which we have 3 examples.

    • DB972018, converted at Marcroft in 1990 to design ZB001A. In its past life it was HTV B429632 built at Gloucester Railway Carriage and Wagon in 1958.
    • DB972608, converted at CC Crump in 1991 to design ZB001A. Its HTV number was B429763 built by Hurst Nelson in 1957
    • DB972681, converted at CC Crump in 1991 to design ZB001A. It was HTV B424802 built in 1957

    The Rudd name initially appeared in 1987 on converted Grampus of which one (DB984194) is preserved at the Nene Valley. These conversion retained the Grampus’s single skinned slab doors but had rebuilt with non-removable ends and air brakes.

    The Rudd named was later reused on a design had the same three doors per side, fixed ends and air brakes as the Grampus based conversion, but had stiffer ends and a different design of door which made them less susceptible to damage by mechanical loading equipment. The doors on the Grampus are heavy and require 2 or more people to lower and raise them. The Rudd doors, while arguably heavier, can be opened and raised by one person; benefitting from the use of door control equipment. Using the door control equipment also meant the ‘bangers’ fitted to the underframe wouldn’t require fitting removing a potential for trapping hands.

    Of the 3 designs intended to replace the likes of the Grampus, and other similar engineering wagons, the Rudd lasted the longest primarily due to their air brakes, while the Tope and Clam retained Vacuum. By 2005, an estimated 2 Tope remained in traffic, with 3 Clam. By contrast, 278 Rudds remained in traffic until 2008.

    Back to our Rudds, like our Grampus they remain fit for use and their turn in the restoration queue remains behind the wooden bodied vehicles in the mixed freight.

  • Vehicle Profile #4 – Grampus

    Vehicle Profile #4 – Grampus

    _IGP6846.JPG

    Grampus are 20 ton multi-purpose engineering wagons, designed by British Railways and built between 1951 and 1961. The design is based heavily on the earlier GWR all steel Tunny (which we also have one of) and Starfish, with ends similar to the Southern region Lamprey. Grampus had a 20 ton capacity and as such had 10″x5″ axle boxes. Our fleet show a variety of variants of these. Most of these wagons were built unfitted, though few were vacuum braked. Our fleet, naturally follows this model, with six being unfitted, and one being vacuum fitted. Details of our fleet are below.

    NumberYear BuiltAllocated RegionAllocated Region
    DB9846421957Eastern RegionChesterton Junction Central Permanent Way Depot
    DB9847131957Western RegionCO
    DB9857301954North Eastern RegionDarlington Reclamation Depot
    DB9858841953Scottish RegionGreenhill Creosoting Depot
    DB9859331954Midland RegionLiverpool
    DB9905851952Midland RegionNorth Wales
    DB9914081959Eastern RegionDistrict Engineer Ipswich

    Grampus are built with three drop down doors and two removable cast iron stanchions per side. Across the end of the wagon there are two removable planks on the end, which can be stowed in pockets under the end of the wagon. The end of the wagon also has a drop down door to allow wheeled vehicles to roll from one wagon to another. These make the wagon very versatile, able to be loaded and unloaded by hand and able to take loads over the length of the wagon.

    Being a truly versatile wagon, they could carry sleepers, ballast and chippings. In the era of the steam loco, it carried loco ash away from depots for re-use elsewhere. However in more modern times, with mechanised loading machinery, the wagon’s single skin steel doors, wooden floors and removable end planks made them susceptible to damage. The later Rudd and Clam wagons suffered with this less as they had much stronger doors (though Clams had no doors), solid ends and steel floors.

    All but one of our fleet have had steel floors fitted in place of wood, and where doors have been damaged, particularly at the top, we have tried to straighten them as best we can. Doing this means the doors shut correctly and can be retained by the pins. Ours stand ready to be used, receiving regular maintenance awaiting their turn in the paint queue. As they are all steel, they do stand the weather better than any of the wooden bodied wagons we have in the fleet which take the priority in the queue. Join us next time for a profile of their successor, the Rudd.

  • Vehicle Profile #3 – The Yellow Coach

    Vehicle Profile #3 – The Yellow Coach

    Up next in Vehicle Profile Series we have coach very important to us, and is very much missed. The coach formed the base of our operations since 2011, and has all the usual mess facilities needed for us to work on the wagons of the fleet.

    The Yellow Coach – ADB977107 (Sc21202, E21202)

    The vehicle we refer to as the ‘Yellow Coach’ was built in 1958 at Metro Cammell in Washwood Heath, Birmingham as 21202, a Mk 1 Brake Composite Corridor [BCK] coach to diagram number 171, as part of lot number 30425. It was converted for use at a Breakdown Train Unit (BTU) staff coach in 1983 at Slade Green being fitted with BR Mark 3A ex.EMU trailer bogies. The modifications undertaken as part of its BTU role included:-

    • additional heating
    • additional lighting
    • kitchen area
    • sleeping compartment with four bunks
    • mess area with large tables
    • office compartment
    • water heater
    • washing area

    Re-classified as QVA and renumbered ADB977107 it was then transferred to Eastleigh where it was used in the breakdown train until the mid 1990s. The coach continued in breakdown train use moving to Crewe. Finally after moving to Wigan the coach had fallen out of use by 2010 and was stored at the Wigan Disposal. From there it was bought on the 23 July 2010 by Nick Tinsley, and subsequently moved to the GCR. It resided in the sidings at Quorn for many years, providing a base for the Quorn Wagon & Wagon group. In 2019 with the condition of the body deteriorating, and requests from the railway to tidy up the yard, the coach moved to Rothley where it is receiving much needed body repairs, electrical system modifications and interior restoration.

    Below are some diagrams of the layout of the coach, in service as a BCK, when converted to breakdown train use and now, in preservation.

    BCK - Sc21202 Layout Diagram

    BCK - ADB977107 Layout Diagram As Converted

    BCK - ADB977107 Layout Diagram As Preserved

  • Vehicle Profile #2 – Test Car 2

    Vehicle Profile #2 – Test Car 2

    Carrying on with our Vehicle Profile series, we have a vehicle you have already seen plenty about. Test Car 2 is currently in use as our mess facility while ADB977107 is receiving bodywork attention. We have previously opened the Test Car at Galas, something which we plan on doing again, though it currently remains to be seen when that will be. Thanks to Dave for pulling the summary together for Test Car 2.

    TEST CAR 2 – ADB975397
    This special coach was built in 1962 at Wolverton Works as 35386, a Mk 1 Brake Second Corridor [BSK] coach using Commonwealth bogies as part of lot number 30699. It was transferred to the Department of Mechanical & Electrical Engineers [DM&EE] at Derby in 1974 and renumbered ADB975397.

    For the next 35 years Test Car 2 was used primarily for slip/brake testing, which was the preferred method of assessing the brake stopping distance performance of new or modified rolling stock. This test method allowed the brake stopping distance of a vehicle to be measured independently and not influenced by other vehicles coupled in a train.

    The layout of the interior of the coach was adapted specifically for this role including the installation of:-

    • a Perkins 3-cylinder 20-kVA diesel generator,
    • 240v electrical installation, a distribution panel and shore supply,
    • test instrument racks,
    • large table top area,
    • on-board instrumentation systems,
    • slip-coupling,
    • oleo buffers,
    • specially modified air and vacuum brake system,
    • large drop-down gangway door window,
    • inward opening access doors,
    • test gauges,
    • heating,
    • lighting,
    • an underframe mounted 90-gallon fuel tank,
    • 10 bar air compressor with 150-litre air reservoir,
    • workshop area,
    • battery chargers,
    • secure storage for the instrumentation cables,
    • a kitchen with cooking facilities,
    • re-sited the toilet compartment,
    • additional body-end windows.

    During its working life as a test car, ADB975397 is estimated to have been used in excess of 450 occasions for slip/brake testing. It remained at the Derby based Railway Technical Centre until its withdrawal in 2008; Test Car 2 was then moved to the Old Dalby Test Track in 2011 and stored by Serco until it was secured for preservation in 2016 by Matt Baker, and moved to the Great Central Railway. The decision was made by the Quorn Wagon & Wagon Group in 2018 that the unique Test Car 2 would be retained as a test car in preservation, unlike so many similarly preserved test coaches that have been re-converted for passenger use. The restoration work has been undertaken by the Quorn Wagon & Wagon Group at the Quorn & Woodhouse station yard. The interior layout retains the ambience of 1990s testing life whilst display boards provide visitors with an insight into the history of this Test Car, including details of how and why slip/brake testing was carried out.

  • Vehicle Profile #1 – Air Braked Steel High

    Vehicle Profile #1 – Air Braked Steel High

    While we aren’t able to get on site to take part in any work to give you any updates, I’d like to continue with some different content to keep people interested and give people something to interact with while we are socially distancing. These might take the form of a profile of a vehicle in the collection, describing its history; or sharing some British Transport Films that are favourites of the team. Please let us know if there is anything you’d like us to explore.
    Tonight, I’ll start with E280364, our Air Braked LNER Steel High.
    All-Steel Highfit wagon E280364
    Type OHB
    Diagram No. 194
    Capacity 13 Tons
    Wheelbase 10ft
    Built 1947 in Darlington
    During 1970 a total of 40 wagons of five types were modified by BR Western Region, for a trial of air-braked wagon operations with increased operating speeds between Oxford and Worcester.
    The modifications that allowed the maximum operating speed to be increased from 45 to 60 mile/h included:-
    Uprating the suspension leaf springs from 5-plate to 9-plate,
    Converting from shoe type to BR long suspension links,
    Installation of two-pipe auto-air brake equipment.
    The wagons that were modified for the trial comprised:-
    Twelve, 13T All-Steel Highfits (OHB)
    Twelve, 12T Vanfits (VVB)
    Seven, 12T Palvanfits (VPB)
    Four, 22T TubeVB (STB)
    Five, PlateVB (SPB)
    The trials ran until 1972, following which all 40 wagons continued in service as part of the then growing fleet of air-brakes wagons.
    The All-Steel Highfit wagons of which E280364 was one, continued in network service until the late 1970s. They were then transferred into departmental use for carrying spare parts between depots, the last being withdrawn in 1992.
    E280364 which was built in Darlington in 1947, was rescued for preservation by Nick Tinsley in late October 1990 from Peterborough Wagon Shops, and is currently undergoing restoration by us. When we left site E280364 was sat in its bauxite gloss top coat, with the underframe having been sprayed. It awaits signwriting before this vehicle can be released to traffic.
    E280364
    20200322_182043
    20200321_125332
    20200307_124224

  • 15/03/20 – Spray it and hope it sticks…

    Before we move into the weekend’s activities, I’ll touch on some progress Matt has made with the flat bed Scammel trailer. The main C channel has been painted in Crimson, in readiness for the floor to be fitted. The load securing hooks have been painted in black, this had waited until the main top coat had been completed. The floorboards also got delivered.

    My job started by cleaning the tyres and rubber mudguards on the trailer. While I was doing this Matt and Dave removed the rubber floor fitted for its duties as a farm trailer. Once cleaned, I applied some products to the tyres and mudguards to give them a bit of shine. This done I surveyed and re-assembled the spray gun and pressure pot ready for the first use this year. We had to use the small green compressor to spray due to the compressor in the Test Car still being broken.  Eddie, Harry and James continued to paint the interior of the 2 Steel Highs with bitumenous paint. Jake and I waited for a gap in the weather and started spraying the 3 wagons; 2 Highs and the Tippler. By the end of the day all three wagons were in undercoat, ready for gloss.


    Jack, Matt and Dave constructed a Headboard for the trailer, and then started fitting the floor… until it was found that the planks wouldn’t fit without taking out the mesh. This had hoped to be able to stay in for rigidity, but not all things go to plan!

    With the mess out of the way, the floor fitting began. Matt marked each plank and Dave cut them. Soon the floor was all down and the trailer board fitted.

    On Sunday, with the weather set back to wet, Matt started by completing some signwriting for the WHSmiths kiosk at Loughborough. In a gap in the weather I changed the front wheel on my car following a slow puncture (which was getting faster!) and blew up all the tyres, and then did the same on other members of the QWW fleet.  Completed, I set about the compressor to remove the electric motor for replacement. Matt started fabricating a supporting strut for the trailers headboard which was a tad wobbly. These got an angle fitted to the back of them for stiffness and then primed. Matt then cut out and primed a disc for the 20mph warning on the trailer.

    I assisted Nick with drilling drain holes in the Iron Ore Tippler’s floor. These are so placed to drain the water while trying not the drip on any brake rigging.

    To finish off, I fitted the trailer’s number plate holder and Jack and Matt refitted the rubber mudguards and primed the wood on the headboard. Once the primer had dried, Matt also put the 20mph disc into gloss black.

    Thanks for reading, and all being well we’ll be back next week, hopefully with, a repair compressor and 3 wagons in bauxite gloss (weather and health being well!)