Author: rloades109

  • 04/08/19 – Déjà Two (car)

    This weekend, our progress has again been focused on Test Car 2, getting it ready for our upcoming public opening.  Last week, we had to leave 2 car with its filler applied, but unsanded due to the weather. This weekend we have sanded and filled and sanded some more. Matt also cleaned out the gutter, which was full of wet, flaky roof paint.

    Dave and I continued sanding the bodyside, concentrating of the filler. With the filler all sanded, we identified areas that needed further filling. Using the Wadpol, Matt polished all the windows to ready them for masking. The masking film requires a clean surface to stick to. Matt then began masking the windows in preparation for the undercoat. I assisted with the application of the window film.

    Dave resumed his focus on the ends of the coach, sanding and filling the gangway fitted end of the vehicle. This end of the coach appears to have suffered the attention of the metal maggots at the bottom, so Dave has made it as good as we can with fibreglass and normal filler. img_20190803_121350-13250327592165418627.jpg

    Come the end of Saturday, the coach was left filled, sanded smooth and masked.

    Sunday rolls around and with it Matt passes his Safety Critical train dispatch assessment, as a member of station staff.wp-15649500207896676092388480076175.jpg

    While Matt completed that, Dave and I set about rectifying an issue with our Perkins genset.  The stop solenoid hasn’t been able to pull far enough to allow the generator to start, which usually requires a pull on the fuel pump linkages. We removed said article, and took it to the saloon to test it.

    The testing revealed that the solenoid worked, but Dave dissected it and found some dirty contacts between the main and auxiliary coils on the solenoid. Both coils work together when pulling the linkage, but then one get switched out to hold the linkage back. with the contacts cleaned, we refitted and adjusted the solenoid which now works a treat!

    The coach got undercoated today, with Jake applying once I’d shown him how to assemble and use the pressure pot I’d recently bought. We thinned down the undercoat, and I set Jake on his way. Jake has been the first of us to use Test Car 2’s compressor to spray paint. Dave continued his work at the gangway end by brush painting inside the gangway, and the gangway faceplate.

    Like with the other side, once the grey was done and dry, I went down the coach with some white gloss for the white lines (after an alfresco lunch!)

    Once completed, I cleaned the spray gun out, and then used it to apply black gloss to the underframe and bogies of the painted side of the coach. As is usual when spraying underframes, I had somebody following me getting areas I couldn’t get to. Whilst this was occurring, Dave painted the gangway ends in black gloss.

    Matt polished and then painted details around the air brake distributor and reservoir.

    In non test car 2 related news. We’ve found a number of conflat chains, which we will be preparing for secure our 2 containers to our 2 conflats.img_20190804_163119-18296875344157679845.jpg

    That is where we leave this weekend’s update. We’ve ordered the flame red for  this side, which Matt picks up and we then apply tomorrow evening. With upcoming holidays and a looming deadline for the coaches completion, some after work working is required!

    Thanks for reading!

  • 21/07/19 – The other side

    21/07/19 – The other side

    Good evening, and thanks for joining us for another Quorn wagon update. This week, there has been more prep work taken place on Test Car 2. Before I get onto that, we have another piece of news. In the week, Matt and Nick made another trip up to Barnsley to fetch a second fibreglass container. The container, BD43034B,  is on the floor in the yard at Quorn, awaiting its Conflat.

    20190717_144921

    Onto the weekend’s activities; this weekend there has been sanding, plenty of sanding. The dock side of Test Car 2 has been sanded in its entirety, ready for filling then priming/undercoating. Dave’s son and grandson, Chris and Oliver stopped by and very kindly donated a few items which will help us out immensely. I made use of the coach’s generator with to run its compressor to power the air sander, which made the process relatively quick. Nick and Jake continued to scrape the roof of loose paint, showering everyone indiscriminately with flakes of old roof paint. The roof will be painted when the sides are complete, but has to be scraped before hand so that the flakes won’t stick the soft gloss.

    wp-15637385835642193541262115395350.jpg

    Dave applied fibreglass filler to areas needing repair, then concentrated on the slip end door. First getting it to open, then cleaning and scraping it ready to be painted. Some areas of the door are past their best, but it’s mostly solid so some wood hardener and fibreglass filler then regular filler will be a suitable repair. Matt joined us in the afternoon, after his work shift. Matt added some further signwriting to the ‘finished’ side of the coach, an arrow to denote axle 1, and writing to show the location of the isolation coach for the air braking system.


    I continued sanding the coach on Sunday, joined by Matt who was driving the electric sander. Whilst Matt and I sanded, Dave continued on the slip end, sanding and cleaning the gangway bellows. Dave also removed all the paint from the gangway tread plate, then painted what’s left of the original gangway.


    In sanding some areas, we sanded through to bare metal. These areas got primed with  red oxide. We also used this as a key to apply filler, as the fresh paint will show the low spots better.


    That finishes this week’s update. Next weekend will see the coach filled, and then sprayed into grey undercoat.

  • 07/07/19 – Dumper Doctor

    This weekend has been one of hospital jobs, but before we get to that we have some week work to catch up on. Those of you that are following our Facebook page will know that several things has happened this week. Firstly, Matt bought and fetched a fibreglass container with Nick. Secondly, Matt completed the signwriting on the Centre Shock van, thereby releasing the vehicle to traffic. It can now join the rest of the van train. Lastly, courtesy of the Heavy Tractor Group, the Test Car has been turned so that we can start work on the other side.


    On to this weekend. Saturday and Sunday has been one of small jobs, tidying up the workshops and storage vehicles. We have been hard at it on various project over the past few weeks, so we’ve taken the time to stop and have a sort out. I played doctor to our Winget site dumper, Danny. As the skips have moved down the yard, and with the vans hopefully coming back for attention to the vacuum system, we have decided to get Dnny back up and running. Danny has been out of use for some time for various reasons, the biggest of which is the lack of fuel getting to the injector. I ordered a rebuild kit for the fuel pump in the week, and armed with a certain amount of naivety I set upon the dumper. I removed the fuel pump from the engine to find the cam follower seized, which would explain the lack of injection. I freed of the cam follower with a mixture of penetrant and diesel. I disassembled the fuel pump and rebuilt it, following the manufacturer’s instructions from the workshop manual. I then reattached it to the engine and bled the fuel system. after a few false starts, the little Petter engine popped into life.


    With the engine of the dumper up and running, we decide to sort the steering which had gone stiff with standing. First the oil was topped up. this worked up to a point. Sadly something had become amiss in the steering box, as it started to only turn in one direction. Turning the steering wheel the opposite way had no bearing on which way the wheels pointed. The footplate was removed, and the steering box eventually came free. I will be contacting the OEM (who are surprisingly still going!) to try and get a quote for its rebuild.


    Matt was at work Saturday, but came down after work, and made a board so that we could stick our QWW magnet to something other than the newly painted Test Car. Matt also got out his signwriting brushes and picked out some details on the underframe of ‘2 car’ now that it has been turned.


    Sunday saw Matt showing us his green thumb by strimming the dock area. This should cut en on insects landing on the fresh paint (when we get around to it). Matt then went on the roof of ‘2 car’ to repair the periscope blanking off plates. These had lifted due to the pop rivets failing. In drilling through the roof, Matt broke all of our 3.5mm drill bits. New plates were cut, and riveted over the holes using new rivets, and plenty of sealant!


    Nick continued the task of scrapping down the roof of the Test Car, in preparation of the roof repaint. I continued tinkering with Danny, and freed off the rod brakes. one then promptly snapped. Win some, loose some I suppose. Hopefully, it can be welded, if not a new set from Winget probably wouldn’t hurt. I also removed and refitted on to the mudguard to some out some rust that had built up between the mudguard and chassis.

    I think that covers everything this week. Join us again next week, when we begin the process of repainting the other side of the Test Car.

    Thanks for reading!

  • 23/06/19 – BLUE!

    23/06/19 – BLUE!

    Painting has occurred this weekend. Lots of painting. The main focus for this weekend has been, of course, Test Car 2. Last week, we got the Flame Red painted around the coach, which left the Rail Blue for this week. The Flame Red  and the white lining had to be masked, so Matt, Jack and I popped down on Friday afternoon to mask off the red and white with masking tape and brown paper, ready for Saturday.

    Saturday arrives, and to start with the Red and white overspray got a gentle key by Dave and Matt while I thinned down the blue paint ready for application. Jake was arriving slightly later, so I had to utilise a stand-in assistant.

    65249480_395903701035964_659895890802114560_n

    I applied the first coat of blue, with Jake applying the 2nd coat all over. I then applied the 3rd coat over and around the gutters, and Jake finished the 3rd coat on the bottom of the coach.

    [wpvideo wHOO8nPr]

    While Jake and I painted the Test Car, Dave, Nick and Matt continued work on the internal cladding of the Shocvan.

    And then onto the exterior

    After lunch, we unmasked the Test Car.

    With the coach left with it’s paint drying in the sun/hot weather, Jake and I assisted with the van.

    On Sunday, more painting took place. For Matt, the signwriting of the Test Car beckoned. For me, I got the spray gun out again and gave the Shocvan a coat of undercoat, and then in the afternoon, gloss. The gloss will need another coat next week, but it is a start.

    [wpvideo ZxAbF7Fi]

    wp-15613218199474425400878905815264.jpg64760585_675034822922554_4452542572279103488_n64724632_199269470996650_9152669225825861632_nwp-1561321819378792386558408803630.jpg

    Next weekend will see another coat of gloss applied to the Shocvan, the headstocks and other details painted and the lining tidied up on the Test Car. Then we’ll have it all to do again on the other side! Join us next week for more Test Car adventures!

  • 09/06/2019 – Grey Days

    09/06/2019 – Grey Days

    Welcome to another update from Quorn. It has been a bit quieter for us this week as Nick was away camping, which left Matt and I on Saturday. Jake joined us on Sunday, with Nick coming to inspect on Sunday evening.

    Due to the weather, Saturday was a small jobs day. Matt and I initially went to B&Q to get a few supplies such as fluorescent light tubes and round headed wood screws. We fitted a new light tube in the saloon of the coach, which had been broken during a jumper removal. Having the folded and painted the defect book holder in weeks previous, Matt sign wrote them in the comfort on the Test Car. Once sign written  and dry, we fitted them to the BR van currently stopped due to wheel damage (B954268) and the LMS brake van, situated in the down lieby (M730562).  Having sorted these vans out, we then journeyed to Swithland to fit the defect book holder to the Southern brake van (S56010). The 2 operational brakes have also been kitted with PCV first aid kits. We are planning to build some boxes for these, some they look more period appropriate.

    After viewing our 3 most recently outshopped vehicles, we returned from Swithland. The weather dried up, so we started to mask the windows using a window film obtained from Toolstation. After much struggling and faffing the windows were masked. Doing the masking gave the the bodyside time to dry allowing us to continue filling the final few areas on the coach.

    On to Sunday, and it the hope of getting paint on the coach. First though, a bit of light sanding and cleaning down. jake use the blowgun to get rid of the heavy areas of dust , and I used some tack cloths I had bought in the week that helped to remove the dust from the bodyside.

    Then I painted.

    and then painted some more.

    62399998_2992027011022402_6698019034463469568_n

    Only issue being is that the weather, being British and changable, started to rain before I could to the lower line. However in a gap in the rain, I completed the lower line but not without some damage to the paint already applied.

    62098547_456162155213220_1834830232377360384_n

    Finally, the 2 lines were done.

    62259845_1025787600959374_7573228387502653440_n

    That concludes this week’s work. Next week we are planning to continue with the repaint of the Test Car, with the next stage of the livery being applied. Thank for reading!

  • 26/05/19 – Shunted around and about

    26/05/19 – Shunted around and about

    First an update on mid-week work,  Matt has been on earlies and as usual been popping in after his shift. Tuesday he completed the signwriting by adding the wagon plates and completing the East side circuit marker on the Shockhood. 

    On Wednesday the finishing touches to the underframes of both vehicles were applied, drawing a conclusion to their repaints.

    Apart from the end chains for the hood, the Shochood B is ready to return to traffic. The Medfit still requires a floor, but this should be dealt with at the weekend thus returning the wagon to traffic.

    Thursday / Friday and something a little different, Matt has been helping the station with a project of theirs, turning a mobile toilet into something that doesn’t look so out of place in a “1940s Goods Yard”

    On to Saturday and as mentioned above a Floor for the Medfit.
    The planks were cut to length

    Laid the entire length of the vehicle and marked up,  35 planks in all

    Once marked up Jake had the task of drilling the holes and the planks were refitted and bolted into position.

    Once complete Matt returned to the “Blue Caravan” whilst Nick and Jake manufactured label clip blocks, fitted them, as well as replacing the vacuum hoses.

    On to Sunday, and with it the completion of the Medfit. Jake, Nick and Ollie finished the vehicle by painting the backs of the doors and ends with black bitumastic paint.

    Whilst this was taking place, I was improving the security of the GUV by fitting an additional lock to the our access door. (No pictures of this of course) Matt had intended to continue working on the “Blue Caravan” but the rain put the kibosh on that until later in the day. Instead he amused himself by making the 9 defect book holders for all the brake vans on the railway. The brake vans have recently received defect books, so the holders will be a welcome addition. Having cut and bent the platework into shape, Matt the primed them and left them to dry.

    wp-15589861273555270212193158006763.jpg

    With many hands, we also put back together the 18″ vacuum cylinder taken apart during Goods Galore, fitted a new sealing ring and rolling ring. We also took a cursory glance of a cylinder taken from the Shocvan currently in the shed at Loughborough. We know this had been overhauled recently, but erred on the side of caution and took it apart to inspect it. Finding nothing amiss, this was re-assembled and place back into store, to await the arrival of it’s van.

    On to Monday, and Matt had stayed quite late on on Sunday to complete the signwriting of the “Blue Caravan”, so we looked upon the fruits of his work, whilst taking the time to remove the chalk from the now dried paint.

    Monday hasn’t been a very productive day, due to shunting taking place in the south yard at Quorn. With no ‘new’ wagons received from Swithland, our attention turns to our temporary base, Test Car 2. This has been moved into the dock in place of our GUV, so that we can commence a small project to smarten it up, as requested by the railway. I won’t say what the Livery is, but it will be appropriate to the vehicle, and it has carried the livery before (which narrows it down to 3 in its Test Car guise). While Nick was sorting out few bits in Loughborough to progress another Cylinder overhaul, Matt and I set everything back up including steps to vehicles and shore supplies reconnected. We also tidied the Test Car and generally tidied around our area.

    As the Medfit and Shochood are ready to depart, they have been shunted ready to move to Swithland, on the south end of the middle road at Quorn.

    That finishes off the update this week. Next week we are plunged into war. Let’s see what we can get up to despite it!

  • 12/05/19 – The Joy of Painting

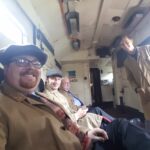
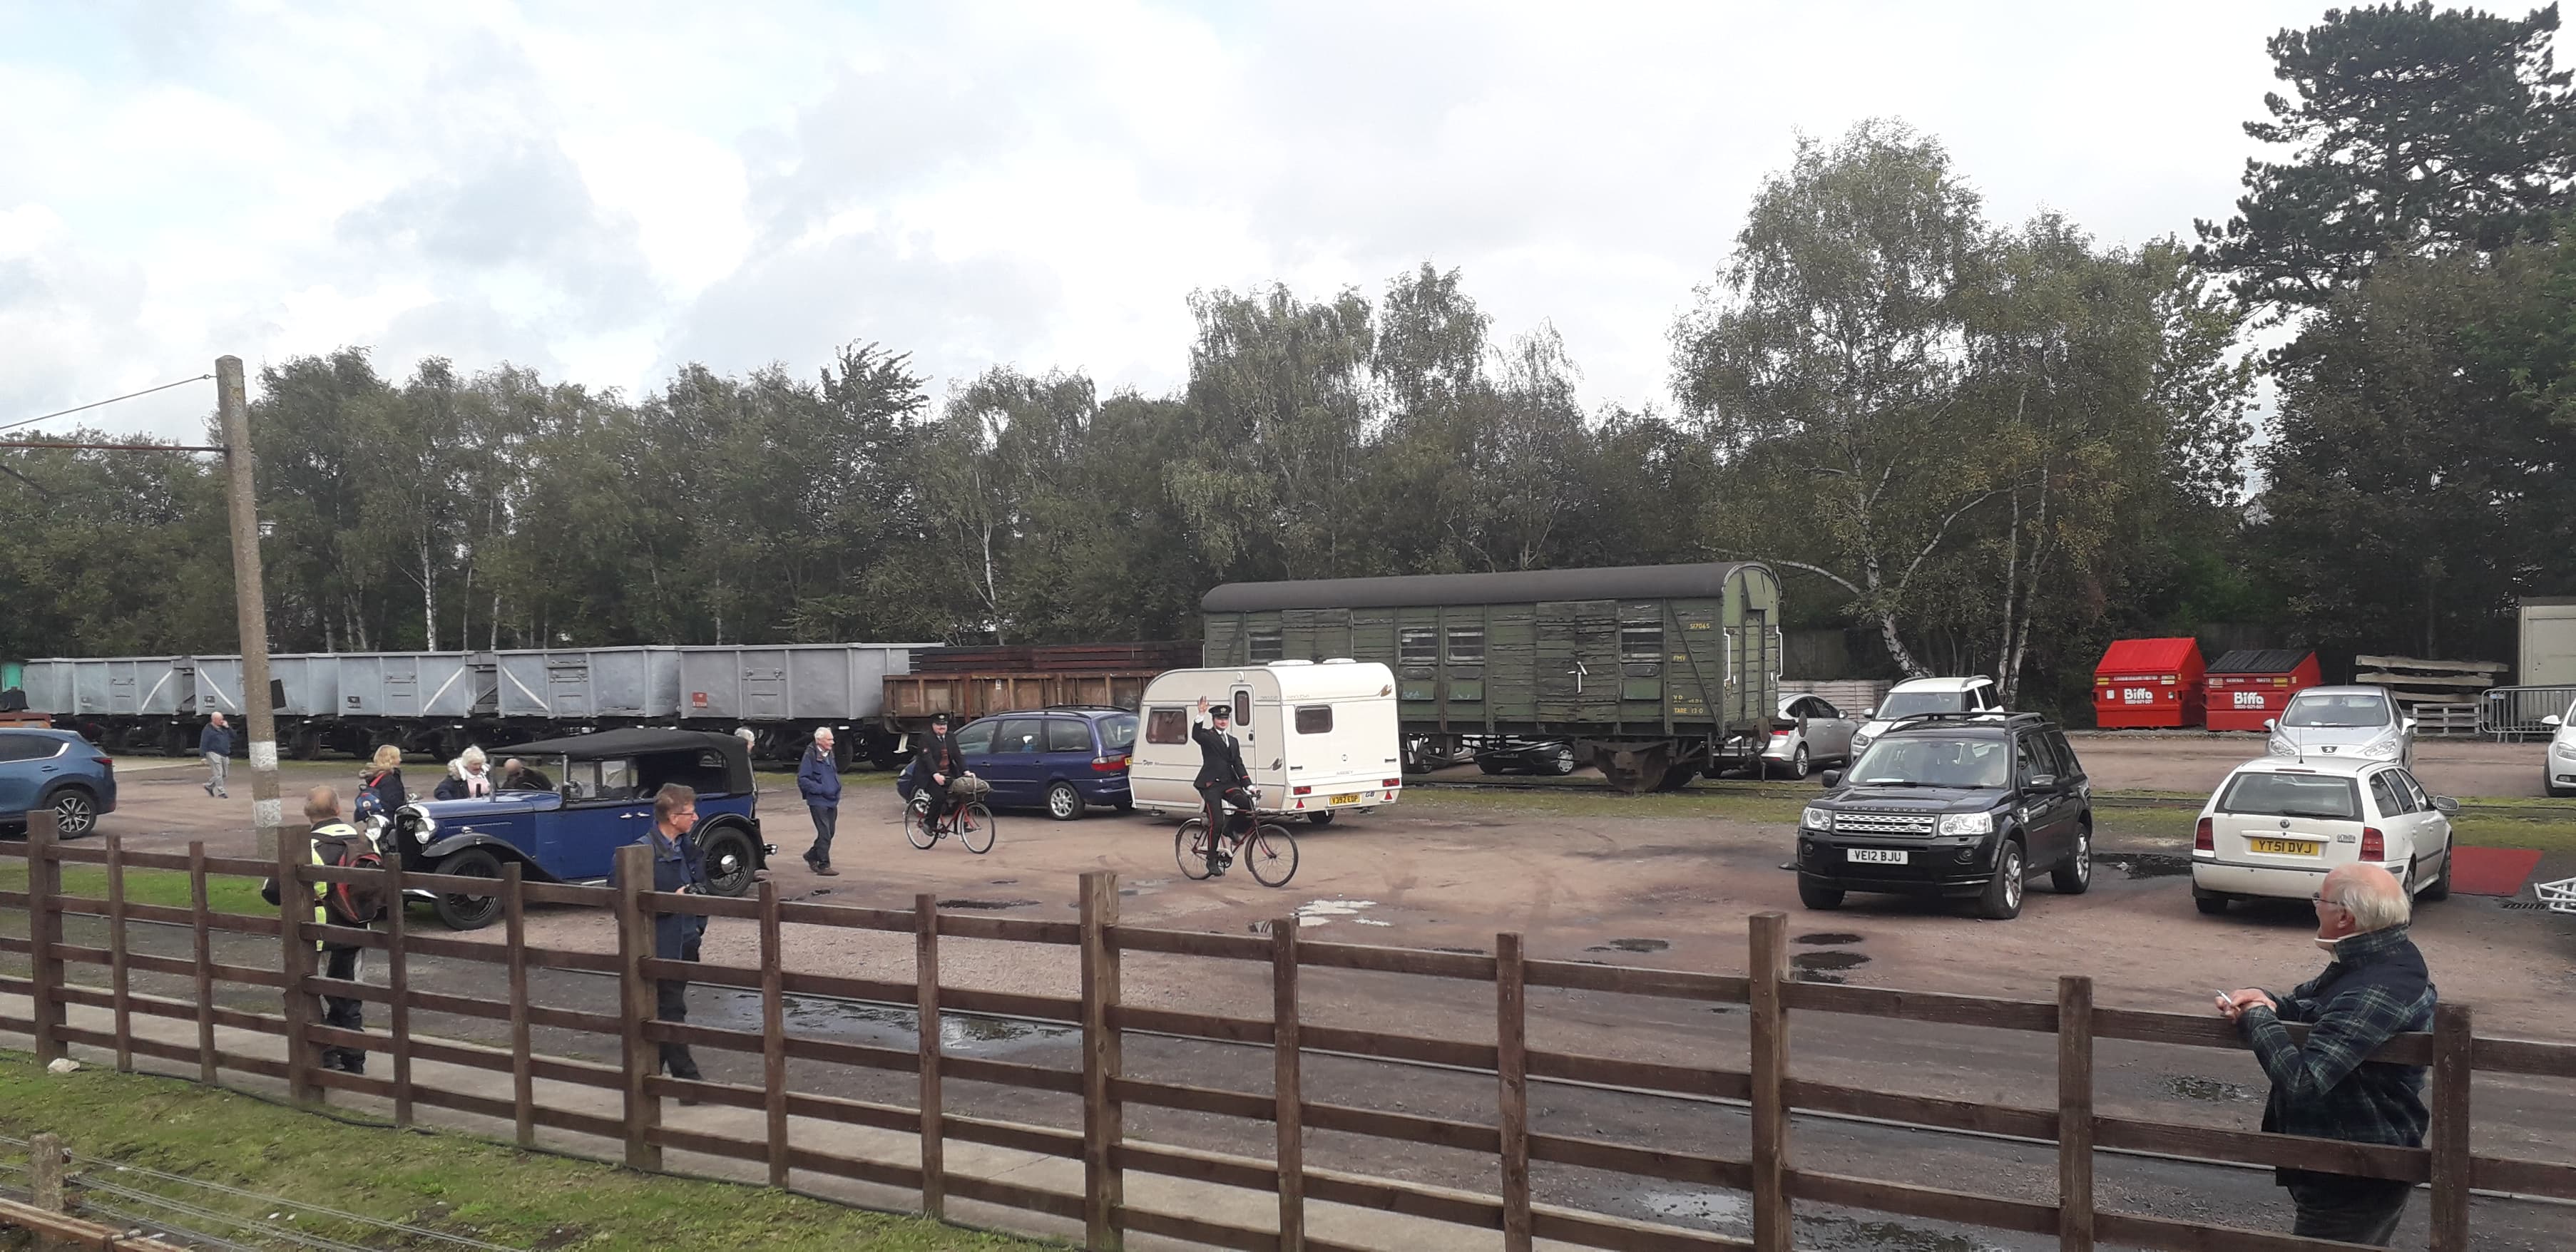
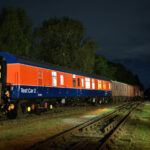
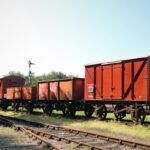
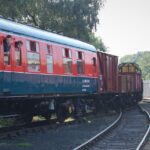
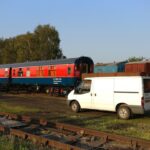
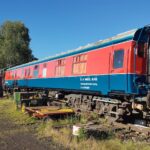
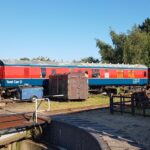
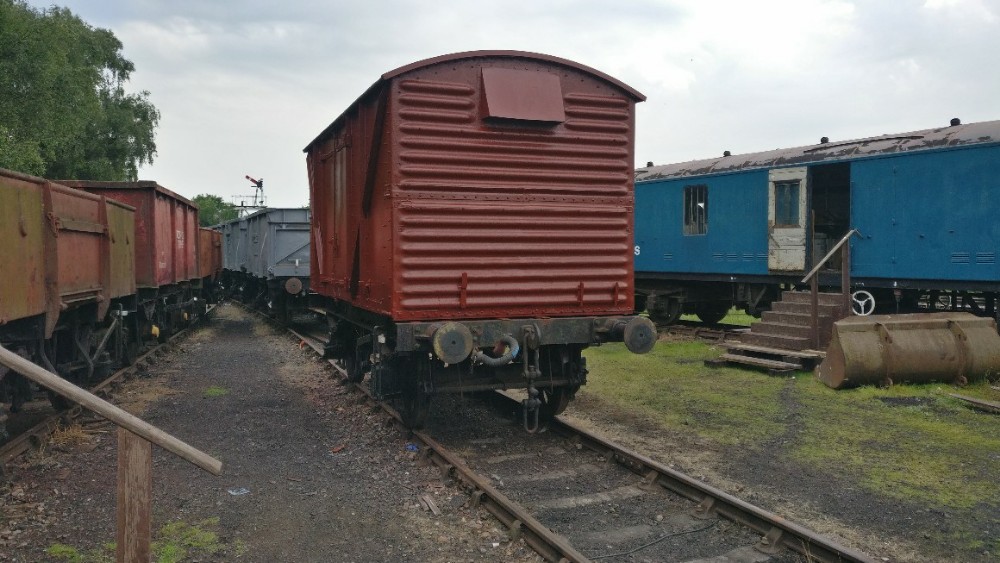
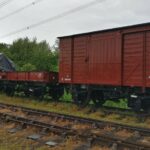
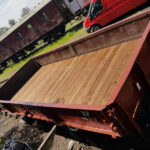
    Welcome to another update from Quorn Wagon and Wagon. This weekend has been Goods Galore, with our goods vehicles rattling up and down the line. This doesn’t stop us however, and we have had a very productive weekend. Not one, but two wagons were painted up into gloss! The weekend also marks the return the service of the LMS box van, which made its debut in the parcels rake.

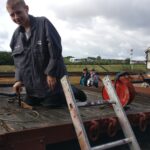
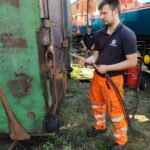
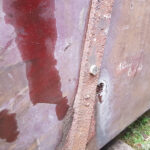
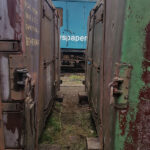
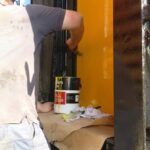
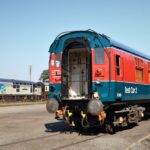
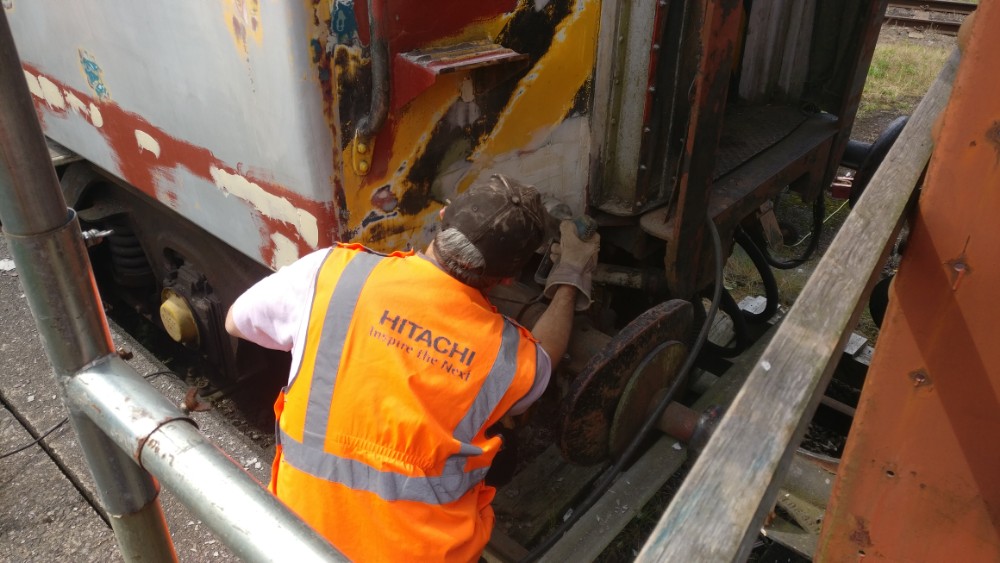
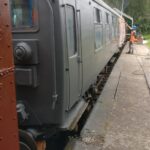
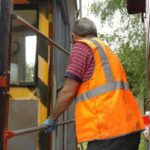
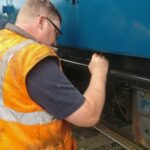
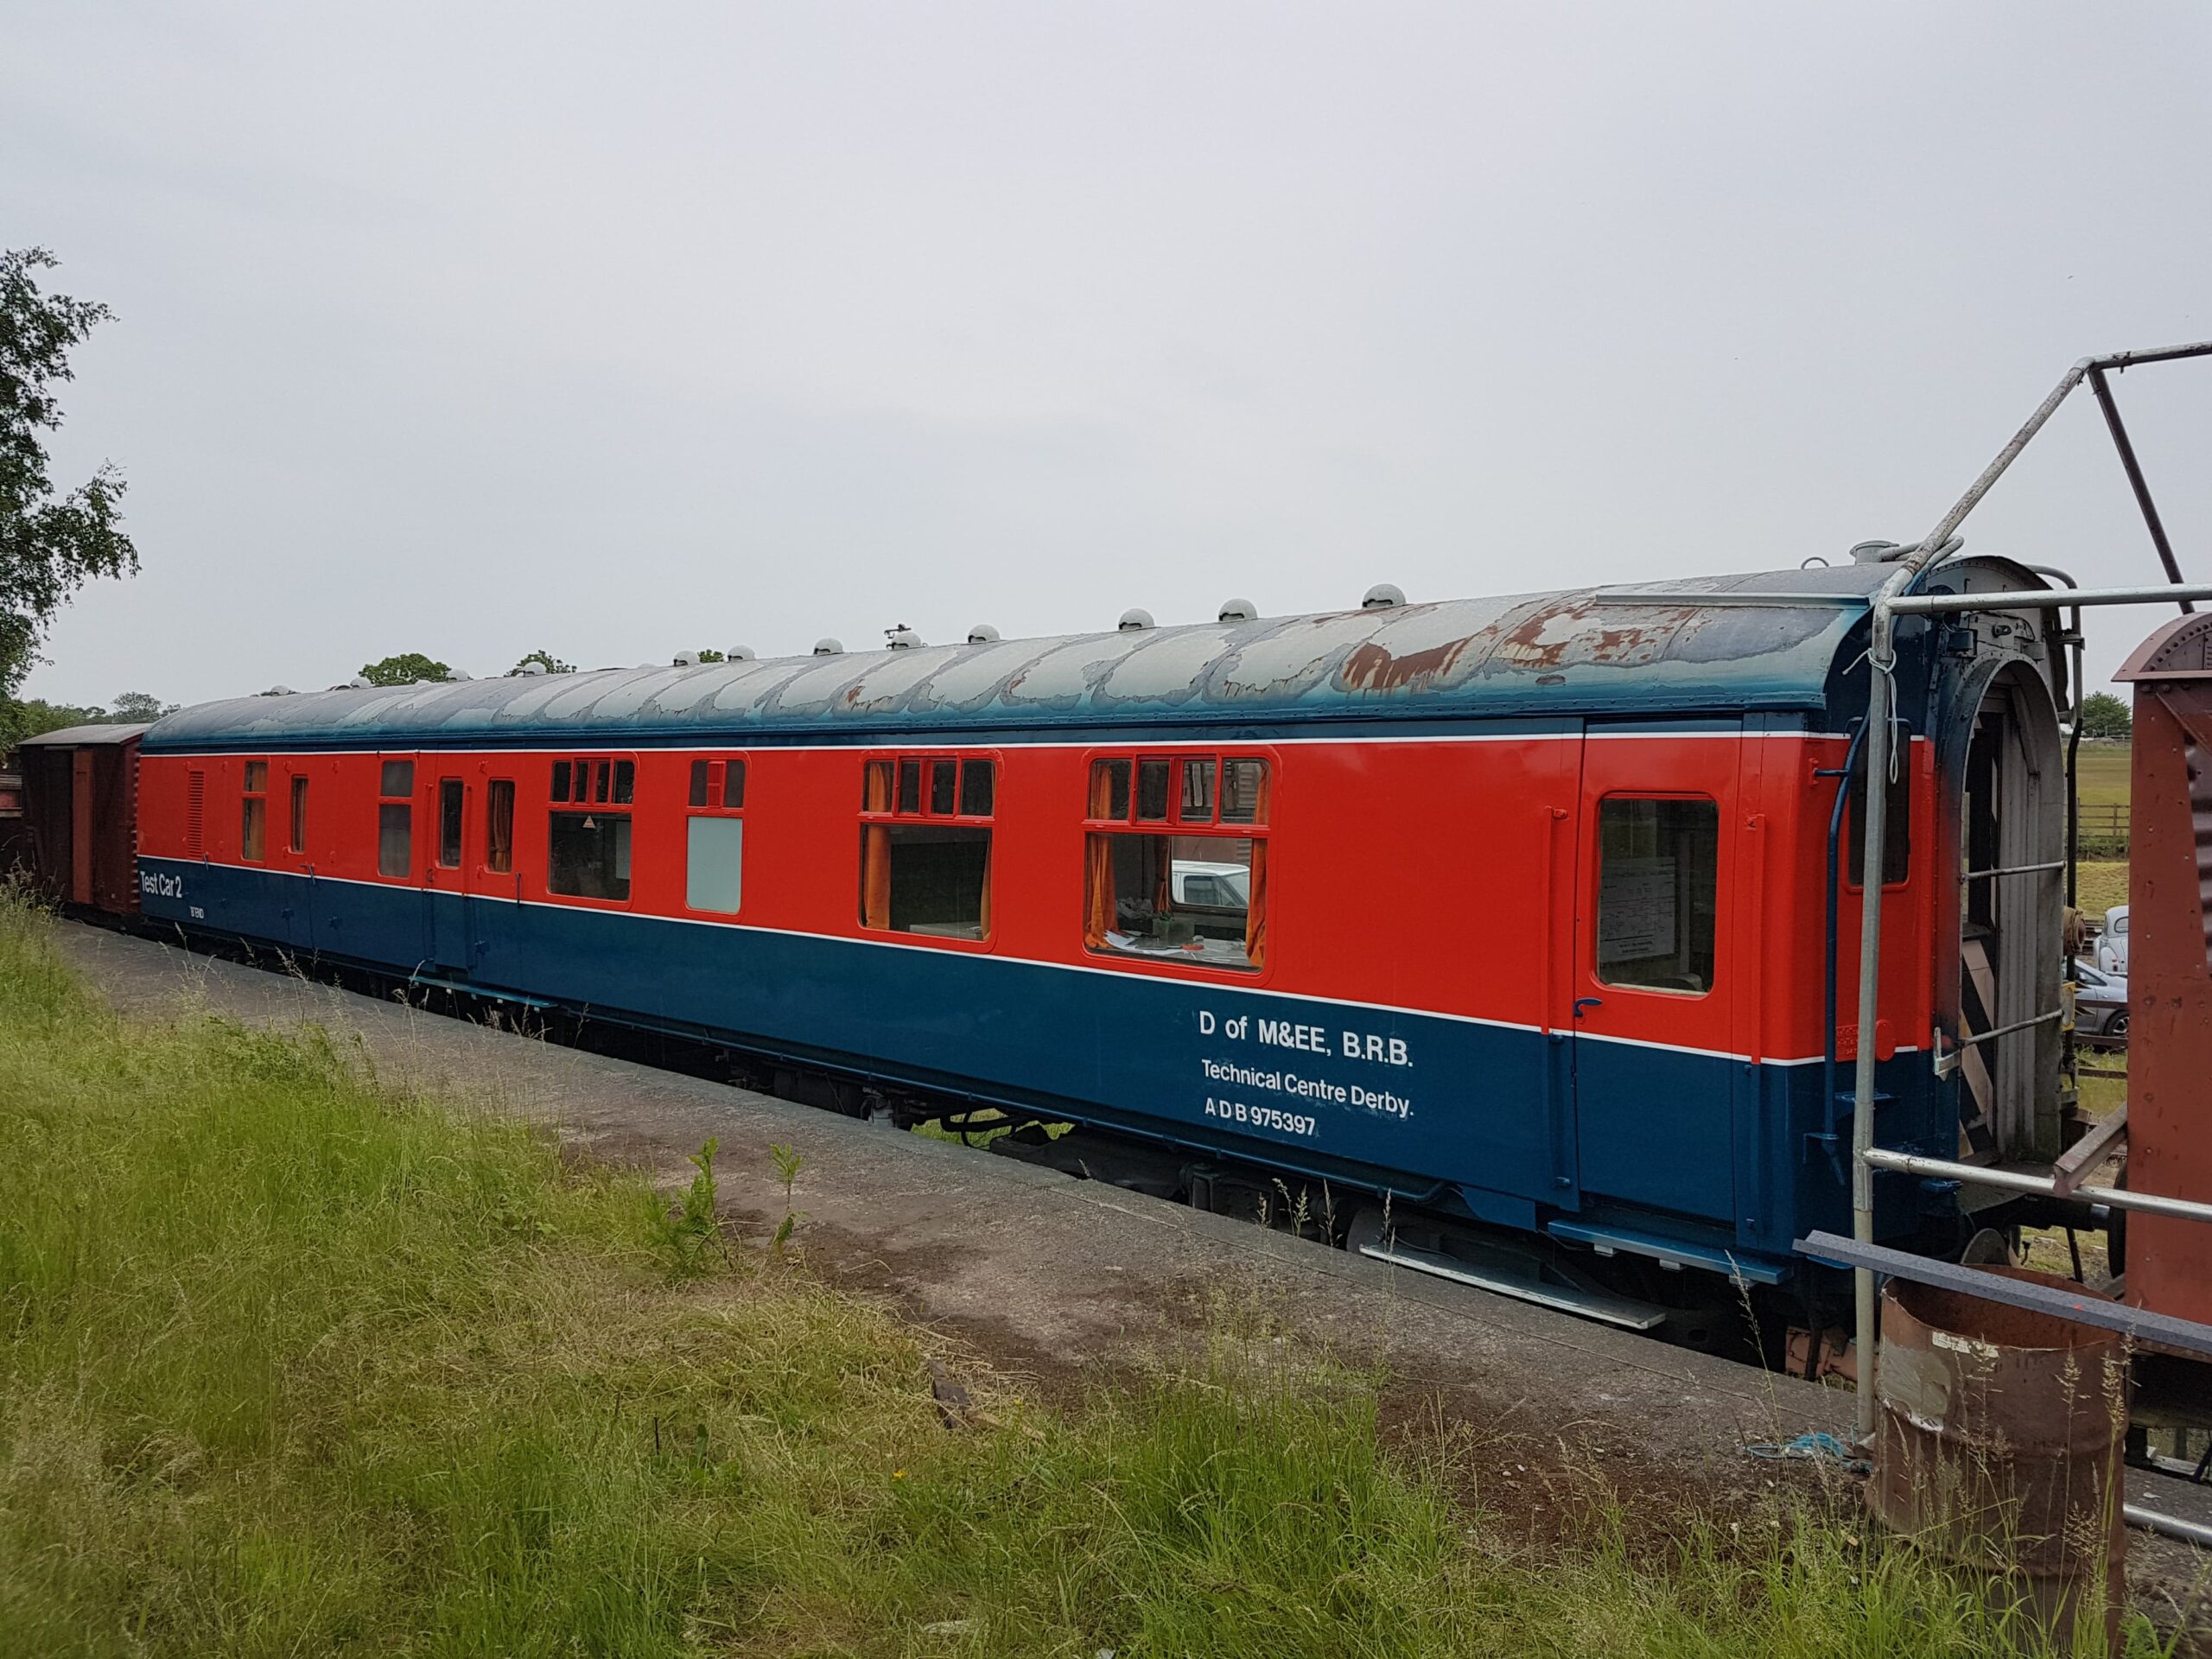
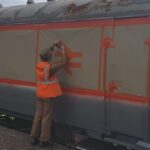
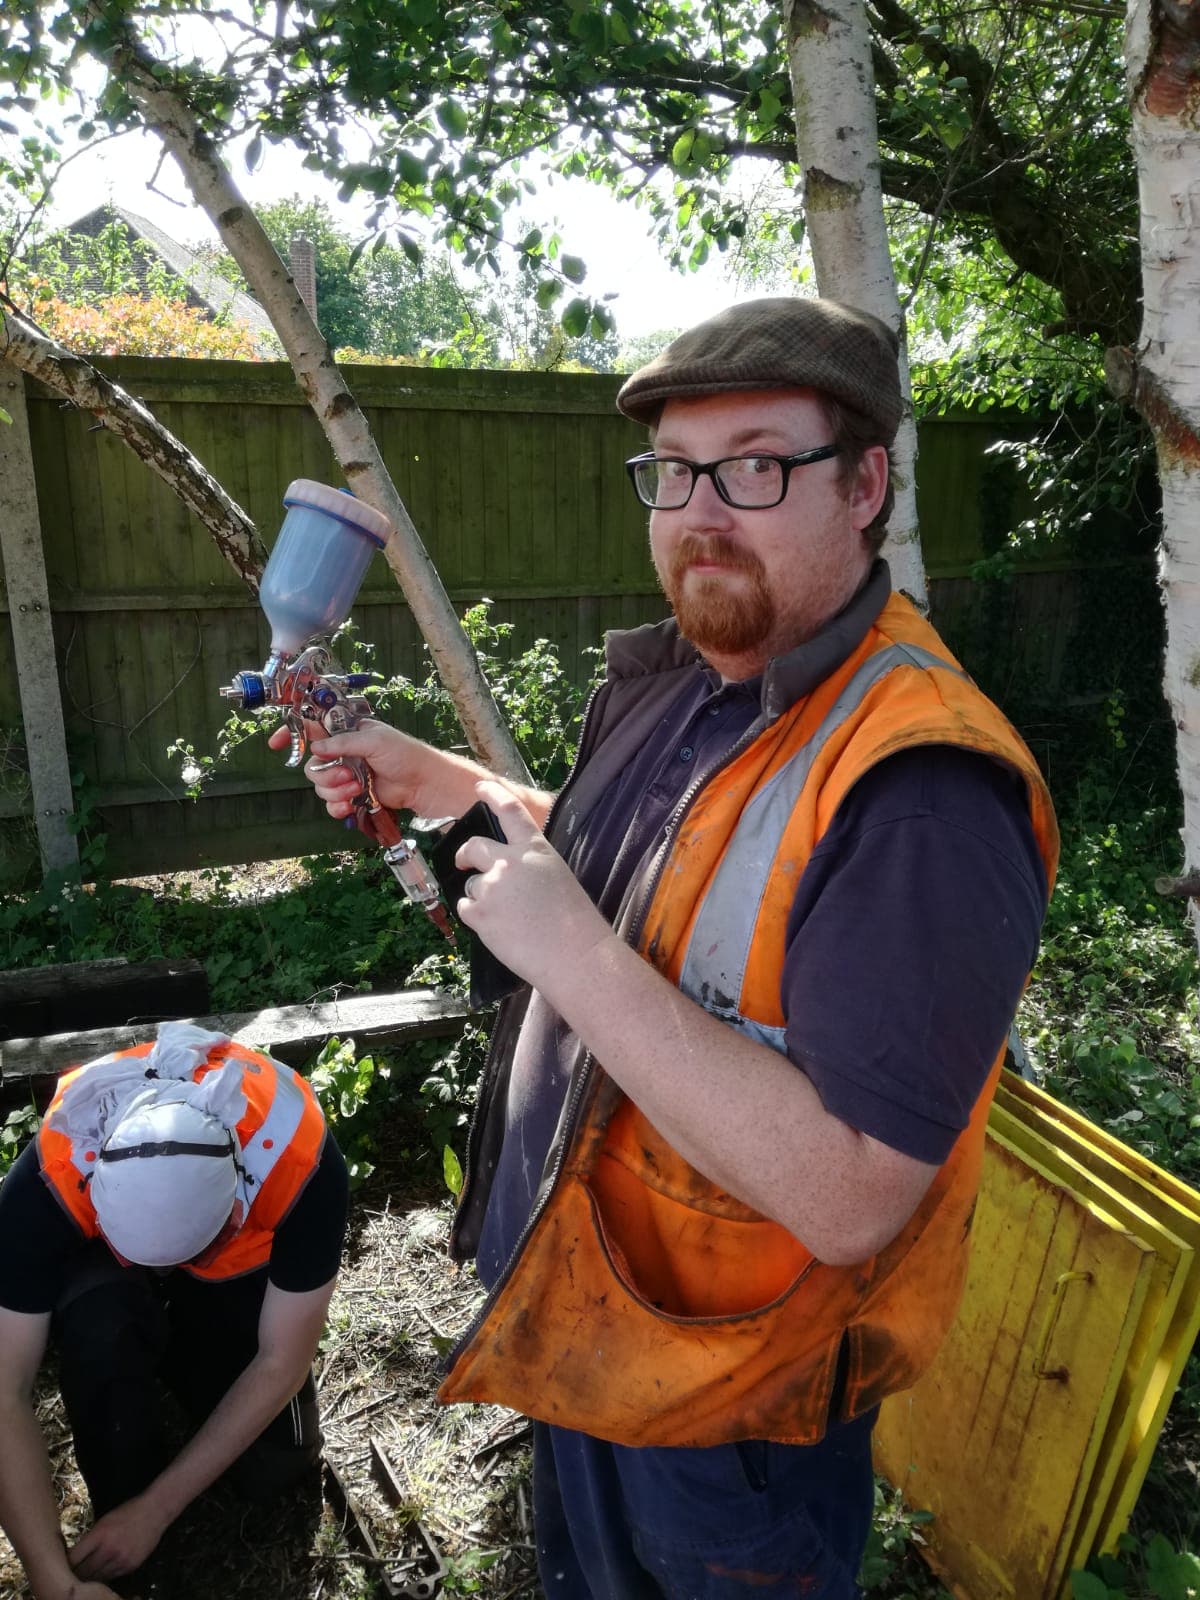
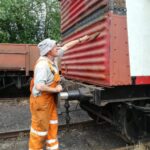
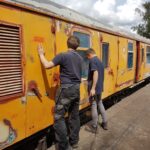
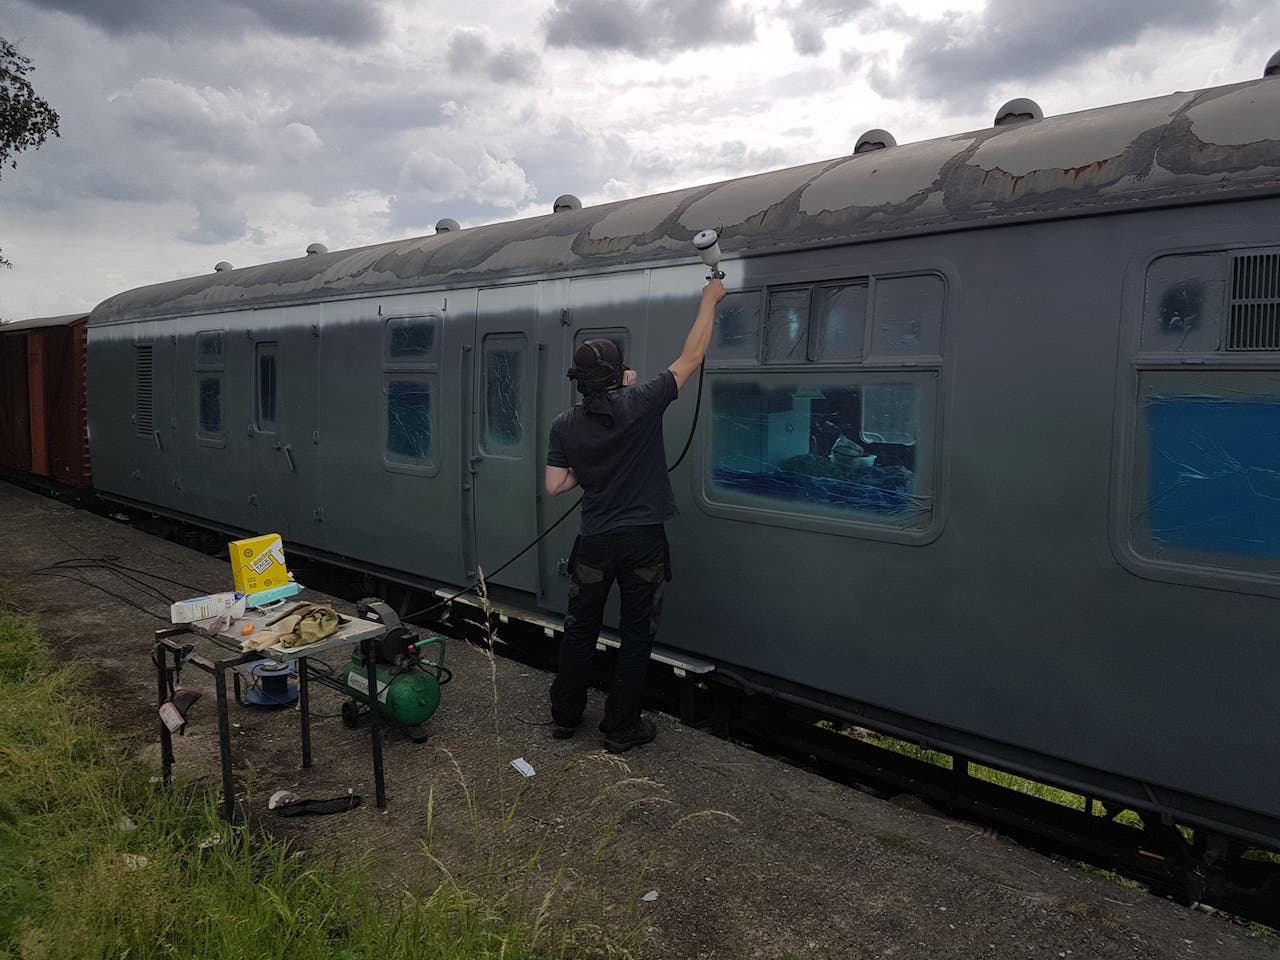
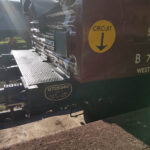
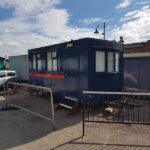
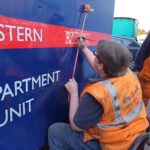
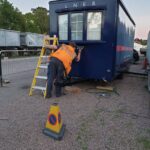
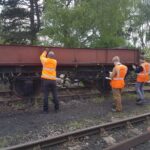
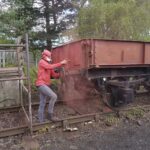
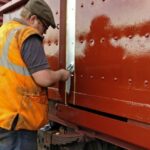
    Firstly Nick, Jake, Dave, Matt and Jack set about the Shochood B and the Medfit with Scrapers and wire brushes. Whilst this took place, I was inside the GUV preparing the paint and spray gun for the spraying session. Once I’d prepared everything, I went to assist RVP with connecting the LNER Gresley to the mains for display for the weekend.

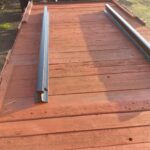
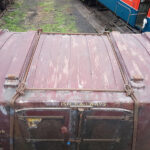
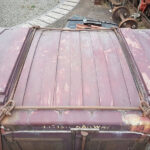
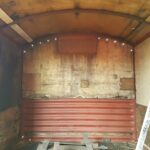
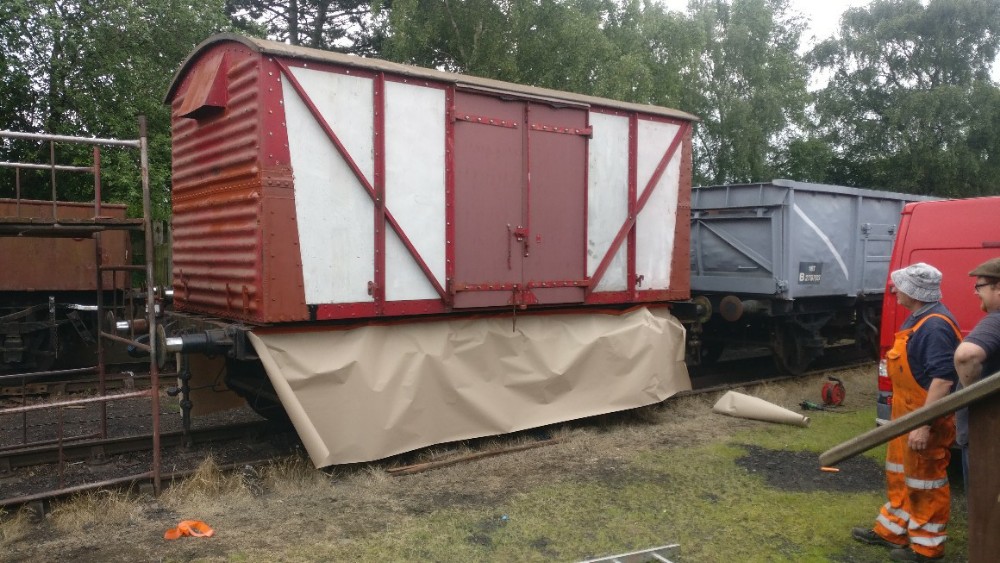
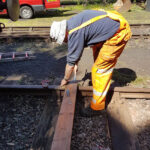
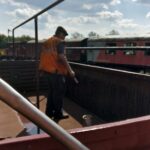
    Once scraped, Dave and I went round and painted any areas of bare metal and the tops of the wagons in red oxide primer.

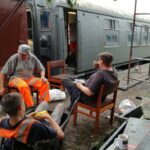
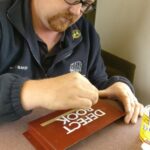
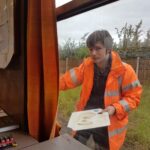
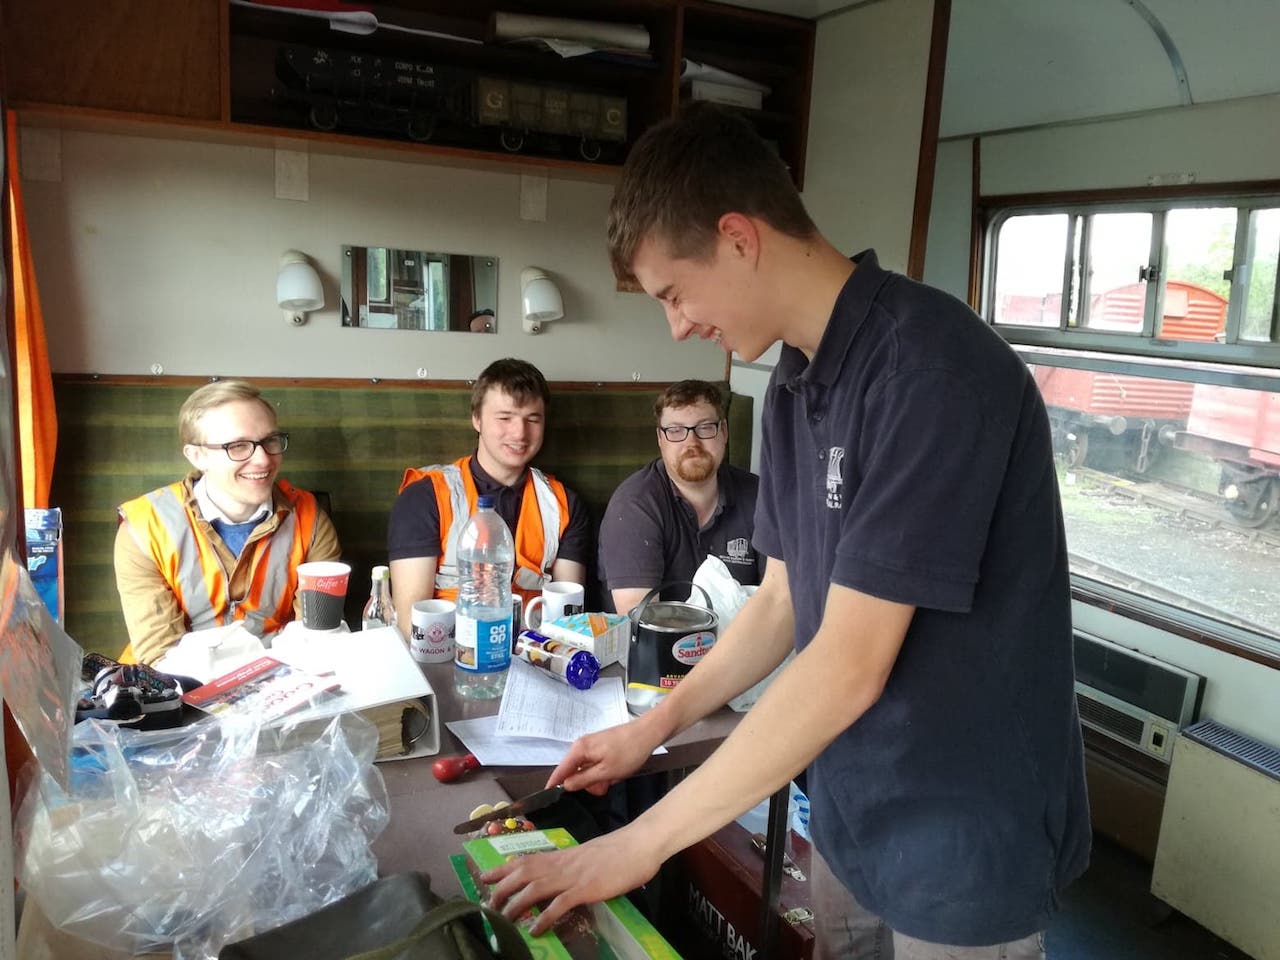
    It was then time for tea! Jake has now been with us for a whole year, so to celebrate he brought in a cake to share with us!

    59936588_427252461391490_7316106236137570304_n

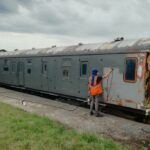
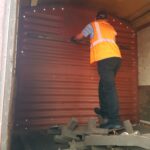
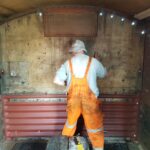
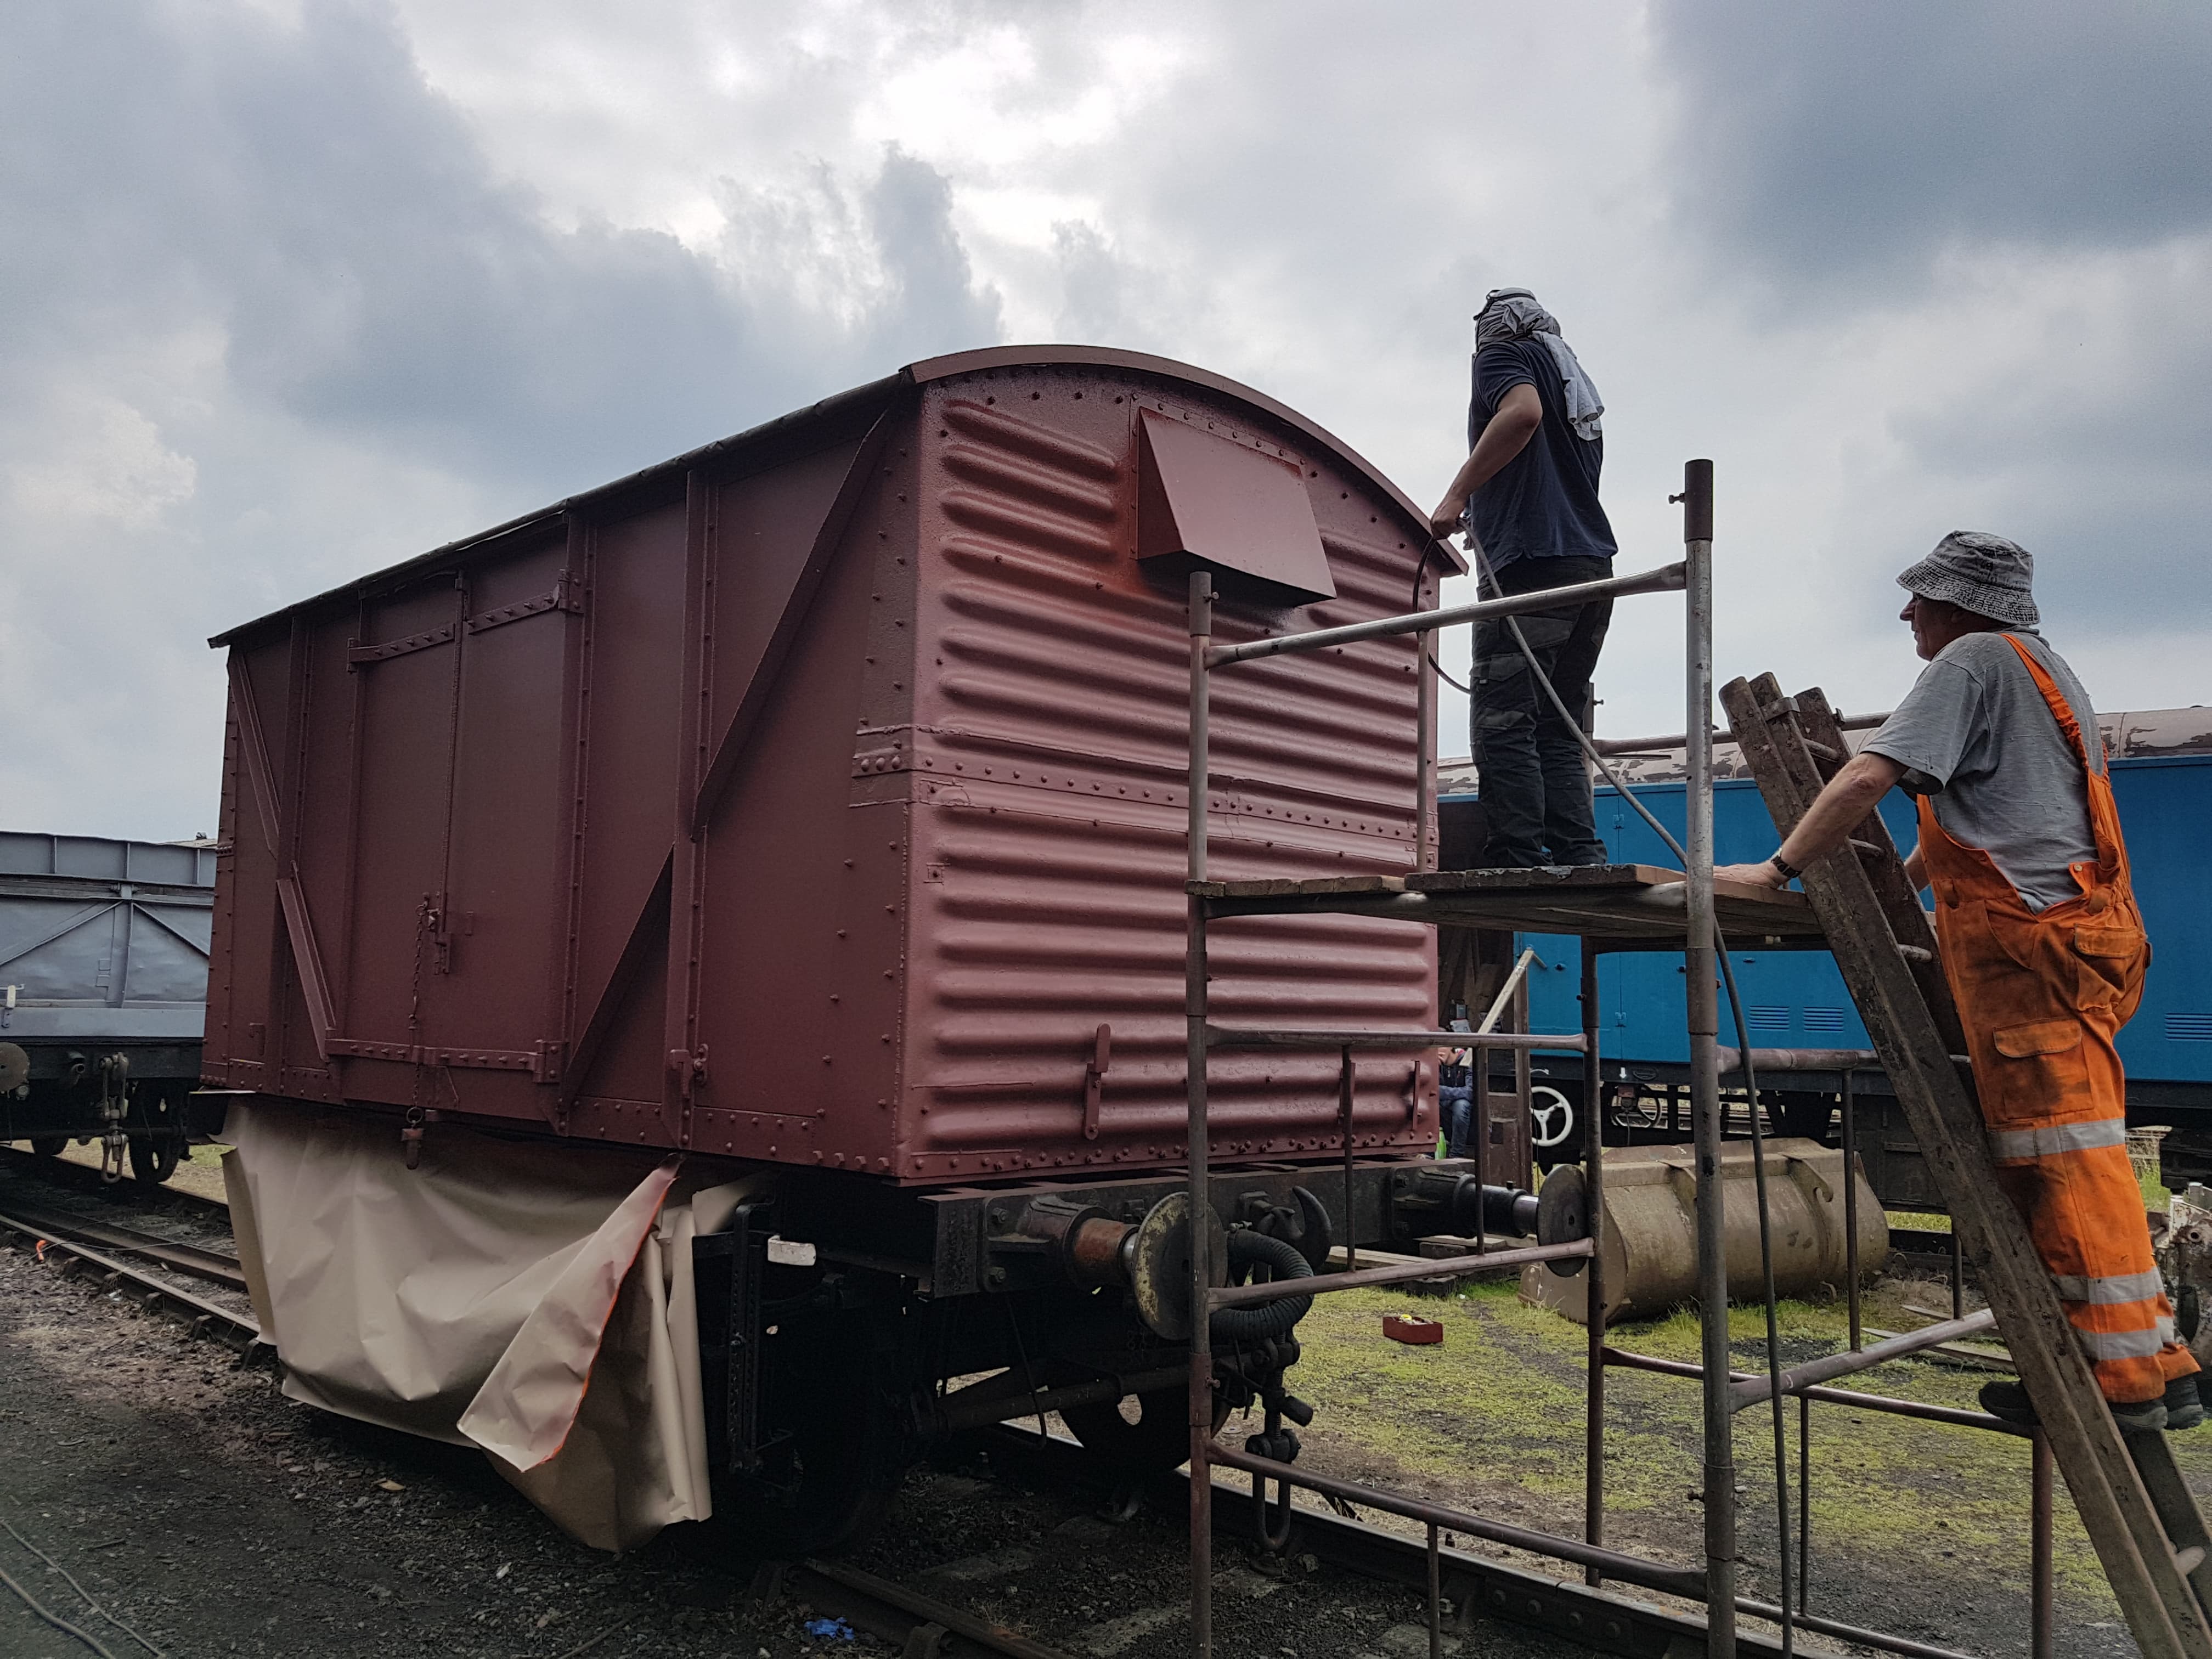
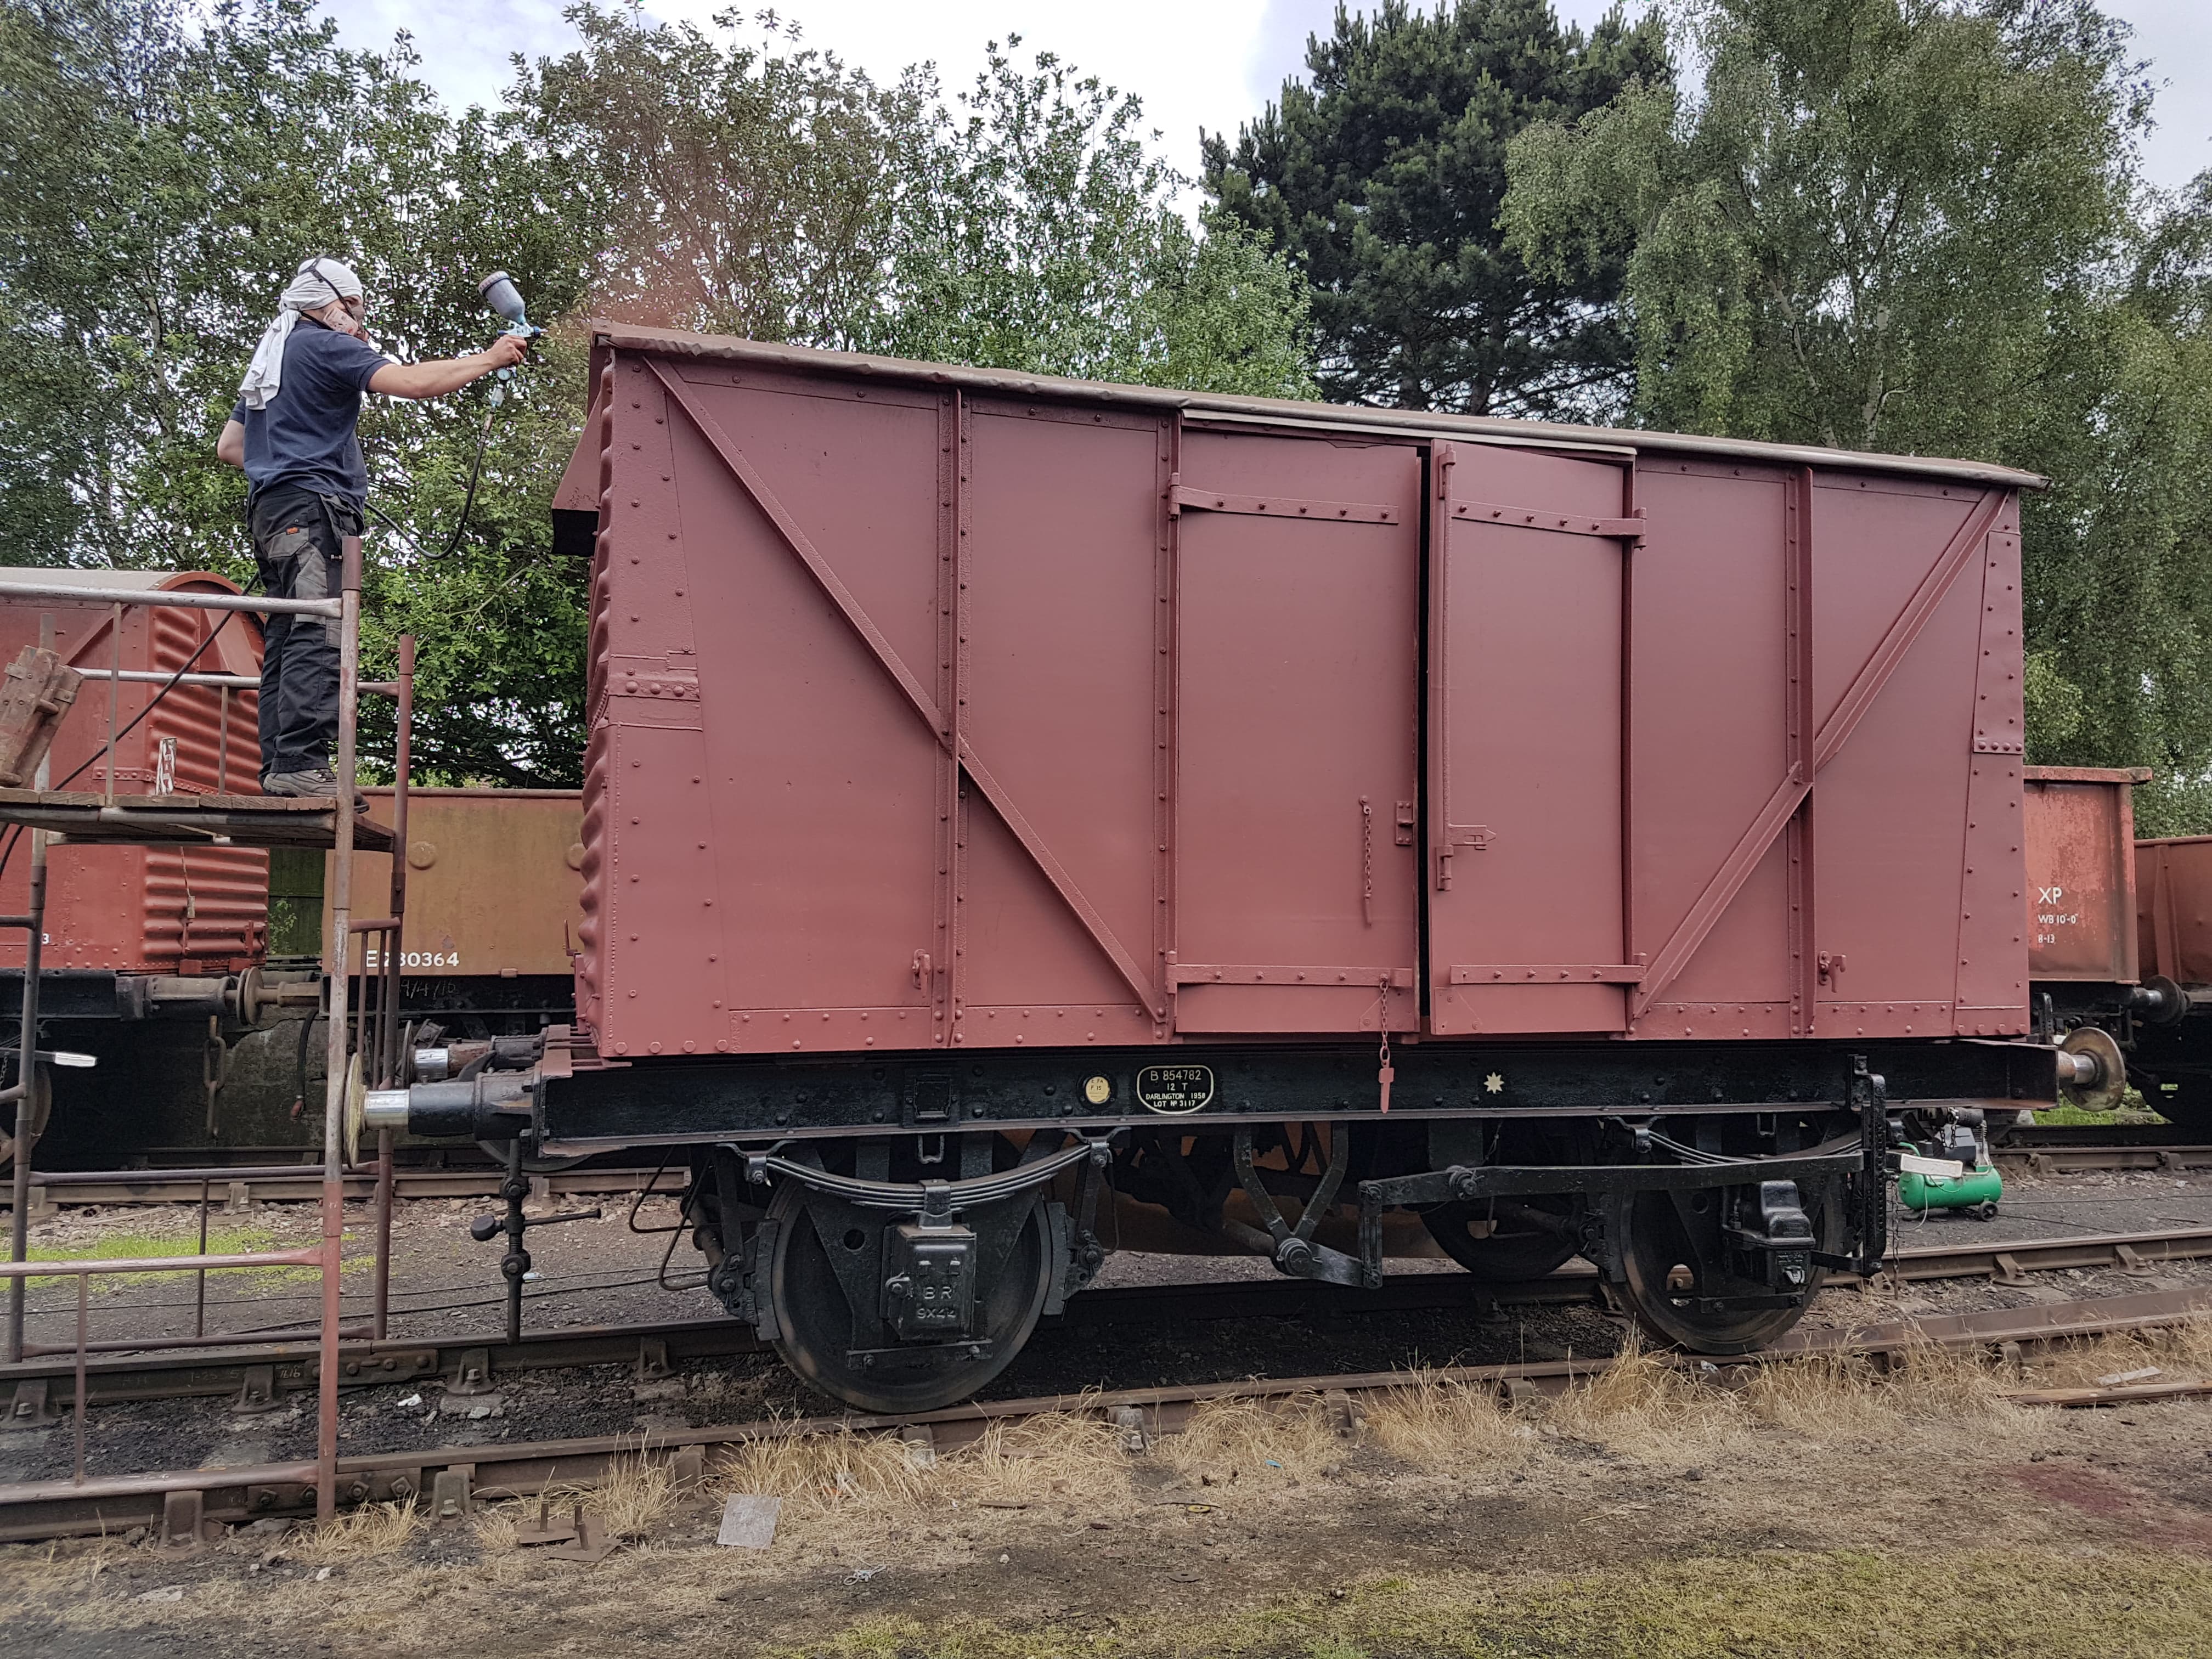
    After tea was drunk and cake consumed, I began spraying the wagons in undercoat and then handed over to Jake for him to complete the rest of the Shochood and the all the Medfit.

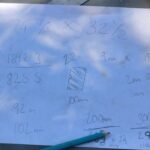
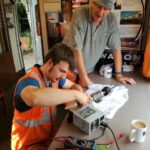
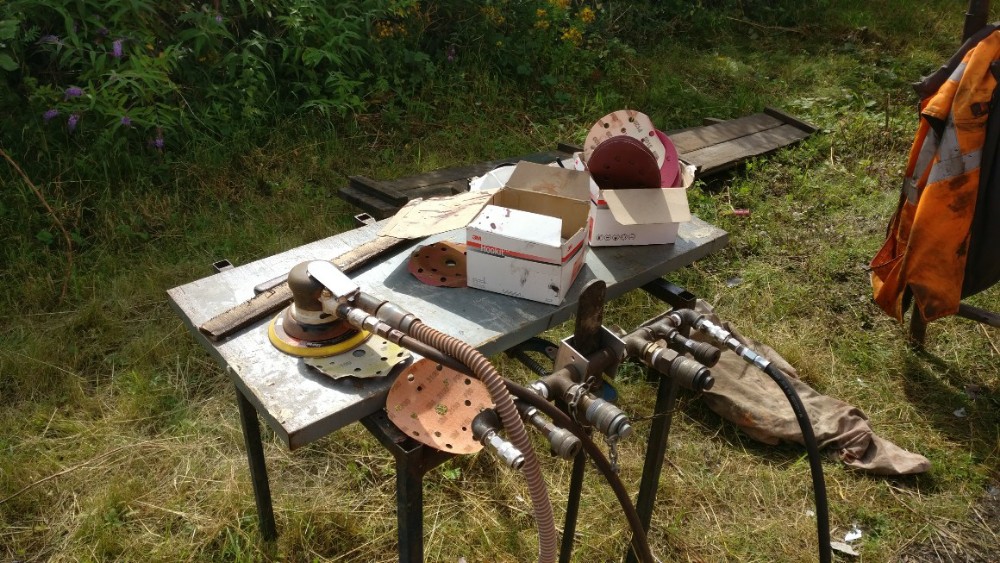
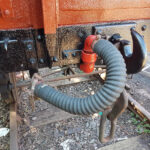
    While Jake was spraying, Dave and I started to make something I dreamt up. With the 2 compressors we now have (the Hydrovane and the one in TC2), I believe that we have sufficient capacity to run 2 spray guns at the same time. As such Jake could be painting one side, whilst I spray paint the other. For this I thought about making a manifold that can be hung from/mounted to the wagon so that we easily run a hose down either side of a vehicle. Dave and I ferreted around in the various boxes of fittings left in TC2 and managed to put something together where we can use any of the air hoses we have on site. This was put together and leak tested successfully.

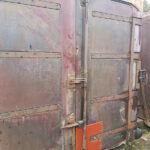
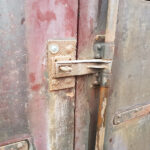
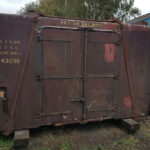
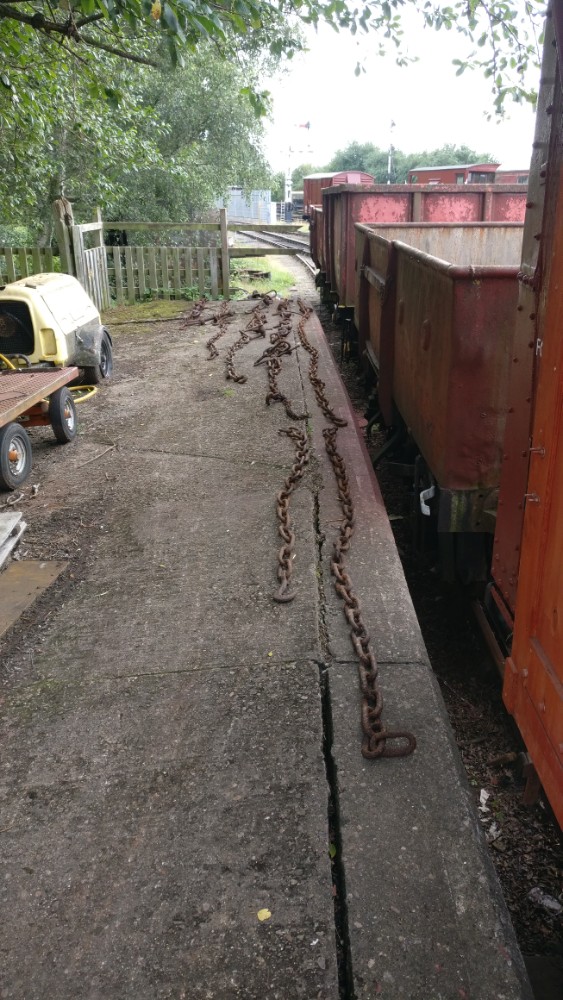
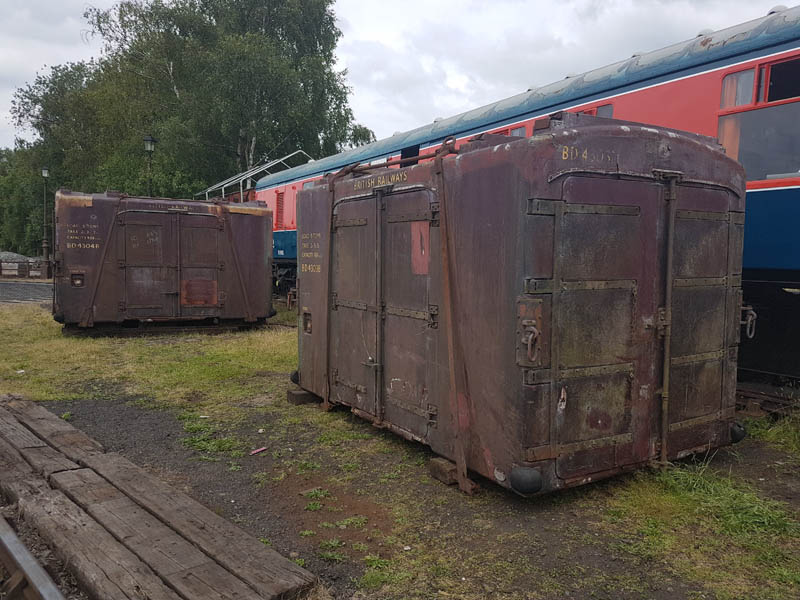
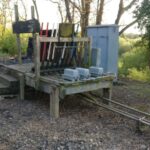
    To finish off the day, we removed 2 doors and a spare vacuum cylinder from storage  and placed our spare brake van stove back into store in the van train. The 2 doors are destined for the Yellow Coach to be reinstated in the luggage area.

    59891908_2113458472086626_6385832155368390656_n

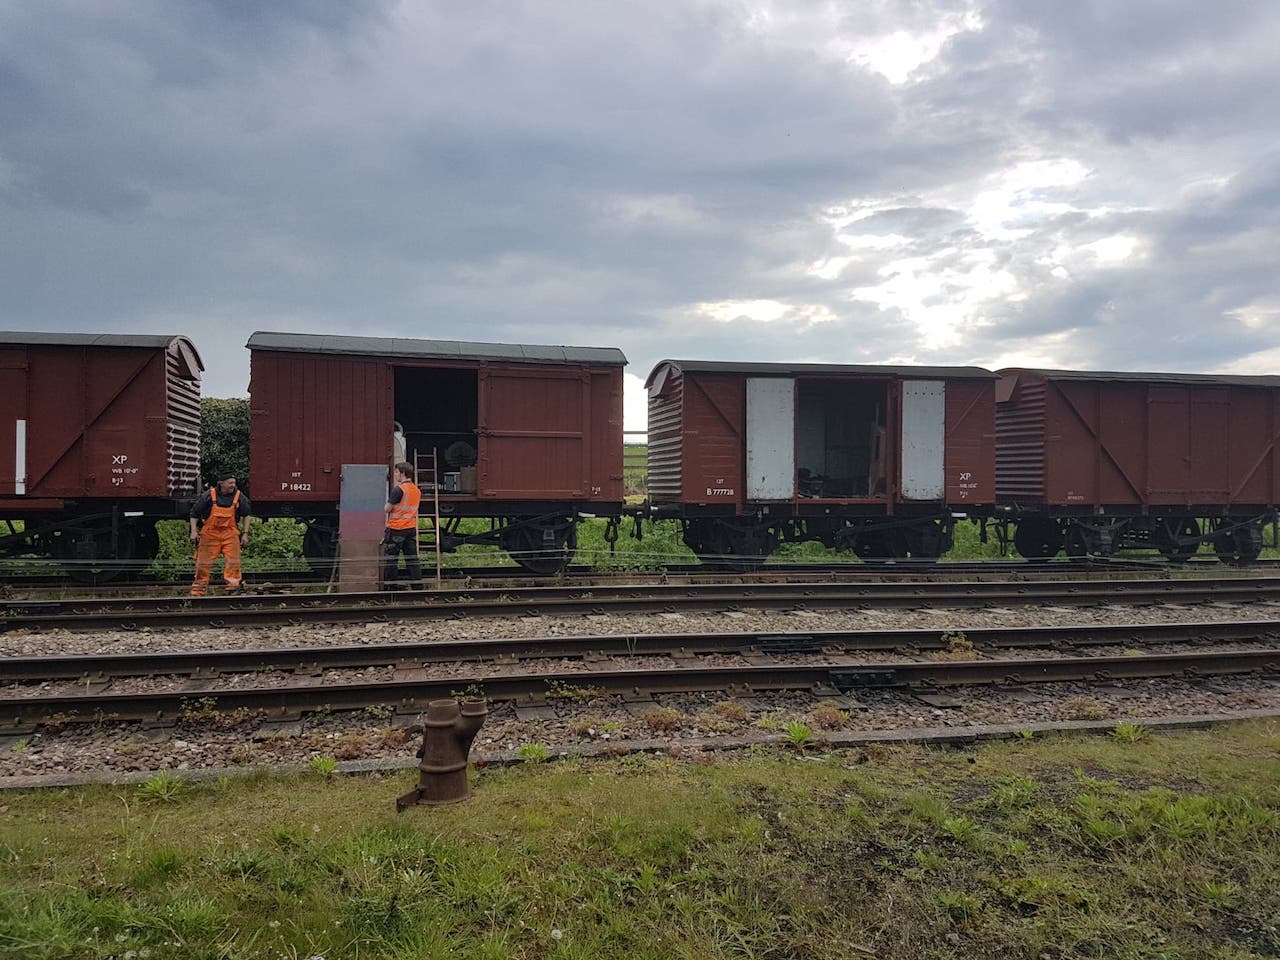
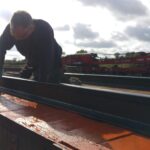
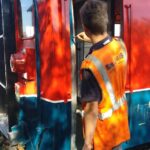
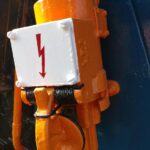
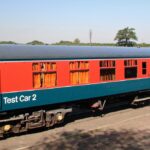
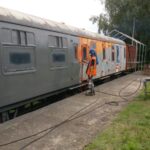
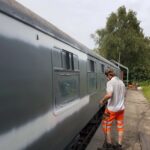
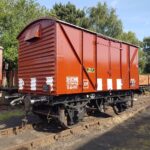
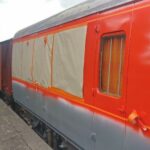
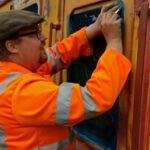
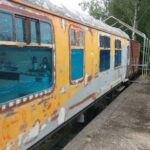
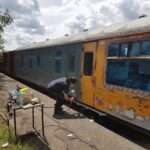
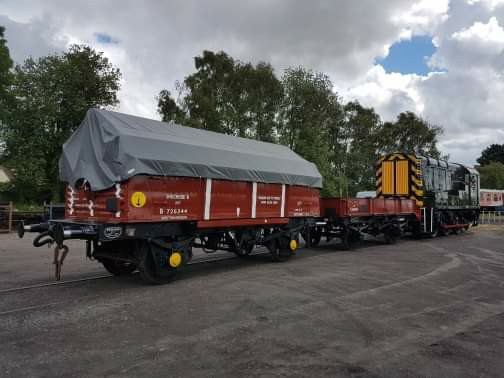
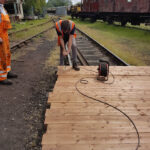
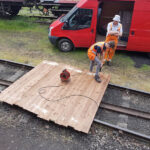
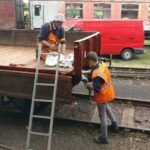
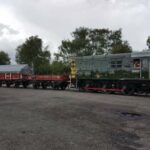
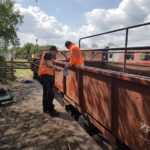
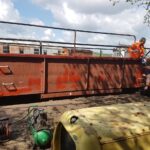
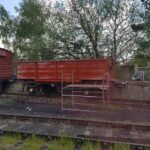
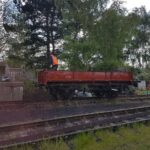
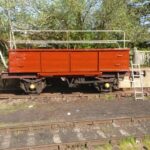
    On to Sunday, with glossing being the main order of the day. Jake had to spend the day revising for his upcoming GCSEs, so I took the lead with the spray gun and got the Shochood and Medfit painted into gloss. A personal best was set for 2 wagons painted before tea at 11.00! Prior to spraying the Medfit, Mat and Nick fitted its Bodyside Chalk boards. Caption competition time?

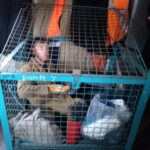
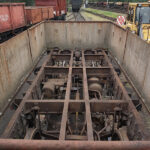
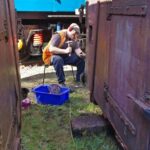
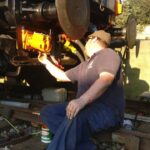
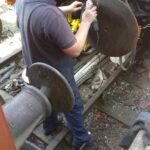
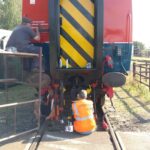
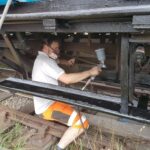
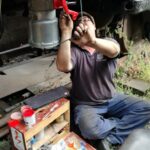
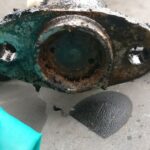
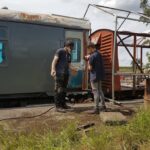
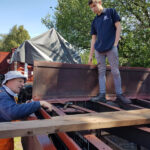
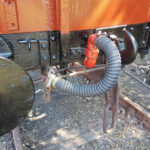
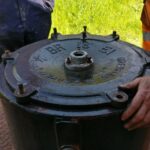
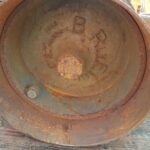
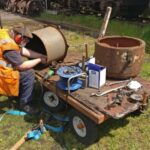
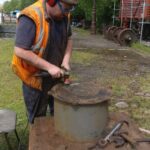
    With the wagons hardening off in the lovely warm sunshine, the team set upon the vacuum cylinder retrieved from the van train.

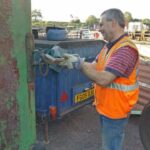
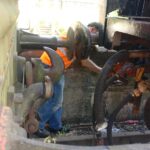
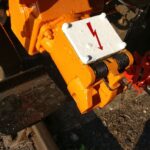
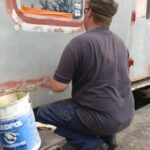
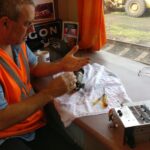
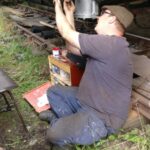
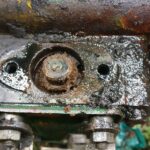
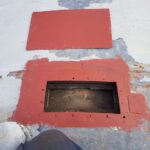
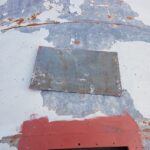
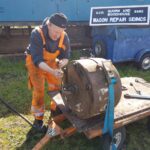
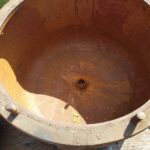
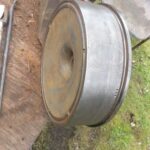
    Once opened up, the cylinder was found to have surface rust on the bore, and the piston stuck in its halfway position. The cylinder has been stored on its dome for around 20 years, so this is a lesson in the correct way to store a vacuum cylinder (vacuum cylinders should be stored with the piston rod removed, the with bottom of the cylinder lowermost). As the cylinder was stored incorrected, the seal had been compressed into the bore and the piston, making it very difficult to remove the piston. Like the last cylinder, an application of penetrating fluid and a sledgehammer had the piston out. Matt began cleaning the piston and cylinder using a wire brush on the grinder.

    I cleaned up the gland seal retaining bush and refixed it to the base of the cylinder.

    wp-15576919518991979050334786508793.jpg

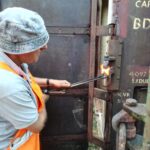
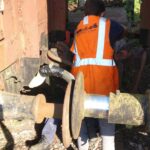
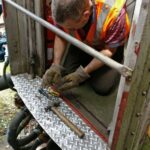
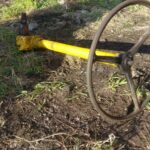
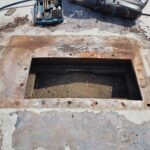
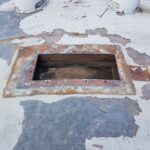
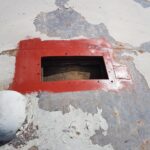
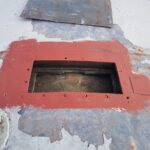
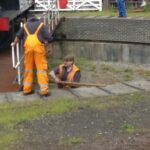
    Whilst cleaning the components of the cylinder, we were asked to assist with the turntable demonstration, where the turntable had got stuck. Matt lowered himself into the pit with our pinch bar to un-stick the turntable.

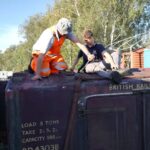
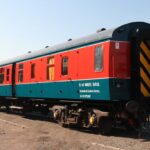
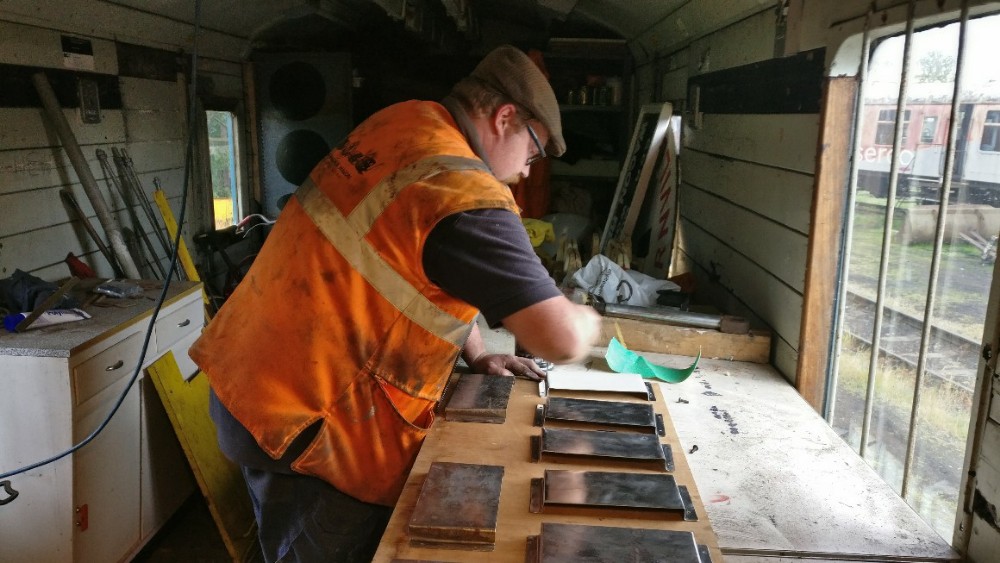
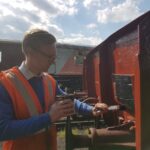
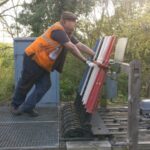
    Out of the turntable pit, Matt, assisted by Jack, started to paint some of the details on the wagons, starting with the sheet hoops of the Shochood. Jack stayed on the floor and painted the chalkboards on both wagons.

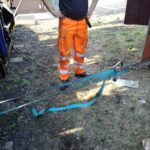
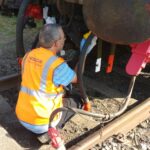
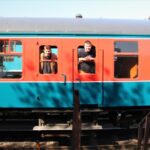
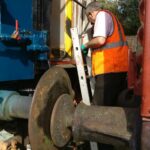
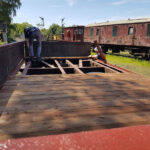
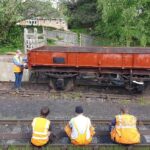
    With the paint again left to dry, we then went to Rothley to assist in removing 3 coaches from the train in preparation for their annual exams this coming week. In doing this, Matt became the last person to use the current Rothley ground frame before it gets removed this week, in the S&T work week.

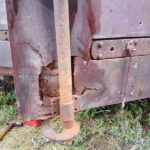
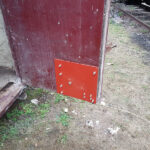
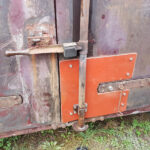
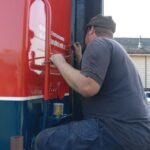
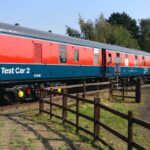
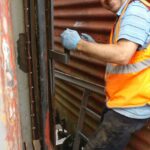
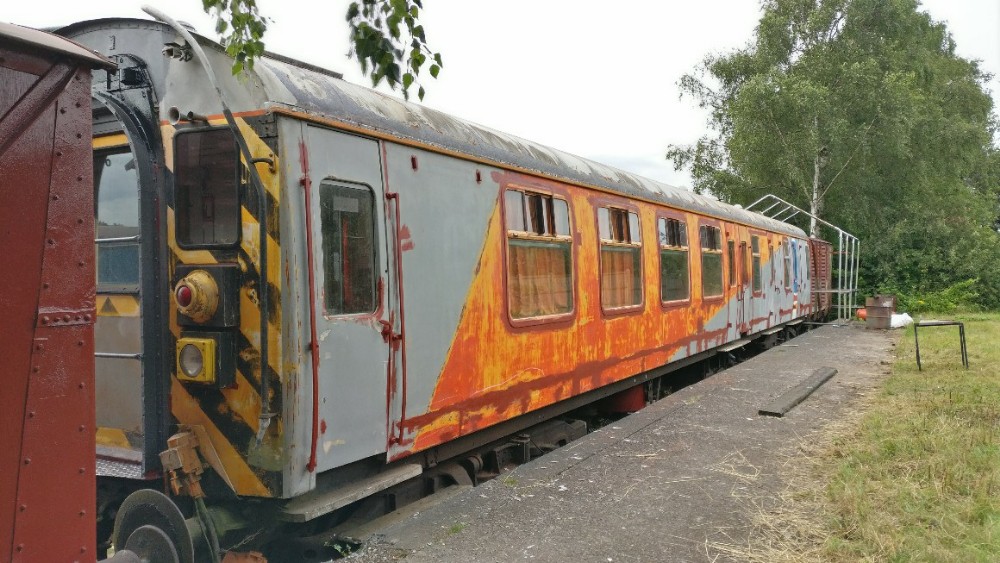
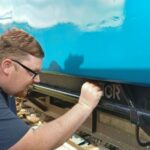
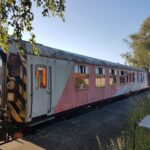
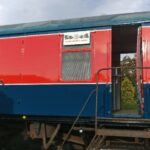
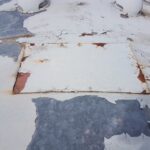
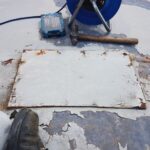
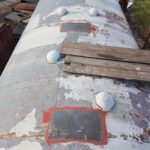
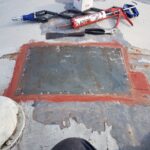
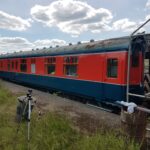
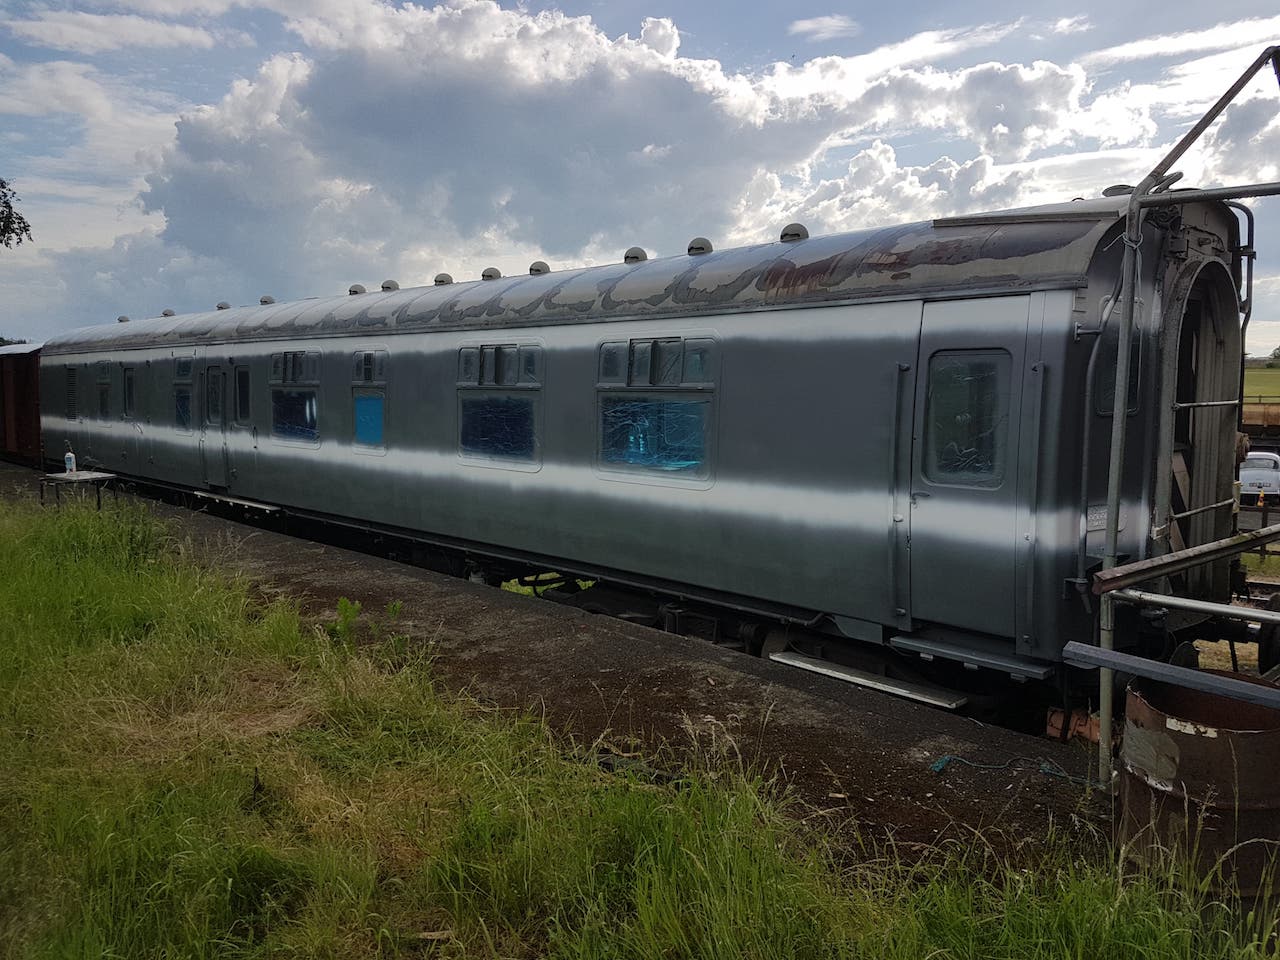
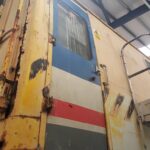
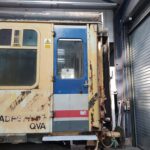
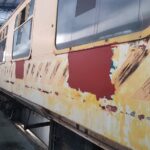
    Whilst at Rothley, we also looked upon progress on the Yellow Coach, with 2 new doors fitted at the south end of the vehicle, and 4 heater patches welded in, the coach is well on its way to recovery.

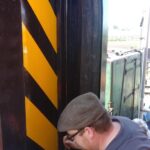
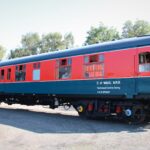
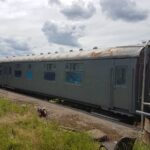
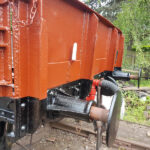
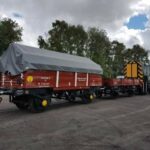
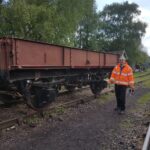
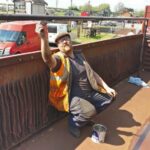
    There is still a fair amount left to do on the coach, including the ends and a “new” set of double doors in the luggage area. Back to Quorn, and the paint had gone sufficiently hard for Matt to apply the shock stripes to the Shochood B.

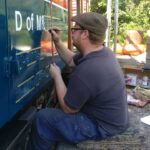
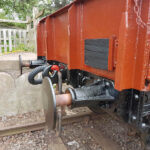
    The vehicles are nearly ready for traffic now, with the only thing left to do being to paint the underframes and apply the lettering.  Thank for reading this weeks chock full update! Join us again next week where we will hopefully have the Shochood B and the Medfit completed!

  • 28/04/19 -Operating arms and bases

    Good morning everyone and welcome to another update from Quorn. This weekend, we have finalised work on the LMS van and continued the overhaul of another 18″ wagon cylinder. We have also begun to strip out the interior of the Yellow Coach so that bodywork repairs can begin.

    Nick, Jake and Olly continued to refurb an 18″cylinder, scraping, wire brushing and abrading most surfaces of the components. The cylinder is a Westinghouse affair and has some detail differences between it and a ‘BR’ one, most notably the piston doesn’t have a ball valve in it. In our spares ‘department’ we only have E- Type release valves, which fit the standard ‘BR’ cylinders. The one for this cylinder has a ball valve as part of the release valve, which we don’t have one of currently. Perhaps there will be one in one of our box vans.

    Whilst Nick and the lads continued their work on the cylinder, Matt and I got stuck into the operating shaft of the LMS van. The arm extension that Matt had designed, and ably manufactured by Mick Carr at Loughborough (thanks Mick!), is designed as a bolt on extension to the stub left on the cross shaft. The ‘old’ arm was a rather soft steel, so drilled quite easily when one found a sharp drill bit. Sadly, not many of our drill bits are sharp so Matt racked up quite the kill count for drill bits this weekend.  He also left 2 drills smoking. I can’t say much though, as I broke a tapered reamer. Ouch! After a lot of struggling, the arm was fitted and tested. There was a slight rotation of the arm relative to the shaft, but we plan on having the arm welded where possible to increase rigidity.

    wp-1556523118173151295078350533271.jpgwp-15565231183806725555382291472951.jpg


    [wpvideo mkY1PrKf]
    On to Sunday, and a change of scenery. A while ago, our mess vehicle, the Yellow Coach was shipped off to Rothley for some very much needed bodywork attention. Jamie and Pat have now surveyed the vehicle (and affectionately named it Booths) and told us where we need to strip to reduce the fire risk when it comes to cutting out and welding. Matt and I stripped out all the body-side gas heaters, which we don’t plan on using again, and Nick and Olly started to remove the panelling around the window in the first class toilet, where whoever had fitted the plastic window had used steel machine screws in the aluminum window frame. Brass machine screws should have been used. The body-side heaters put up very little resistance and made their way to the scrap pile. Matt then concentrated on one of the mess area windows, and I set upon the kitchen. The fridge was disconnected and removed, and the oven received a similar treatment. The wall cupboard was cleared out and removed, and then I set upon the body-side wall paneling. The kitchen has an electric heater under the window. I disconnected and removed this and discovered historic fire damage on the wall behind it. When it comes to reassembly, we now have to opportunity to give the kitchen a deep clean.


    We left Rothley with items we had wanted to keep from the yellow coach and returned to Quorn to tidy them away. Matt also took some time to admire his work on a sign he is working on for Renaissance Rail Cars.

    wp-15565231174547402620111642014105.jpg

    Thanks for reading, and join us again next week for some more adventures of the wagon variety.

  • 07/04/19 – Getting round to the end

    Thanks for joining us for another QWW update. This week we have been working on progressing the LMS van, M500954. Those of you who follow our Facebook page will already know that on Monday, Matt had popped in after this early shift at work to signwriting the still drying van. The van is now signwritten, but will receive its XP rating once the vacuum cylinder is refitted as intended.

    On to Saturday and Nick and Matt began by finishing scraping and wire brushing both ends of the van. The north end required a capping wood trimming, then the remainder of the paint removing.

    Whilst removing the paint, we found some more concrete evidence as to the van’s new number. As we have mentioned previously we settled on 500954 as it was the most likely number from the disposal list of 1000 vans. The van was recorded as withdrawn at Barassie works, and its final location recorded as Inverkeithing. This is the only van of those withdrawn at Barassie that wasn’t broken up there, and it ended up 1 mile from Inverkeithing as an internal user at MOD Rosyth.

    Getting to the point, we uncovered the roof covering date: “7090; 23.10.54”. The depot code for Barassie is 7090 in the 4 number code system. This confirms the van was in Scotland towards the end of its revenue earning service. This we know, as the van was withdrawn at the same works in period 8 in 1967. It was then recorded at Inverkeithing in period 13, 1967.

    wp-15545851386814579001820699400838.jpg

    Once the ends of the van had the paint removed and wire-brushed, I set about applying primer, then undercoat and then top coat to the ends. Whilst I was doing the north end, Matt and Nick fixed the buffer identified as loose last week, which involved an item we have stored in the corner of our tool van, but never once used; a buffer clamp. Usually, we would pin the wagon down and then compress the buffer using the forklift.

    On to Sunday, and with it I found myself out of action performing repairs to my car for a forthcoming MOT. I was on site however should any assistance be required. Matt and Nick set about scraping the tin roof of the LMS van clear of its flaking paint, and applying a coat of bitumenous paint.

    Matt also reapplied the roof covering date to the north end of the van were it was found. He also picked out the lamp brackets in white, as this is intended to be a fitted vehicle. Finished with the roof, Matt and Nick set about using up what was left in the bitumen tin by painting the south end headstock.

    I’m now signing off for 2 weeks, as I am again journeying to Greece. Join Matt again next week for more tales of the LMS van story!

  • 24/03/19 – First (spray) Paint

    Thanks for joining for another update! Work this week has continued on the LMS box van. Last week, it was left with 5/6 side sheets replaced, so this week we completed the re-cladding of the van. When I’d arrived, (admittedly later than usual) Matt and Nick had undone most of the bolts holding the remaining cladding to the vehicle. Once the internal cladding had been removed, the planks were removed.


    The door on this side of the van has always been stiff to open, so with the side out, Matt began to investigate why.  He began by removing a bit of angle iron that was rubbing on the door, a sort of steel draught excluder.  This helped, but didn’t completely solve the issue. With Matt out of the way, Jake cleaned and painted the backs of the steel uprights, in preparation for putting the boarding back in.


    Once started the cladding came together extremely quickly; a blink and you’ll miss it moment!

    wp-15535001652288240665825837648243.jpg

    As with the other corners, this was then fixed into place. Matt, meanwhile, began repairing a hole in the van’s end pressing. As mentioned before, we don’t have the ability to weld in the south yard, so any metal repair has to be bolted or riveted. Matt spent his time in the RAF as an Airframe technician, carrying out riveted repairs to Nimrod airframes among other things. Using the skills honed in the RAF, Matt set about fabricated a patch to go over the lack of metal at the bottom of the end pressing.


    As Matt was at the Bluebell Railway on Sunday, Nick and I finished up riveting the plate into position. Also on Sunday, Jake continued his practise at using the spray gun, and both he and I got both van sides into wood primer. Whilst we tackled the Dock side, Nick continued fettling the reluctant sliding door on the west side of the van, and sealing the side of the van.


    The painting and the door fettling completed, we turned our attention to the Shochood B and Medfit’s vacuum system. At some point in the past, unknown to us, these vehicles had had their vacuum systems isolated, so were effectively running through piped. We completed the system, and began to diagnose. Nick gathered together some branch pipes and set about reconnected the cylinders. Doing this first step allows us to diagnose the vacuum system, and see where we need to next turn out attention to. That done, I freed the vacuum test rig from the corner of the tool van, and assemble its hoses to begin testing. results from the testing are as follows: the Shochood B requires a new vacuum hose at the south end, and the Medfit requires 2 new hoses and a cylinder overhaul. Though we are thinking about a quieter test rig! (ours is powered by a Lister-Petter diesel engine, so an electric motor probably won’t go amiss!)

    Thanks for reading, and who knows what we’ll be doing next week!