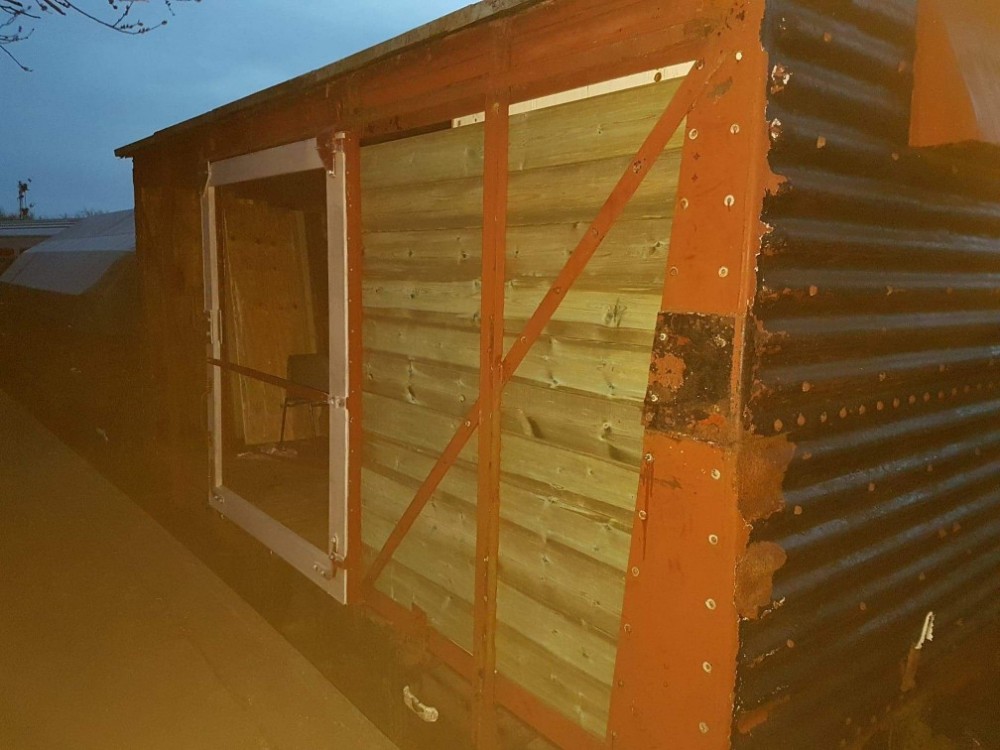
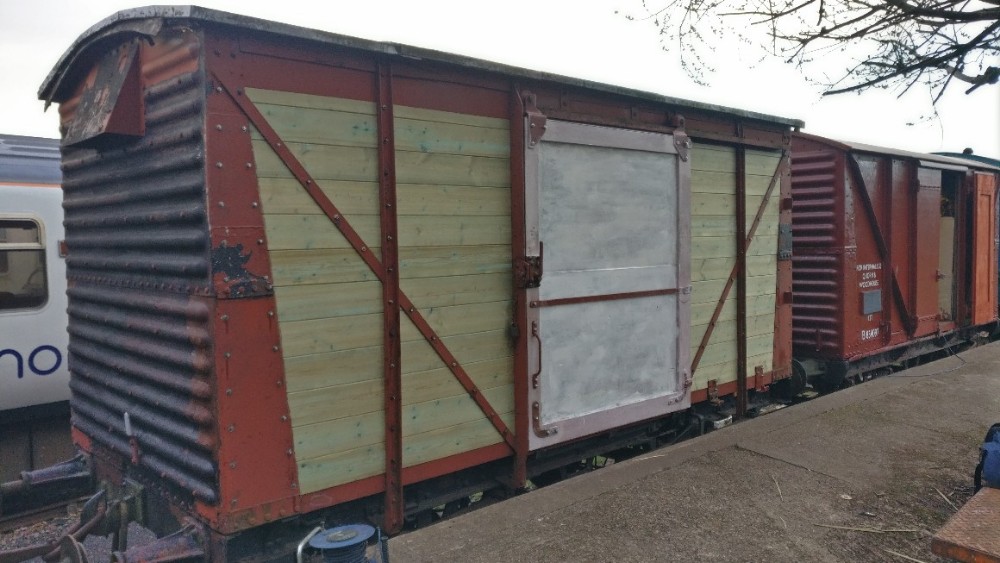
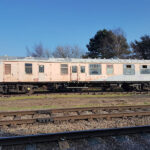
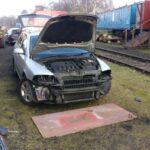
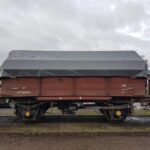
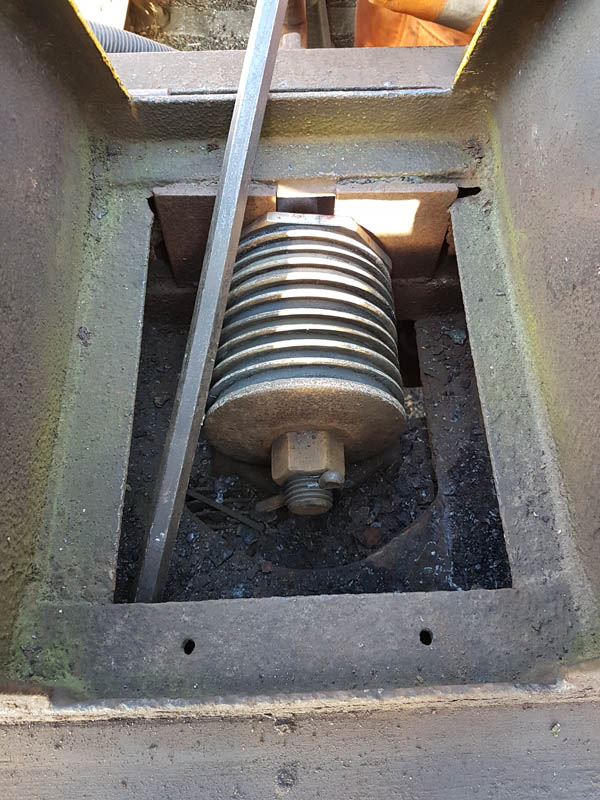
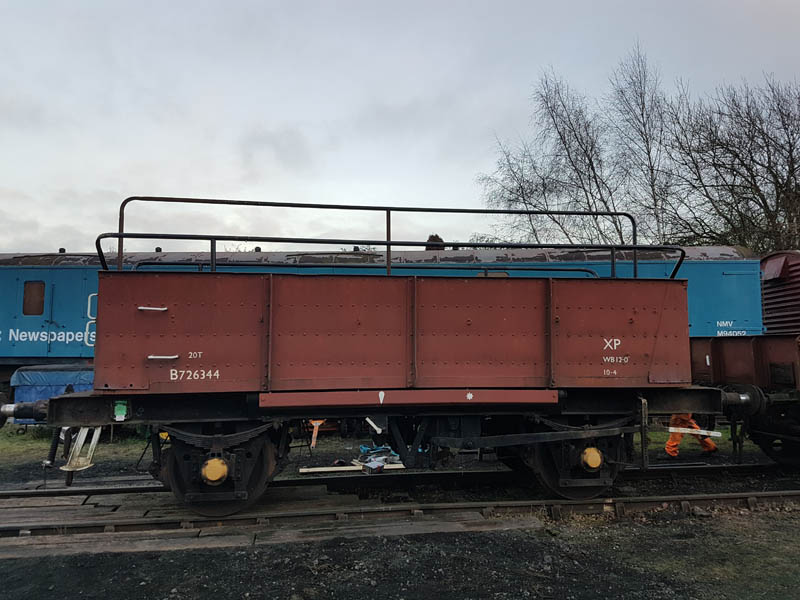
Good morning everyone and welcome to another update from Quorn. This weekend, we have finalised work on the LMS van and continued the overhaul of another 18″ wagon cylinder. We have also begun to strip out the interior of the Yellow Coach so that bodywork repairs can begin.
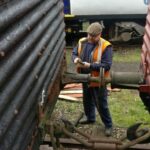
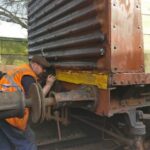
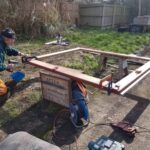
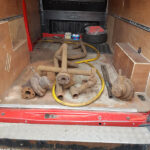
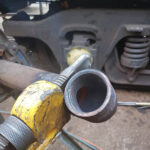
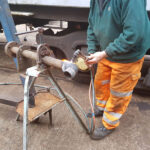
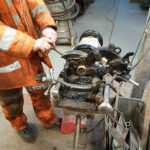
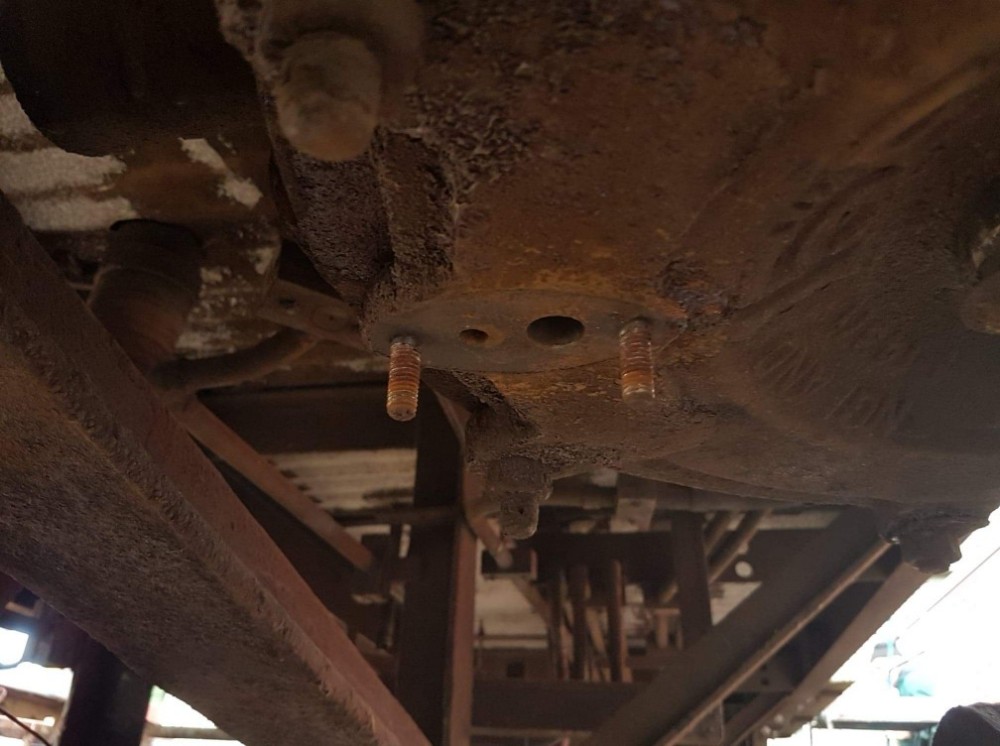
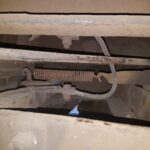
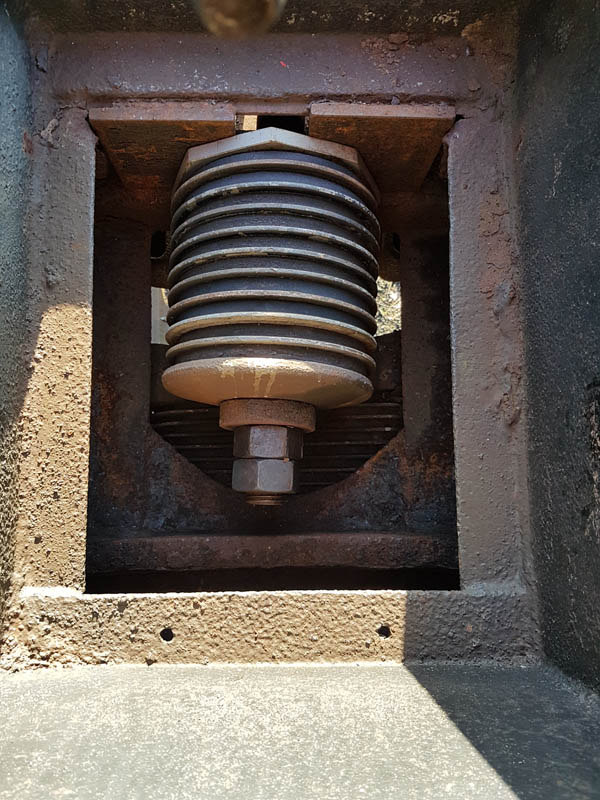
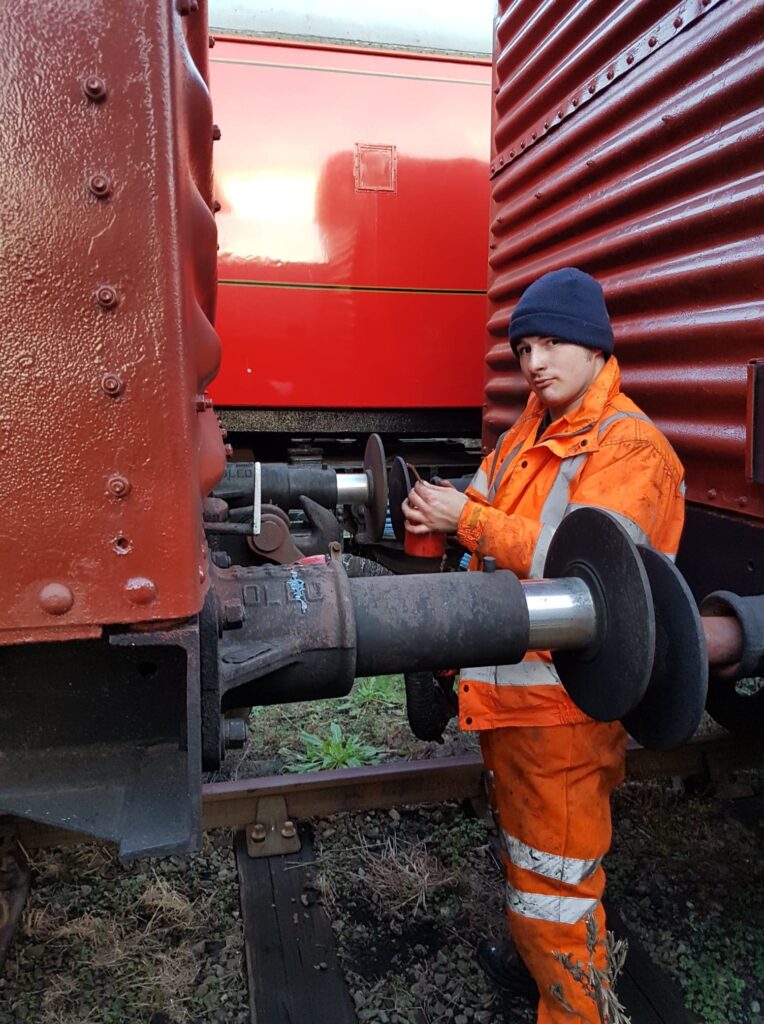
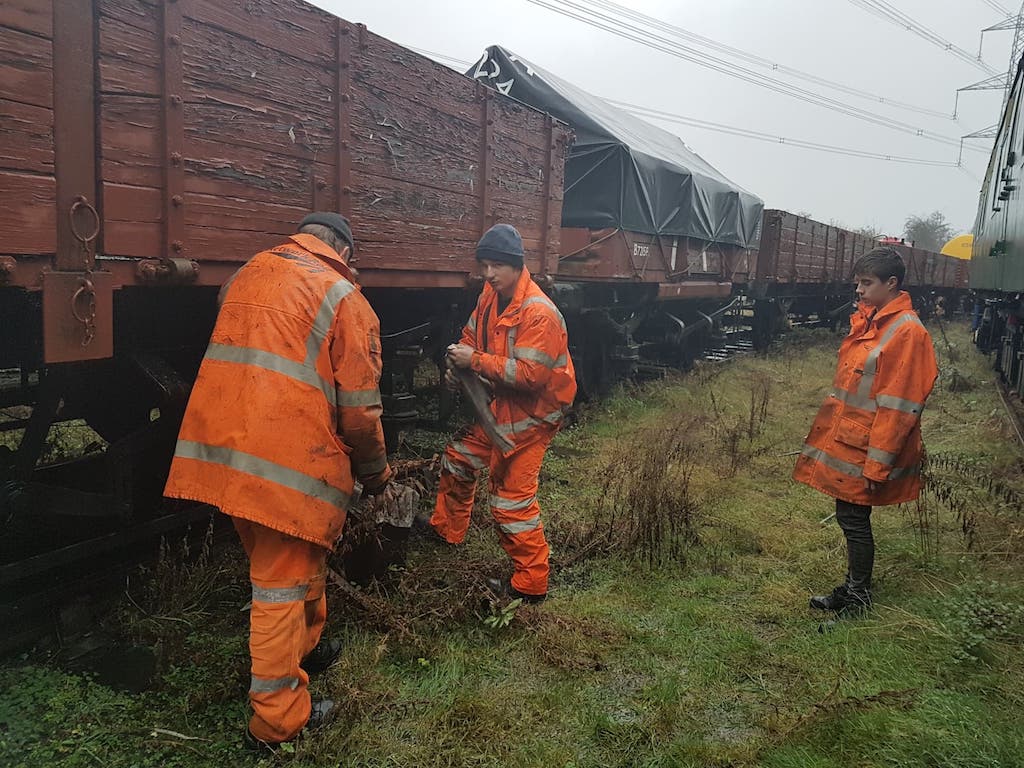
Nick, Jake and Olly continued to refurb an 18″cylinder, scraping, wire brushing and abrading most surfaces of the components. The cylinder is a Westinghouse affair and has some detail differences between it and a ‘BR’ one, most notably the piston doesn’t have a ball valve in it. In our spares ‘department’ we only have E- Type release valves, which fit the standard ‘BR’ cylinders. The one for this cylinder has a ball valve as part of the release valve, which we don’t have one of currently. Perhaps there will be one in one of our box vans.
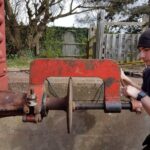
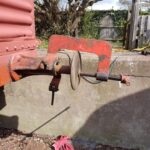
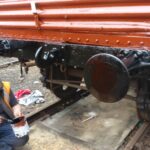
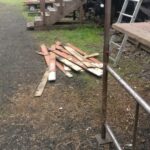
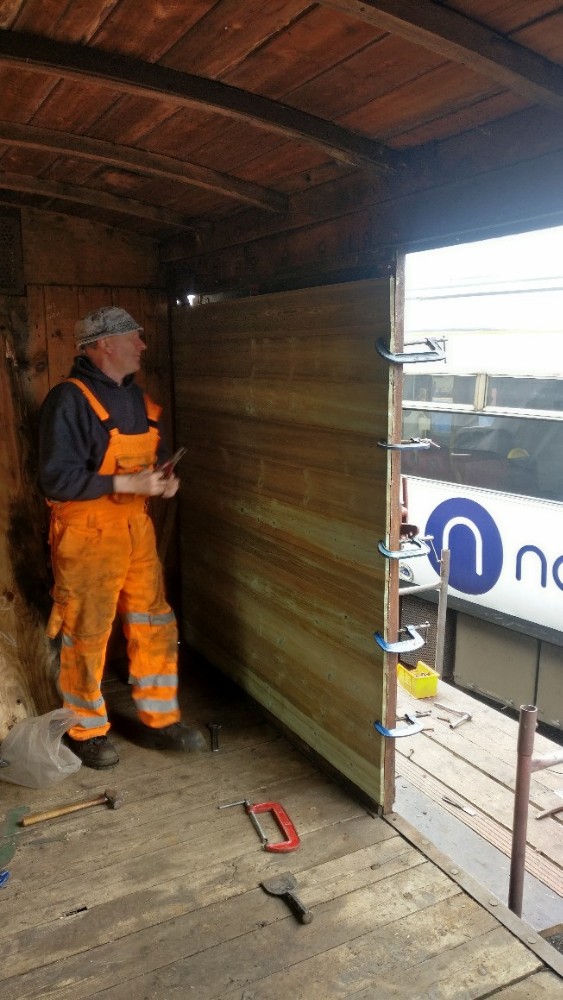
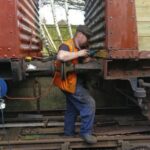
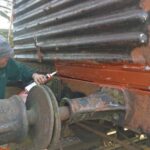
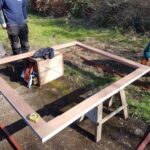
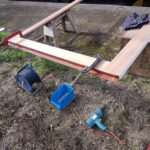
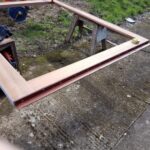
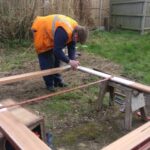
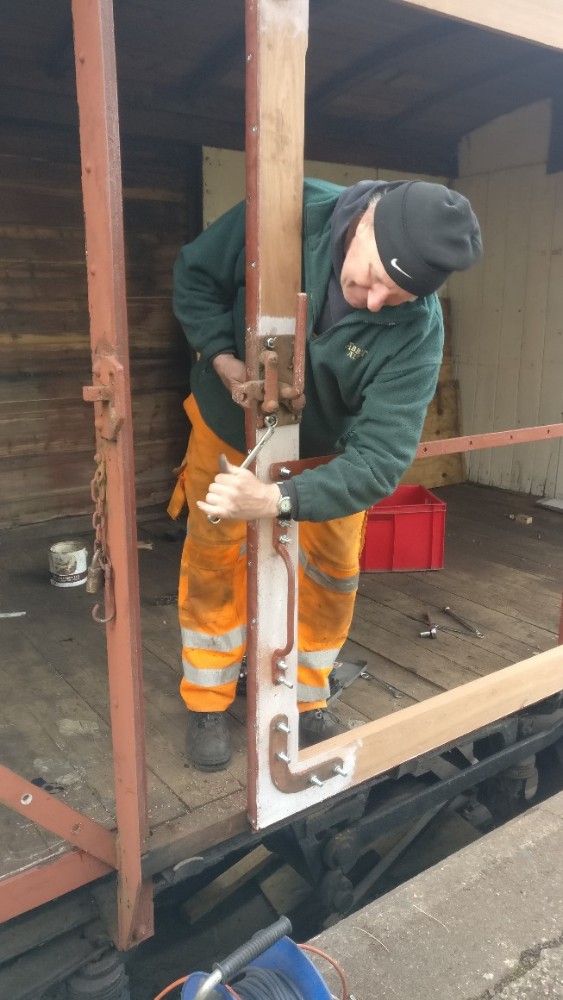
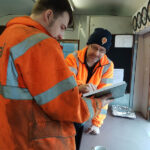
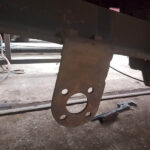
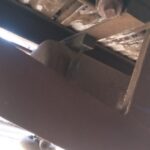
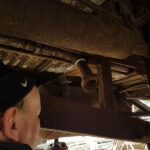
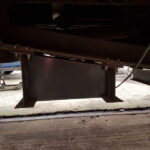
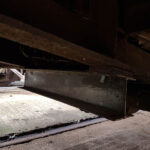
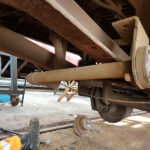
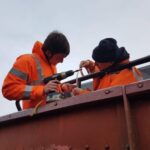
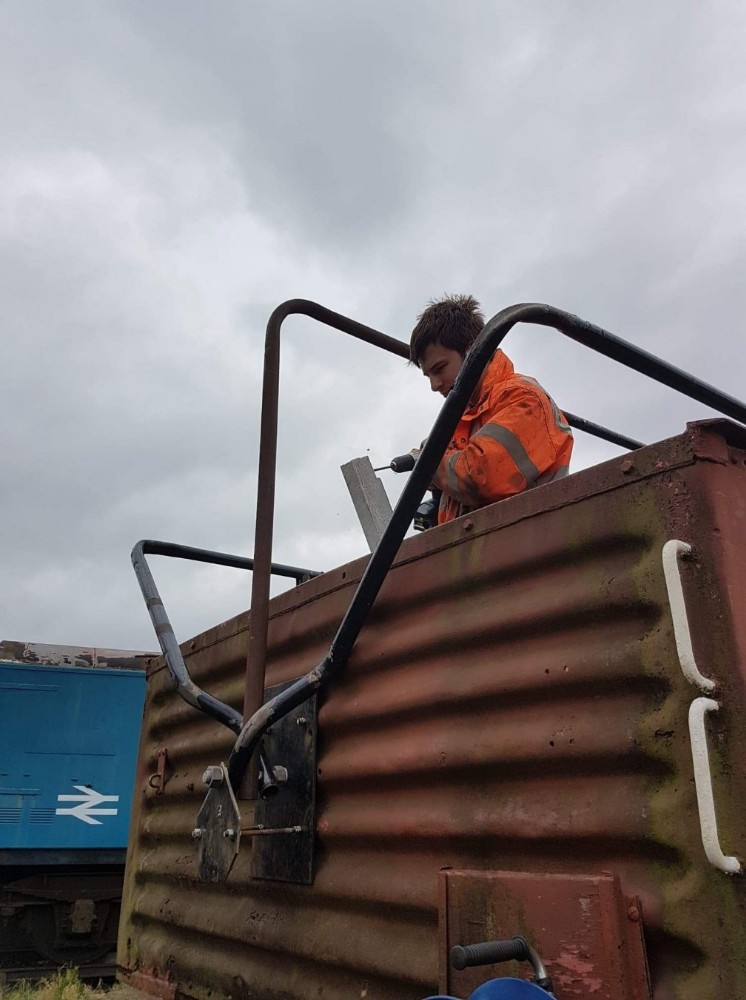
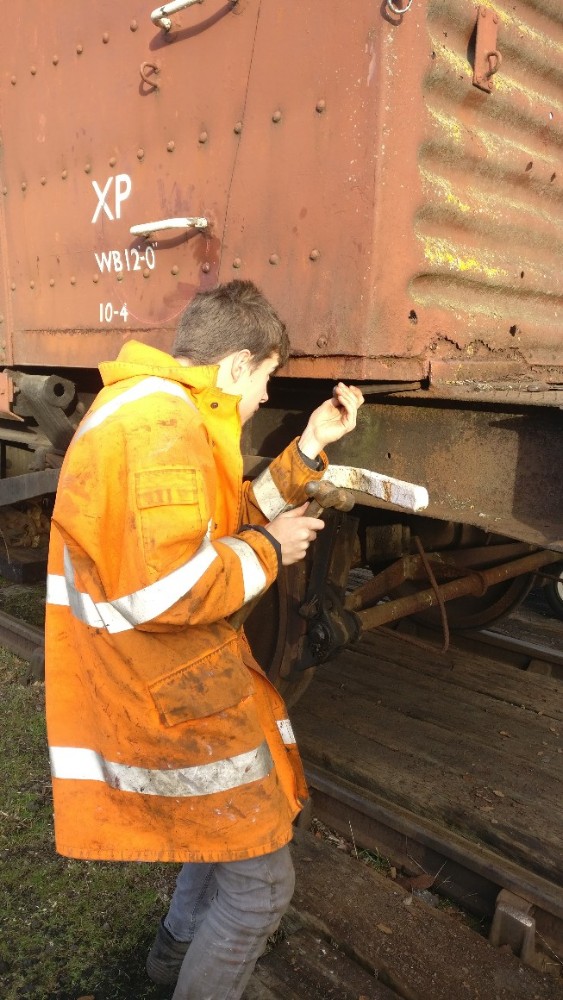
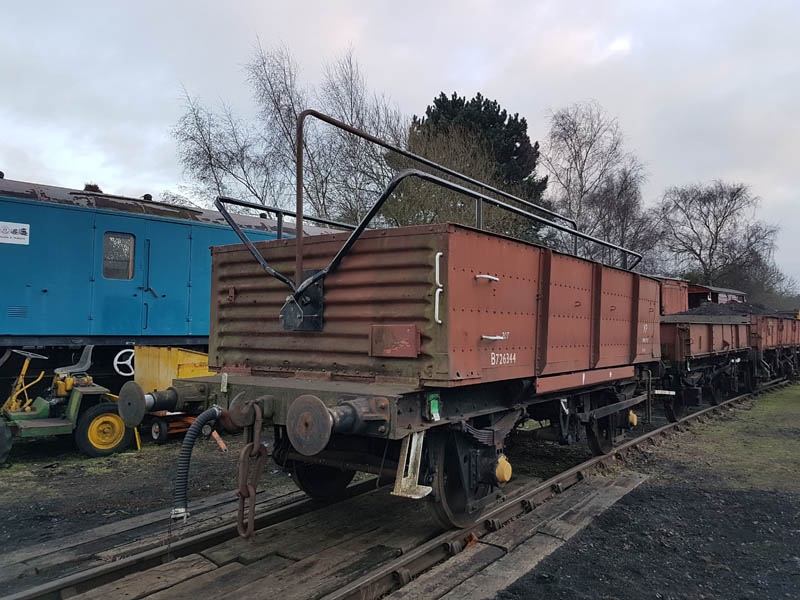
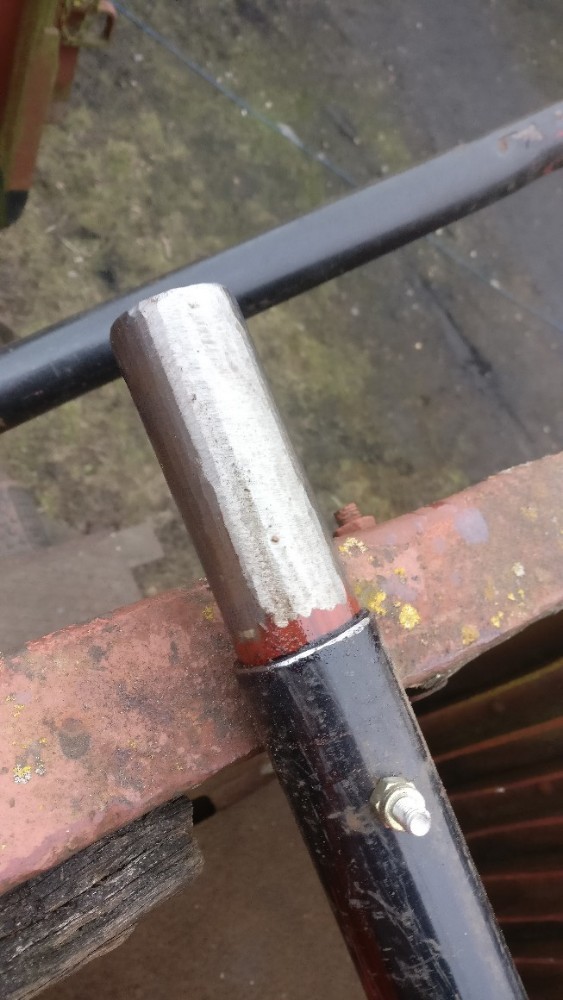
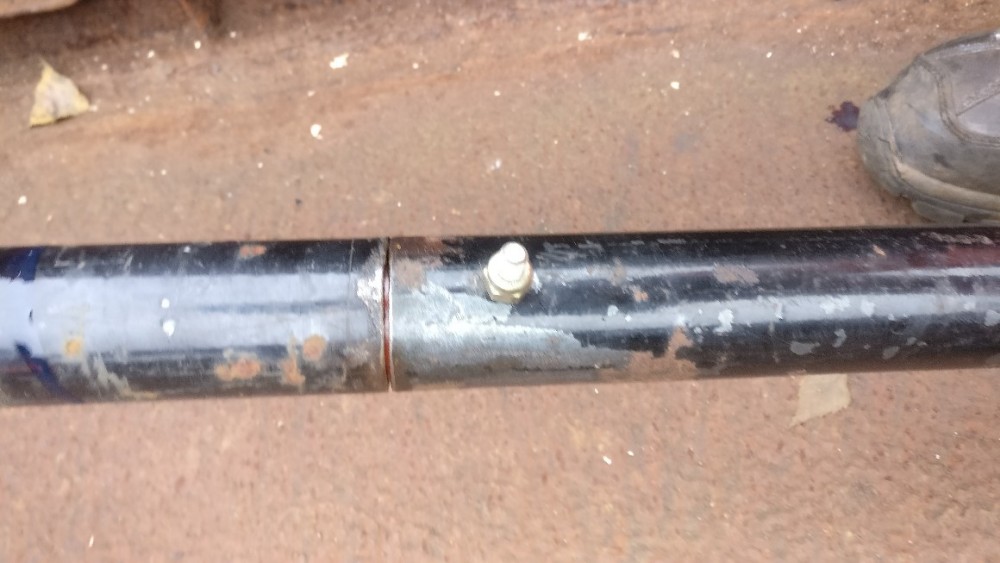
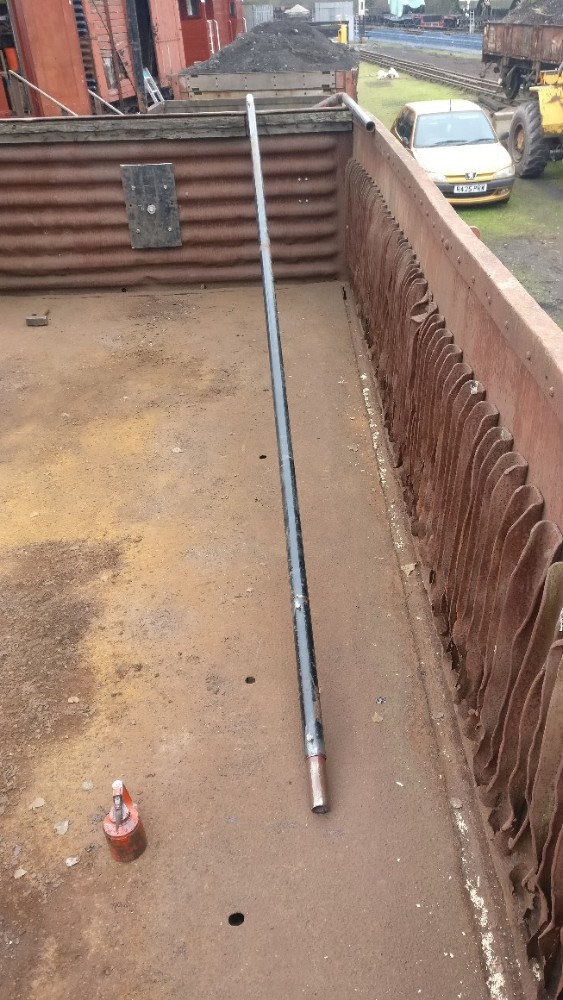
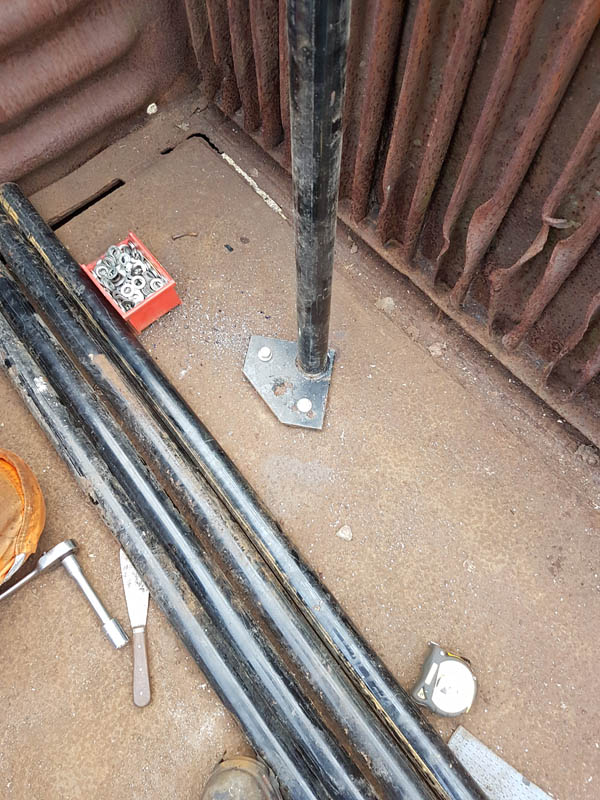
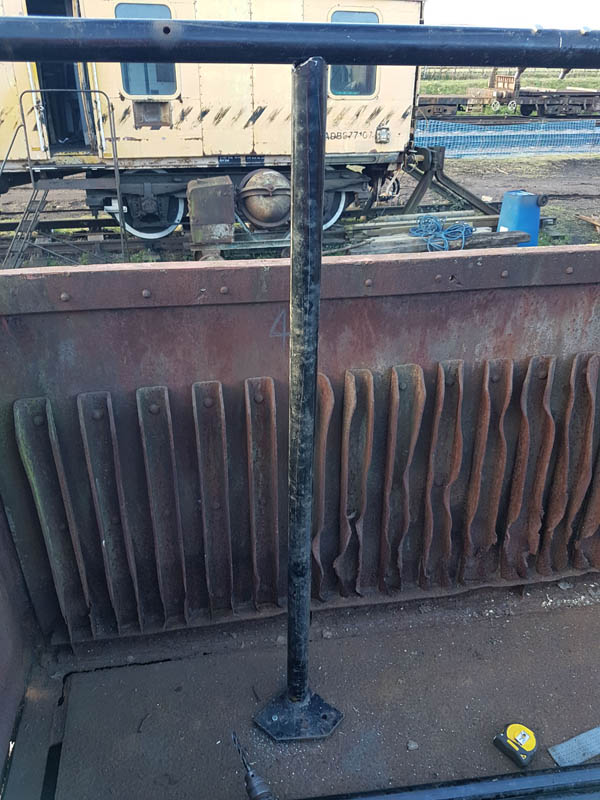
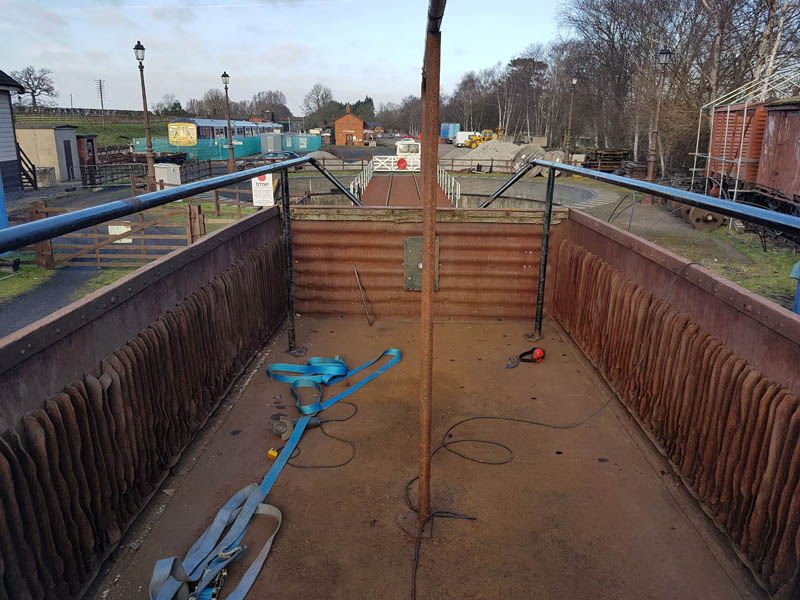
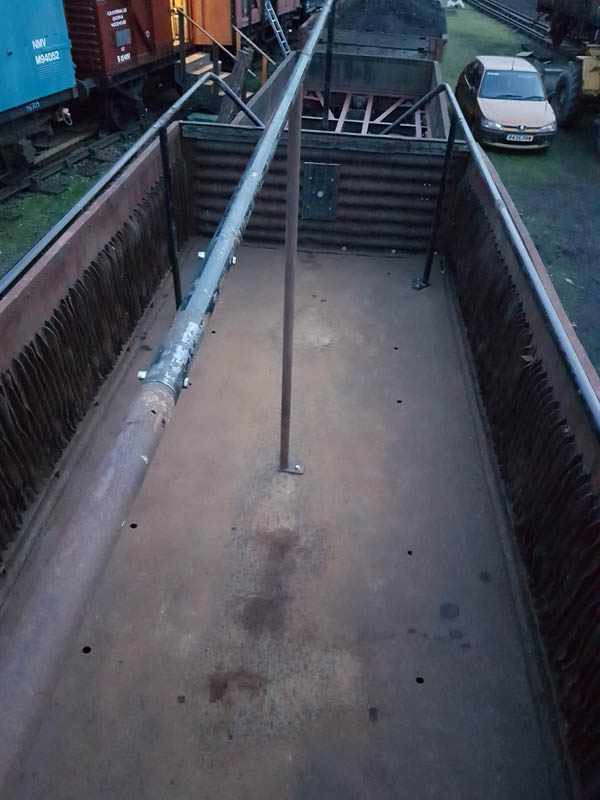
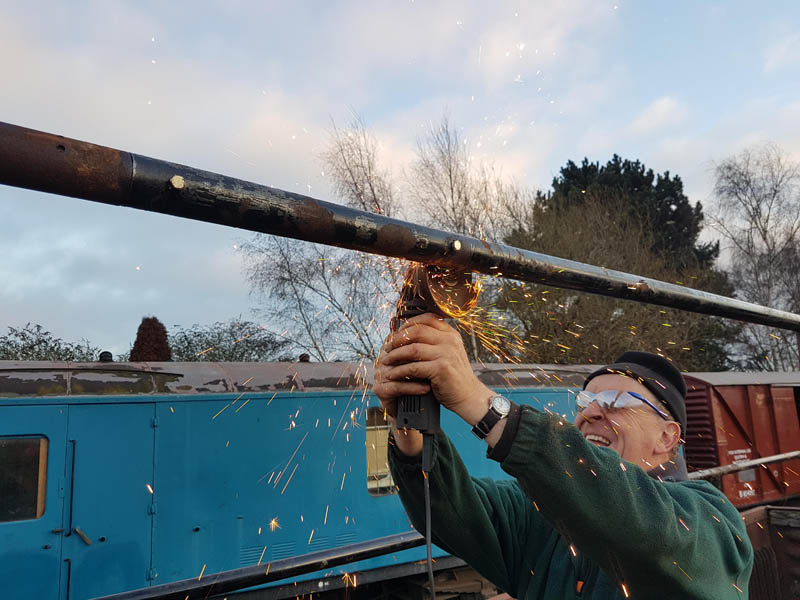
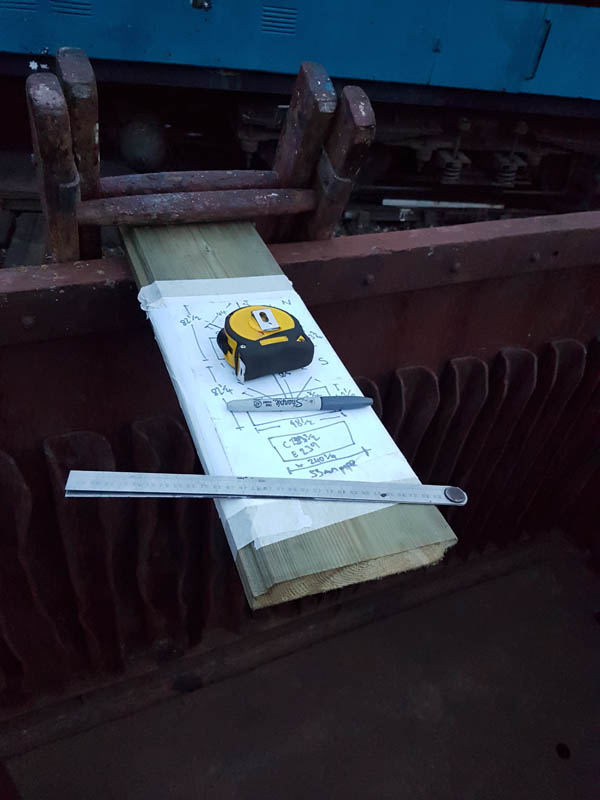
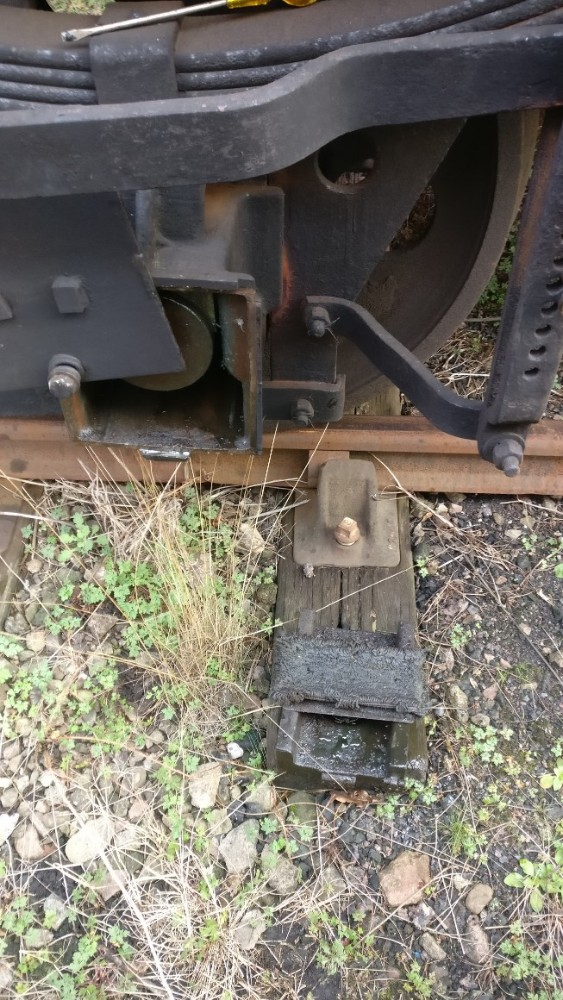
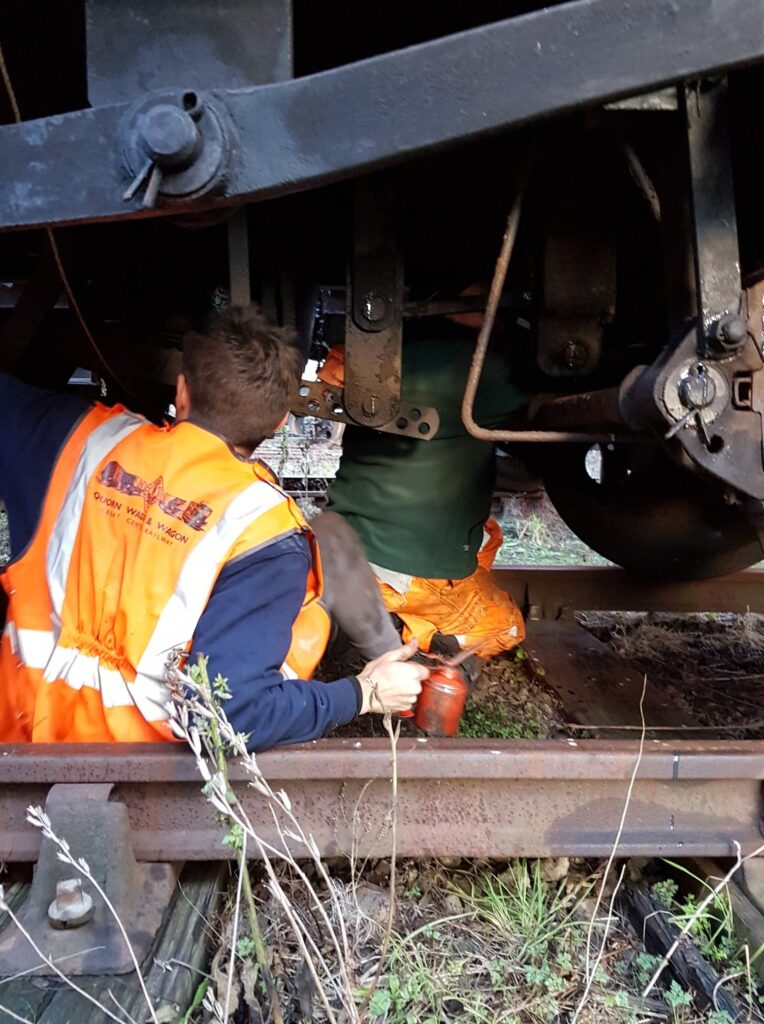
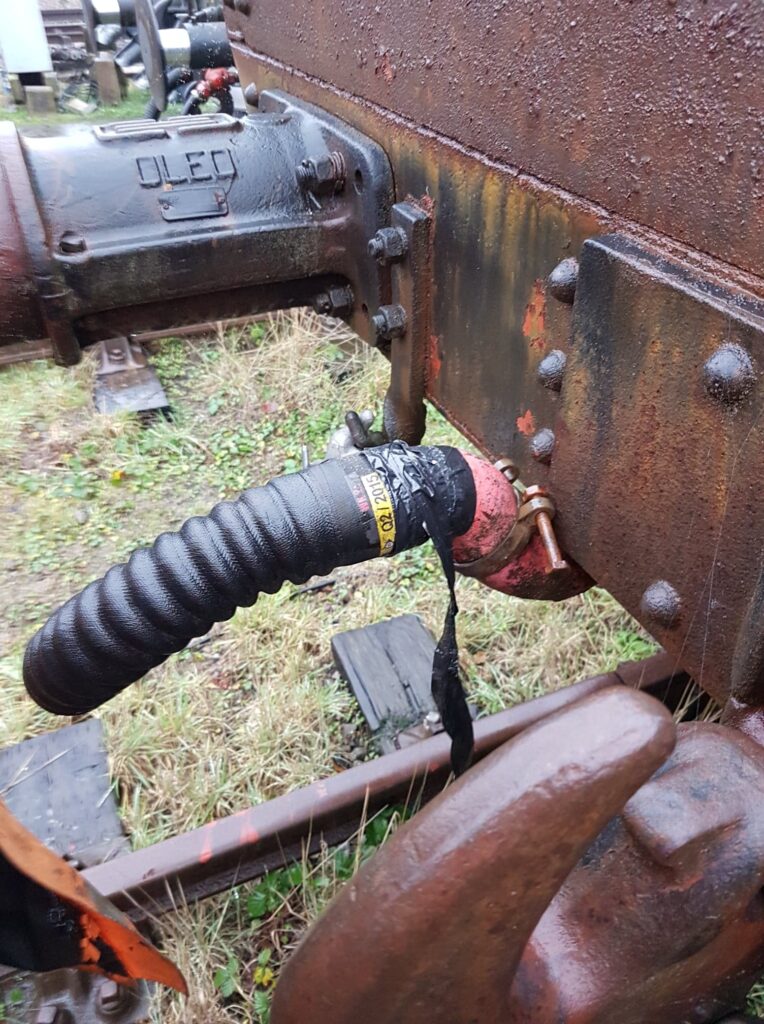
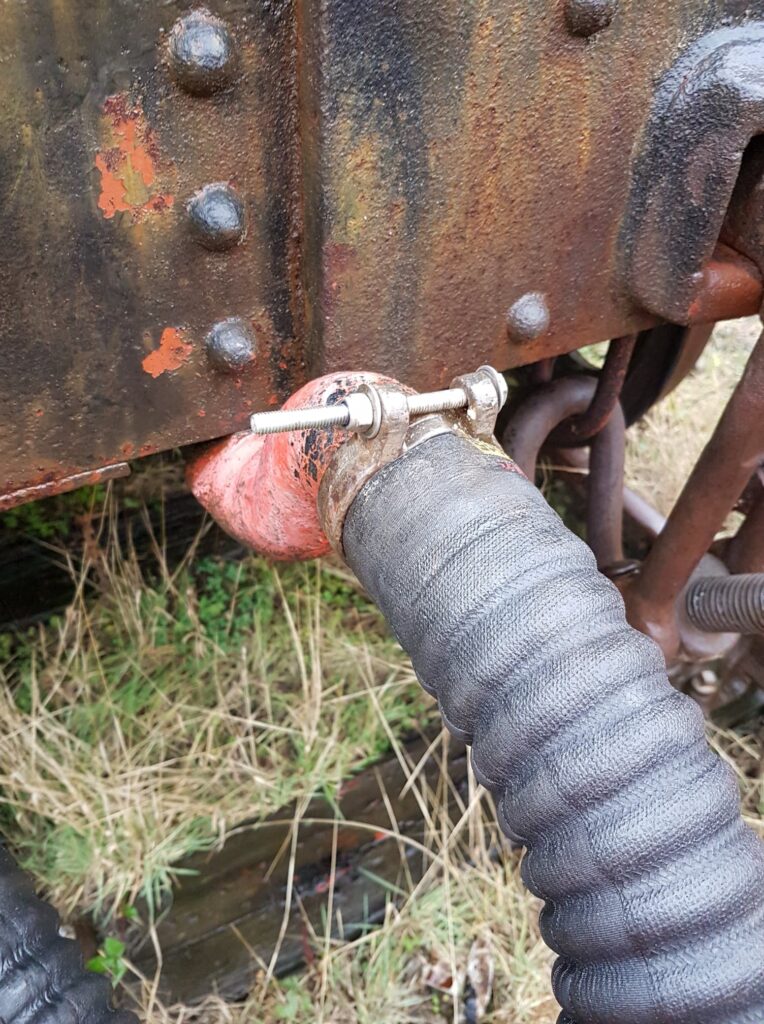
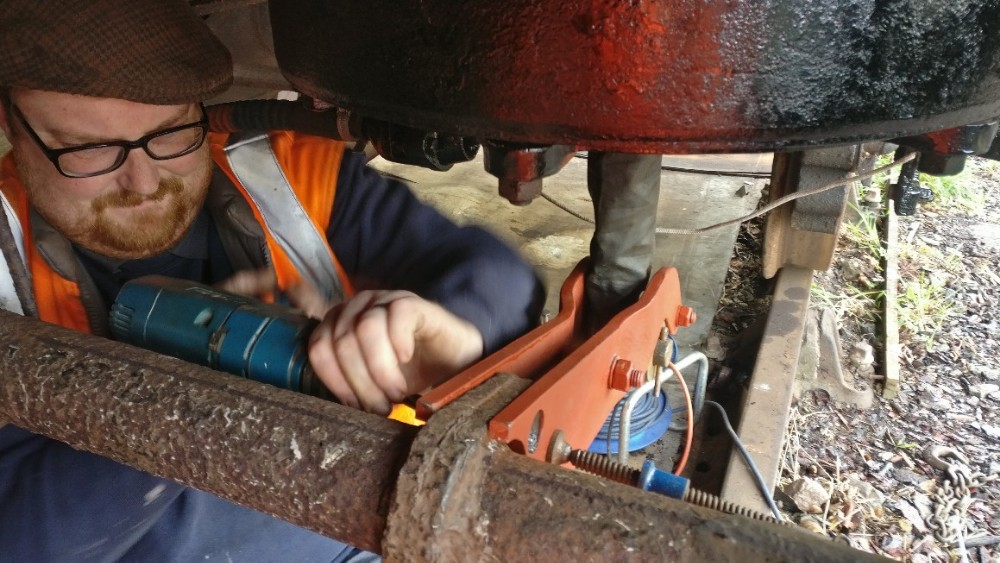
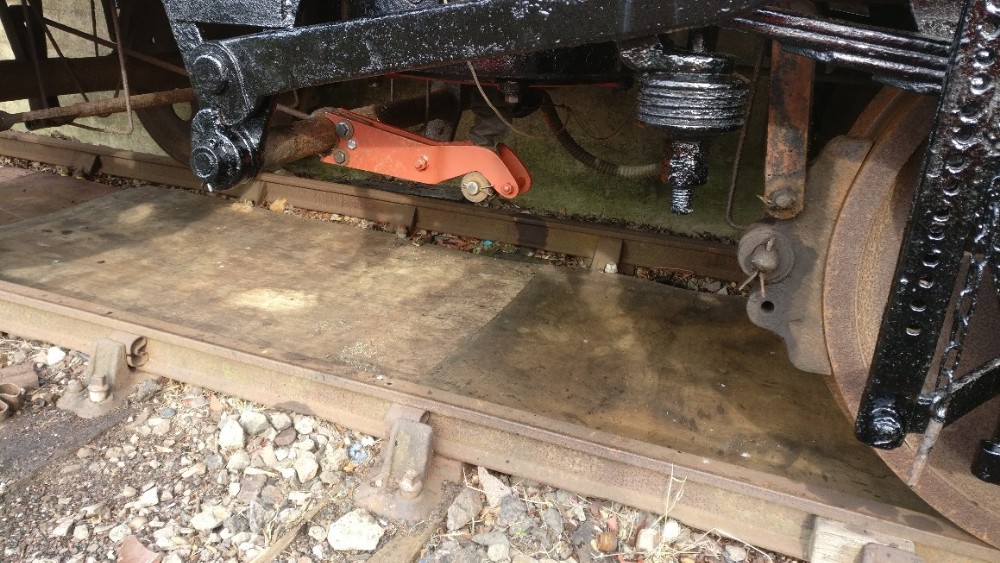
Whilst Nick and the lads continued their work on the cylinder, Matt and I got stuck into the operating shaft of the LMS van. The arm extension that Matt had designed, and ably manufactured by Mick Carr at Loughborough (thanks Mick!), is designed as a bolt on extension to the stub left on the cross shaft. The ‘old’ arm was a rather soft steel, so drilled quite easily when one found a sharp drill bit. Sadly, not many of our drill bits are sharp so Matt racked up quite the kill count for drill bits this weekend. He also left 2 drills smoking. I can’t say much though, as I broke a tapered reamer. Ouch! After a lot of struggling, the arm was fitted and tested. There was a slight rotation of the arm relative to the shaft, but we plan on having the arm welded where possible to increase rigidity.
[wpvideo mkY1PrKf]
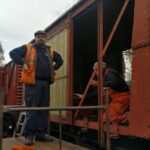
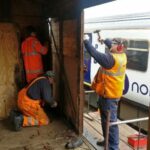
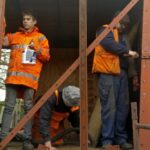
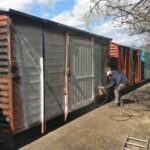
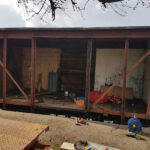
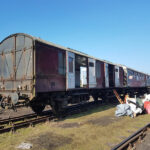
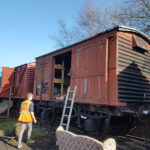
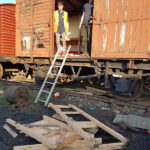
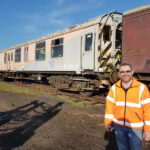
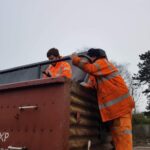
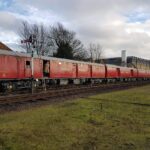
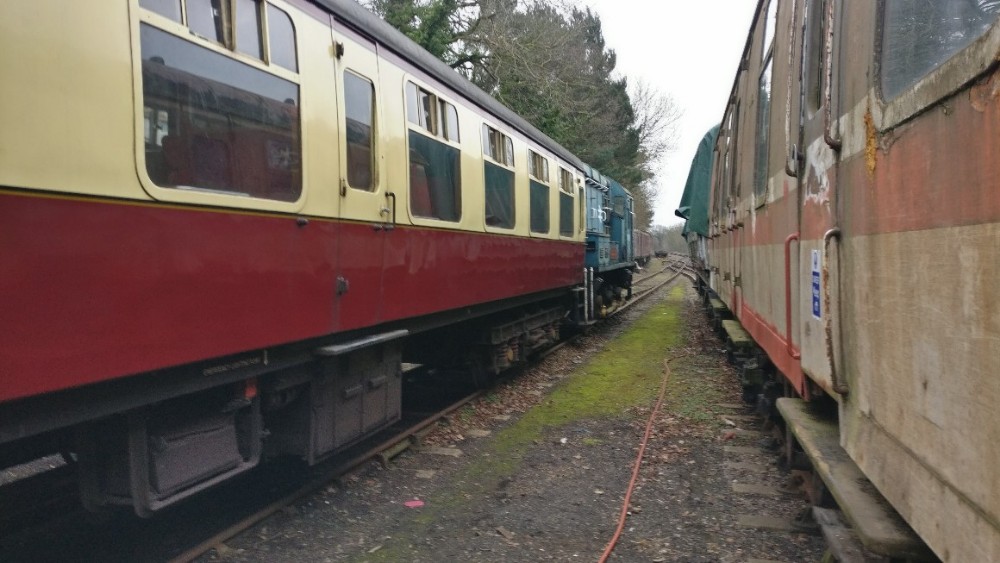
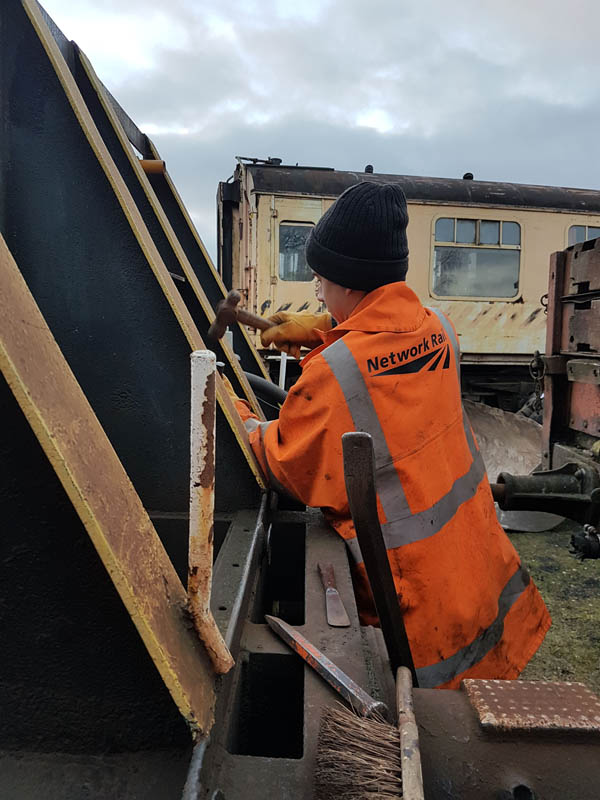
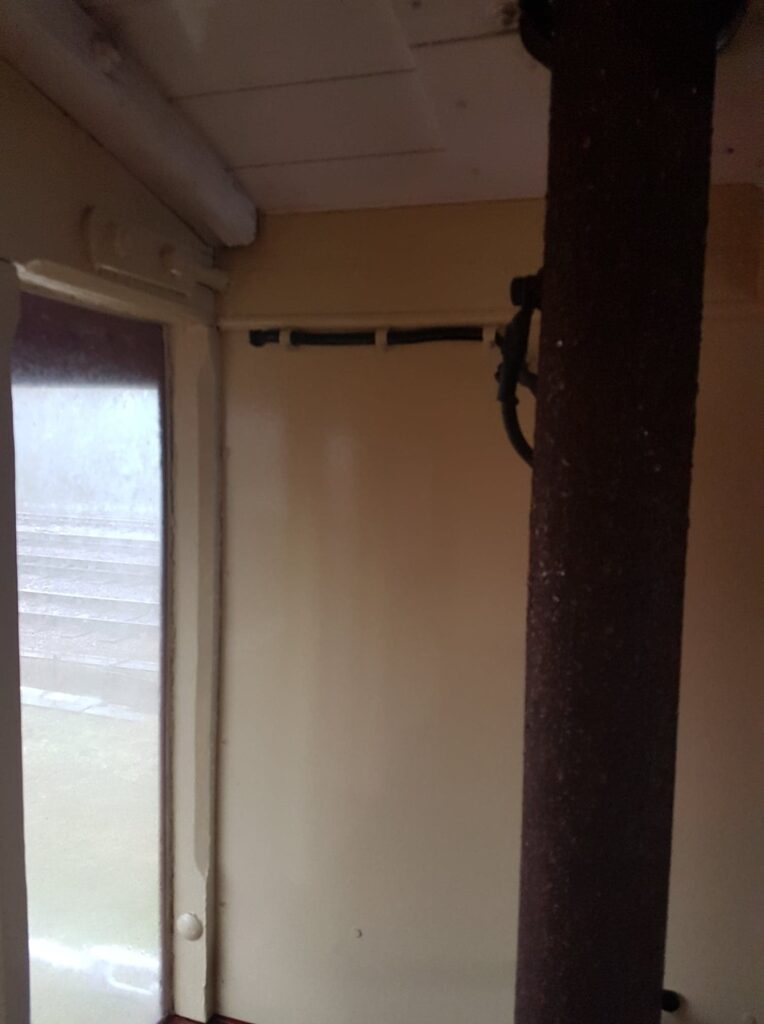
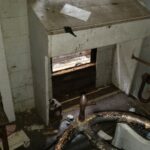
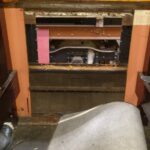
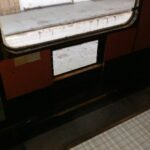
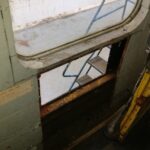
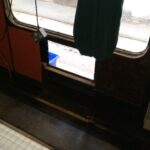
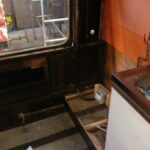
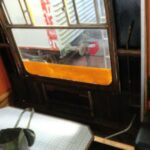
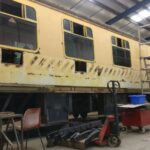
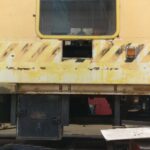
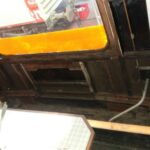
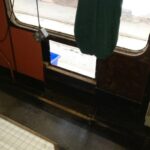
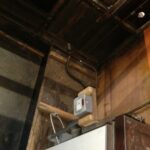
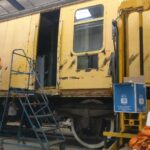
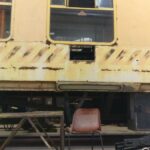
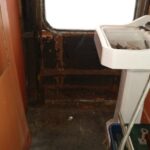
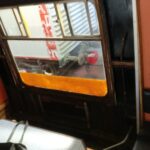
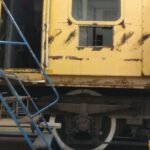
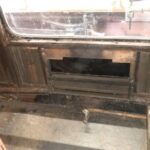
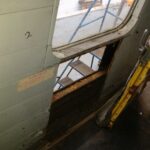
On to Sunday, and a change of scenery. A while ago, our mess vehicle, the Yellow Coach was shipped off to Rothley for some very much needed bodywork attention. Jamie and Pat have now surveyed the vehicle (and affectionately named it Booths) and told us where we need to strip to reduce the fire risk when it comes to cutting out and welding. Matt and I stripped out all the body-side gas heaters, which we don’t plan on using again, and Nick and Olly started to remove the panelling around the window in the first class toilet, where whoever had fitted the plastic window had used steel machine screws in the aluminum window frame. Brass machine screws should have been used. The body-side heaters put up very little resistance and made their way to the scrap pile. Matt then concentrated on one of the mess area windows, and I set upon the kitchen. The fridge was disconnected and removed, and the oven received a similar treatment. The wall cupboard was cleared out and removed, and then I set upon the body-side wall paneling. The kitchen has an electric heater under the window. I disconnected and removed this and discovered historic fire damage on the wall behind it. When it comes to reassembly, we now have to opportunity to give the kitchen a deep clean.

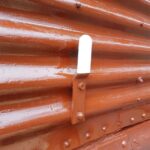
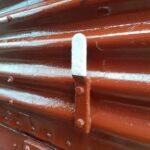
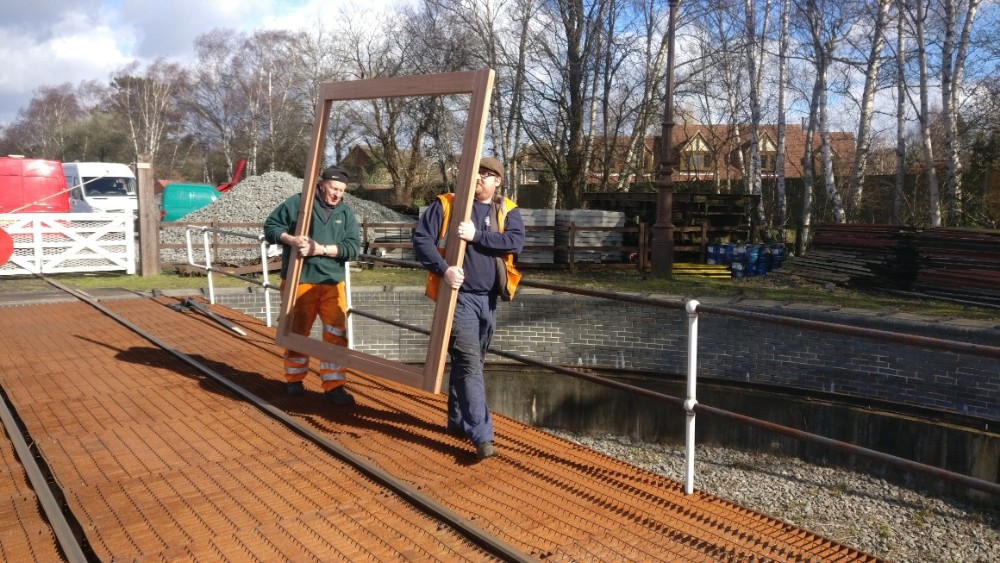
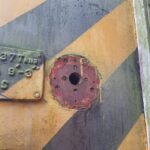
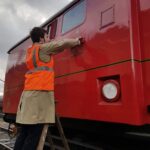
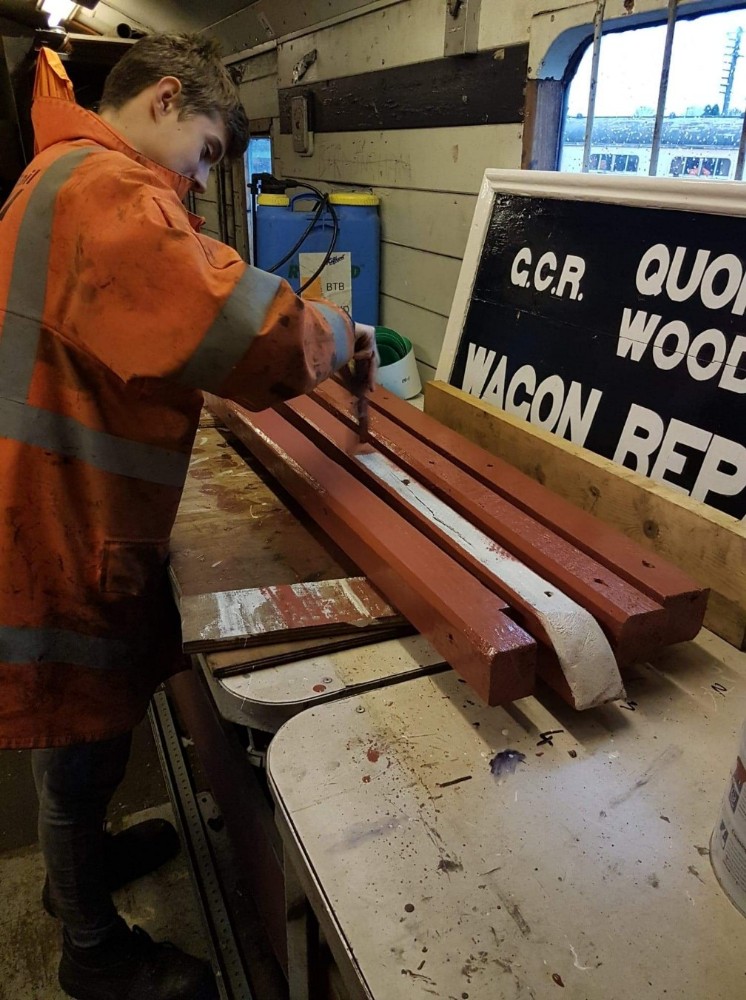
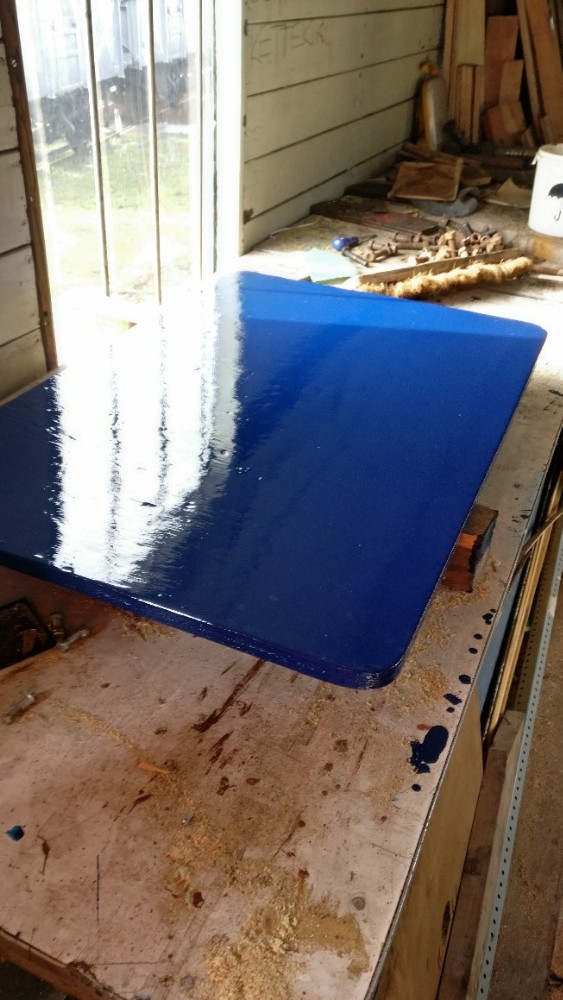
We left Rothley with items we had wanted to keep from the yellow coach and returned to Quorn to tidy them away. Matt also took some time to admire his work on a sign he is working on for Renaissance Rail Cars.
Thanks for reading, and join us again next week for some more adventures of the wagon variety.