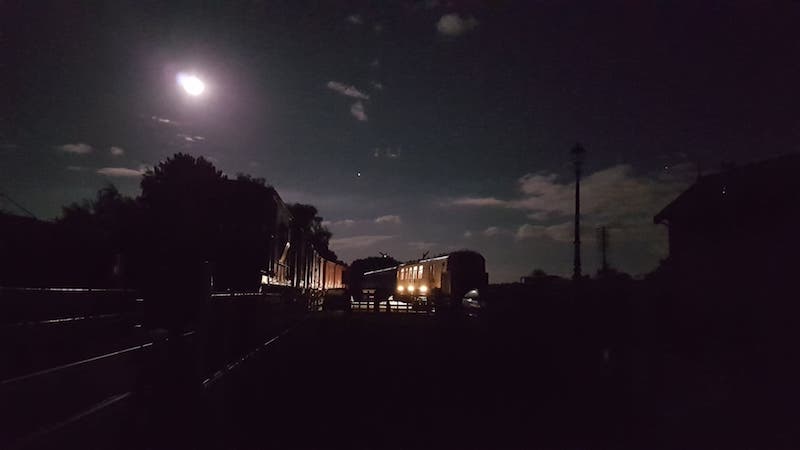
Saturday comes around once again, Matt is unfortunately at work and Jake is gorging himself on a Festive Scout camp.
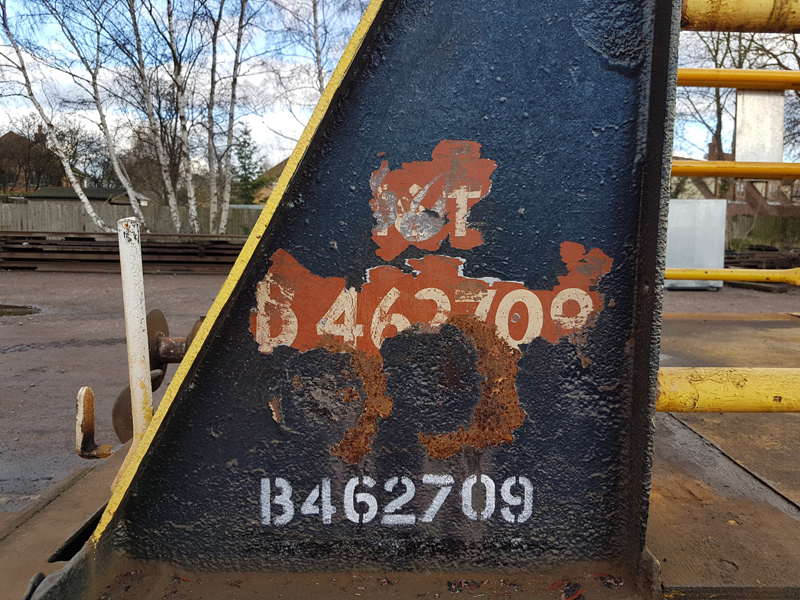
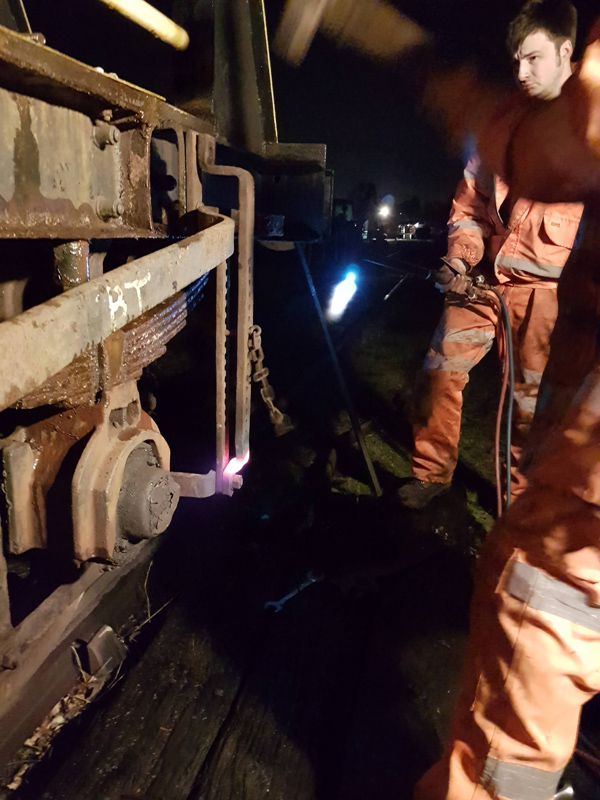
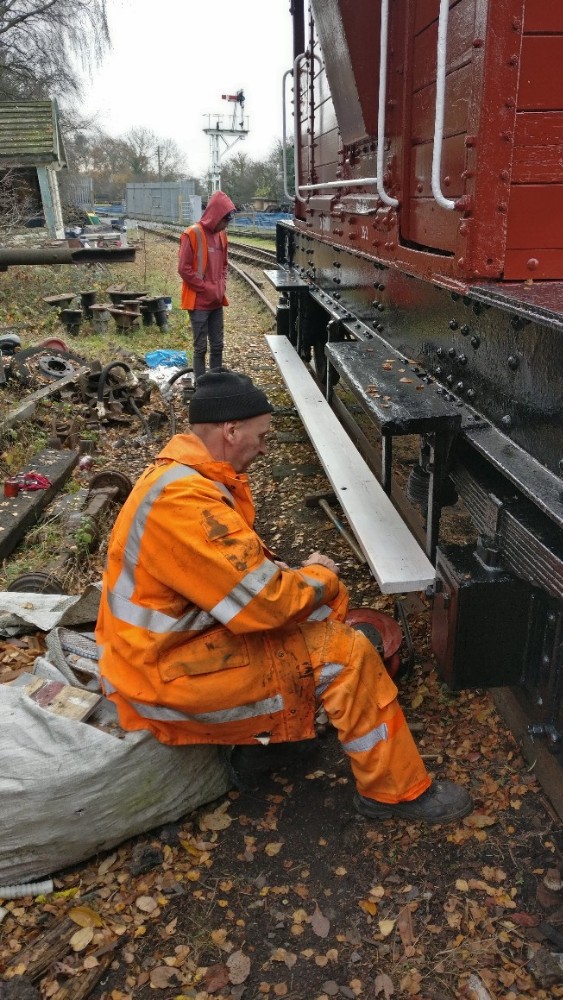
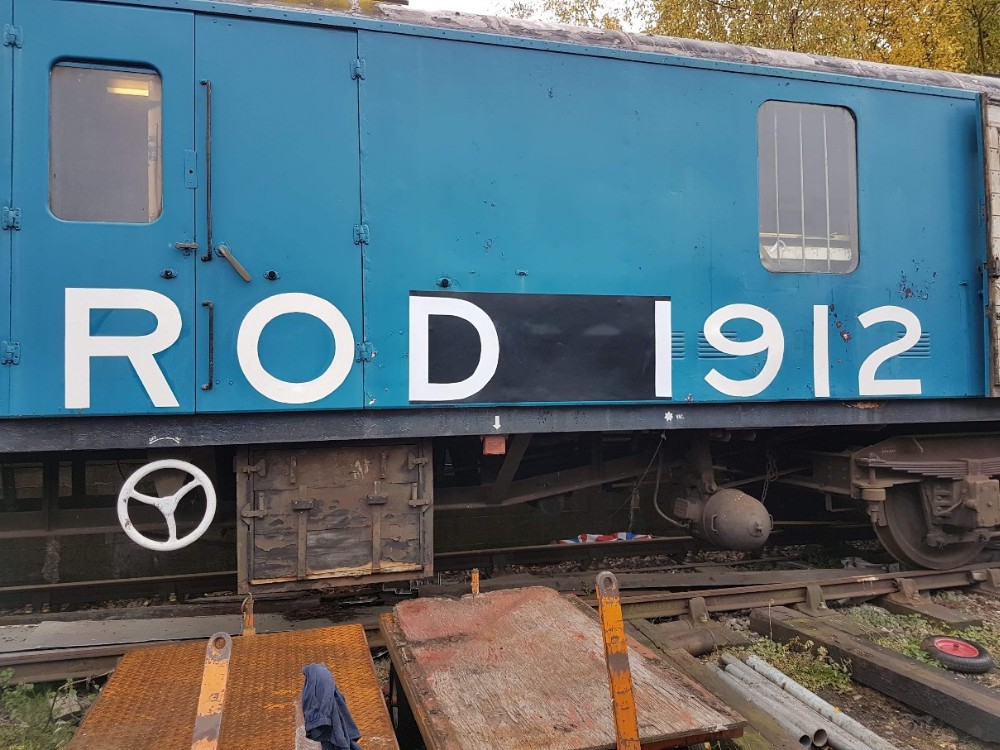
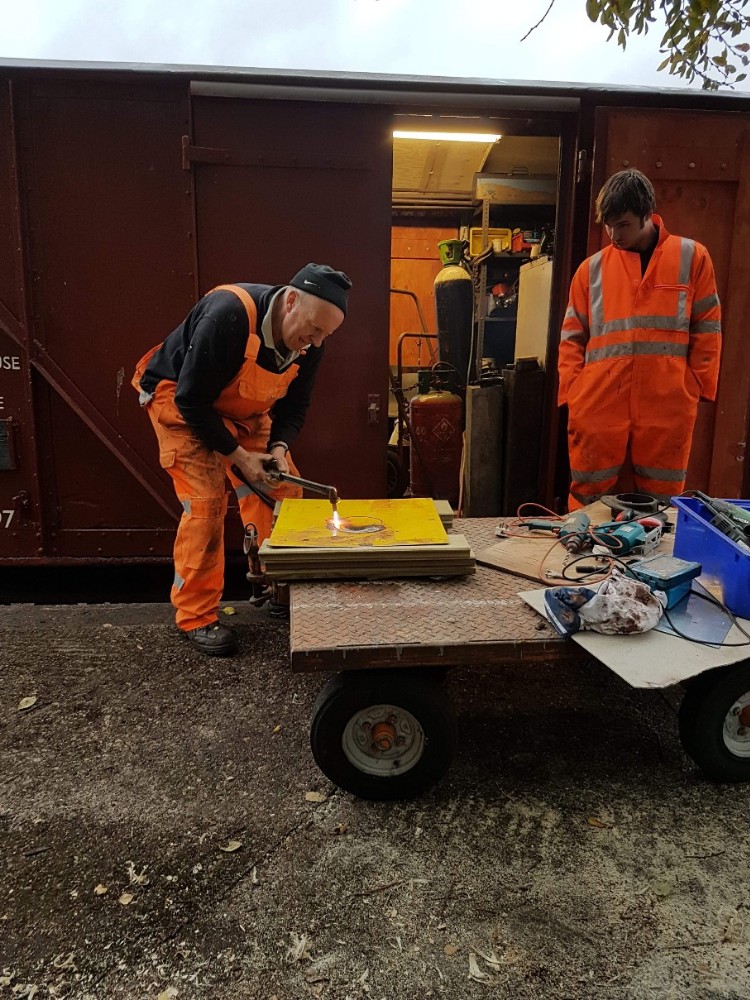
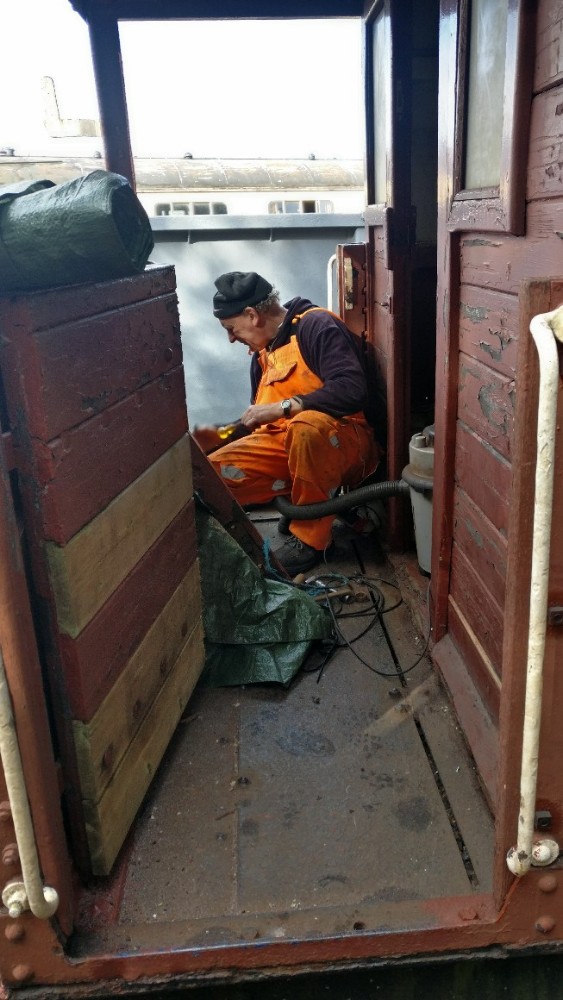
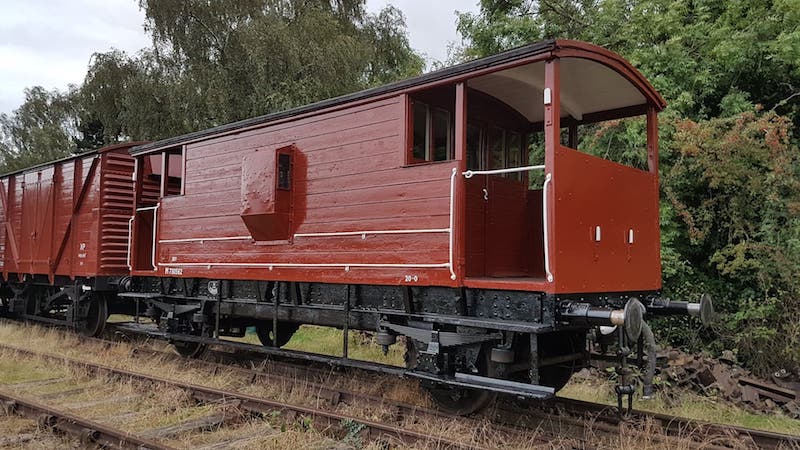
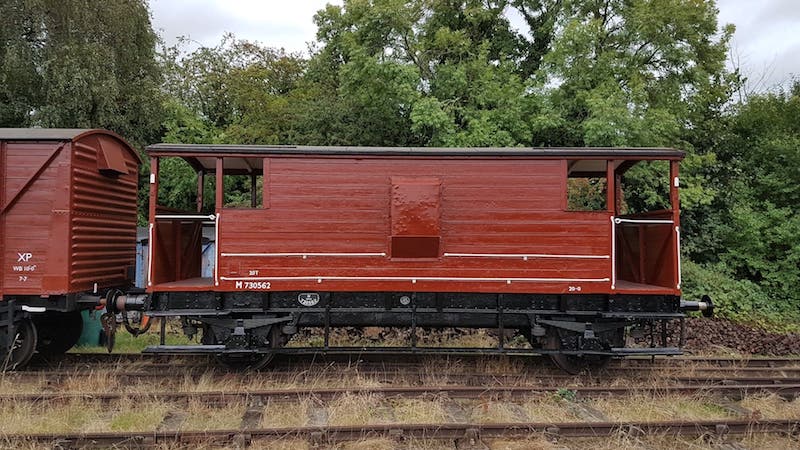
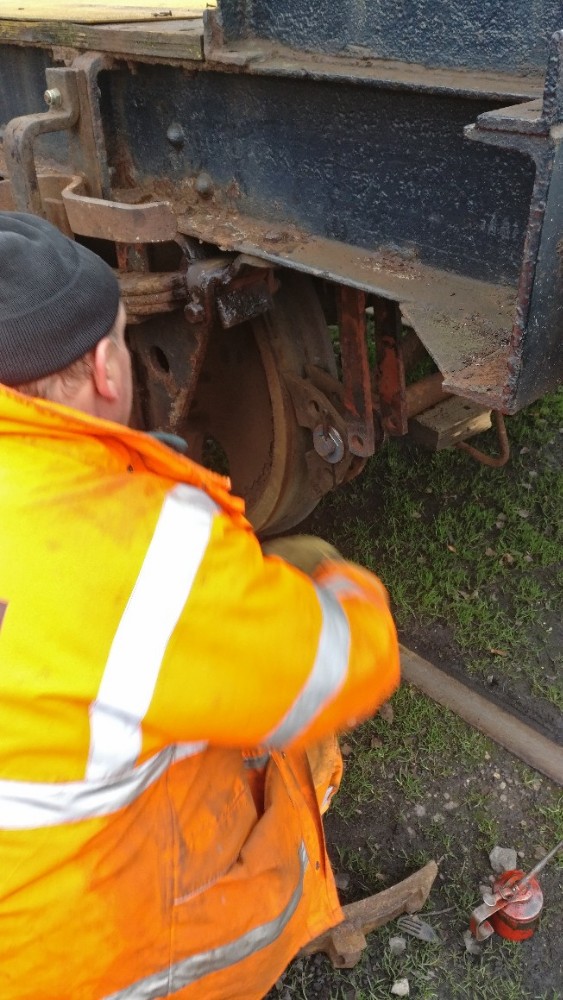
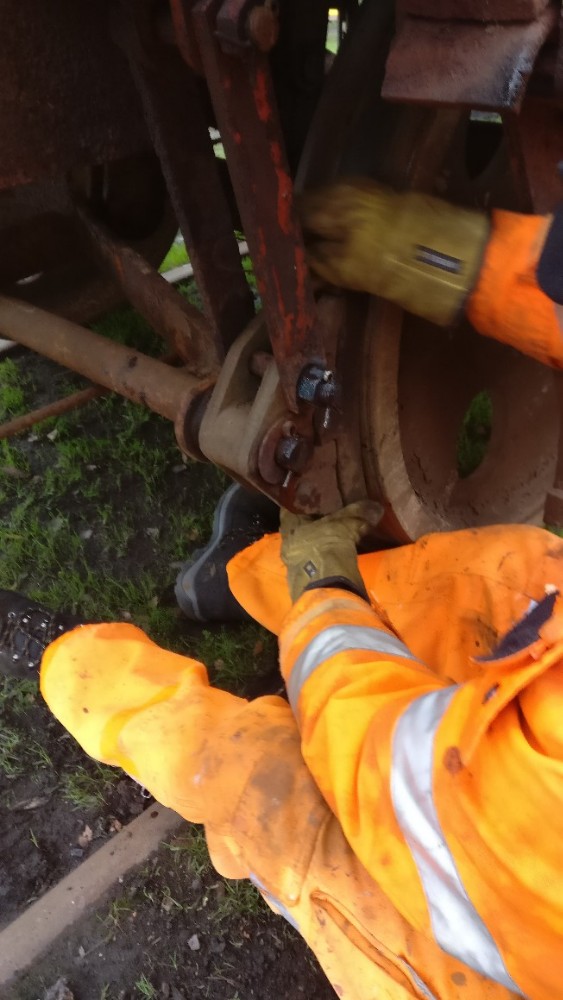
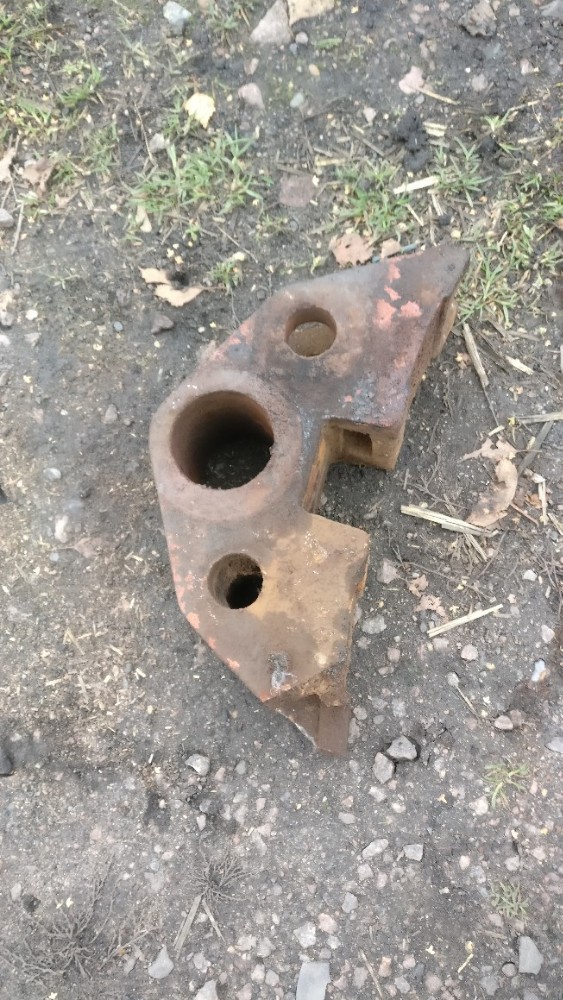
Work continues on Palbrick B (B462709) to make it fit for movement. Last weekend, We had managed to remove 2 broken brake block carriers and had identified a 3rd to be changed. Armed with 3 replacement carriers, Nick and I set to work refitting the ones that had been removed, and replacing the last one. The final one was replaced due to the lower corner being broken off.
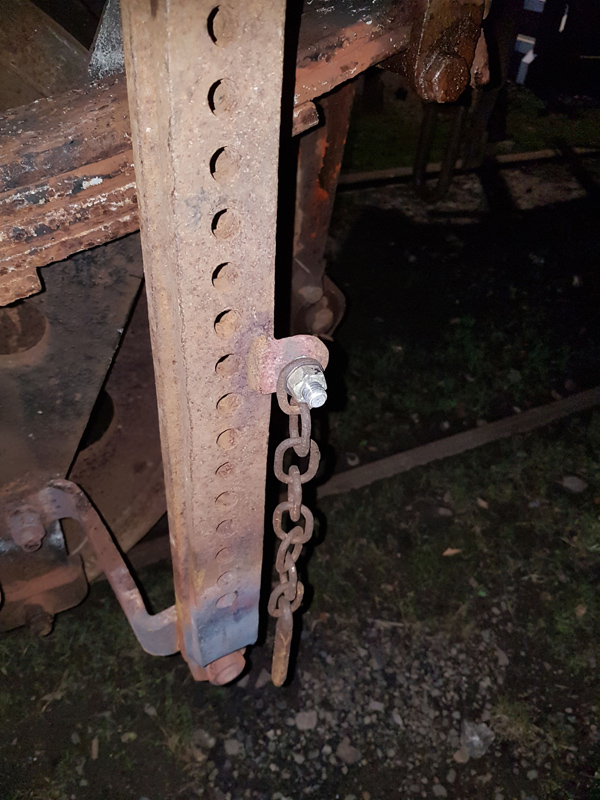
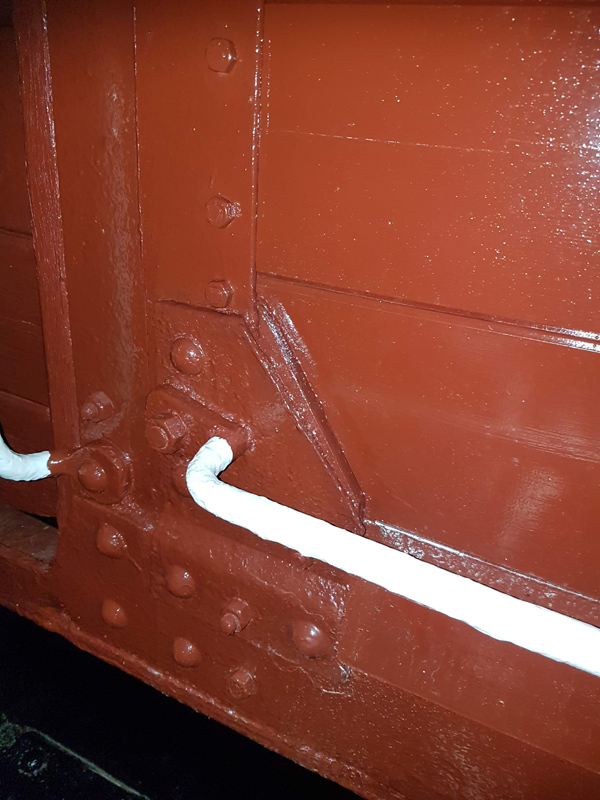
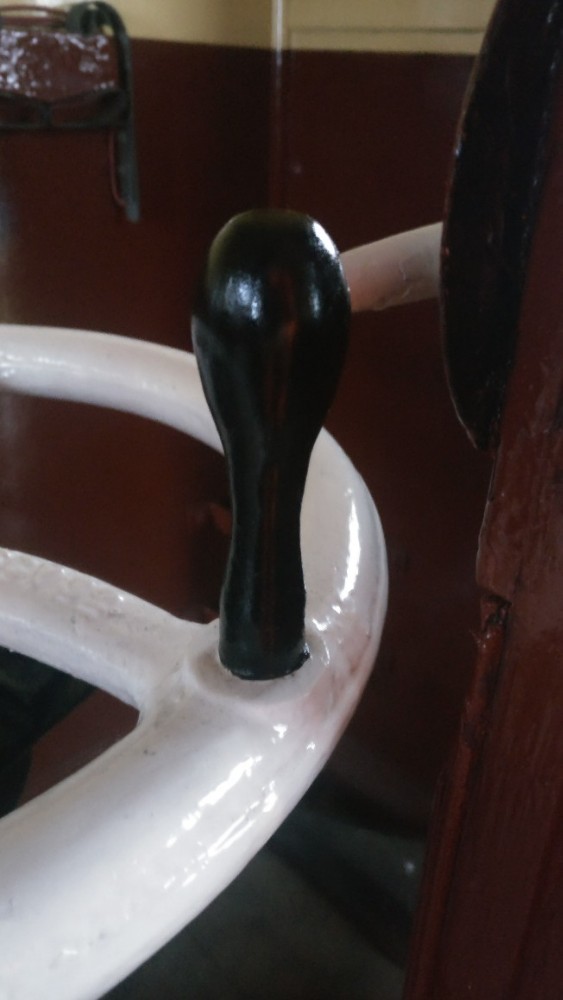
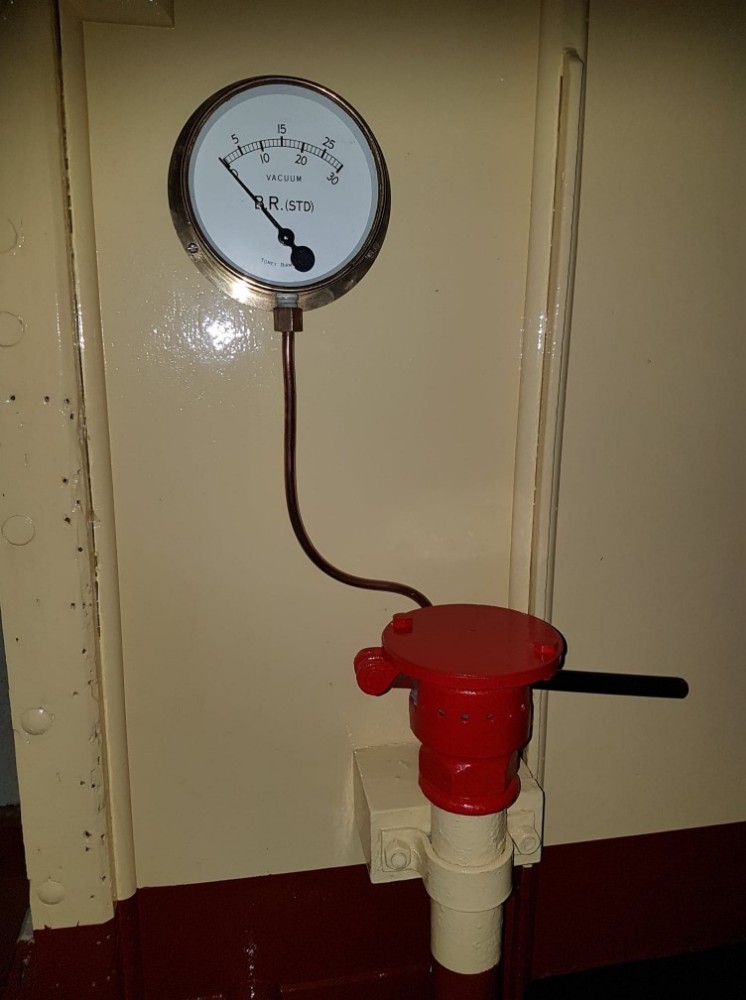
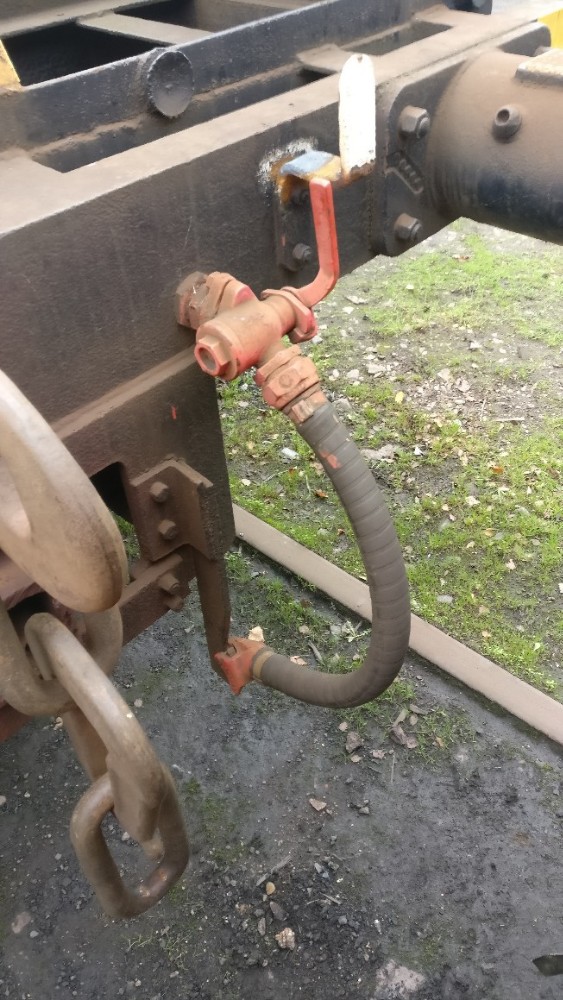
I also refitted the air brake pipe cocks and hoses, so that now the wagon retains its air through pipe, although these now require to be painting white. When more is known about the wagons future we may reinstate the vacuum system.

Once the brake blocks & carriers and the air pipes had been refitted, it was lunchtime! During lunch, the heavens had opened giving everything a good soaking, so Nick and I spent the rest of the day tidying in our tool van and workshop vehicle.
On to Sunday and Matt continues this report.
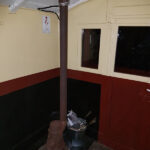
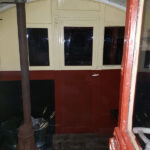
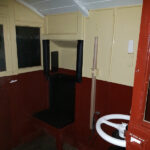
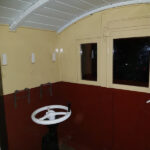
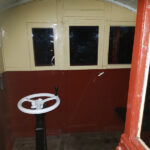
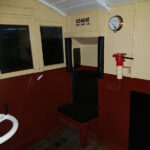
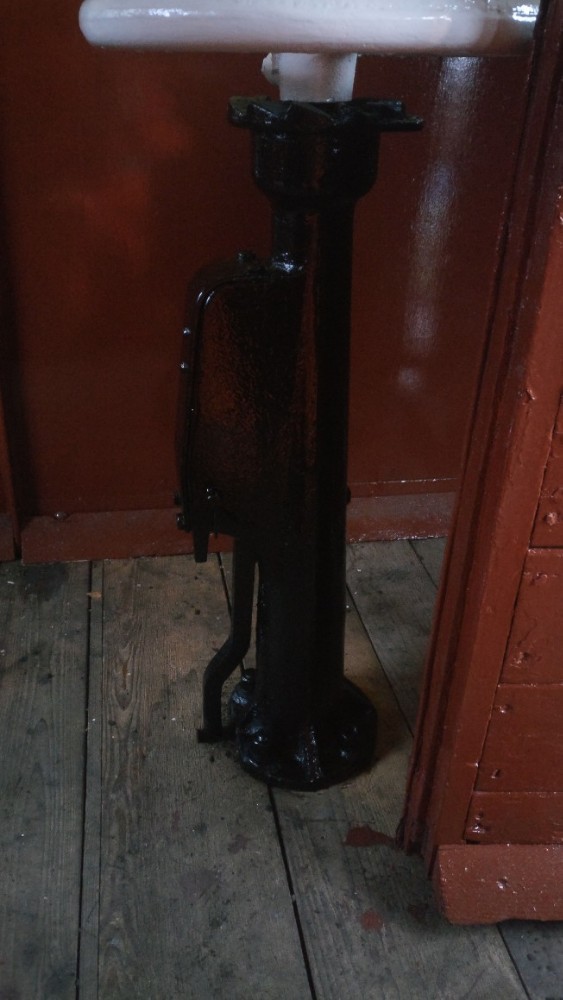
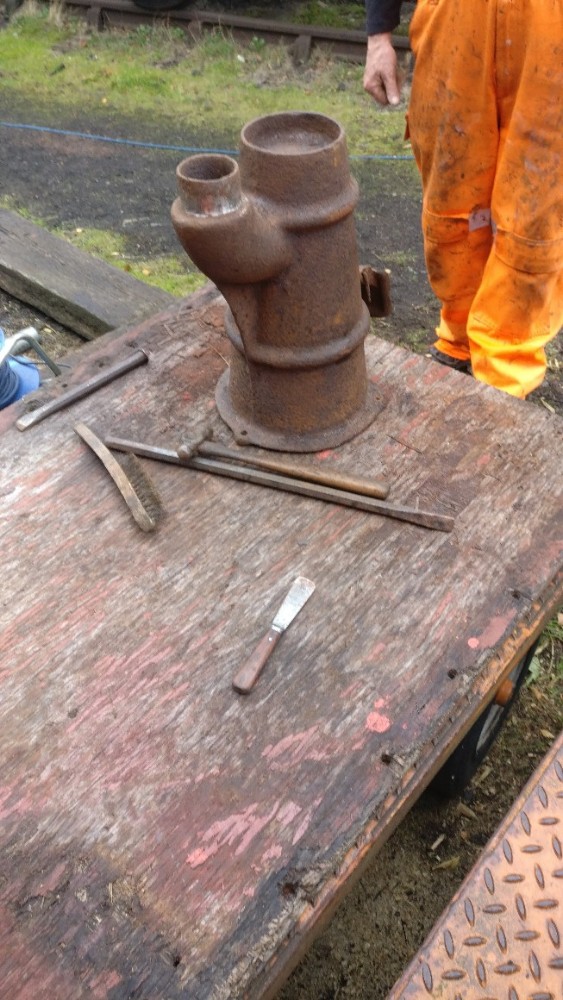
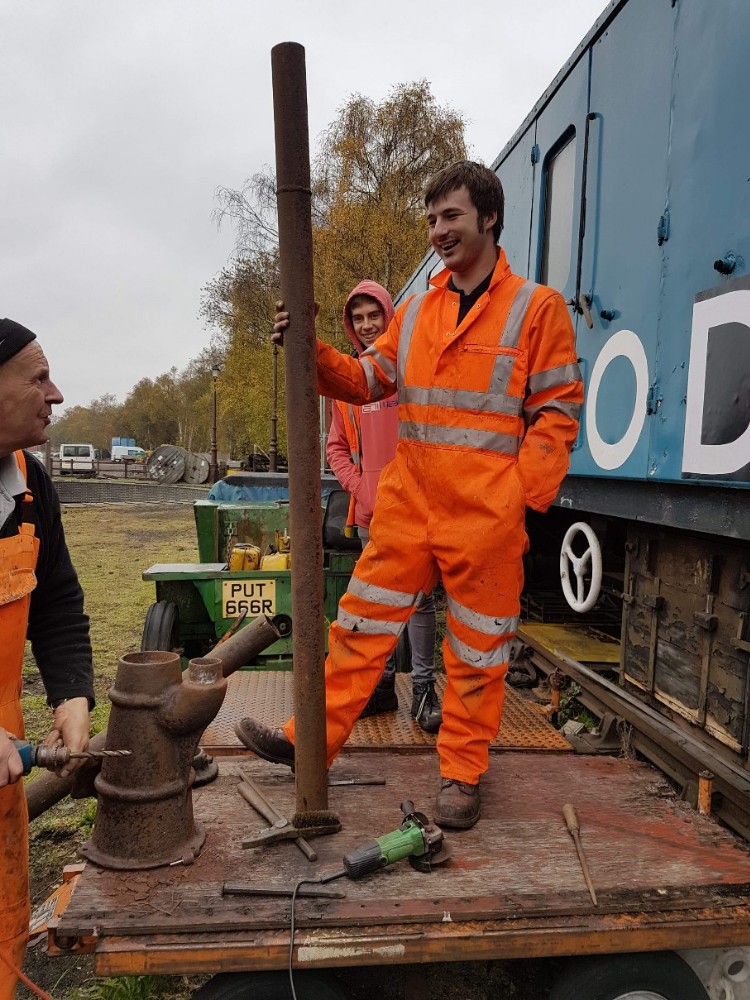
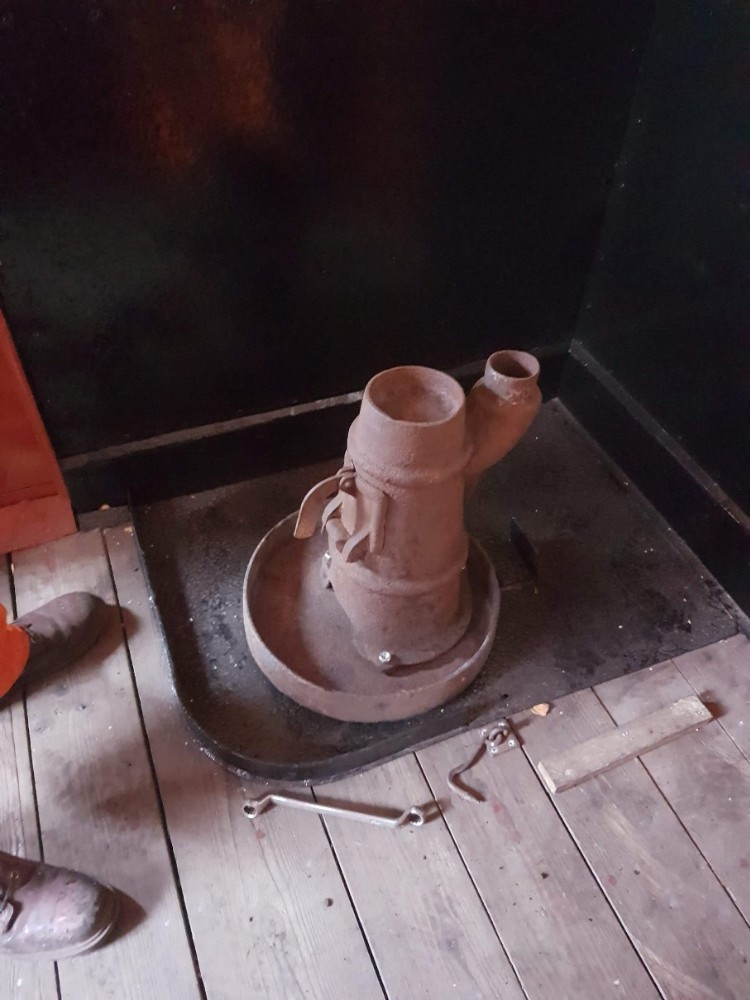
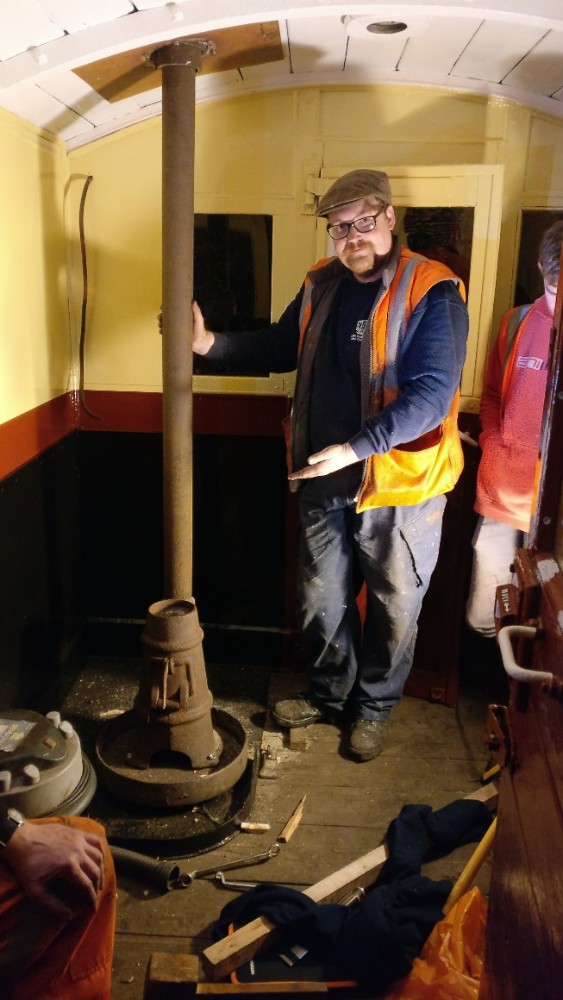
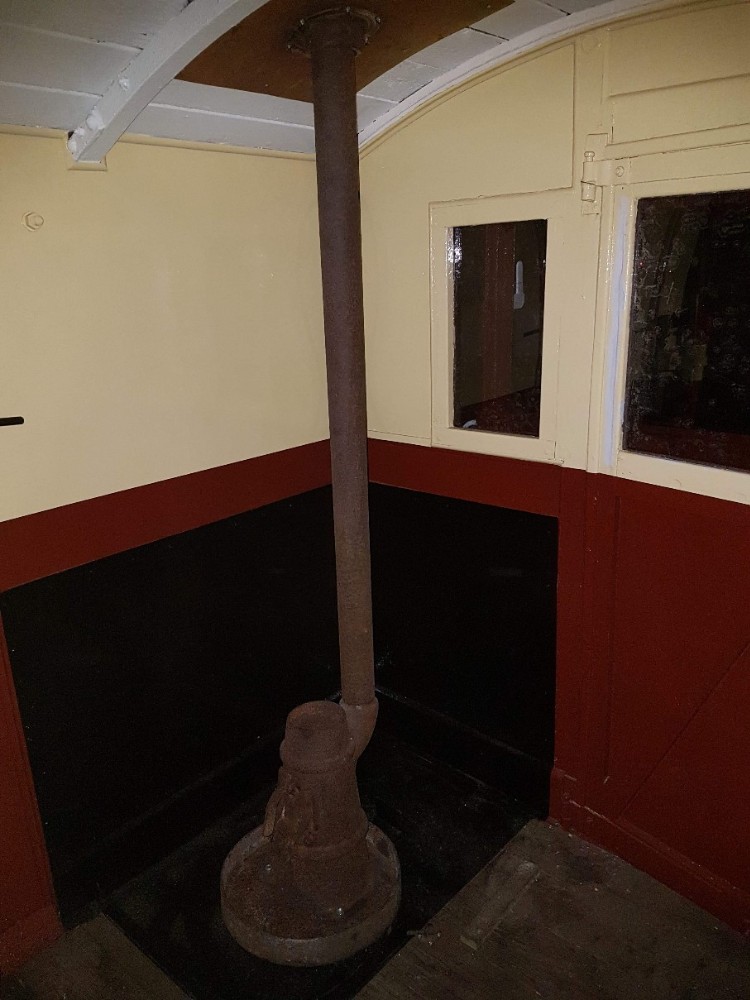
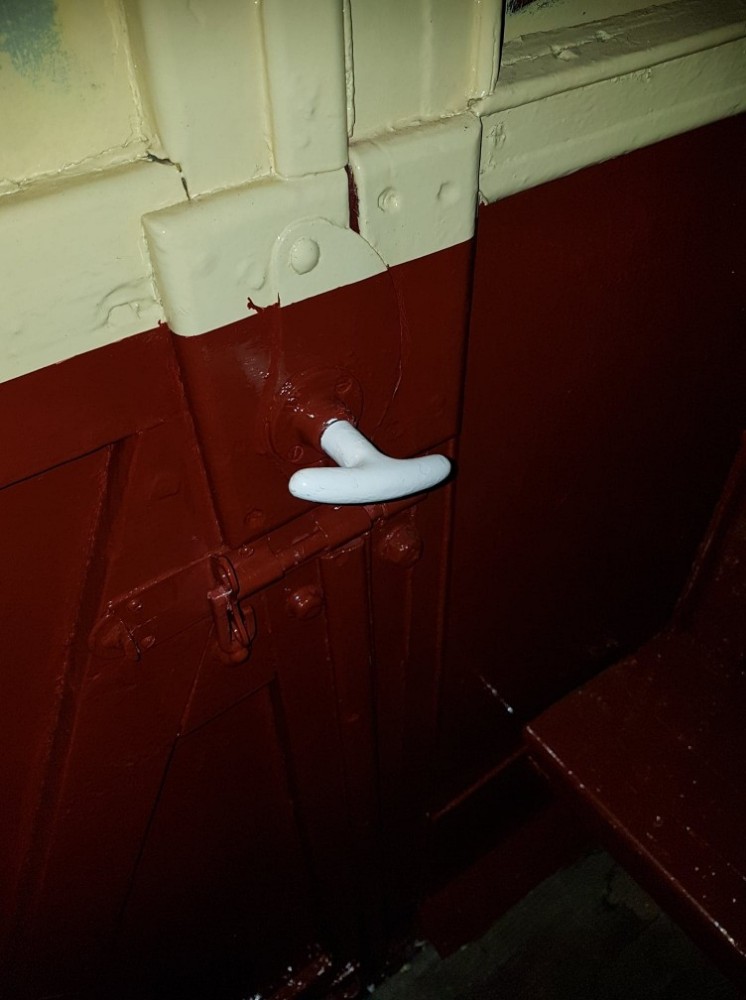
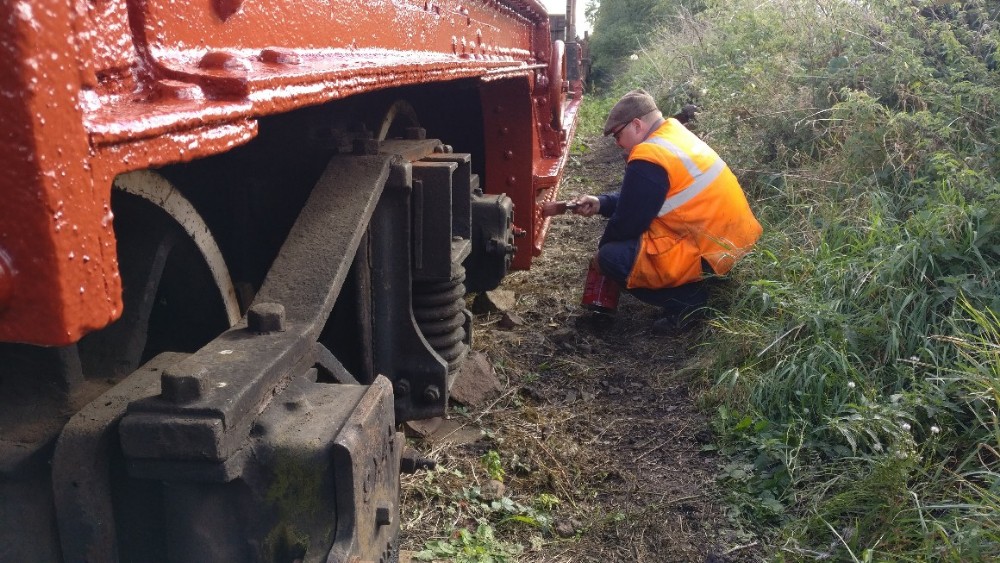
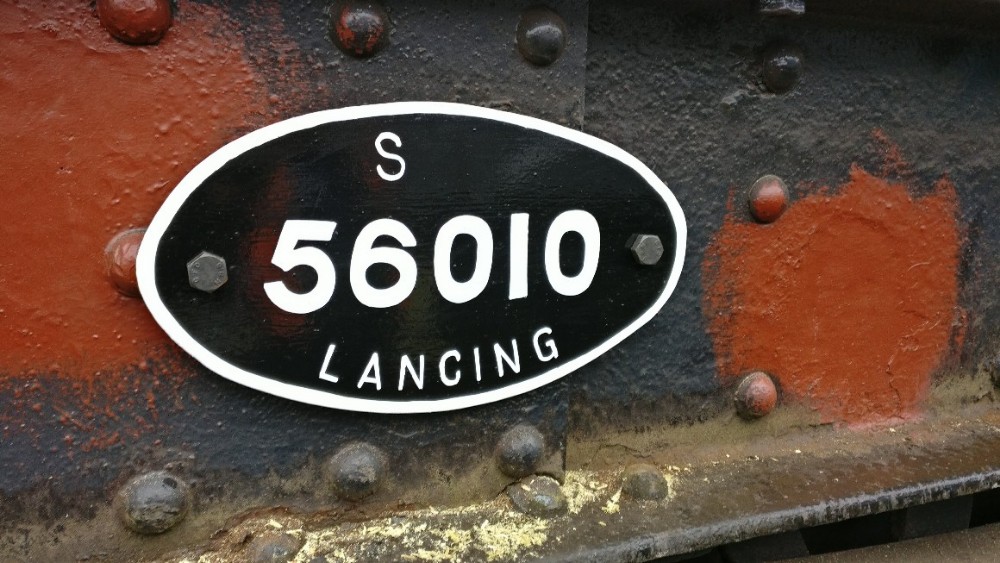
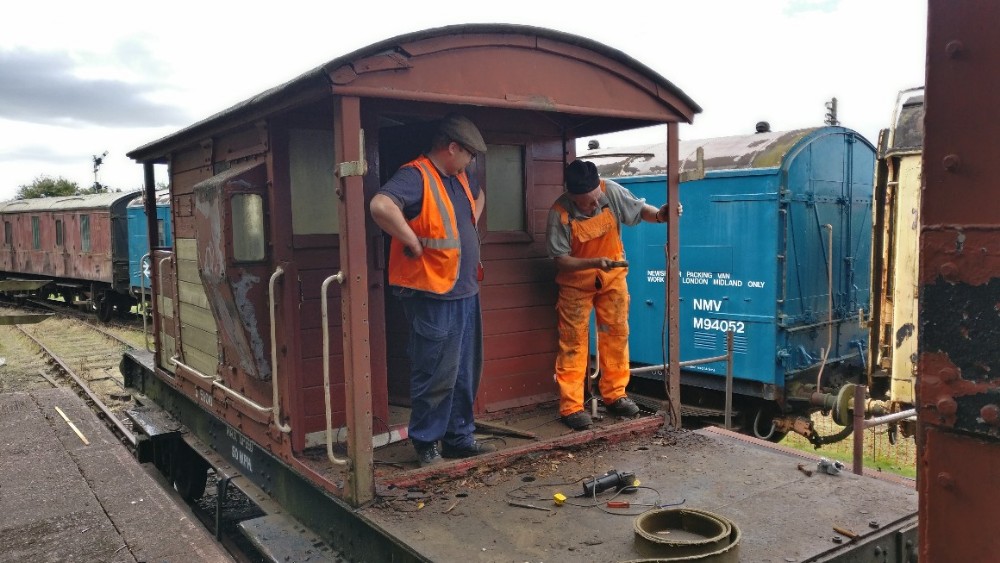
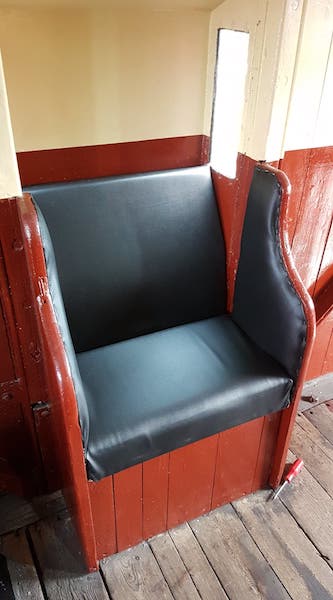
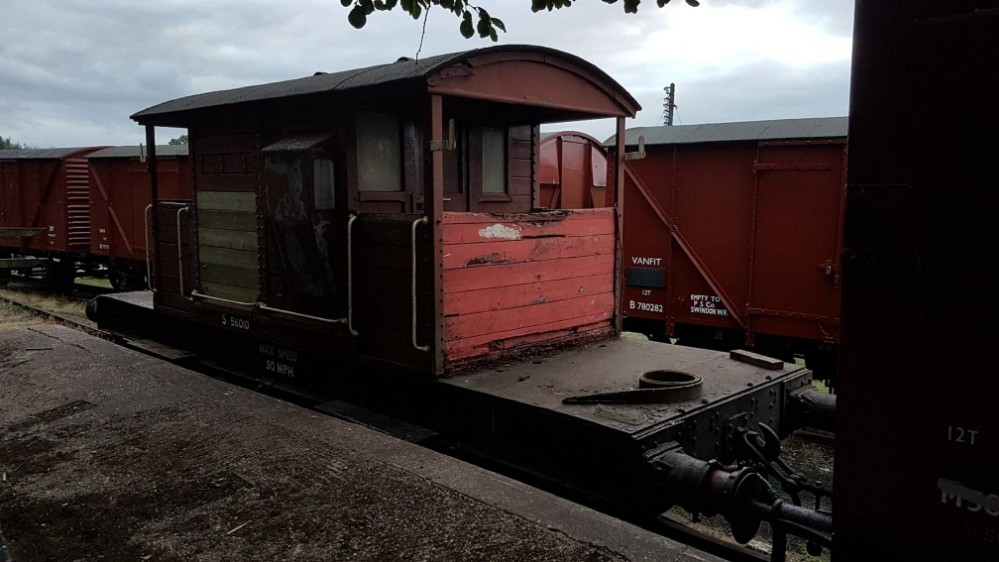
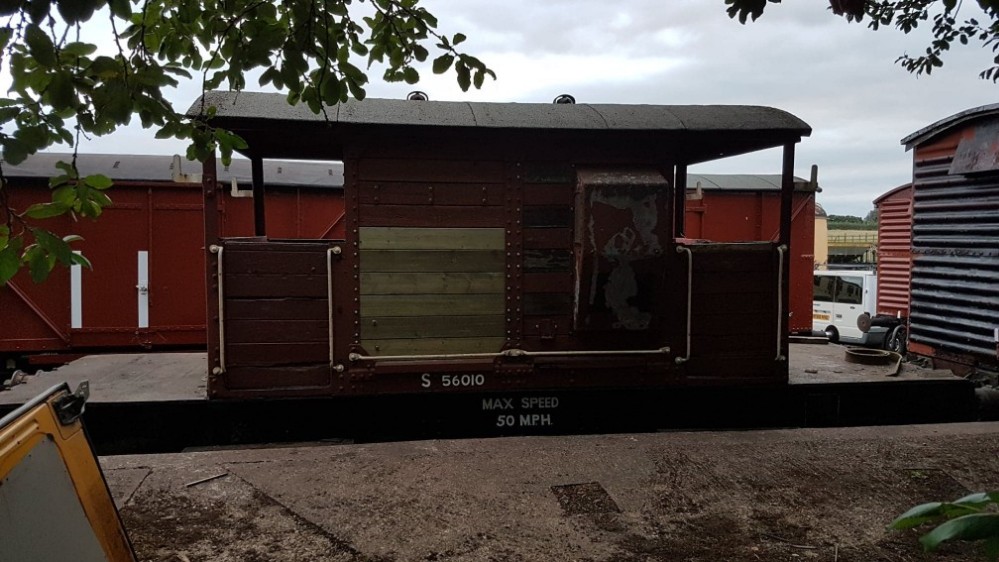
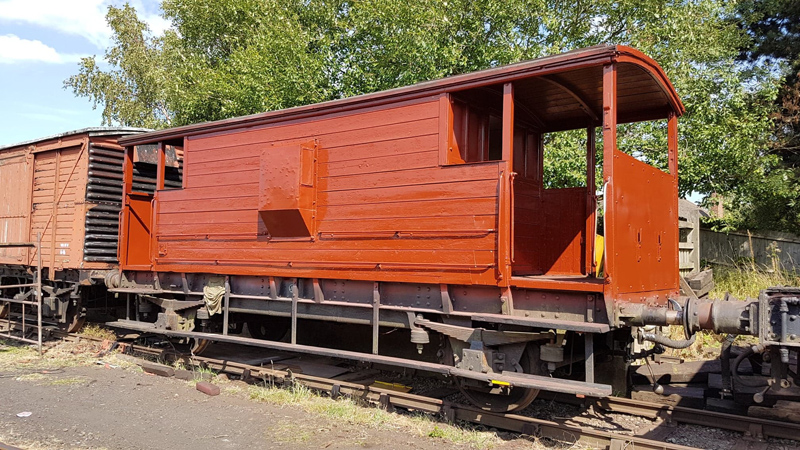
First job and running maintenance on the Southern brake van. This entails oiling of the brake rigging and pad exams.
One of the pads was found to be worn and this will be replaced in due course although it requires at least 24 hours soaking in oil before the replacement pad can be fitted.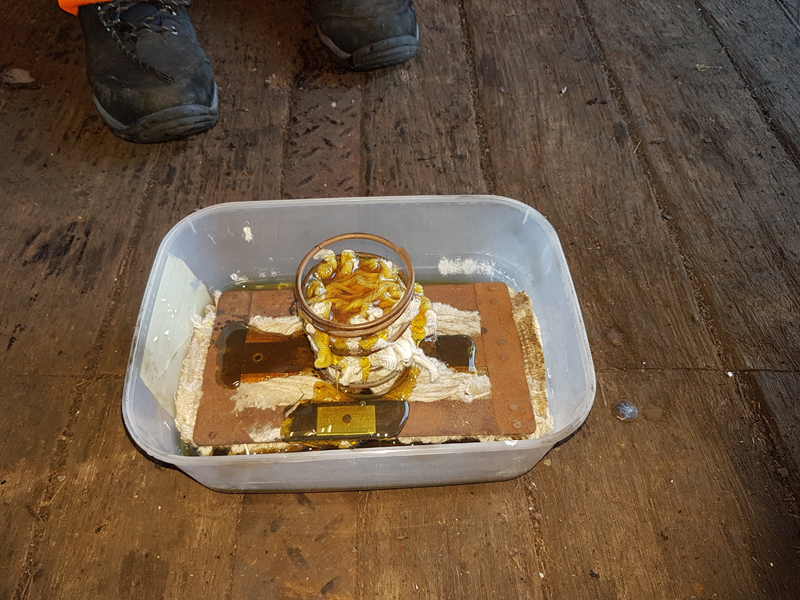
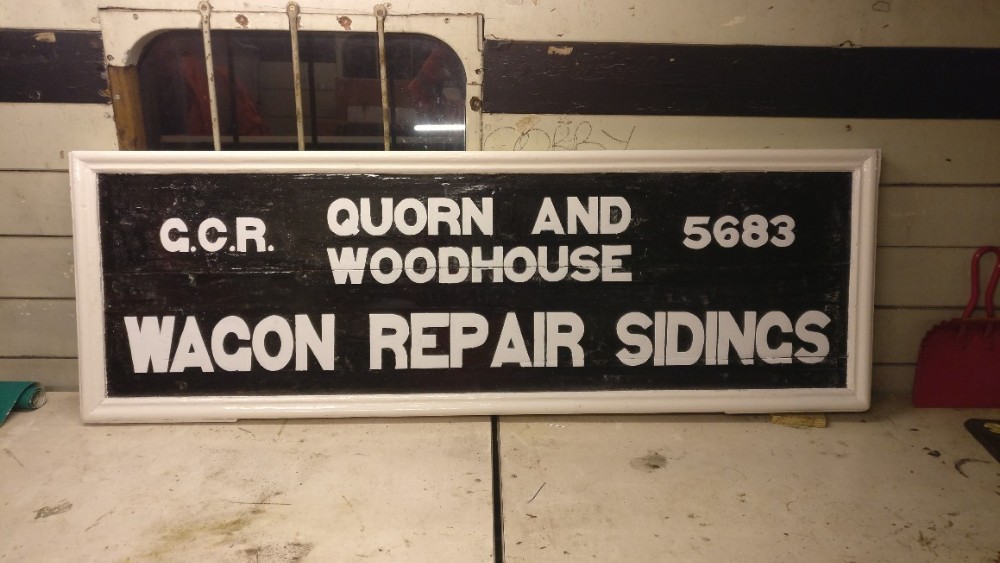
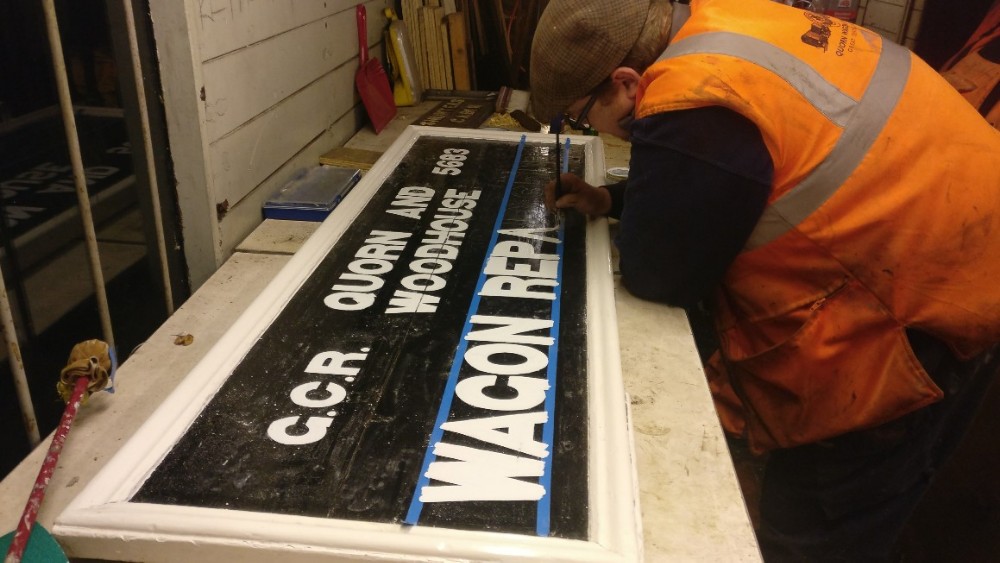
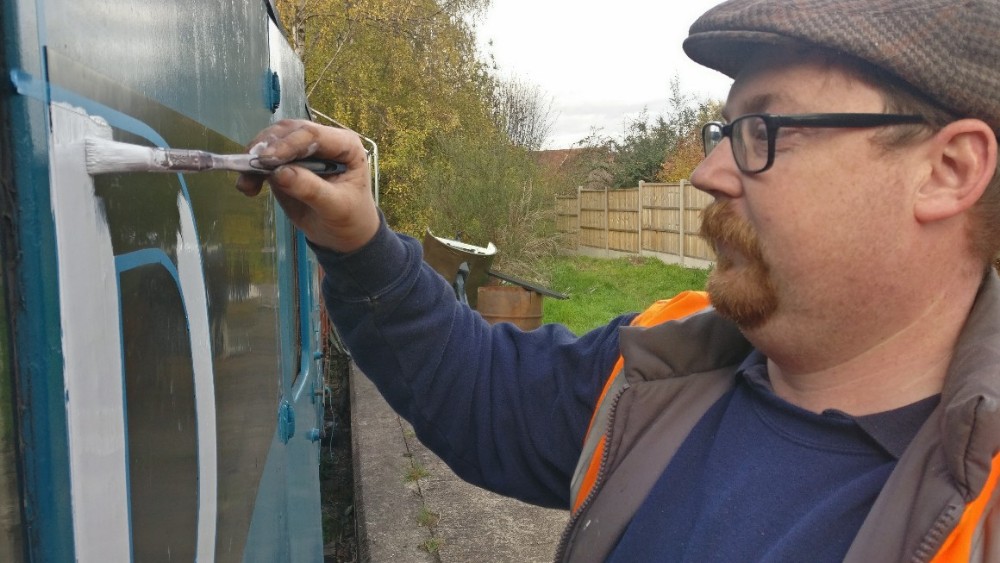
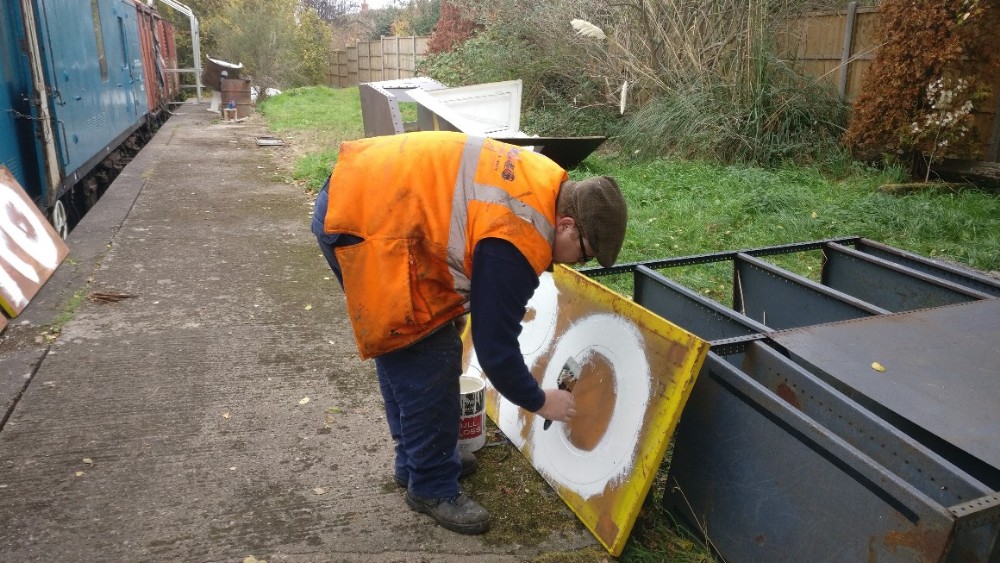
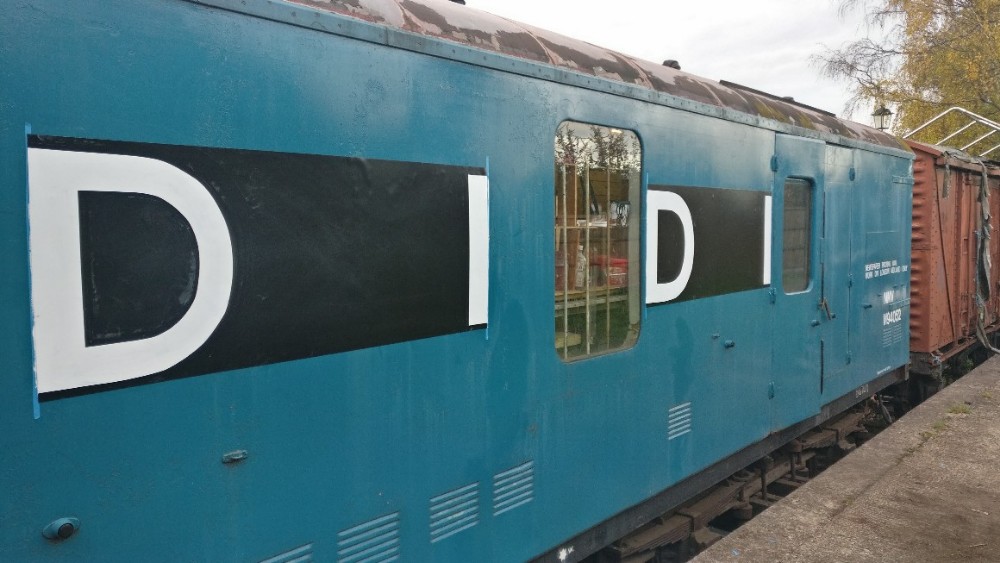
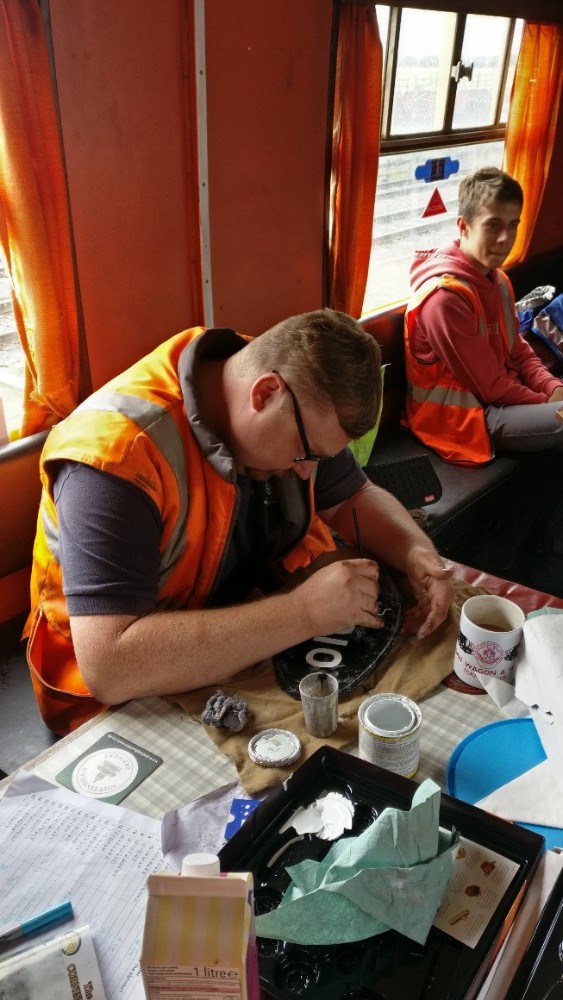
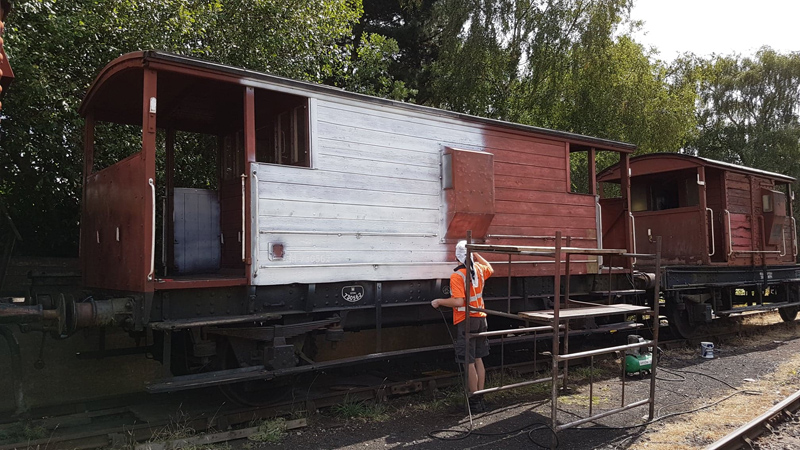
Once this was complete Nick continued tidying the tool van. Whilst I began “stitching” posters together. These are for the station at Quorn and unfortunately, I can only print up to A3 so for larger posters, and not wanting to have them professionally printed for additional cost, I glue sheets of paper together. To see the full range of posters visit Quorn station from Boxing day.
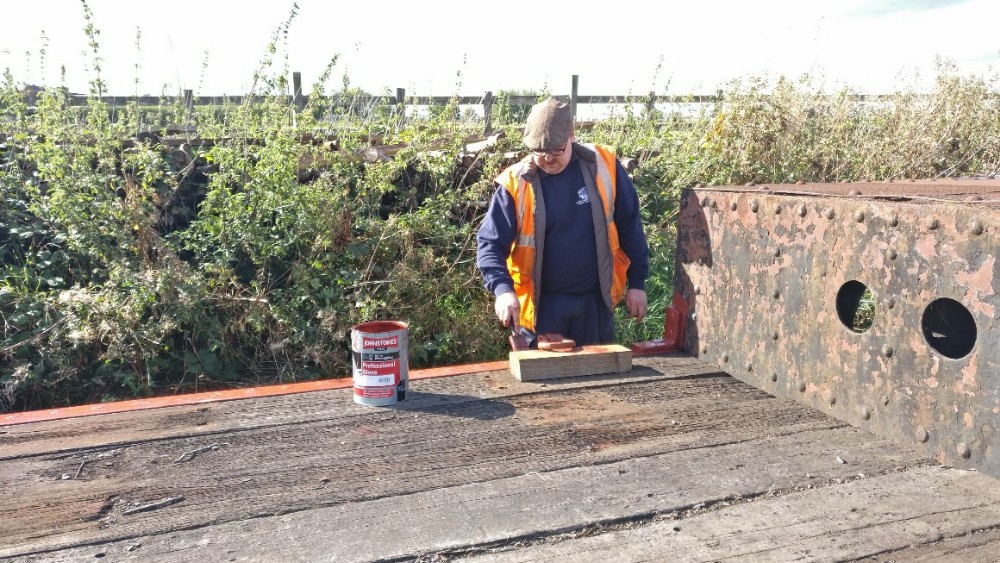
Time was also taken to update the vehicle record cards, every vehicle we have has its own series of cards that detail all the exams and work that has been carried out.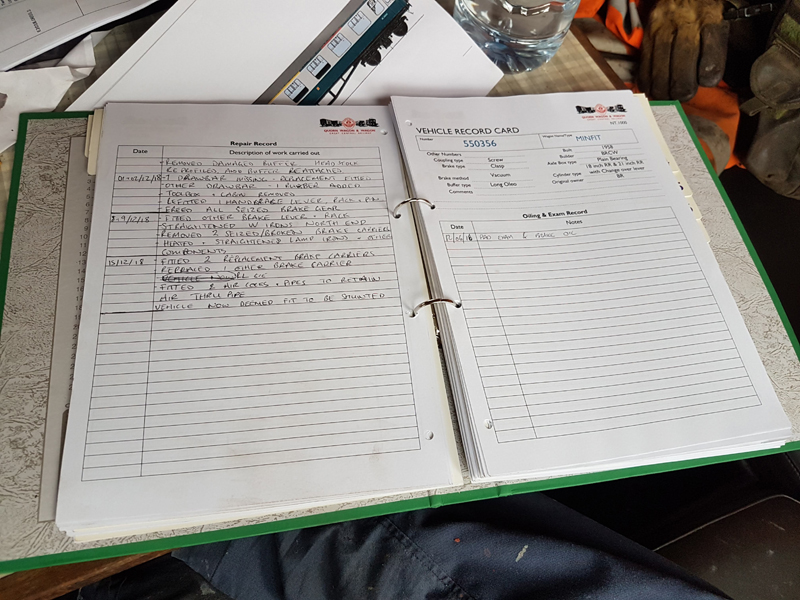
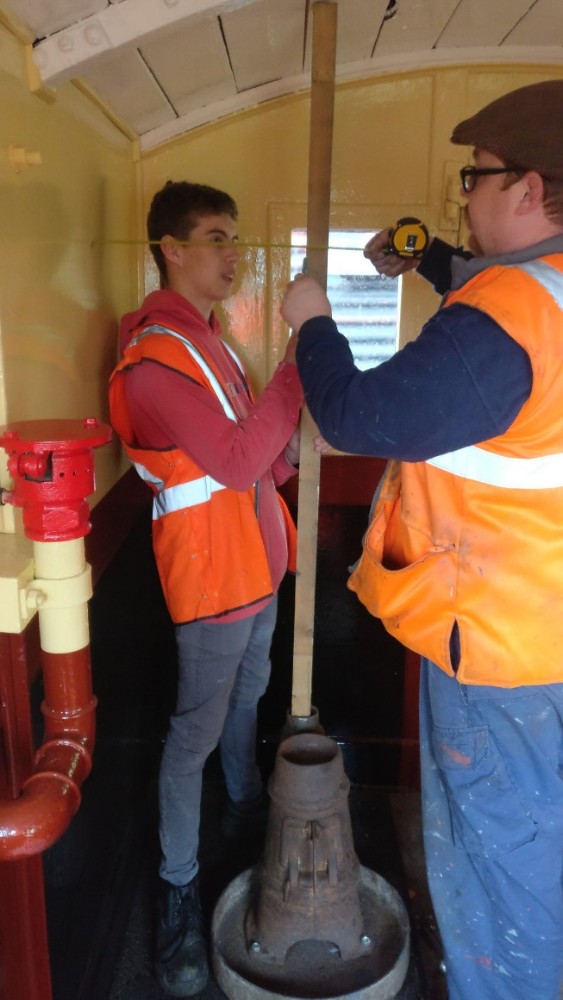
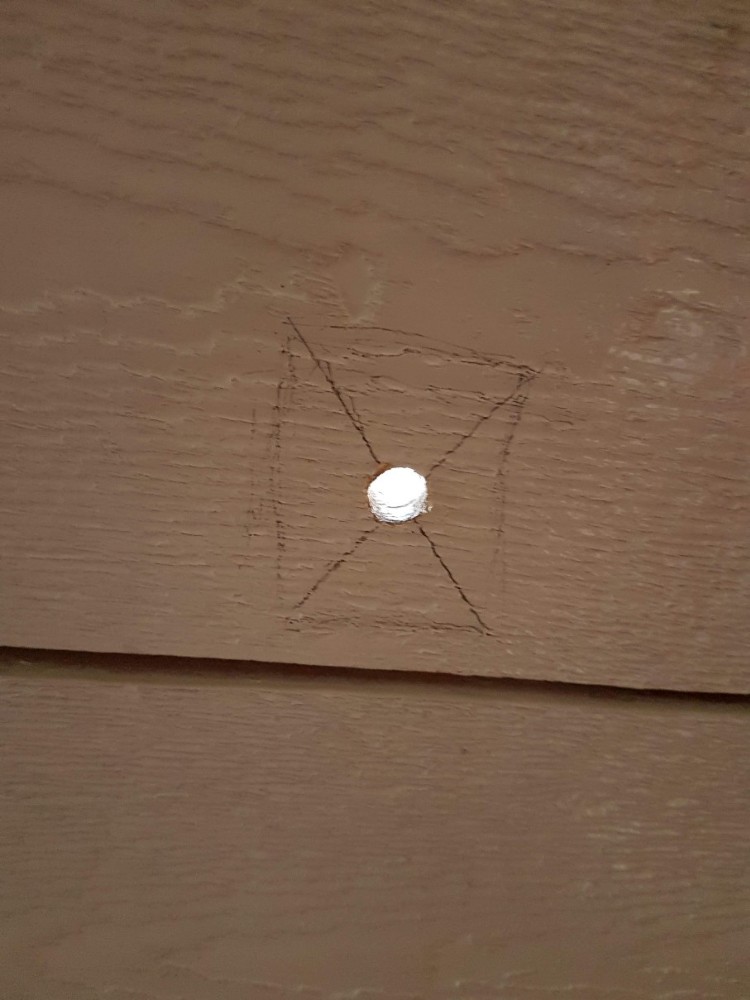
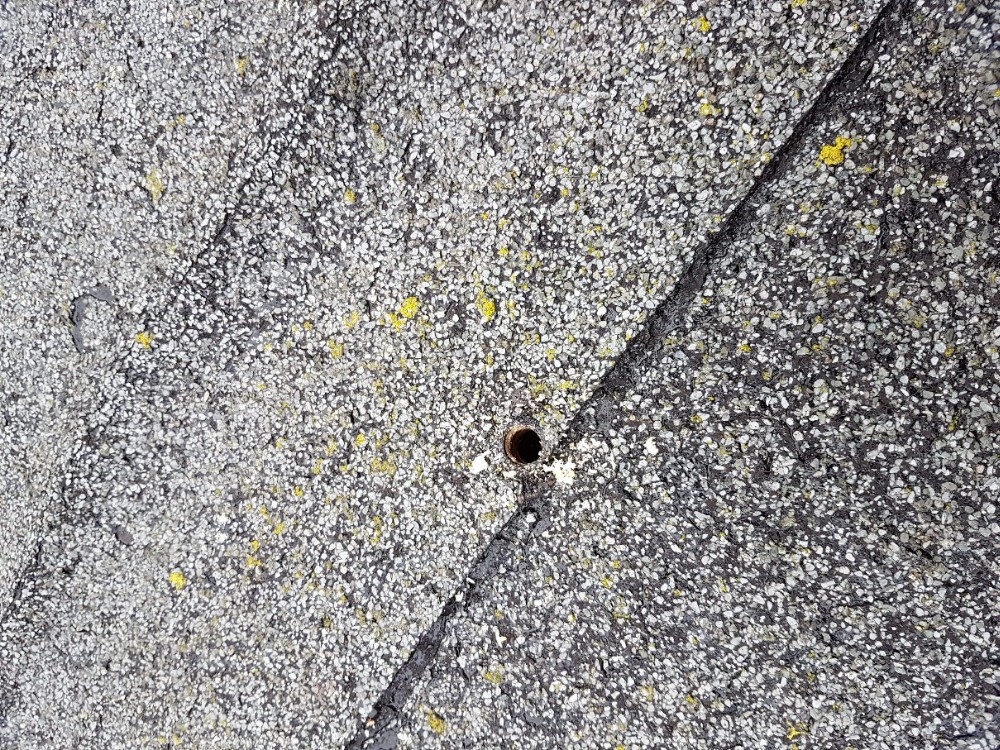
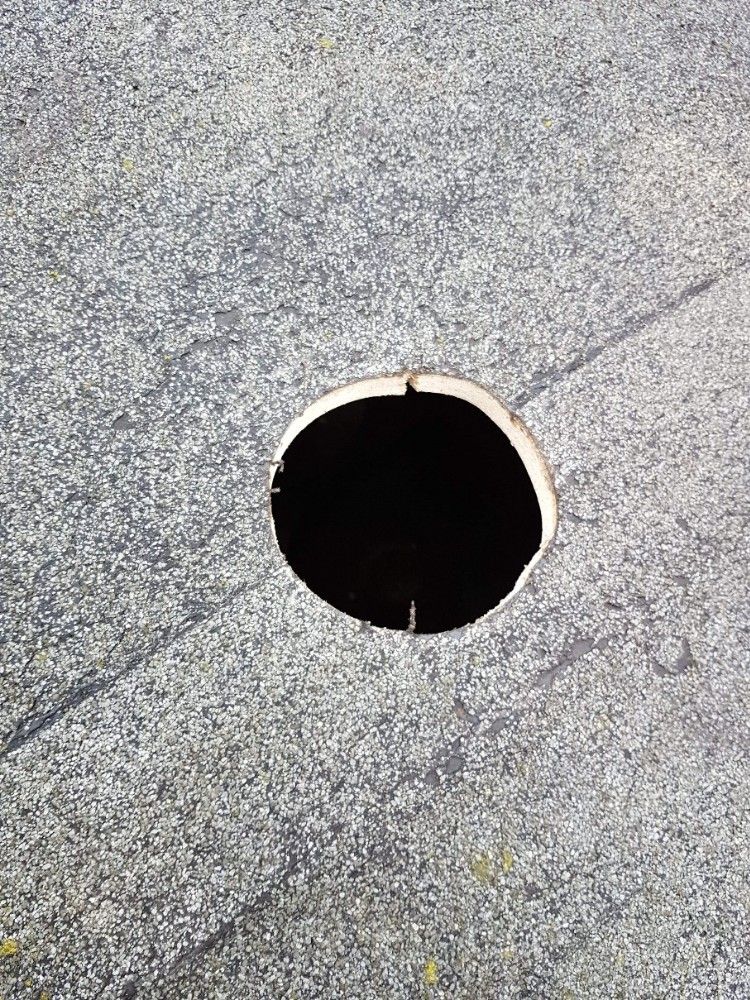
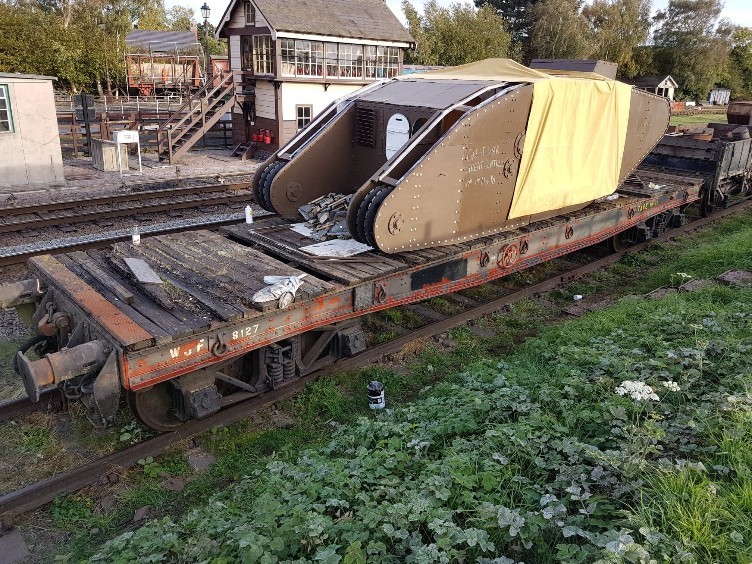
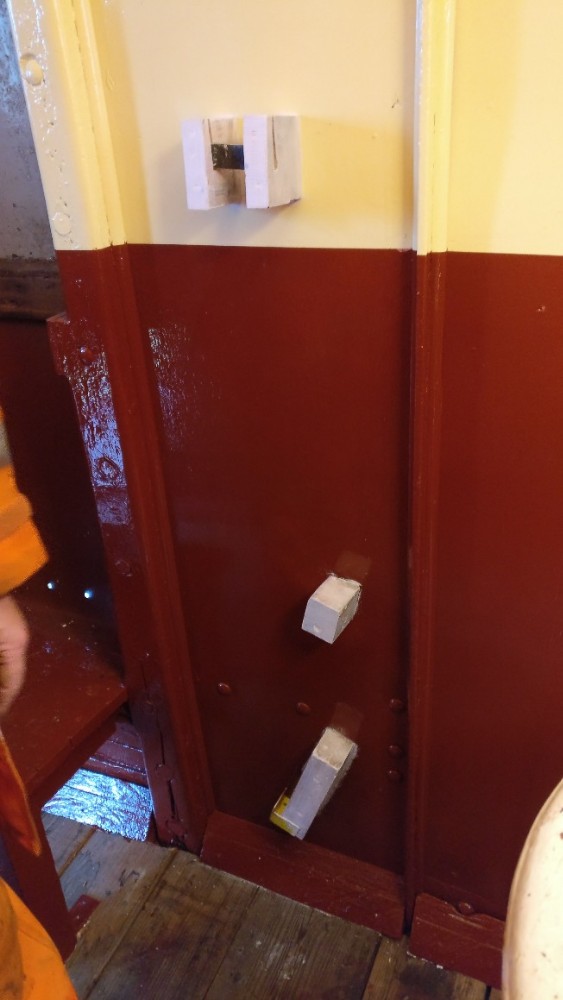
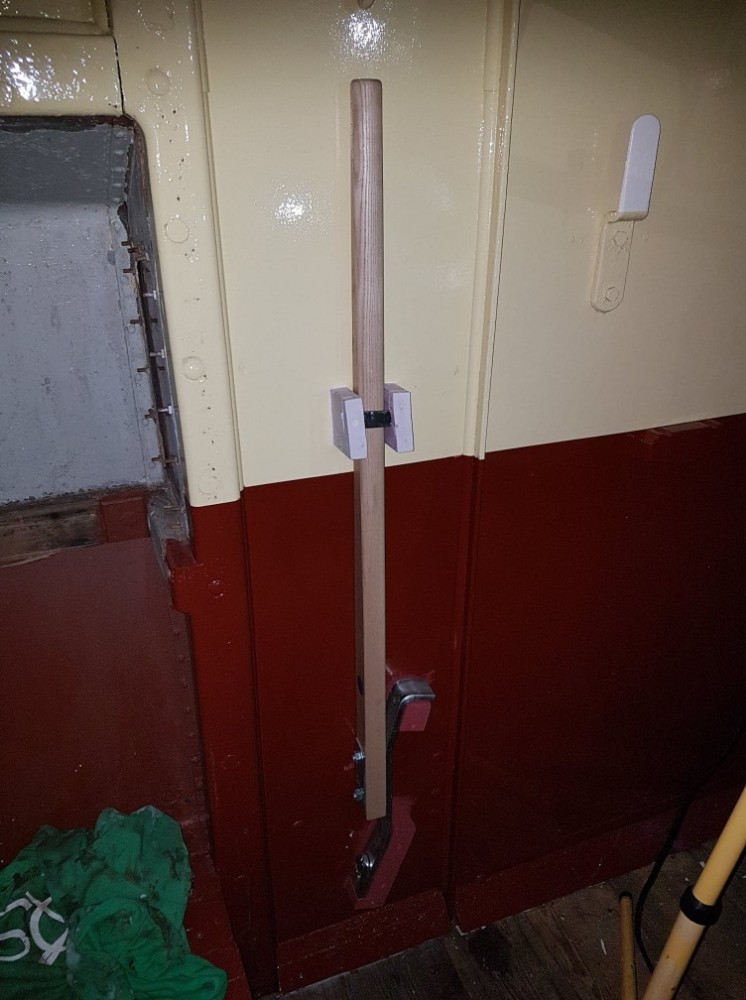
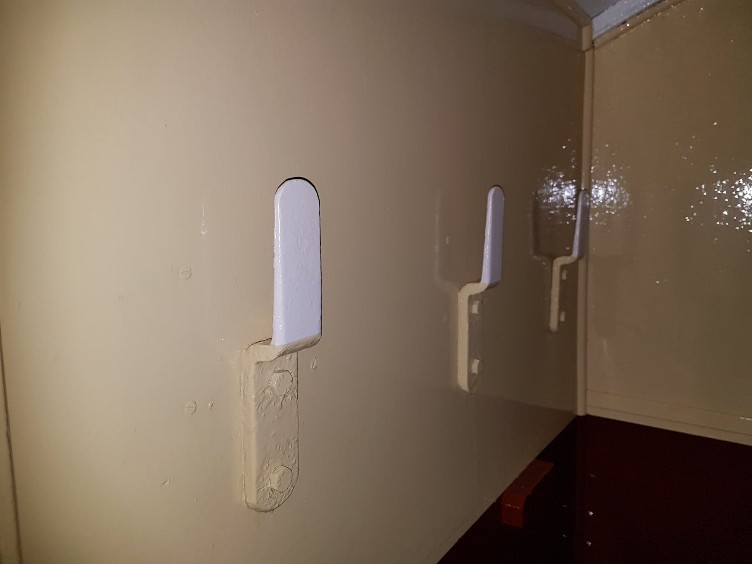
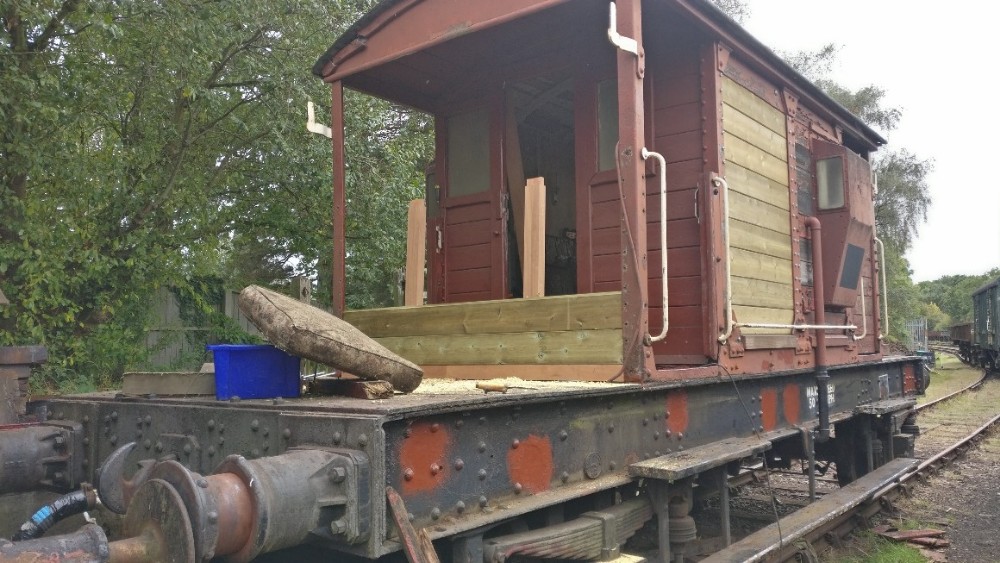
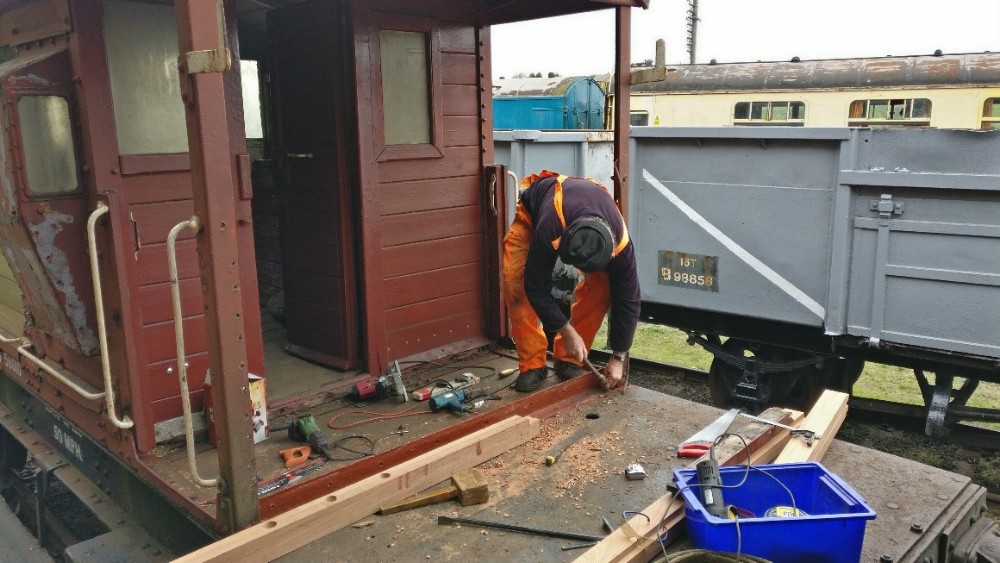
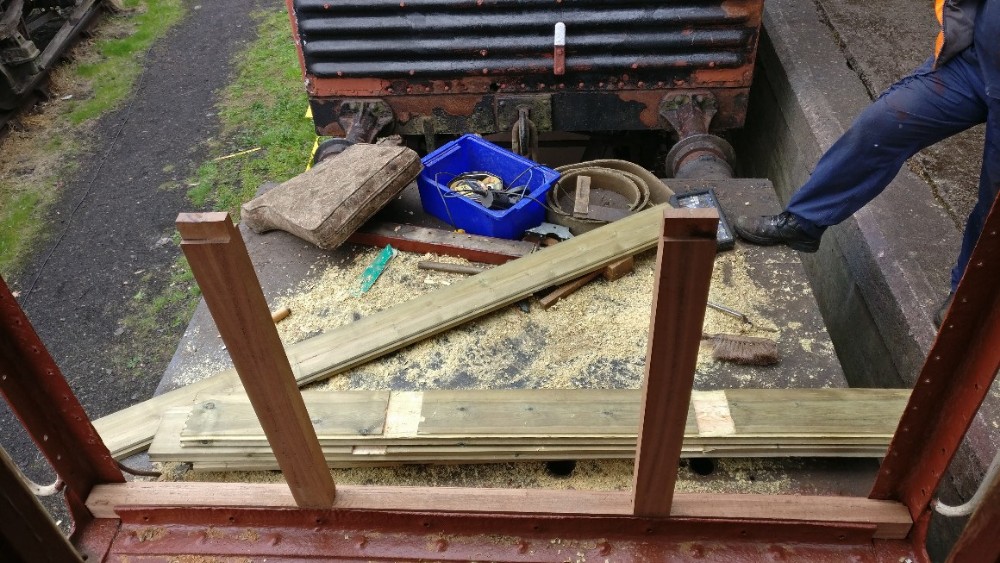
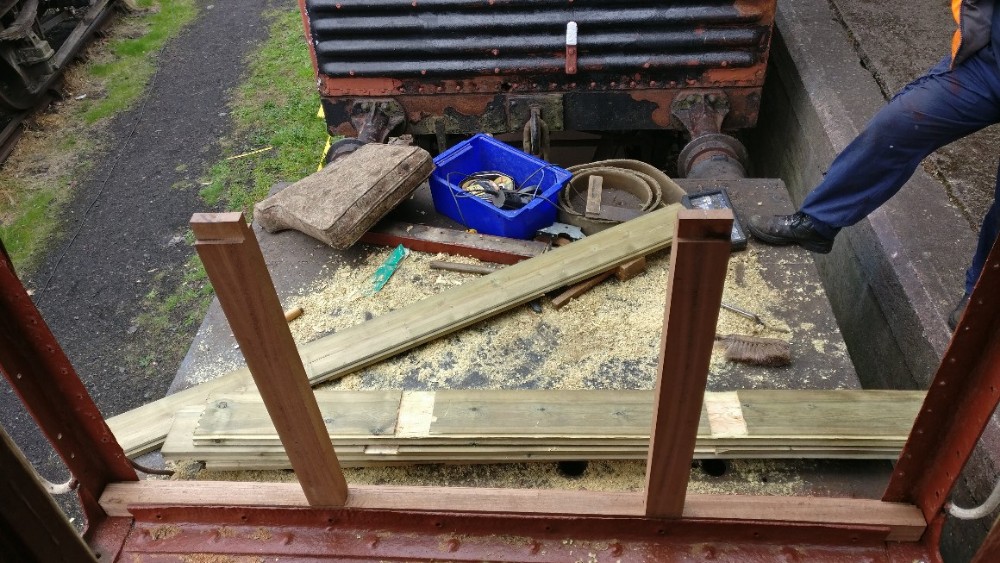
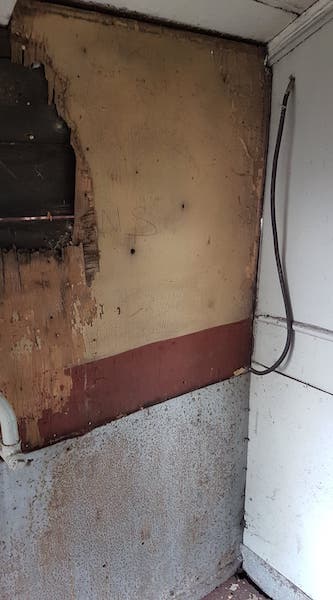
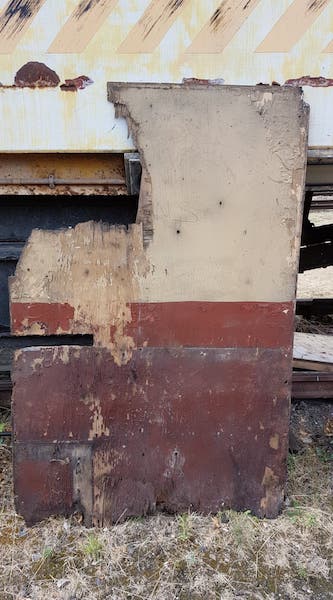
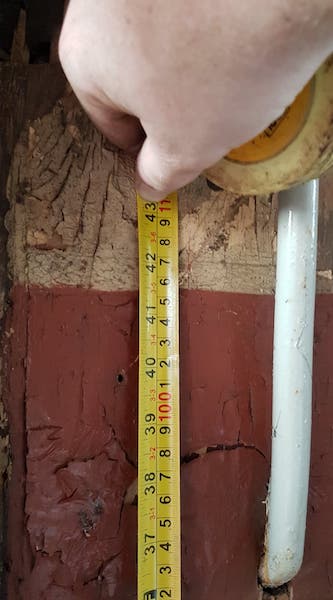
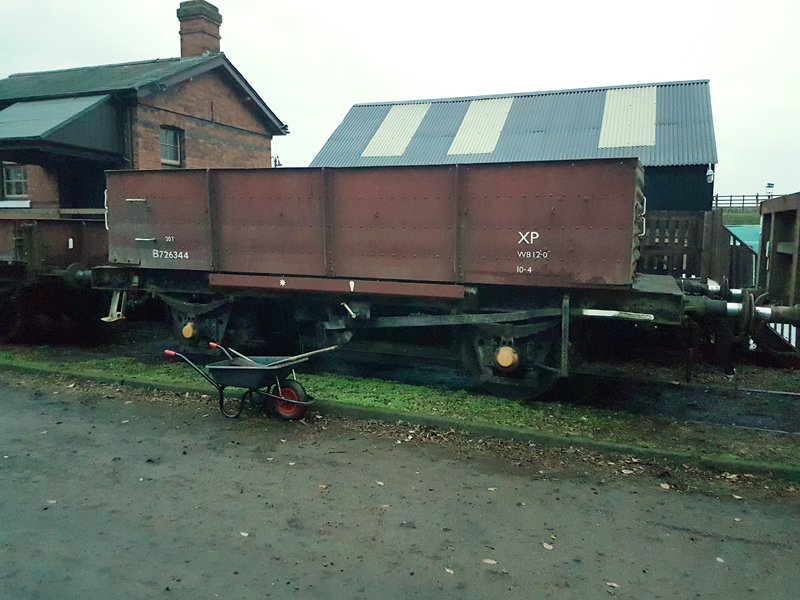
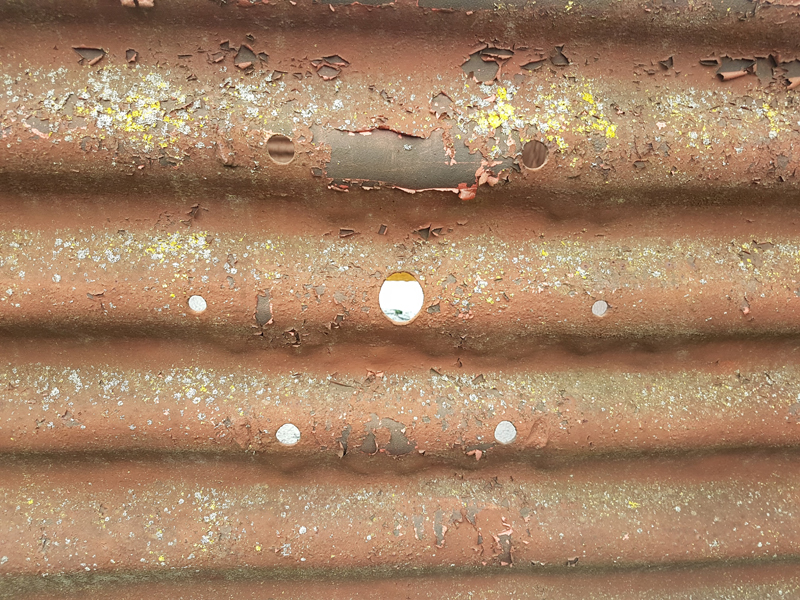
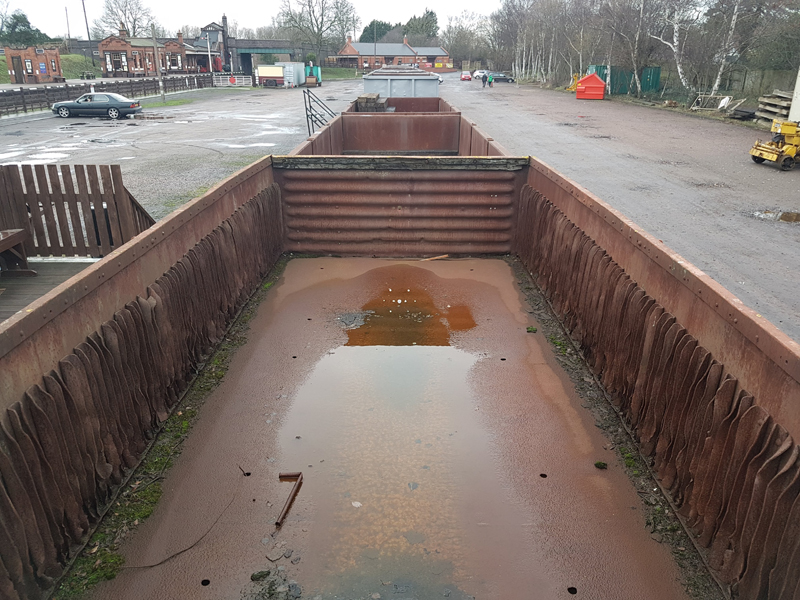
Finally, our attention turned to our potential next project. Dace B726344. The intention is to restore the vehicle to its Shockhood B condition, these vehicles were fitted with foldable hoods and this will be reinstated. Nick took time to remove the moss and loose rust from the floor whilst I took measurements and began planning the installation of the 3 foldable hood bars.
Next weekend our attention will be turning to routine maintenance with such a large fleet this is essential to keep them operational.