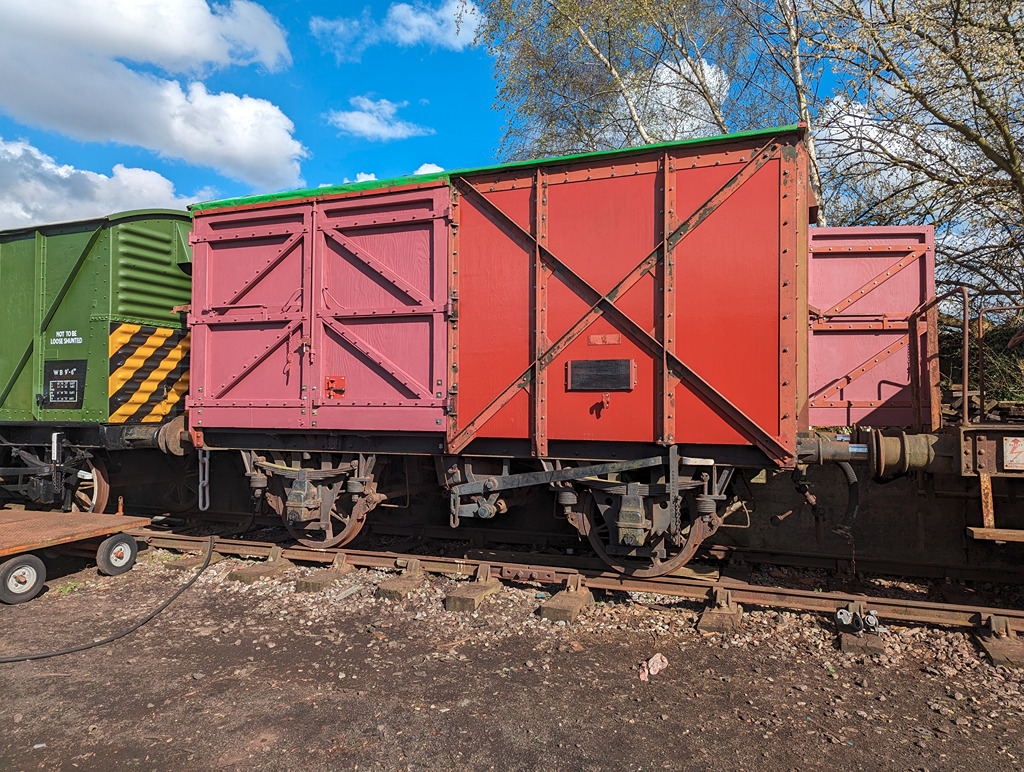
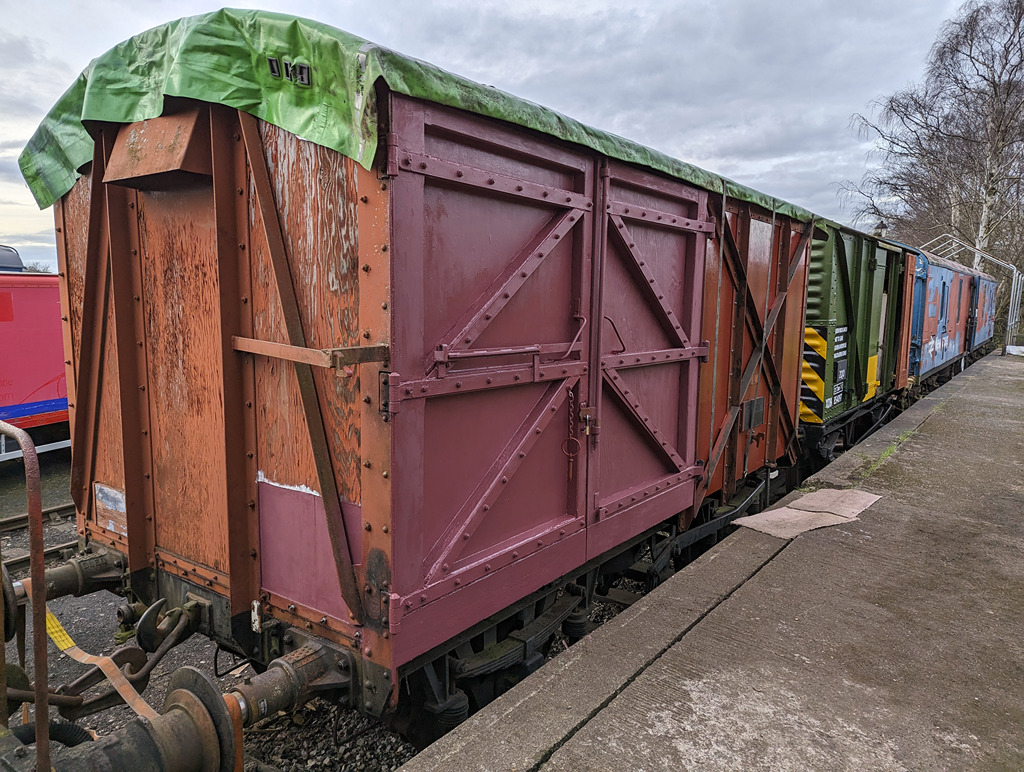
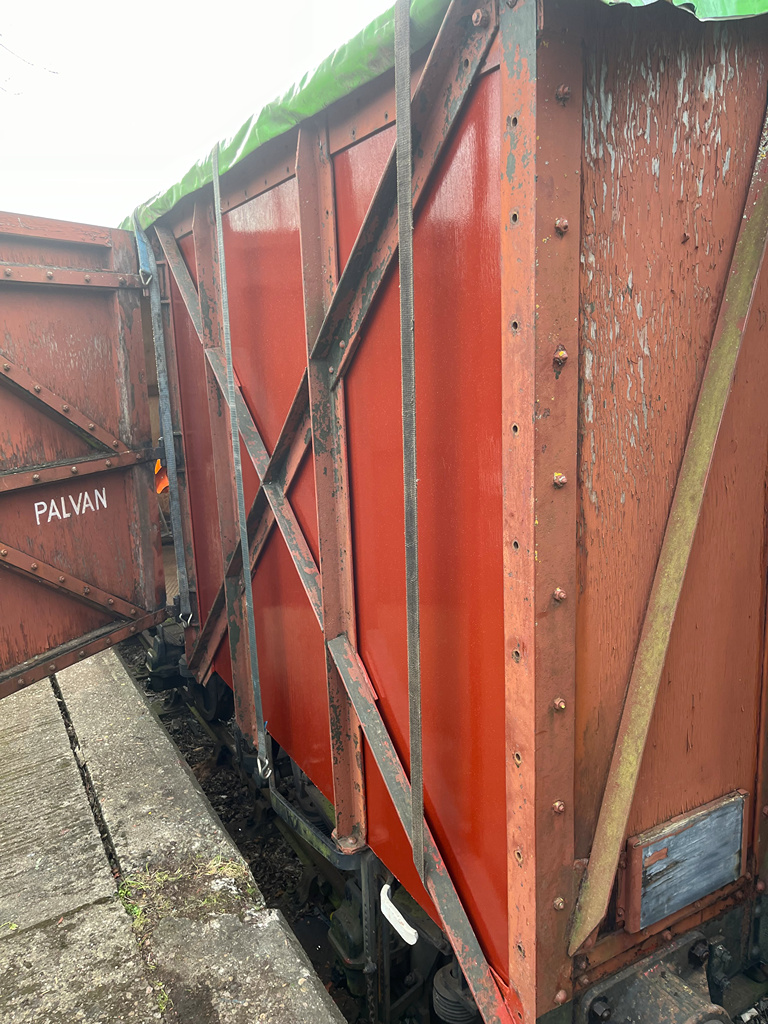
Hello and welcome, you’re joining us for a bumper Easter special! As with previous updates the Palvan has been our focus, but I’m pleased to say the end now feels in sight!
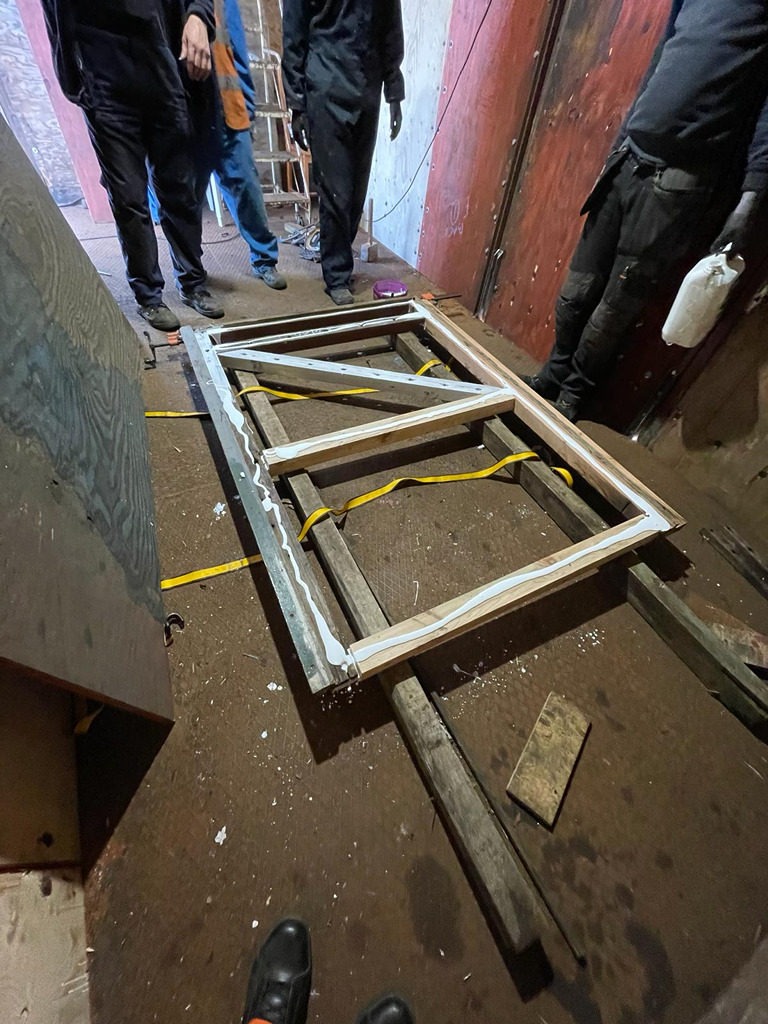
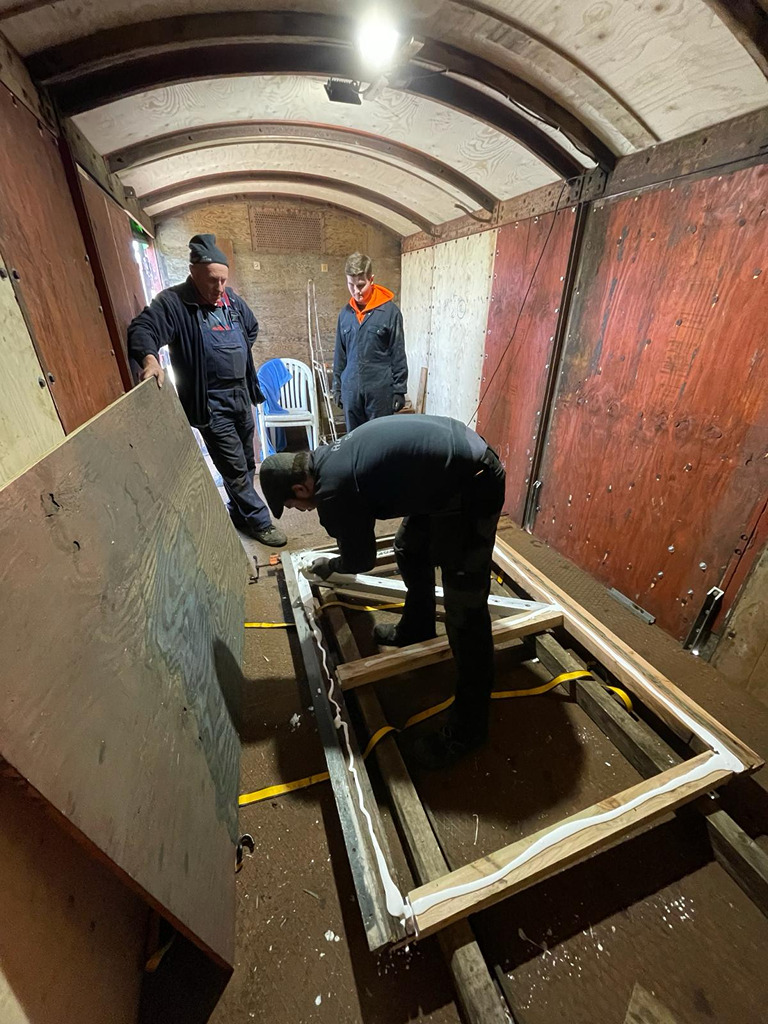
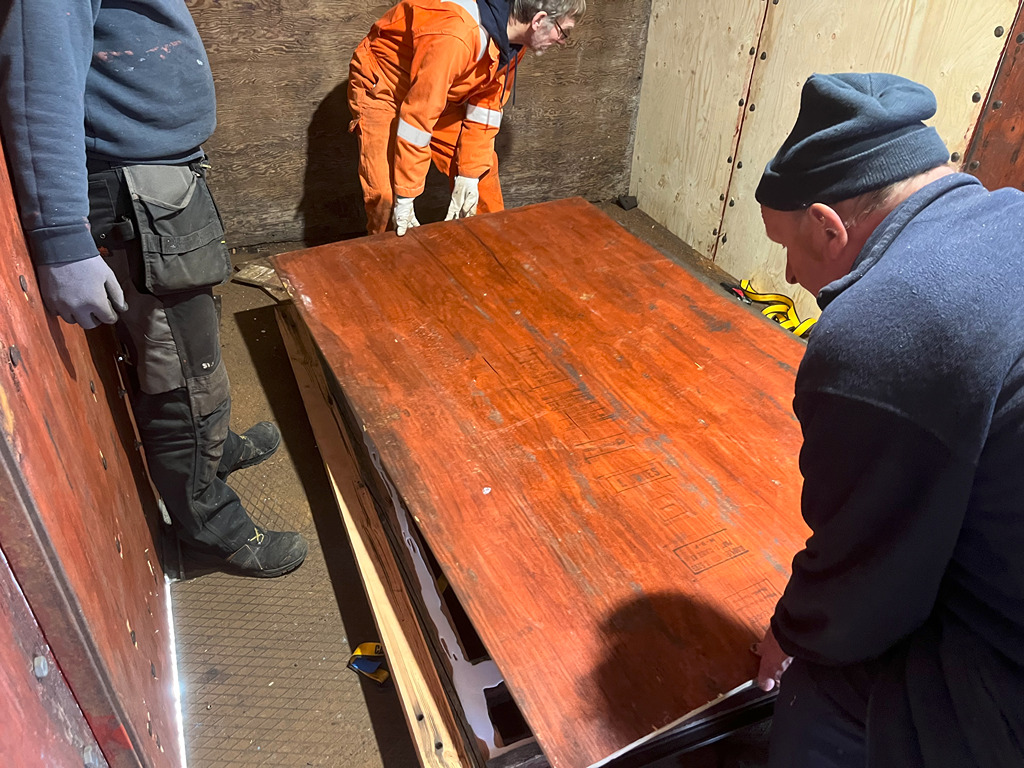
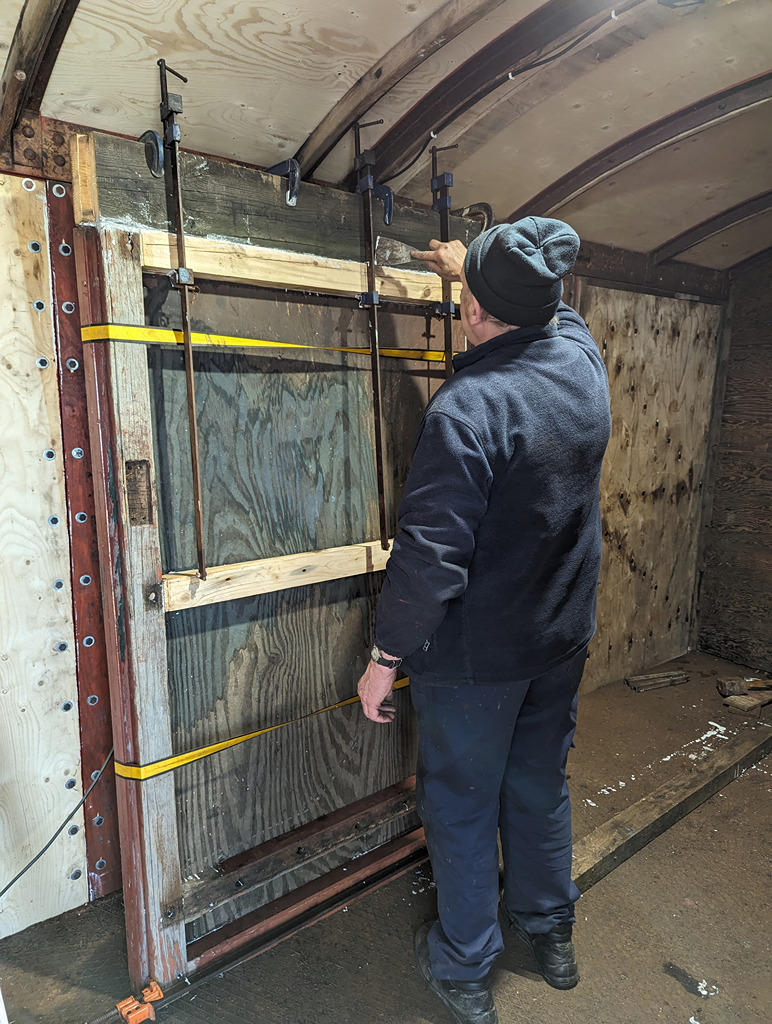
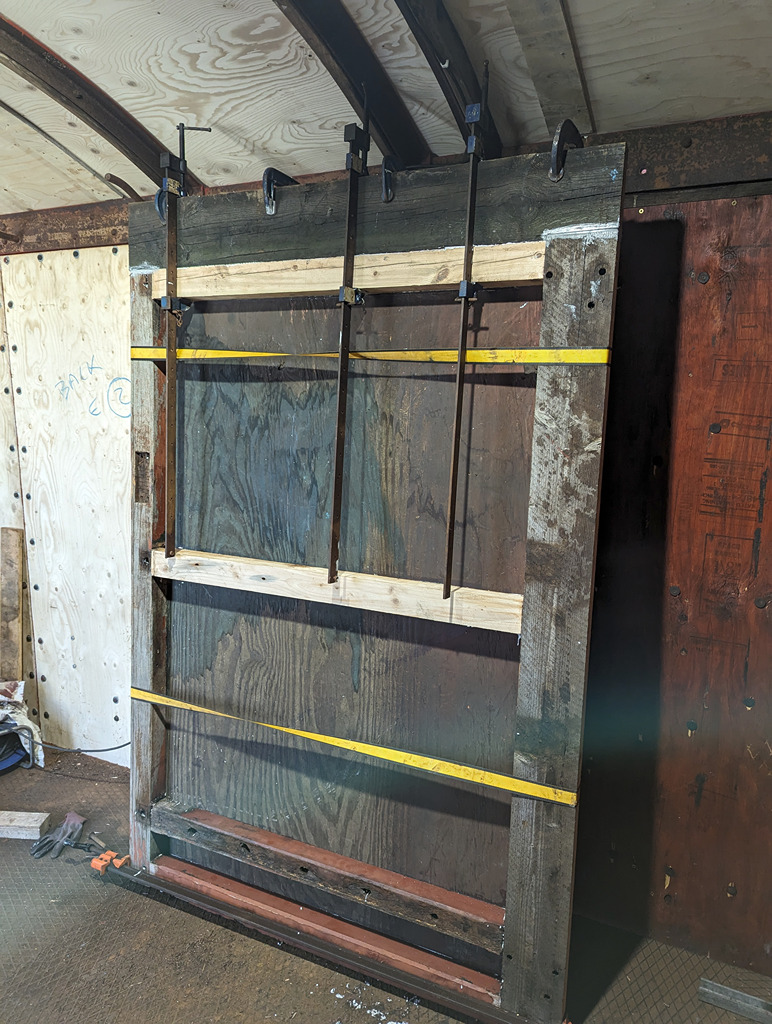
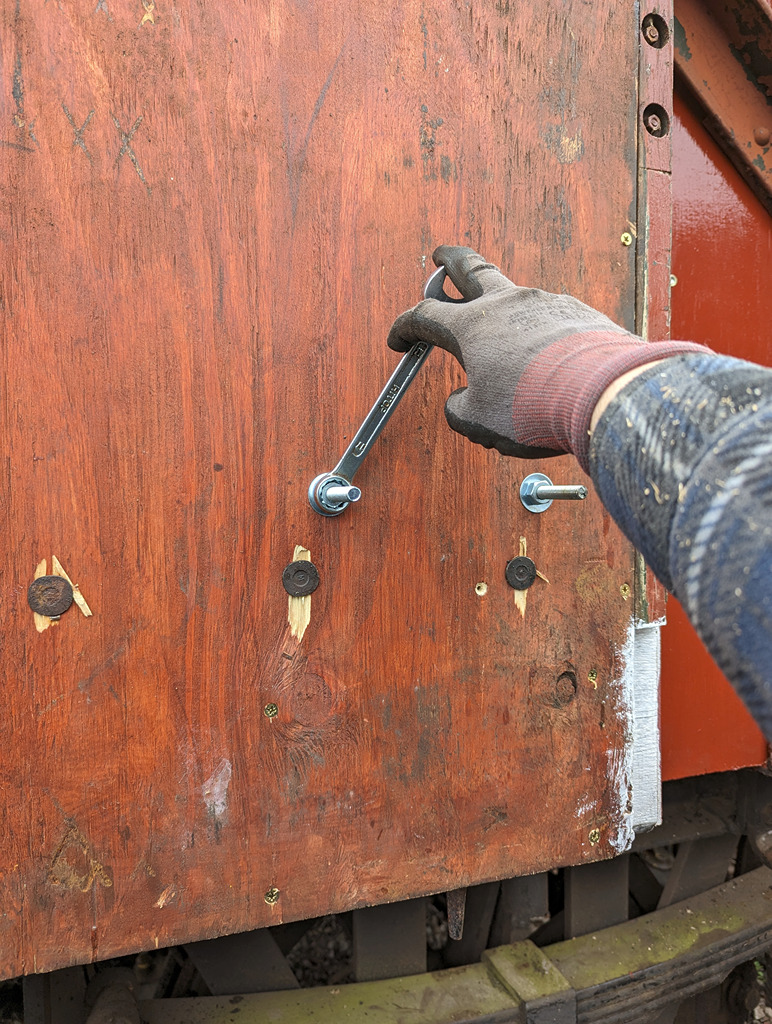
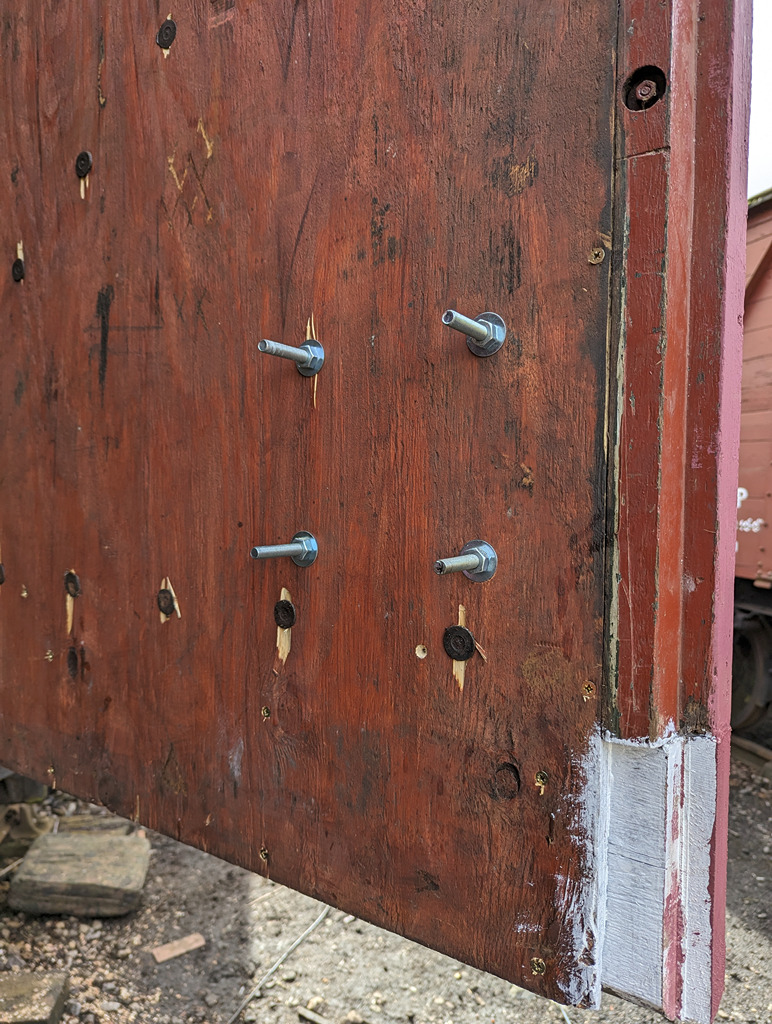
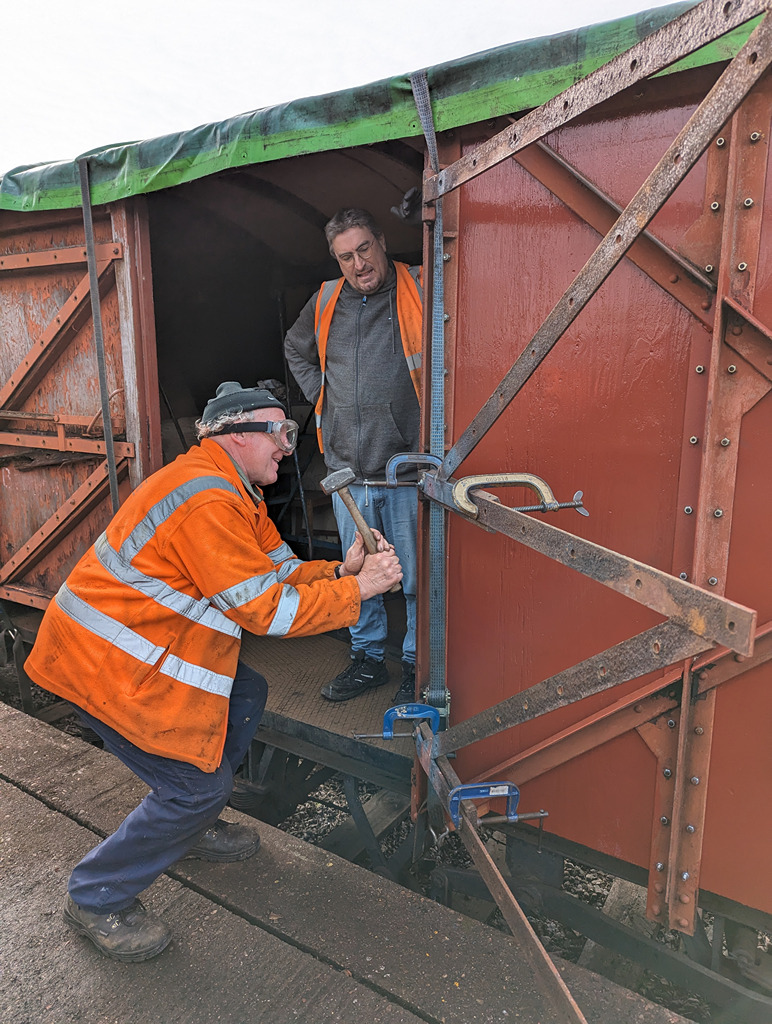
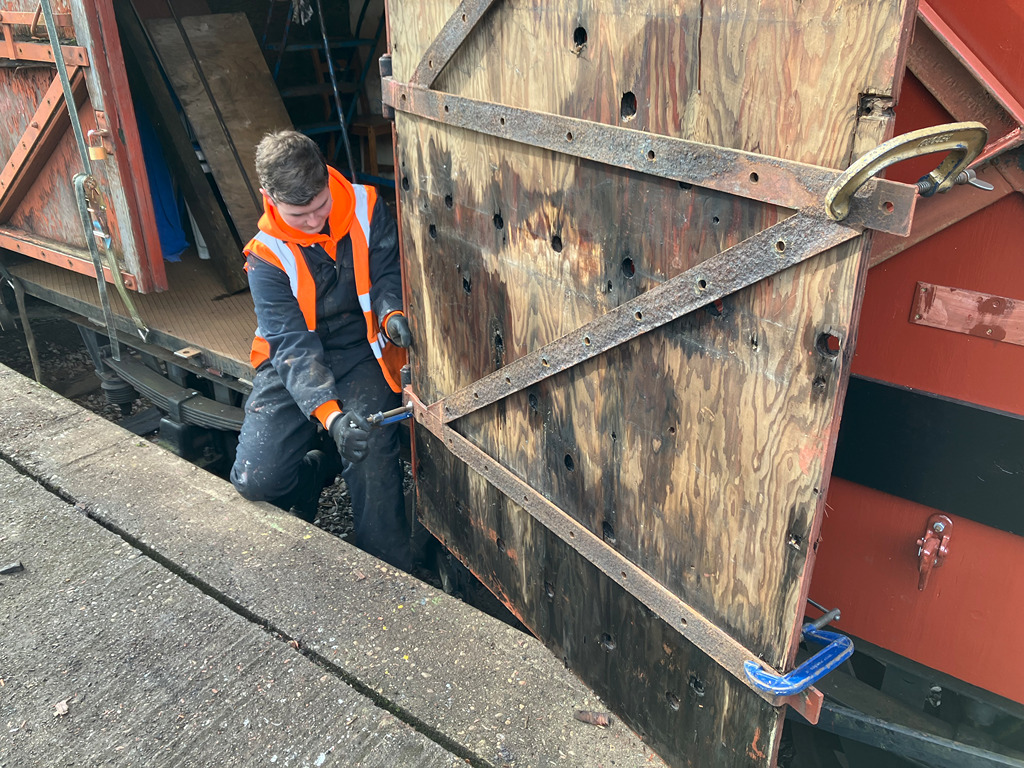
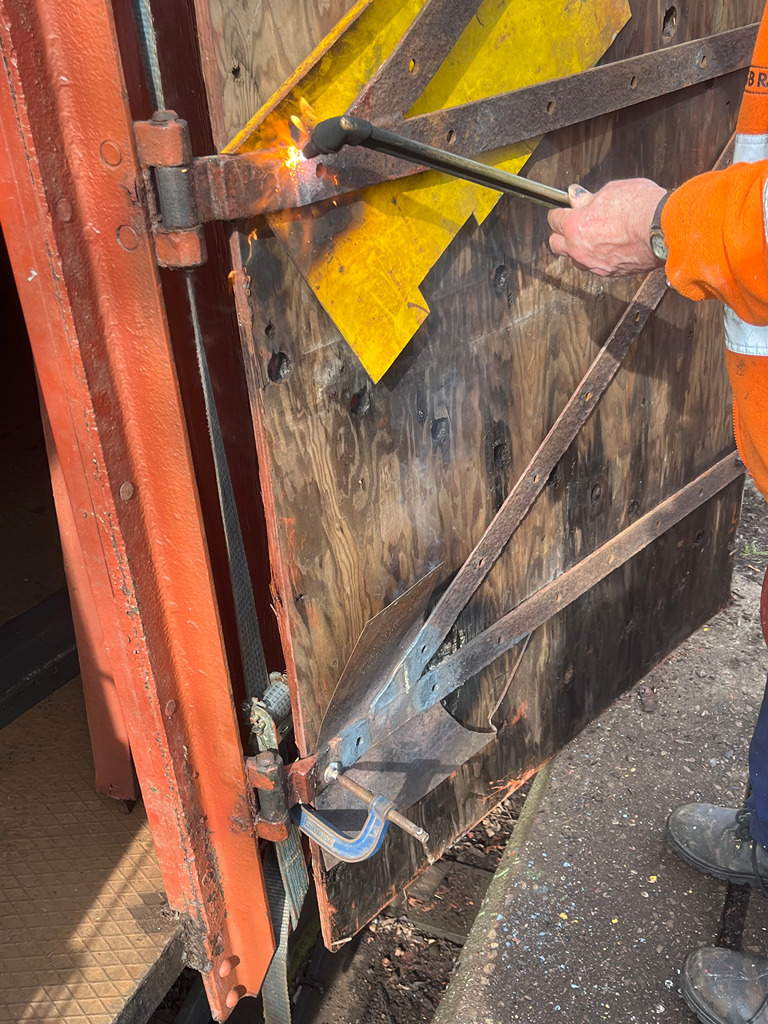
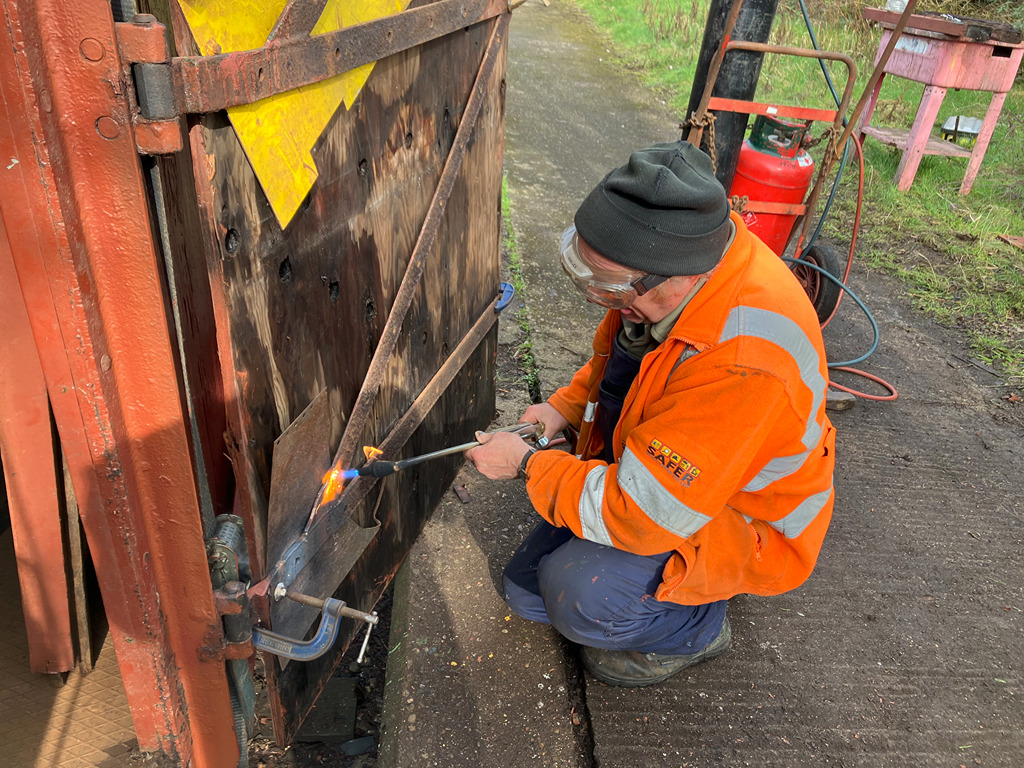
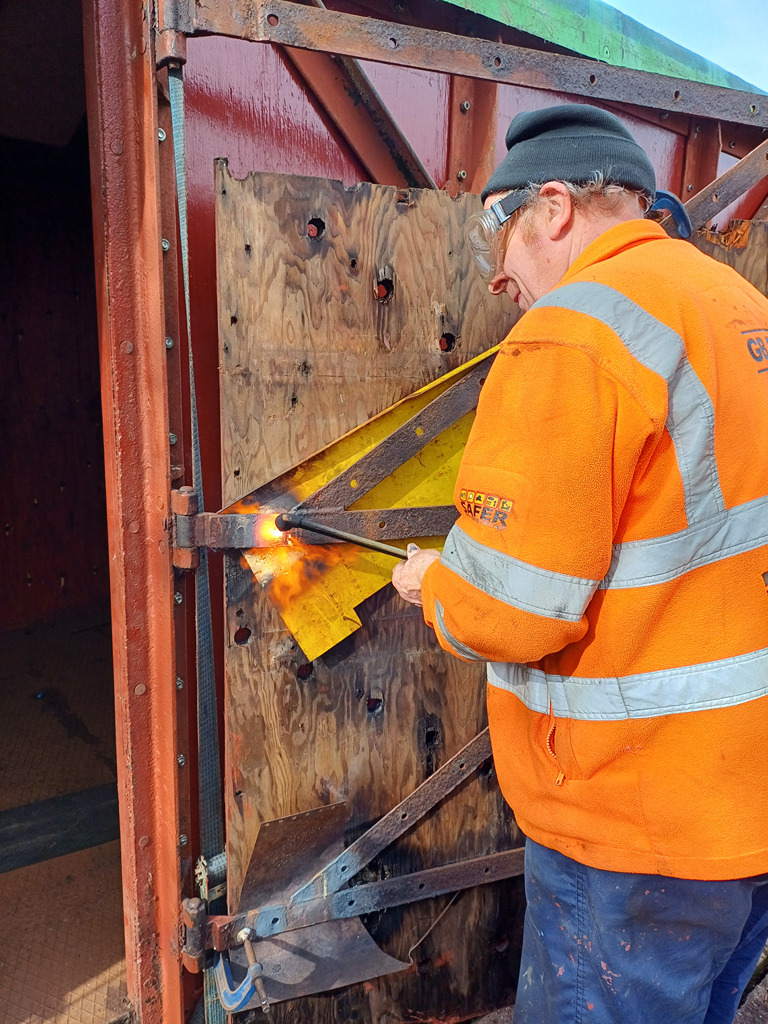
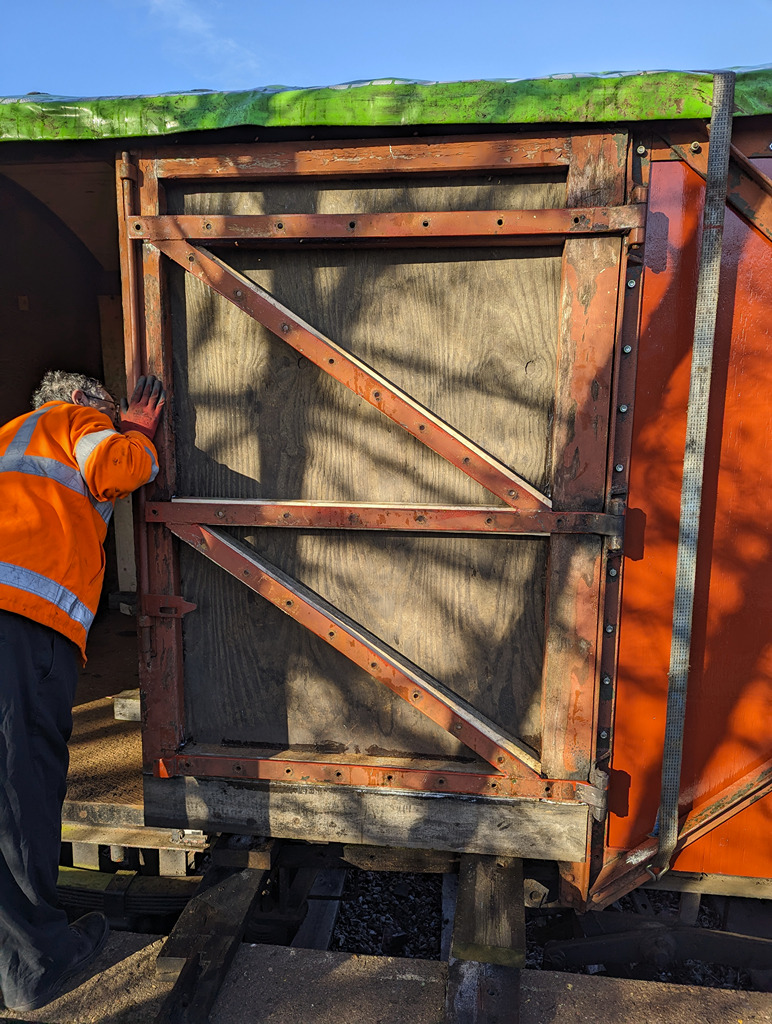
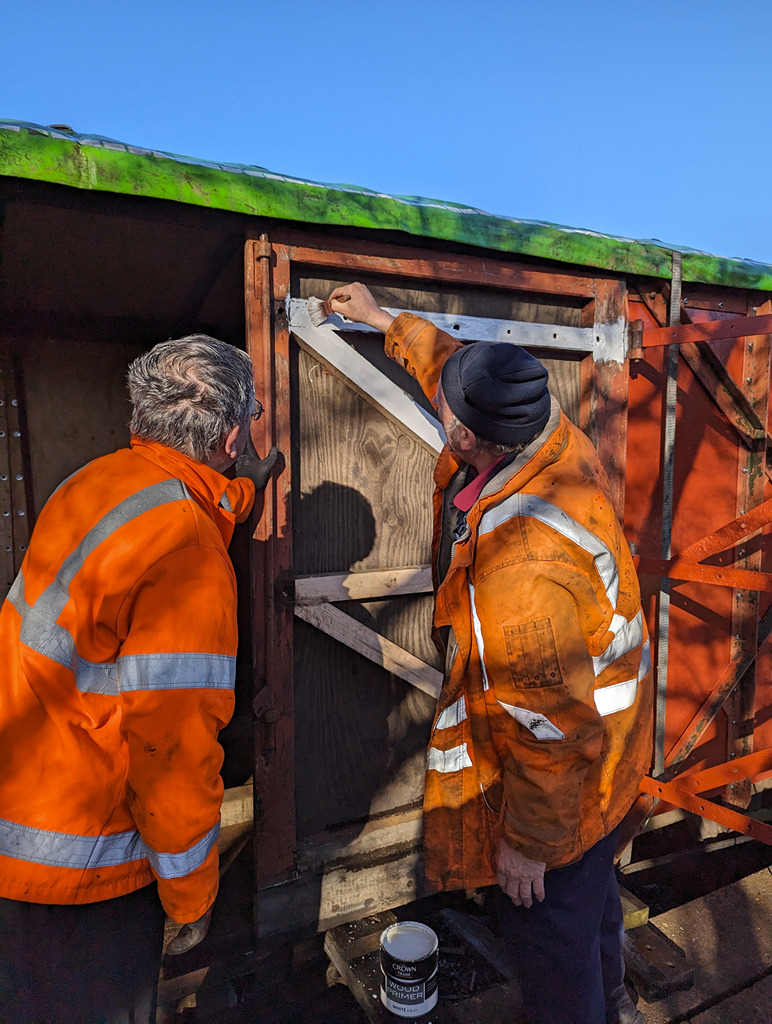
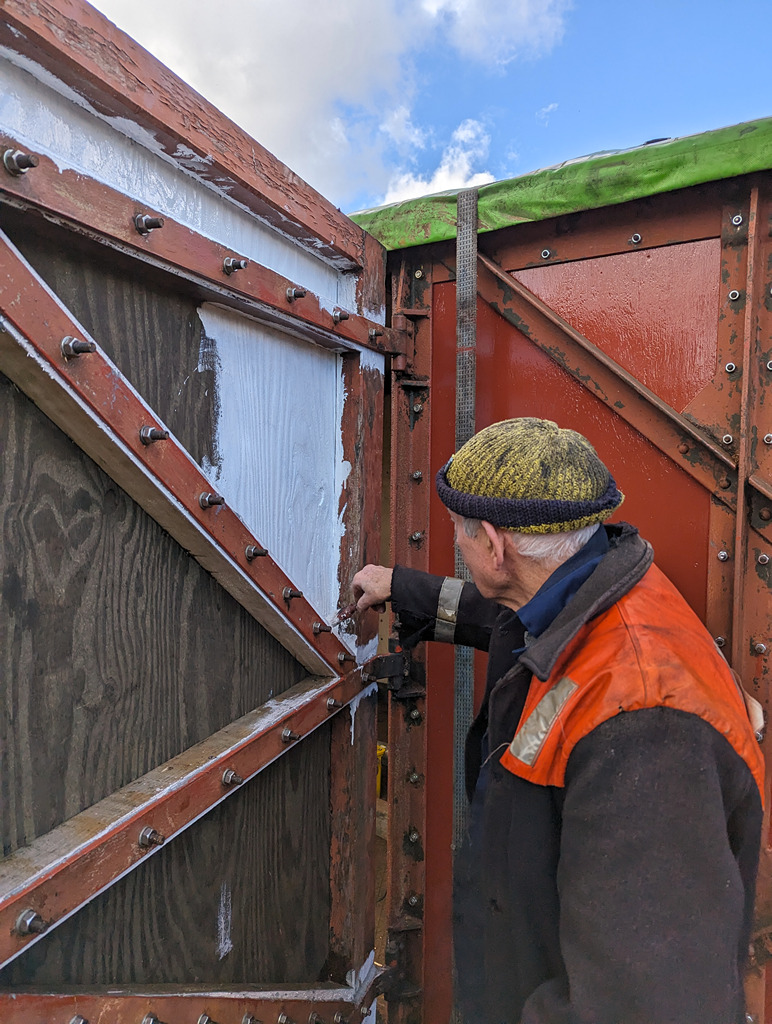
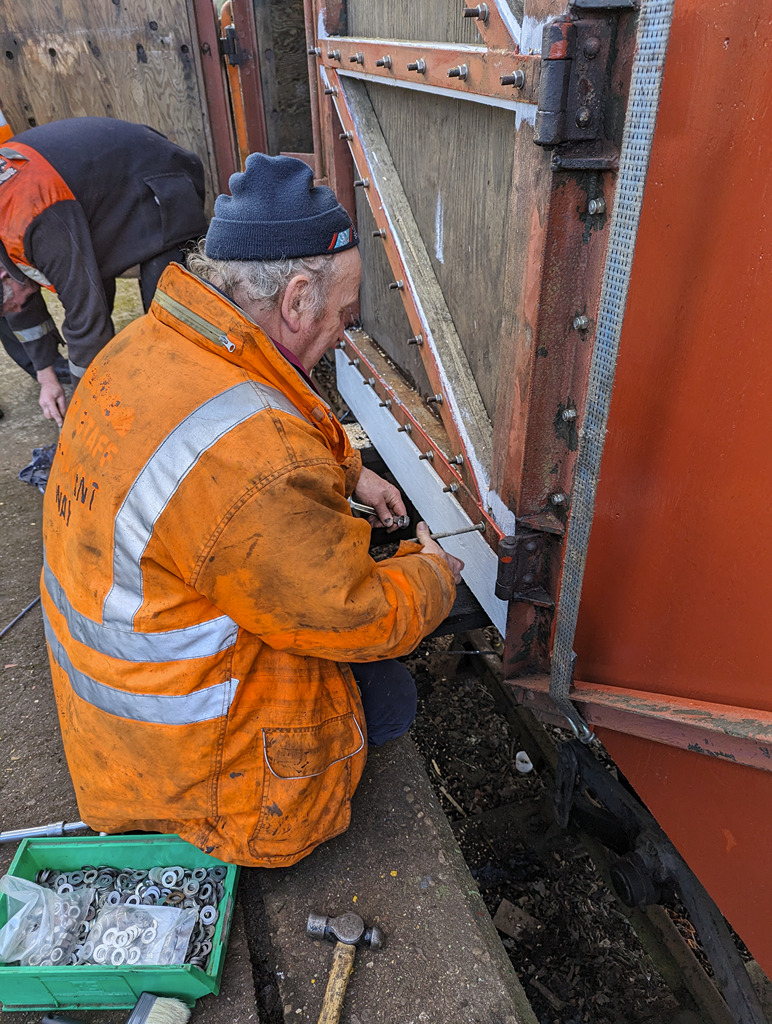
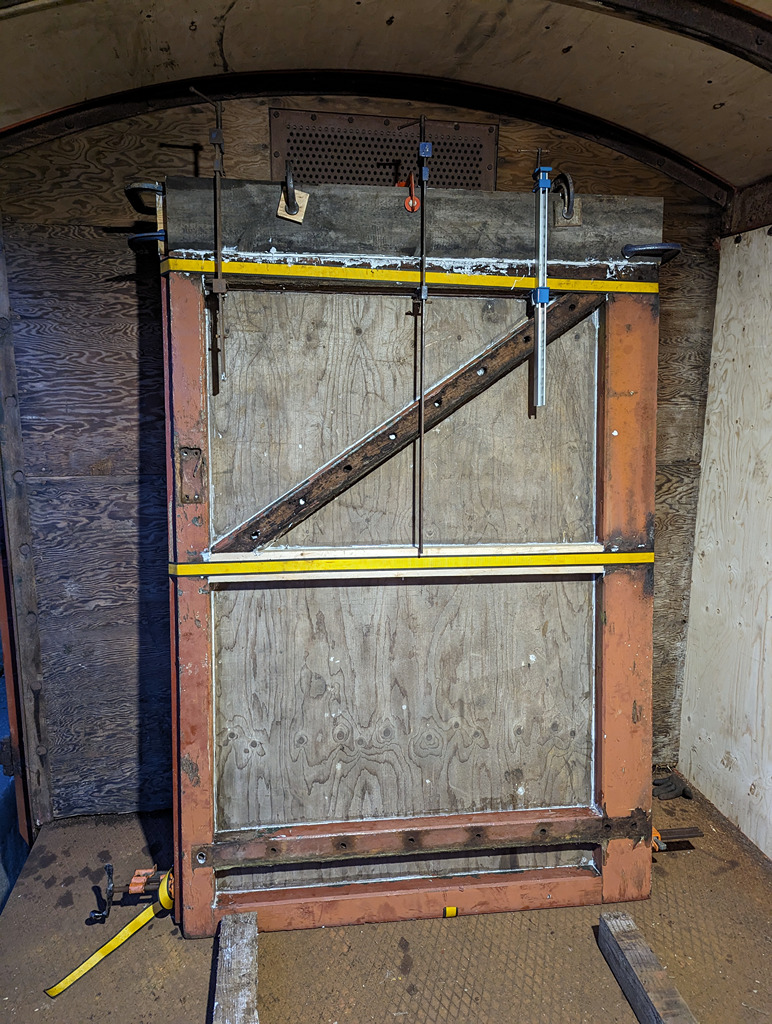
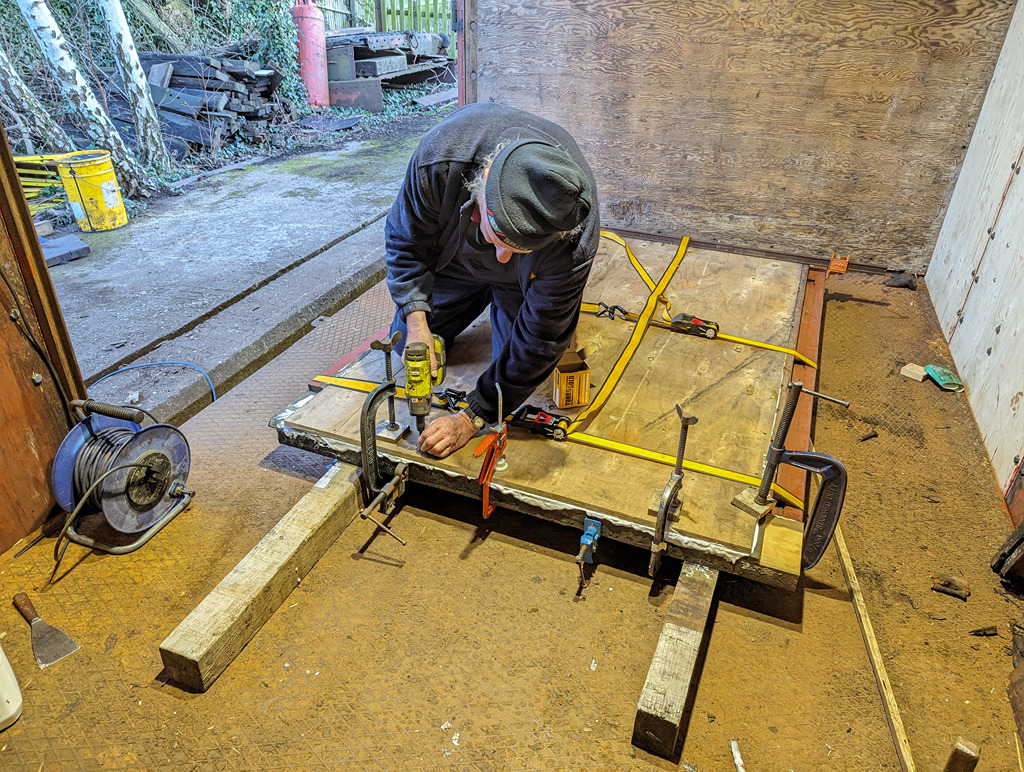
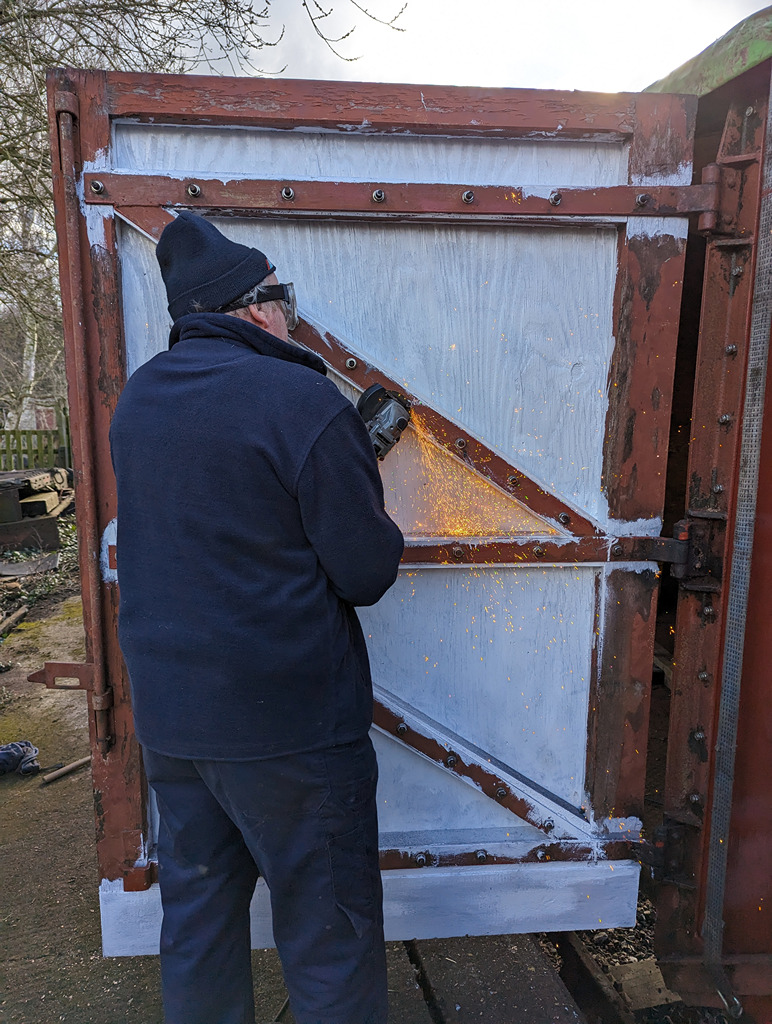
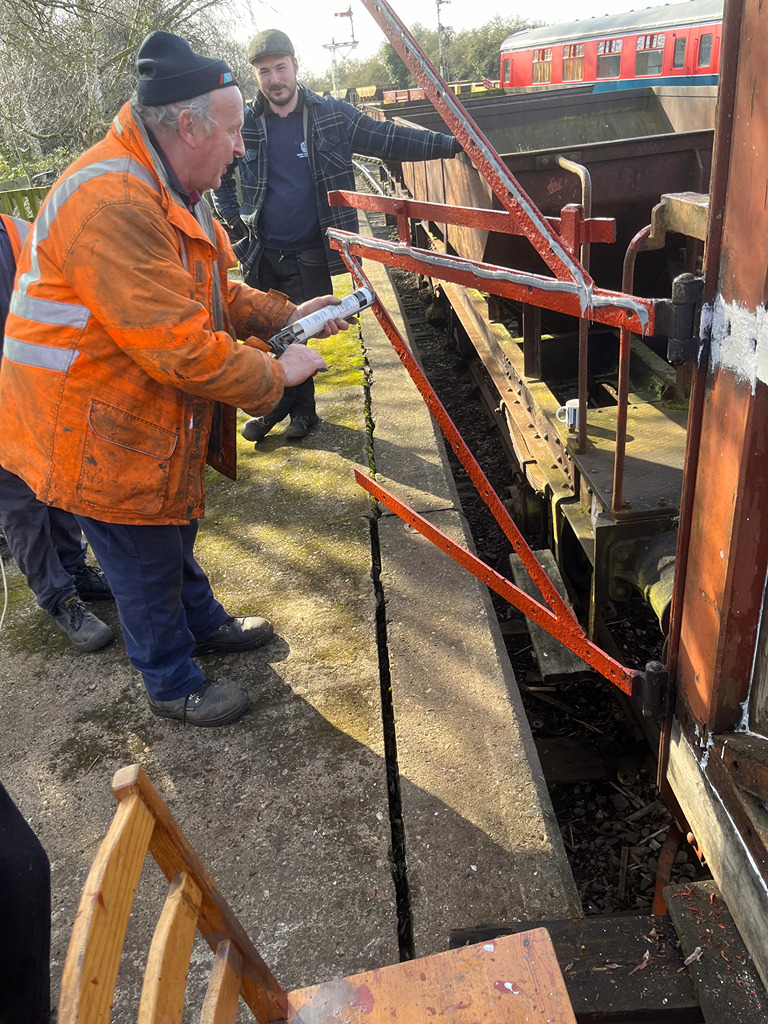
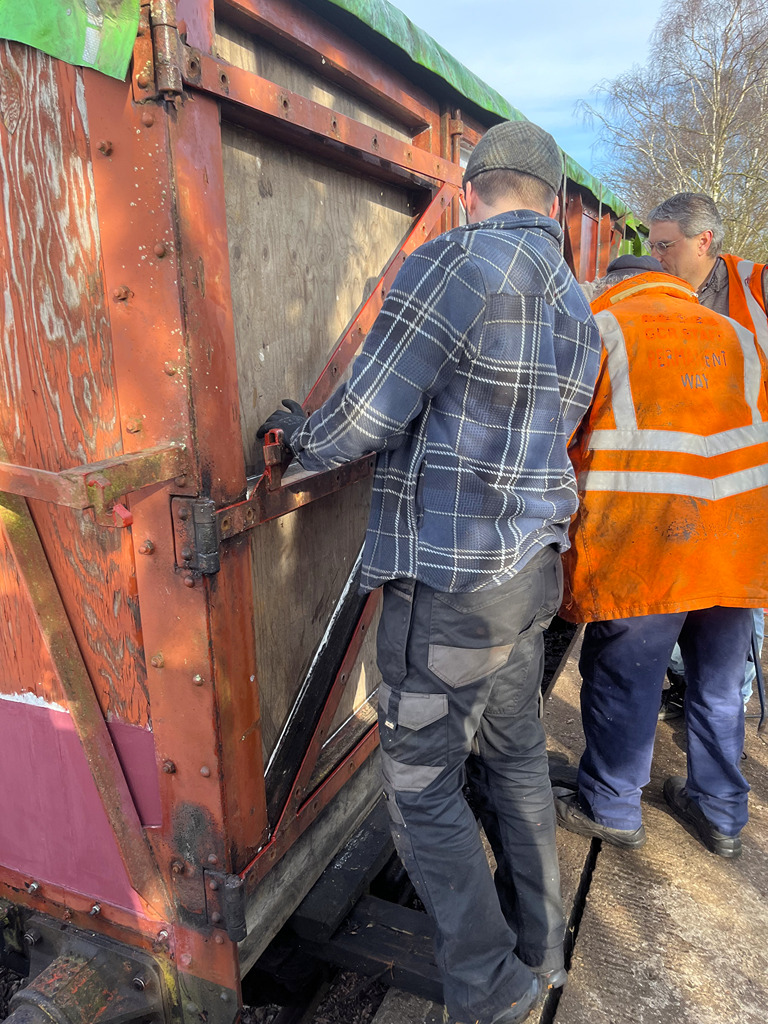
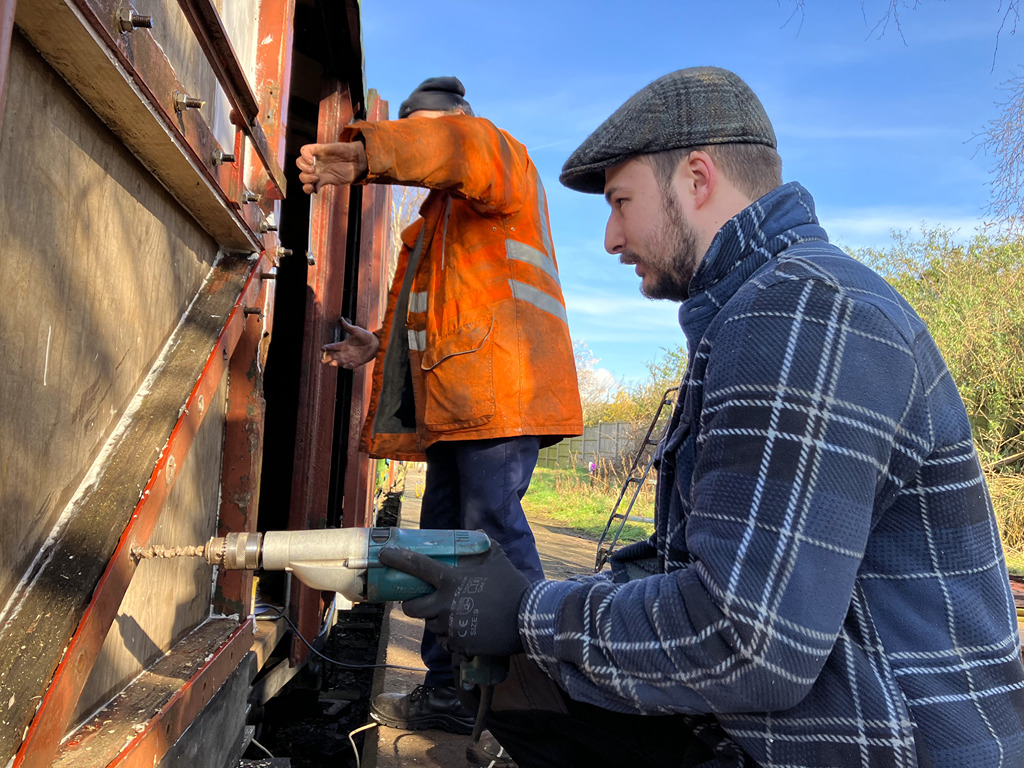
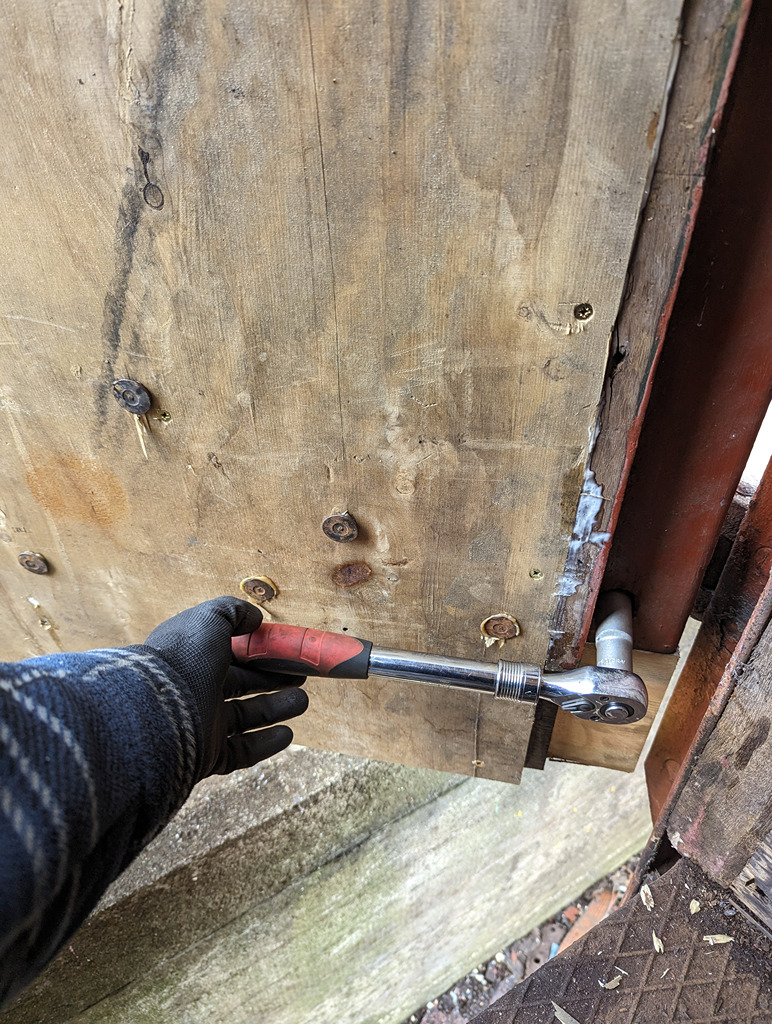
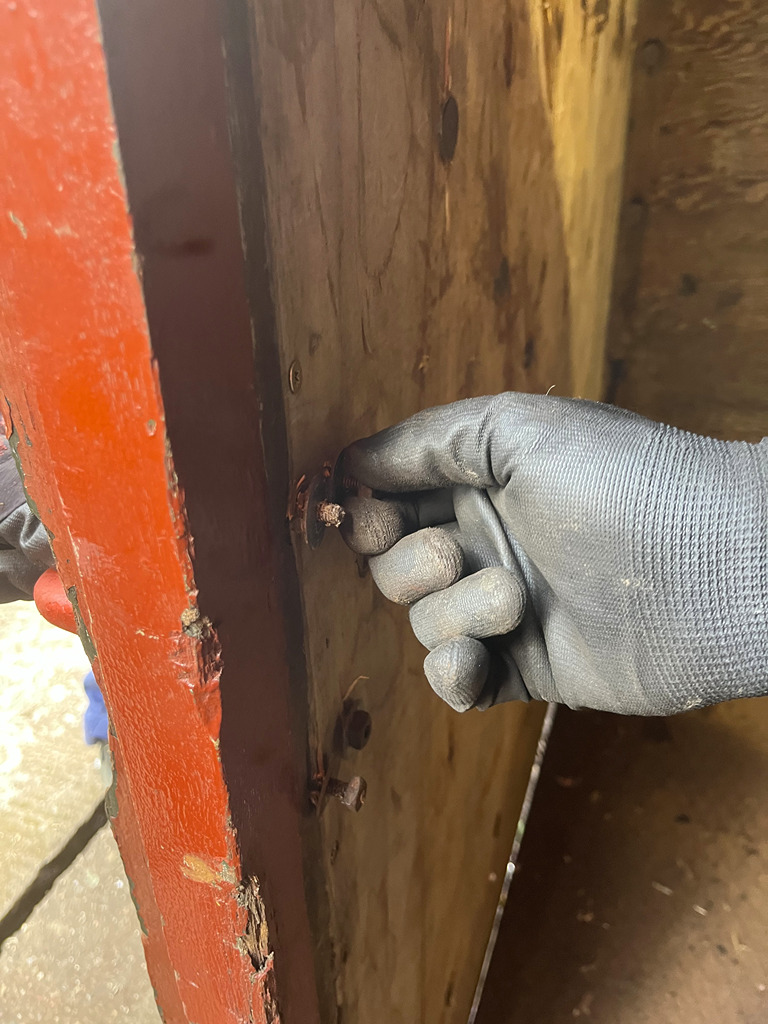
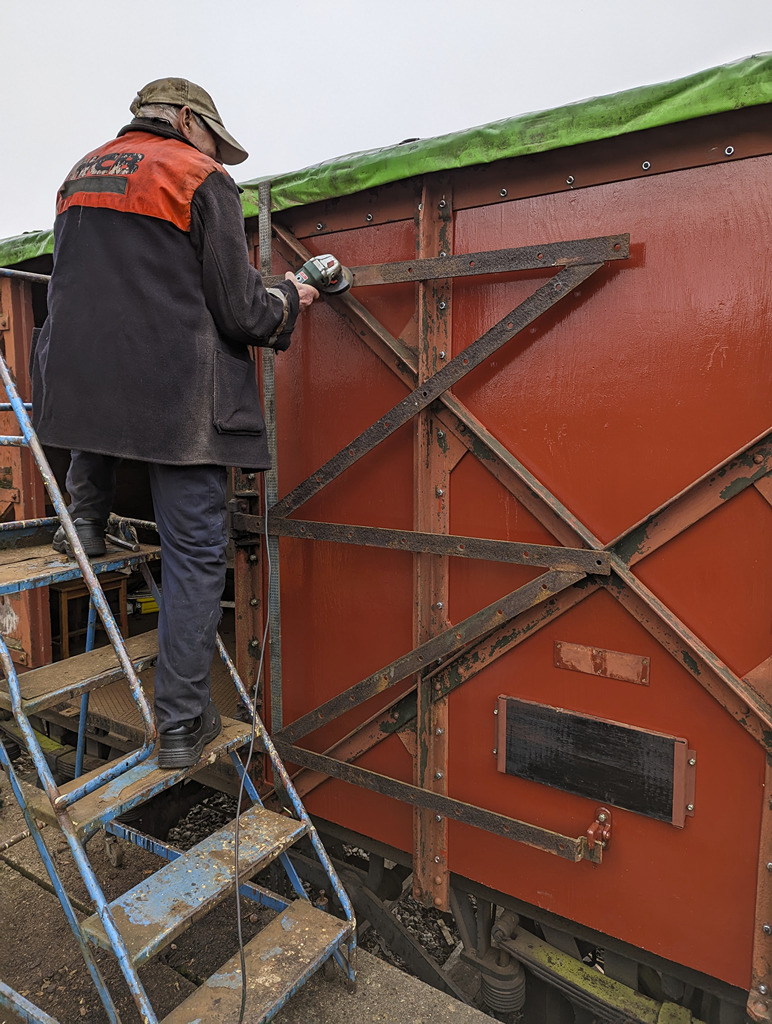
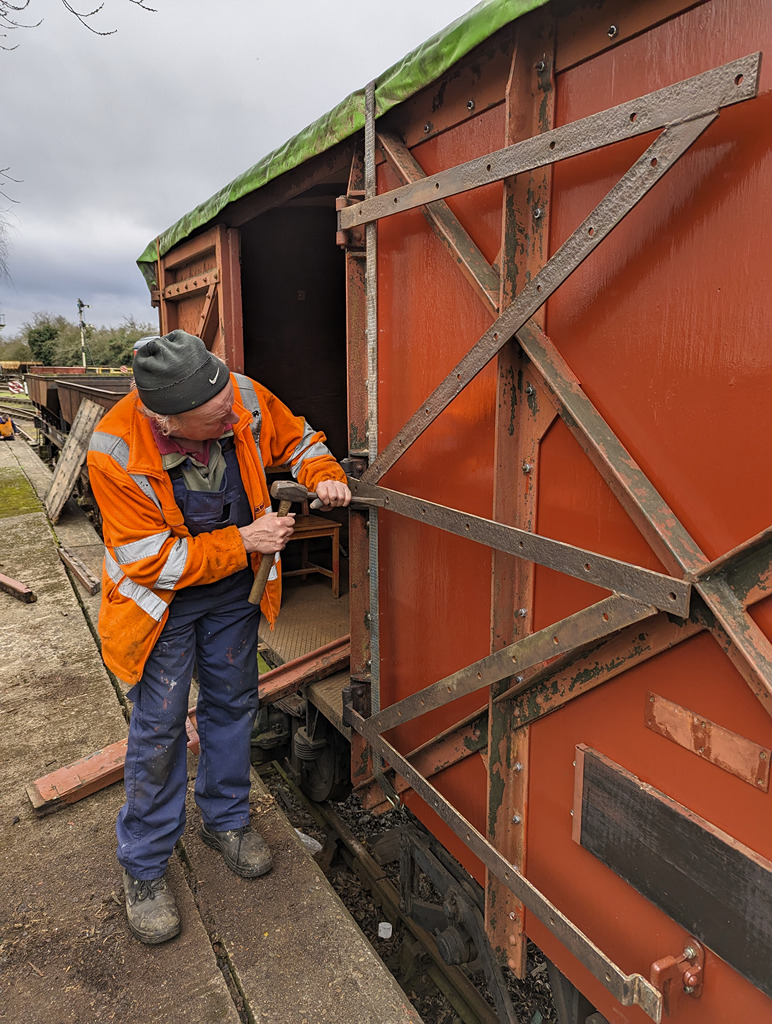
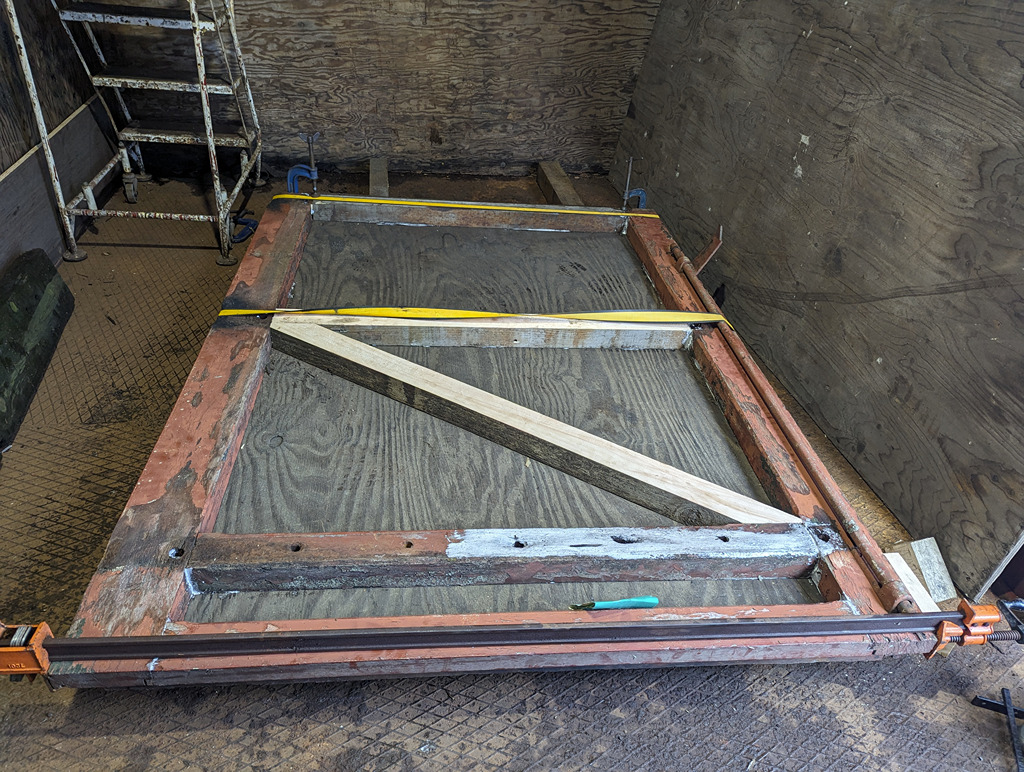
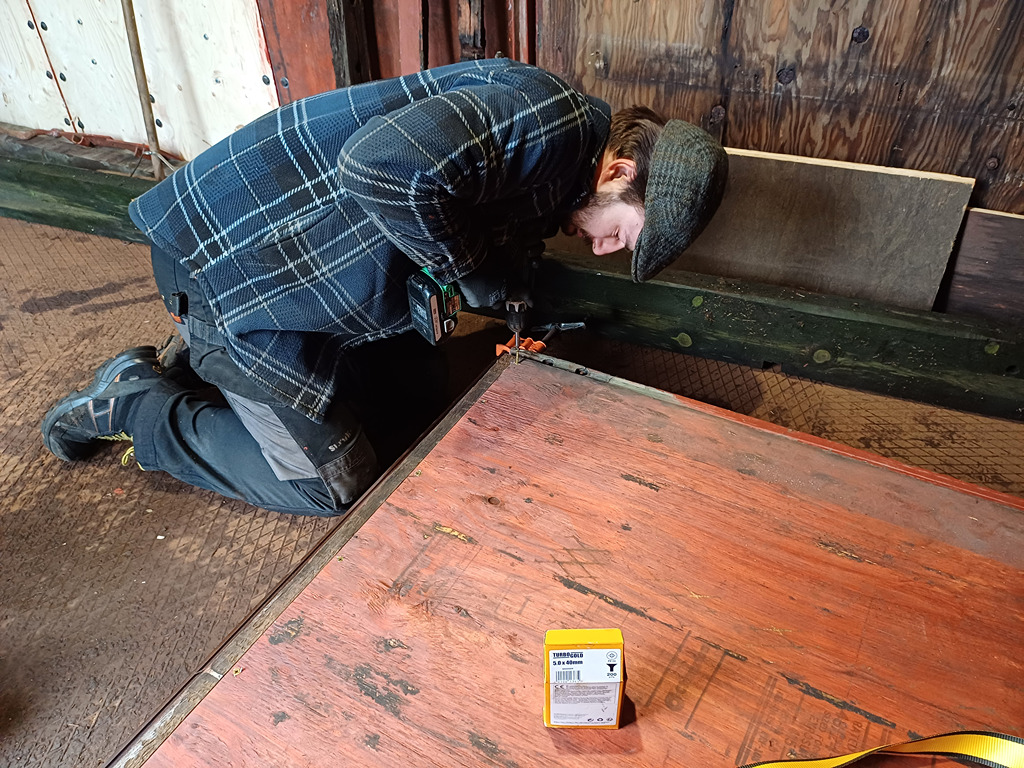
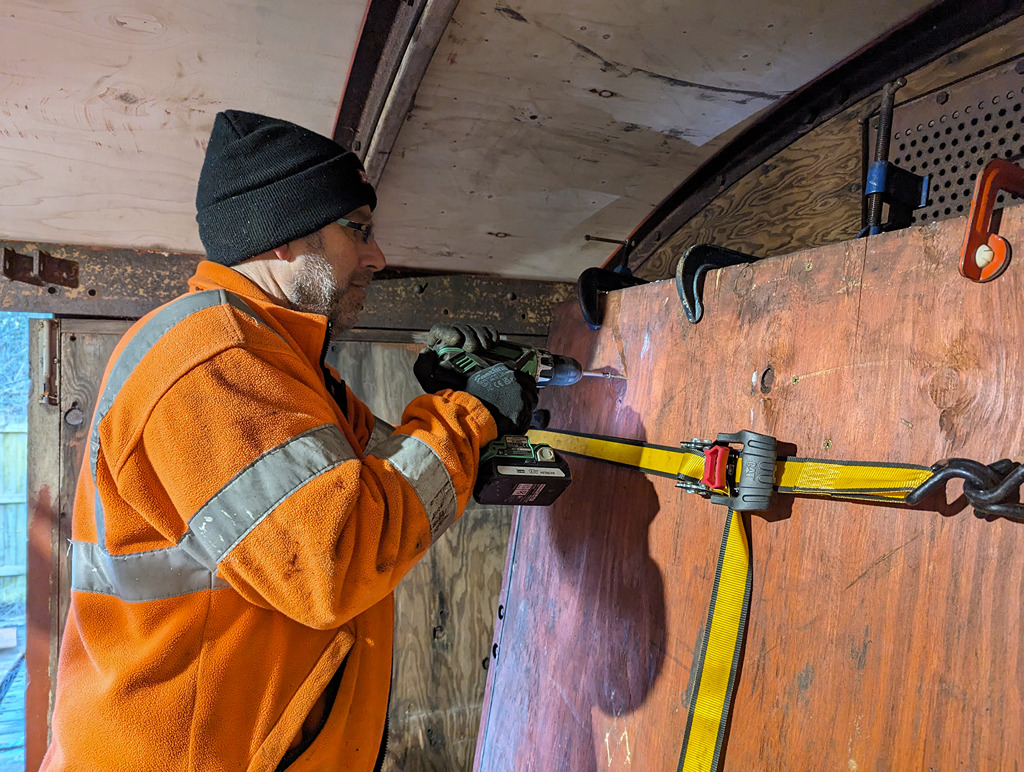
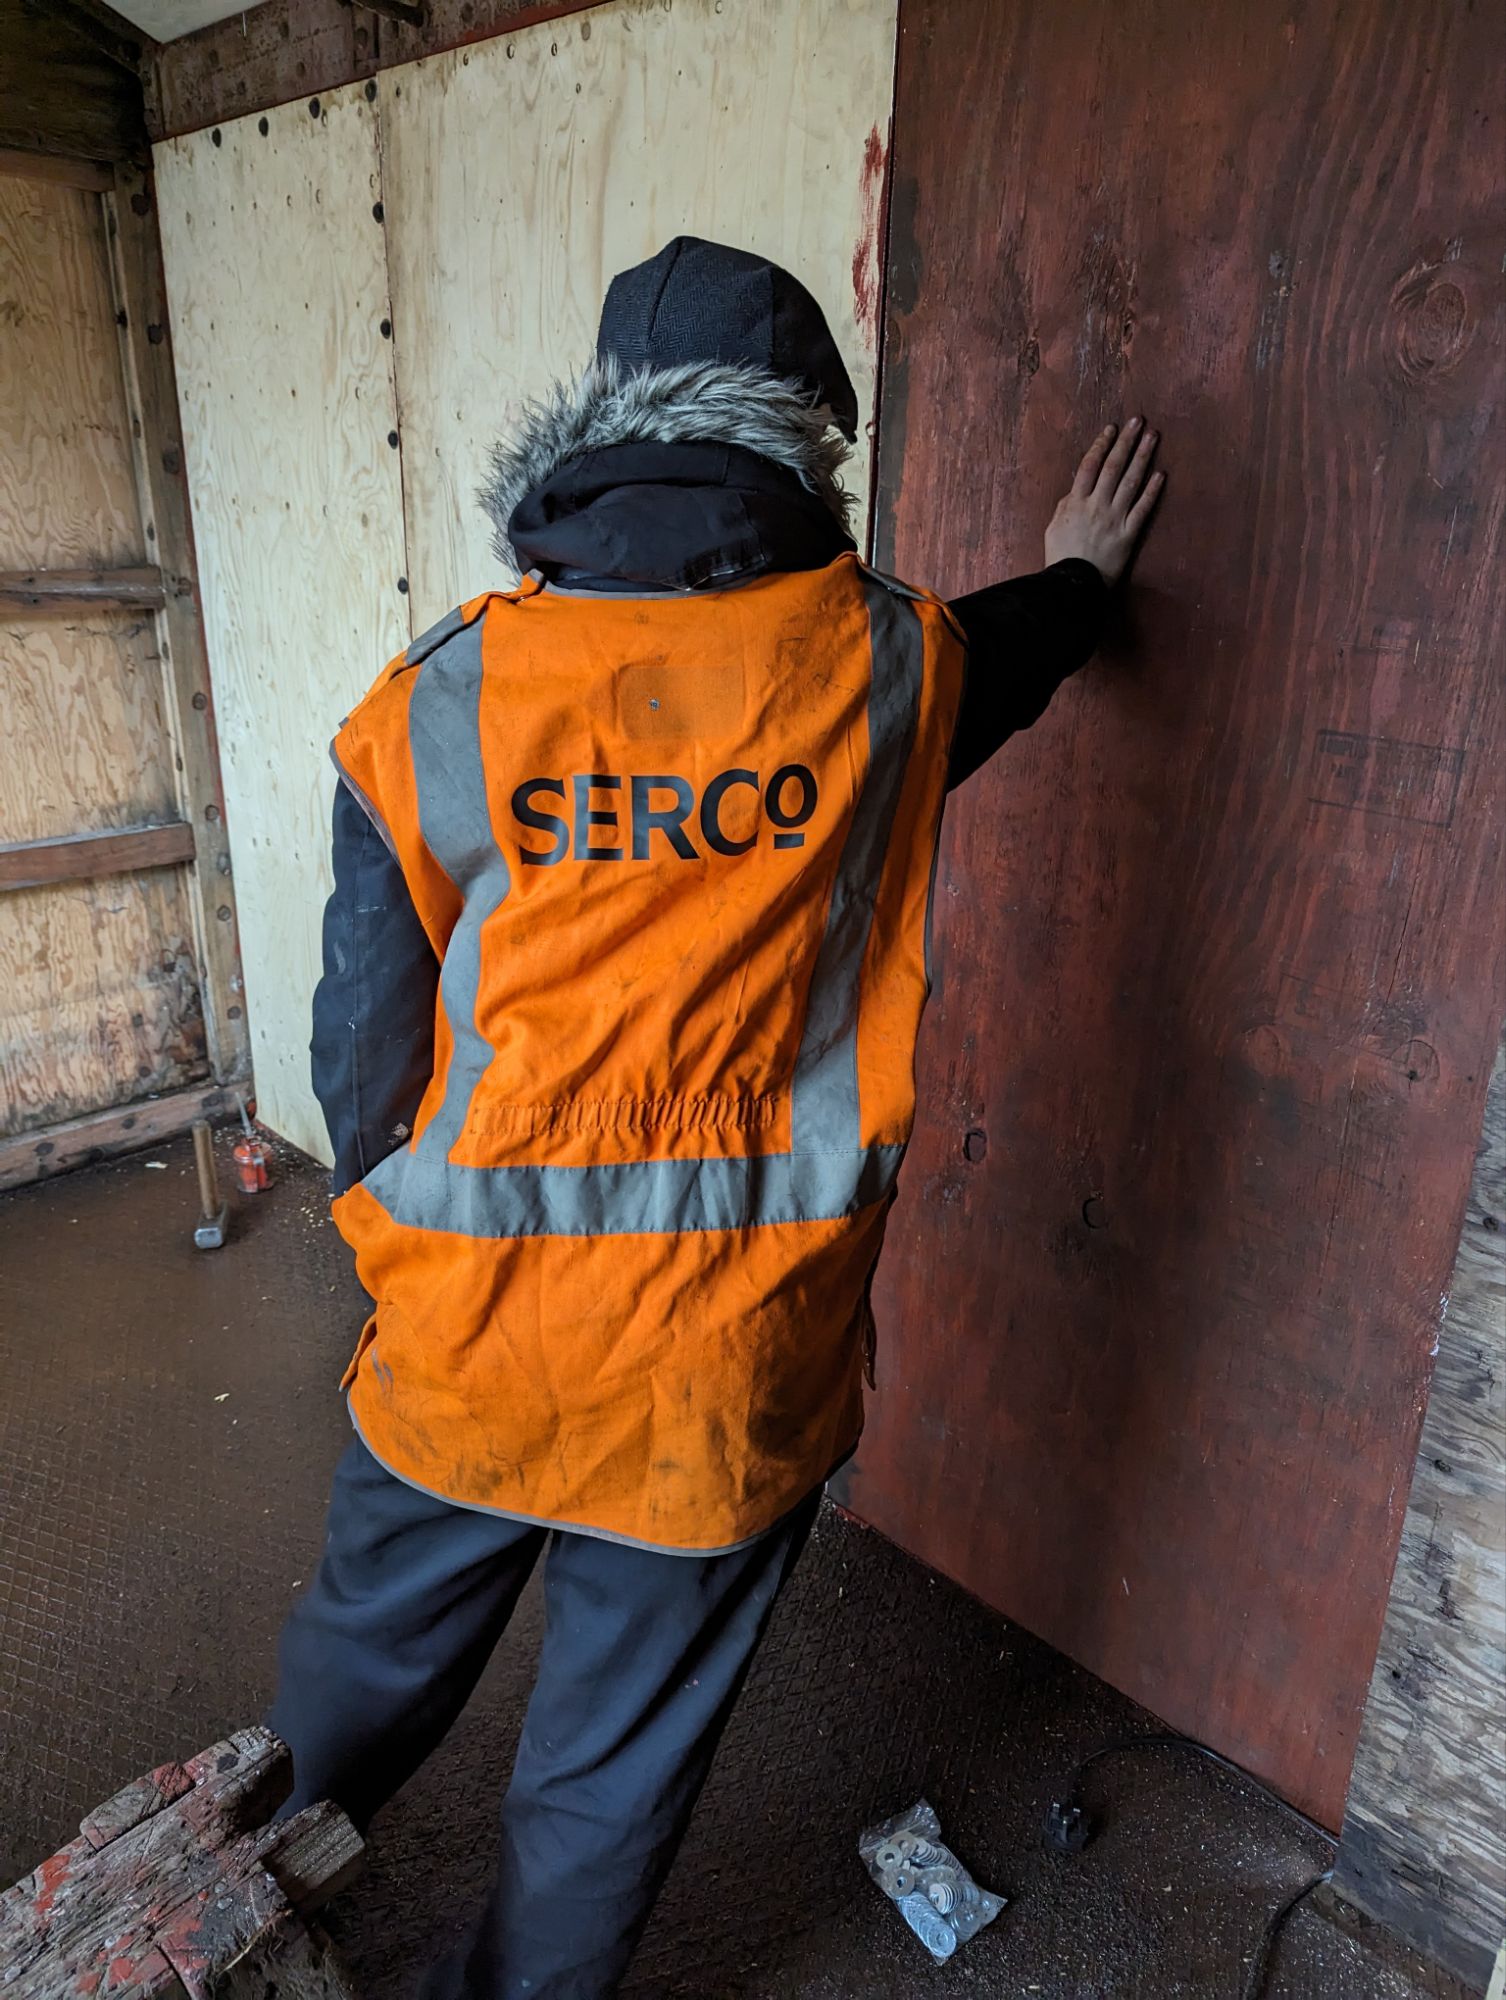
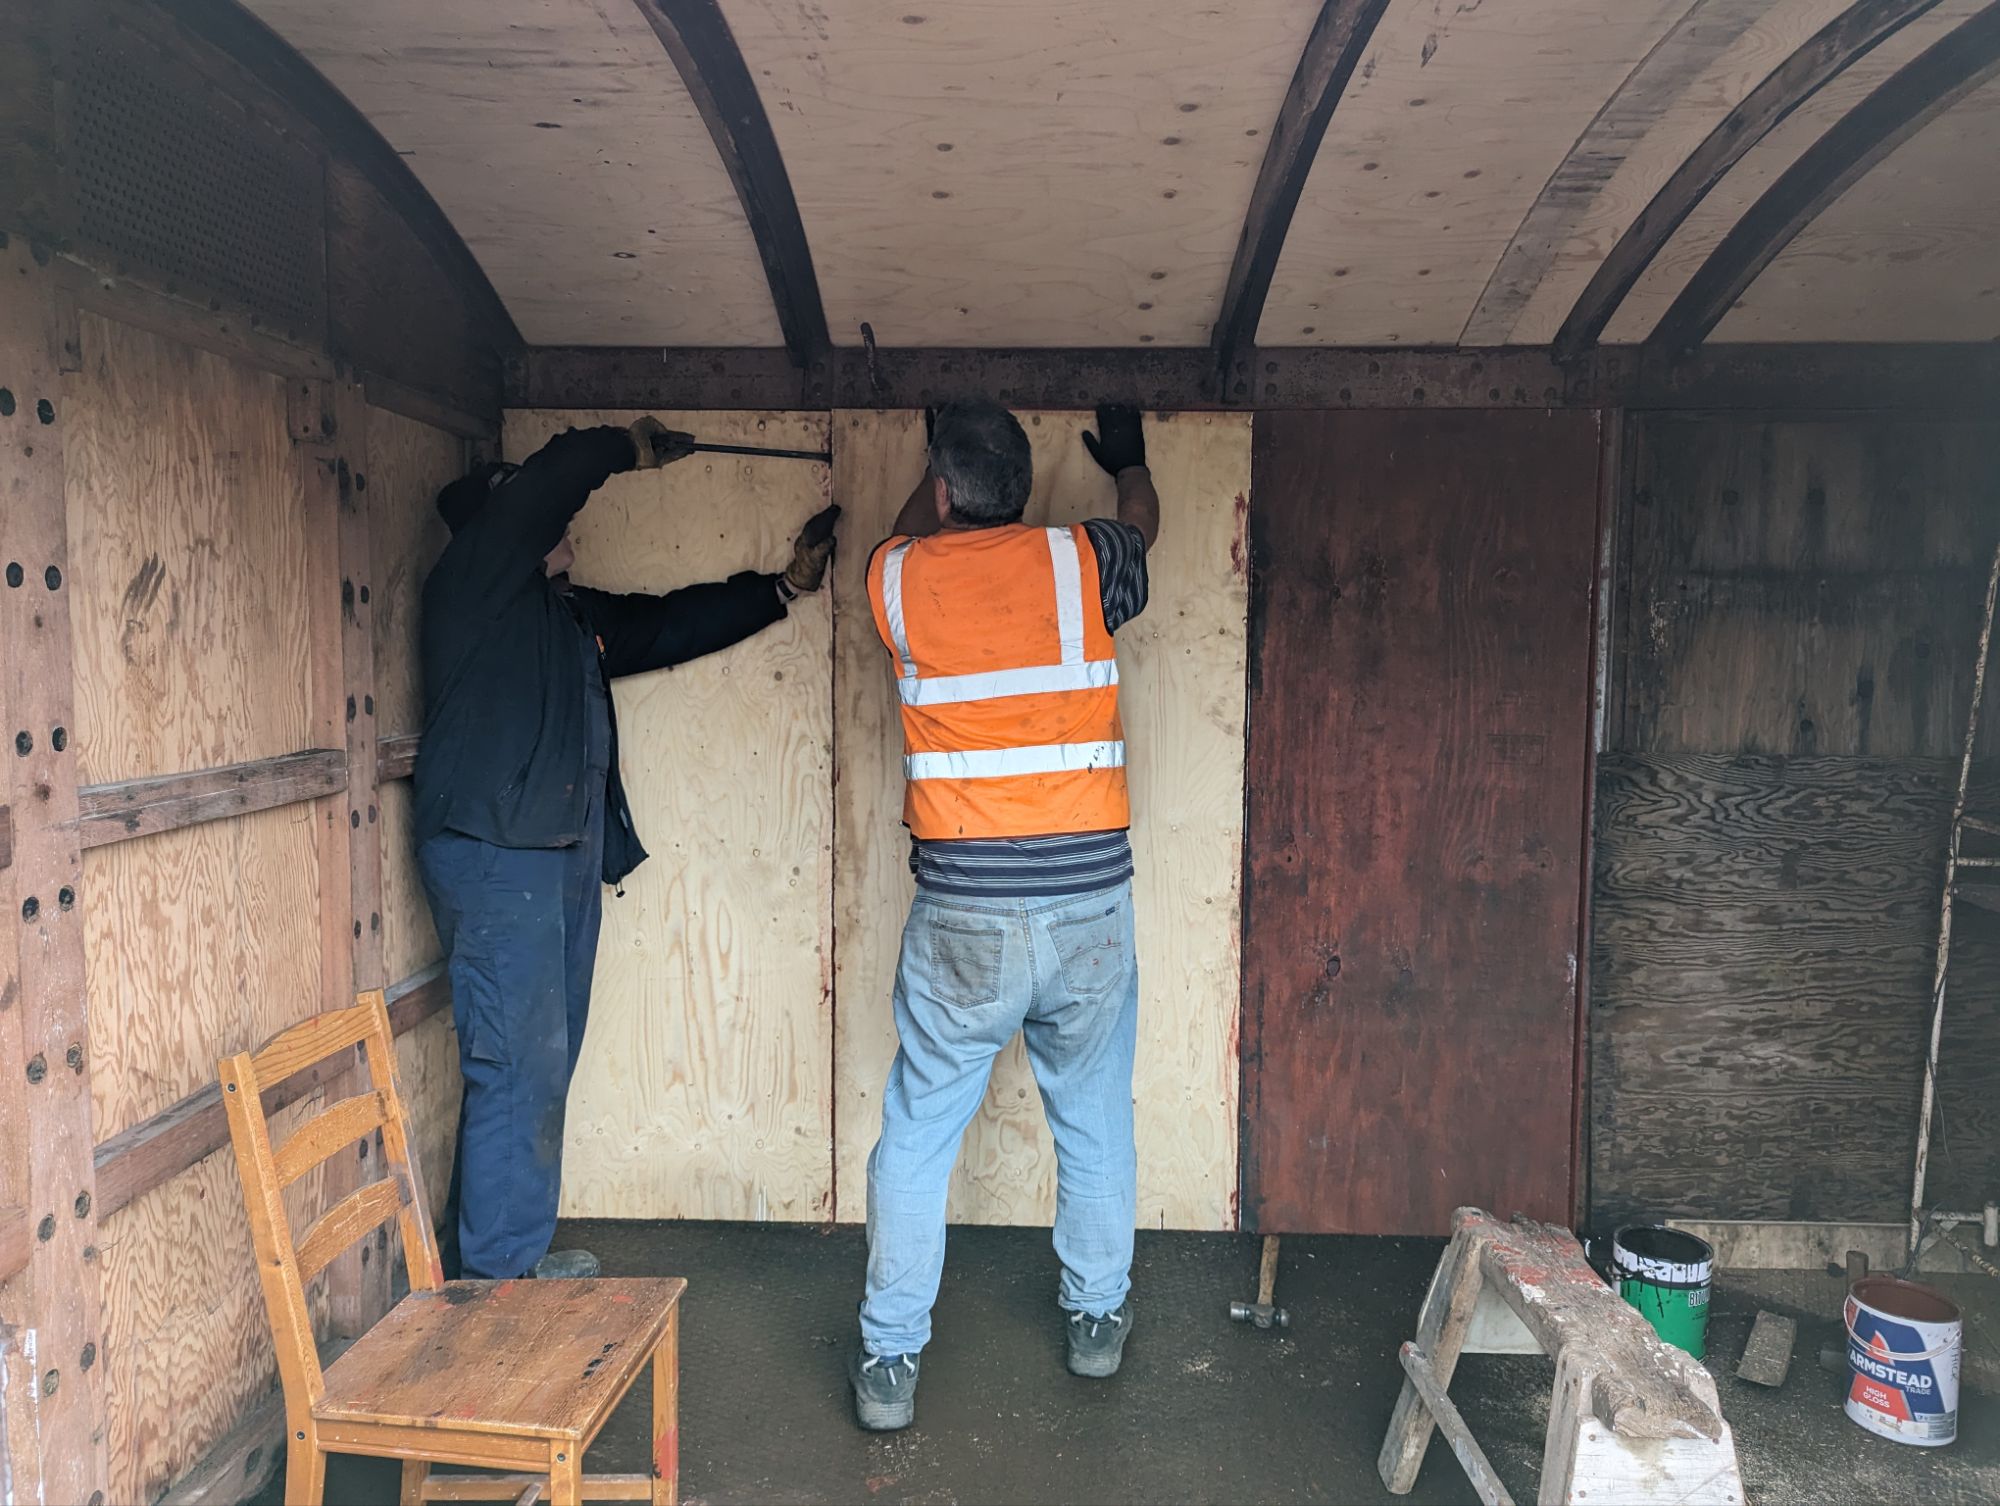
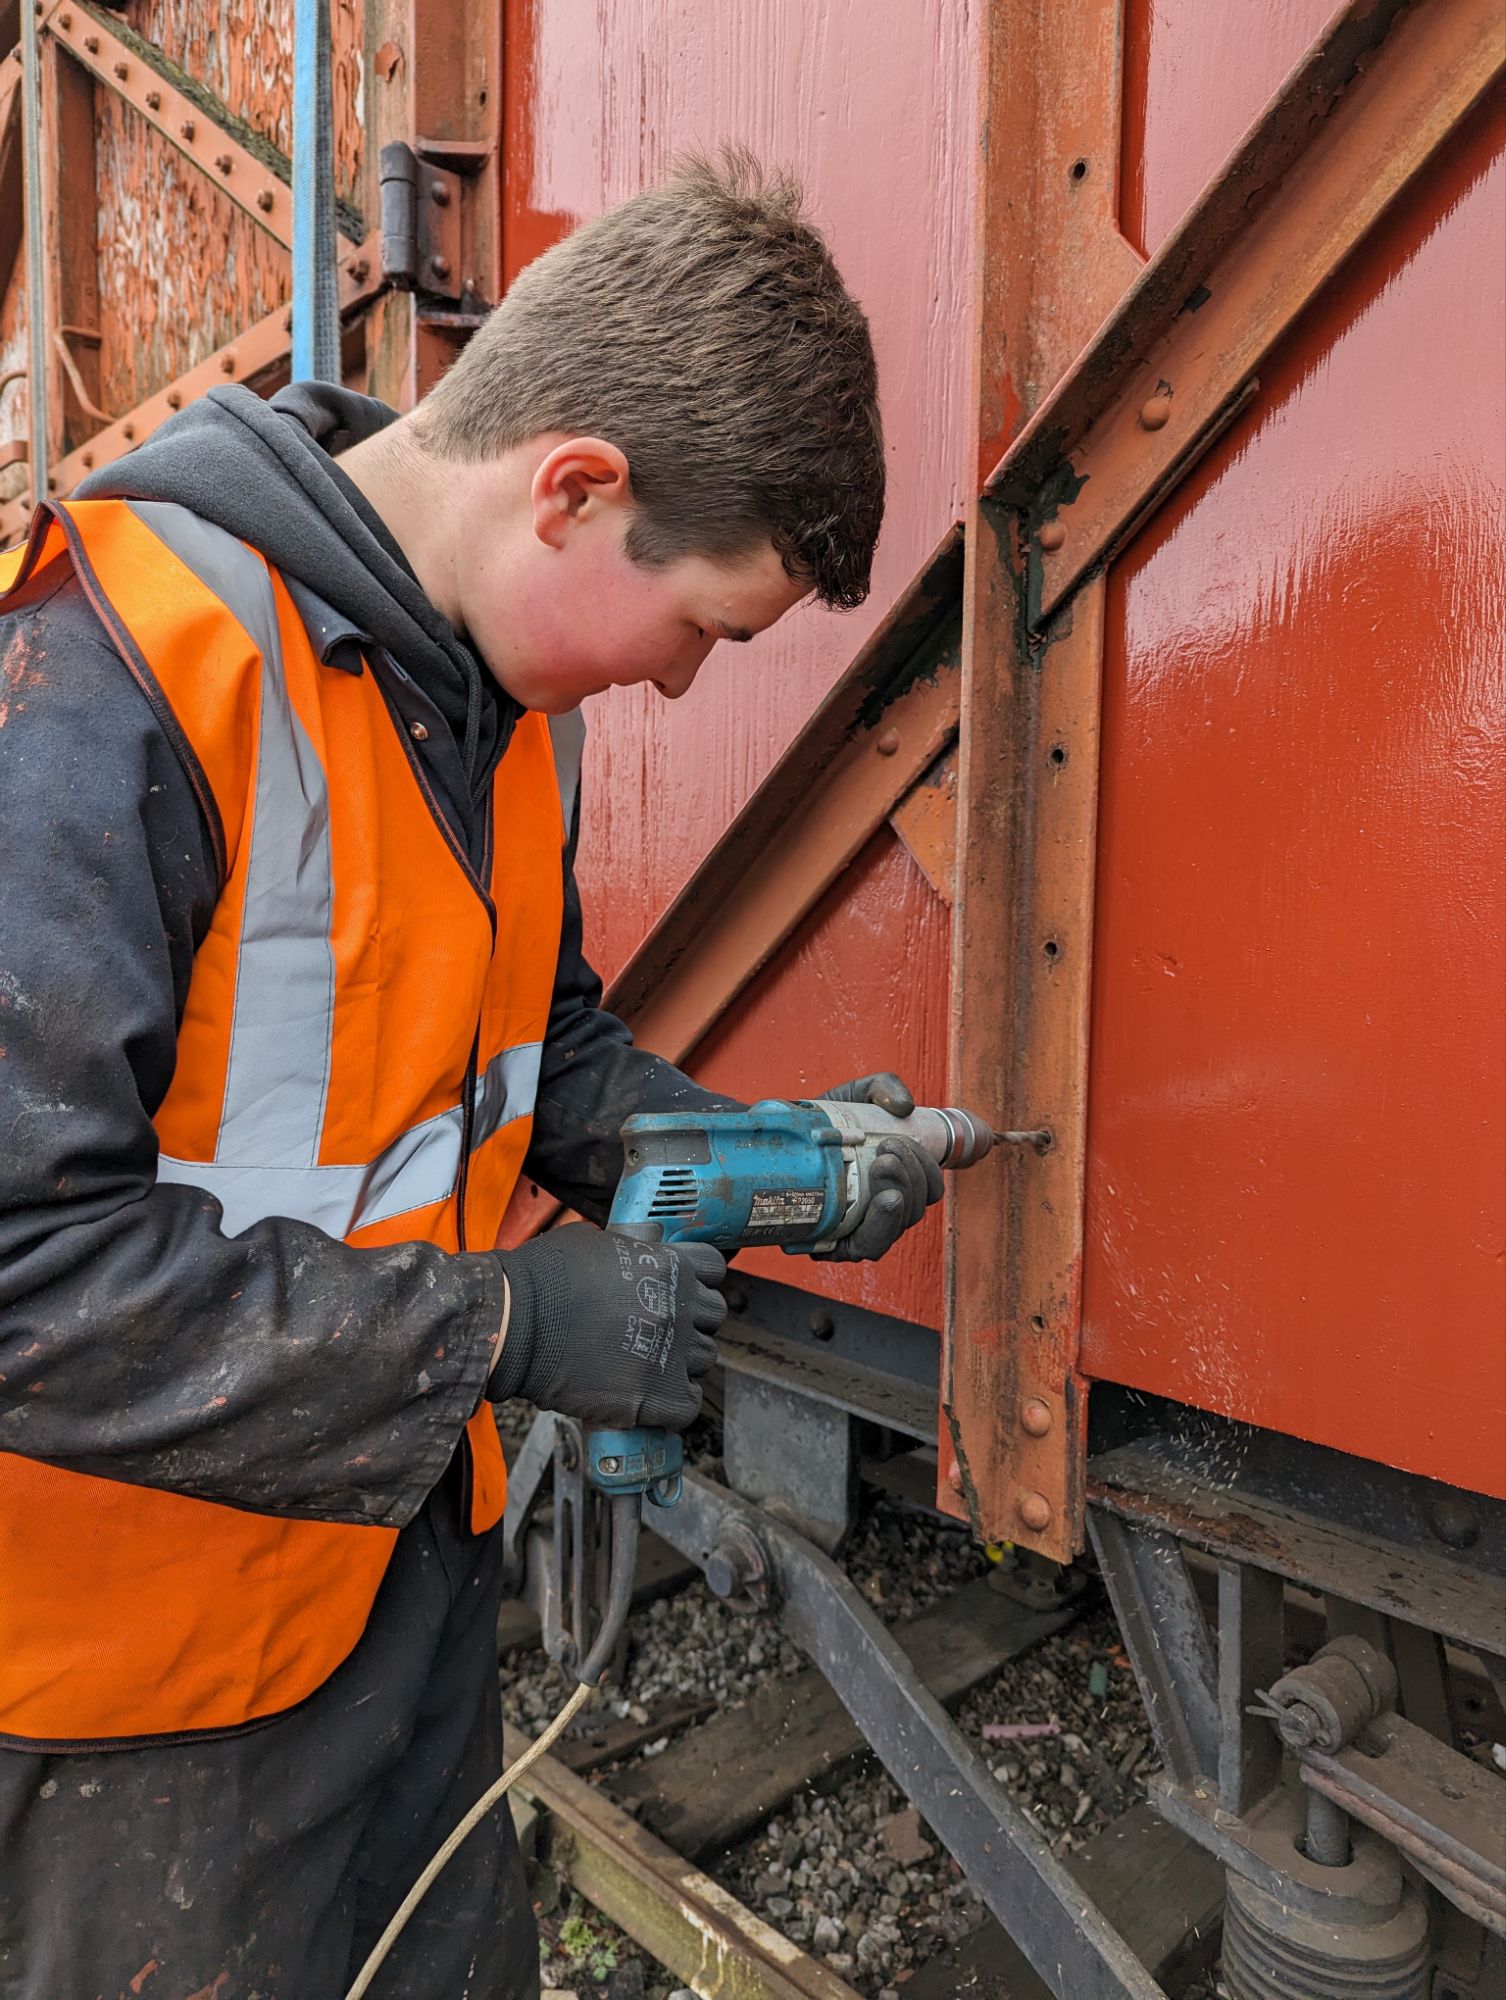
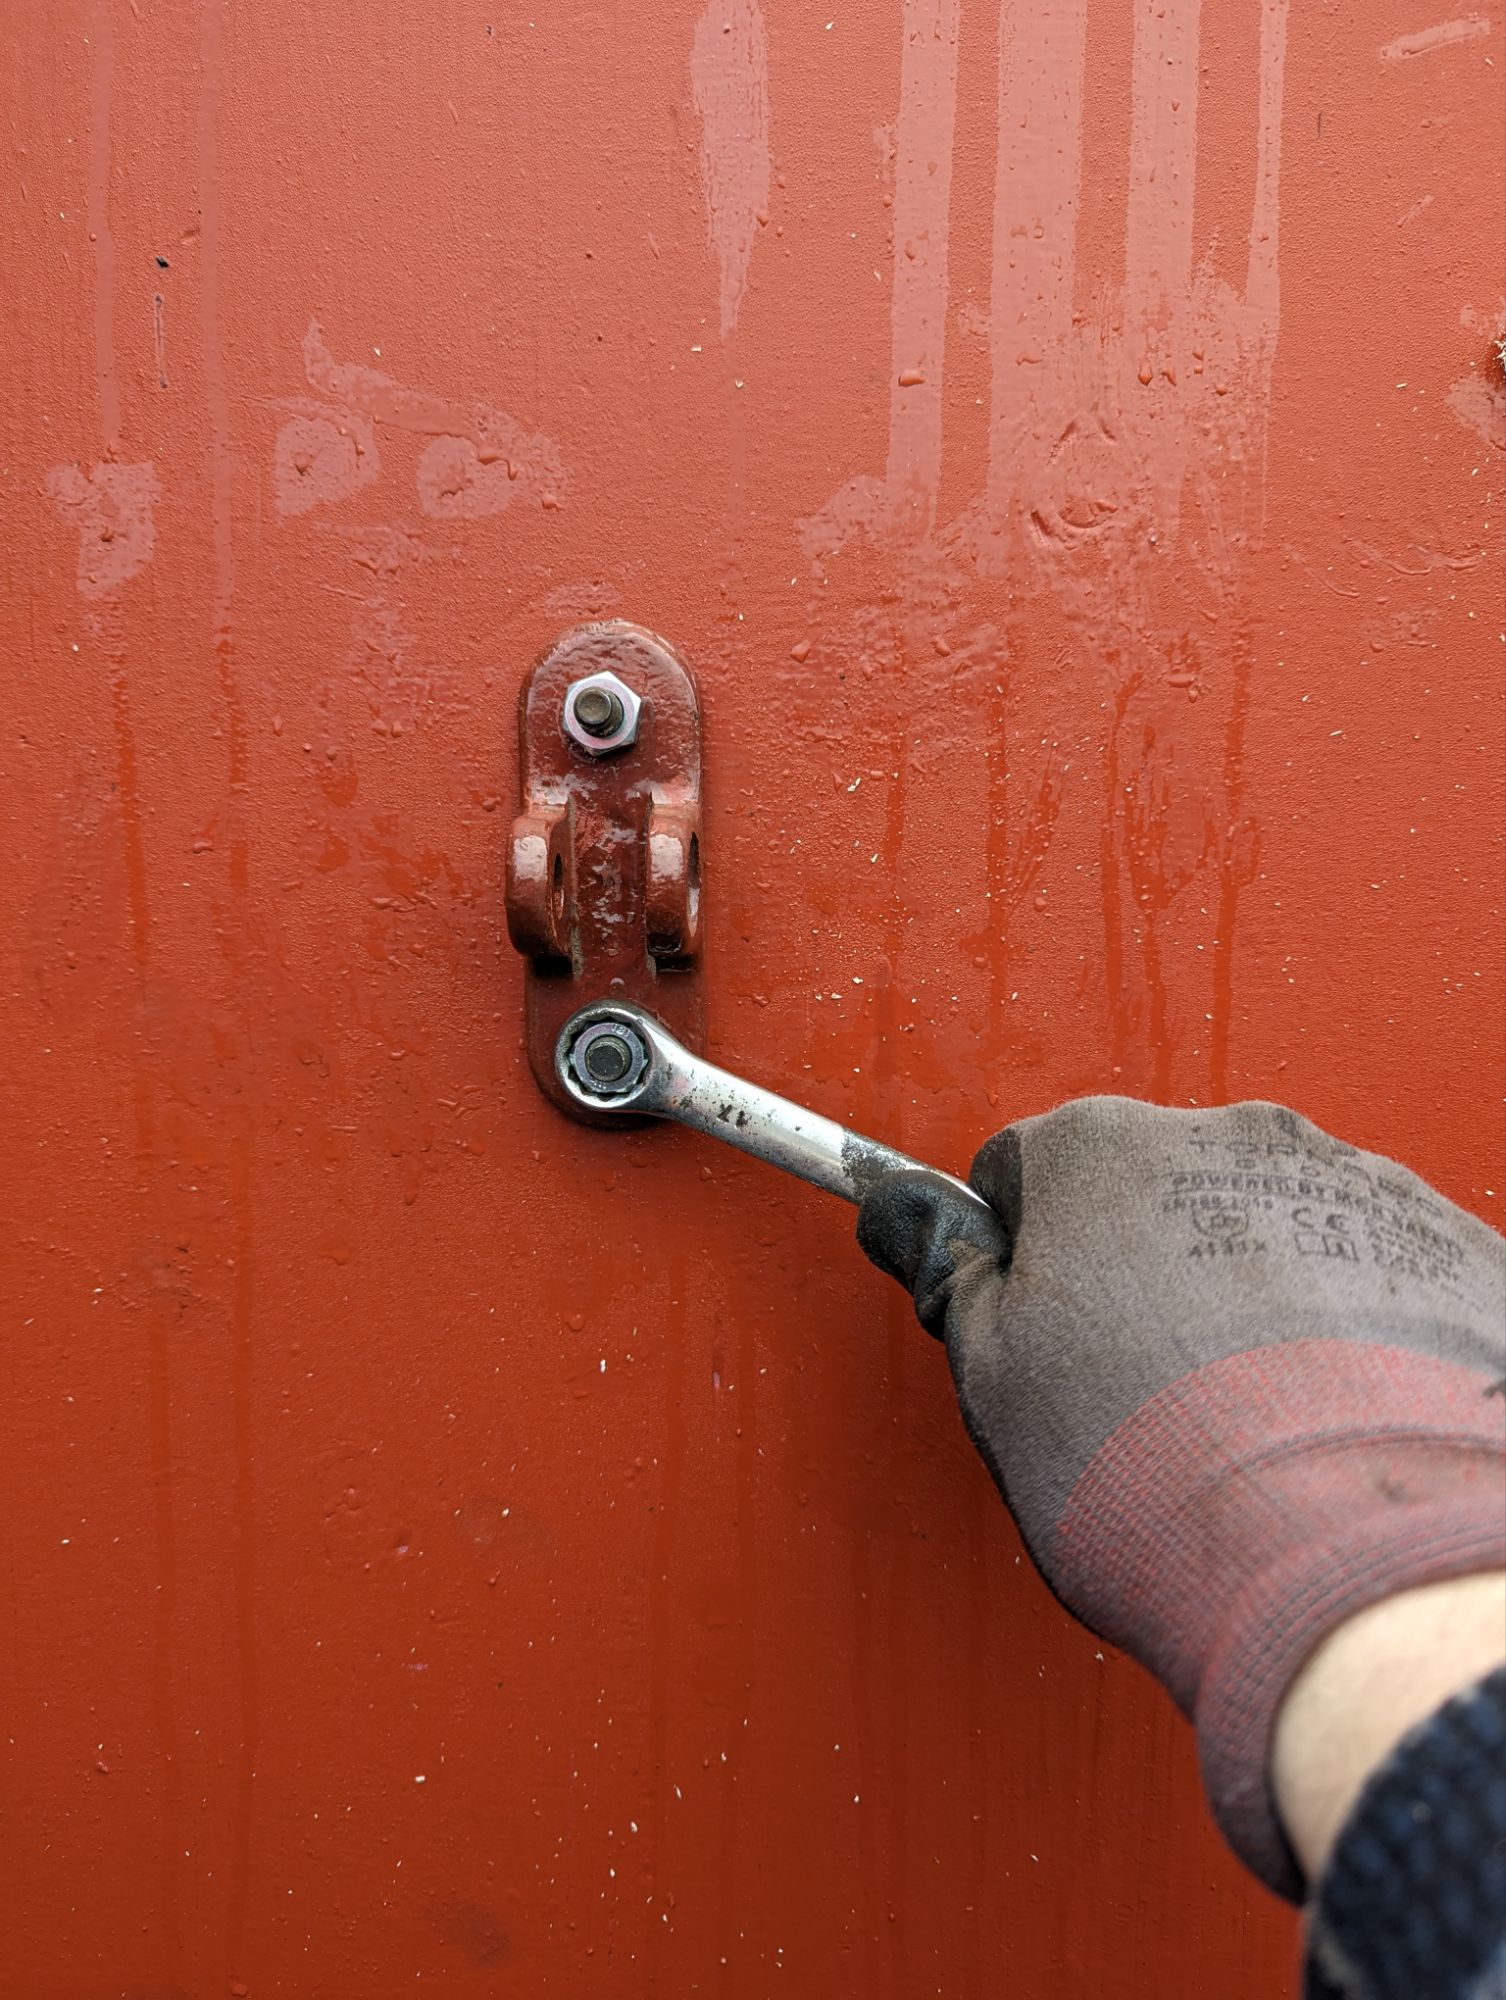
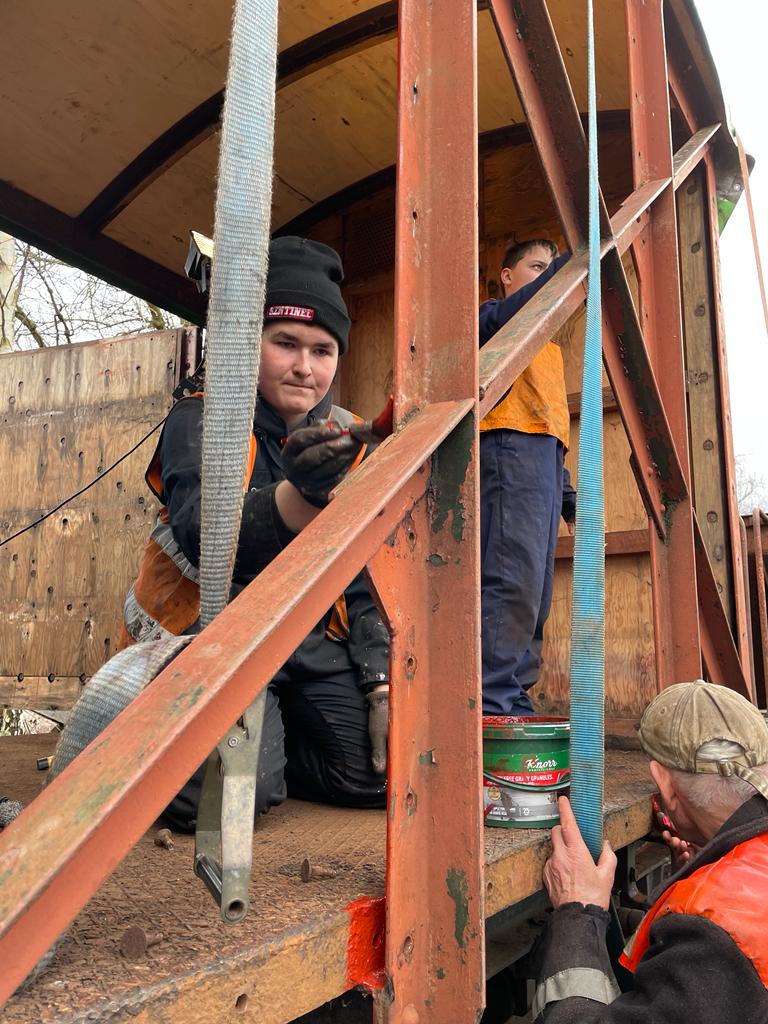
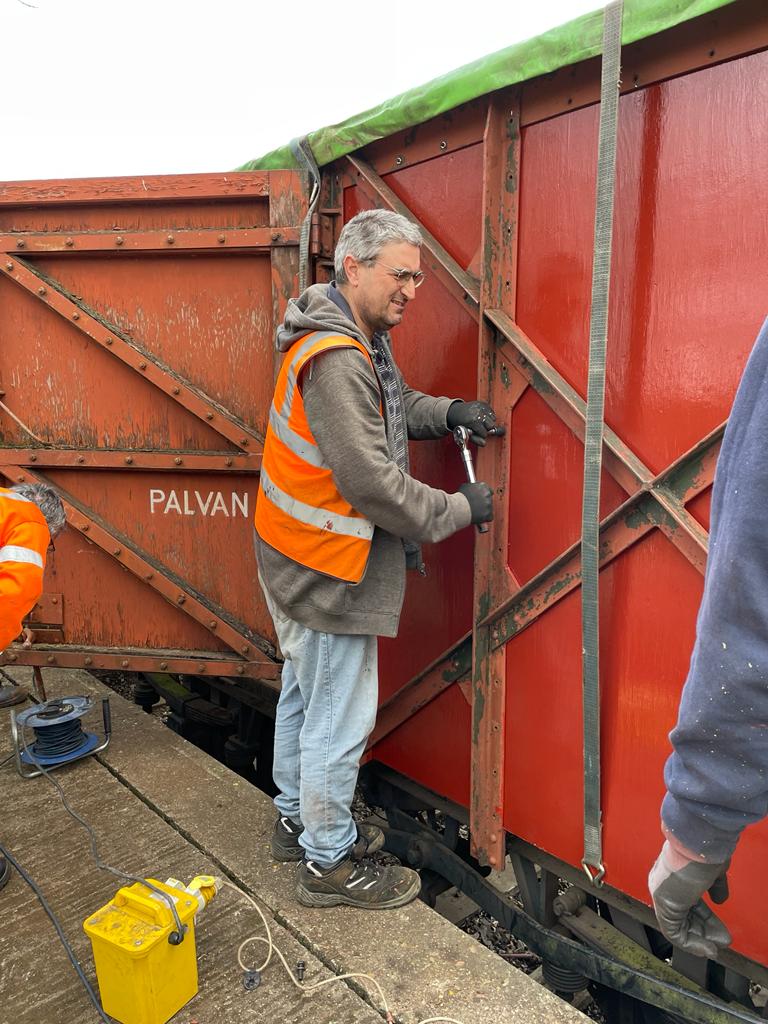
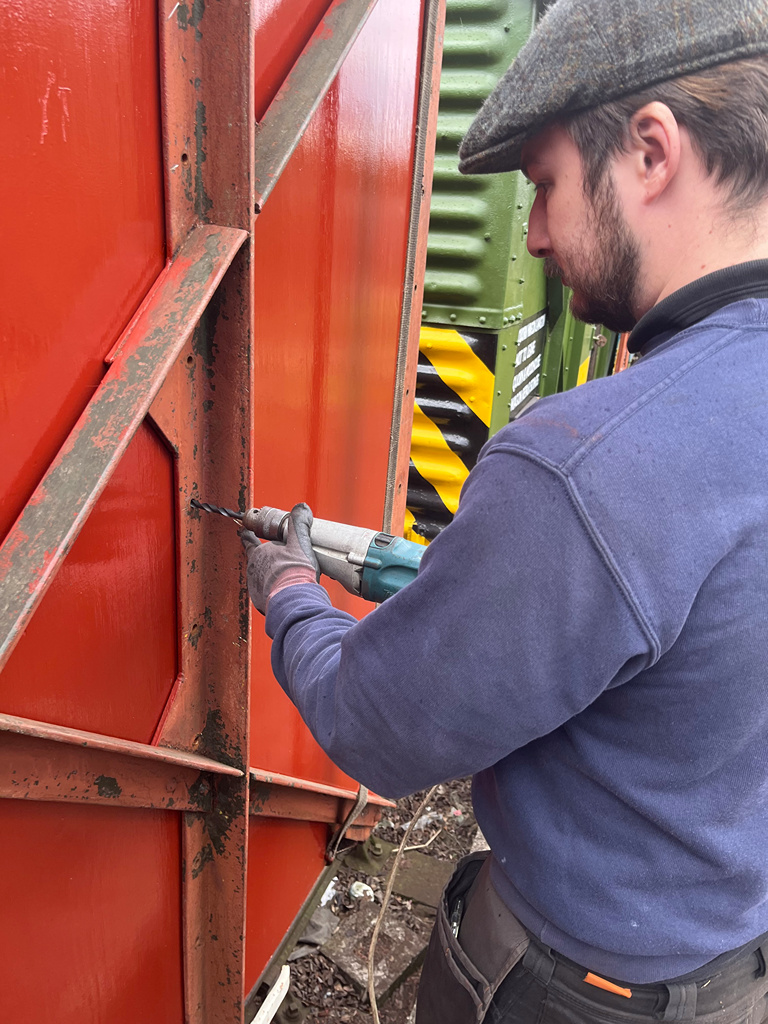
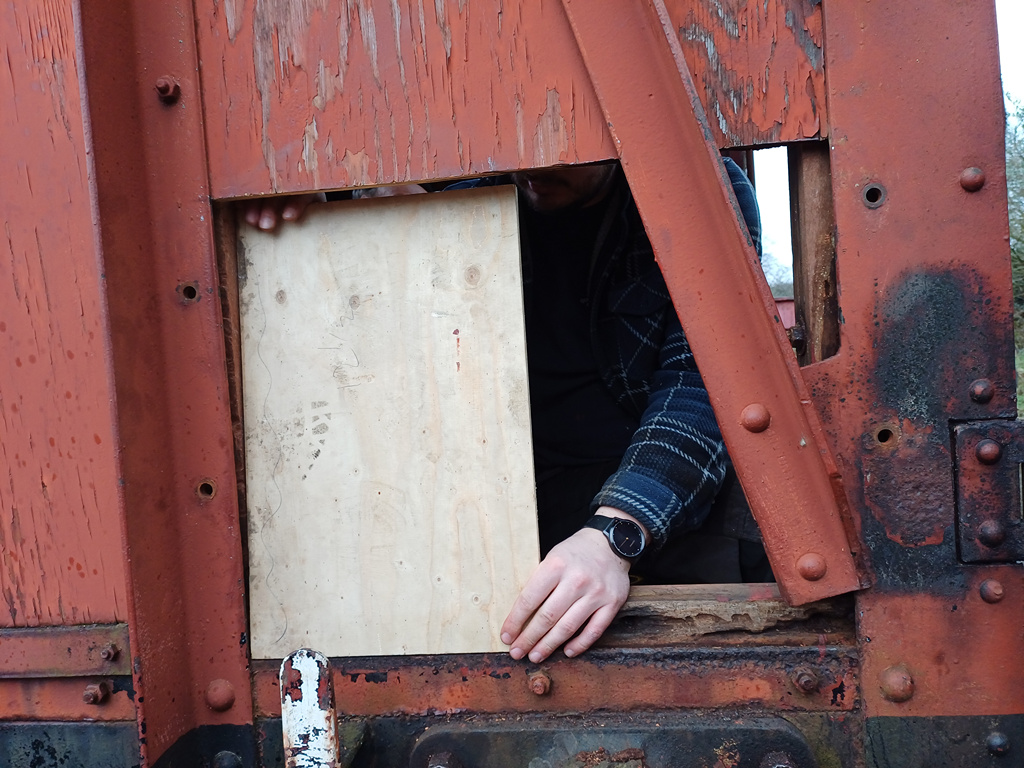
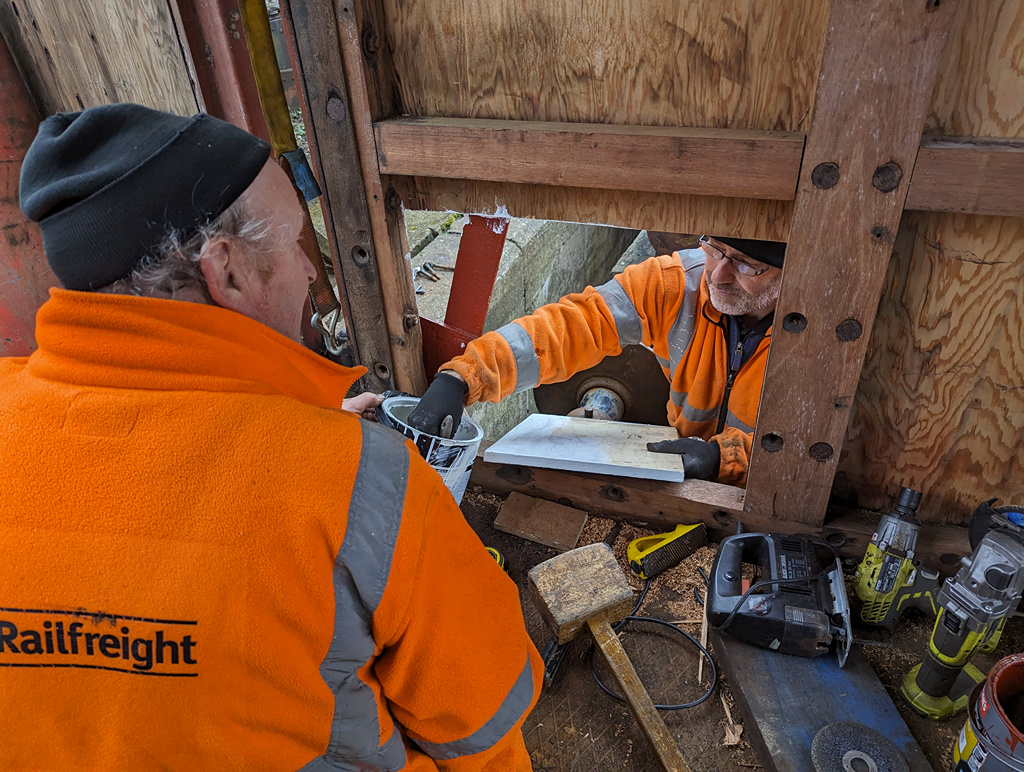
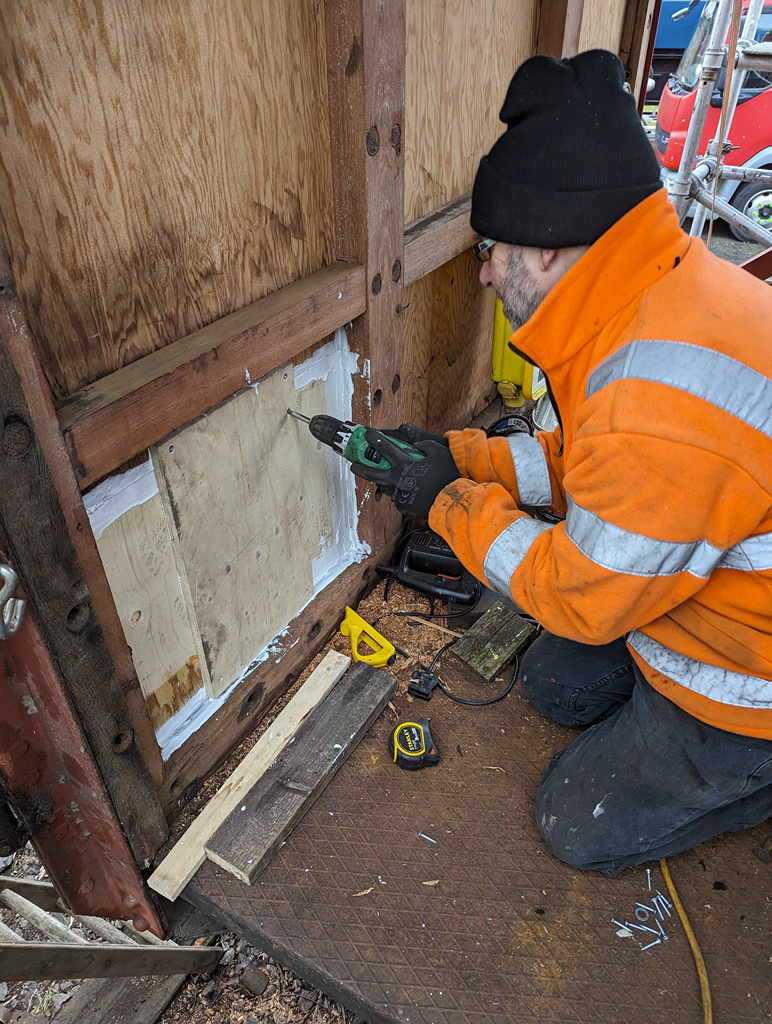
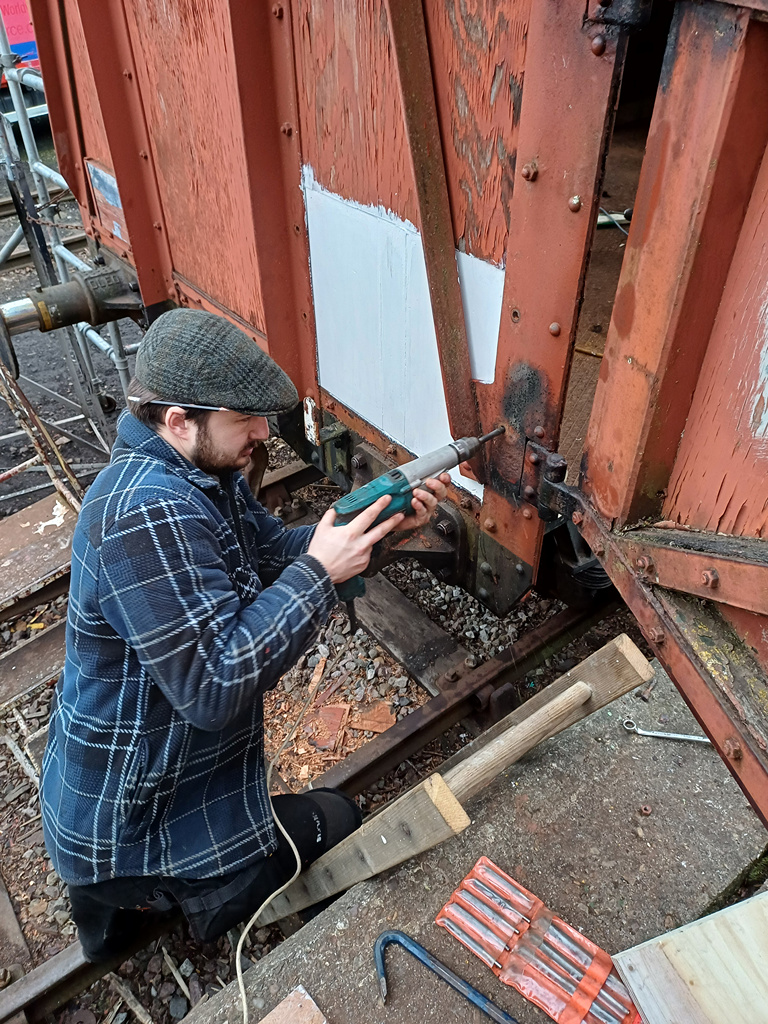
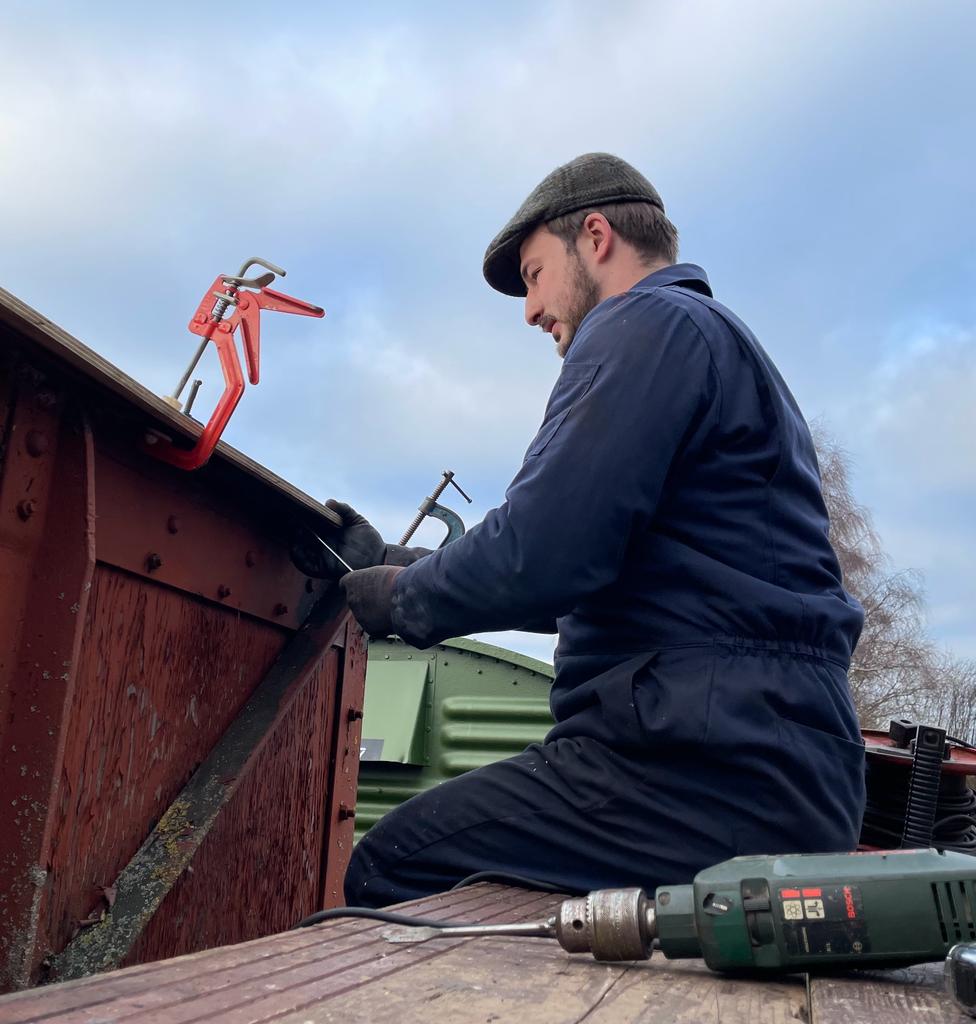
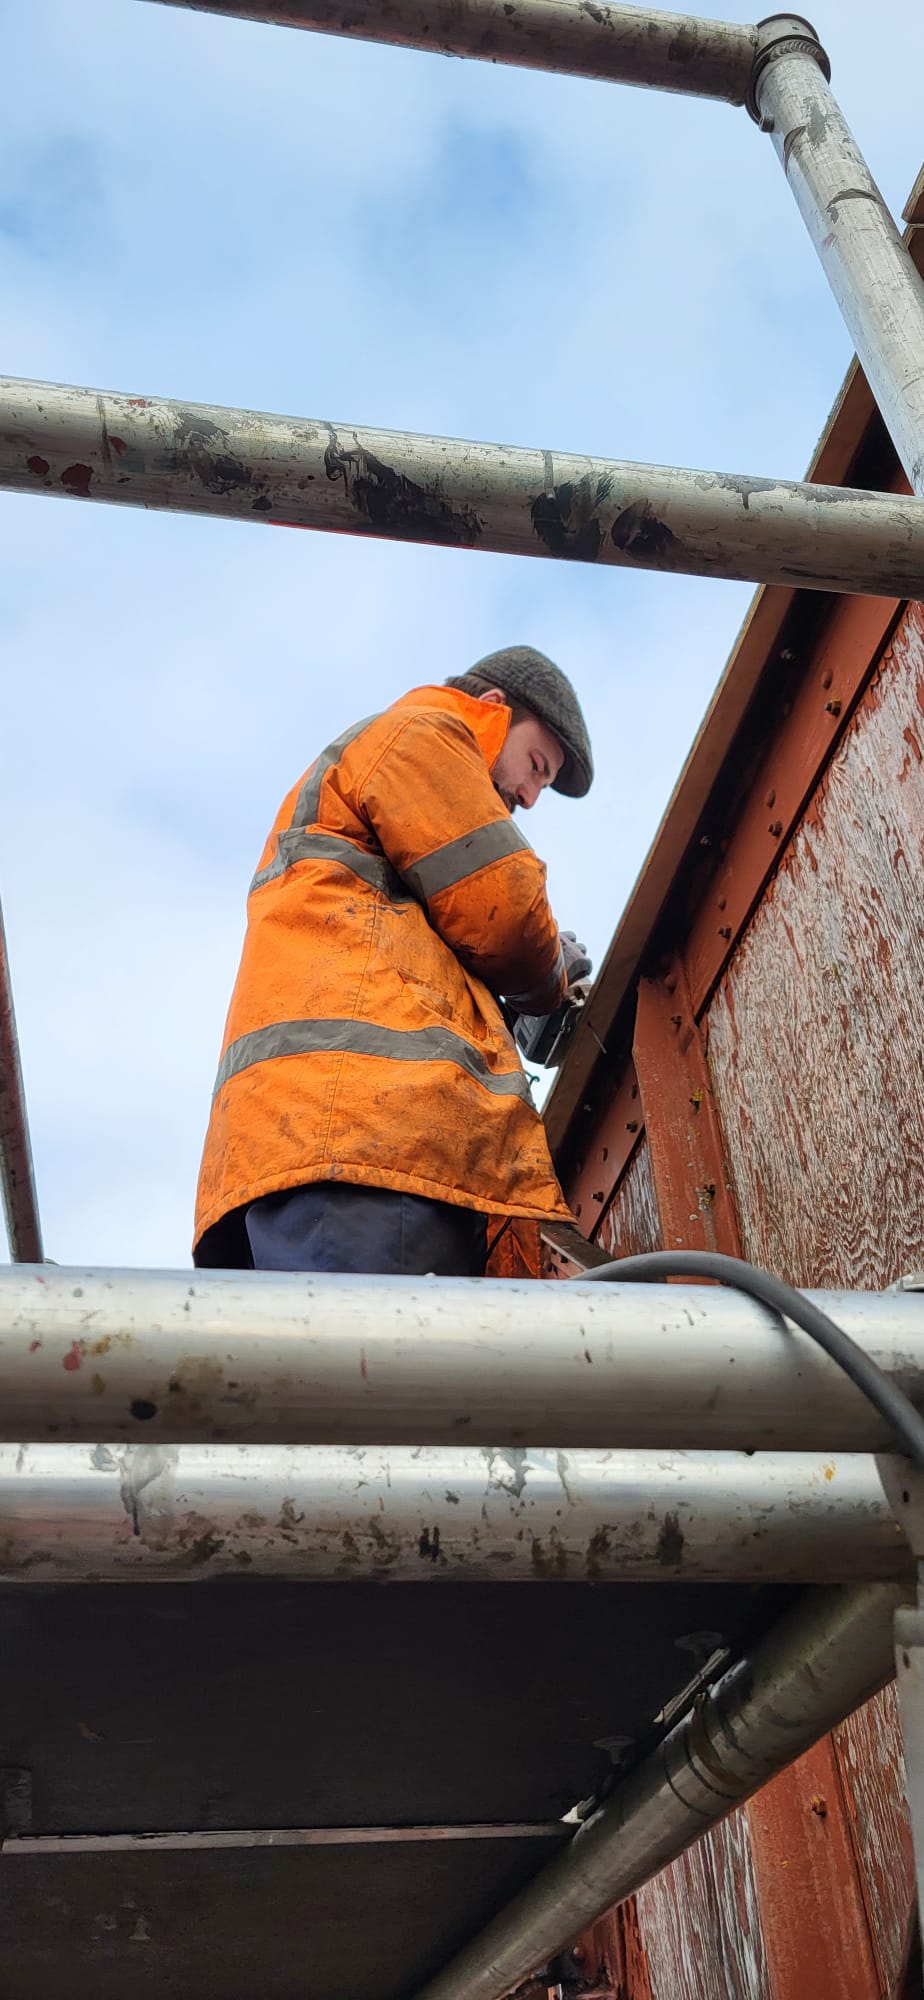
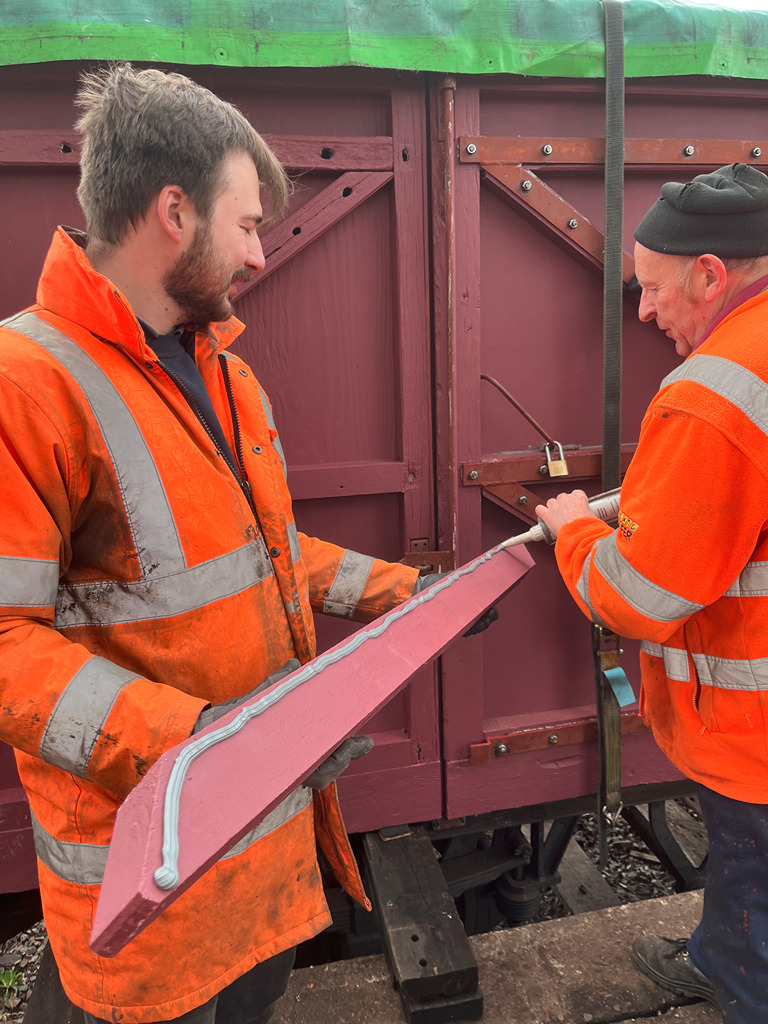
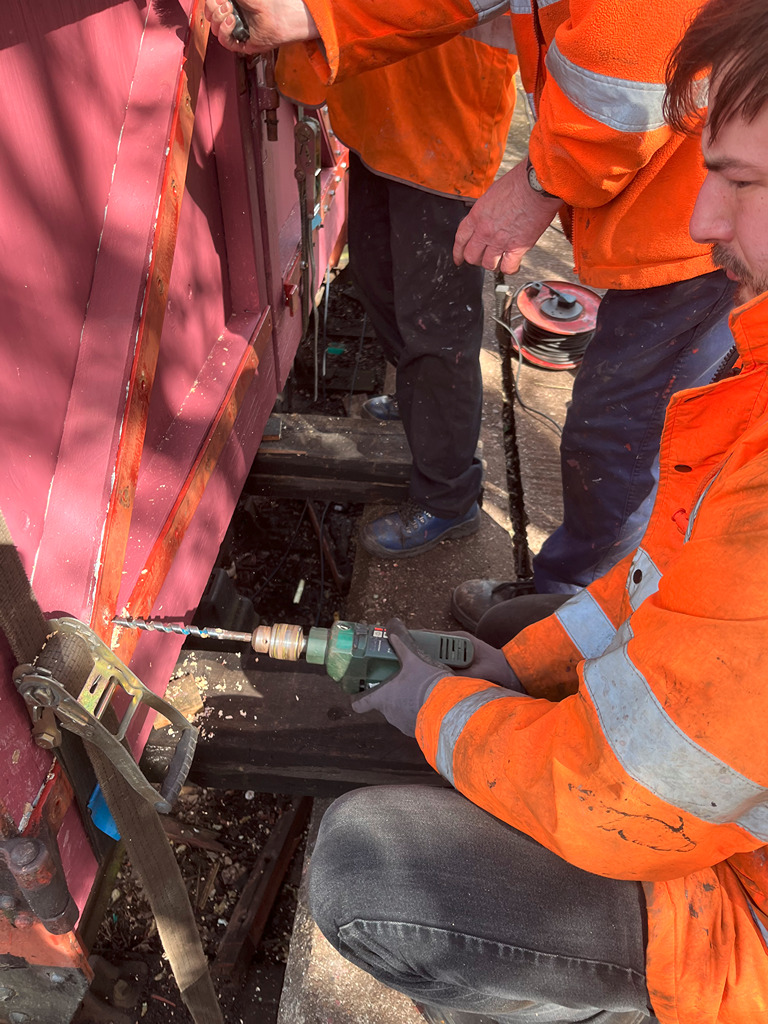
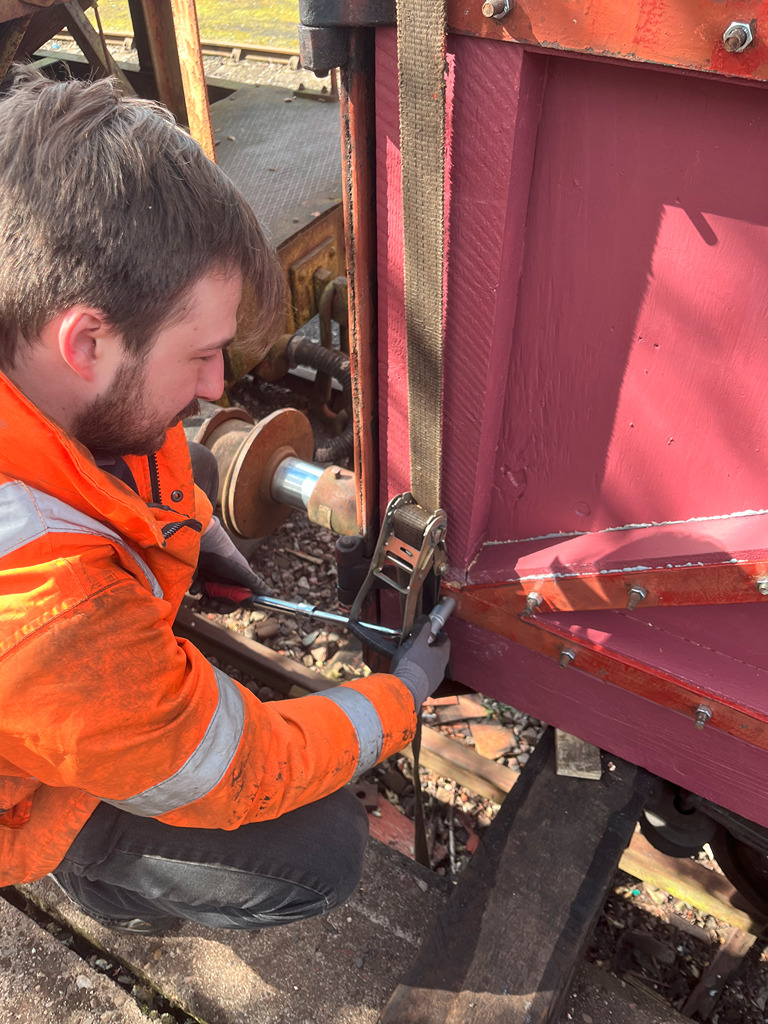
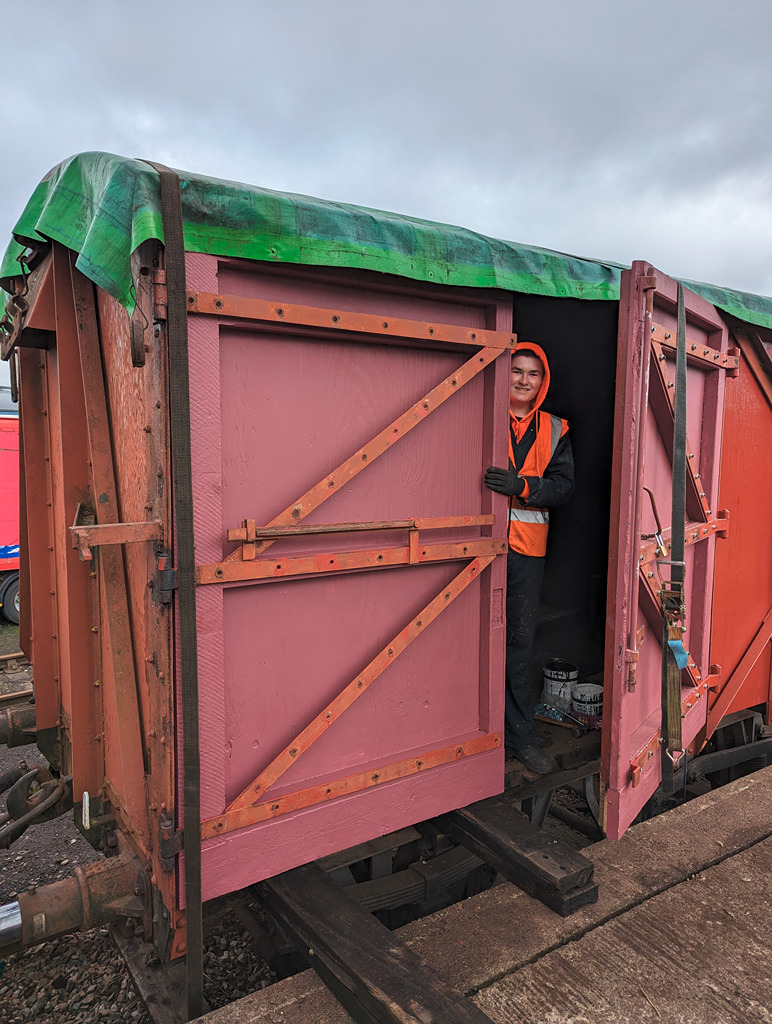
The last door was fitted to the van on Friday following a week to let the glue cure. The diagonal bracing and hinges had sealant applied to the back before the door was drilled and bolted to the van.


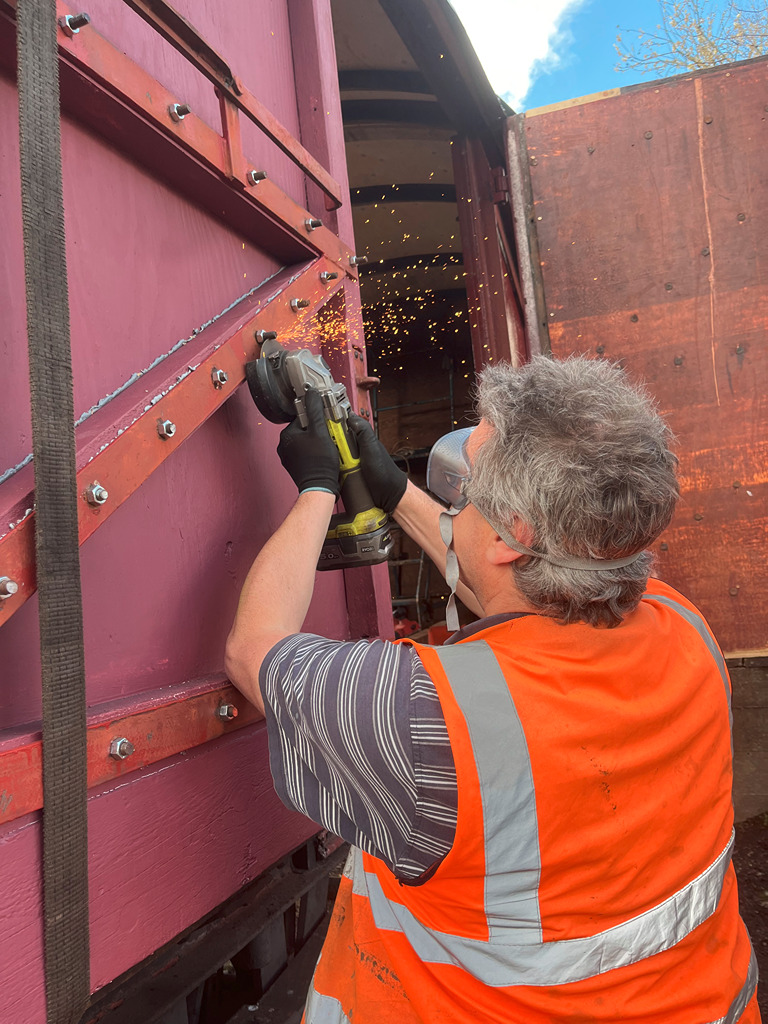
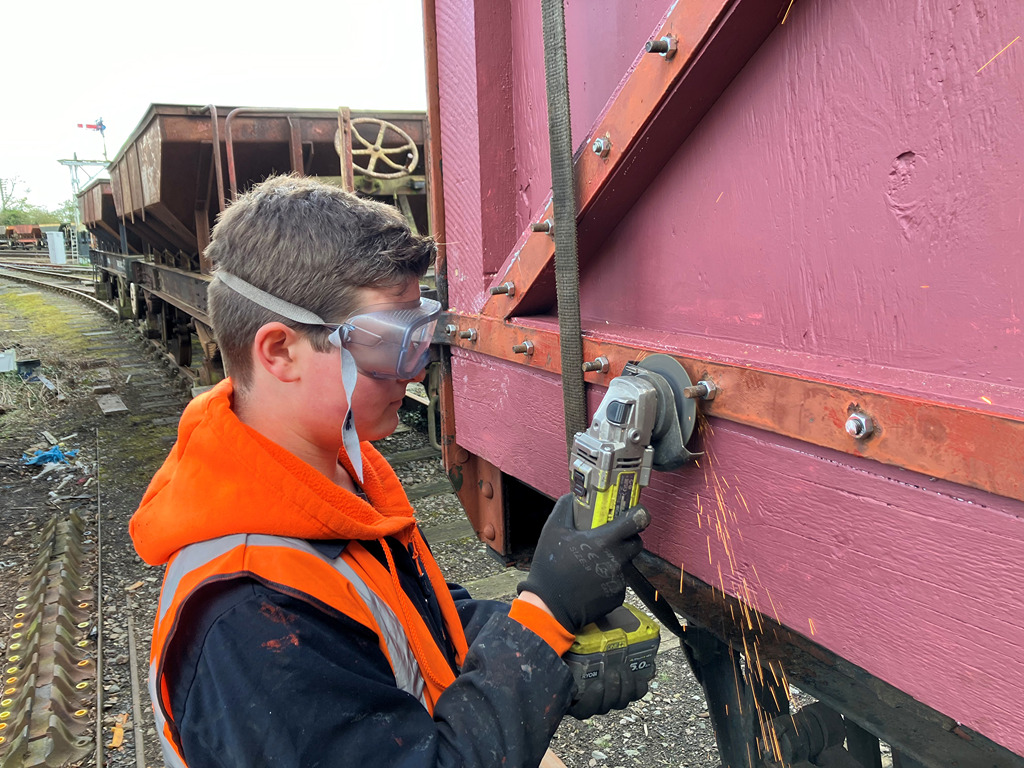
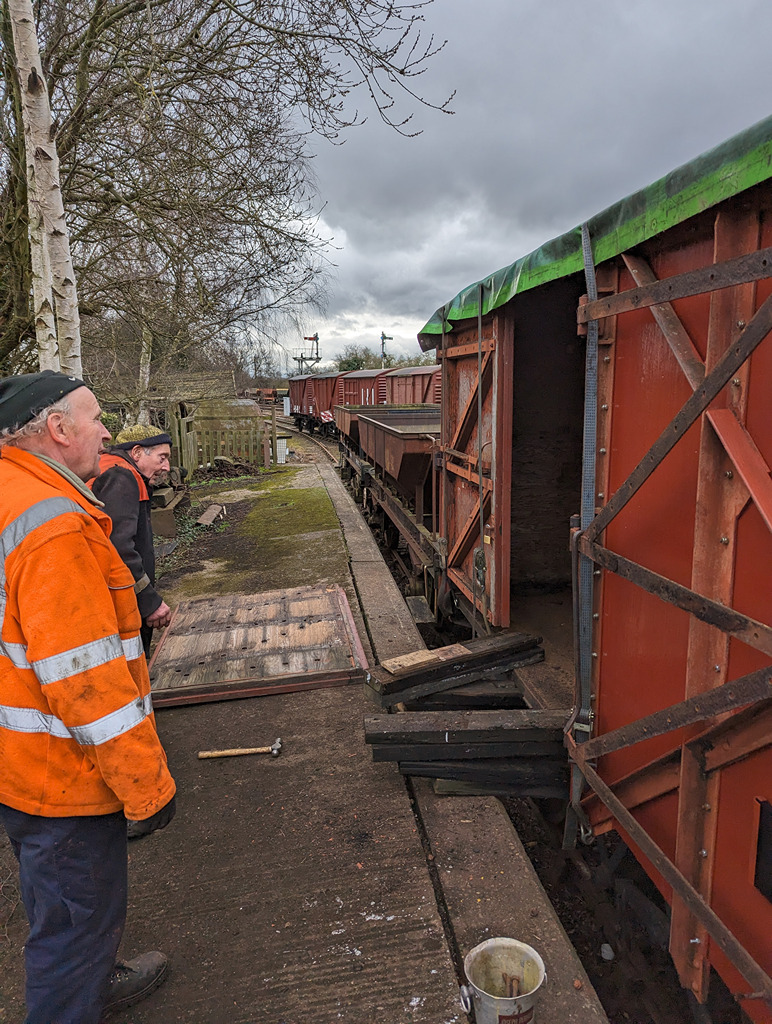
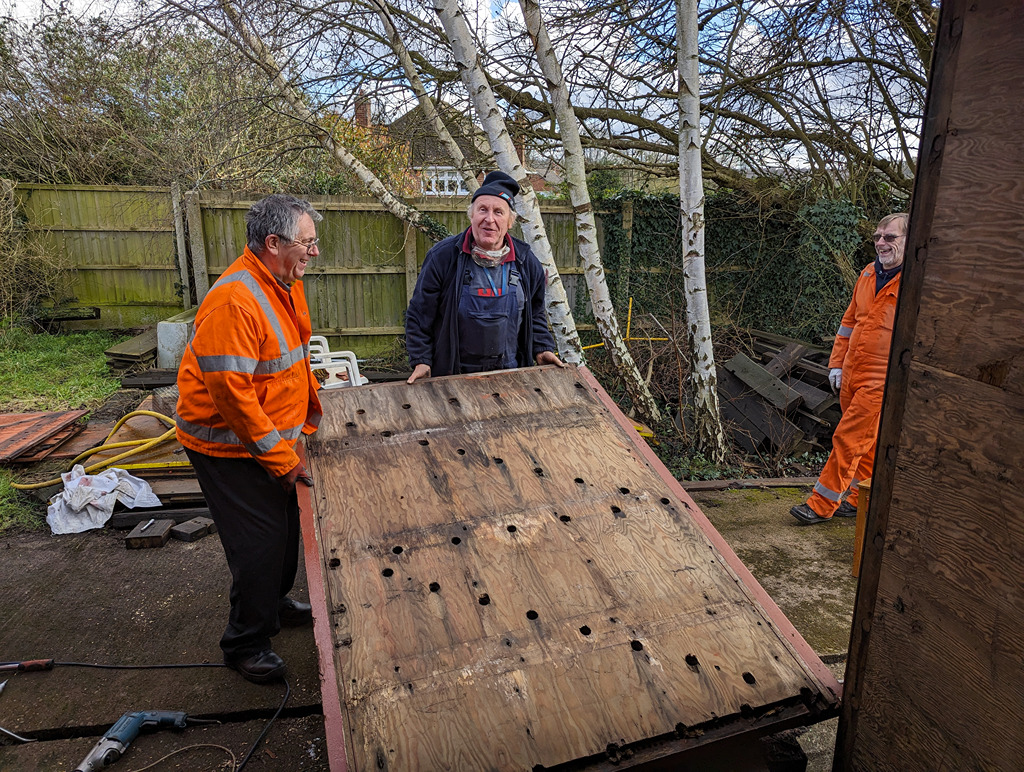
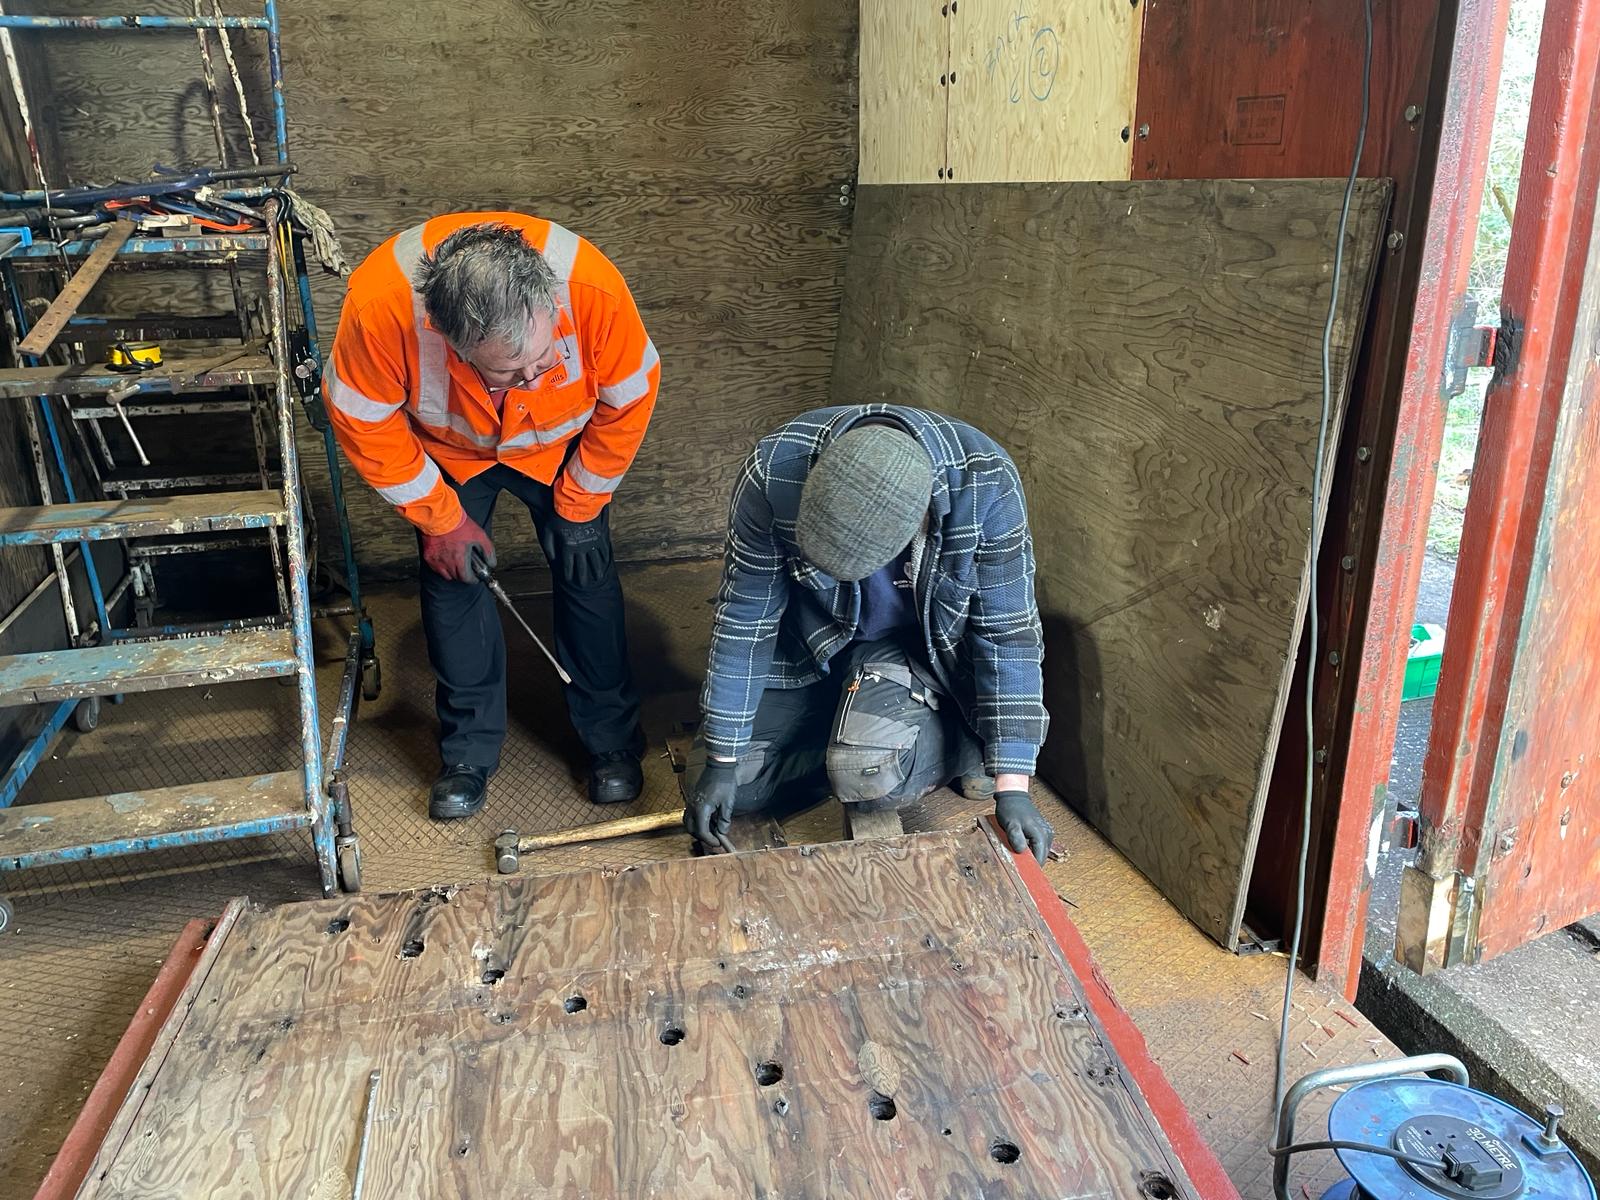
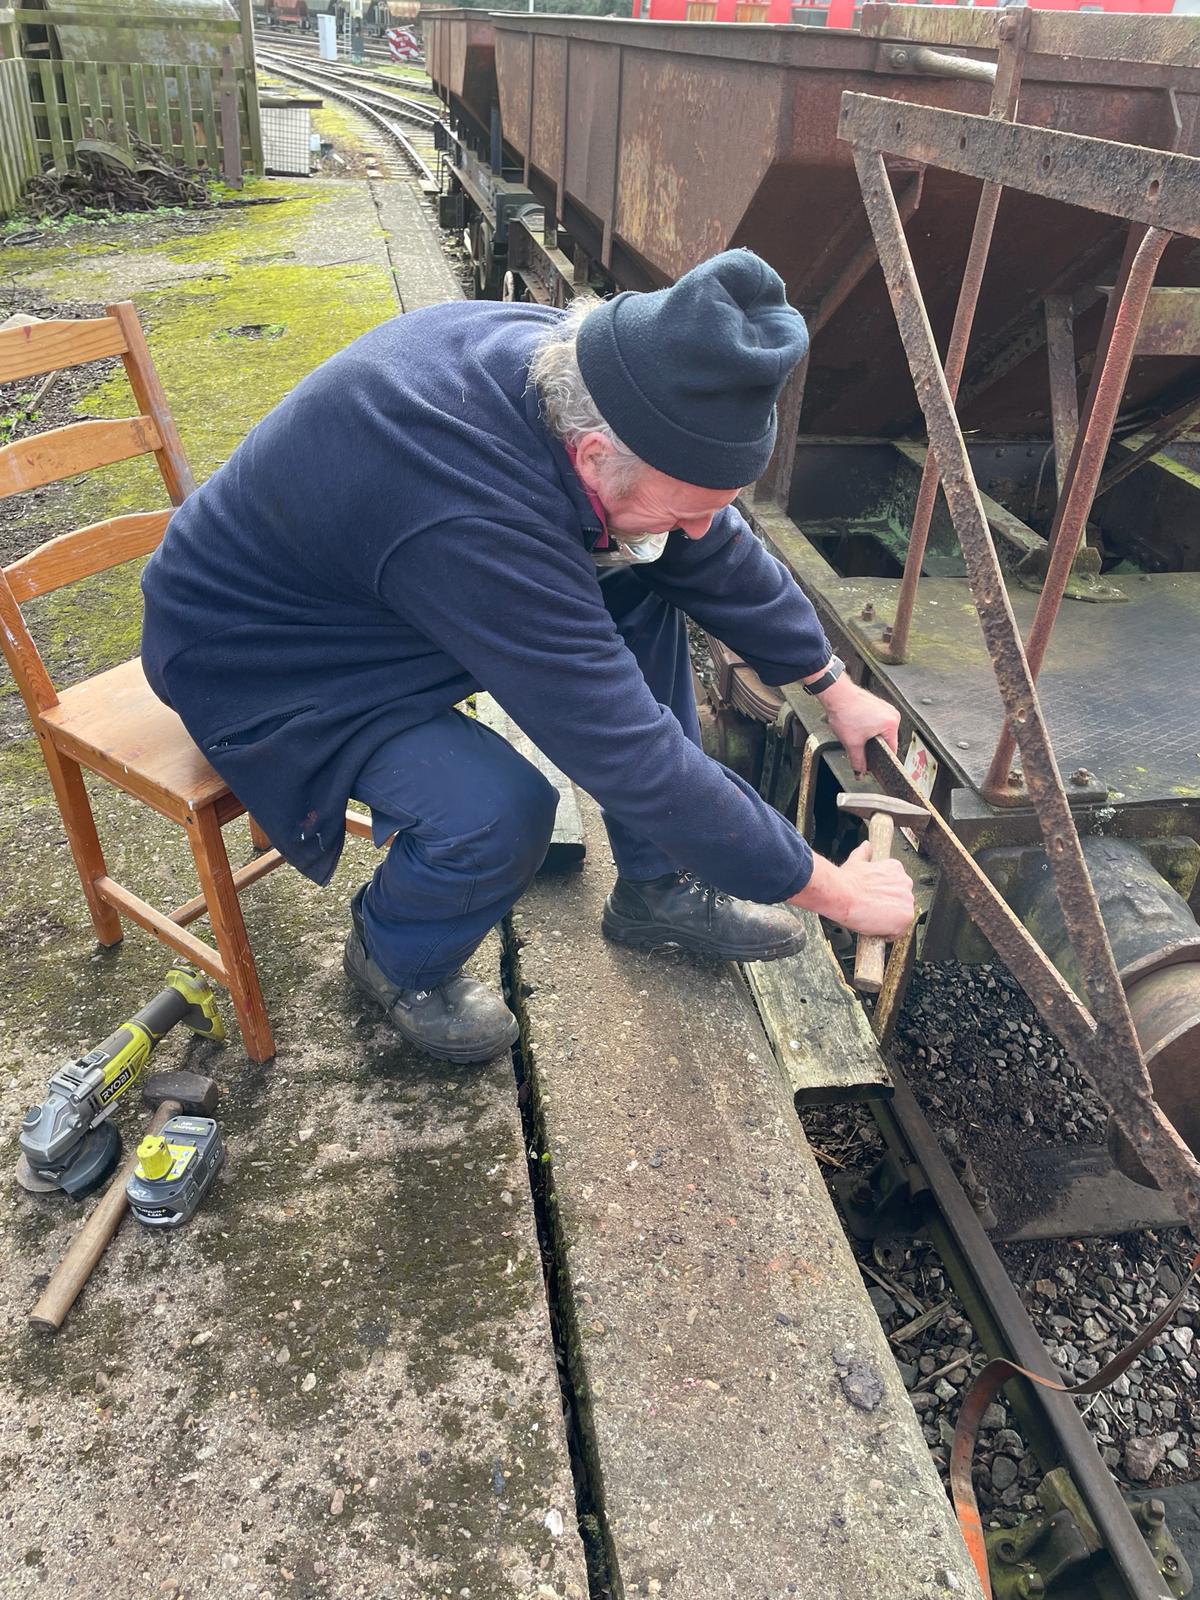
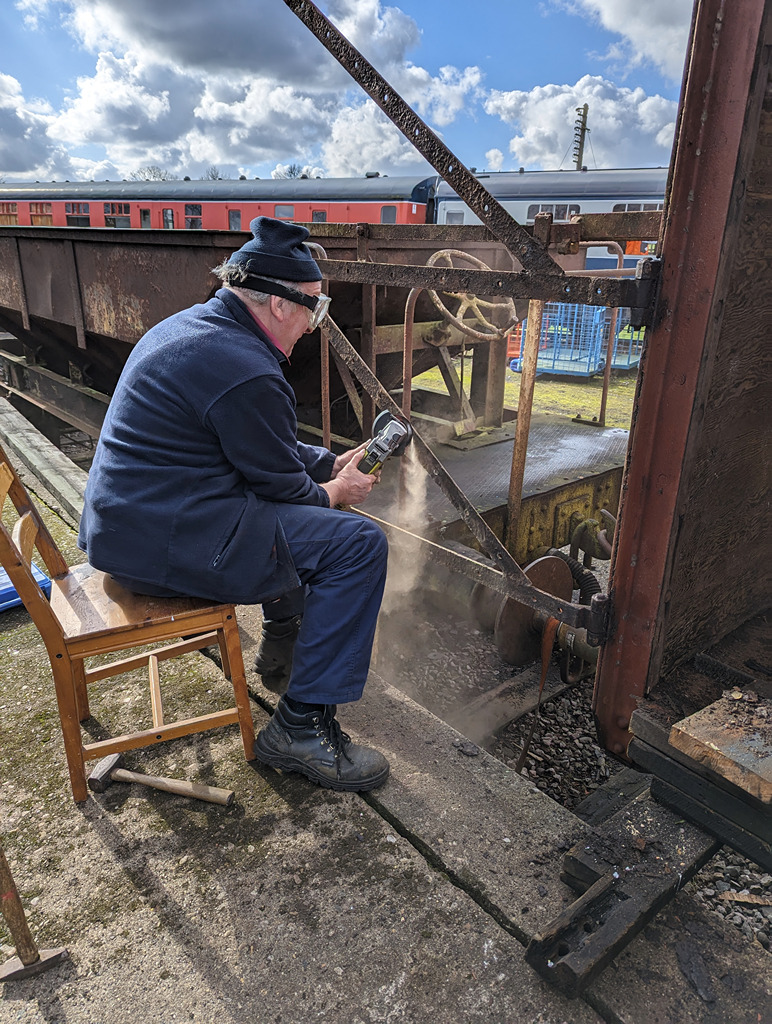
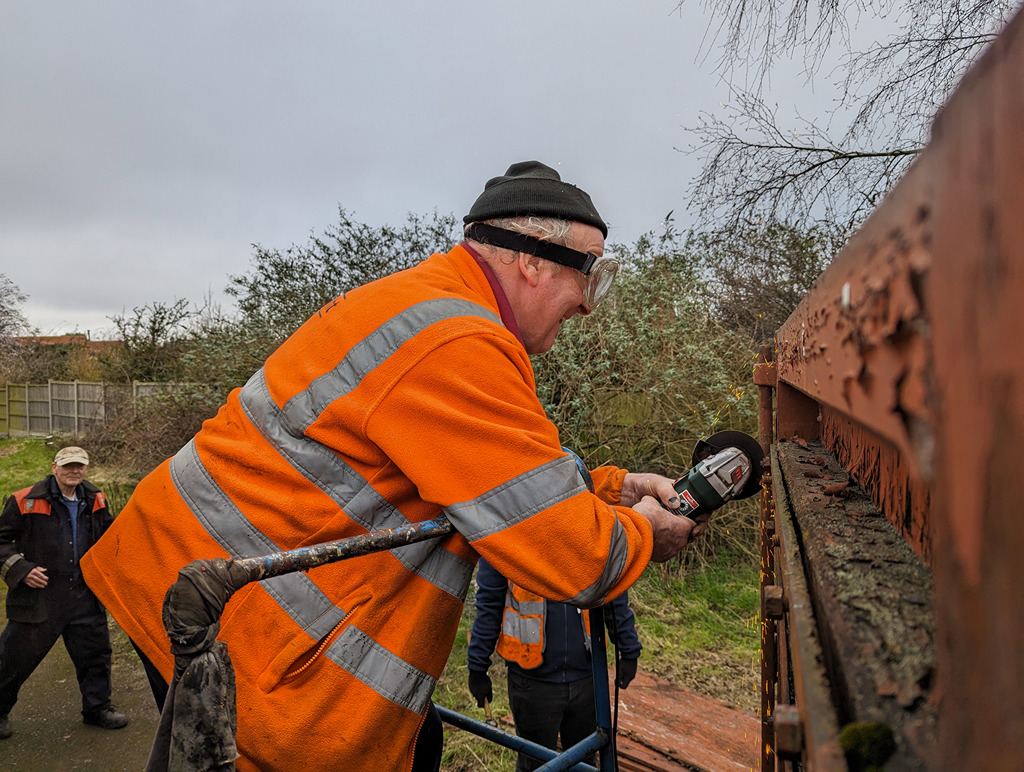
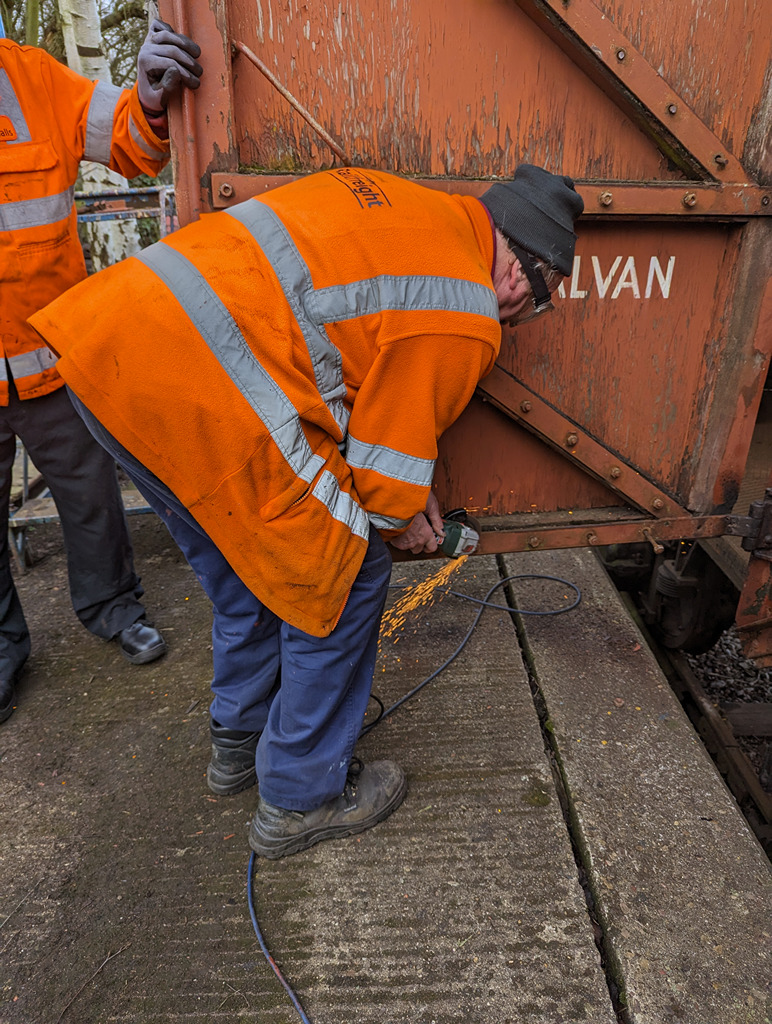
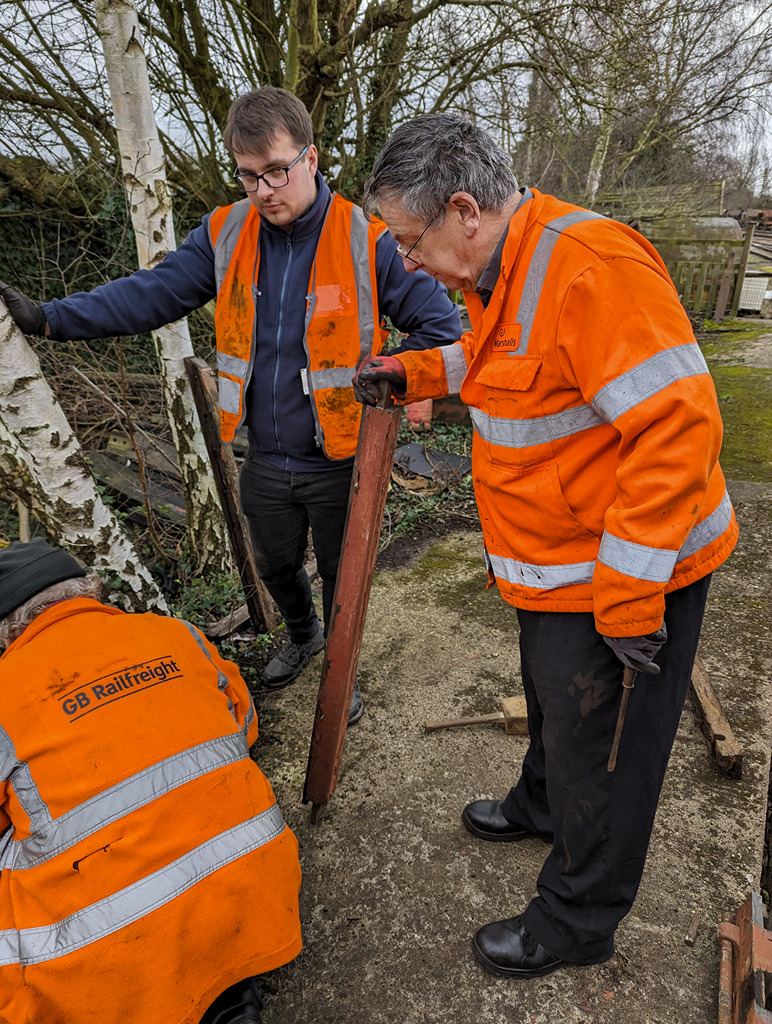
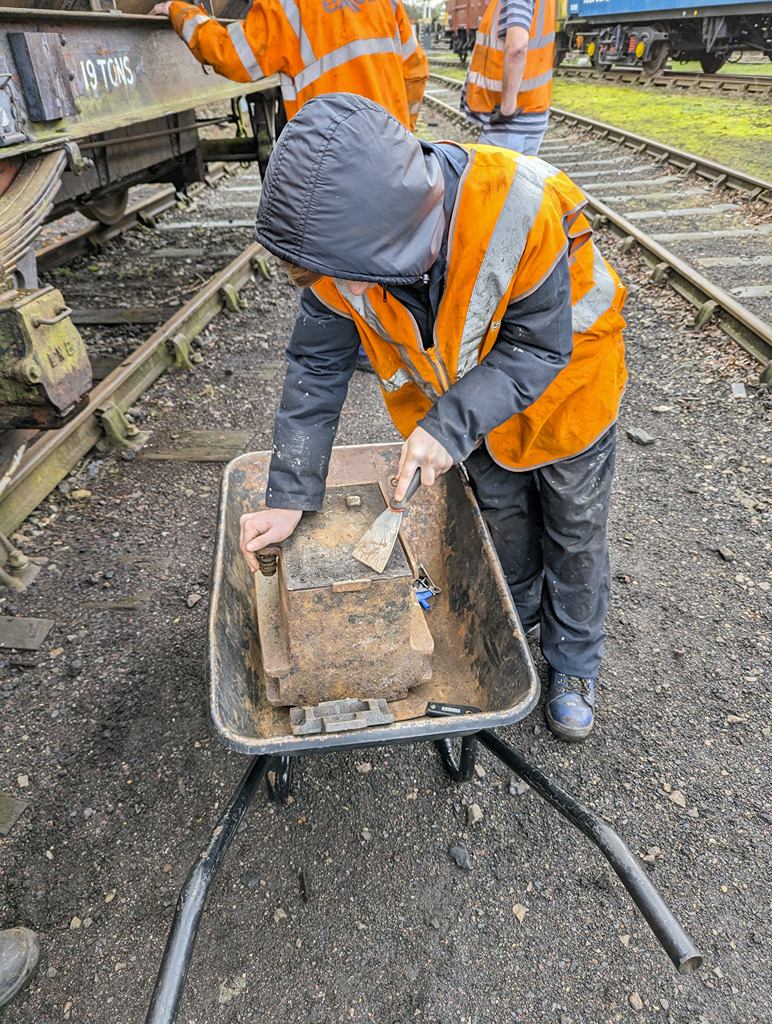
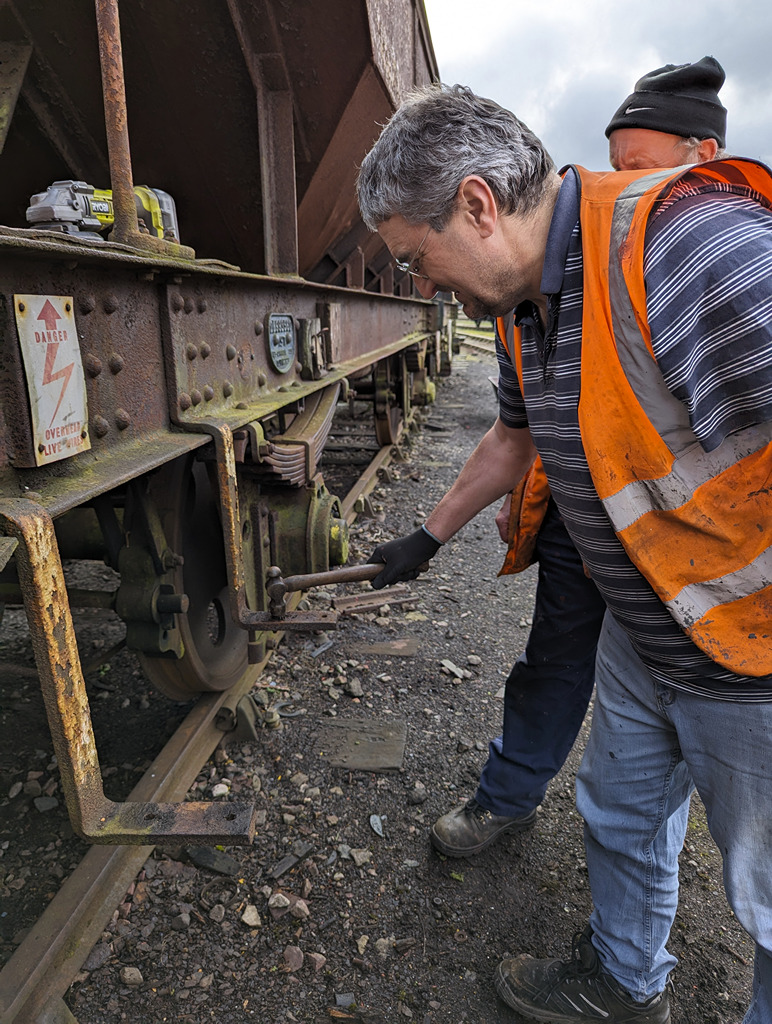
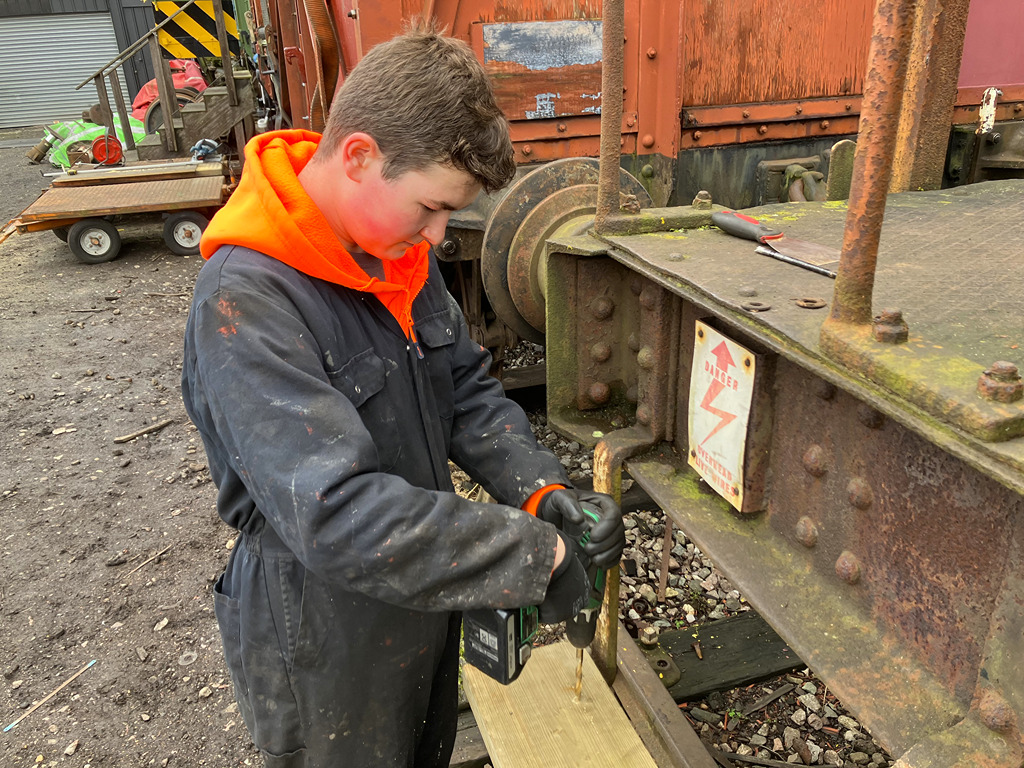
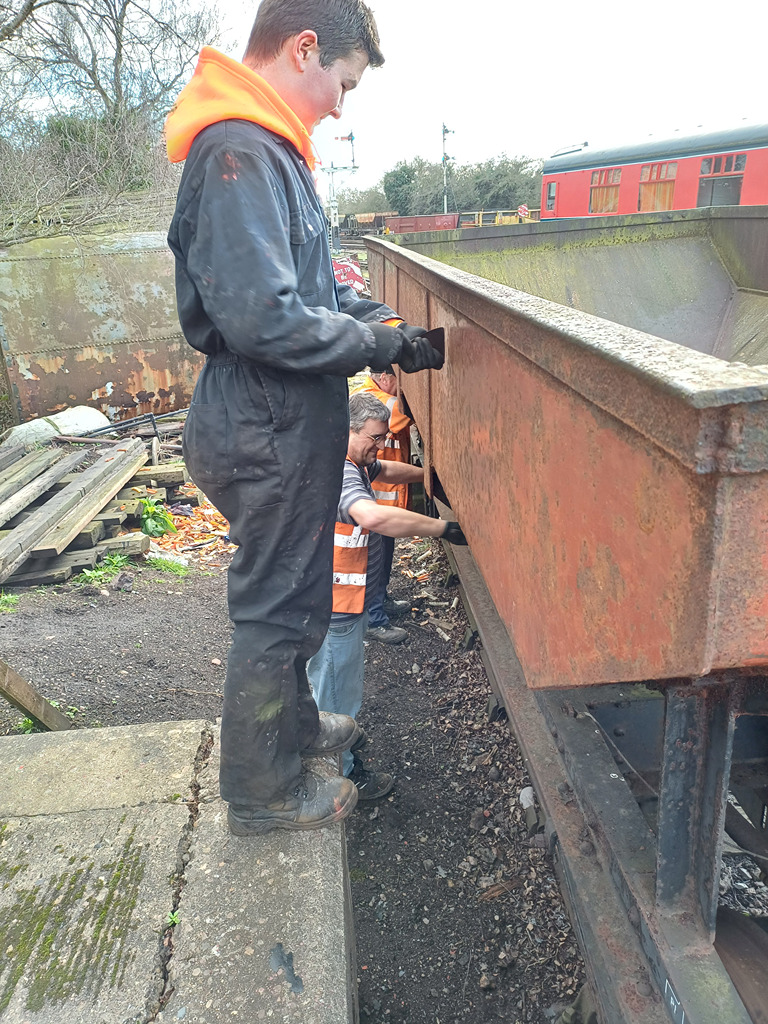
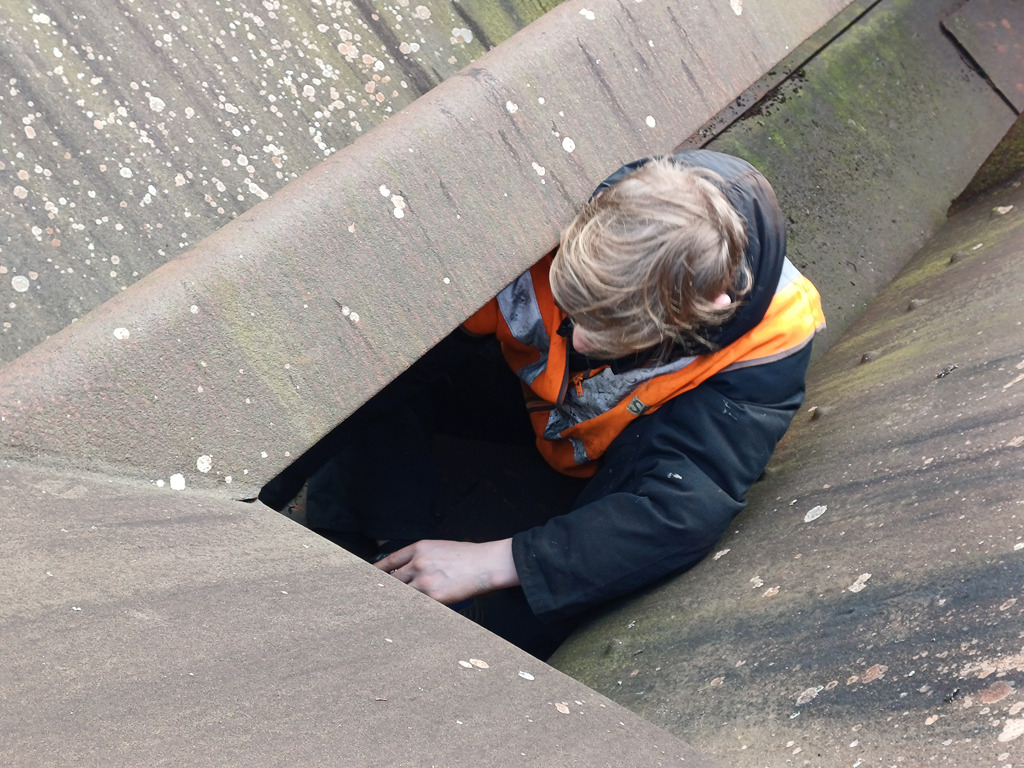
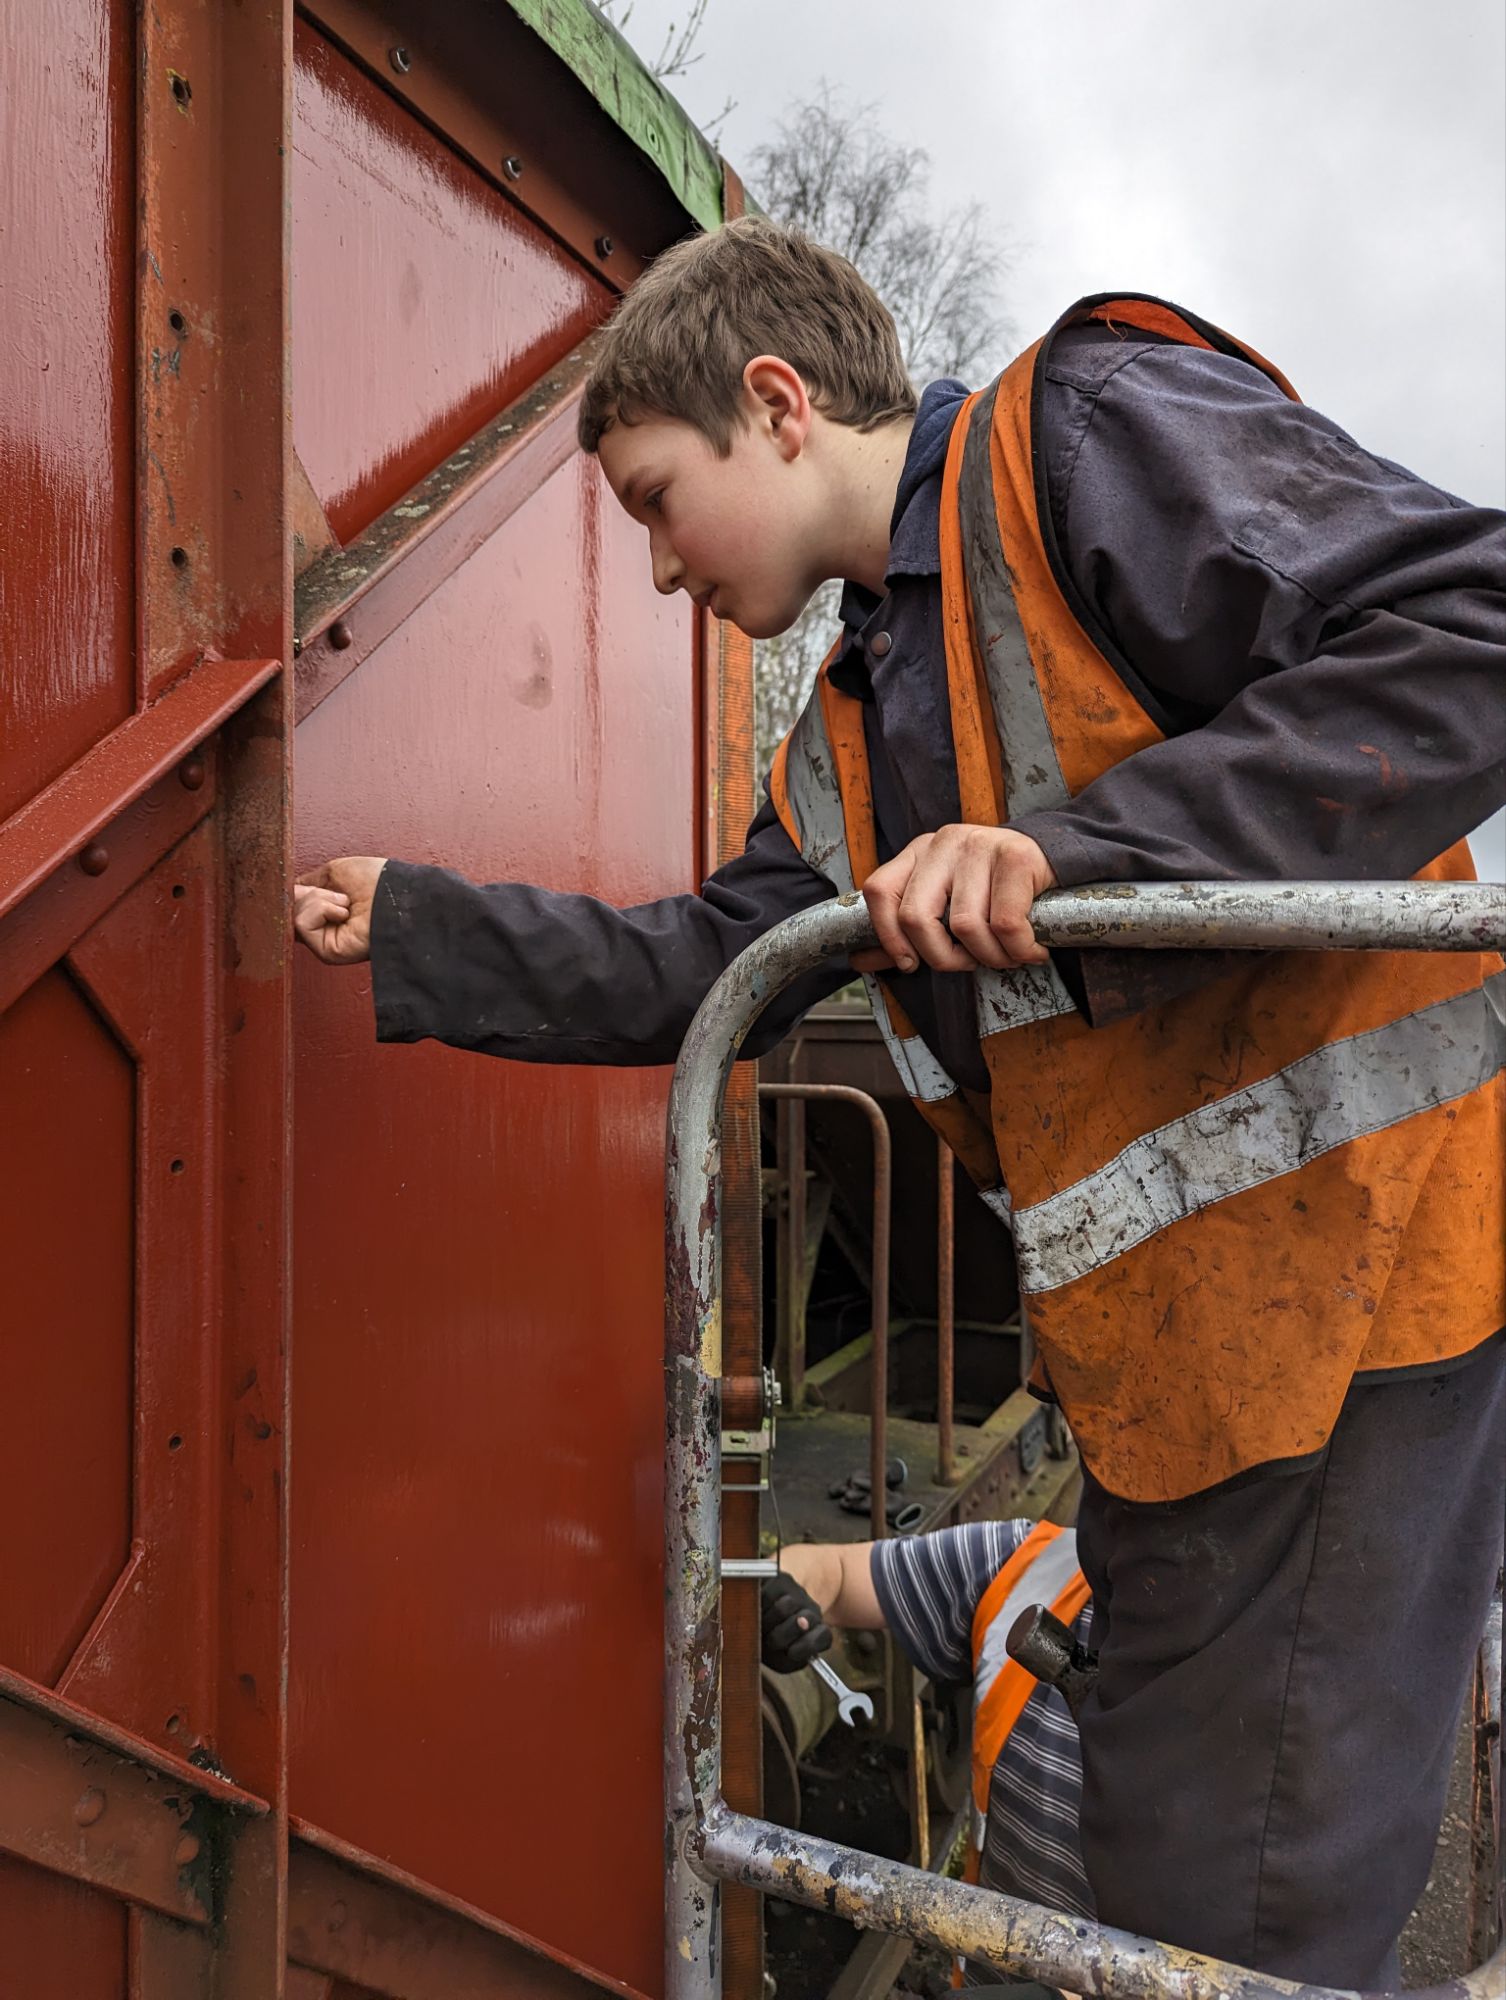
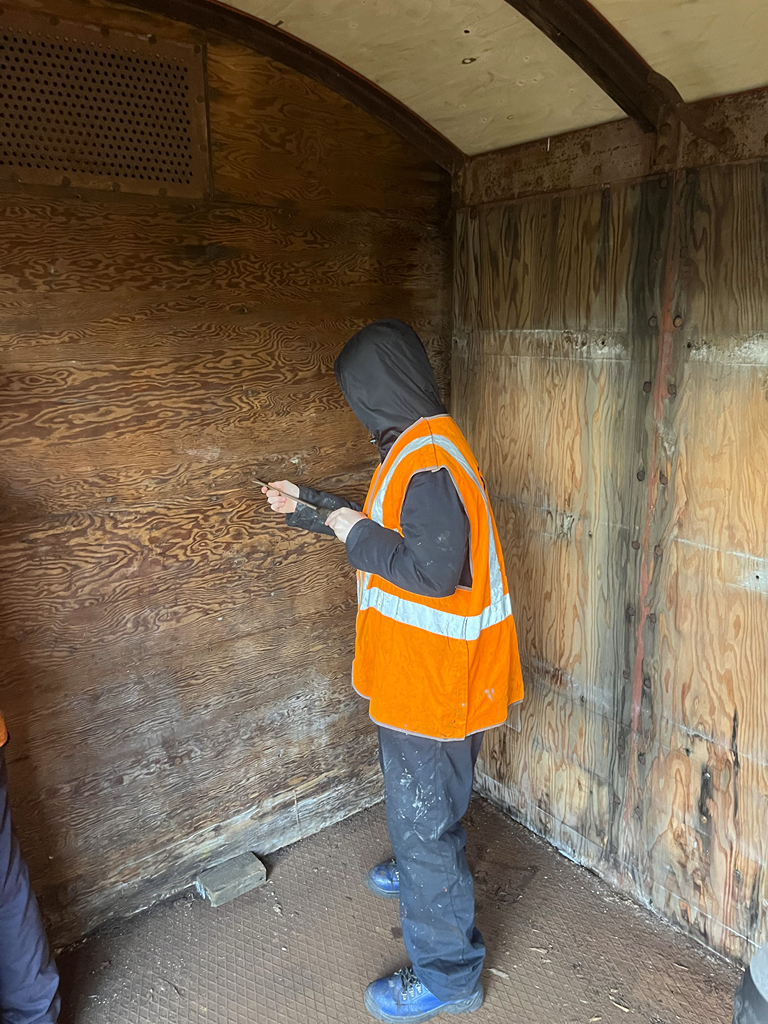
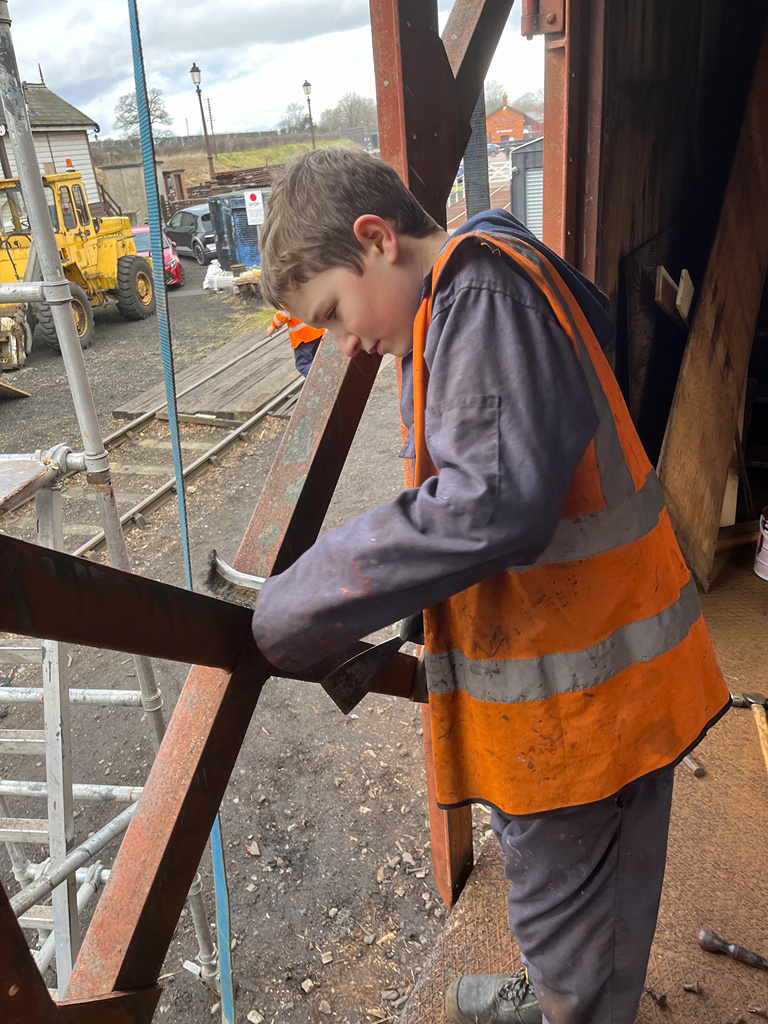
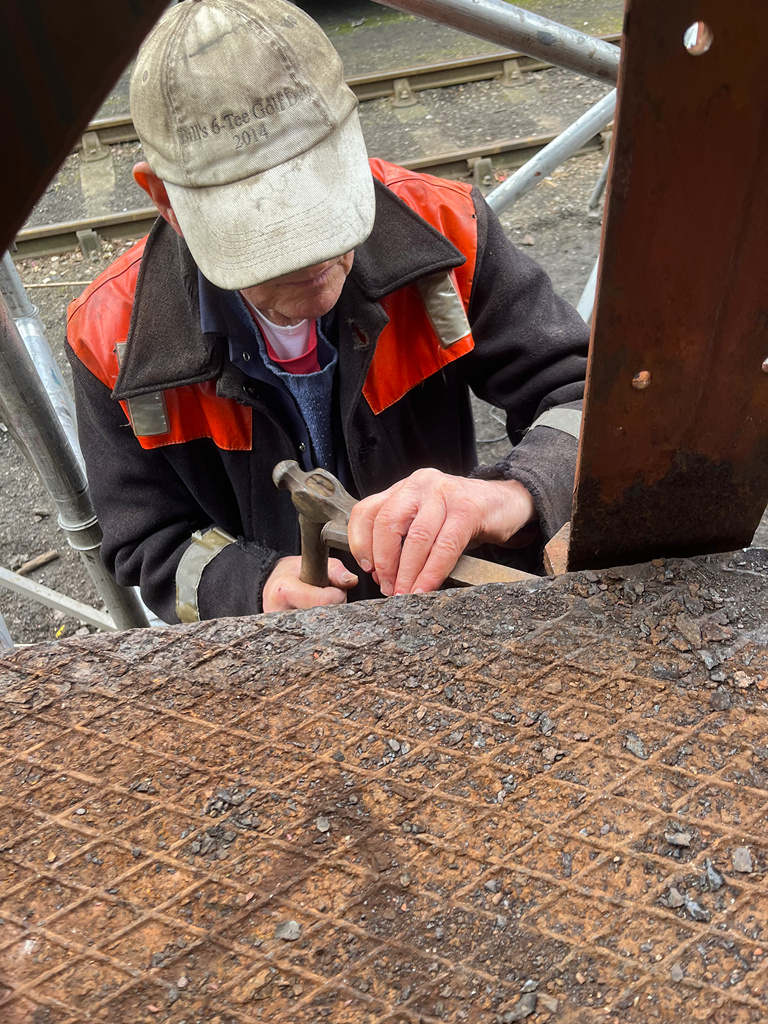
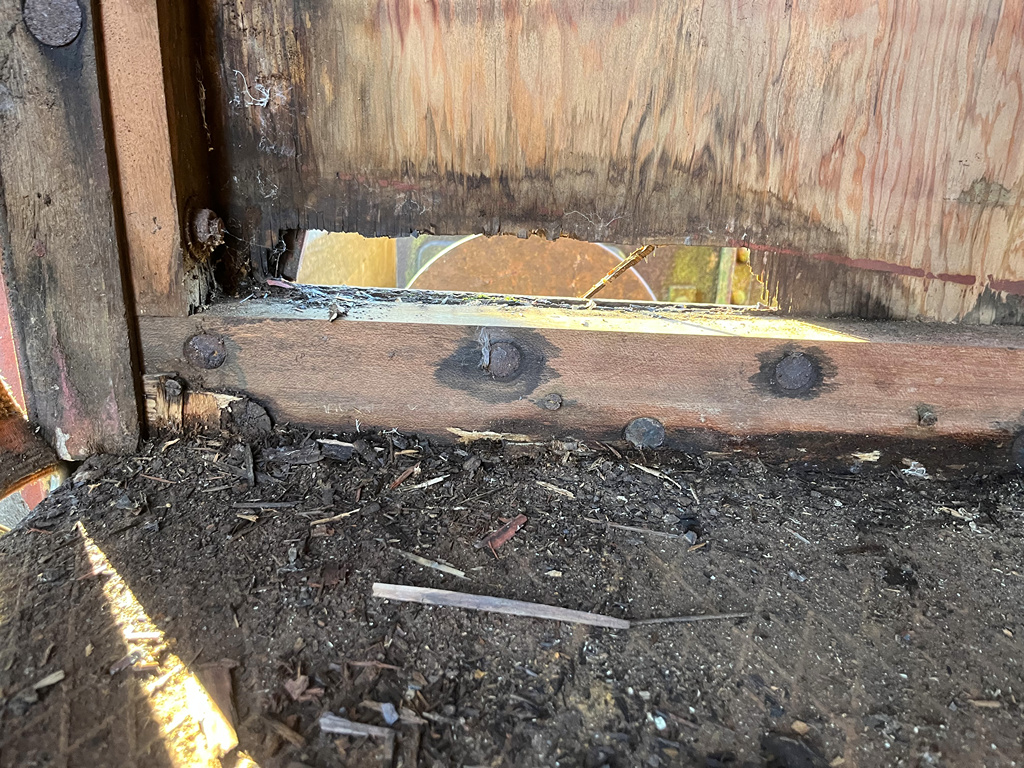
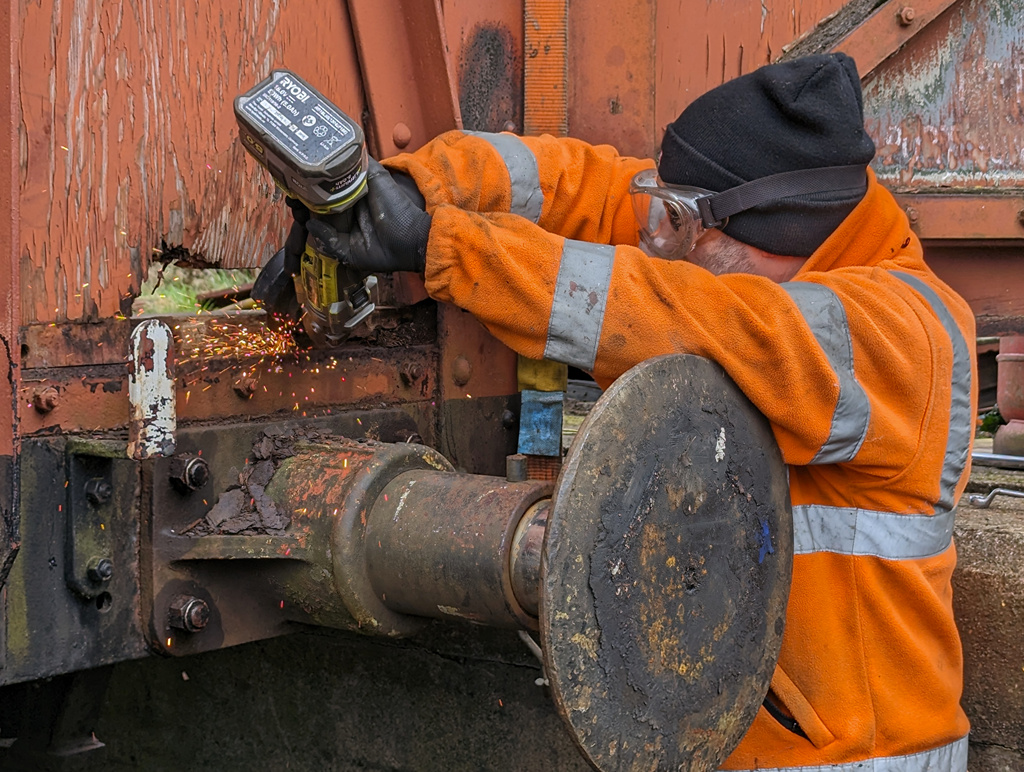
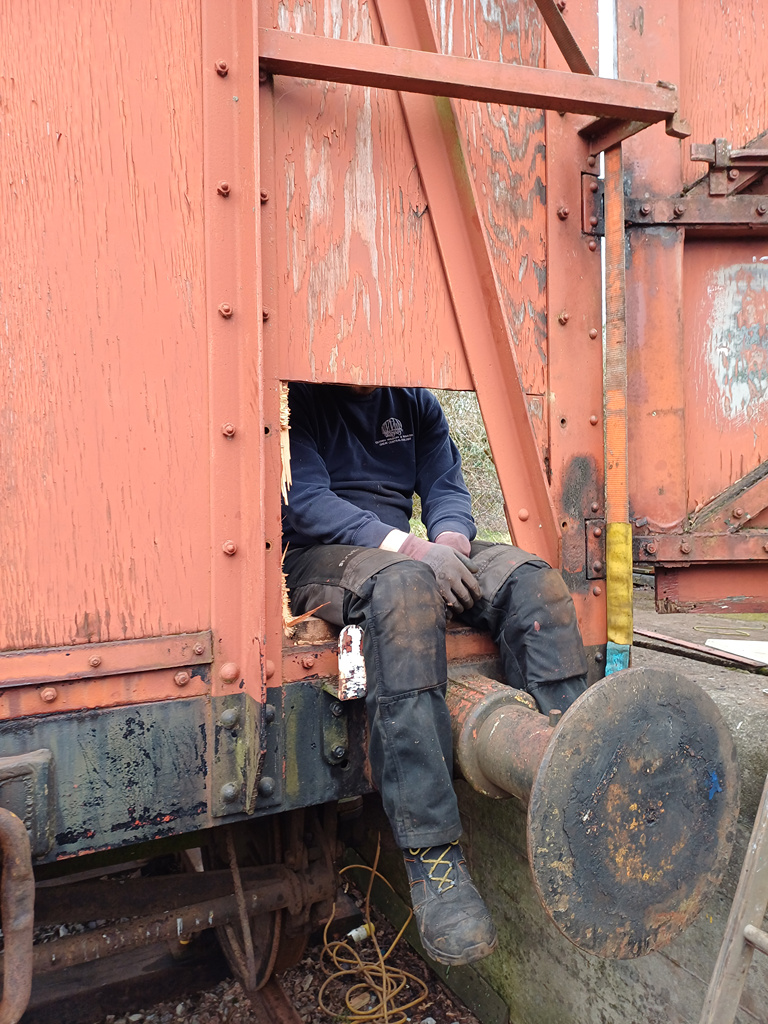
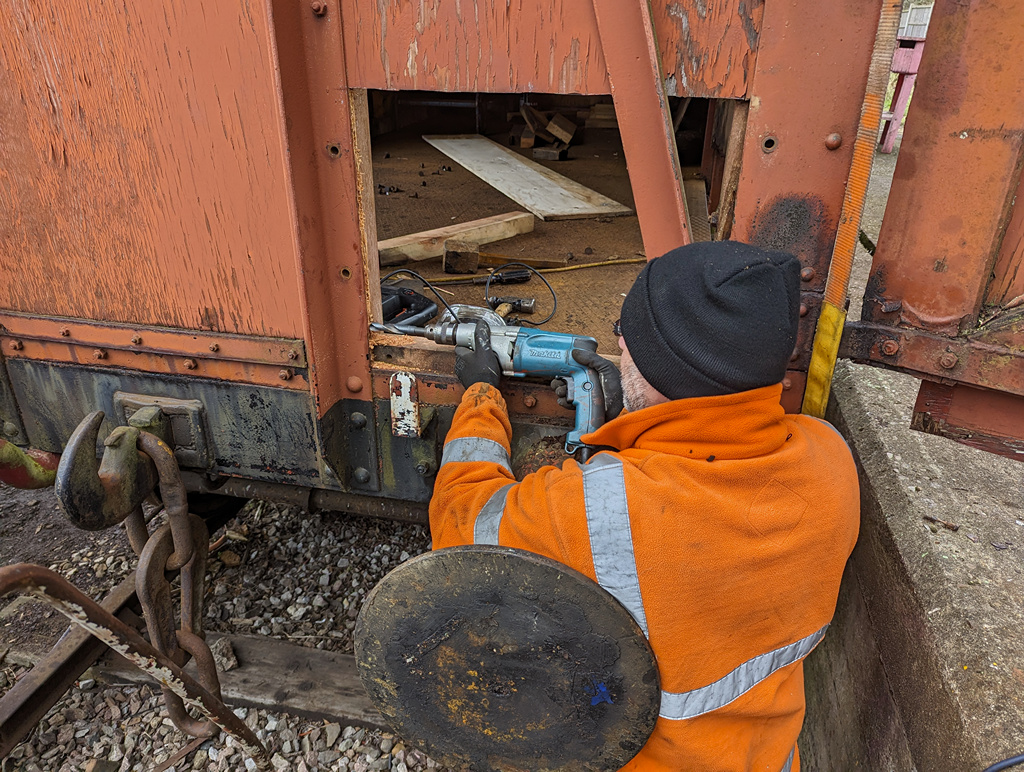
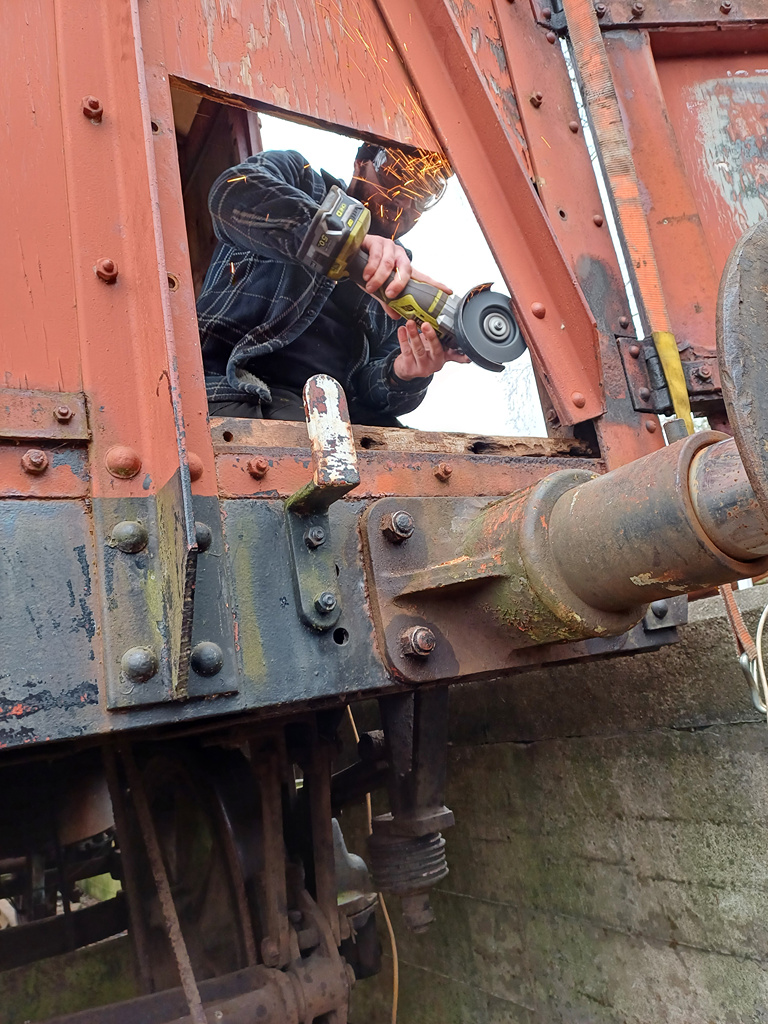
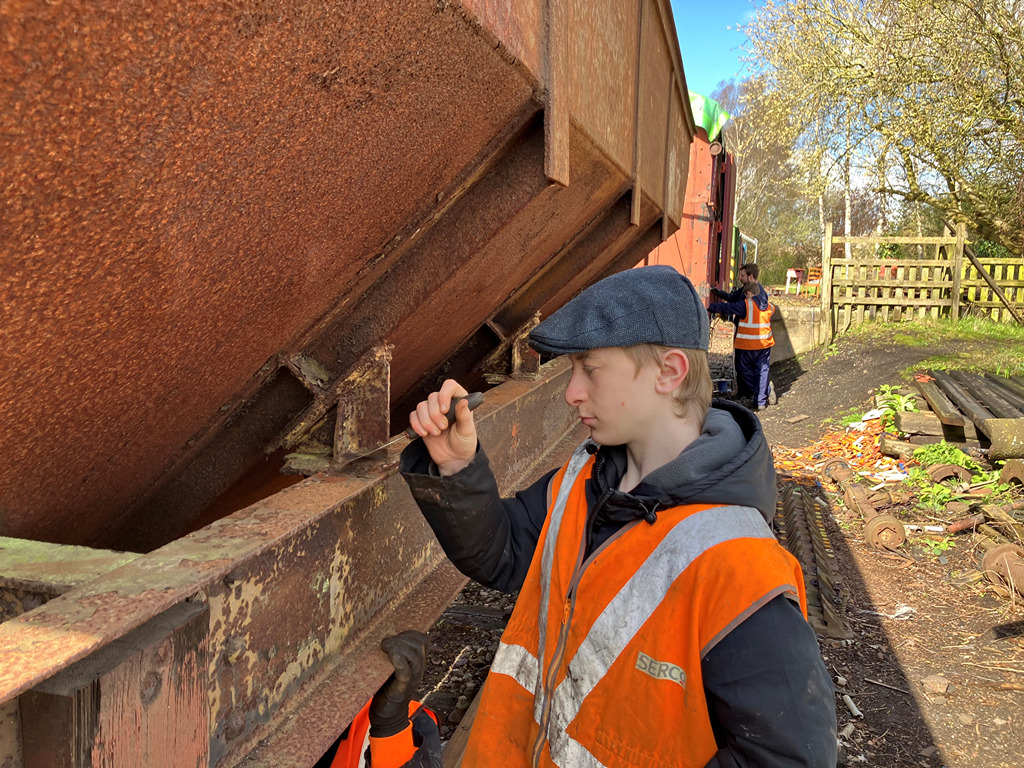
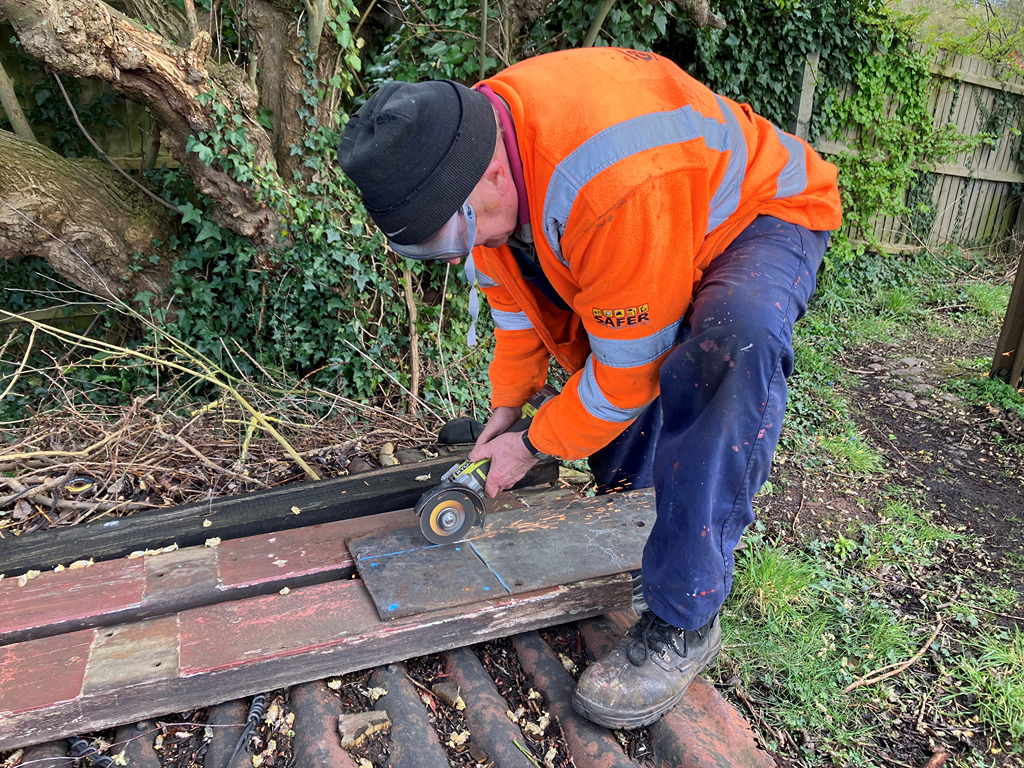
With only one door and too many people to get round it, some carried on with scraping the Catfish wagons.

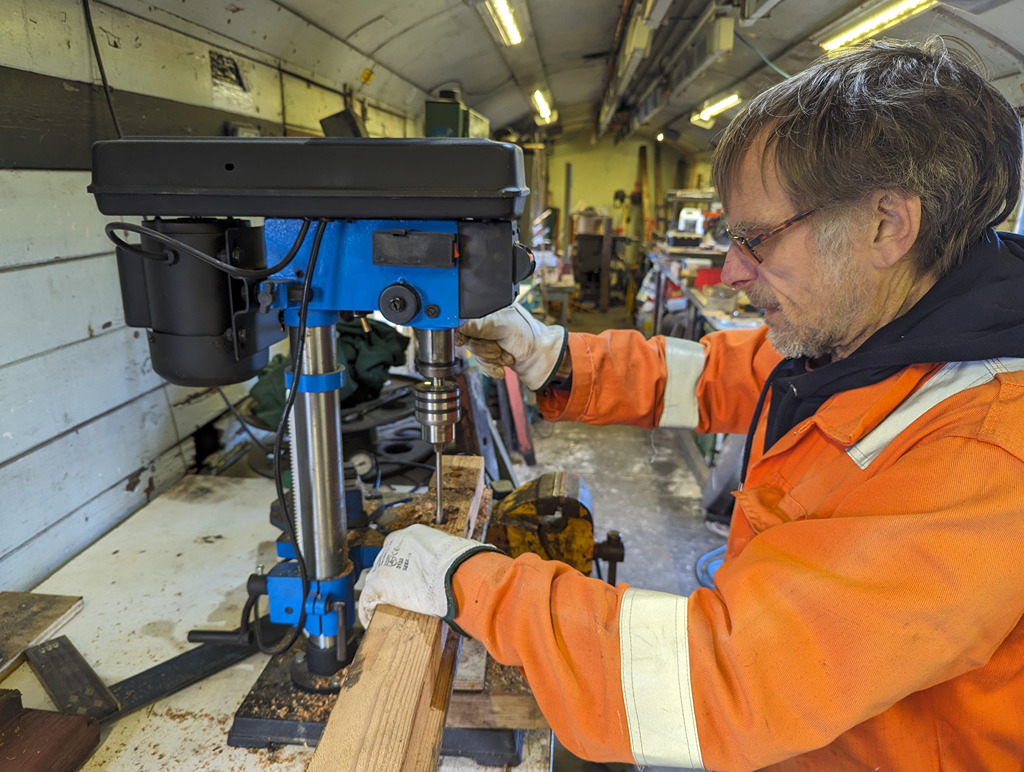
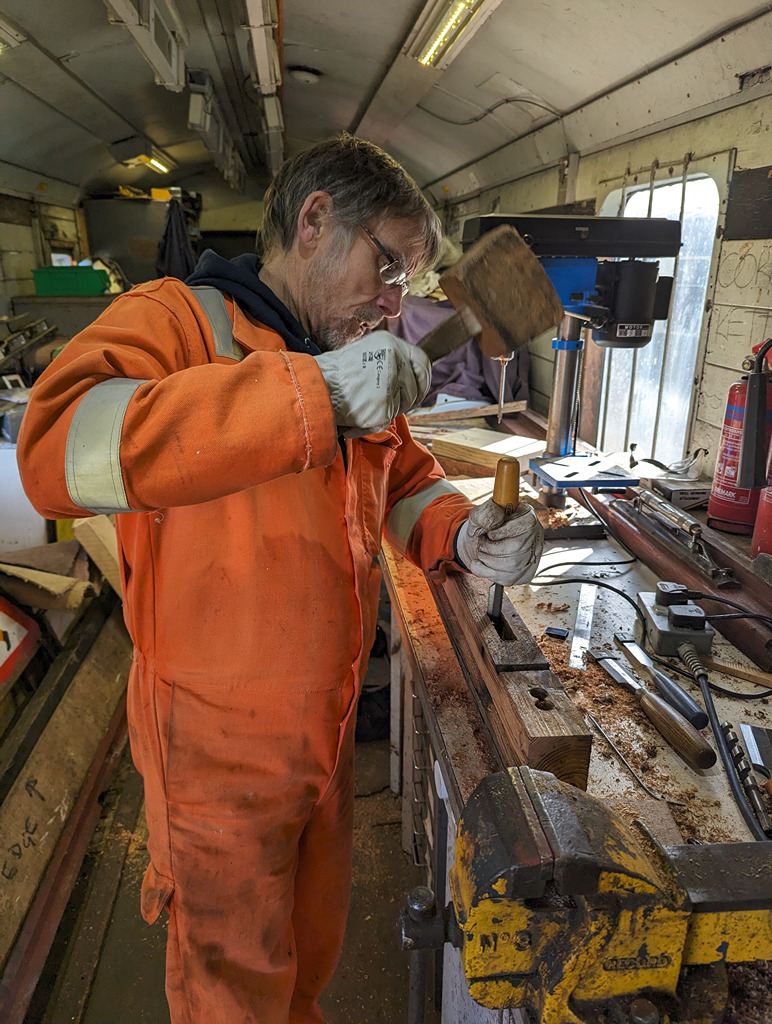
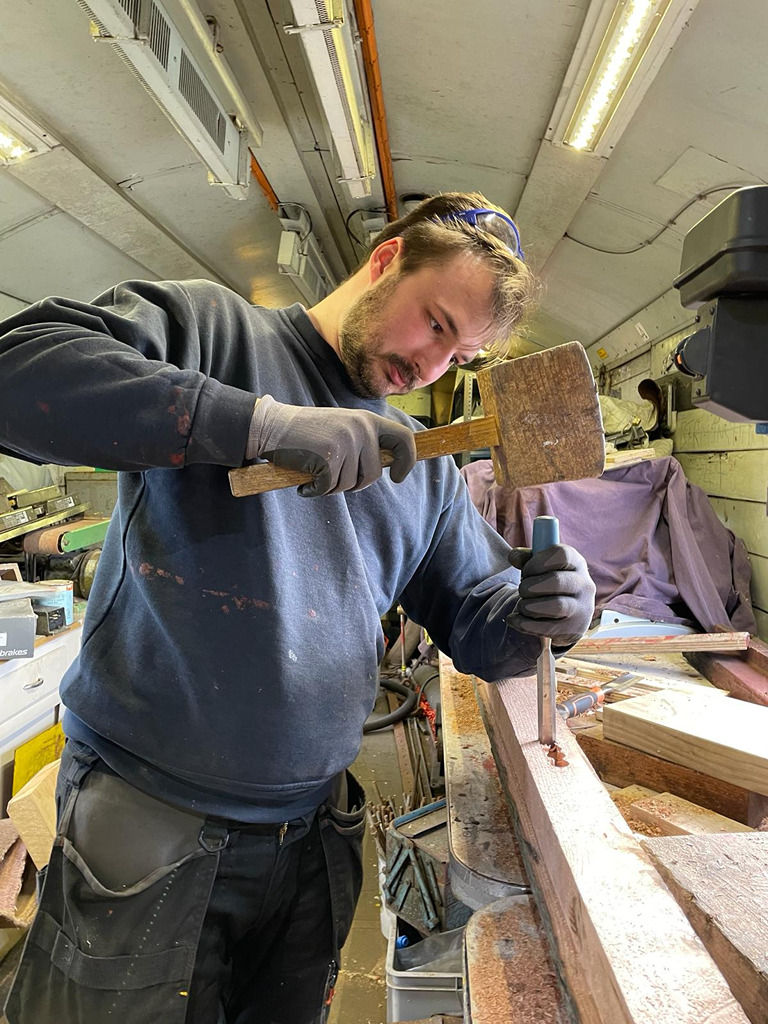
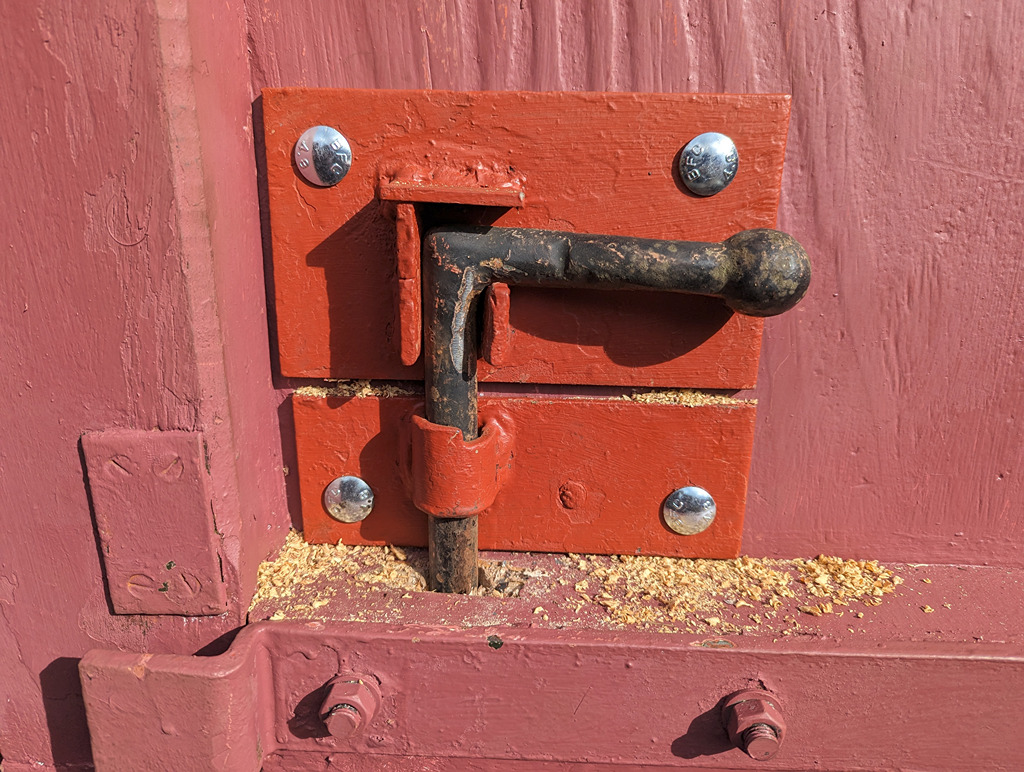
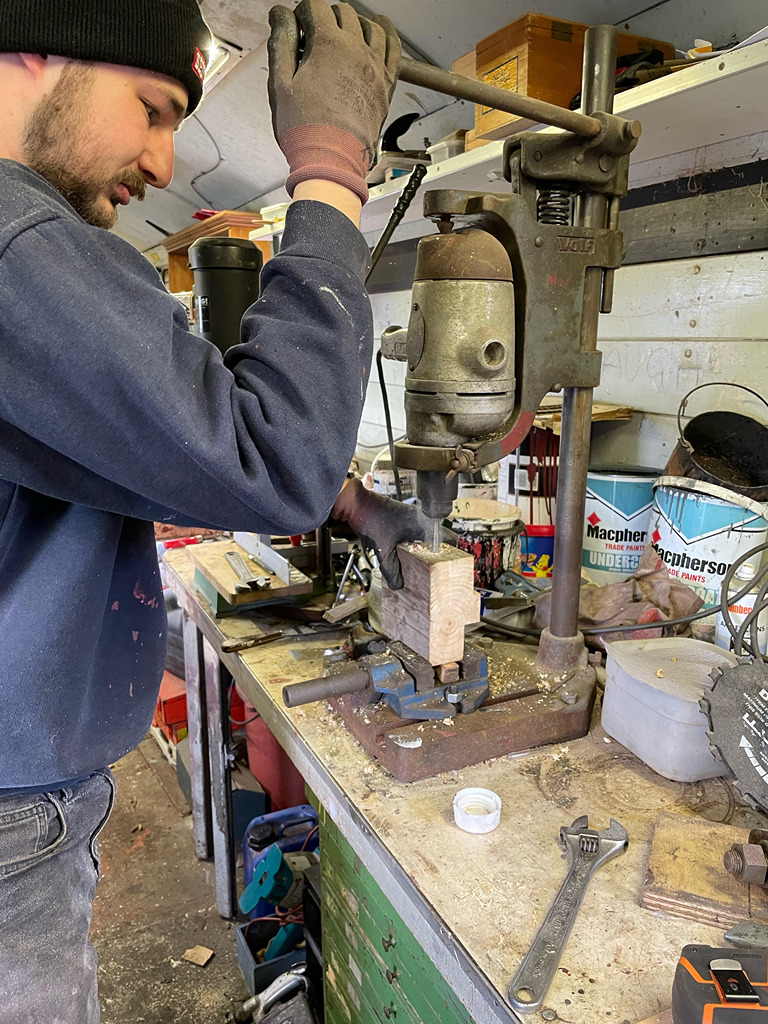
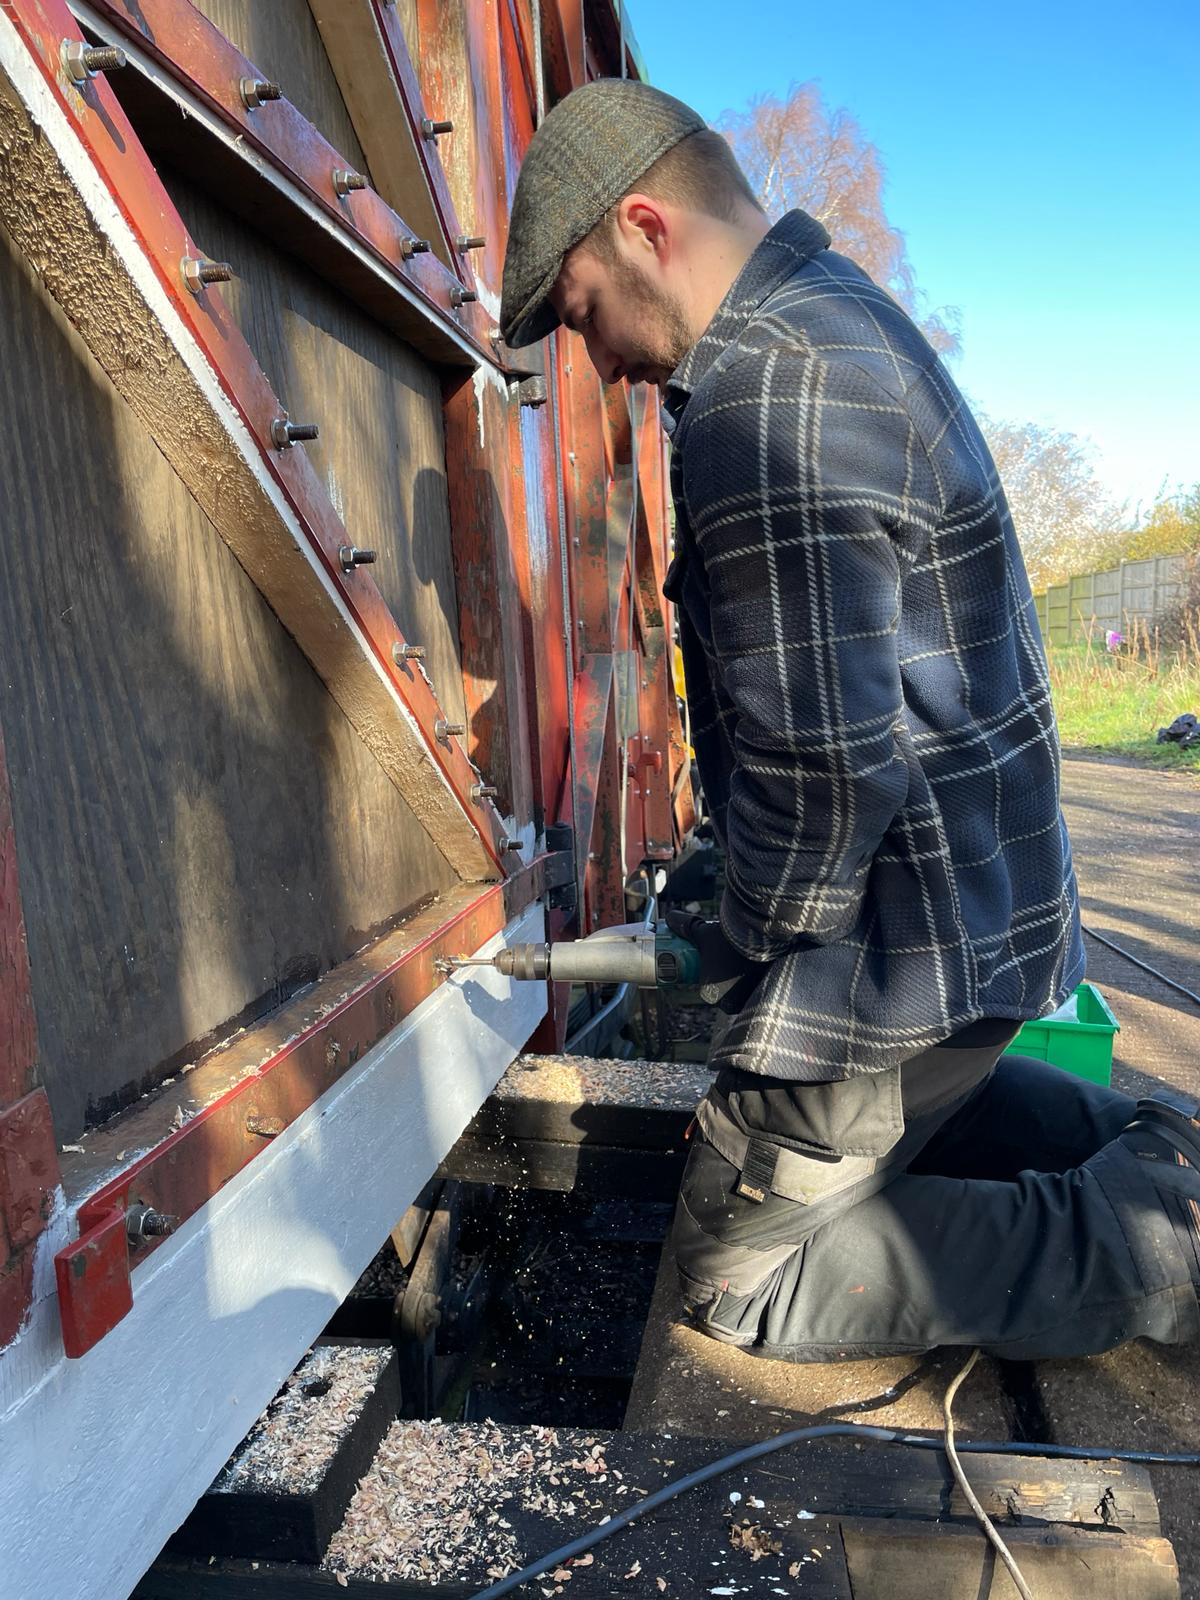
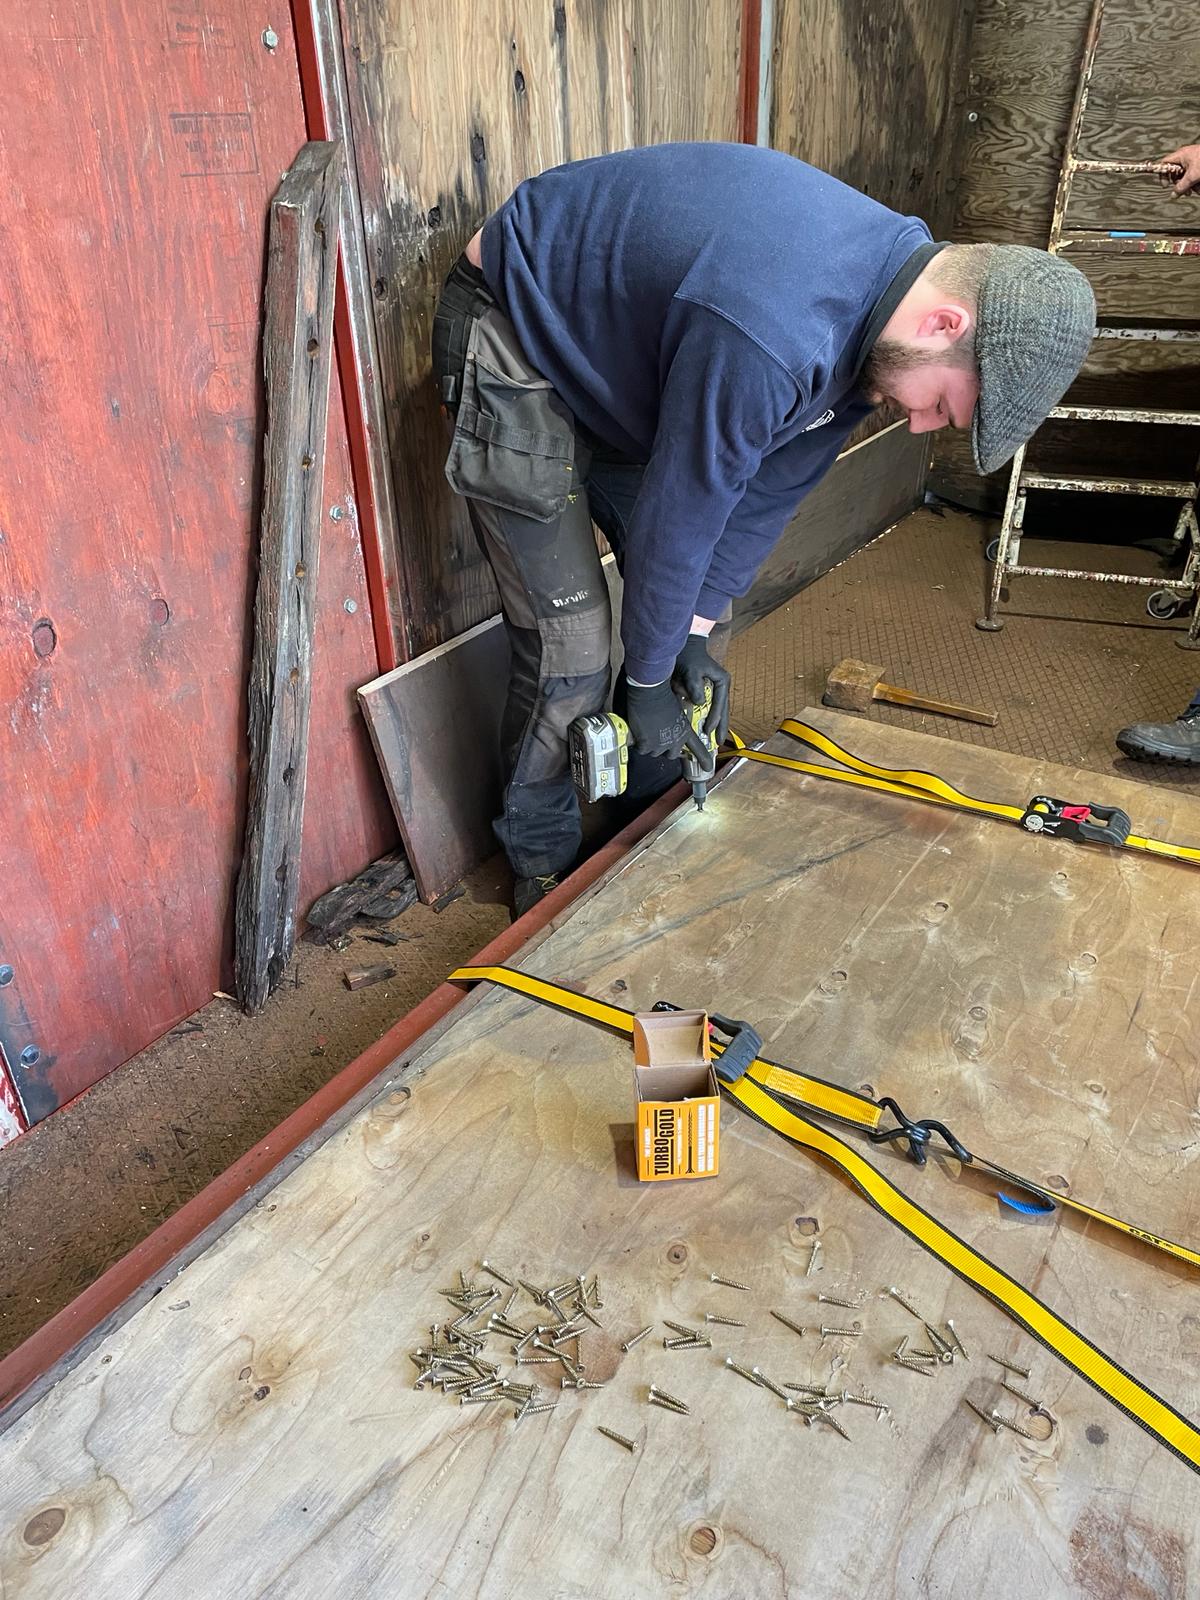
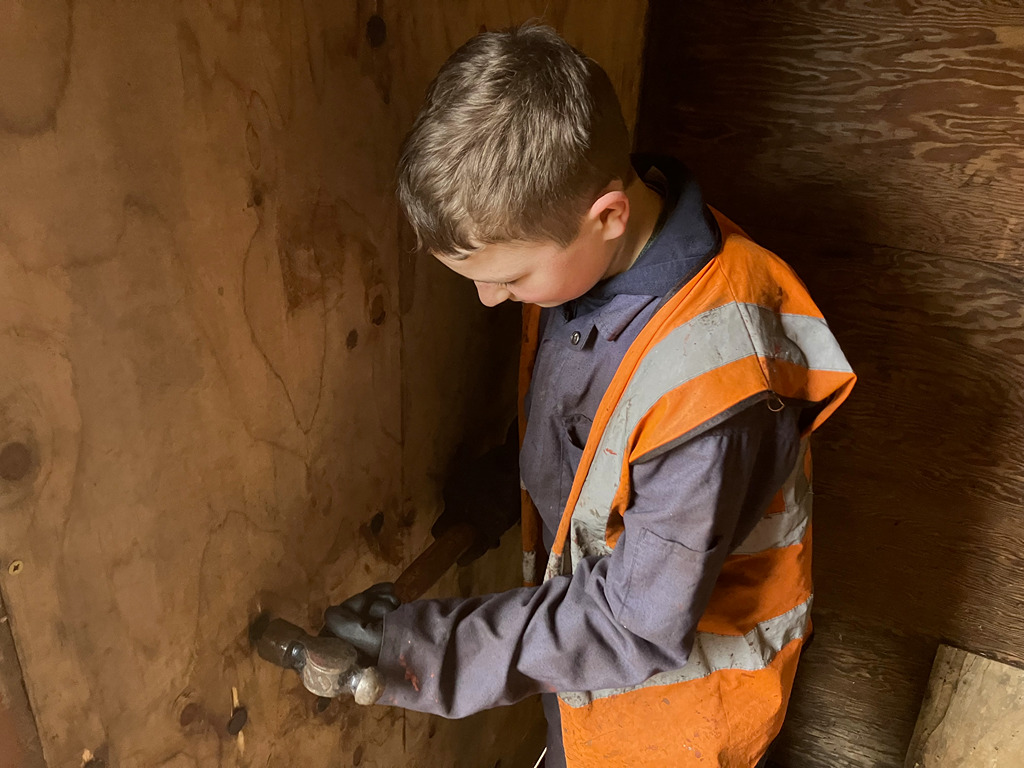
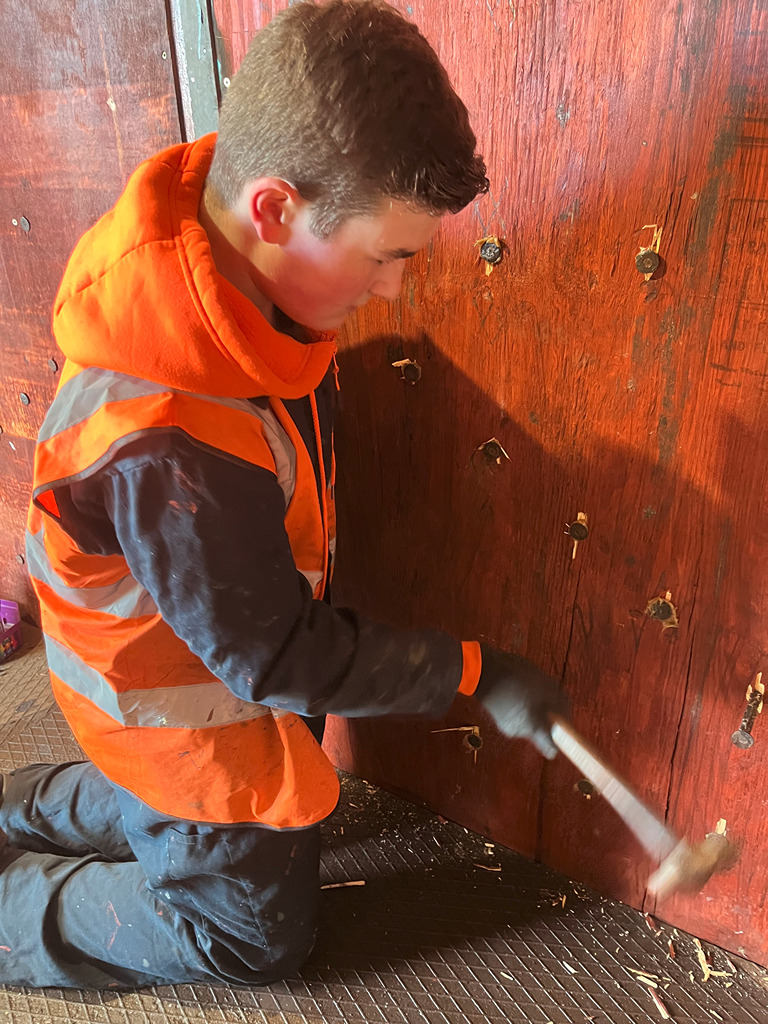
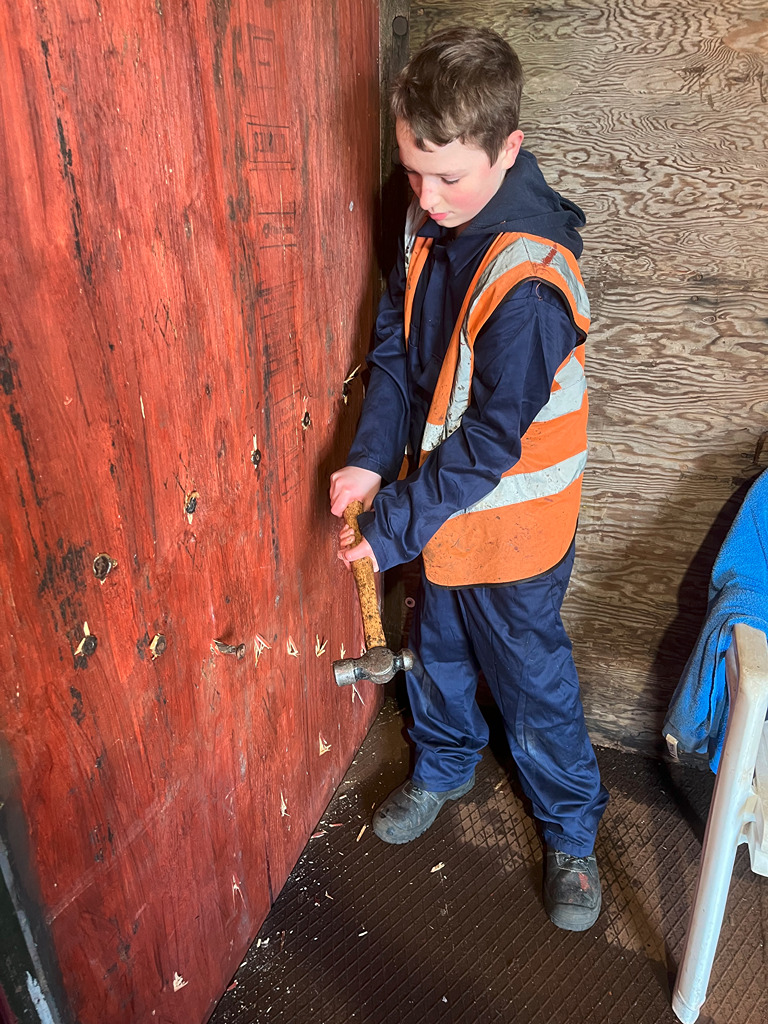
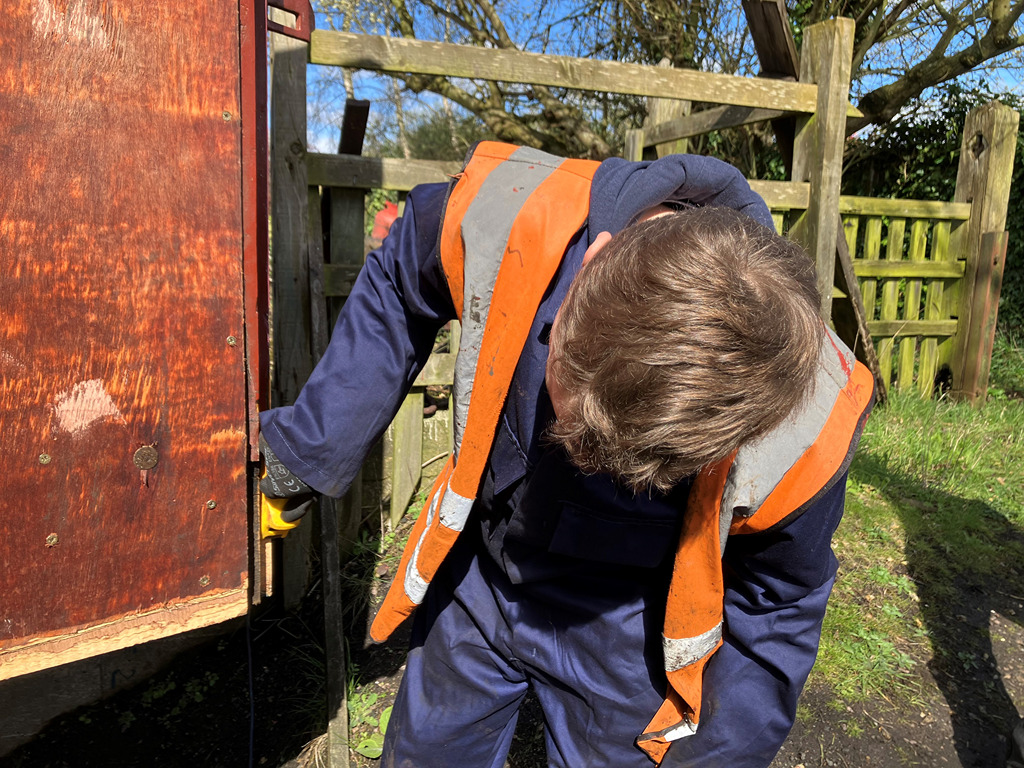
The final few bits were done to complete the door, including drilling the hole for the bottom door bolt and then fitting it.
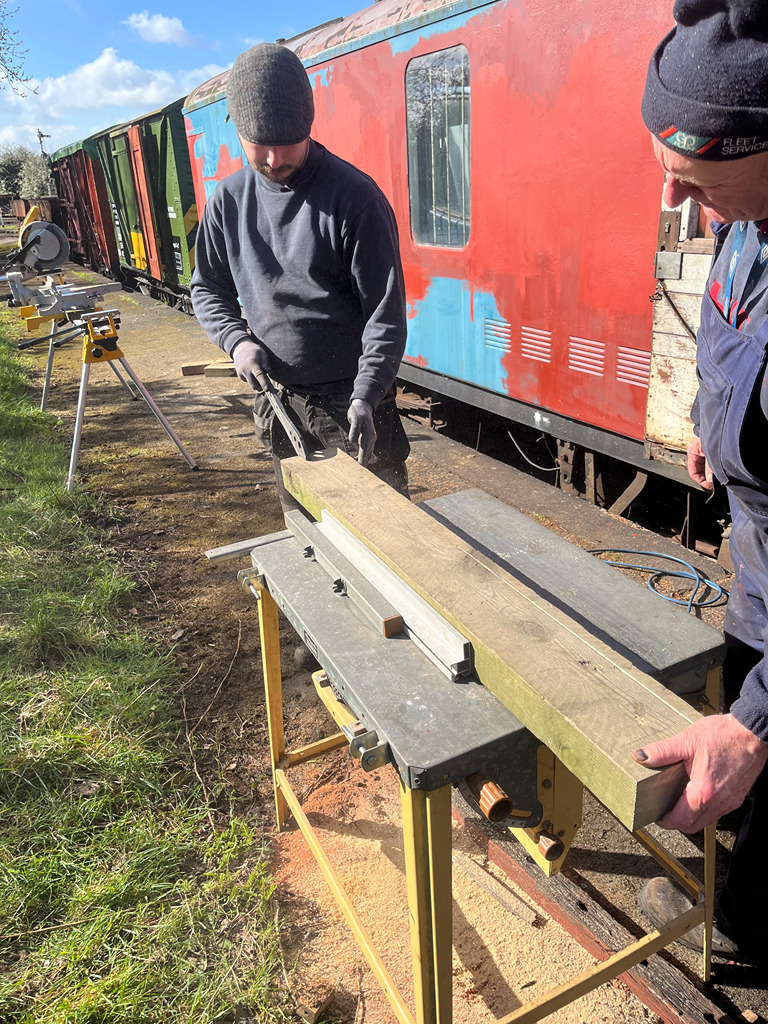
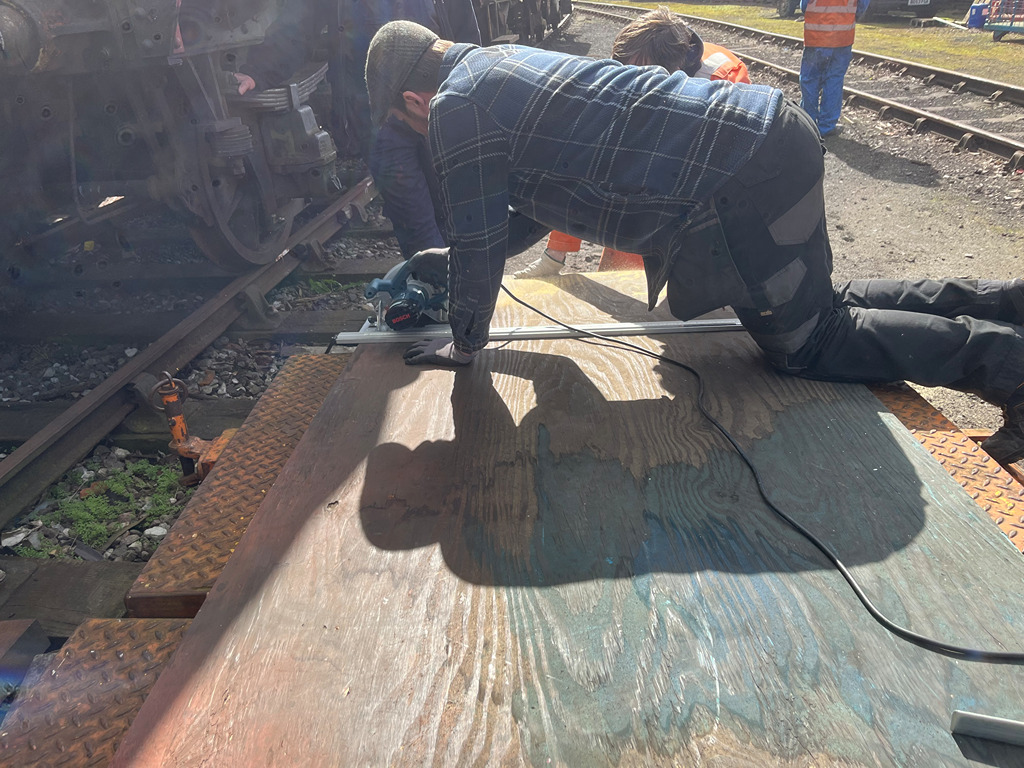
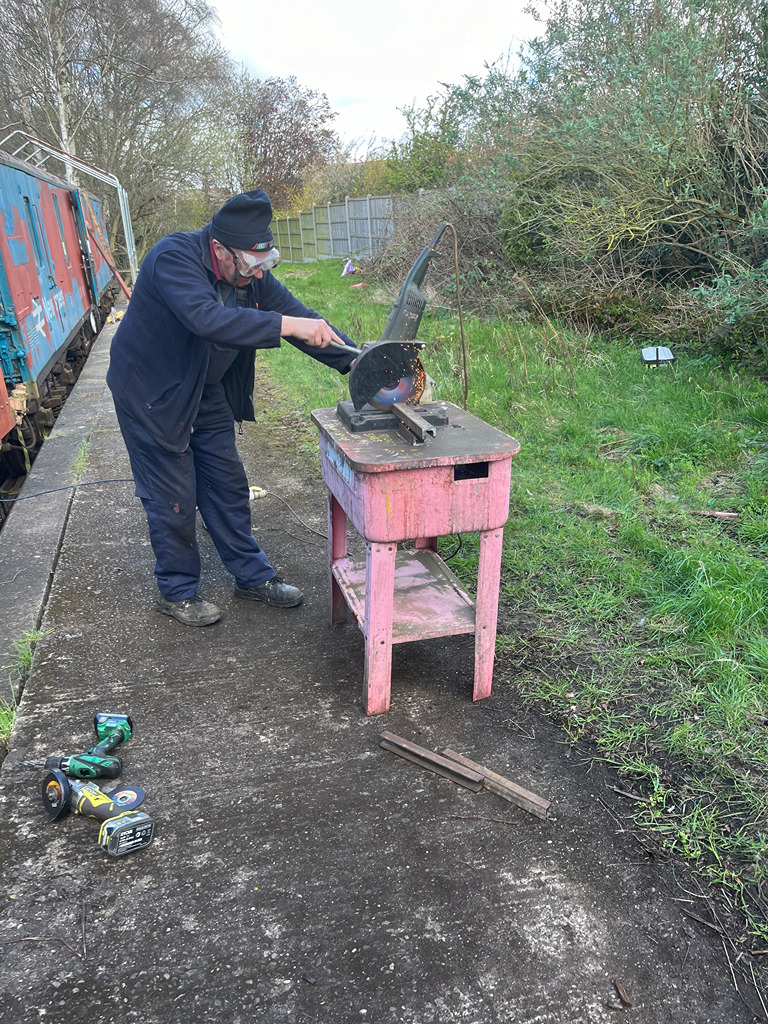
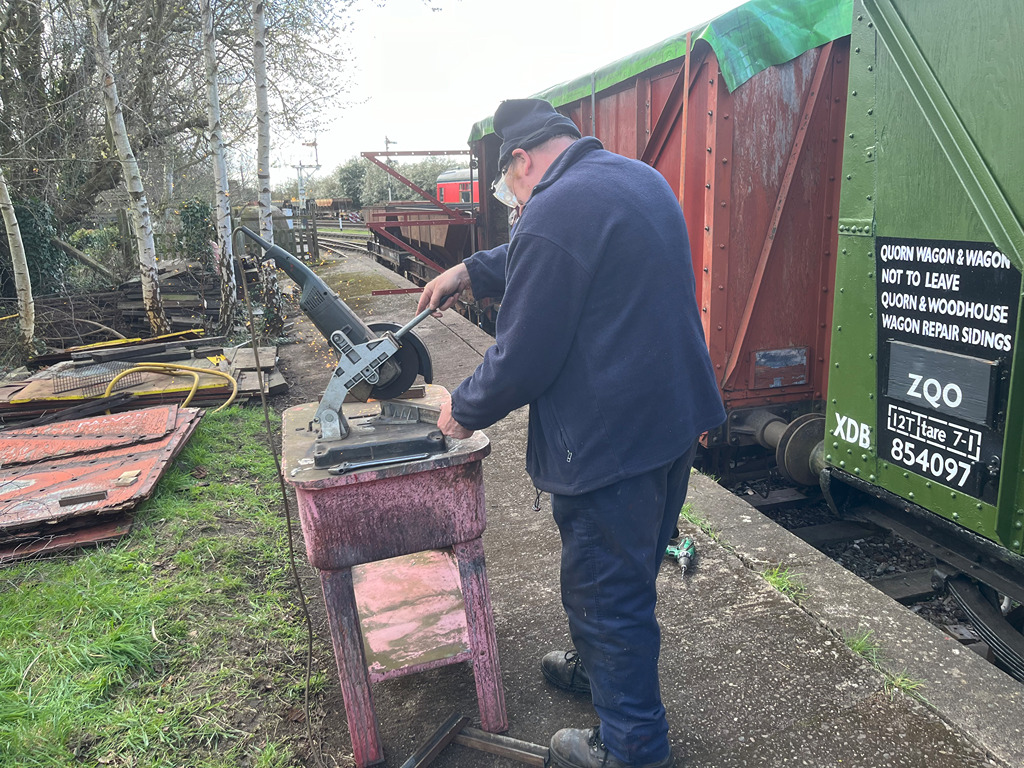
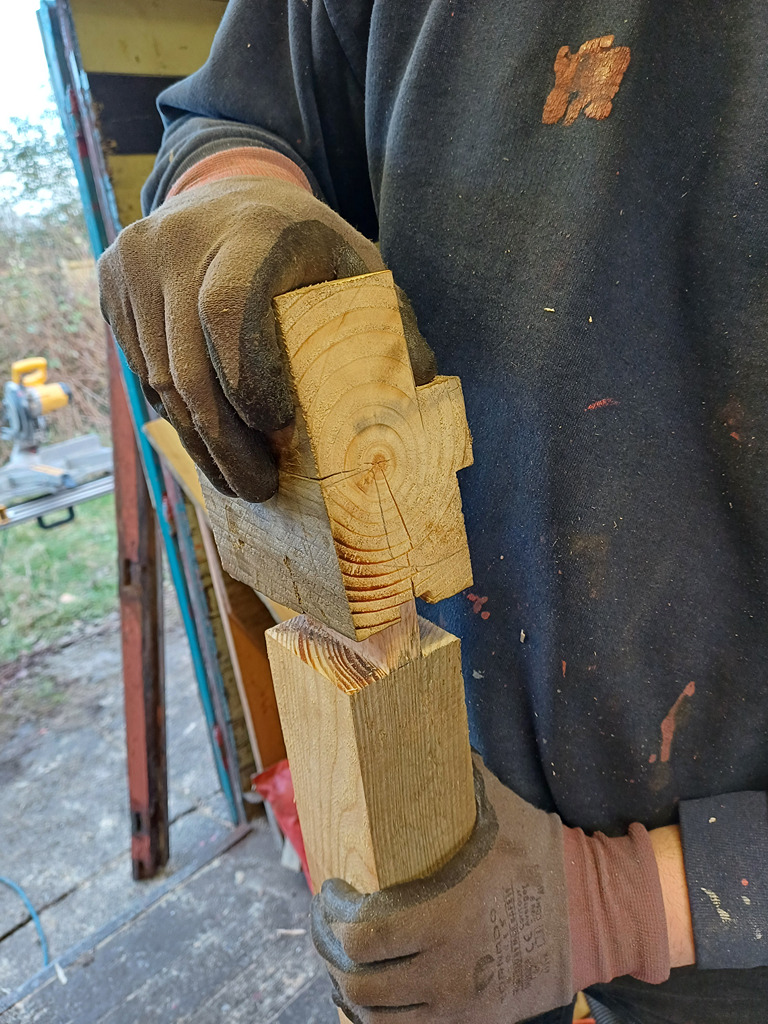
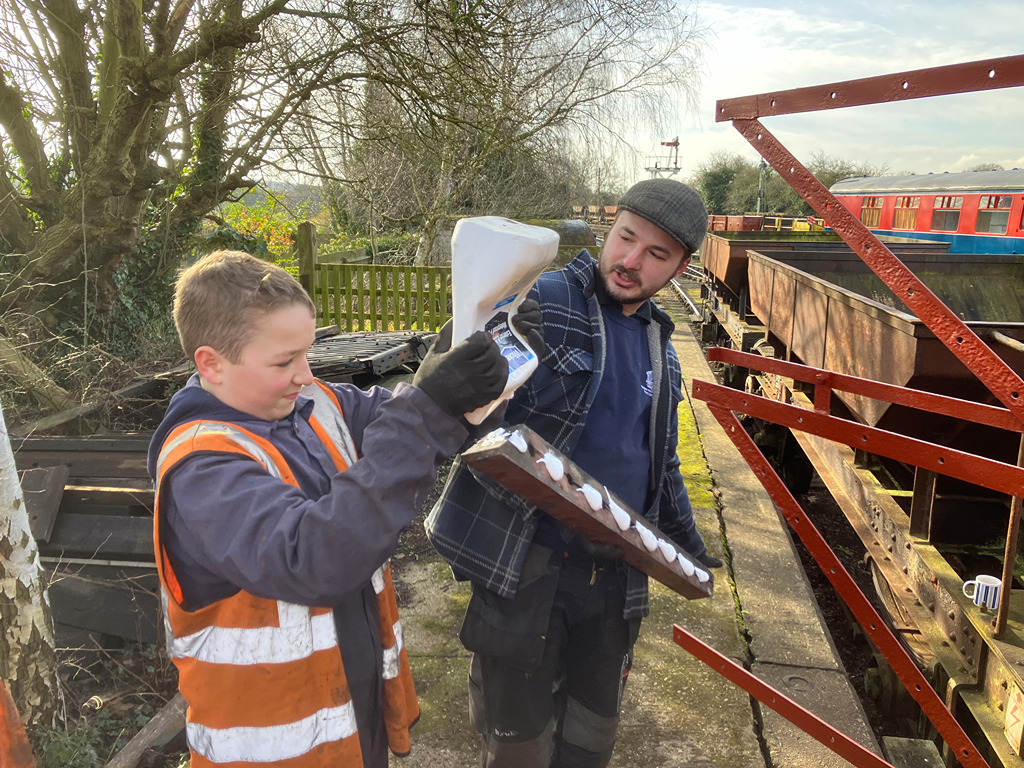
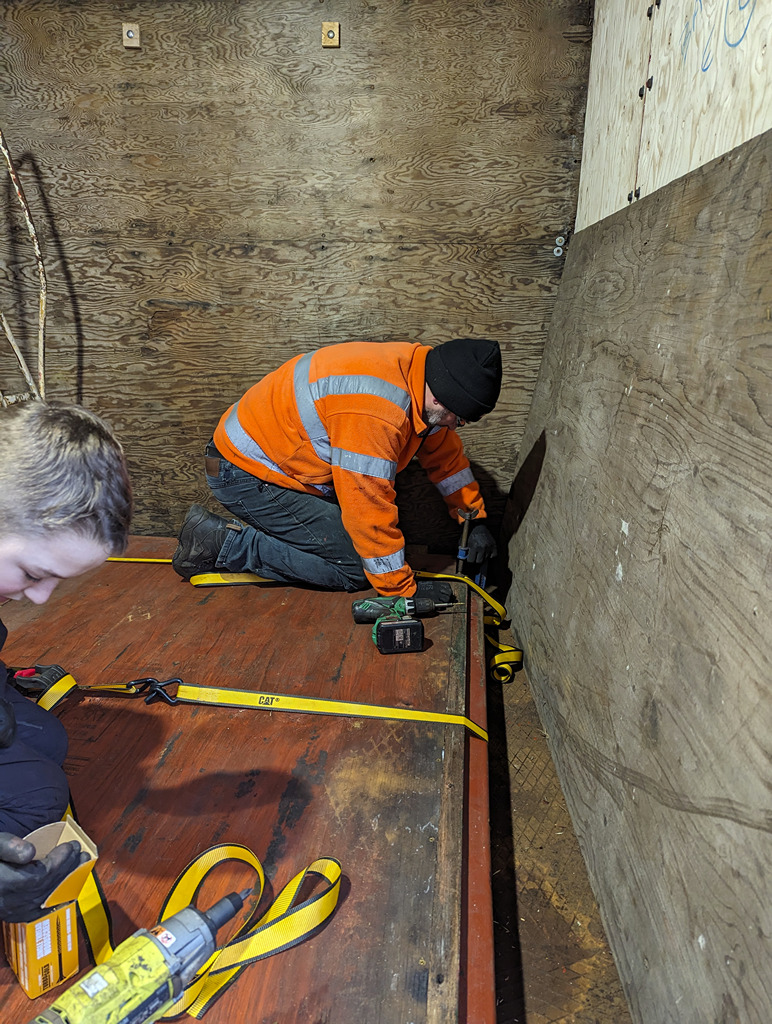
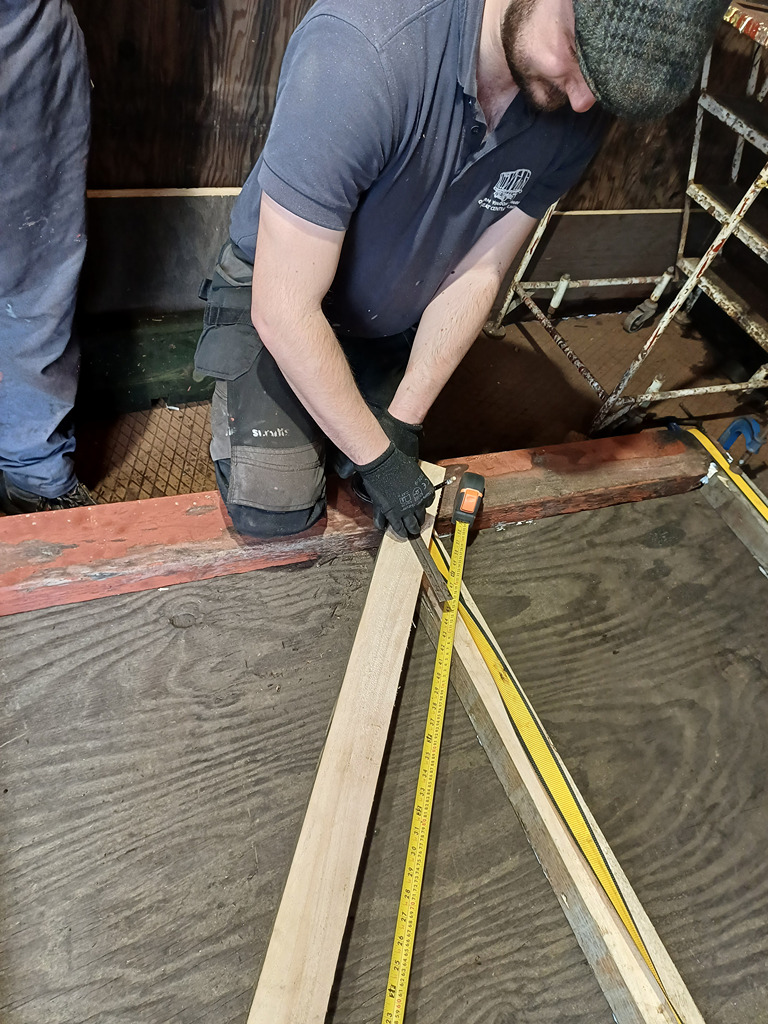
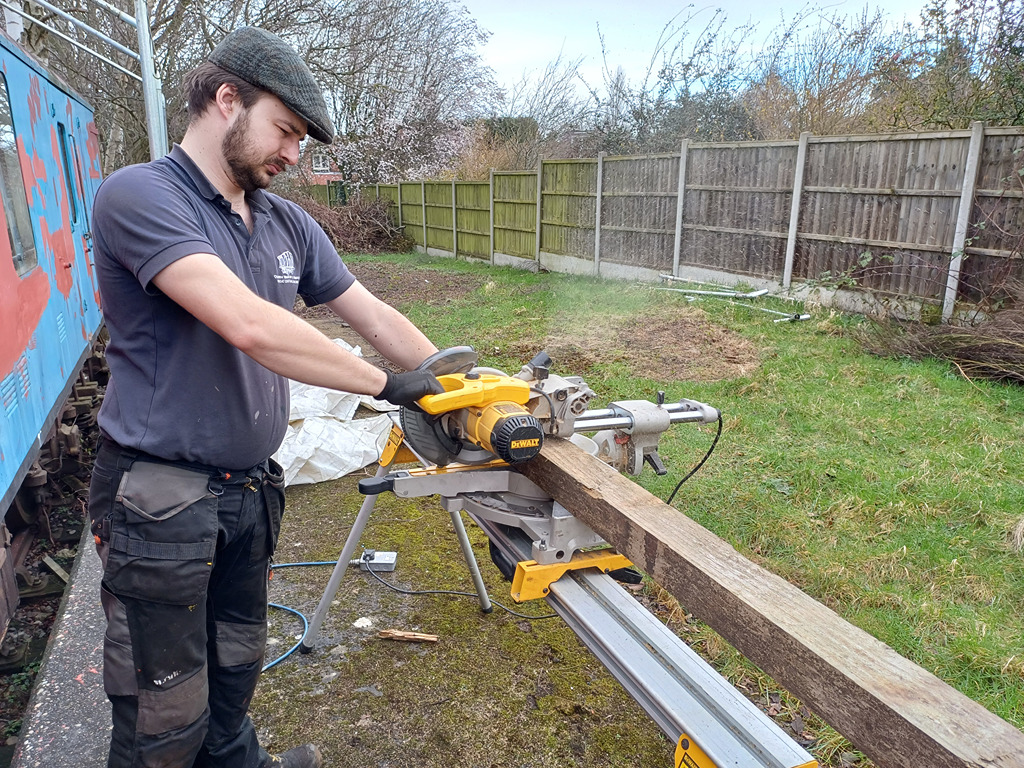
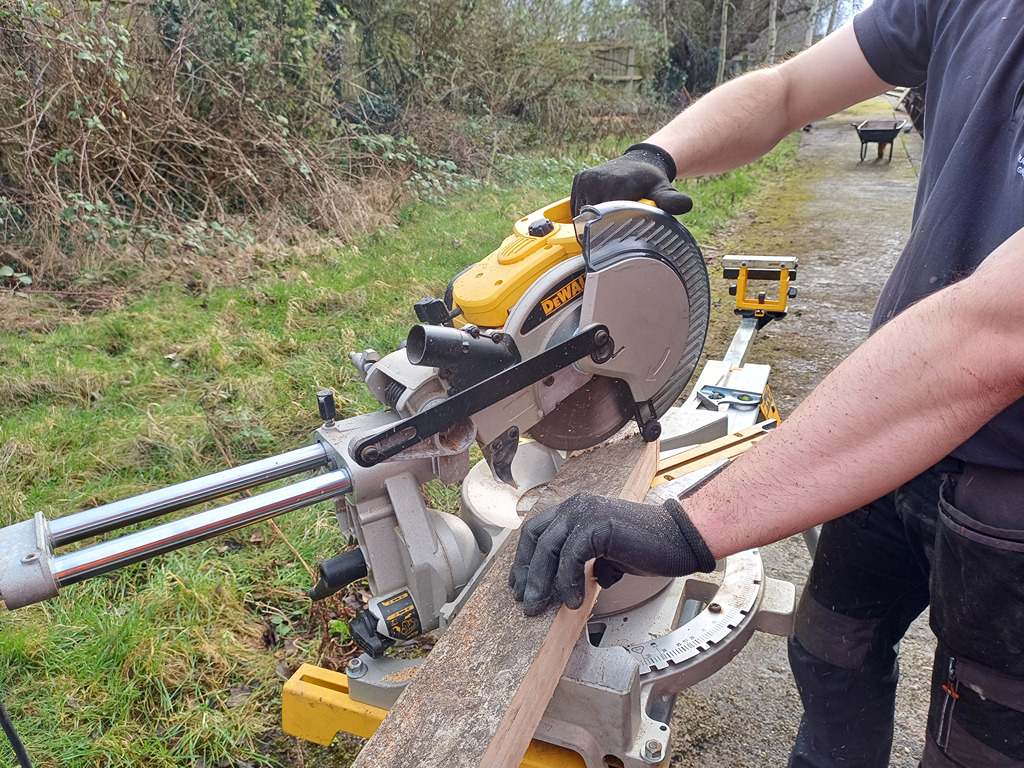
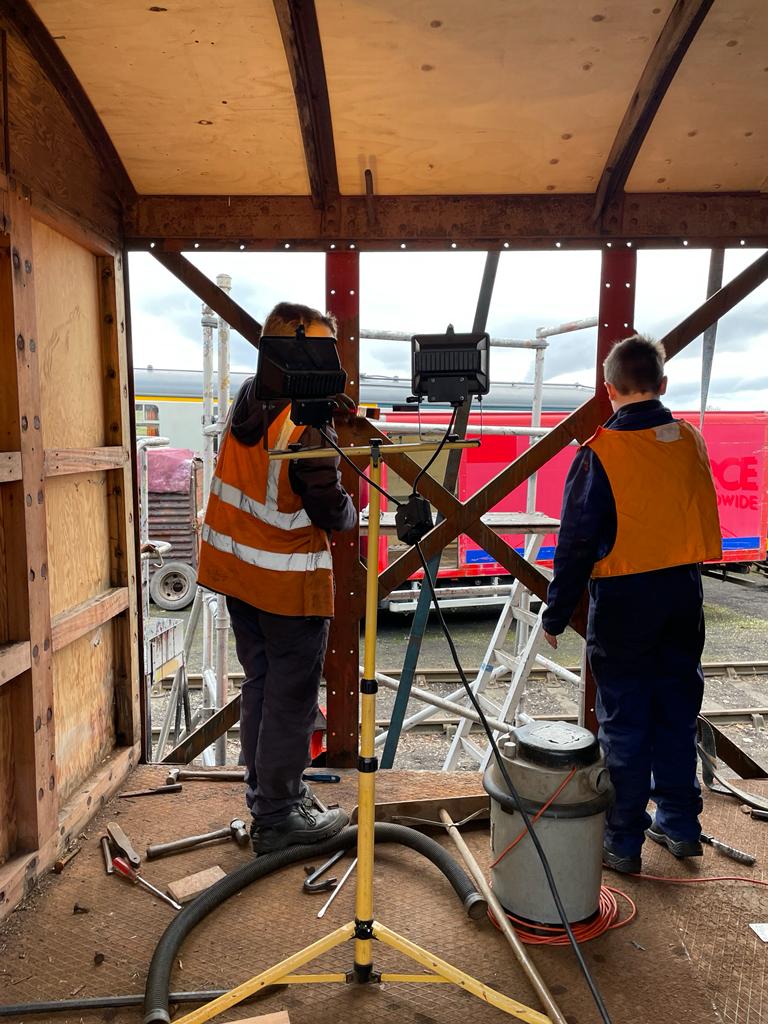
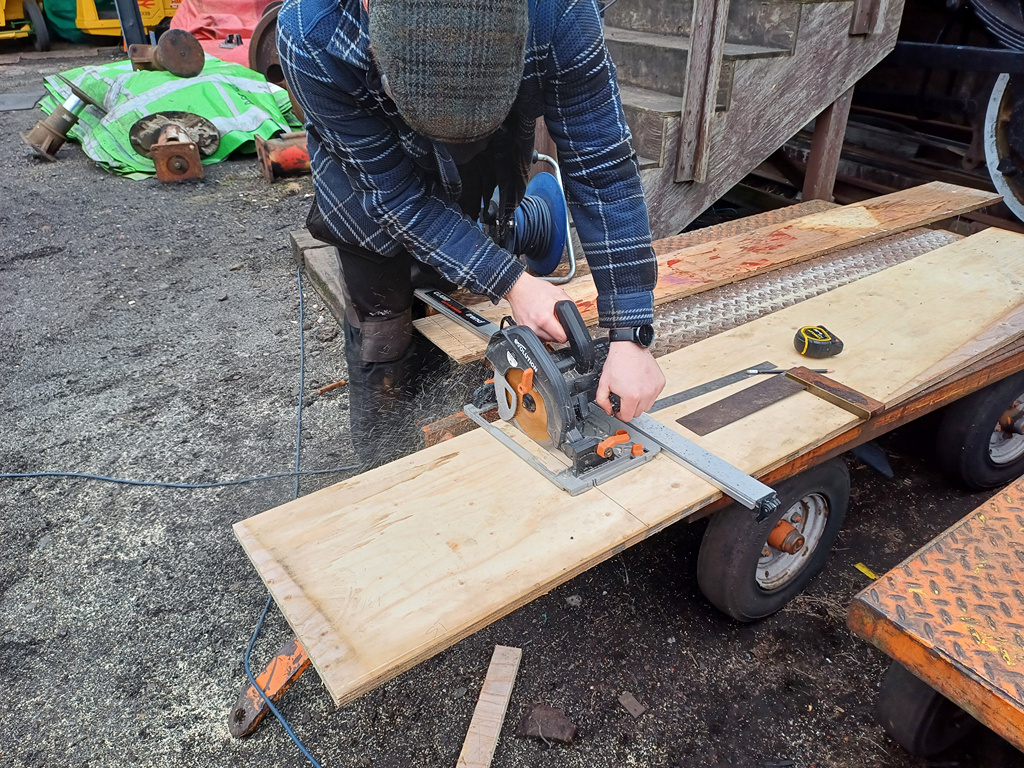
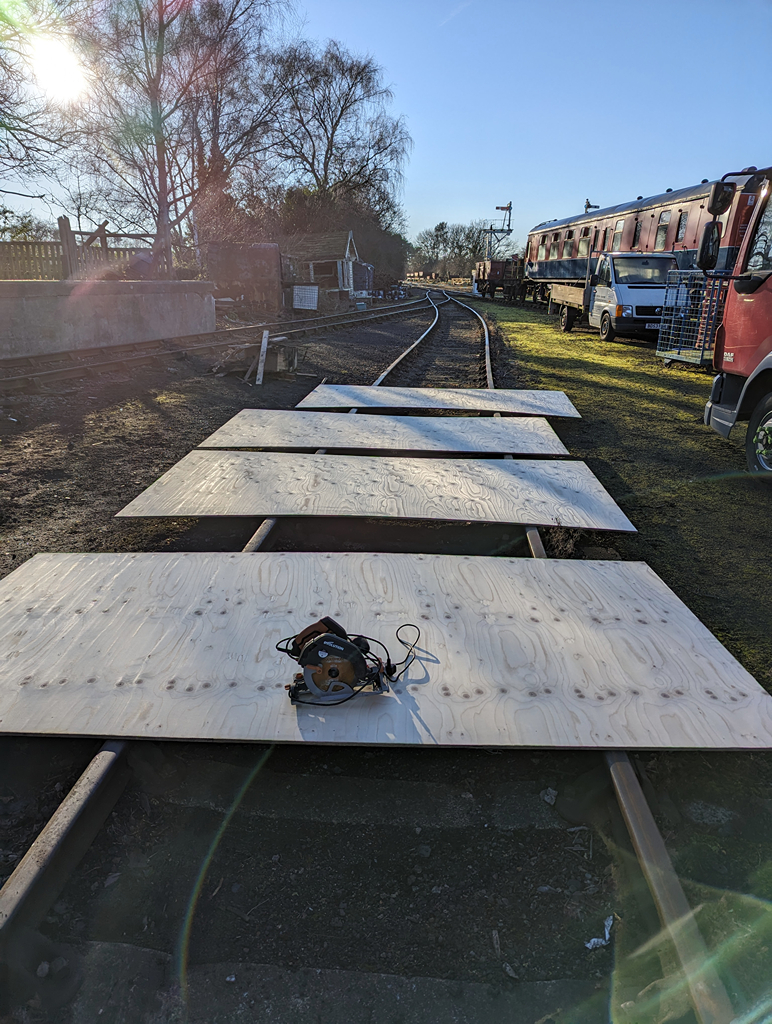
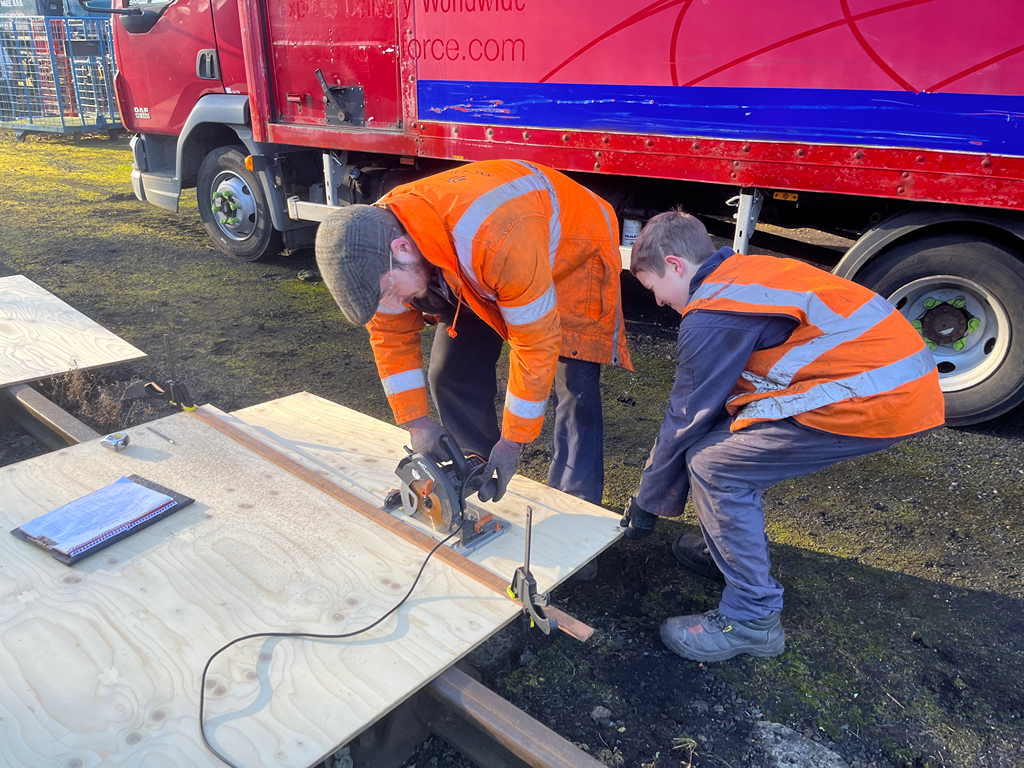
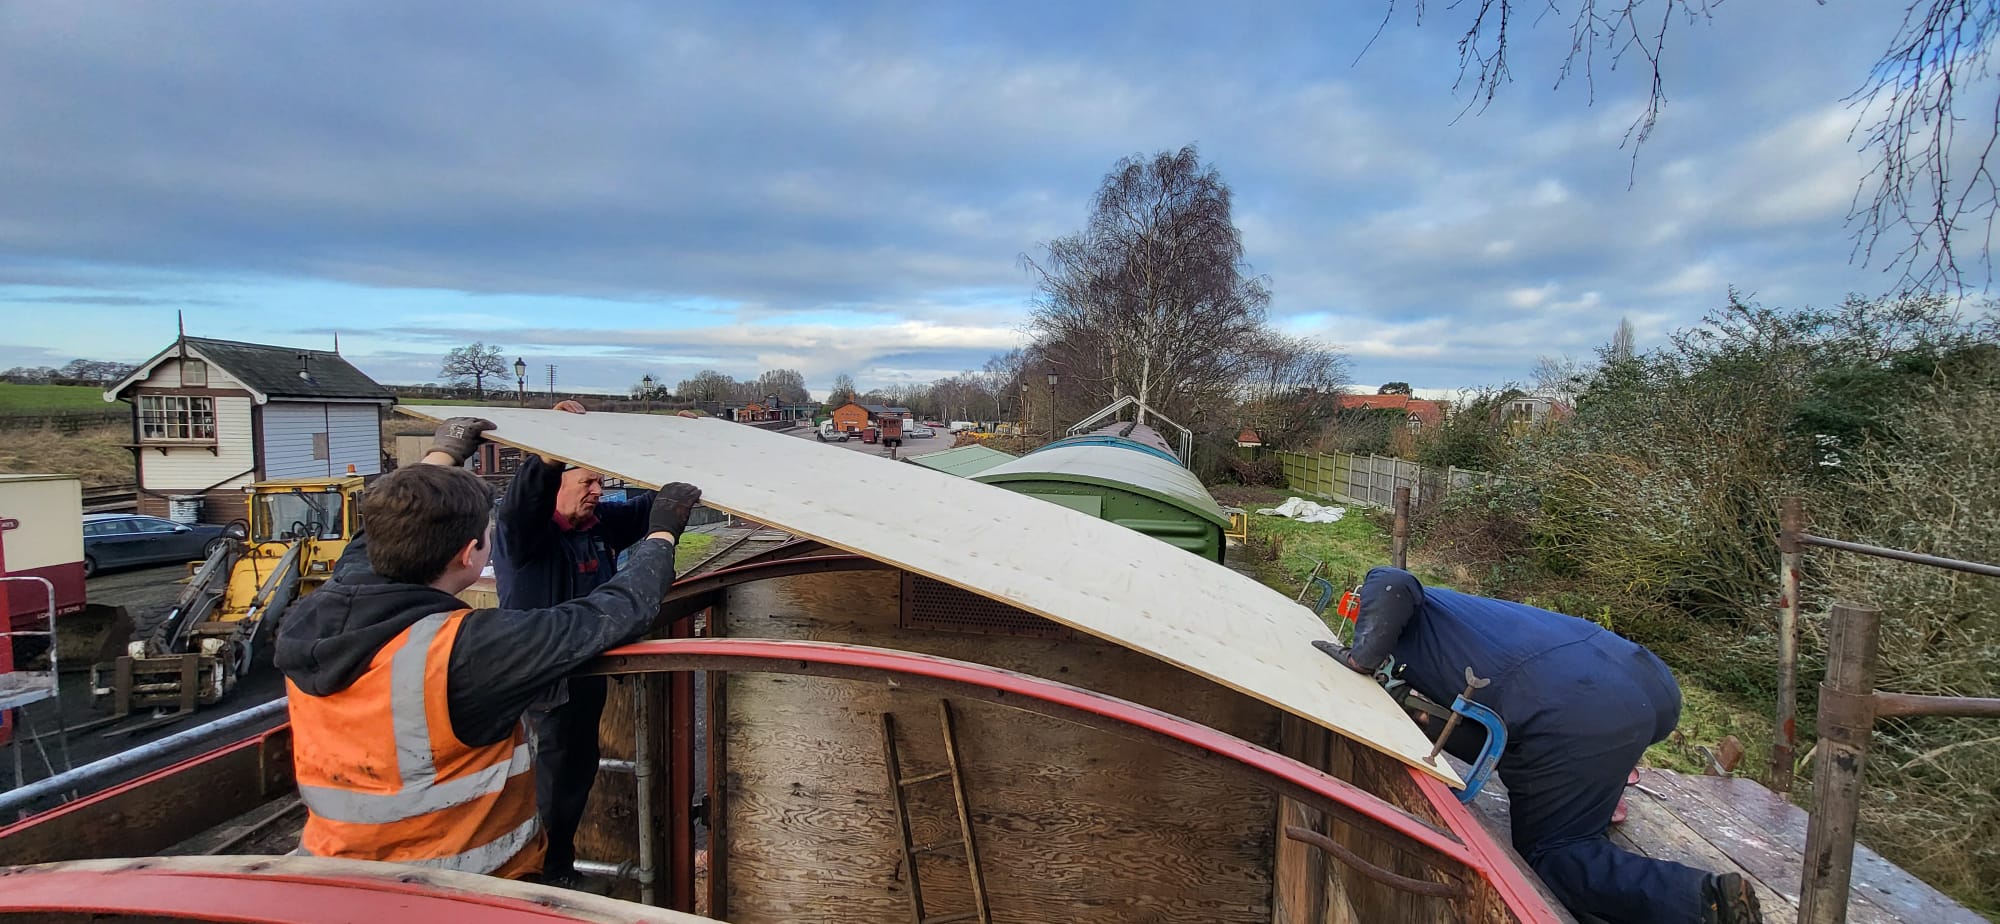
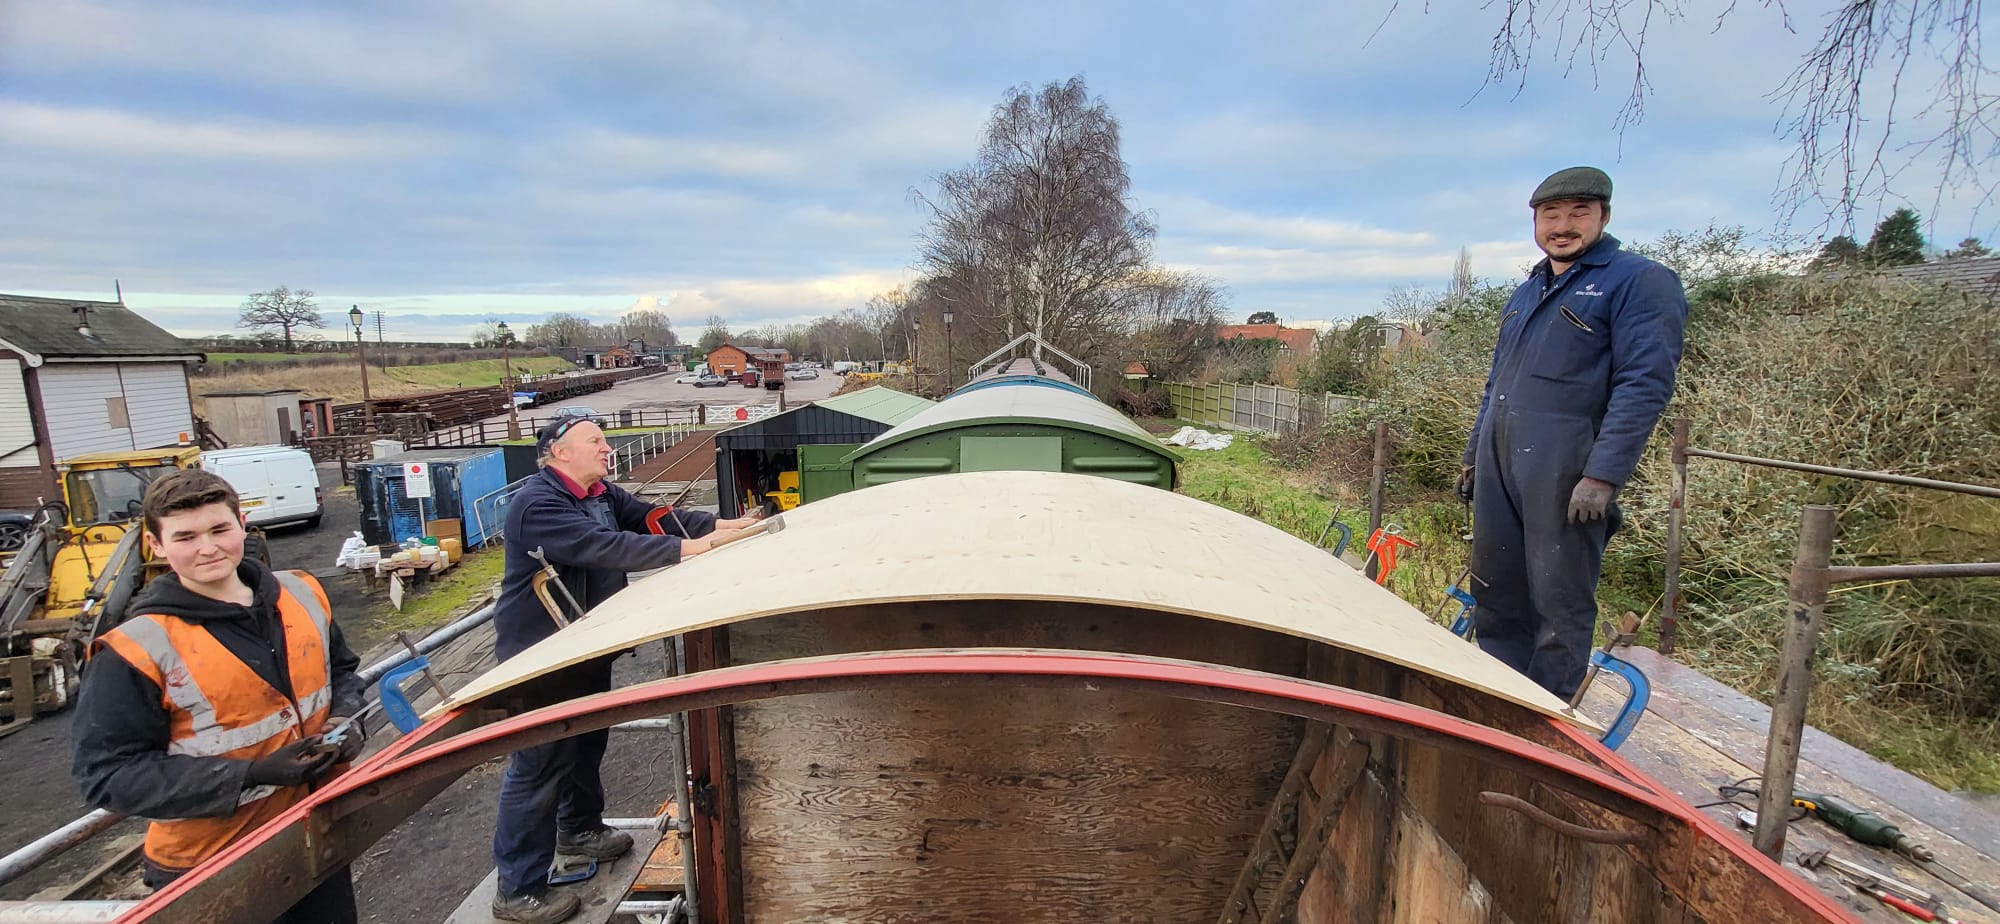
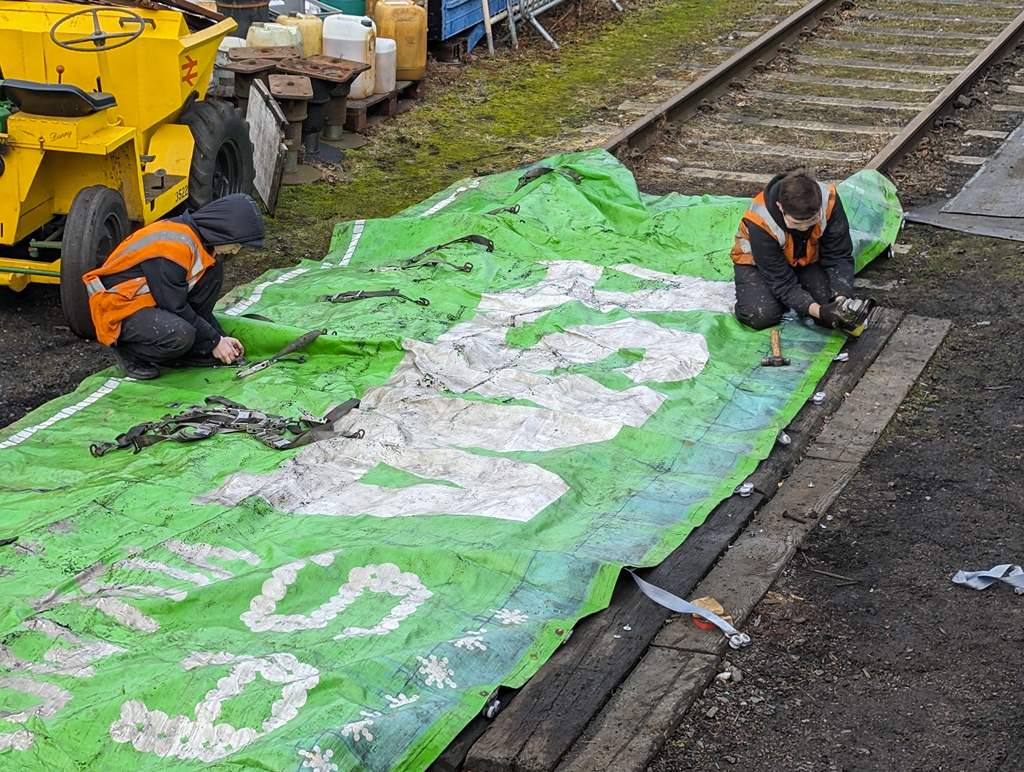
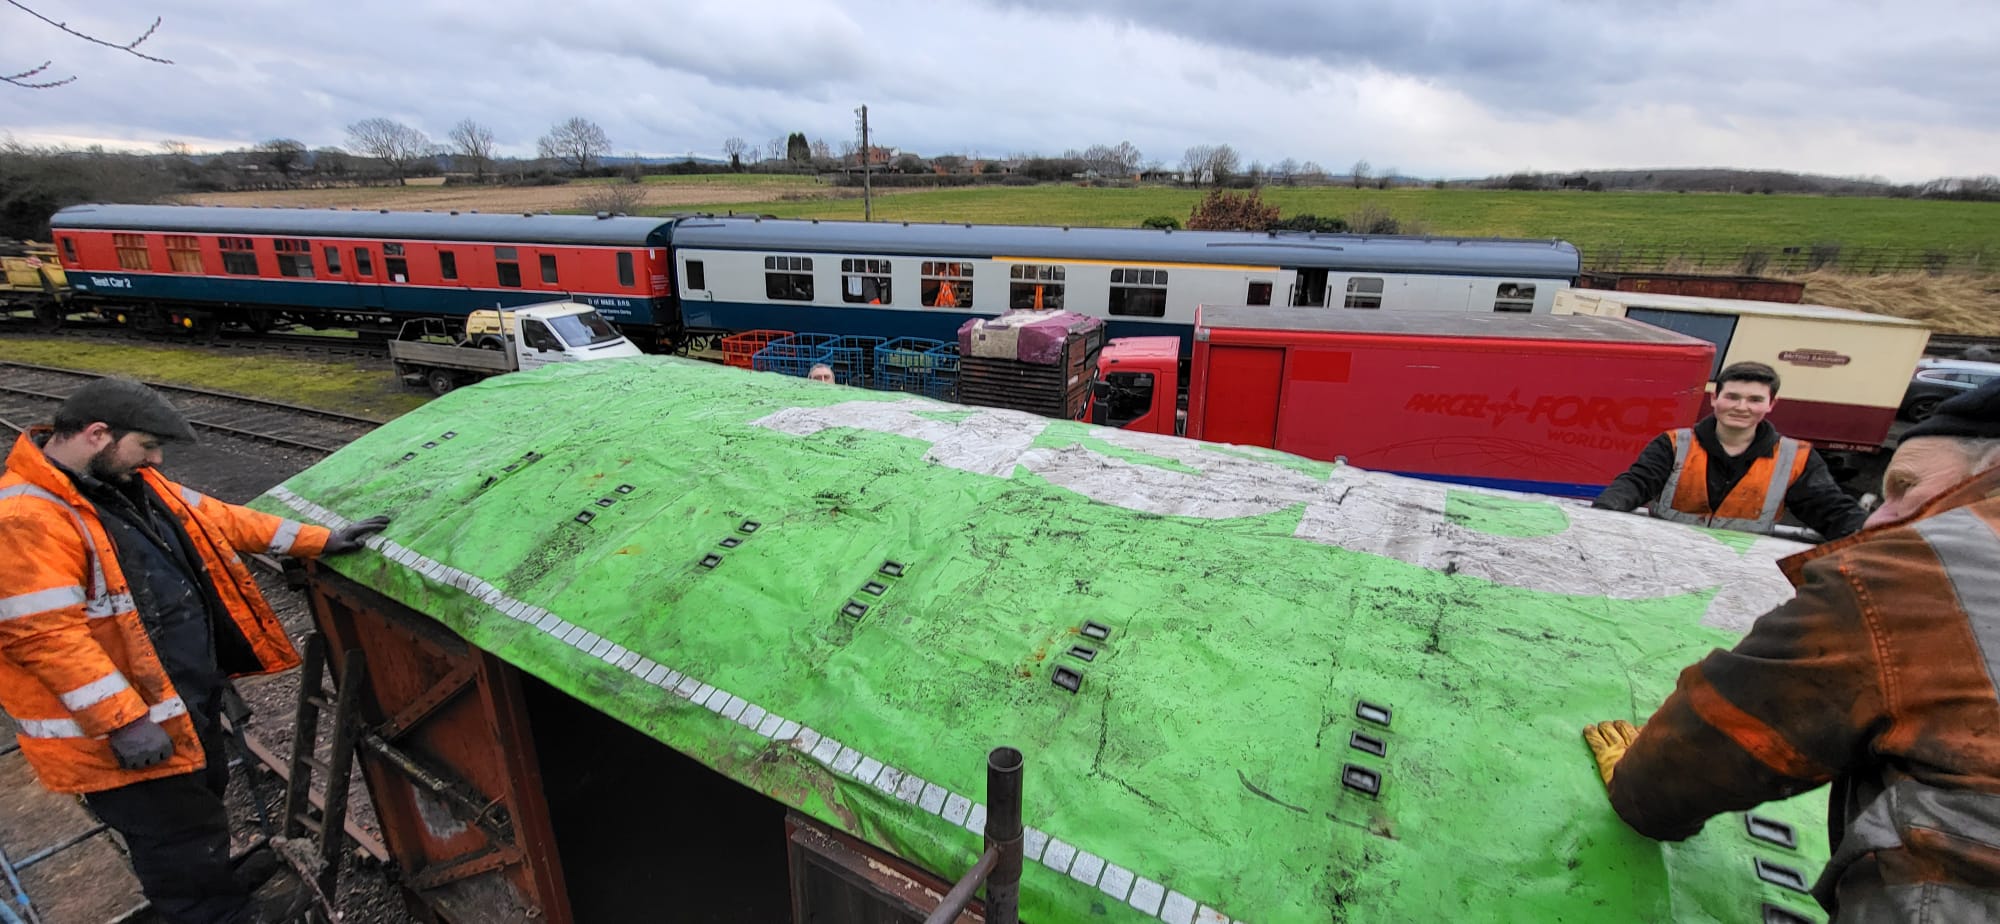
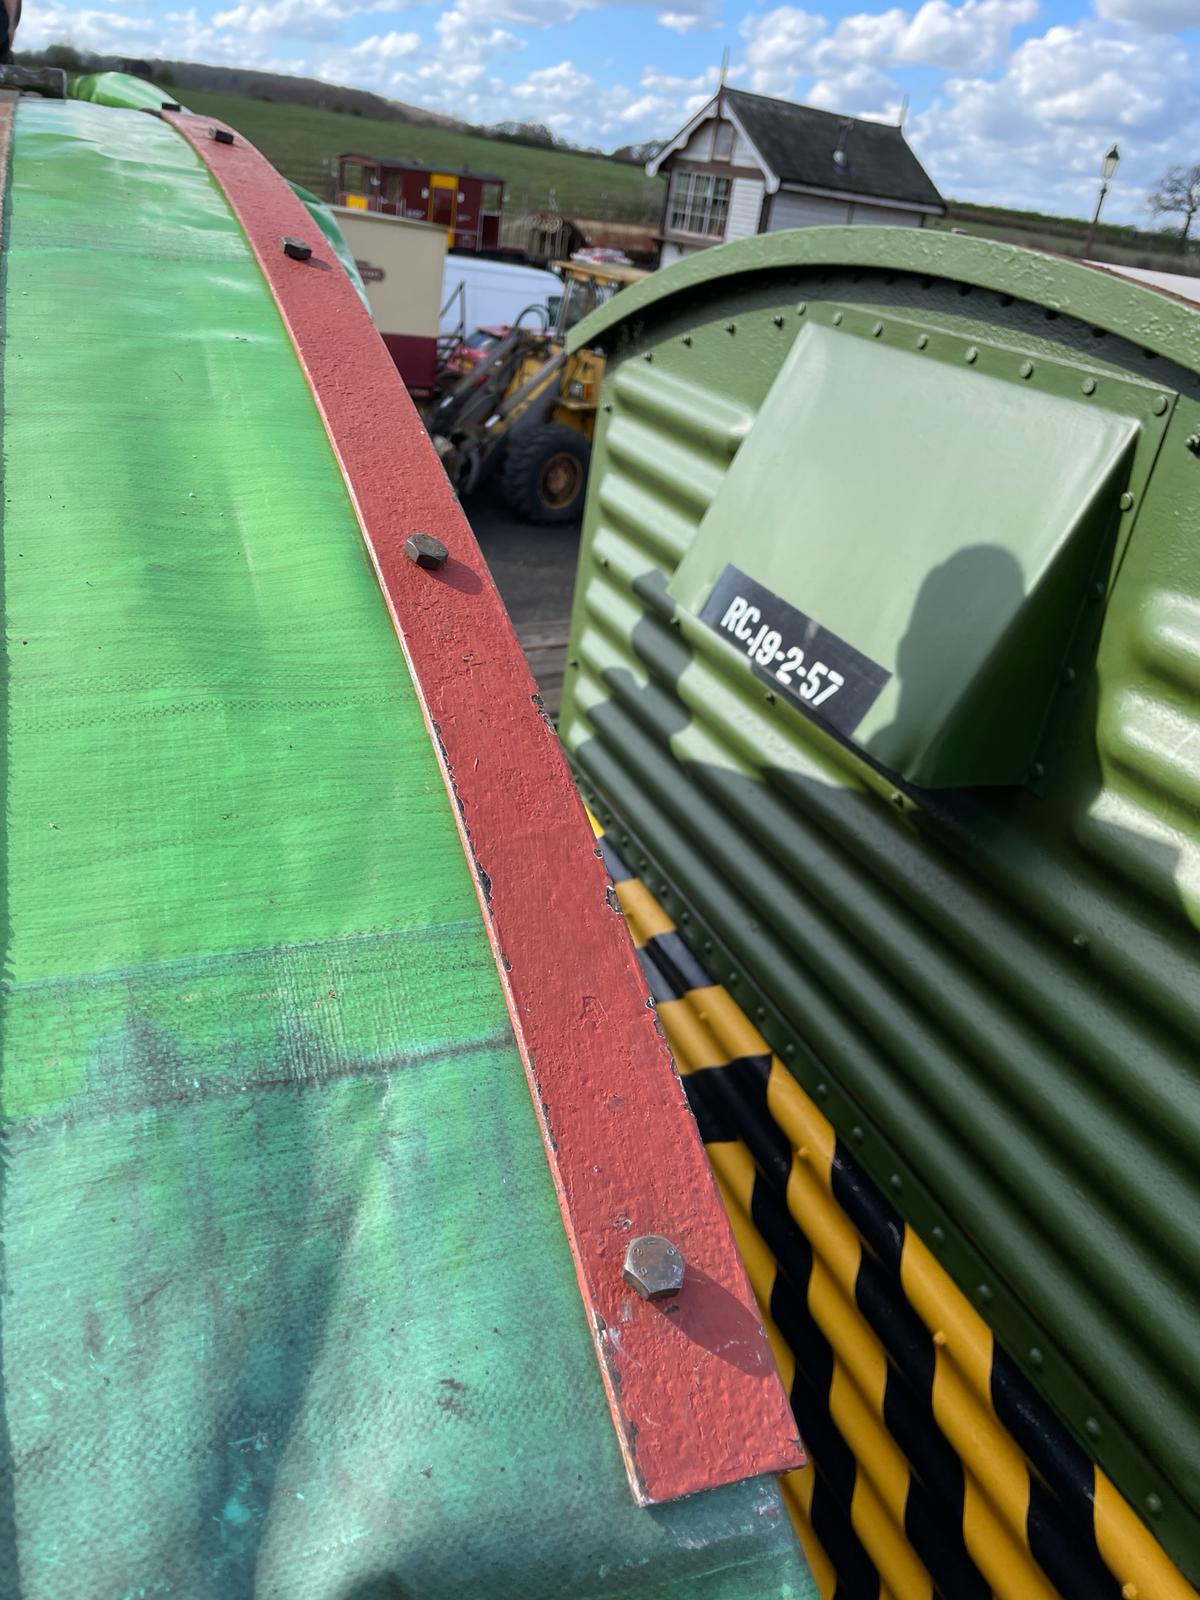
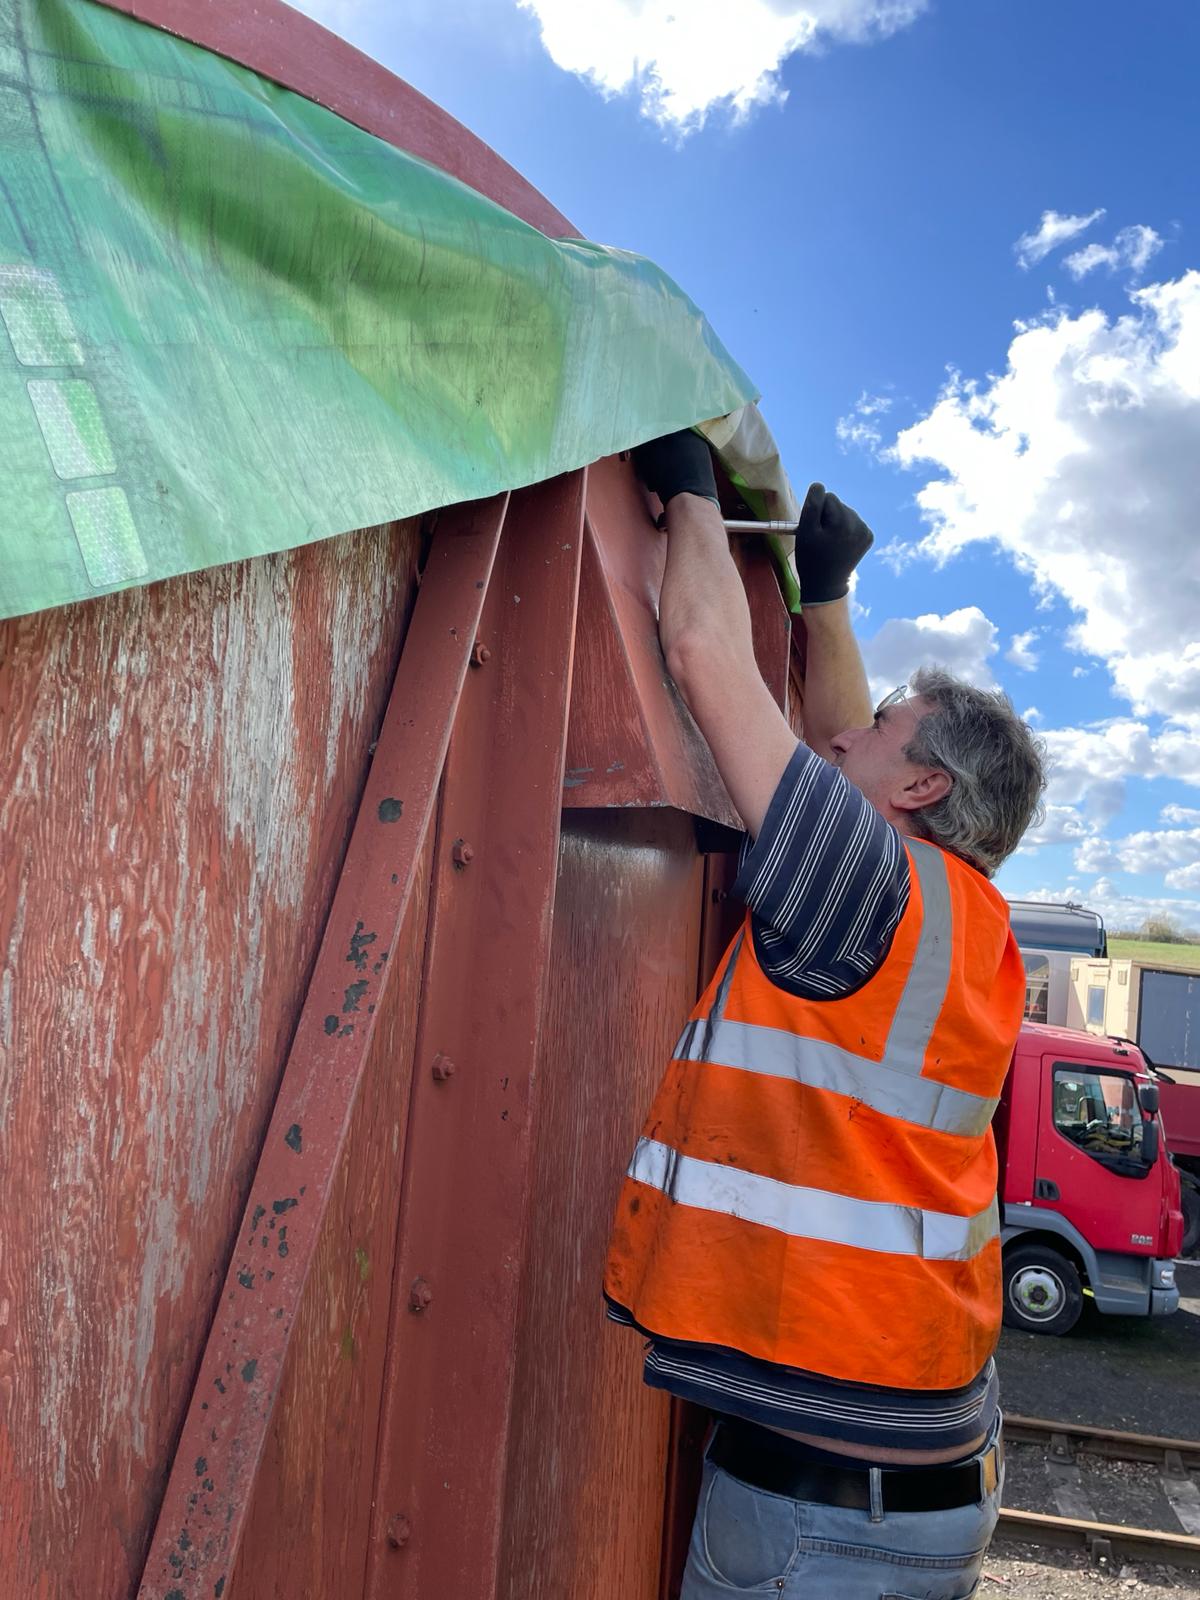
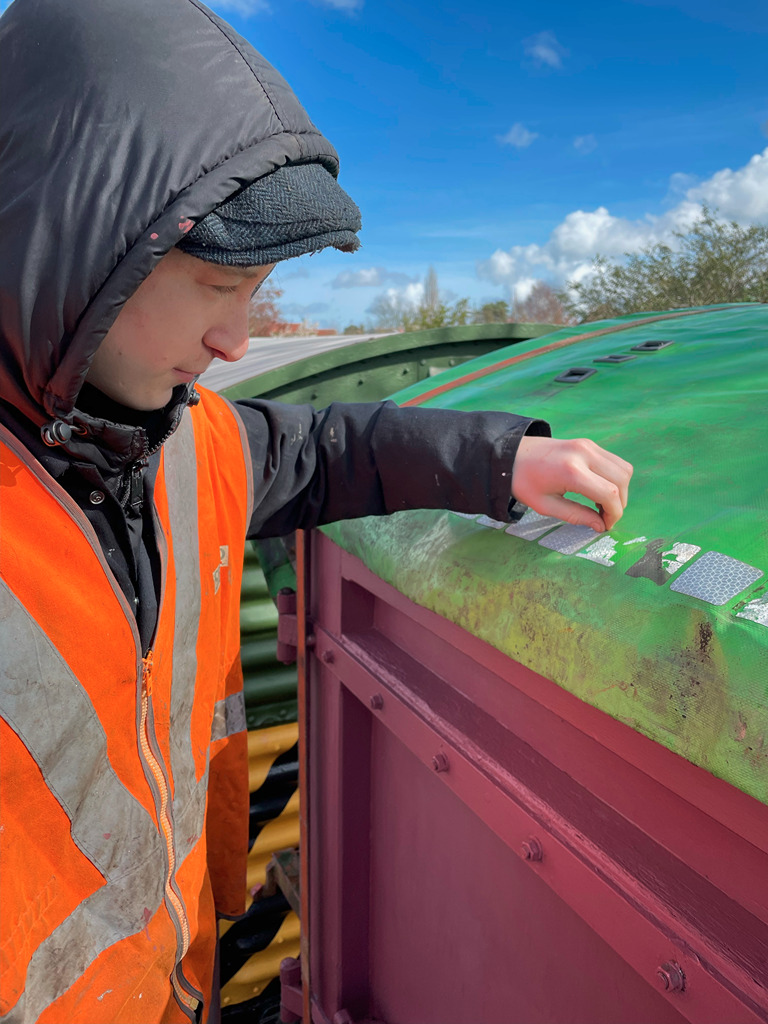
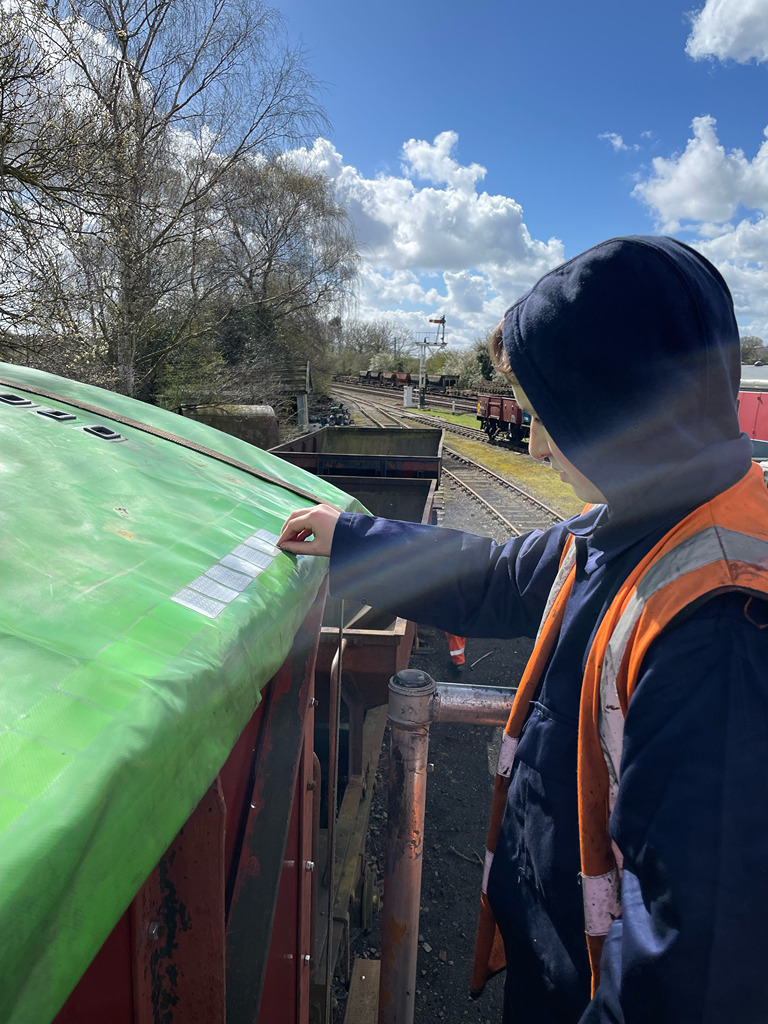
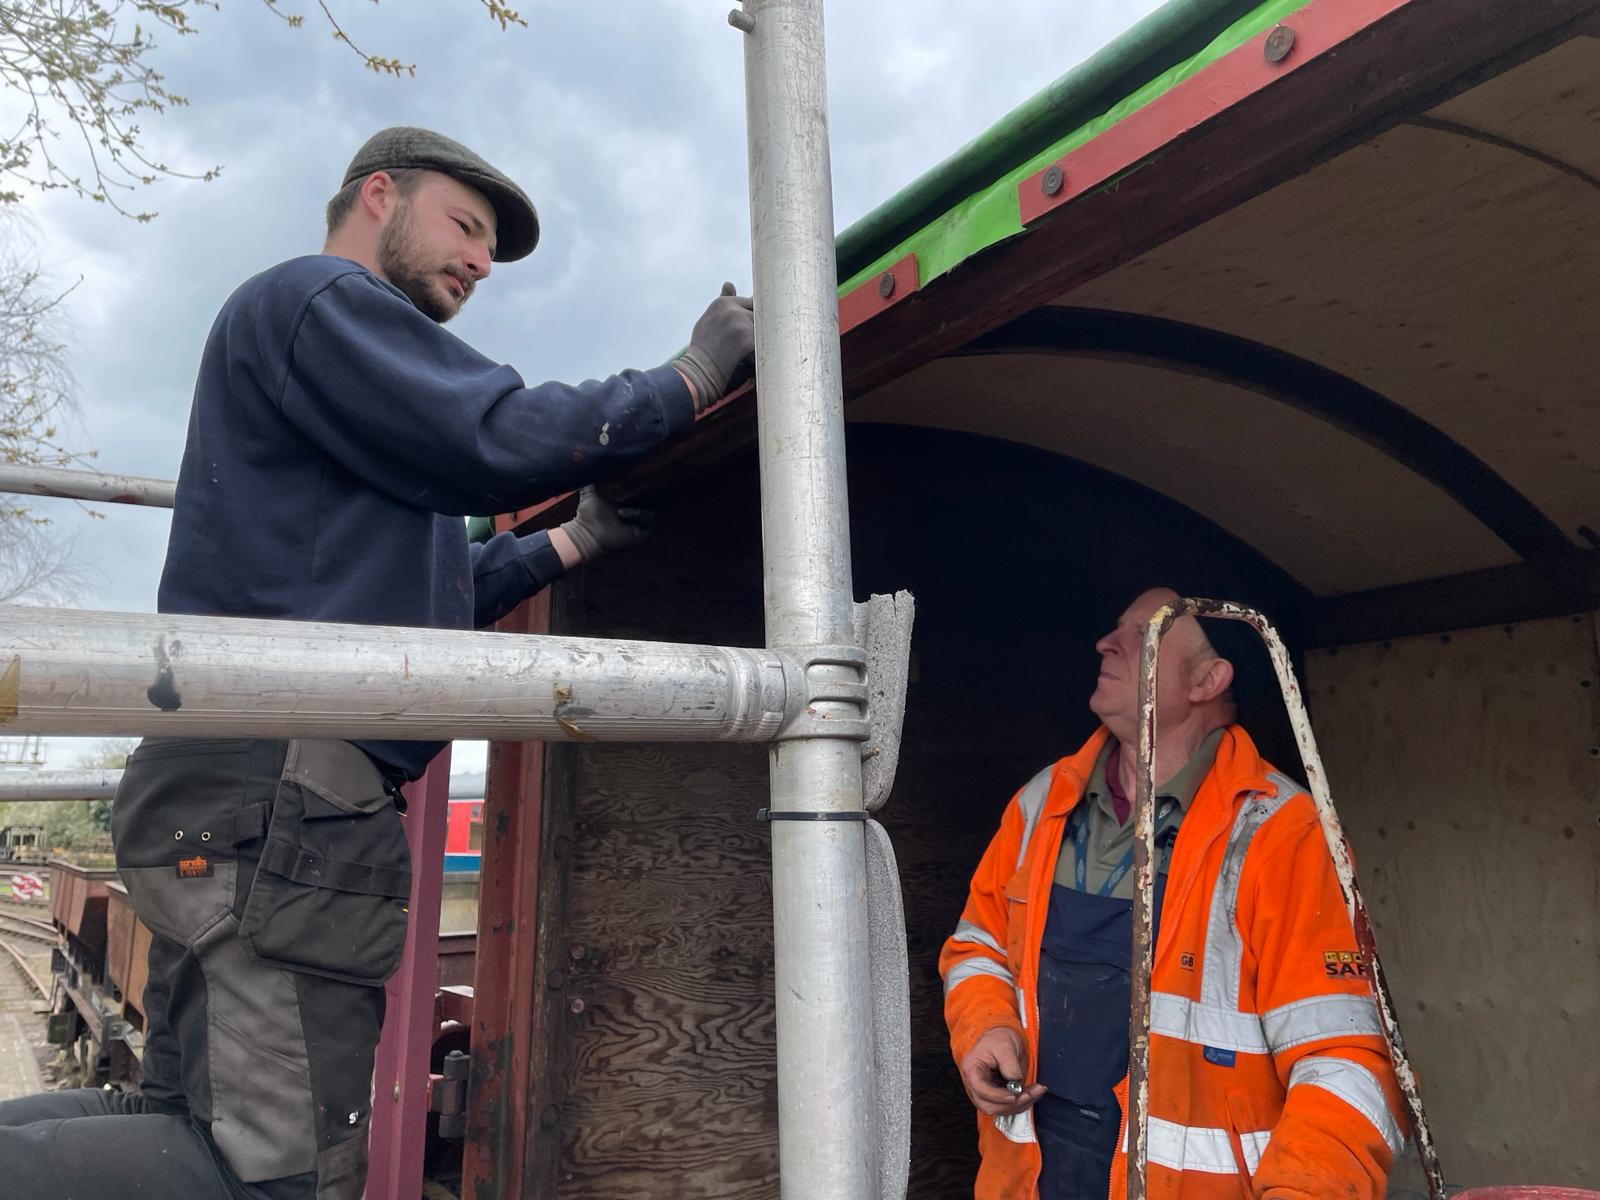
Saturday saw the team prepare the roof for the roof covering to be finally attached. some of the wood required fettling so the end hoops sit on the van correctly. The roof sheet was drilling using the hoop as a guide. This was then bolted down. Oliver and Dan spent some time removing the reflective stickers from the sheet’s previous life.
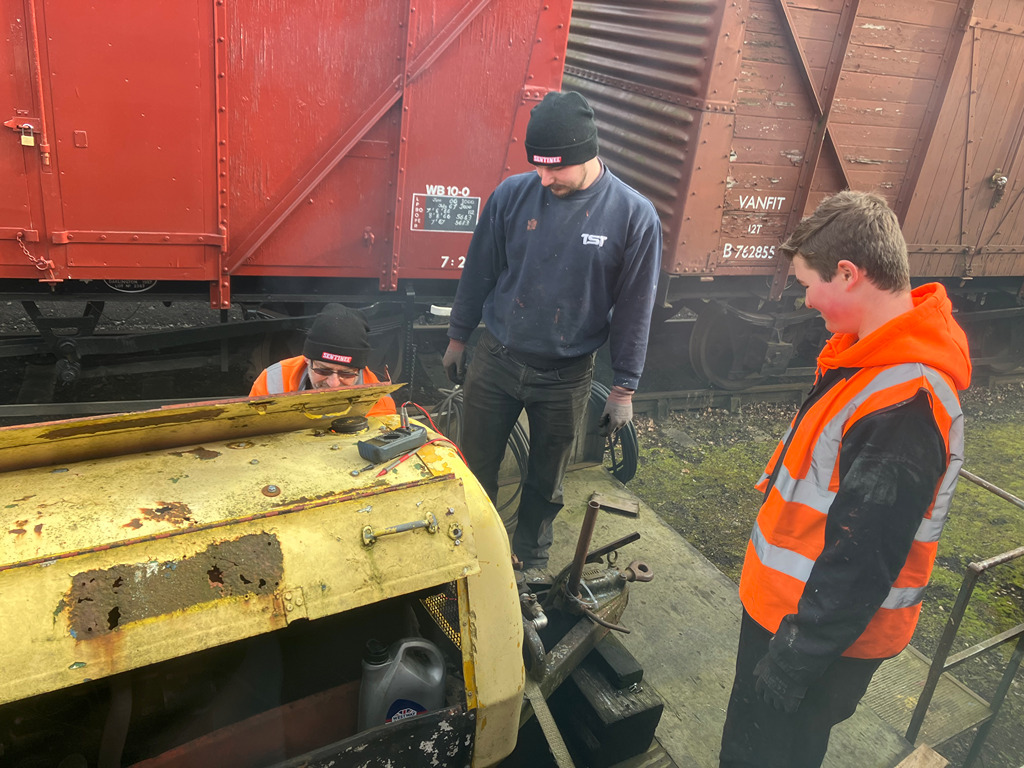
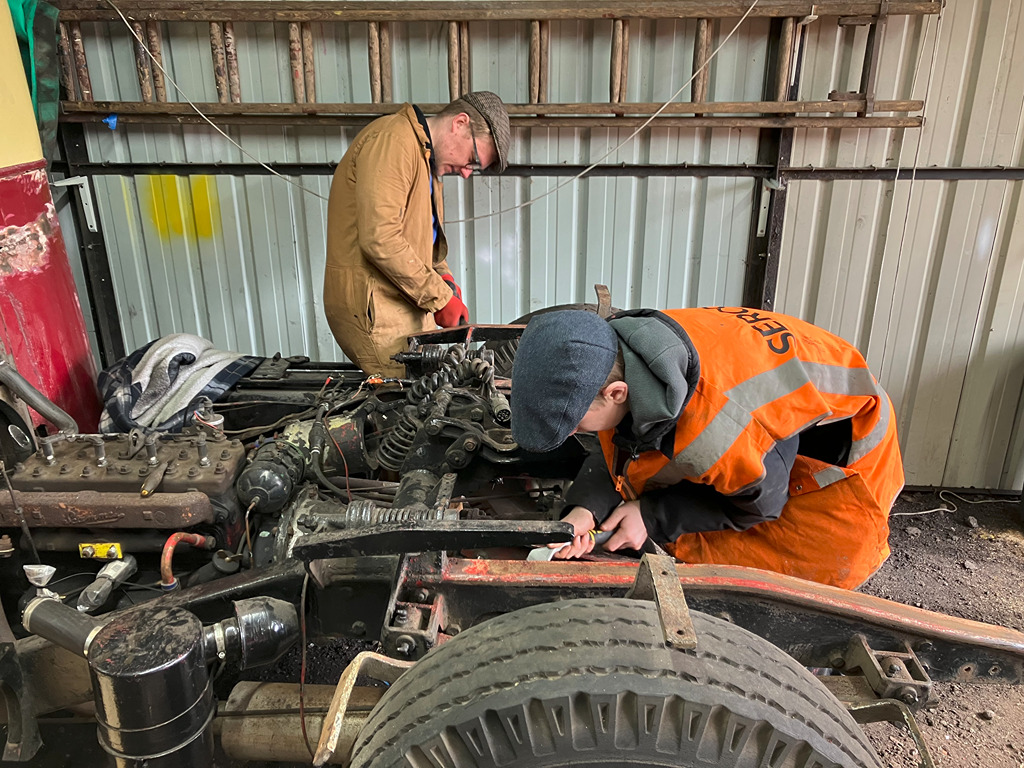
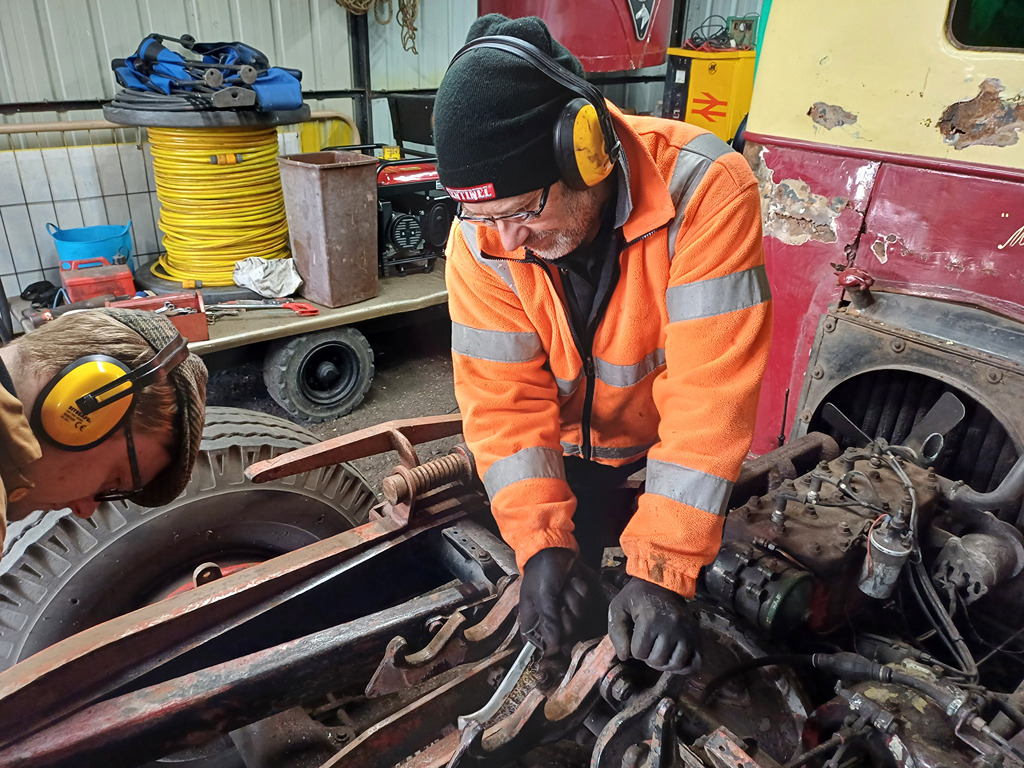
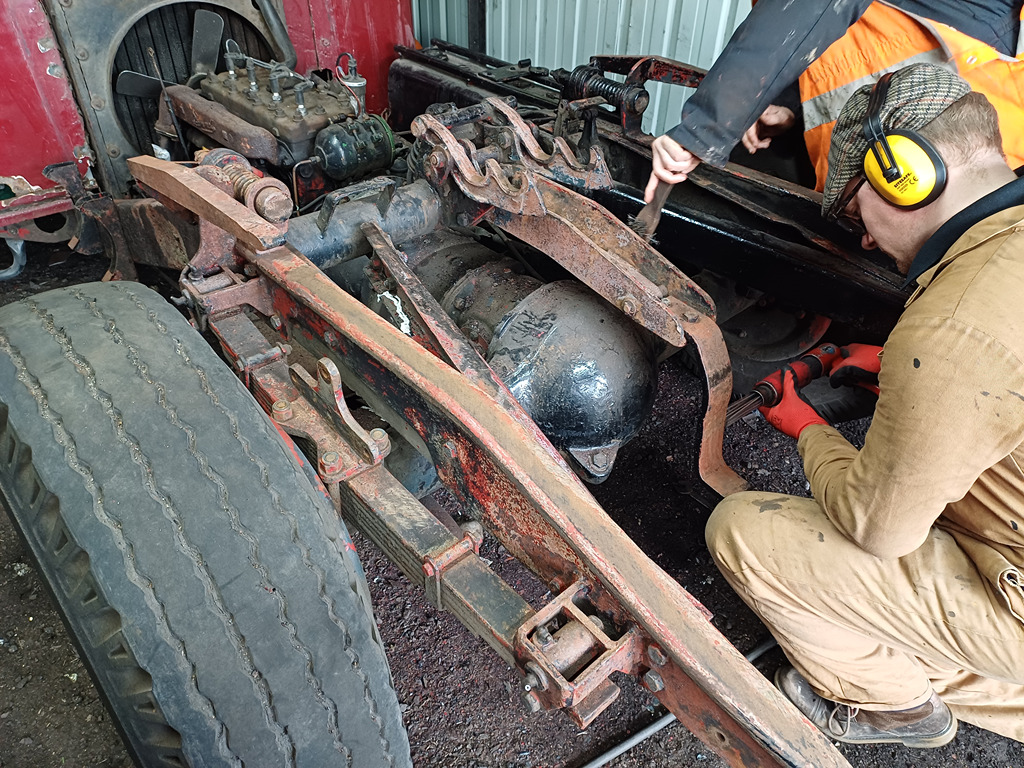
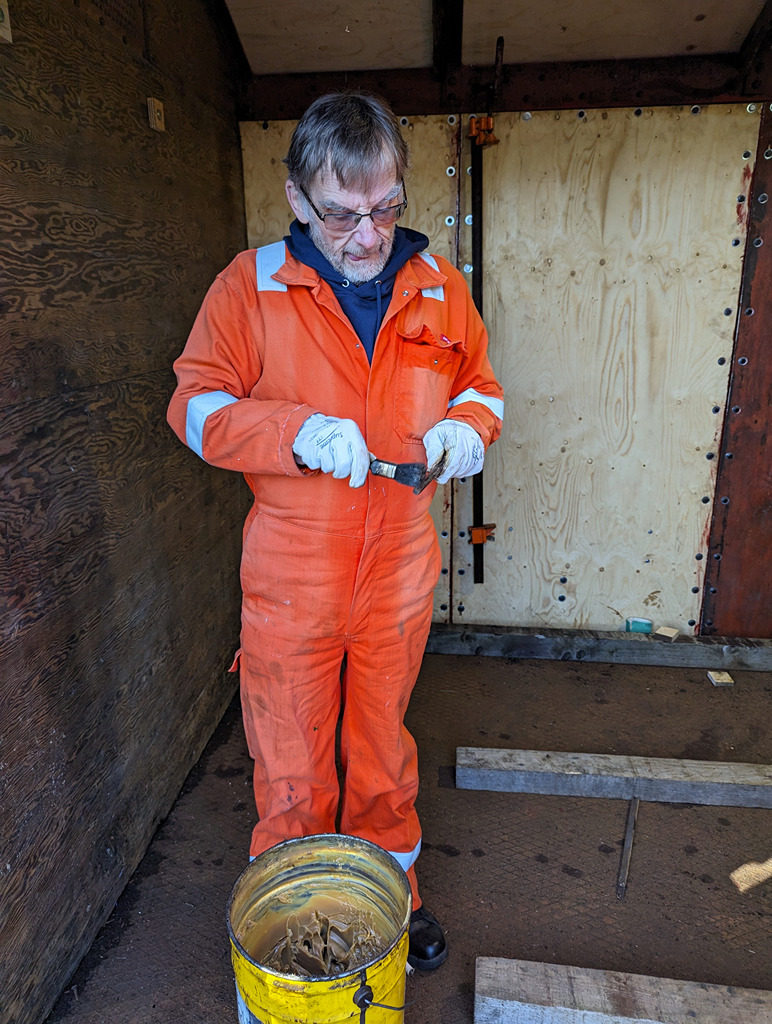
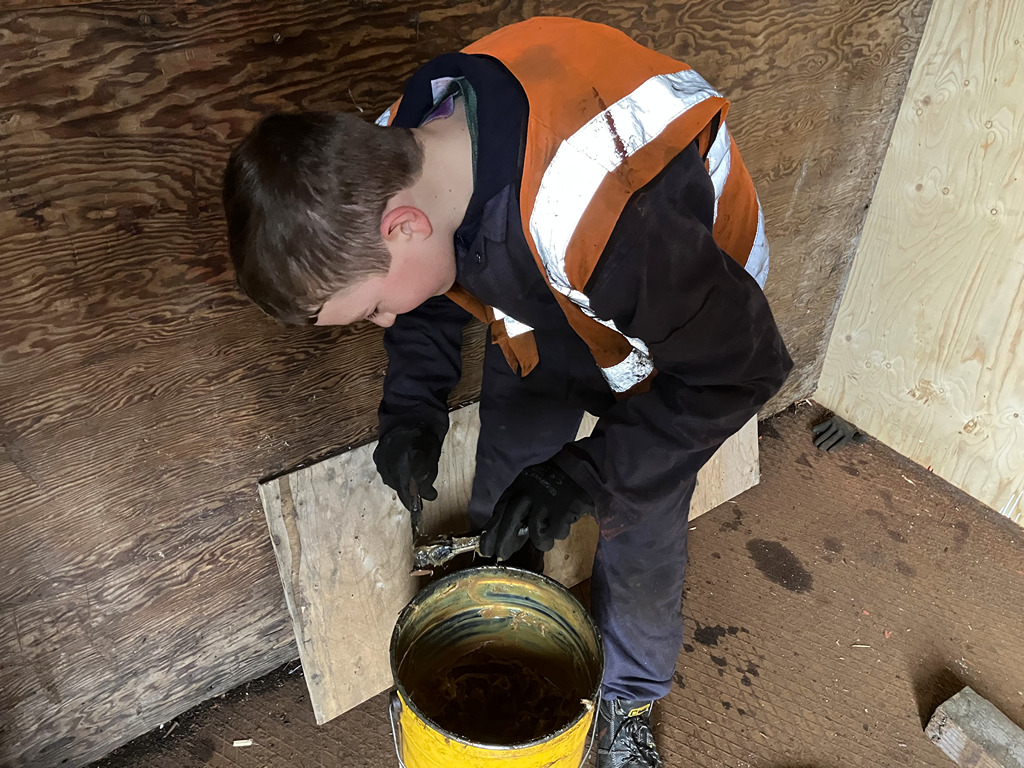
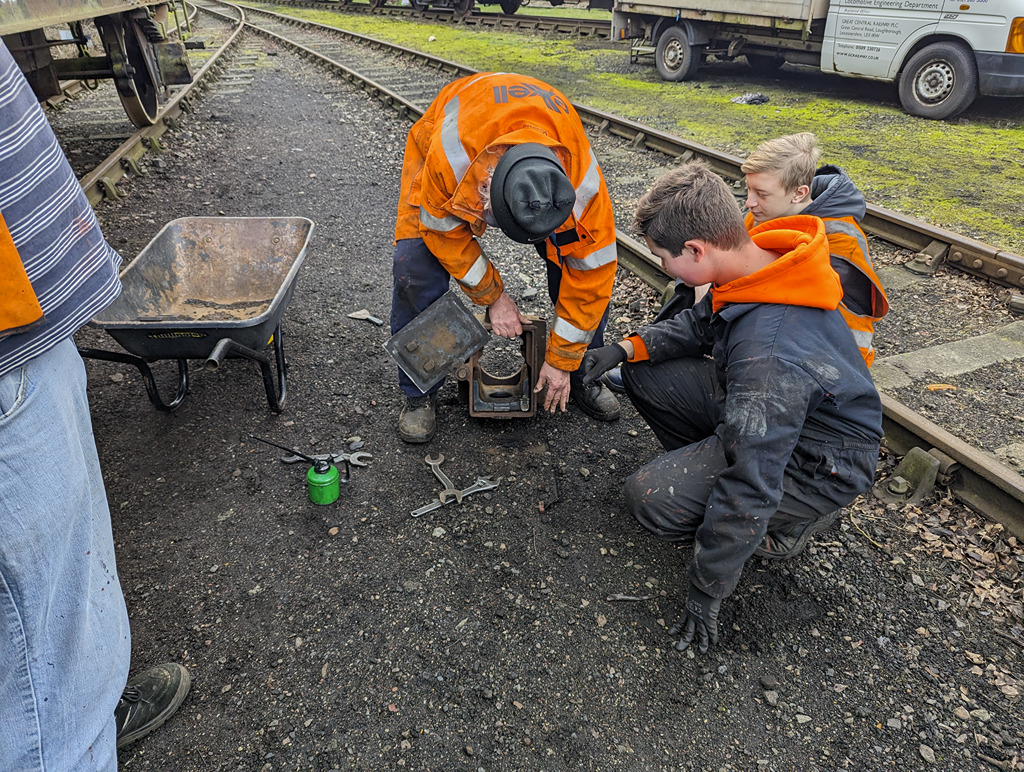
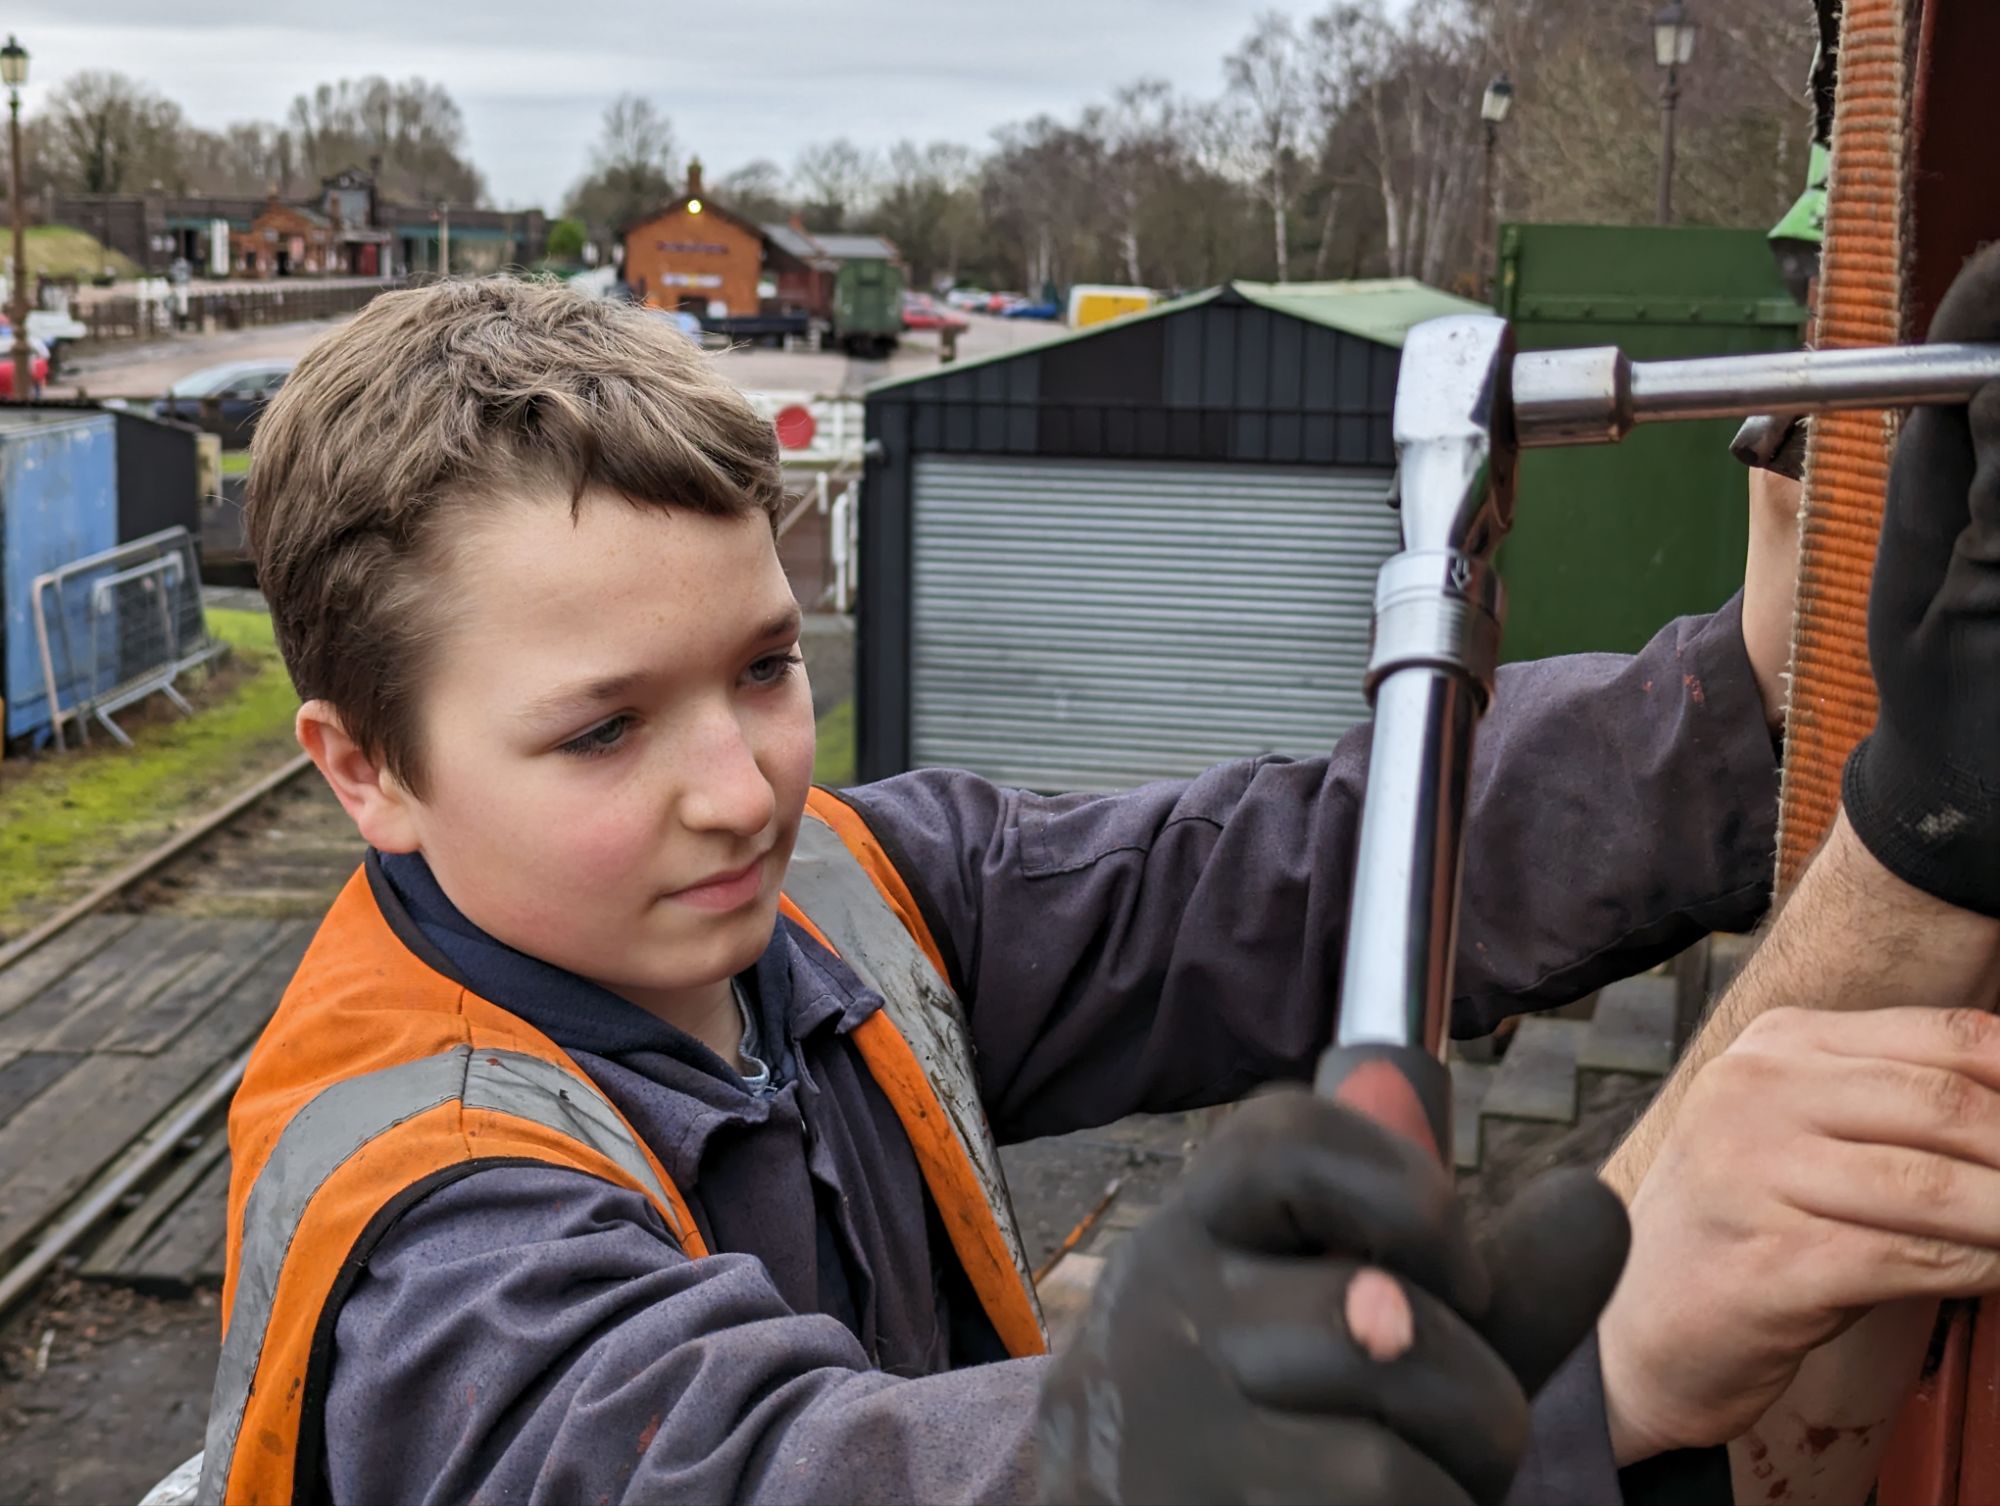
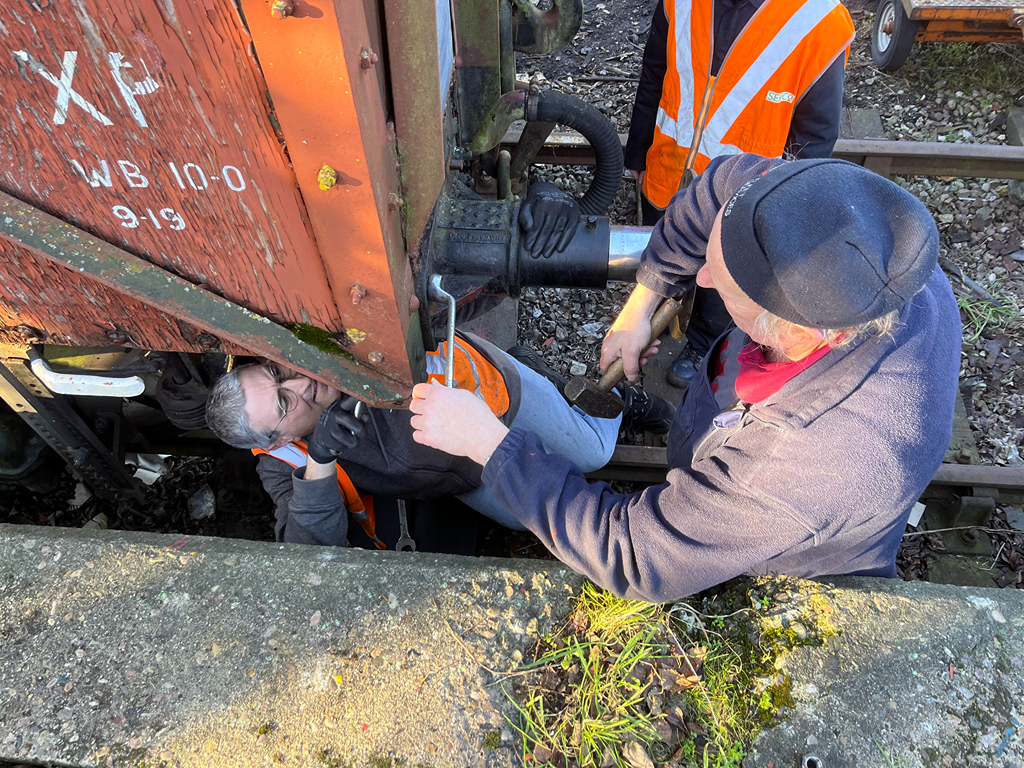
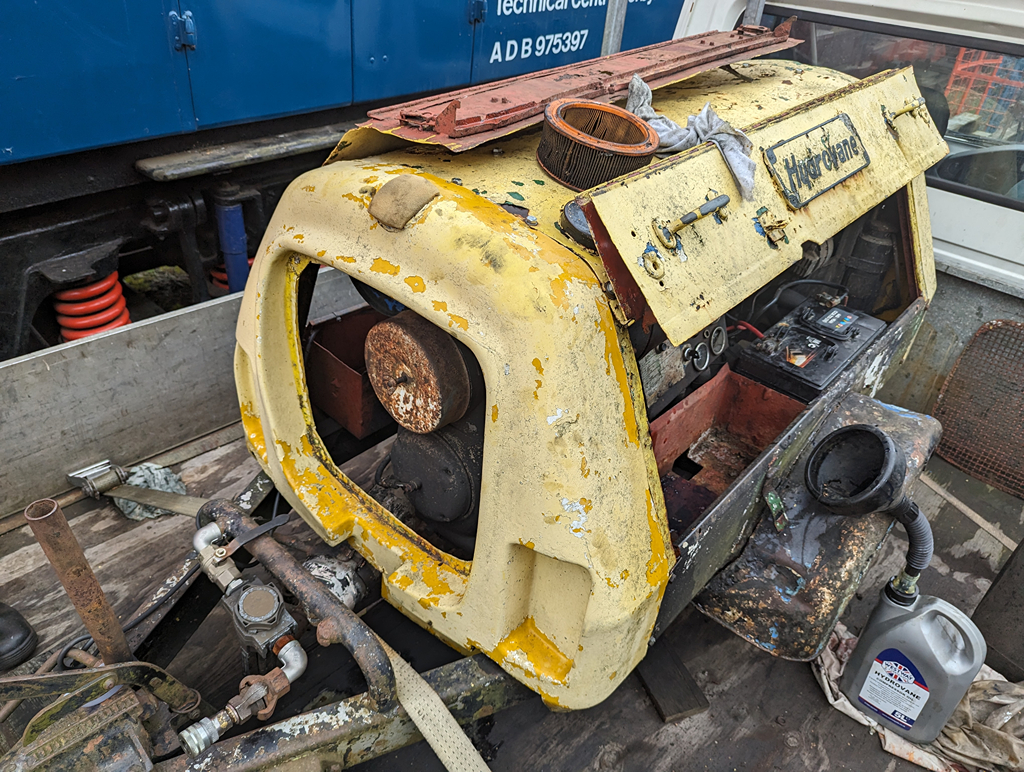
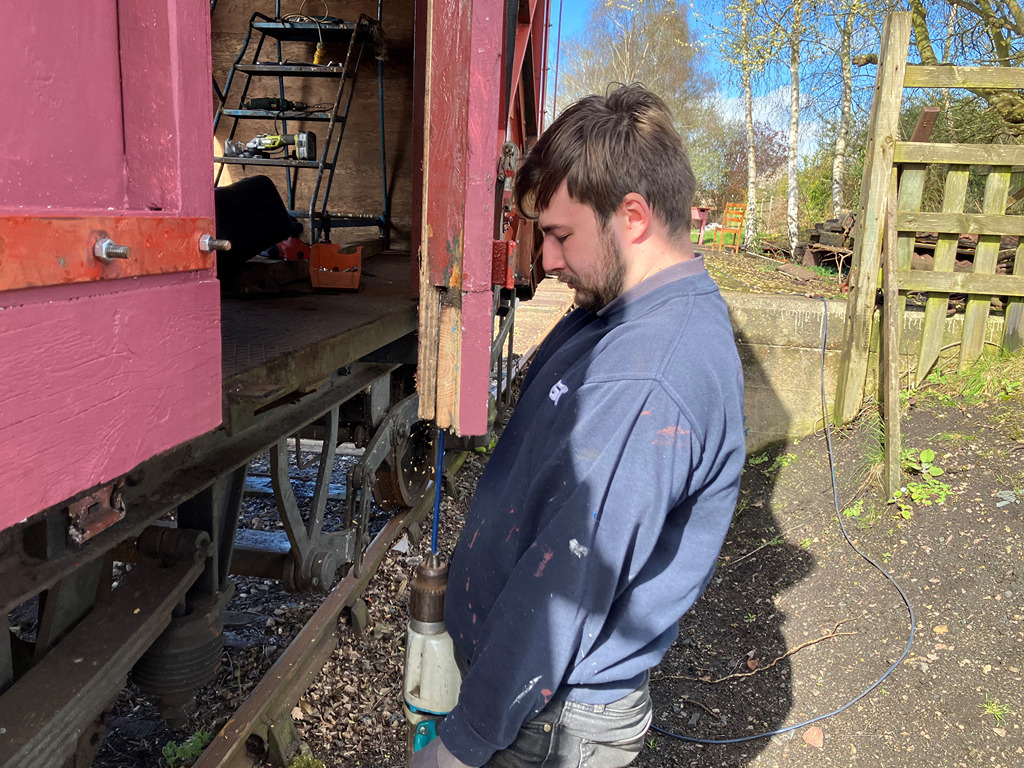
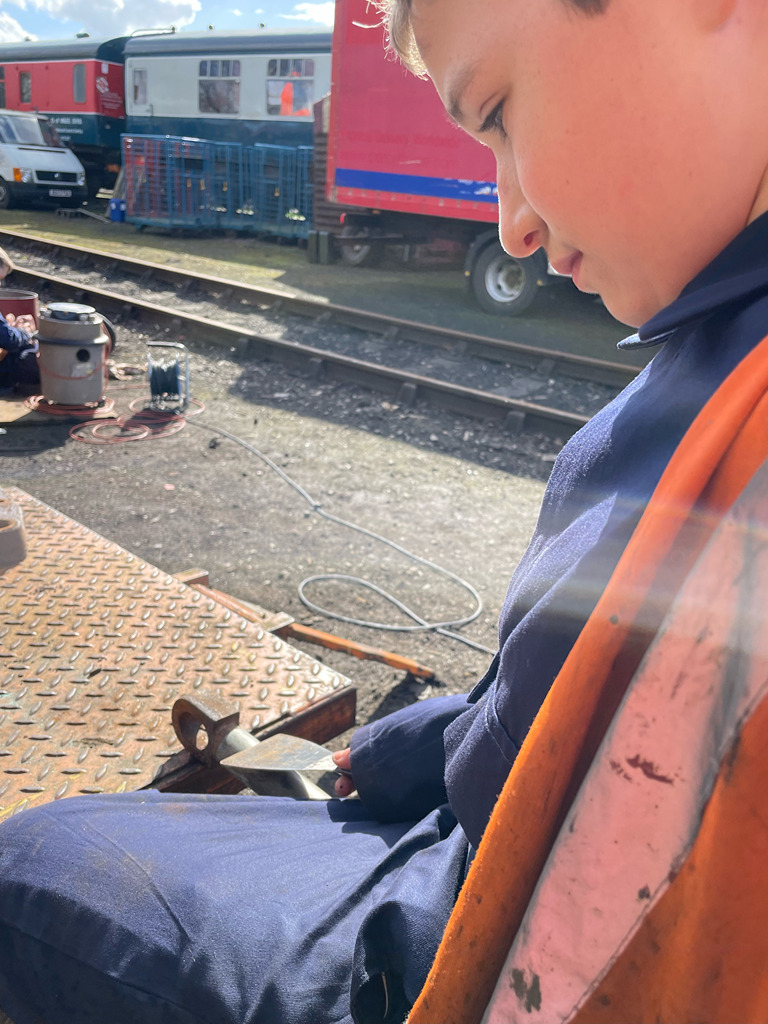
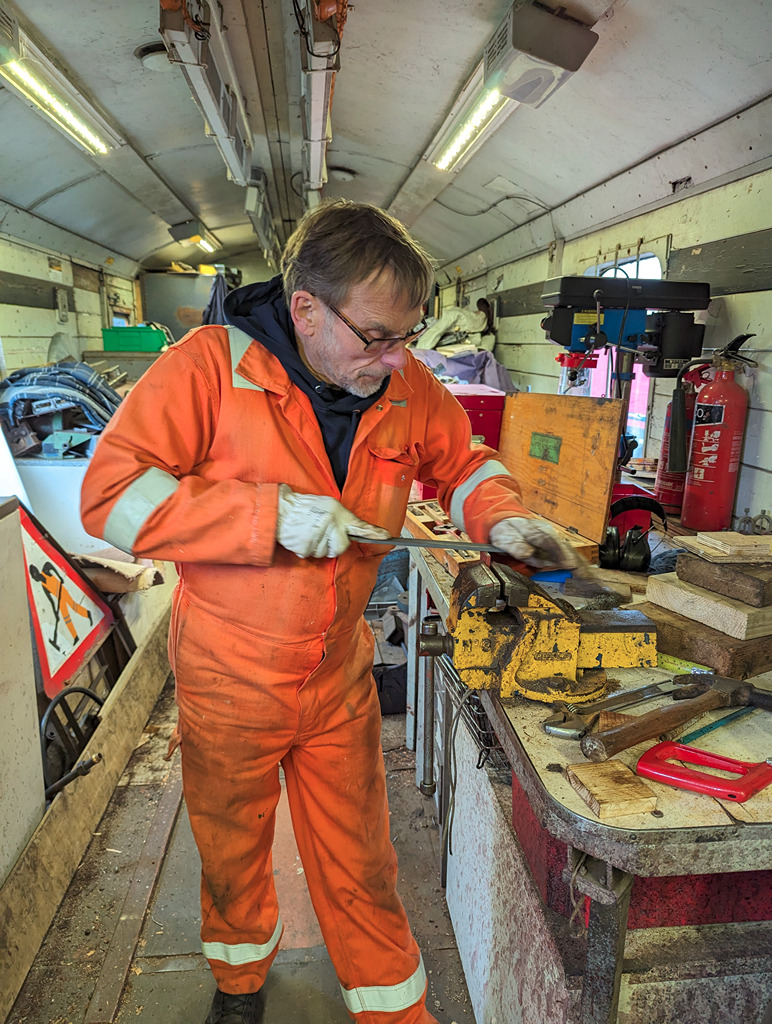
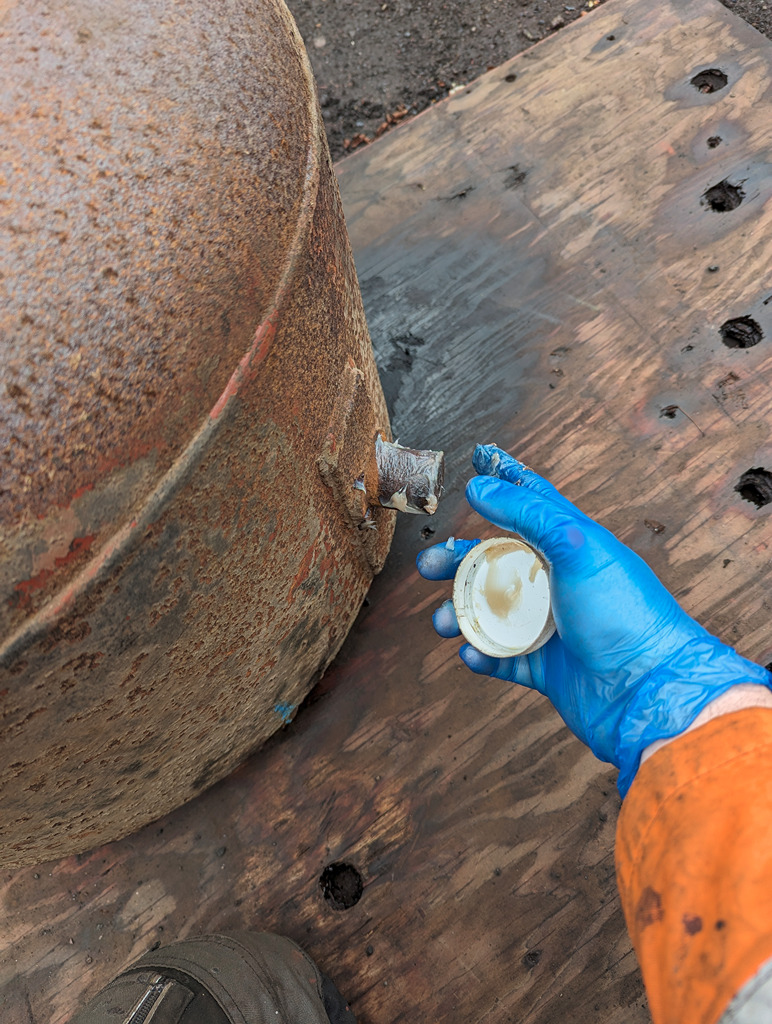
Ernie and Richard made a start on removing and refurbishing the vacuum cylinder, removing the release valve and lowering the cylinder before dismantling and cleaning it out. Oliver made a fantastic job of cleaning up the piston rod.
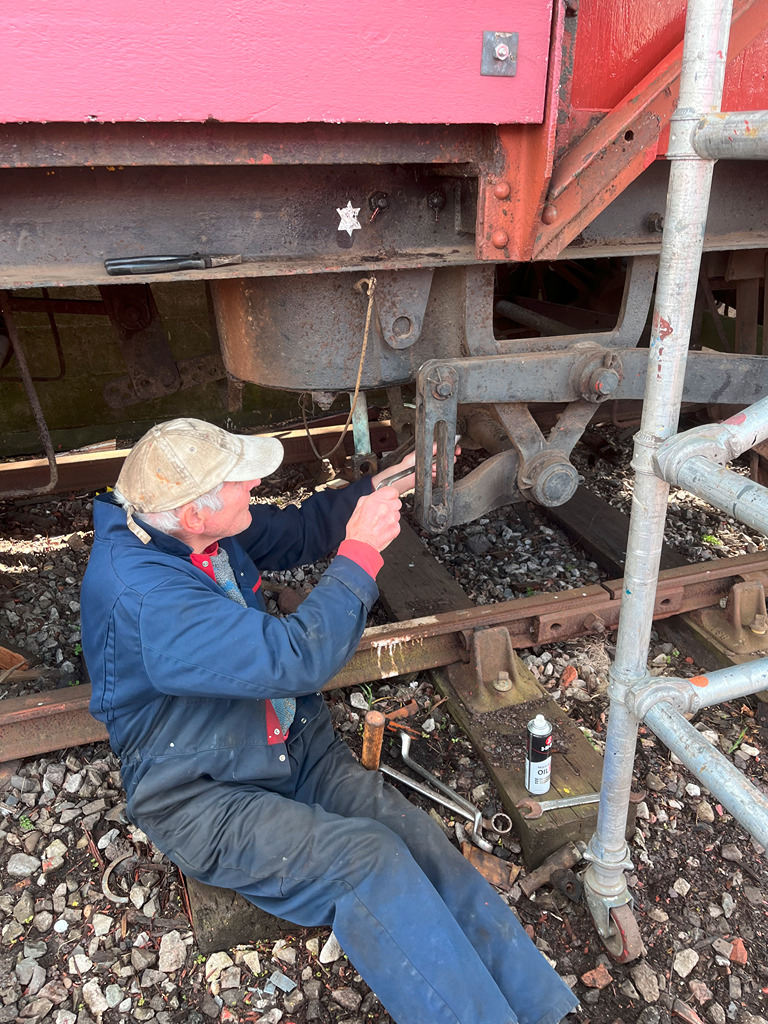
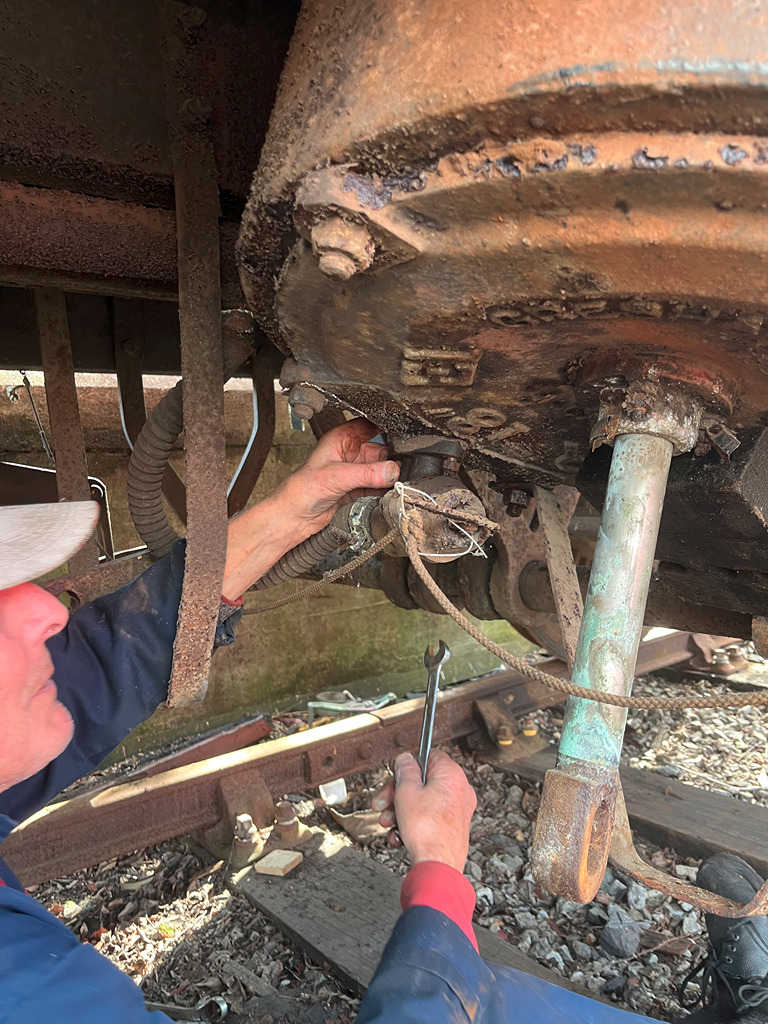
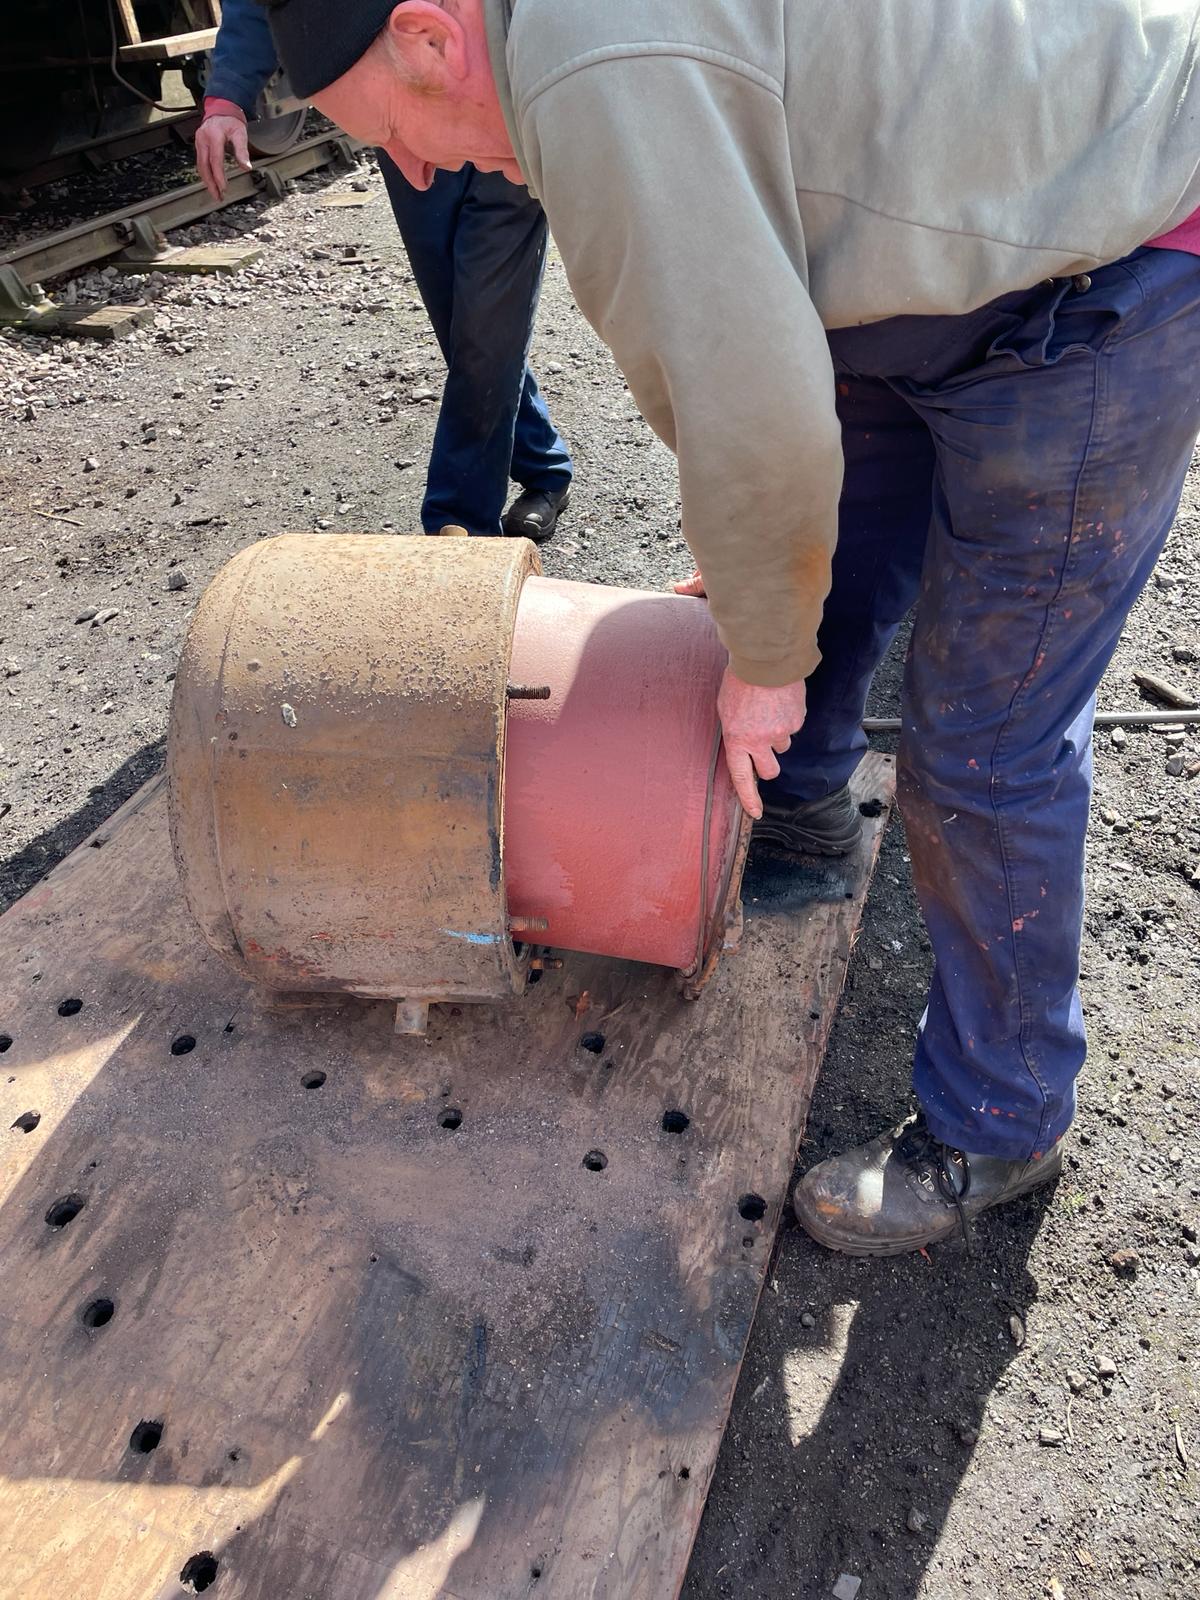
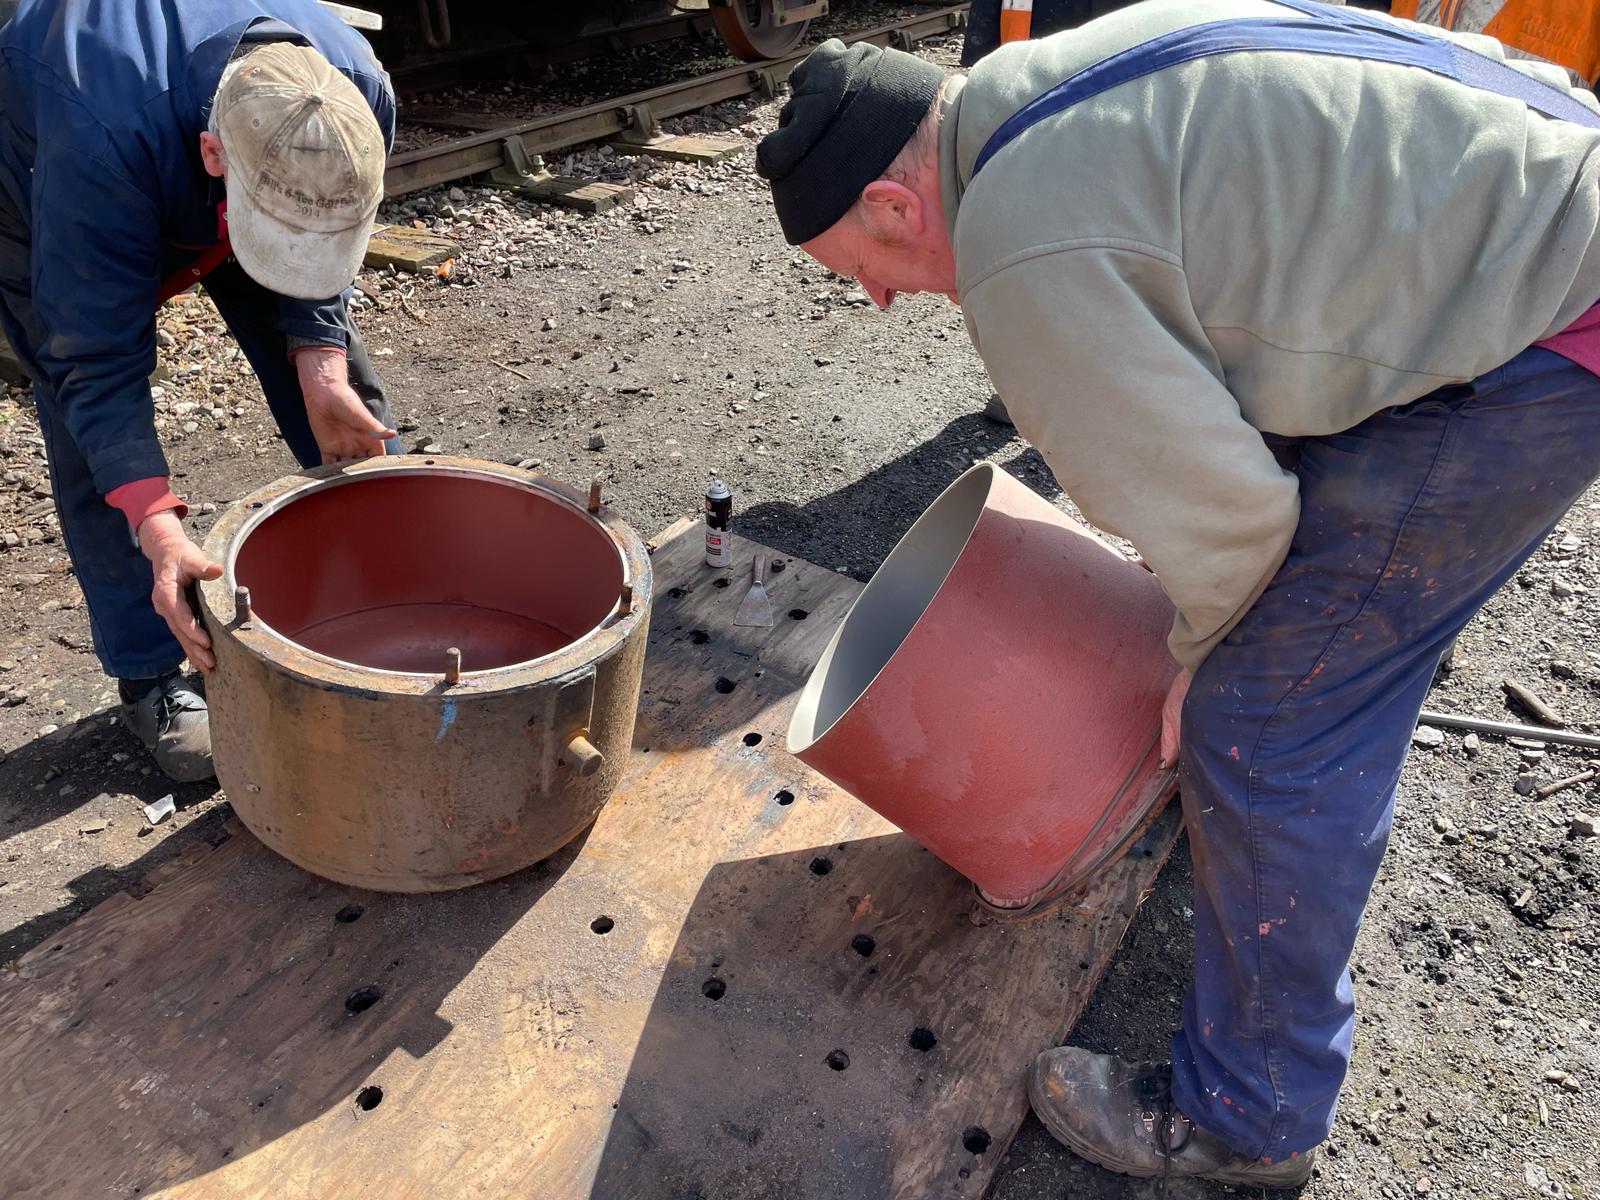
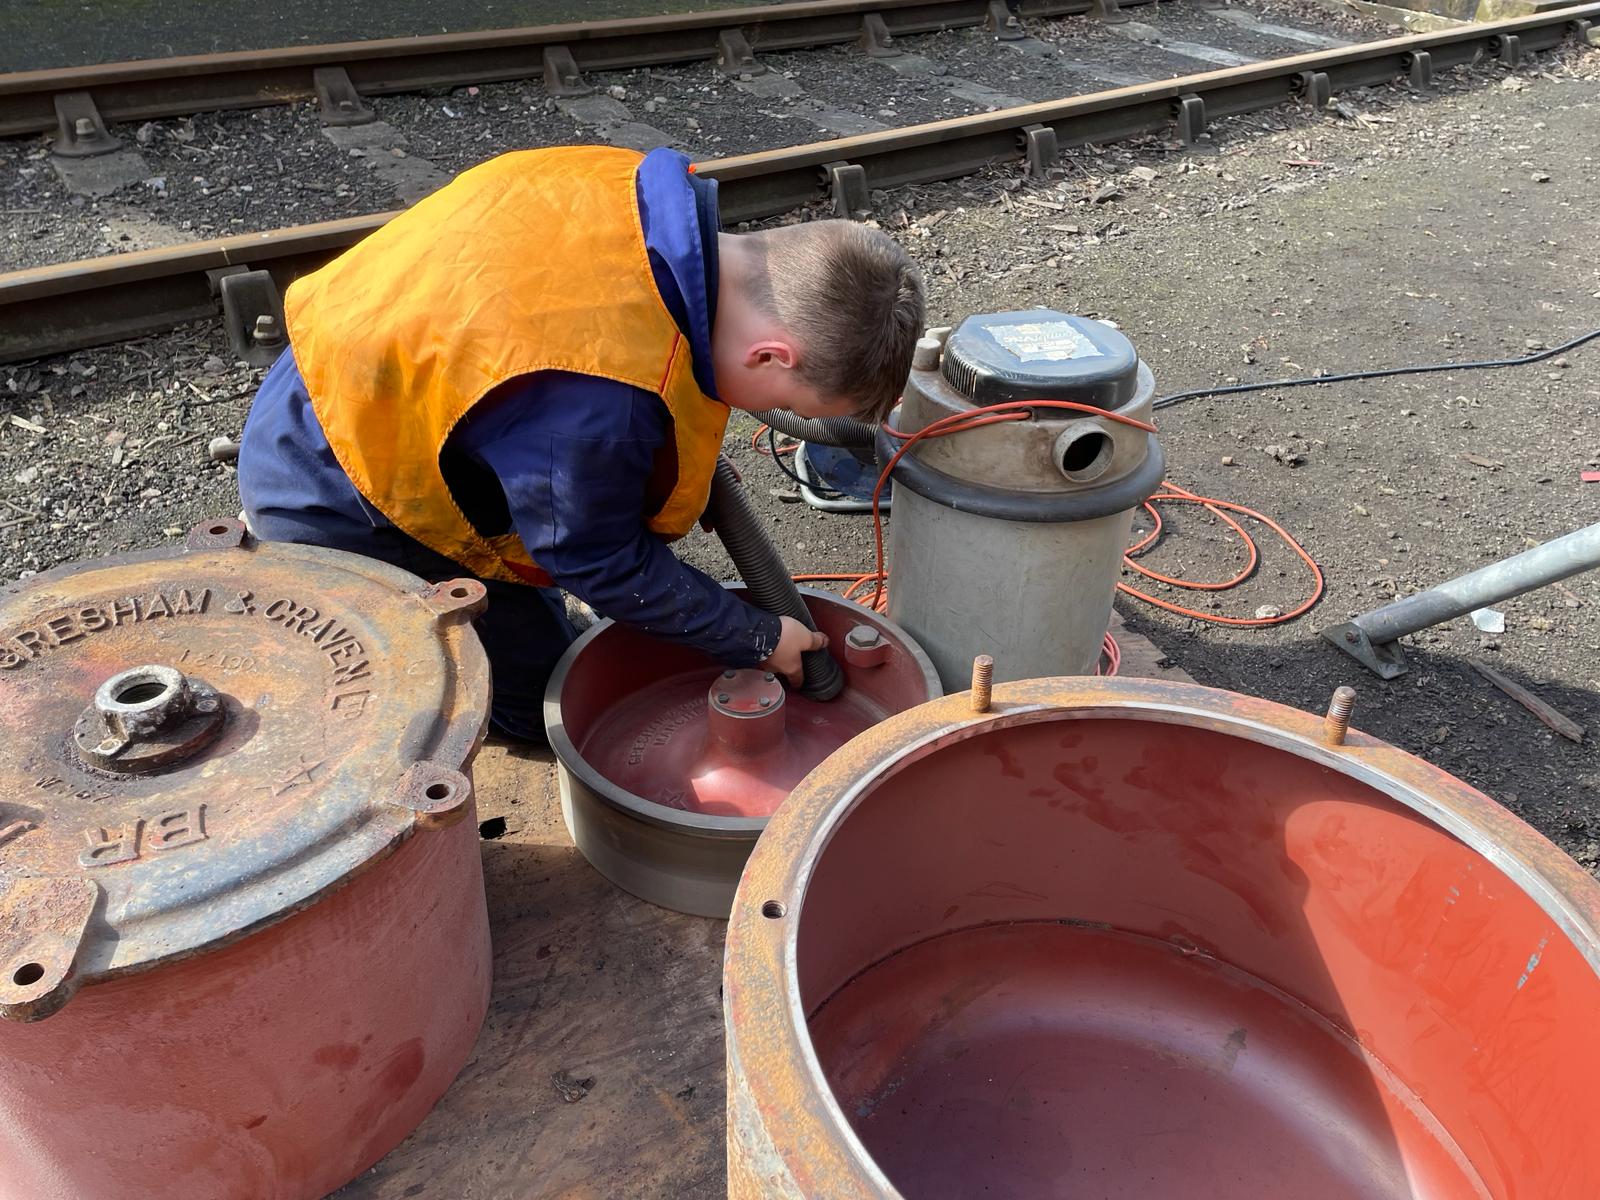
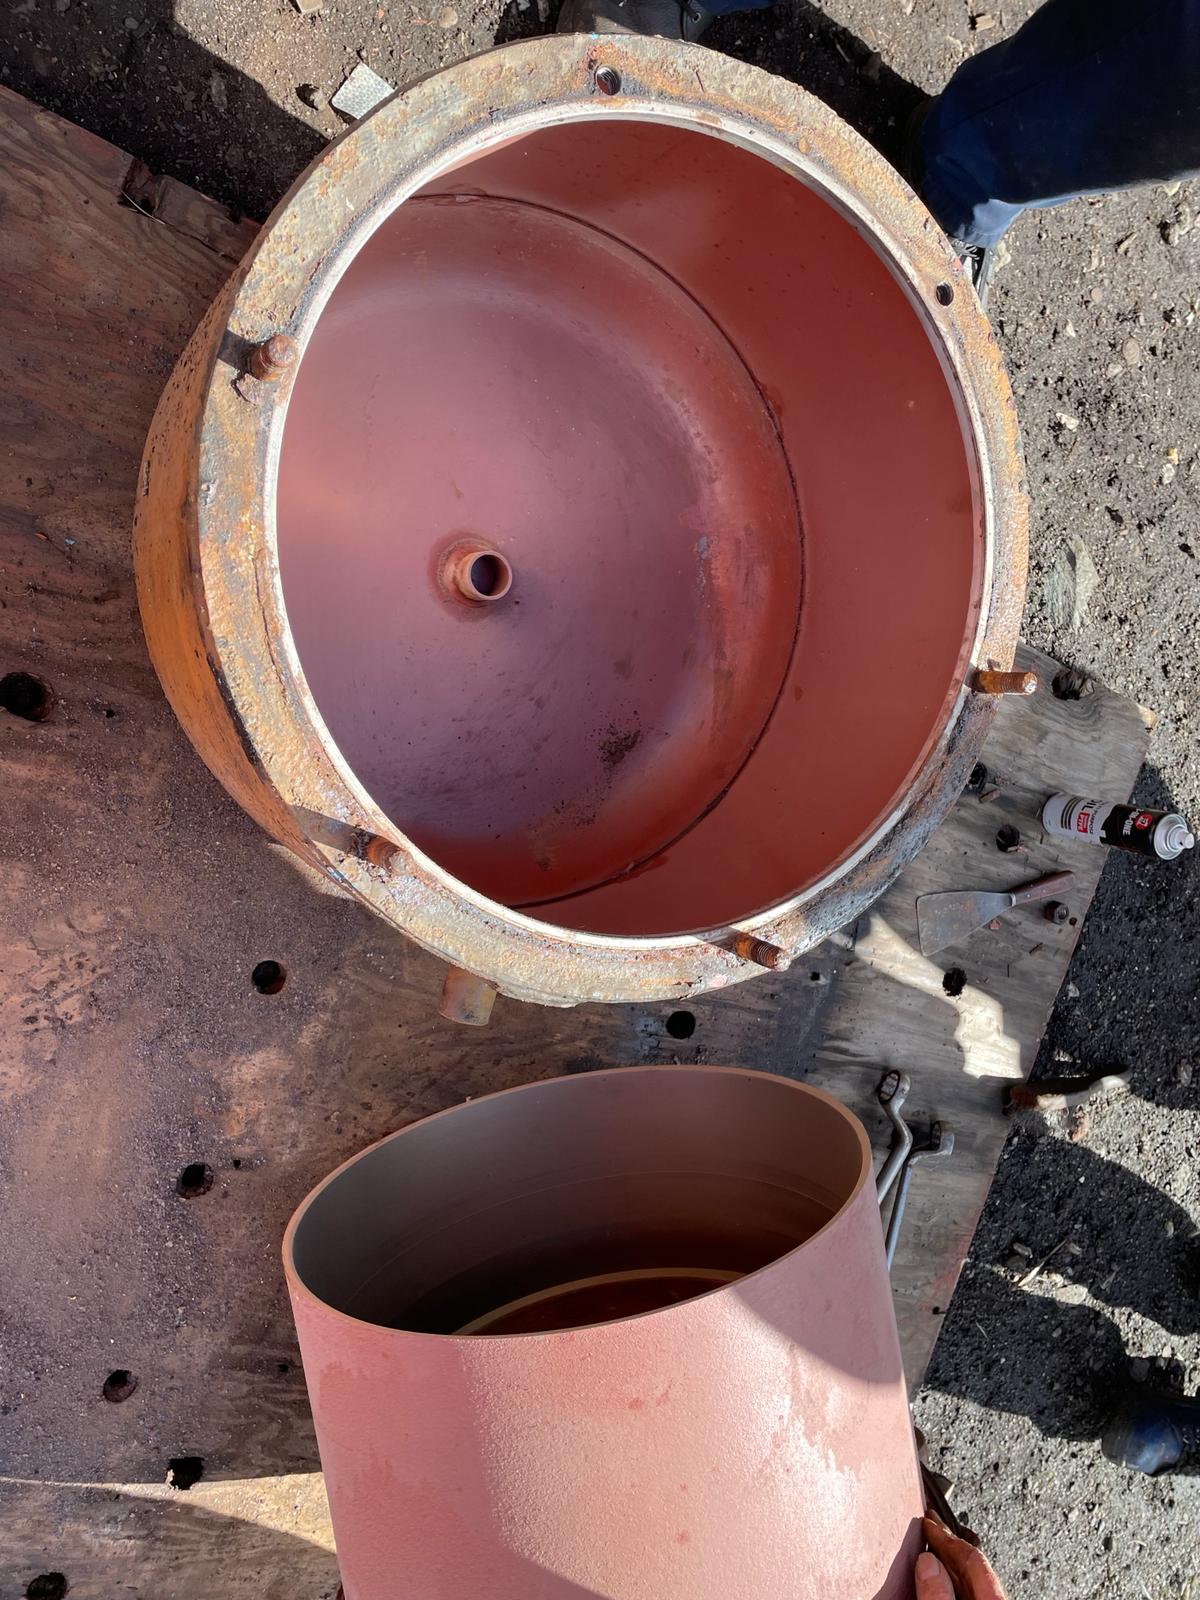
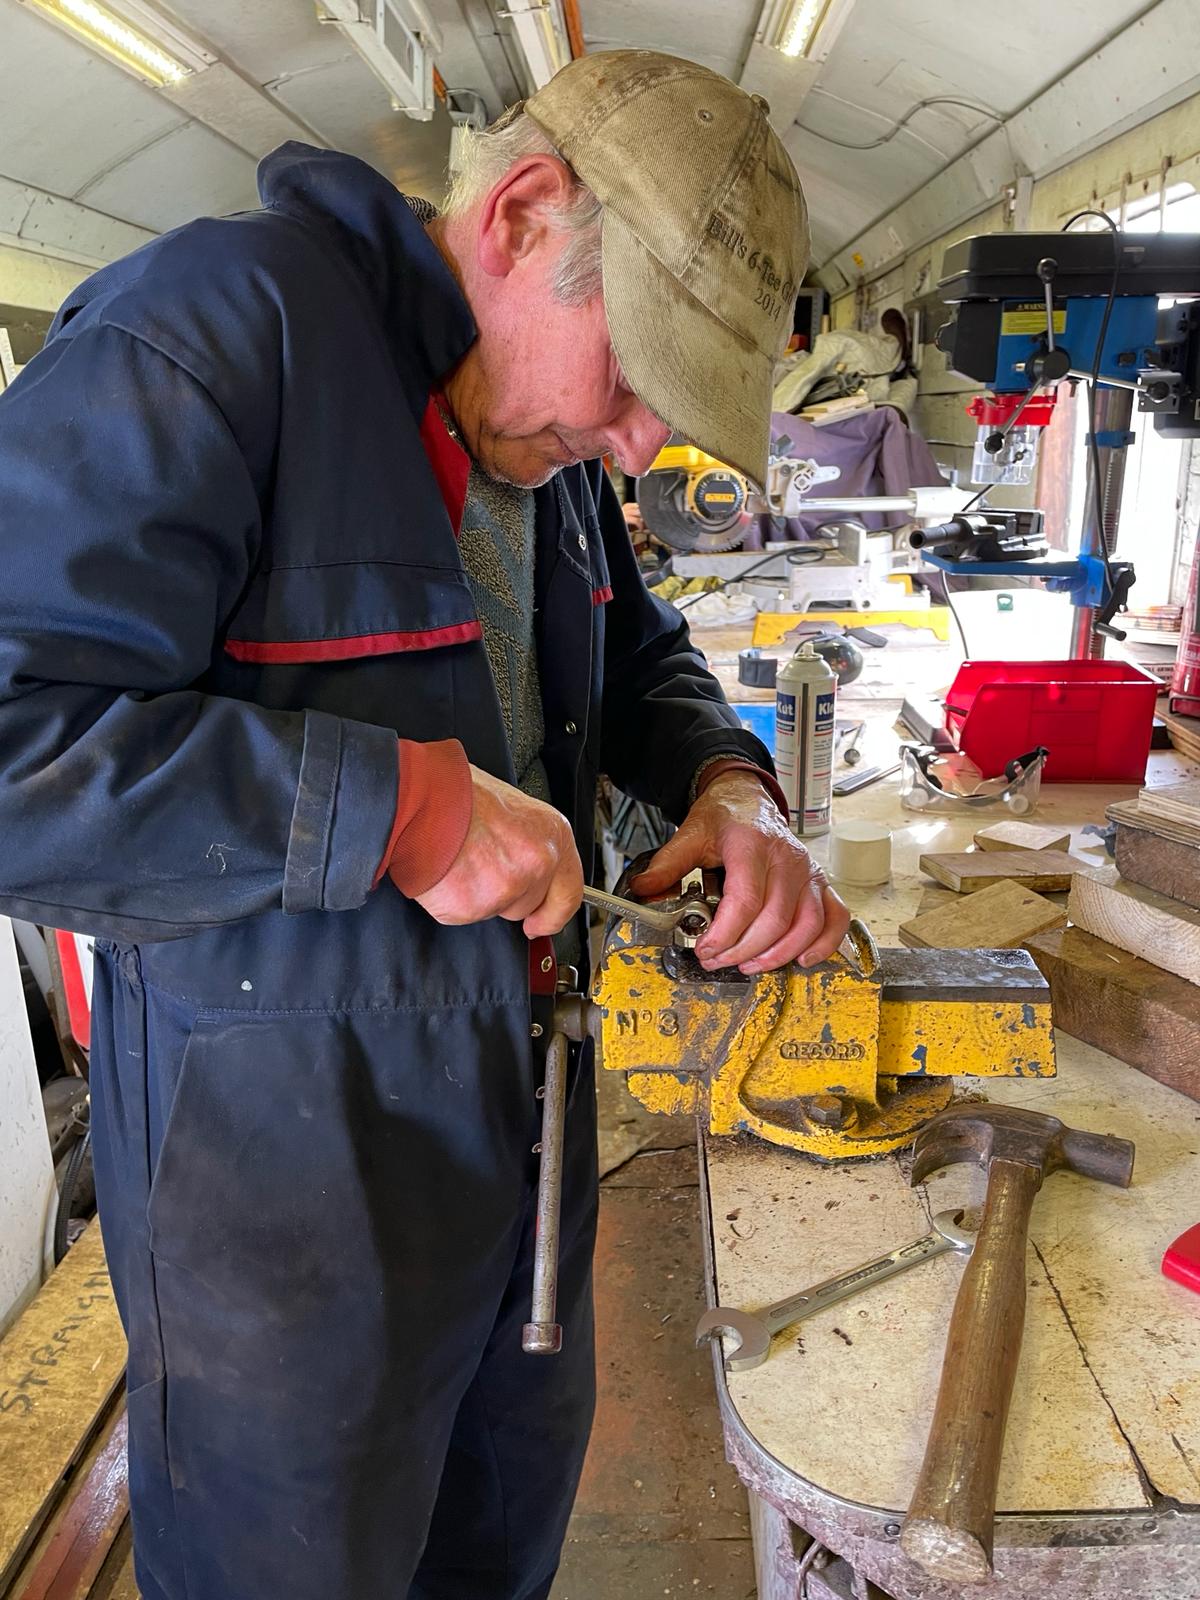
Some time was spent finding some new nuts for the gaiter studs which had to be removed forcefully to replace the gaiter. The cylinder was re-assembled and left to be re-fitted another day.

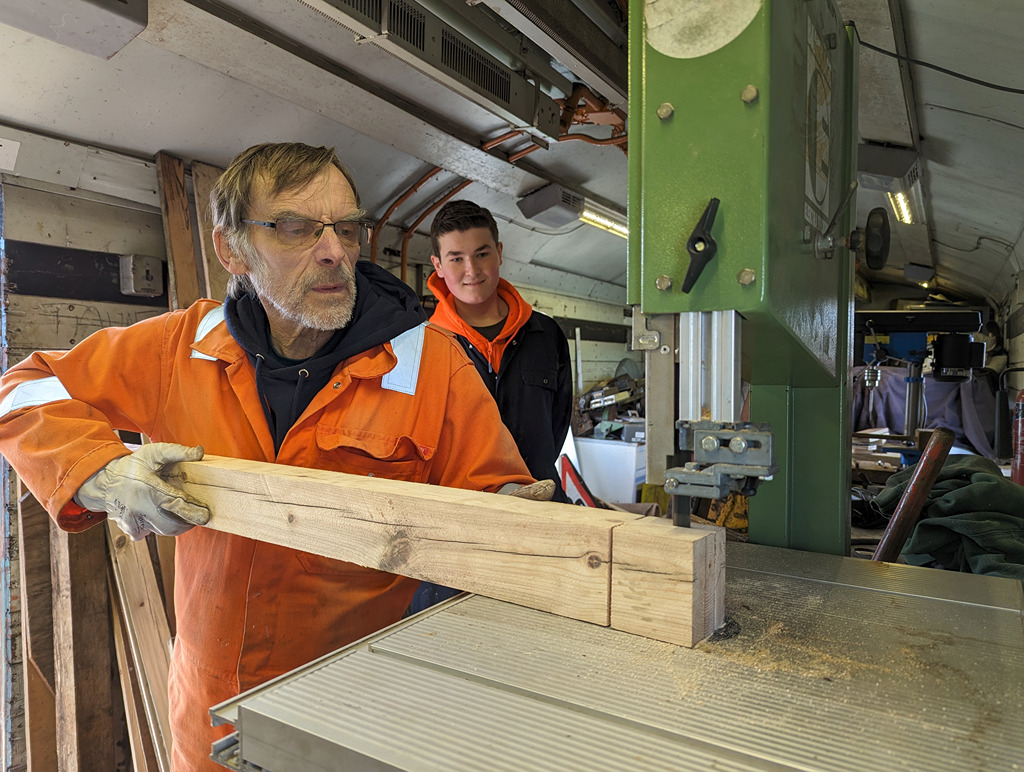
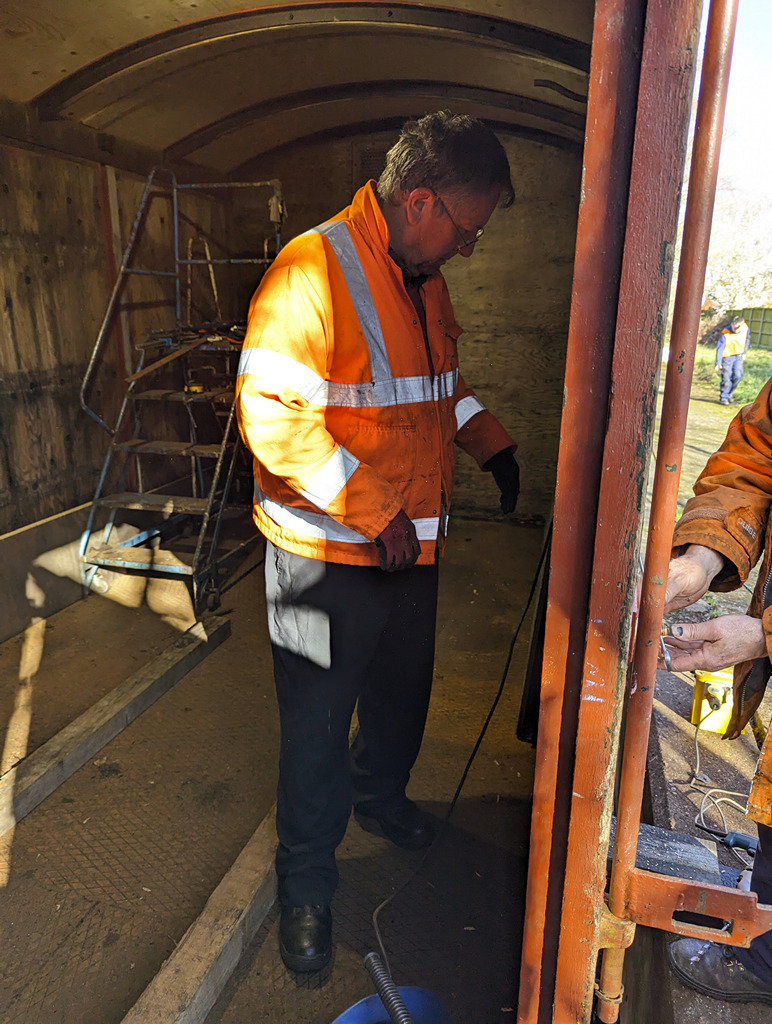
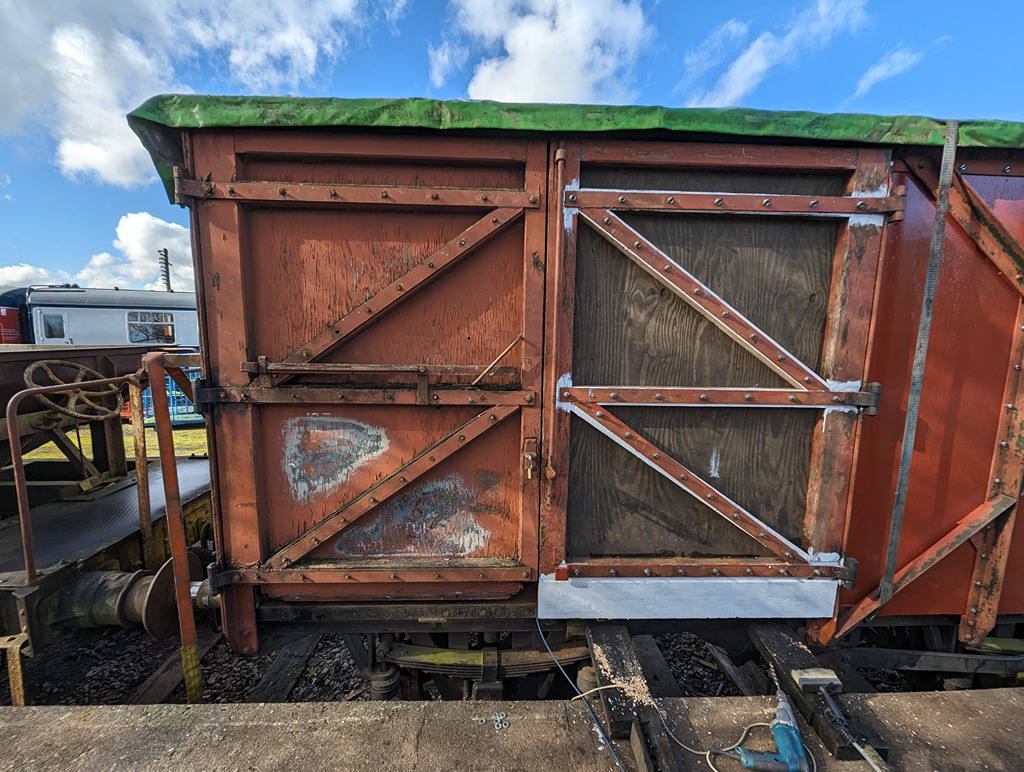
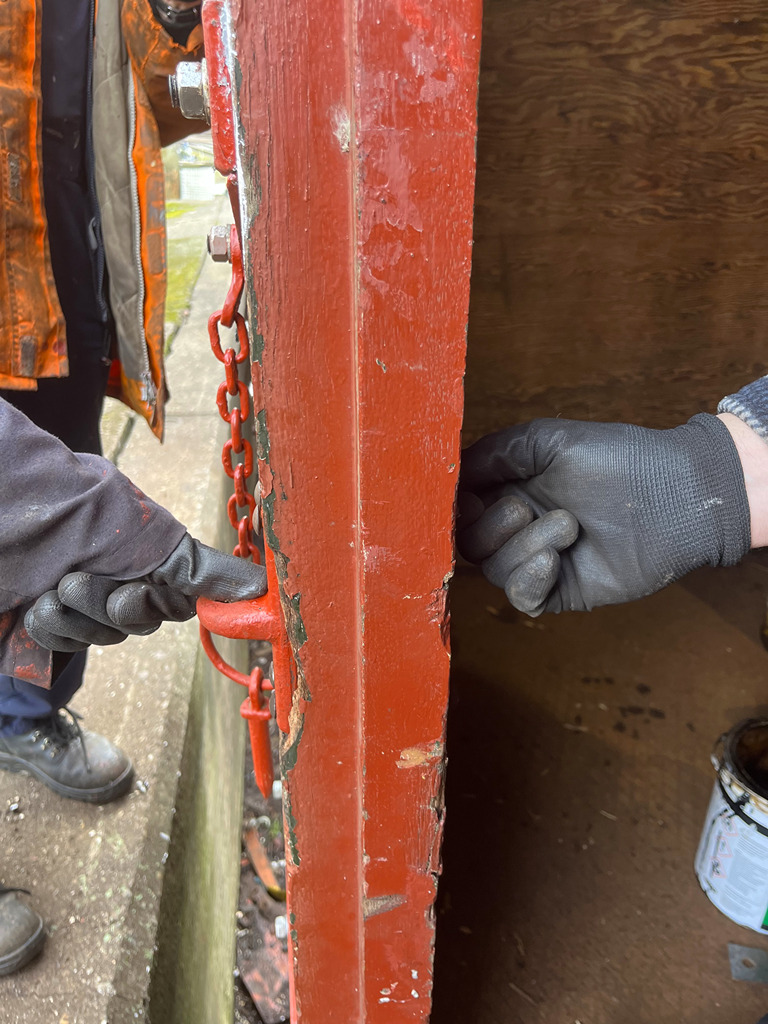
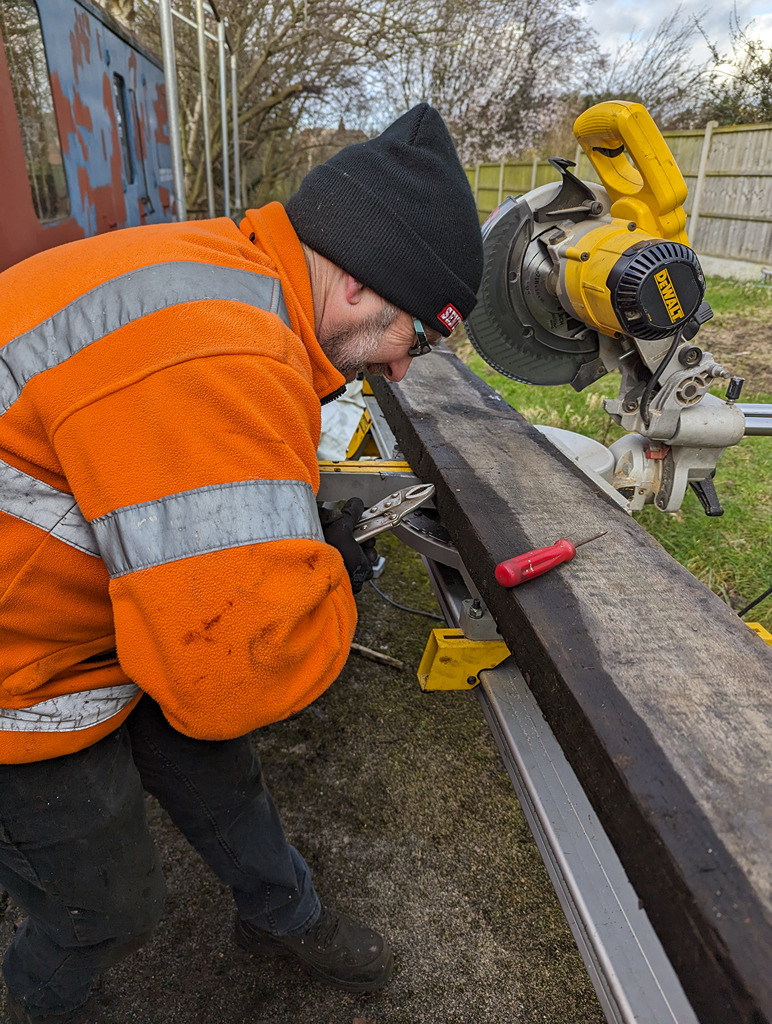
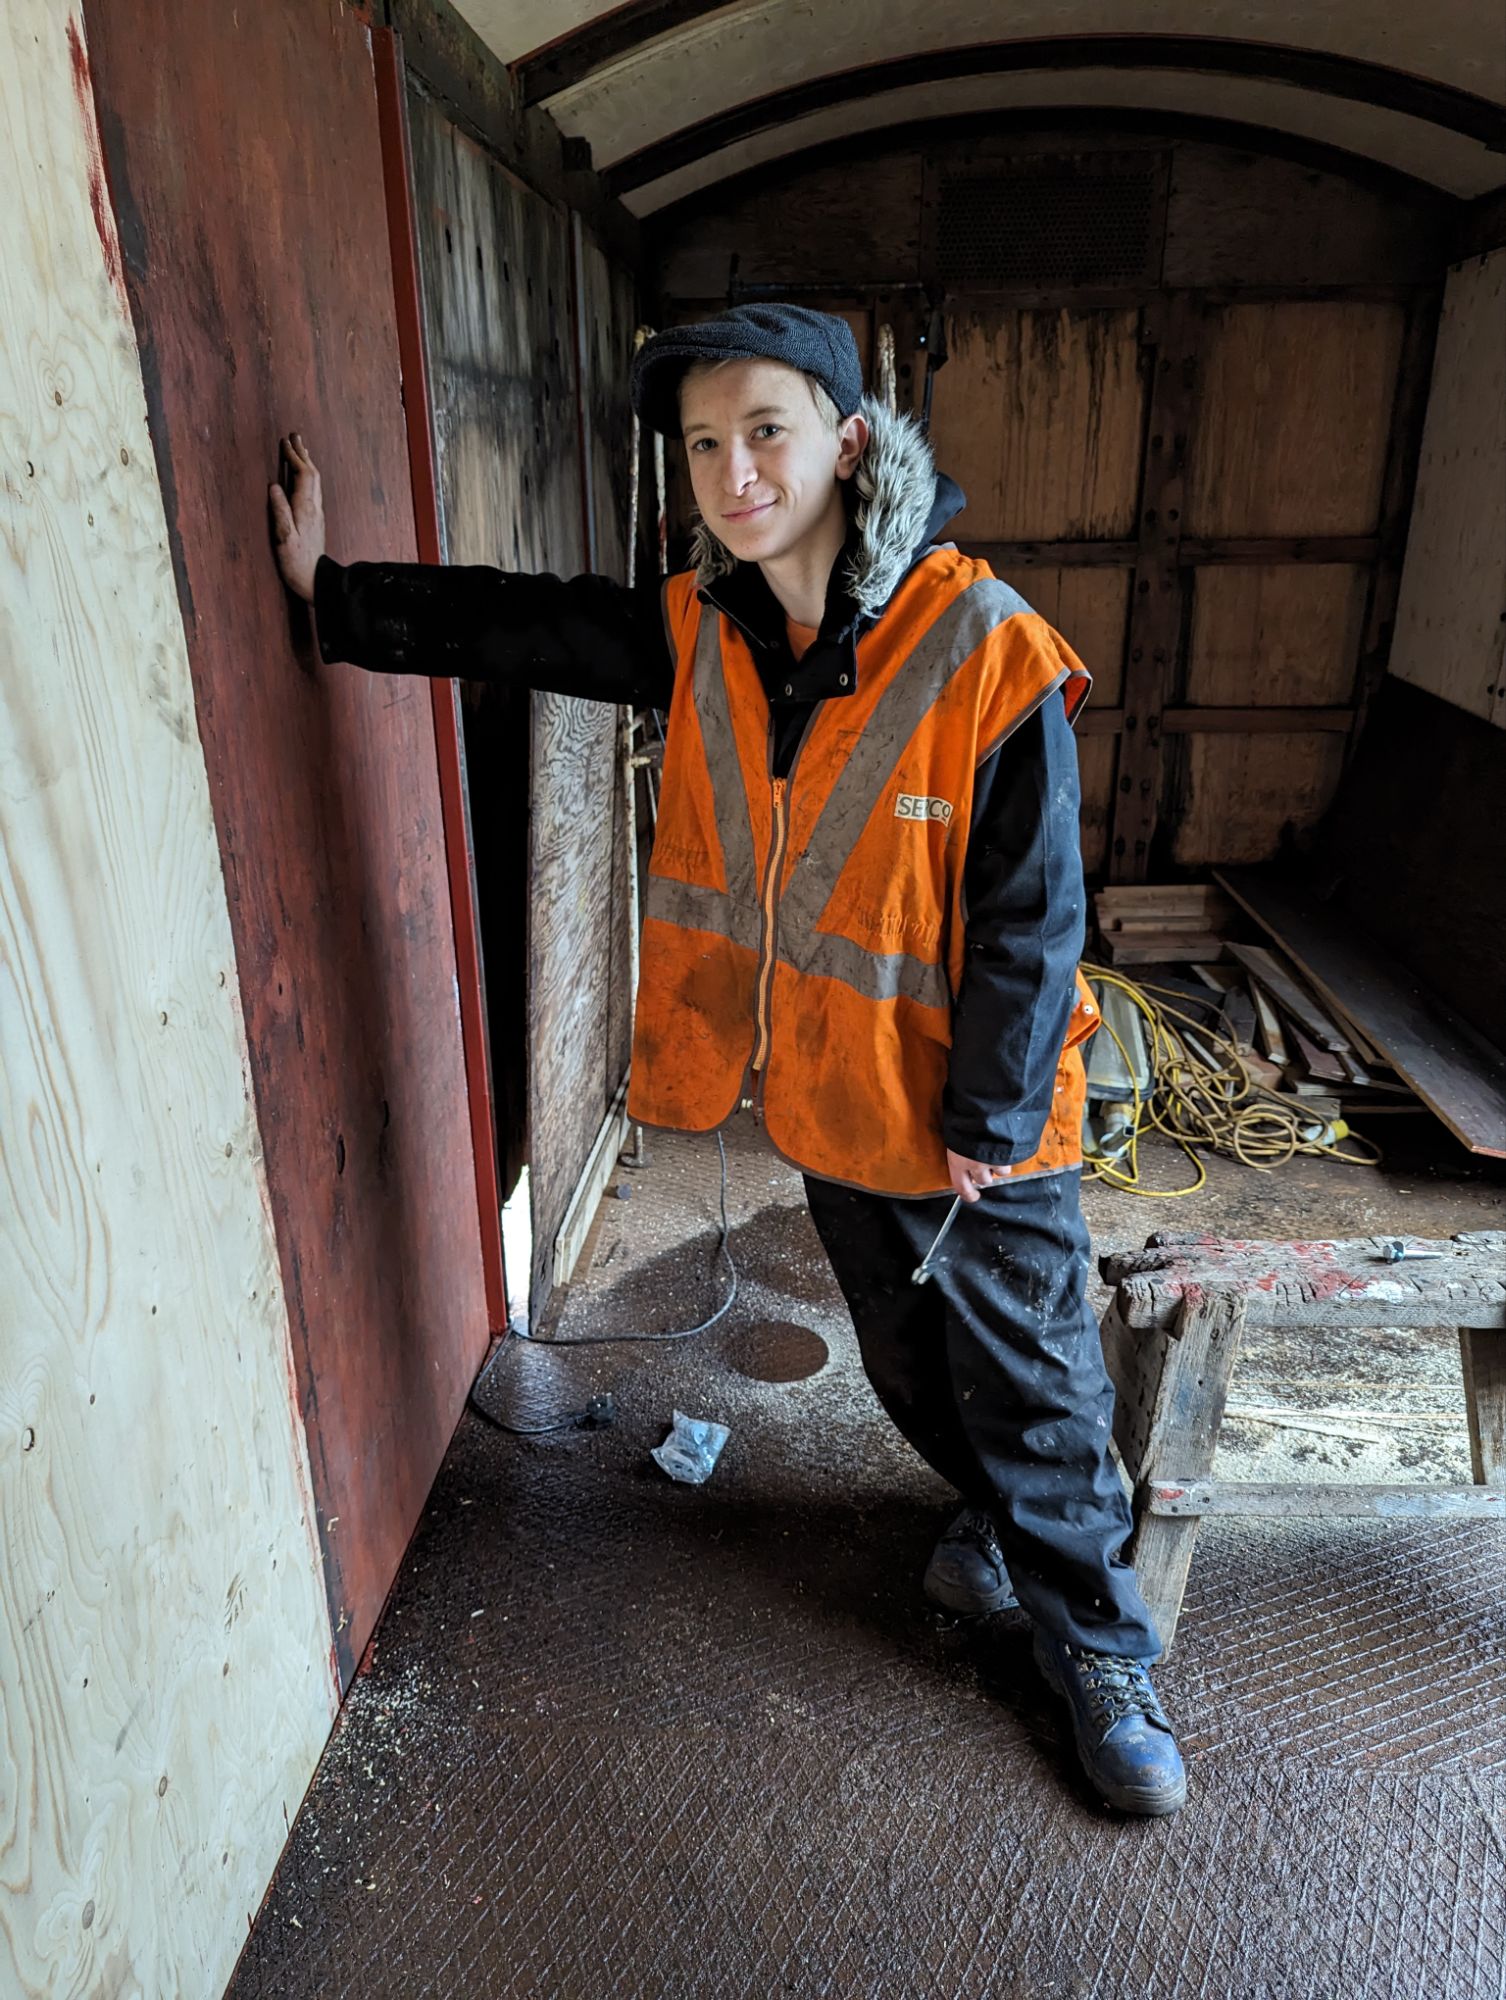
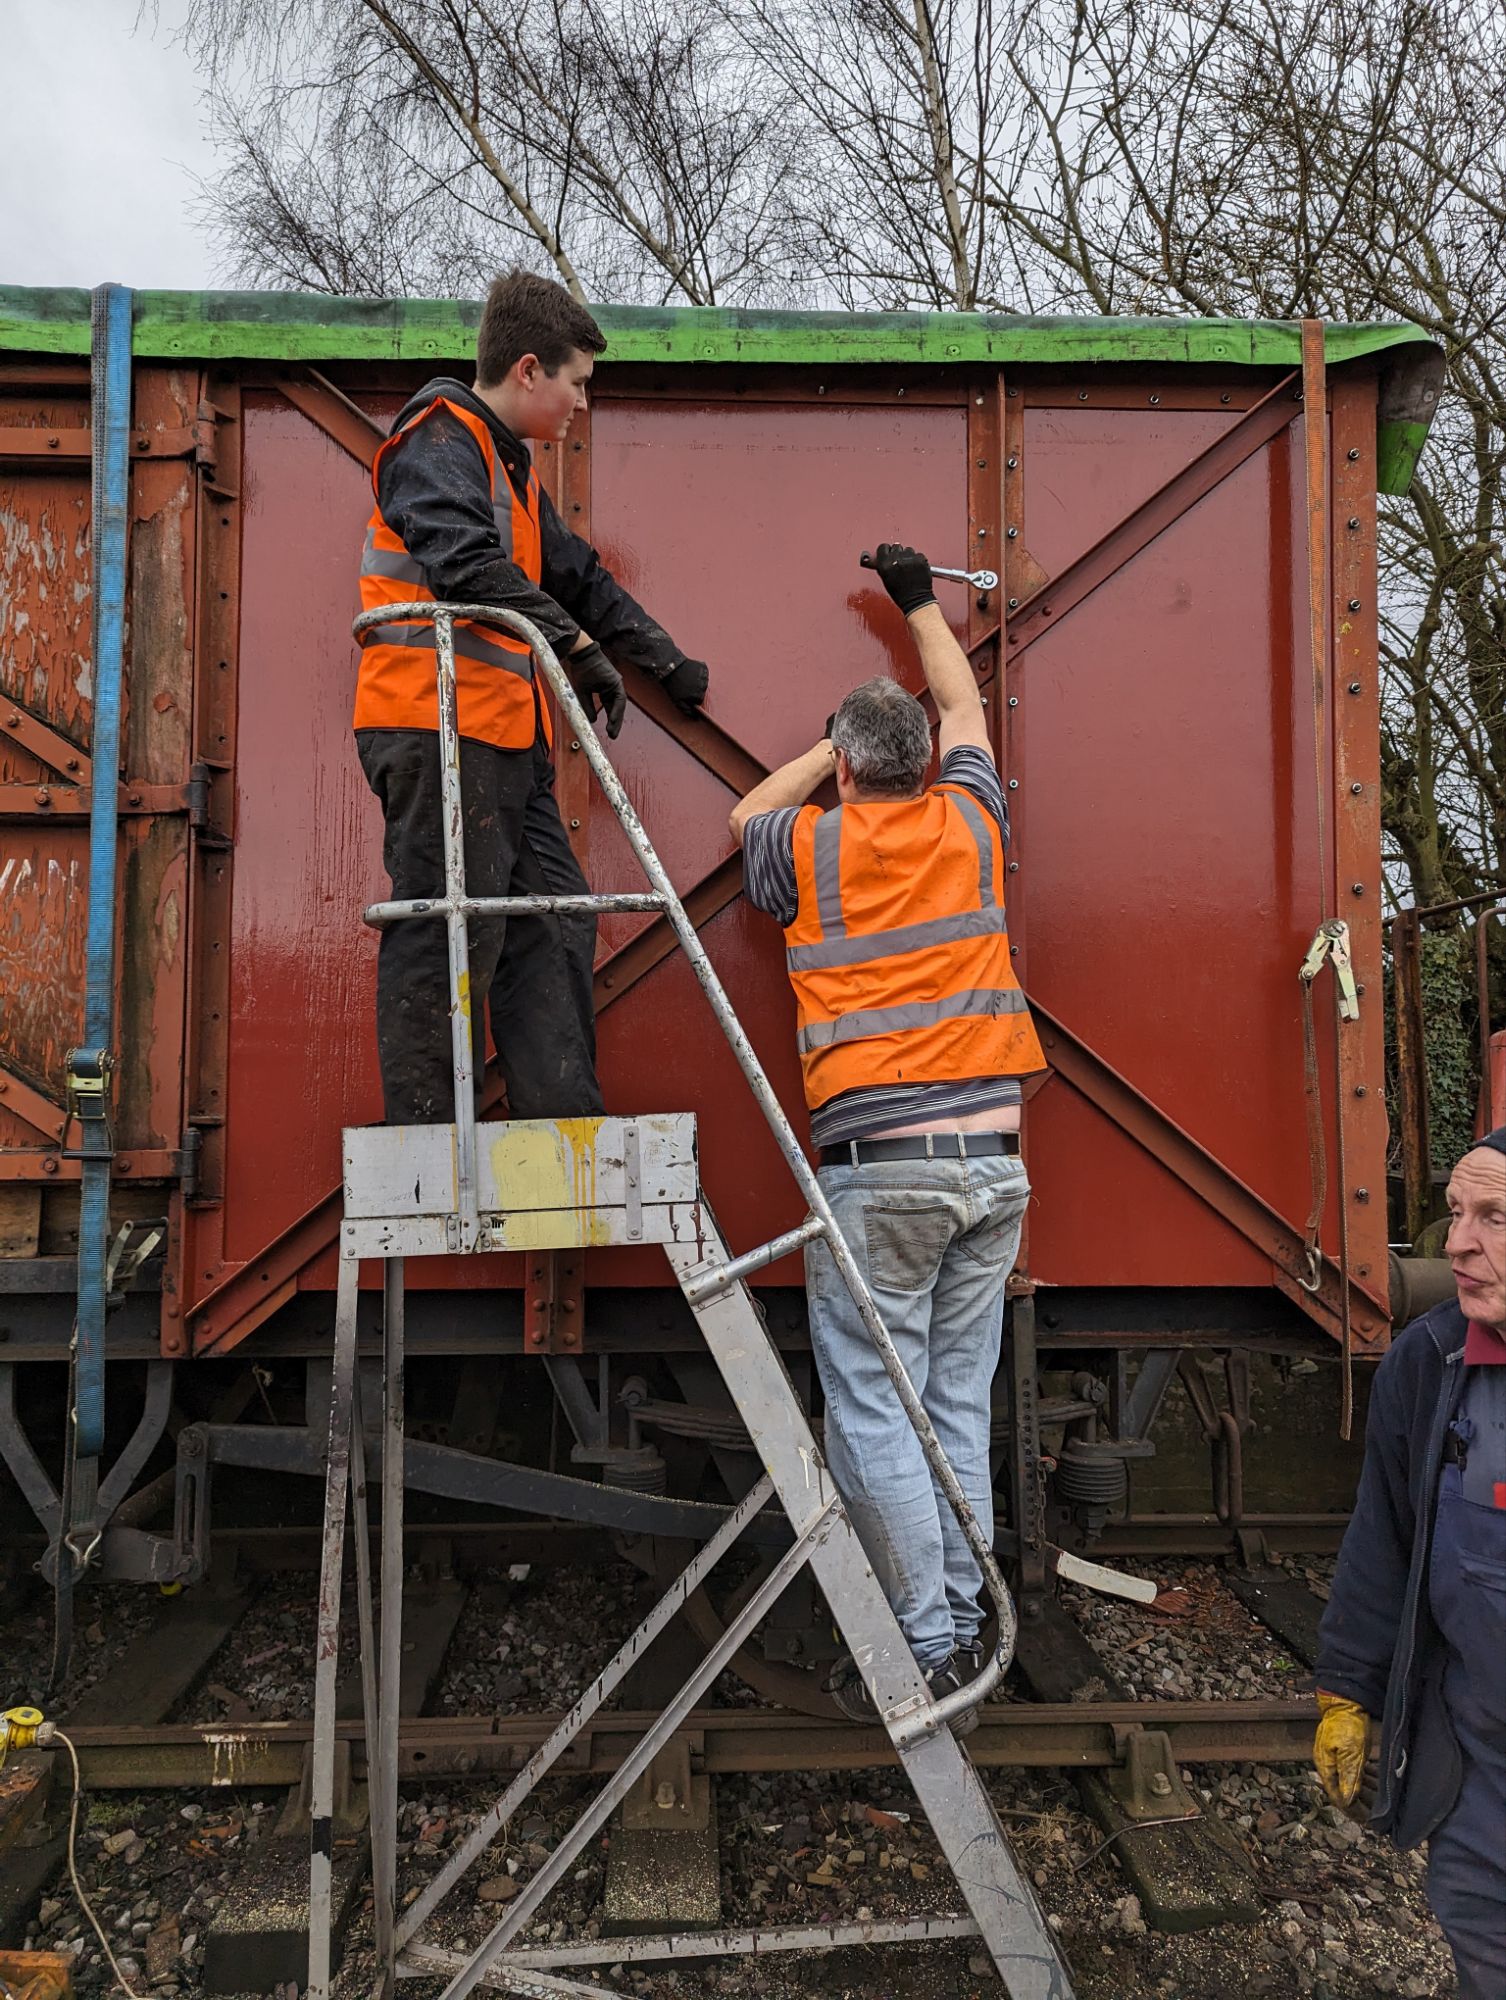
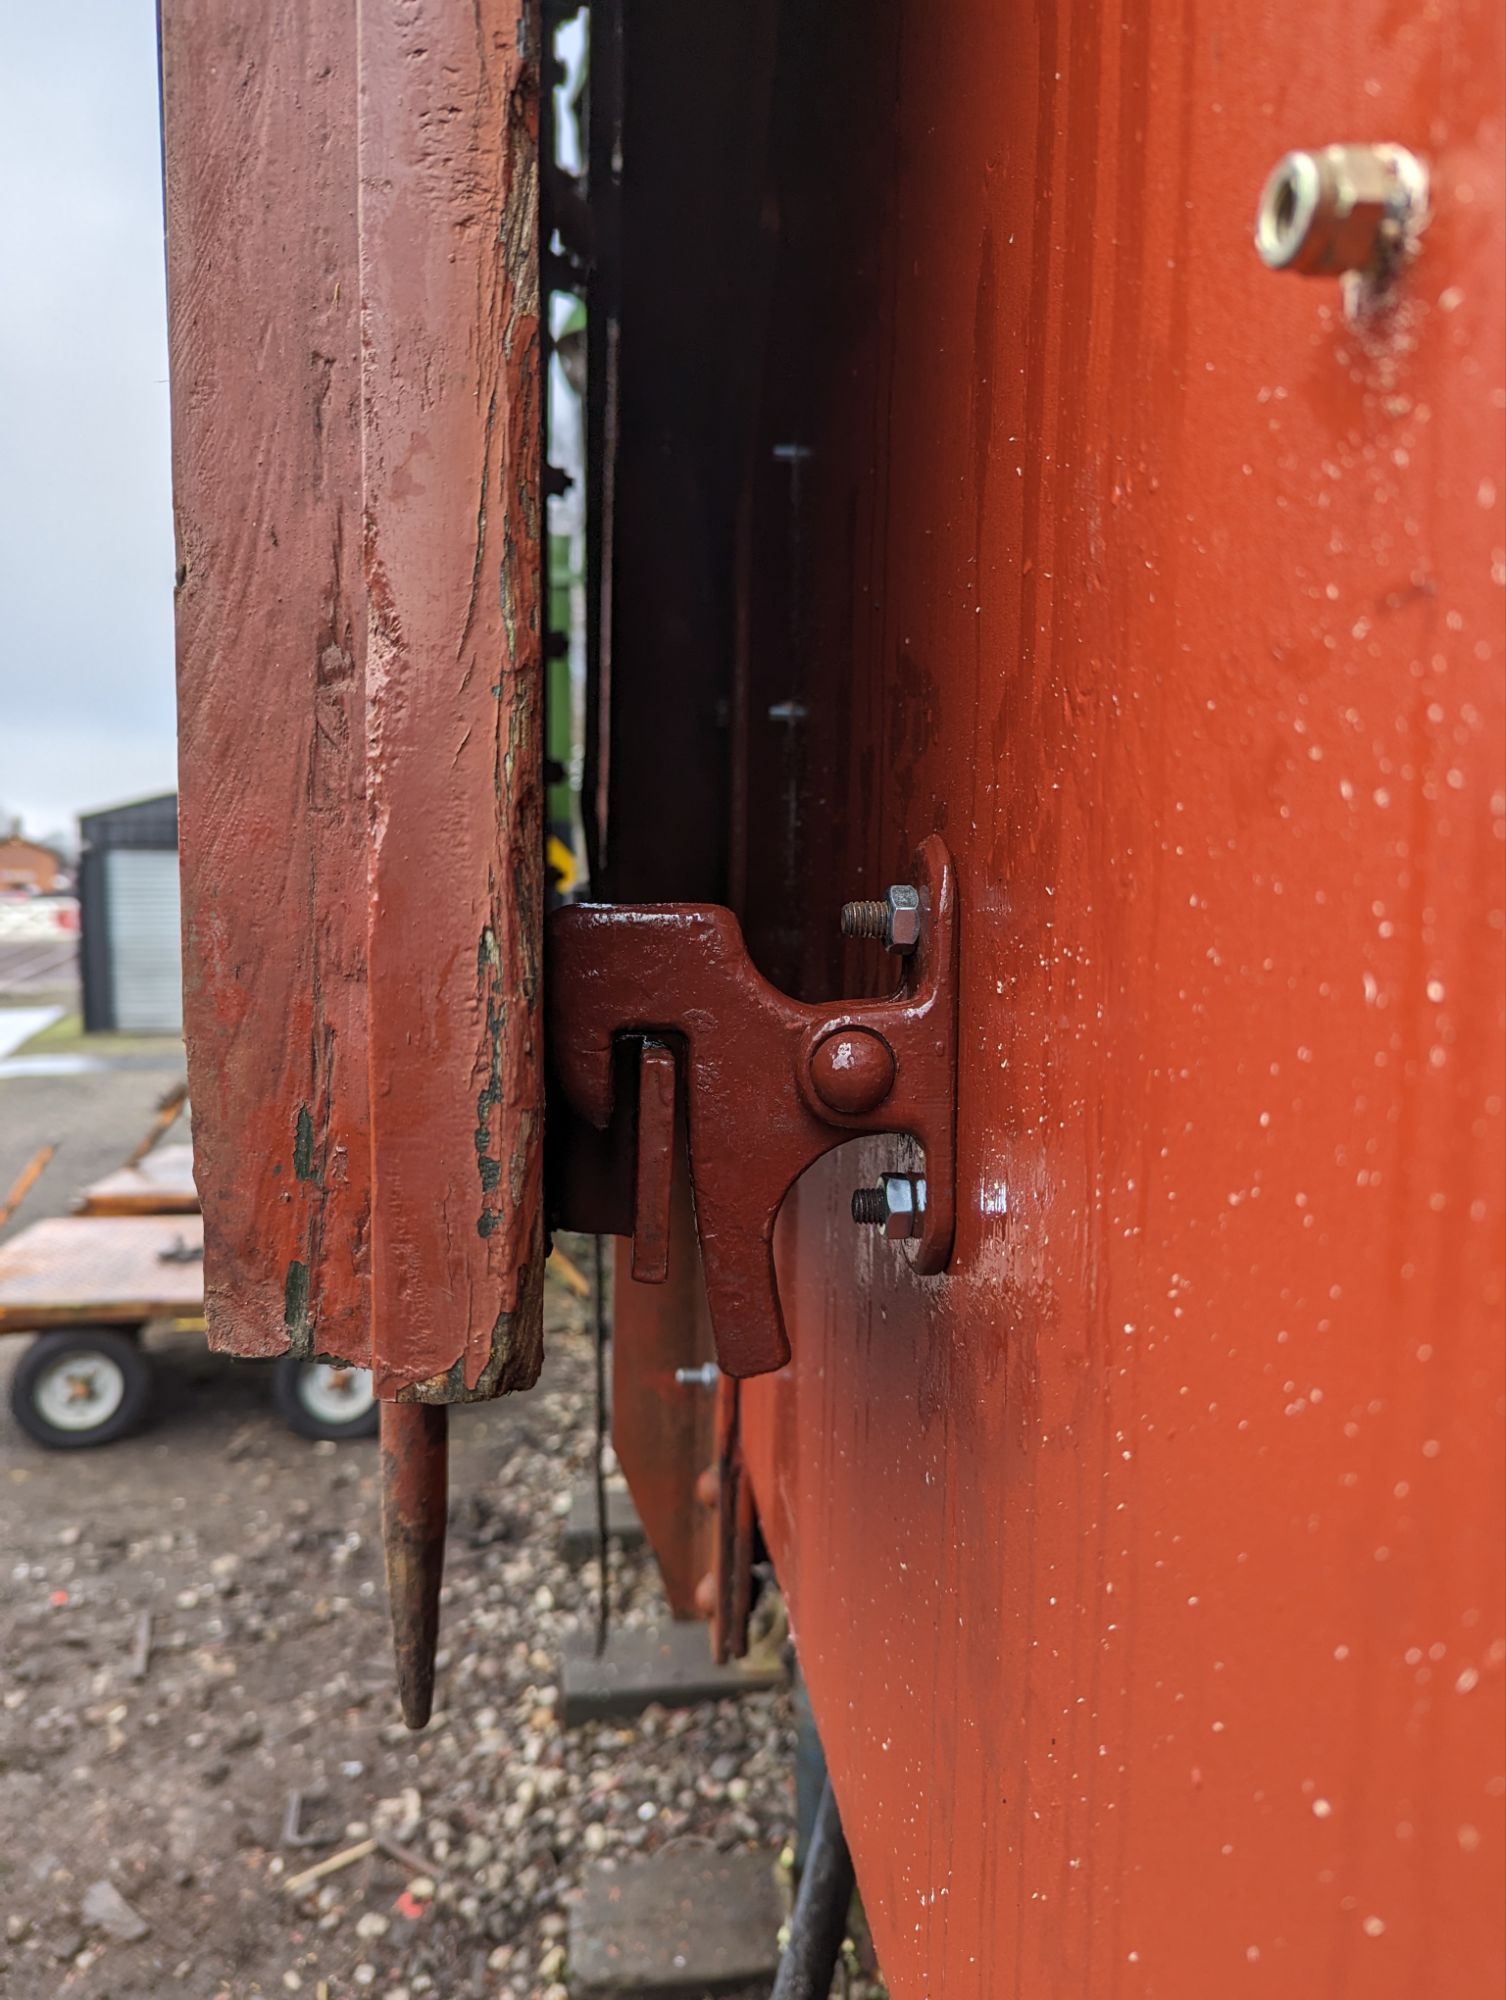
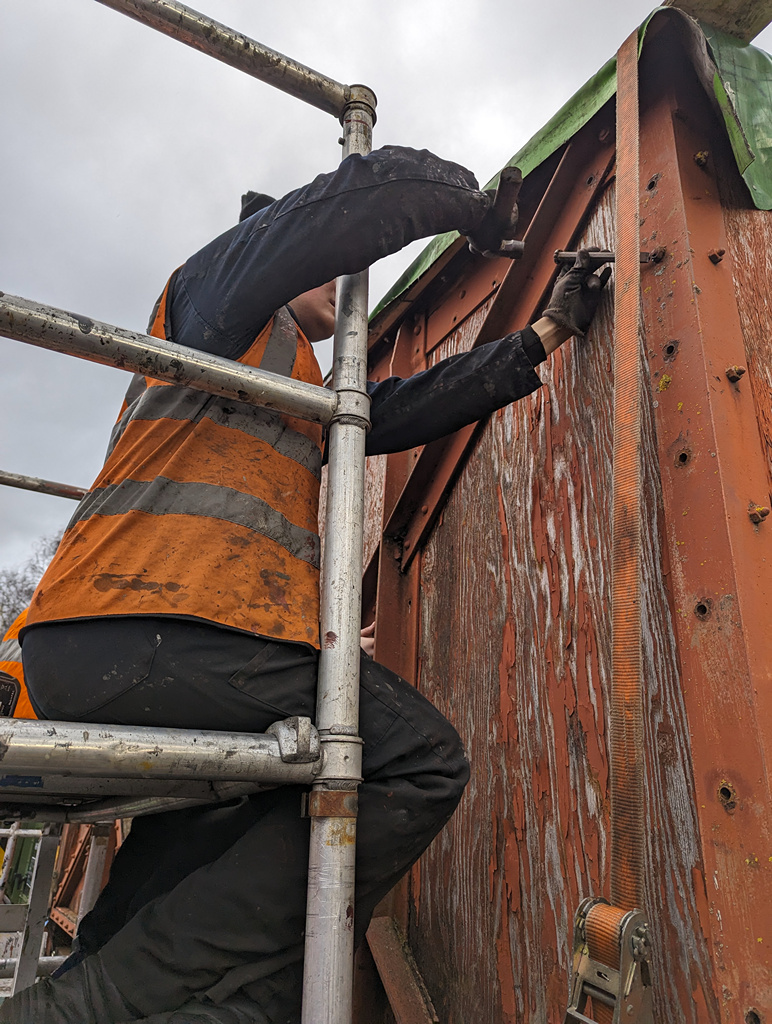
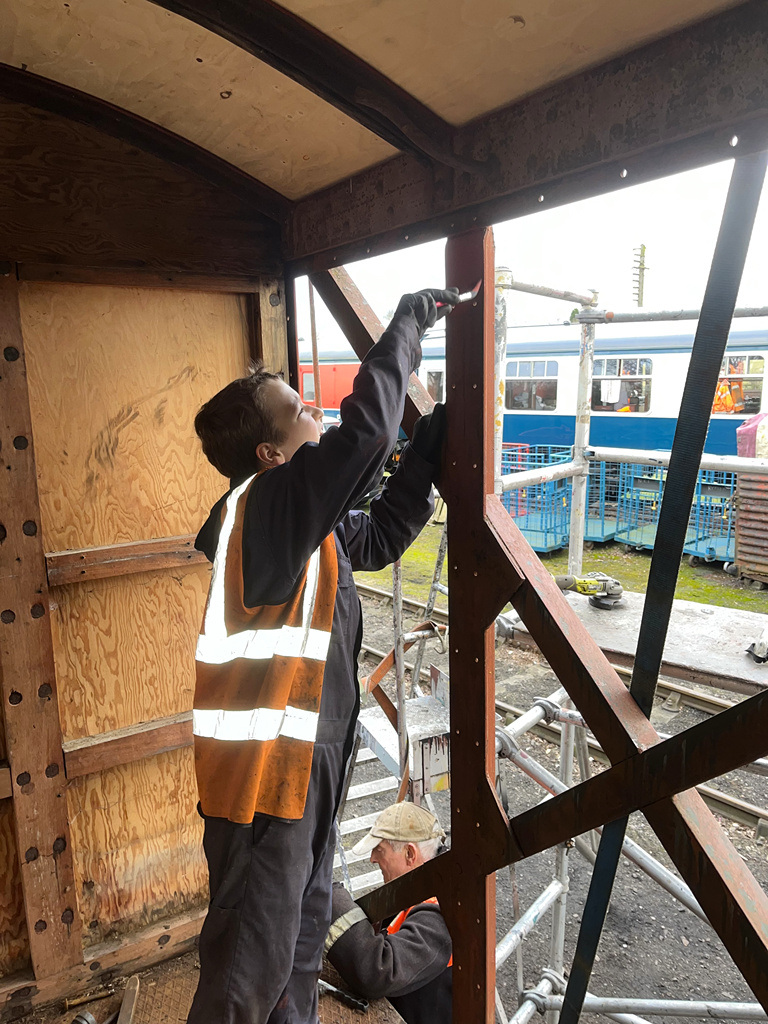
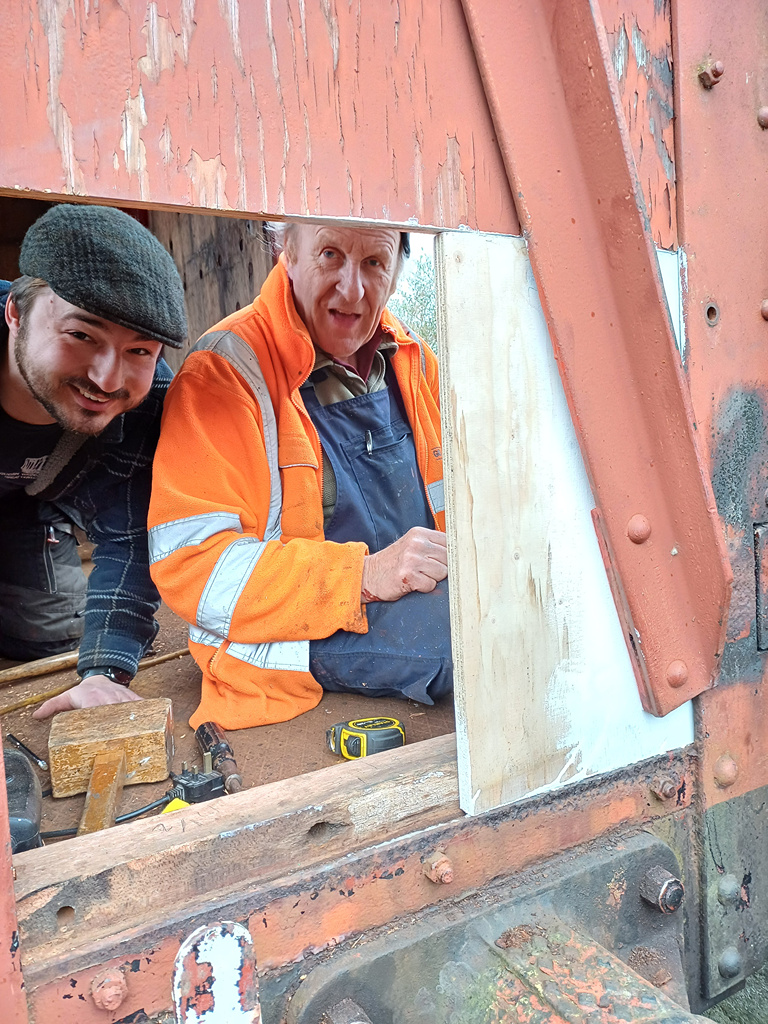
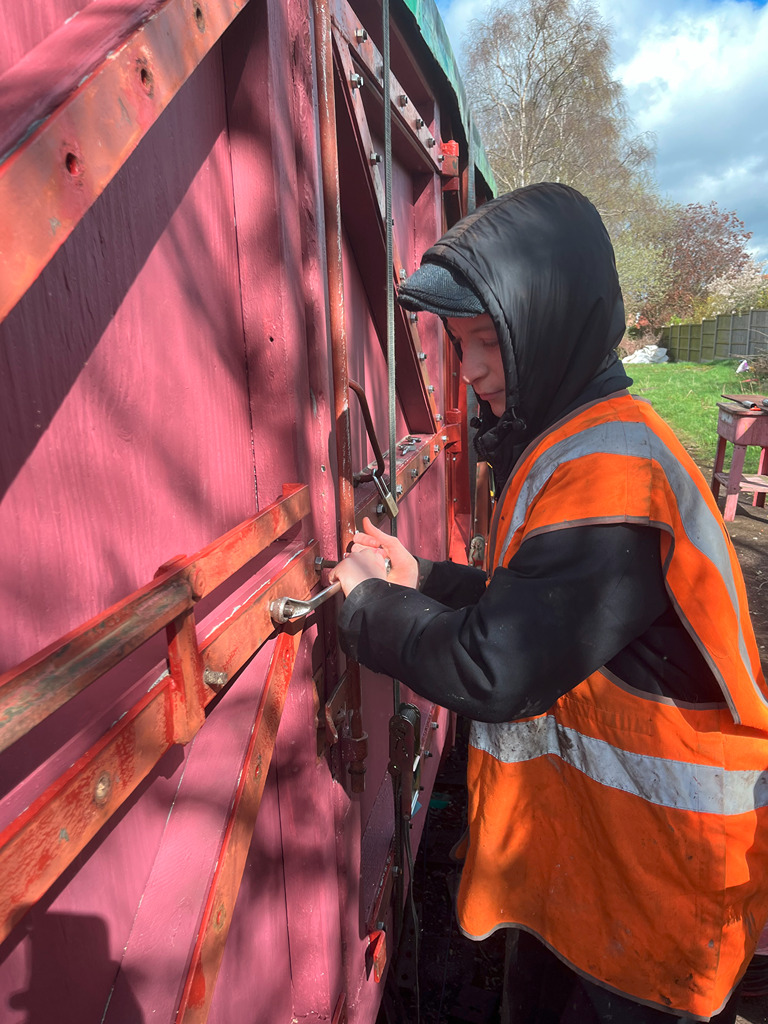
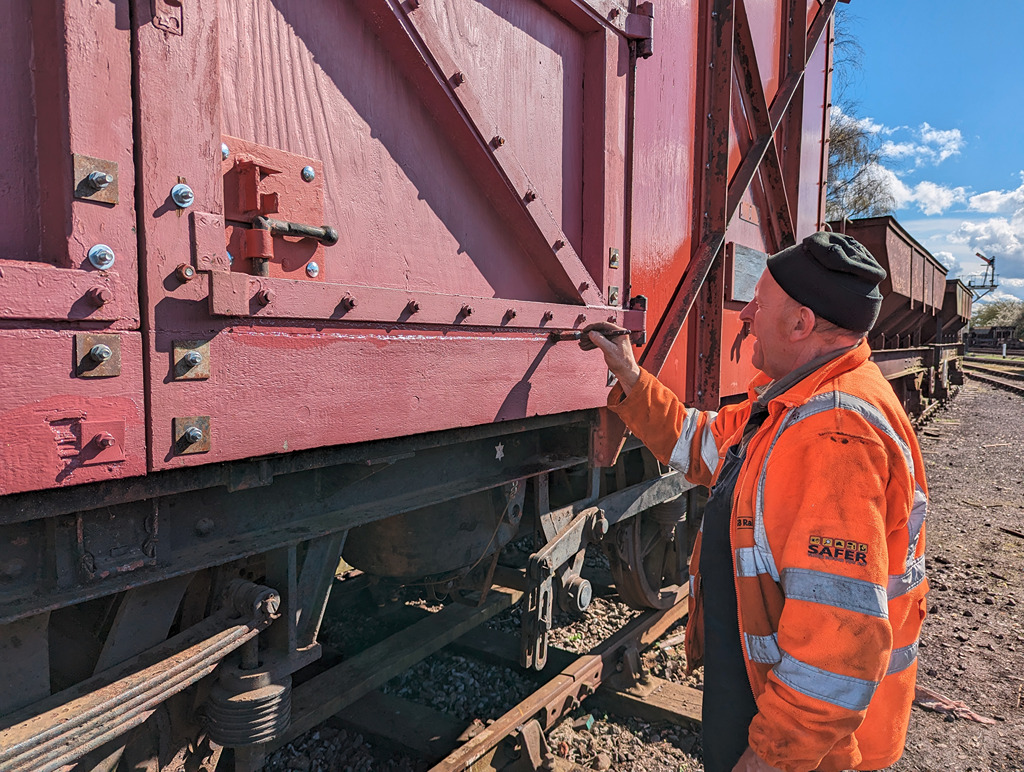
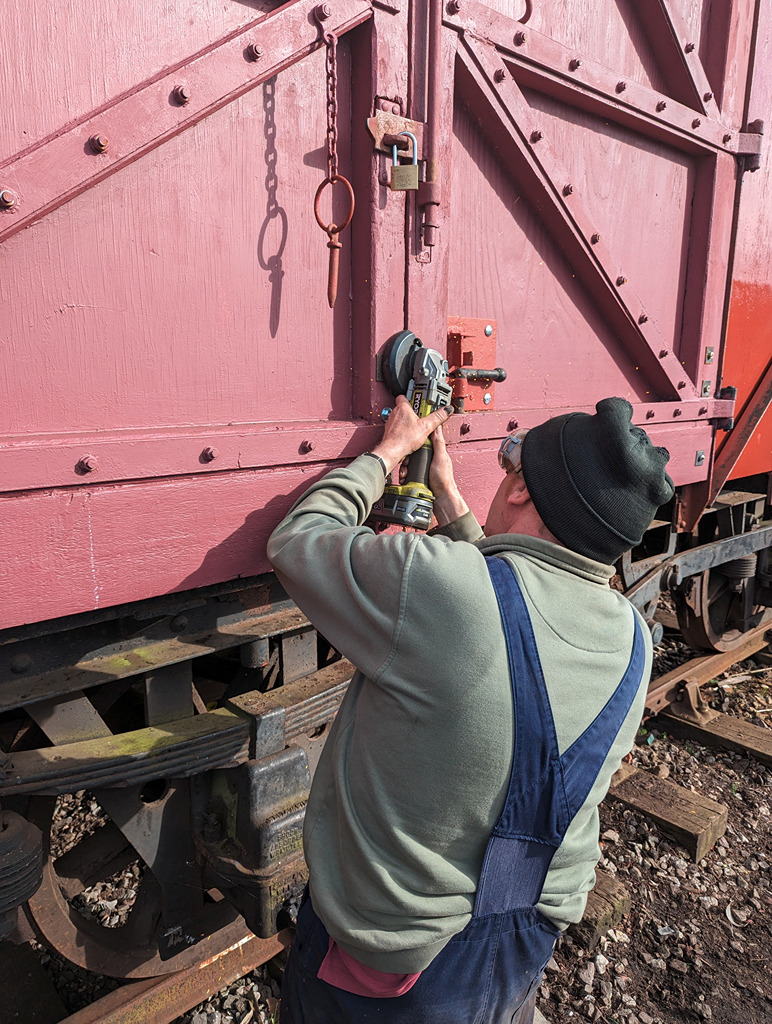
With the ends of the roof only requiring a trim, the sides had the focus on Sunday. Between Richard, Nick and myself we got the door’s top frame mounted back in the van on both sides meaning the doors now finally latch. Due to the doors being rebuilt, they’ve required some alteration in the height to get them to fully close. Along the fixed sides we’ve used staples as we have always done.
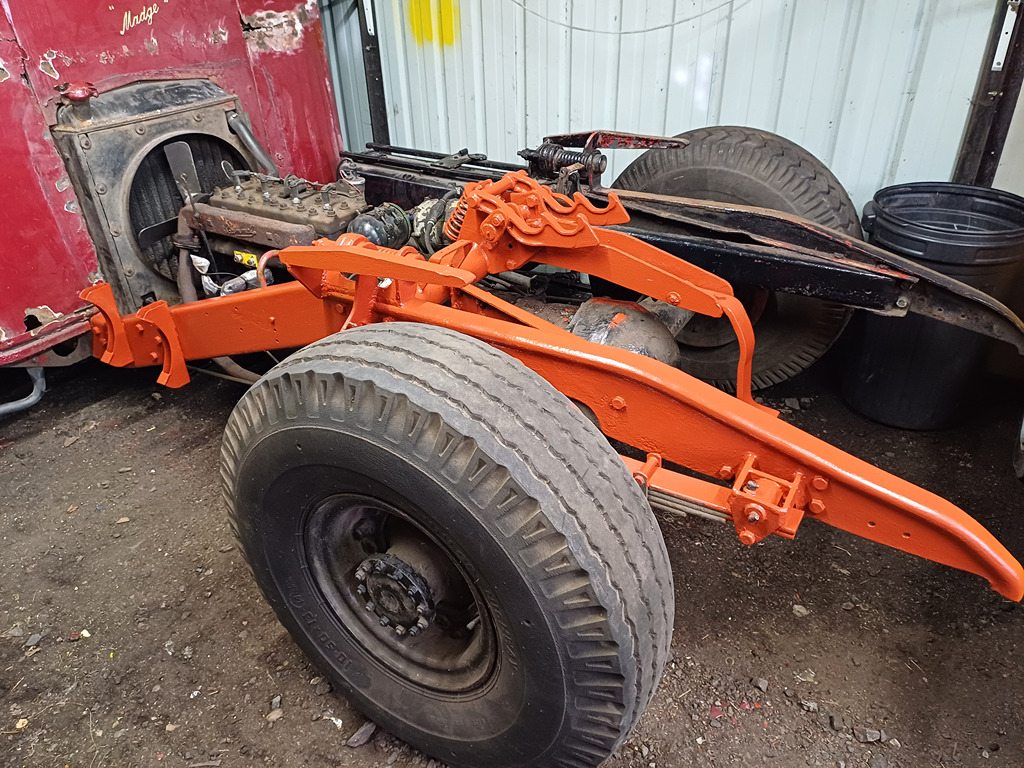
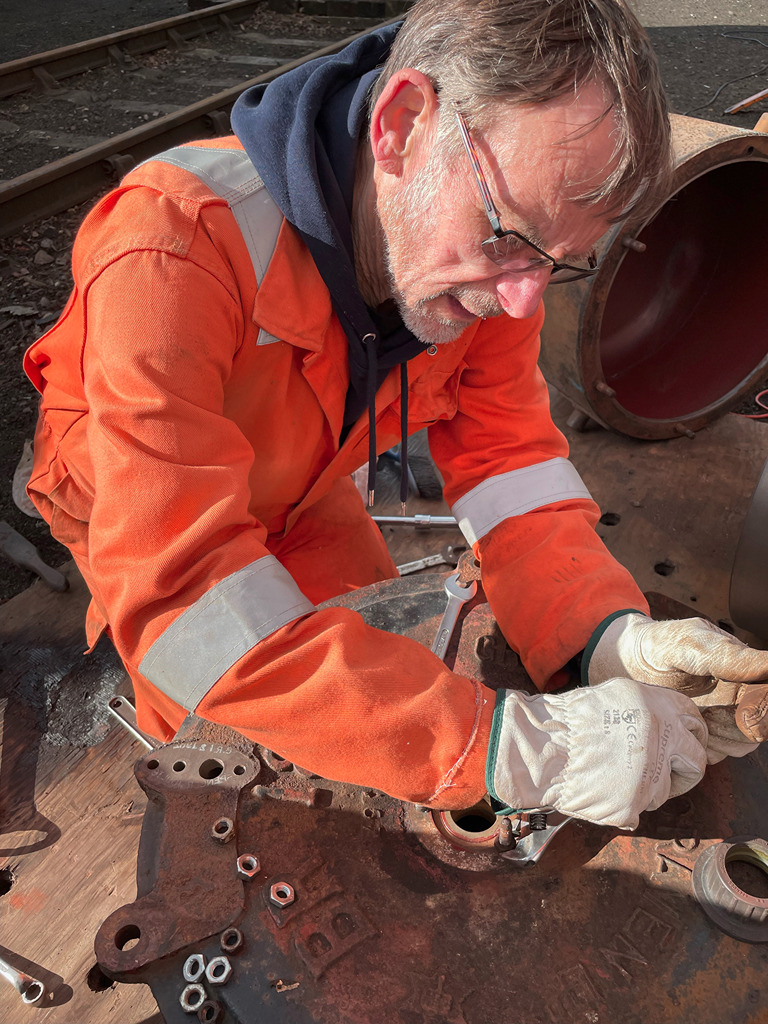
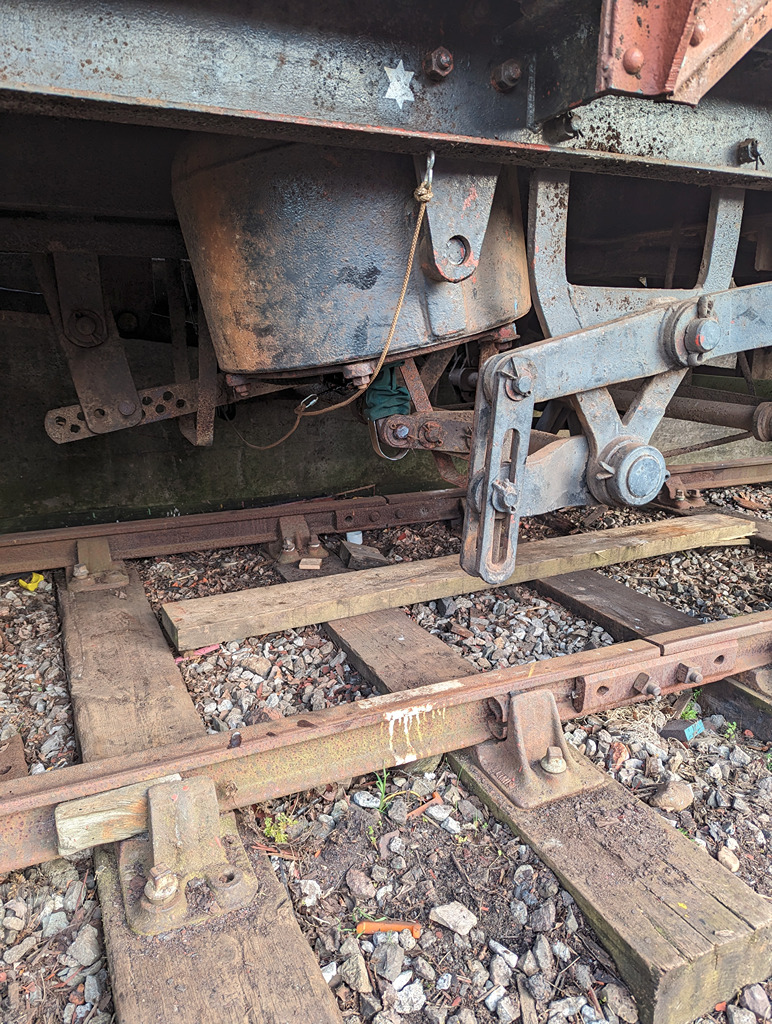
The vacuum cylinder was refitted on Monday, along with a refurbished release valve from stock and and new branch pipe. The vacuum rig was wheeled out and the overhauled system tested. A full vacuum test shall follow, that this will be after the wheelsets have been swapped and the brakes adjusted.
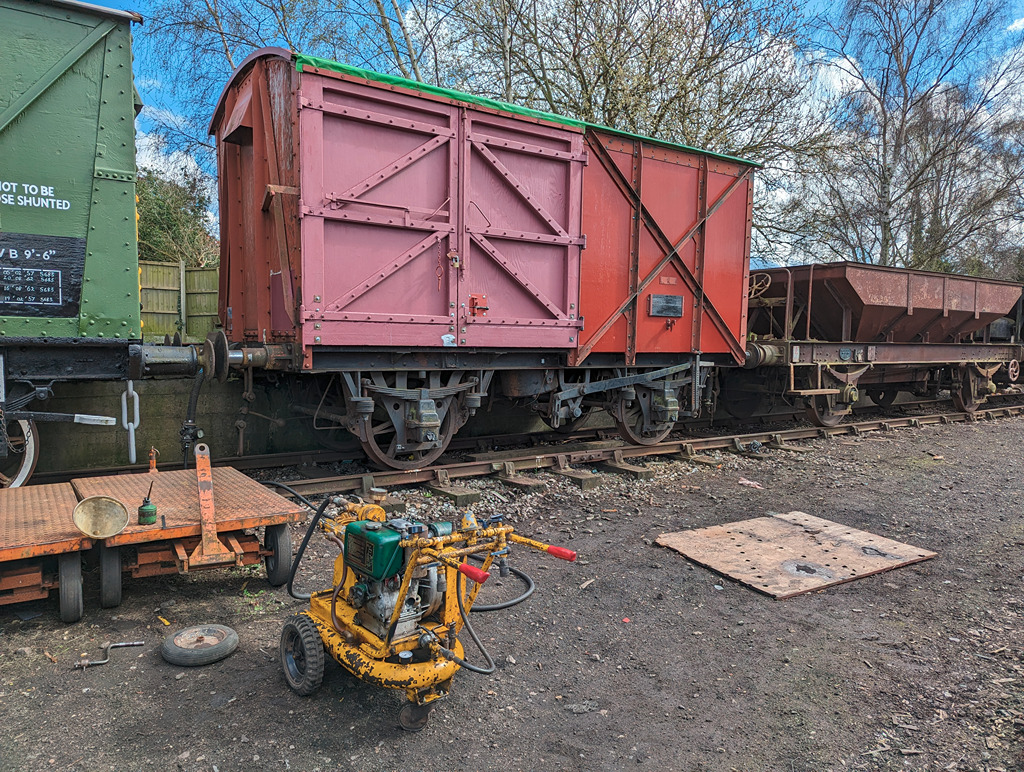
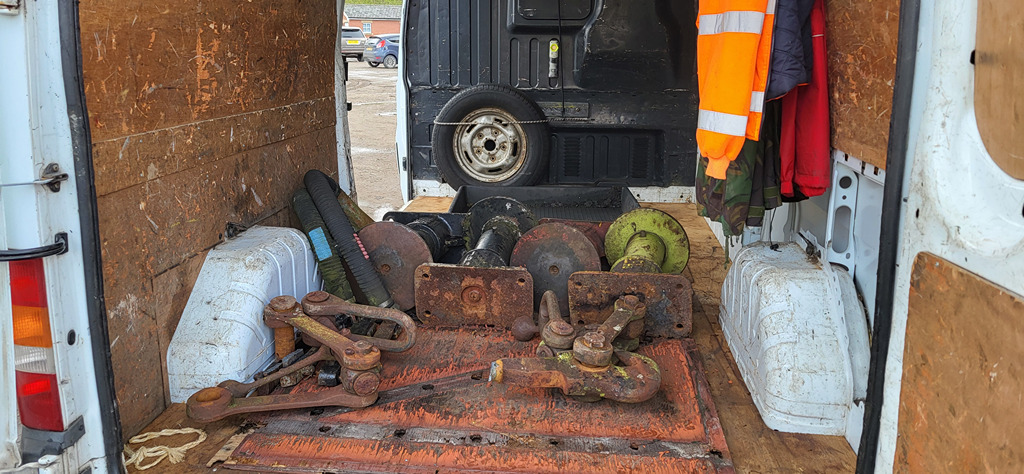
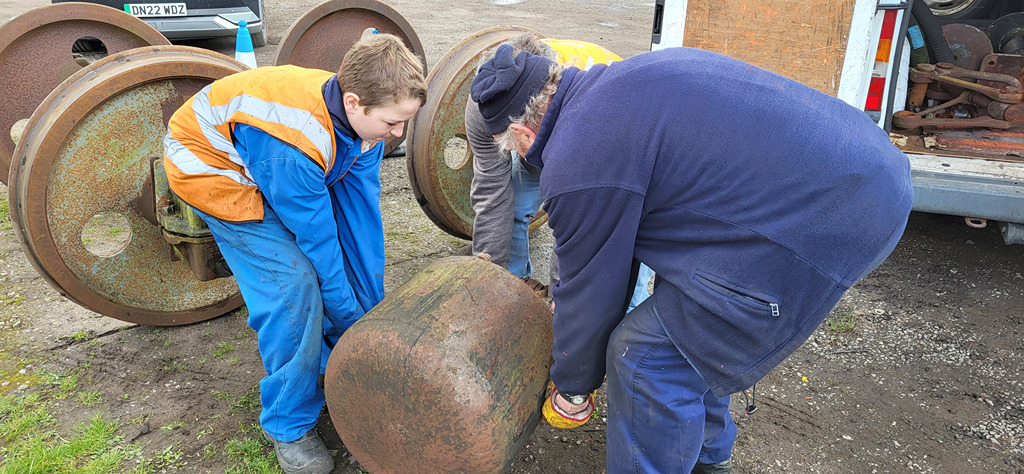
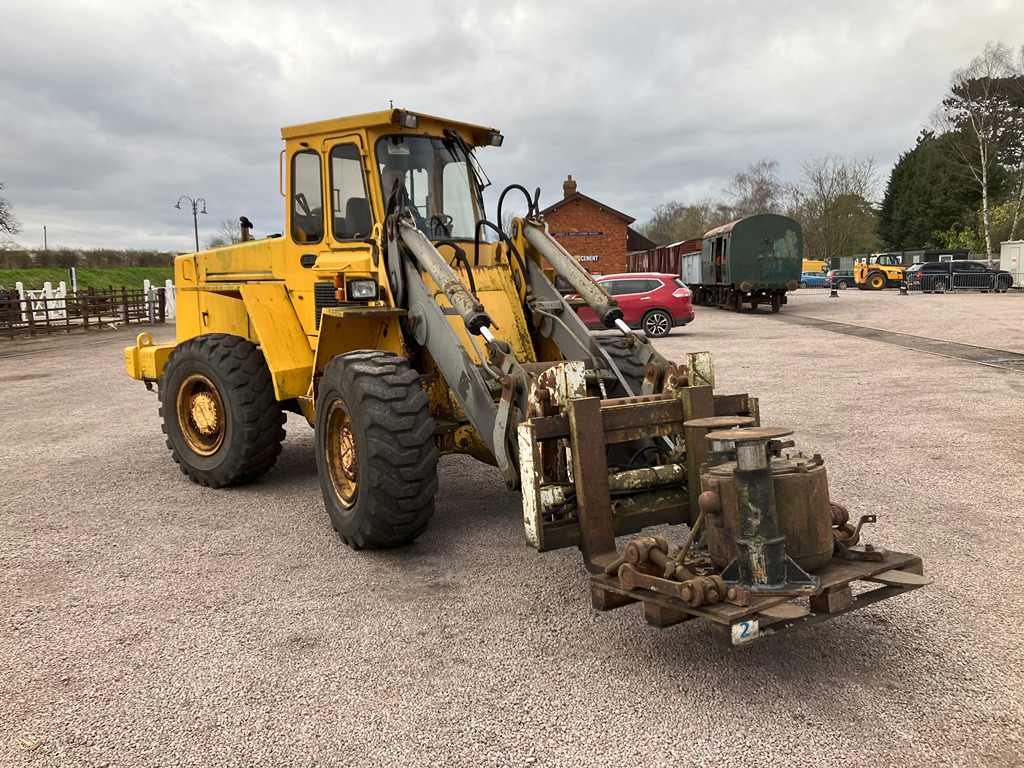
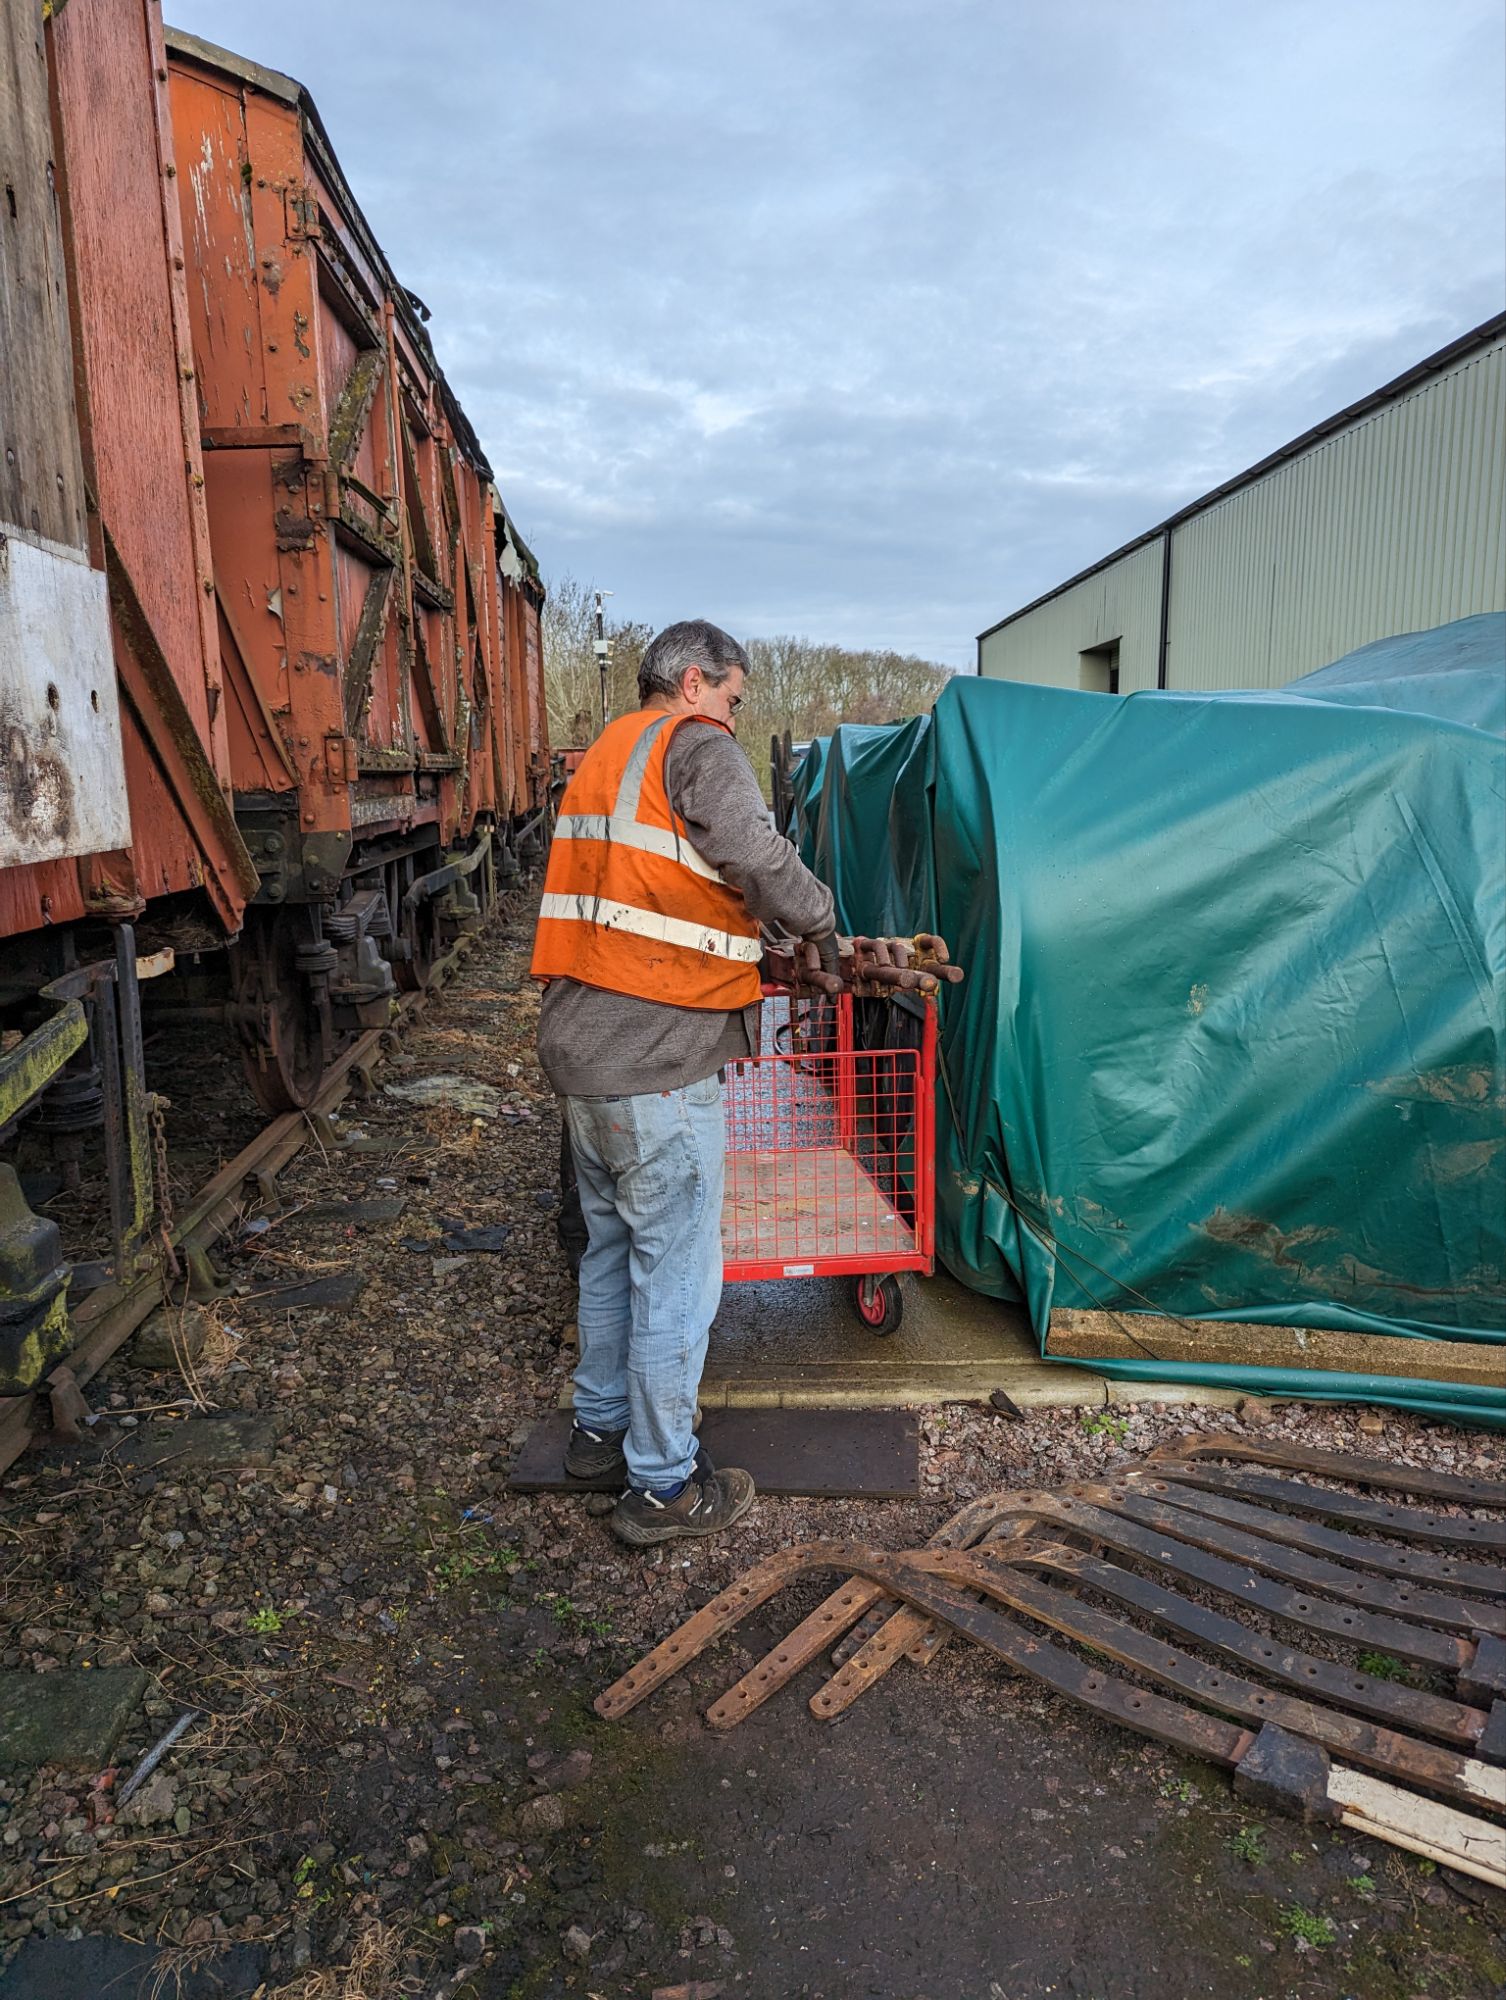
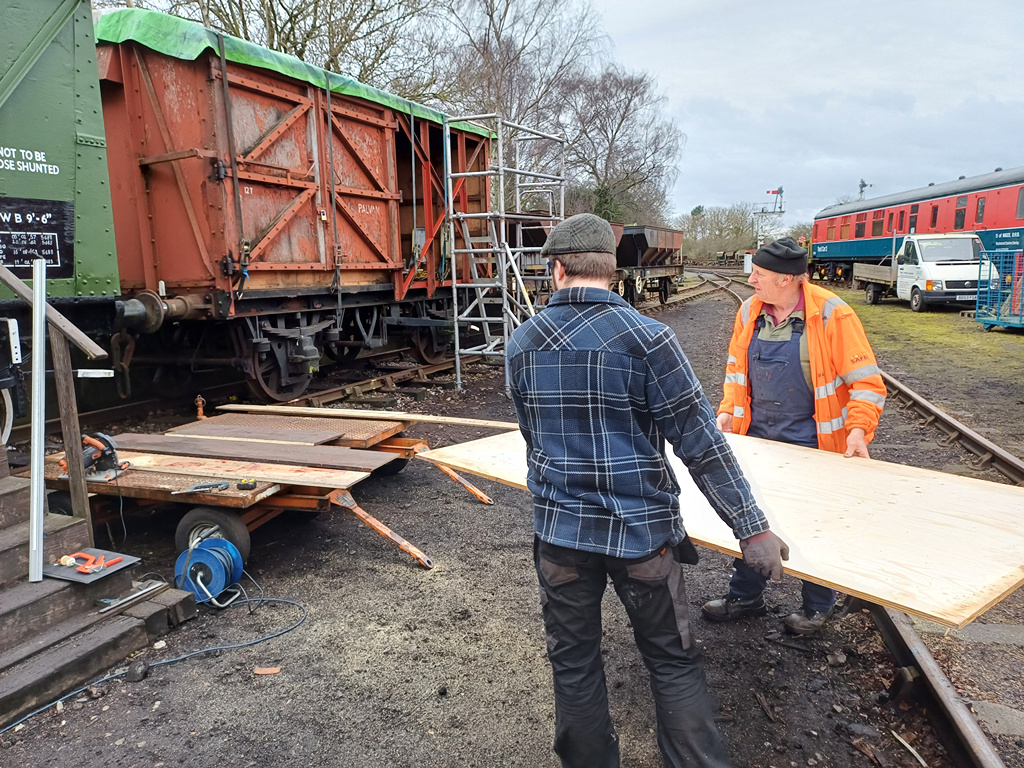
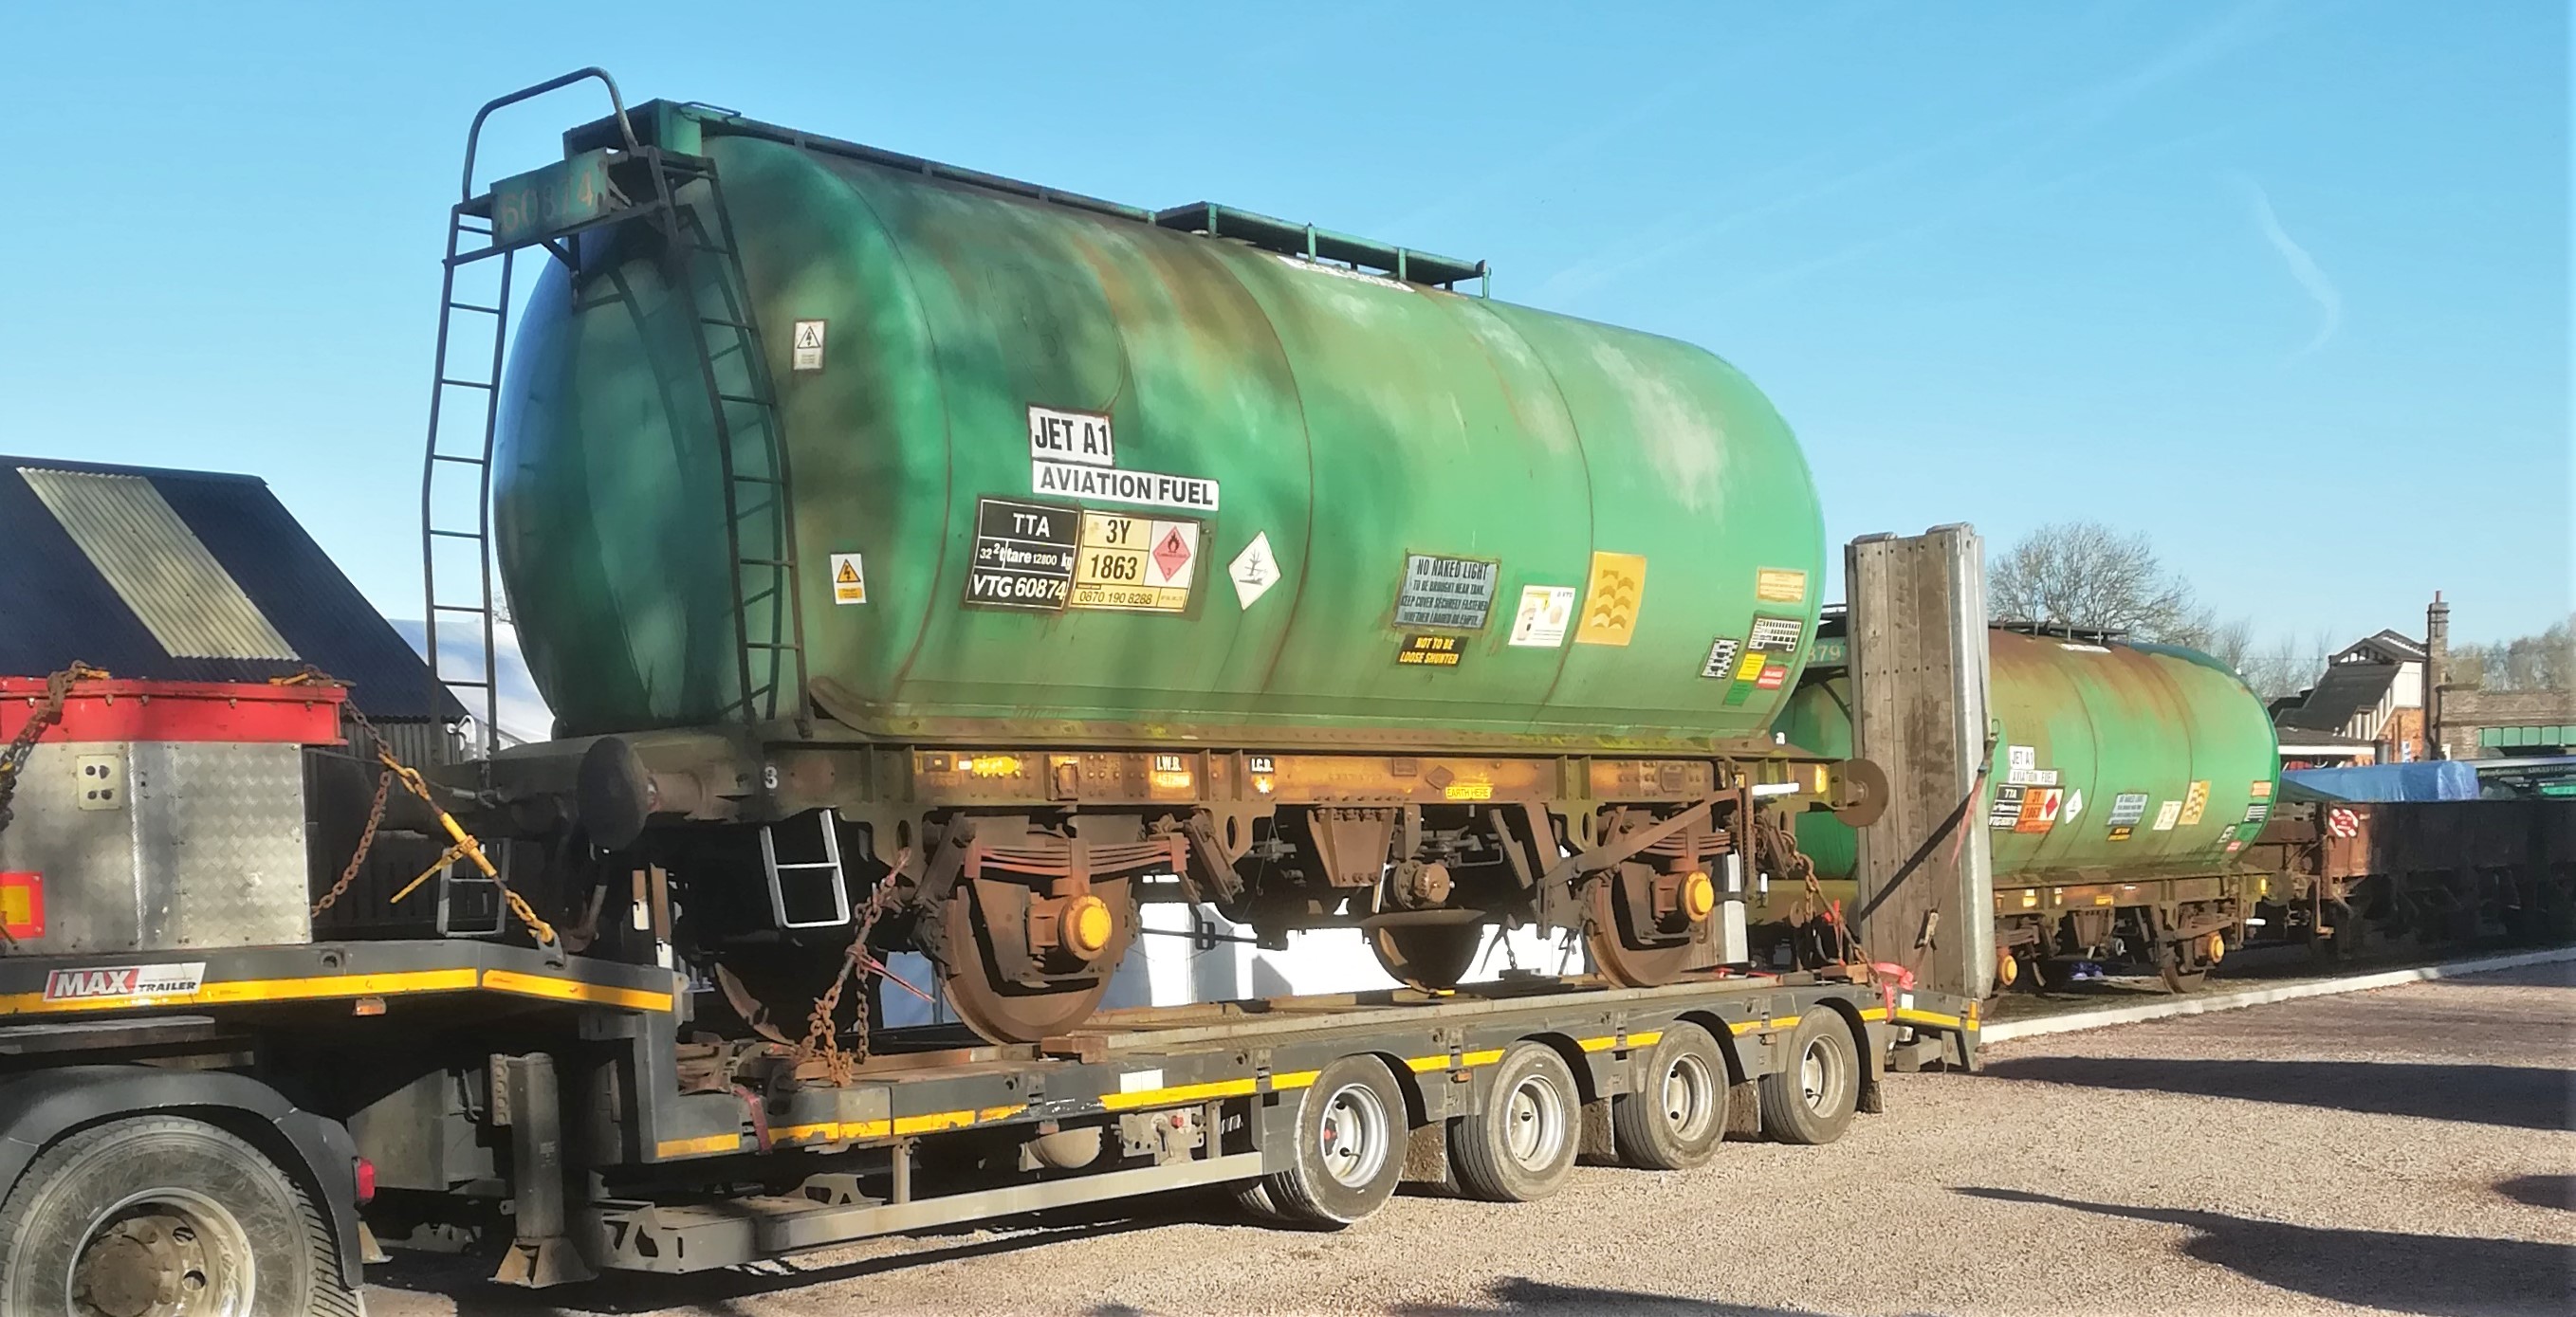
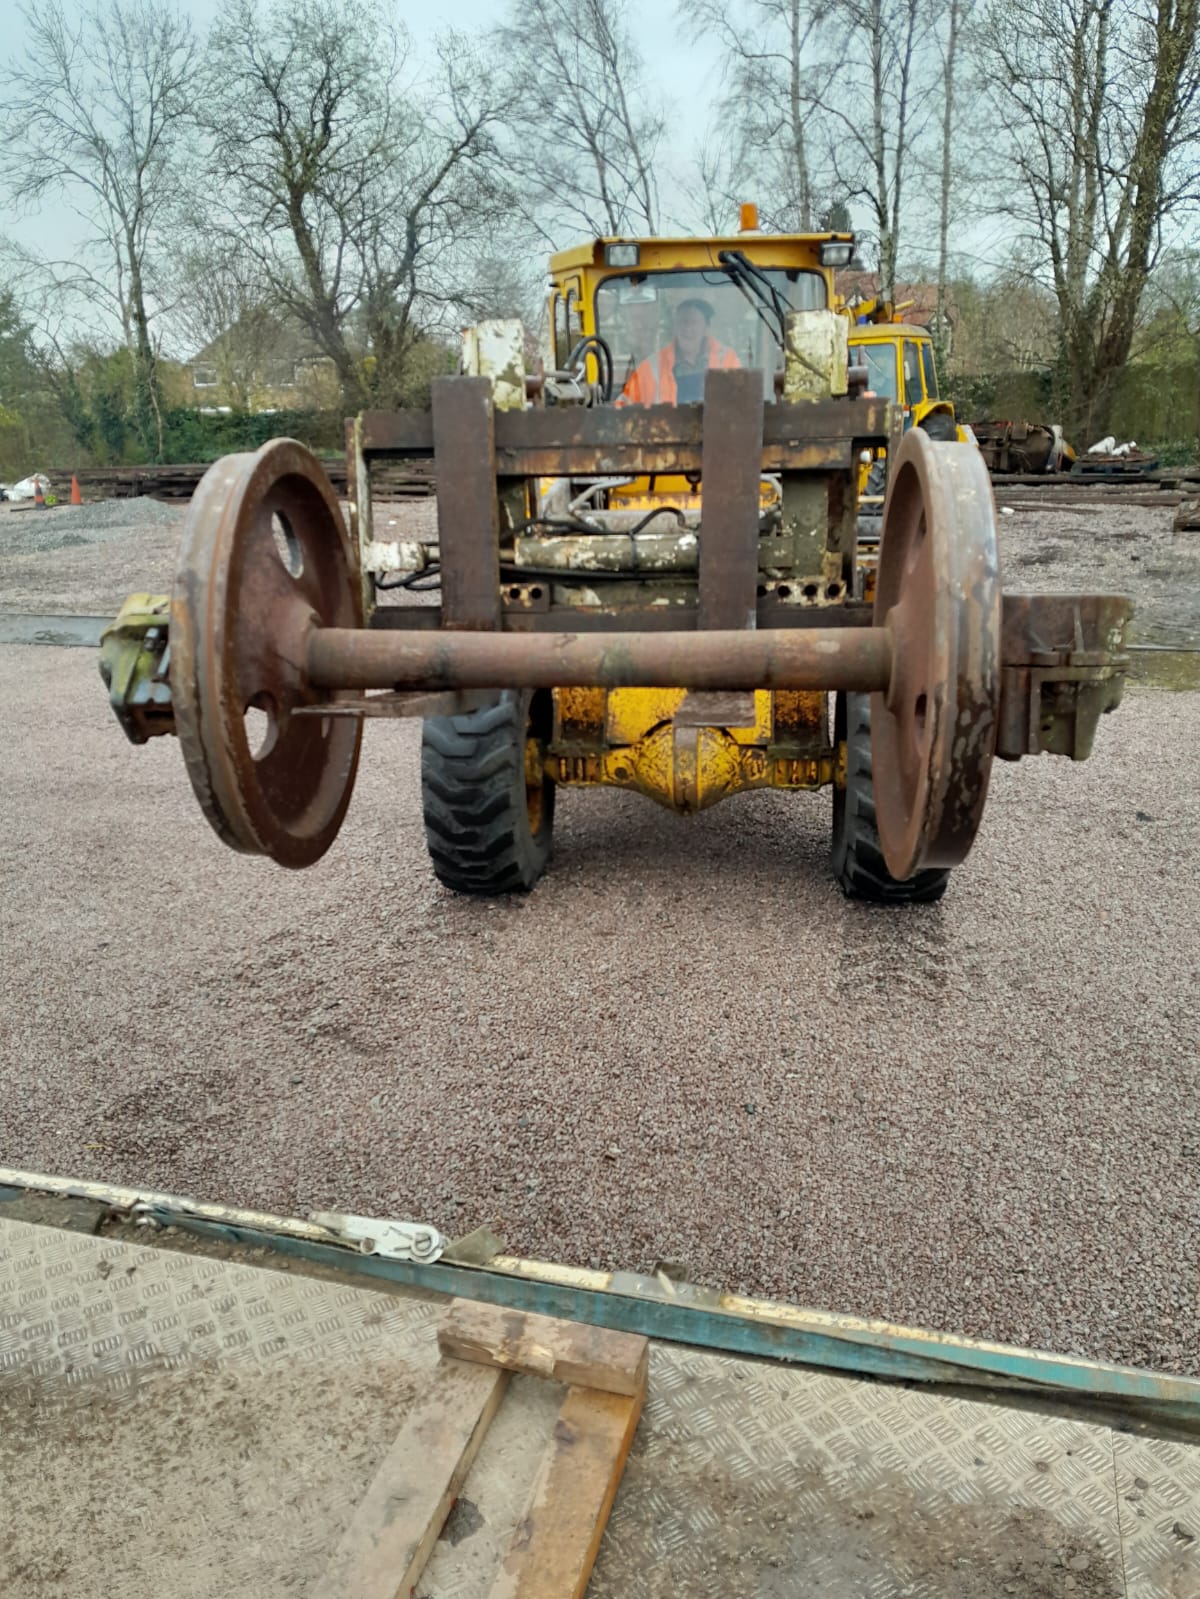
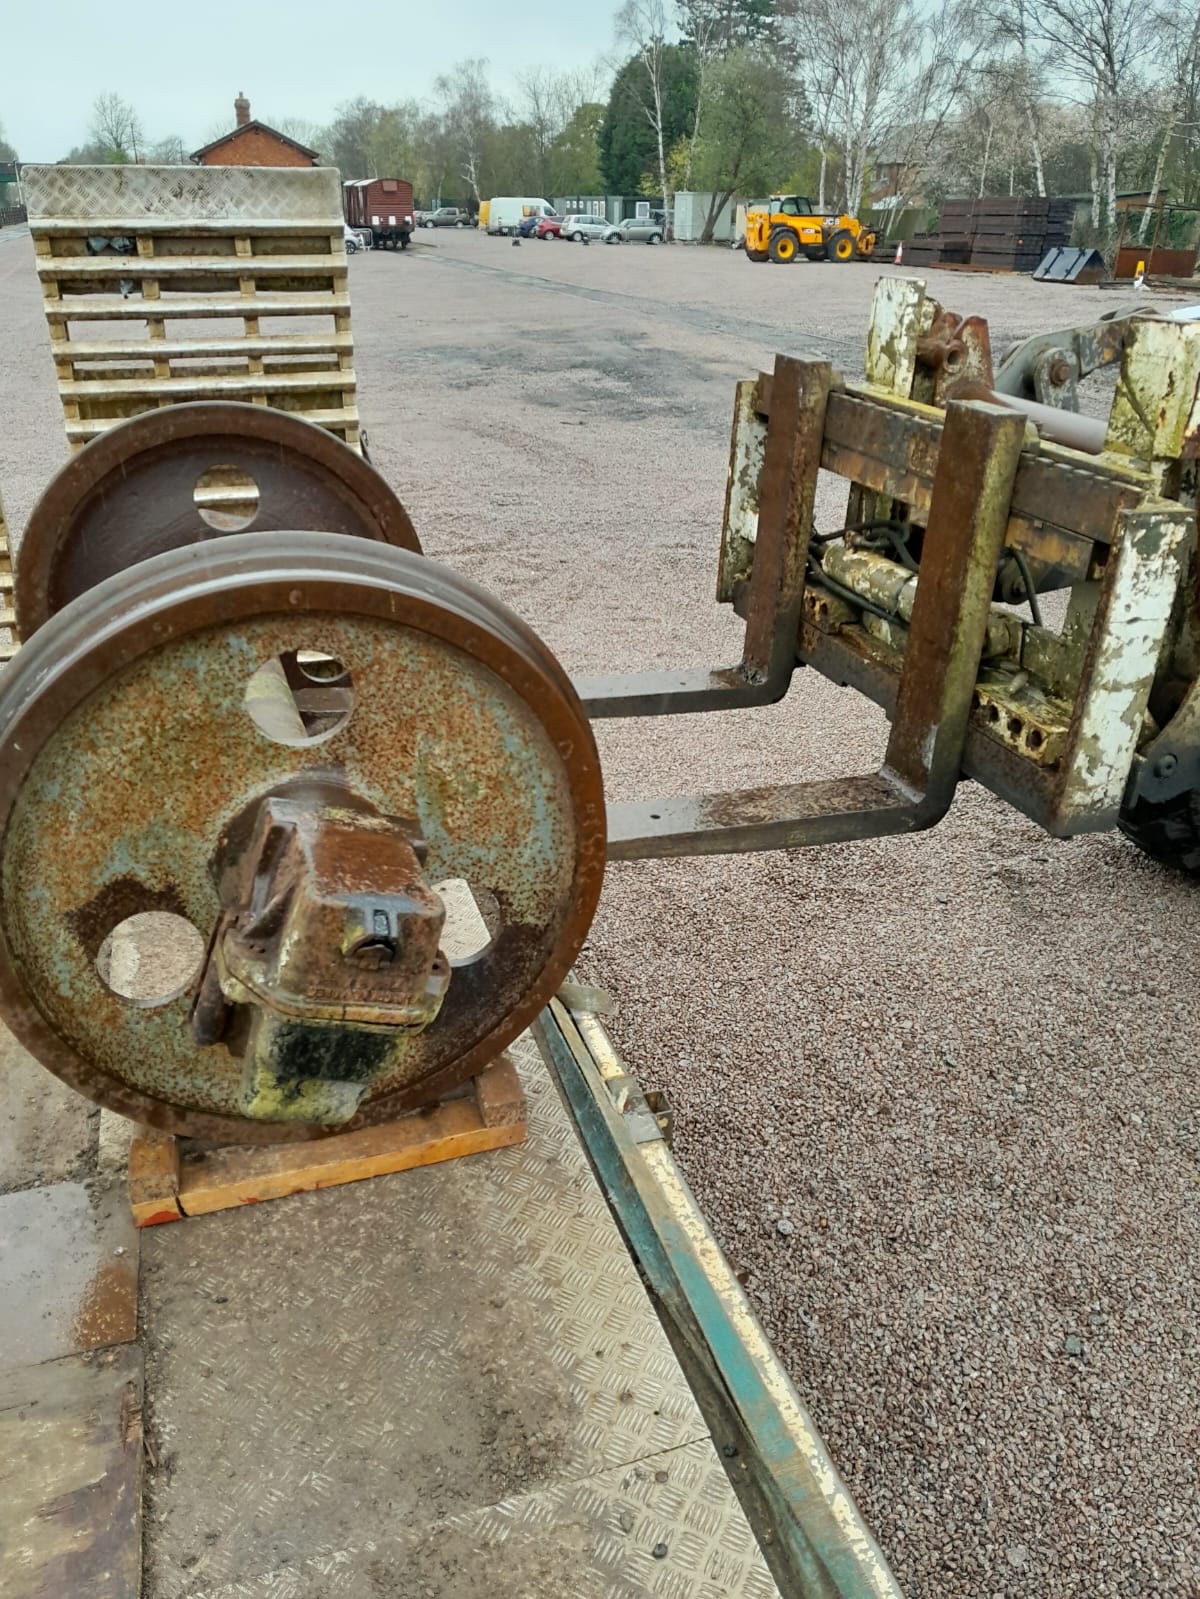
Speaking of wheelsets, these were picked up in the week as well so are sat on site waiting to be fitted. Thanks to our friends at Kenway Construction who loaned us their lorry for this.
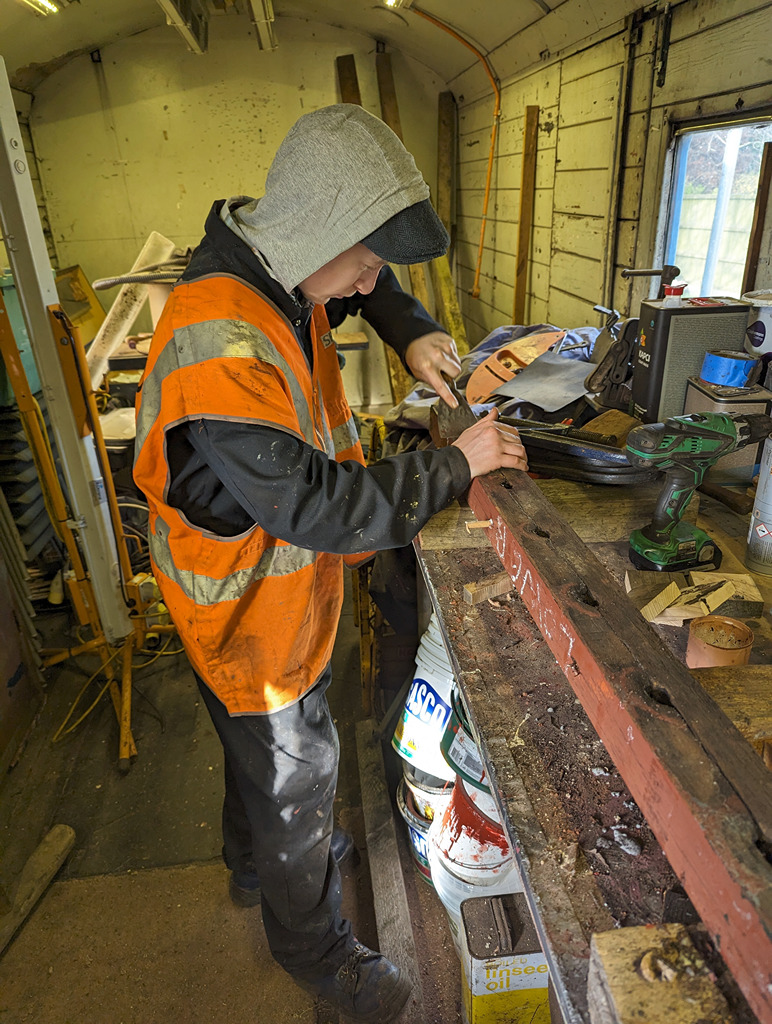
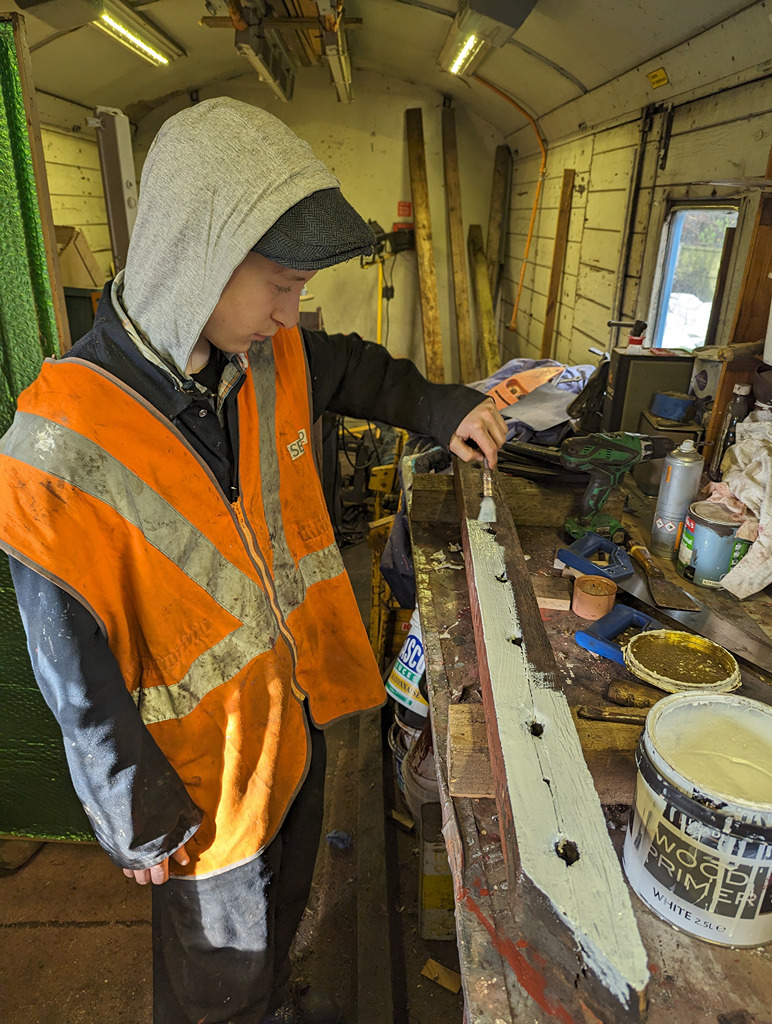
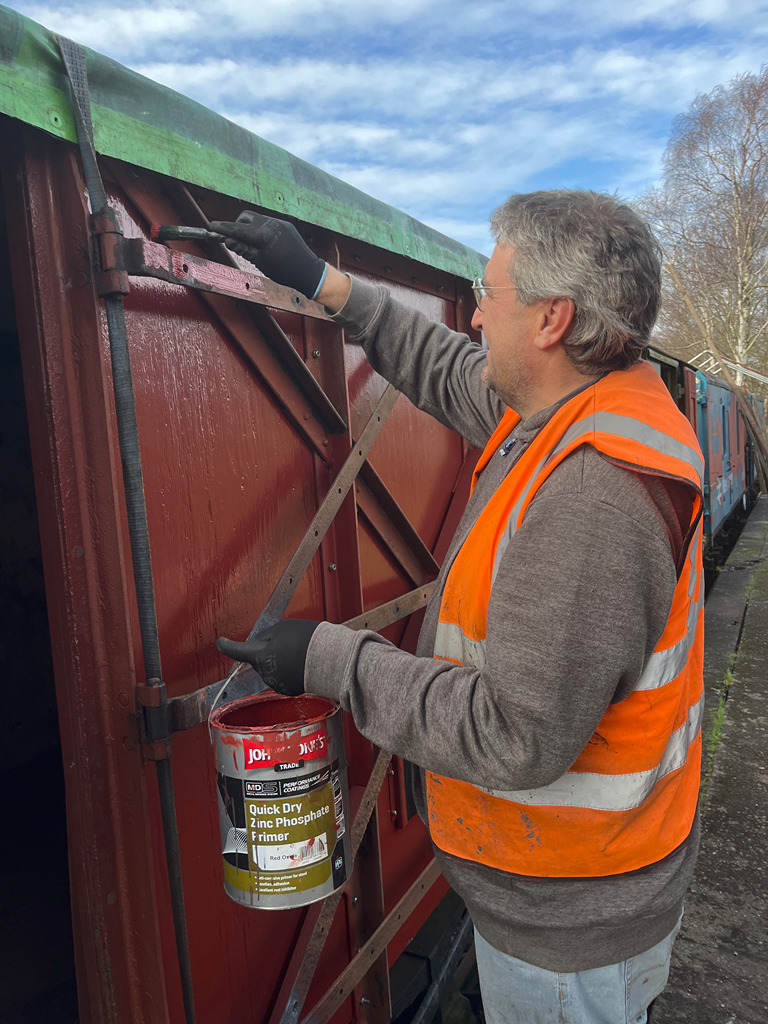
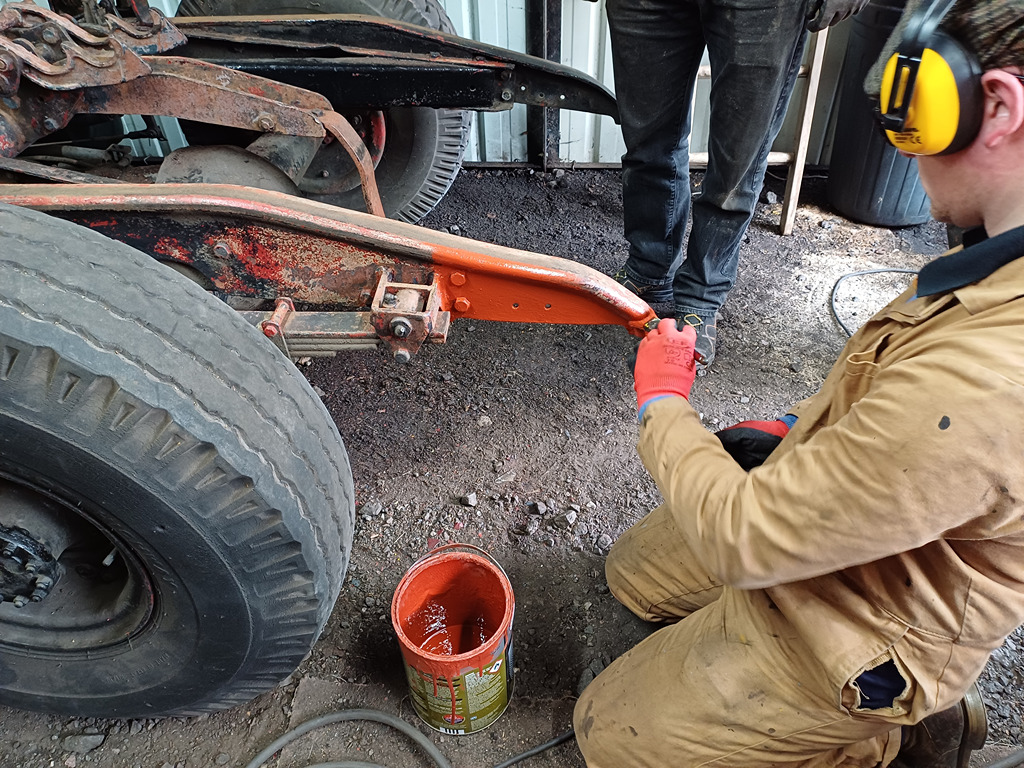
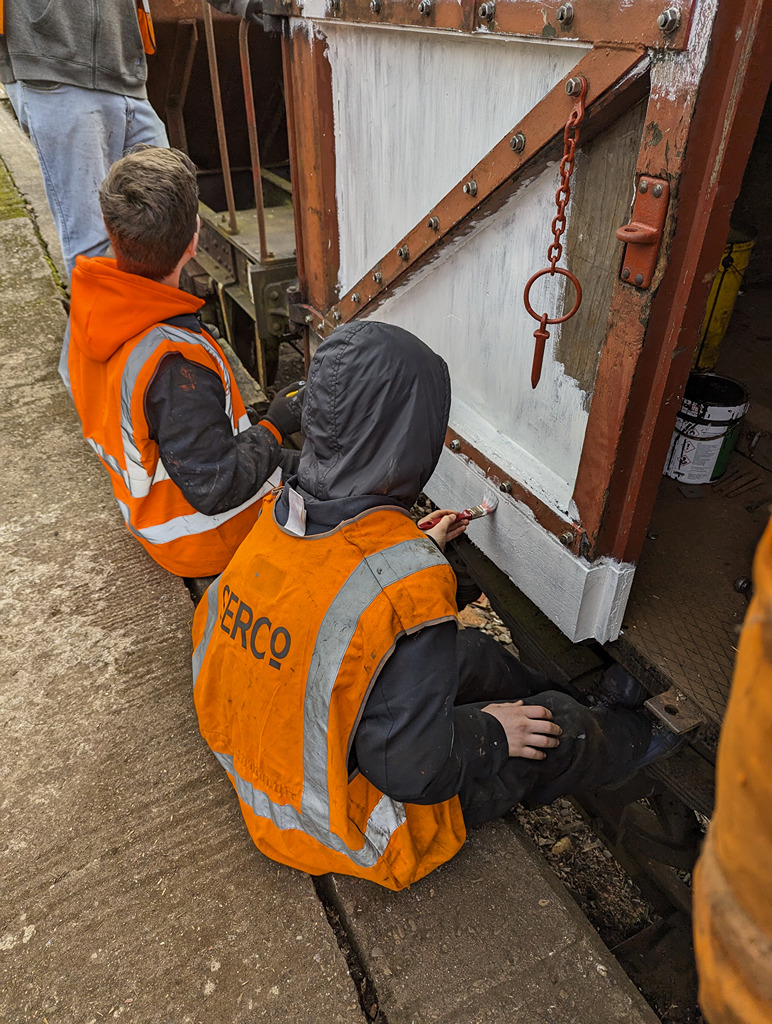
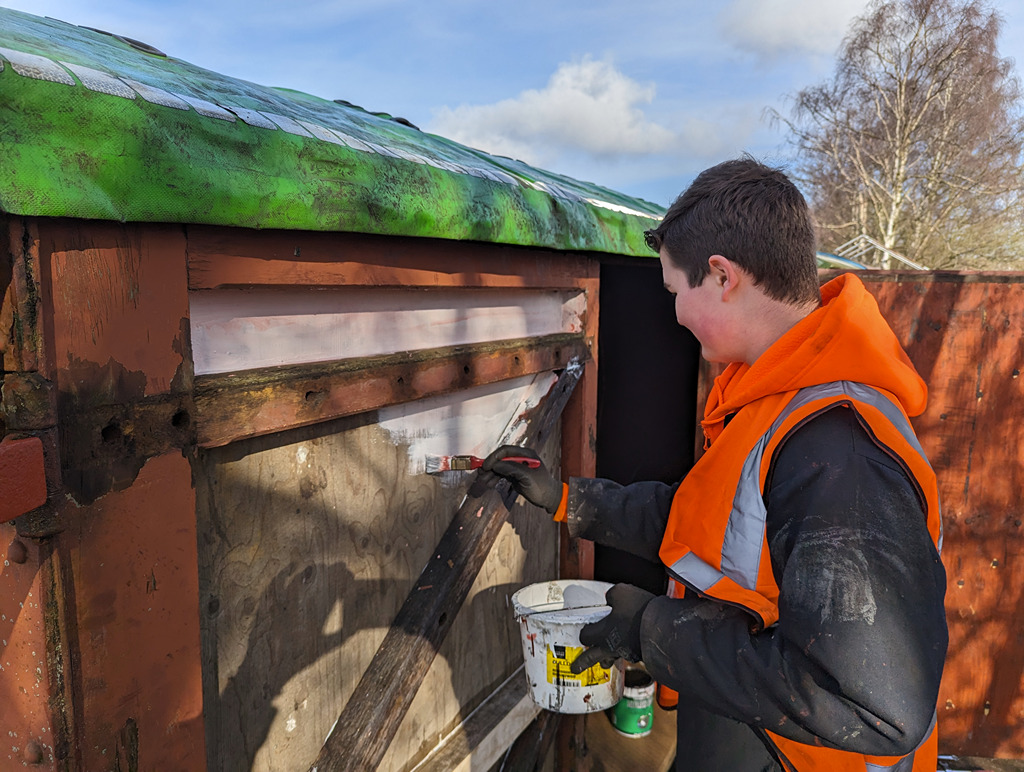
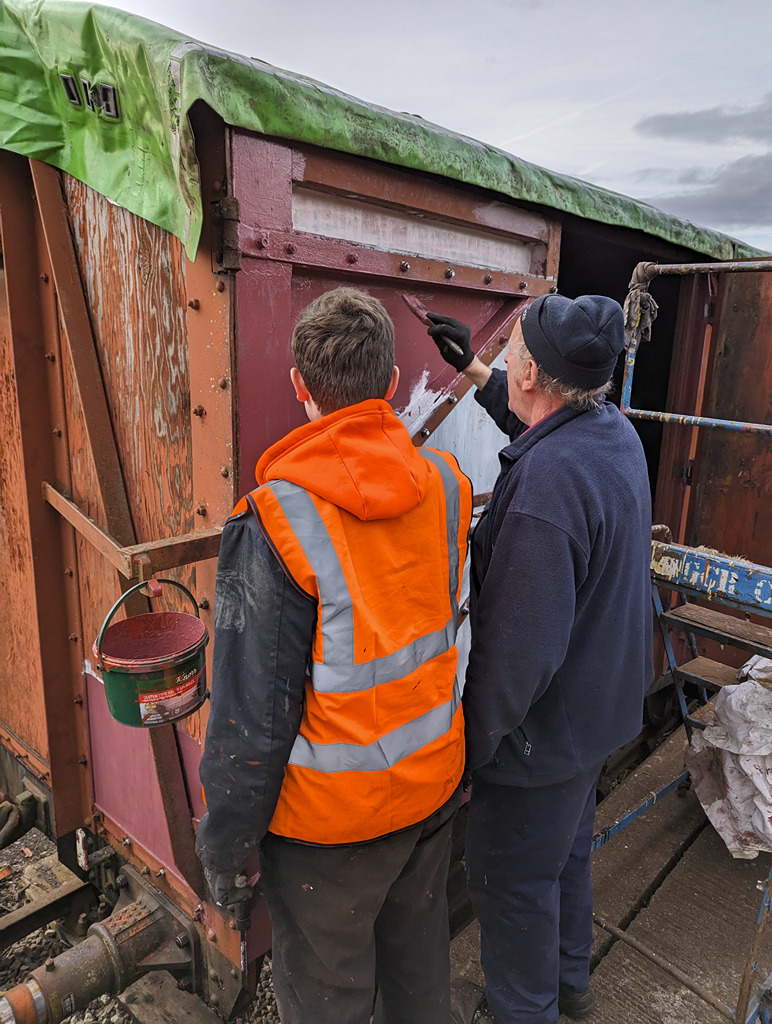
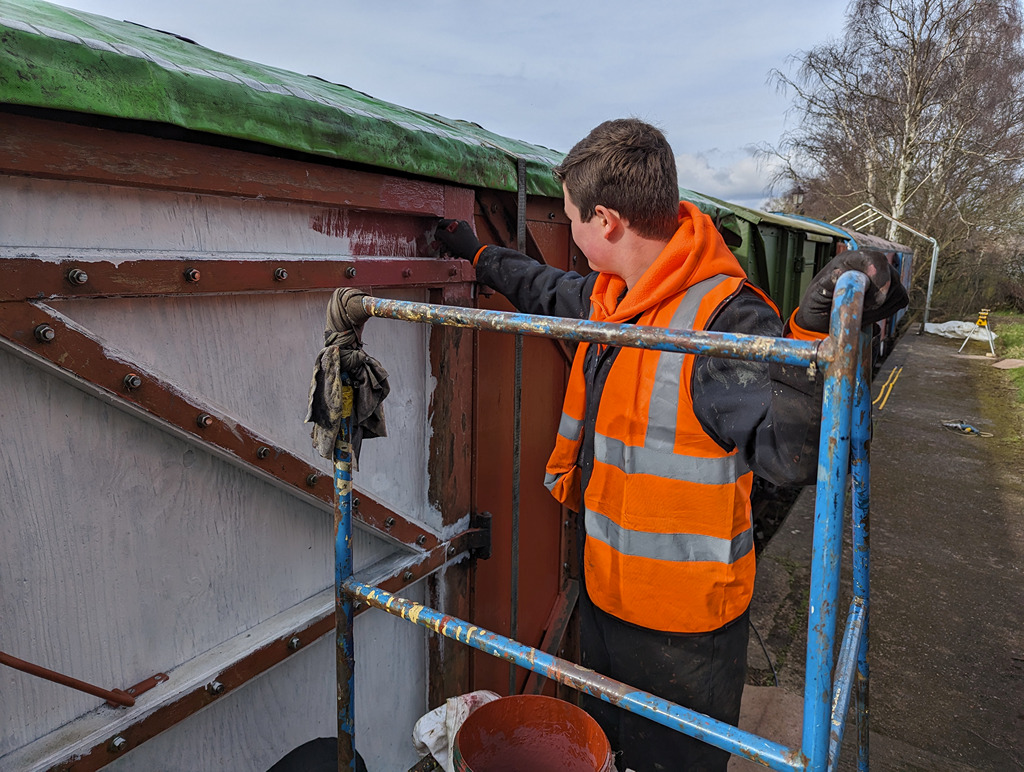
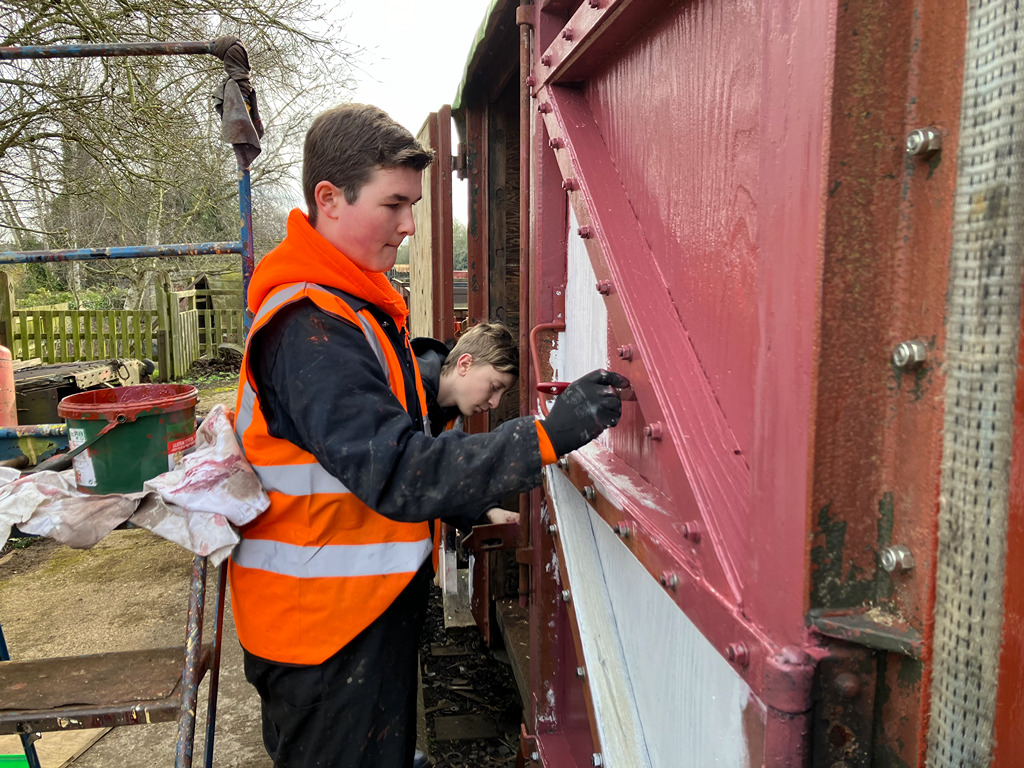
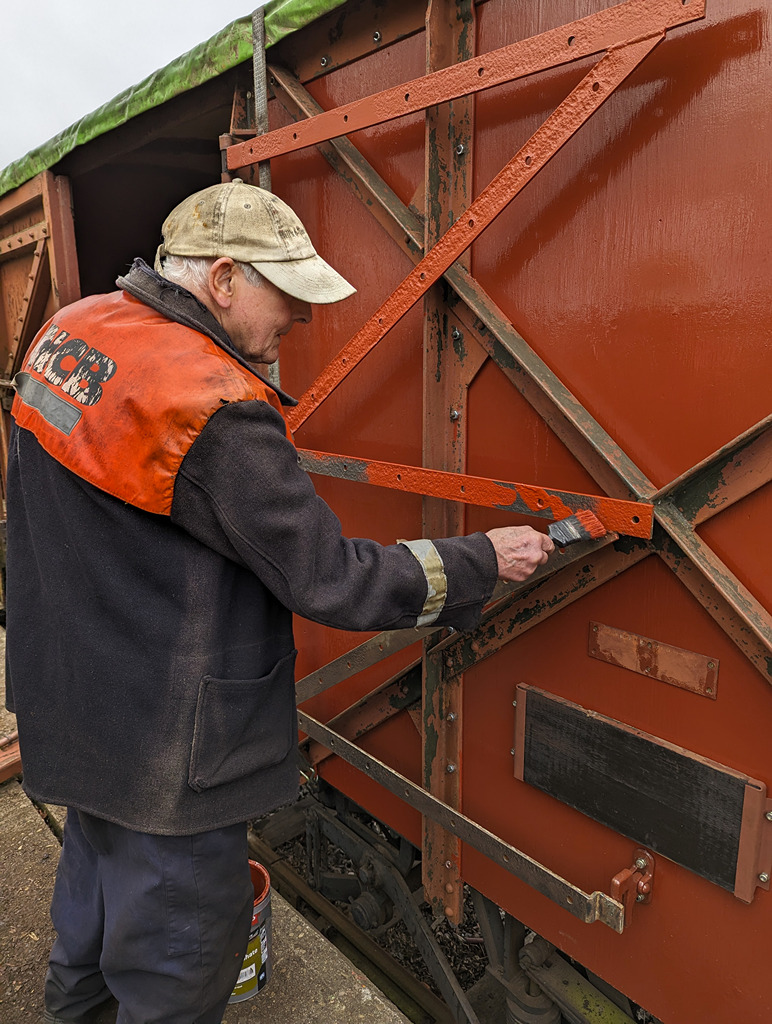
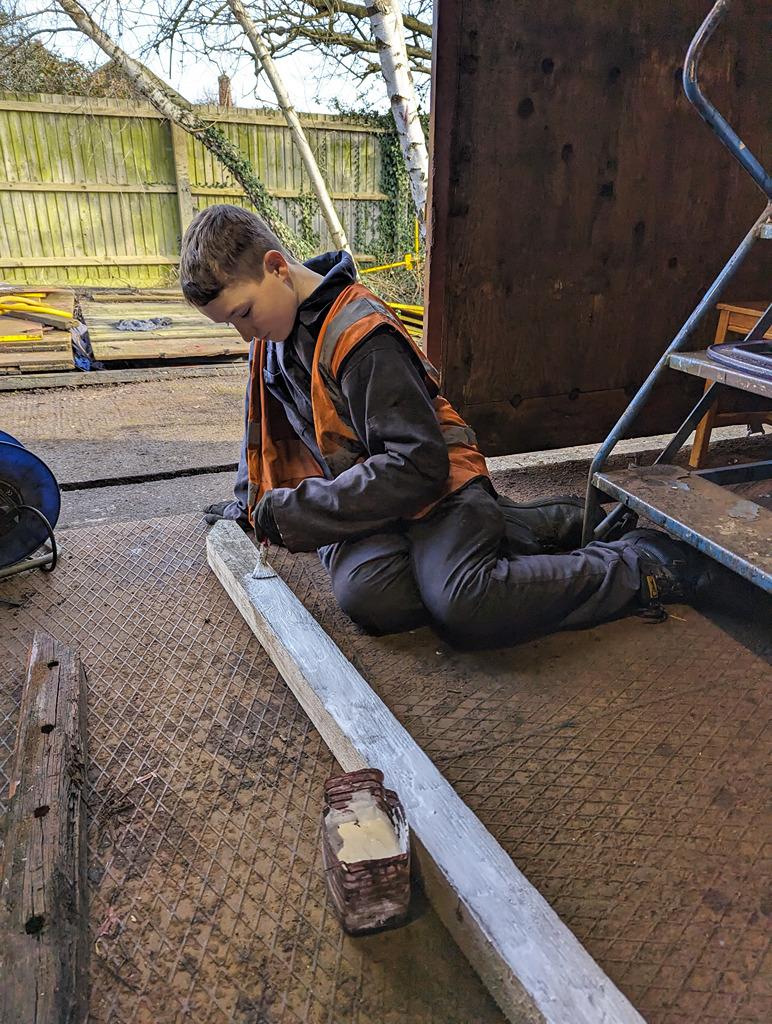
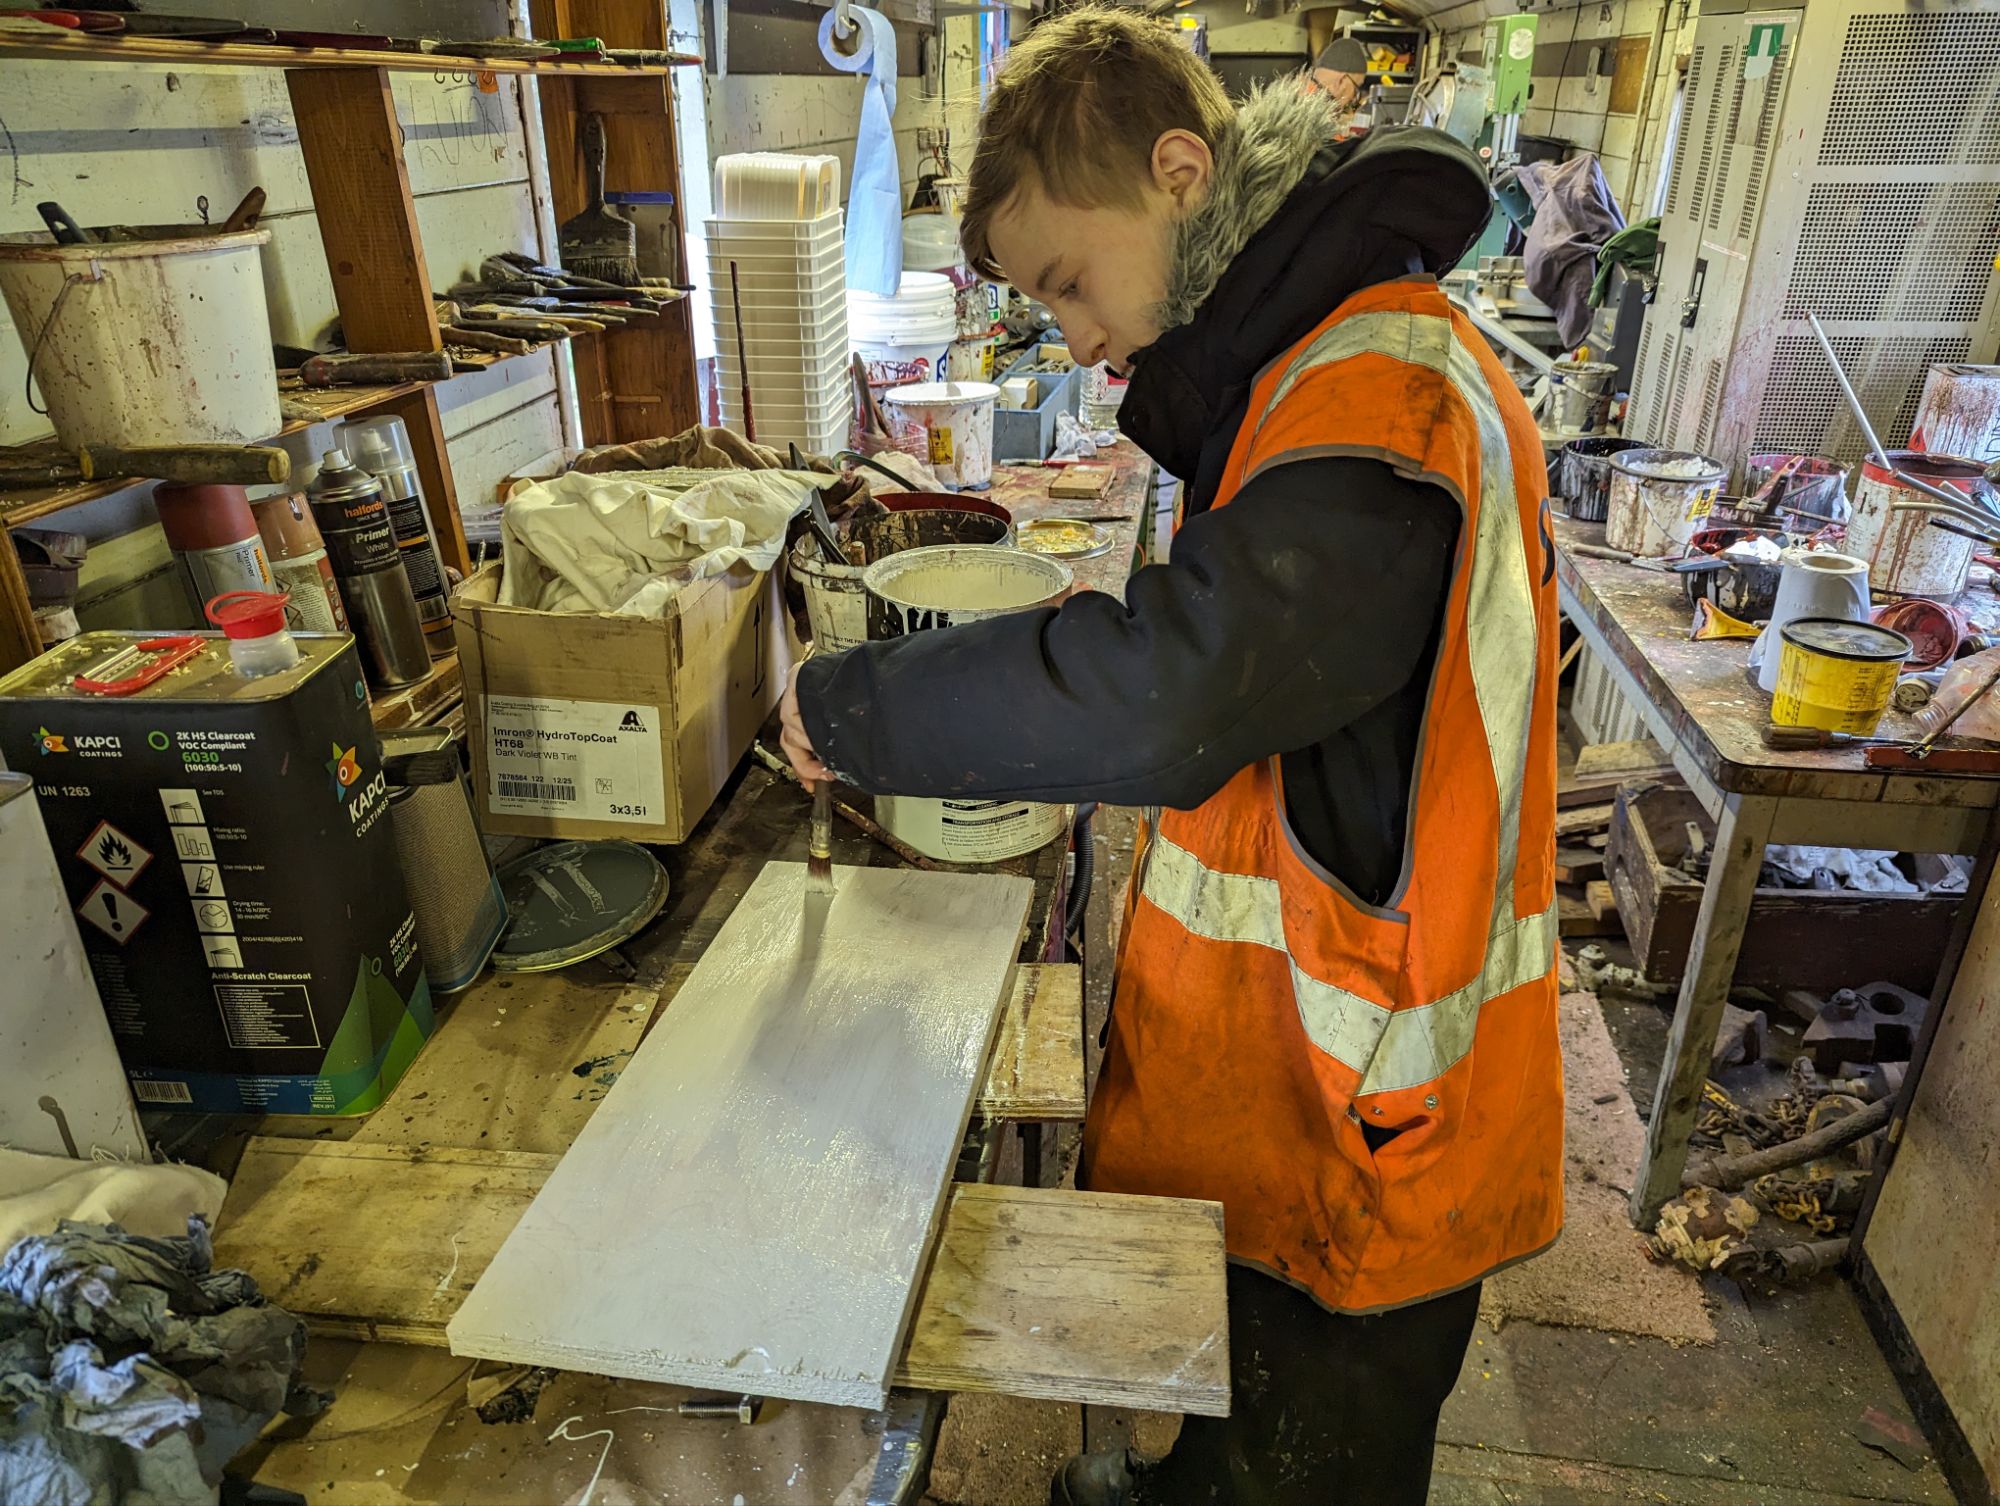
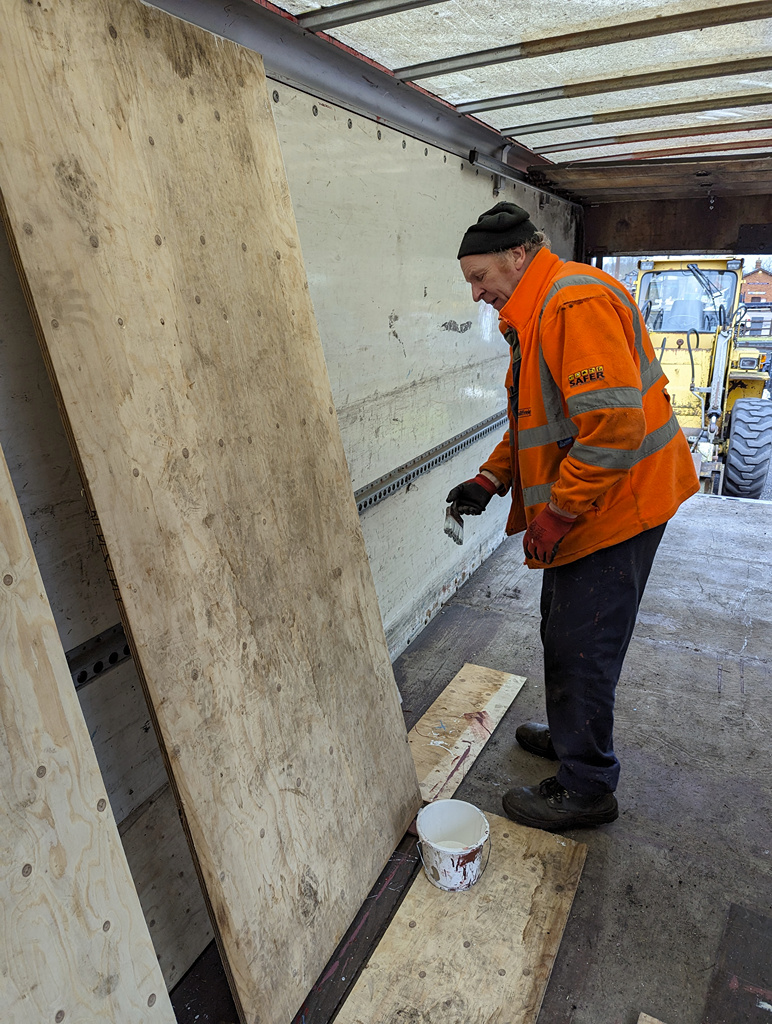
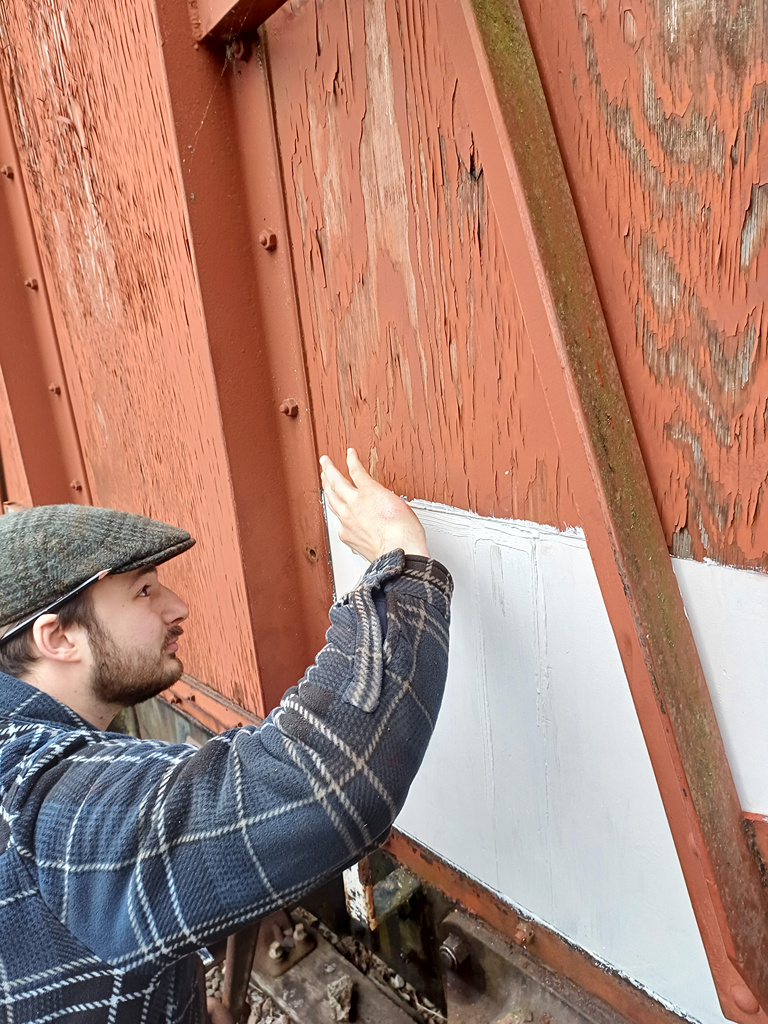
Nick finished off by touching in some of the undercoat on the doors and trimming some of the longer bolts.
This weekend it feels like the van has come on leaps and bounds, we’ve now finished the doors and the roof. This leaves us the wheelsets and the painting to complete to get the van into the train. Join us next week to see which bit we make a start on!