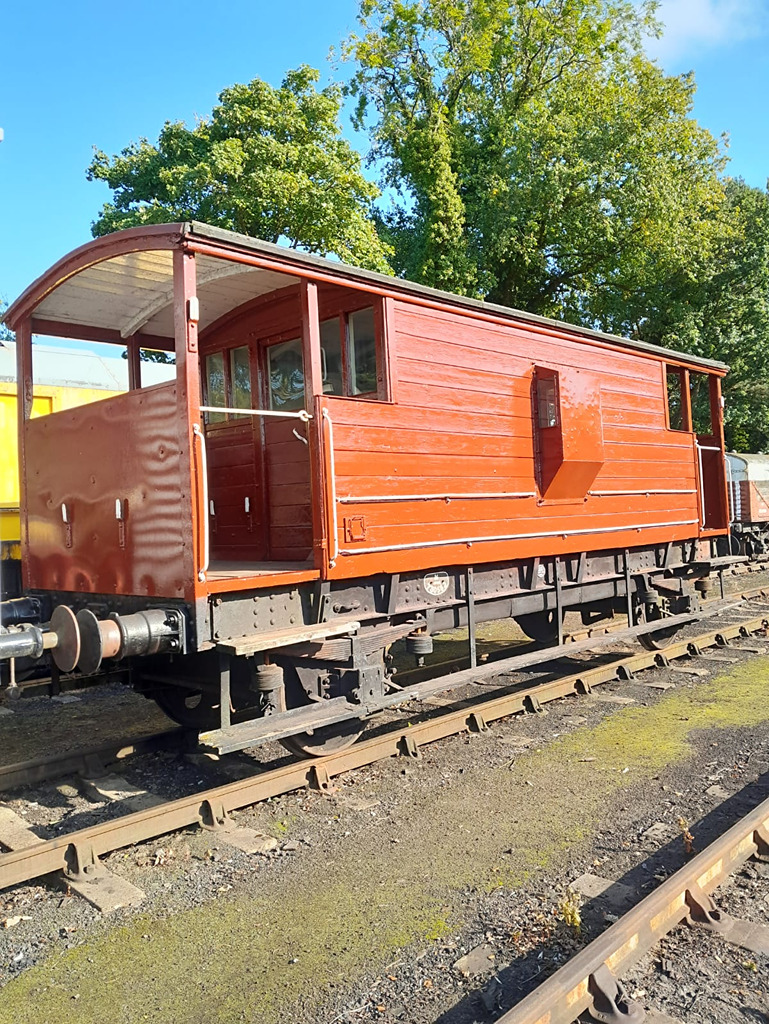
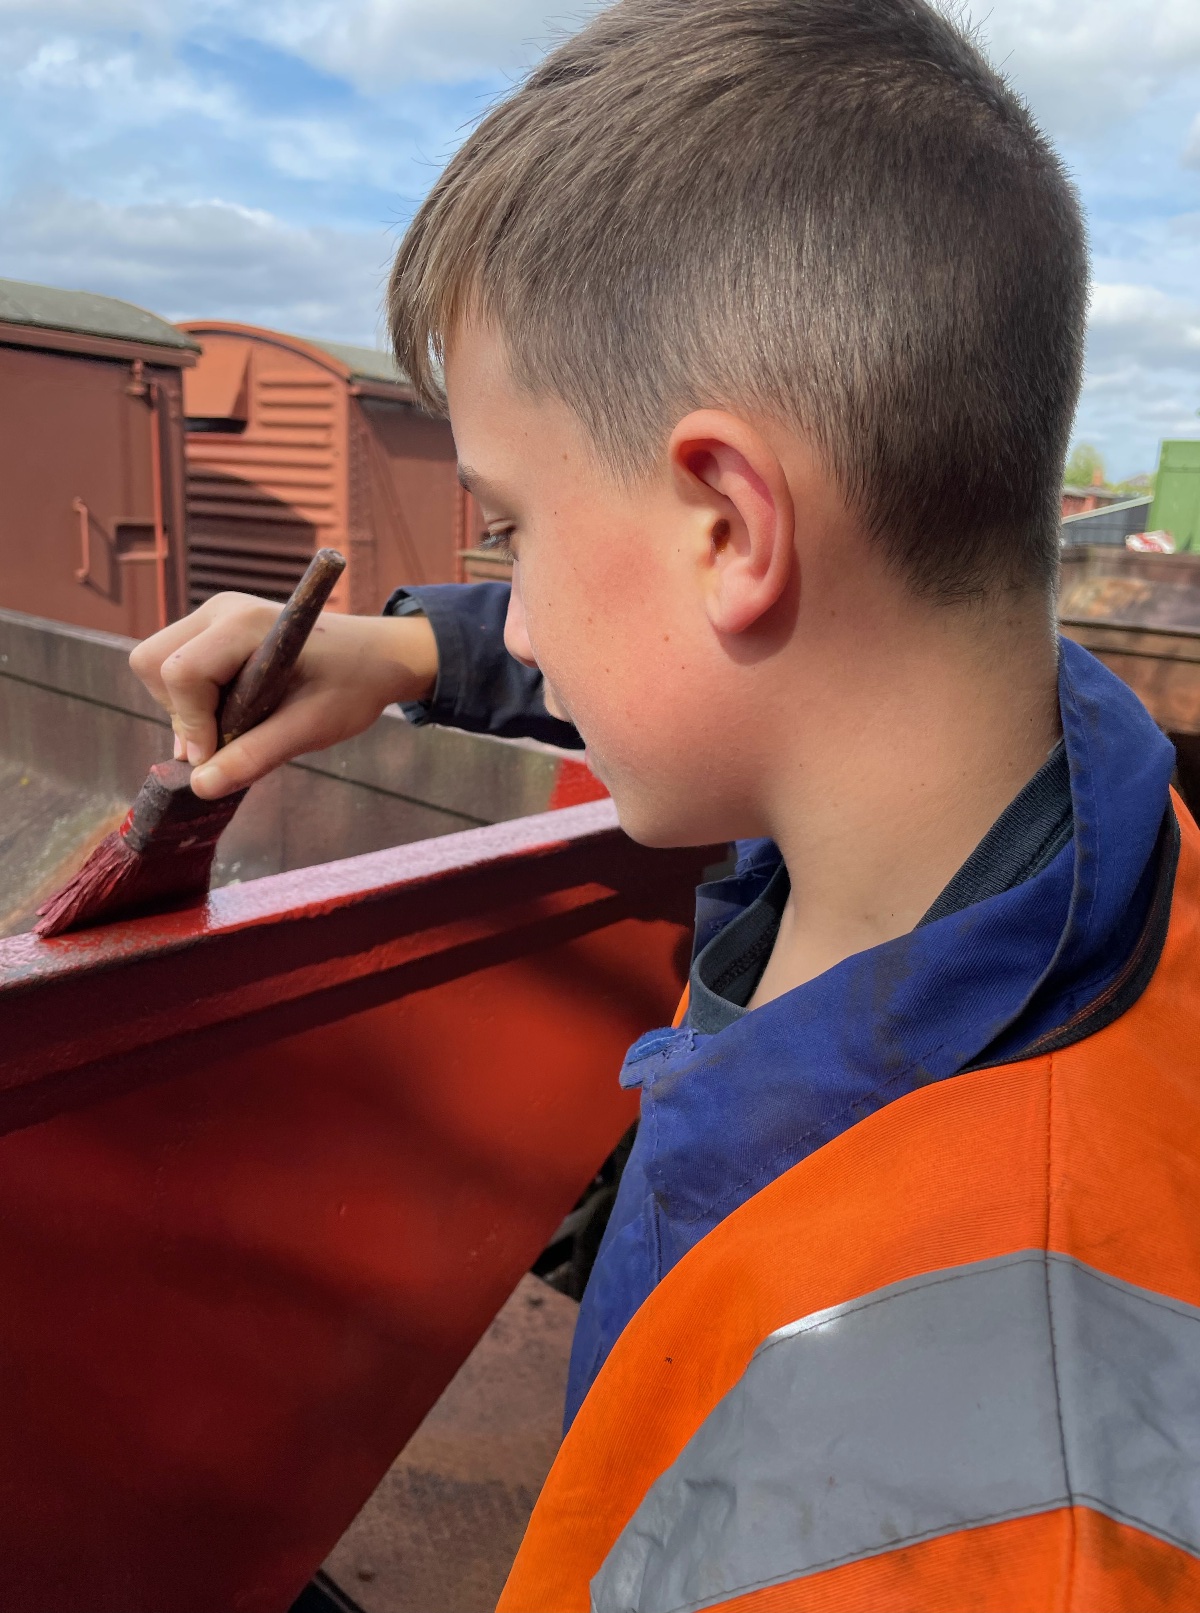
Hello everyone and welcome to another update from Quorn. This week we’ve carried on painting the LMS Brake van and done the last bit of paint removal on the Catfish. During the week Nick and Tom got the LMS brake van into its bauxite gloss coat, this now awaits signwriting.
Using the Hydrovane last time, I noticed the the starter motor was loose so Oliver, Dan and I disassembled the side panel and removed the starter motor to tighten up its mount adapter.
Oliver set to work needle-gunning the the operating platform on DB983393, which is the last bit of this wagon that needs to be primed.
Dan and I investigated a new acquisition, a petrol pressure washer. It was bought as a non-runner with no spark. Dan fitted a new spark plug and we borrowed an ignition coil from a generator, which got the little Honda engine running. There are some leaks in the water side on the hose, so we’ll see how this ends up working.
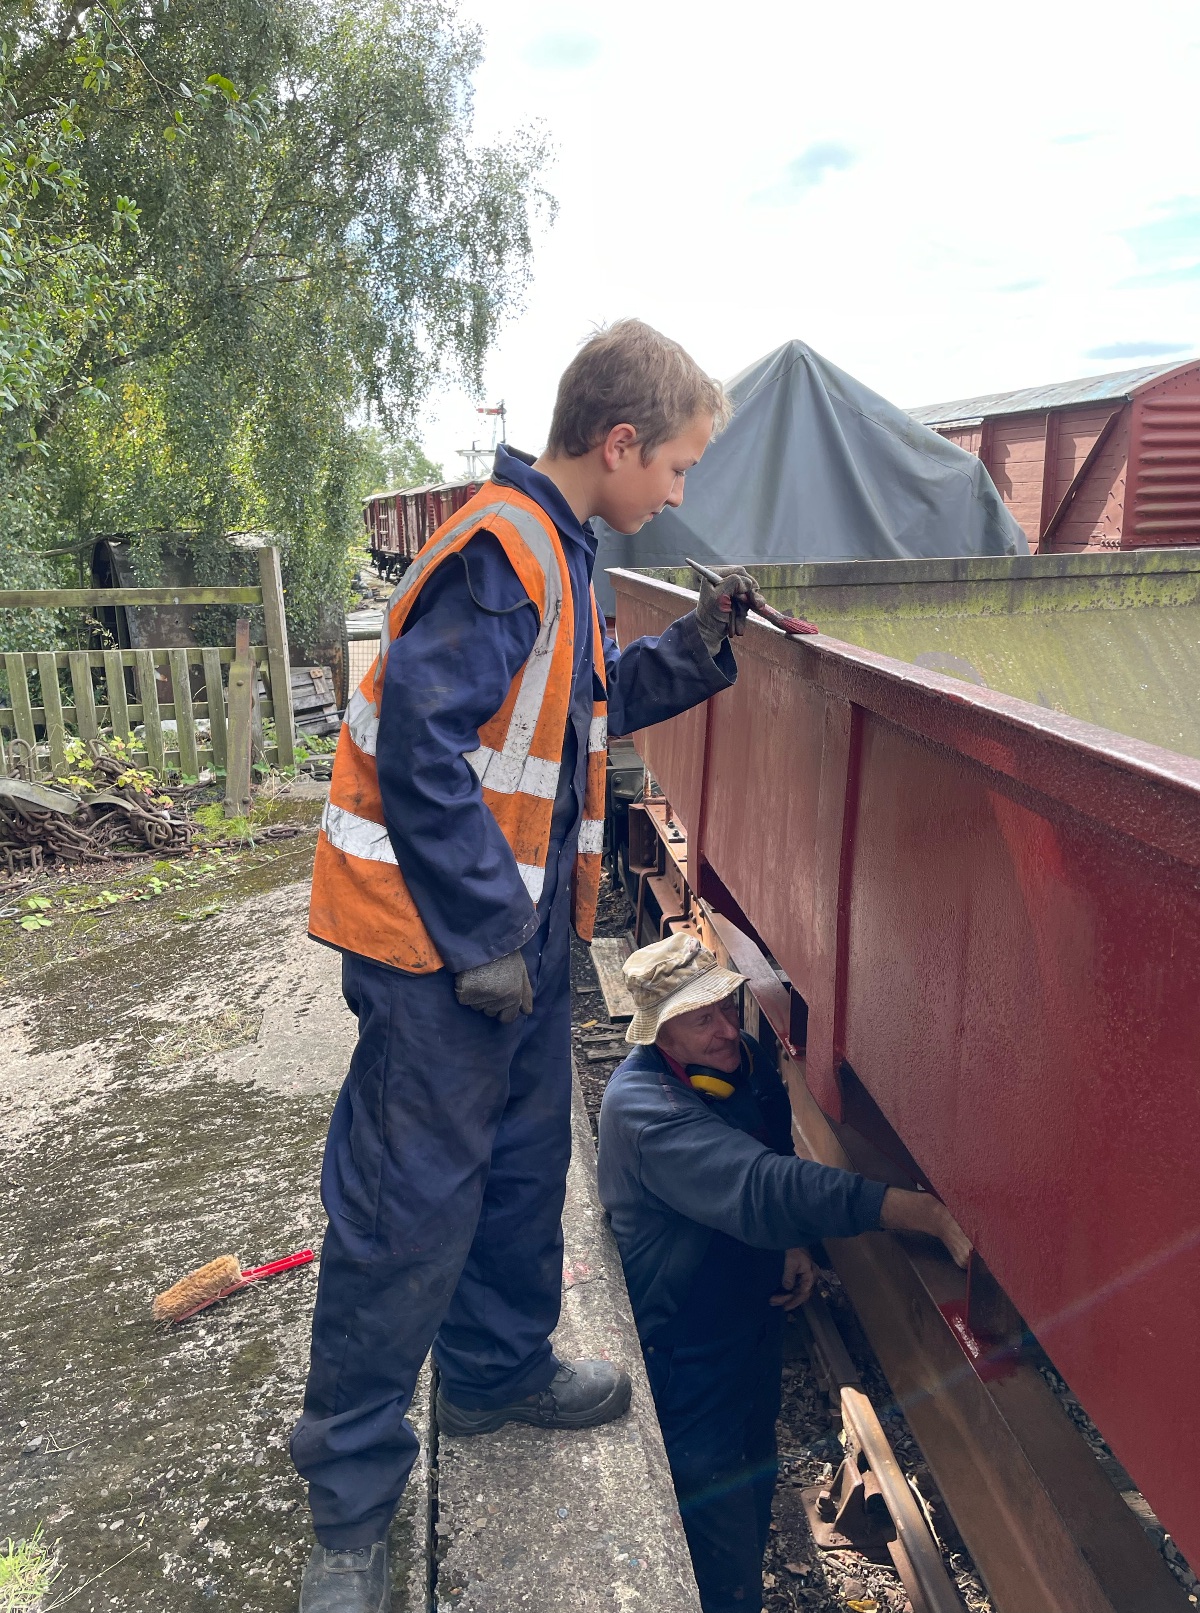
This week some undercoat has been applied to the LMS Brake Van M730562 at Rothley; meanwhile at Quorn there has been some good progress getting primer on Catfish DB983393.
Tom, Dan and Nick worked on the Brake Van at Rothley.
With many hands making light work on Saturday at Quorn, Tom, Mark, Oliver and Dan got stuck into cleaning down the last few bits on DB983393 with the needle gun and sanders. They were later joined by Nick and Charlie.
Ernie started applying primer to areas already cleaned down last week.
While the rest of the team concentrating on the cleaning and painting, Ross started to weld up the outside of the patches on DB993560. It’s the first time Ross had welded a panel inclined towards him and it turned out to be a bit tricky!
The sun got to be in a position where it made the welding visor unusable, so he got a bit distracted and gave Hector a haircut.
The Catfish painting continued in earnest through the afternoon.
With Ross otherwise engaged on Sunday, Mark, Tom, Dan, Oliver and myself continued with the needle gun, scrapers and wire brushes on the ends of Catfish DB983393.
Some more primer was then applied.
Thankfully the primer is quick drying as the rain set-in during the afternoon.
Hello everyone, and thank you for joining us for another update from Quorn. After last week’s working on B954268, we’ve moved back onto the 2 Catfish; getting DB983393 to get this ready for paint.
Initially it was out with the scrapers to make a start on the solebar.
We quickly got bored with that, so moved onto striking up the Hydrovane and using the needle gun and the sanders to clean down the solebar and hopper respectively.
Dave took a short trip on the Brake van in the Parcels set to monitor Palvan’s riding. He was pleased to report that there were no surprises and that it rode quite well.
Dave and I took a brief interlude from the sanding/de-scaling to check a R Y Pickering builders plate for the TEA that Dave had drew up and 3D printed. I also brought in a piece of BR history, a Metallurgical Defect Meter.
Sunday was more of the same, but on the other side of the Catfish, so instead of repeating darker pictures of the same activity, I’ll leave you with a picture of the cleaned down article. Both Catfish are rapidly reaching the same point, so we’ll soon be breaking out the primer. Thanks for reading!
Hello and welcome to this week’s update from the team at Quorn. The Brake Van B954268 that was hurriedly painted a few weeks ago in readiness for the Railways at Work Gala has developed some blistering of the paint on its West side. Our thoughts are that some of the replacement wood planks may not have had time to fully dry out before the primer was applied.
We understand the brake van is required for operation next weekend, therefore on Saturday Nick, Ernie and Charlie we made a start to scrape and sand the affected areas back to the bare wood so it could be made presentable.
The paintwork on the East side of the Brake Van has faired much better, so I was able to make progress with the remaining sign writing.
The black maintenance data panel box was applied and the builders plate picked out too.
One inner veranda plank that wasn’t replaced before the Gala was also attended to with a replacement piece of timber cut to size and fitted.
The lower edge part of the roof covering was painted Bauxite to blend in with the bodyside.
Sunday saw Mark, Tom, Oliver and Dan join Nick & myself on the brake van. Some more scraping and sanding was carried out on the West side, and thinned undercoat applied to hopefully soak into the bare wood.
The undercoat dried very quickly and some gloss Bauxite was applied to the affected areas.
A couple of areas on the East side were also treated in the same manner.
The running number on the West side was affected by the paint re-work, so this was touched up.
The East side maintenance data panel was finished off, the workshop/depot codes represented are for Newark (5480) and Tinsley Repair Sidings (5683).
The ‘Danger Overhead Live Wires’ warning plates were re-fitted to both sides.
We do realise that the problems with some dampness in the wood affecting the paintwork on this brake van could still be underlying, however it is presentable for operational use again. Depending on how it weathers, we will most likely need to re-visit the sides again for a full sand-down and another repaint.
Hello everyone, and thanks for joining us. This week, we’ve had a new arrival, and it is a big one!
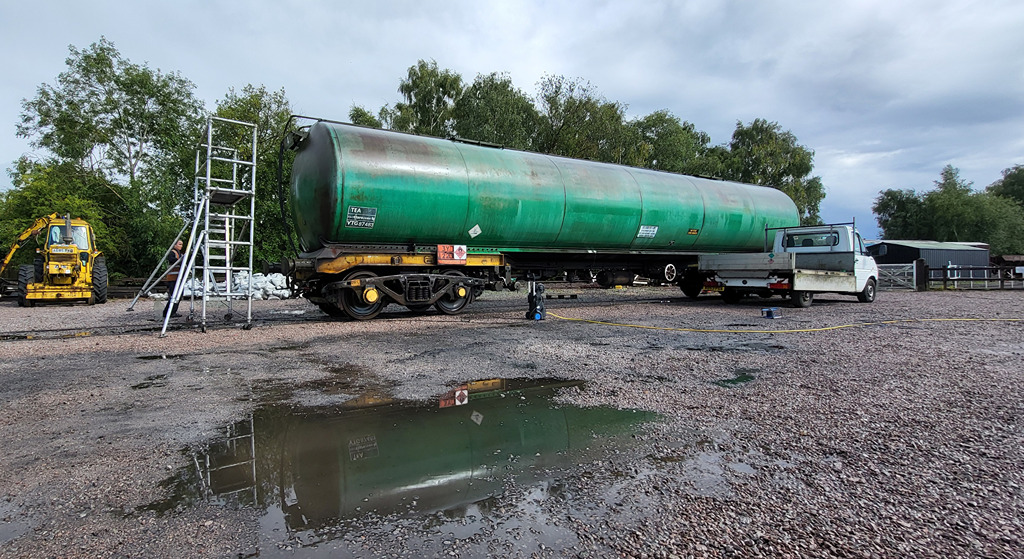
4099 (currently showing 87483) is a 100t gross bogie tank wagon, built by R Y Pickering in 1967 for Shell Mex BP. The tank was initially a Class B, but was later converted to Class A. Latter it was owned by VTG who made us aware of it following a review of their stored stock. After a conversation with the Railway’s General Manager, consent was given to bring the tank from Long Marston for three reasons: it provides more capacity for locomotive water at steam galas (once lined); it can operated at 60mph and is air braked so can be used for testing work; and lastly with a vacuum through pipe, it could run in the tank train for photo charters.
Before looking at the tank and after bit of English summer weather (rain), Tom and Mark cleaning out the gutters on the Test Car (on footed ladder), and the BRUTEs were removed from the station platform and put back into the Palvan after Railways at Work.
We then got into cleaning the tank off. After soaking, a bit of scrubbing and then rinsing with the pressure washer, the barrel of the tank came up fairly well.
The ends were a slightly different ball game, with the cast iron brake deposits being quite stubborn. We tried some iron fall out remover, but that didn’t really shift it. It became a job for scrapers and wire brushes to bring off the worst of the brown discolouration all around the tank.
Focus will be back on the Catfish next week, although a cheeky brake test may take place on the tank. We’ll also be thinking of ways to remove the rest of the baked on brake dust, so if anyone has any suggestions, please do let us know! Thanks for reading.
Welcome to our weekly update from the team at Quorn; this week Ross and myself had a ‘Grand Day Out’ and we made progress with preparing the two Catfish wagons for paint.
Our day out on Saturday was an invitation from the our friends at the National Wagon Preservation Group to join them for the ’50 Years’ Celebrations at Drax Power Station, where the MGR wagons that we had helped signwriting last month were on display for the charity photo shoot. Here’s a couple of pics from the superb afternoon Ross and myself spent at the Power Station.
On Sunday, Nick Ross, Charlie and myself were on-site at Quorn and made good progress scraping down loose paint areas on both Catfish wagons, DB993560 and DB983393.
Once areas of loose paint were scraped then TFR cleaner was applied onto the areas where green algae had started to form. This was then left to work its magic, then pressure washed off.
A paint removal disc in the grinder was used to remove any stubborn paint areas, then pressure washed off.
Unfortunately as one of the Catfish had one its wagon builders plates stolen in the past, therefore we have decided to remove and retain the remaining Catfish builders plates from wagons. The builders plates will be replaced with sign written representations of the plates, as we have previously applied to the majority of our fleet of wagons.
By the end of the day both Catfish wagons were much closer to being ready to apply some paint.
Looking back 5 years to August 2019 we were proudly showing off our restoration work on Test Car 2; how time flies!
Inevitably the weather is not kind to railway vehicles and soon the coach will need some TLC to allow us to continue to open it to the public at GCR events and to prevent further deterioration. Our Test Car 2 booklets are still available here, the proceeds of which directly support us with our challenges.
Finally keep a look out for our Tank wagon train which can now regularly be seen stabled on the Down siding at Quorn which is on the west side of the running lines to the south of the station. This makes the rake of restored wagons much more accessible to our group for any maintenance attention, and also on-show rather than being hidden away at Swithland.
Hello all, and welcome to the Railways At Work update. Its been a busy, hot but thoroughly enjoyable weekend showing what the railways used to do. First order of business though is to wish Oliver a Happy Birthday for the 9th, for which he baked and duly shared cakes with us.
On Monday the fish van body from Rothley was moved to Quorn and lifted into position by the C&W team with their 15t crane.
On Friday I was on site to move the five BRUTEs to Leicester North, ready for the gala. Thanks to Harry for the assistance there. I’d also assisted Nick in fitting a door to the fish van body.
The team members that prefer not to dress up, go stuck into the Fish Van body, finishing off the door fitment, changing the damaged ship-lap panel for a piece of ply and then giving it a coat of undercoat.
On Sunday similar again, though the door and panel got a coat of olive green paint leftover from the tool van.
I’ll use the rest of the update as a gallery of photos from the Gala. Charlie, Dan and Oliver all playing the role of unruly trainspotting school boys, with Dave and I joining in the army of porters. I think all enjoyed themselves and we’ve had lots of positive feedback.
Thanks for reading and for anyone who came to the gala, next week should hopefully be a little more sedate, though there is still the BRUTEs to tidy away and eventually the vans to sort out.
Hello all and welcome to our first August’24 update. This week the team have been working at Rothley getting brake van B954268 ready for the forthcoming Railways at Work Gala, and making a few other preparations at Quorn.
Nick, Tom, Dan and Oliver have been working during the week to get the replacement panel work fitted, sanded and undercoated. New lower step boards have been fitted and the east side of the roof sheet secured along its edge and trimmed.
Saturday with Nick, Ross, Charlie, Ernie and myself at Rothley we continued securing and trimming the roof sheet west side edge. We then did the corners which involved removing the roof end hoops to secure the folded corner ends.
The duckets were sanded and wood primer was applied to any bare wood on the inside of the verandas. New trim sections for the veranda lower edges were cut and primed.
We then cleaned down the veranda panels, window areas and body sides. The bauxite paint was opened and with brushes in-hand we set to work.
After lunch the painting continued.
By the end of Saturday the main brake van body was in bauxite.
Nick, Ross, Mark, Tom, Dan and Oliver started the day on Sunday at Rothley which was a special day for Dan who was celebrating reaching ‘sweet 16’…….. well sweet tooth anyway with his superb Palvan Cake, that was enjoyed by all.
On the brake van, the end framework was scraped and cleaned down by Mark, Nick and Tom then painted with undercoat. Mark also undercoated the trim sections for the veranda lower edges.
The bauxite body sides we painted yesterday were still a little tacky, however with limited time before the gala the vehicle number needed to be applied. I carefully traced the template on both sides and painted the numbers on. The remainder of the vehicle lettering will be completed when we have more time after the gala.
Dan and Oliver got to work touching up some areas of bauxite, then painting the handrails and lamp brackets.
The undercoat dried quickly so Nick, Dan and Oliver finished off the handrails, door furniture and applied bauxite to the end framework whilst Ross, Mark, Tom and myself headed to Quorn.
In order to deal safely with loading and unloading Brute Trolleys from Rail Vehicles during the Railways at Work Gala, we need a suitable ramp. Having managed to get hold of two old wheelchair ramps we set about some modifications to one and a half of these to make a three section ramp to accommodate the width of Brute Trolleys.
Five of our Brute Trolleys were then unloaded from their home in the Palvan in readiness for the Gala. BRUTE (British Rail Universal Trolley Equipment) trolleys were used from 1964 until 1999 for sorting, handling and transport of station loaded goods, parcels and Newspapers.
Other preparation work included sorting oil barrels and parcels, with a little help from Jack; as well as getting the Electric Tugs cleaned down and on-charge.
Thanks for reading, join us next week when the team will be taking part in the 2024 Railways at Work Gala.
More information about this ‘Not To Be Missed’ Gala on the 10th – 11th August can be found by clicking the link below.
Hello everyone, and welcome to this week’s update from Quorn. The Catfish has consumed more welding rods and plate, the tanks have have some buffers changed and a we’ve prepared a base for the Fish van body that is currently in Rothley car park.
I began by finishing the big patch from last week which hadn’t been welded across the bottom joint. While I was doing that Ernie started cutting out the last patch on the East side, on the end under the hopper door control wheel.
Nick and Charlie looked at the tank train which is now in the Down Ly-by. Three buffers were stuck in on two of the ‘Airfix’ Esso tanks, two on 3777 and one on 3711. Having applied the appropriate protection, between them they moved the replacements into position and loosened the bolts on the existing buffers, making them ready for changing.
Ernie had got the plate cut out for the patch, which we fettled to fit the hole and got tacked into place.
On Sunday with Mark, Tom, Oliver and Dan, we started off with exchanging the buffers on the tanks so they are fit to run at Railways At Work. All smooth sailing however one bolt got damaged so had to be re-tapped before the buffer was fitted.
Once this once done, I got back on with the welding on the Catfish. The plate was welded around its perimeter and into the corner of the hopper. After a fantastic barbeque lunch (and time to let the welder cool down) I welded the last twelve inches on the side of the plate and Dan opened the door and swept out the bottom of the hopper. The access boards were removed now that the welding is finished on the inside of the hopper. Just the outside of the hopper to go!
While I was welding, Nick, Tom and Oliver went to Rothley to get some sleepers to sit underneath the Fish van body destined for the dock. This is destined to be moved on the 5th August as part of the Railways At Work pre-event shunt.
Next week, we’ve got a bit of prep for Railways at Work to do and potentially some work at Rothley to finish off work on B954268’s re-planking. Thanks for reading, and join us next week to see what we get up to.
Evening everyone, and thank you for joining us. We’ve finished off the braking system on DB993560 and have begun welding the side panels back into the hopper.
Nick and I picked up where we left off last week by finishing the install of the refurbished vacuum cylinder. A release valve was put on from our overhauled stash and the branch pipe was reconnected. We put some temporary vacuum hoses on the wagon and performed a vacuum test.
The vacuum test performed well, though we had some issues with the temporary vacuum hoses so only managed 19″ rather than the usual 21″. The brakes applied and released as per spec and once applied held for more than an hour which is more than adequate.
After this point, Ernie and I started preparing the replacement plate for the hopper. Working from the pieces cut out, Ernie cut the plate using the cutting gun and ground up the edges. I welded some tabs on the back of the plate to stop it dropping back out the hopper once laid in.
We got the smaller of the plates tacked in, and then cut out the larger plate. The larger plate took a bit more fitting, and required some manipulation of the existing hopper to get it to line up. With the plate positioned, it was tacked in to suit.
On Sunday I continued with the welder, welding around the inside seams of each plate, well until my supply of rods ran out anyway. The smaller of the plates was welded all the way round on the inside of the hopper, and the larger plate was welded around the top and down the 2 sides. Dan very capably assisted me in the hopper, and just about managed to stay awake.
That leaves the bottom of the large plate to weld on the inside, then just a case of doubling up and welding the outside of the hopper. We’ve identified another panel to replace, and have got some localized panel beating to do on the other panels on the East side. Then the wagon is ready for another clean down and a paint.
Thanks for joining us and reading the update Join us next week where it could be more welding, and finishing off the work on the hopper. I think this is a first for us, where we’ve welded up a wagon at Quorn. Its rewarding to learn new things and continue to practise them. Have a good week!