Category: Updates

  • 28/07/24 – Cutting holes in the Catfish (again)

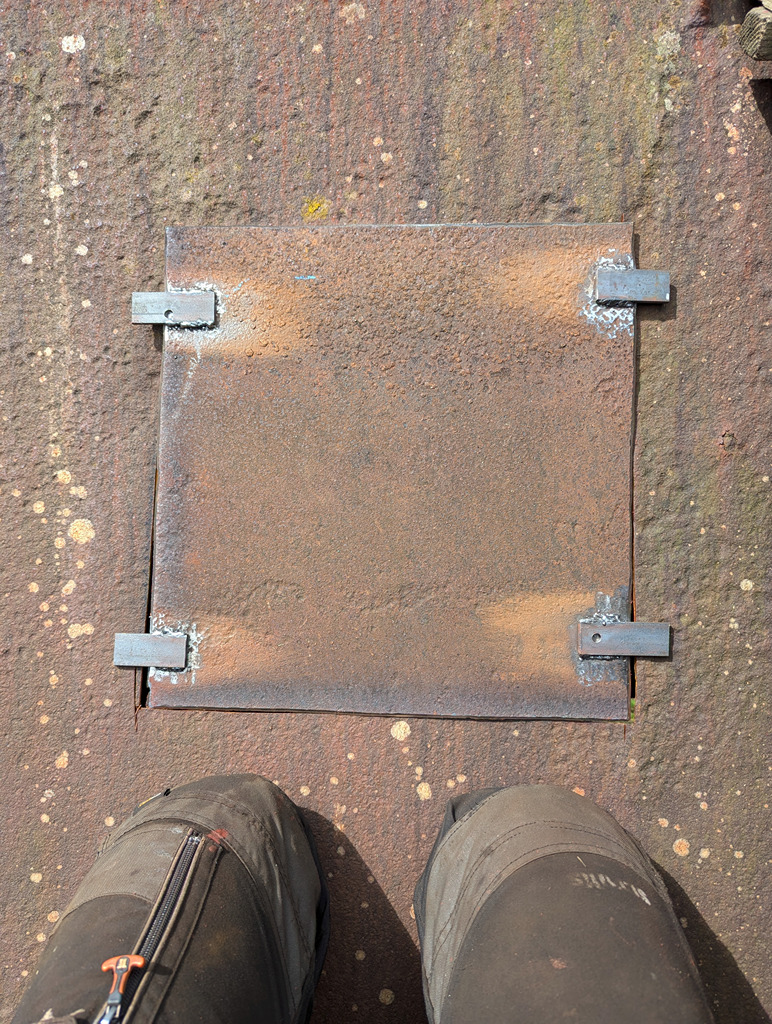
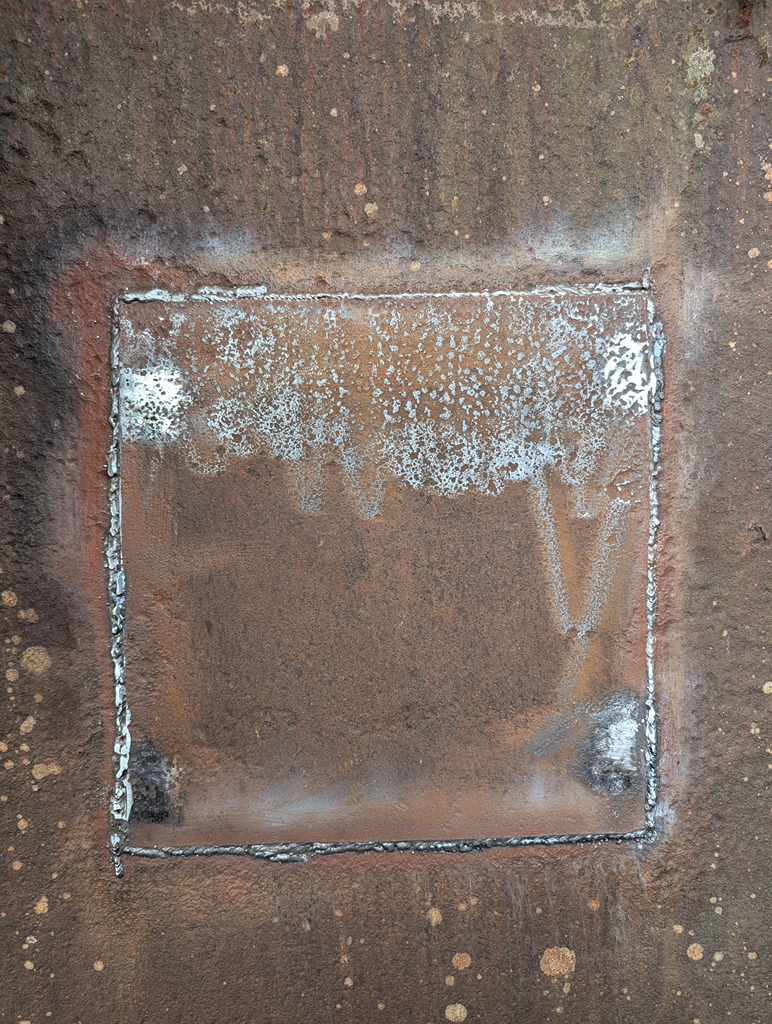
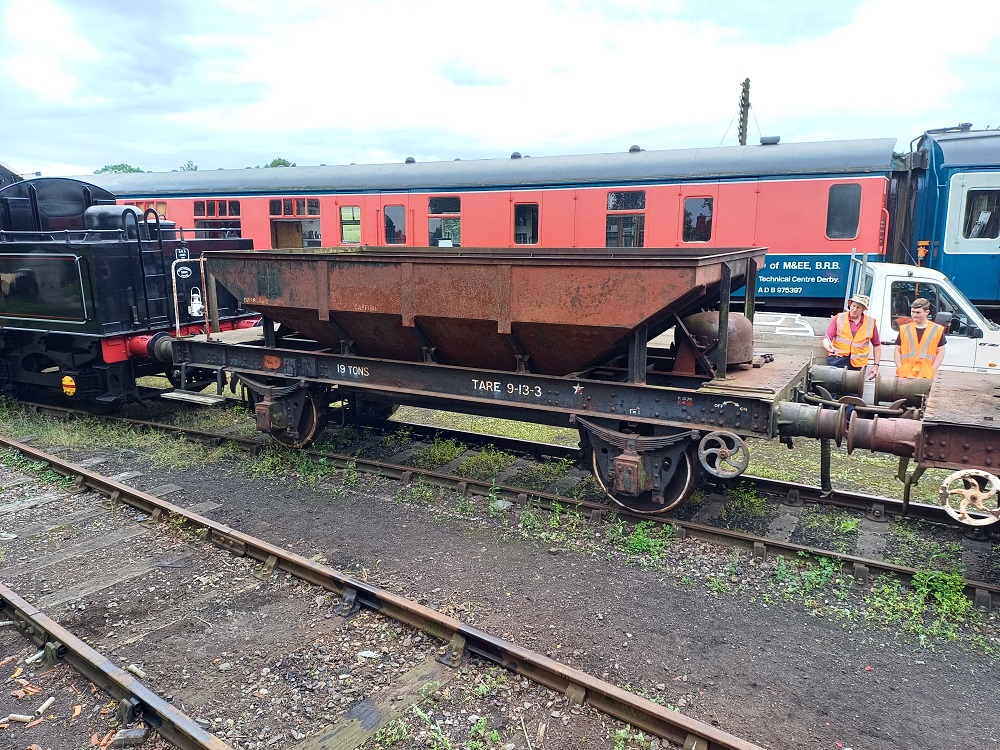
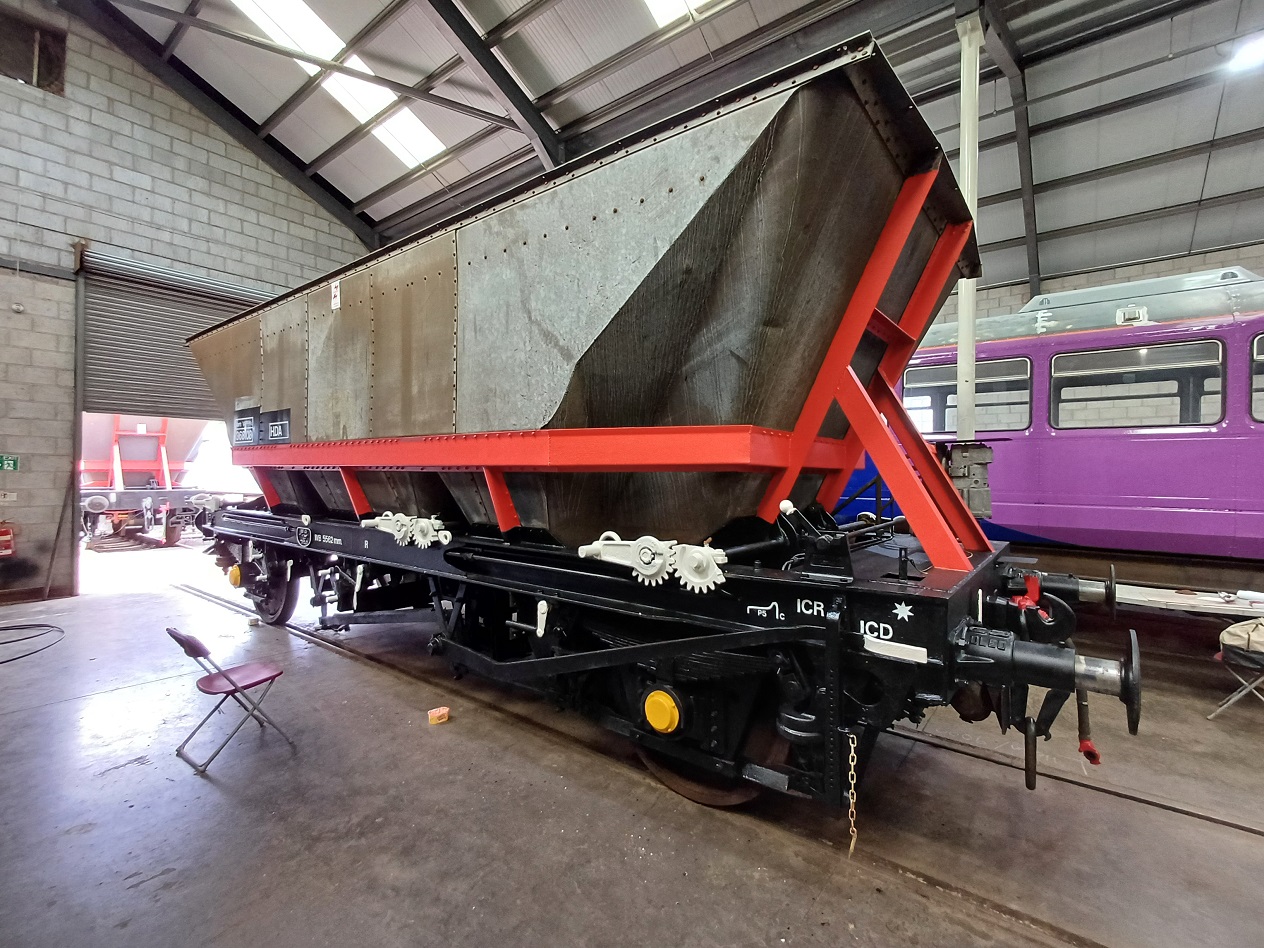
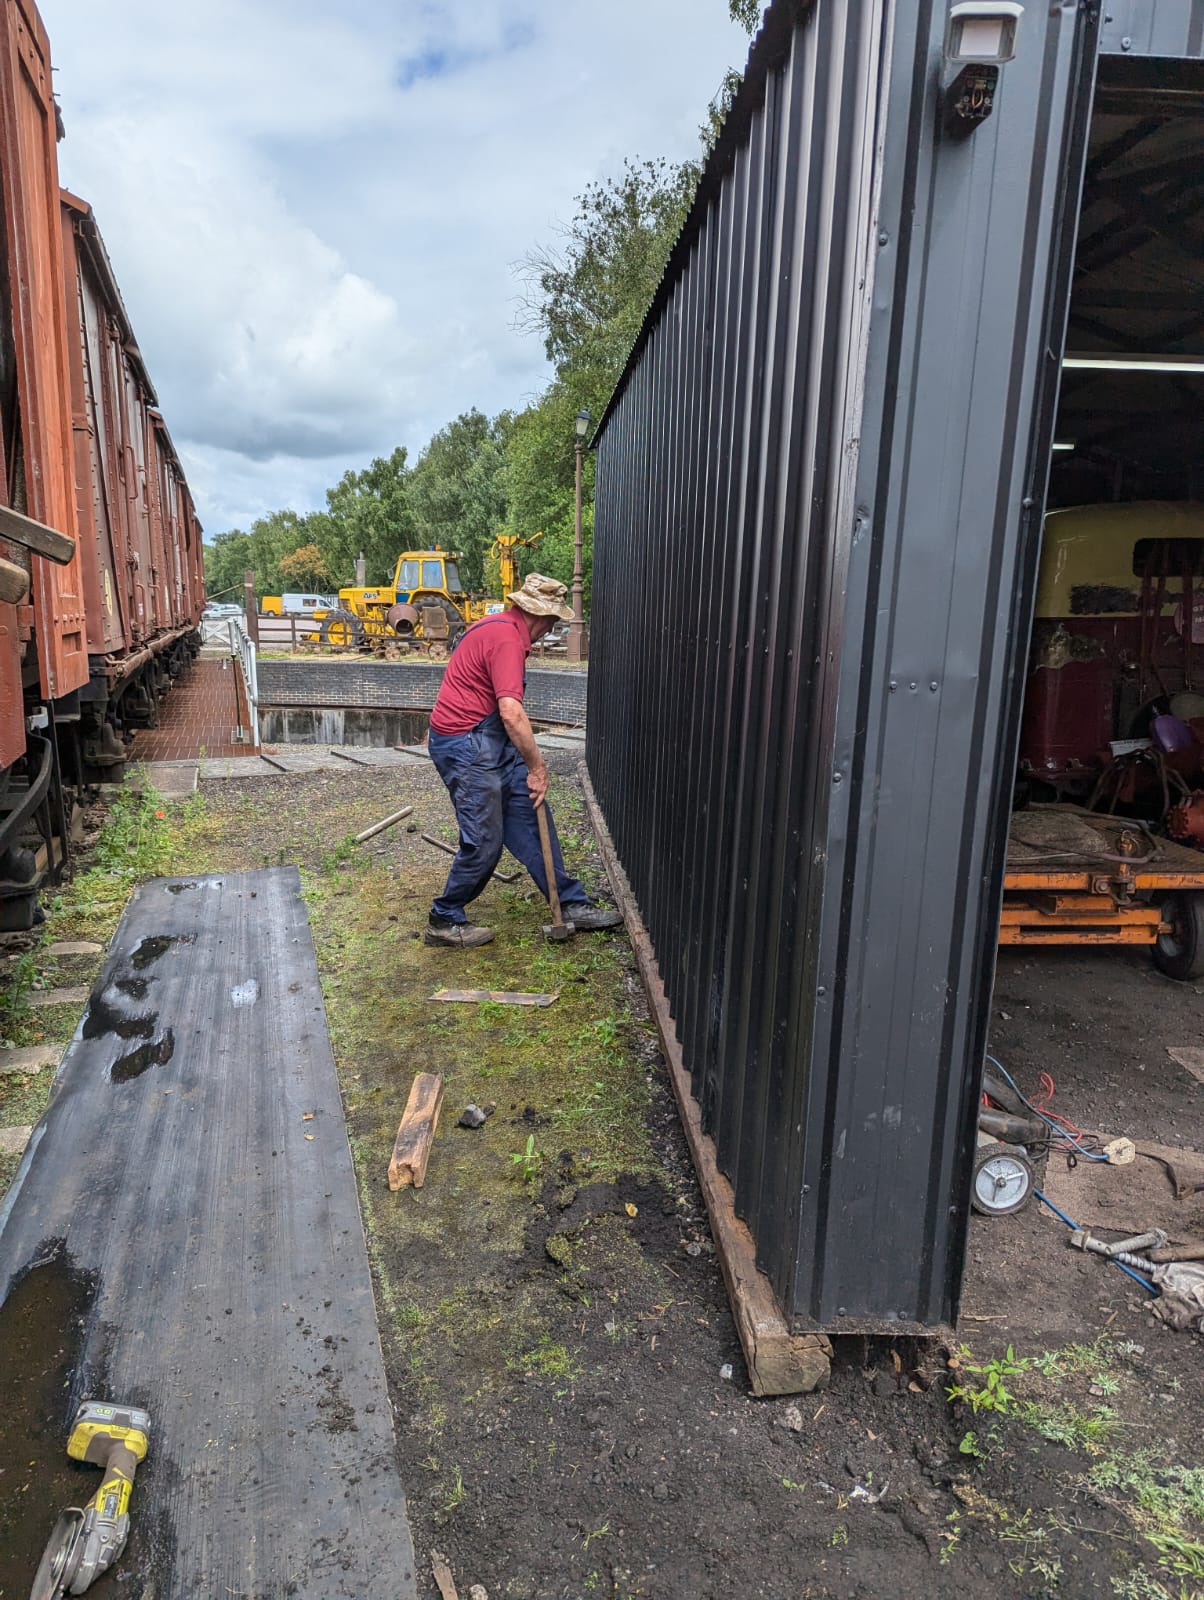
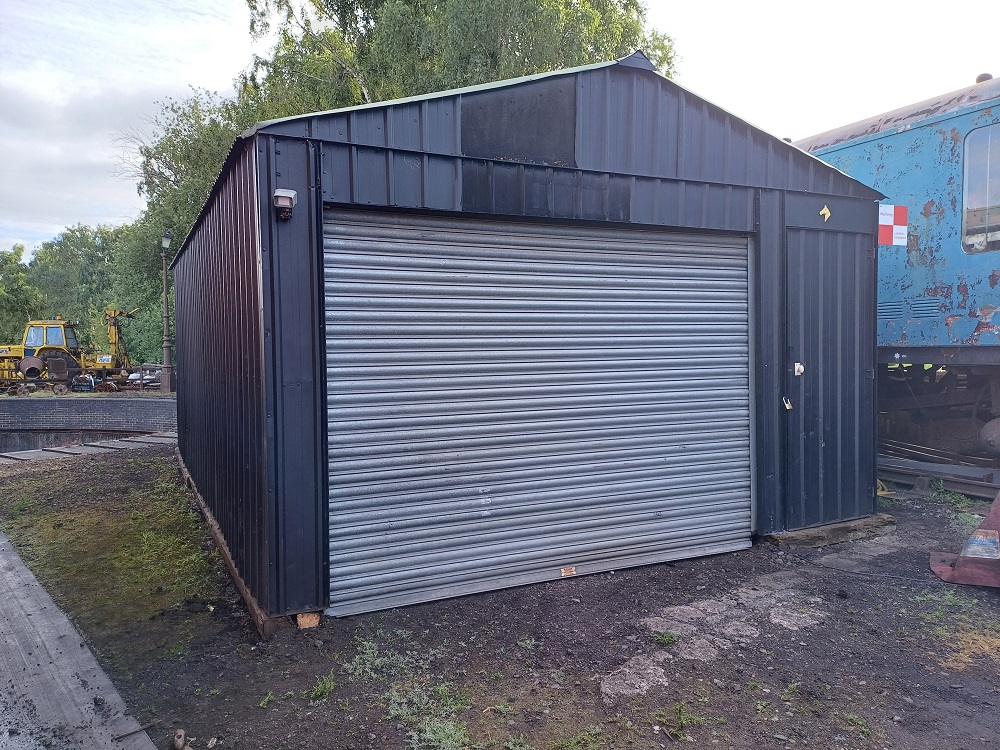
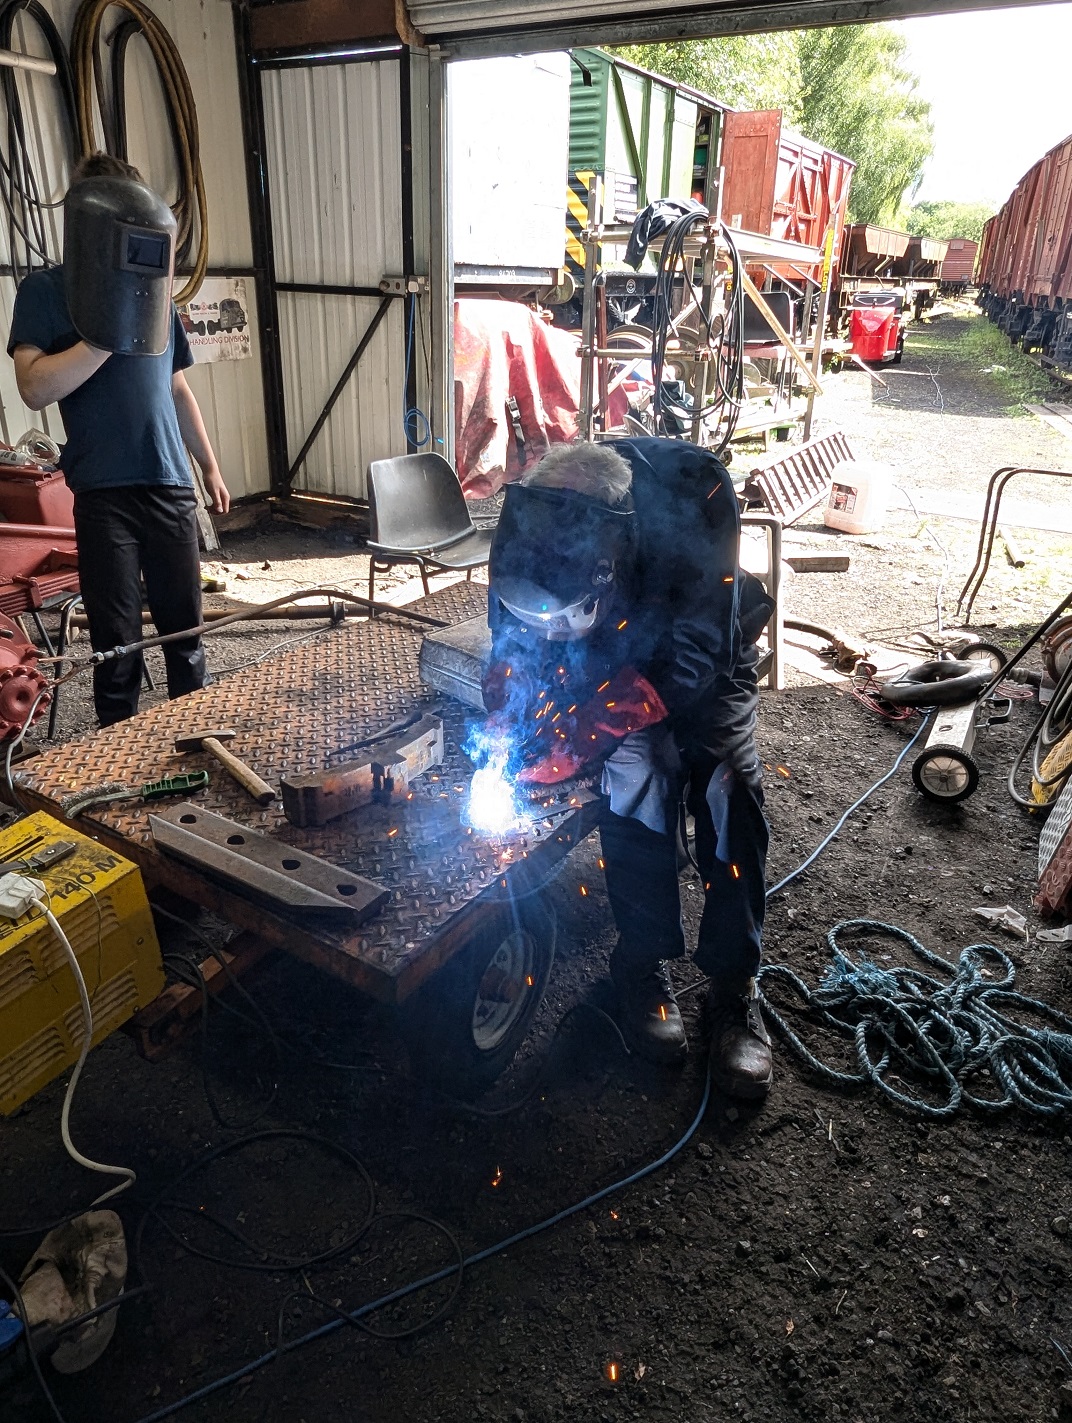
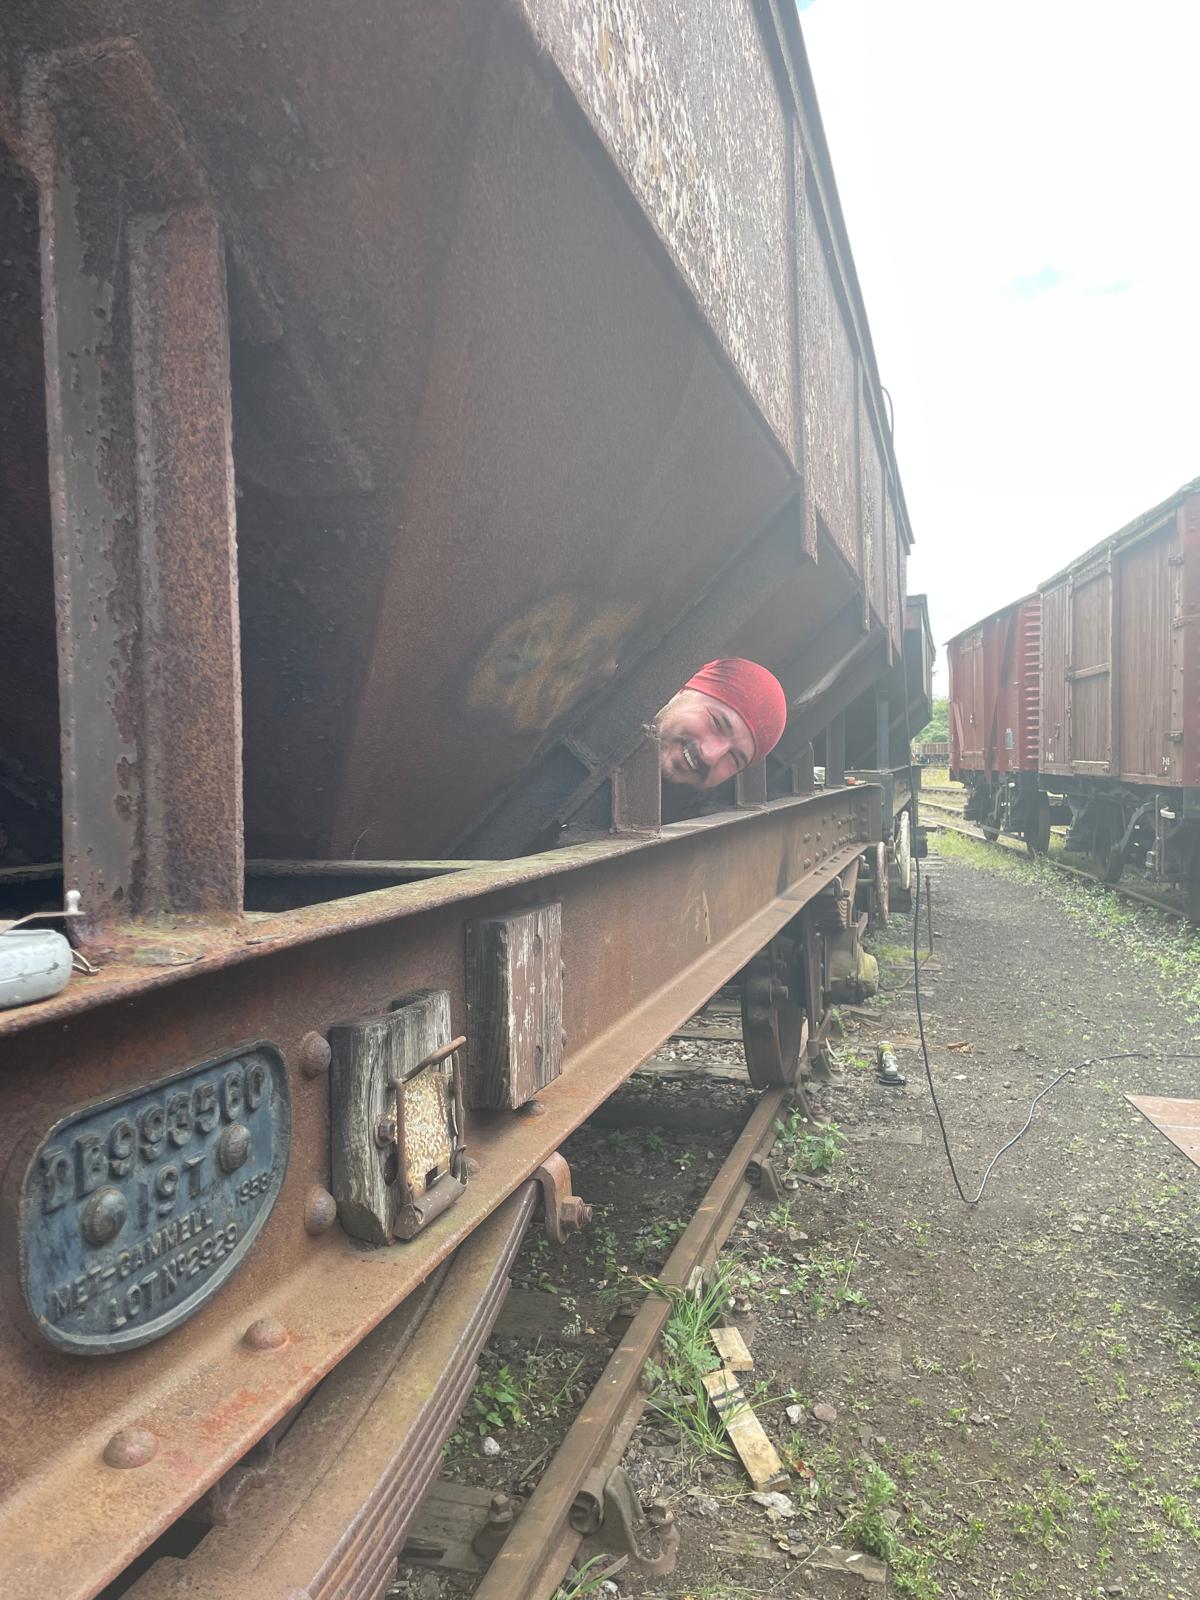
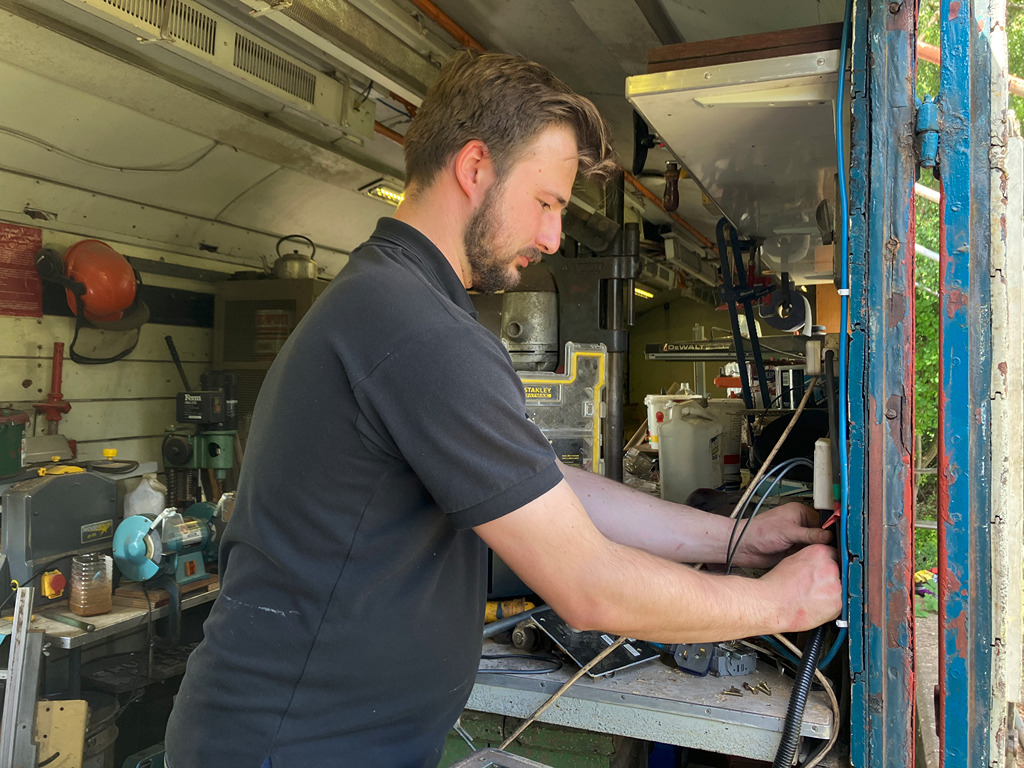
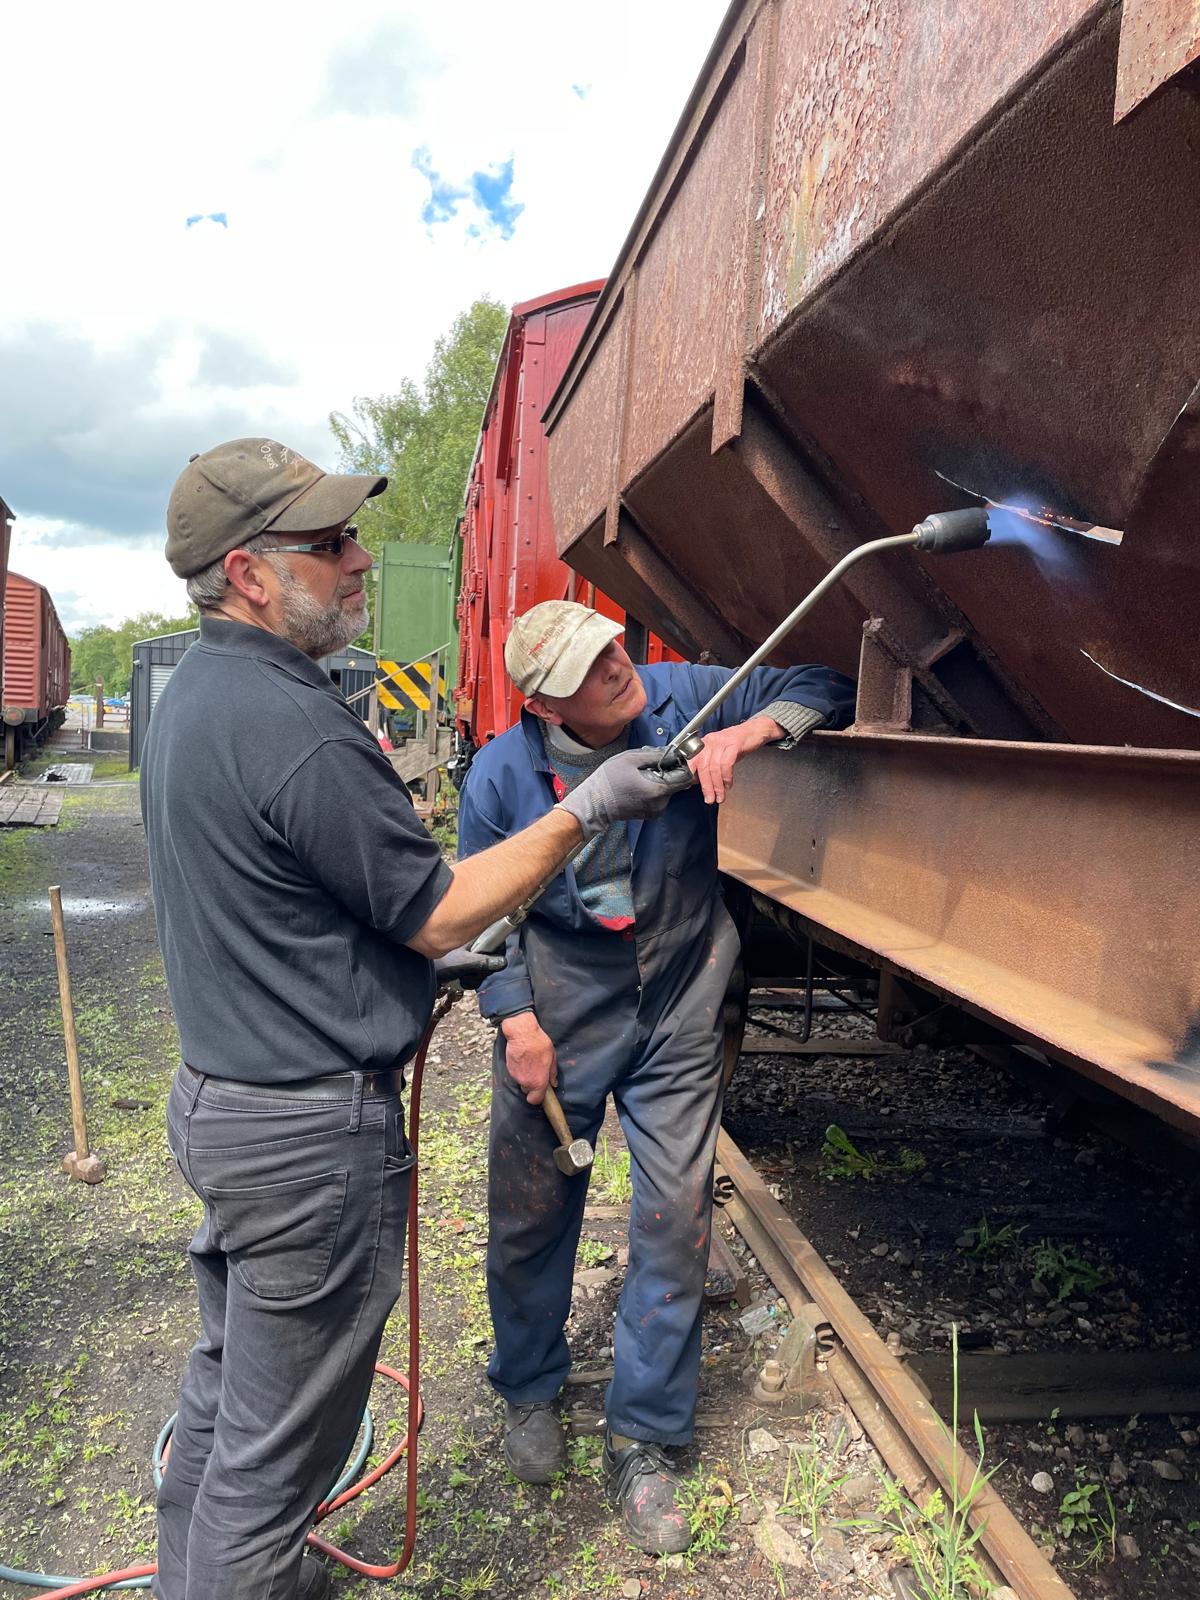
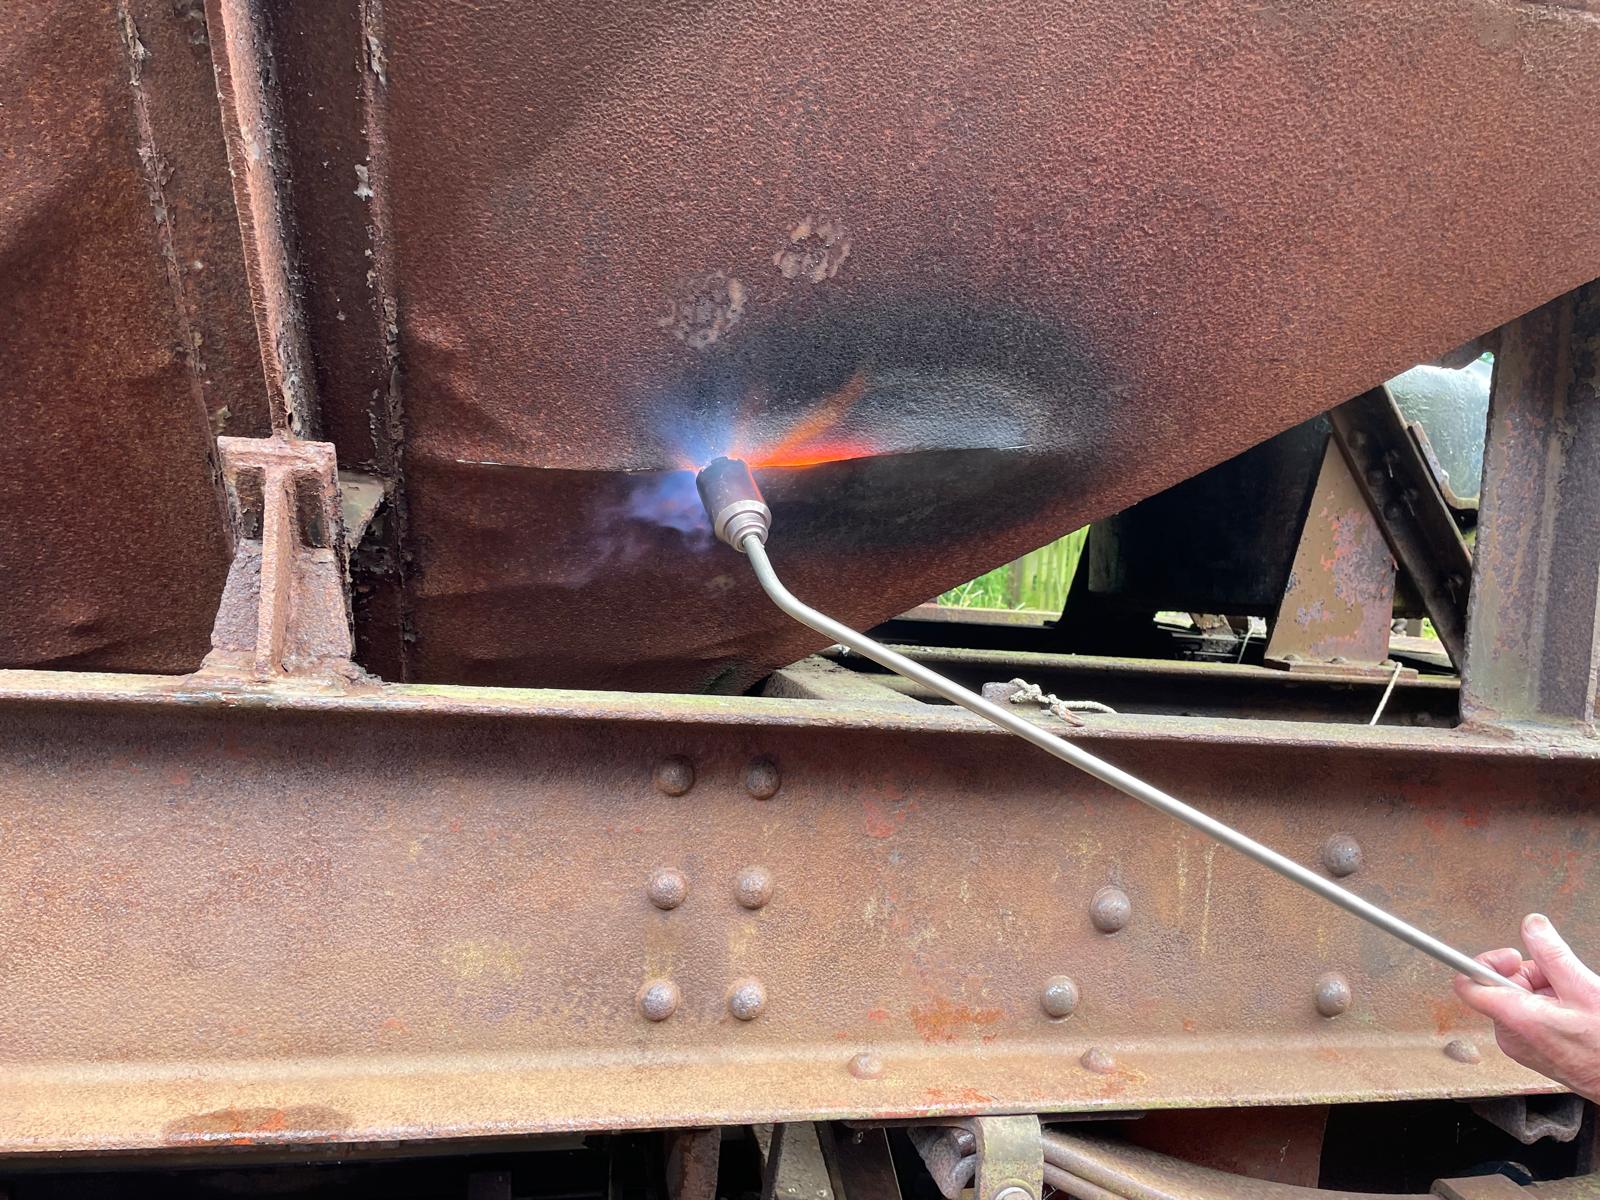
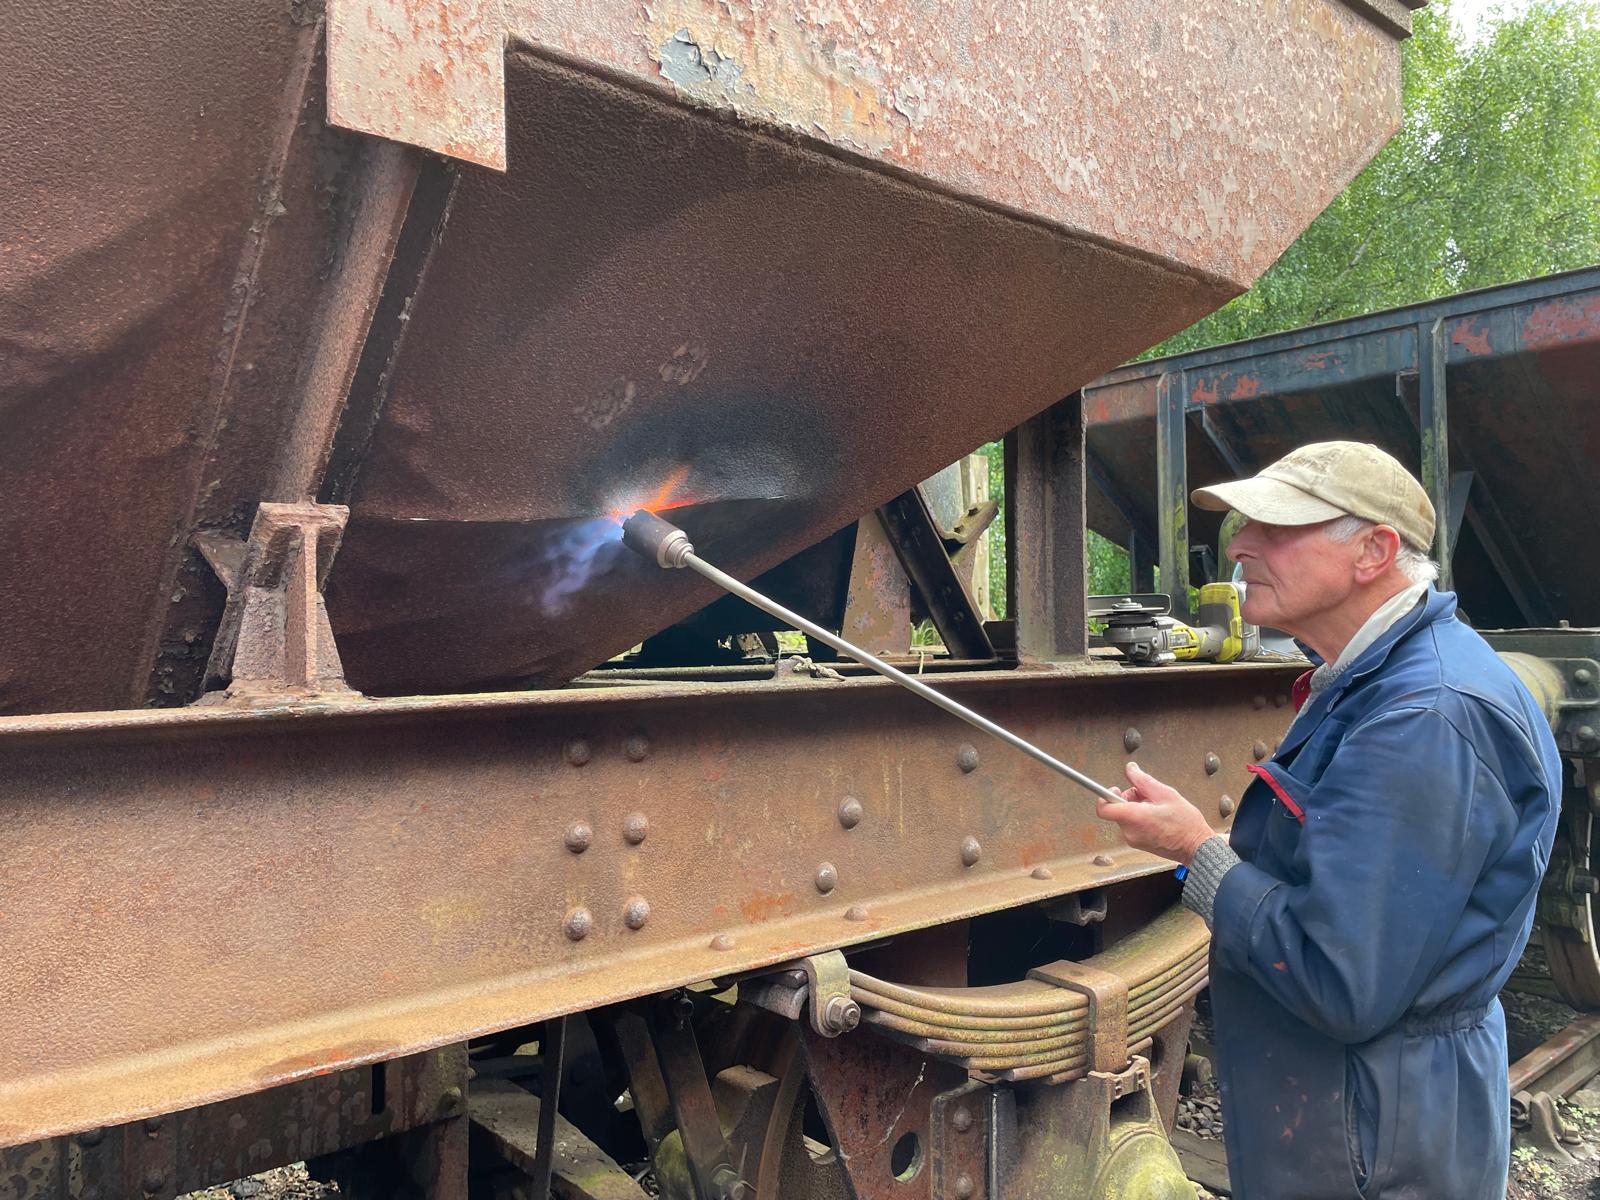
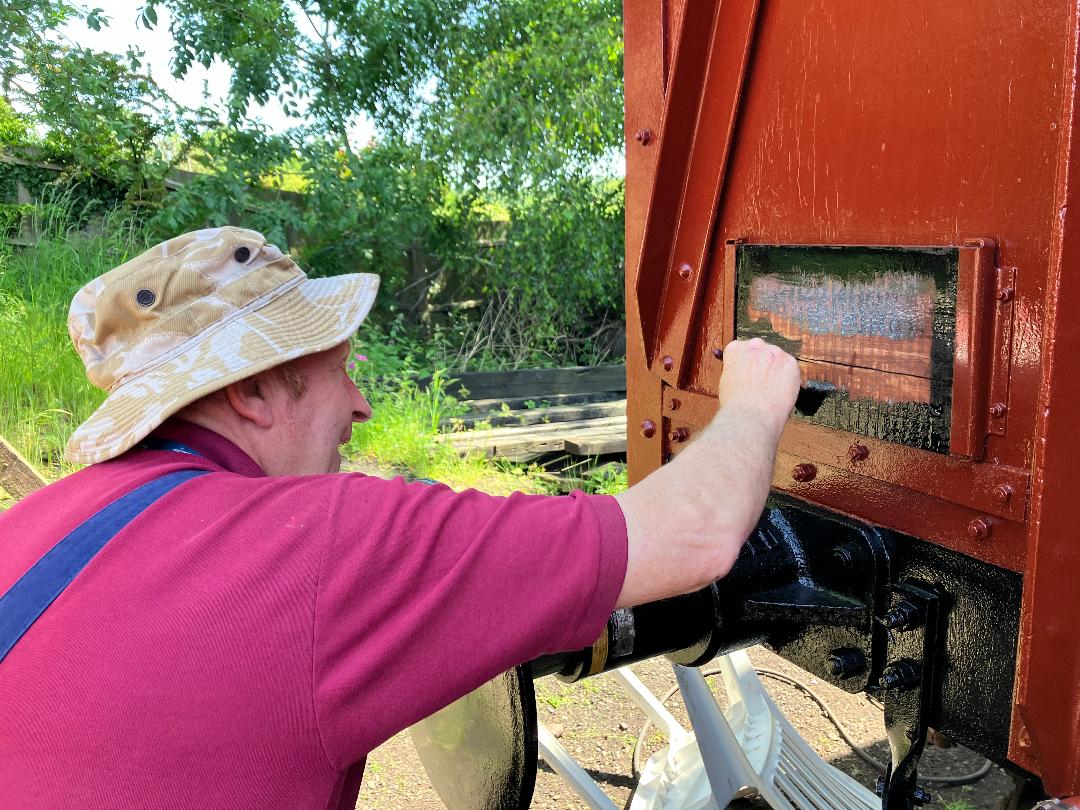
    Hello everyone, and welcome to this week’s update from Quorn. The Catfish has consumed more welding rods and plate, the tanks have have some buffers changed and a we’ve prepared a base for the Fish van body that is currently in Rothley car park.

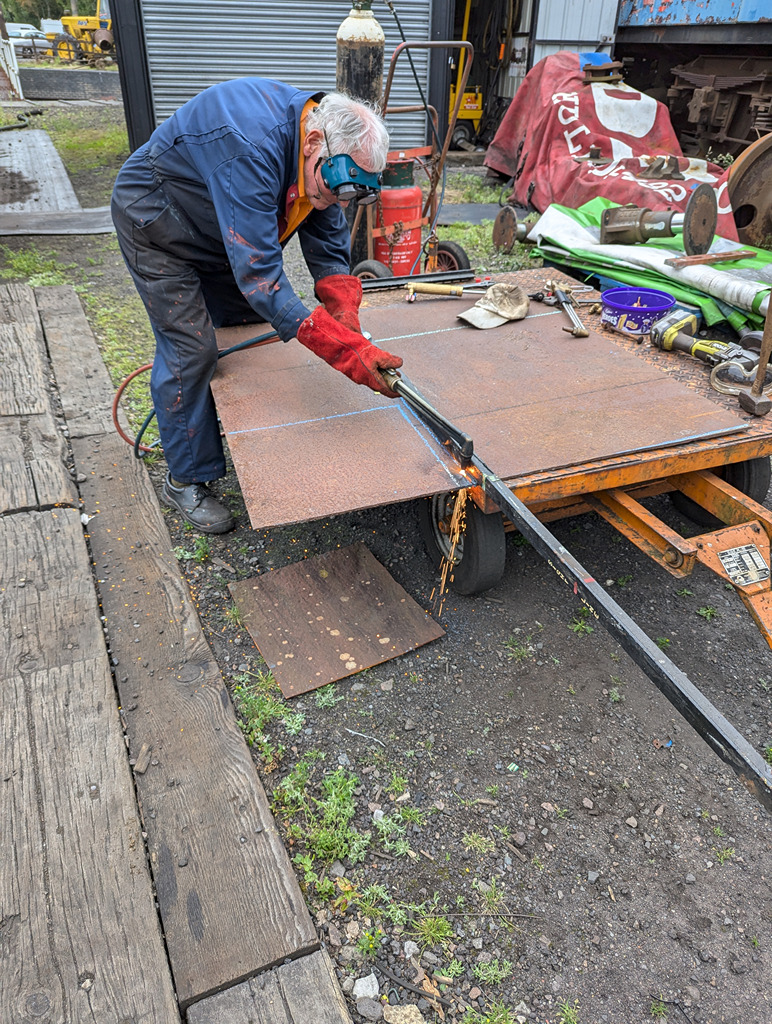
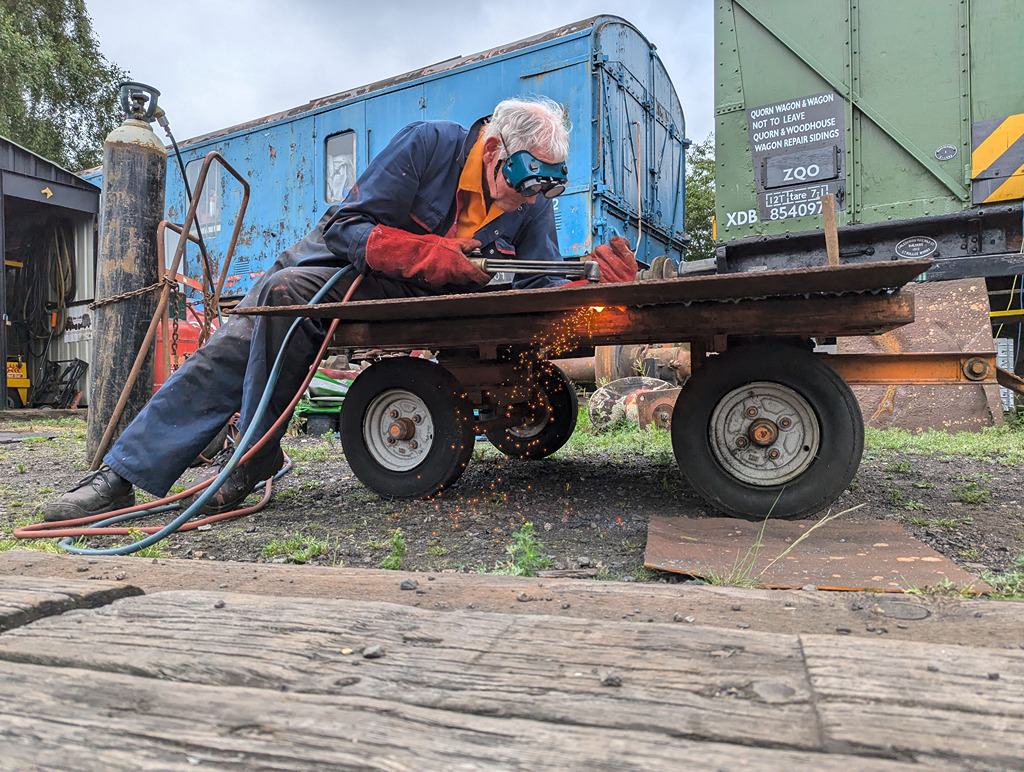
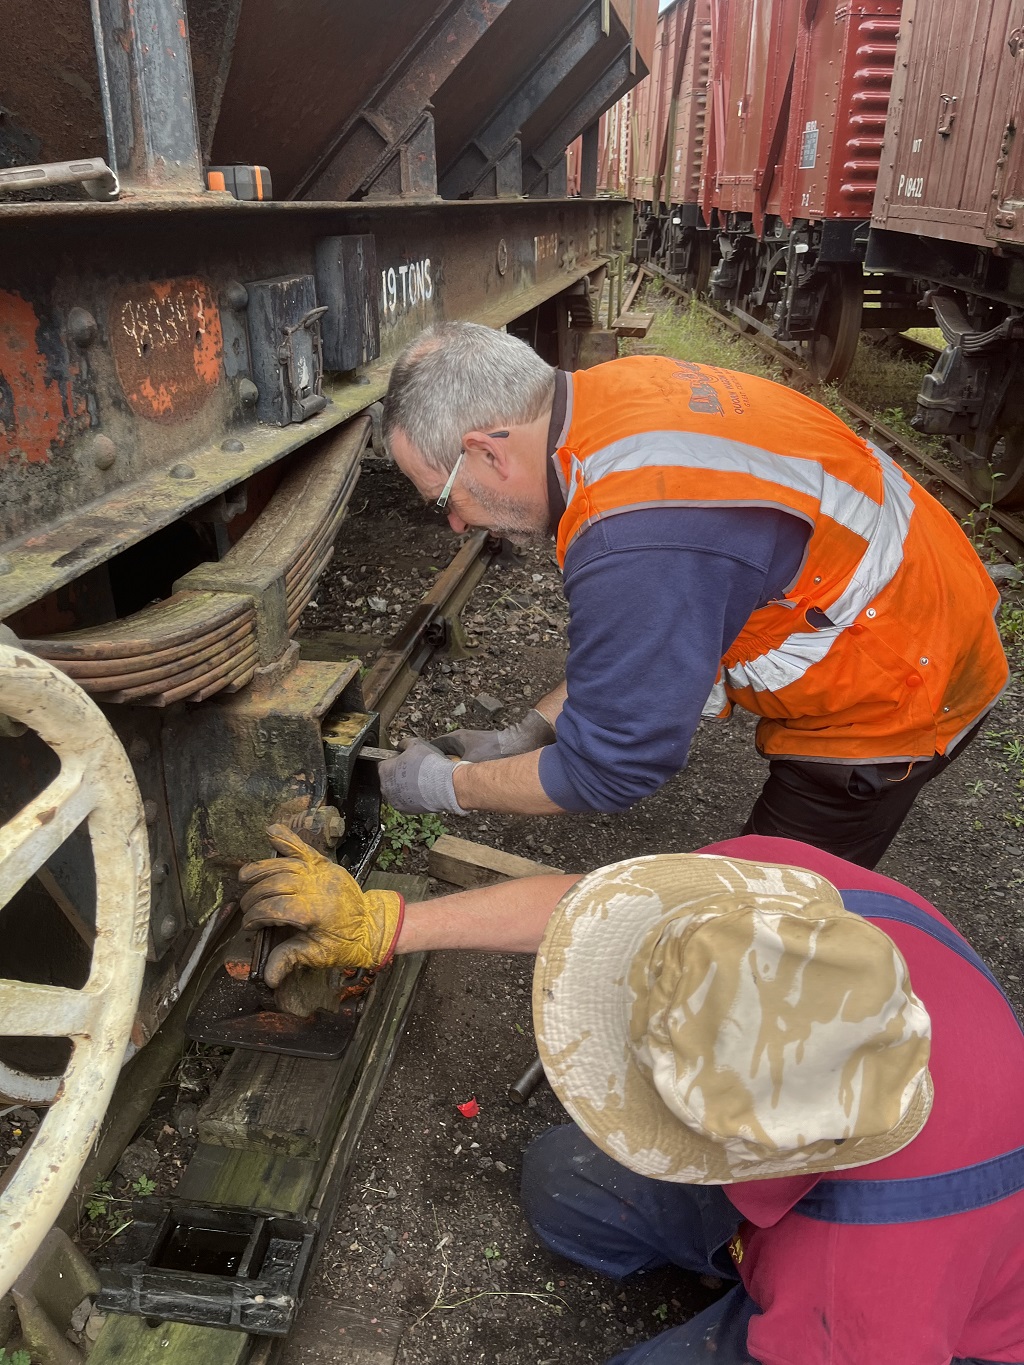
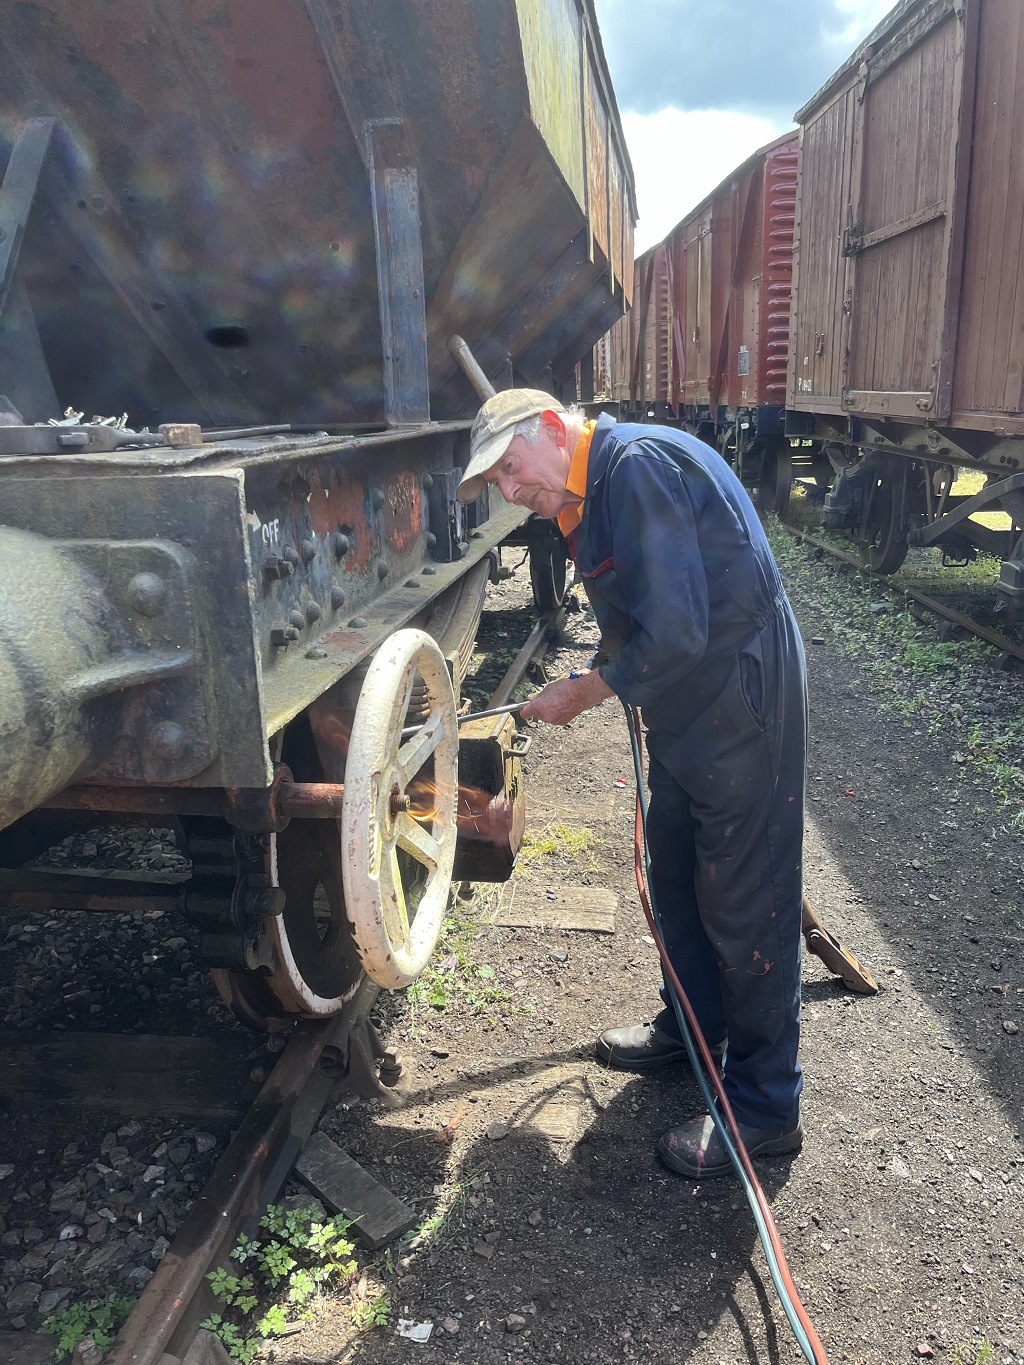
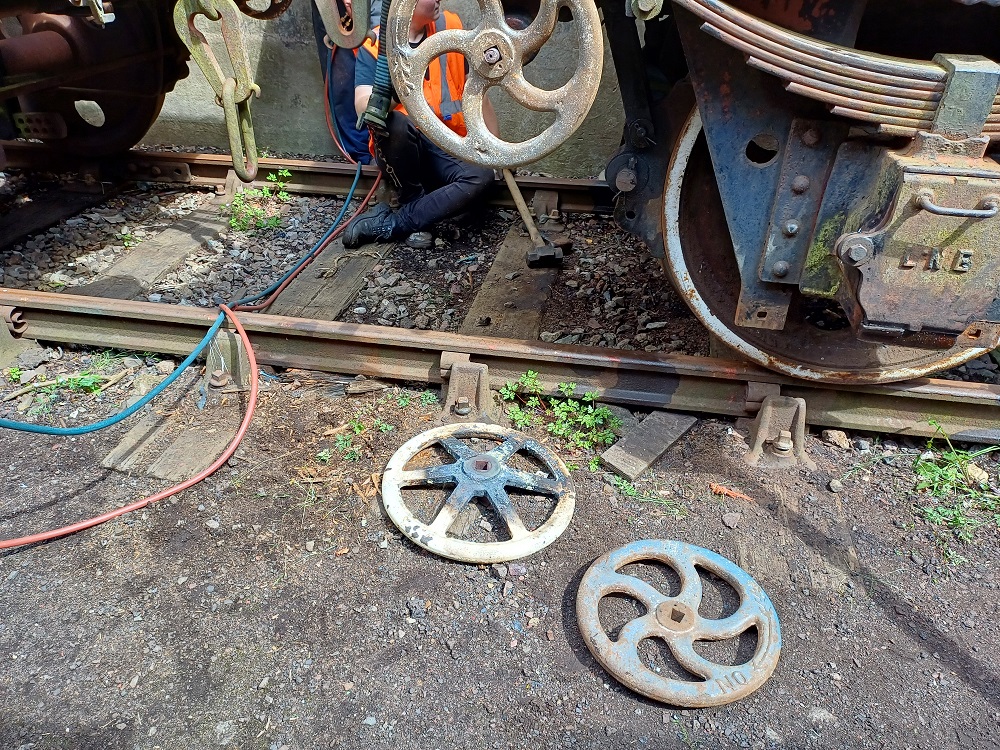
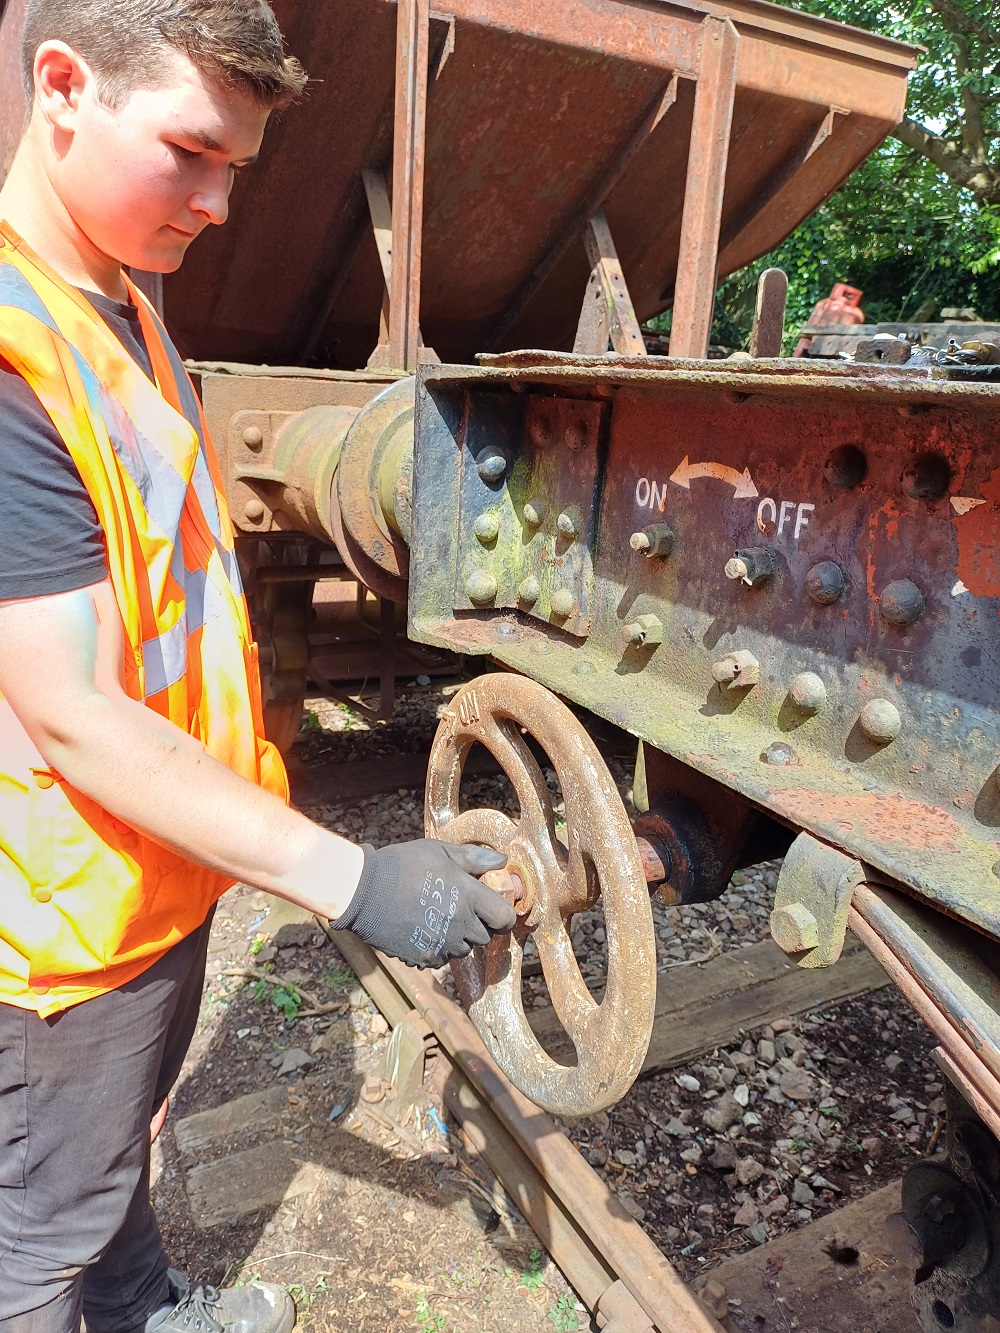
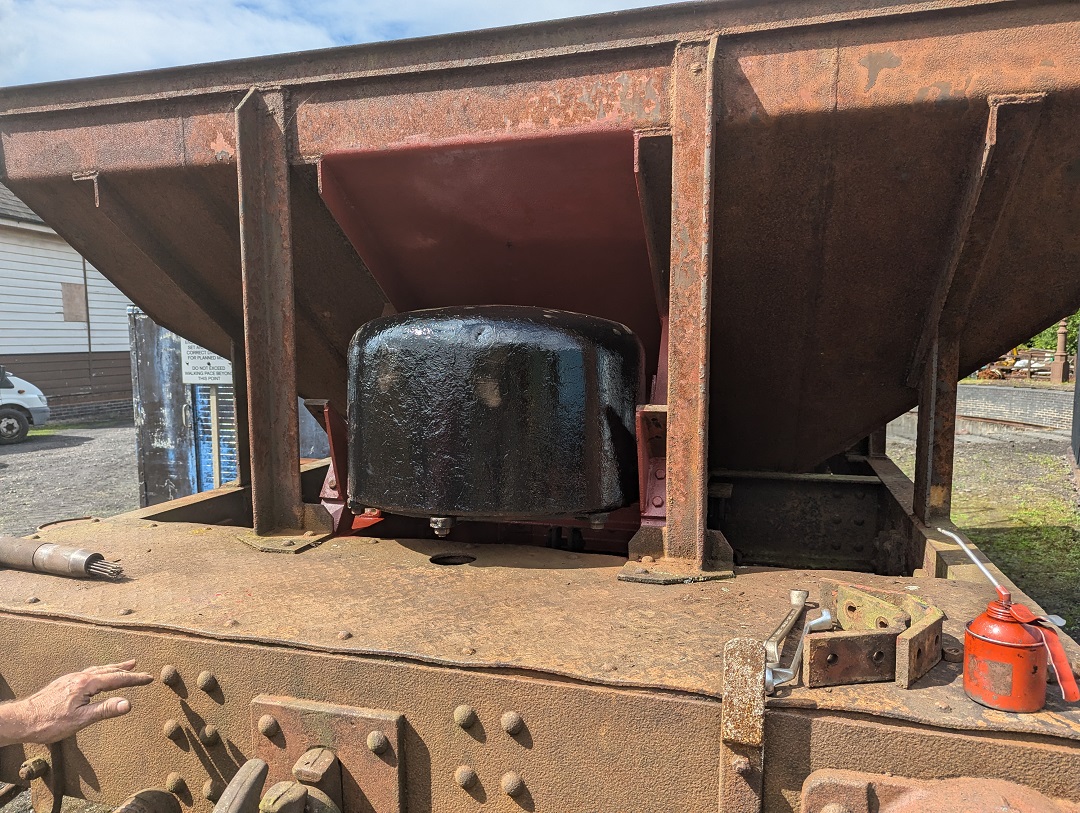
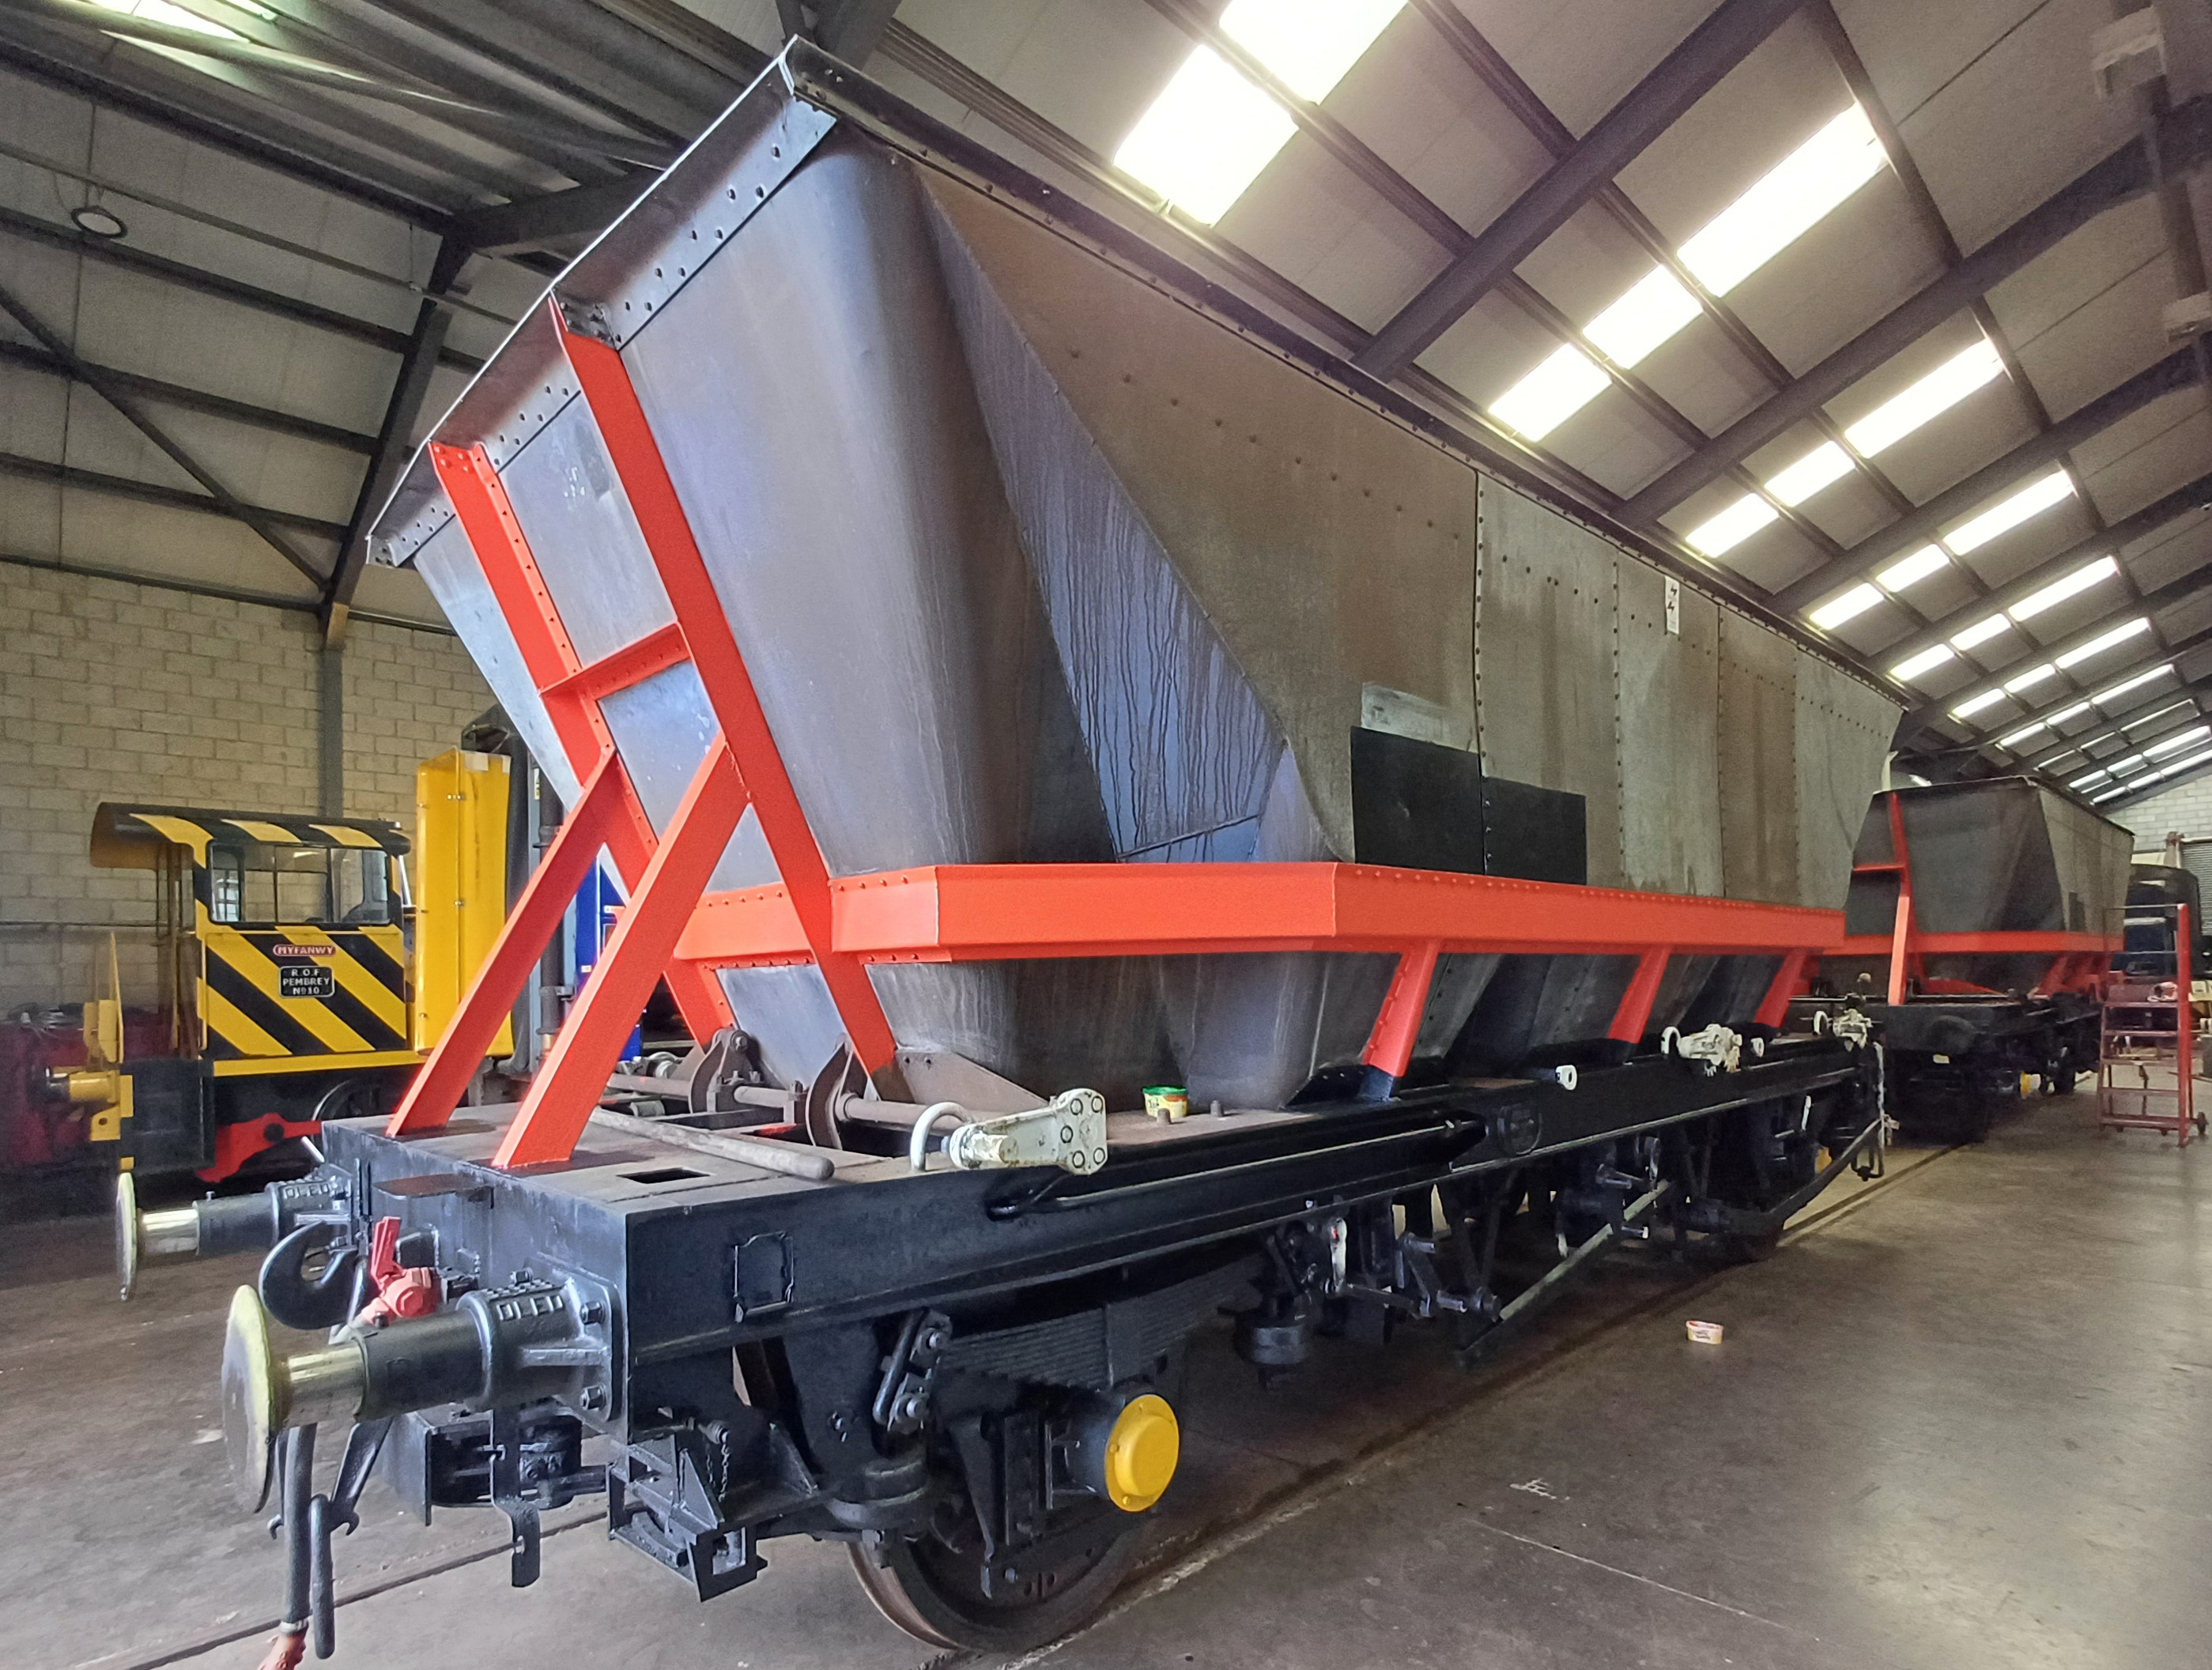
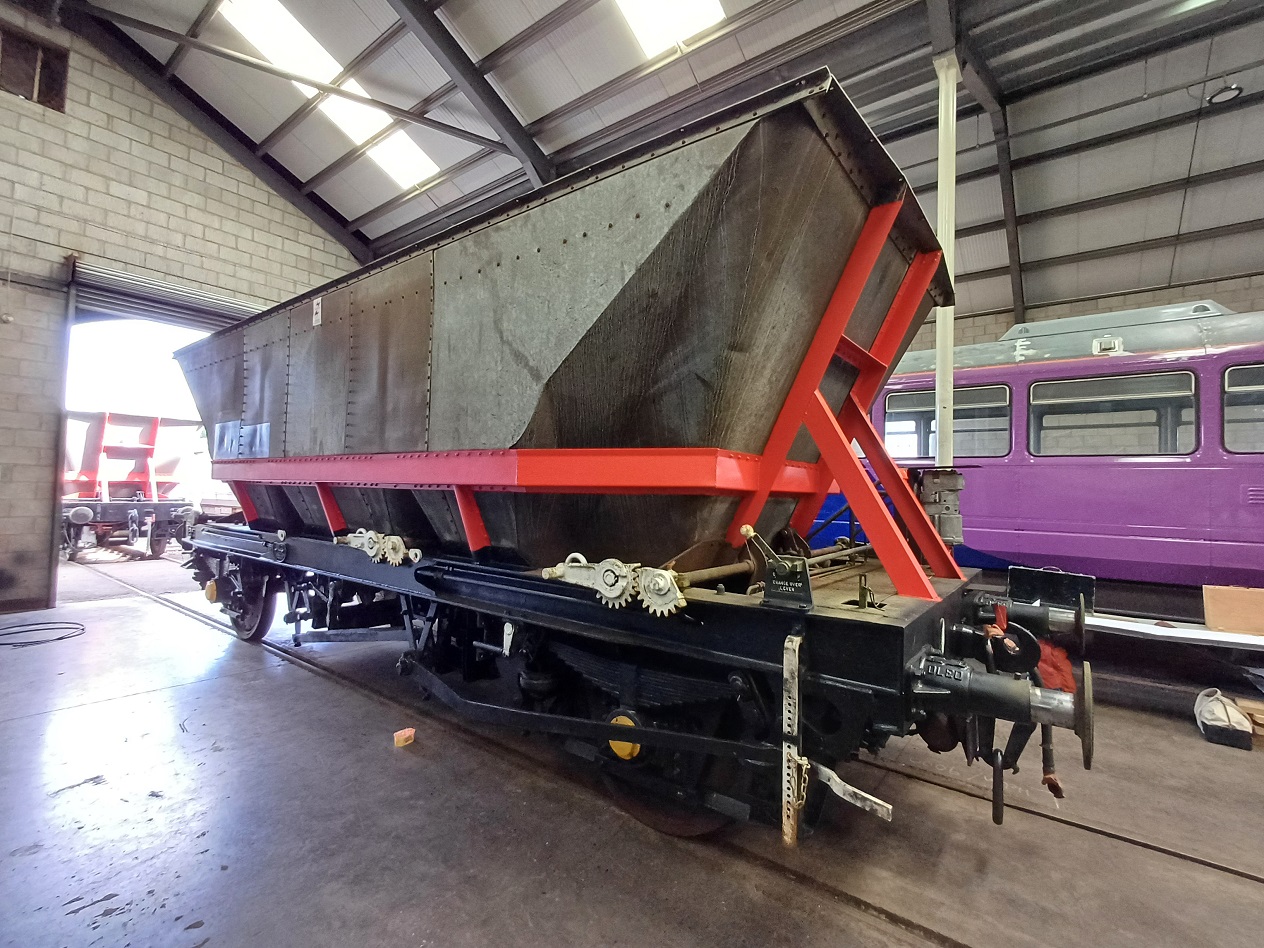
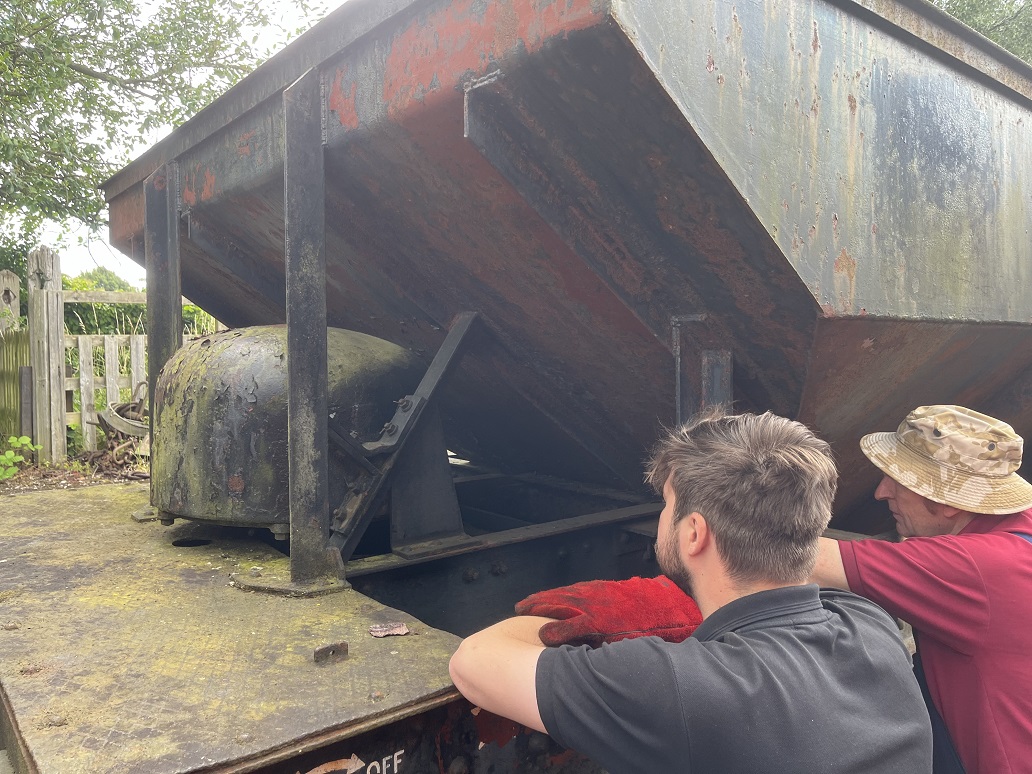
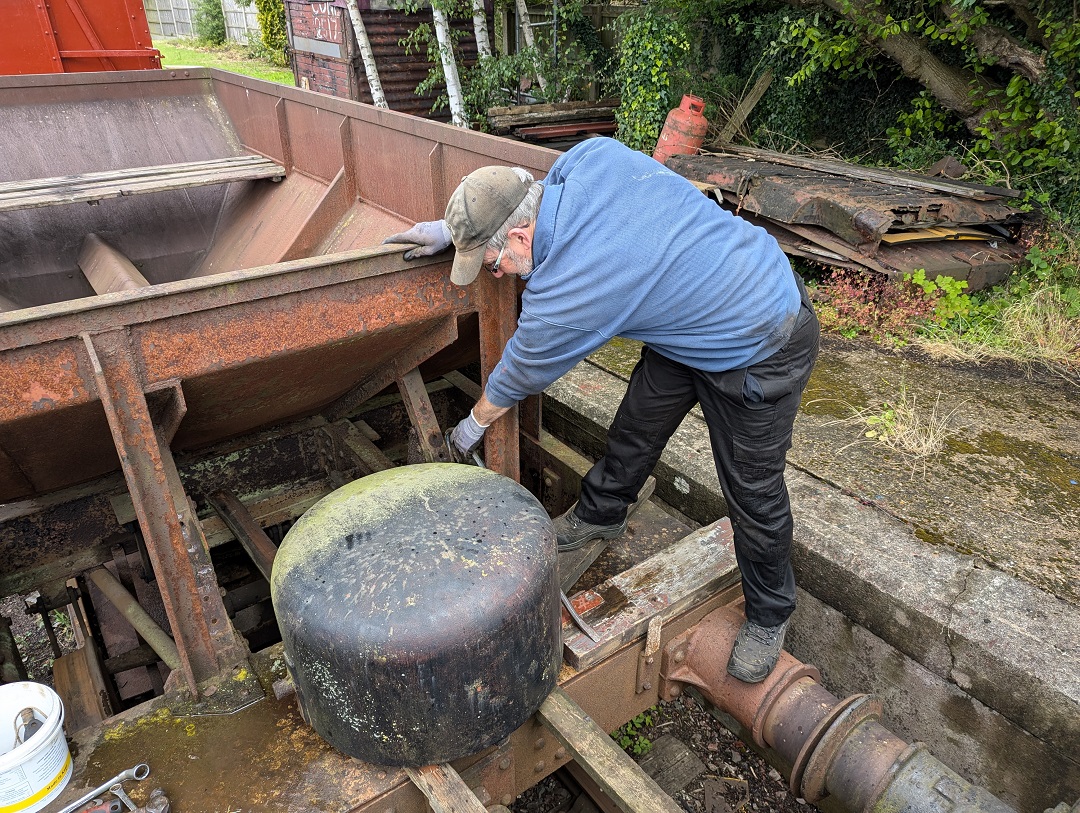
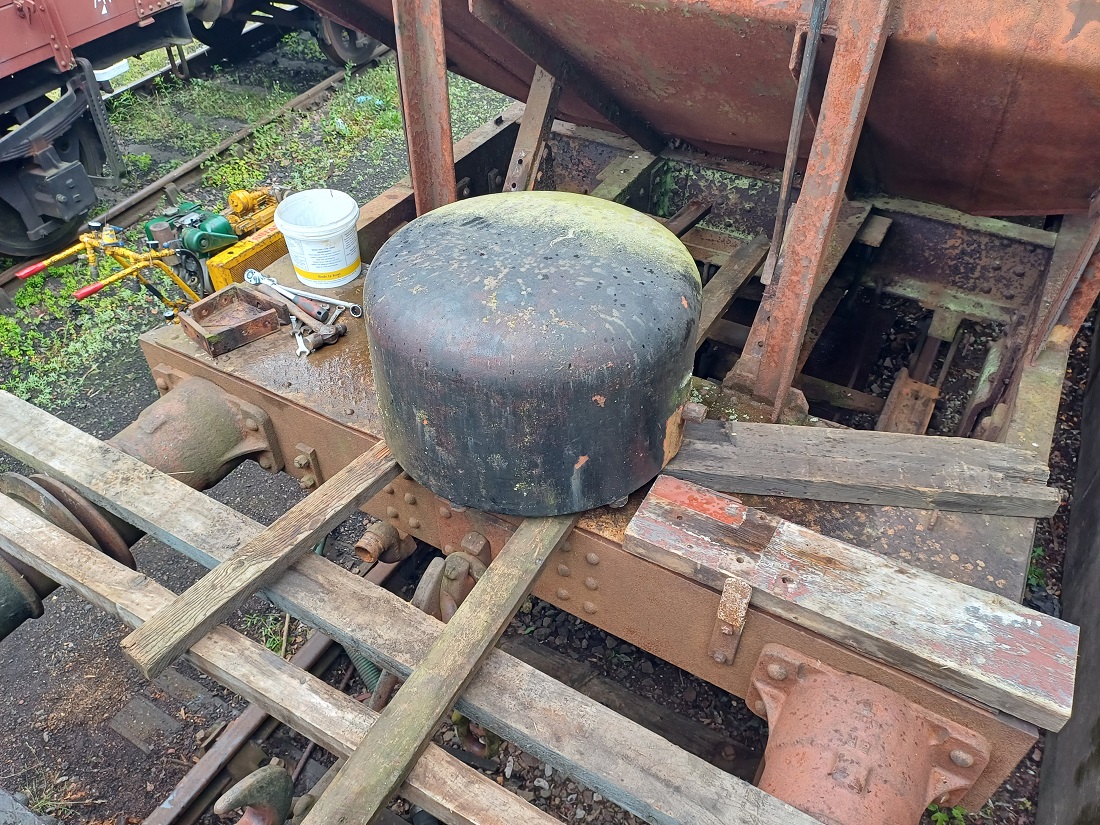
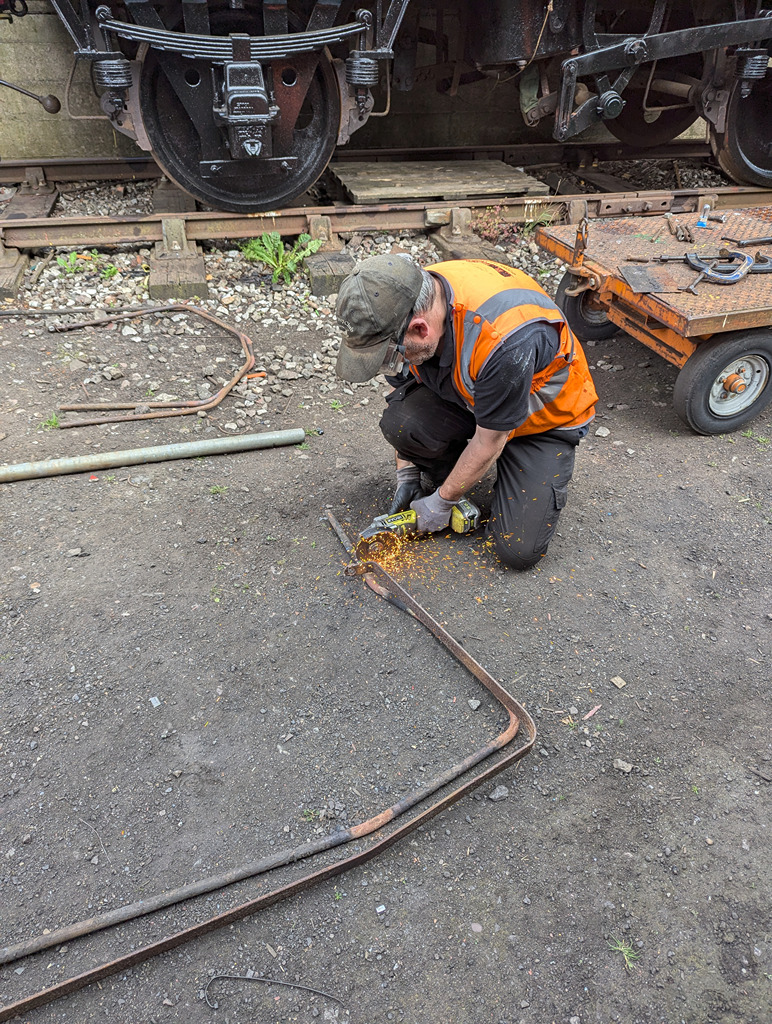
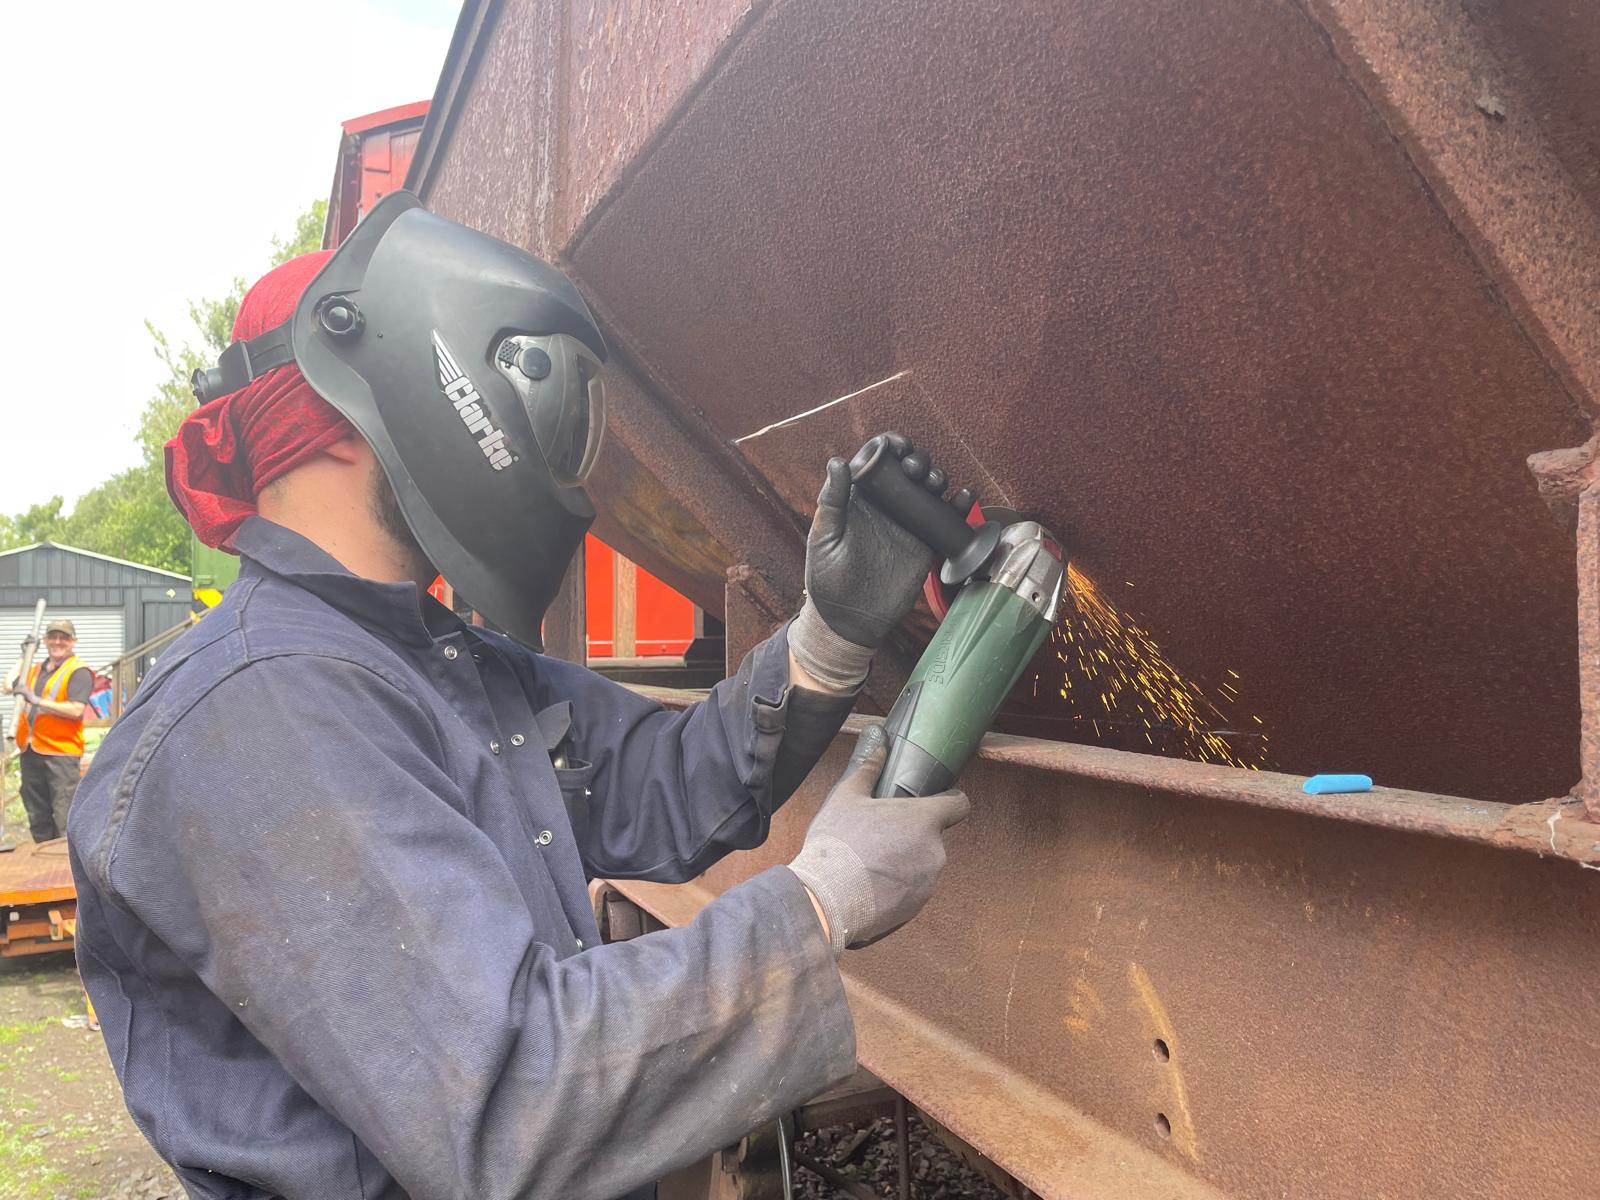
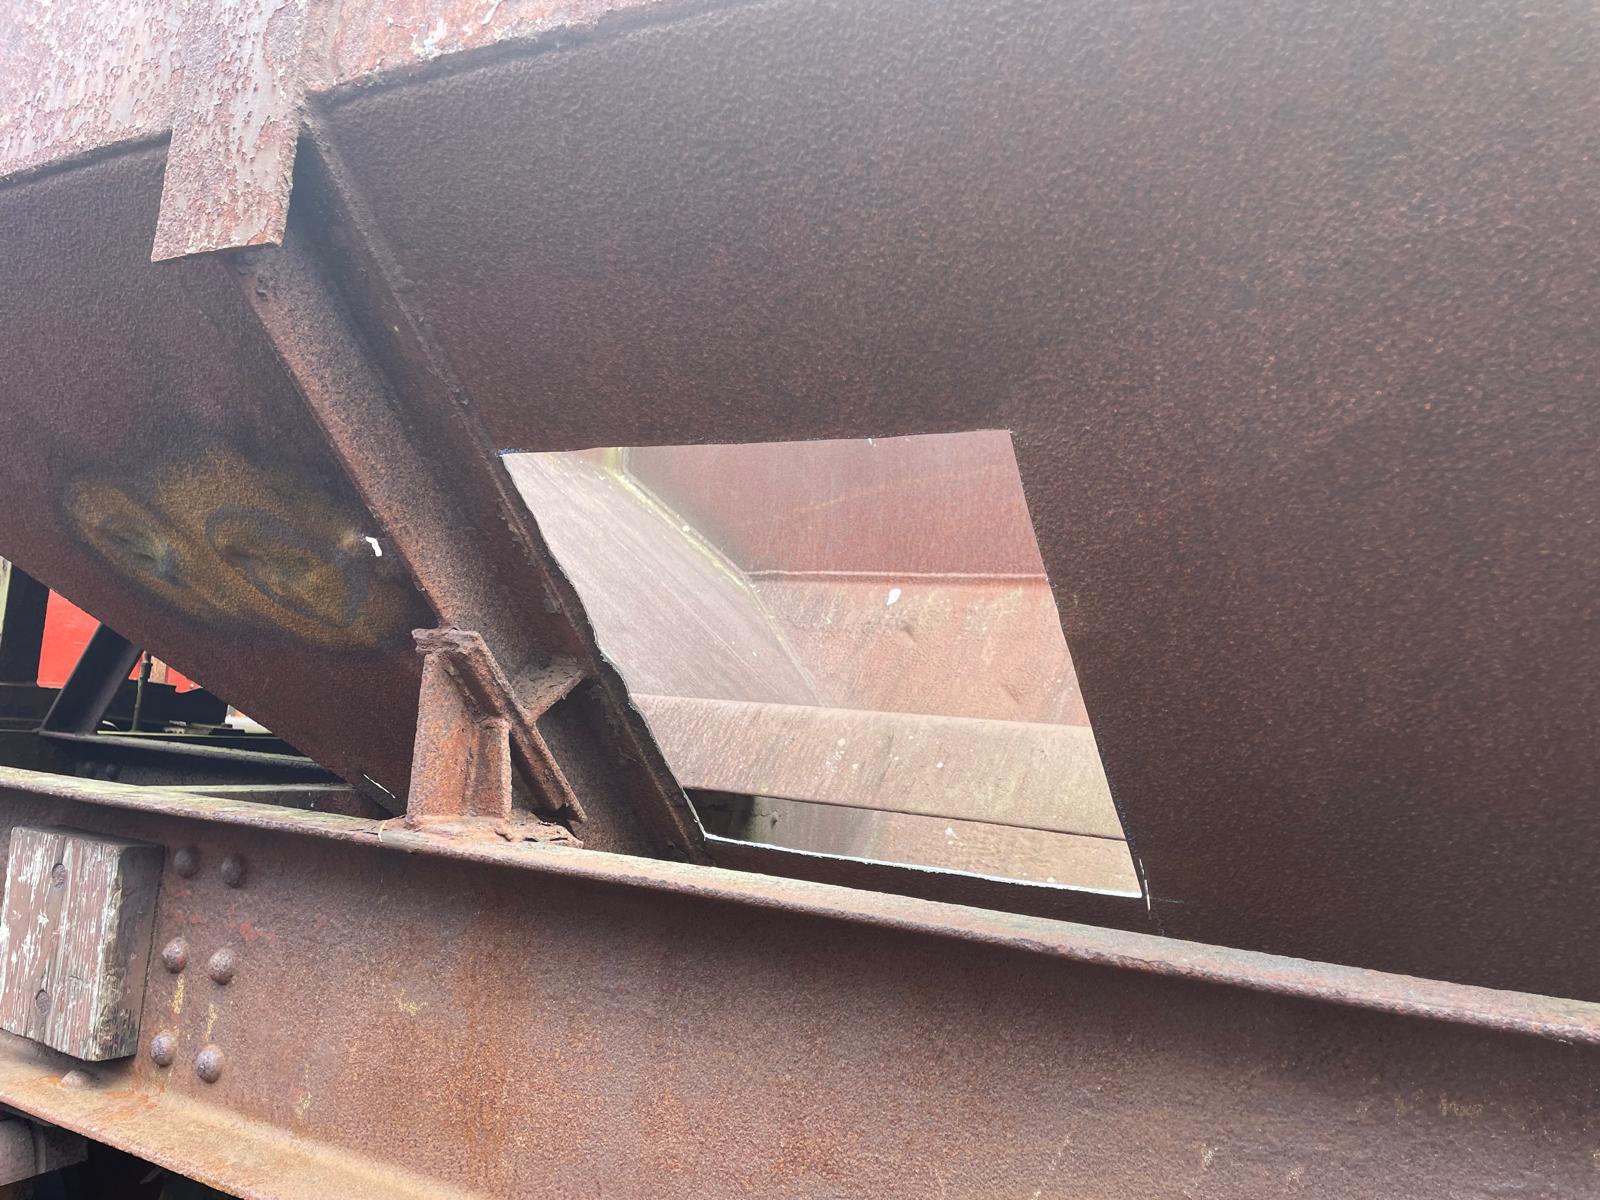
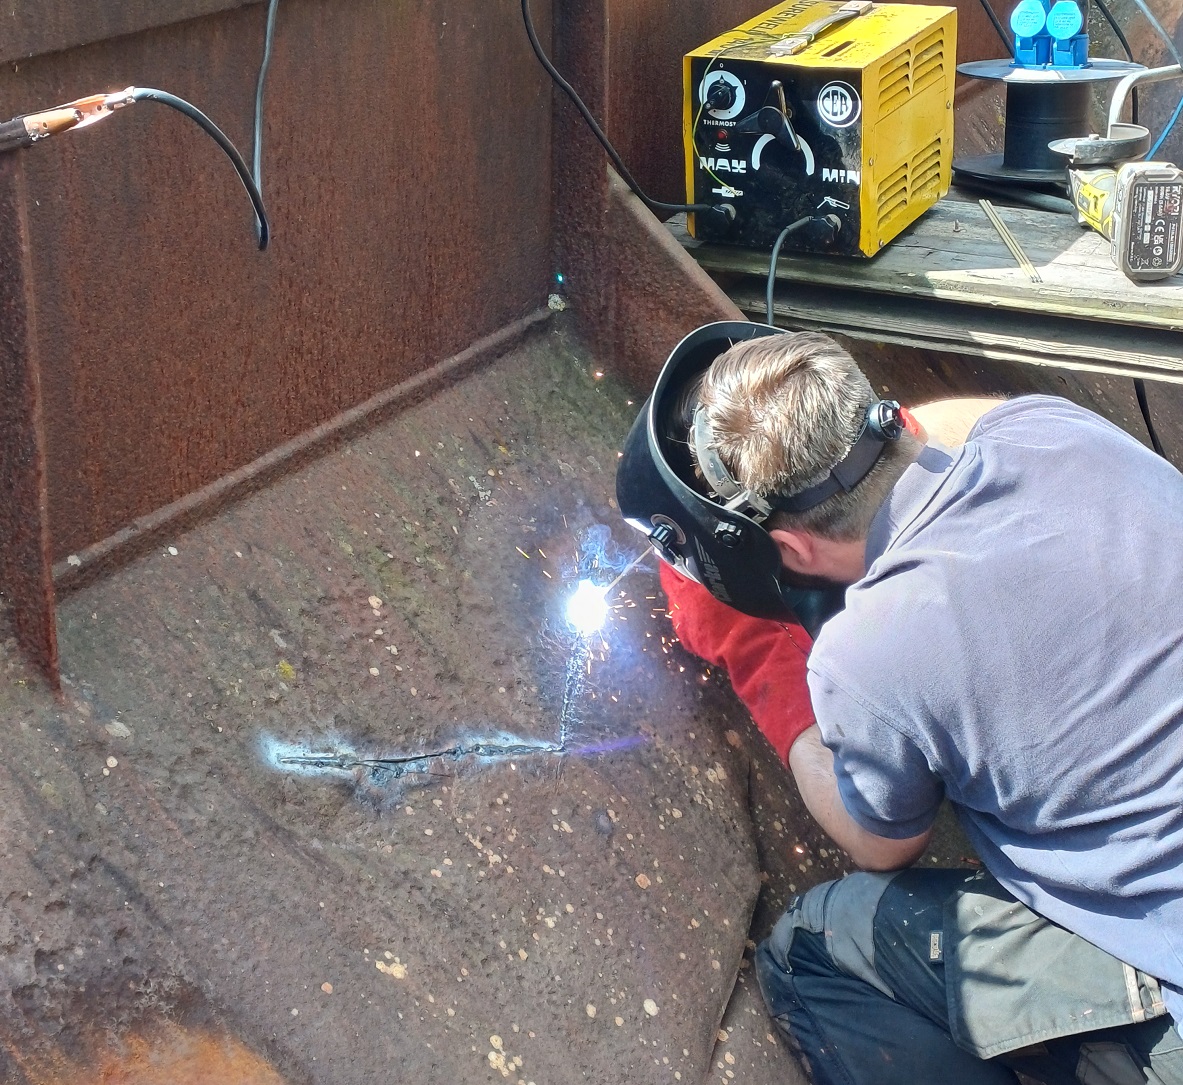
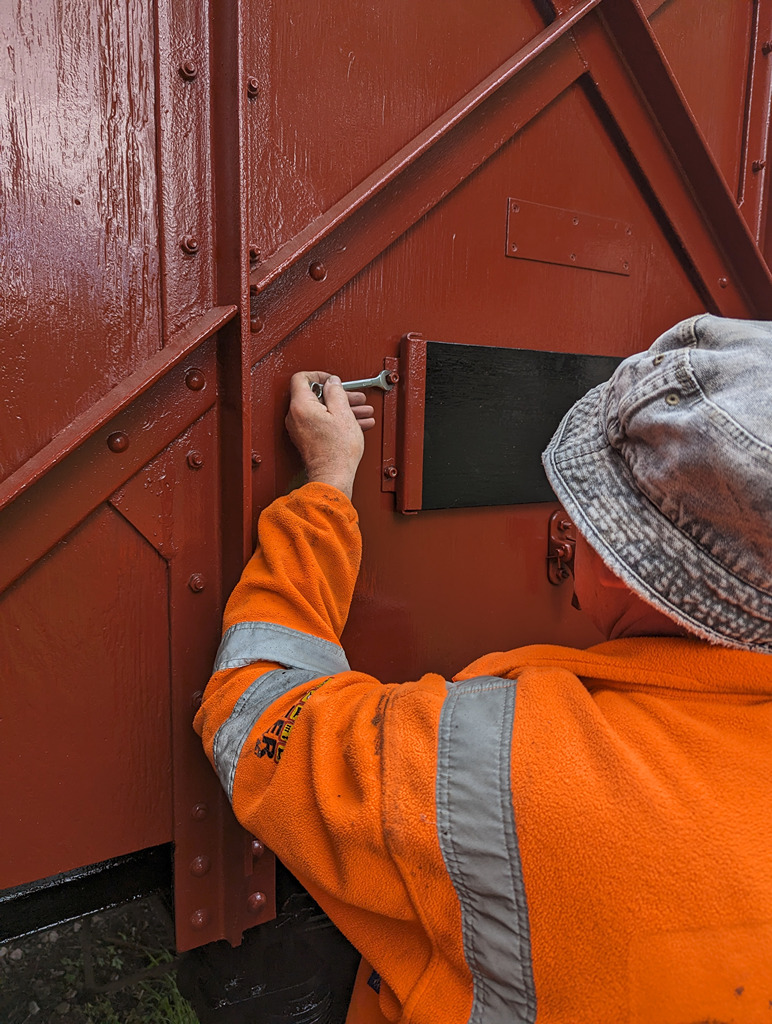
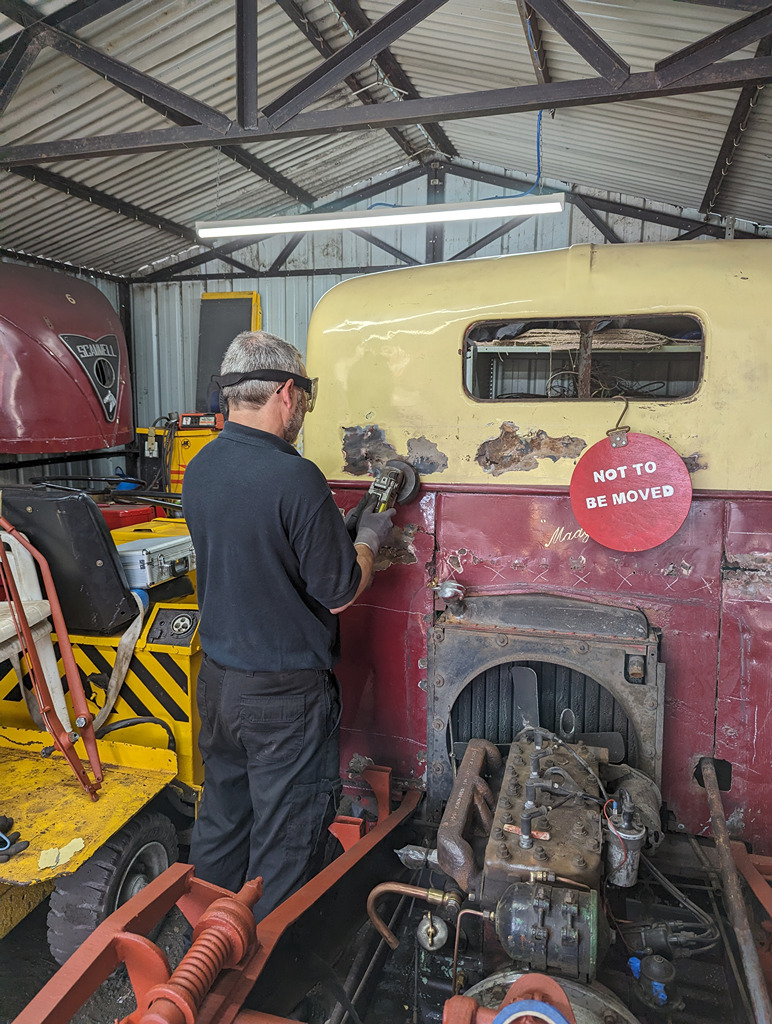
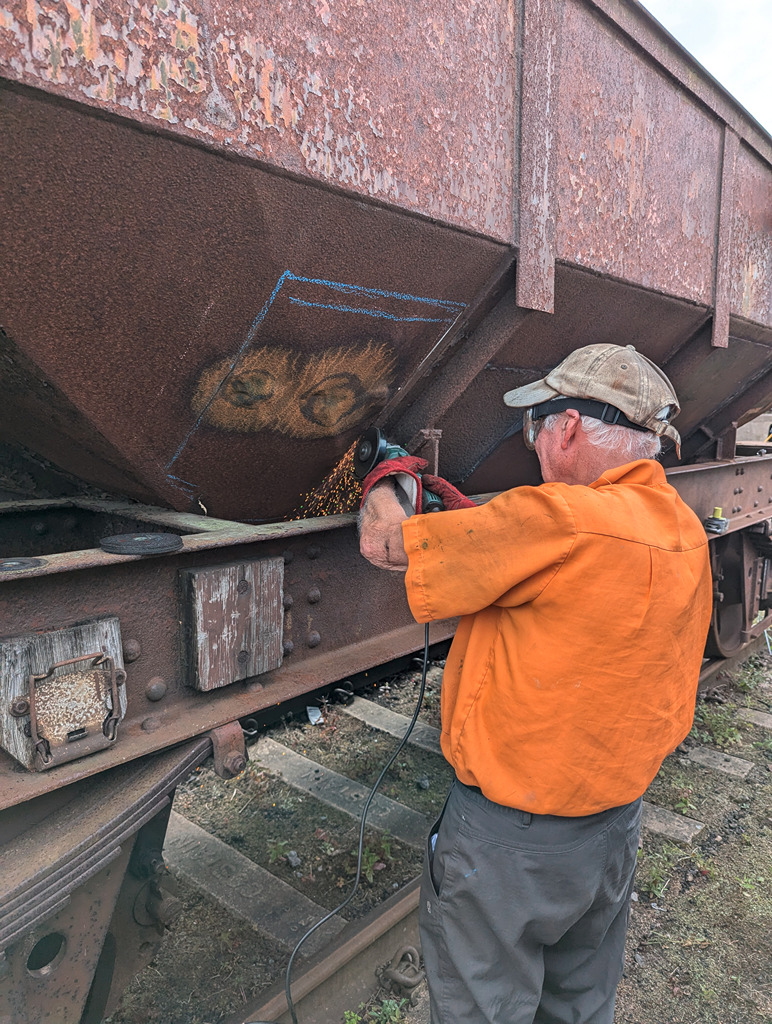
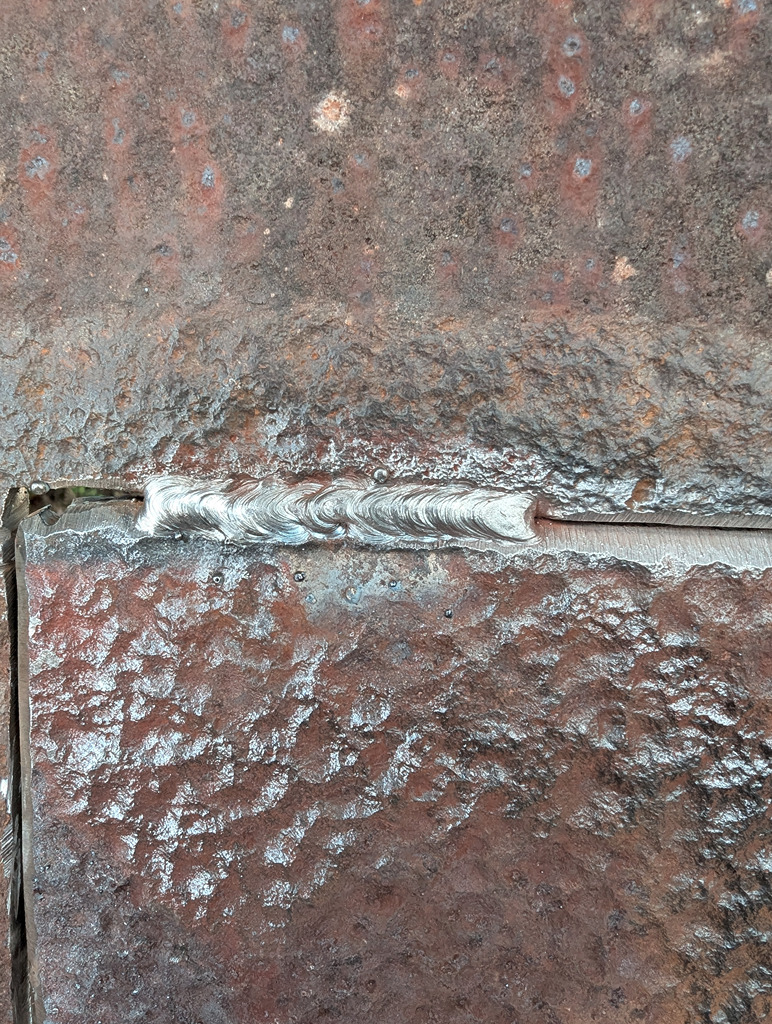
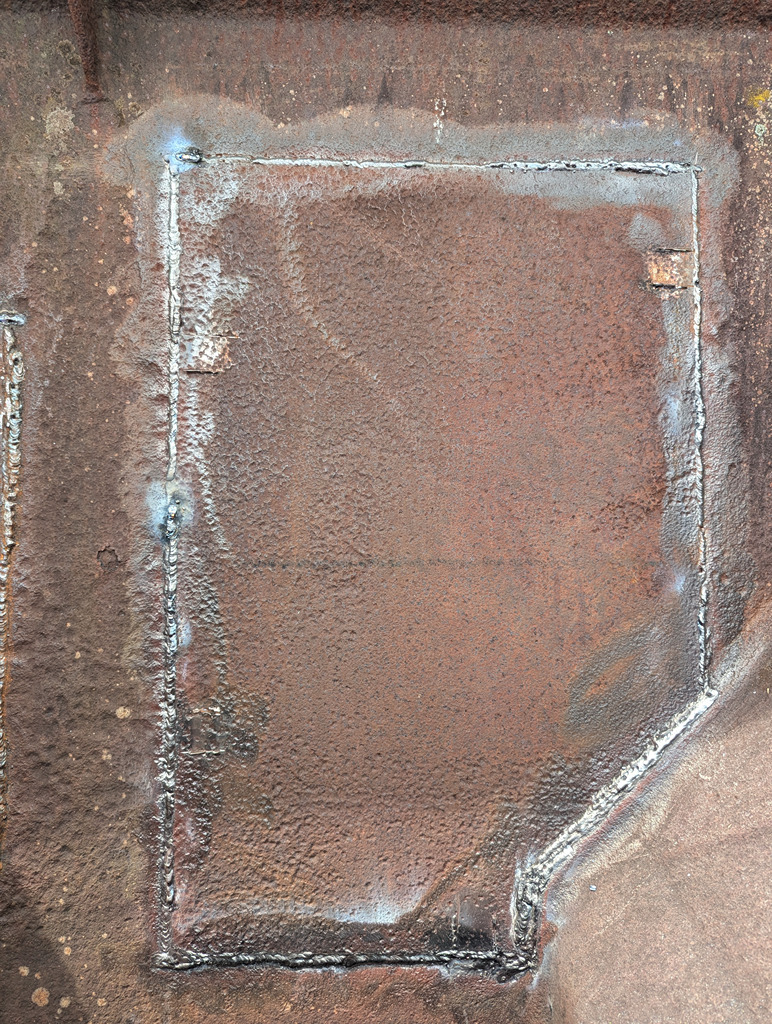
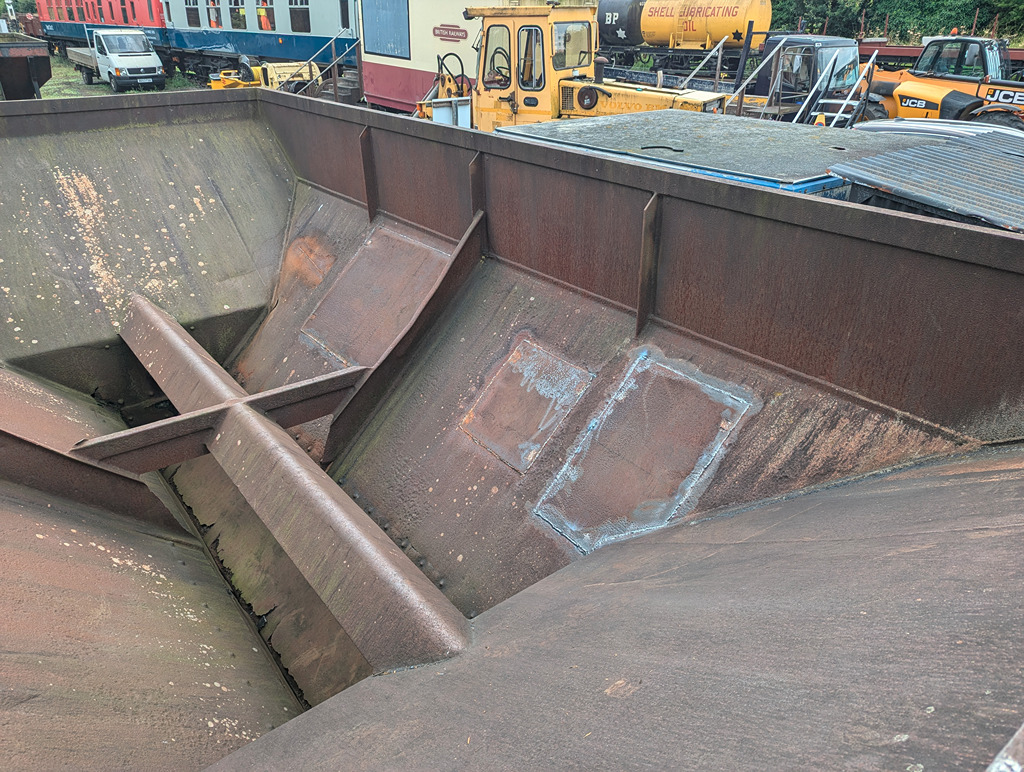
    I began by finishing the big patch from last week which hadn’t been welded across the bottom joint. While I was doing that Ernie started cutting out the last patch on the East side, on the end under the hopper door control wheel.

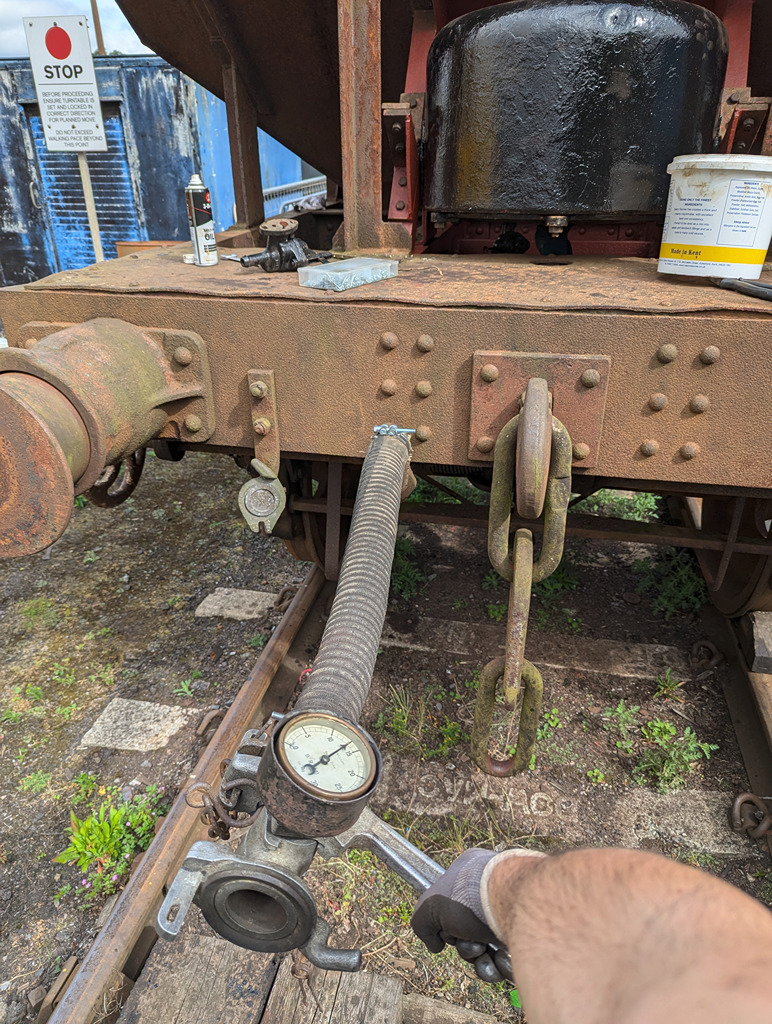
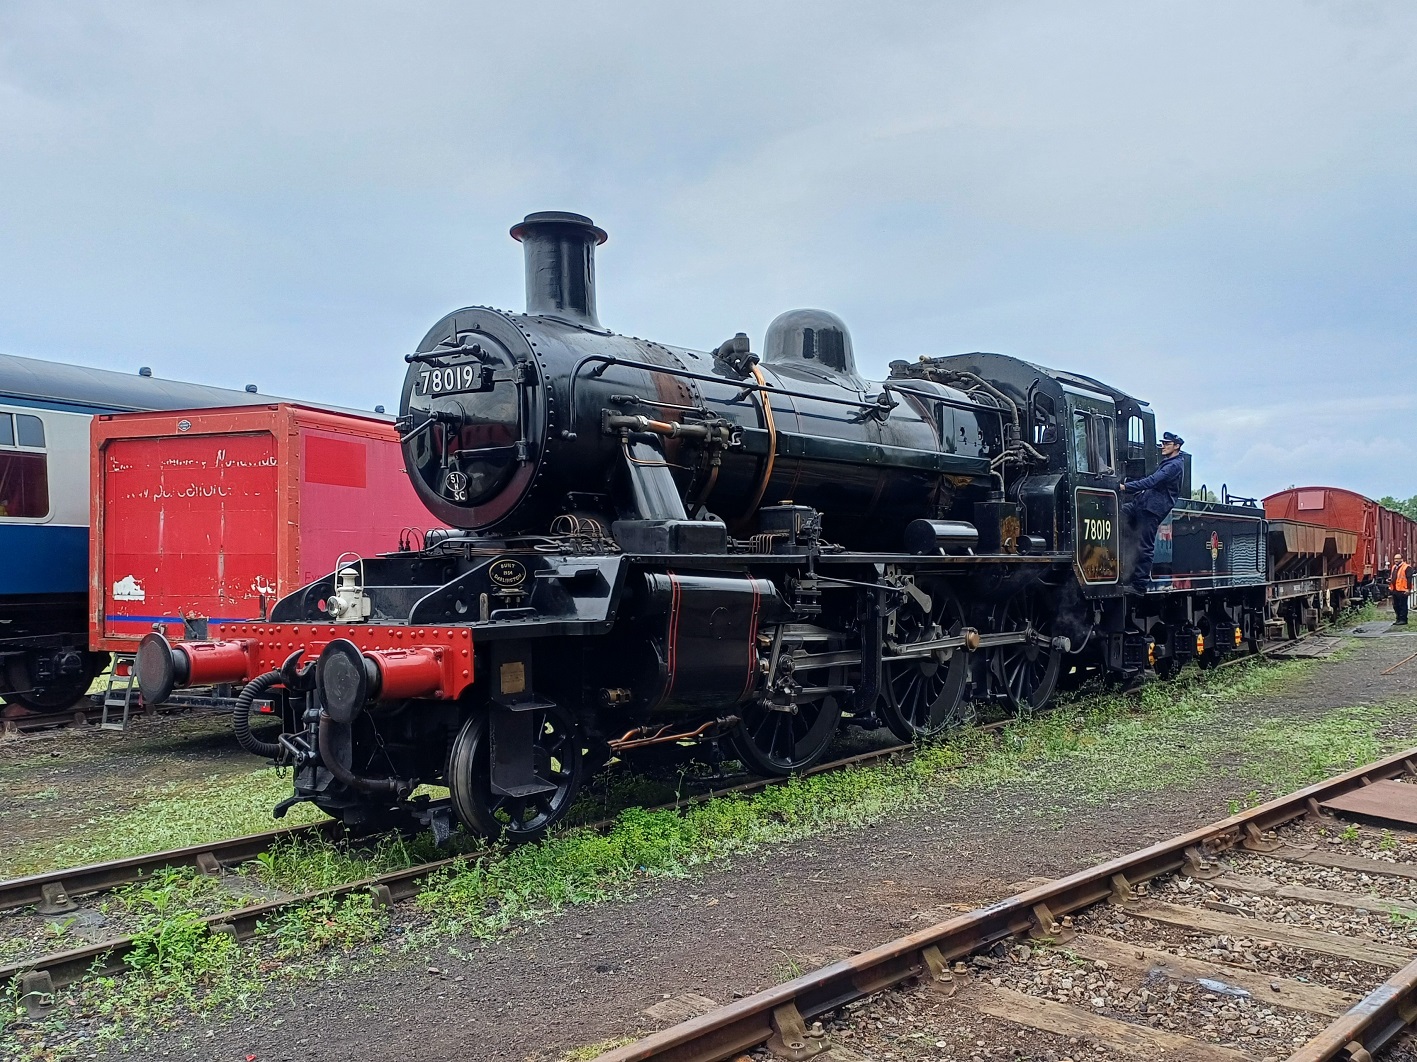
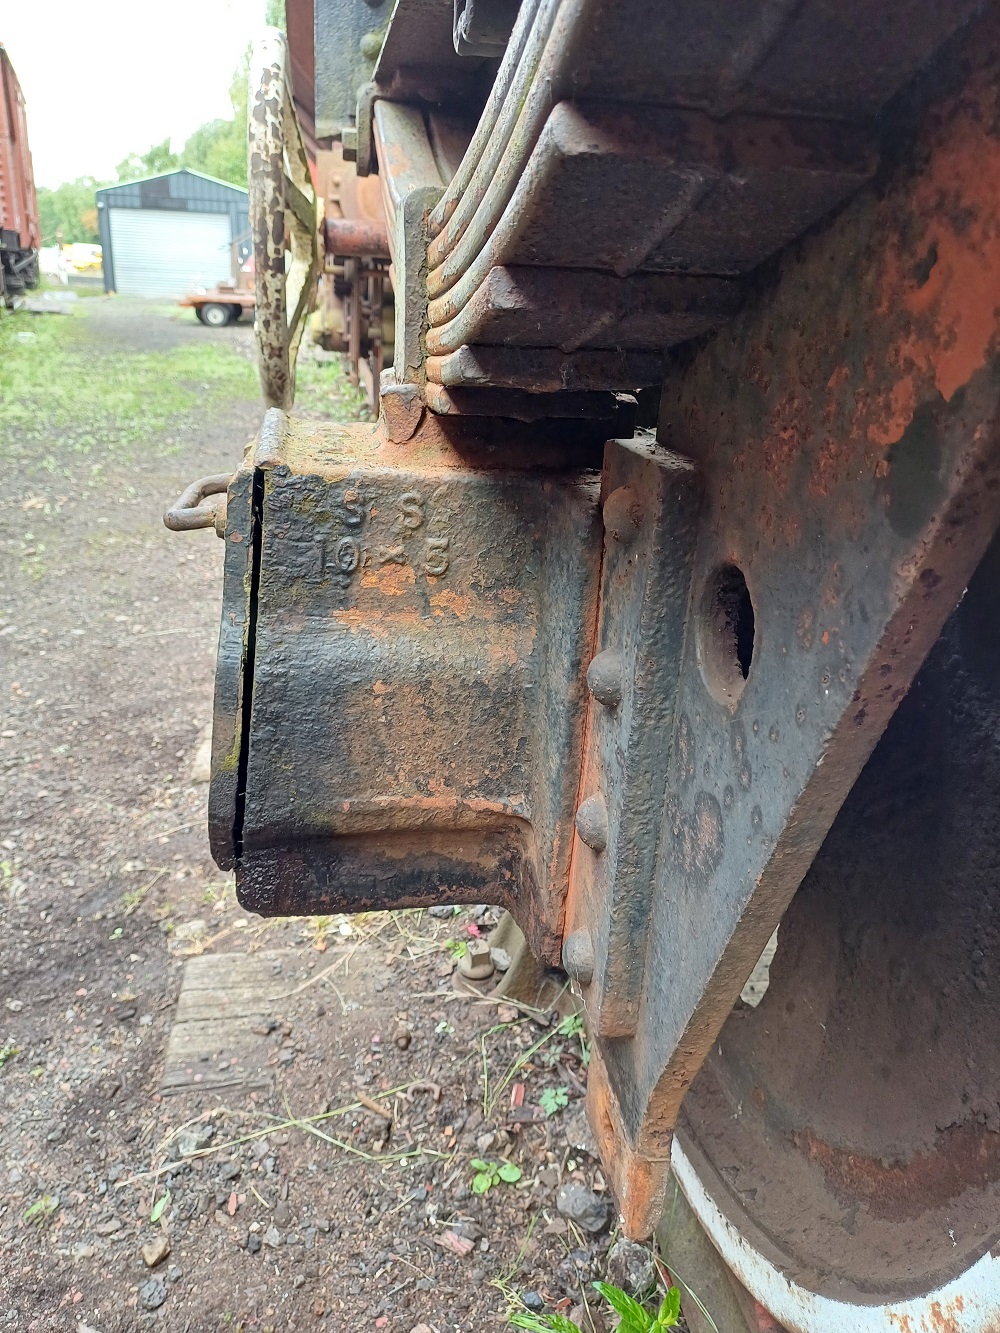
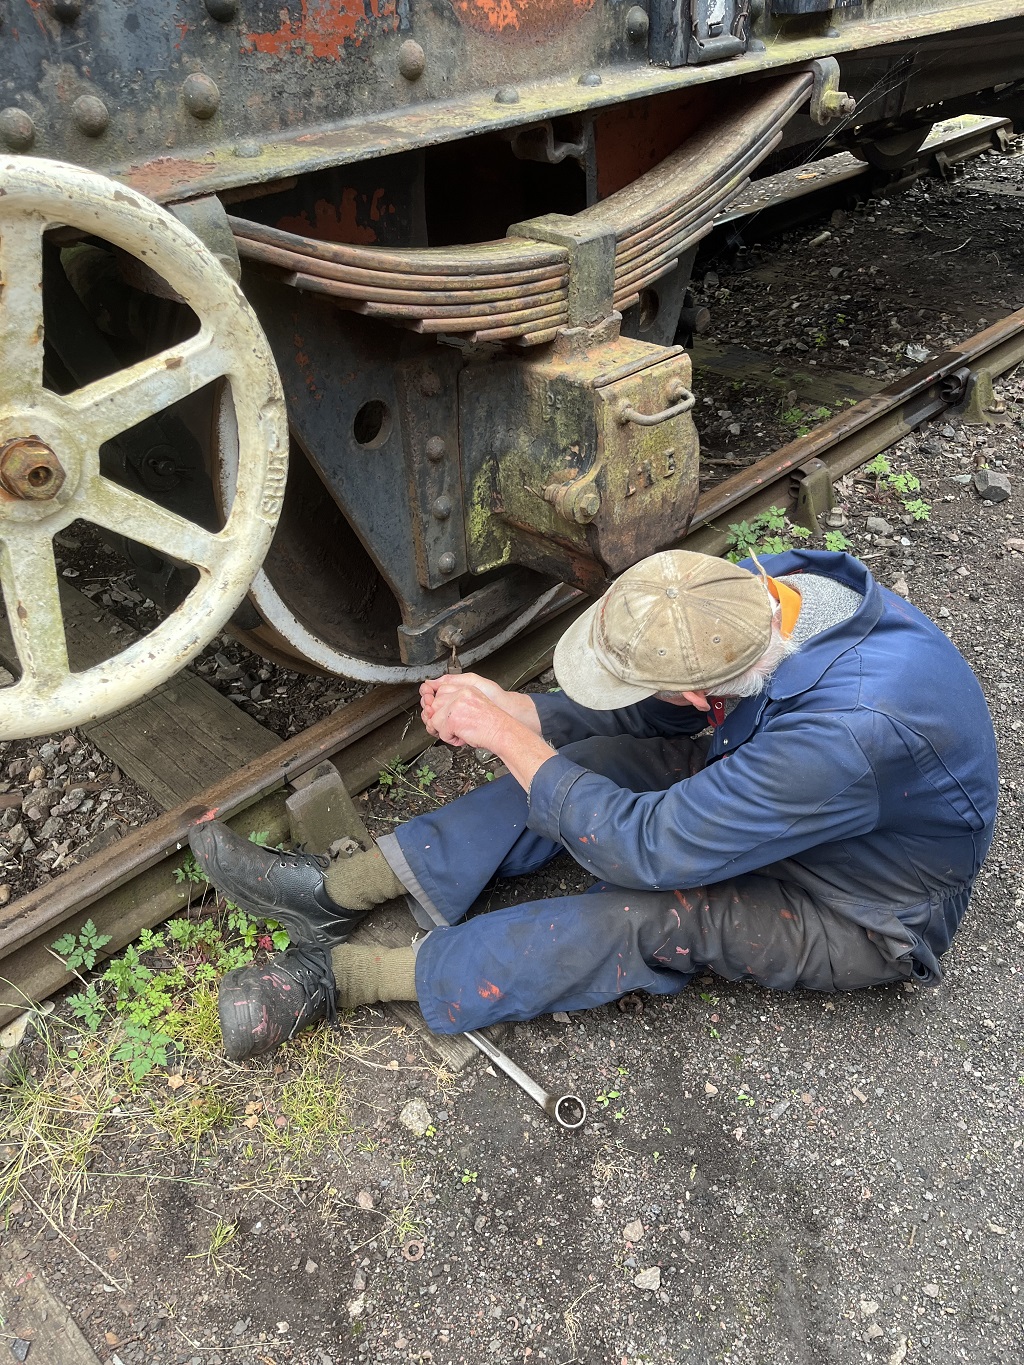
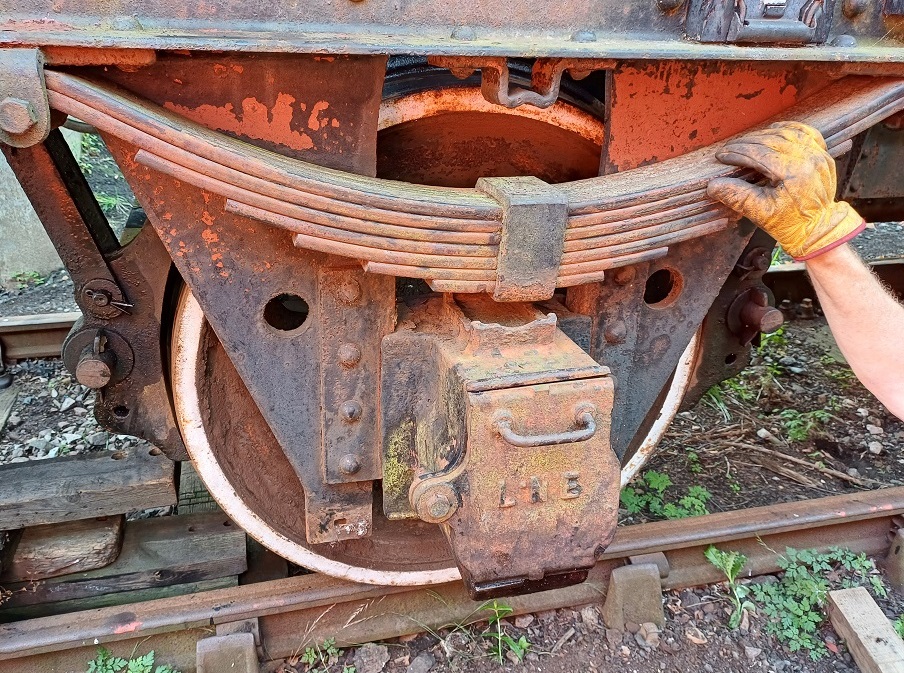
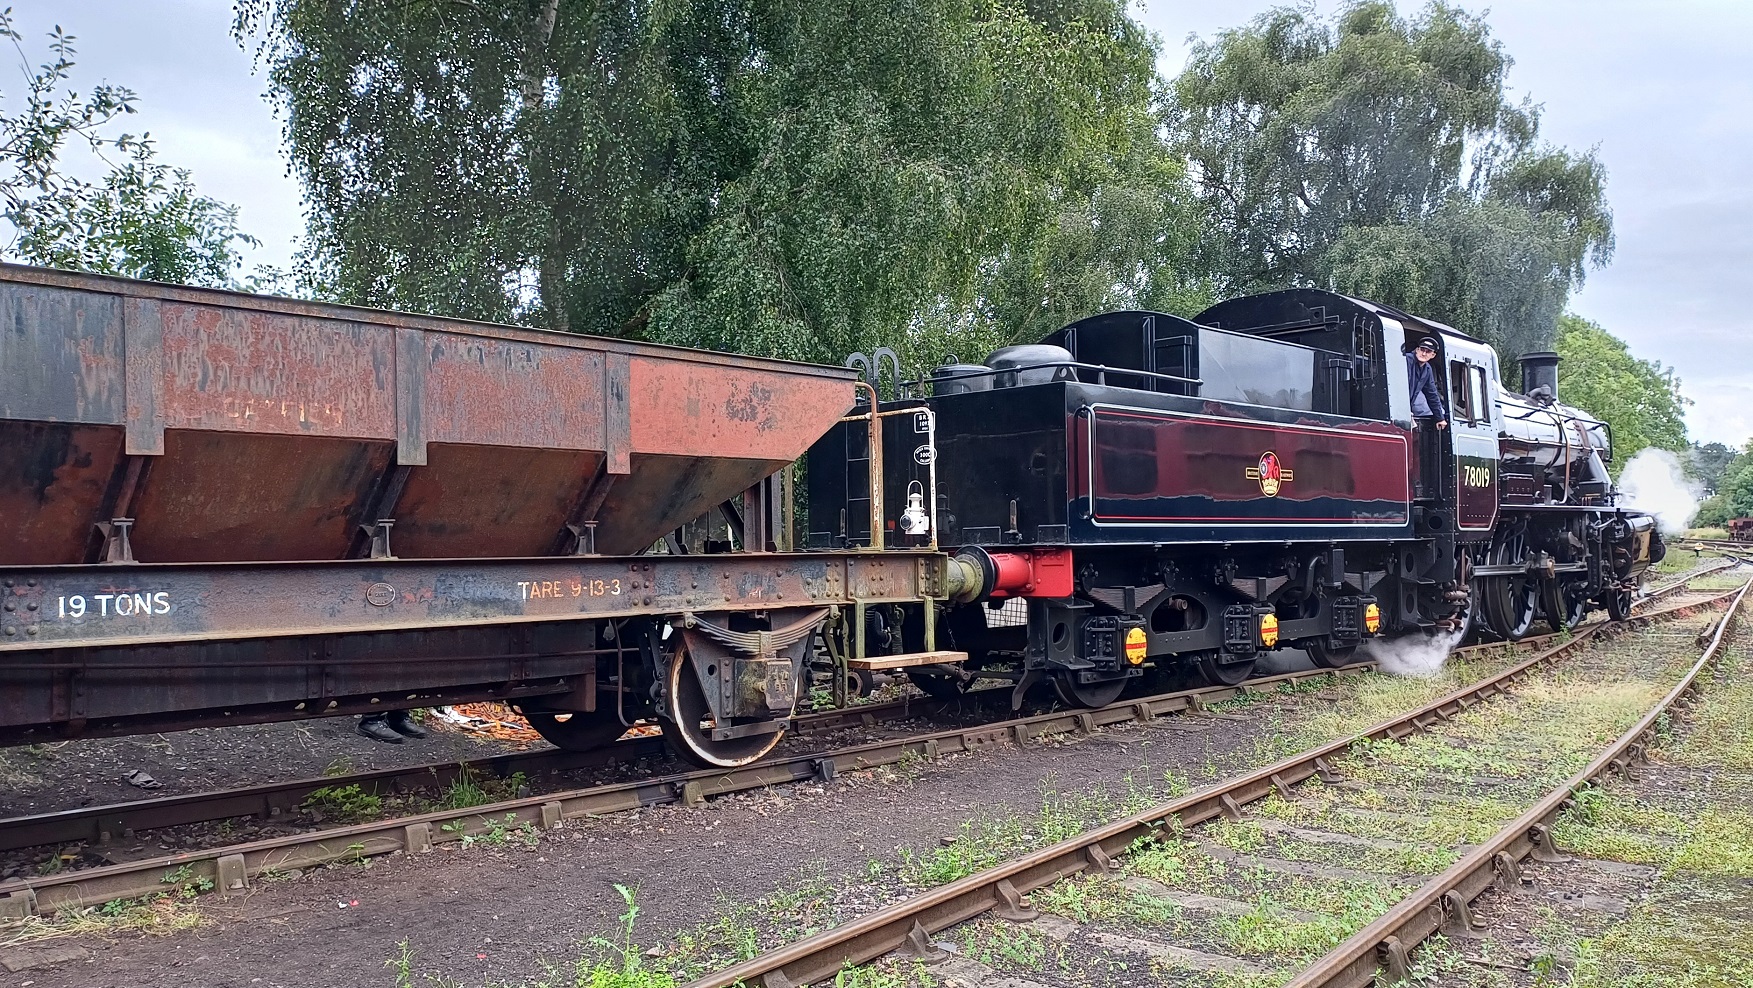
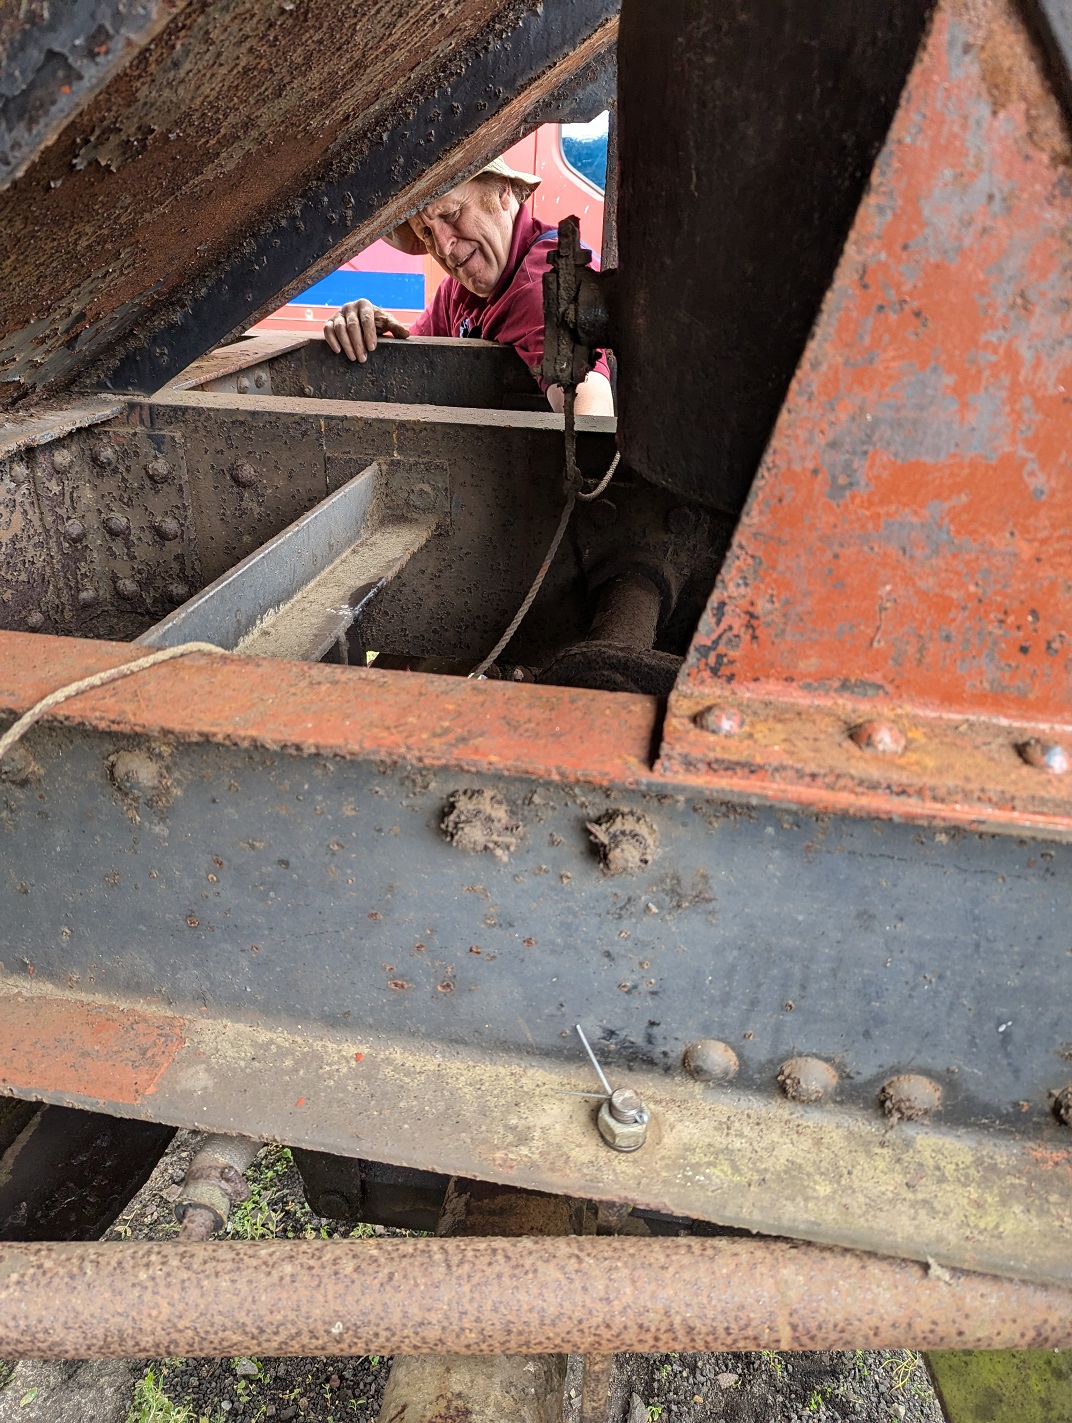
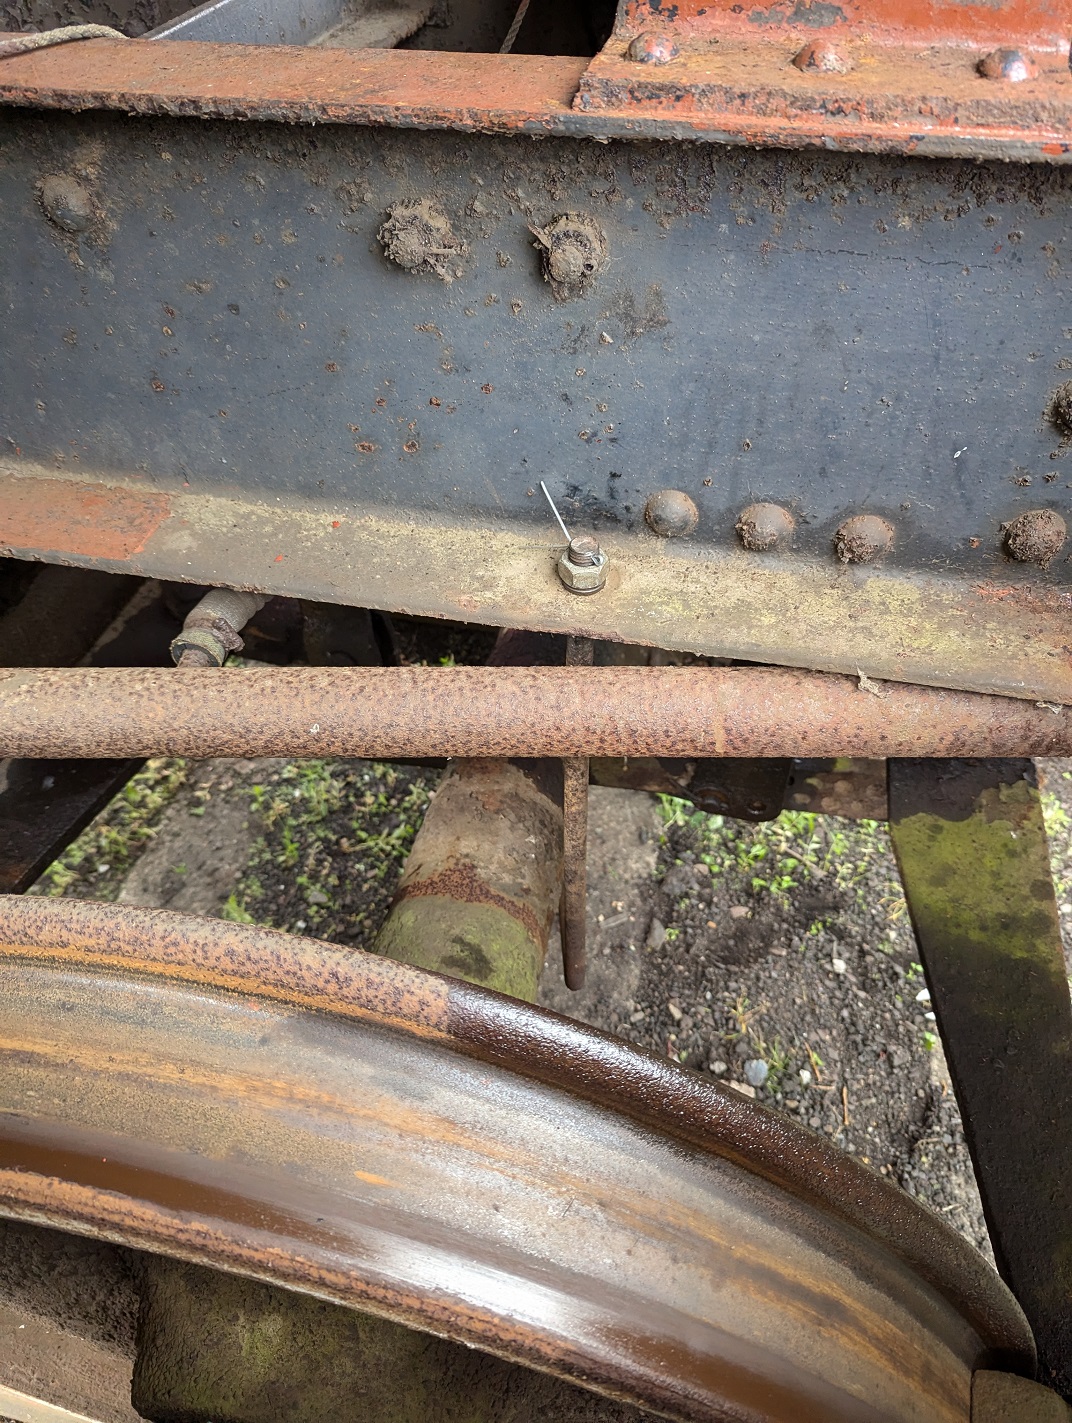
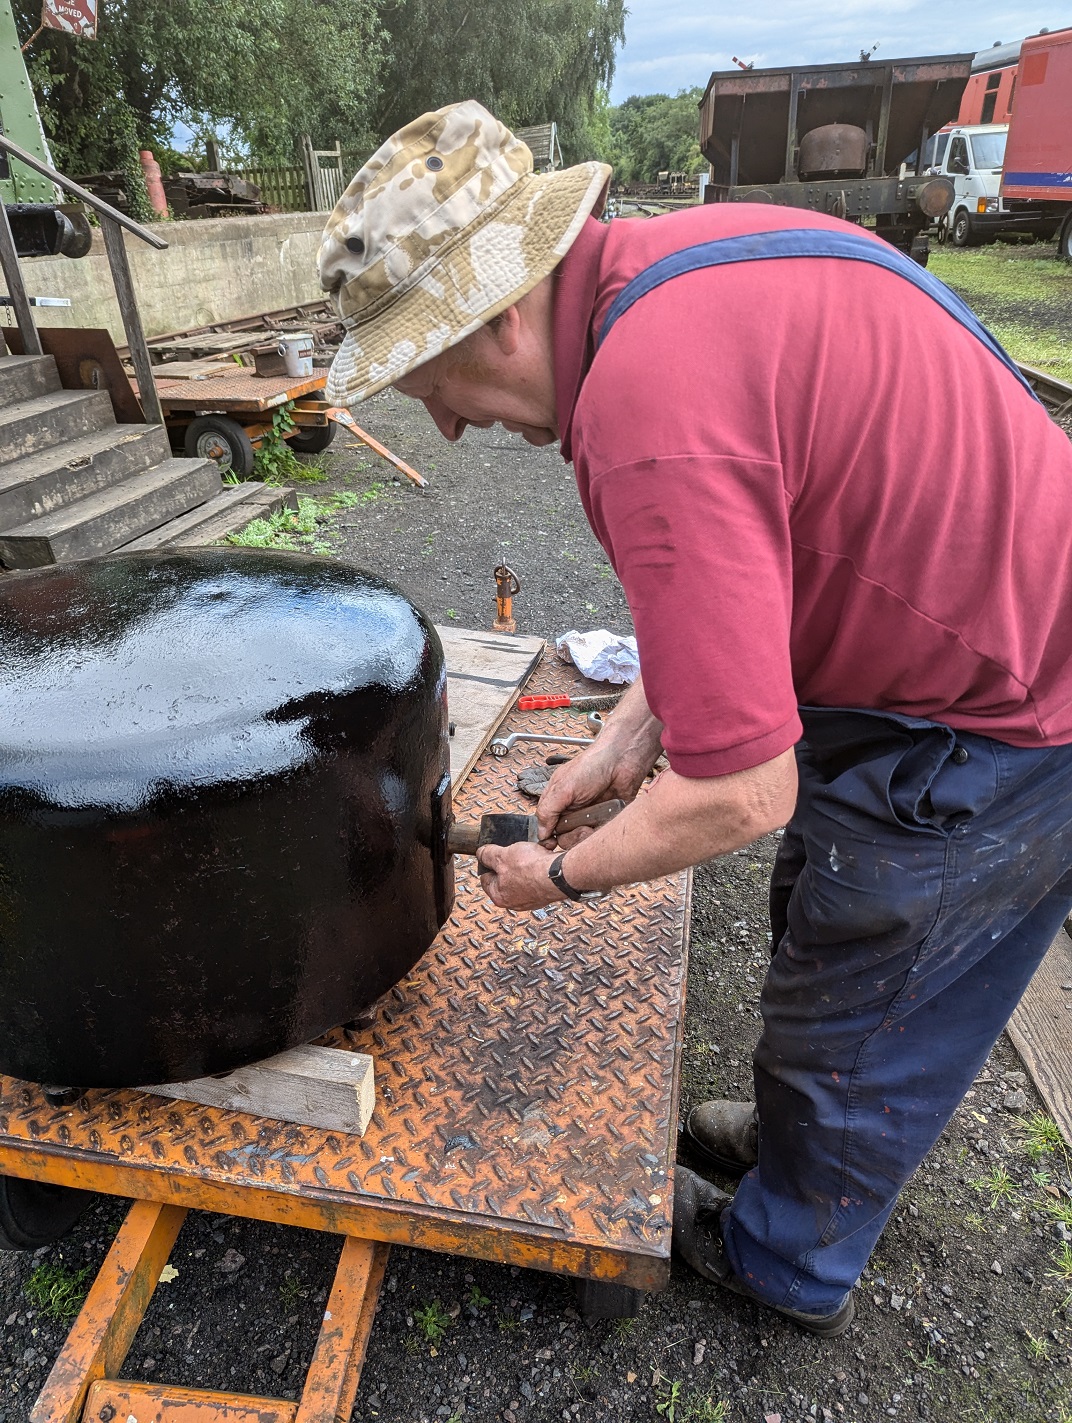
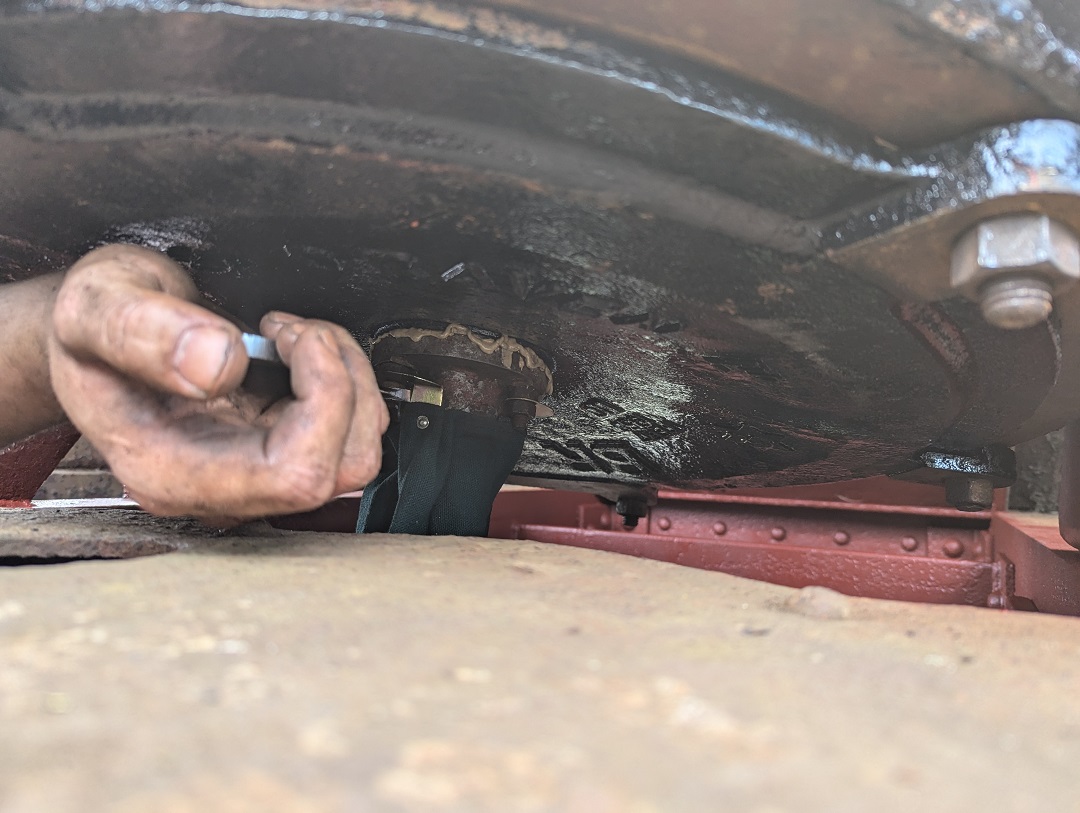
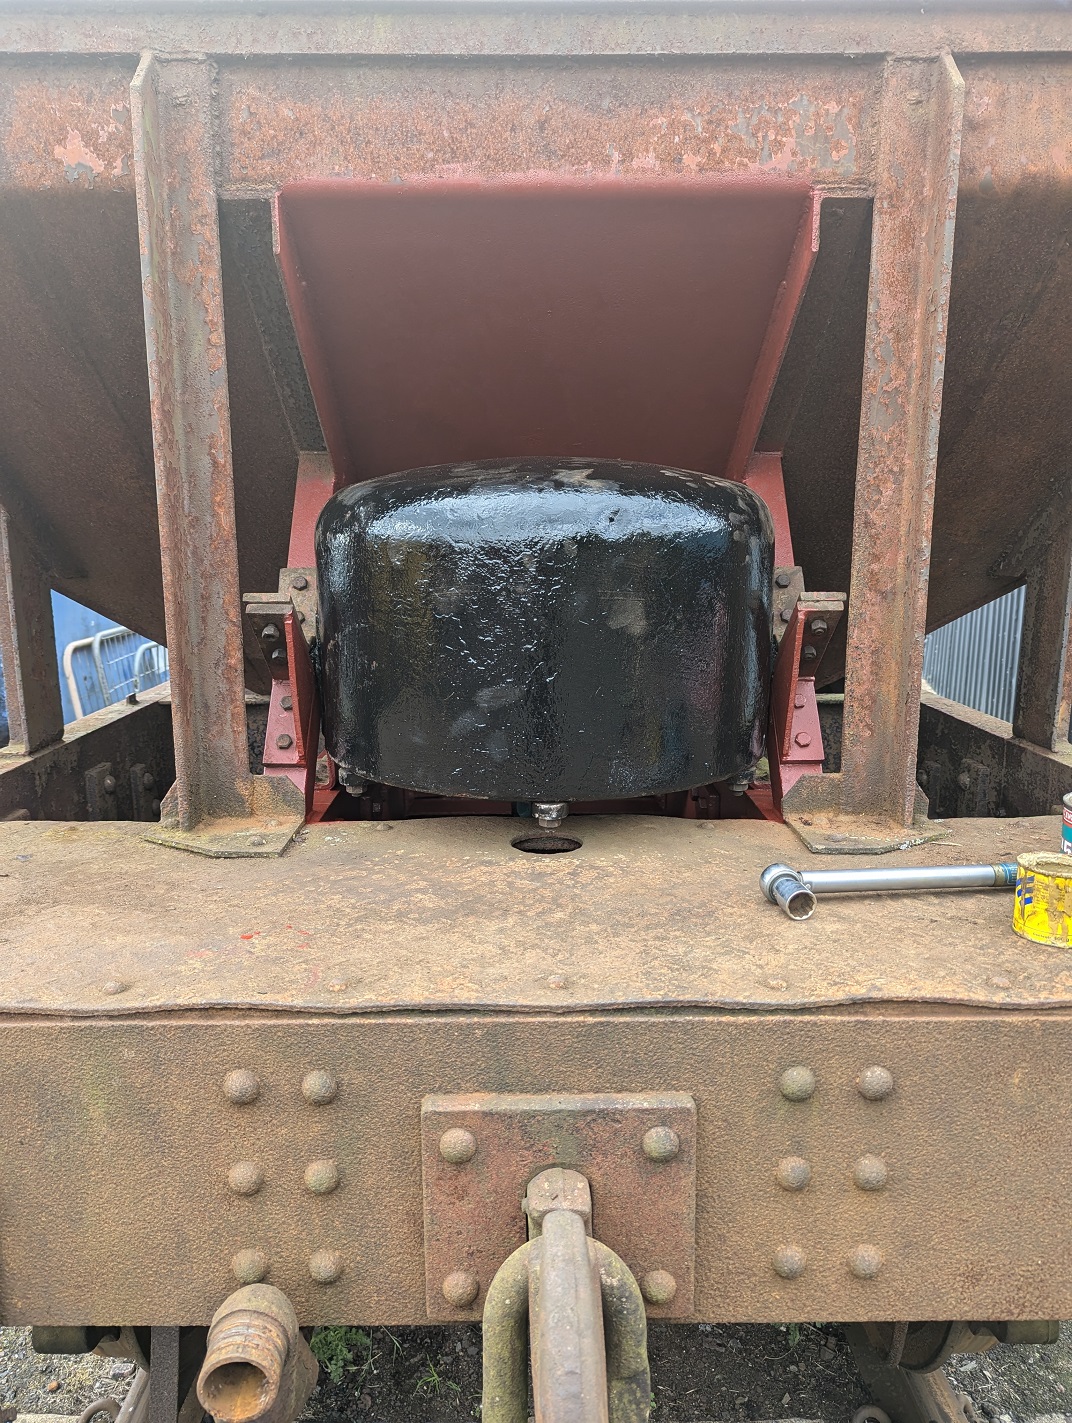
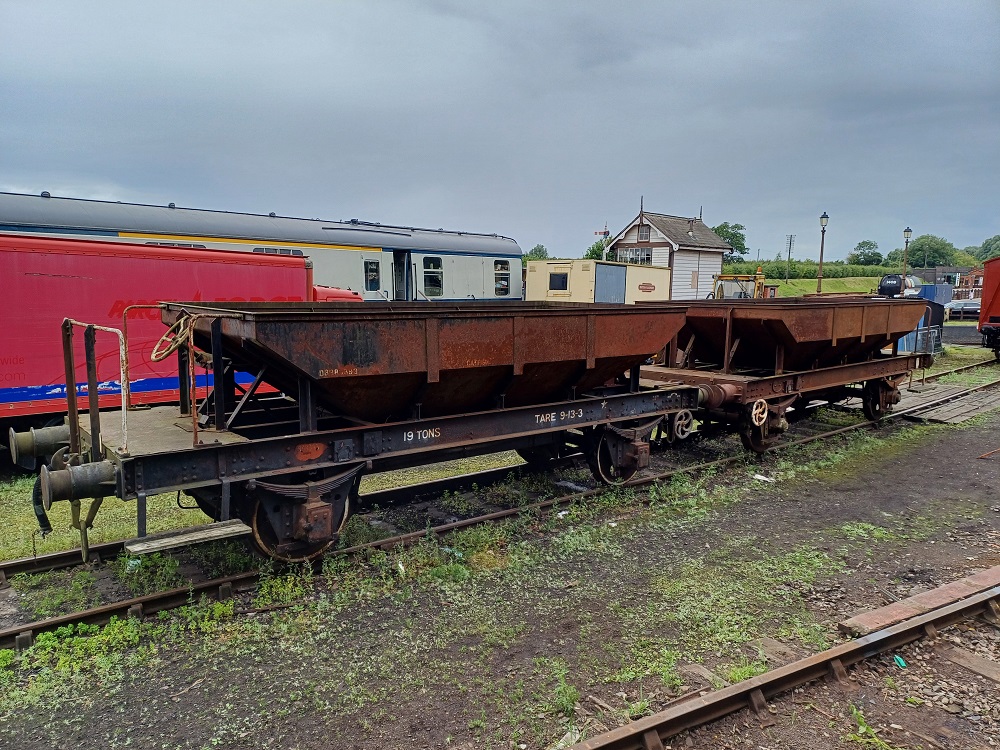
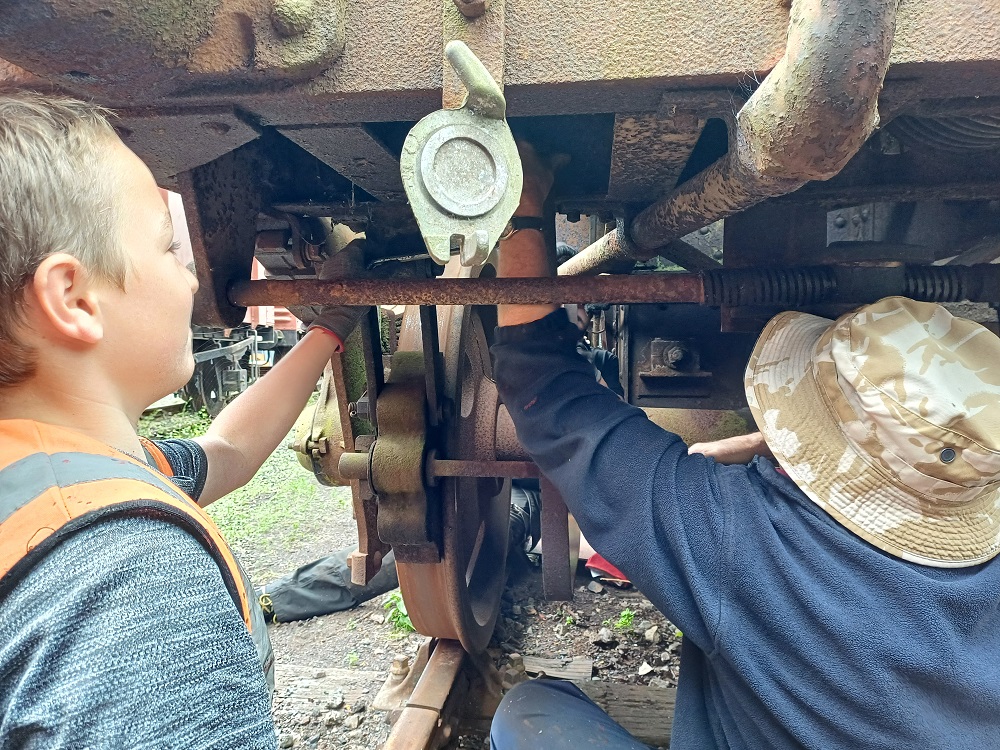
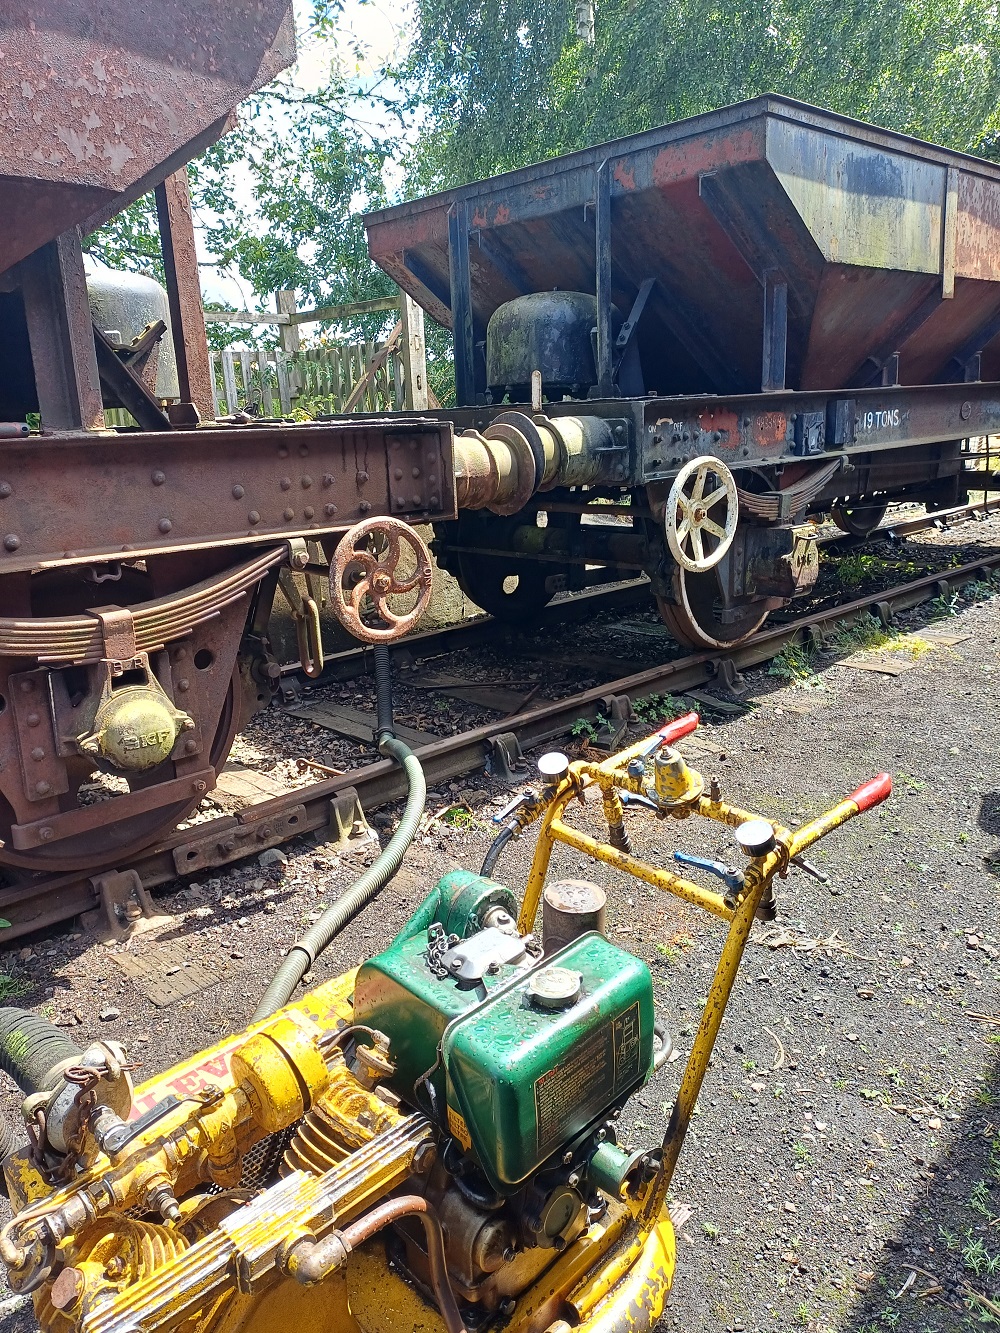
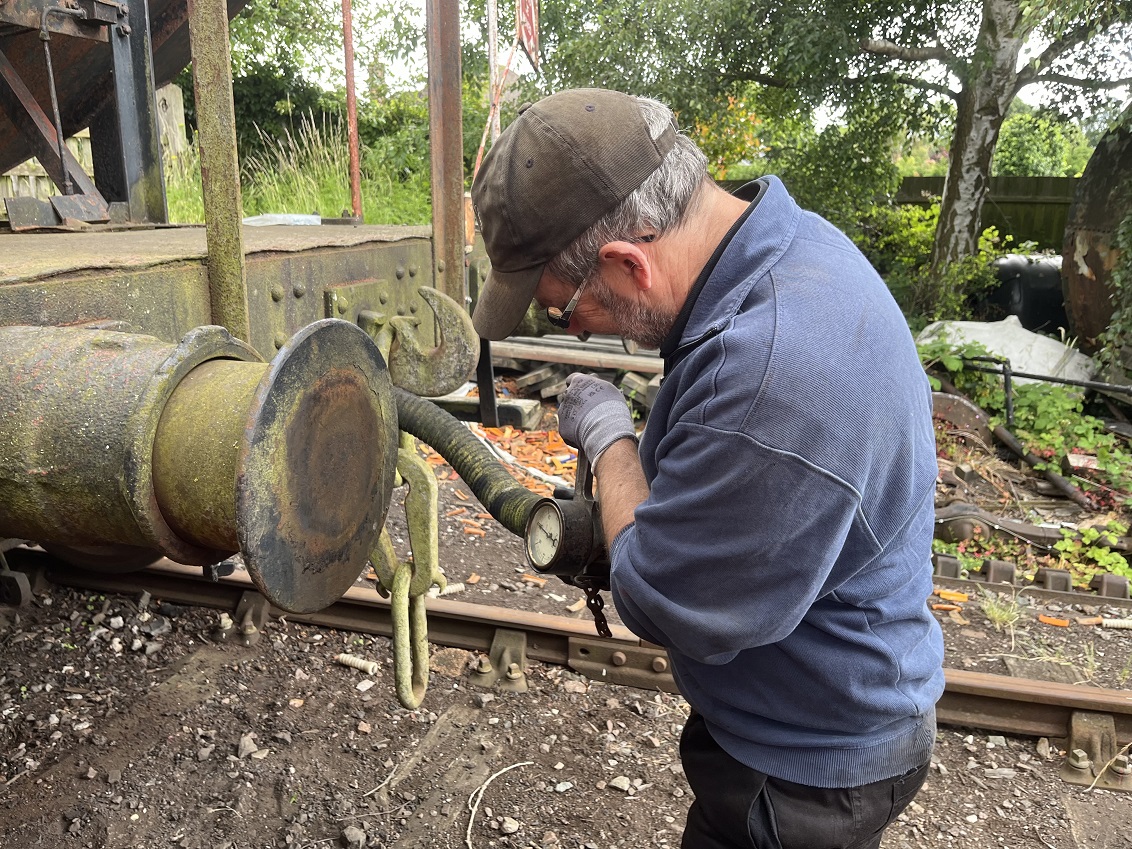
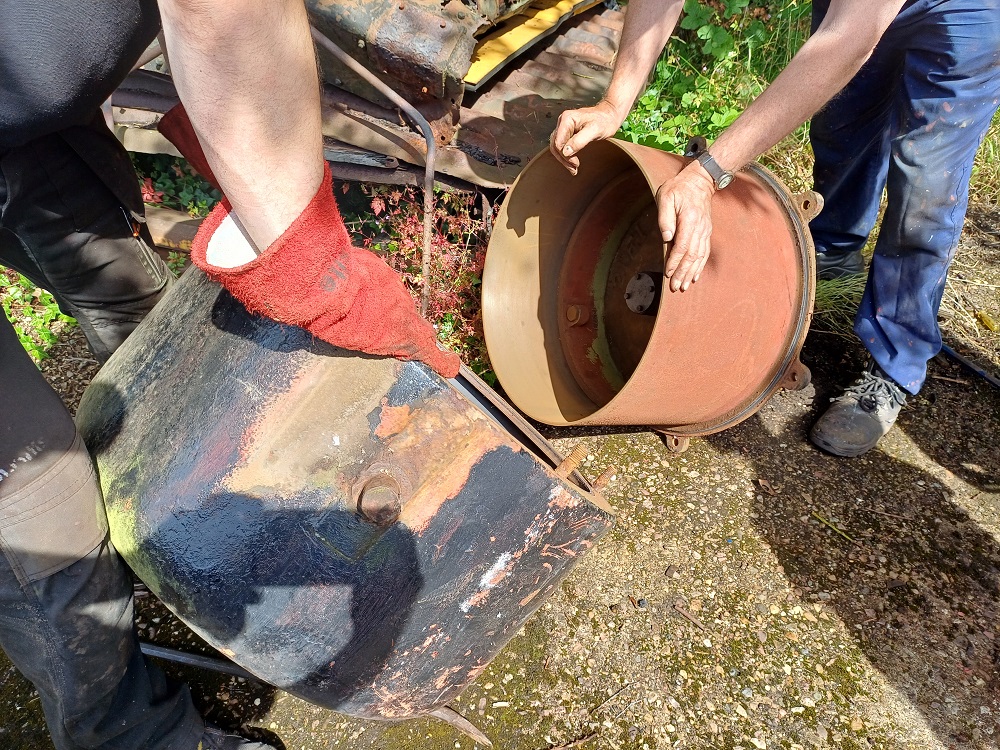
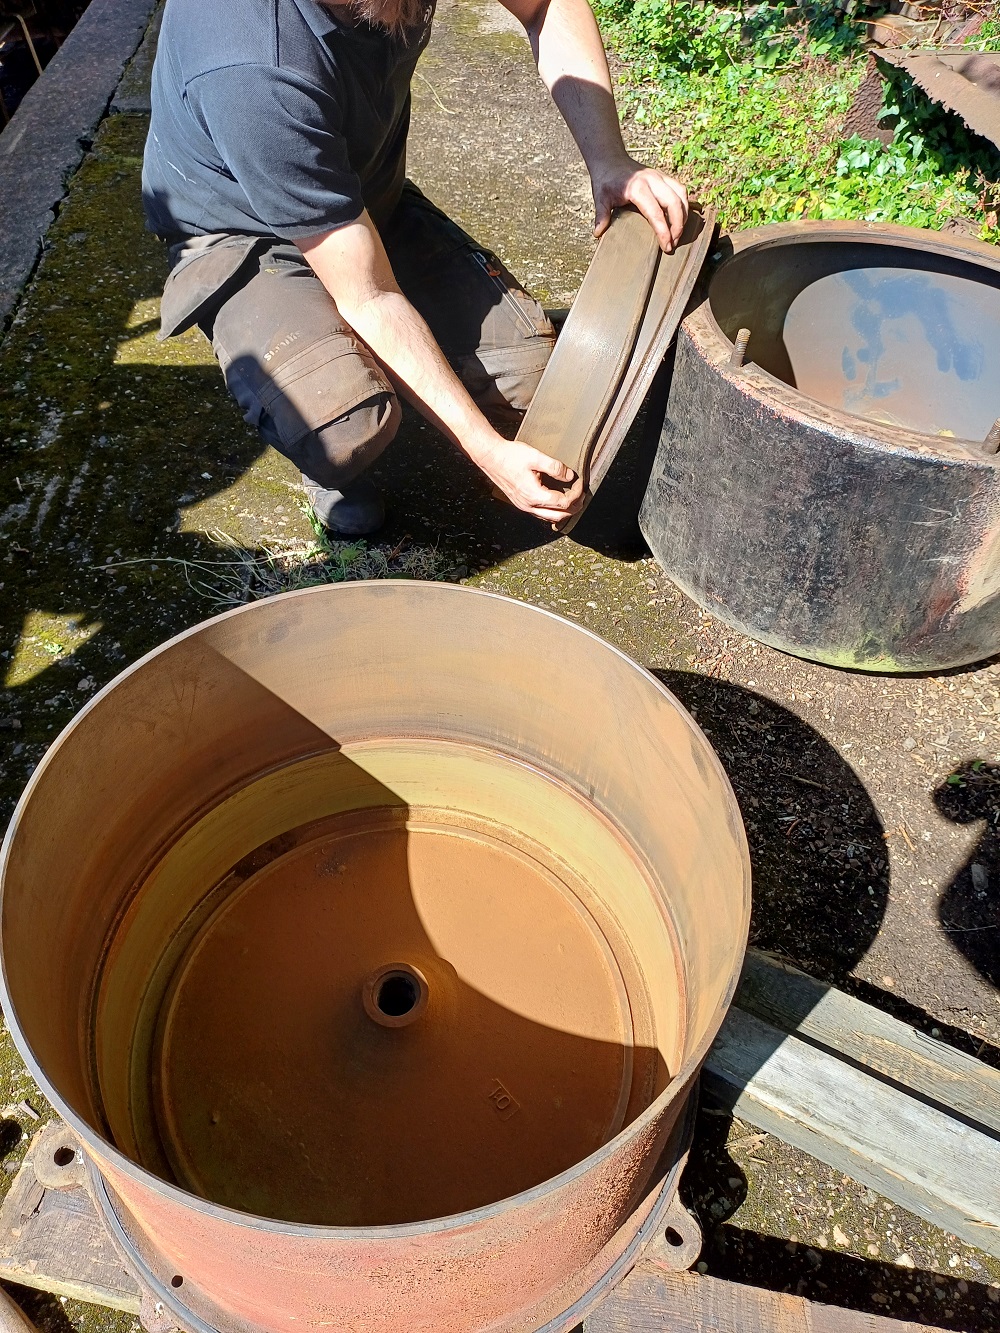
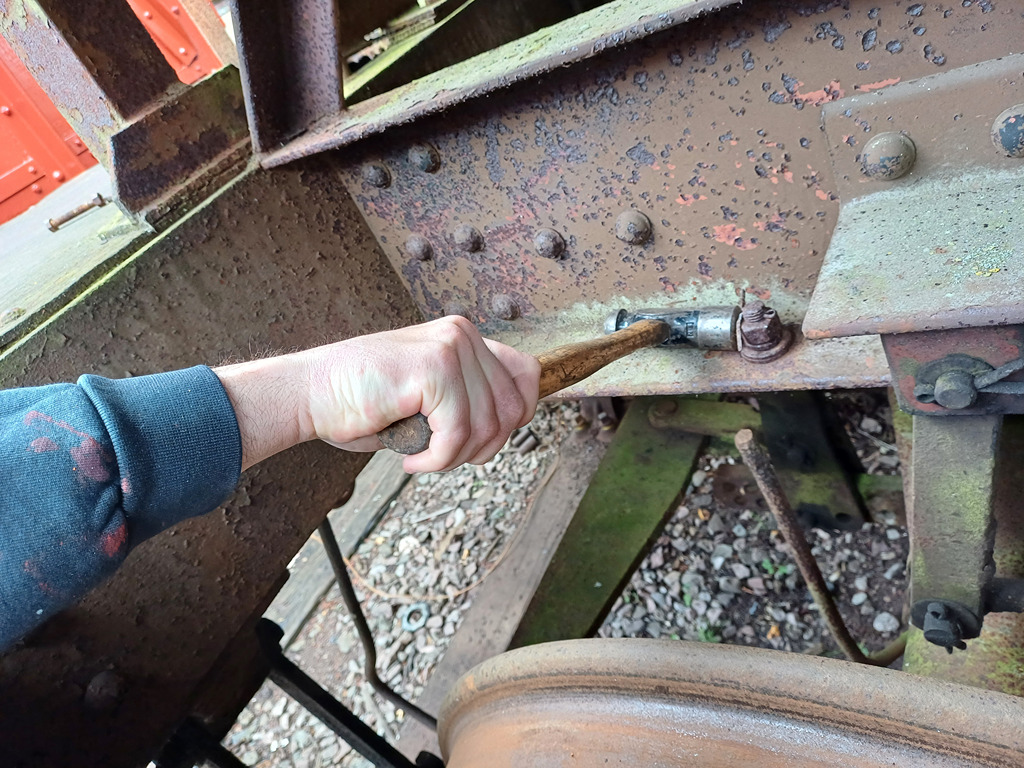
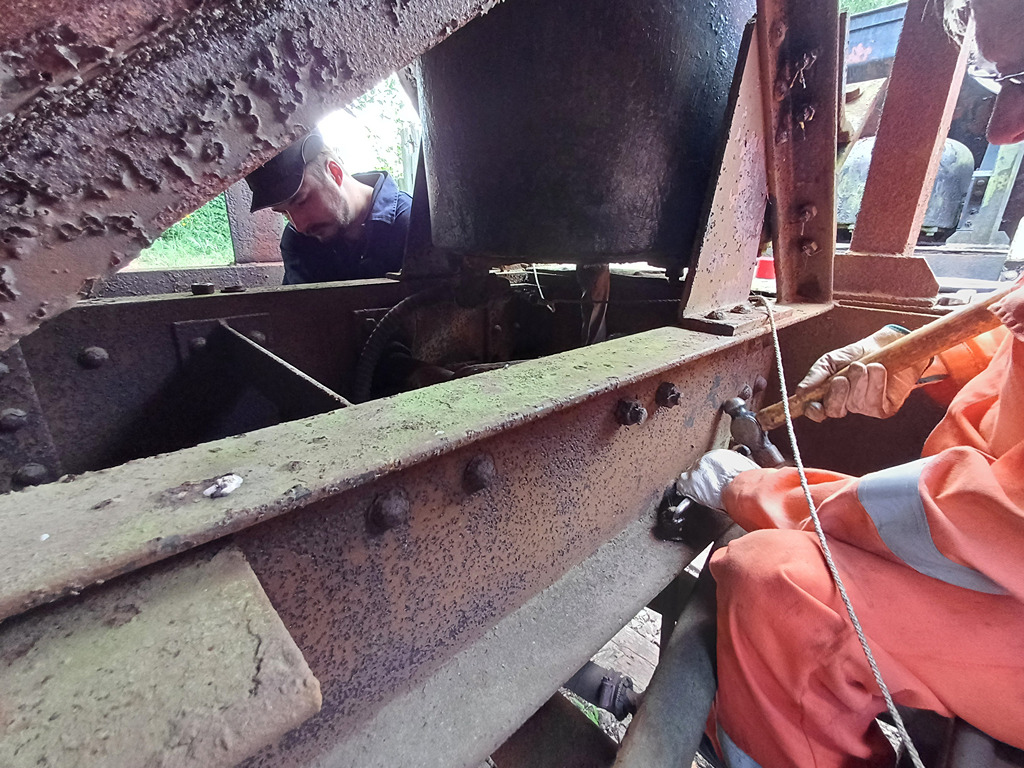
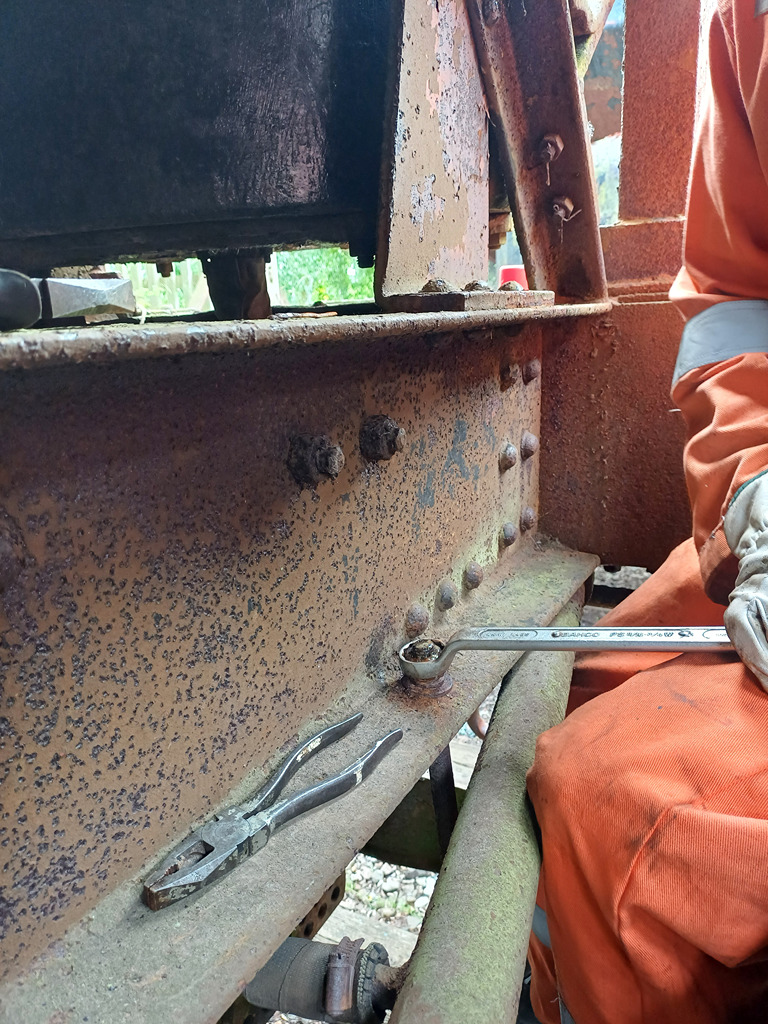
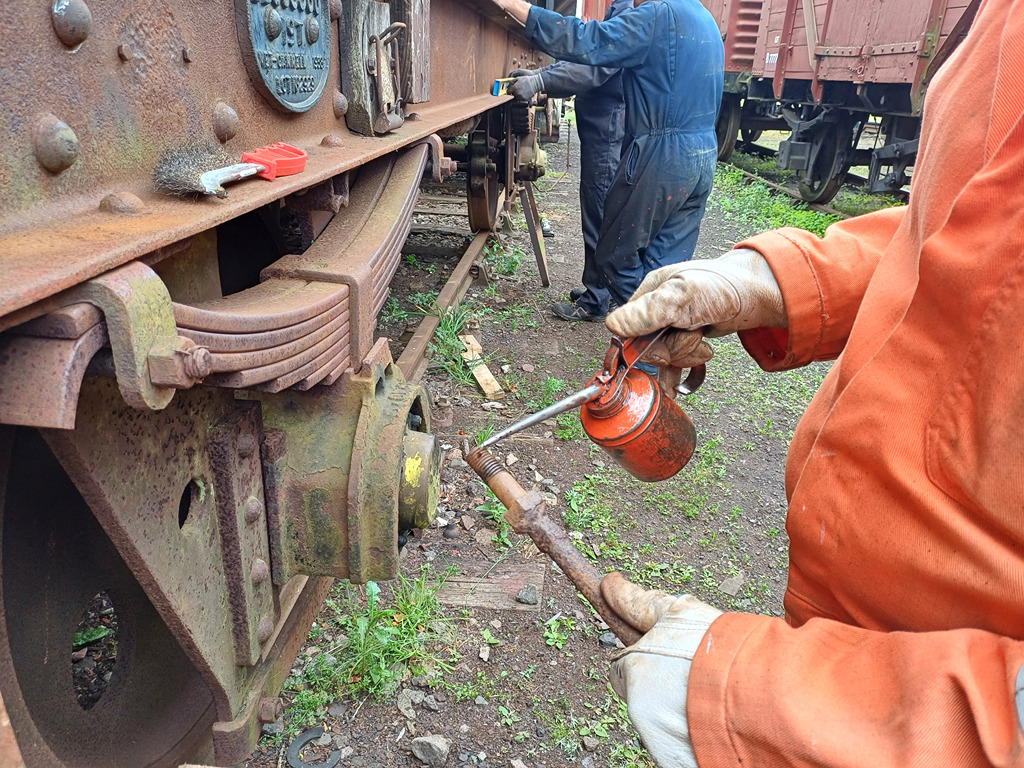
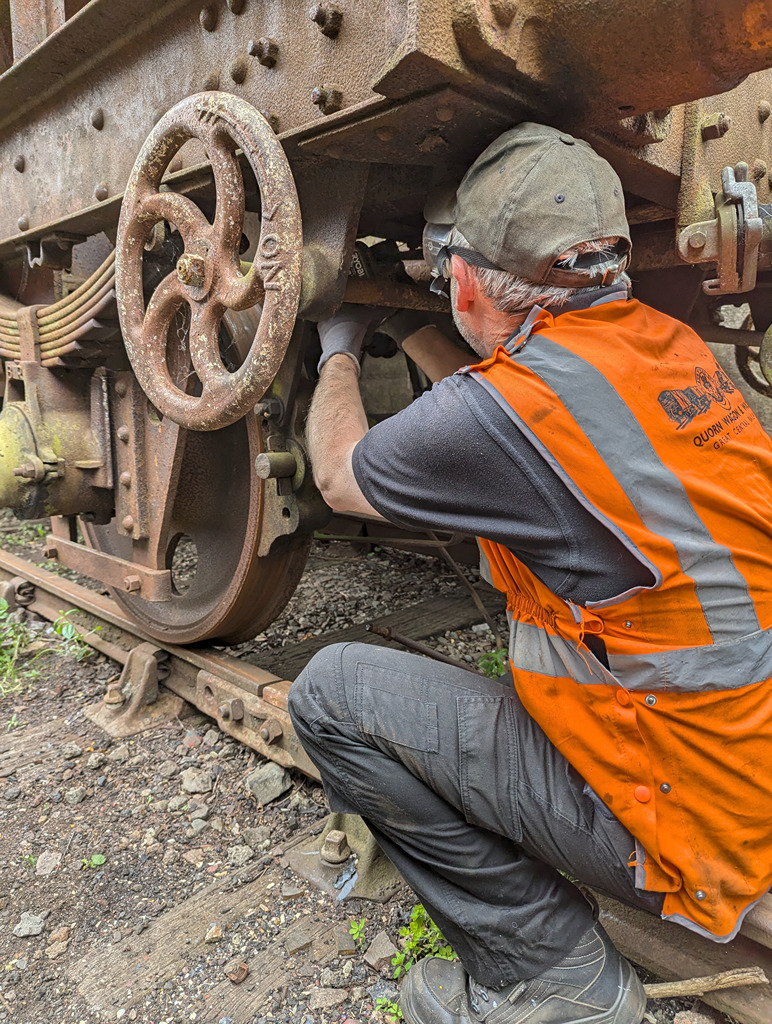
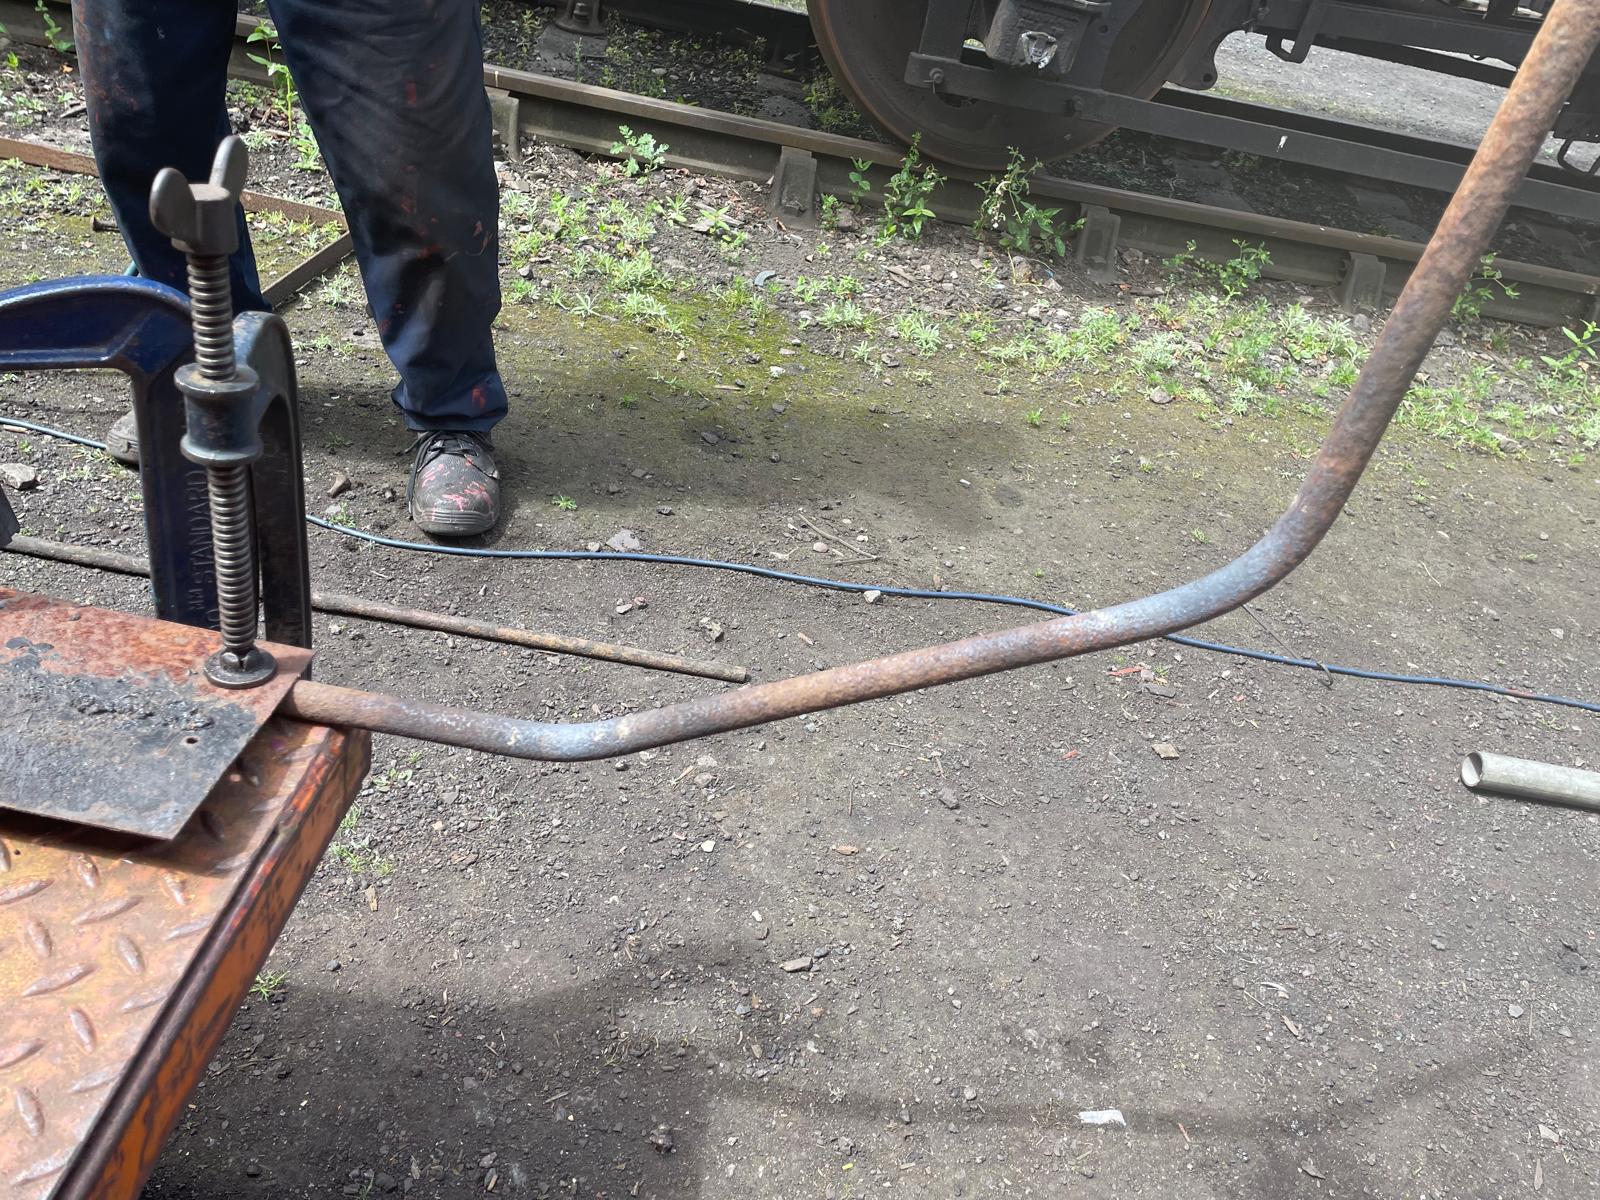
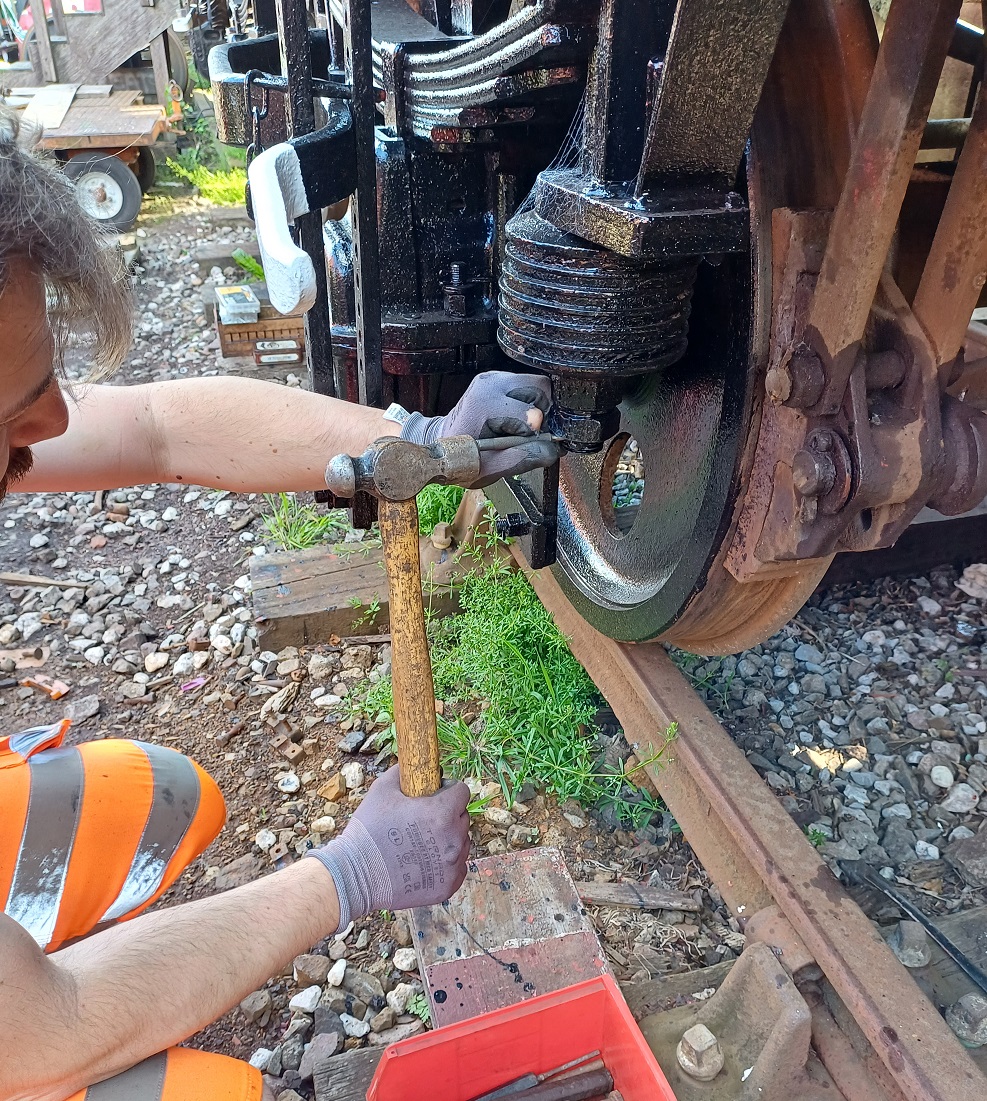
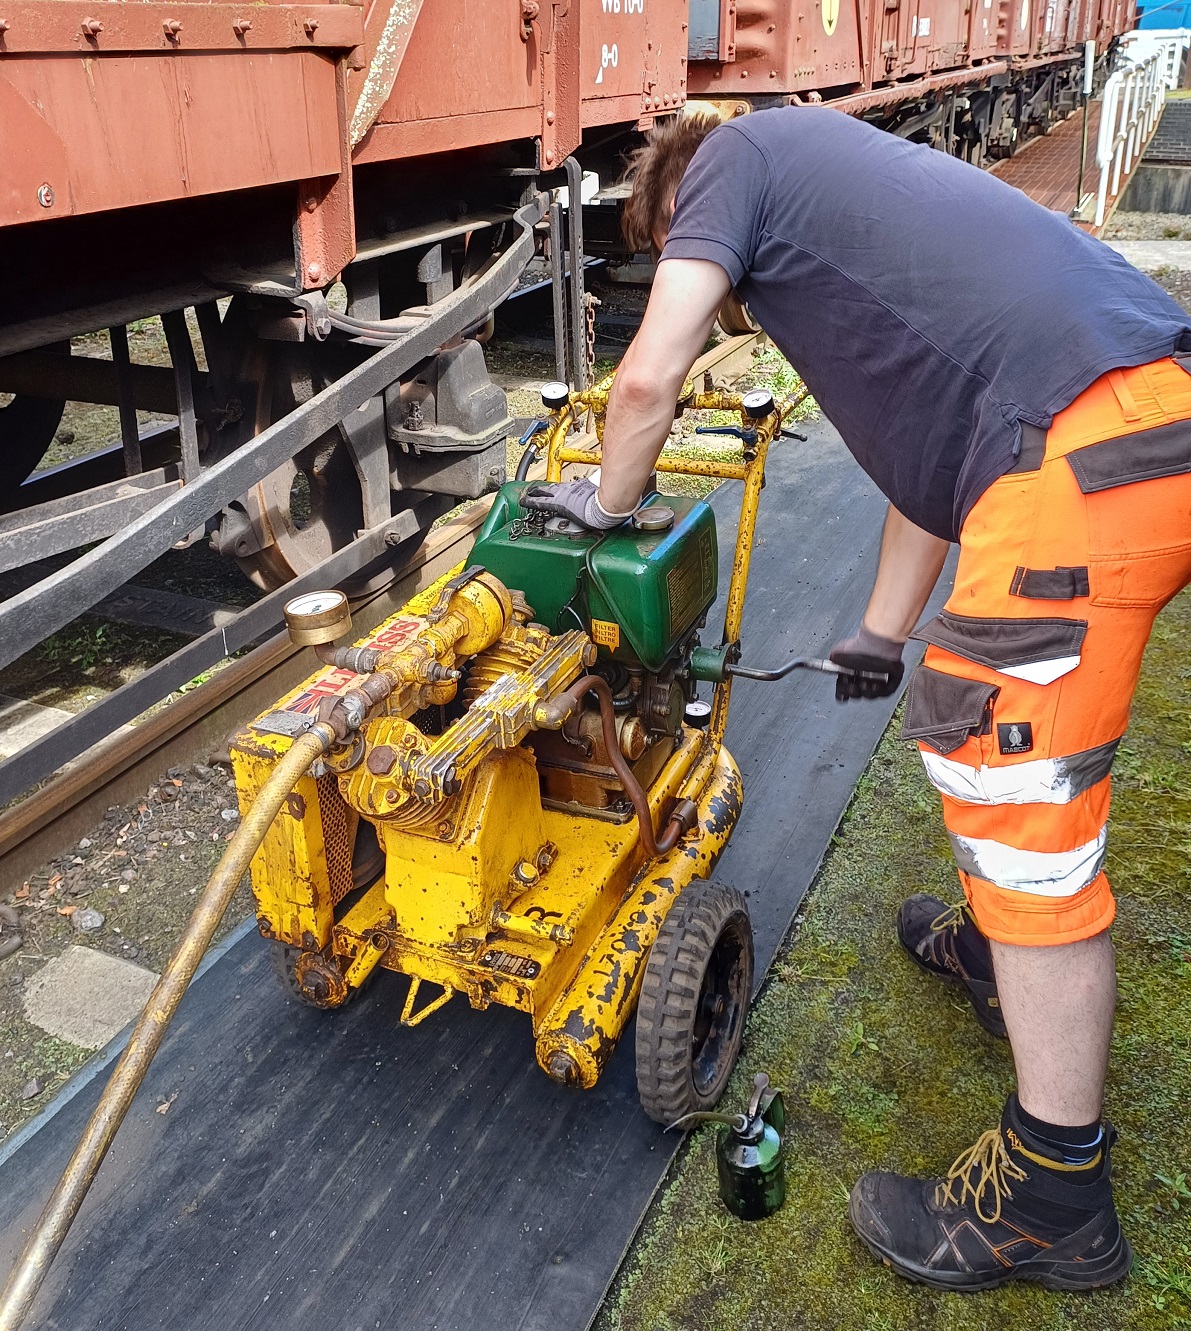
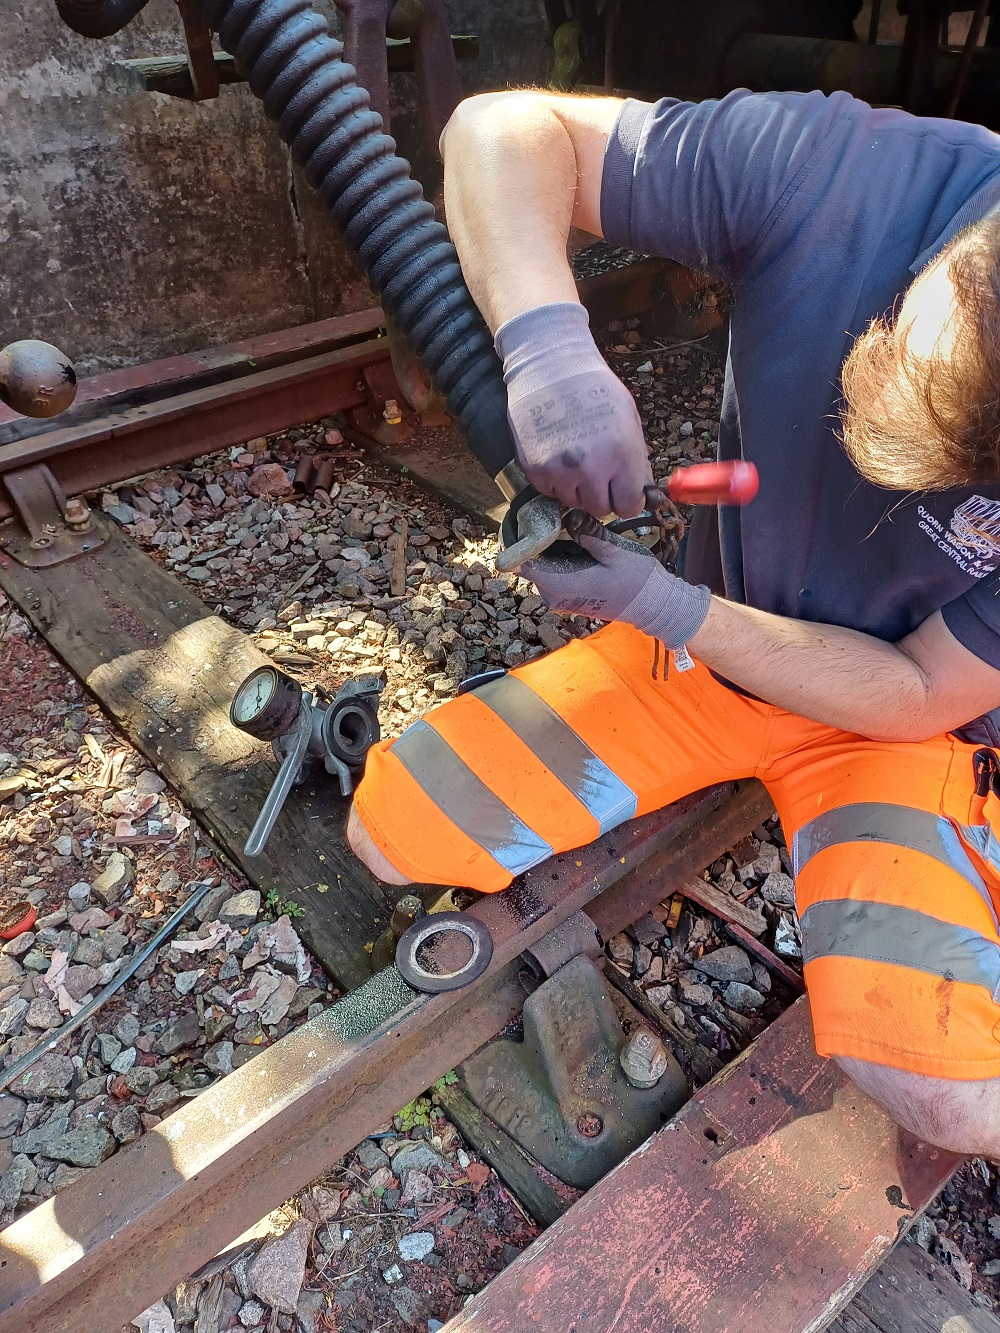
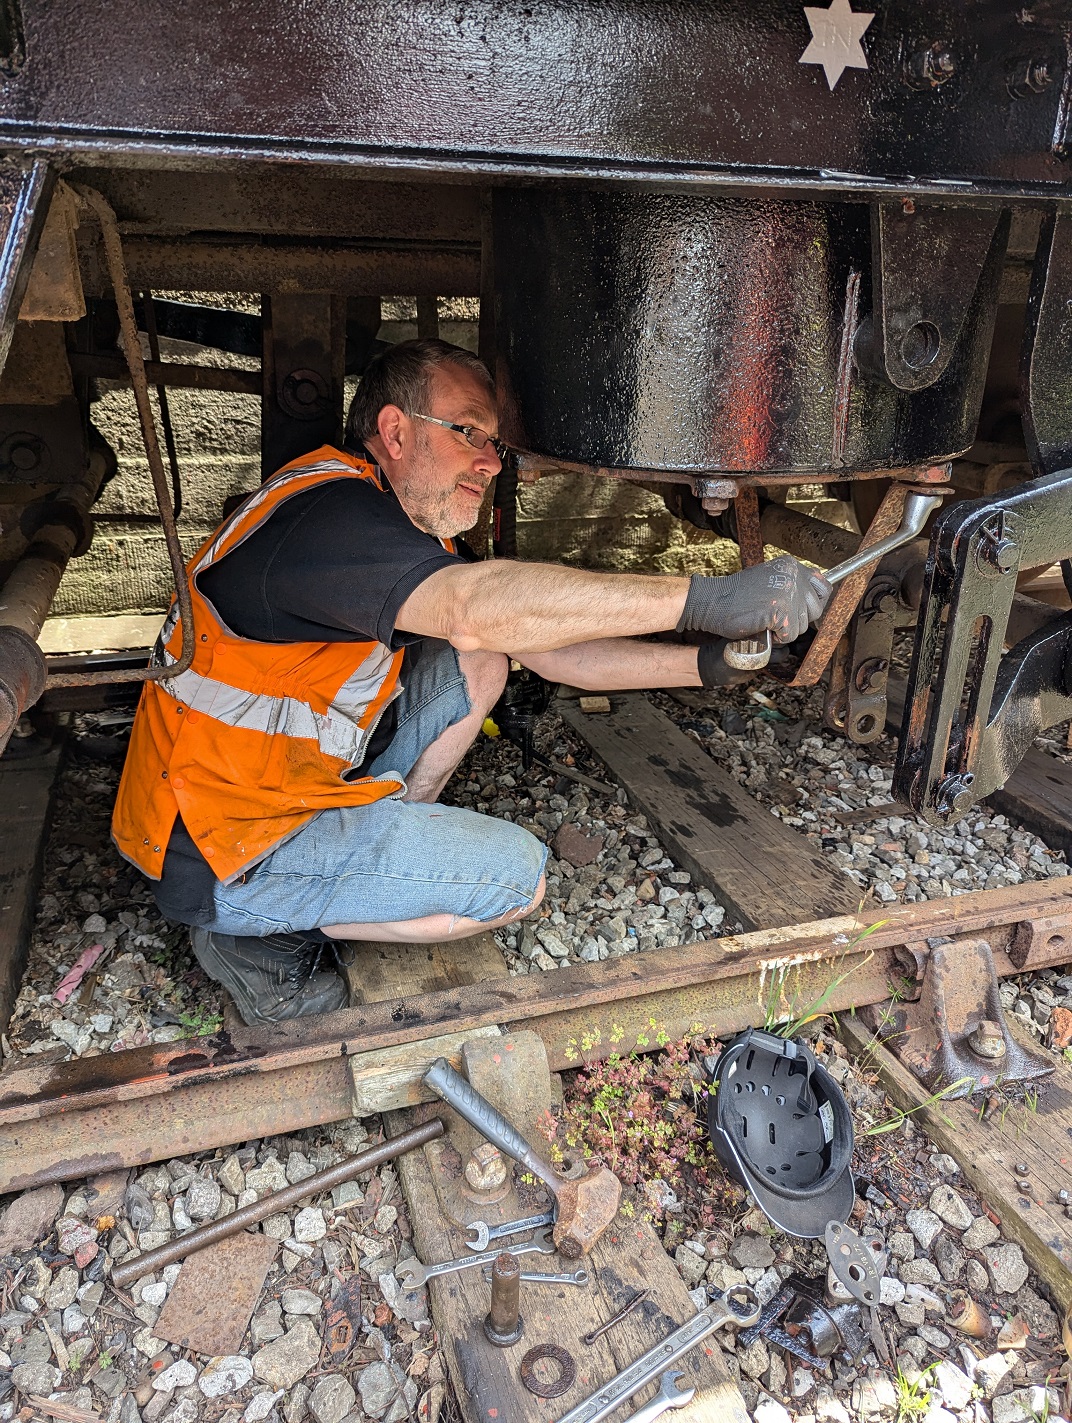
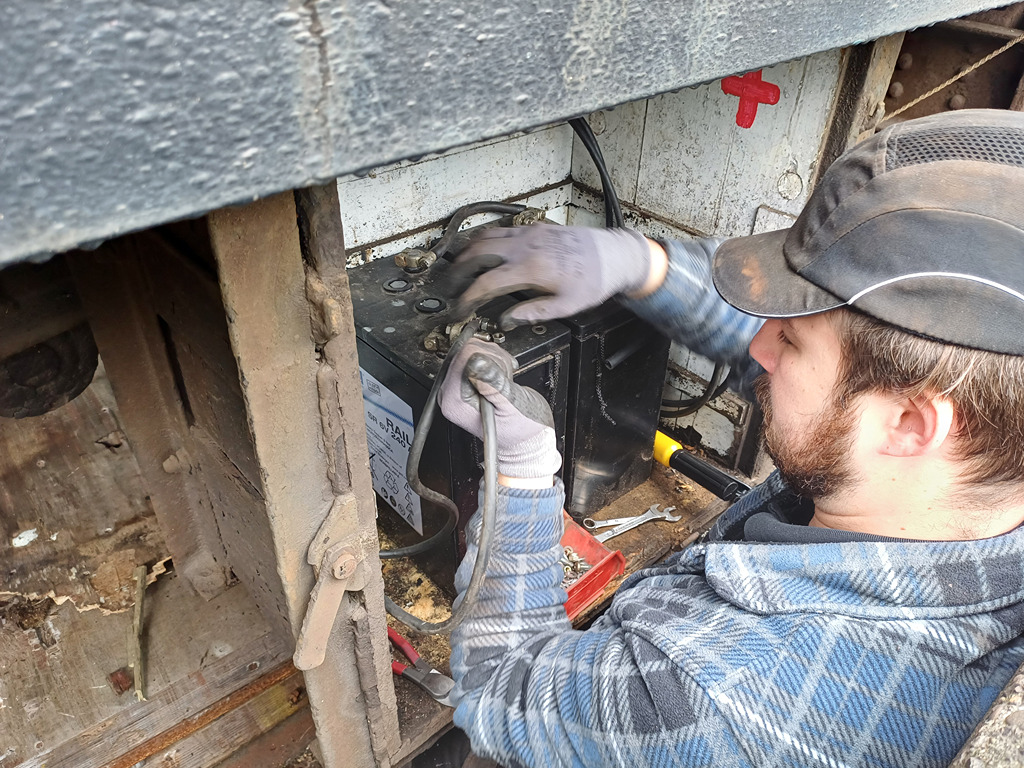
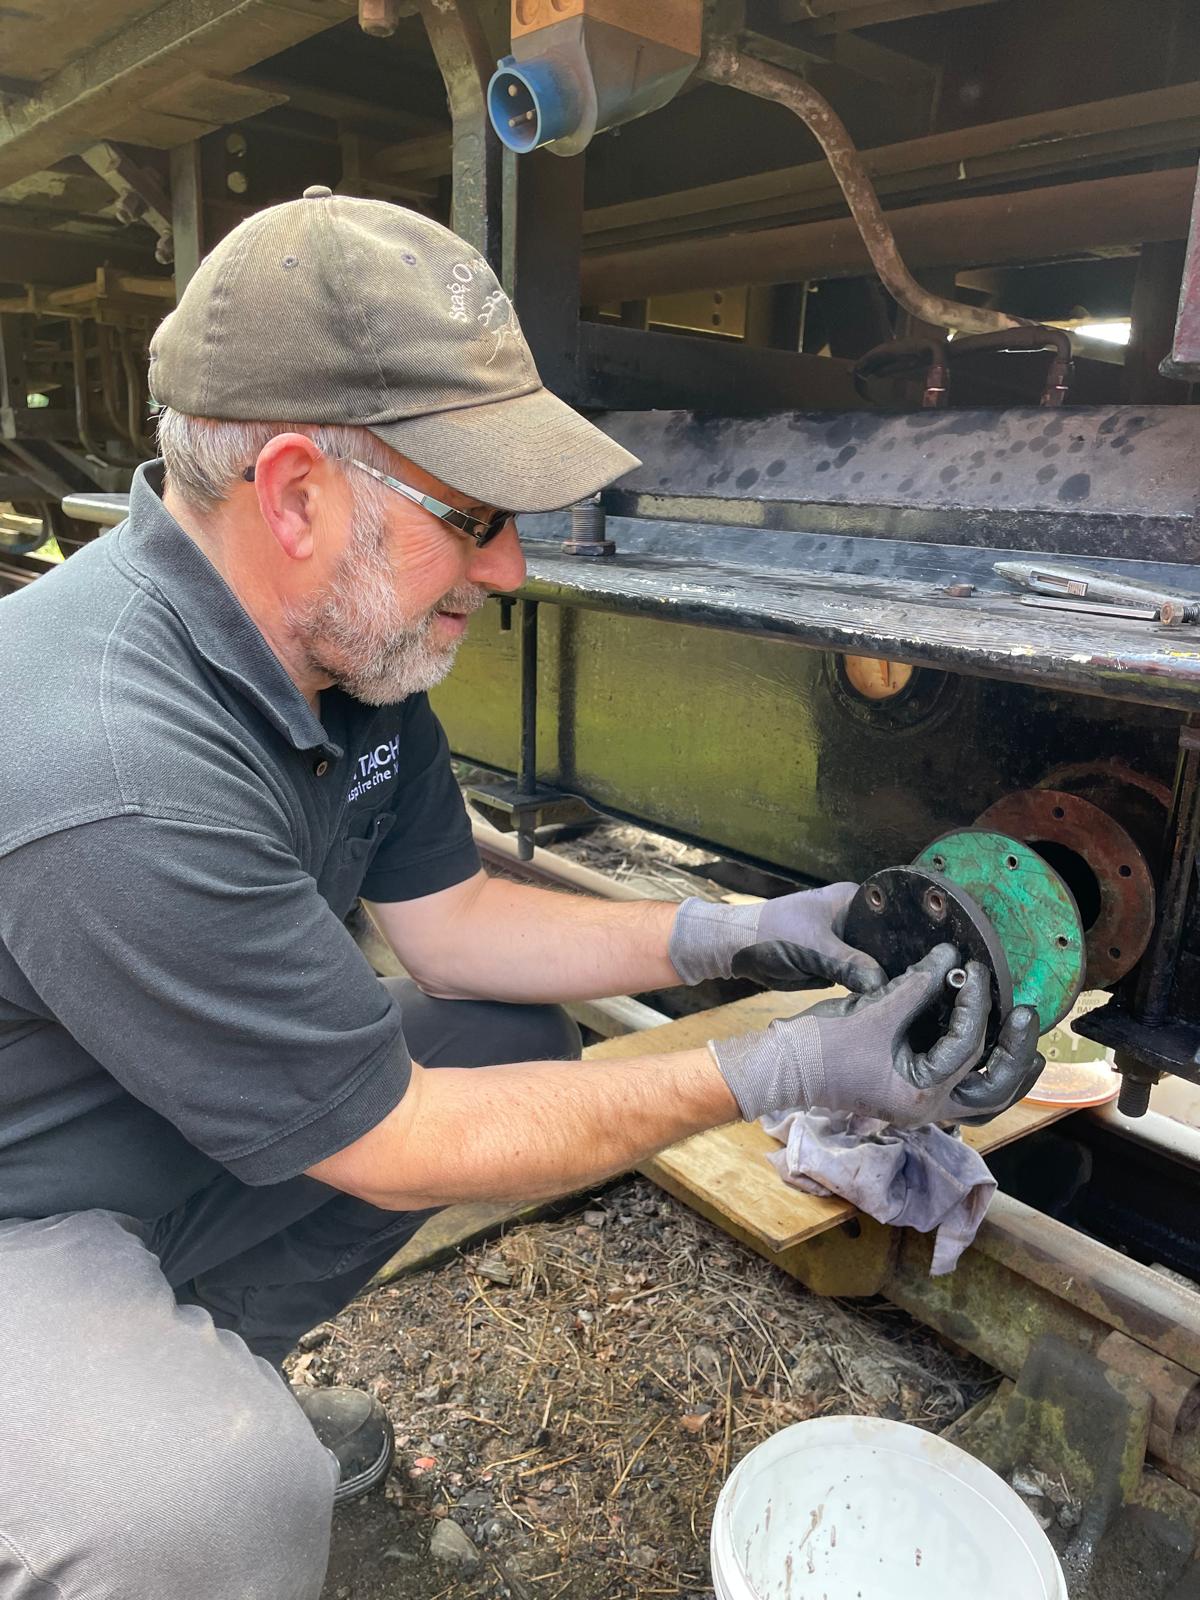
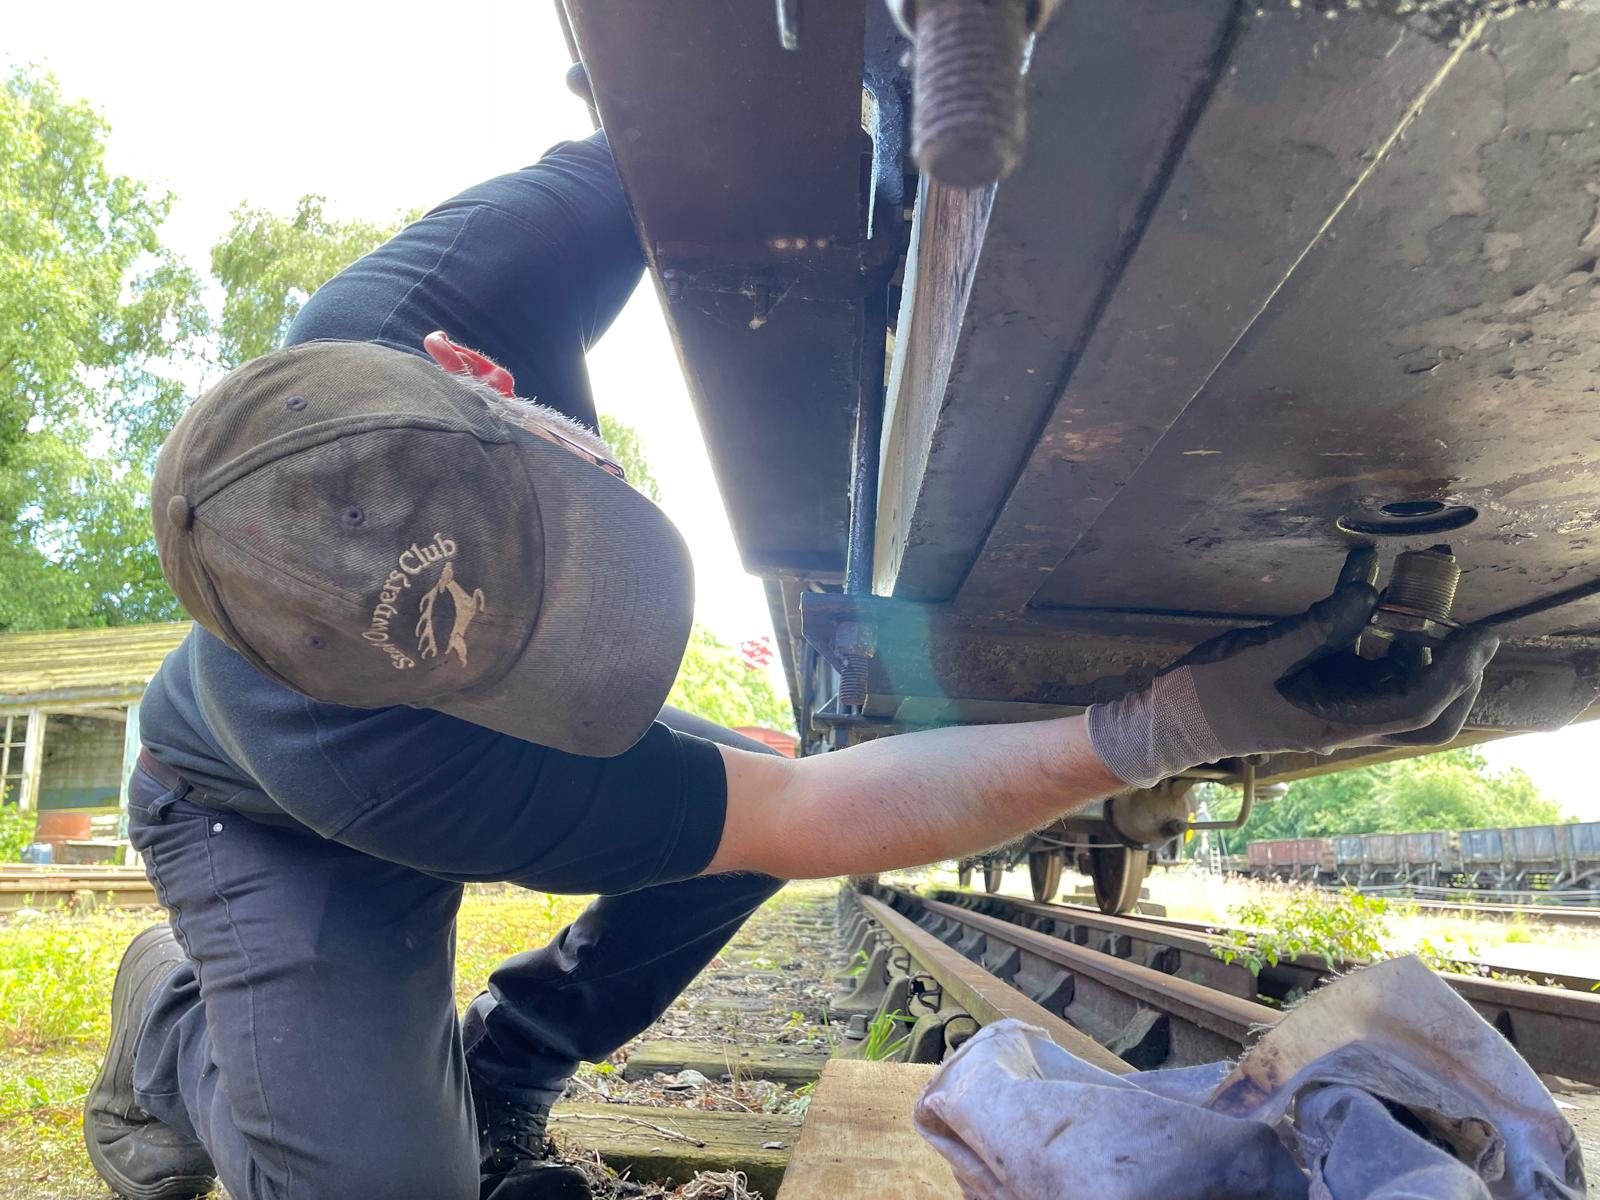
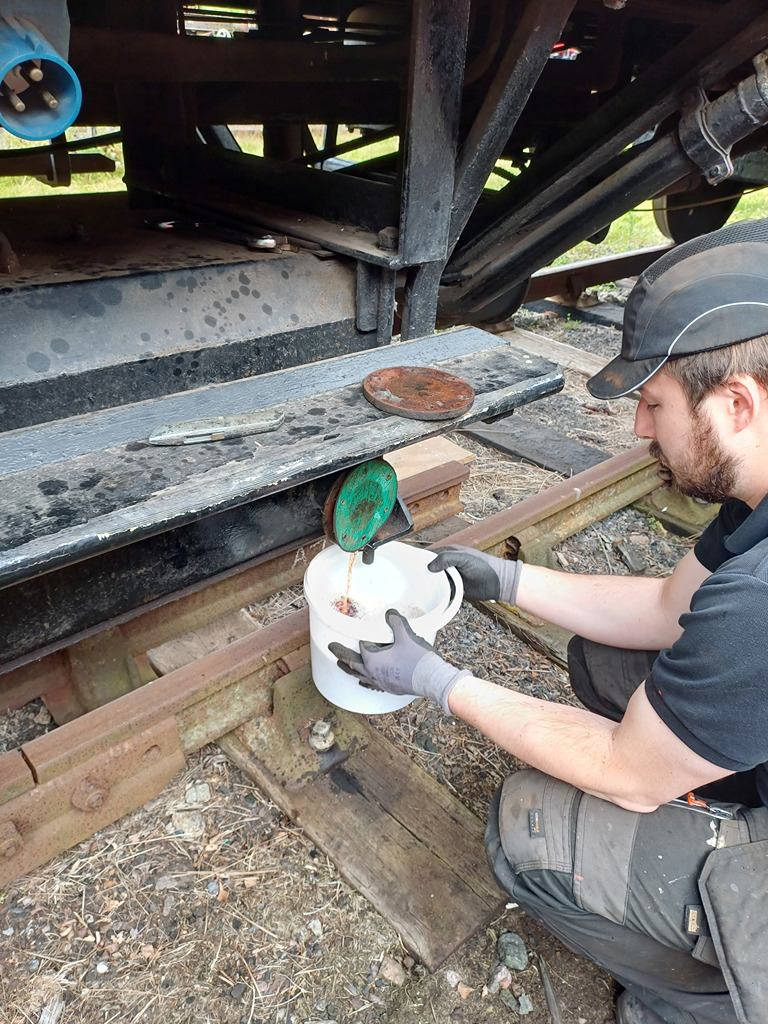
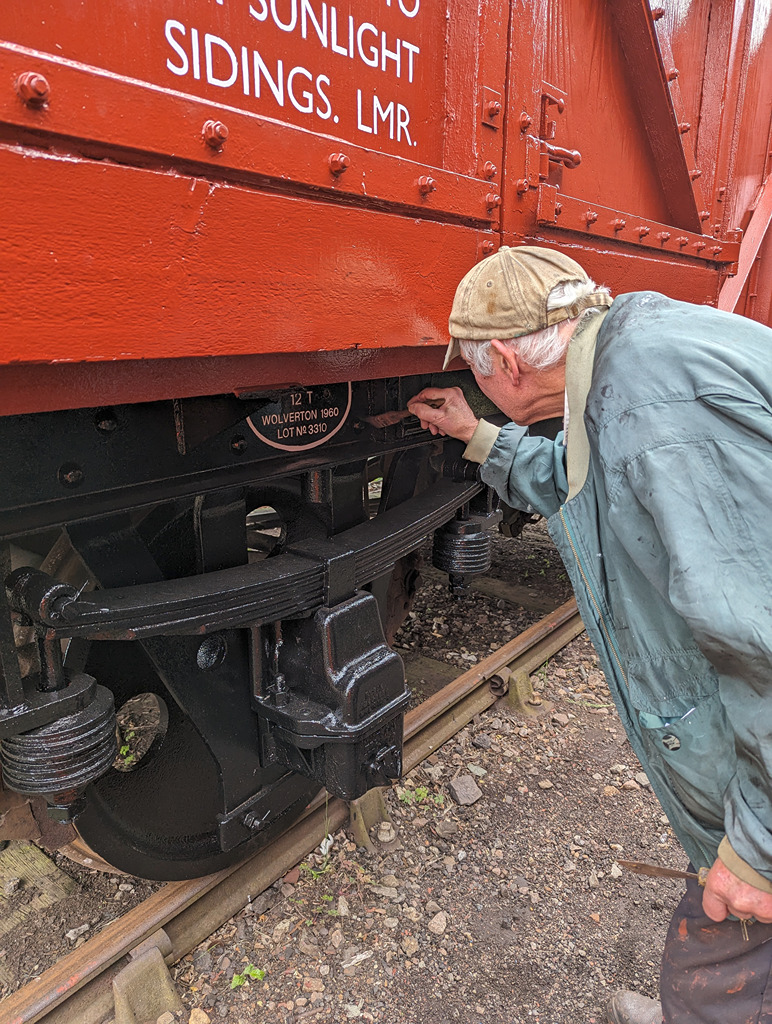
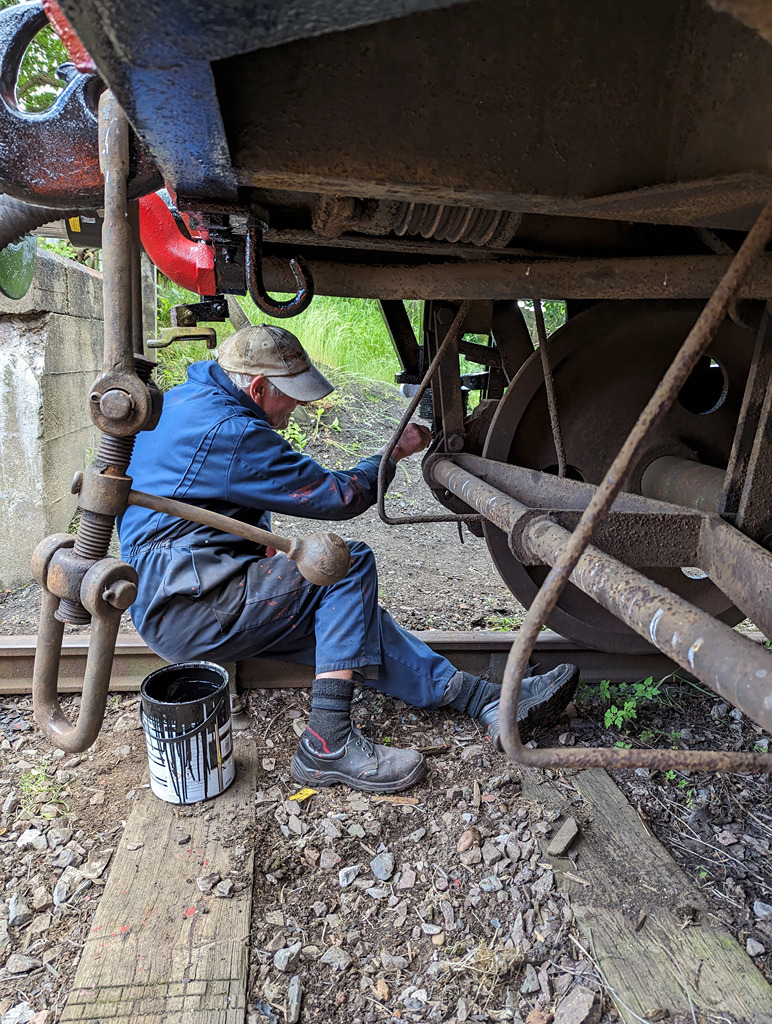
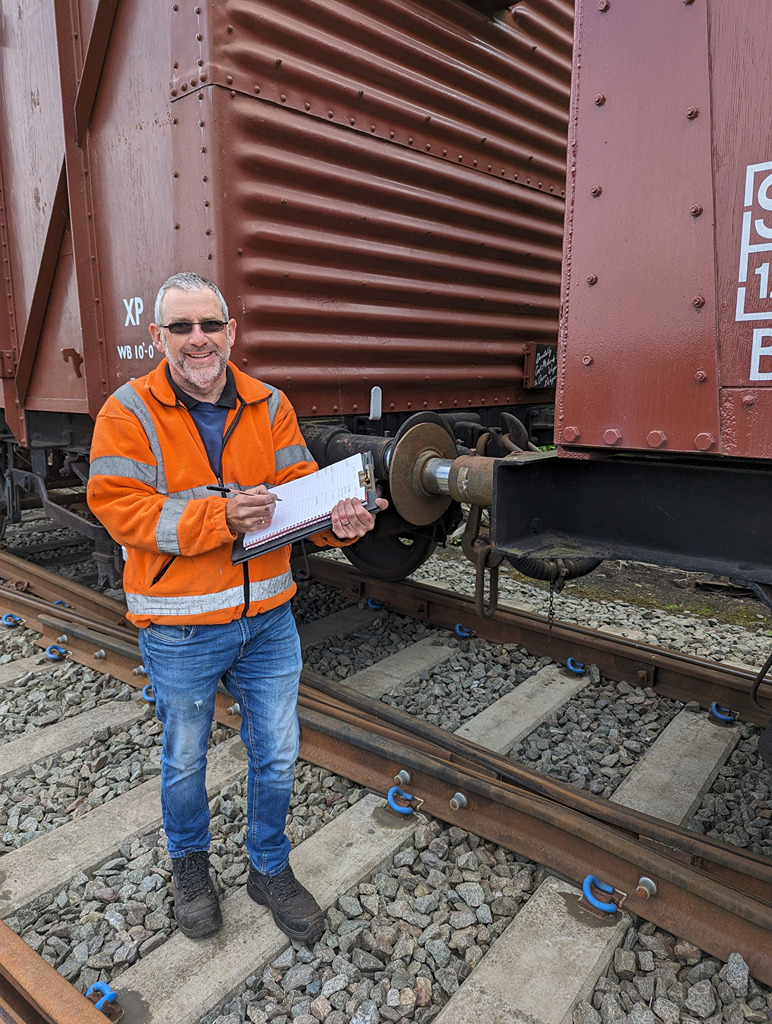
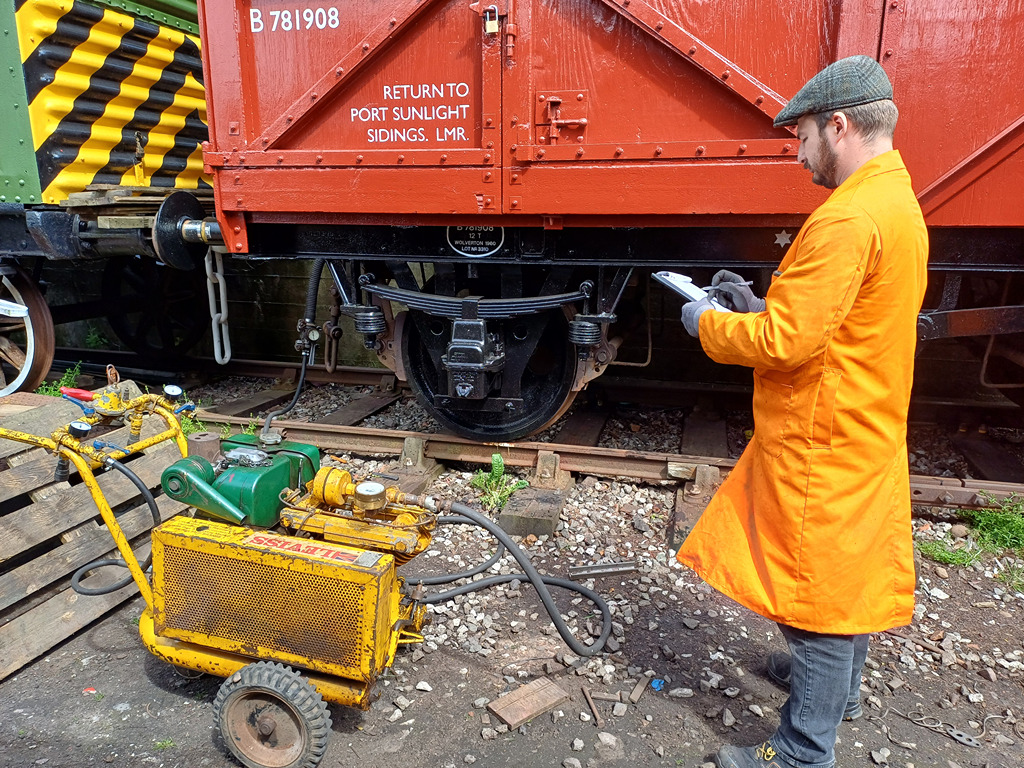
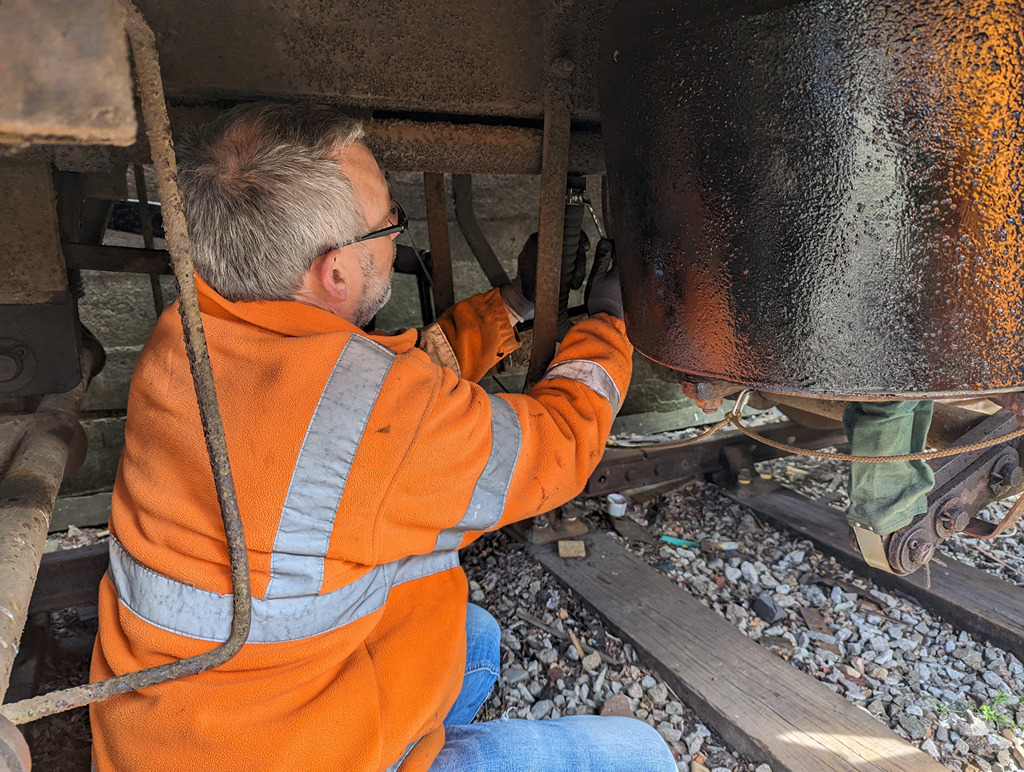
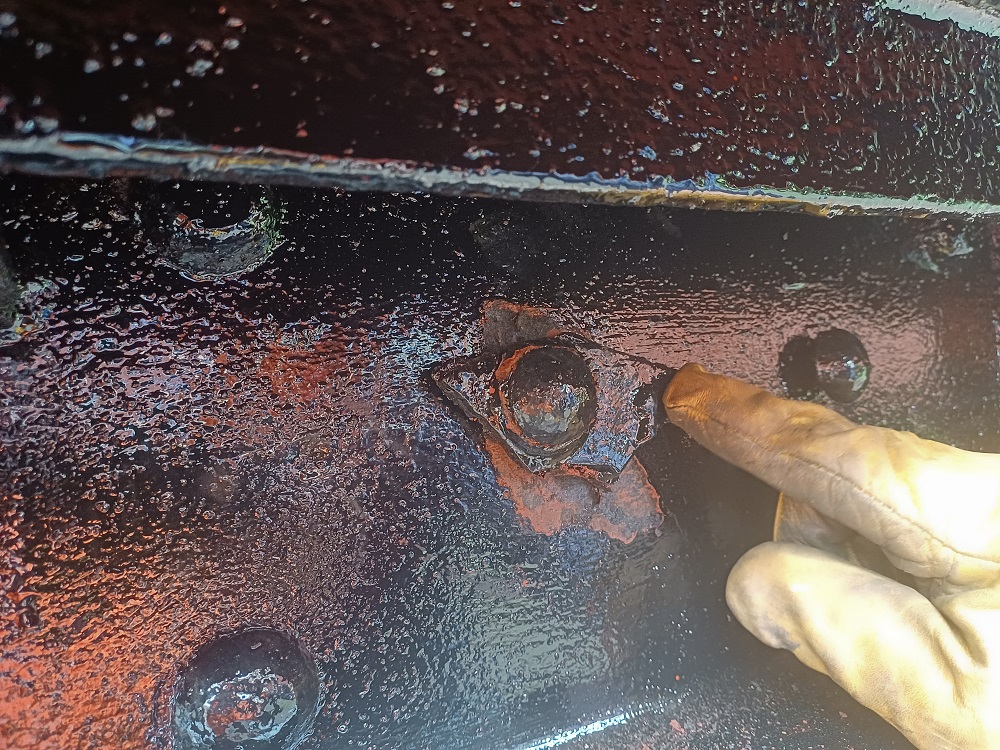
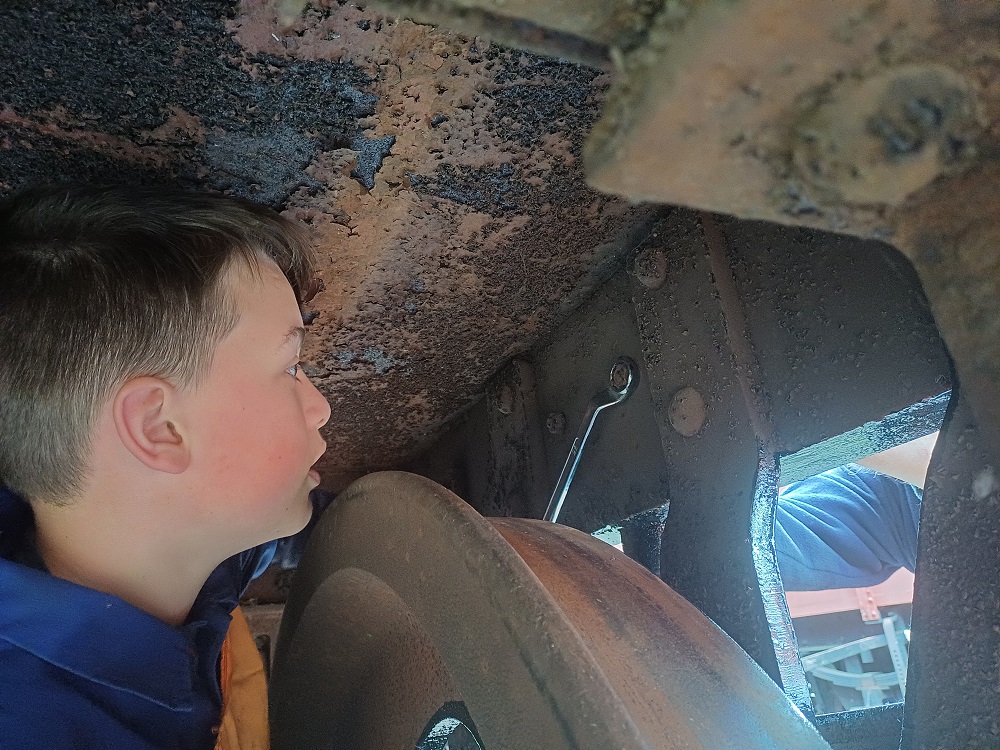
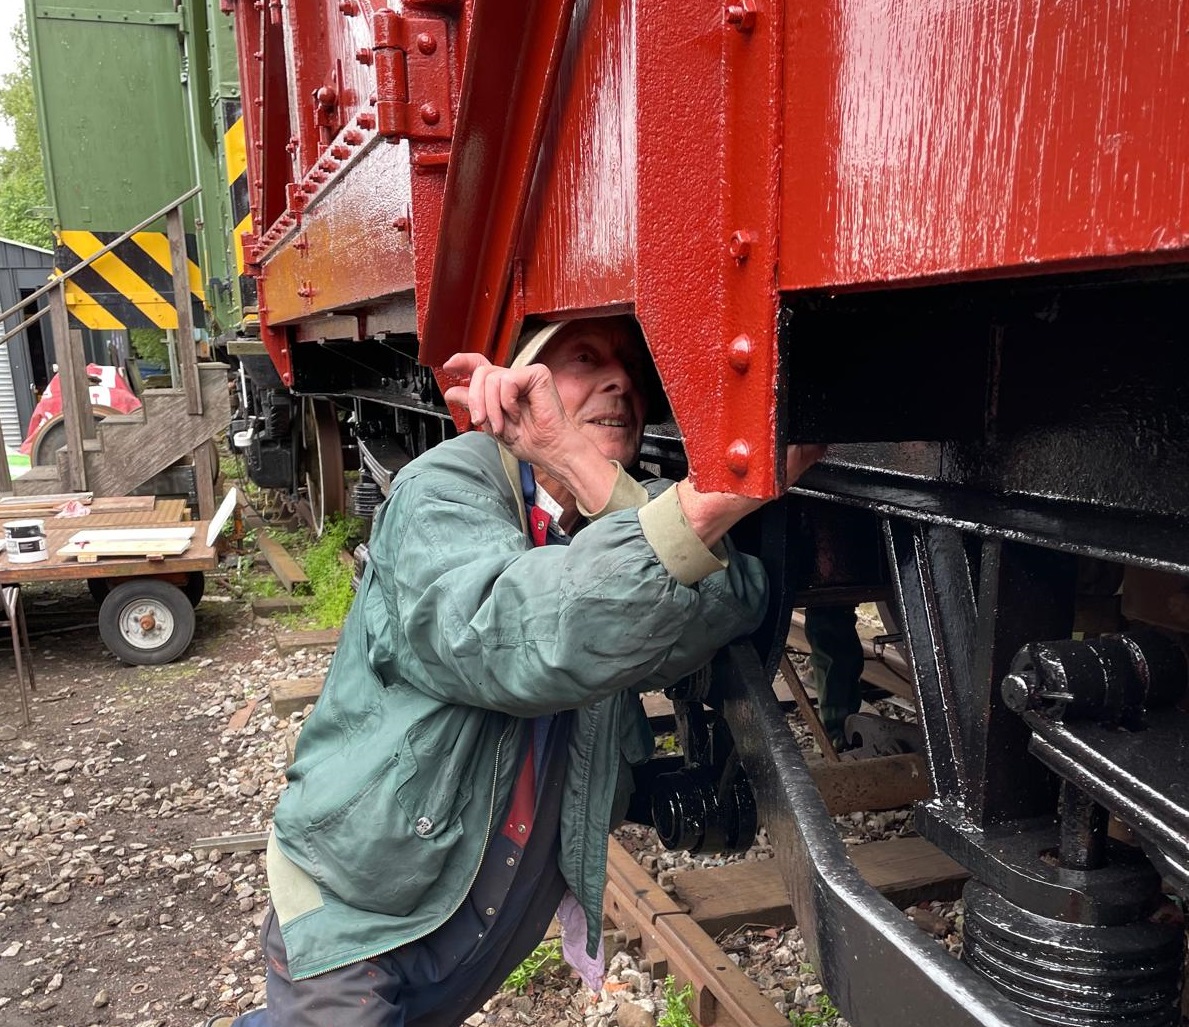
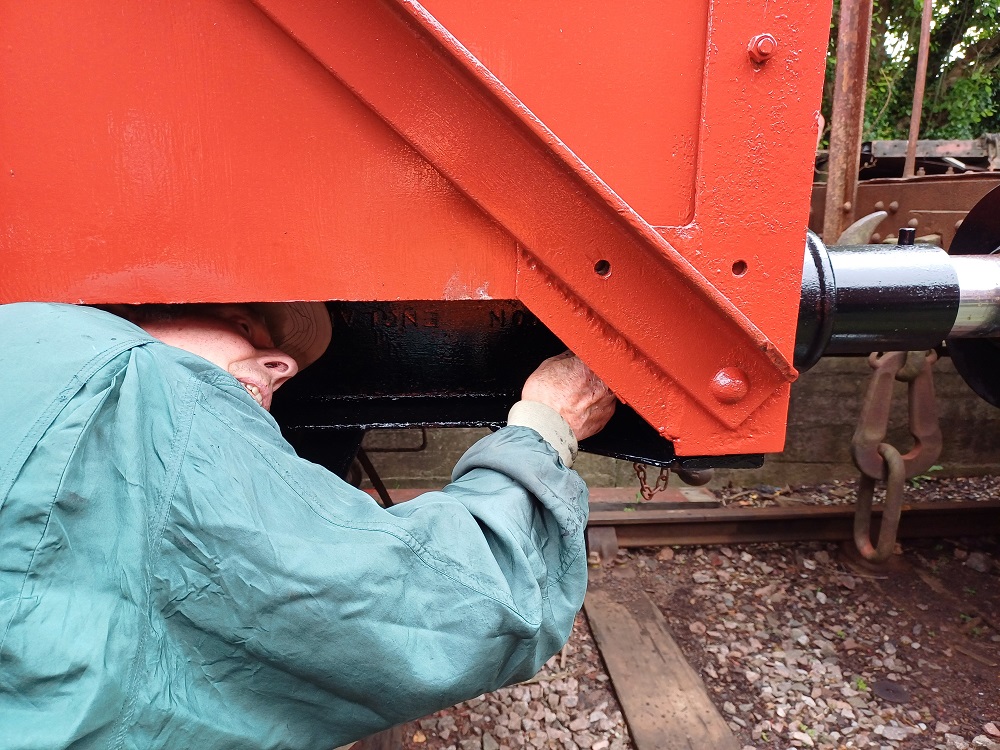
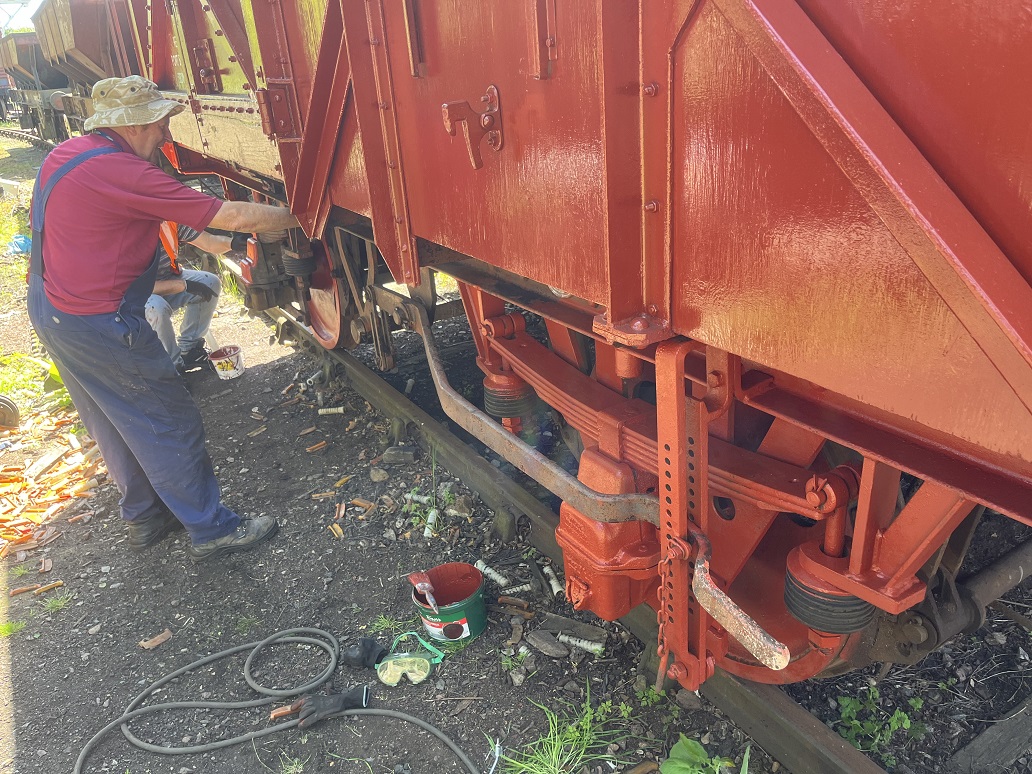
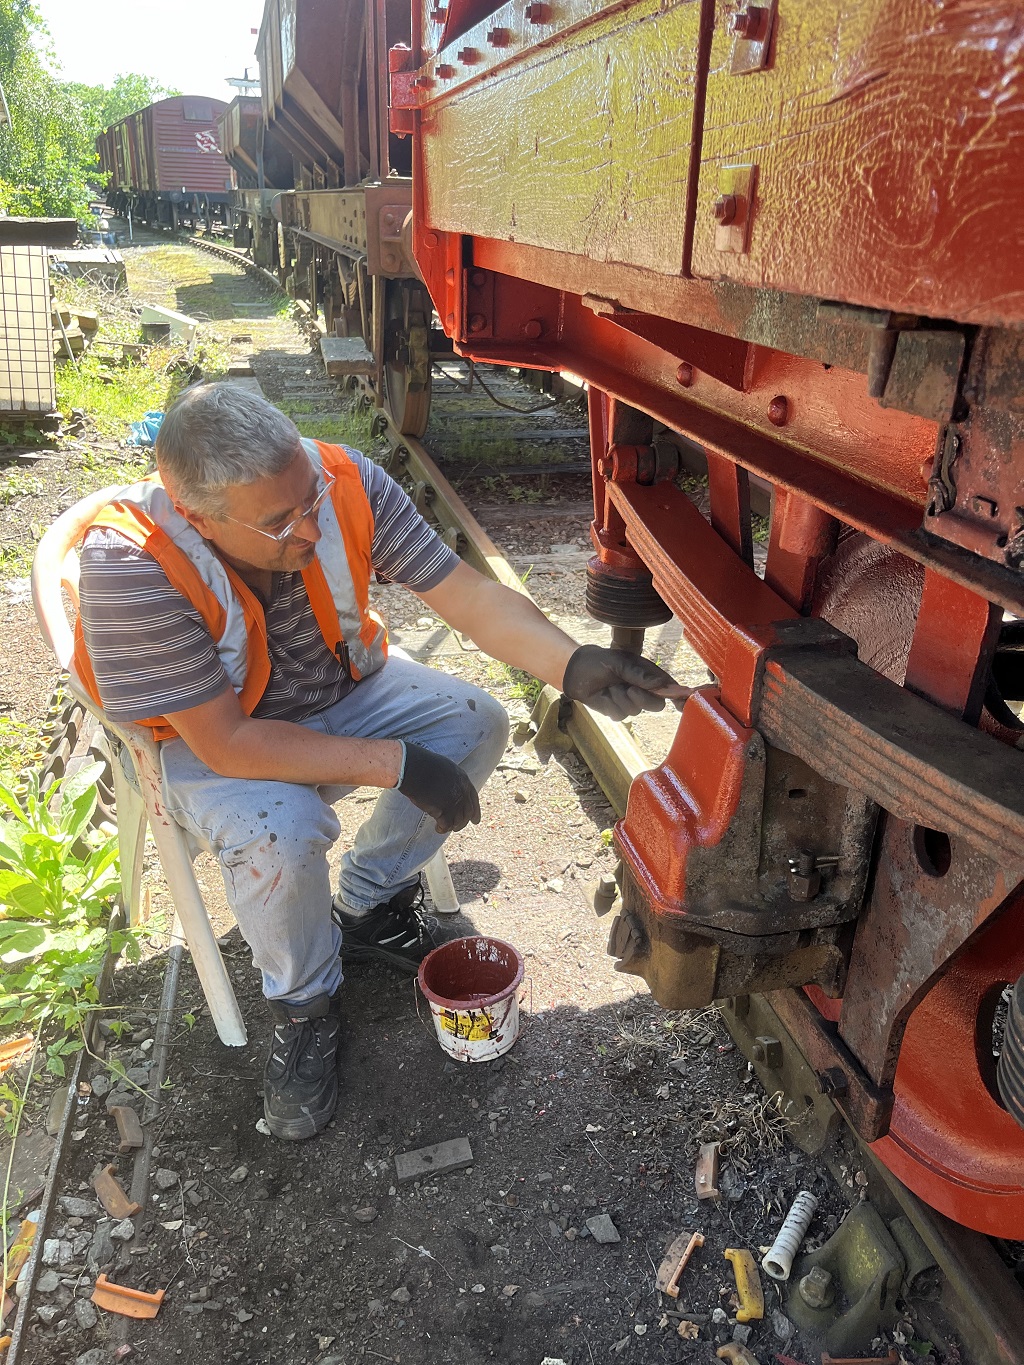
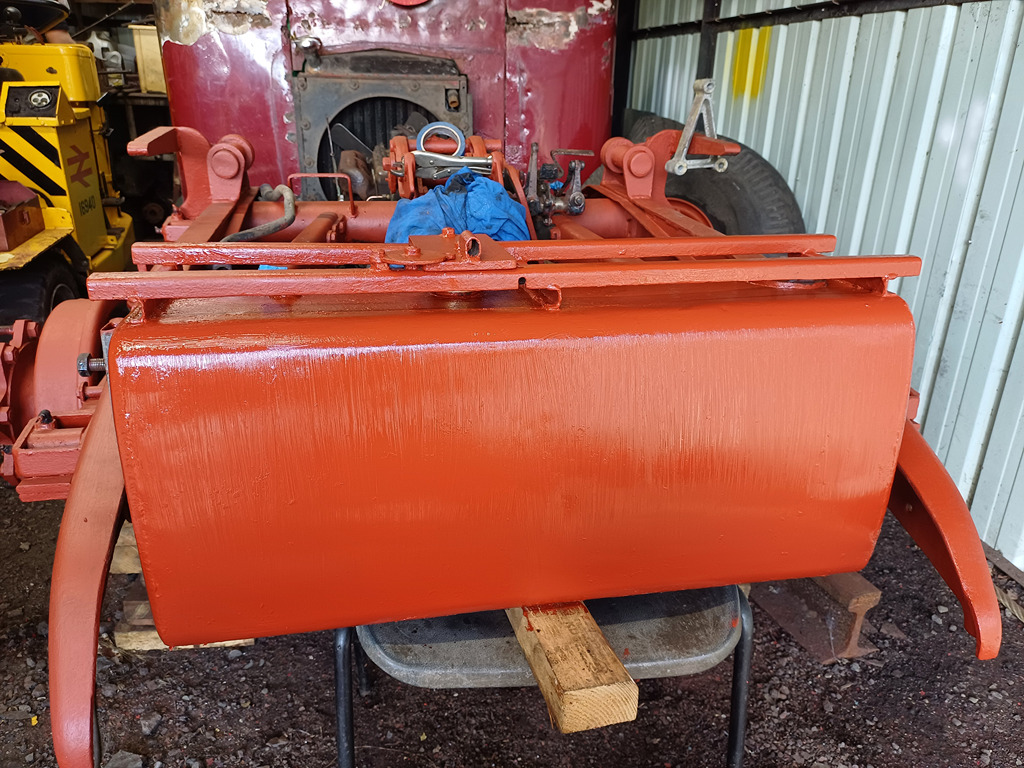
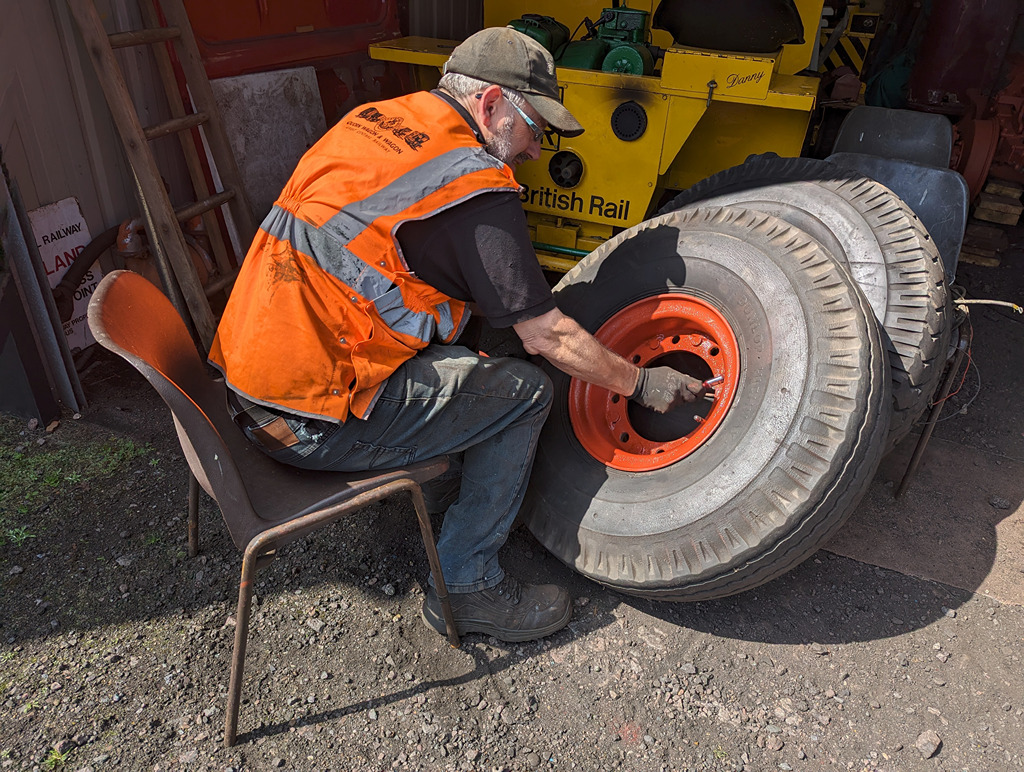
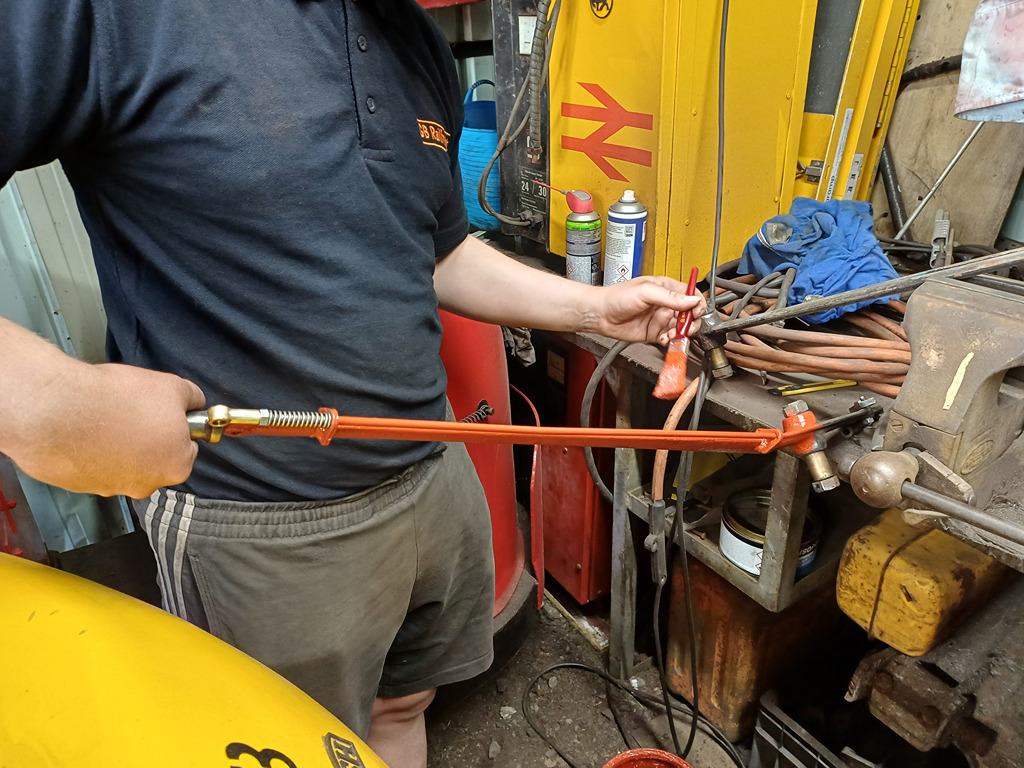
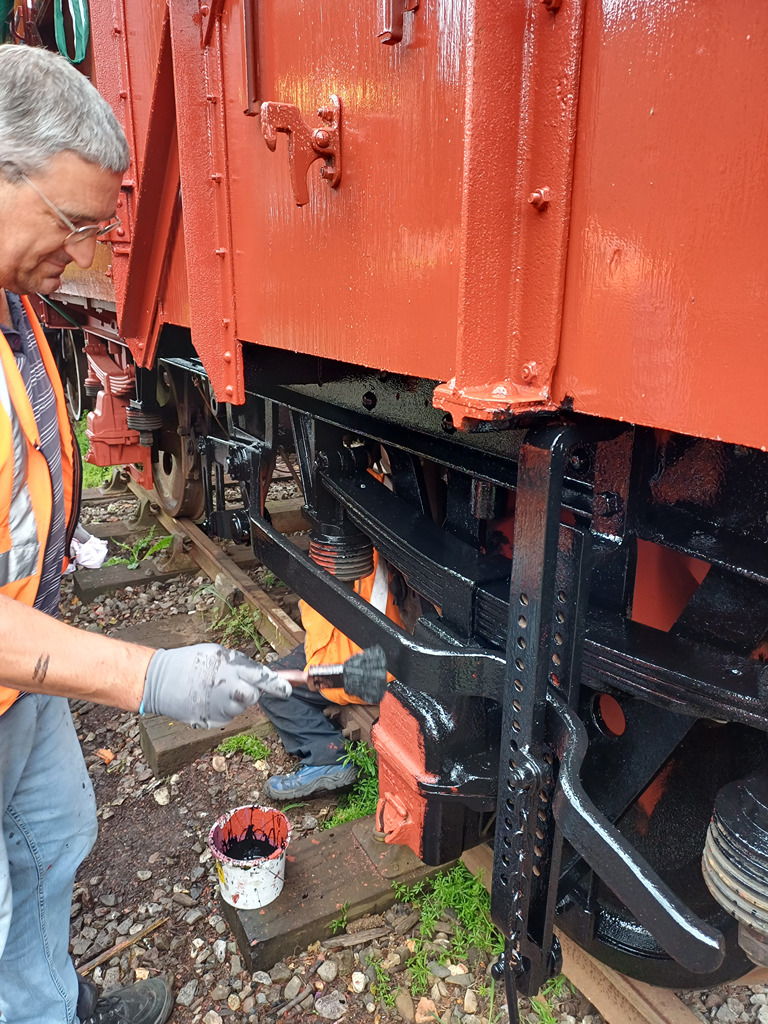
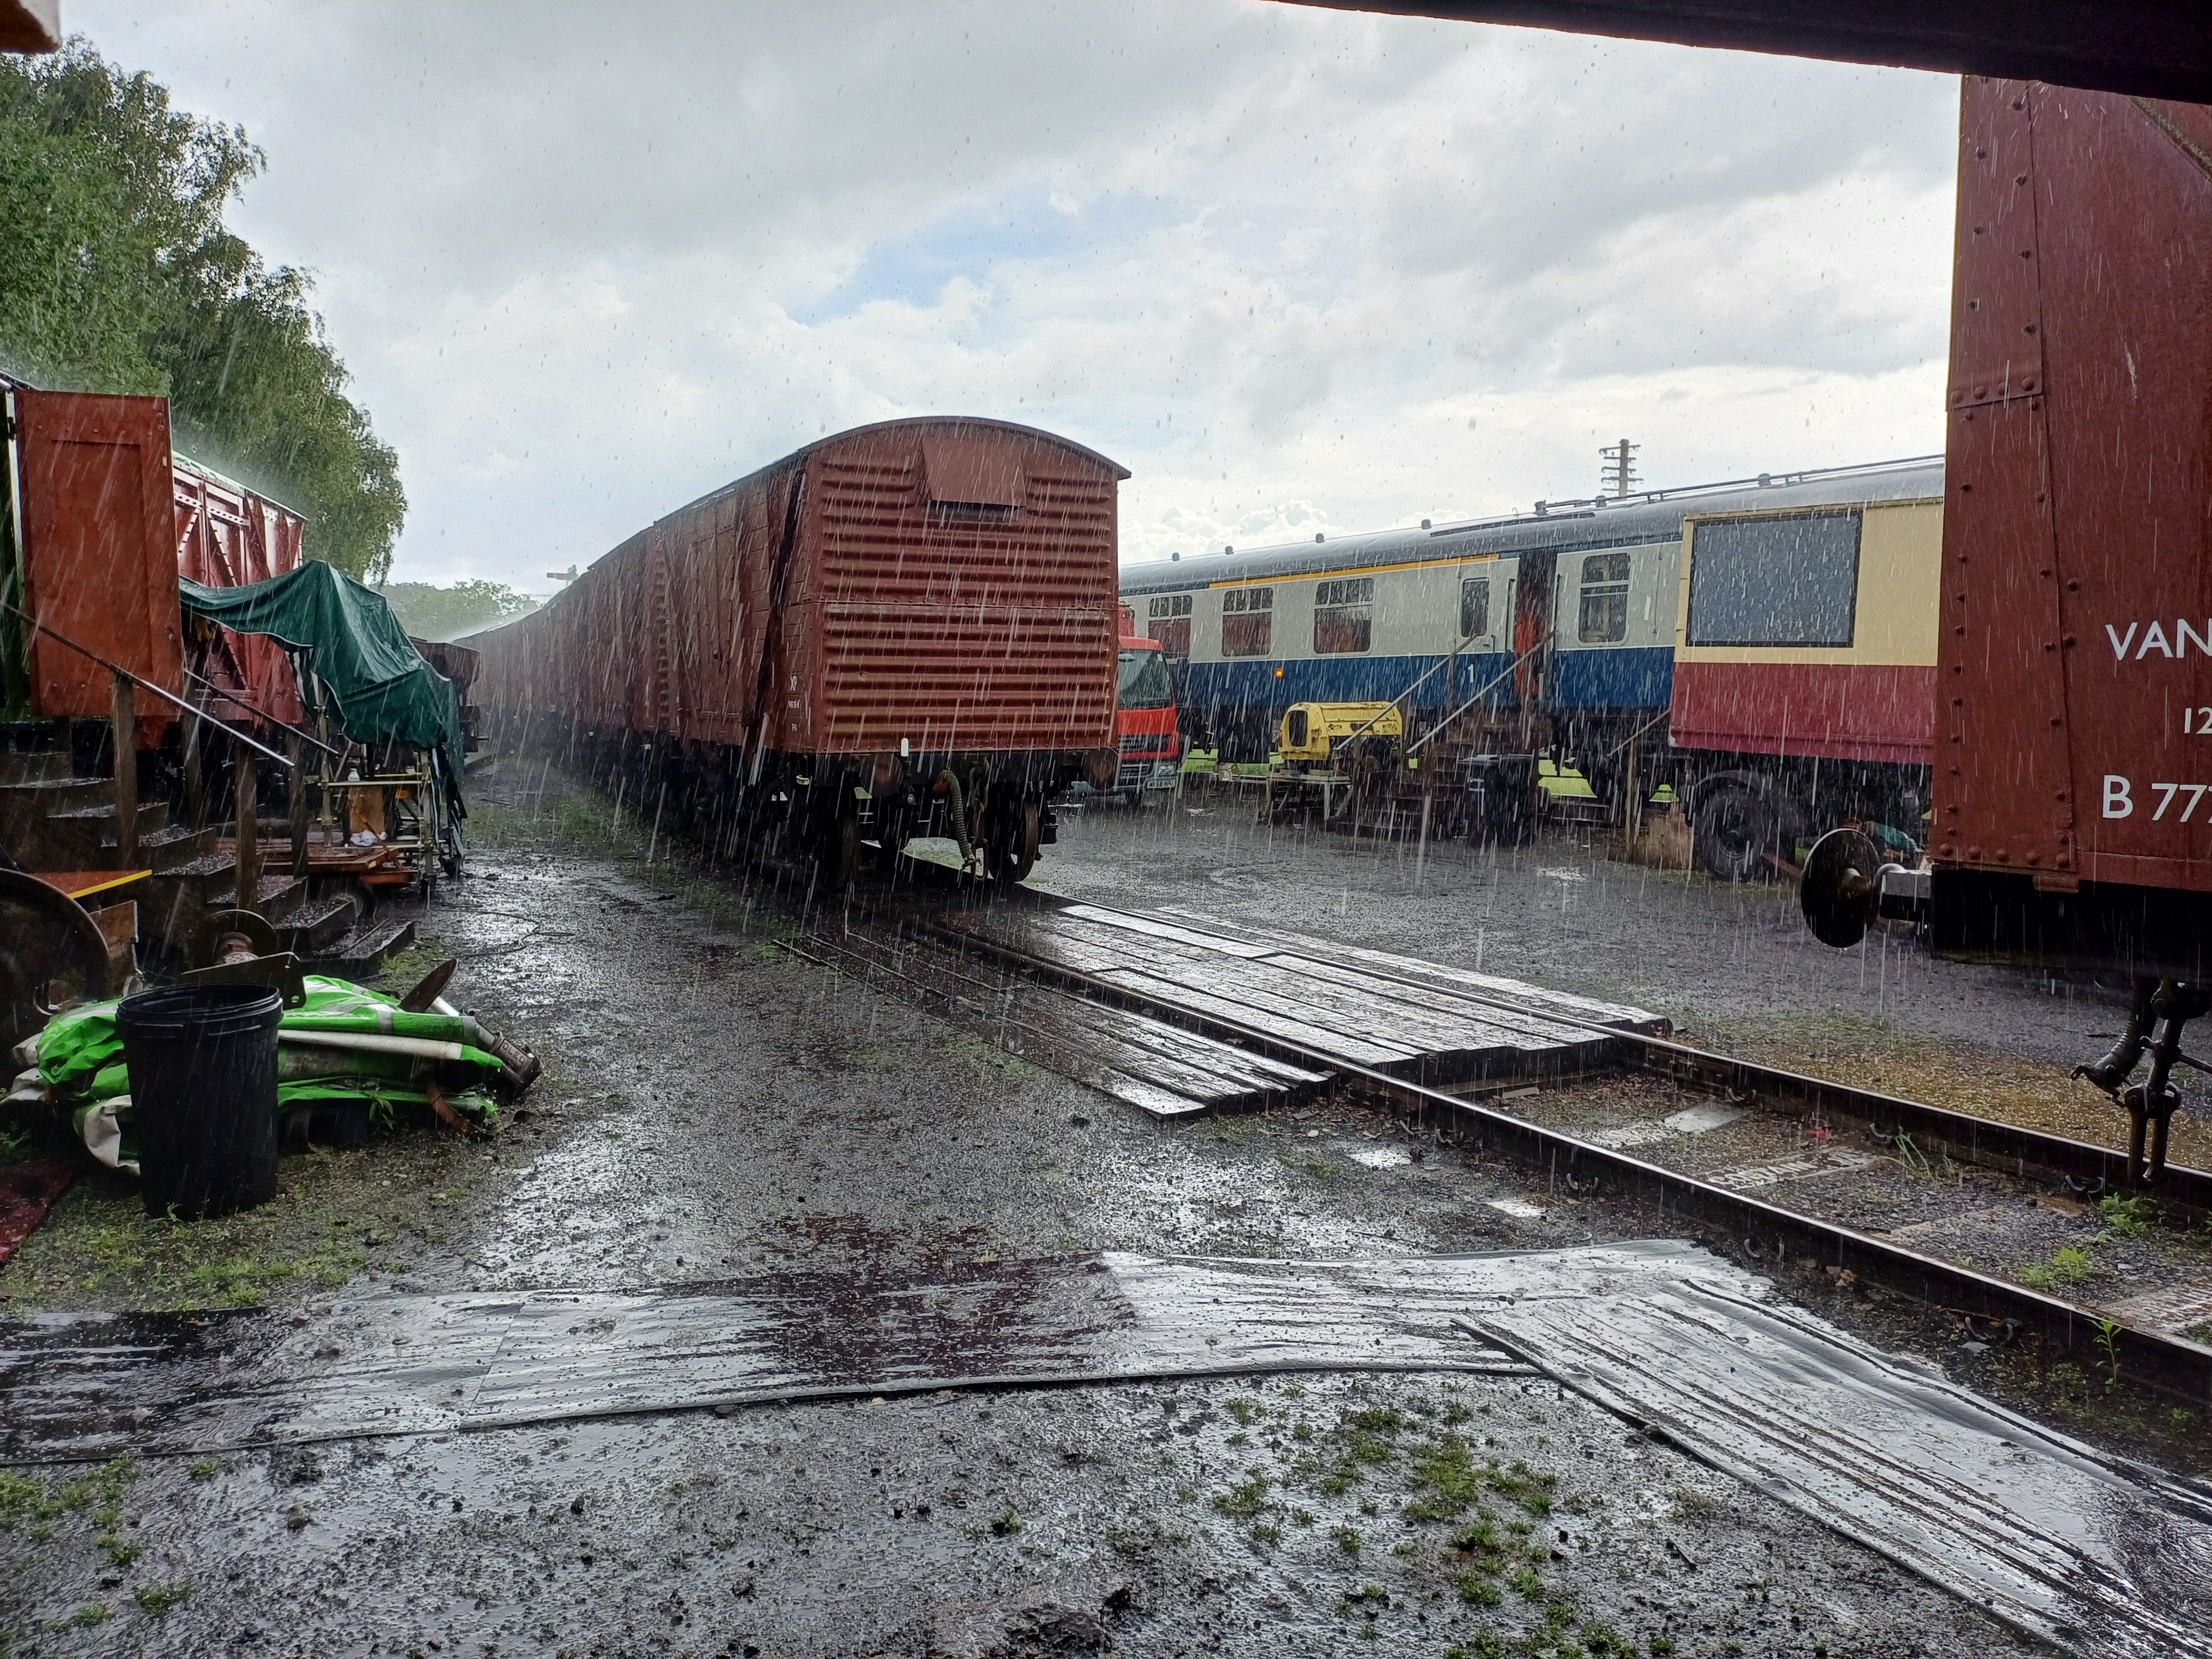
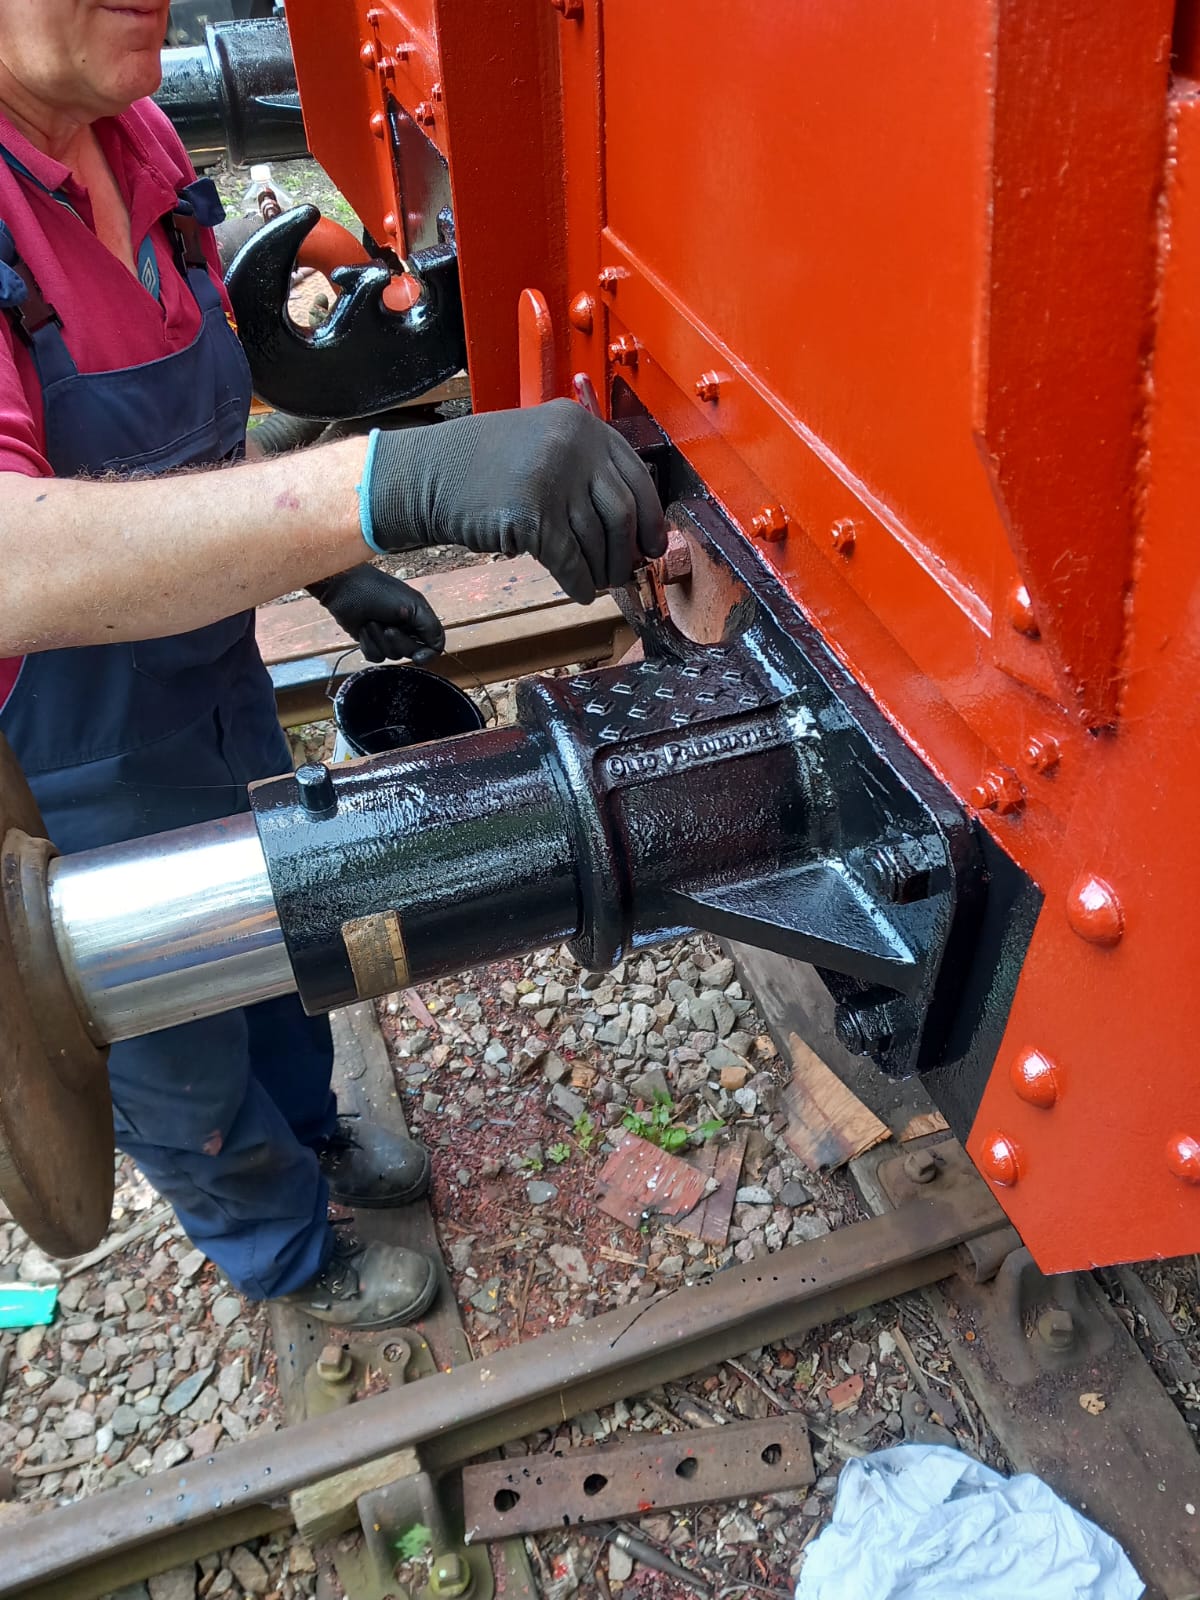
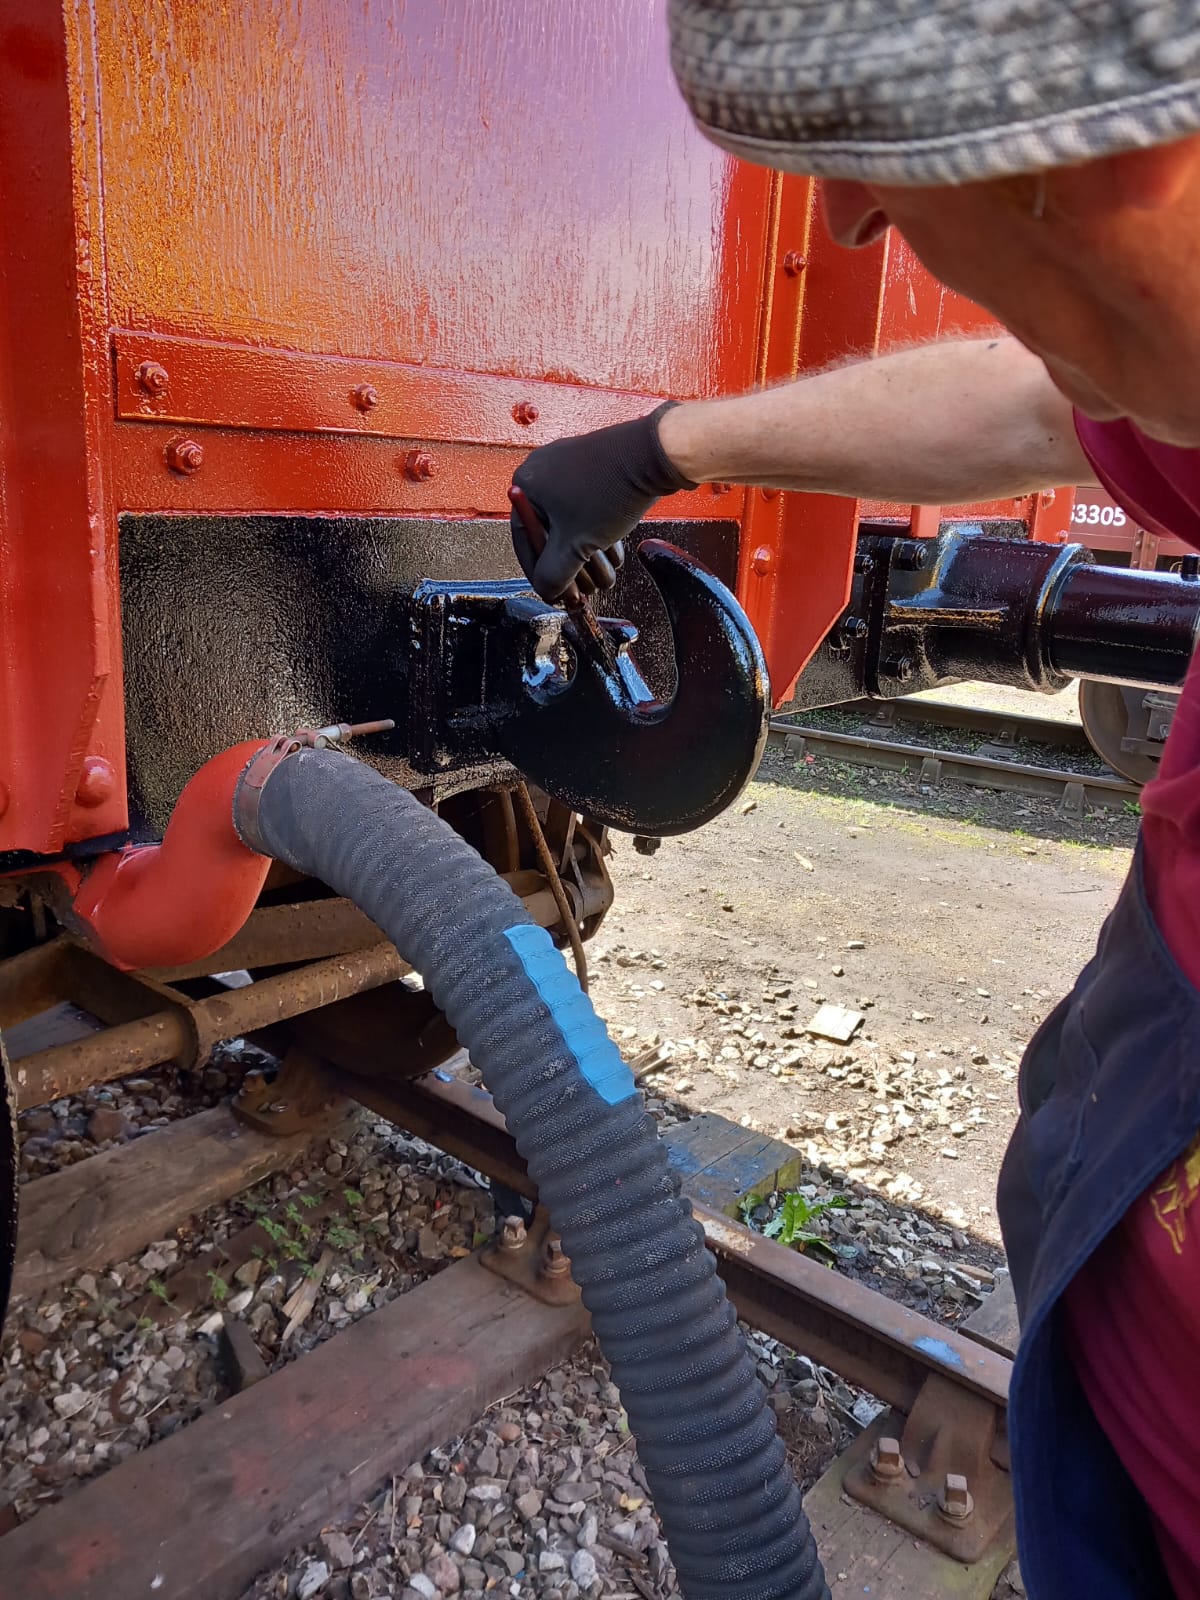
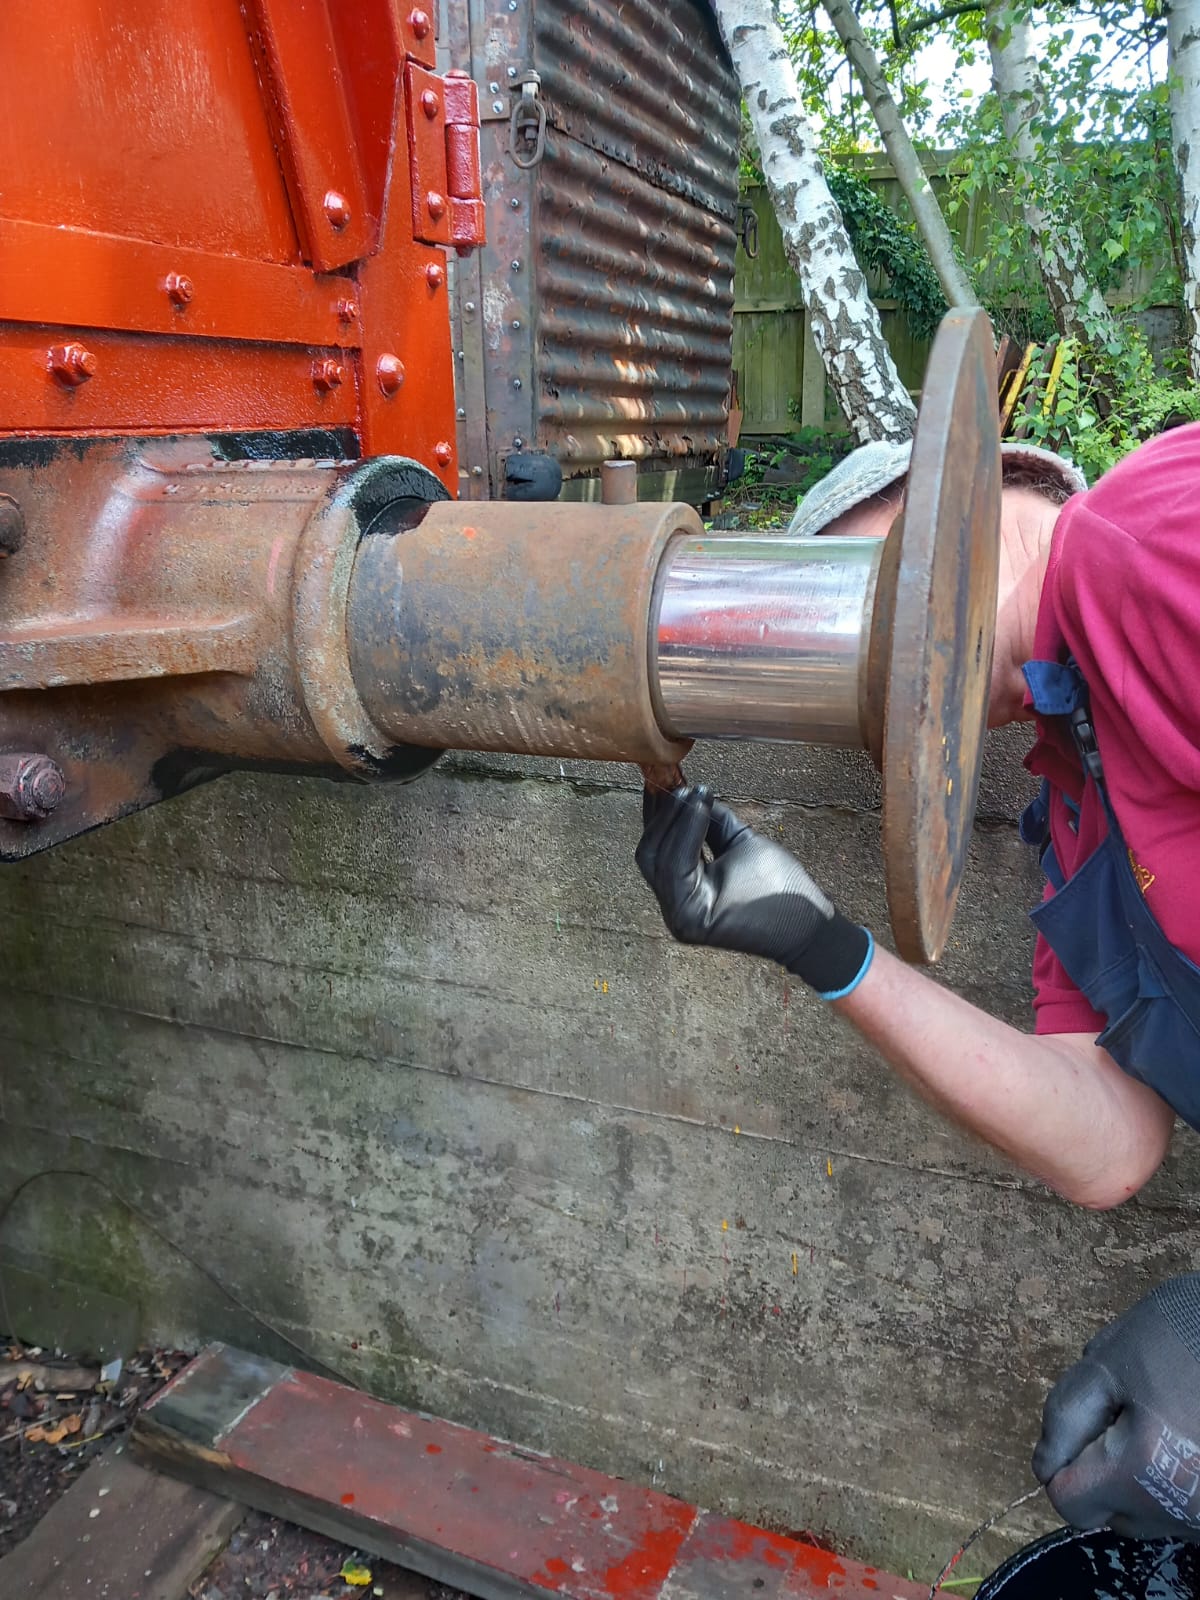
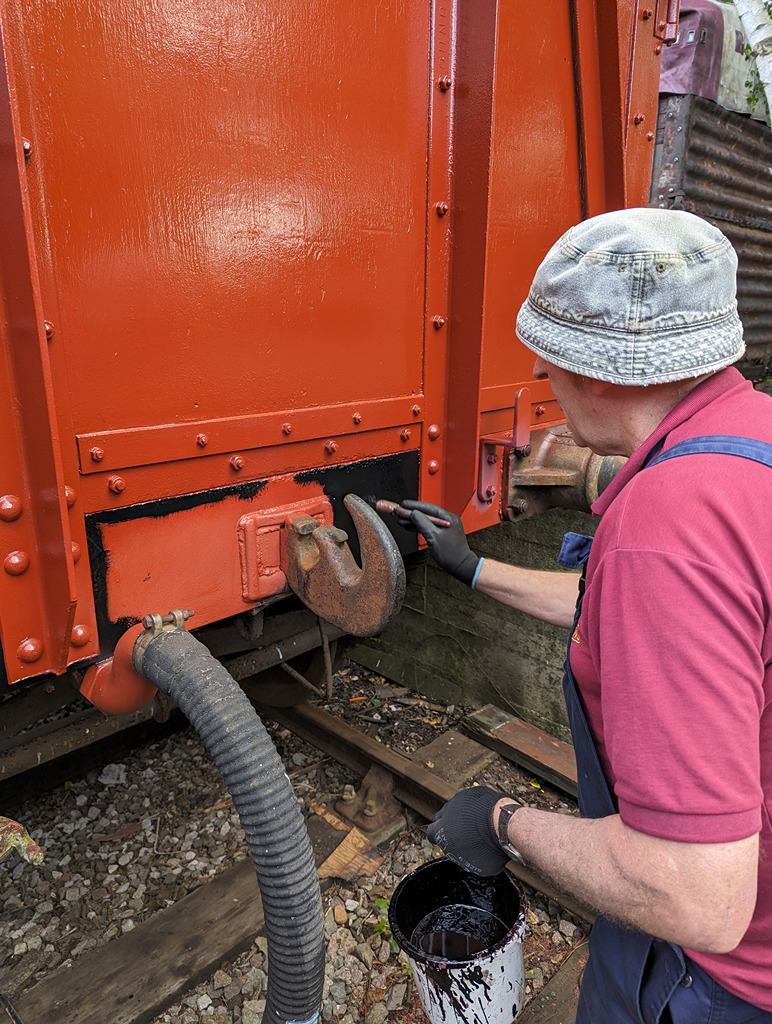
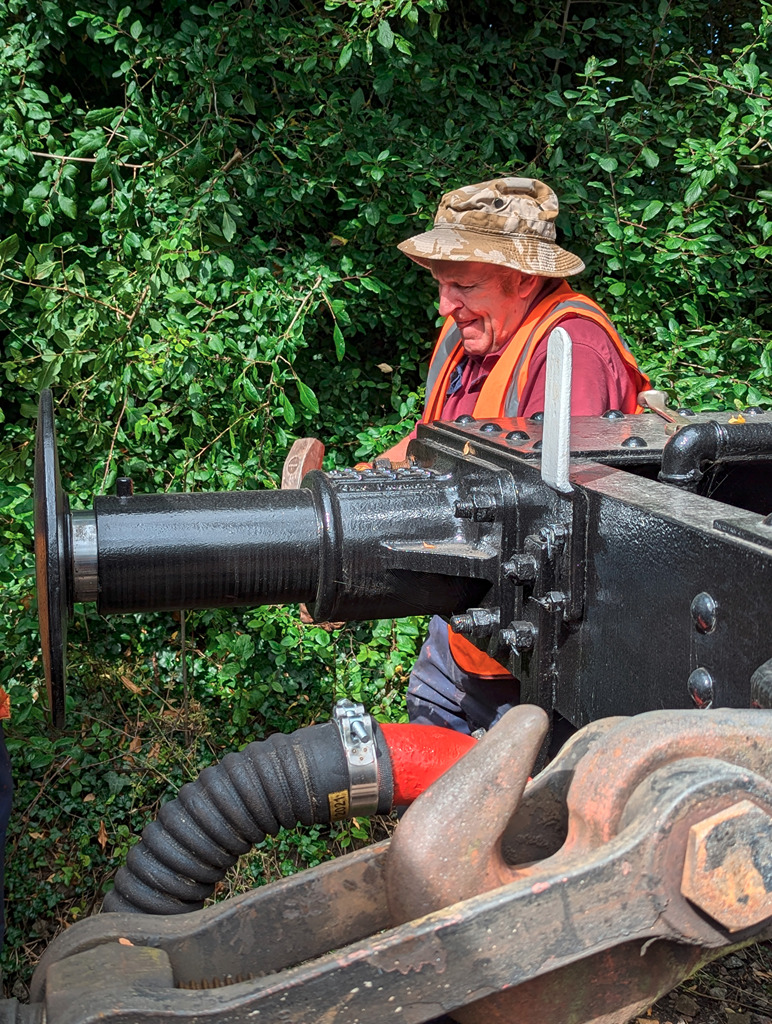
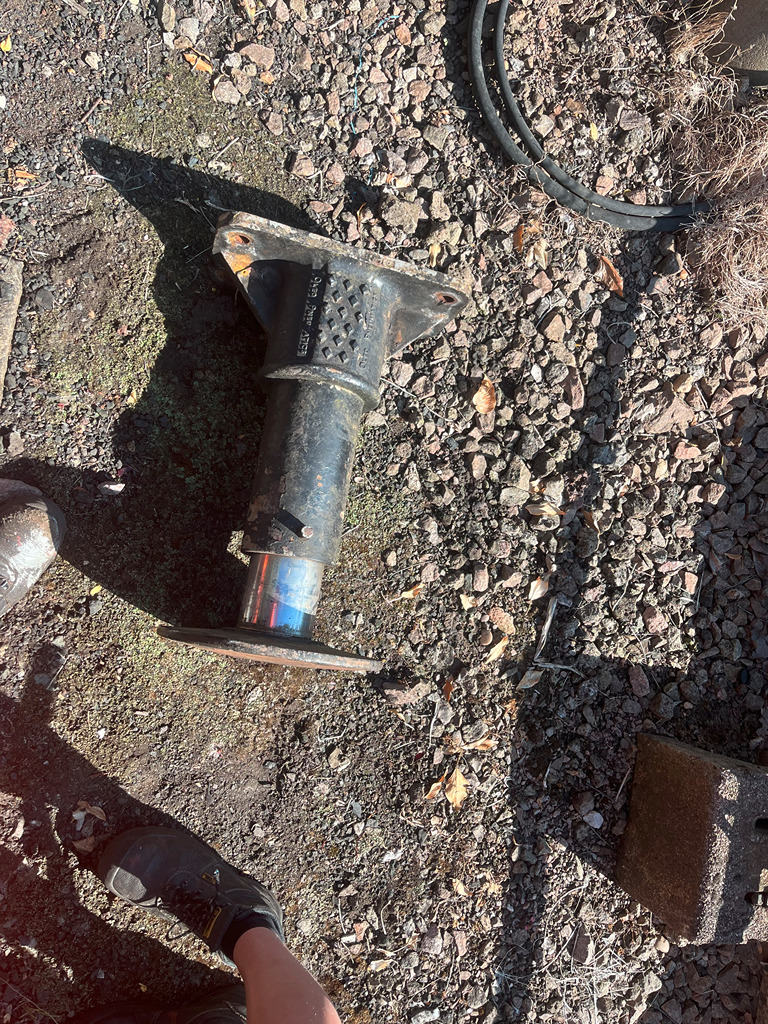
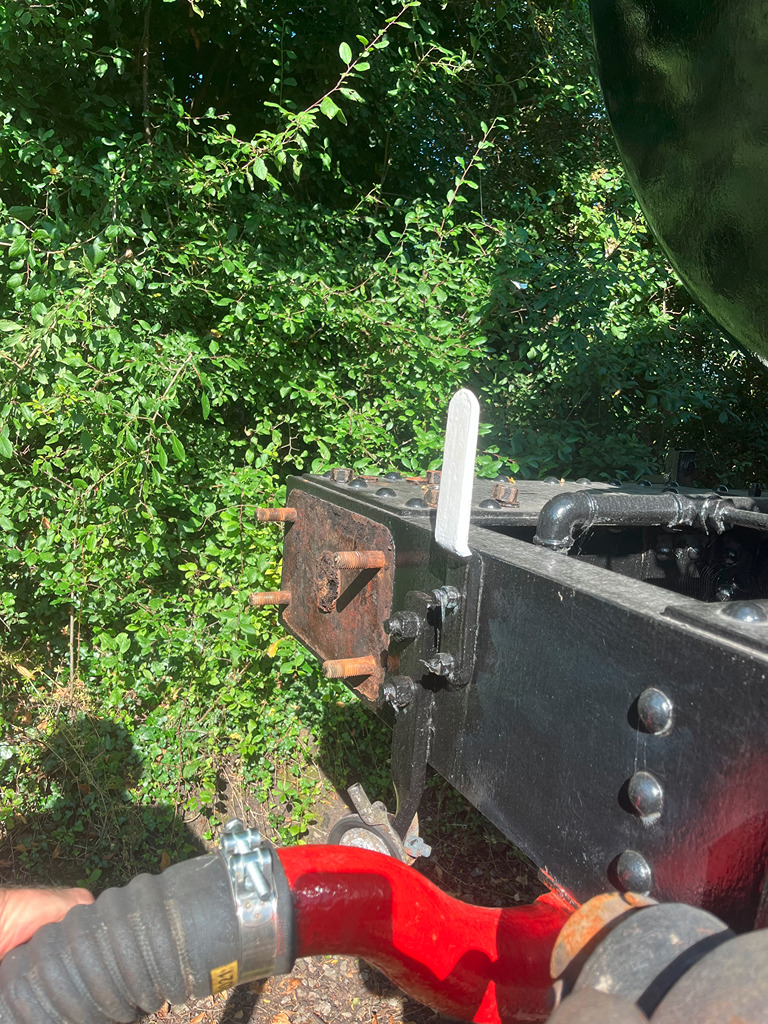
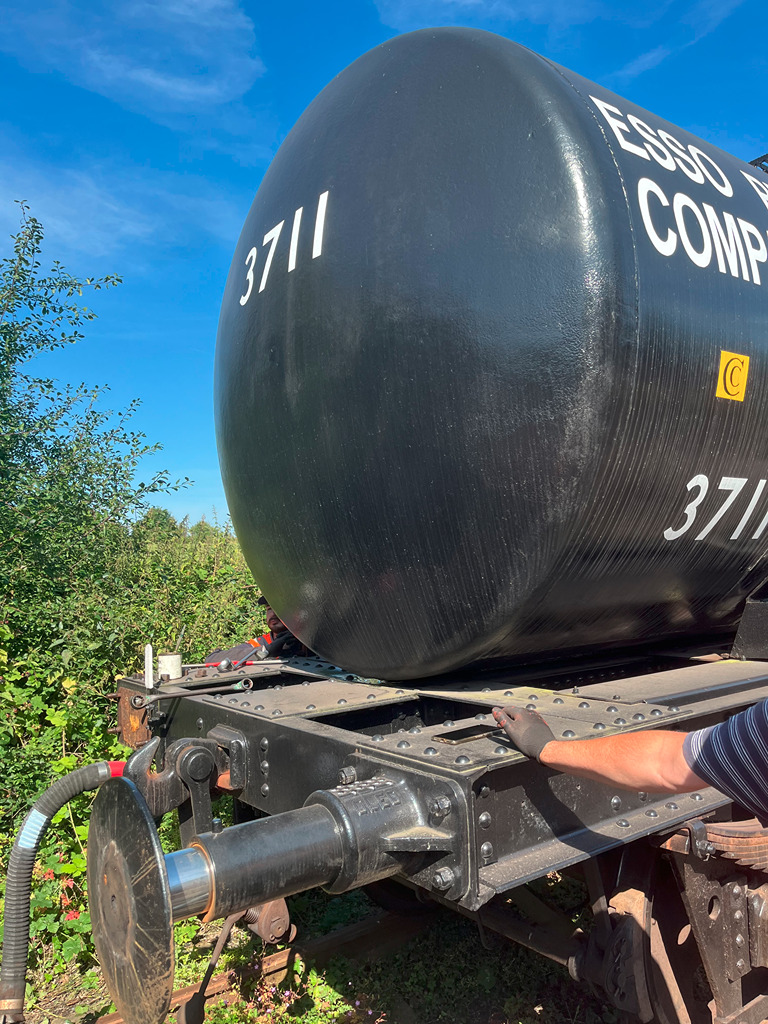
    Nick and Charlie looked at the tank train which is now in the Down Ly-by. Three buffers were stuck in on two of the ‘Airfix’ Esso tanks, two on 3777 and one on 3711. Having applied the appropriate protection, between them they moved the replacements into position and loosened the bolts on the existing buffers, making them ready for changing.

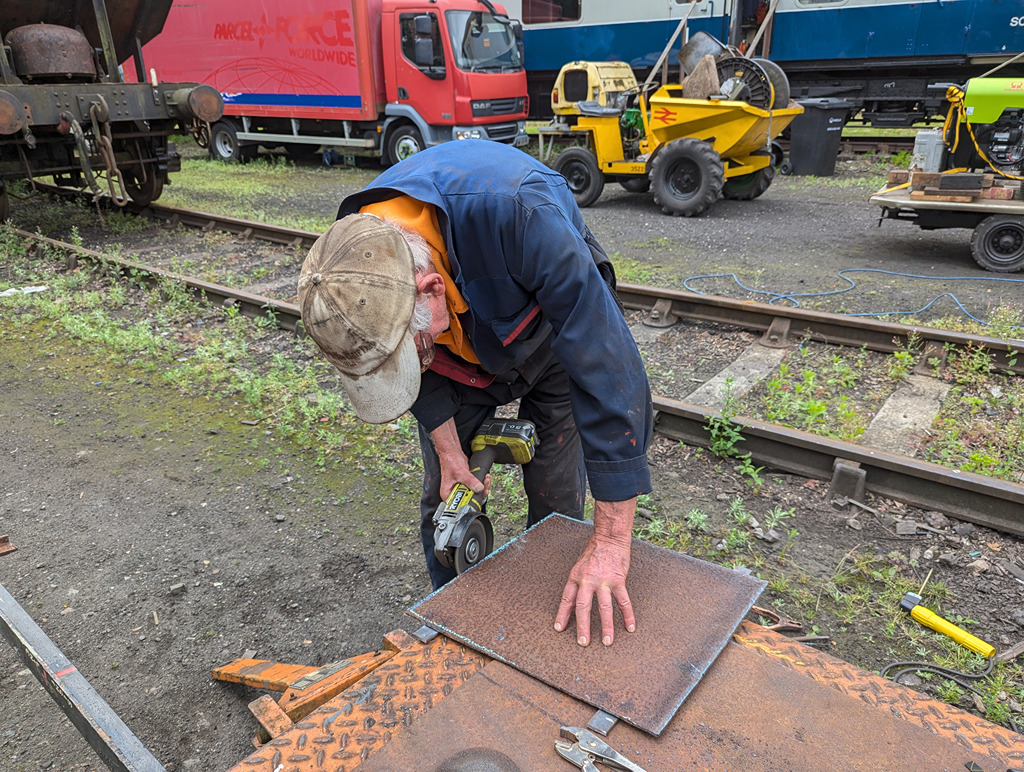
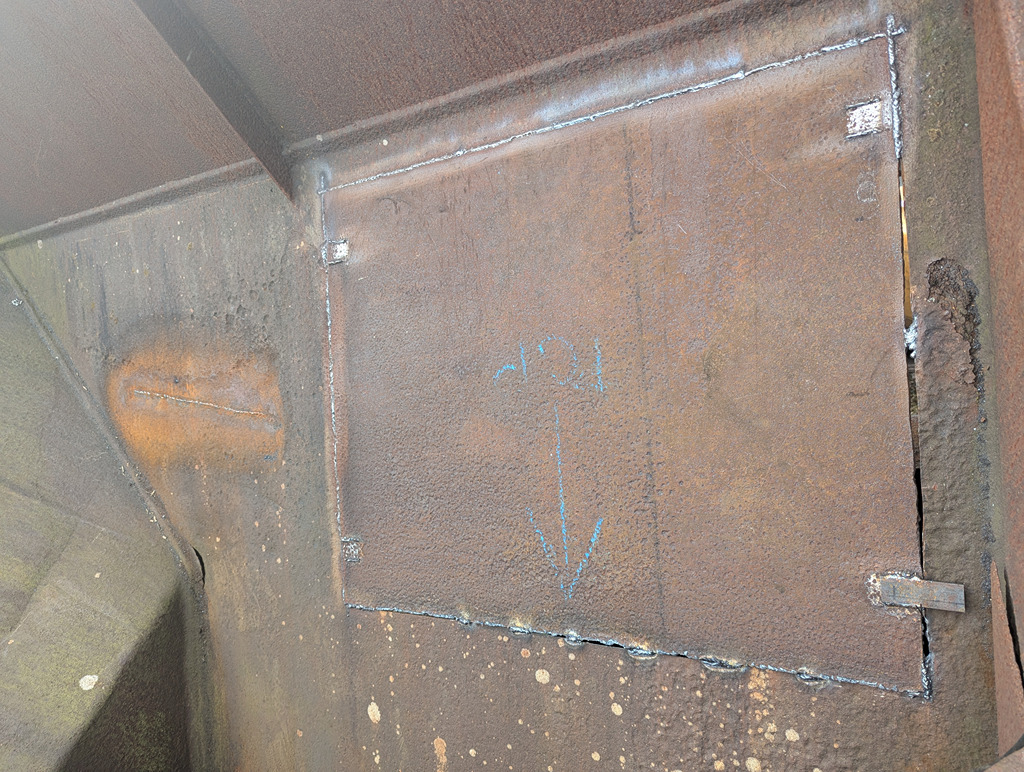
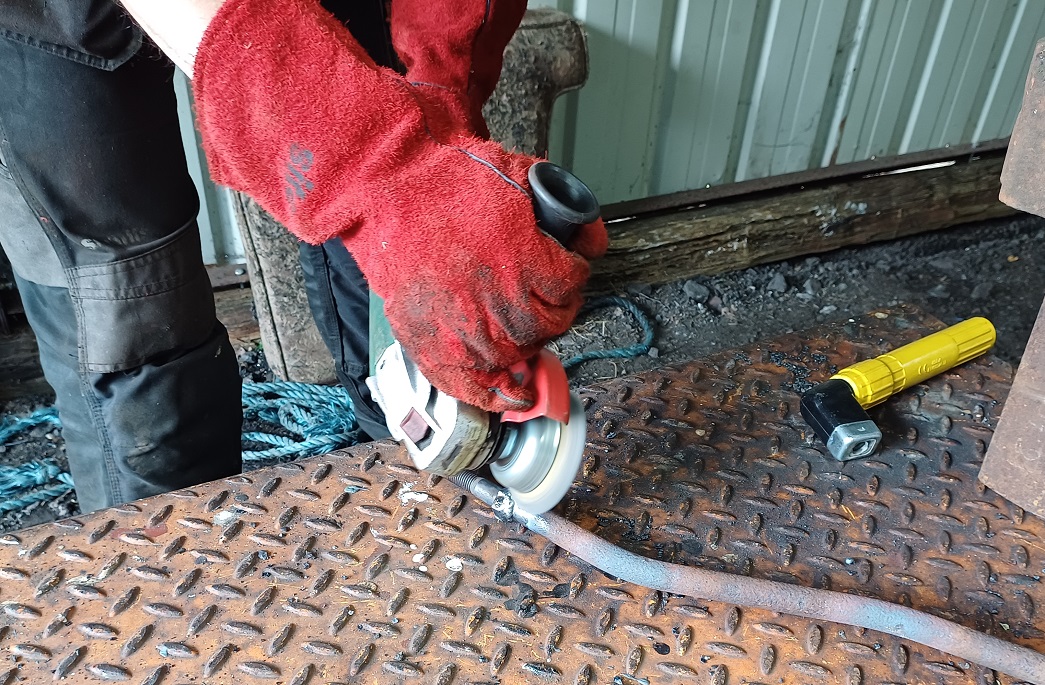
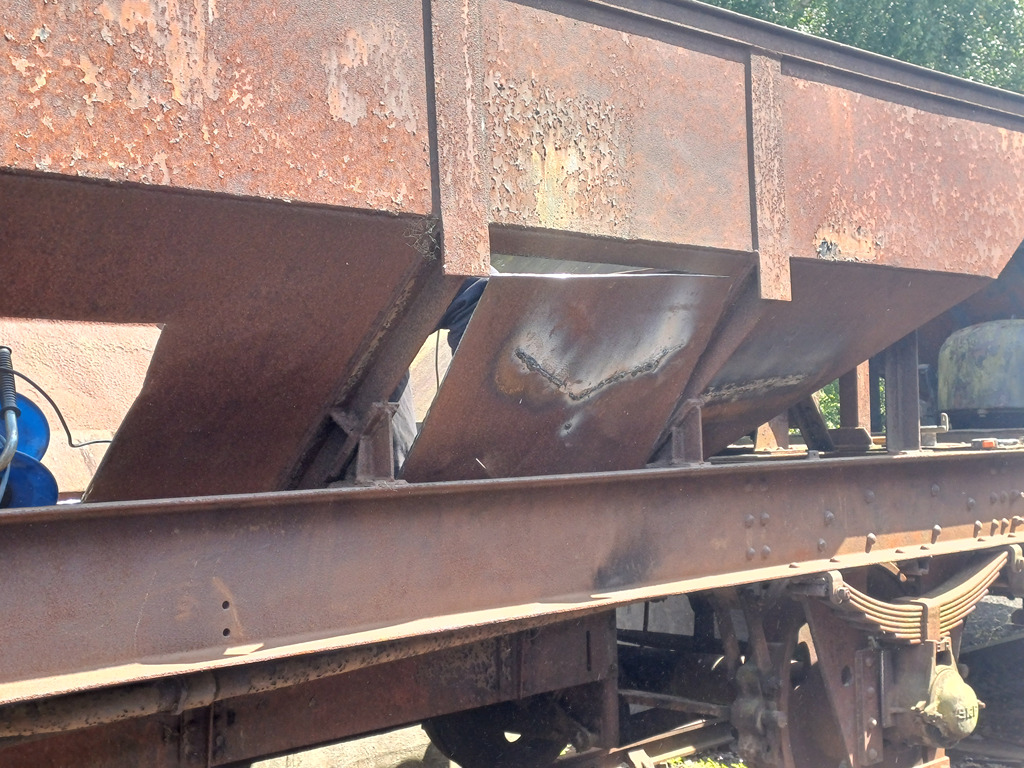
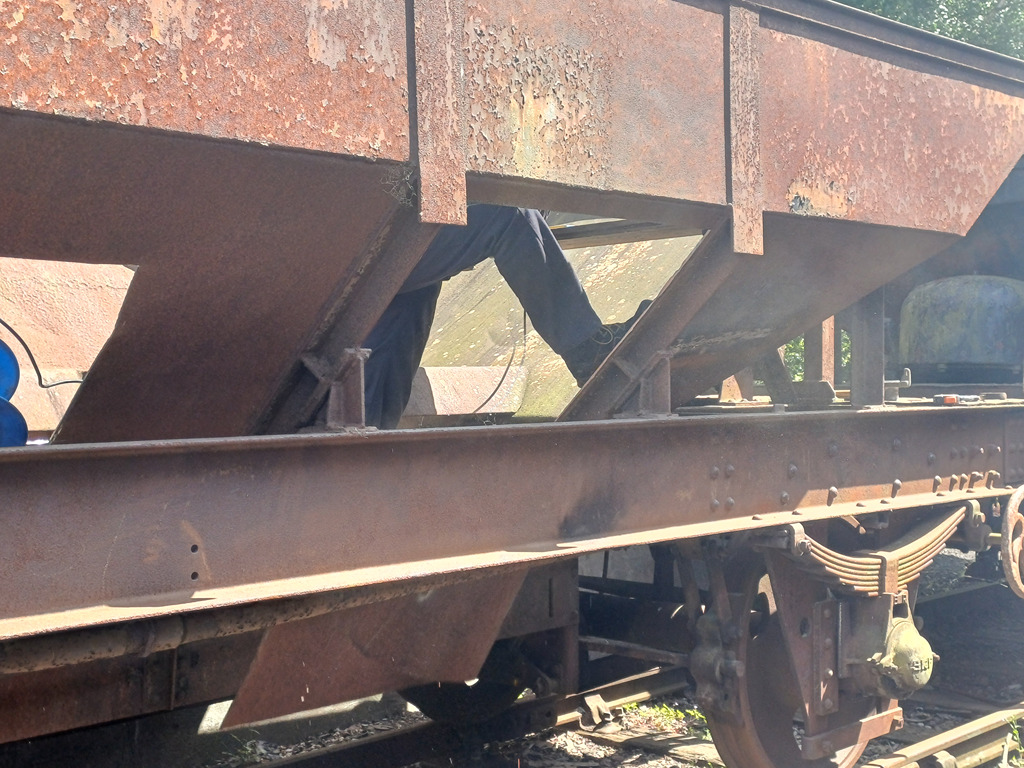
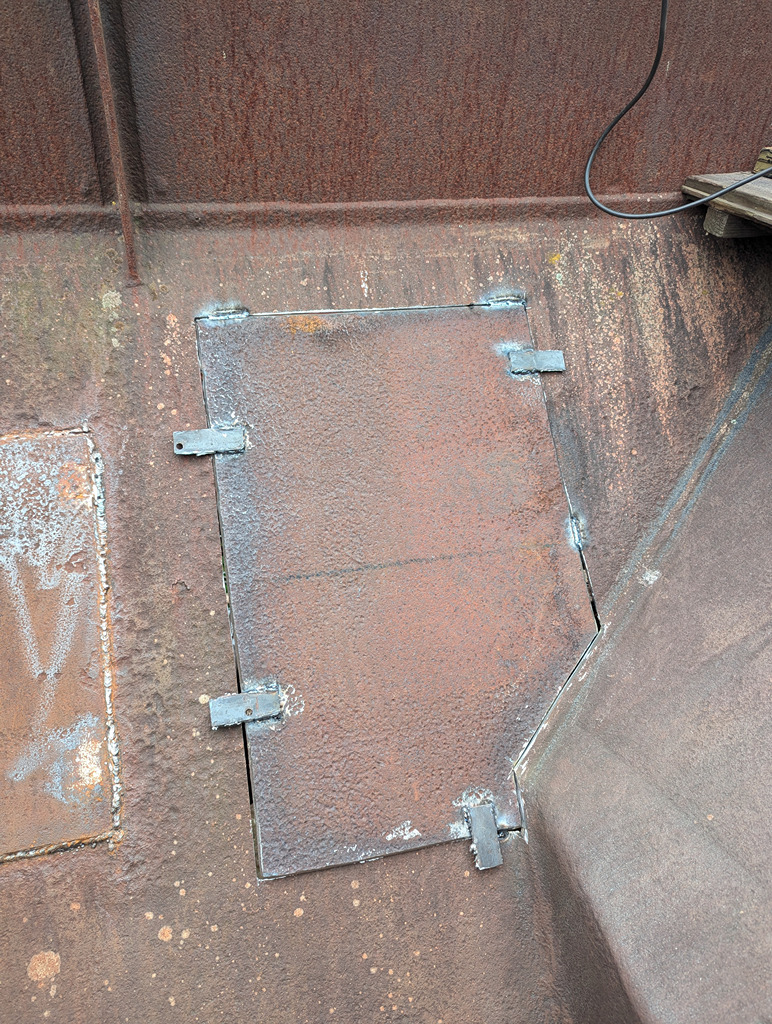
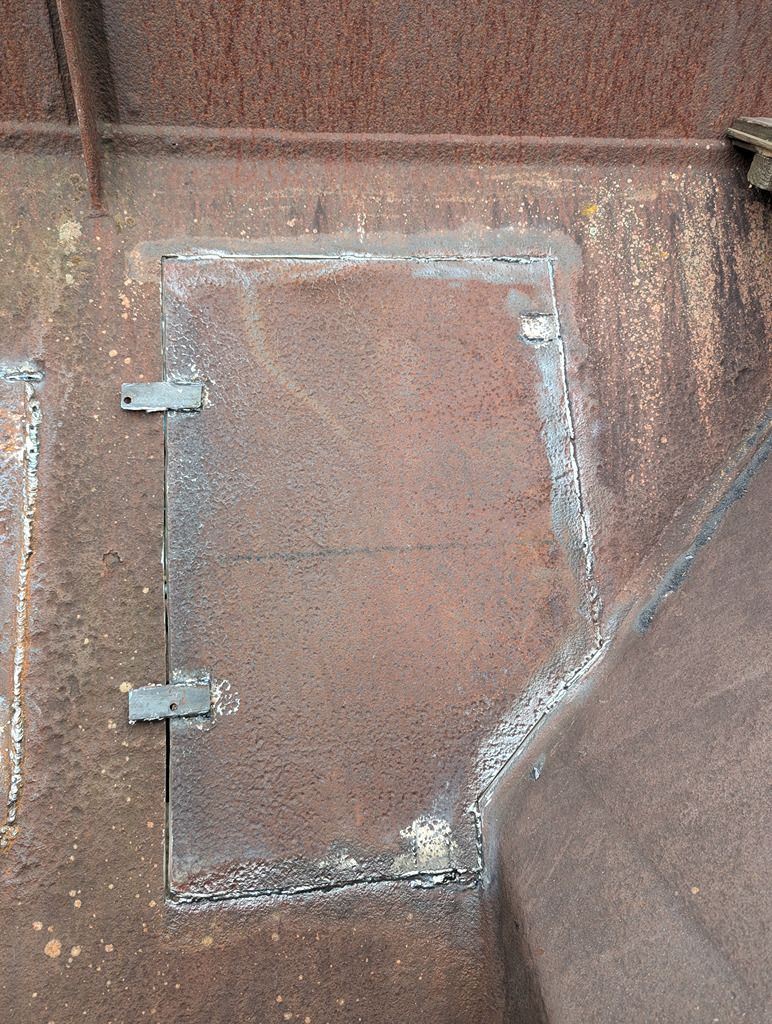
    Ernie had got the plate cut out for the patch, which we fettled to fit the hole and got tacked into place.

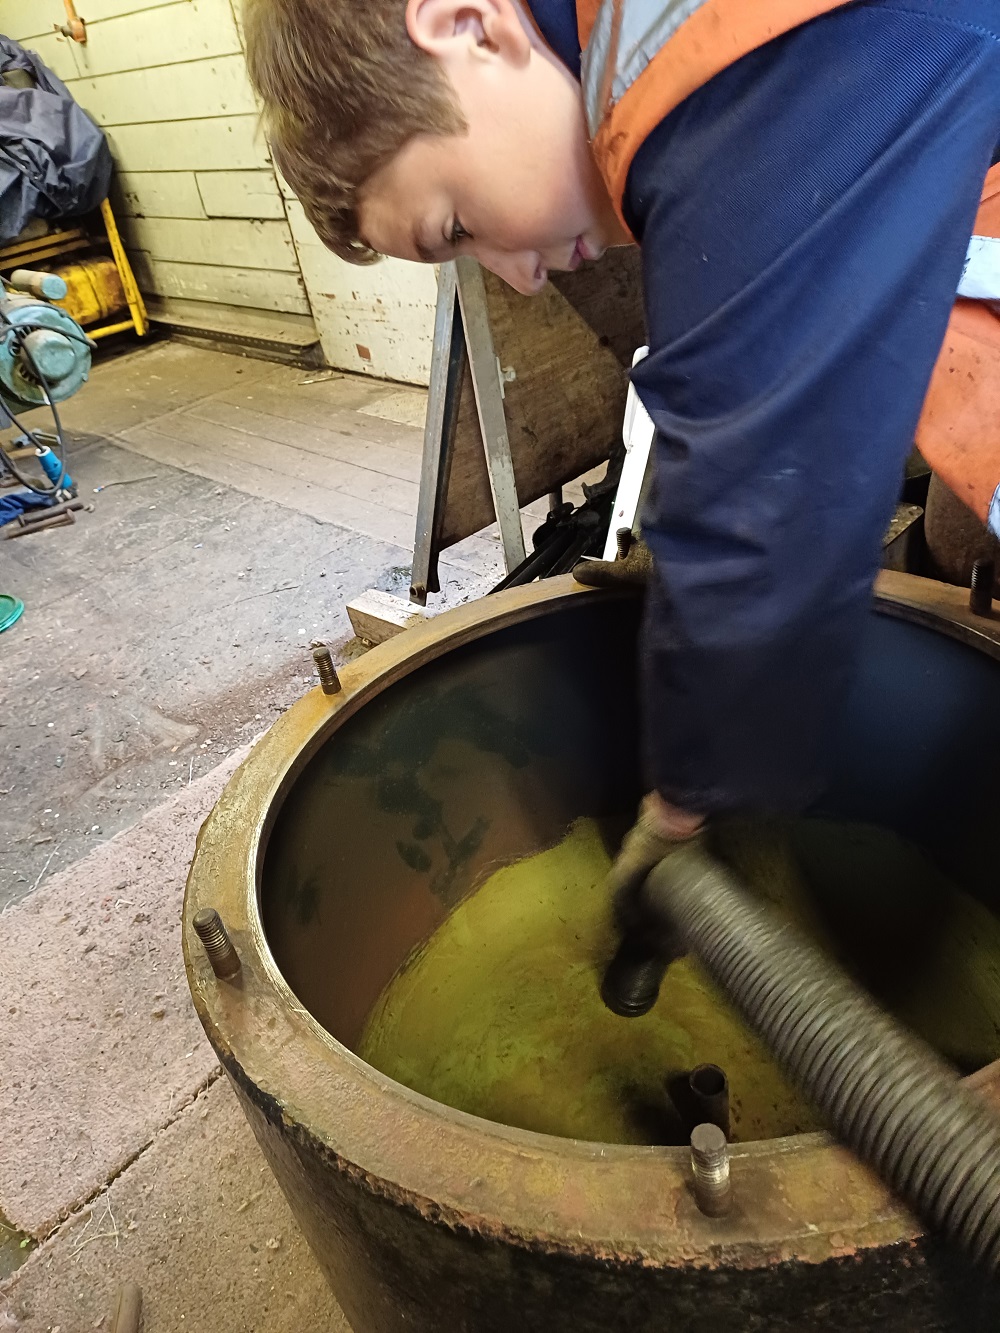
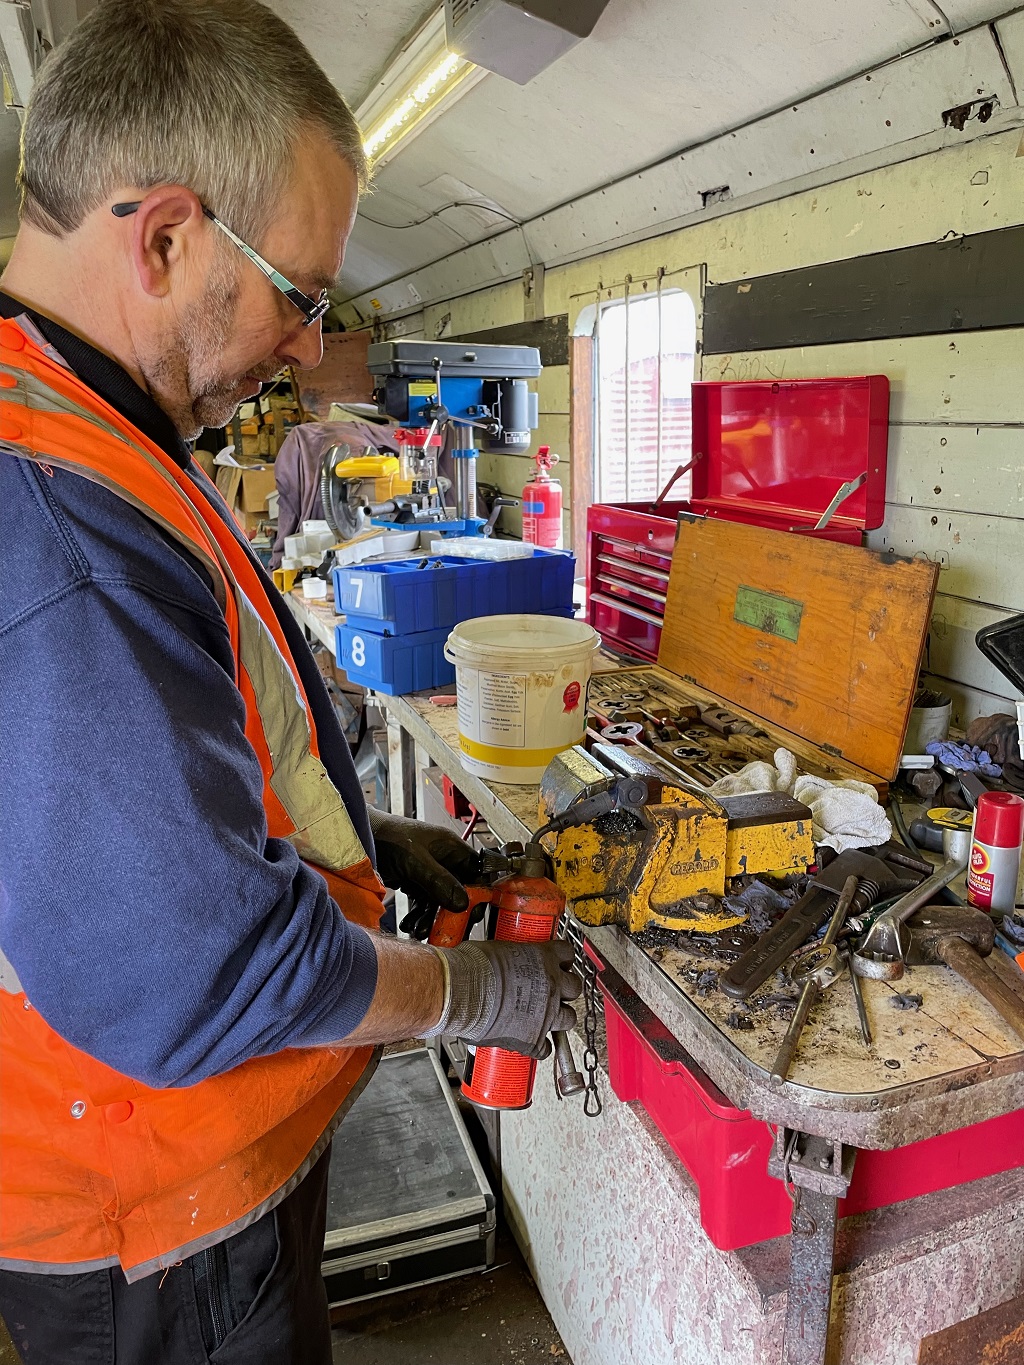
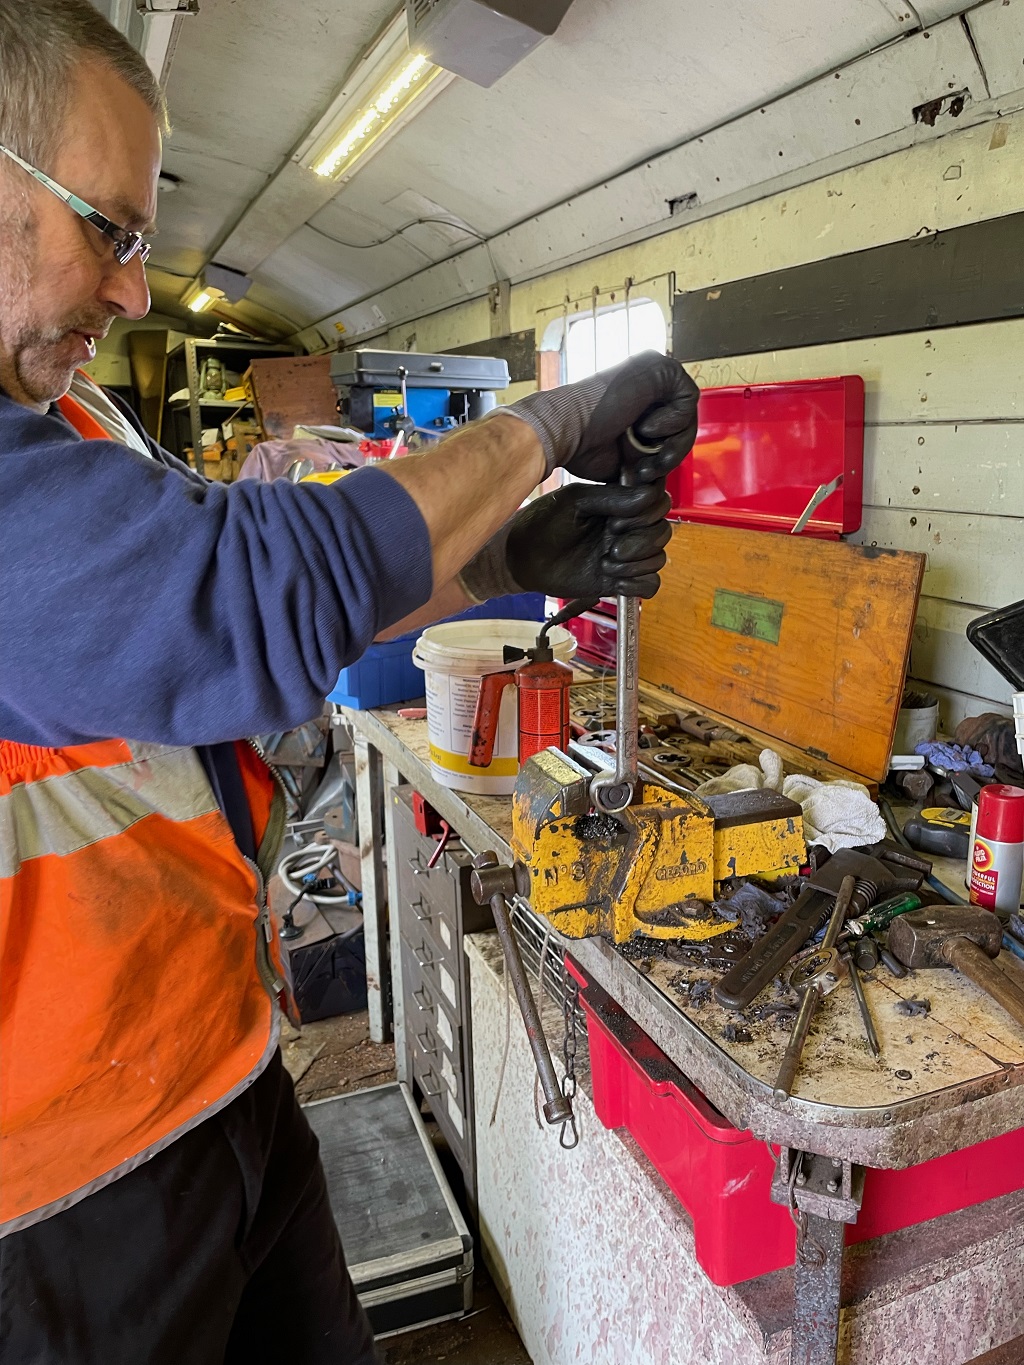
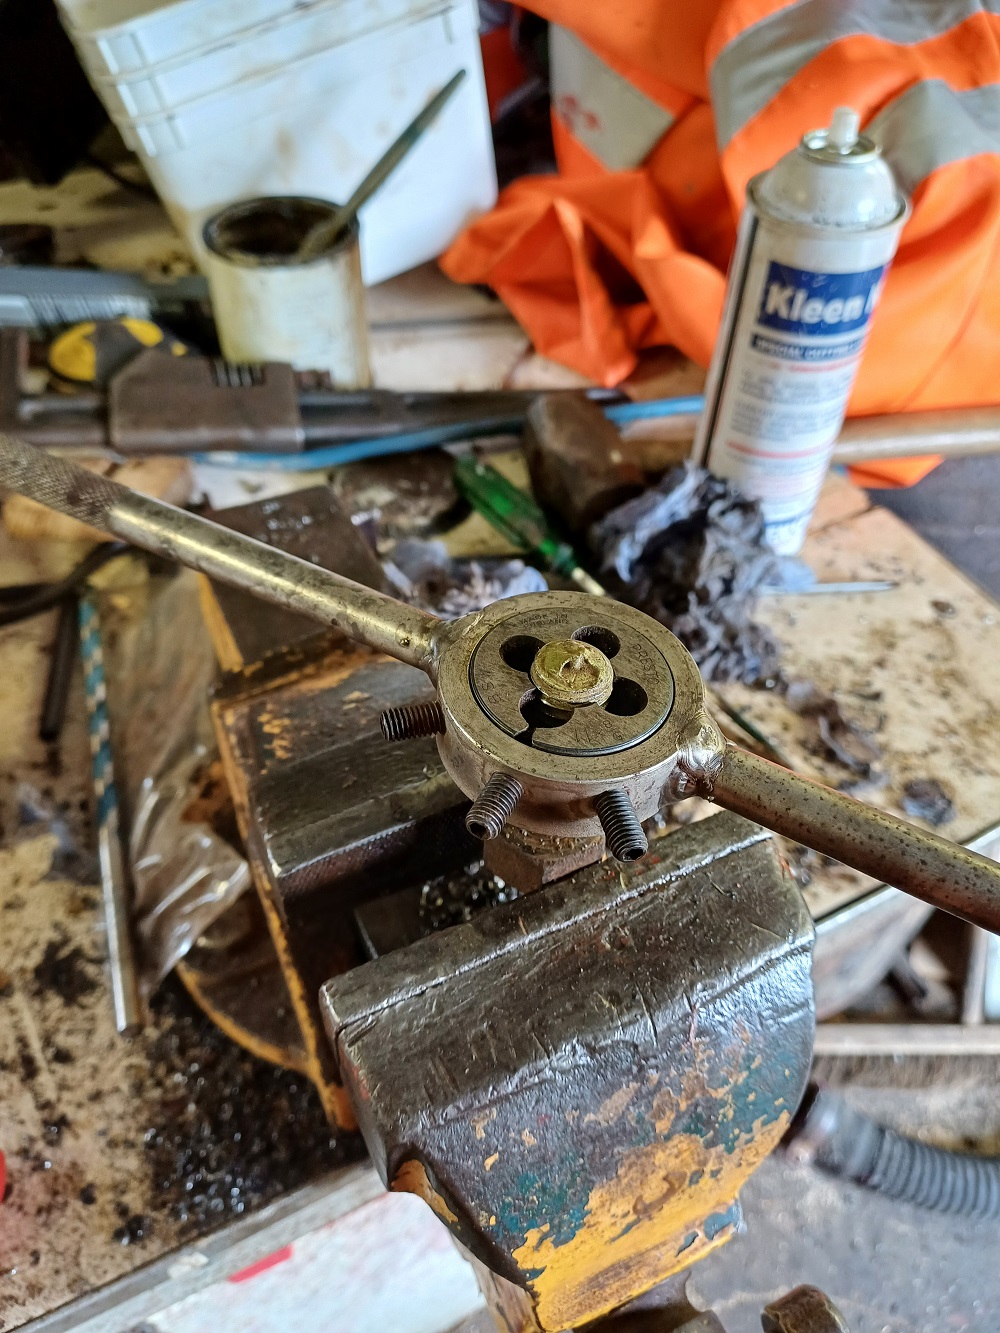
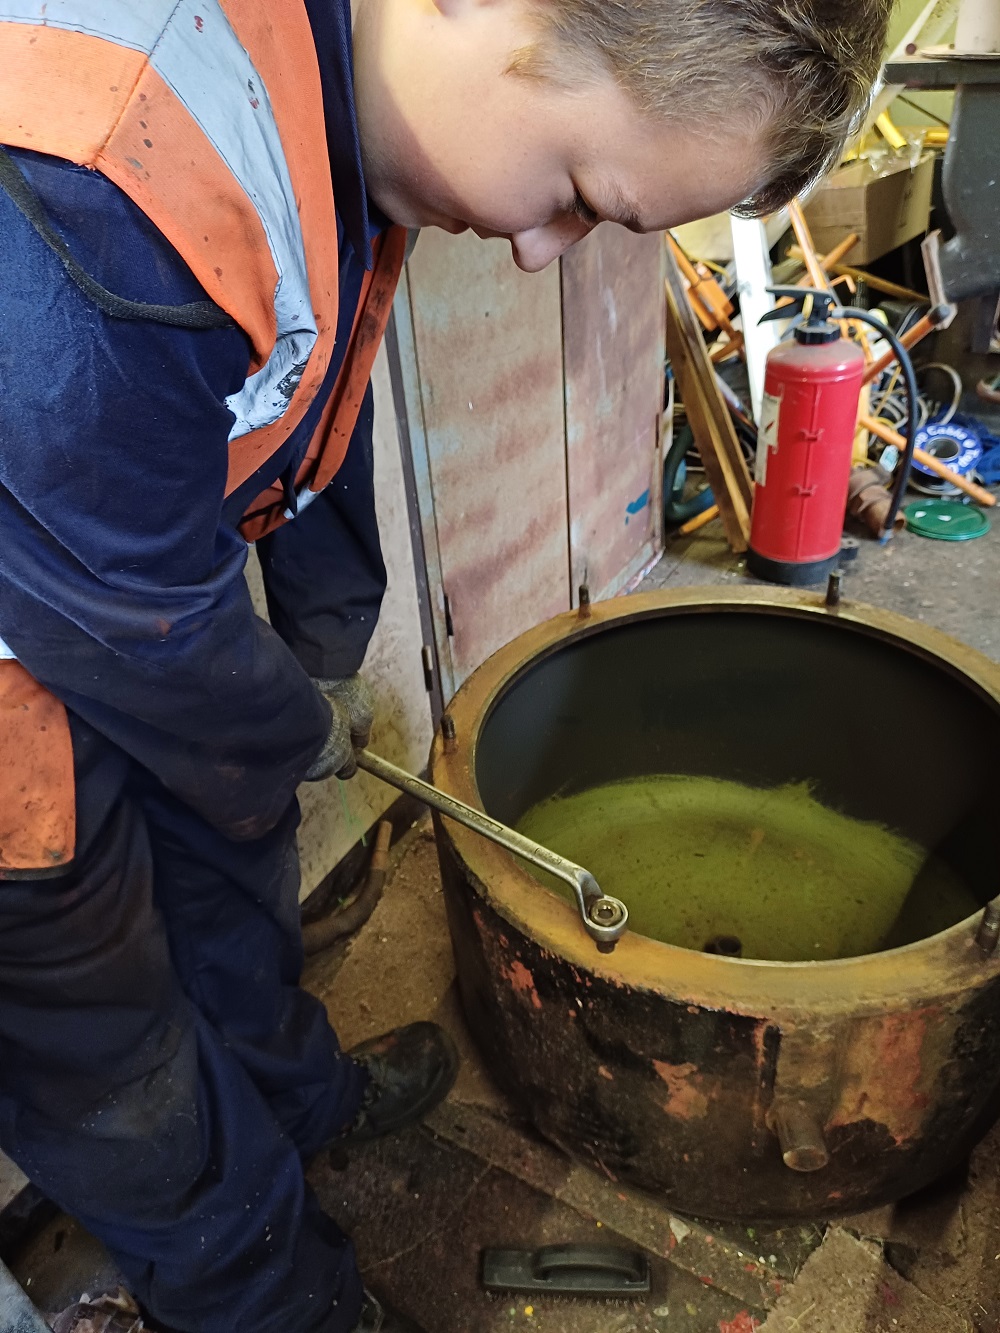
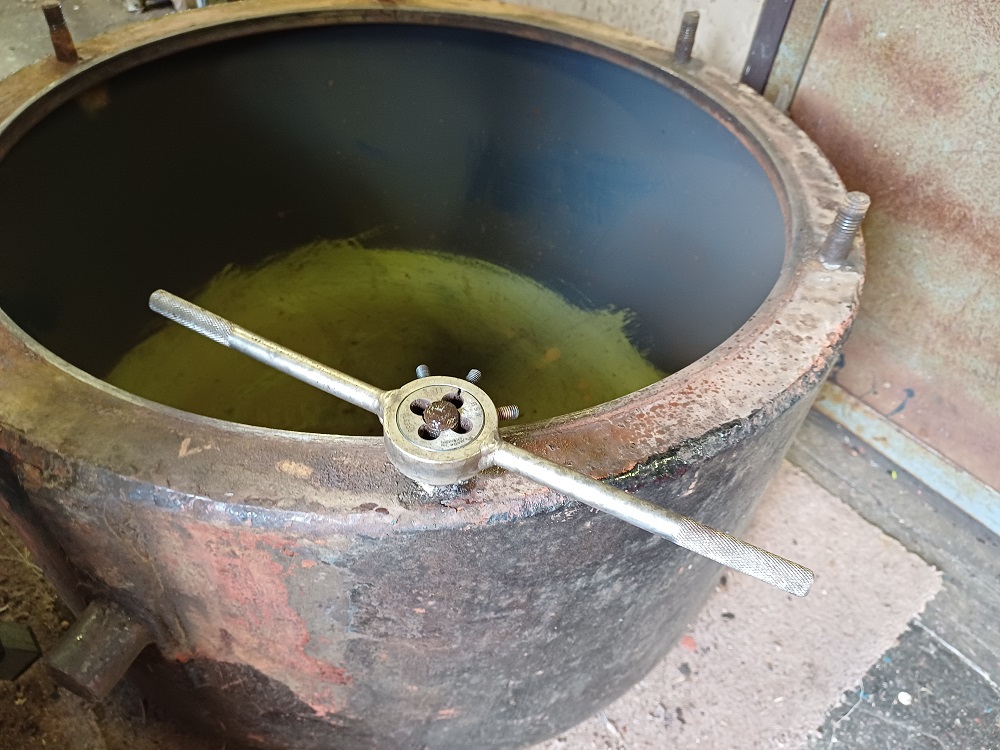
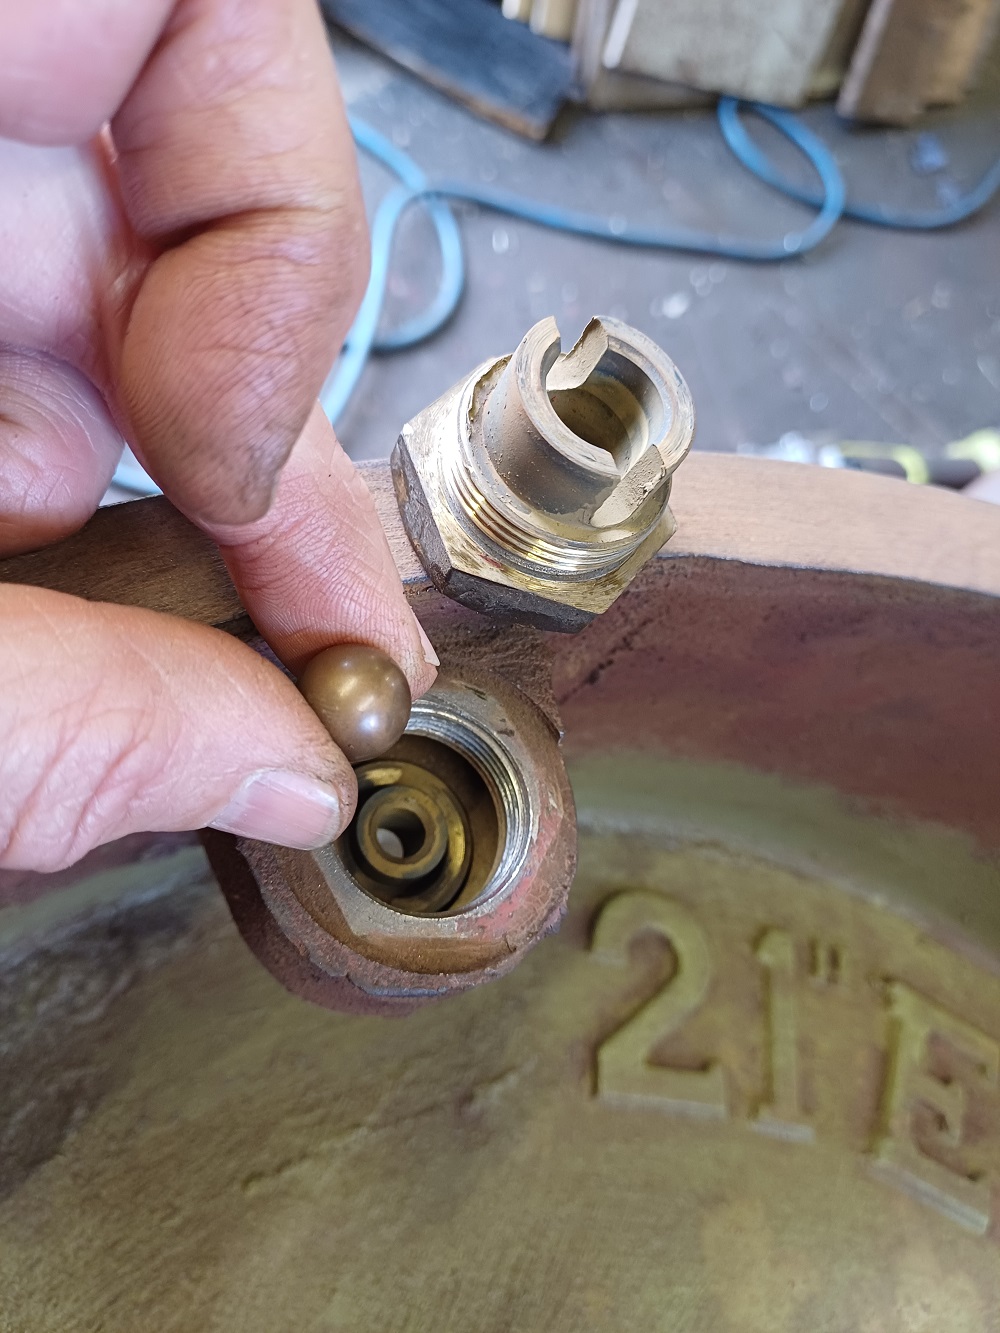
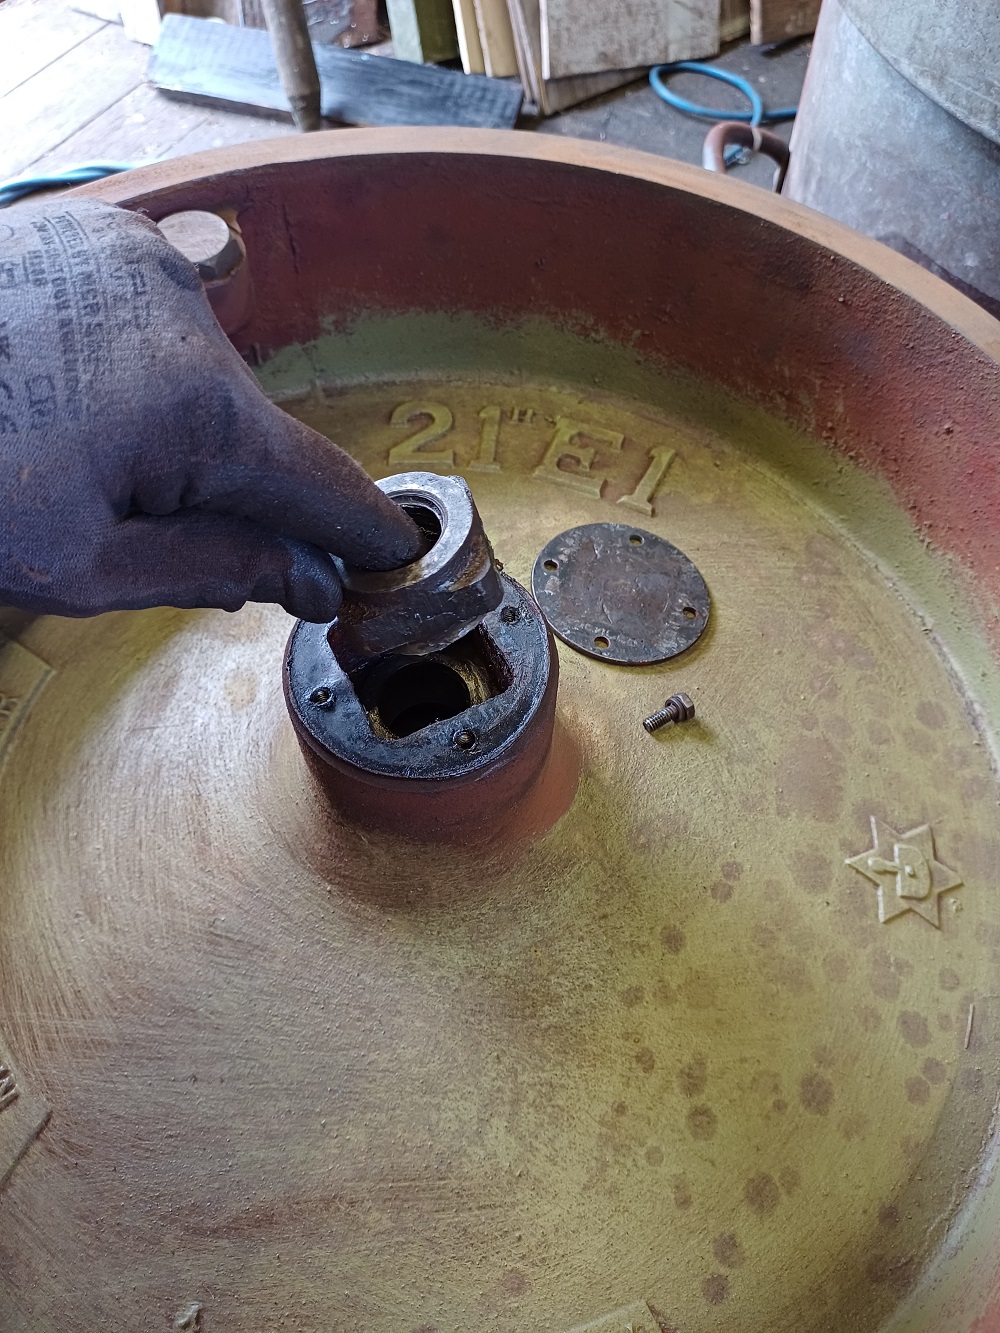
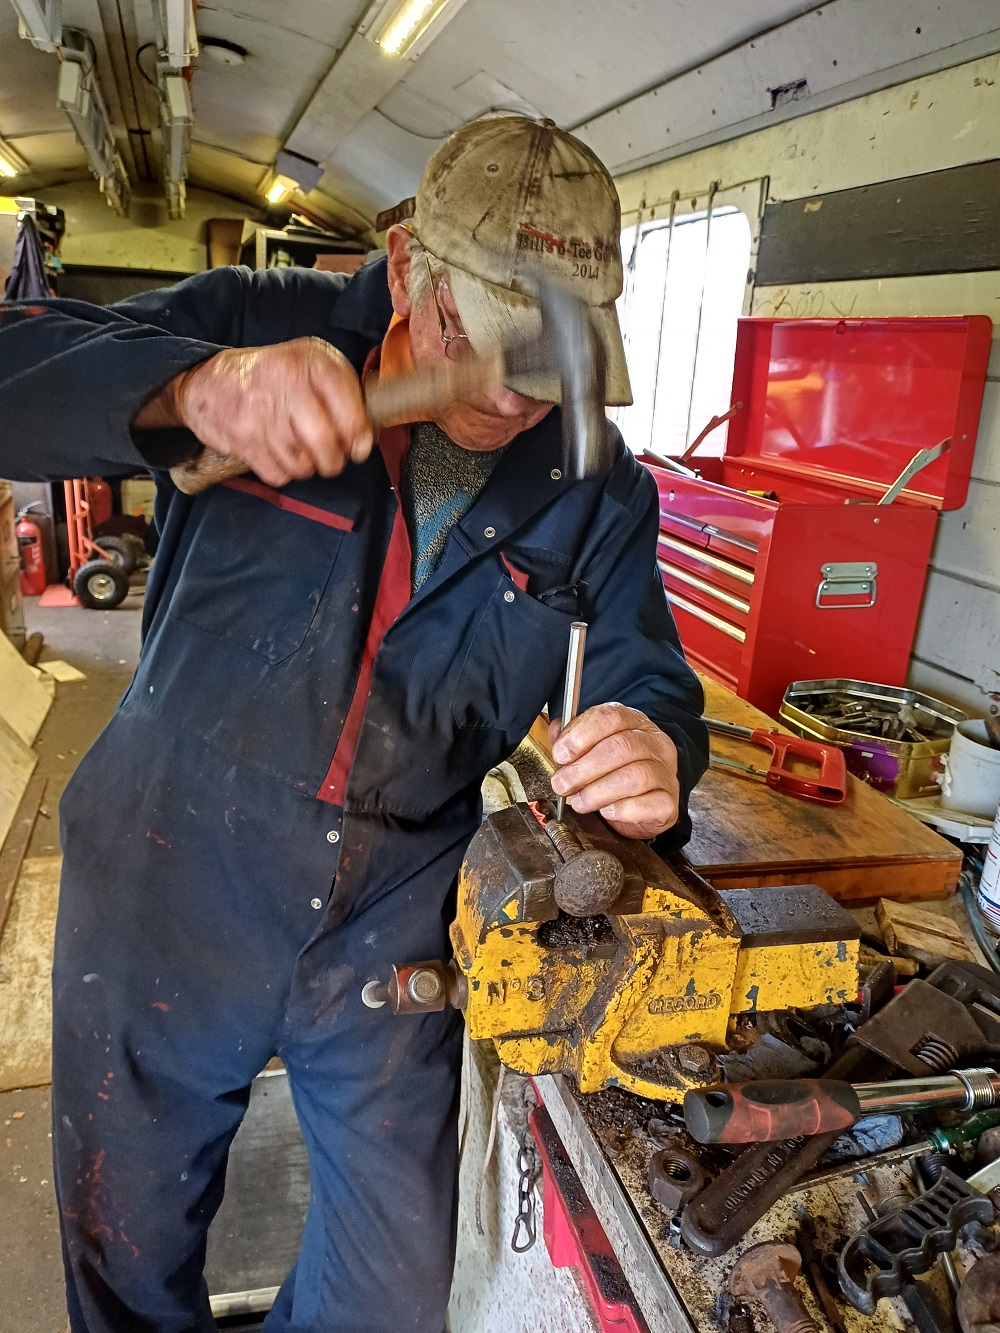
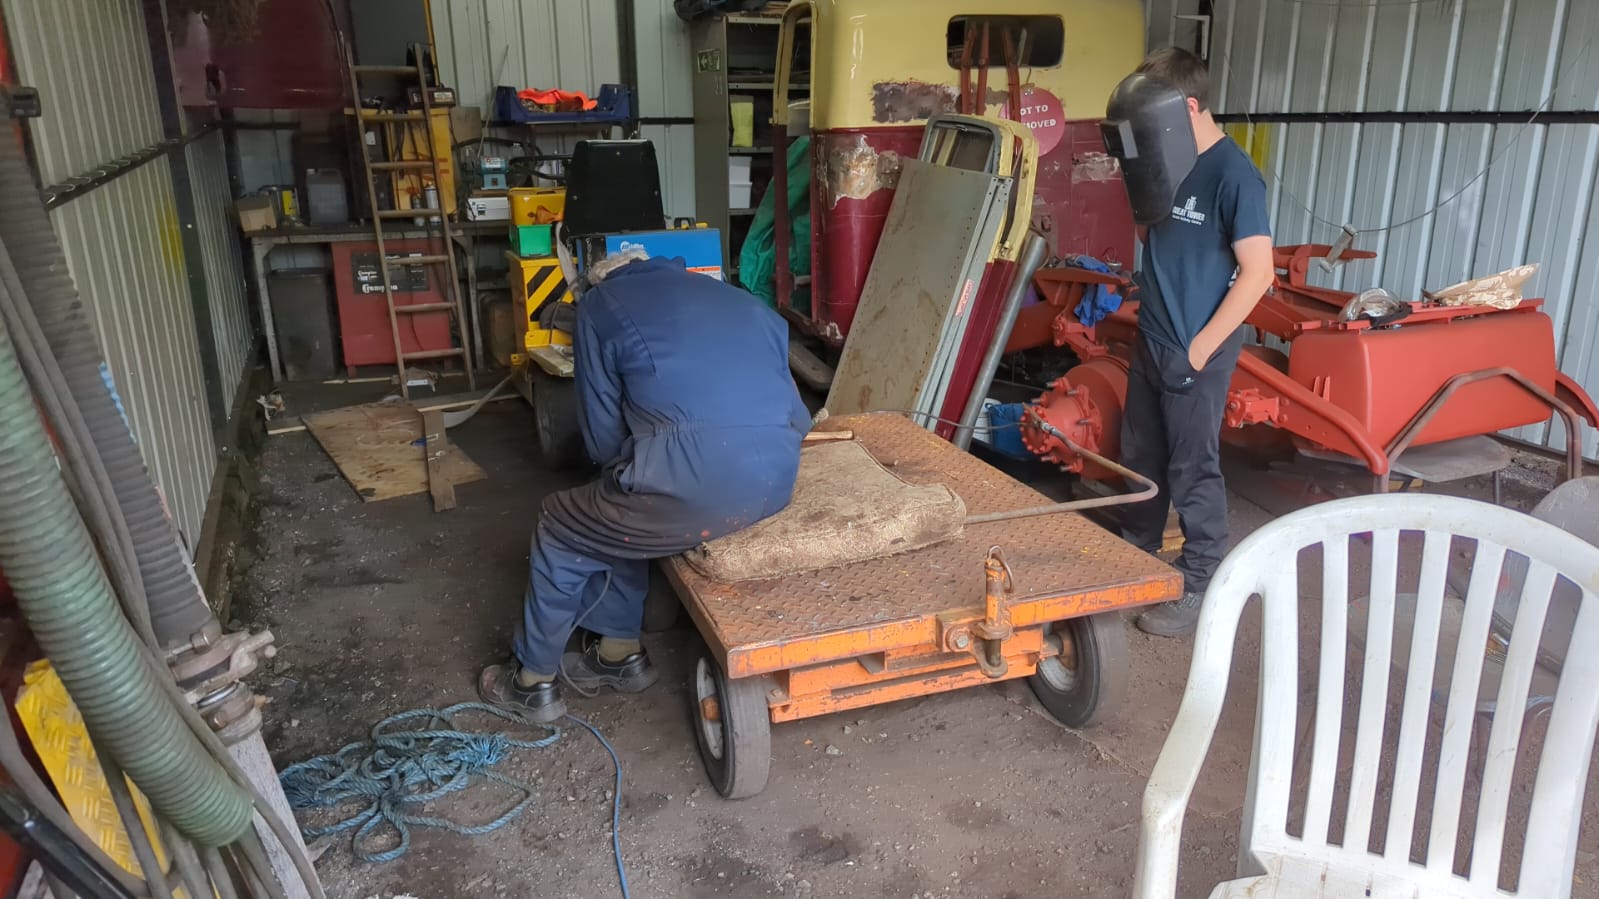
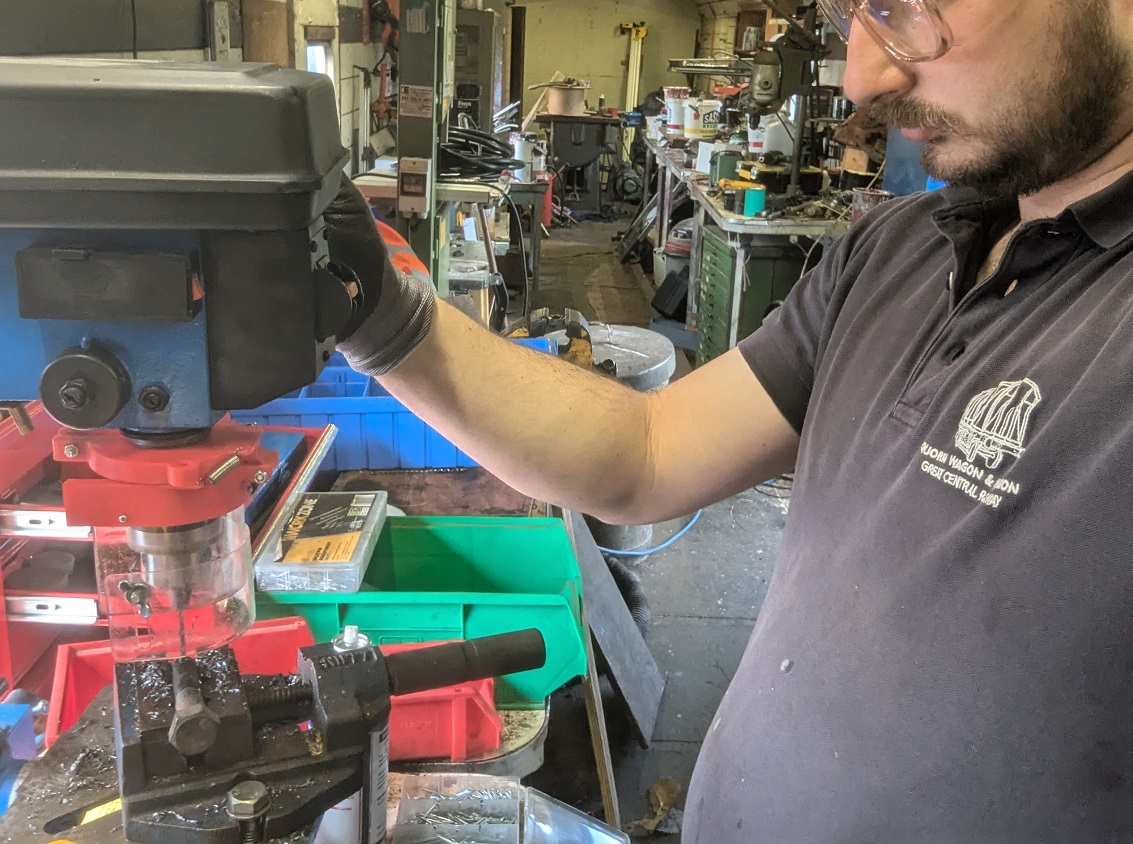
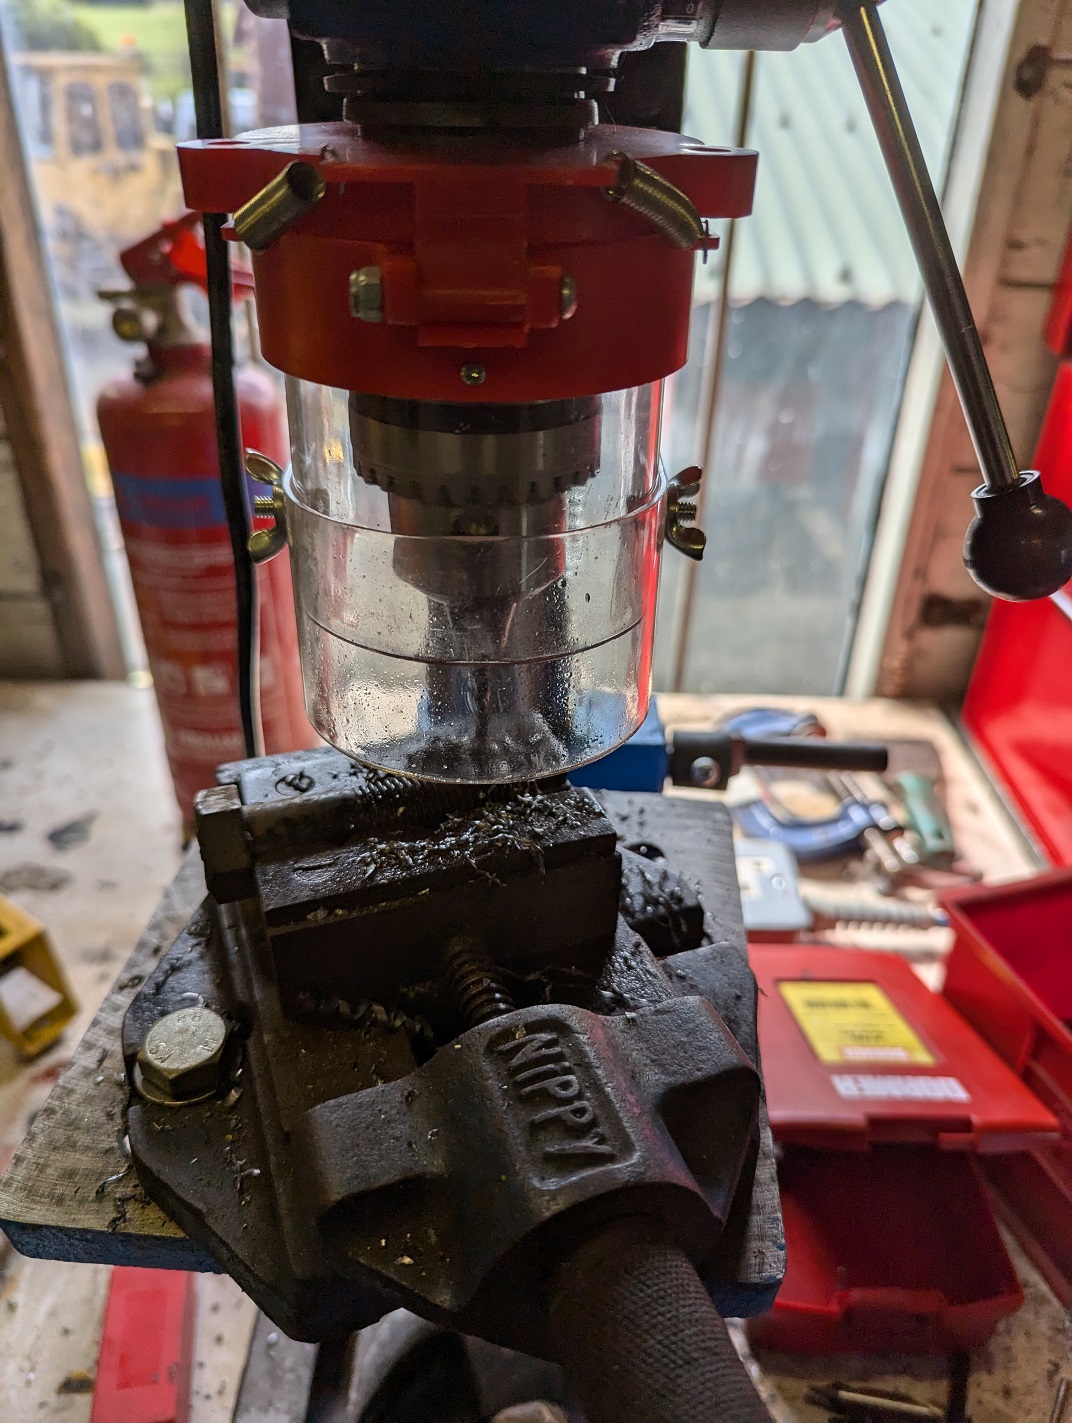
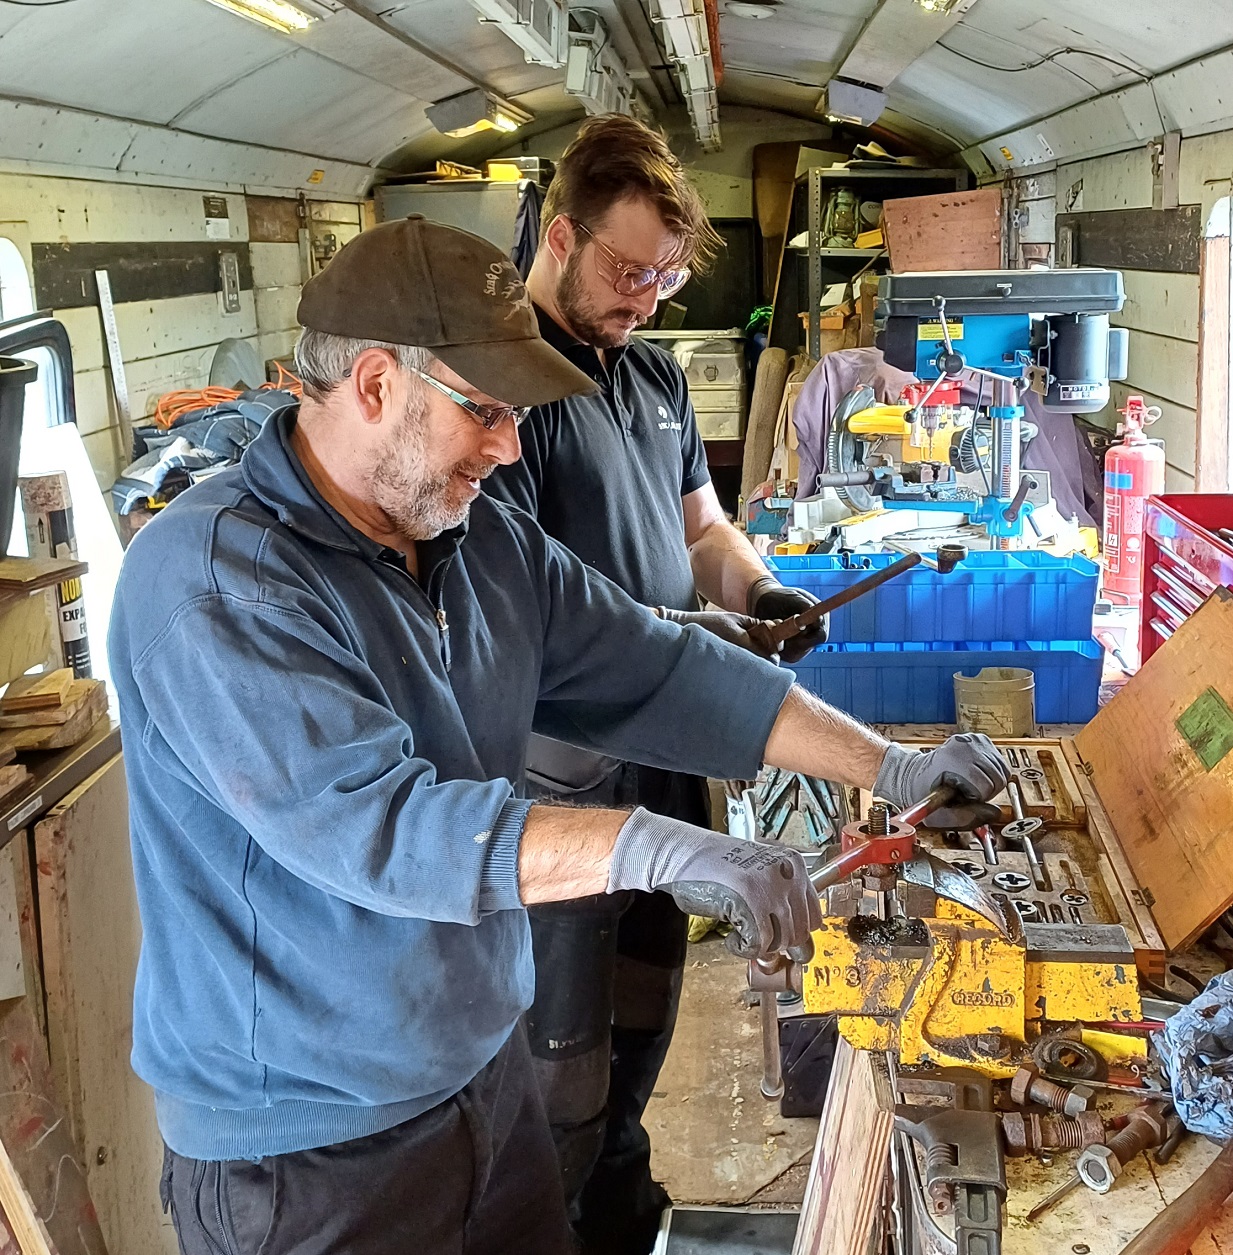
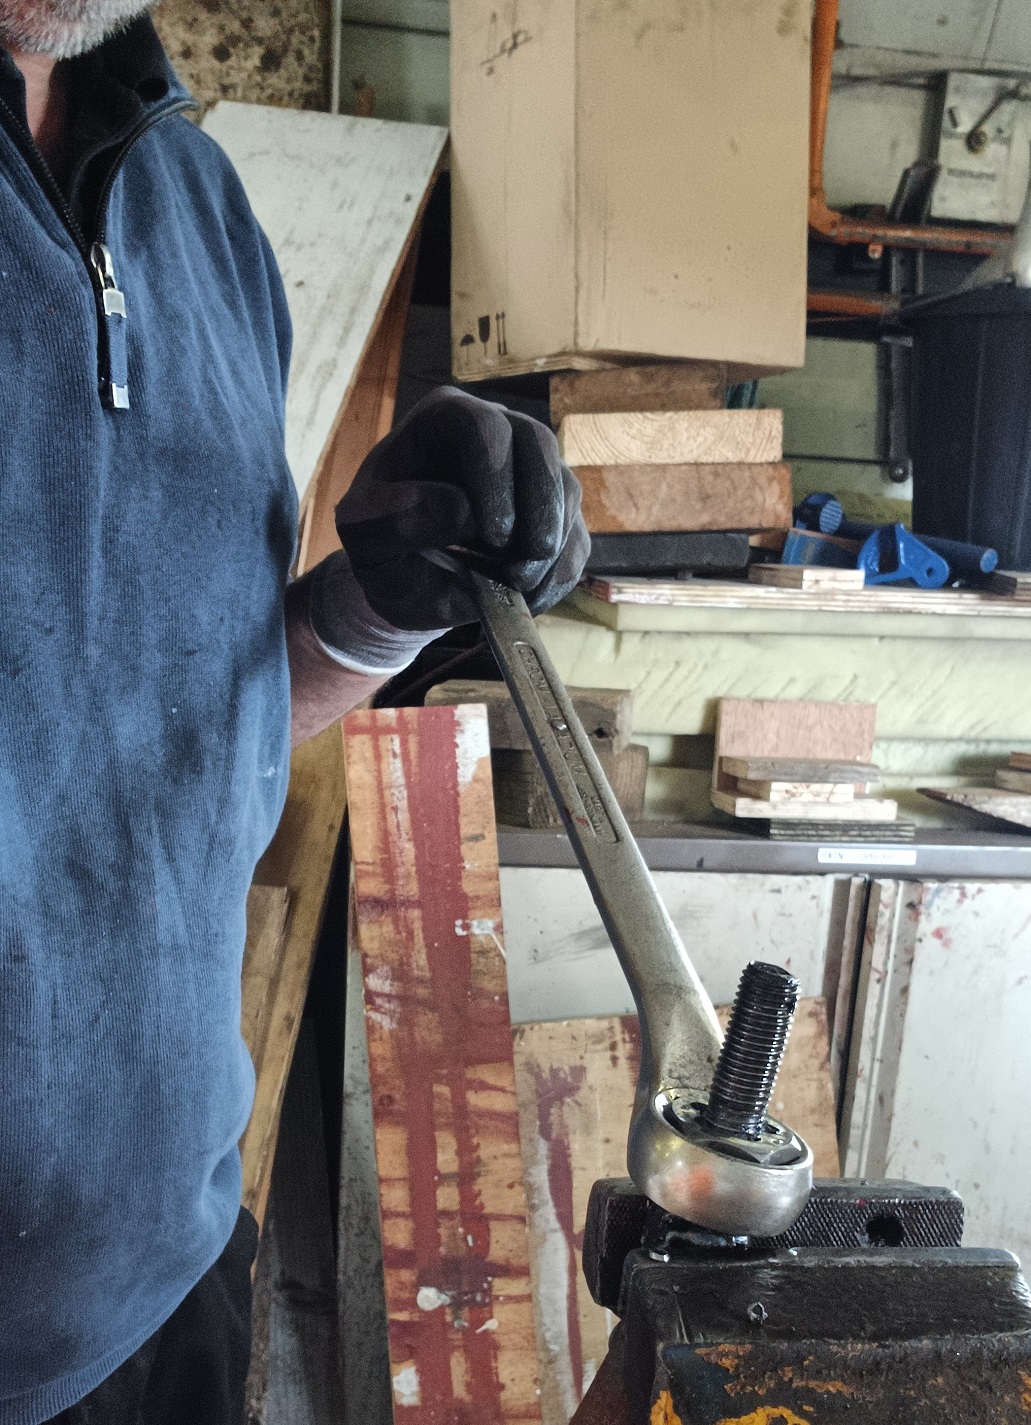
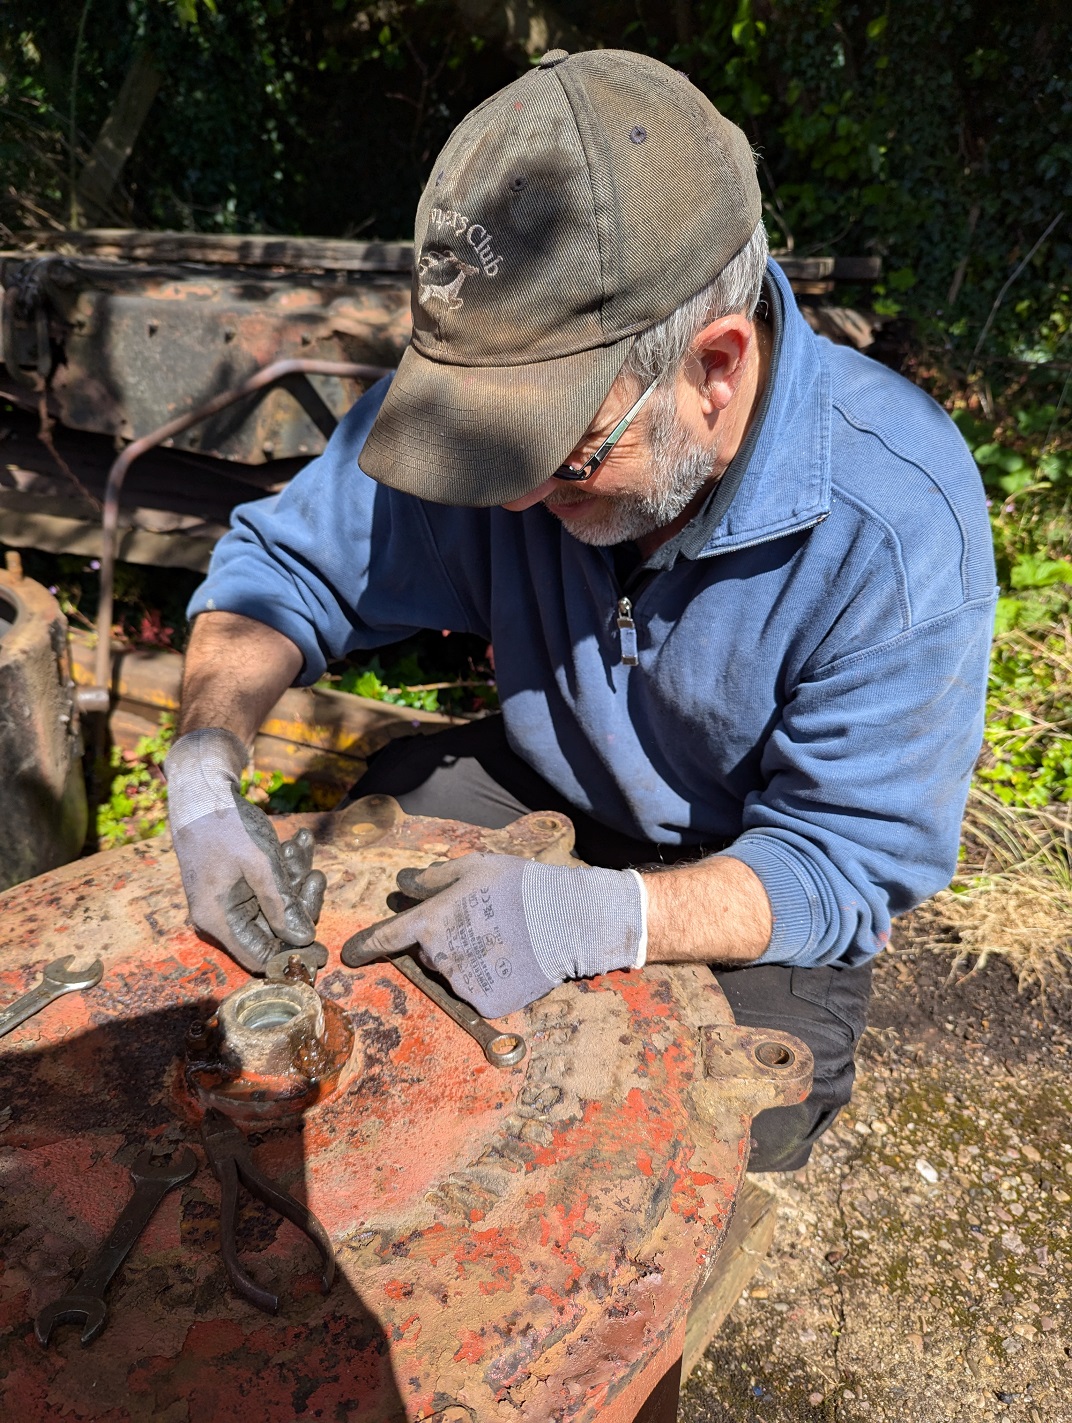
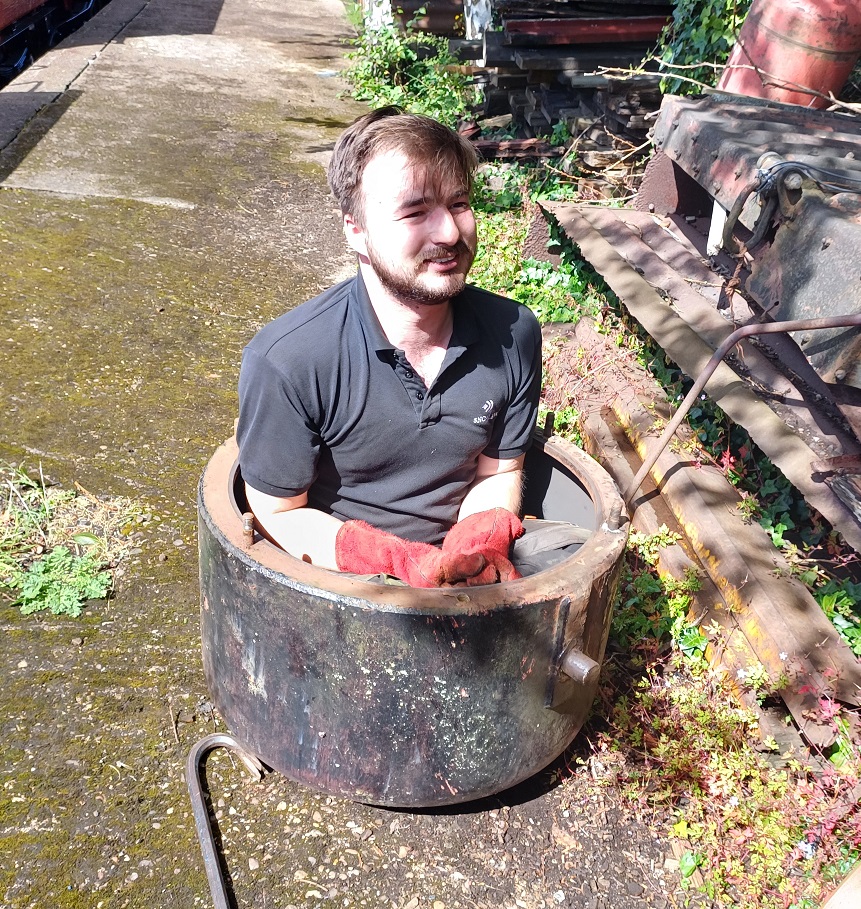
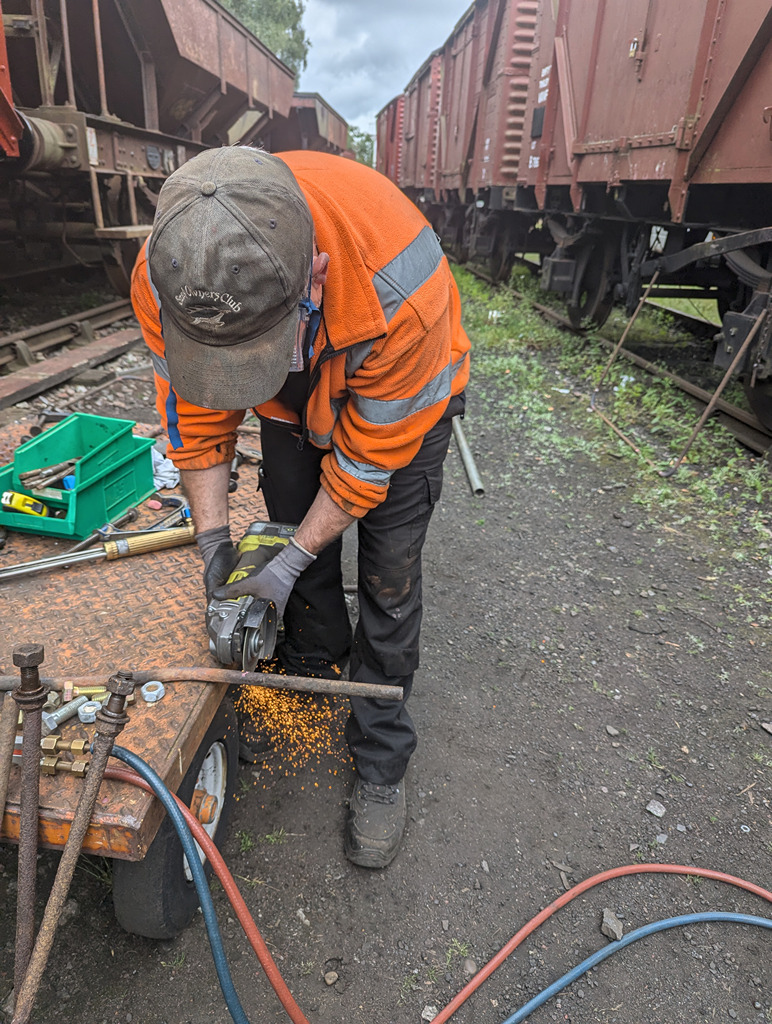
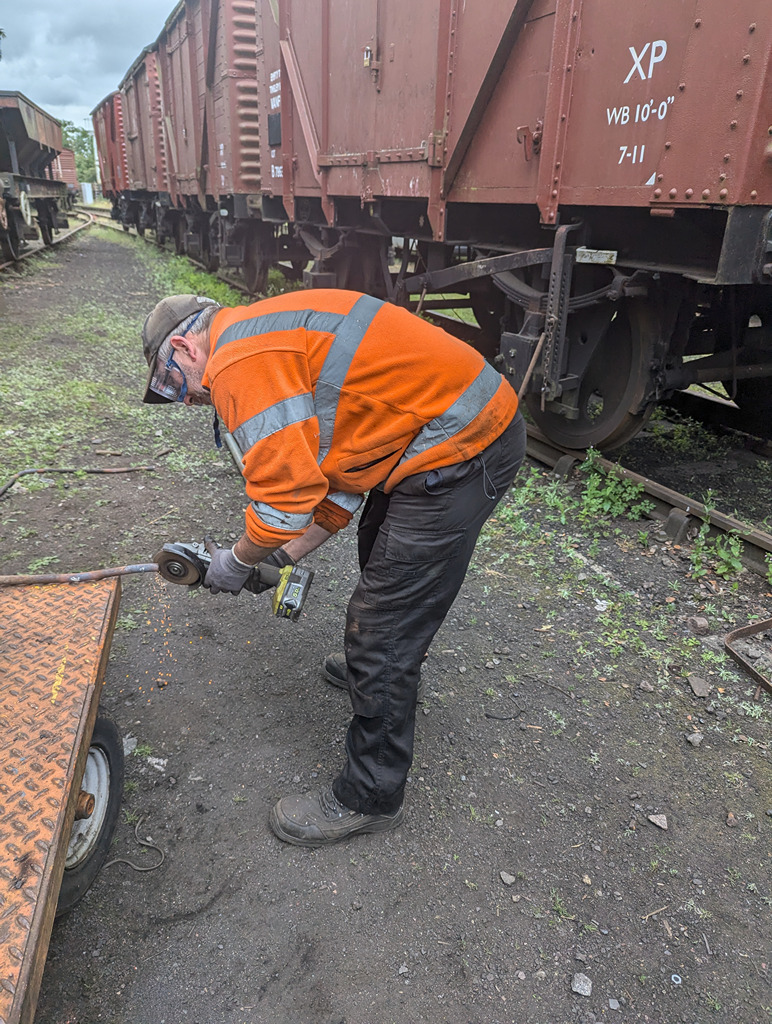
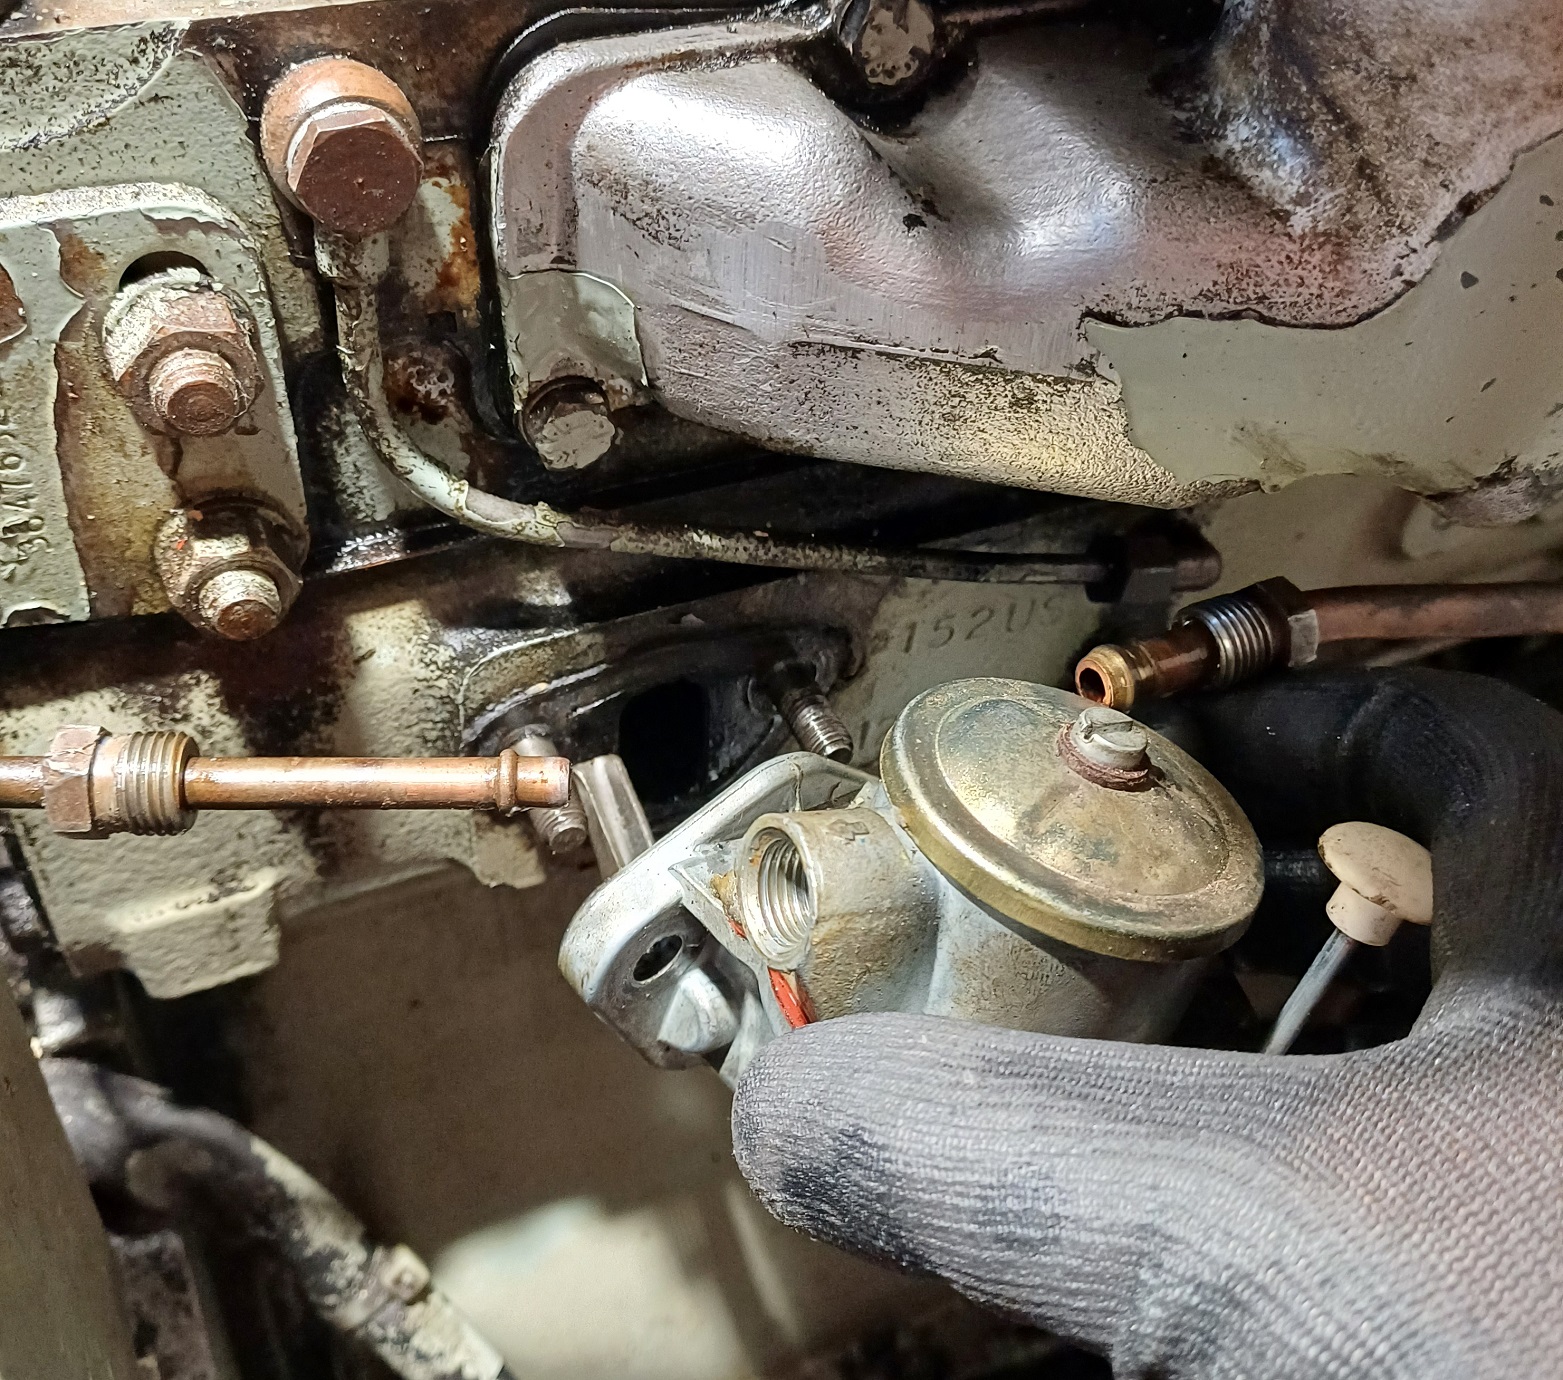
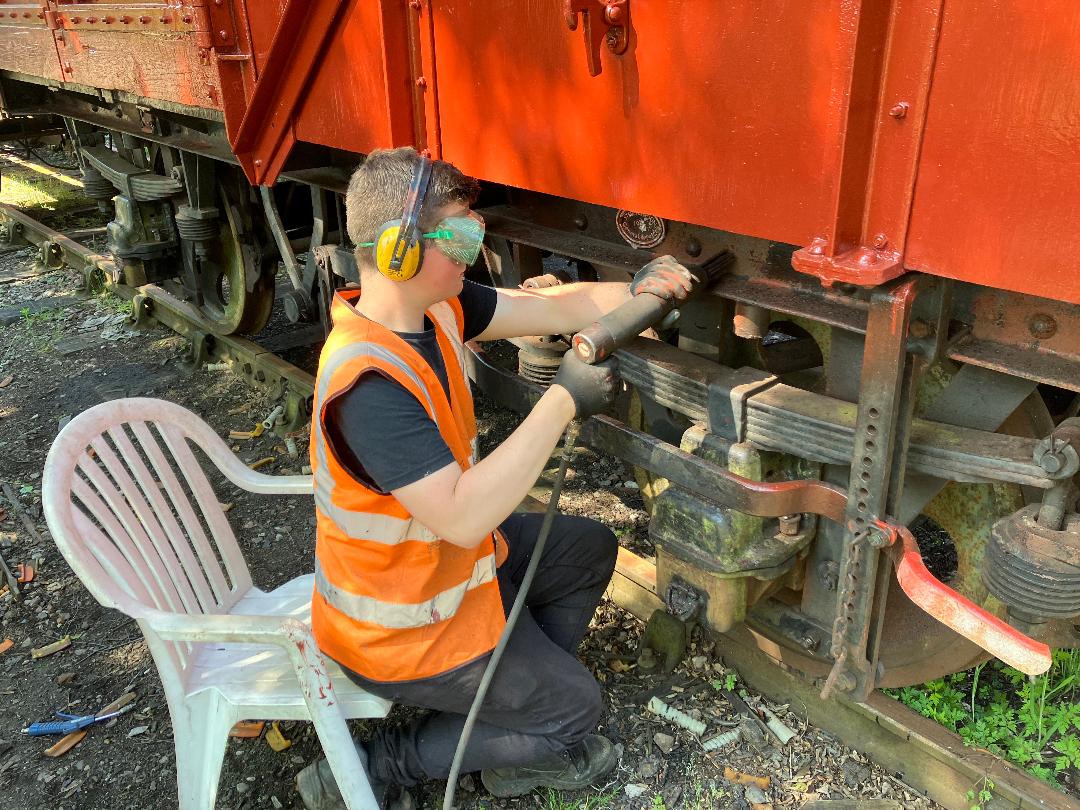
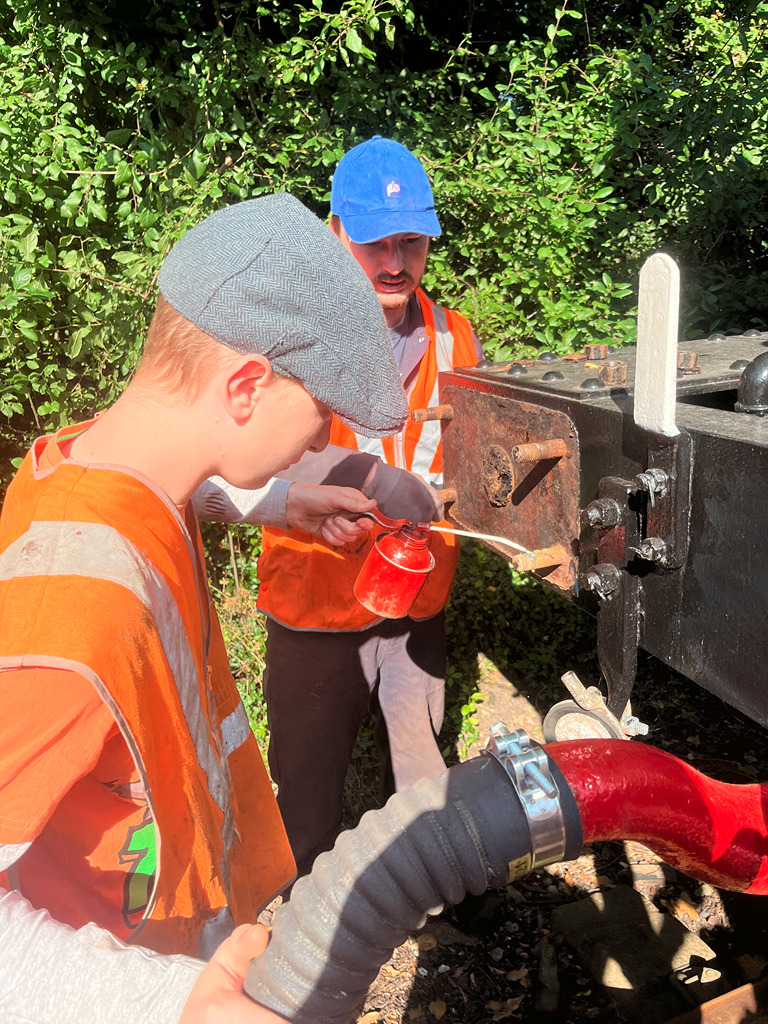
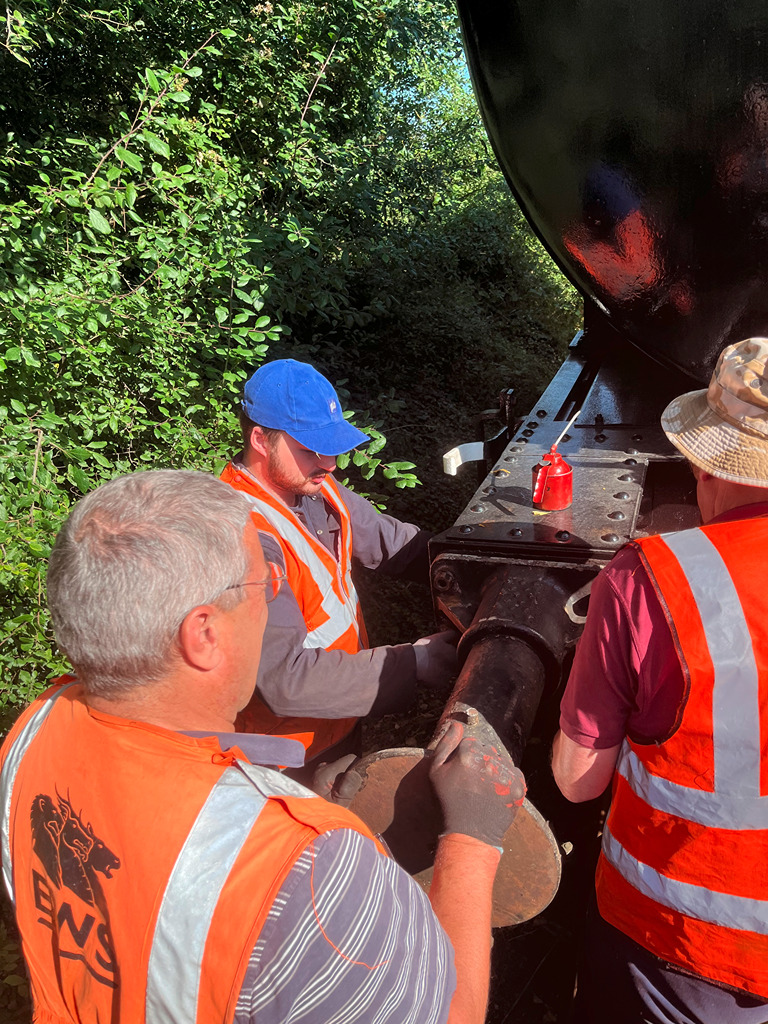
    On Sunday with Mark, Tom, Oliver and Dan, we started off with exchanging the buffers on the tanks so they are fit to run at Railways At Work. All smooth sailing however one bolt got damaged so had to be re-tapped before the buffer was fitted.

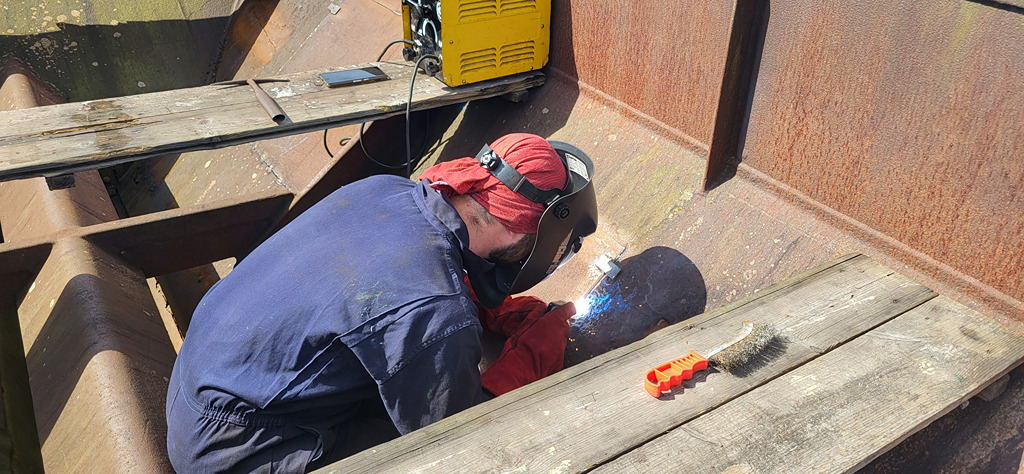
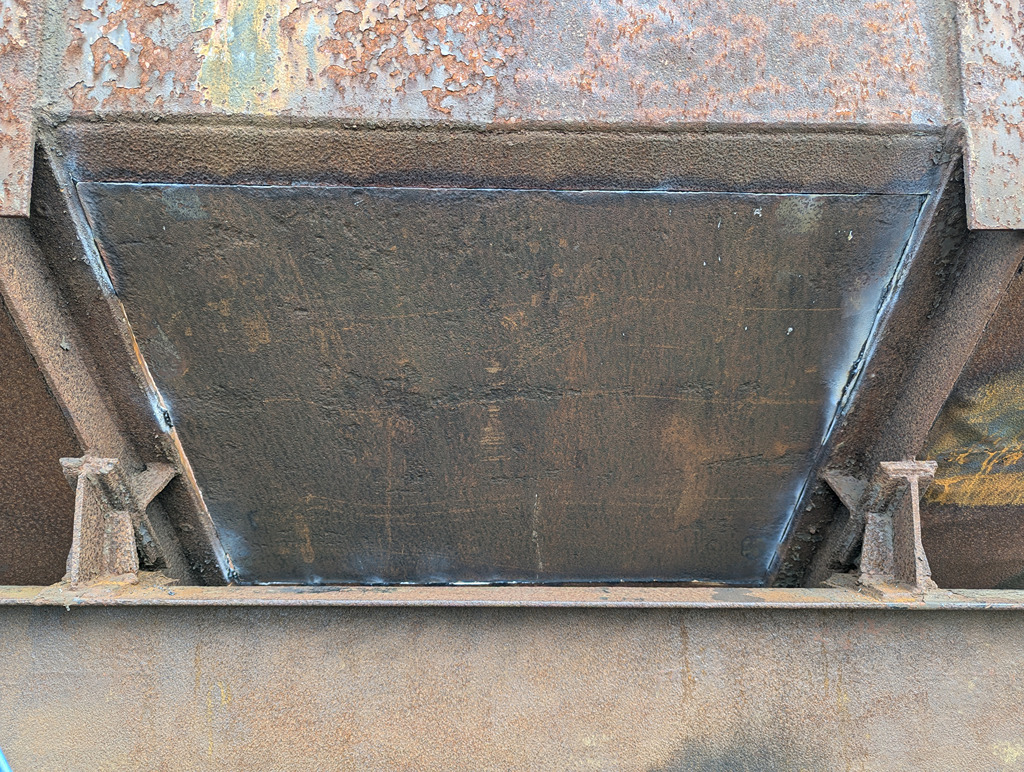
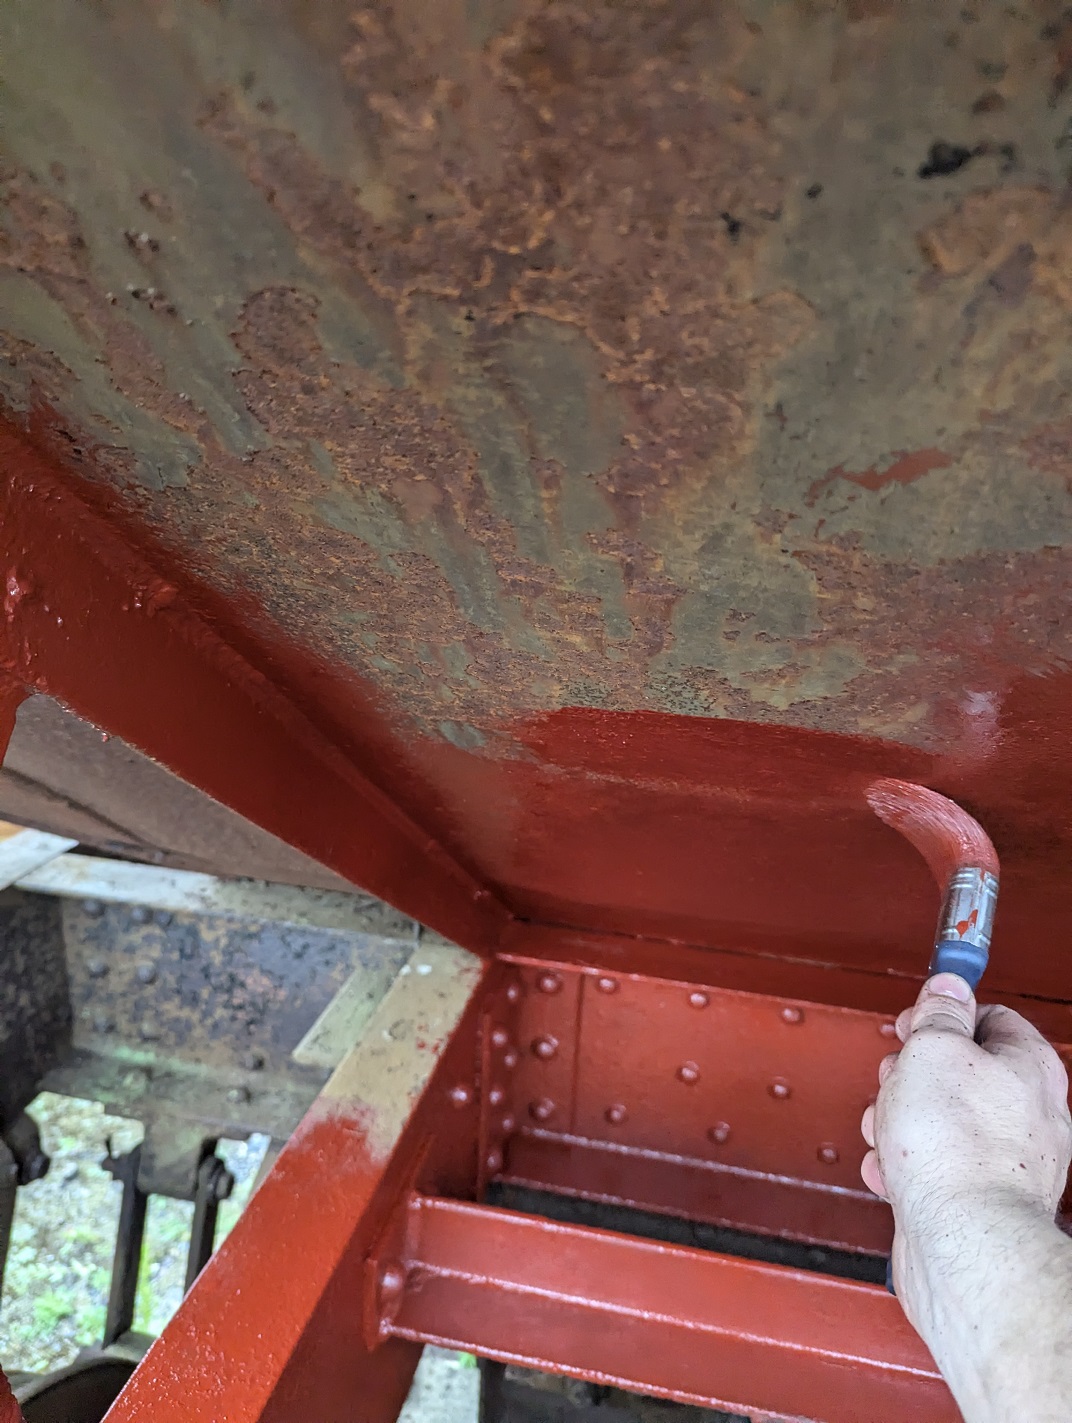
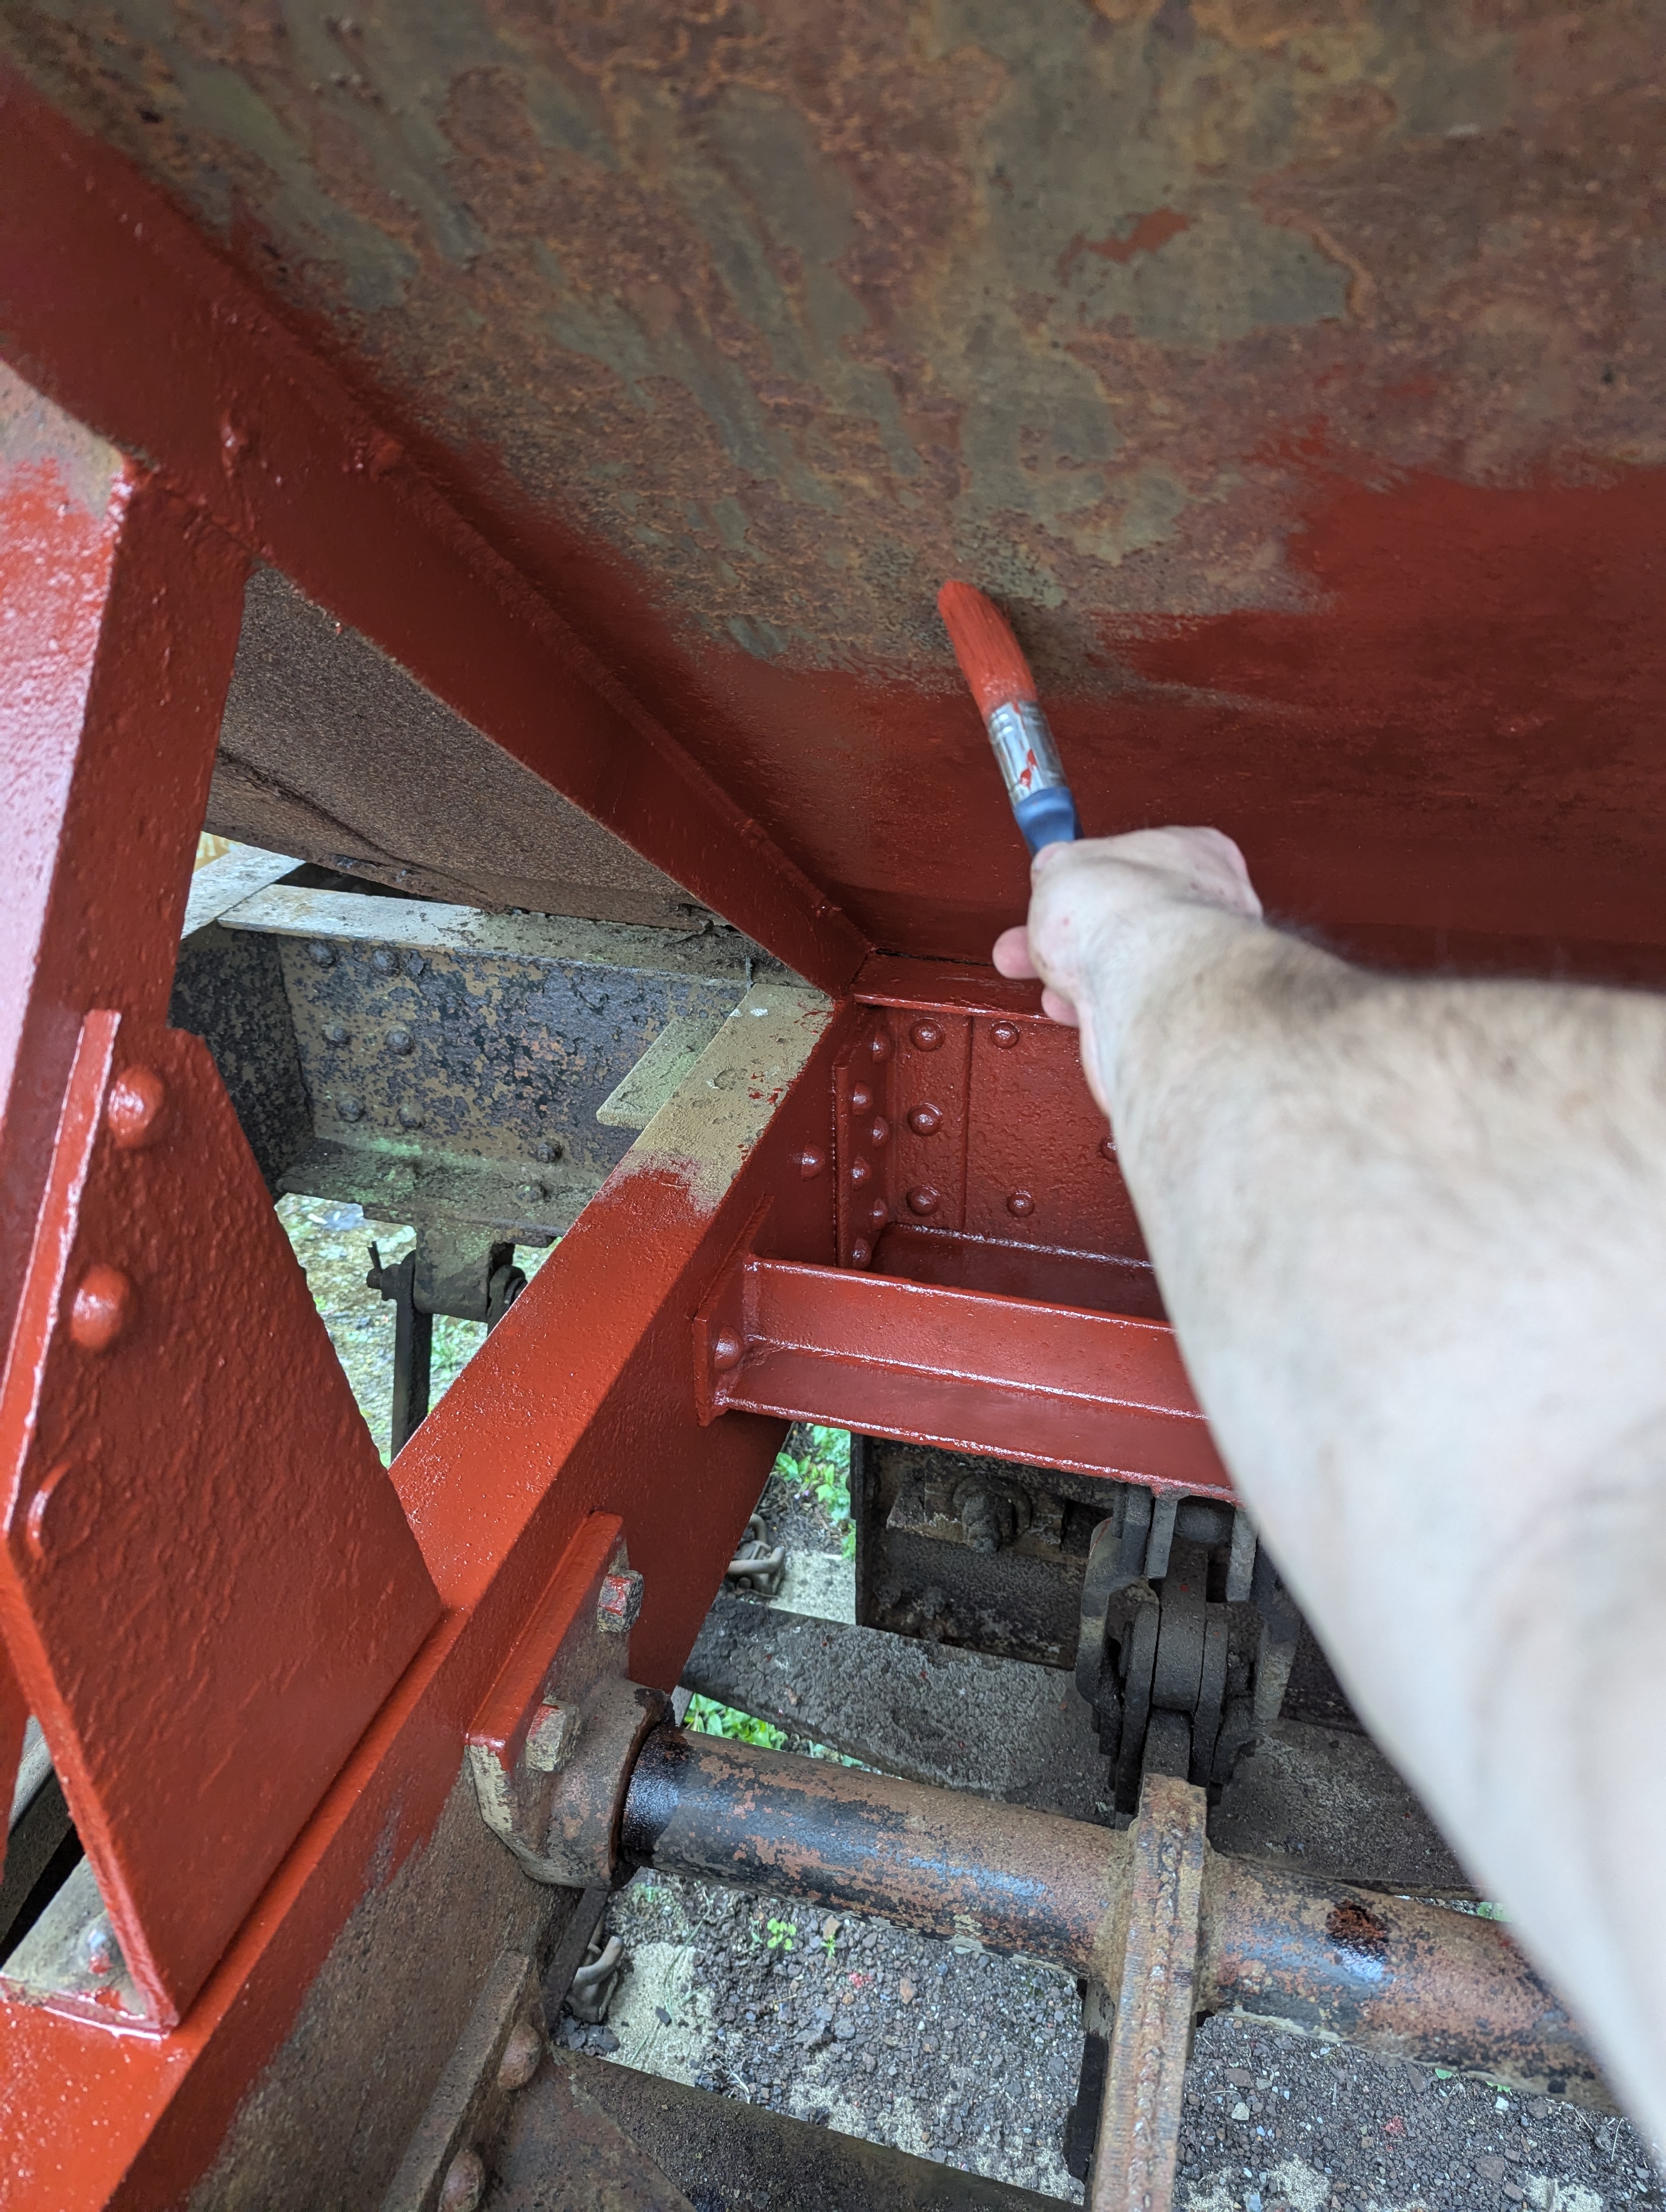
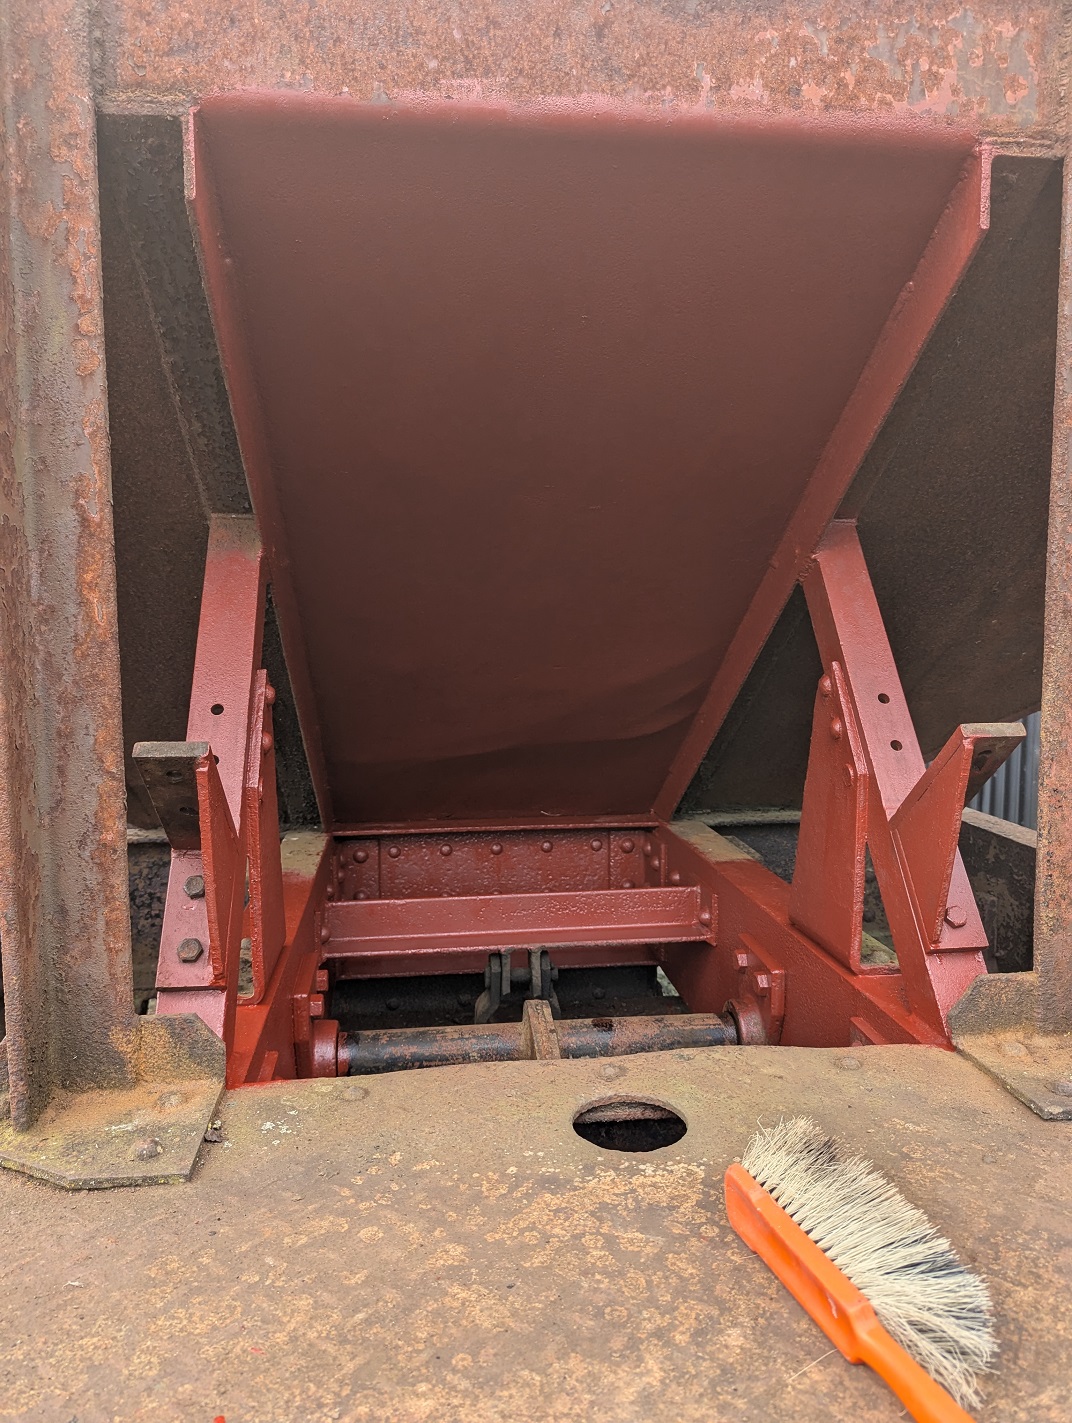
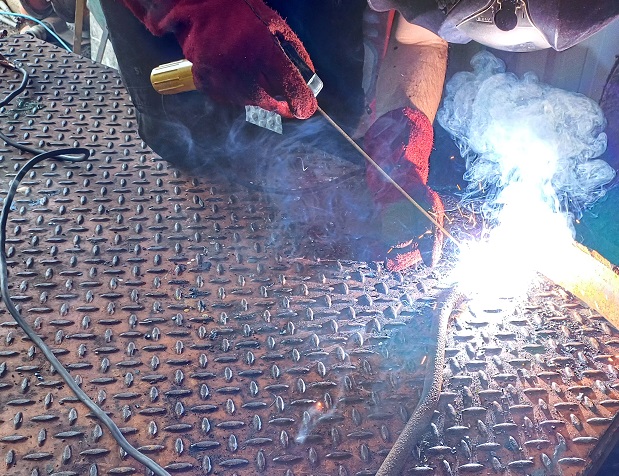
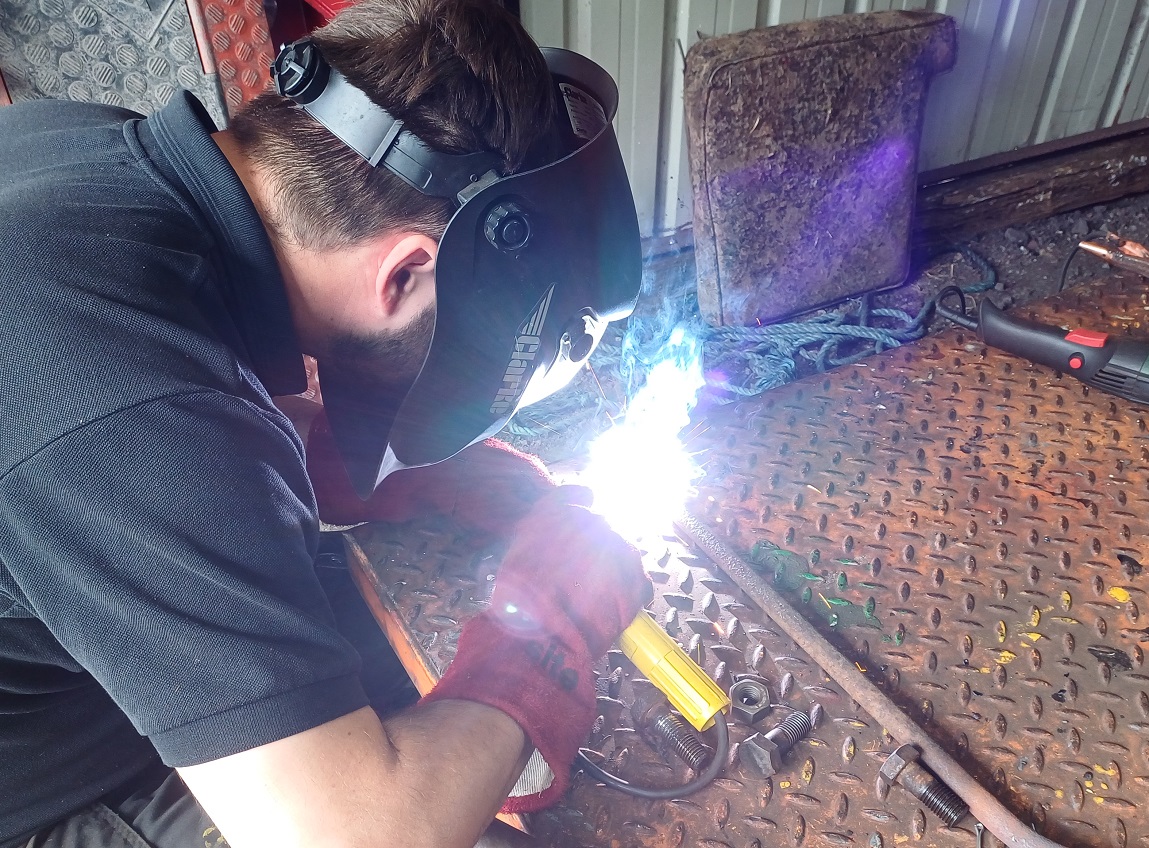
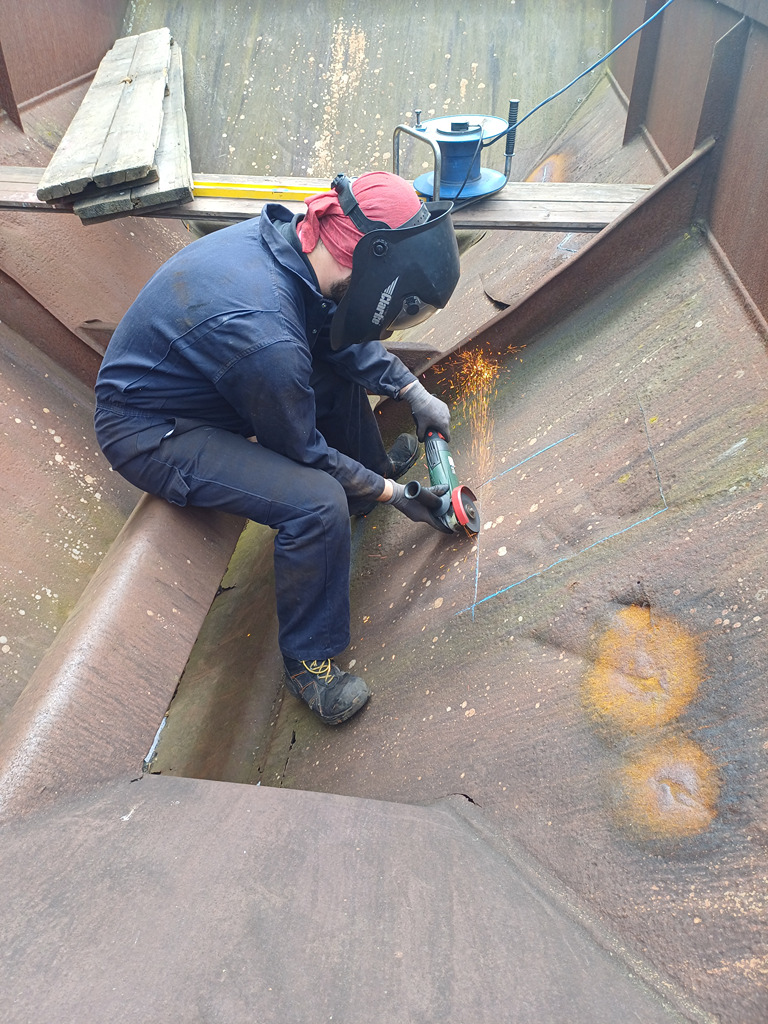
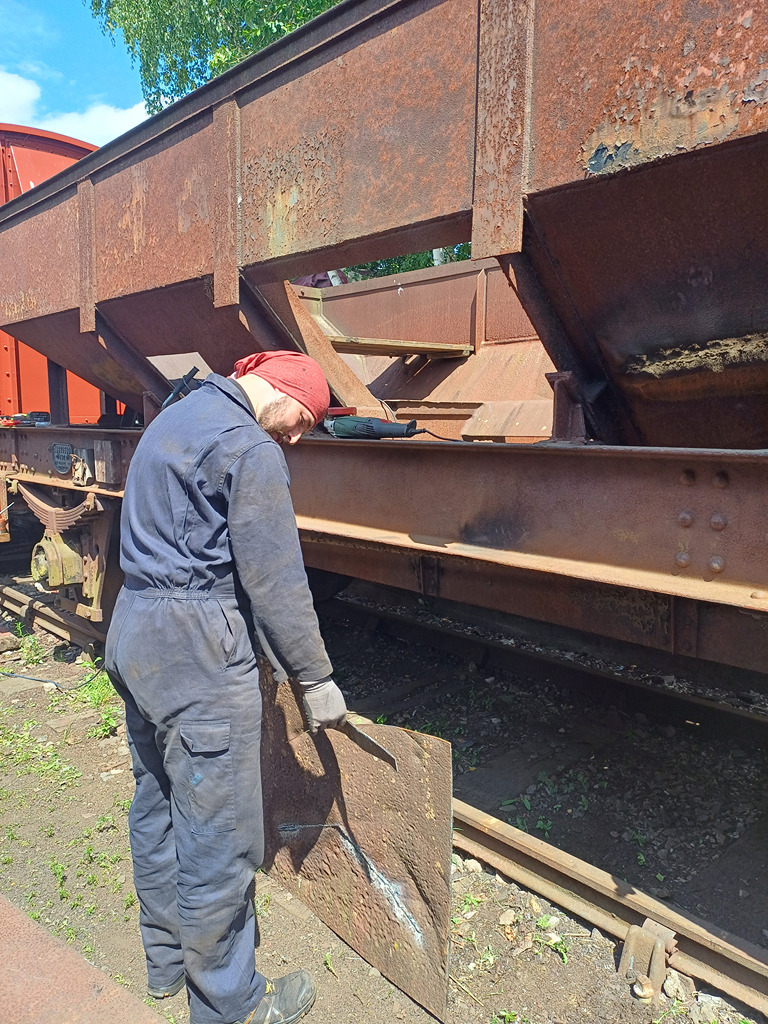
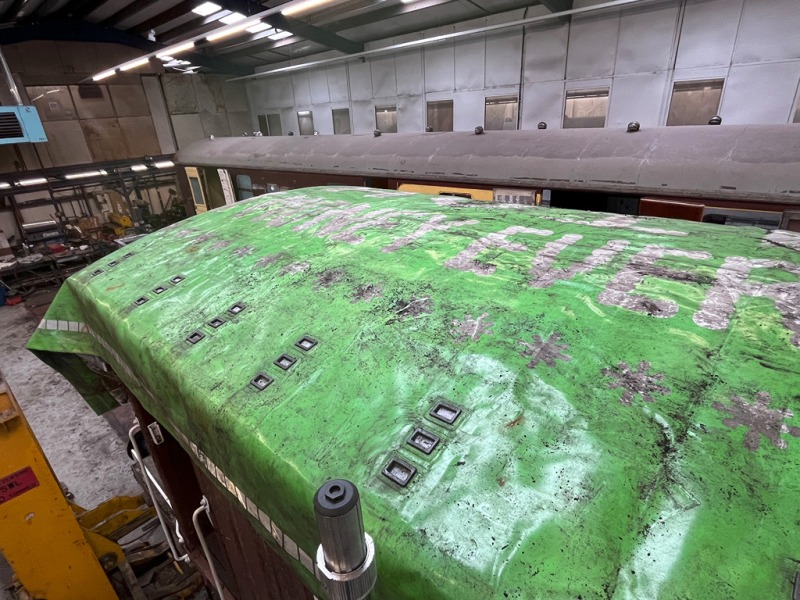
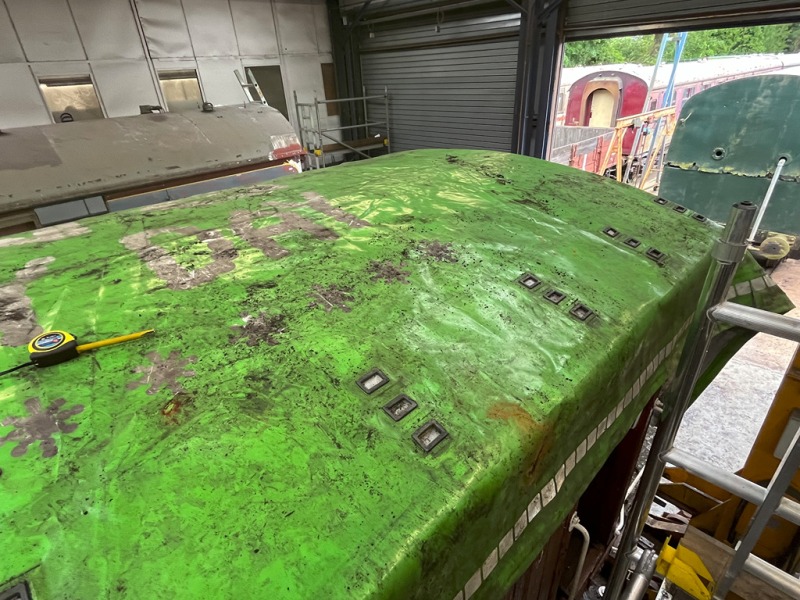
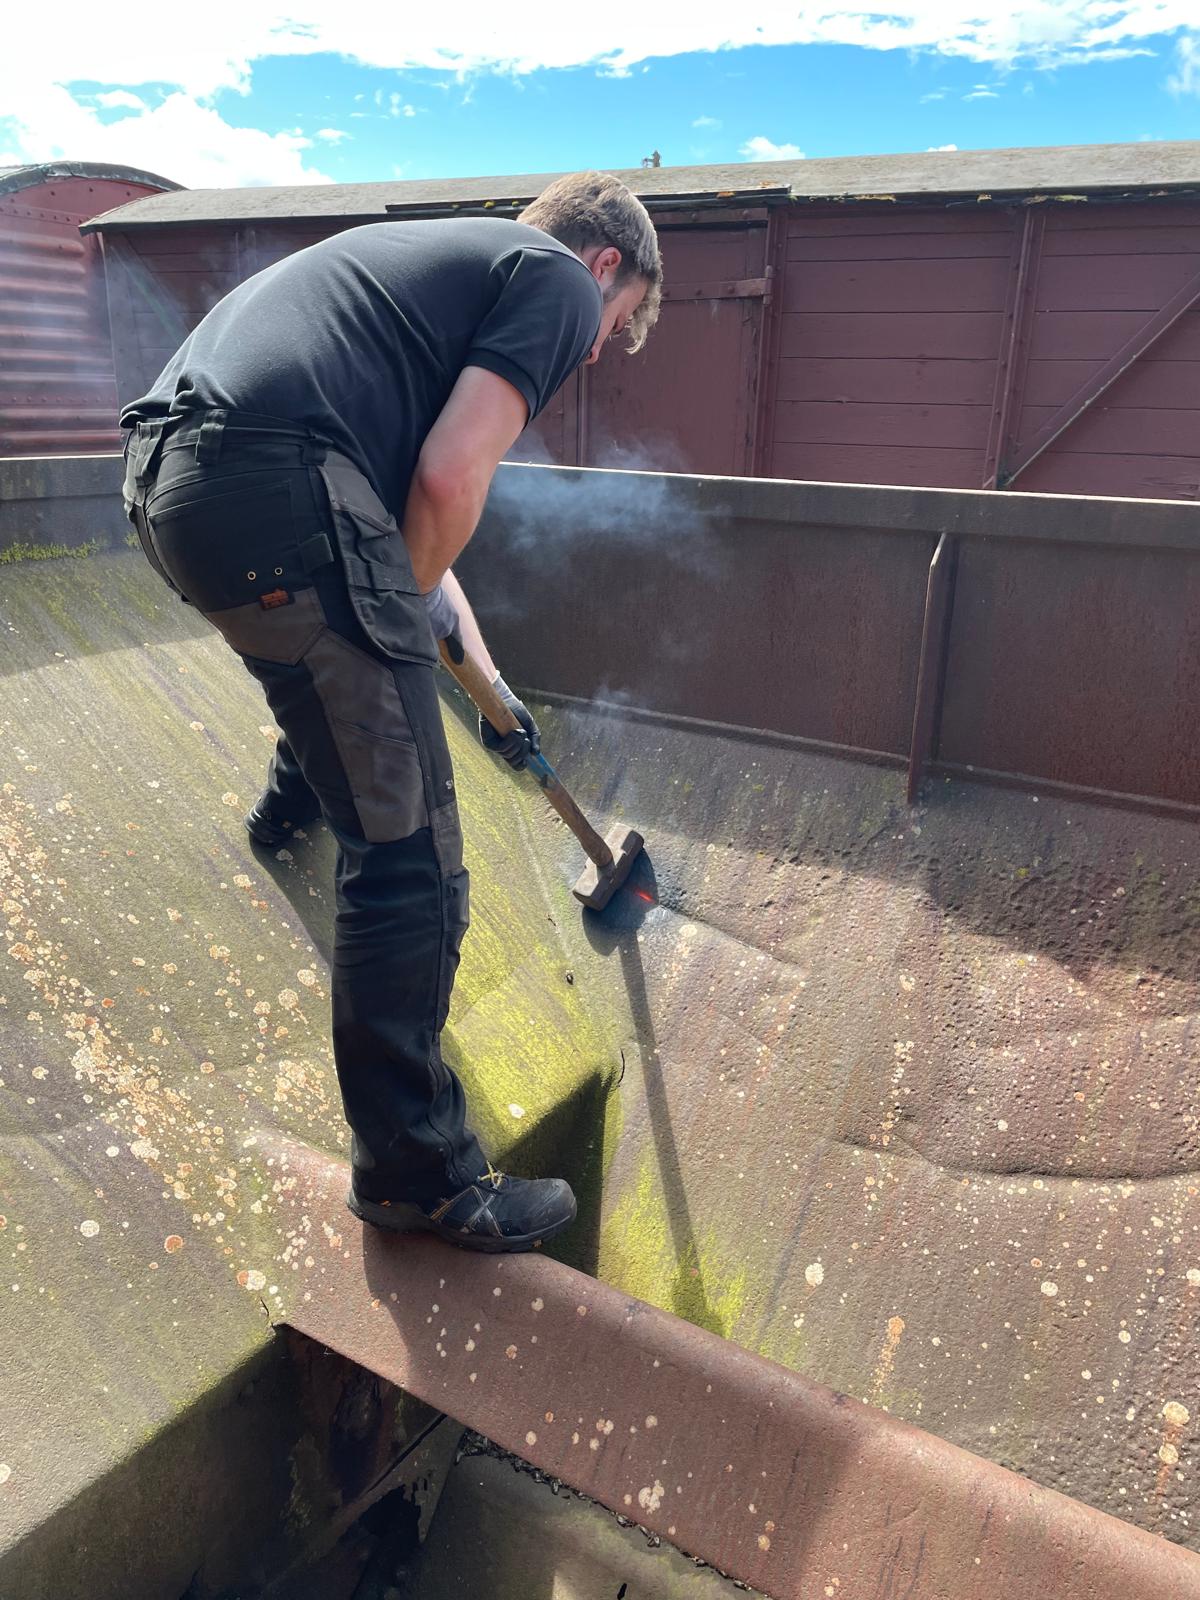
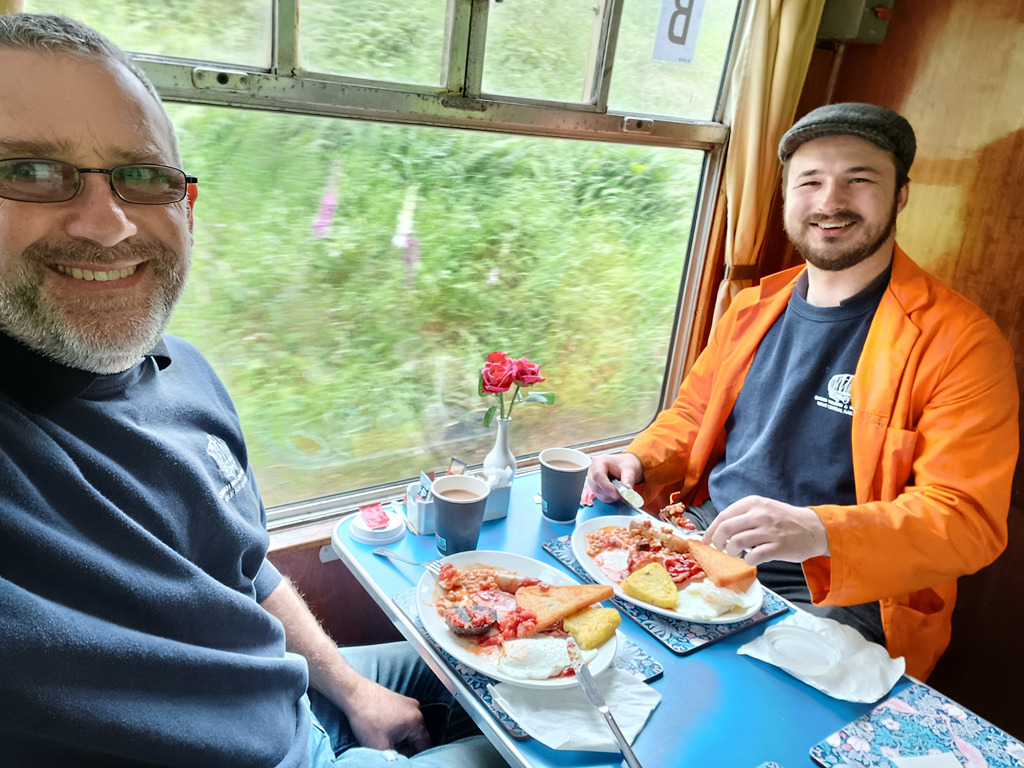
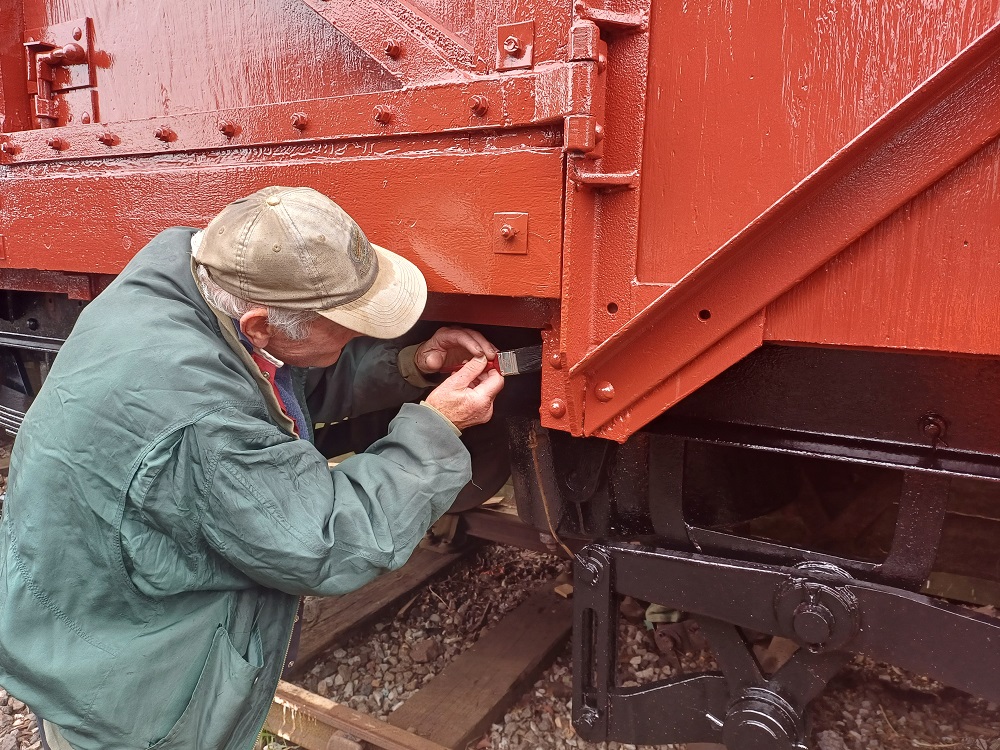
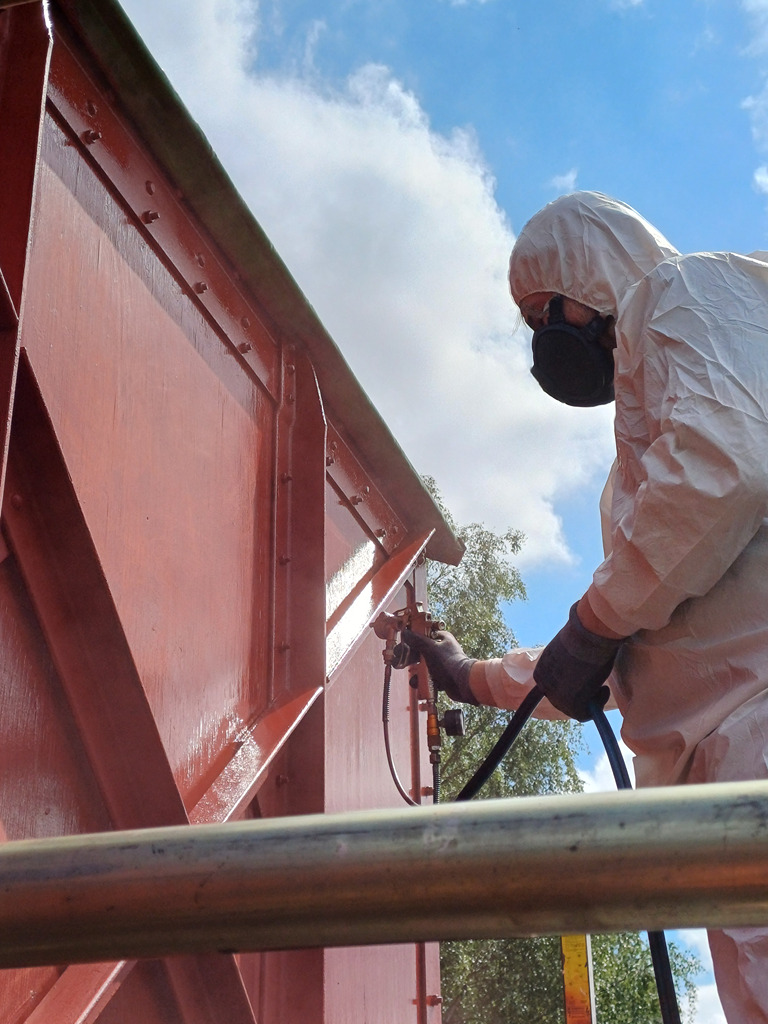
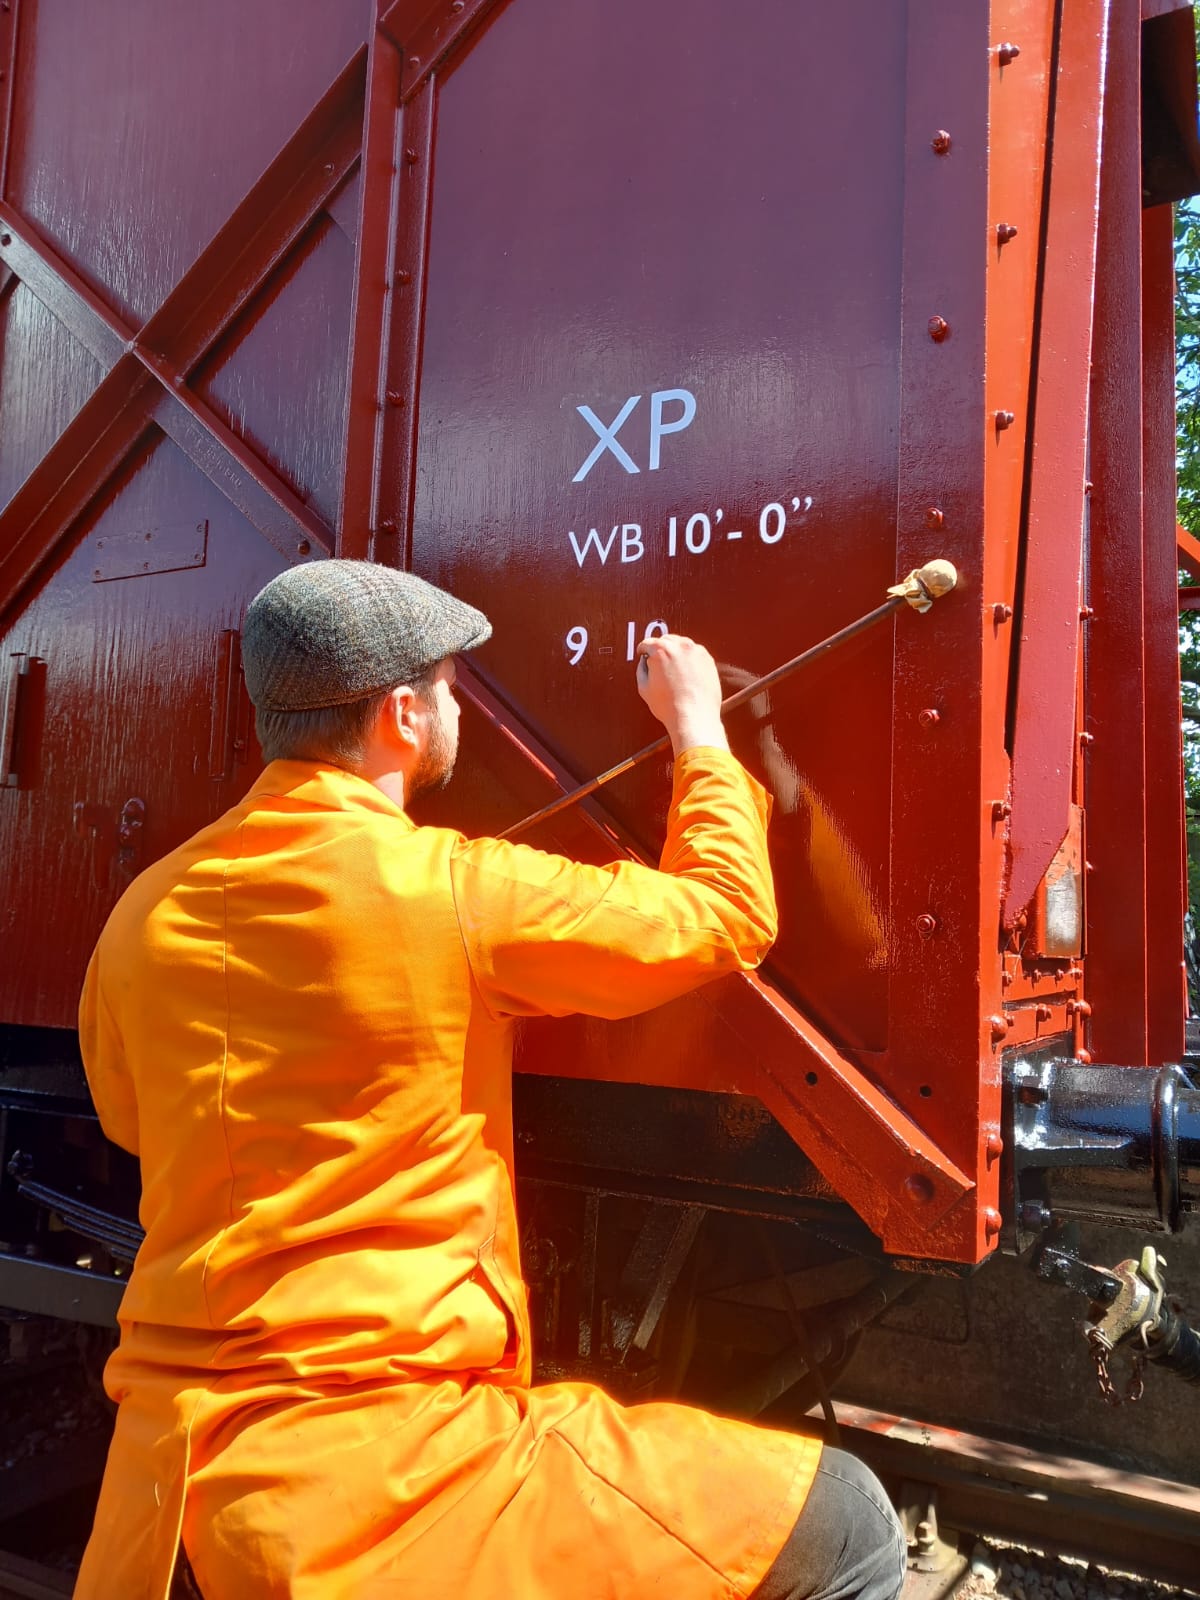
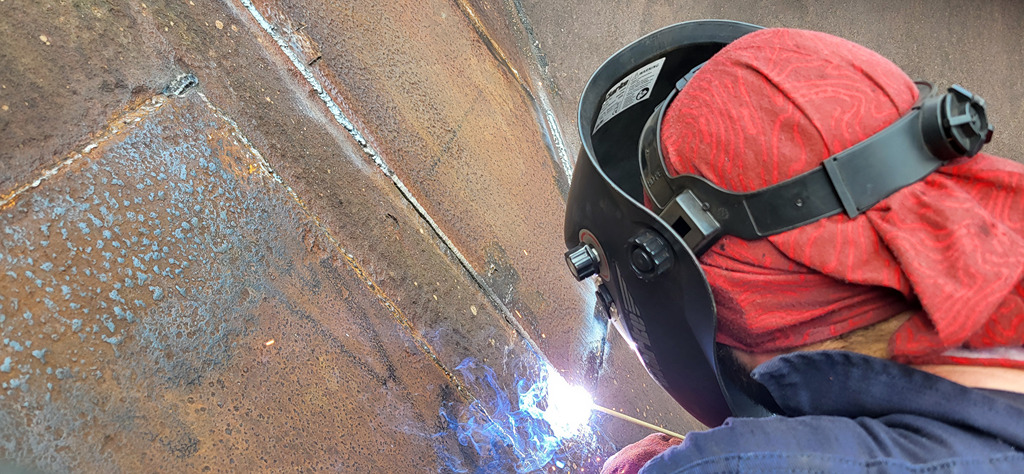
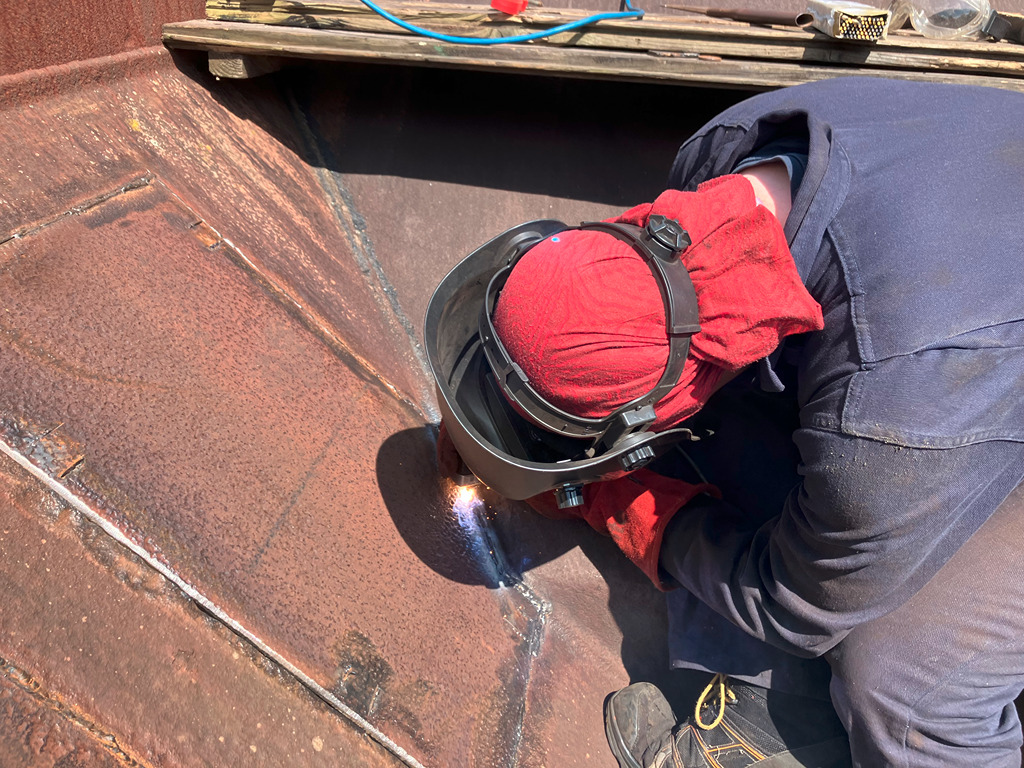
    Once this once done, I got back on with the welding on the Catfish. The plate was welded around its perimeter and into the corner of the hopper. After a fantastic barbeque lunch (and time to let the welder cool down) I welded the last twelve inches on the side of the plate and Dan opened the door and swept out the bottom of the hopper. The access boards were removed now that the welding is finished on the inside of the hopper. Just the outside of the hopper to go!

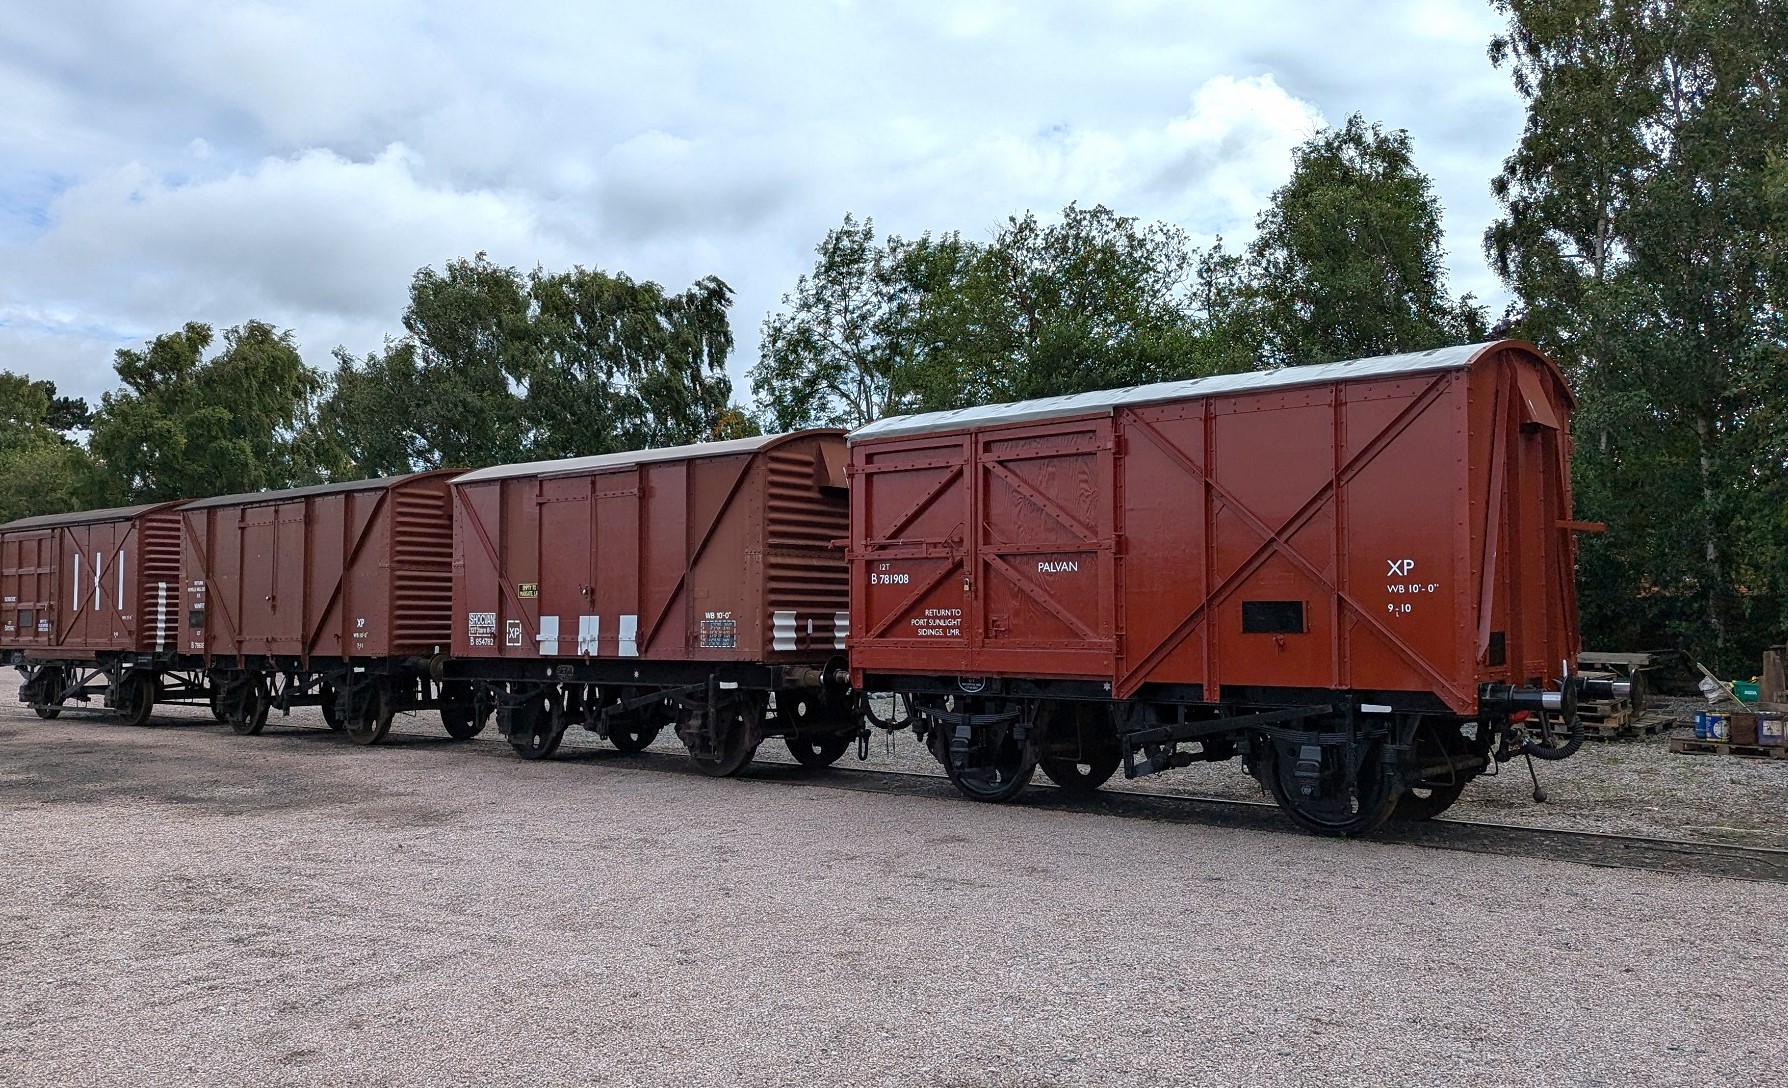
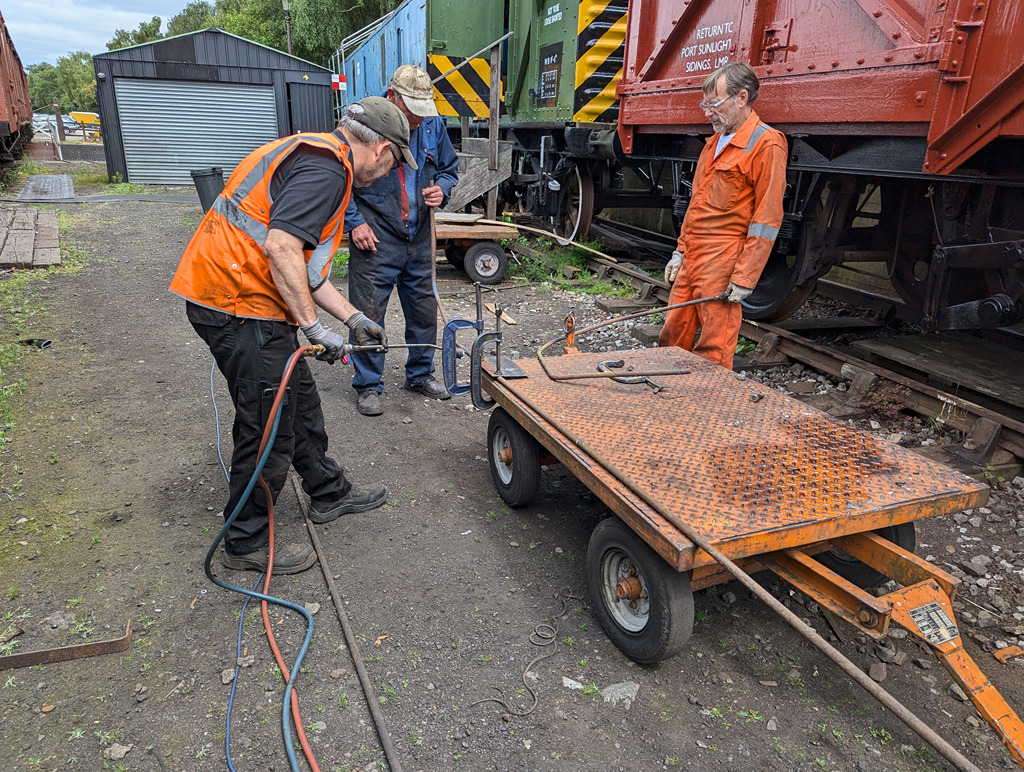
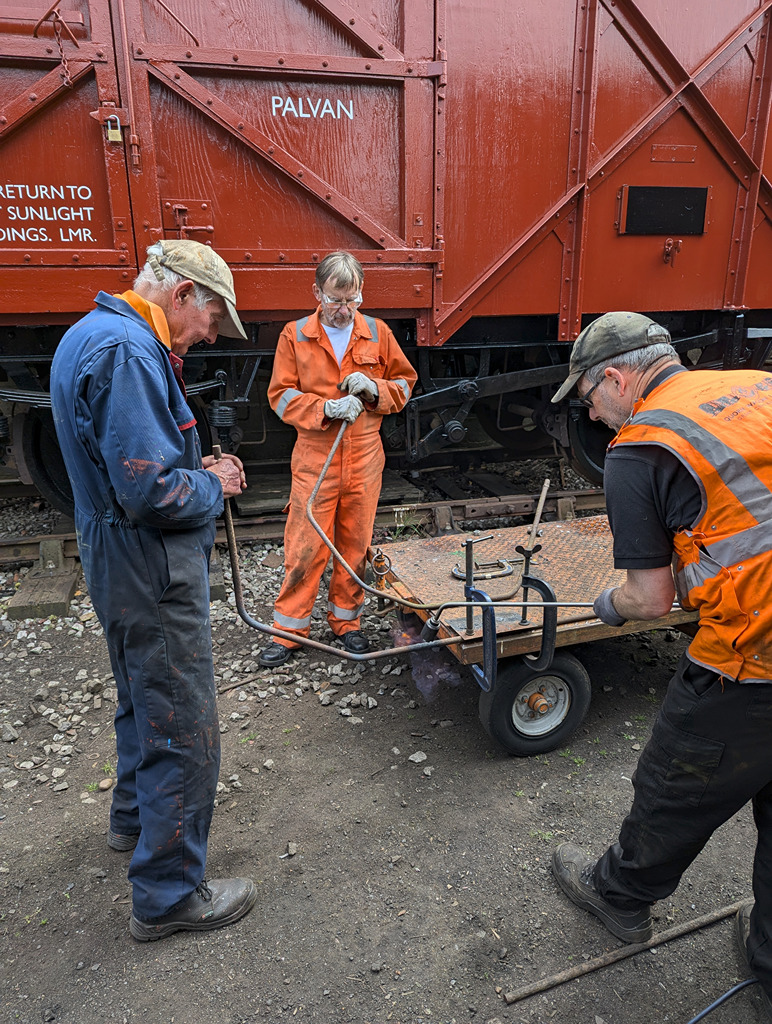
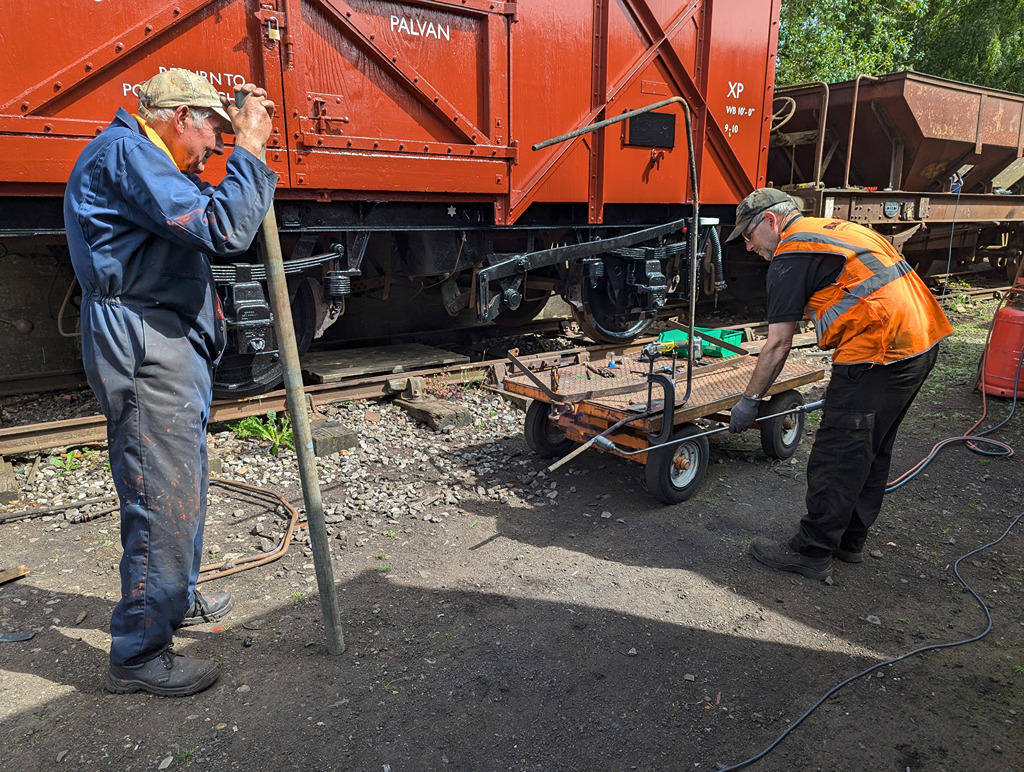
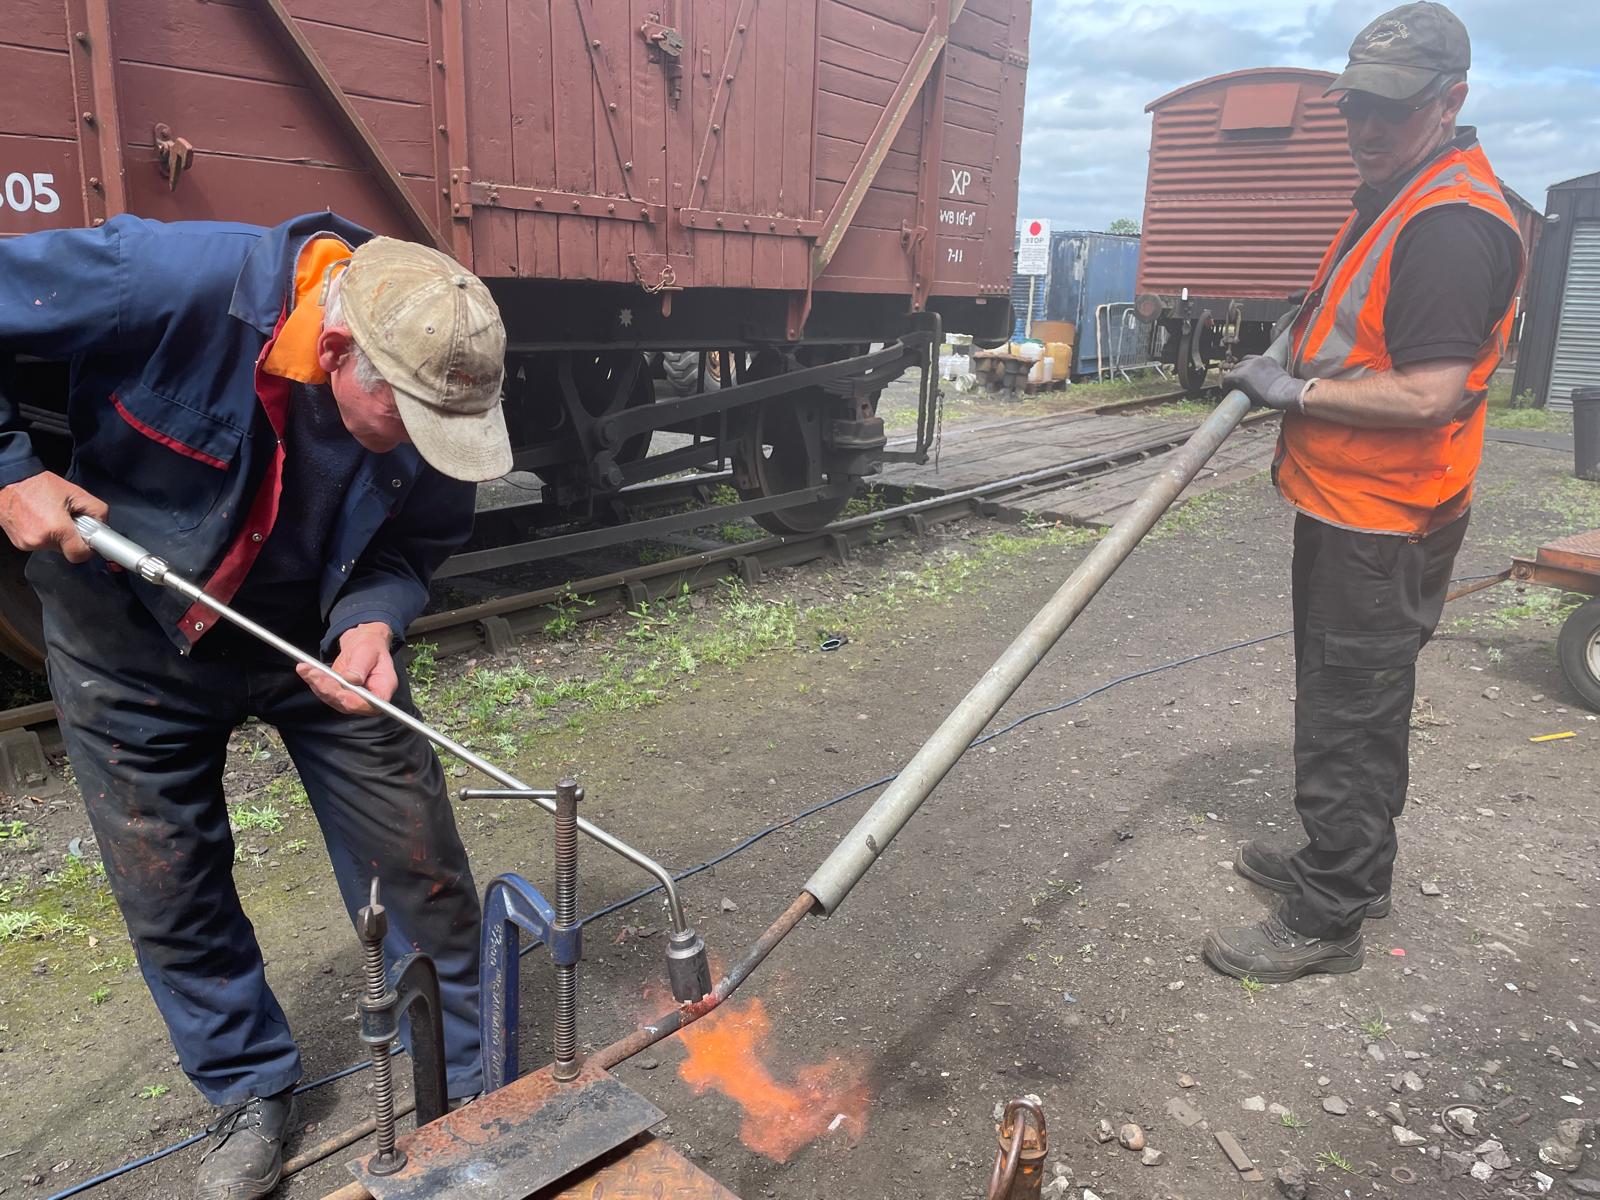
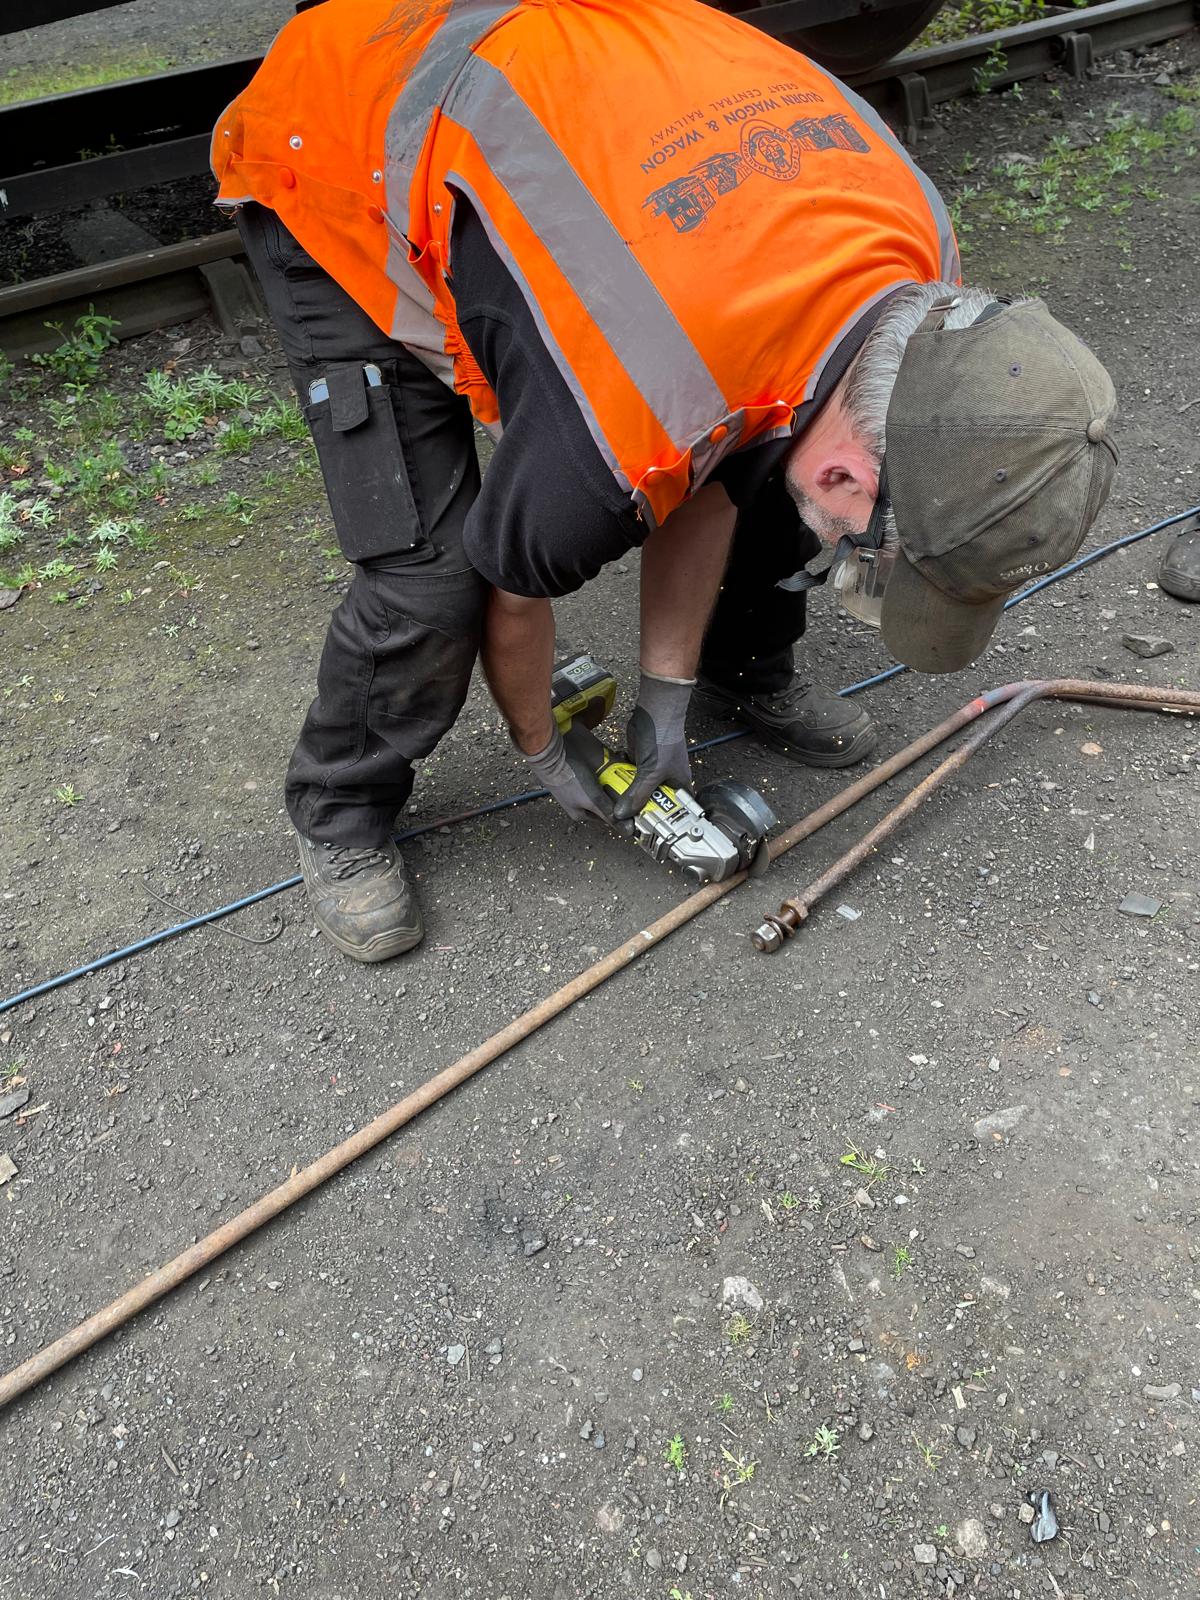
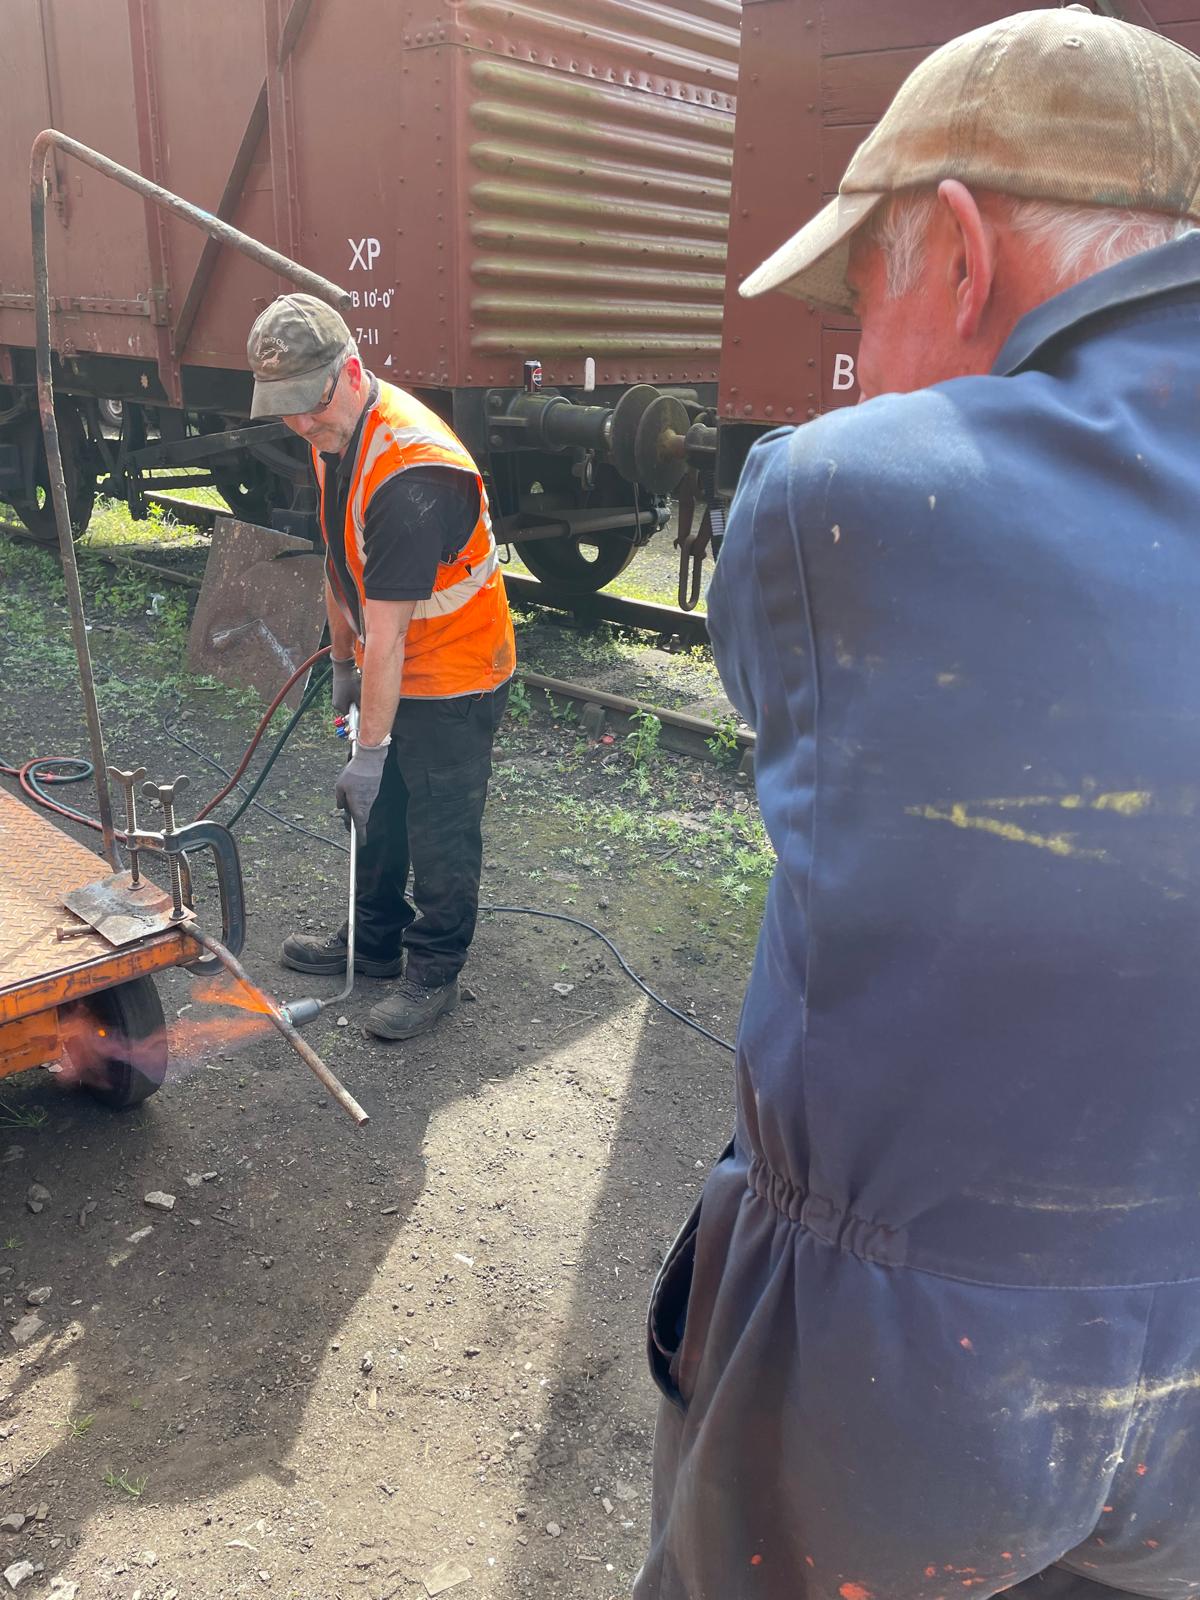
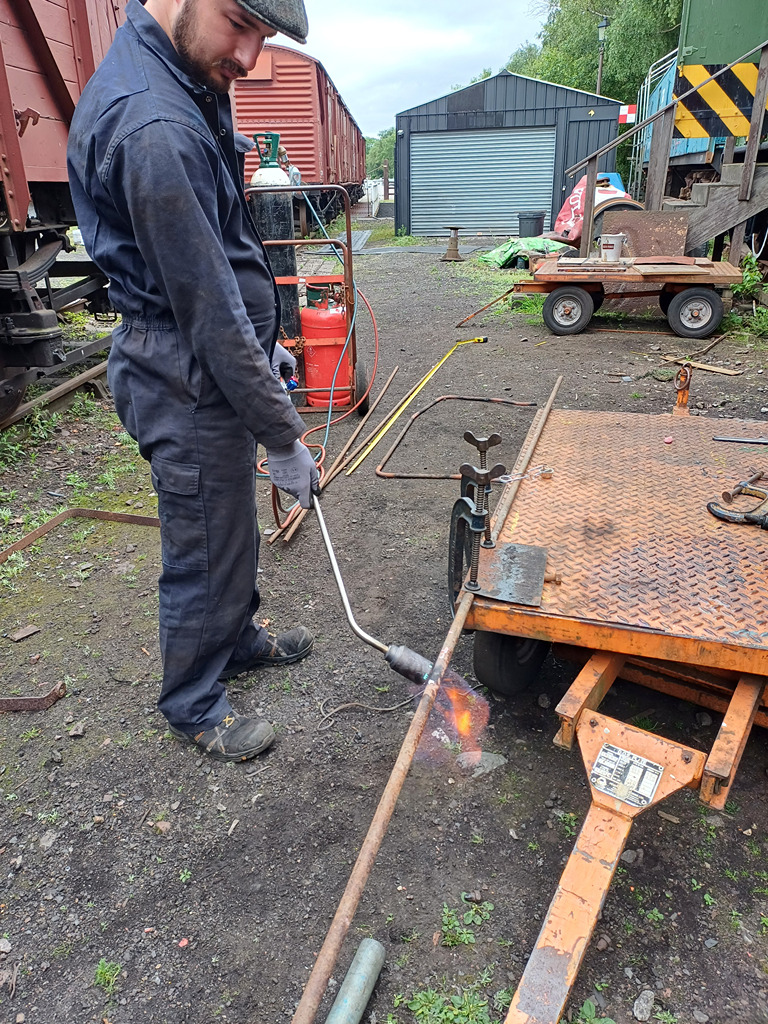
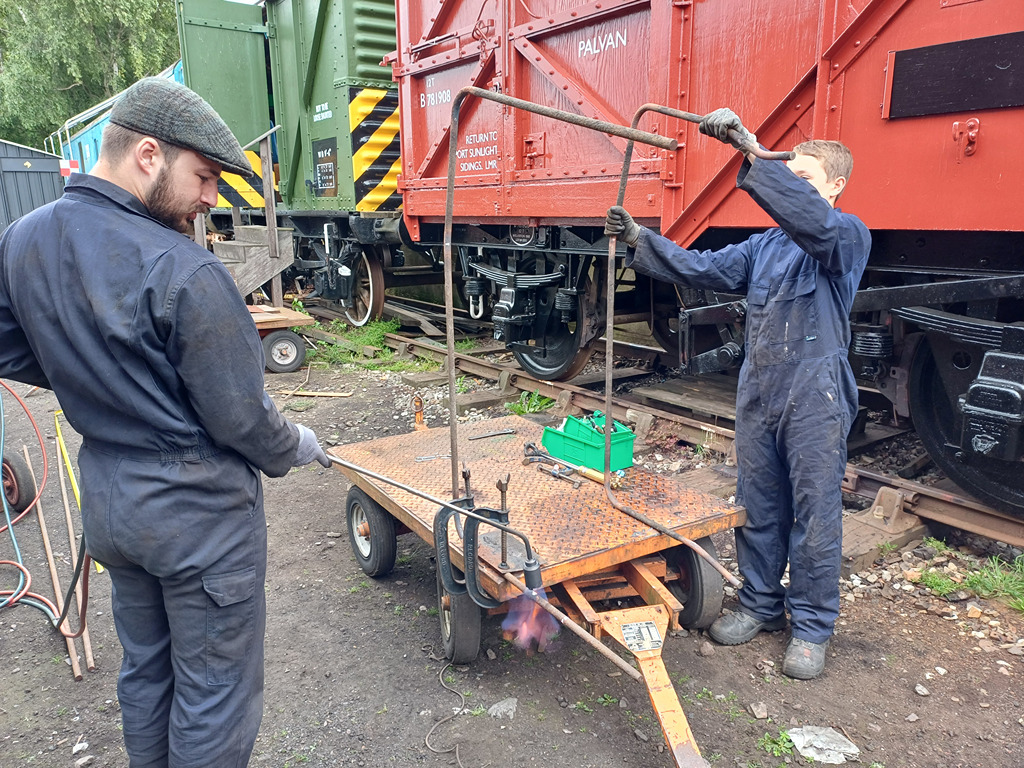
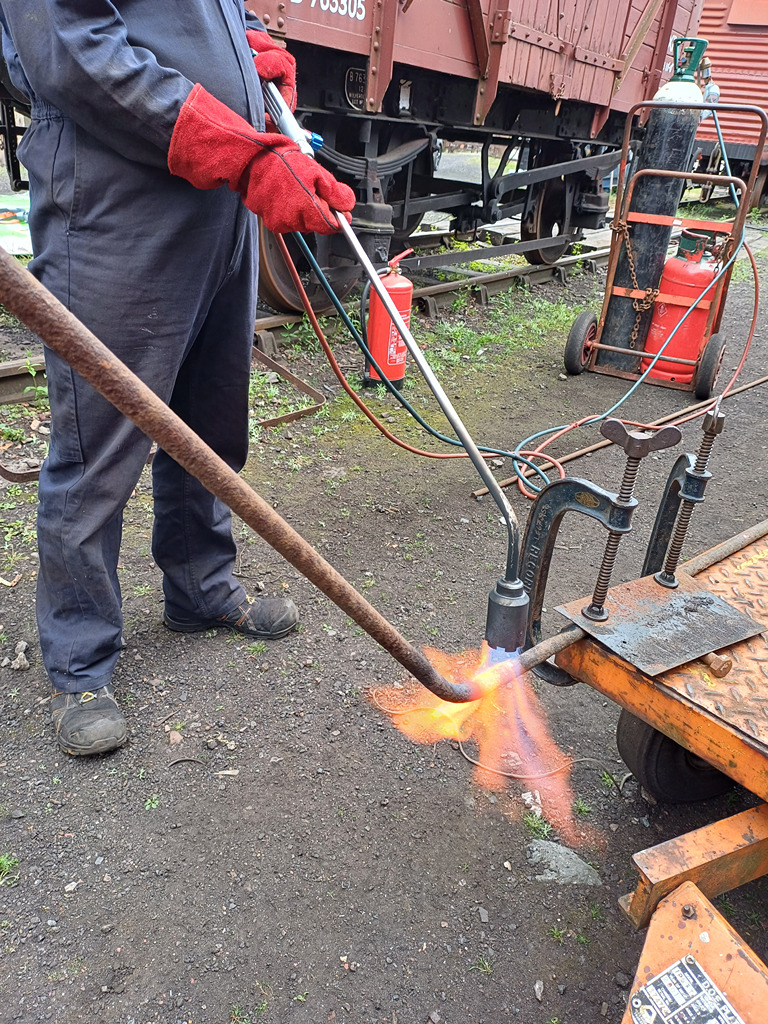
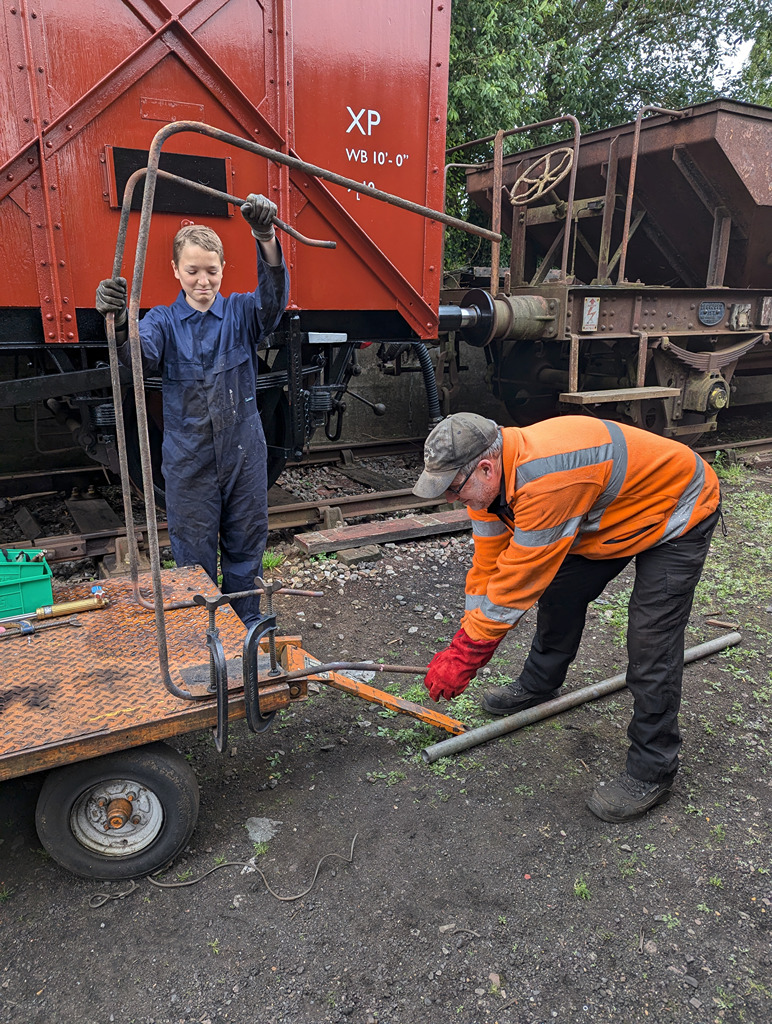
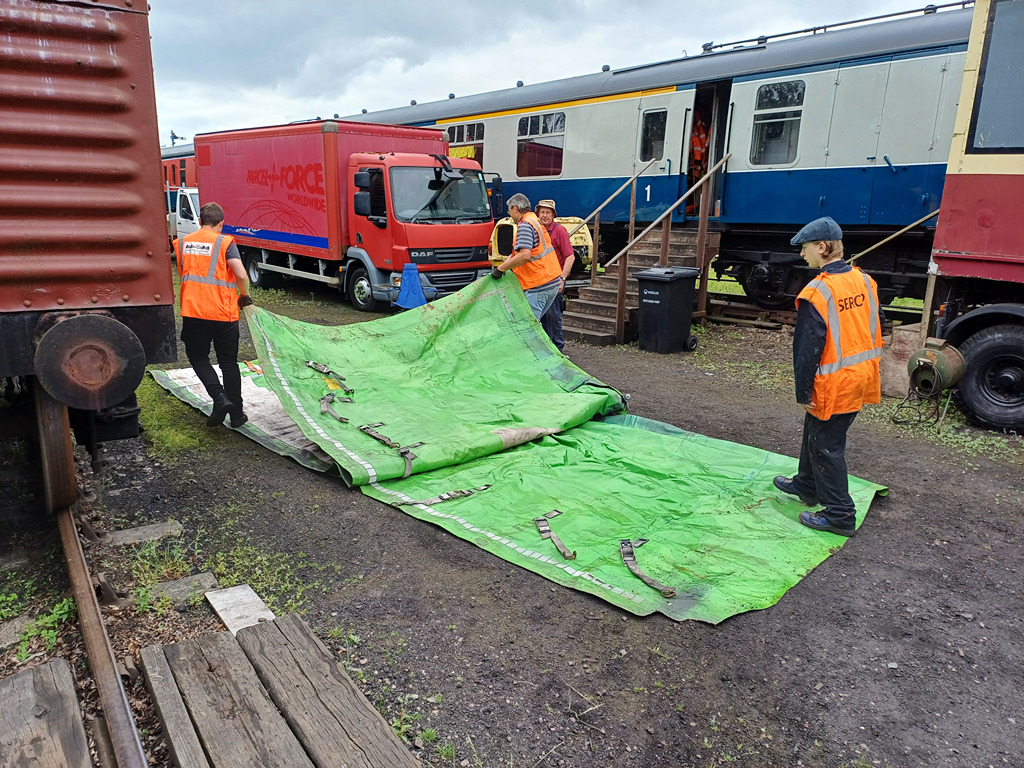
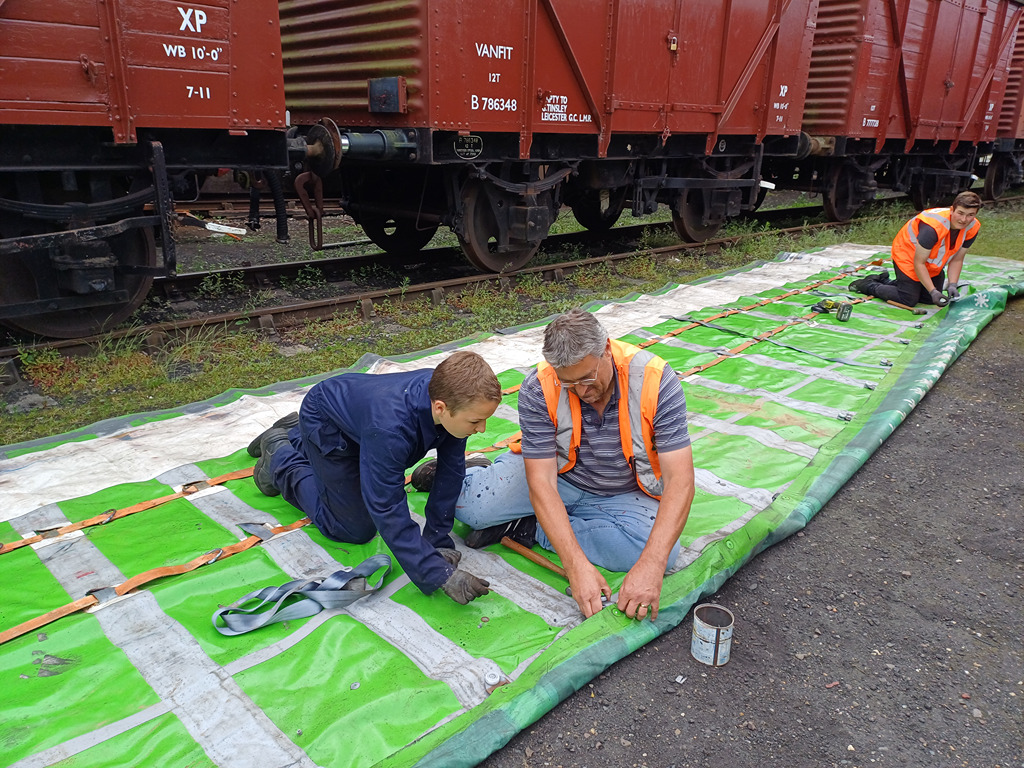
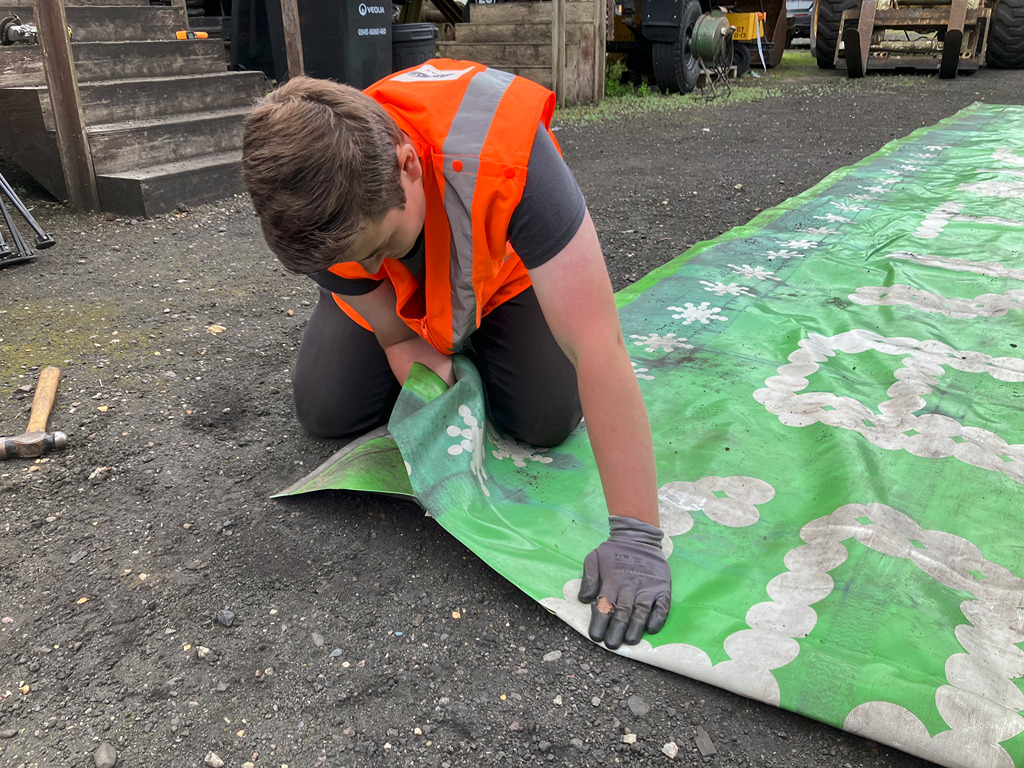
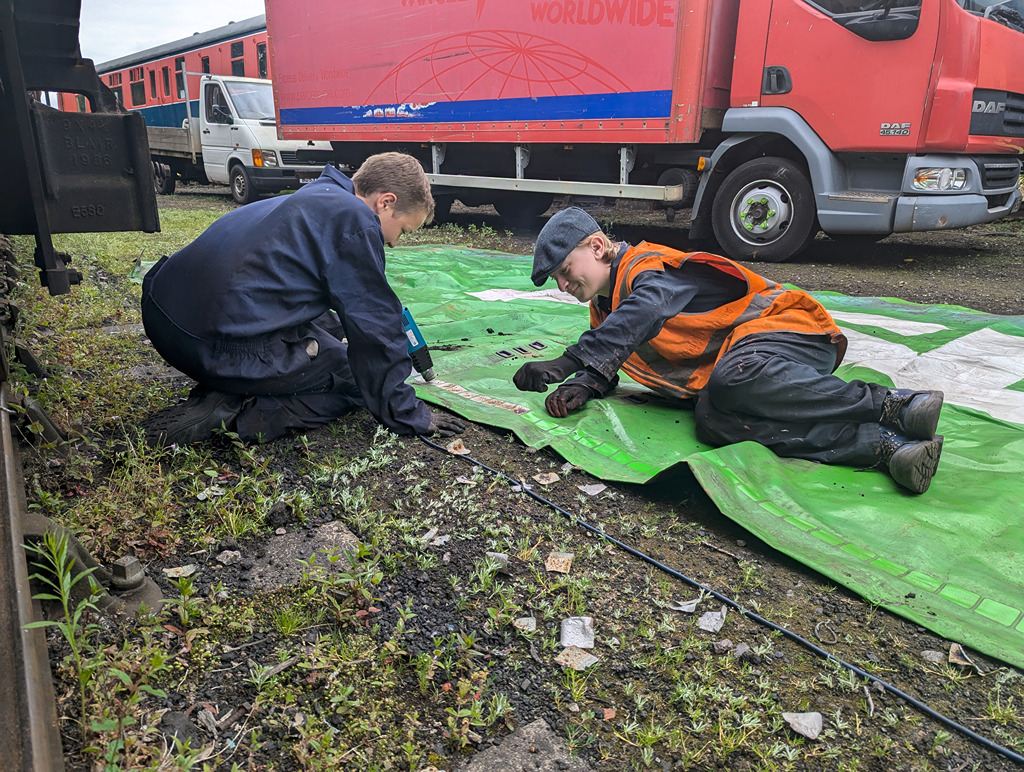
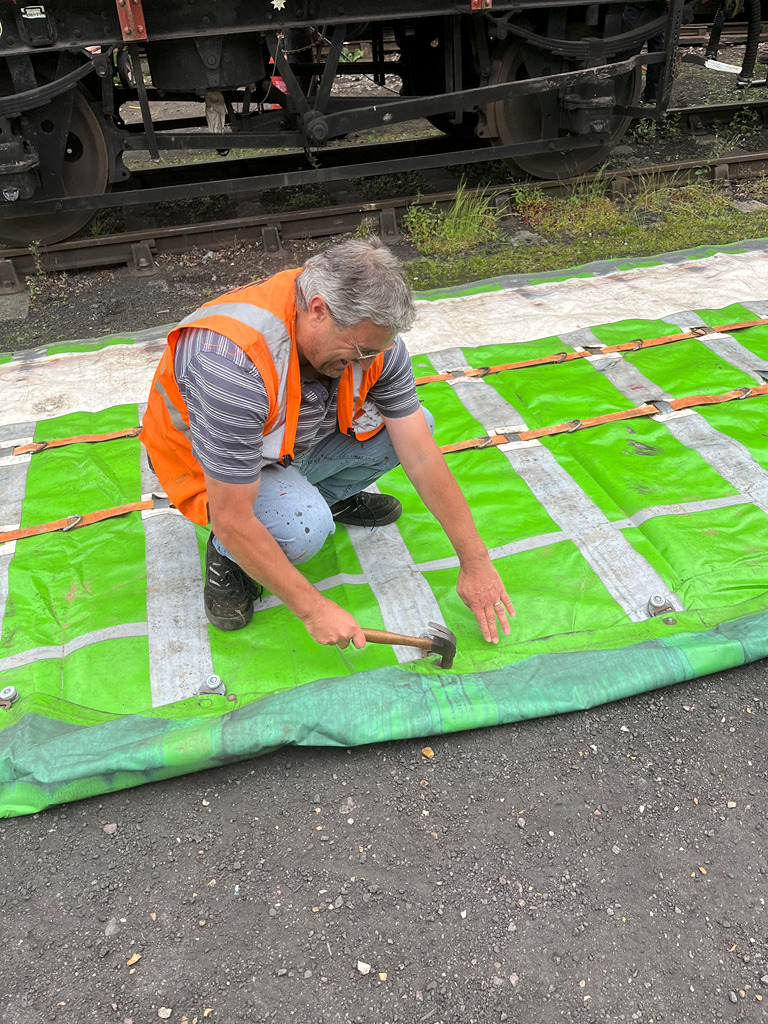
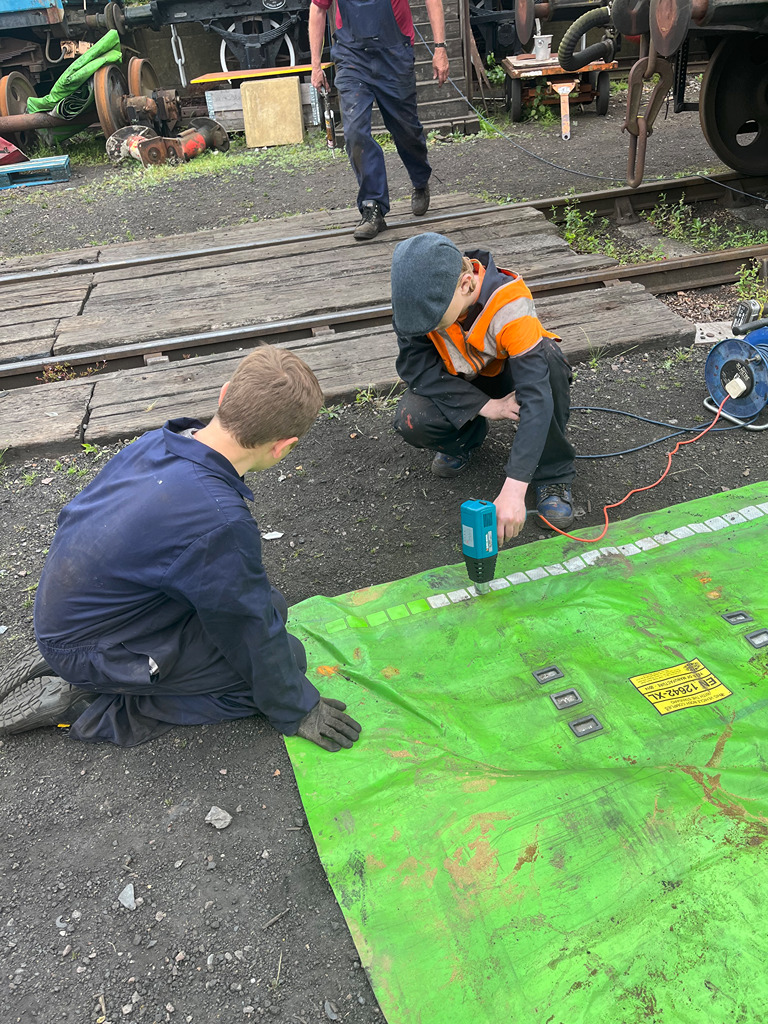
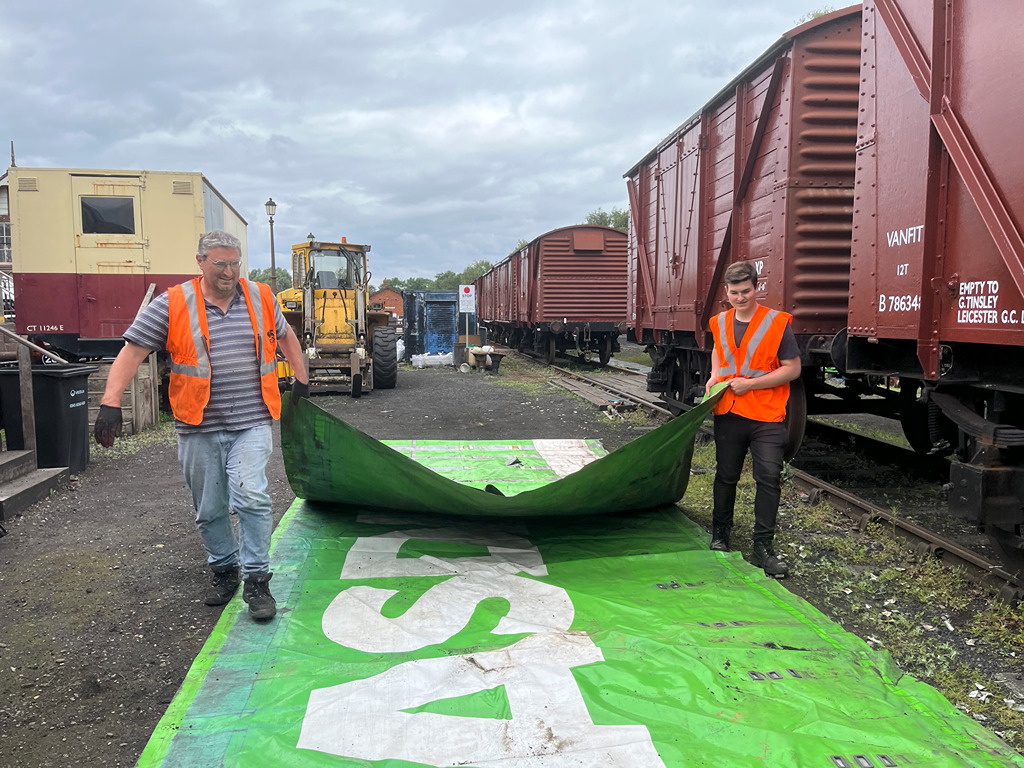
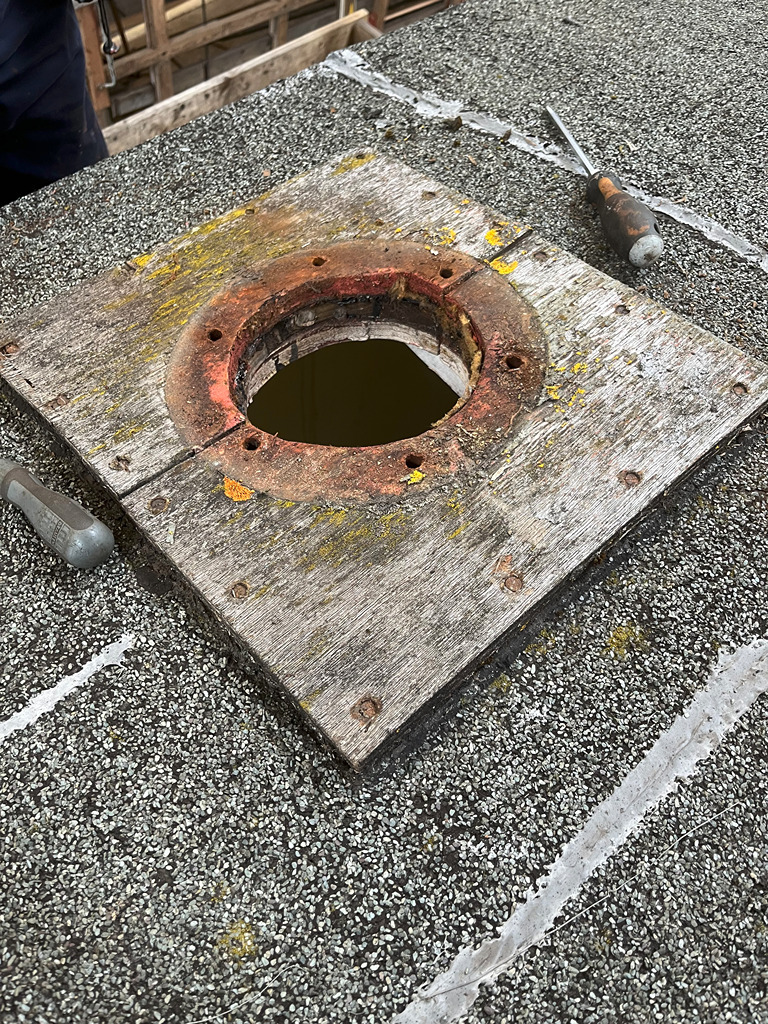
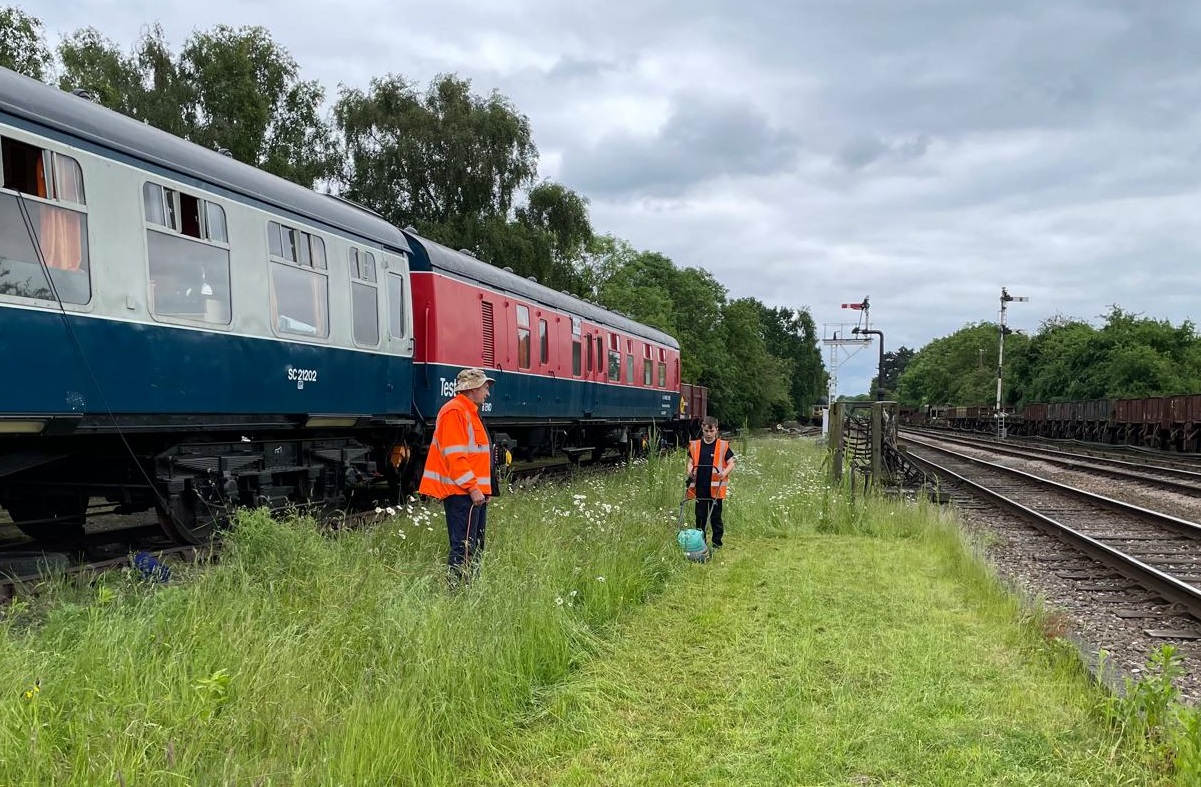
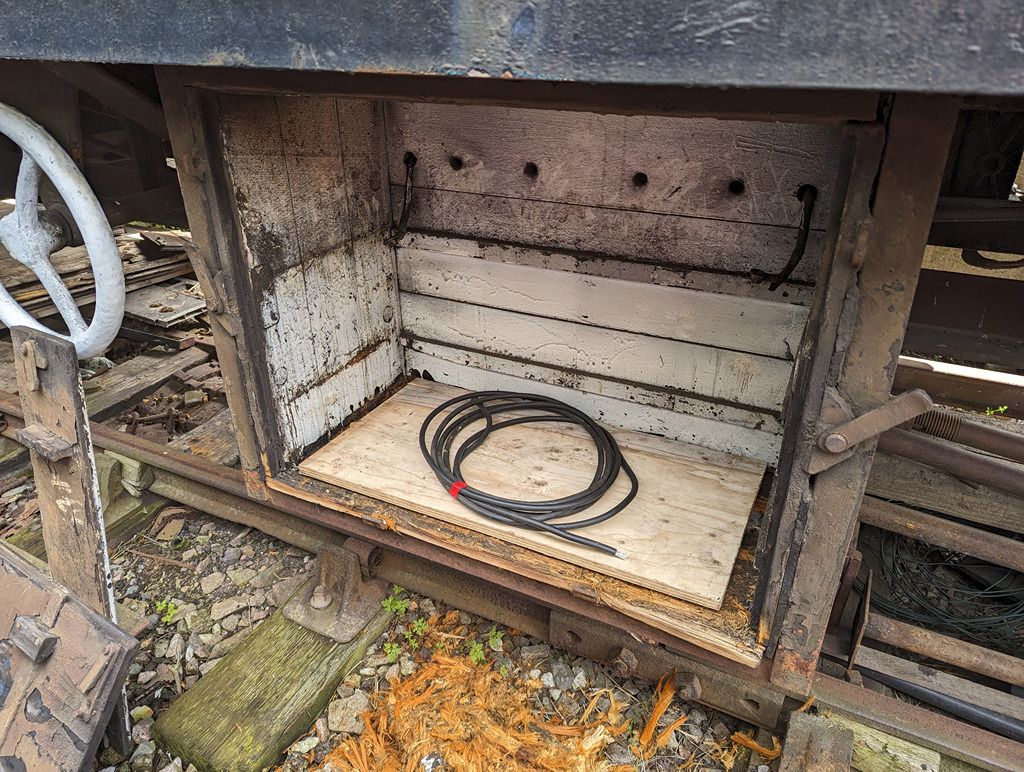
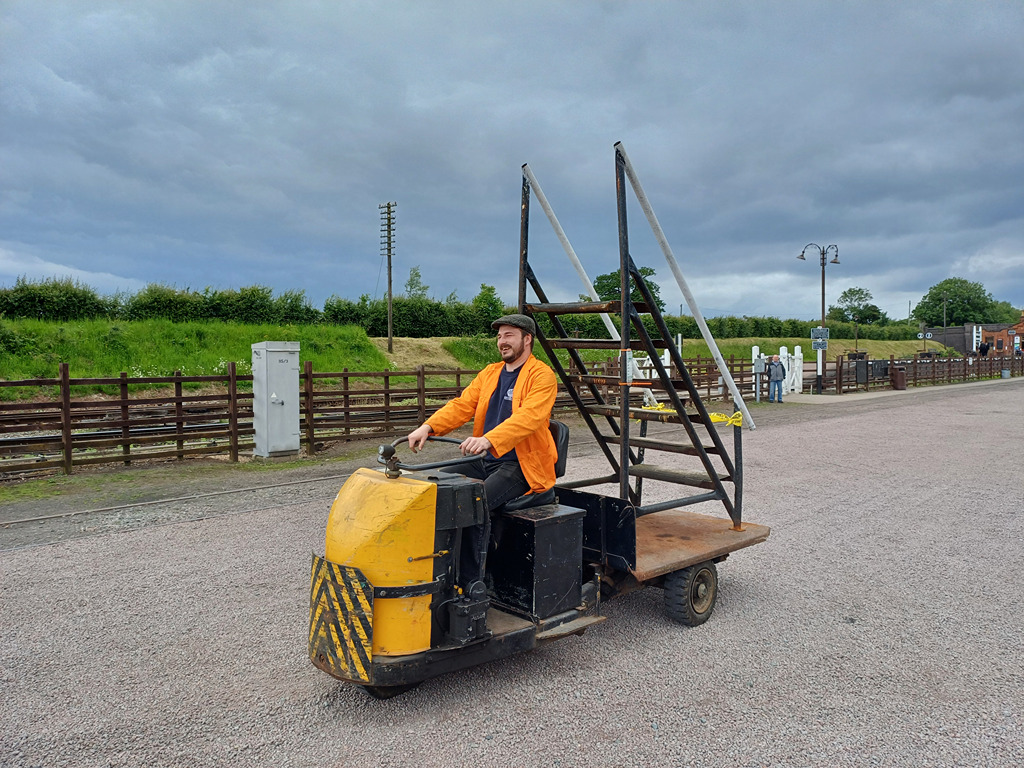
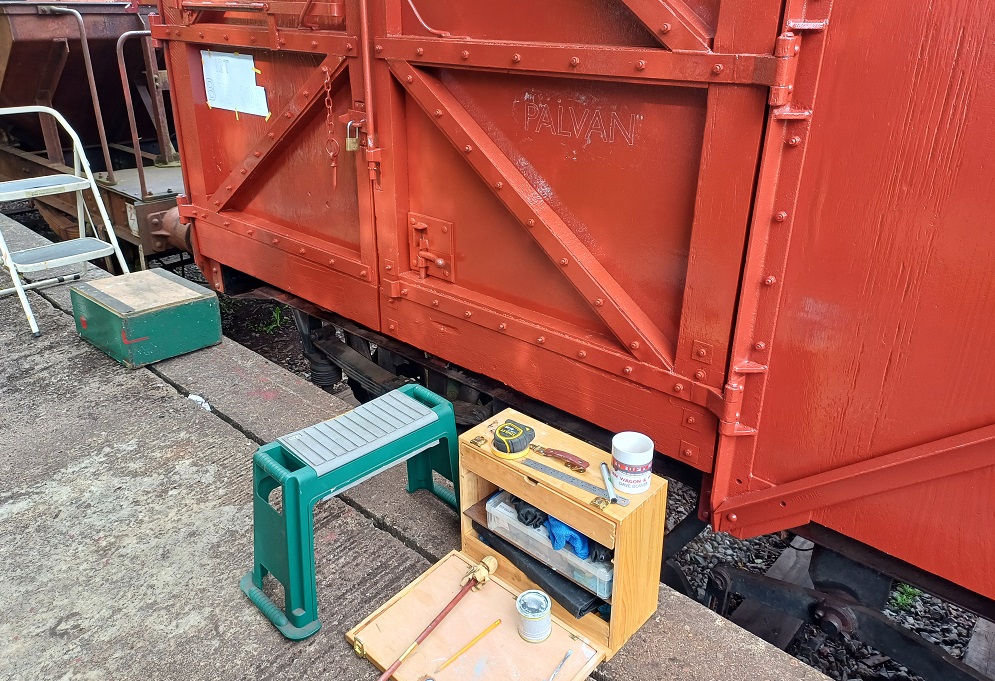
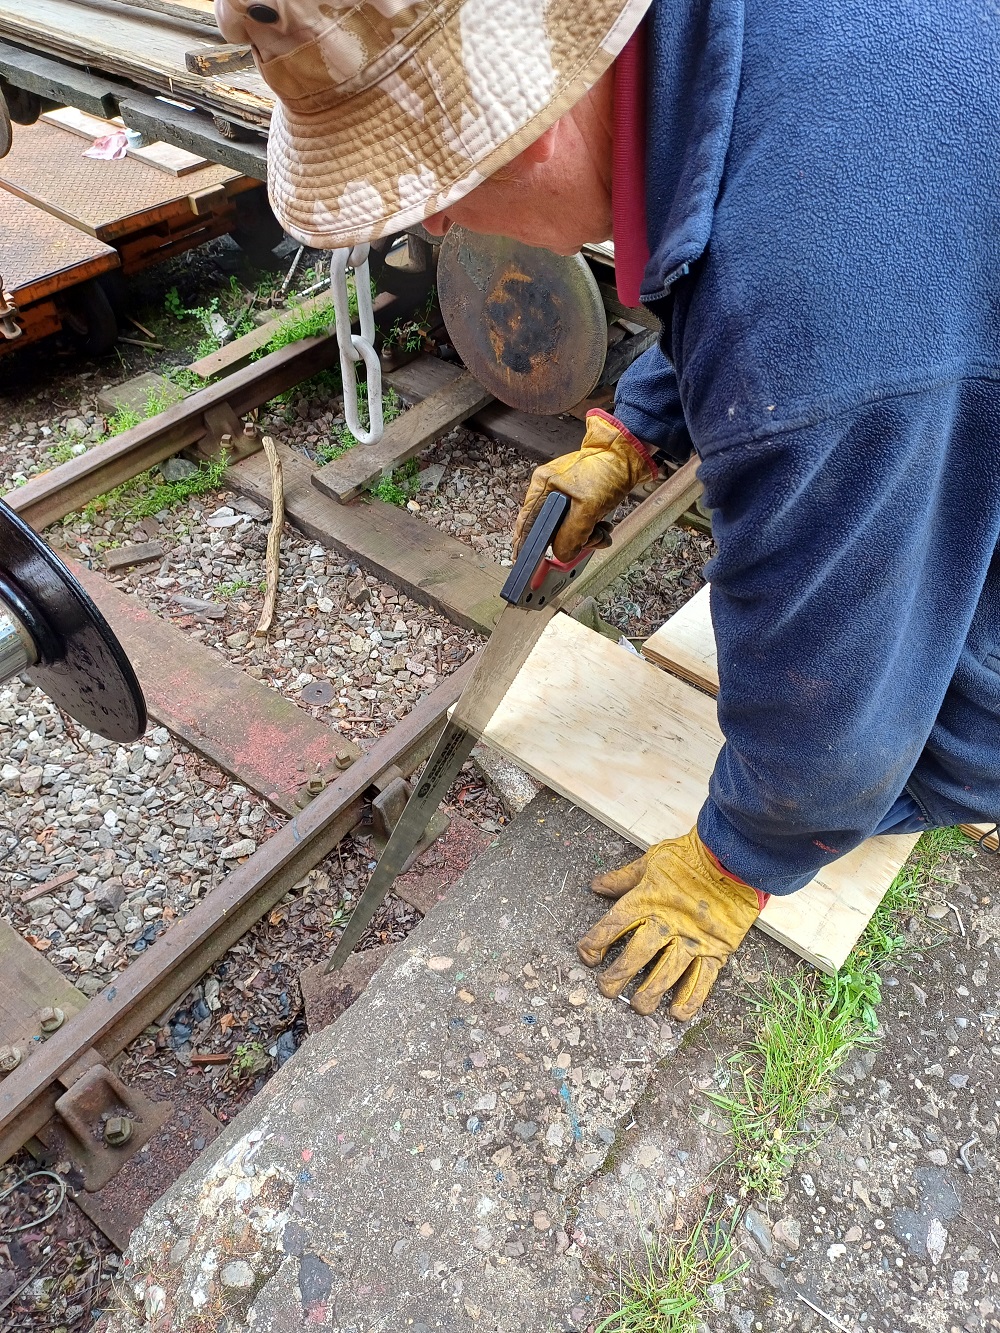
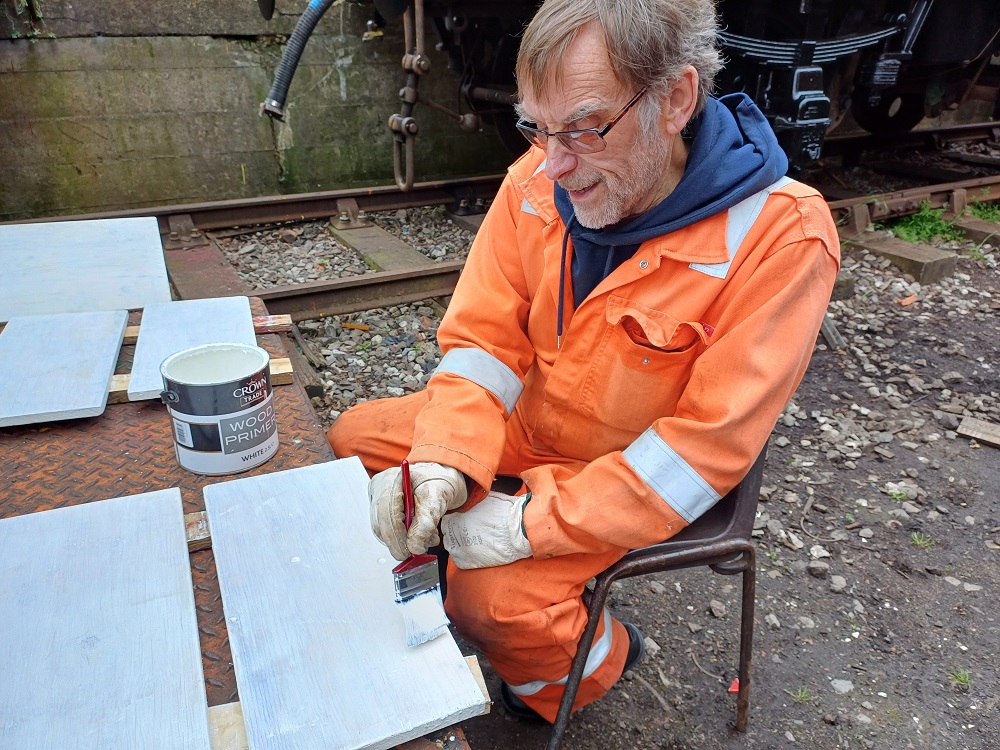
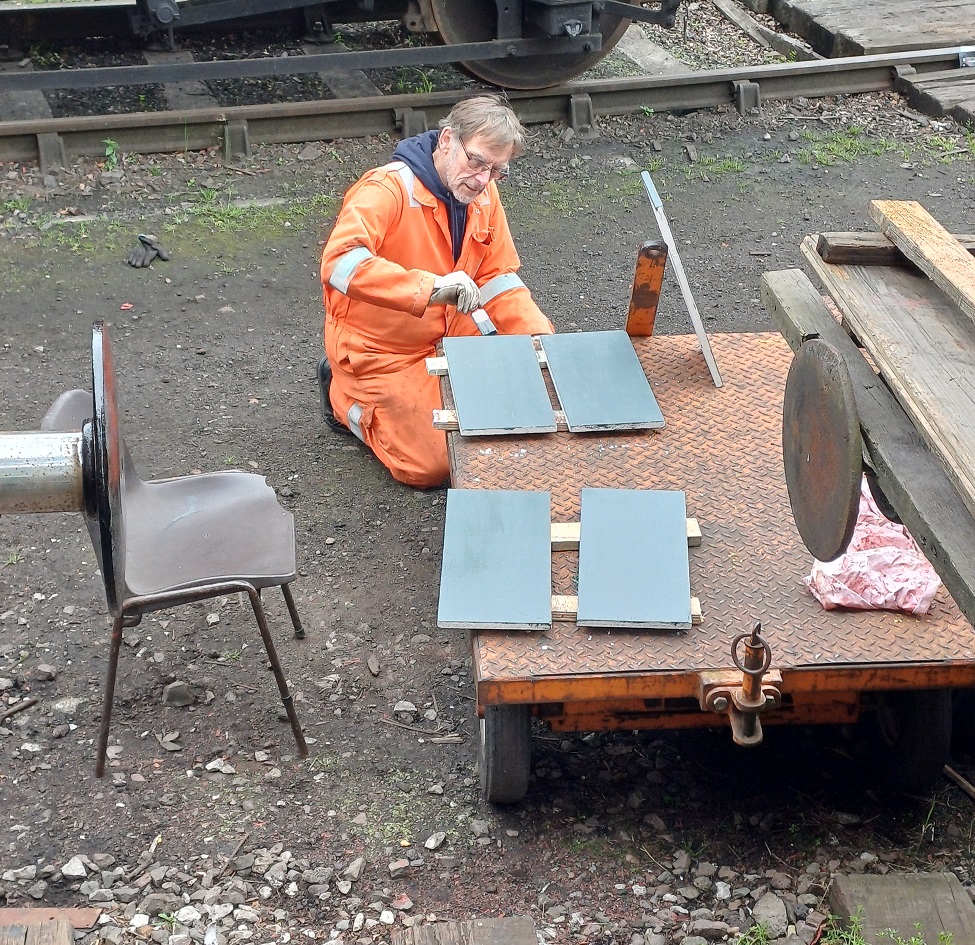
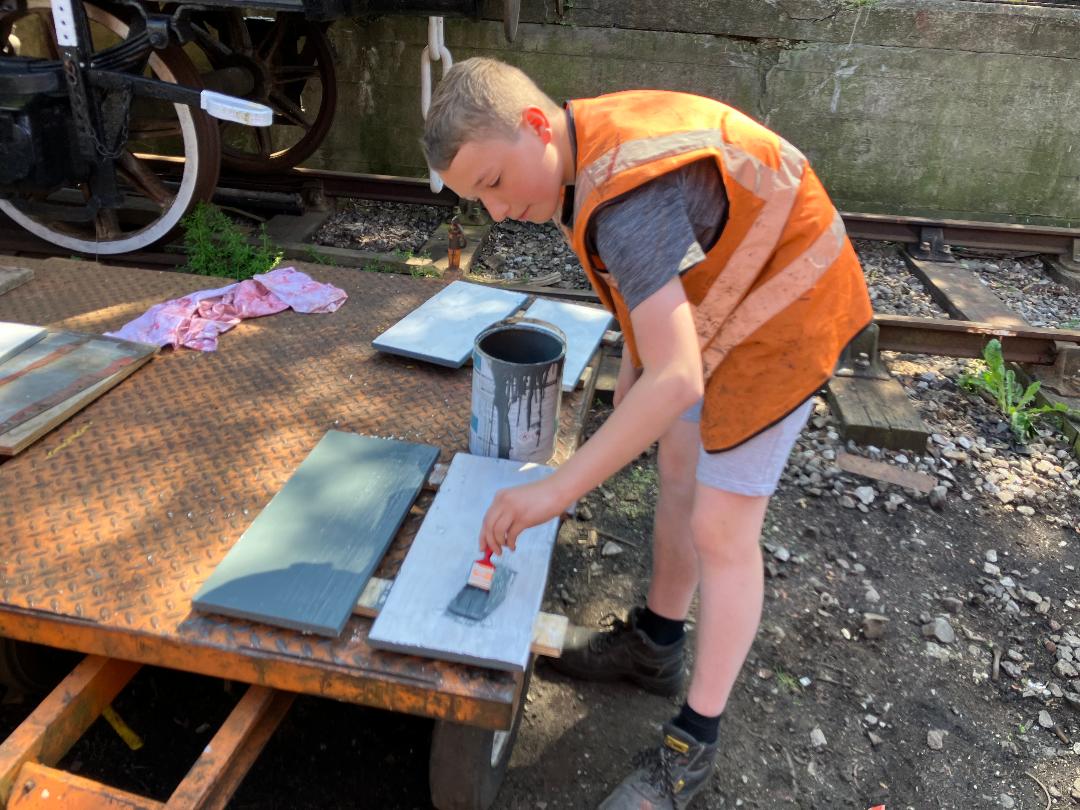
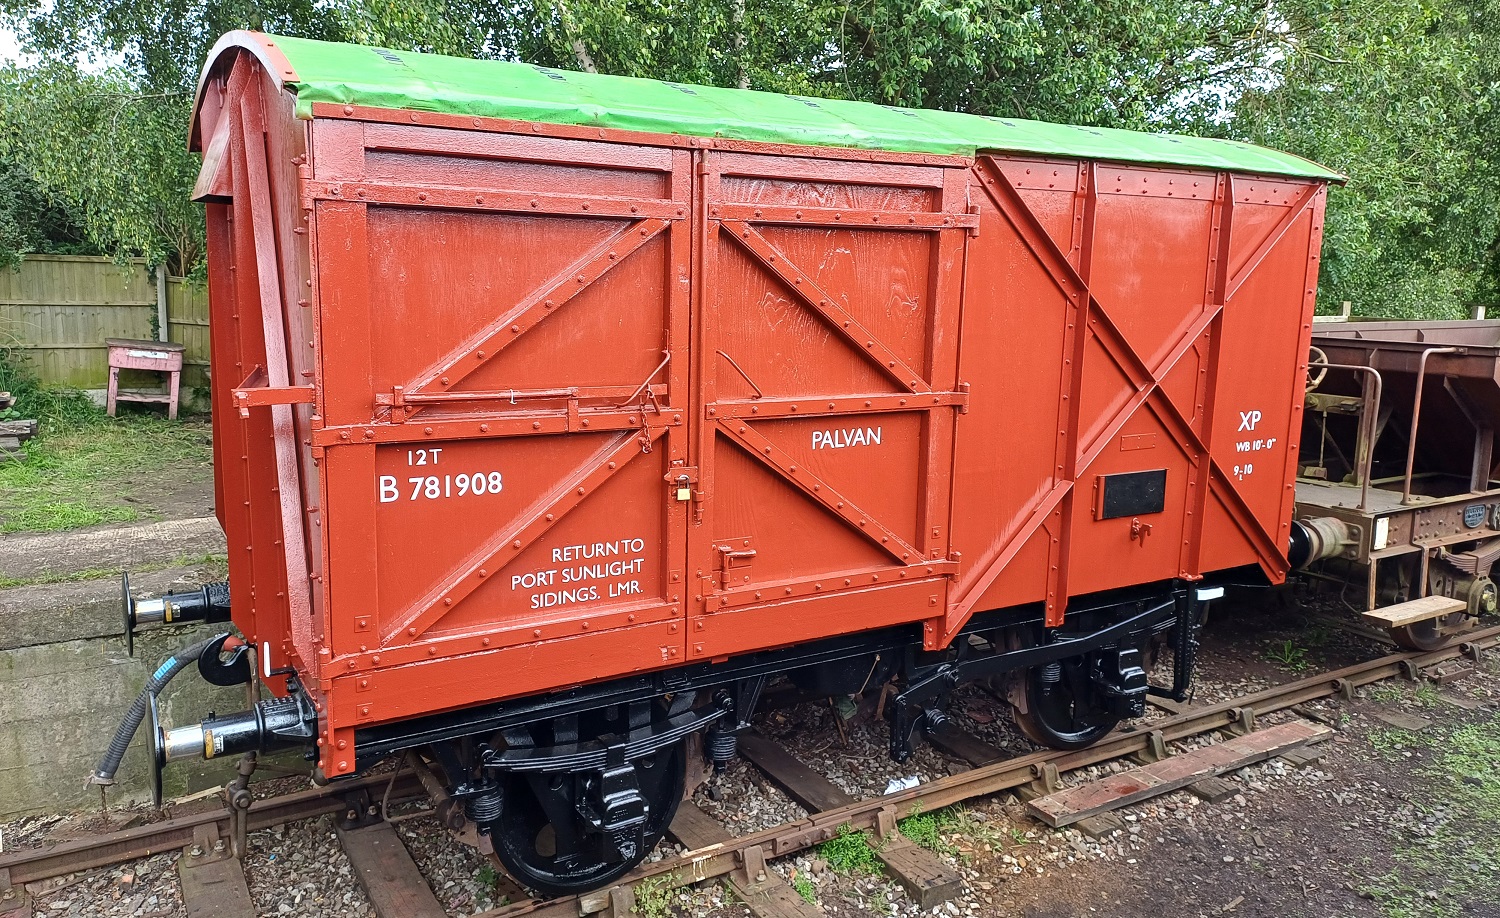
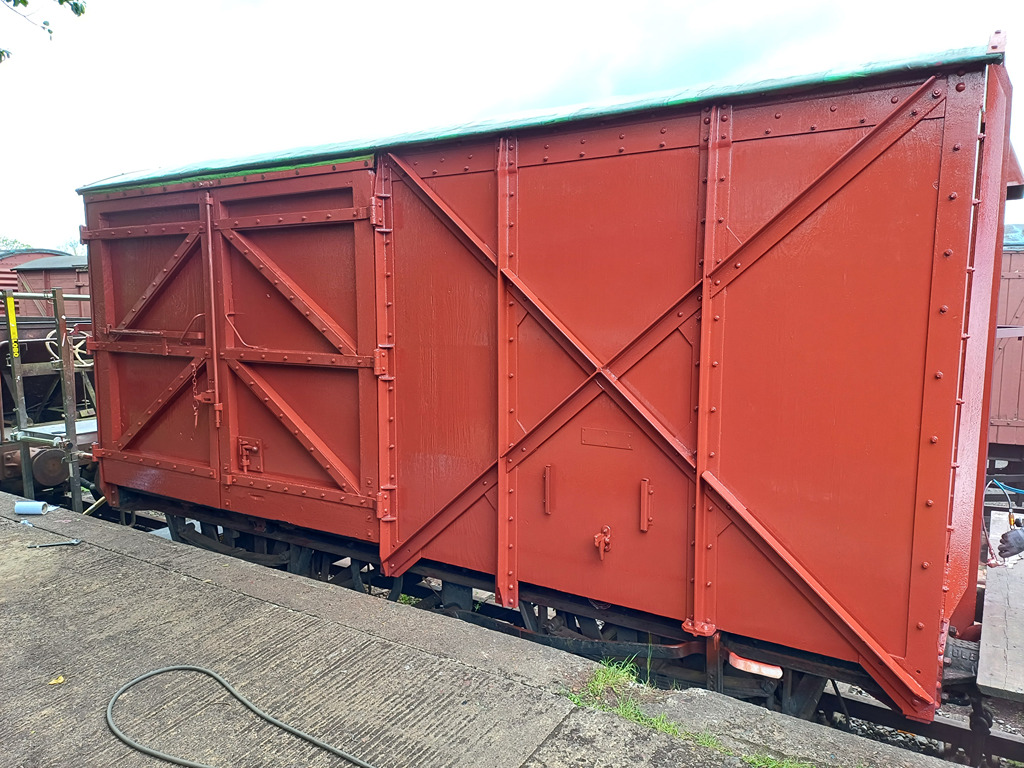
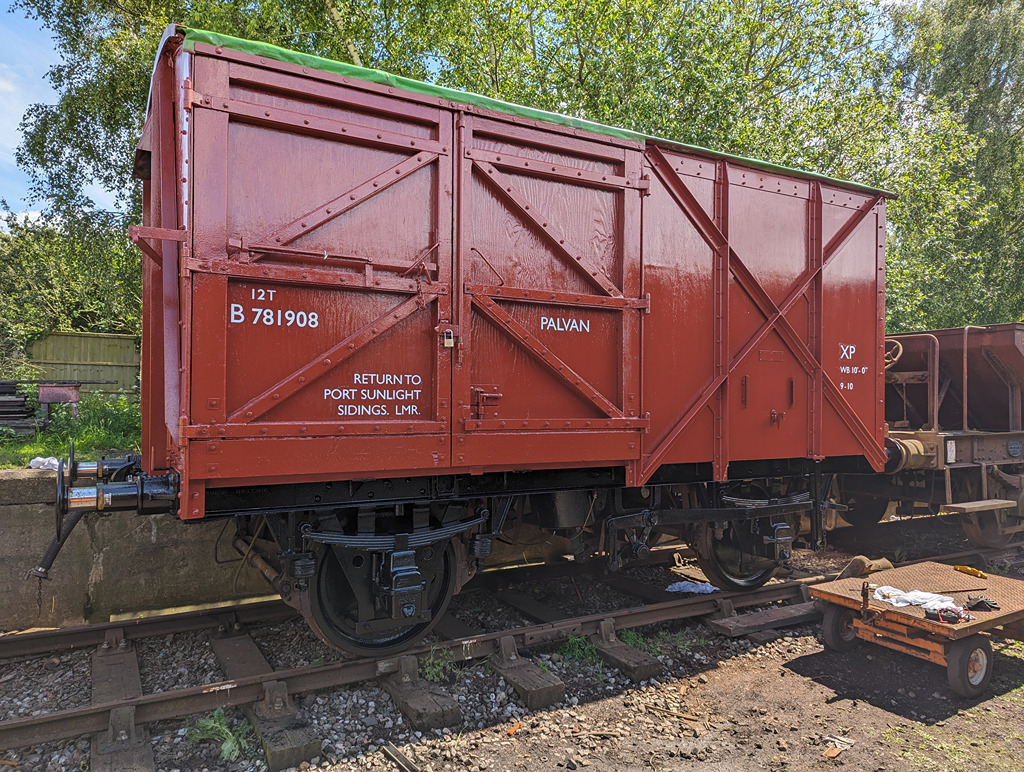
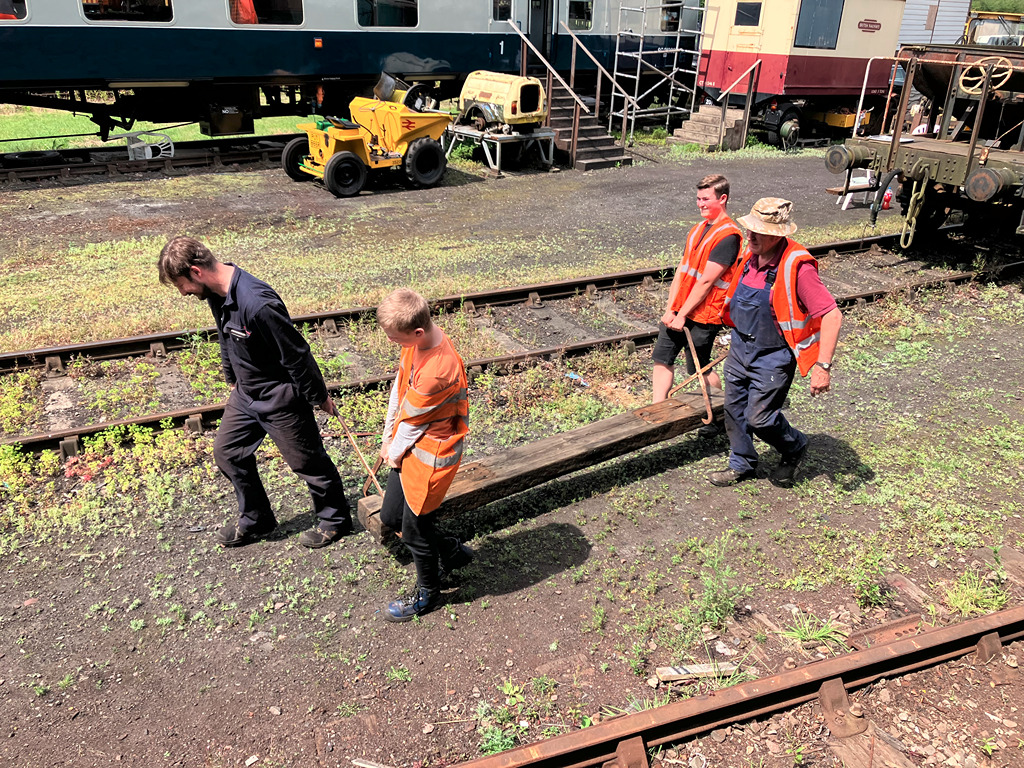
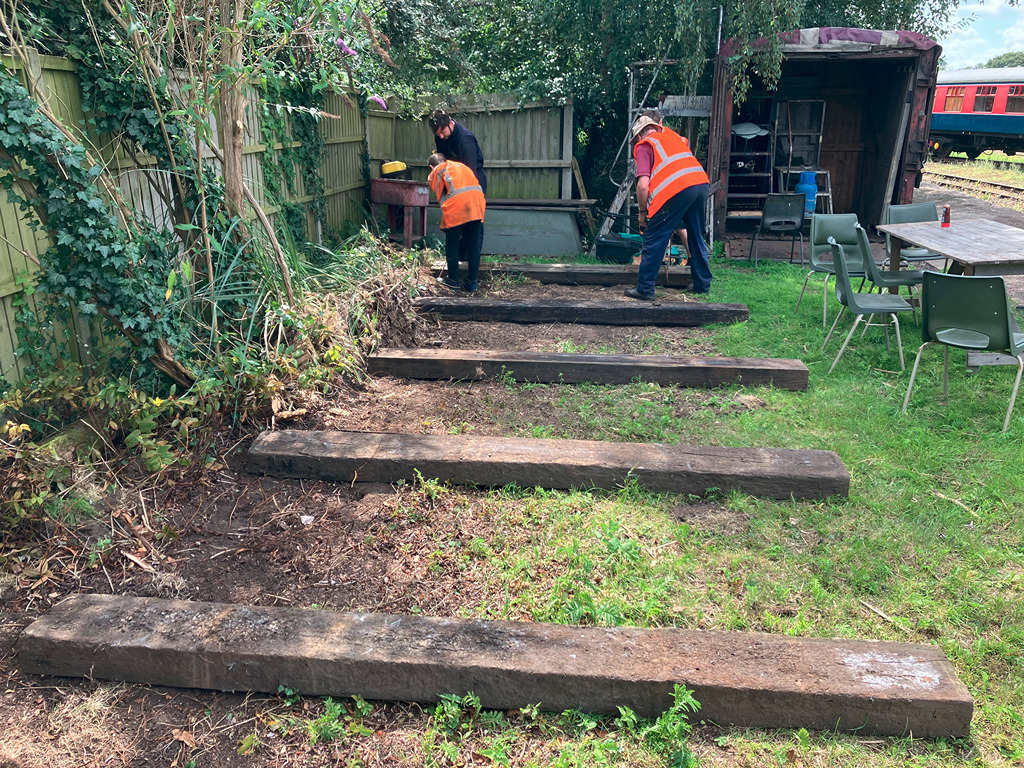
    While I was welding, Nick, Tom and Oliver went to Rothley to get some sleepers to sit underneath the Fish van body destined for the dock. This is destined to be moved on the 5th August as part of the Railways At Work pre-event shunt.

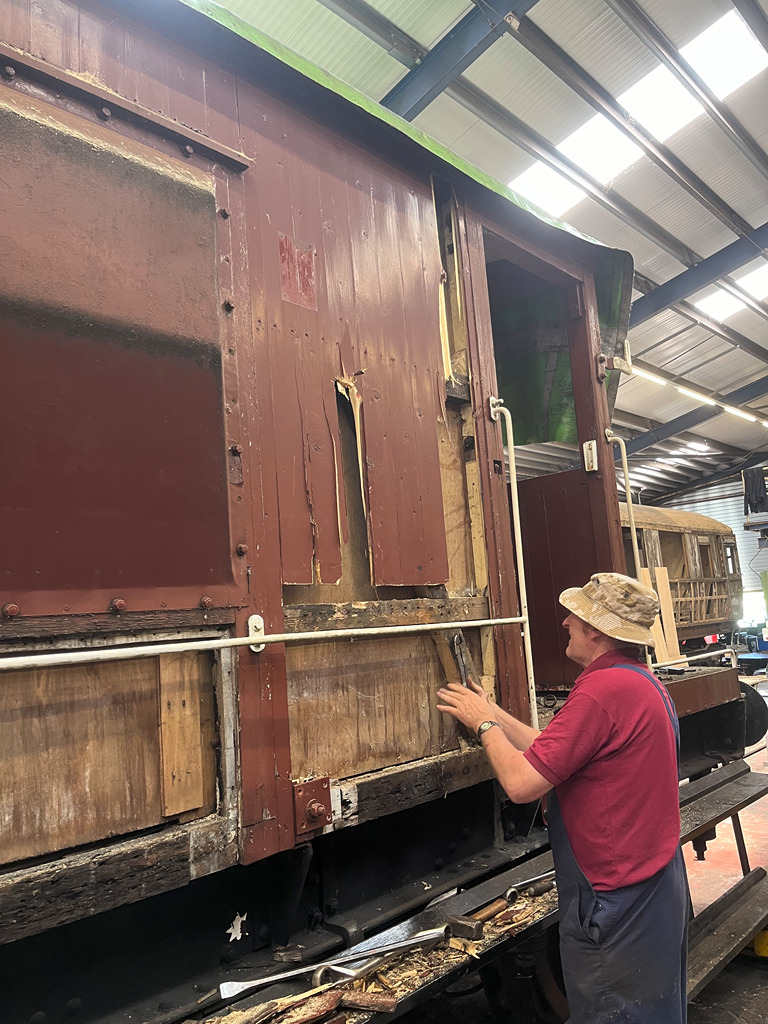
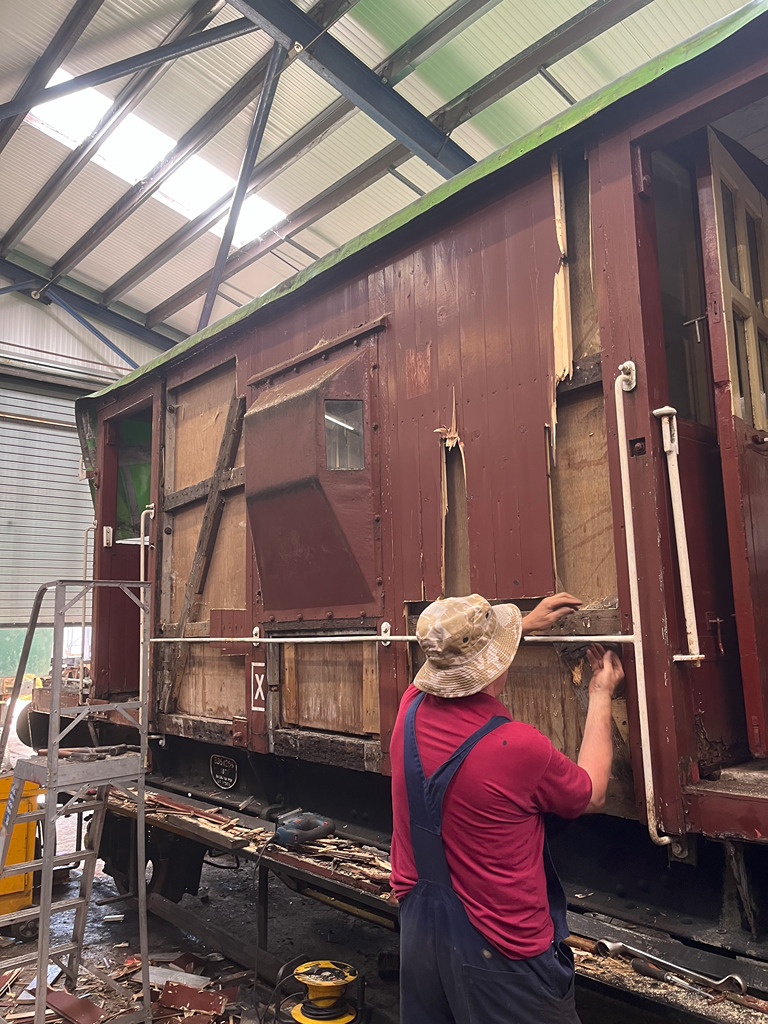
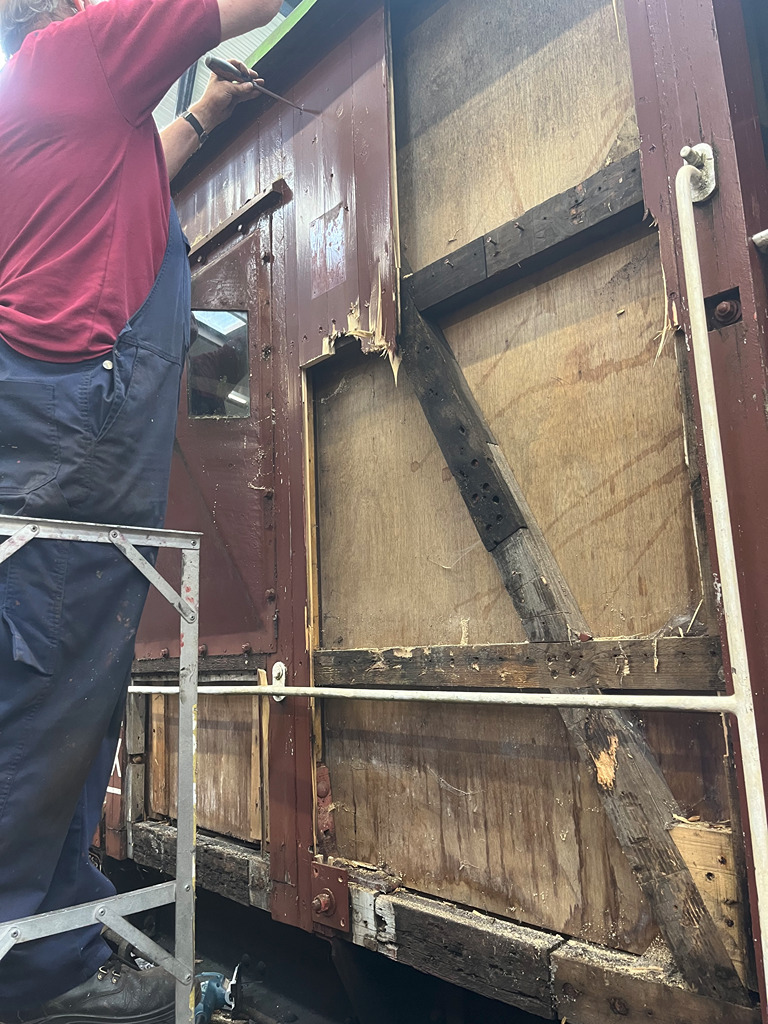
    Next week, we’ve got a bit of prep for Railways at Work to do and potentially some work at Rothley to finish off work on B954268’s re-planking. Thanks for reading, and join us next week to see what we get up to.

  • 21/07/24 – Gluing a Catfish back together

    Evening everyone, and thank you for joining us. We’ve finished off the braking system on DB993560 and have begun welding the side panels back into the hopper.

    Nick and I picked up where we left off last week by finishing the install of the refurbished vacuum cylinder. A release valve was put on from our overhauled stash and the branch pipe was reconnected. We put some temporary vacuum hoses on the wagon and performed a vacuum test.

    The vacuum test performed well, though we had some issues with the temporary vacuum hoses so only managed 19″ rather than the usual 21″. The brakes applied and released as per spec and once applied held for more than an hour which is more than adequate.

    After this point, Ernie and I started preparing the replacement plate for the hopper. Working from the pieces cut out, Ernie cut the plate using the cutting gun and ground up the edges. I welded some tabs on the back of the plate to stop it dropping back out the hopper once laid in.

    We got the smaller of the plates tacked in, and then cut out the larger plate. The larger plate took a bit more fitting, and required some manipulation of the existing hopper to get it to line up. With the plate positioned, it was tacked in to suit.

    On Sunday I continued with the welder, welding around the inside seams of each plate, well until my supply of rods ran out anyway. The smaller of the plates was welded all the way round on the inside of the hopper, and the larger plate was welded around the top and down the 2 sides. Dan very capably assisted me in the hopper, and just about managed to stay awake.

    That leaves the bottom of the large plate to weld on the inside, then just a case of doubling up and welding the outside of the hopper. We’ve identified another panel to replace, and have got some localized panel beating to do on the other panels on the East side. Then the wagon is ready for another clean down and a paint.

    Thanks for joining us and reading the update Join us next week where it could be more welding, and finishing off the work on the hopper. I think this is a first for us, where we’ve welded up a wagon at Quorn. Its rewarding to learn new things and continue to practise them. Have a good week!

  • 14/07/24 – Palvan in the Van Train

    This week we’ve seen the recently finished Palvan shunted into the van train, and the team have continued working on the two Catfish wagons at Quorn.

    The vacuum brake cylinder that was removed from Catfish DB993560 and dismantled last week was scraped, wire brushed and cleaned out.

    One of the studs from the dome needed a little heat to remove a stuck nut, then cleaning up and re-fitting. The threads on the remaining studs were also run down with a die to clean up any thread corrosion.

    The ball valve was removed, cleaned out & checked, and the piston rod nut was also cleaned and refitted.

    The cylinder outer casing was then painted.

    The north west corner of Catfish DB983393 was showing signs that the spring was not seated centrally in the axlebox pad; after some investigation some jack-rust was noted behind the spring which was pushing the spring forwards.

    The underkeeps were removed, the bolts cleaned up and split pin holes cleared. The weight was then lifted off the spring and the offending rust and debris removed from the axlebox pad. An opportunity was also taken to check the bearing and journal which were found to be in good condition.

    The wagon was lowered back onto it’s springs and the alignment appeared much better. We’d check again after the wagon had been shunted to settle down.

    DB983393 had at some point had some oversize gas valve wheels fitted to it’s handbrake; these needed a little heat applying to release them so they could be replaced with a couple we had in stock.

    A shunt move had been arranged and 78019 arrived to marshal the Palvan B781908 onto the south end of the van train and position the van train in sections to set out the yard ready for upcoming events.

    The two Catfish wagons were moved to settle the suspension. DB983393 was checked again and all was good with the spring seating.

    The remaining brake rigging safety loops that we’d finished making last week were fitted and the underkeeps were re-fitted to DB983393.

    Back on the other Catfish DB993560, and it’s vacuum cylinder was re-assembled.

    The hopper panel and framework that is behind & under the vacuum cylinder fitted position was scraped and treated to a coat of primer.

    The refurbished vacuum cylinder was then refitted.

    Thanks for reading, join us again next week for some more progress with the two Catfish wagons; all the best, Dave

  • 07/07/24 – Helping our Friends

    This week the team have been on-tour helping our National Wagon Preservation Group friends at the Chasewater Railway with some MGR wagon signwriting. We have also continued with work on the Catfish and have done a well overdue job on the garage building.

    Ross, Eireni and myself headed down to the Chasewater Railway where the National Wagon Preservation Group had lined up three of their MGR hopper wagons ready for some signwriting attention. HMA 351207 and HDA 368103 were inside the workshop whilst HMA 355798 was just outside.

    We got to work chalking up the templates and transferring to the wagons.

    The two wagons in the workshop required full lettering, number panels, TOPS wagon codes, maintenance data panels, brake equipment & wheelbase lettering, tyre profile and also the builders plates picking out.

    The HMA outside only required the solebar lettering as this had previously had vinyl number panels applied b the NWPG when it visited the NEC for a model show a few years ago.

    By the end of the couple of days all three wagons were fully lettered; we’re pleased to have been able to help out Owen.

    Back at Quorn for the weekend, and the with Nick, Ross, Ernie and Charlie on site Saturday the long overdue job of raising the garage building onto sleepers and securing down was tackled.

    Ernie stayed out of the rain showers in the garage welding the mounting bolts to the tops of the Catfish brake safety loops that we had made last week.

    Ross drilled out the safety loop mounting holes on Catfish DB993560, and also drilled out some bolts ready for split pins.

    I joined Nick and Ross on Sunday, with Tom and Oliver also on site. Ross and I cut some longer threads on some more mounting bolts and drilled them for split pins.

    Ross continued welding the mounting bolts to the tops of the remaining safety loops.

    After cleaning up and lengthening a couple of the bolt threaded sections, Oliver helped Nick fitting the safety loops to the Catfish.

    One of the main differences between the two Catfish wagons is that DB983393 is fitted with a sliding band type vacuum brake cylinder whilst DB993560 has the more common rolling-ring type. From our experience the sliding band type are much more likely to work ok after being stood out of use for a long period of tome; they are also however more difficult to overhaul.
    Tom and I therefore got the vacuum brake test rig out and set it up to test the operation on sliding band cylinder on DB983393. Tom also oiled up the brake rigging.

    We were pleased to find that after a few applications the brake cylinder on DB983393 operated very well and the release valve worked too. We therefore have decided to leave the vacuum cylinder on this wagon. A slight adjustment may however be necessary to take up some rigging slack.

    The story with the rolling ring vacuum cylinder on DB993560 is somewhat different. As this wagon has seen little use for over the last 20 years, we set about removing the cylinder for examination; with it being mounted above solebar level on Catfish we were able to disconnect the cylinder, remove the piston rod and release valve, then slide it along wood planks onto the dock.

    The cylinder was dismantled and we found that the rolling ring was badly twisted and split, so it was the right decision to remove and overhaul this one.

    We also thought we’d try our hand at cultivating Railway Engineers using a vacuum cylinder dome to boost the team numbers!

    Thanks for reading, we’ll be here again next week to continue with work on the two Catfish.

  • 30/06/24 – More Flame, Better!

    Hello everyone and thank you for joining us for another update from Quorn. Work on the Catfish progresses, with more bodywork attention and new skills learned in making safety loops. First though, I’ll cover some work on B954268 by Nick and Tom. The cladding on the East side of the van has rotted, so is being removed to be replaced.

    Richard, Dave and I started by removing some safety loops from DB993560 to use as a template. Catfish have 3 safety loops per axle, and these serve as secondary retention for the brake bow girders and pull rods. In the unlikely event that a pin fails in the brake rigging, these safety loops prevent any loose components dropping down causing damage to the wagon, or event derailing it.

    DB983393 arrived on site with none of its safety loops, so we’ve had to manufacture them. Dave found some steel stock which was suitable, and between himself, Richard guided by Ernie got cracking on heating and bending.

    I worked on the Catfish. After reviewing the time taken trying to cut and close up the stretched material, we decided that it would be quicker and easier to cut out the damaged material and weld in new.

    I got the first bit cut out, and decided to cut out a section of the bigger panel. Dave managed to catch the panel mid drop.

    Richard, Dave and Ernie made good progress and got the two centre safety loops and one ‘outer’ loop made.

    Encouraged by progress on Saturday, Dave and I with various assistance continued to make the rest of the safety loops.

    Nick, Mark, Tom, Dan and Oliver processed our other lorry sheets, getting them ready for use on some of the vans. They cut the rivets hold the straps into the curtain and removed the straps. The sheet was then folded and cut in half.

    By the end of the day, we’d made all safety loops required for DB993560. The next stage on these is to weld prepare some bolts to weld to the top of each loop to mount them to the wagon.

    Thanks for reading everyone, join us next week were we should be trying to weld bits in to the Catfish and finish the safety loops. Join us then!

  • 23/06/24 – Palvan Completed

    Welcome to a sunny June weekend update from the team at Quorn. This weekend we’ve been doing some heavy metalwork on the Catfish and finishing the last few jobs on Palvan B781908.

    Saturday started with Tom and Dan doing some oiling of the brake rigging on the Palvan.

    Oliver helped Nick replace the vacuum brake hoses on both ends of the Palvan.

    I removed and tested the fuel lift pump on the Test Car; all was good so this was re-fitted.

    Ernie and Ross concentrated on cutting, welding and grinding of some more of the gouges imparted by digger buckets on the Catfish DB983560.

    Thanks to Mark for bringing along some provisions for a BBQ lunch; prepared by head chef Oliver who was helped by sous-chef Charlie, and of course Tom (being a Grade 6 food techie) had to supervise.

    After lunch there was some more cutting, welding and grinding.

    The Test Car’s cannister oil filter was also removed and cleaned out.

    Then there was some more welding and grinding.

    Sunday and more sunshine; Ross fitted a few missing split pins that we noted during the previous wagon inspection we did on the Palvan.

    I did some measuring up in readiness for preparing the templates for the forthcoming signwriting on the Catfish wagons.

    Nick, Ross and myself then got the vacuum test rig started in order to look into the train pipe leakage problem on the Palvan.

    The vacuum hose end seal on the south end was noted to be leaking so that was replaced.

    A small leak was found on the cylinder piston rod gland so that was removed and inspected; the seal was slightly damaged so this was replaced. It was also noted that the cylinder release was not a smooth or as quick as it should be. On closer inspection the piston rod itself was seen to be slightly bent, so a ‘straight’ replacement from stock was cleaned up and fitted.

    With the leakage problem and slow release still persisting we decided to drop out the inner cylinder and piston to check the ball valve and rolling ring.

    The rolling ring was inspected and noted in very good condition, therefore it was re-fitted to the piston. Some muck was cleaned out of the ball valve and a little dust in the inner cylinder hoovered out before refitting back into the cylinder dome. The die-nut was run down a couple of the dome cover stud threads and one stud re-fitted further into the dome. The release valve was also swapped for another overhauled one.

    A replacement hose for connecting the test rig to the wagon was fitted as we noted some collapsing of the old hose. The branch pipe clip was also replaced with a slightly smaller one to try and get a better seal here.

    Finally we managed to achieve a respectable vacuum train pipe leakage rate for the Palvan.

    This completes our restoration work on B781908 which started back in November last year; here’s the before and after. The wagon will now be handed over to the Carriage & Wagon Department for final inspection and sign-off; however we will also carry out a running assessment / inspection during its in-train first operation.

    Thanks for reading, all the best, Dave

  • 16/06/24 – Fueled with Prospects

    Hello everyone and thanks for joining us for another update. This weekend we’ve managed to find a dry enough spell to paint the Palvan roof, investigate the Test Car’s fuel tank.

    Tom has been doing some work on B954268 during the week while its in the shed having its suspension looked at. A new roof sheet has been laid over the van to re-waterproof it.

    I started off by finishing connecting the new batteries in the GUV with crimps ordered in the week. Its a pleasure to be in there without the hum from the charger running all the time as the power supply. I finished the modification off with a Voltmeter to show us the battery volts inside the vehicle so we can monitor the charge level.

    Dave made a start by looking at the fuel pick up and return lines into the fuel tank on the Test Car. The pipe fittings were welded to the top of the tank, so looking at them became a little more tricky. The fuel was drained out so we could check for sludge at the bottom of the tank. we found the end of the pick up tube nestled in the tank’s drain bung, so it was just a case of cleaning out the drain bung, rather than the tank.

    In a dry spell in the afternoon, we used our new oxy-propane heat gun to look at the sides of the Catfish. The gouges imparted by digger buckets were slit with the grinder and then heated and whacked to flatten the crease. Its all trial and error at the moment, and we’ll have some welding to do at some point, but we’ve made a start.

    Sunday was by far the drier day so much so, we got the roof painted on the Palvan! That now only leaves the 2 vacuum hoses to replace before the acceptance exam. Tom, Mark Dan and I hit the roof with the PVC canvas paint and quickly got it covered. Dan carefully painted the edges and above the doors, and did the same with bauxite once the roof paint had dried. Nick used the bauxite brush to touch in some of the body.

    With the Palvan requiring minimal attention next weekend, we’ll hit the two Catfish, continuing with how we’ve started the first. Thanks for reading!

  • 09/06/24 – The Last Bit of Signwriting

    Hello everyone and welcome to another update from Quorn. Work has focused on the small bits to get the Palvan ready to run, though with the list dwindling, some work was done on the GUV too.

    Nick and Charlie continued with Operation Grass Cut, finishing the section between our two coaches and the running line. Once completed, the newly prepared chalkboards were fitted to the Palvan.

    Ernie concentrating the under-frame details and touching in the black, including scraping and painting the bottom side of the headstocks.

    I disconnected and removed the current batteries in the GUV. It was thought the cells were life expired, however, one of the cell connections had corroded and broken, so there might be hope in them yet. However, with some new batteries sat there waiting to go in, the decision was made to replace. We can then look at the others at our leisure. I made up new connection tails, and am just waiting for the copper tube terminals for the cable ends.

    On Sunday, being that it was just the two of us, Dave and I treated ourselves to breakfast on the train, not before we surveyed the van train to get an idea for the work needed on the vehicles in it. Some new ply sheets and some new planks to do, so we’ll get those planned. For the most part its a sand and a repaint for several of the vans, which is positive.

    After a quick look round at Loughborough, we went back to Quorn and got on with the signwriting. Dave on the wagon plate, and me on the vacuum release chord star.

    With the paint drying, we shuffled the vehicles back down and started the formal brake test of the Palvan. The brake test was mostly good and functioned correctly, though the leakage rate is not up to spec.

    We also recovered a set of our steps from the yard using ‘George’, it reminded me a cut price version of the steps you have for aircraft!

    With that done, the last job to tick off on the Palvan is painting the roof, which hopefully will be done next week. Thanks for reading!

  • 02/06/2024 – More Palvan Signwriting

    Hello and welcome to our first June 2024 update. The team at Quorn have been busy again with the needle gun on the underframe and signwriting brushes out for the east bodyside of the Palvan.

    Saturday, Nick and Charlie removed the remains of the original D plates and bolts; these had been snapped off many years ago but the remains and the bolts need to be removed so we can signwrite new D plates.

    Ernie went round the underframe with a black touch-up brush attending to any areas missed and also where the D plate remains were. He then did some bauxite touch up along any edges that got missed with the spray gun.

    Some new chalk boards were cut then primed and undercoated by Richard.

    I got stuck into the Palvan east-side chalking-up and signwriting

    The bodyside number, load, wheelbase, tare weight and XP were completed and the 2024 paint symbol added to both sides of the wagon.

    Nick and Charlie tackled some of the long grass to the west of the mess coach with the lawn mower.

    I also completed the Palvan lettering and Return to Port Sunlight text on the east side.

    Both east and west Palvan bodysides are now complete.

    On Sunday Oliver and Nick continued with the chalkboard painting in undercoat followed by black gloss.

    The Palvan was rolled out of the dock so we could access the east side underframe where Tom got stuck in with the needle gun.

    Dan continued work on the west side underframe completing the signwriting of the D-plate and vac release star.

    Mark and Tom applied primer to the cleaned up east side underframe.

    The end is in sight now for the Palvan, join us again next week, all the best, Dave

  • 27/05/24 – A Bank Holiday Paint Job

    Hello, and welcome to this week’s second May Bank Holiday update from Quorn. We’ve worked around the weather and got the Palvan into its second coat of gloss, signwritten, and the underframe painted in black.

    Saturday saw Jack and Dave continuing the work on Madge, getting more stripped off of the vehicle including all the wiring and petrol tank. Dave also cleaned off the wheels and got them painted into primer.

    Jack removed the levers in the cab and refurbished them on the bench.

    For me, the main event was spraying the gloss on the Palvan. I had a few issues with the pressure pot initially, but once working and with Ernie’s help I got the two ends and both sides coated in the lovely bauxite colour we know so well.

    Sunday was fairly damp, but to continue sign writing we improvised a shelter from the LOBO scaffolding and an old gazebo Dave dug out. This enabled Dave, Dan and I to get the doors mostly sign written.

    Initially Dan worked with Mark to paint the underframe into black, and they made good progress on the accessible side.

    Dave took care of the vehicle number, while I applied the PALVAN lettering. Dan started applying the “Return to” branding on the van. Unfortunately the weather closed in before this could be finished.

    I finished off the branding, and applied the XP, wheelbase and tare mass to the other end of the van.

    Nick got the black paint back out and painted both headstocks, and the north wheel pan on the west side.

    The light is very much at the end of the tunnel with the Palvan, the other side needs sign writing, the east side underframe a scrape and paint, and then its details, details, details. Though we shouldn’t forget about that pesky roof!

    Thanks for reading, and see you next time.